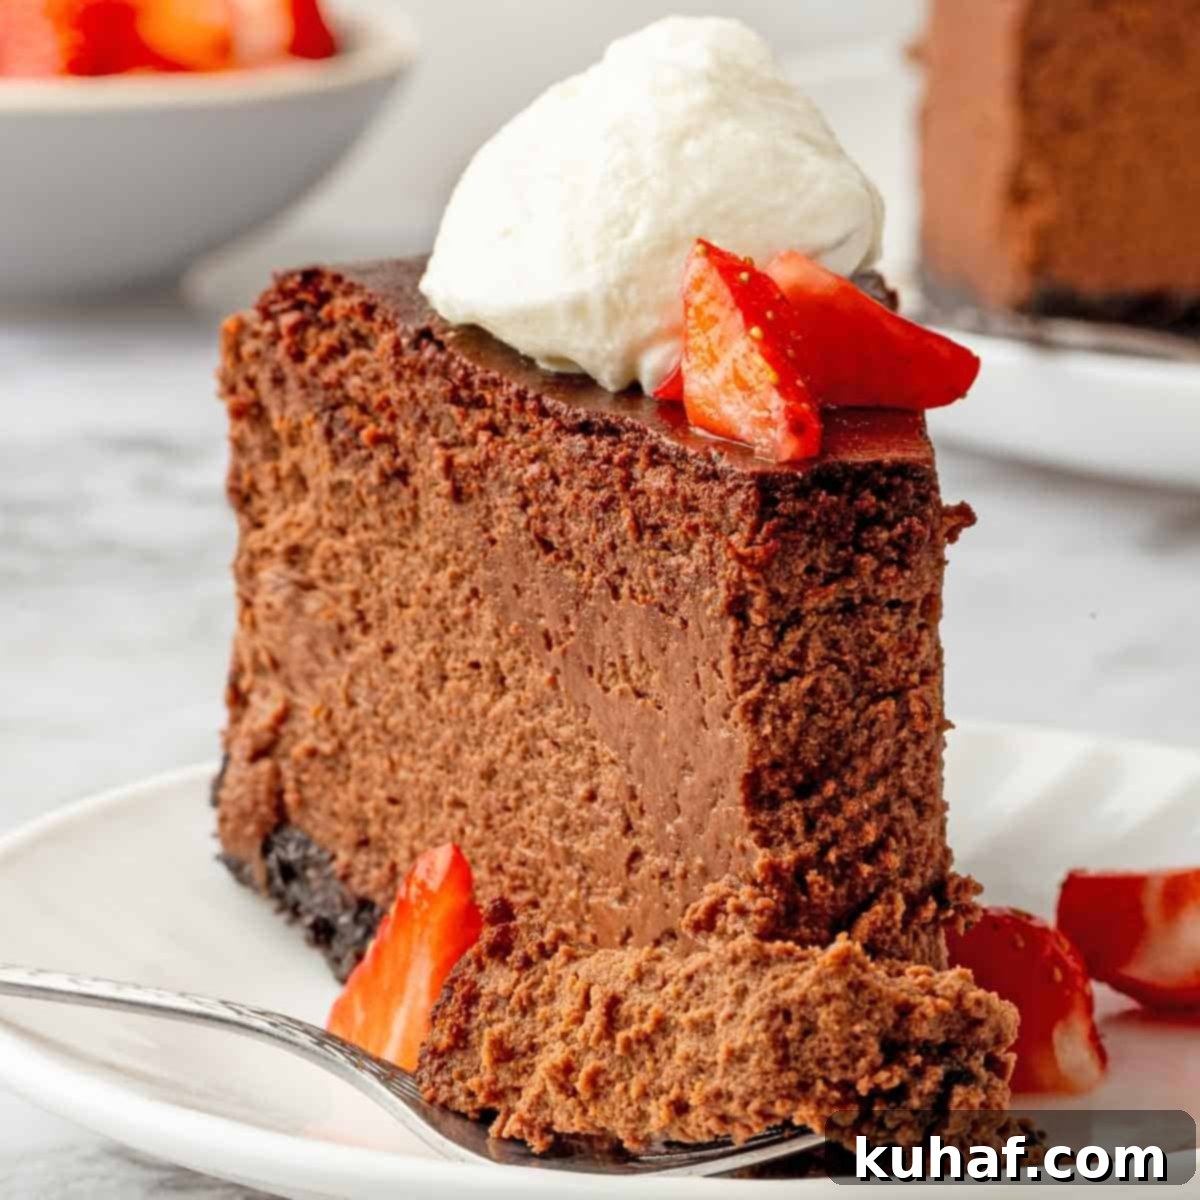
Decadent New York Style Chocolate Cheesecake: Your Guide to a Flawless, Rich Dessert
Prepare to indulge in the ultimate New York style chocolate cheesecake recipe, a masterpiece of dessert engineering designed for true chocolate aficionados. This recipe yields a cheesecake that is luxuriously rich, wonderfully thick, and boasts a silky smooth texture that melts in your mouth. We’ll walk you through all the professional tips and tricks to ensure your cheesecake is crack-free, perfectly set, easily sliceable, and embodies that quintessential, irresistible New York style texture.
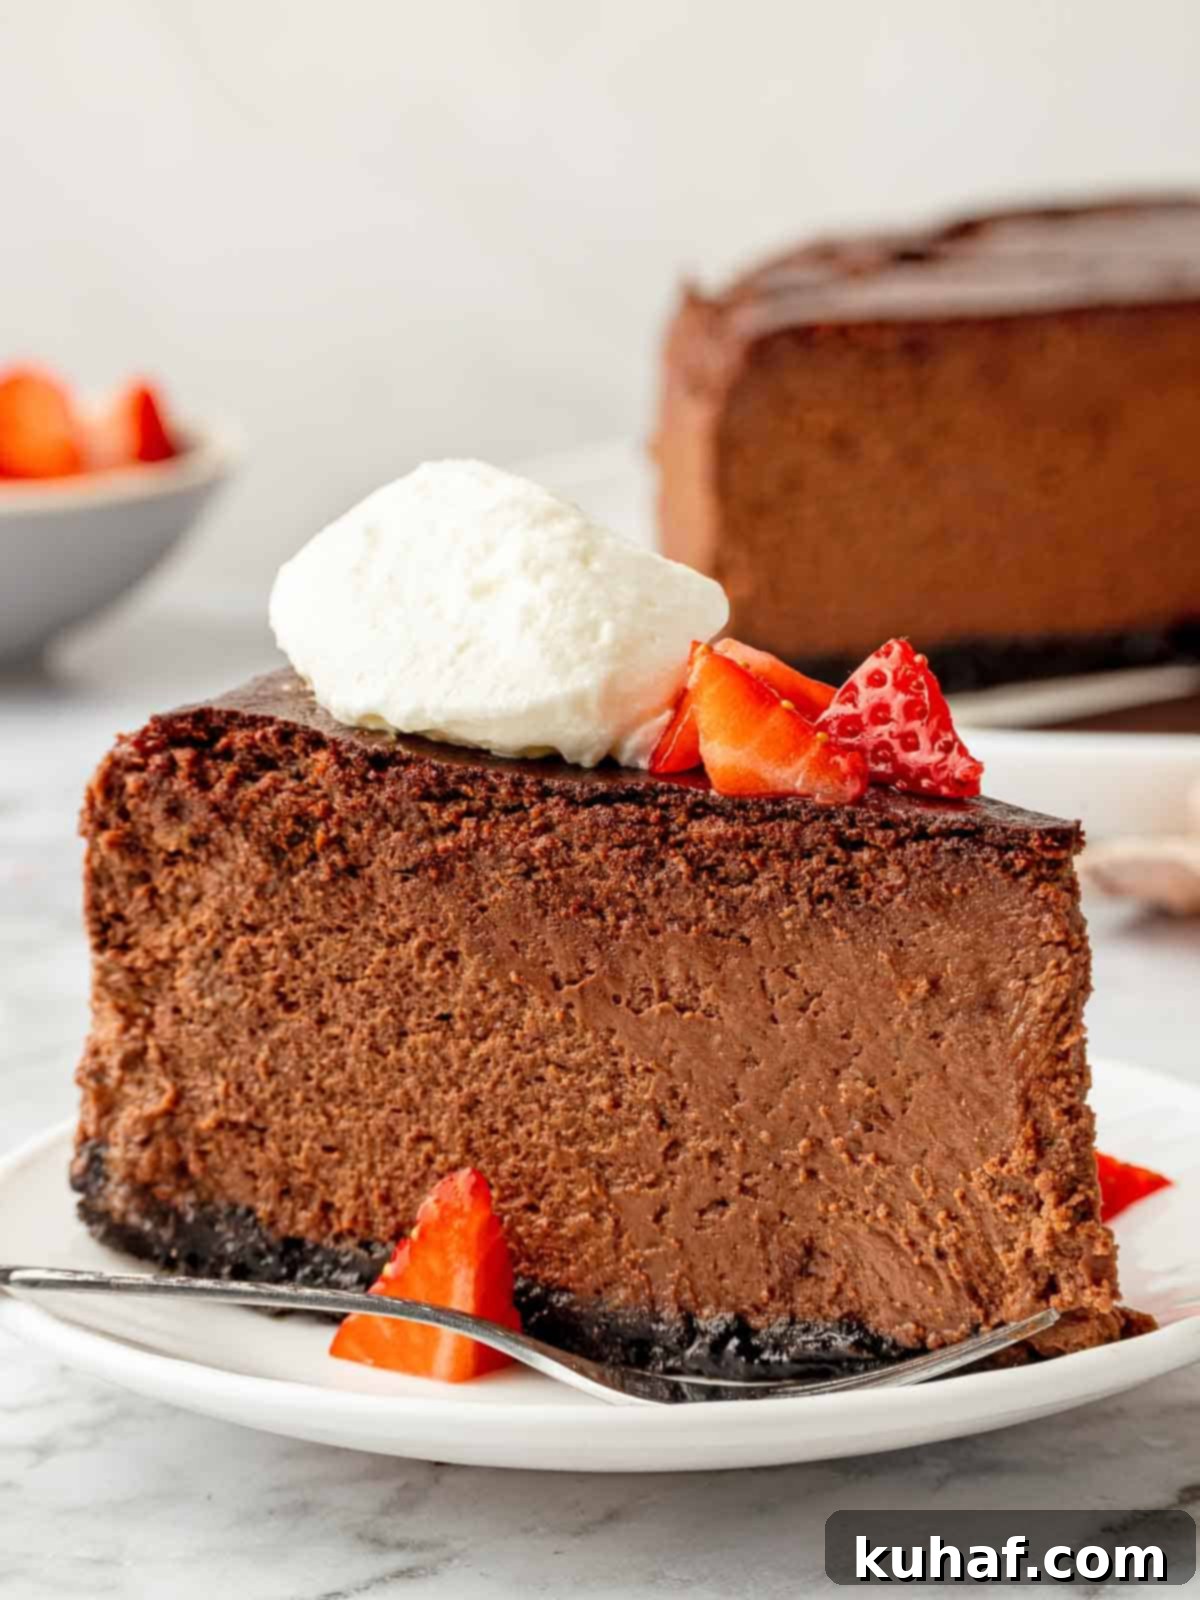
When I first embarked on perfecting this chocolate cheesecake recipe, my benchmark was the iconic Godiva chocolate cheesecake from The Cheesecake Factory. To me, that dessert represents the pinnacle of chocolate cheesecake – intensely rich, wonderfully dense, and utterly melt-in-your-mouth. This recipe captures all that decadent chocolatey goodness, combined with the signature creamy, classic New York style cheesecake texture that you’ve come to love in my other creations, like my chocolate chip cheesecake and cherry cheesecake!
If you’re familiar with my recipes, you know my dedication to chocolate desserts runs deep. Whether it’s a luscious chocolate pudding, an elegant chocolate bundt cake with ganache topping, chewy double chocolate chip cookies, or a moist chocolate pound cake, each recipe aims for a balanced, profound chocolate flavor. While you could certainly crown this chocolate cheesecake with a glossy chocolate ganache, similar to the one I use for my chocolate tarts, I find the cheesecake’s inherent richness often makes additional toppings optional.
Table of Contents
- Why This is the Best Chocolate Cheesecake Recipe
- Professional Tips for Making Chocolate Cheesecake
- Ingredients & Substitutions
- Possible Variations
- How to Serve Chocolate Cheesecake
- How to Make The Best Chocolate Cheesecake
- Chef Lindsey’s Recipe Tip
- Frequently Asked Questions
- Chocolate Cheesecake Recipe
- Before You Go
Why This is the Best Chocolate Cheesecake Recipe
This chocolate cheesecake stands out not just for its incredible flavor but also for its meticulous design, ensuring success for every home baker. Here’s why this recipe should be your go-to:
- Authentic New York-Style Cheesecake Texture: As an Executive Pastry Chef, I’ve spent years perfecting the New York-style cheesecake. This means achieving that signature texture – dense yet incredibly light, rich, and impossibly smooth. It’s a balance many strive for, and this recipe delivers. My expertise has allowed me to adapt this classic base into many exciting flavors, even challenging ones like lemon meringue cheesecake, ensuring the core texture remains perfect.
- Intensely Rich Chocolate Flavor with an Easy Oreo Crust: The secret to its profound chocolate flavor lies in incorporating melted bittersweet chocolate at the very end of the mixing process. This technique provides a deep, complex chocolate profile without overwhelming the cheesecake with excessive sweetness. Paired with a simple, yet irresistible, Oreo crust, every bite is a harmonious blend of creamy chocolate and crunchy cookie bliss.
- An Almost Foolproof Recipe for Everyone: Cheesecakes often intimidate bakers, but I promise you, this recipe simplifies the process. It’s designed to be forgiving. The most critical step, using room temperature (or slightly warmer) ingredients, mitigates most common cheesecake pitfalls. Should you ever doubt its doneness, an extra 5 minutes in the oven almost always resolves it. Trust the process, and you’ll be rewarded with a perfect cheesecake every time.
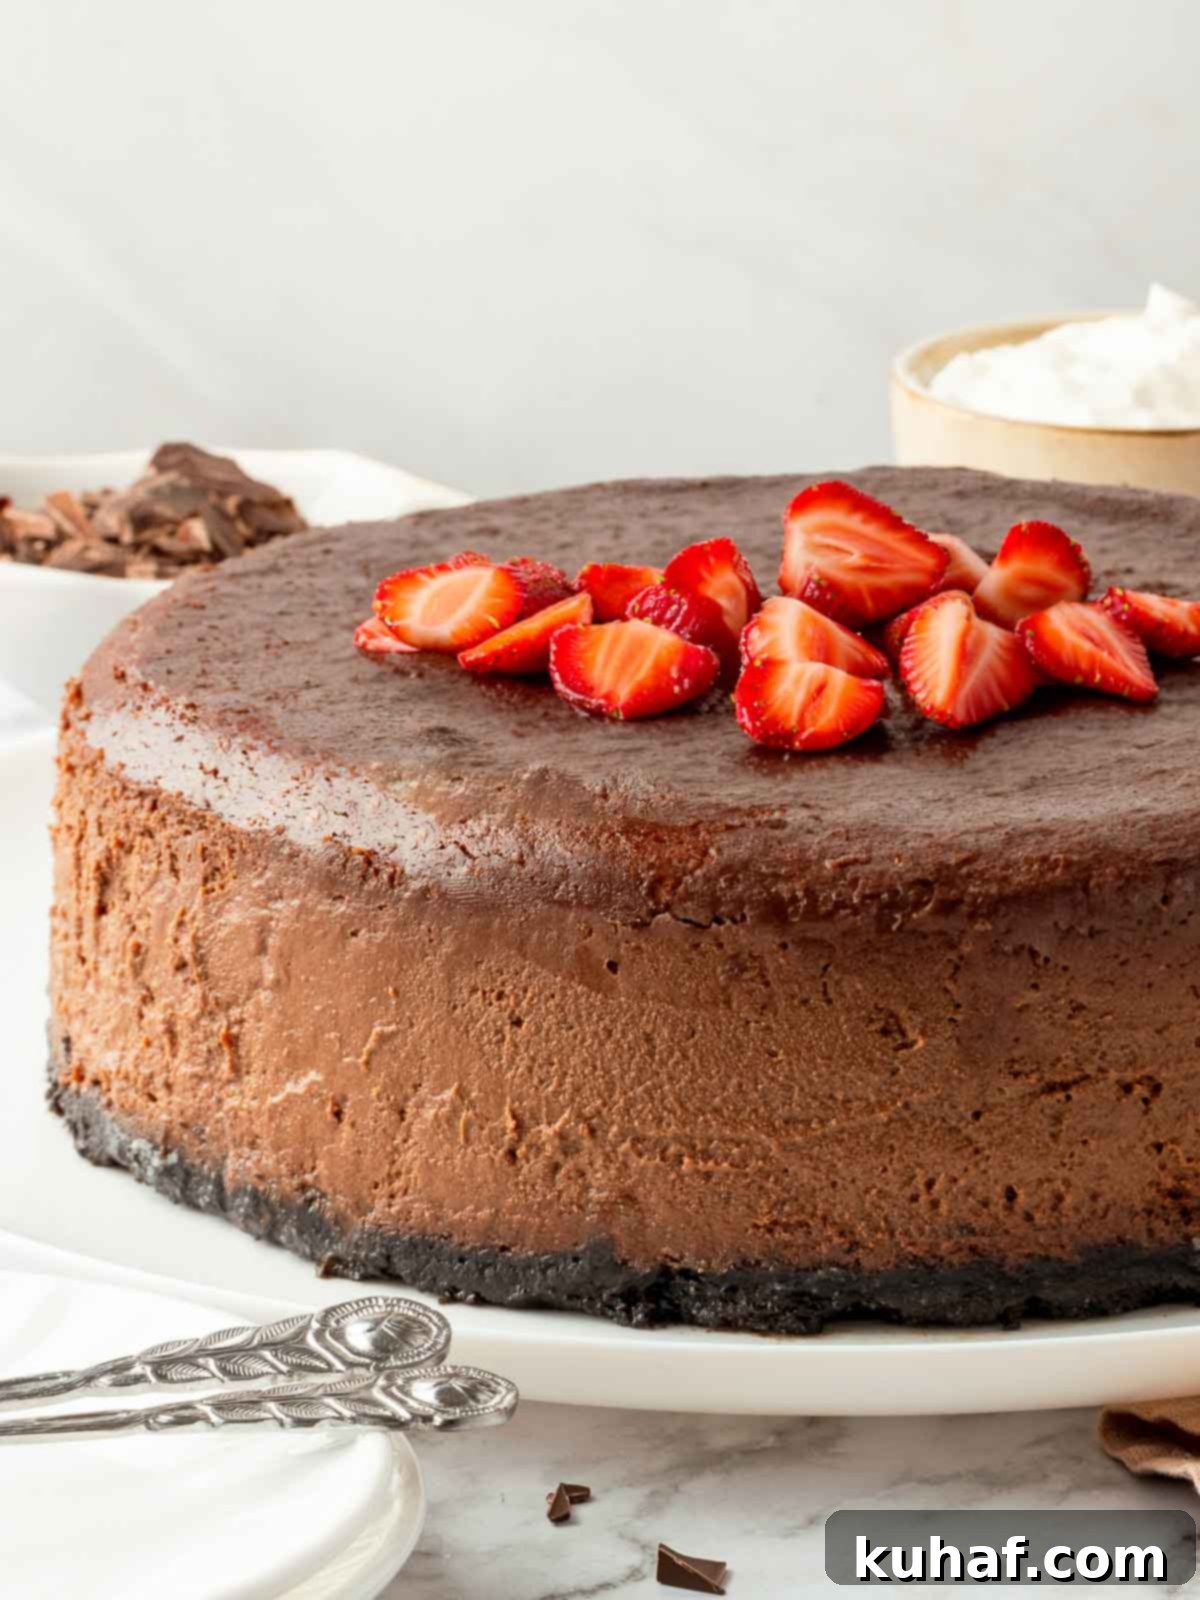
Professional Tips for Making the Best Chocolate Cheesecake
Achieving a perfect cheesecake, especially one as rich and smooth as this chocolate rendition, relies on a few key professional techniques. These tips will help you avoid common pitfalls and ensure a spectacular result:
- Essential Room Temperature Ingredients: This is arguably the most crucial tip for any cheesecake. Ensuring your cream cheese, eggs, sour cream, and heavy cream are at room temperature is vital for a smooth, uniform batter. Cold ingredients will not incorporate properly, leading to lumps in your cream cheese mixture. Furthermore, adding melted chocolate to a cold batter will cause it to seize, resulting in a grainy, unappealing texture. Warm ingredients emulsify beautifully, creating that desired silky consistency.
- Beat Each Egg Individually for a Full Minute: While it might seem like an extra step, beating each egg separately for a minute is a game-changer. This technique incorporates just the right amount of air into the batter, which contributes to the cheesecake’s unique texture: dense and rich, yet incredibly light, allowing it to truly melt in your mouth. Don’t skip this timing; it makes a noticeable difference.
- Always Bake in a Water Bath and Cool Gradually: Cheesecake is essentially a custard, and like its delicate cousins (such as vanilla crème brûlée), it benefits immensely from the gentle, even heat of a water bath. This prevents the edges from baking too quickly and cracking, promoting an even bake and a creamy center. Equally important is allowing the cheesecake to cool completely to room temperature *before* refrigerating. Rapid temperature changes are the primary cause of cracks. We’ll delve deeper into these crucial steps in the “How to Make” section below.
Key Ingredients & Thoughtful Substitutions
Crafting the perfect chocolate cheesecake starts with understanding the role of each ingredient. Here’s a detailed look at what you’ll need and potential adjustments:
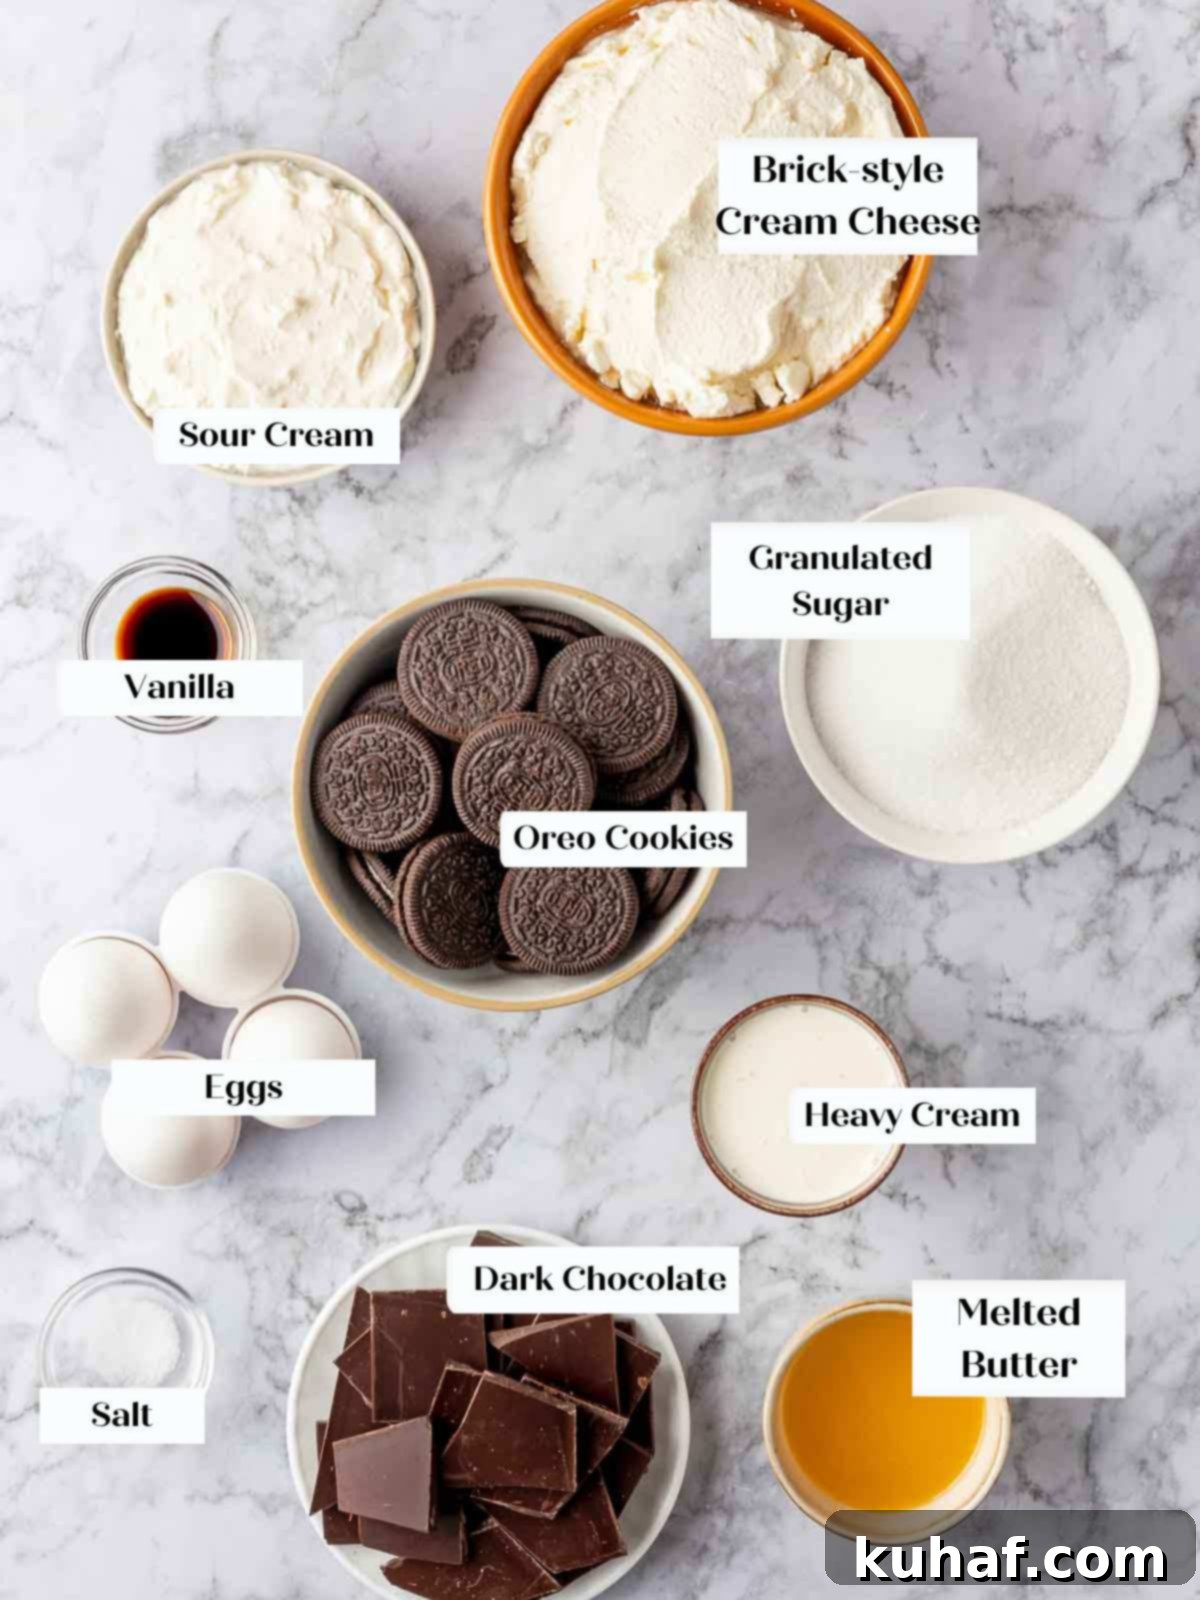
- Cream Cheese: For that quintessential dense yet creamy New York style texture, full-fat brick-style cream cheese is non-negotiable. While you *can* use low-fat cream cheese, be aware that it will result in a looser, slightly lighter texture. Avoid whipped cream cheese entirely, as its airy consistency is unsuitable for cheesecake. I personally favor Philadelphia cream cheese for its consistent quality and superior flavor.
- Vanilla Extract: Vanilla is not just a flavor; it’s a flavor enhancer, especially for chocolate. A good quality vanilla extract will deepen and brighten the chocolate notes in your cheesecake. I highly recommend Nielsen-Massey’s Madagascar vanilla extract for its rich, aromatic profile.
- Granulated Sugar: Provides sweetness and contributes to the cheesecake’s structure and browning.
- Large Eggs & Egg Yolk: Eggs are the binding and thickening agents in this custard-based dessert, crucial for its firm yet delicate set, much like in my easy chocolate pie or bread pudding. The extra egg yolk adds richness and helps create that signature dense, creamy consistency without adding too much liquid.
- Sour Cream: Full-fat sour cream adds a subtle tang that balances the sweetness and richness of the chocolate. Its acidity also helps prevent the batter from breaking or curdling during mixing and baking, contributing to a smoother, more stable cheesecake. Ensure it’s at room temperature.
- Heavy Cream: This provides additional richness and moisture, helping to lighten the texture slightly while maintaining a luxurious mouthfeel. Like sour cream, heavy cream’s fat content helps stabilize the batter.
- Bittersweet Chocolate: I specifically use 60% bittersweet chocolate to achieve a perfectly balanced chocolate flavor, preventing the cheesecake from being overly sweet. While you could opt for a milk chocolate version (as I did in these mini s’mores cheesecakes) or semi-sweet, consider reducing the granulated sugar if you choose a sweeter chocolate. The chocolate must be melted and cooled to lukewarm, not hot, to prevent it from seizing or separating the cream cheese mixture.
- Oreo Cookies: The classic choice for a chocolate crumb crust! You’ll need approximately 22 standard Oreos (avoiding “double stuf” varieties, as they can alter the crust’s texture and moisture balance). For an even simpler approach, save time by purchasing pre-crushed Oreo cookie crumbs – a fantastic shortcut for busy bakers.
- Unsalted Butter: Melted butter binds the cookie crumbs together, forming a sturdy and flavorful crust. Unsalted butter allows you to control the overall saltiness of the recipe.
- Kosher Salt: A pinch of salt in both the crust and the filling enhances all the flavors, particularly the deep chocolate, preventing the cheesecake from tasting flat.
Refer to the recipe card below for precise measurements and detailed quantities of each ingredient.
Exciting Possible Variations for Your Chocolate Cheesecake
While this chocolate cheesecake recipe is perfect as is, it also serves as a fantastic canvas for your creativity. Here are some ideas to customize and elevate your dessert:
- Transform it into a “Death by Chocolate” Cheesecake: For the ultimate chocolate lover, amplify the decadence! Incorporate chocolate chips or chunks directly into the batter before pouring it into the pan. Once baked and chilled, spread a luxurious layer of chocolate ganache over the entire top. Finish it with a rich chocolate whipped cream, easily made by whisking together cocoa powder, heavy whipping cream, and a touch of powdered sugar until soft or stiff peaks form.
- Experiment with the Crust Flavor: The Oreo crust is a classic, but don’t limit yourself! Try using other chocolate sandwich cookies or even “blond” (vanilla) Oreos for a delightful contrast. A timeless baked graham cracker crust is always a welcome option, or for an even deeper chocolate note, use chocolate graham crackers. Feeling ambitious? You can even make your own homemade chocolate graham crackers for a truly unique base.
- Add a Beautiful Swirl: Elevate the visual appeal and flavor by adding a swirl to your cheesecake. The key is to use a topping that is thick enough to hold its shape. Consider a vibrant cherry preserves, a tangy mixed berry jam with pectin, or a luscious salted caramel sauce. Simply dollop your chosen swirl ingredient onto the batter and gently swirl with a knife or skewer before baking.
- Bake Cheesecake Bars or Miniature Cheesecakes: This versatile batter can be adapted for different formats. Pour it over a prepared crust baked in a 9×13 inch pan to make delicious cheesecake bars. Bake until the center is just set and jiggles like firm Jell-O. This method often doesn’t require a water bath due to the shallower depth and shorter baking time. For individual servings, bake in muffin tins lined with paper cups for adorable miniature cheesecakes.
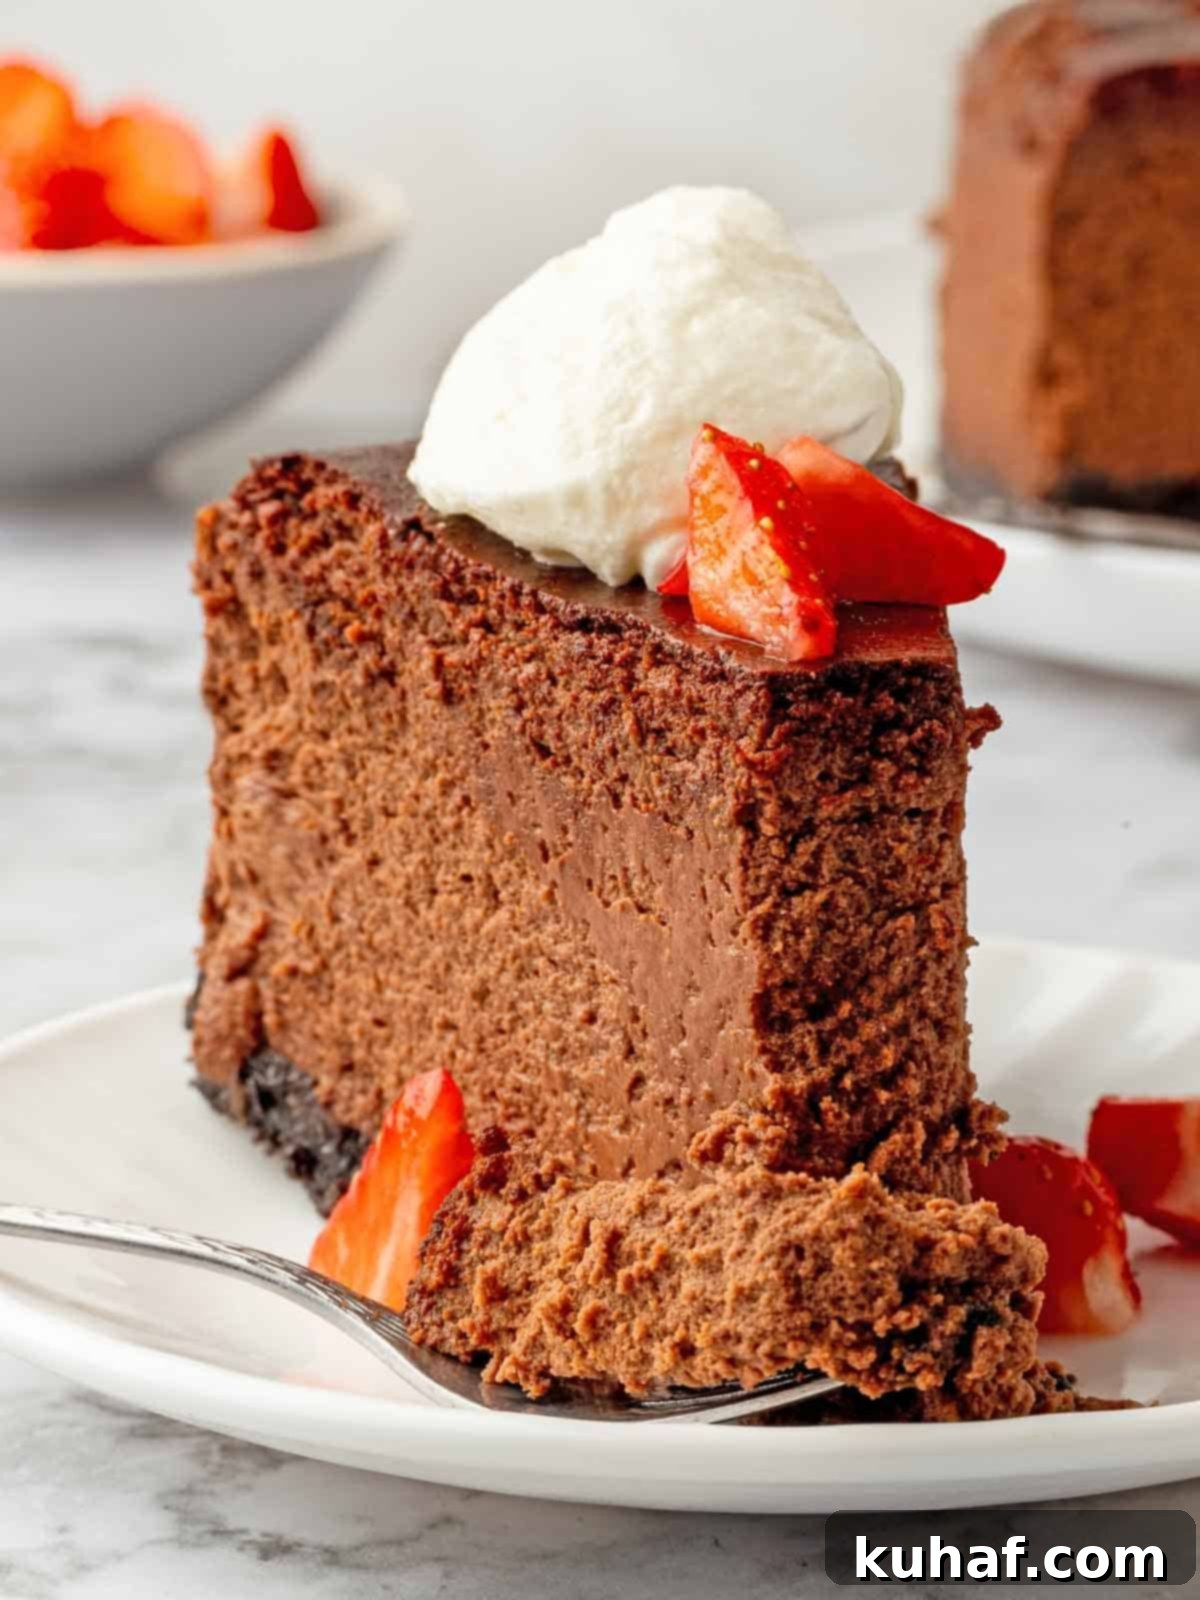
Creative Ways to Serve Your Chocolate Cheesecake
A beautifully made chocolate cheesecake deserves equally thoughtful presentation and accompaniments. Here are some delightful ways to serve this rich dessert:
- Elevate with a Delicious Topping: You have the option to generously top the entire cheesecake for a dramatic effect or adorn individual slices. Consider a classic, velvety chocolate ganache, a cloud of toasted marshmallow frosting, or a vibrant cherry pie filling for a fruity counterpoint. For individual servings, a dollop of fresh whipped cream or a spoonful of tangy crème fraîche, alongside a medley of fresh berries, offers a perfect balance of flavors and textures.
- Pair with an Exquisite Sauce: Every slice of cake, even a simple vanilla cake, benefits from a thoughtful garnish. For your chocolate cheesecake, a warm hot fudge sauce is always a winner. Alternatively, a bright and fruity easy strawberry jam or an easy blueberry sauce provides a refreshing contrast. For those who love a sophisticated sweet and salty touch, my salted caramel sauce is exceptional. If you’re aiming for a sauce with a delicate vanilla ice cream-like essence, a silky vanilla crème anglaise is an elegant choice.
- Add a Delightful Crunch: The creamy richness of this chocolate cheesecake is beautifully complemented by a textural contrast. A sprinkle of toasted nuts, such as pecans or walnuts, adds a satisfying crunch and nutty depth. For a more sophisticated, slightly bitter note that balances the sweetness, consider cocoa nibs. You could also sprinkle it with a baked brown sugar streusel topping or simply extra crushed Oreo cookies for a playful touch.
How to Make The Best Chocolate Cheesecake: Step-by-Step Guide
Follow these detailed instructions to create an easy yet utterly exquisite chocolate cheesecake from scratch. For precise measurements and ingredient quantities, please refer to the comprehensive recipe card located further down this page.
Preparing the Crust & Pan: A Foundation for Success
Step 1: Begin by preheating your oven to 350°F (175°C) using the conventional setting (avoiding the fan/convection mode). To prepare your 9-inch springform pan, line the bottom with a circle of parchment paper or a piece of aluminum foil. This simple step aids in easy release after baking and cooling.
Pro-Tip for Easy Lifting: If you carefully line the bottom of your springform pan with a piece of aluminum foil that is slightly larger than the pan and crimp it up the sides, it creates an incredibly easy way to lift out the chilled cheesecake. It also provides extra insurance against water leakage during the water bath!
Step 2: Next, meticulously line the entire outside of the springform pan with heavy-duty aluminum foil. The critical objective here is to prevent any water from seeping into your cheesecake during the water bath. Extra-large sheets of foil work best for complete coverage. If you only have standard-sized foil, you can overlap two pieces and roll the seams tightly to create a secure seal. Remember to roll any excess foil outward, away from the pan, to avoid inadvertently directing water into your crust. Ensuring a watertight seal is paramount for a perfectly baked cheesecake.
Step 3: To make the crust, pulse your Oreo cookies in a food processor until they form fine crumbs. Alternatively, if you’re looking for a shortcut (it’s 2024, and we embrace convenience!), you can simply purchase pre-crushed Oreo cookie crumbs. In a medium bowl, combine the cookie crumbs with the melted unsalted butter and a pinch of kosher salt. Mix these ingredients thoroughly with your hand, squeezing the mixture to ensure it’s evenly moistened and forms clumps – this indicates it will bind well.
Step 4: Press the prepared crust mixture firmly and evenly into the bottom of your lined springform pan. Use your hand or the flat bottom of a drinking glass to compact it well. This creates a dense, stable base for your cheesecake. Bake the crust in the preheated 350°F (175°C) oven for 10 minutes, or until the center appears matte and slightly set. Remove it from the oven and allow it to cool completely before proceeding.
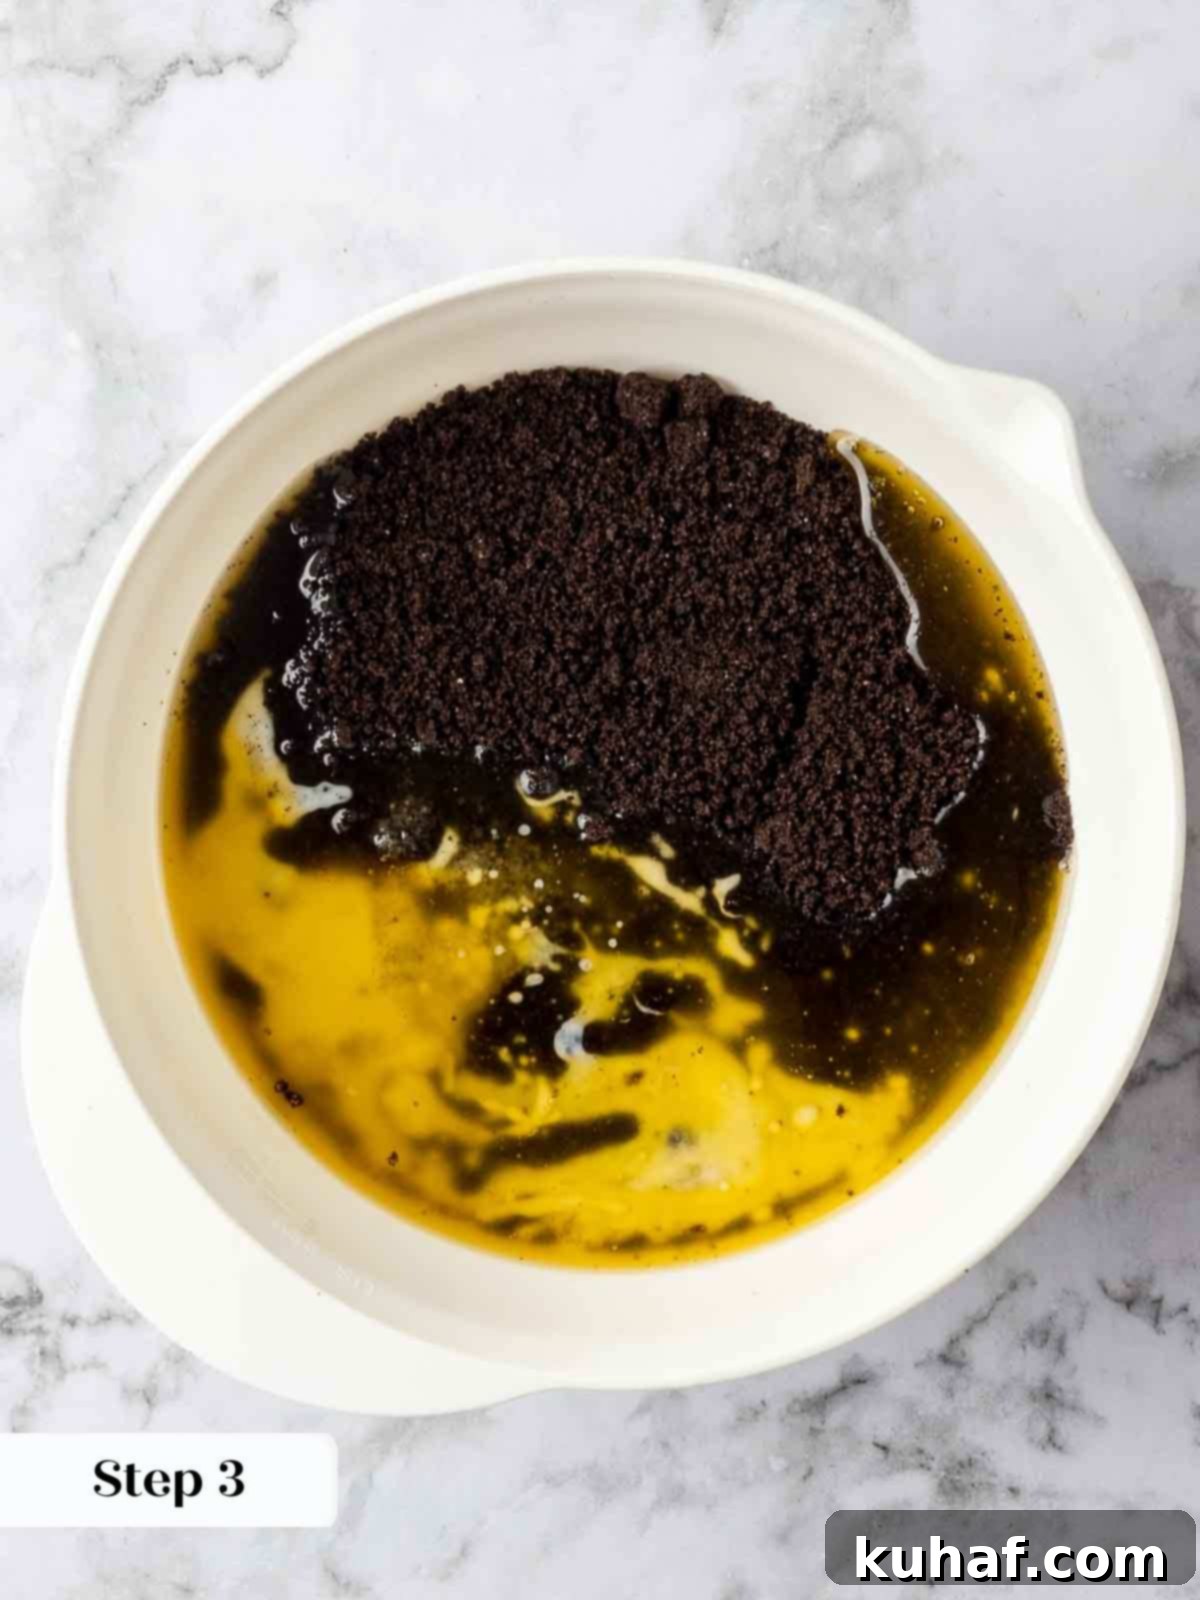
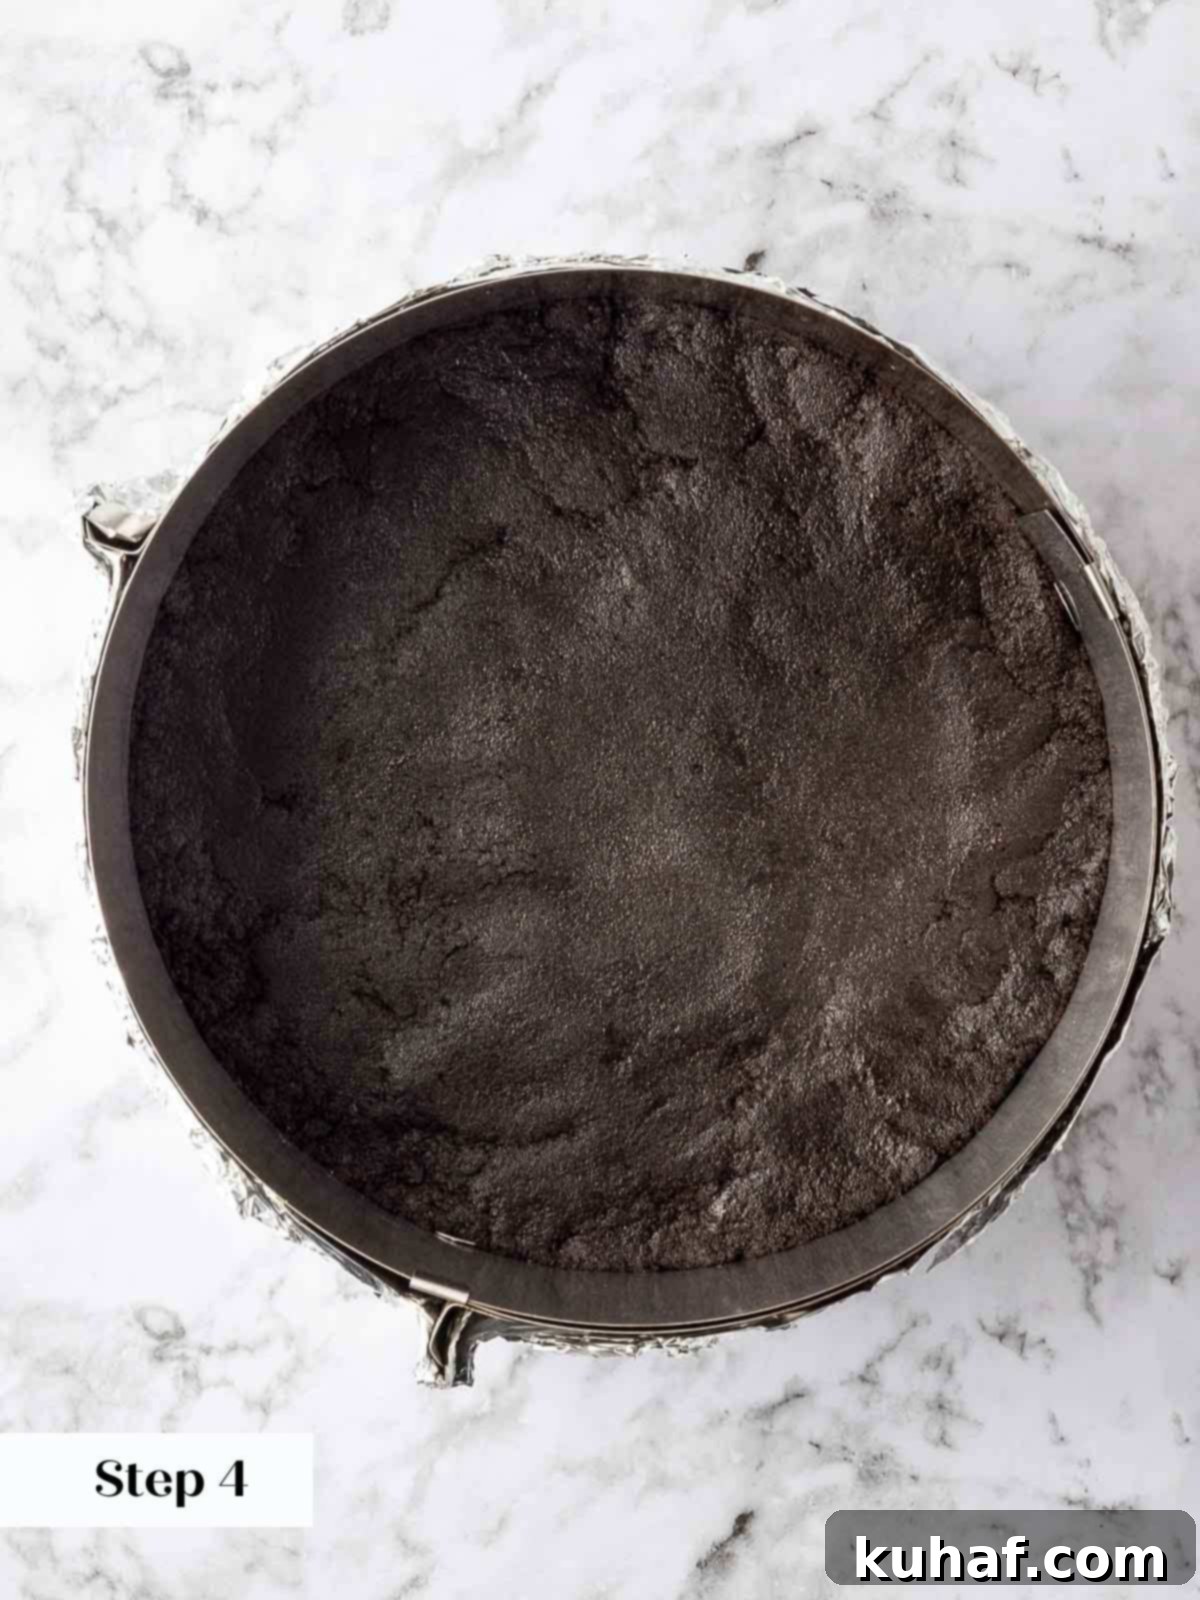
Forgot to Cool the Crust? No Problem! You can pour the cheesecake batter into a slightly warm crust if you’re short on time. It won’t negatively impact the final result.
Crafting the Silky Smooth Chocolate Cheesecake Batter
Step 1: Once the crust is cooling, reduce the oven temperature to 325°F (160°C). Melt the bittersweet chocolate using a double boiler or microwave in short bursts, stirring frequently, then set it aside to cool. It needs to be completely cool to the touch but still fully melted and fluid – this is crucial to prevent seizing when added to the batter.
Mission Critical: Room Temperature Ingredients! It is absolutely essential that all your ingredients are at room temperature before you begin mixing. This detail profoundly impacts the final texture of your cheesecake, ensuring it’s smooth, dense, and light. If you forgot, don’t despair! Measure out all your cold ingredients into plastic or metal containers. Place them uncovered on the top rack of your oven (turned off, but still warm from baking the crust, or slightly warmed). Place a large roasting pan on the bottom rack and pour in boiling water. Close the oven door, and the gentle steam will bring your ingredients to room temperature in about 20 minutes.
Step 2: In the bowl of a stand mixer fitted with the paddle attachment (or using a very large bowl with an electric hand mixer), add the softened full-fat cream cheese and vanilla extract. Beat on medium speed until the mixture is incredibly silky, creamy, and completely smooth. Scrape down the sides of the bowl frequently to ensure no lumps remain.
Step 3: Gradually add the granulated sugar to the cream cheese mixture. Continue beating on medium-high speed for at least 3 full minutes. You want to ensure that every sugar granule has dissolved and is no longer visible. The mixture will transform into a satiny, glossy, and incredibly smooth consistency. This extended beating time is key for a truly refined texture.
Step 4: Now, add the eggs one at a time to the cream cheese mixture. After each egg addition, beat the mixture for exactly 1 minute. Set a timer for this step – it truly matters! This ensures proper emulsification and air incorporation, contributing to the cheesecake’s unique light-yet-dense texture.
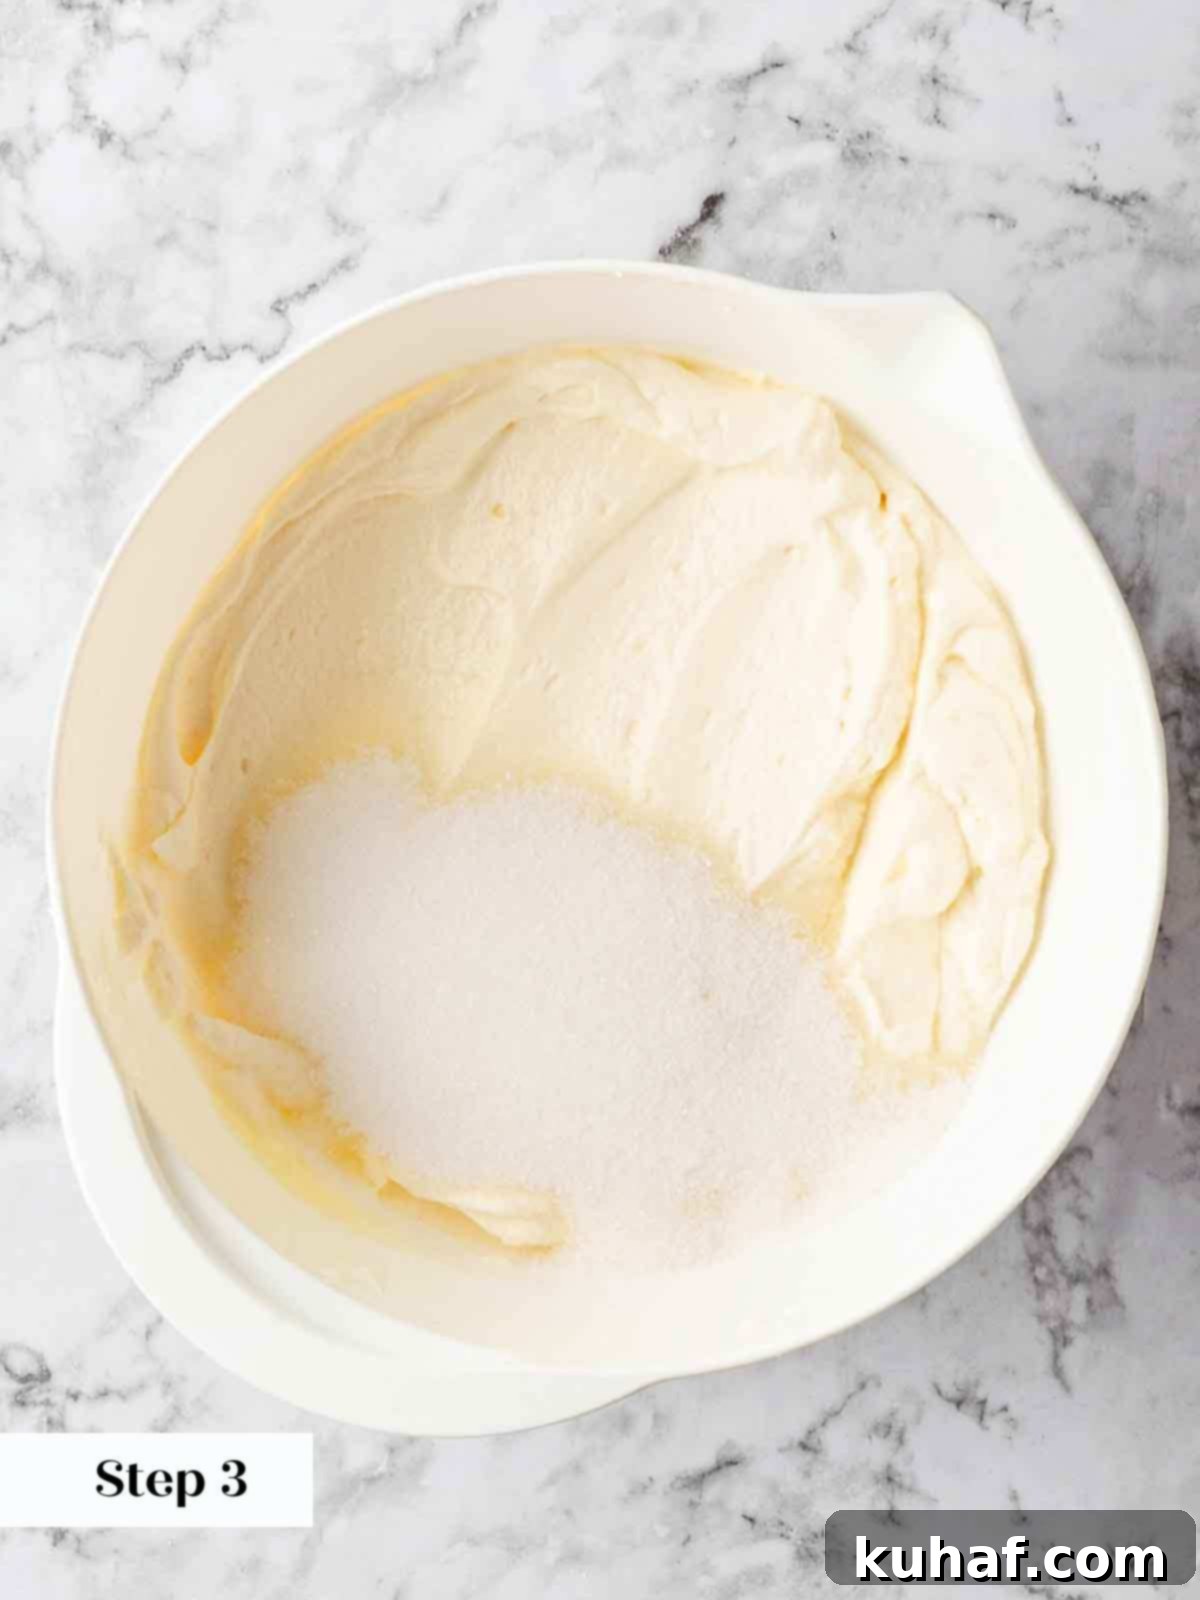
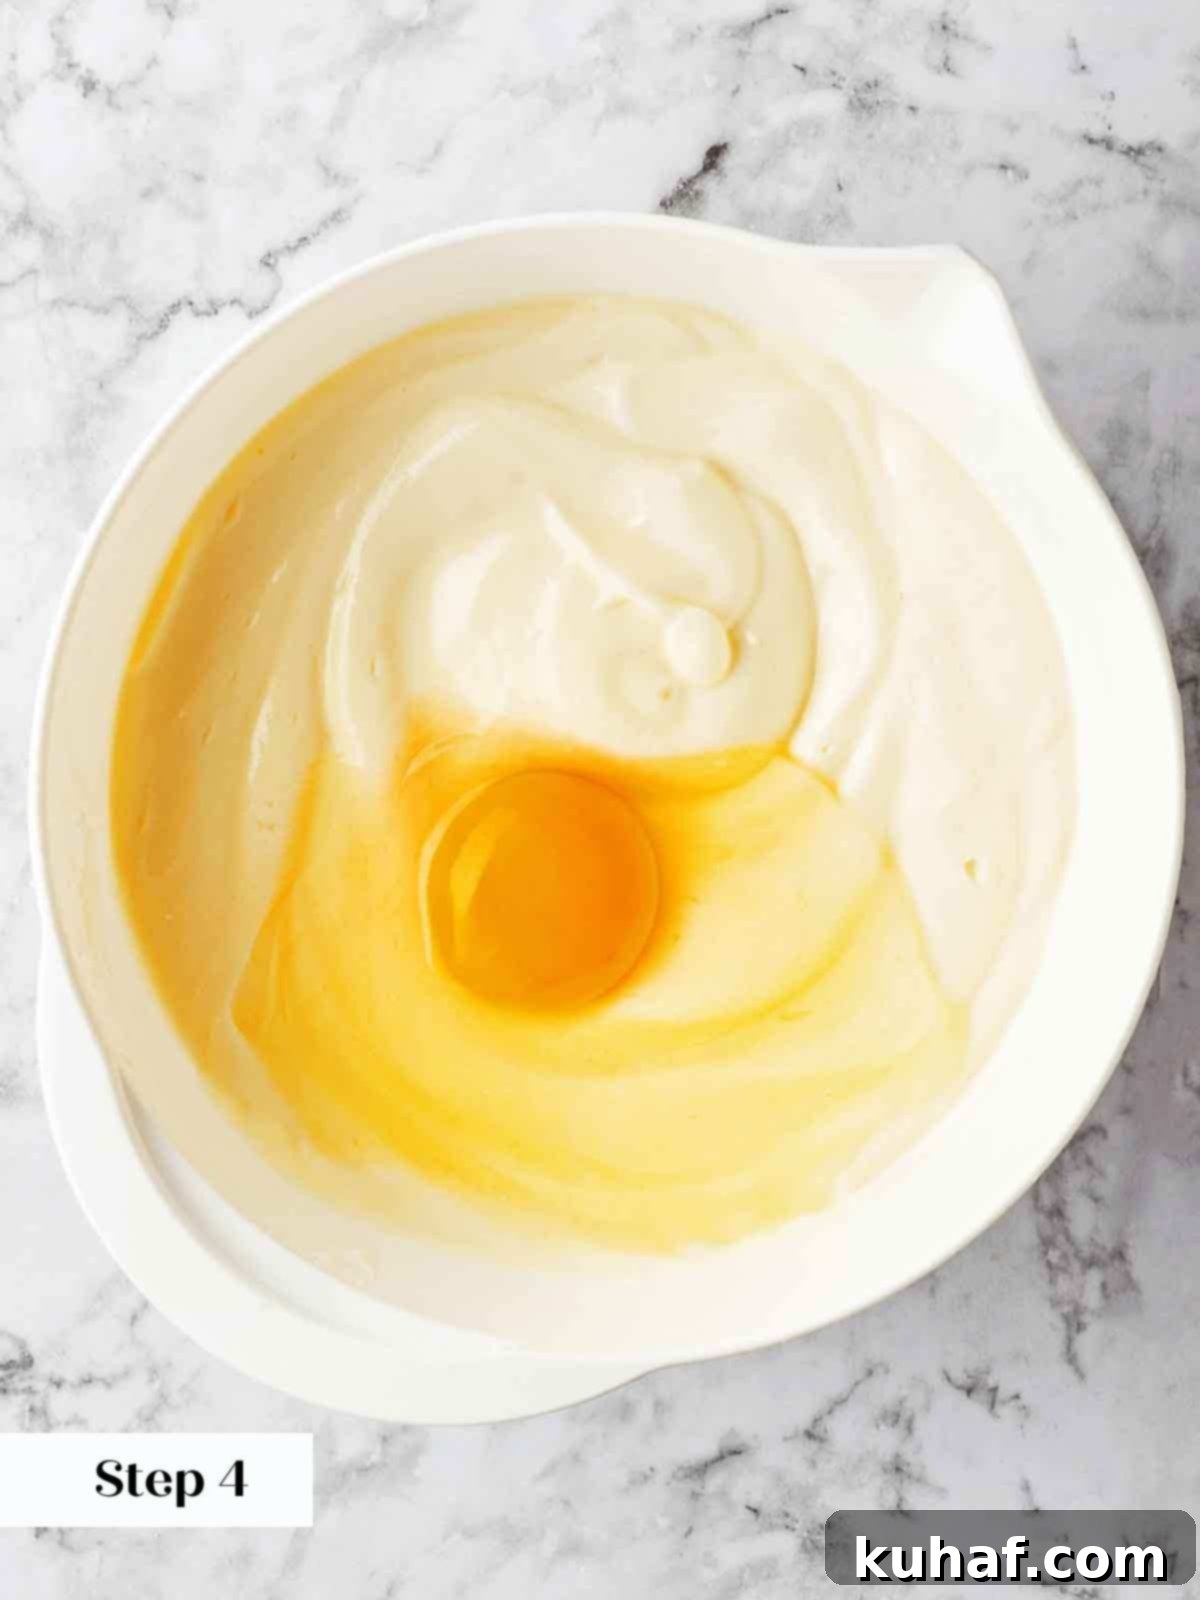
Step 5: Incorporate the room temperature sour cream and heavy cream into the mixture. Start the mixer on a low speed to avoid splashes, then gradually increase the speed to medium and beat just until combined and smooth. Be careful not to overmix at this stage.
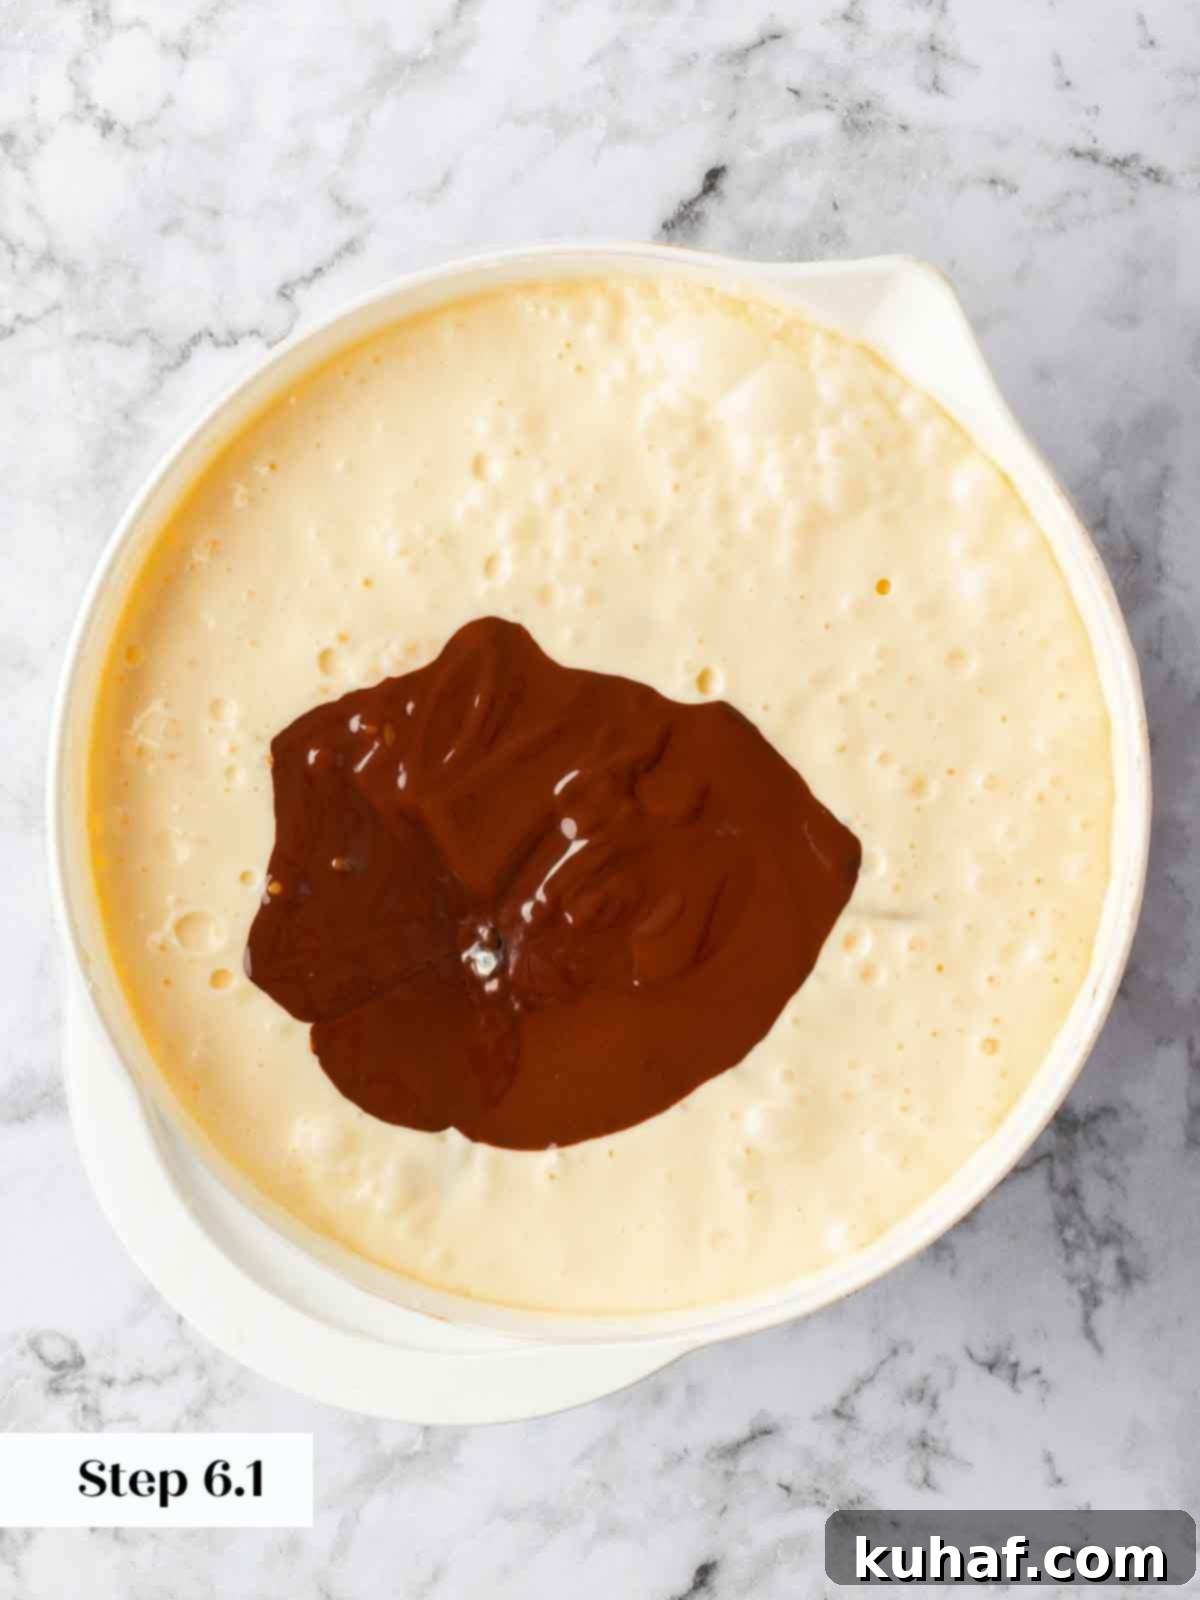
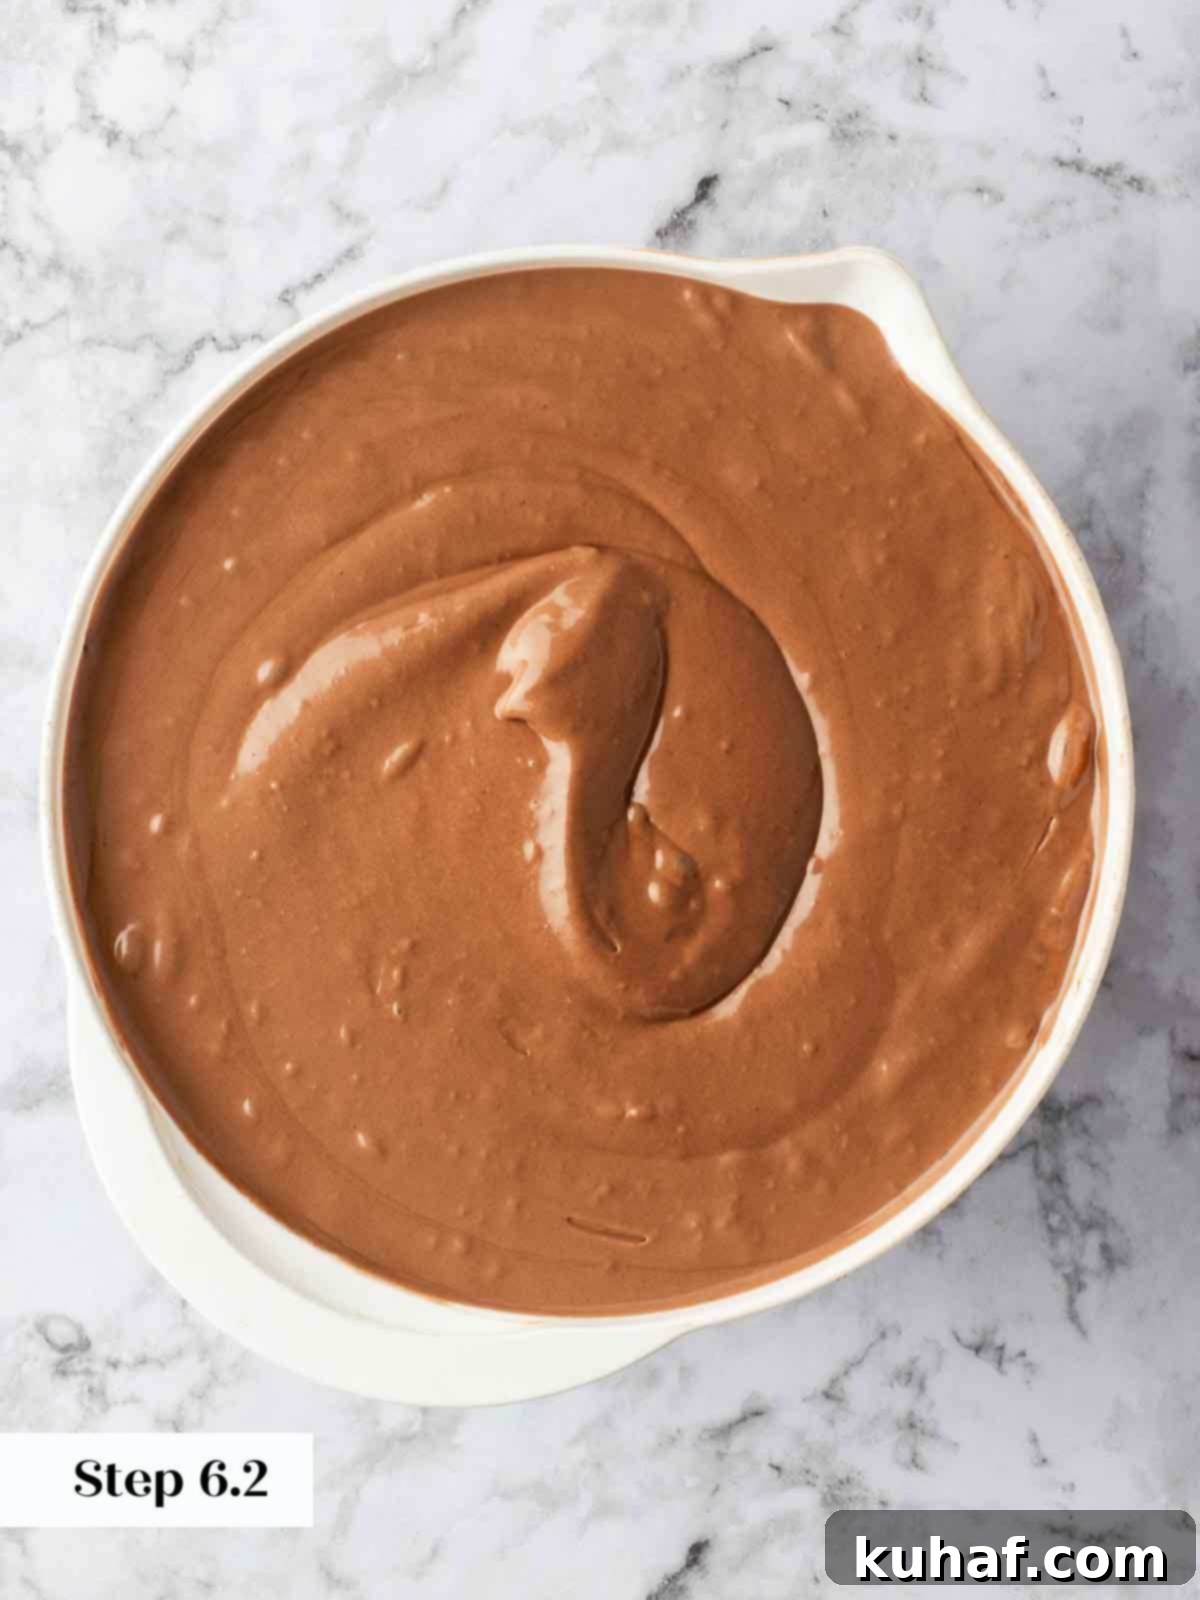
Step 6: Finally, add all of the cooled, melted bittersweet chocolate at once. Beat on low speed until the chocolate is fully incorporated and the batter is a uniform, rich chocolate color. Again, avoid overmixing; blend just until no streaks of white or unmixed chocolate remain.
Baking for Perfection: The Water Bath Method
Step 7: Carefully pour the silky chocolate cheesecake batter into the prepared Oreo crust in the springform pan. Gently tap the pan on the counter a few times to release any trapped air bubbles. Next, place the springform pan into a larger baking dish – a large roasting pan usually works best for accommodating the water bath.
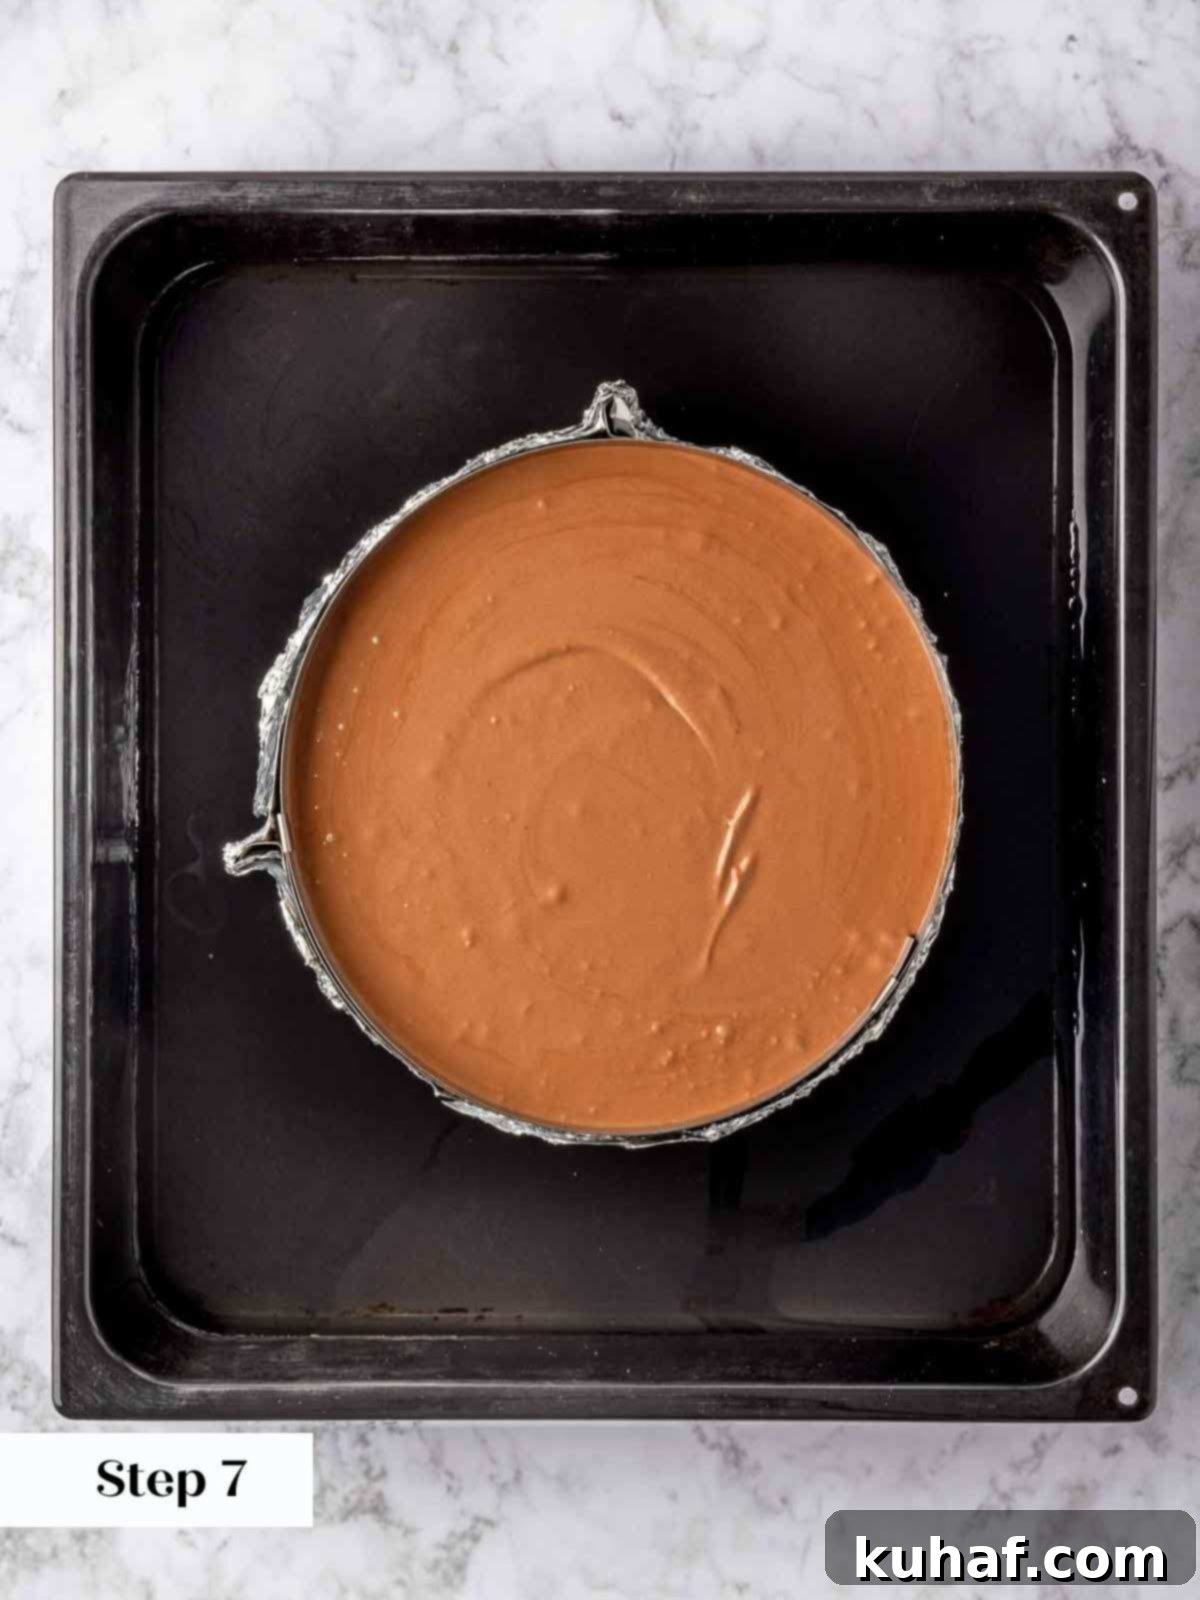
Step 8: Carefully place the large baking pan (with the springform pan nested inside) into the preheated oven. Once it’s securely on the oven rack, pour hot (but not boiling) water into the larger roasting pan, filling it about halfway up the sides of the cheesecake’s springform pan.
Water Bath Wisdom: Pouring the hot water into the pan once it’s already in the oven significantly reduces the risk of accidental water splashes getting into your cheesecake batter!
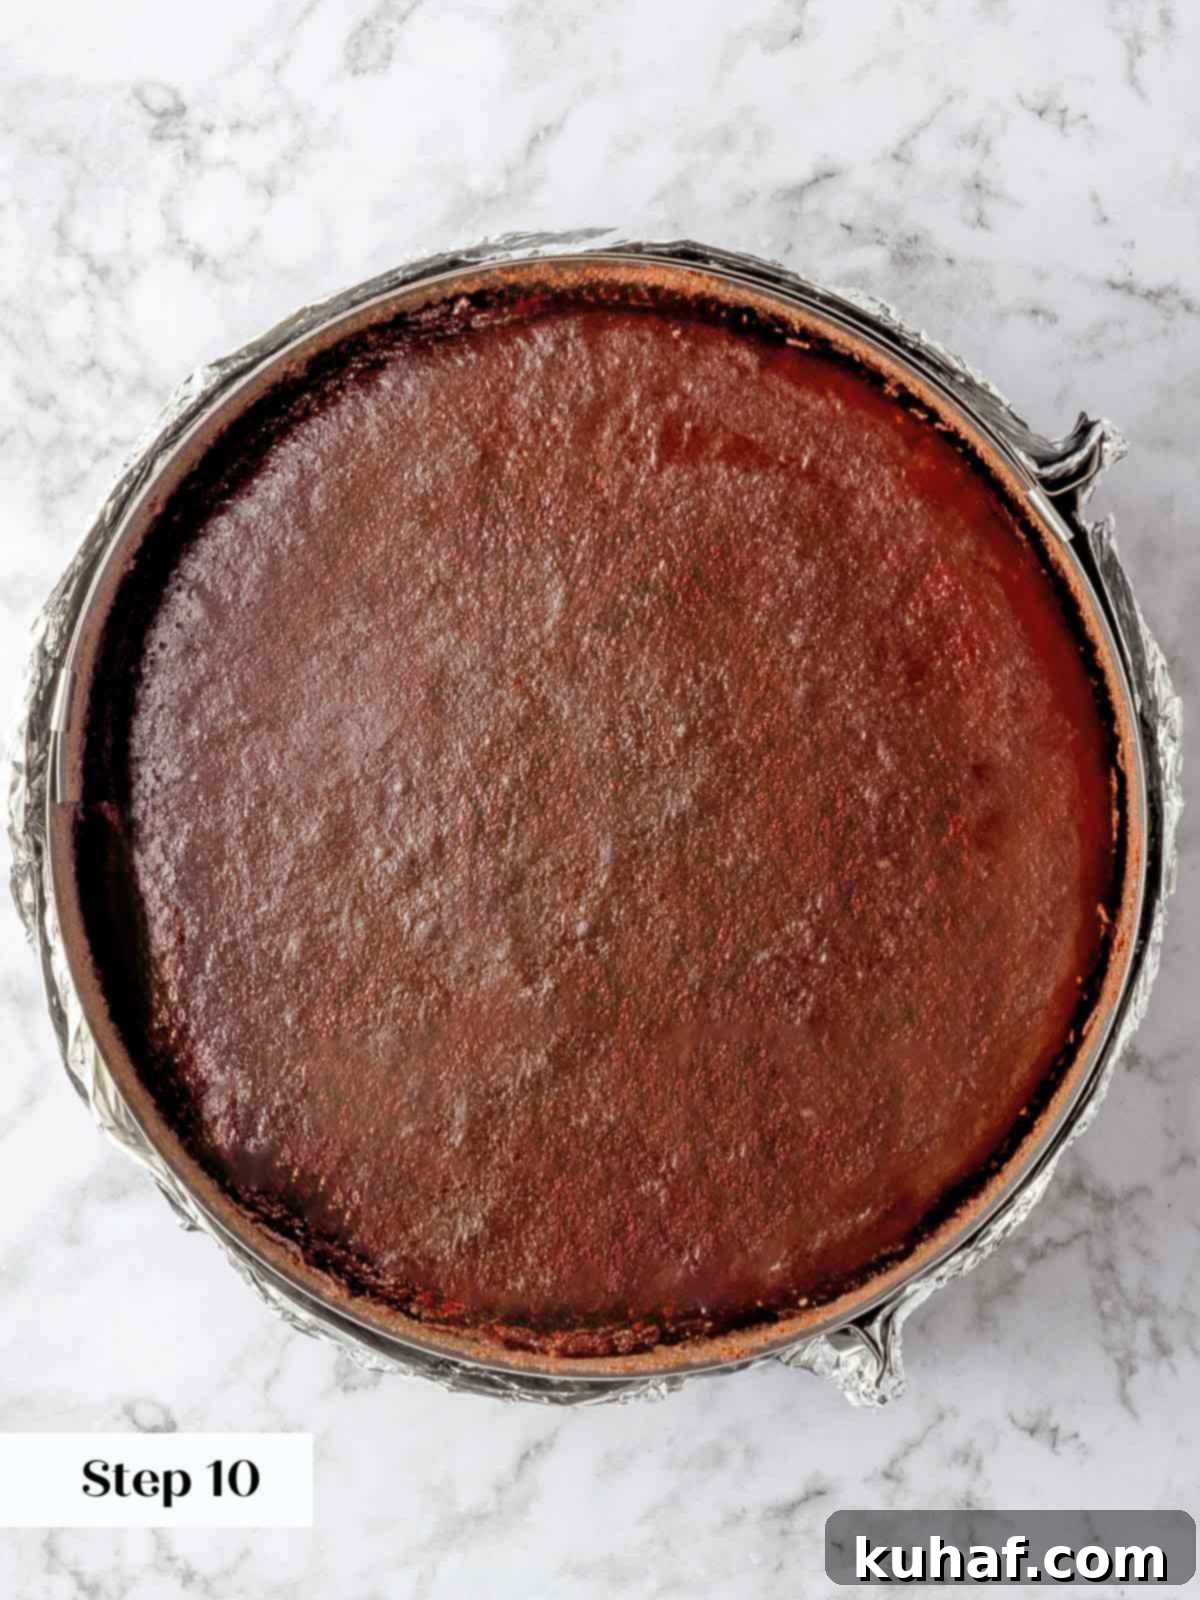
Step 9: Bake in the preheated 325°F (160°C) oven for approximately 1 hour and 40 minutes. The cheesecake is done when the edges appear set, but the very center still has a slight wobble. It should puff up slightly and jiggle like a firm Jell-O, moving as one cohesive unit rather than looking liquid and loose in the middle. This gentle wobble is the key indicator of a perfectly cooked, creamy cheesecake. Overbaking will lead to a dry, cracked cheesecake.
The “Jiggle Test” is Your Friend: Resist the urge to poke your cheesecake with a skewer or knife to test for doneness, as this will almost certainly cause it to crack as it cools. The jiggle test is the most effective and least invasive way to ensure a beautiful, crack-free surface!
Step 10: Once baked, carefully remove the springform pan from the water bath (using oven mitts) and place it on a wire rack to cool completely at room temperature. This gradual cooling is critical for preventing cracks. Once fully cooled, wrap the cheesecake (still in its pan) tightly with plastic wrap before transferring it to the refrigerator.
Step 11: Refrigerate the cheesecake in the pan for a minimum of 2 hours, but ideally overnight. Chilling overnight is highly recommended as it allows the texture to fully set and firm up, resulting in the absolute best New York style density and sliceability. In a typical home refrigerator, 2 hours is often not quite enough for a truly firm set.
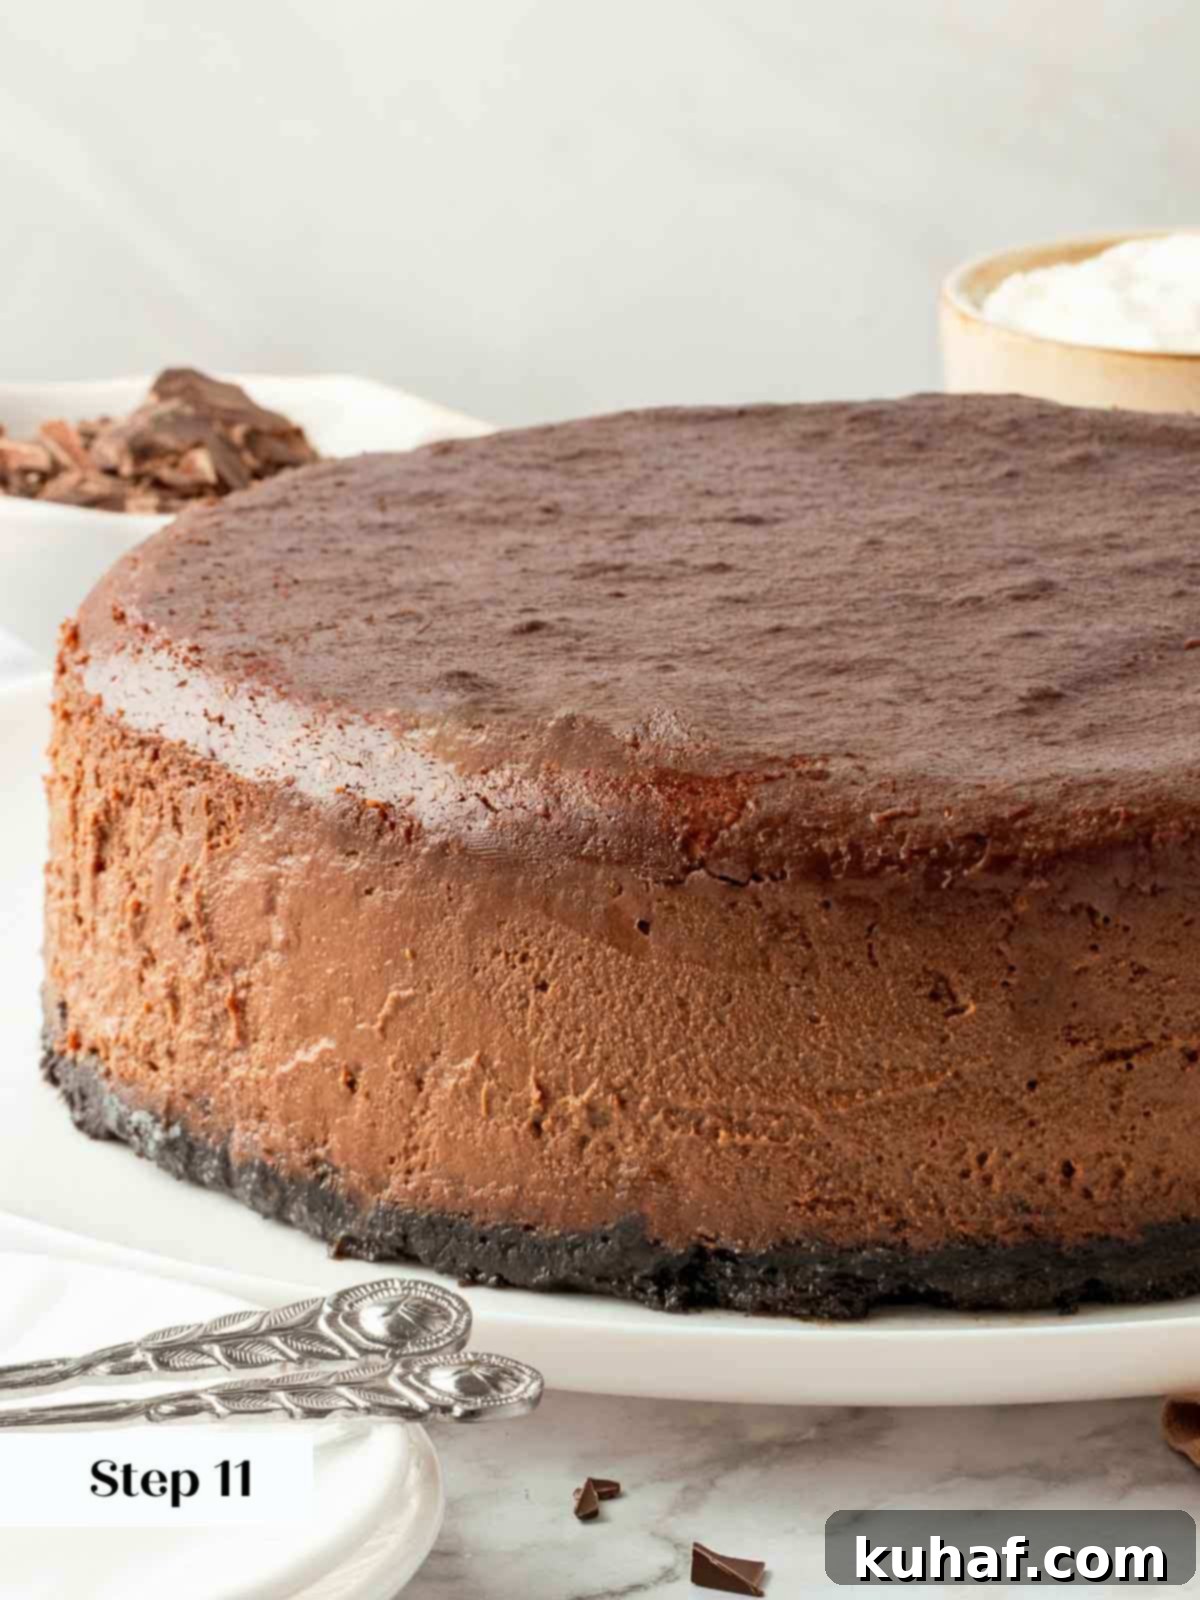
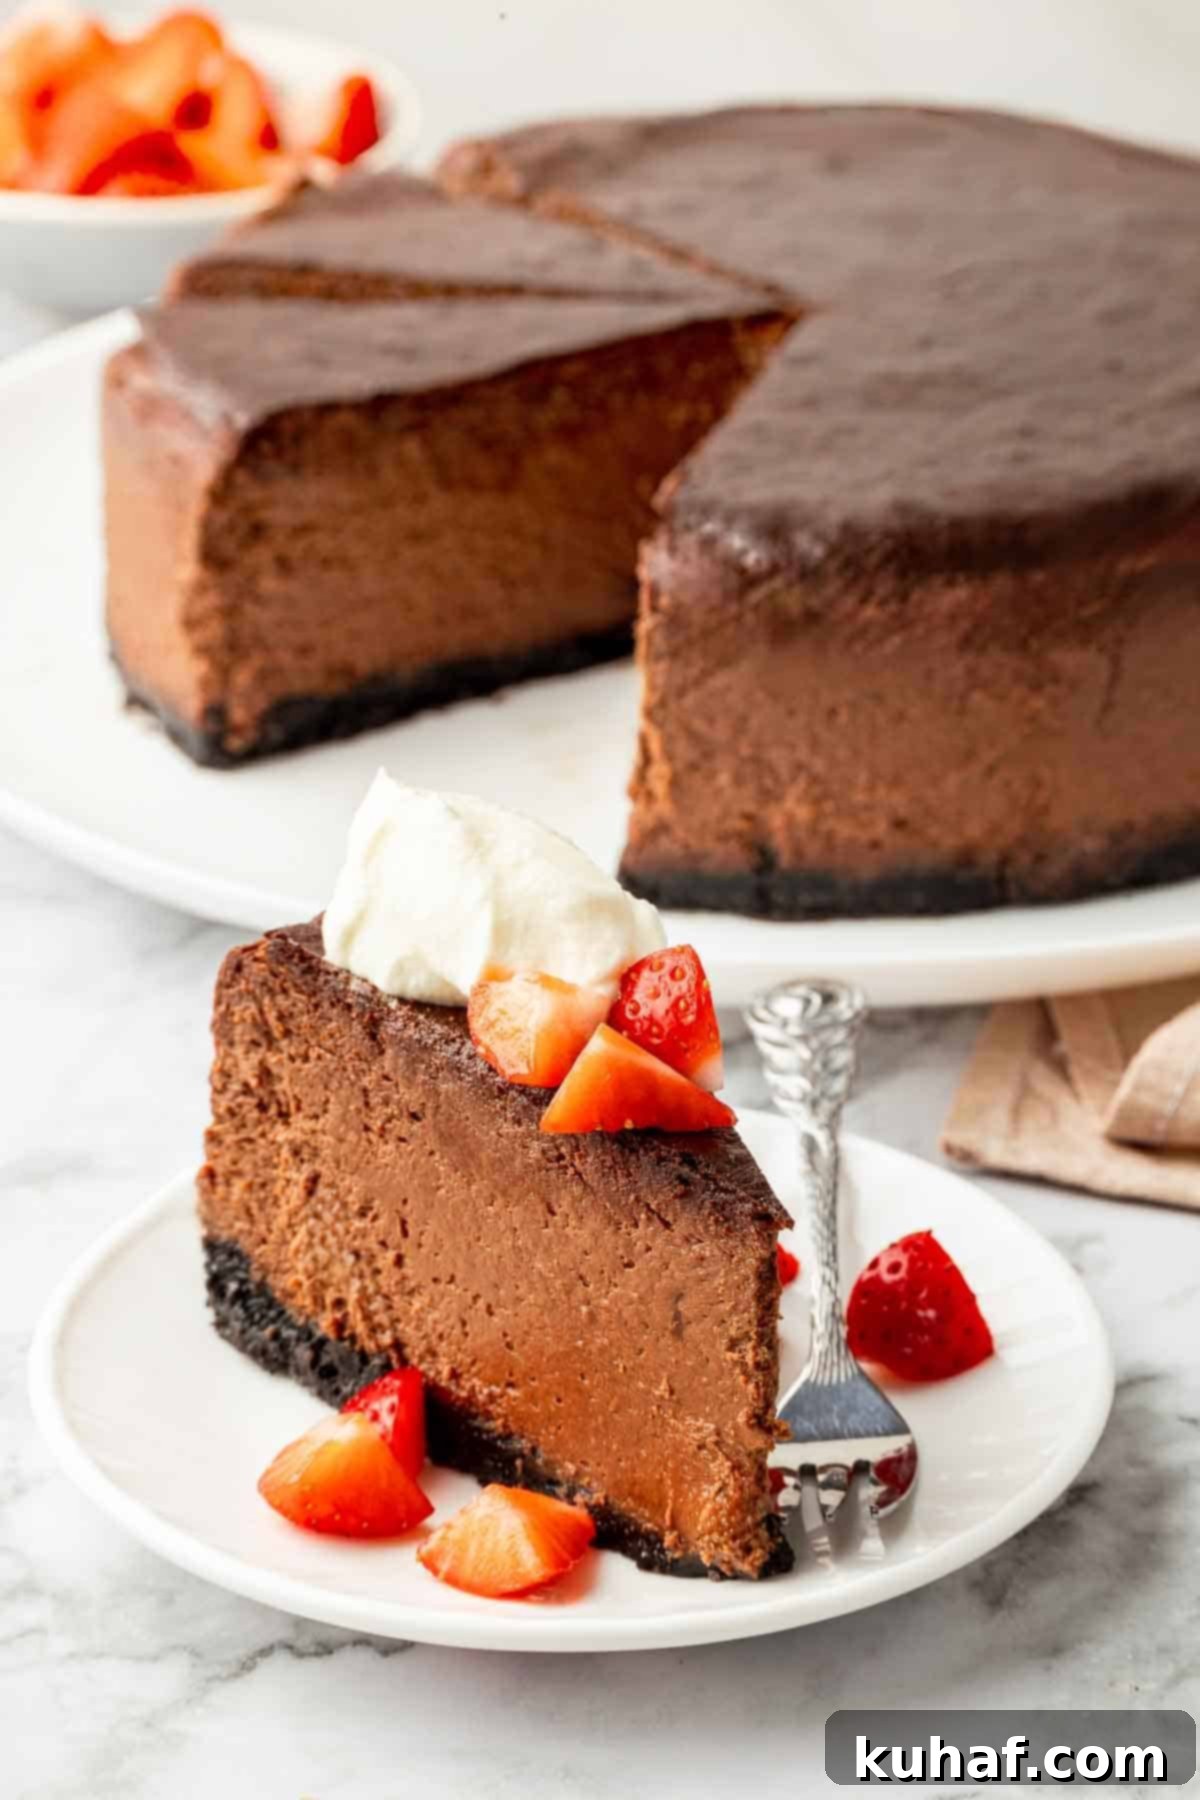
Step 12: Once thoroughly chilled, remove the sides of the springform pan. Serve your magnificent chocolate cheesecake with a generous scattering of fresh berries and perhaps a dollop of crème fraîche or homemade whipped cream. The slight tang from these toppings provides a delightful contrast to the sweet, rich chocolate cheesecake, creating a truly delightful experience.
Chef Lindsey’s Recipe Tip: The Secret to Perfect Slices
For pristine, professional-looking slices of cheesecake every single time, employ this simple yet effective technique: Dip your sharp knife in hot water, wipe it completely clean with a towel, and then make your slice. Repeat this process – dip, wipe, slice – for every single cut. This prevents the cheesecake from sticking to the blade and ensures clean edges, much like when my cooks painstakingly cut tiny 1-inch squares of bite-sized pumpkin cheesecakes back in the day!
Frequently Asked Questions About Chocolate Cheesecake
Once your cheesecake has cooled completely and been chilled, store it well-wrapped in plastic wrap in the refrigerator. It will stay fresh for up to 10 days. For longer storage, cheesecake freezes exceptionally well! Wrap it tightly in plastic wrap, then an additional layer of aluminum foil, and freeze for up to 3 months. To thaw, unwrap the cheesecake before placing it in the refrigerator overnight to prevent condensation buildup. Avoid thawing at room temperature for extended periods, and never in the microwave or oven, as this can compromise its texture.
For the absolute best texture and ease of slicing, it is highly recommended to chill your chocolate cheesecake overnight in the refrigerator. While you can chill it for a minimum of 2-4 hours until it feels firm, its characteristic dense yet creamy texture will be much more developed and set after an extended chill.
New York style cheesecake is renowned for its unique texture: it is simultaneously dense and incredibly light, almost melting in your mouth. This distinct characteristic is achieved through specific techniques and ingredient choices. It typically uses more cream cheese, often includes sour cream or heavy cream, and utilizes a precise mixing method – incorporating room temperature ingredients and beating each egg individually – to create that perfectly smooth, silky, and rich custard-like consistency that defines the New York style.
Cheesecake cracking is a common issue, often caused by rapid temperature changes or overbaking. To prevent cracks, always use a water bath during baking, which provides gentle, even heat and moisture. Ensure you don’t overbake; the center should still have a slight jiggle. Most importantly, allow the cheesecake to cool very gradually – first completely at room temperature, then thoroughly in the refrigerator (preferably overnight) before removing it from the pan.
Absolutely! Cheesecake is an excellent make-ahead dessert. Its flavor and texture often improve after a day or two in the refrigerator, allowing the flavors to meld beautifully. You can prepare and bake it 2-3 days in advance and keep it chilled, well-wrapped, in the refrigerator. For longer preparation, freezing is a fantastic option, as mentioned in the storage section.
If you tried this recipe and absolutely loved it, please take a moment to leave a 🌟 star rating and share your experience in the comments below. Your feedback truly makes my day, and I love hearing from all of you!
Chocolate Cheesecake Recipe
Chef Lindsey
30 minutes
1 hour
40 minutes
2 hours
10 minutes
16
Slices
Saved
Pin Recipe
Comment
Print Recipe
Ingredients
For the Chocolate Cheesecake Filling:
-
32
ounces
full-fat cream cheese
room temperature (4, 8oz packages) -
1
teaspoon
vanilla extract
-
1 ¼
cups
granulated sugar
270g -
3
large eggs
-
1
egg yolk
20g -
¾
cup
sour cream
full fat, room temperature (168g) -
⅔
cup
heavy cream
room temperature -
12.5
oz
60% Chocolate
melted, cooled
For the Crust:
-
22
Oreo cookies
not double stuf, 250g -
4
tablespoons
unsalted butter
melted -
⅛
teaspoon
kosher salt
Instructions
Prepare the crust and pan:
-
Preheat oven to 350°F conventional. Line the bottom of a 9-inch springform pan with parchment or foil. The foil like interior is a pro-tip. Line the outside of the springform pan with aluminum foil. The goal is to ensure no water gets in while the cake is baking. Extra-large sheets of foil work best, but you can overlap 2 pieces of foil and roll them to create a seal. Be sure to roll any excess foil outward or you will just direct the water into your crust. You can watch me do this (and make a chocolate chip version of the cheesecake here).
-
Pulse Oreos in a food processor until fine or just buy Oreo cookie crumbs because it’s 2024. Combine cookie crumbs, melted butter and salt in a bowl. Mix very well with your hand, squeezing to create clumps.
-
Press crust into springform pan. Bake 350°F 10 minutes or until the center looks matte. Remove from the oven and allow to cool. You can pour the batter into a warm crust, if you forget to make this ahead.
Prepare the cheesecake:
-
Reduce oven temperature to 325°F. Melt the chocolate and set aside to cool. You want it to be cool but still melted.
-
In the bowl of a stand mixer fitted with the paddle attachment or in a very large bowl with an electric hand mixer, beat the cream cheese and vanilla extract until silky, creamy and smooth.
-
Add the sugar to the cream cheese and beat until no granules are visible. This will take at least 3 full minutes.
-
Add the eggs one at a time and beat 1 minute after each addition. Set a timer. It matters.
-
Add the sour cream and heavy cream and beat to combine. Start the mixer on low then increase the speed.
-
Add all the melted chocolate at once and beat to combine.
-
Pour into prepared crust I find a large roasting pan works best for the water bath. Place the baking pan with the springform nested inside in the oven, then pour hot (not boiling) water into the roasting pan half way up the sides of the cake pan. This reduces the risk of getting water in your cheesecake before you even start!
-
Bake in preheated oven for 1 hour and 40 minutes or until set but still wobbly. The cake will puff slightly and will jiggle like jello but not look loose in the center. You know how Jello moves in one cohesive unit? It should look like that.
-
Carefully remove the springform pan from the water bath and place on a wire rack to cool completely. Remove the water bath carefully from the oven and pour out.
-
Refrigerate the cheesecake in the pan for at least 2 hours to overnight. Overnight is best because the texture will completely set.
Notes
Presentation – Dip a sharp knife into hot water, wipe clean and slice with every cut for perfect slices.
Technique – The most important tip is to use room temperature ingredients for the best texture.
Variations – Add a swirl, change the crust or bake it in a different sized pan.
Storage – Store cooled cheesecake well wrapped in plastic wrap in the refrigerator for up to 10 days or frozen for up to 3 months. Cheesecake freezes very well, so the freezer is the best option for keeping cheesecake fresh.
Nutrition
Calories:
409
kcal
|
Carbohydrates:
43
g
|
Protein:
13
g
|
Fat:
23
g
|
Saturated Fat:
13
g
|
Polyunsaturated Fat:
1
g
|
Monounsaturated Fat:
7
g
|
Trans Fat:
0.1
g
|
Cholesterol:
75
mg
|
Sodium:
500
mg
|
Potassium:
233
mg
|
Fiber:
3
g
|
Sugar:
34
g
|
Vitamin A:
392
IU
|
Vitamin C:
0.2
mg
|
Calcium:
227
mg
|
Iron:
2
mg
Dessert
American
409
Like this? Leave a comment below!
Before You Go… More Dessert Delights Await!
I sincerely hope you enjoyed creating and savoring this professional chef-approved chocolate cheesecake recipe. Mastery of custards is a journey, and this recipe is a significant step! Don’t stop here – continue exploring my collection of perfect custard recipes, or perhaps try your hand at my famously rich one-bowl brownies or my endlessly popular bakery-style chocolate chip cookies. Happy baking, and enjoy every sweet moment!
