The Ultimate Classic Donut Glaze Recipe: Achieve Perfect Crackle & Sweetness Every Time
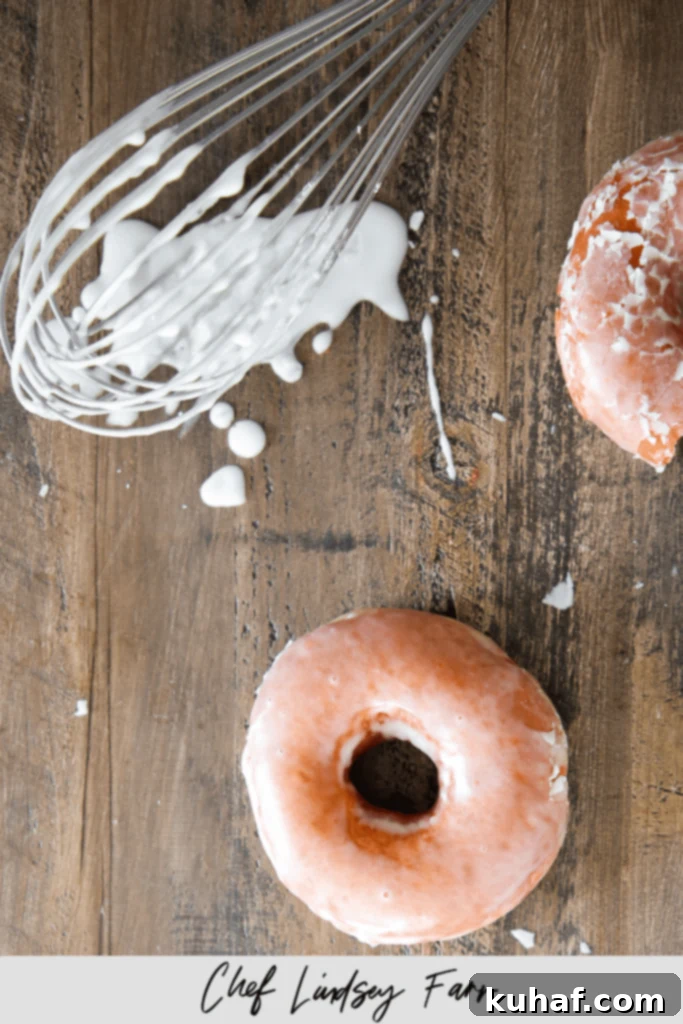
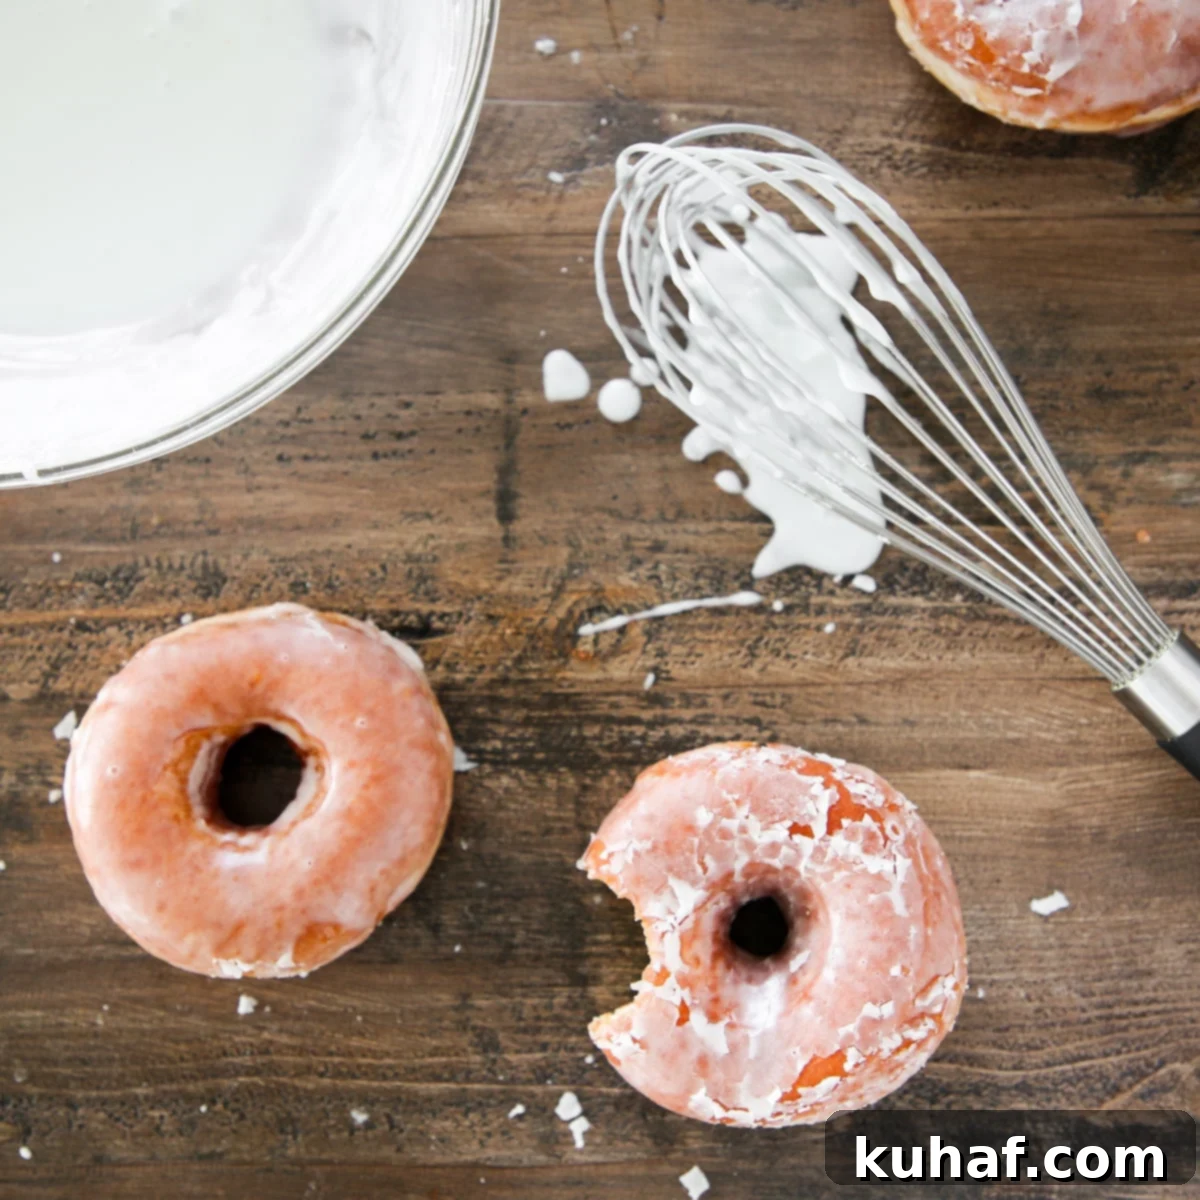
Every homemade donut deserves a phenomenal glaze. This classic Donut Glaze Recipe is meticulously crafted to deliver a thin, beautifully sweet coating that sets with a signature, irresistible crackle. Whether you’re making old-fashioned cake donuts, light and fluffy yeasted donuts, or delicate baked versions, this versatile glaze is your secret weapon. Dive in to discover how to elevate your homemade treats!
As a pastry chef, I’ve had countless “I was so happy I fried” moments, starting with my very first batch of old-fashioned sour cream donuts years ago. My journey into the world of donuts deepened significantly during my time as the Executive Pastry Chef for Iron Chef Marc Forgione. There, I was tasked with creating a unique ‘Donut of the Day’ for our daily dessert specials – a challenge that quickly turned into a passion. These donuts became a runaway hit, pushing me to develop over 150 unique donut recipes!
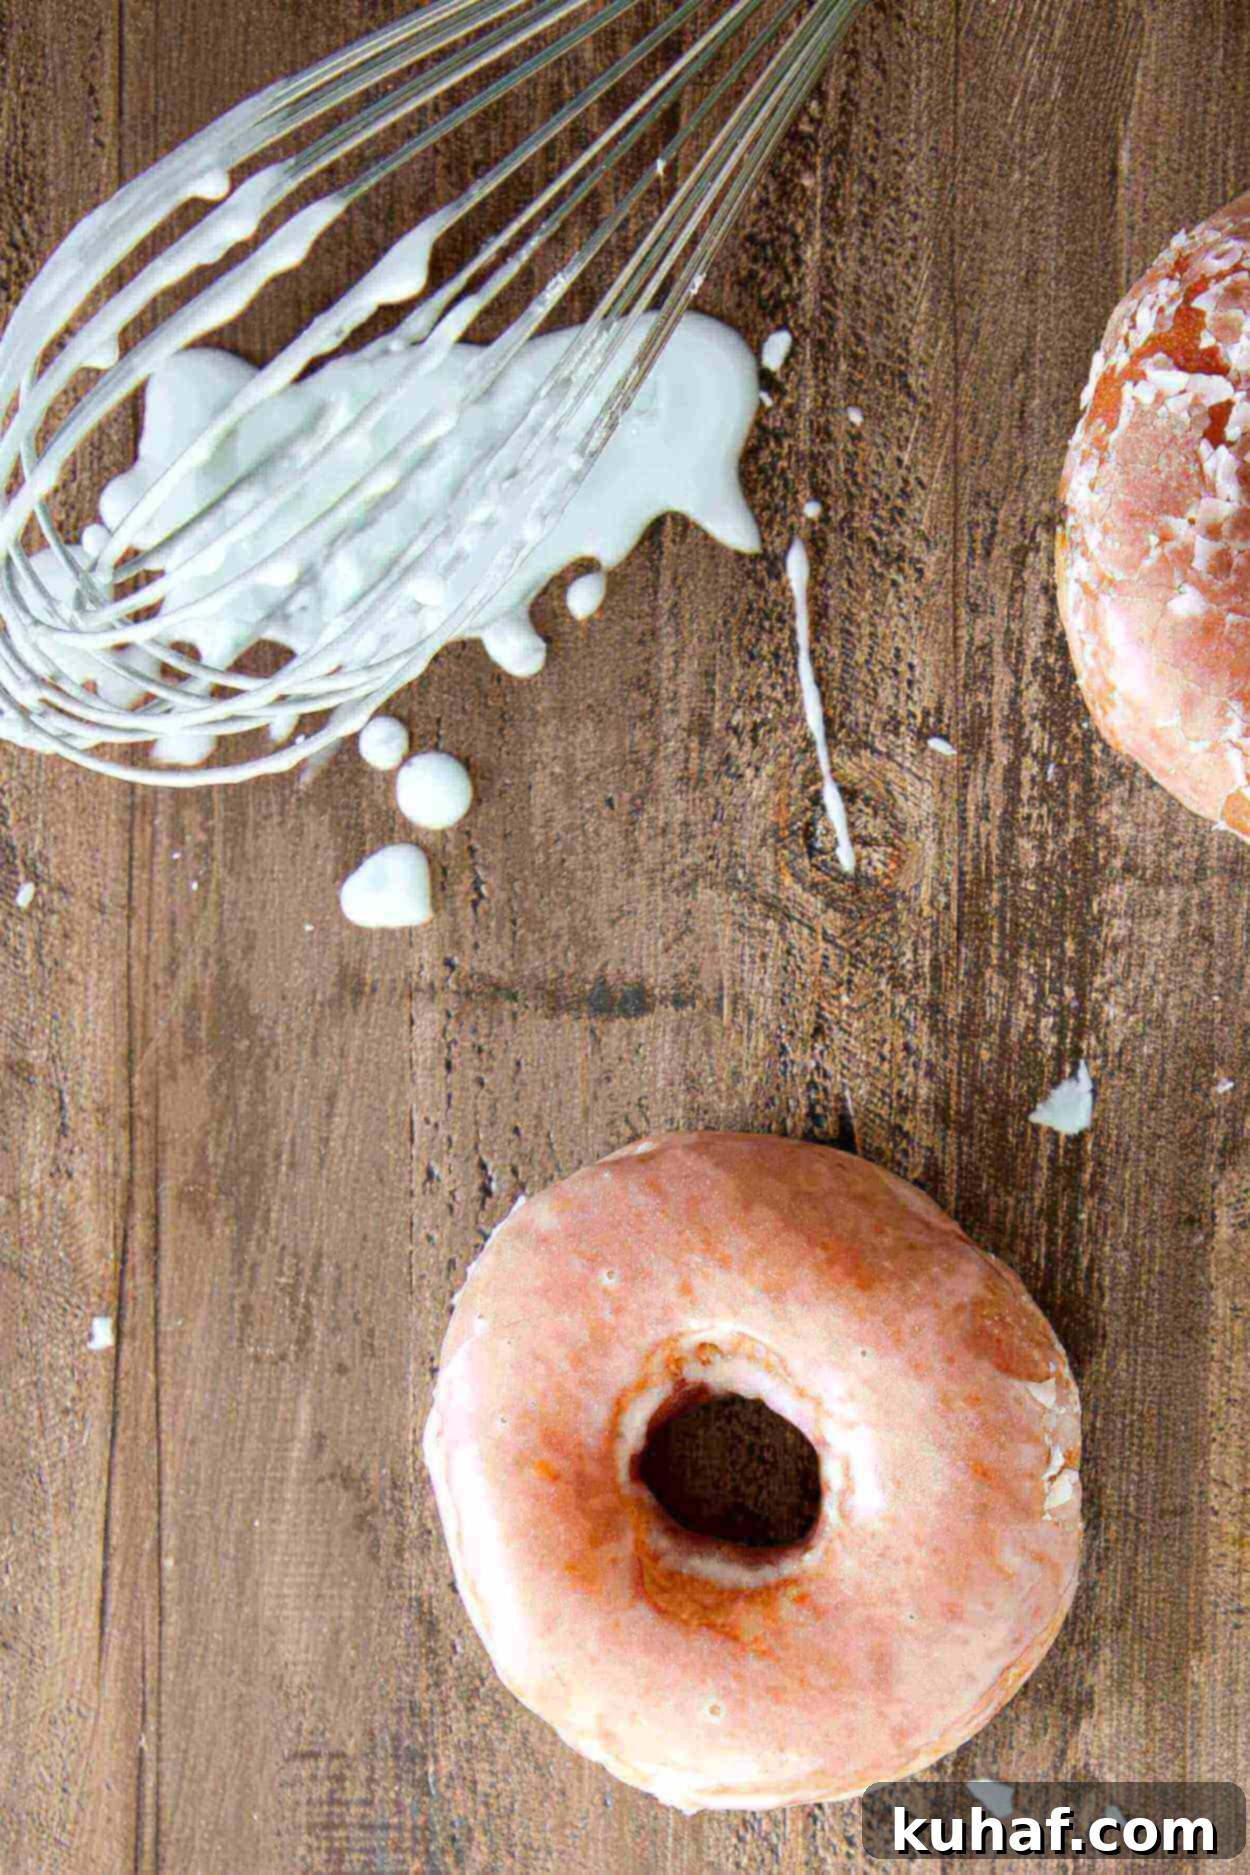
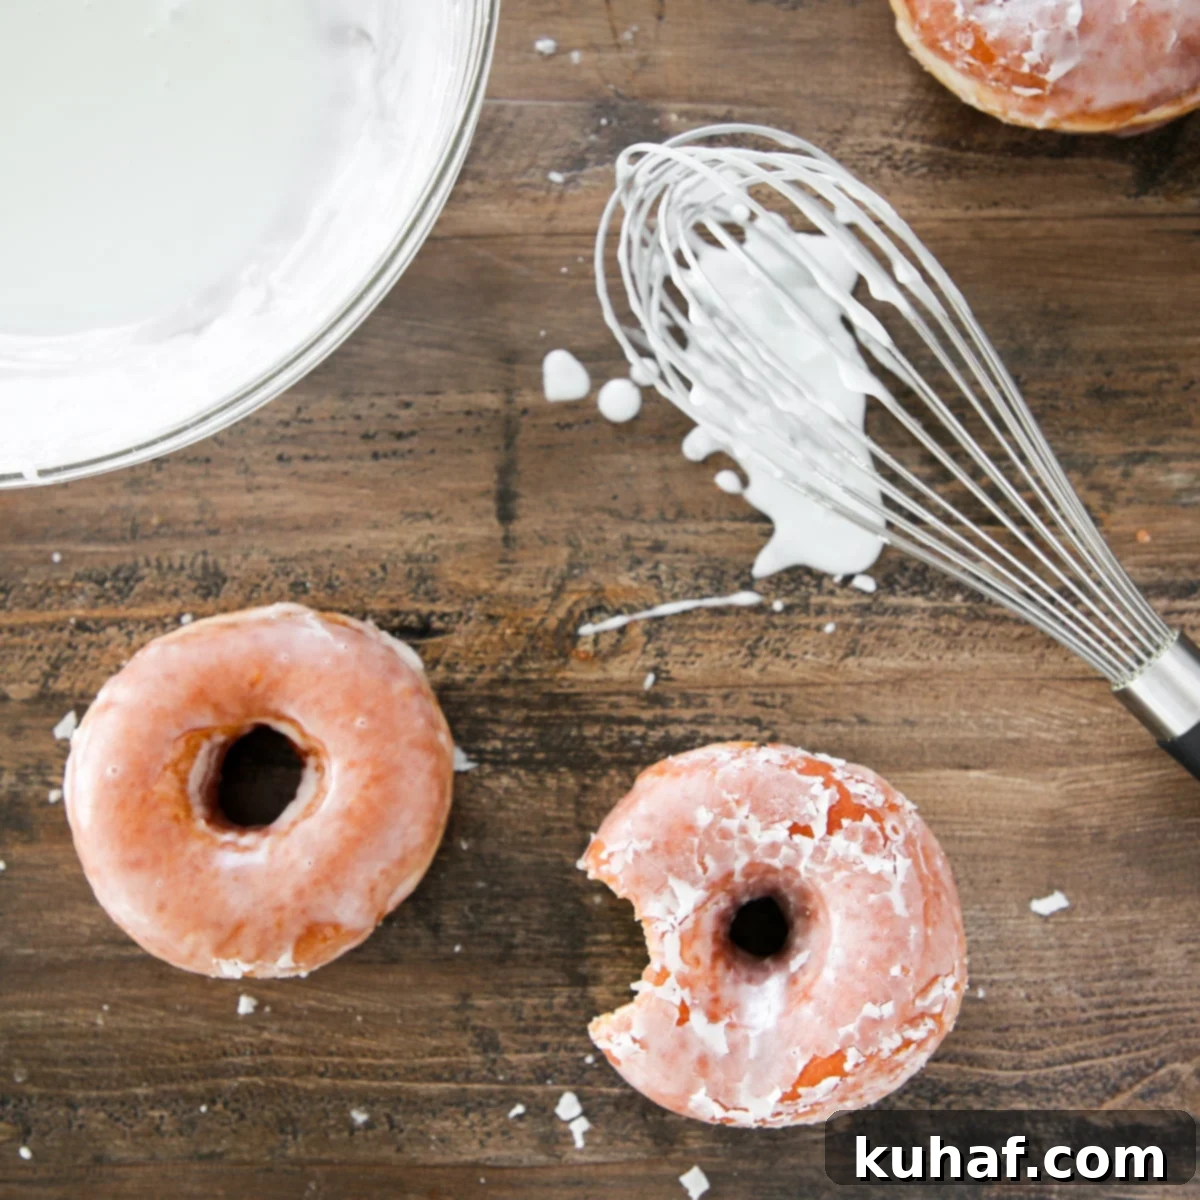
But while the donuts themselves are varied, the foundation for their deliciousness often lies in a superb glaze. Out of my ten unique base glaze recipes, this classic version stands out as my absolute favorite. I dedicated over five years to meticulously developing and refining this particular glaze recipe to achieve the perfect balance of taste, texture, and the highly coveted crackle consistency! For this post, I’ve proudly photographed my Krispy Kreme Copycat Donuts, beautifully enrobed in this very glaze, to show you just how spectacular it is.
Table of Contents
- Why You Will Love This Donut Glaze Recipe
- Professional Tips for Frying & Glazing Homemade Donuts
- The Simple Yet Essential Ingredients for Your Glaze
- Creative Variations to Customize Your Glaze
- How to Make the Perfect Classic Donut Glaze
- Chef Lindsey’s Recipe Tip
- How to Pair the Right Donuts with the Right Glaze
- Frequently Asked Questions About Donut Glaze
- Classic Donut Glaze Recipe Card
- Before You Go!
Why You Will Love This Donut Glaze Recipe: The Secret to Perfect Homemade Donuts
This isn’t just another donut glaze; it’s a game-changer for your home baking. Here’s why this recipe will become your go-to:
- Achieves Balanced Sweetness, Never Cloying: Many glazes can be overwhelmingly sweet, masking the flavor of the donut itself. This recipe is designed to perfectly temper the sweetness, providing just the right amount of sugary finish that complements, rather than overpowers, your favorite doughnuts. It enhances the overall flavor profile without leaving an artificial aftertaste, making each bite a delightful experience.
- The Glaze Creates the Ultimate Crackle and Shine: Remember that slightly hardened, glossy shell that shatters delicately when you bite into a perfect donut or cruller? That coveted texture is precisely what this glaze delivers! It dries quickly to form a beautiful, thin, and slightly crispy layer that adds an incredible textural contrast to the soft interior of your donut. This isn’t merely aesthetic; it’s a sensory delight that elevates your donuts from good to extraordinary.
- Unmatched Versatility Beyond Donuts: While it’s undeniably perfect for all types of donuts – fried, baked, yeasted, or cake – this recipe’s adaptability knows no bounds. It’s also an ideal glaze for enhancing the flavor and appearance of cakes, muffins, scones, and even certain pastries. Furthermore, its neutral vanilla base makes it incredibly easy to customize with different flavorings, allowing you to perfectly match it to any dessert’s specific profile for the best possible culinary pairing.
Professional Tips for Frying & Glazing Homemade Donuts: Master the Art
Glazing might seem simple, but a few professional techniques can make all the difference in achieving that bakery-quality finish. Pay attention to these insights from years of experience:
- Dip Donuts While Still Warm (But Not Hot): The ideal moment to glaze your donuts is when they are still warm to the touch, but not piping hot directly out of the oil. This warmth allows the glaze to melt slightly upon contact, adhering better and forming a thinner, more even coating. If they’re too hot, the glaze might run off too quickly; if too cold, it won’t absorb as well. You can use chopsticks or a slotted spoon for this step, but honestly, I often use my (clean!) fingers for the best feel and control. Always keep an eye on your fry oil temperature with a thermometer, and exercise extreme caution when working with hot oil. After dipping, place your golden brown donuts on a cooling rack set over parchment-lined baking sheets or paper towels. This setup catches any excess oil and dripping glaze, preventing a soggy bottom and ensuring the glaze sets perfectly while the donut remains crispy.
- Alternatively, Gently Warm Your Glaze: For a smoother, more fluid consistency that coats delicate donuts without tearing them, consider warming your glaze slightly. This makes it much easier to work with, especially for lighter, airier donut varieties. The best method for warming glaze is a double boiler (or bain-marie). Simply place your bowl of glaze over a pot with a shallow level of simmering water, ensuring the bottom of the glaze bowl doesn’t touch the water. Stir gently until the glaze reaches a slightly warmer, more pourable consistency.
- Allow Ample Time for Setting: Patience is key here. While the glaze will begin to set within about 10 minutes at room temperature, it won’t fully harden and achieve that signature crackle until the donut itself has completely cooled. Rushing this step can lead to a sticky, uneven glaze. Allow them to rest undisturbed on the cooling racks until they are fully set and ready to enjoy.
- Double Dip for an Extra Thick & Crunchy Layer: If you prefer a more substantial, crunchy glaze, or if you’re working with denser cake donuts that can handle it, consider a double dip. Wait until your first layer of glaze has fully set (usually 10-15 minutes), then dip the donuts again. This professional trick creates an extra thick, satisfyingly crunchy layer that’s particularly delightful on cake donuts, such as my Chocolate Cake Donuts.
The Simple Yet Essential Ingredients for Your Classic Donut Glaze
The beauty of this classic donut glaze lies in its simplicity. You only need a few pantry staples, but understanding the role of each is key to achieving perfection:
- Whole Milk: I specifically recommend using whole milk for this recipe. Its higher fat content contributes to a richer flavor and a smoother, more luxurious mouthfeel in the finished glaze. Furthermore, whole milk has a lower water content compared to skim or low-fat varieties, which is advantageous for glazes as it helps prevent them from becoming too thin and ensures they set properly. If you’re looking for a vegan alternative, simply substitute whole milk with your favorite plant-based milk (almond or oat milk works well), though the final texture might vary slightly.
- Kosher Salt: A pinch of salt might seem counterintuitive in a sweet glaze, but it’s absolutely crucial. Kosher salt acts as a flavor enhancer, balancing the sweetness of the confectioner’s sugar and bringing out the nuanced flavors of the vanilla. It prevents the glaze from tasting one-dimensionally sweet and adds a subtle depth that makes the glaze truly irresistible.
- Confectioner’s Sugar (Powdered Sugar): This is the star ingredient that provides both the sweetness and the structure for our glaze. Confectioner’s sugar, also known as powdered sugar, is finely ground granulated sugar mixed with a small amount of cornstarch. The fine grind allows it to dissolve easily, creating that silky, smooth texture we crave, while the cornstarch helps prevent clumping and aids in the glaze’s ability to set and harden with that perfect crackle. Remember, powdered sugar is sweeter by volume and weight than granulated sugar, so a light hand when adjusting consistency is always recommended.
- Vanilla Extract: The addition of vanilla extract is more than just a flavor note; it’s essential for rounding out the glaze. High-quality vanilla extract adds a beautiful, aromatic warmth that pairs exquisitely with the milk, evoking a comforting, almost ice cream-like richness. It’s the subtle backbone of the glaze’s classic appeal.
Refer to the recipe card below for precise measurements and quantities.
Creative Variations to Customize Your Classic Donut Glaze
While the classic vanilla glaze is perfect as is, it also serves as an excellent base for endless flavor experimentation. Here are some of my favorite ways to customize it:
- Aromatic Coffee Glaze: For coffee lovers, transform your glaze by adding 1 tablespoon of high-quality espresso powder to the milk before mixing. The espresso powder will dissolve and infuse the glaze with a rich, deep coffee flavor. For an even more pronounced coffee kick, consider adding a few drops of coffee extract or a small amount of unsweetened cocoa powder to create a mocha-inspired glaze. This pairs wonderfully with chocolate or plain cake donuts.
- Sweet & Tangy Fruit Variations: Fruit glazes add a burst of freshness. For sweeter fruits like peaches, substitute peach juice for the milk in the recipe, and add a squeeze of juice from half a lemon to provide a bright, balancing tartness. Alternatively, to use jam as your flavoring, first reserve ¼ cup of the milk from the original recipe. Then, add your desired jam (such as strawberry jam, concord grape, raspberry, etc.) to the remaining ingredients and whisk until completely smooth. Gradually incorporate the reserved ¼ cup of milk, a little at a time, until the glaze reaches your desired smooth, drippy consistency. This method ensures you have control over the final texture while infusing delicious fruit flavor.
- Warm & Spicy Glaze Options: Embrace the cozy flavors of spices! You can easily blend in a pumpkin spice mix to complement seasonal treats like pumpkin donuts. Beyond pumpkin spice, feel free to experiment with other beloved spices such as cinnamon, cardamom, nutmeg, or even a hint of ground ginger. These spices add warmth and complexity, transforming a simple glaze into something truly special.
How to Make the Perfect Classic Donut Glaze: Step-by-Step Guide
Creating this delicious, crackle-finish donut glaze is surprisingly simple. Follow these straightforward instructions for a perfect batch every time. You’ll also find further details and precise measurements in the comprehensive recipe card below.
Step 1: Prepare Your Glaze Mixture
Chef’s Tip: If your powdered sugar is prone to lumps or has been sitting for a while, it’s highly recommended to sift it prior to adding it to your mixture. This ensures a perfectly smooth, lump-free glaze.
In a medium-sized bowl (I find this size helps contain any potential mess and keeps my kitchen cleaner!), combine all the ingredients: whole milk, kosher salt, confectioner’s sugar, and vanilla extract. Begin whisking vigorously from the center outwards, gradually incorporating all the powdered sugar and other ingredients. Continue whisking until the mixture is completely smooth, free of lumps, and has a consistent, pourable texture. Remember to scrape down the sides of the bowl with a spatula periodically to ensure everything is fully combined.
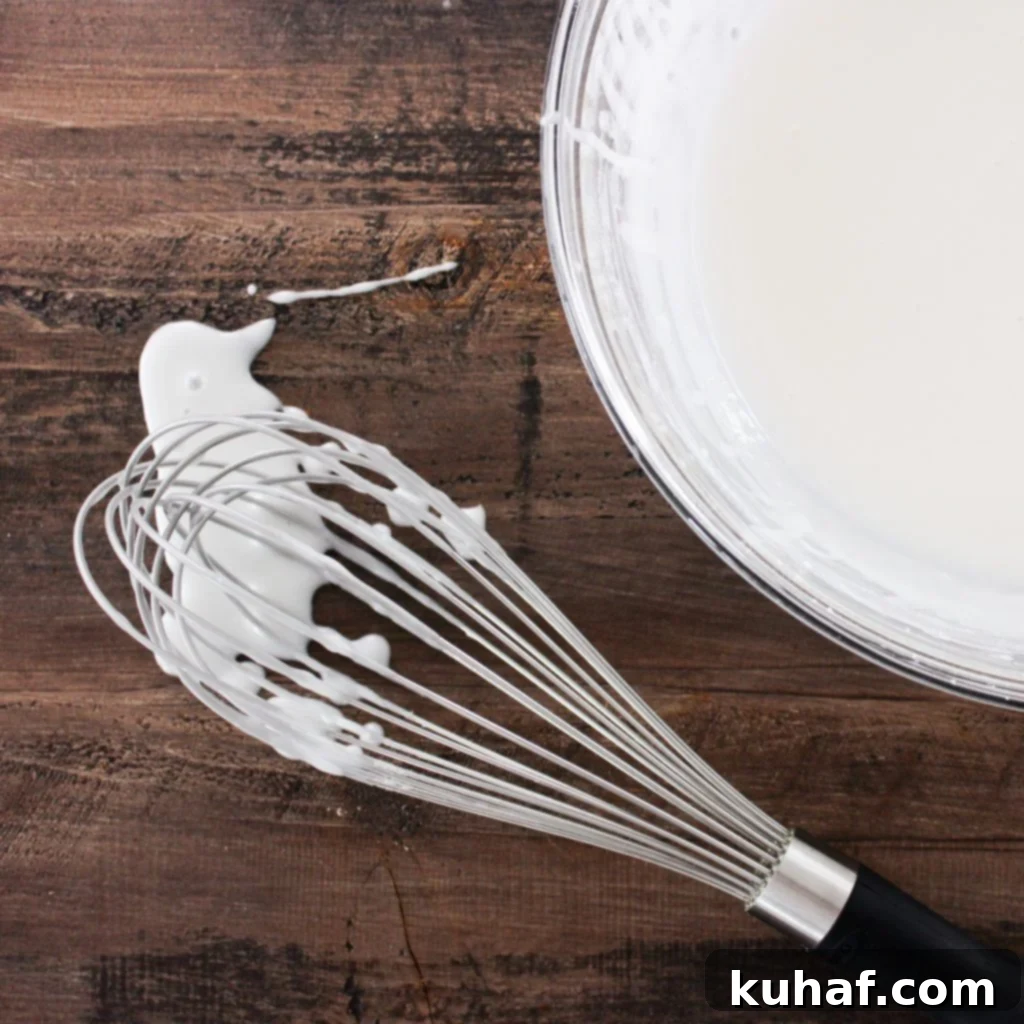
Crucial Consistency Check: As you add your flavoring (if making a variation) or simply whisk, pay close attention to the glaze consistency. You want it thin enough to coat a donut evenly and drip off smoothly, but not so runny that it becomes transparent or doesn’t set. Conversely, if it’s too stiff, it will clump and be difficult to work with. Aim for a consistency similar to warm honey or thin pancake batter.
Step 2: Store or Prepare for Glazing Your Donuts
If you’re not ready to glaze immediately, cover the surface of the glaze directly with plastic wrap. Press the plastic wrap gently onto the surface of the glaze to prevent a “skin” or film from forming as it sits. You can store the covered glaze in the refrigerator for later use. However, remember that glazes are typically easier to use at a slightly warmer temperature. So, if using chilled glaze, either dip warm donuts into it or gently warm the glaze itself (using the double boiler method mentioned in our professional tips) prior to use.
Re-whisk Before Use: If the glaze has been stored or sitting for a while, it can sometimes solidify slightly. A quick, vigorous whisk before dipping your donuts will break up any film or minor solidification and restore its smooth, pourable consistency.
Step 3: Glaze and Set Your Donuts
Take your still-warm donuts and dip them, one by one, into the prepared glaze. Allow any excess glaze to drip off for a second or two, then place the glazed donuts onto wire cooling racks. It’s highly beneficial to place parchment paper or paper towels underneath your wire racks to catch any glaze that occasionally drips down as it sets. This keeps your countertop clean and ensures the bottoms of your donuts don’t become sticky. Allow the donuts to set completely at room temperature, which usually takes about 10-20 minutes, depending on ambient humidity and temperature, and whether you double-dipped.
Chef Lindsey’s Recipe Tip: Don’t Be Afraid to Adjust!
You truly cannot go wrong with this versatile donut glaze recipe. If your glaze appears too thin after mixing, simply whisk in a tablespoon or two more of confectioner’s sugar until you achieve the desired thickness. Conversely, if it’s too thick, add half a teaspoon of milk at a time until it reaches a smooth, pourable consistency. If you’ve opted for a flavored variation and it’s not quite potent enough for your taste, don’t hesitate to add a little more jam, spices, or juice until it’s perfect. Trust your instincts and adjust to your preference!
How to Pair the Right Donuts with the Right Glaze: Flavor Harmony
For me, pastry is always about balance. The right glaze pairing can transform an ordinary donut into an extraordinary culinary experience. Here are some of my favorite flavor duos that create perfect harmony:
- Peach Donuts & Bourbon Donut Icing: The sweet, juicy notes of peach find a sophisticated partner in the caramel and woody undertones of bourbon, creating a truly elegant dessert.
- Strawberry Lemon Cake Donuts & Cardamom Glaze: The bright acidity of lemon and the sweet burst of strawberry are beautifully complemented by the warm, slightly floral, and spicy notes of cardamom, adding an exotic twist.
- Pumpkin Spice Cake Donuts & Apple Glaze: A match made in autumn heaven! The classic fall flavors of pumpkin and warming spices are enhanced by a crisp, sweet apple glaze, reminiscent of a perfect apple pie.
- Sour Cream Cake Donuts & Vanilla Glaze (for Classic Glazed donuts!): The slight tang and richness of sour cream donuts are perfectly balanced by the timeless simplicity and creamy sweetness of a classic vanilla glaze. This is the quintessential glazed donut experience!
- Krispy Kreme Copycat Donuts & Chocolate Glaze: The light, airy texture of a yeasted Krispy Kreme-style donut is taken to another level with a smooth, rich chocolate glaze, offering a decadent yet familiar indulgence.
Frequently Asked Questions About Donut Glaze
Leftover donut glaze can be stored in an airtight, clean container in the refrigerator for up to 2 weeks. For even longer storage, you can freeze the glaze for up to 3 months. When ready to use, thaw in the refrigerator overnight and then gently warm it to a pourable consistency if needed. Note that freezing fried glazed donuts is generally not ideal, as the texture can degrade upon thawing, but the glaze itself freezes beautifully.
While they share similar ingredients, the primary difference between icing and glaze lies in their consistency and application. Icing is typically much thicker and opaque, designed to be spread onto baked goods with a spoon or spatula. Glaze, on the other hand, is thinner, often translucent, and fluid enough to be poured or dipped. It forms a delicate, sometimes crackly, coating. A key factor is fat content: while heavy cream might be used to thin icing, its high-fat content would make a glaze too thick and prevent it from hardening correctly.
The secret to a hardening and crackling donut glaze is powdered sugar (confectioner’s sugar) and its cornstarch content. As the water (from the milk/liquid) evaporates, the sugar molecules recrystallize, forming a solid, crisp shell. The small amount of cornstarch in powdered sugar also helps stabilize this process and contributes to the crackle. Glaze will not harden effectively if it is too thin (too much liquid) or if it contains too much fat (like heavy cream), which prevents proper sugar crystallization. If your glaze is too runny, simply add more powdered sugar until the desired consistency is achieved.
Absolutely! This donut glaze recipe is incredibly forgiving and scales up beautifully. You can easily make as large a batch as you require for your donut-making endeavors. Your only limitation will be the capacity of your mixing bowl or stand mixer.
If you tried this professional chef-tested recipe and loved it, please leave a 🌟 star rating and let me know how it goes in the comments below. I love hearing from you; your comments make my day and help other bakers discover this amazing glaze!
Classic Donut Glaze
Chef Lindsey
5 minutes
5 minutes
12
Donuts
Saved
Pin Recipe
Comment
Print Recipe
Ingredients
-
13
tablespoons
whole milk
-
1
teaspoon
kosher salt
-
4
cups
confectioner’s sugar
(approx. 1, 1lb box) -
1
teaspoon
vanilla extract
Instructions
-
Whisk together all ingredients in a medium bowl until completely smooth and free of lumps. Scrape down the sides of the bowl as needed to ensure all ingredients are fully incorporated.
-
If not glazing immediately, cover the surface of the glaze directly with plastic wrap to prevent a film from forming. You can store it in the fridge, but remember that a slightly warmer temperature makes it easier to use. Warm chilled glaze gently using a double boiler before use.
-
Dip your still-warm donuts into the glaze, allowing any excess to drip off. Place them on cooling racks, ideally set over parchment paper, to catch drips and allow the glaze to set completely.
Video Tutorial
Notes
Storage – Store excess glaze in an airtight, clean container in the refrigerator for up to 2 weeks, or freeze for up to 3 months.
Nutrition
Calories:
154
kcal
|
Carbohydrates:
38
g
|
Protein:
1
g
|
Fat:
1
g
|
Saturated Fat:
1
g
|
Polyunsaturated Fat:
1
g
|
Monounsaturated Fat:
1
g
|
Cholesterol:
1
mg
|
Sodium:
198
mg
|
Potassium:
15
mg
|
Sugar:
37
g
|
Vitamin A:
15
IU
|
Calcium:
12
mg
|
Iron:
1
mg
Breakfast, Dessert
American
154
Like this? Leave a comment below!
Before You Go! Explore More Delicious Recipes
I genuinely hope you enjoyed mastering this professional chef-tested classic donut glaze recipe. It’s truly a foundational element for incredible homemade treats. If you’re eager to continue your baking journey, be sure to check out our other delicious, chef-developed donut recipes for more inspiration. Or, for a truly unique and comforting breakfast or dessert experience, don’t miss my indulgent Donut Bread Pudding! Happy baking!
