Pâte Sucrée: Master the Essential Sweet Tart Dough Recipe for Flawless Pastries
Pâte Sucrée is a cornerstone of French patisserie, an incredibly versatile sweet pie dough that is both buttery and rich, with a delicate, lightly sweetened flavor. This easy-to-follow recipe, featuring just 5 essential ingredients, is prepared using the creaming method, much like classic cookie dough. It yields a perfectly tender and crisp crust, making it the ideal foundation for crafting exquisite sweet tarts, comforting pies, delicate mini tartlets, or elegant individual pastries that will impress every time.
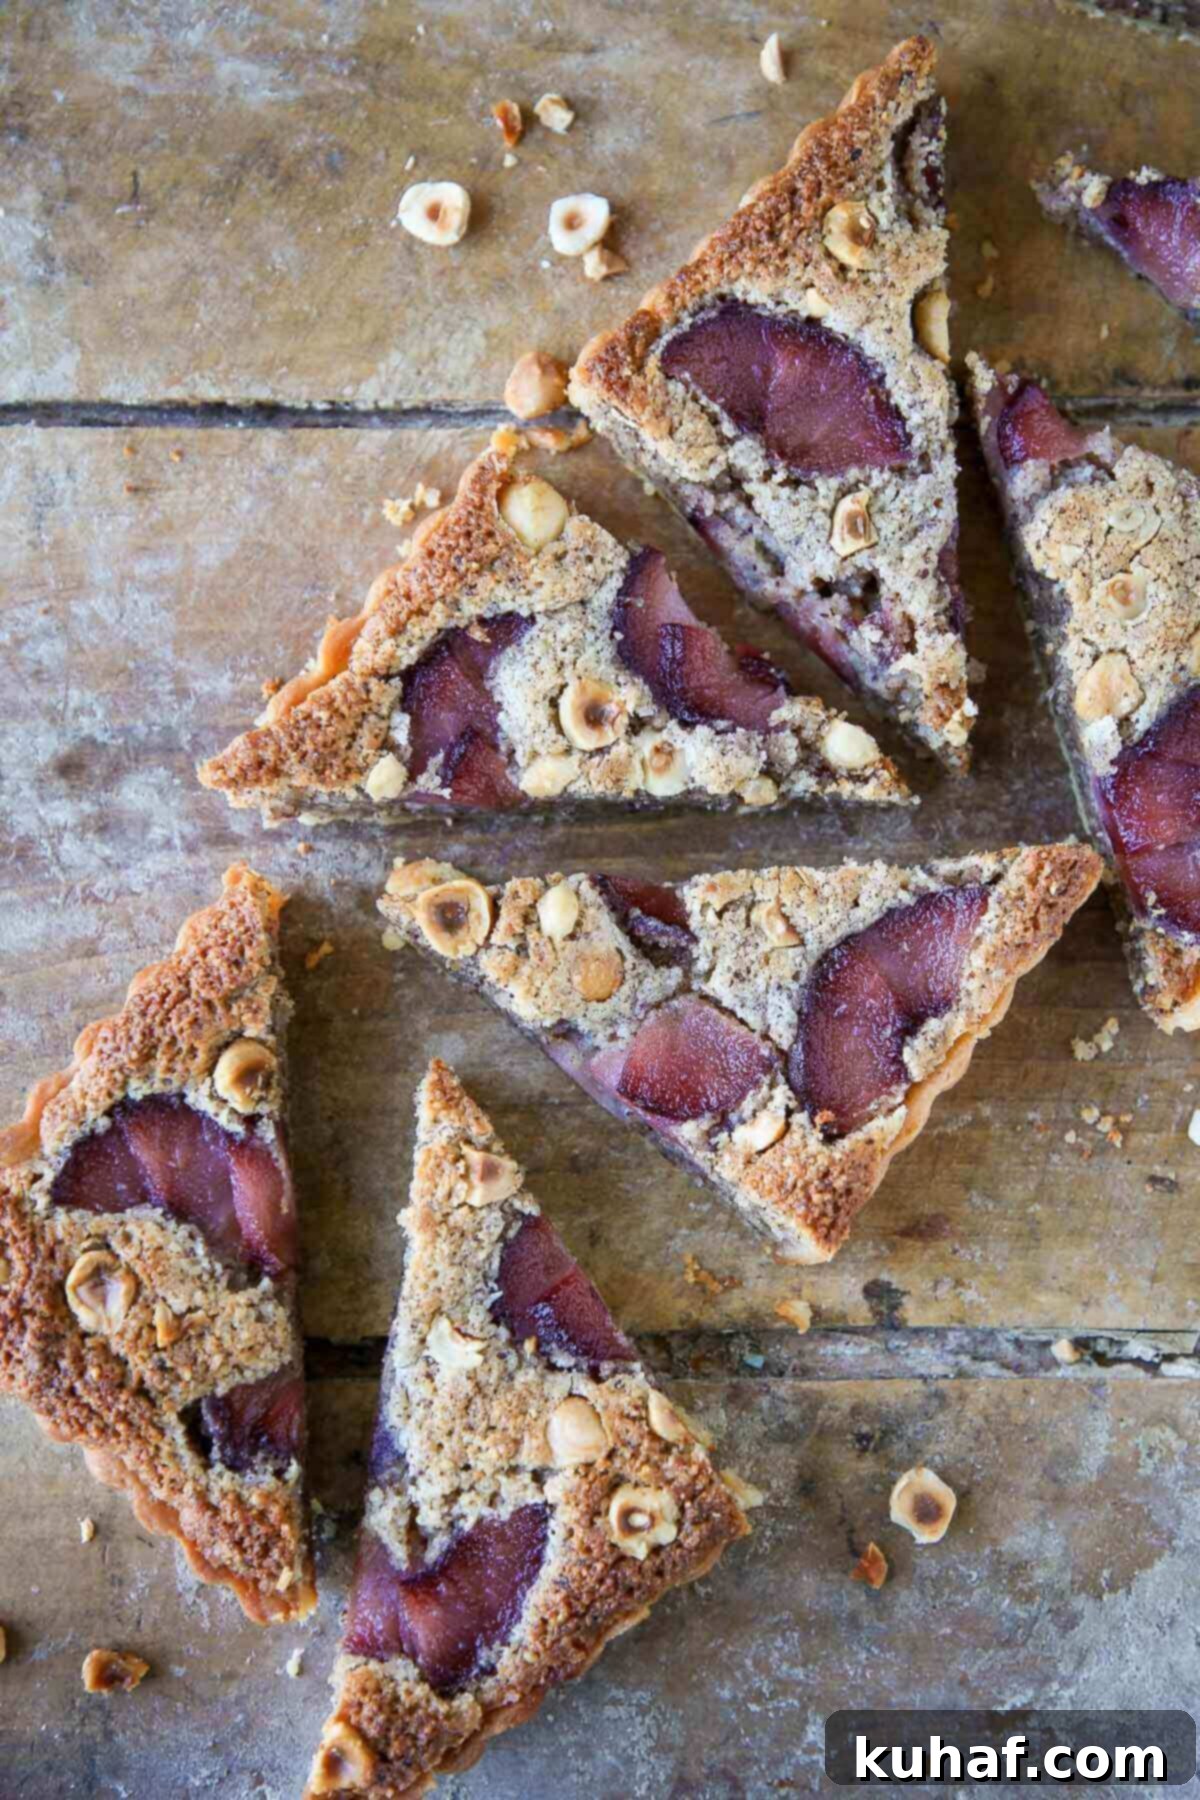
Beyond its primary use as a pastry crust, Pâte Sucrée is so delightful it can even be enjoyed as a simple, crisp cookie when baked on its own! Its rich, tender texture makes it a superior choice for a vast array of sweet applications. Consider it the elegant crust for a creamy classic banana cream pie or a bright, tangy lemon meringue pie. For those seeking sophisticated desserts, fill this exquisite dough with luxurious almond cream, fragrant frangipane, or rich hazelnut cream, then top with seasonal fruit to create masterpieces like a vibrant cherry almond tart or a comforting hazelnut pear tart. The possibilities for delicious creations are truly endless!
The term “Pâte Sucrée” is French for “sweet pastry,” and it offers a distinct advantage over more traditional, savory pie crusts like all-butter pie crust (pâte brisée) or even specialty crusts like vodka pie crust and Crisco pie crust. Unlike these, Pâte Sucrée is specifically formulated to be sturdy yet tender, holding its shape beautifully and resisting sogginess, making it impeccably suited for wet fillings. This particular recipe is for a pure Pâte Sucrée, meaning it contains no almond flour, allowing the classic buttery, sweet flavor to shine through. If you desire the additional nutty flavor and unique texture that almond flour provides, I highly recommend trying my dedicated recipes for almond tart crust or almond flour pie crust, which are specifically formulated for that delightful addition.
Table of Contents
- Why This Pâte Sucrée Recipe Stands Out
- Professional Tips for Making Perfect Pâte Sucrée
- Essential Ingredients & Smart Substitutions
- Exciting Possible Variations for Your Pâte Sucrée
- Step-by-Step Guide: How to Make Pâte Sucrée Like a Pro
- The Art of Blind Baking Your Sweet Tart Crust
- Chef Lindsey’s Expert Recipe Tip
- Frequently Asked Questions About Pâte Sucrée
- Pâte Sucrée Recipe
- Before You Go: Continue Your Baking Journey
Why This Pâte Sucrée Recipe Stands Out
This isn’t just another pastry recipe; it’s a meticulously developed Pâte Sucrée that consistently delivers superior results for both home bakers and seasoned chefs. Here’s why this recipe is truly exceptional and will become your go-to sweet tart dough:
- Unparalleled Tender, Delicate, and Perfectly Sweet Texture: This professional-grade recipe consistently yields a crust that is wonderfully tender, exquisitely crisp, and subtly sweetened. The unique combination of ingredients and the creaming method ensures a pastry that practically melts in your mouth. It provides the perfect delicate counterpoint to any sweet filling without ever being overly rich or cloying. Moreover, its inherent stability allows it to hold its elegant structure, making it ideal for beautiful presentations.
- Effortless Mixing — Just Like Cookie Dough!: Bid farewell to the common frustrations often associated with traditional pie crusts, which typically demand cold butter and careful, painstaking cutting techniques. This Pâte Sucrée is conveniently mixed using the creaming method, mirroring the simplicity of preparing your favorite cookie dough. This technique not only makes the entire process incredibly straightforward but also remarkably forgiving, significantly minimizing the risk of overworking the dough and developing undesirable gluten. The result is a delightfully easy preparation that even novice bakers can master with joy.
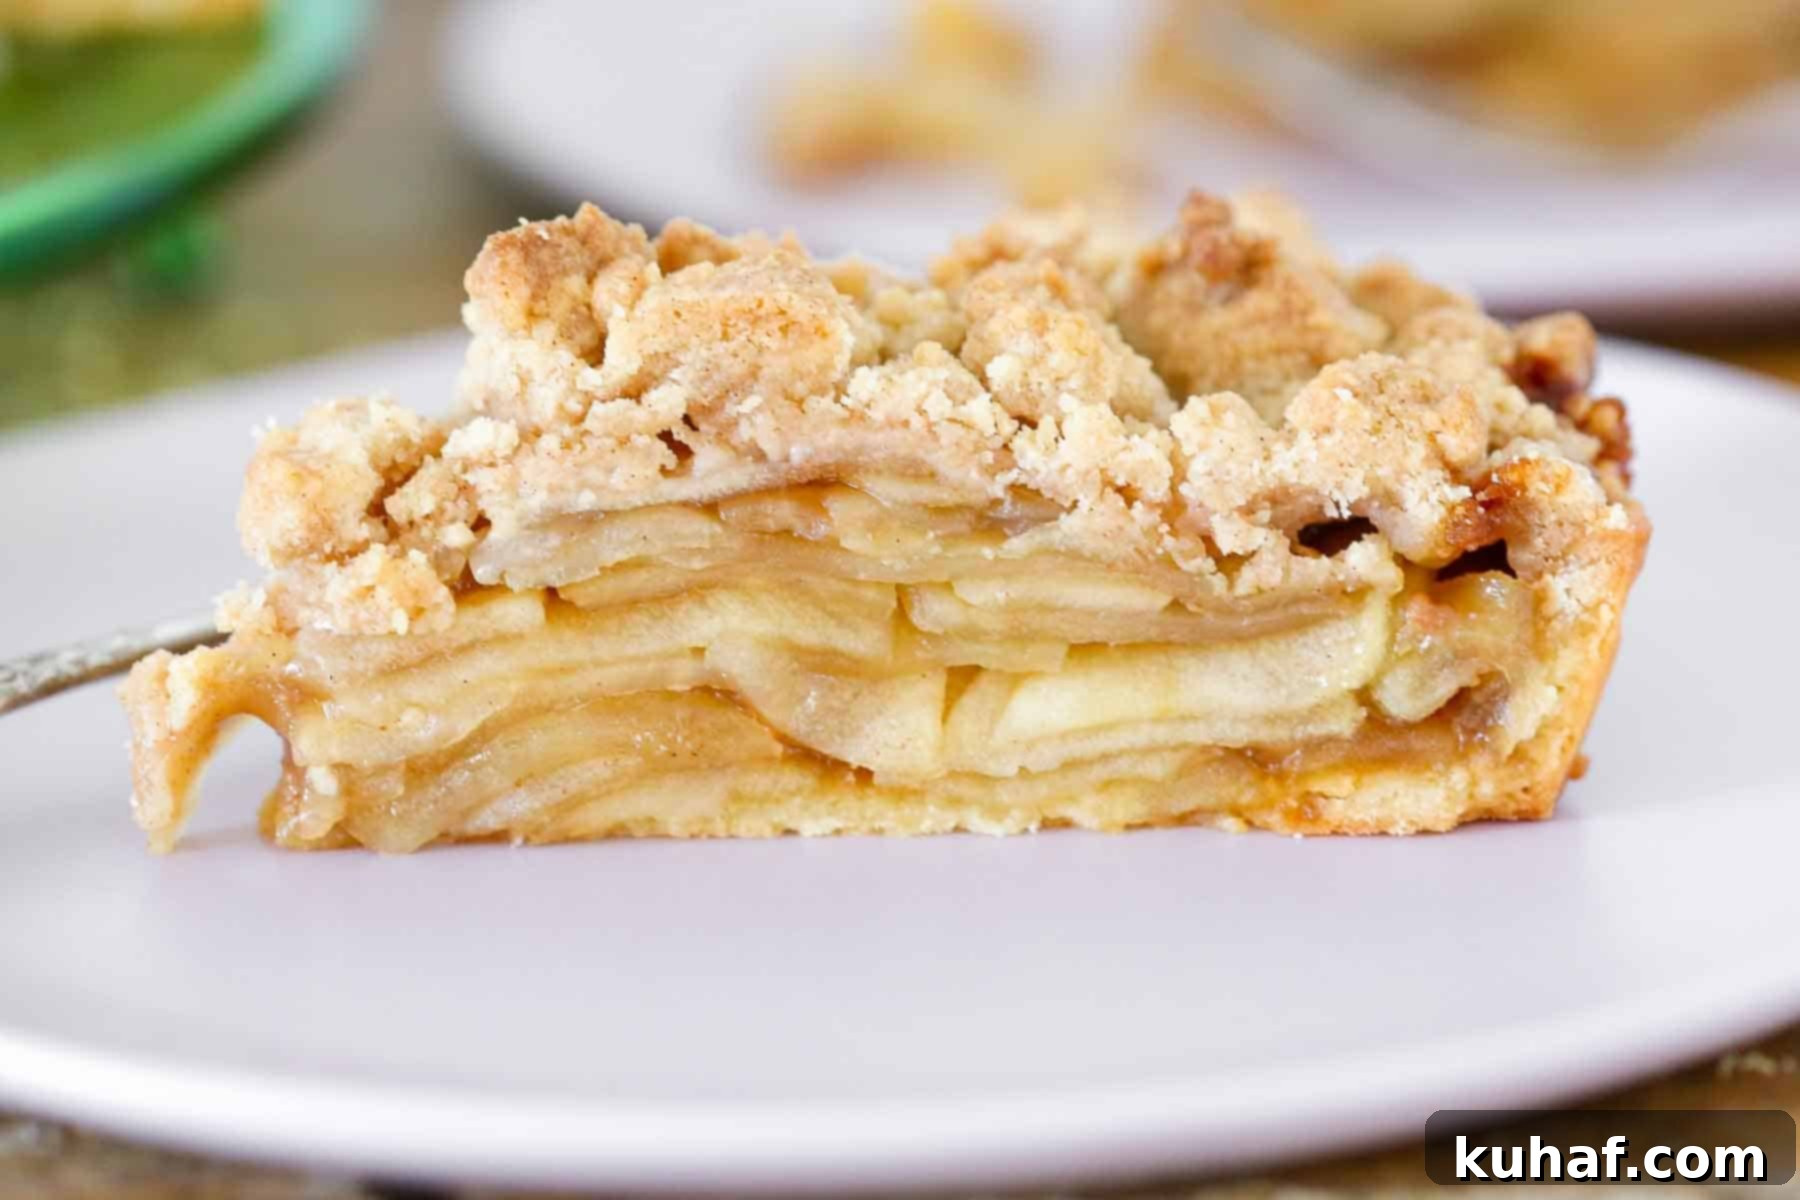
- Incredibly Versatile for Tarts, Pies, Tartlets, and More!: This easy-to-handle dough boasts exceptional versatility, solidifying its status as a go-to base for a vast array of sweet baked goods. Whether your culinary ambition is to create simple yet decadent chocolate tarts, brimming with luscious chocolate ganache, or to craft an impressive, elegant caramel apple tart crowned with a cinnamon streusel topping, this Pâte Sucrée forms the perfect, stable, and delicious foundation. Its robust nature also makes it fantastic for individual pastries, fruit tarts, and even decorative cookie-like elements that enhance any dessert platter.
- A Time-Tested Recipe from a Professional Pastry Chef: This particular sweet dough recipe is far more than just an experimental creation; it is a robust, highly reliable formula that I, as a professional pastry chef, have meticulously developed and faithfully relied upon countless times throughout my extensive career in bustling restaurants and esteemed artisan bakeries. Its consistent, high-quality performance and undeniably delicious outcome have solidified its reputation as a trusted staple, ensuring that you can confidently achieve professional-level results right in the comfort of your own kitchen.
Professional Tips for Making Perfect Pâte Sucrée
Achieving a truly exceptional Pâte Sucrée is all about understanding and applying a few key techniques. These professional tips will guide you to a flawless, tender, and delicious pastry crust every single time:
- Always Use Room Temperature Butter & Eggs: This is arguably the most crucial tip for Pâte Sucrée. Properly softened butter is significantly easier to cream with powdered sugar, creating a smooth, airy, and well-aerated base. When butter is cold, it won’t emulsify properly with the sugar, leading to a lumpy and uneven mixture that lacks the desired texture. Similarly, room temperature eggs incorporate much more smoothly and evenly into the butter-sugar mixture. Cold eggs, when added, will cause the softened butter to seize and harden, making it nearly impossible to achieve a proper emulsion, which is absolutely vital for the dough’s ultimate tender and delicate crumb structure. Plan ahead and take your butter and eggs out of the refrigerator at least an hour before you intend to start baking.
- Sift the Powdered Sugar – No Exceptions!: I know, I know. It’s often tempting to skip the sifting step, but trust me, for Pâte Sucrée, it is truly essential. Even finely milled powdered sugar can contain small, stubborn lumps that will not fully dissolve during the mixing process. Sifting ensures that your dough is completely smooth, homogenous, and utterly free of any gritty bits, directly contributing to that delicate, refined texture that Pâte Sucrée is so renowned for. A quick sift takes mere moments but makes a world of difference in the final quality of your crust!
- Mix Just Until a Cohesive Dough Forms (Avoid Overmixing): Patience and keen observation are absolutely key when you begin incorporating the dry ingredients. Initially, the mixture will appear crumbly and may even seem like it will never come together into a unified dough. Resist the powerful urge to keep mixing excessively. Instead, stay close to your mixer and watch the dough carefully. The precise moment the dry ingredients are fully incorporated and a cohesive, smooth dough forms around the paddle, stop mixing immediately. Overmixing is the enemy of tender pastry, as it rapidly develops gluten, which is desirable in bread but disastrous for delicate pastry. Excessive gluten will lead to a tough, chewy crust rather than the desired tender, delicate, and crisp result.
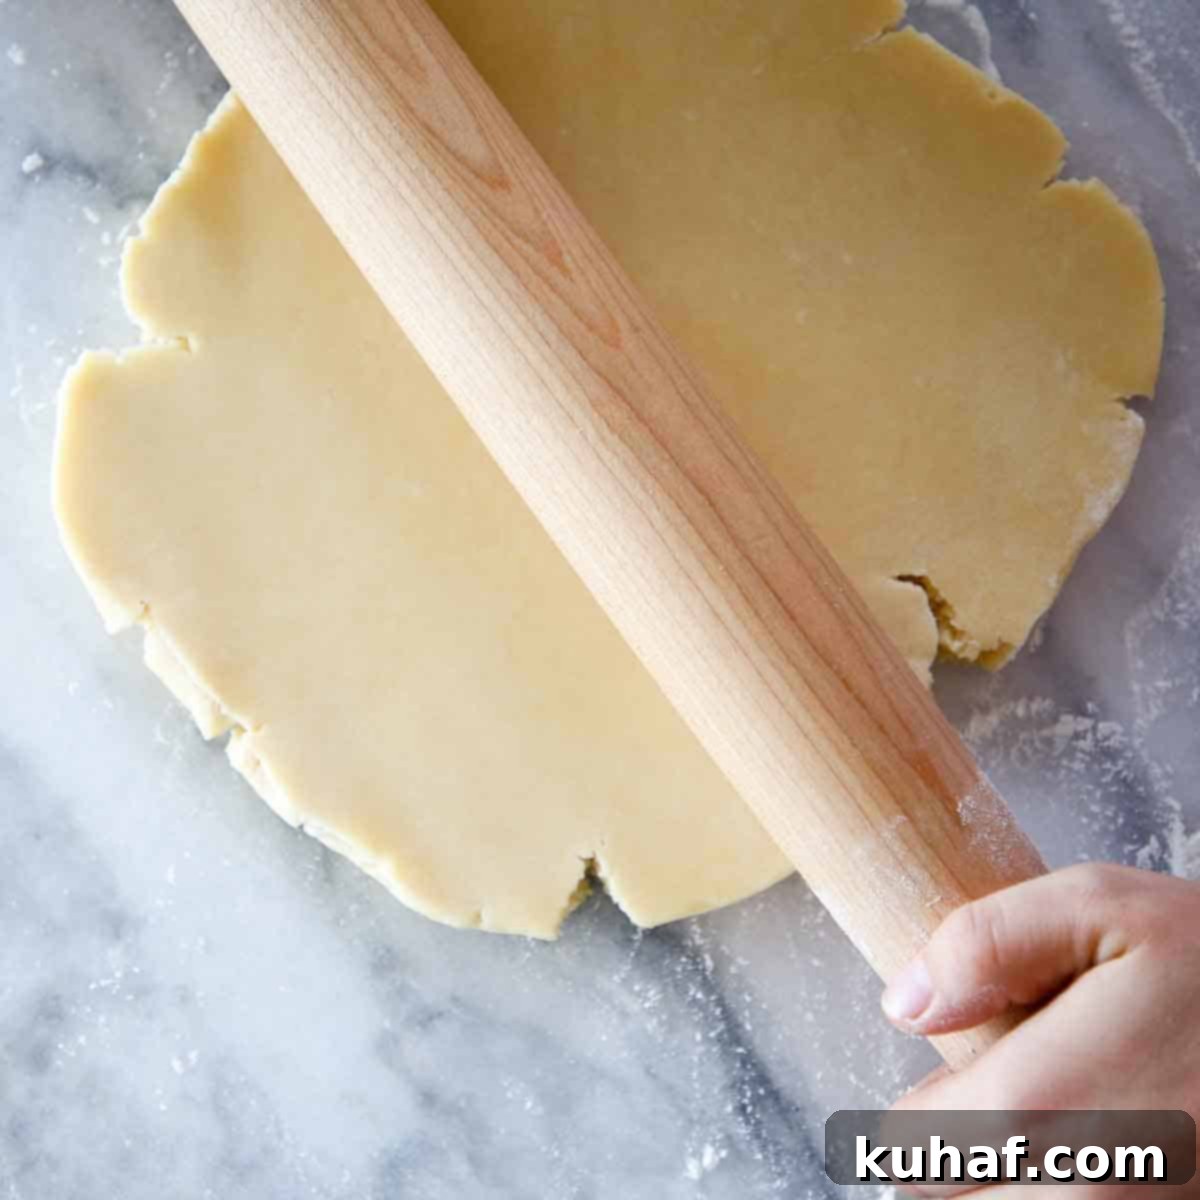
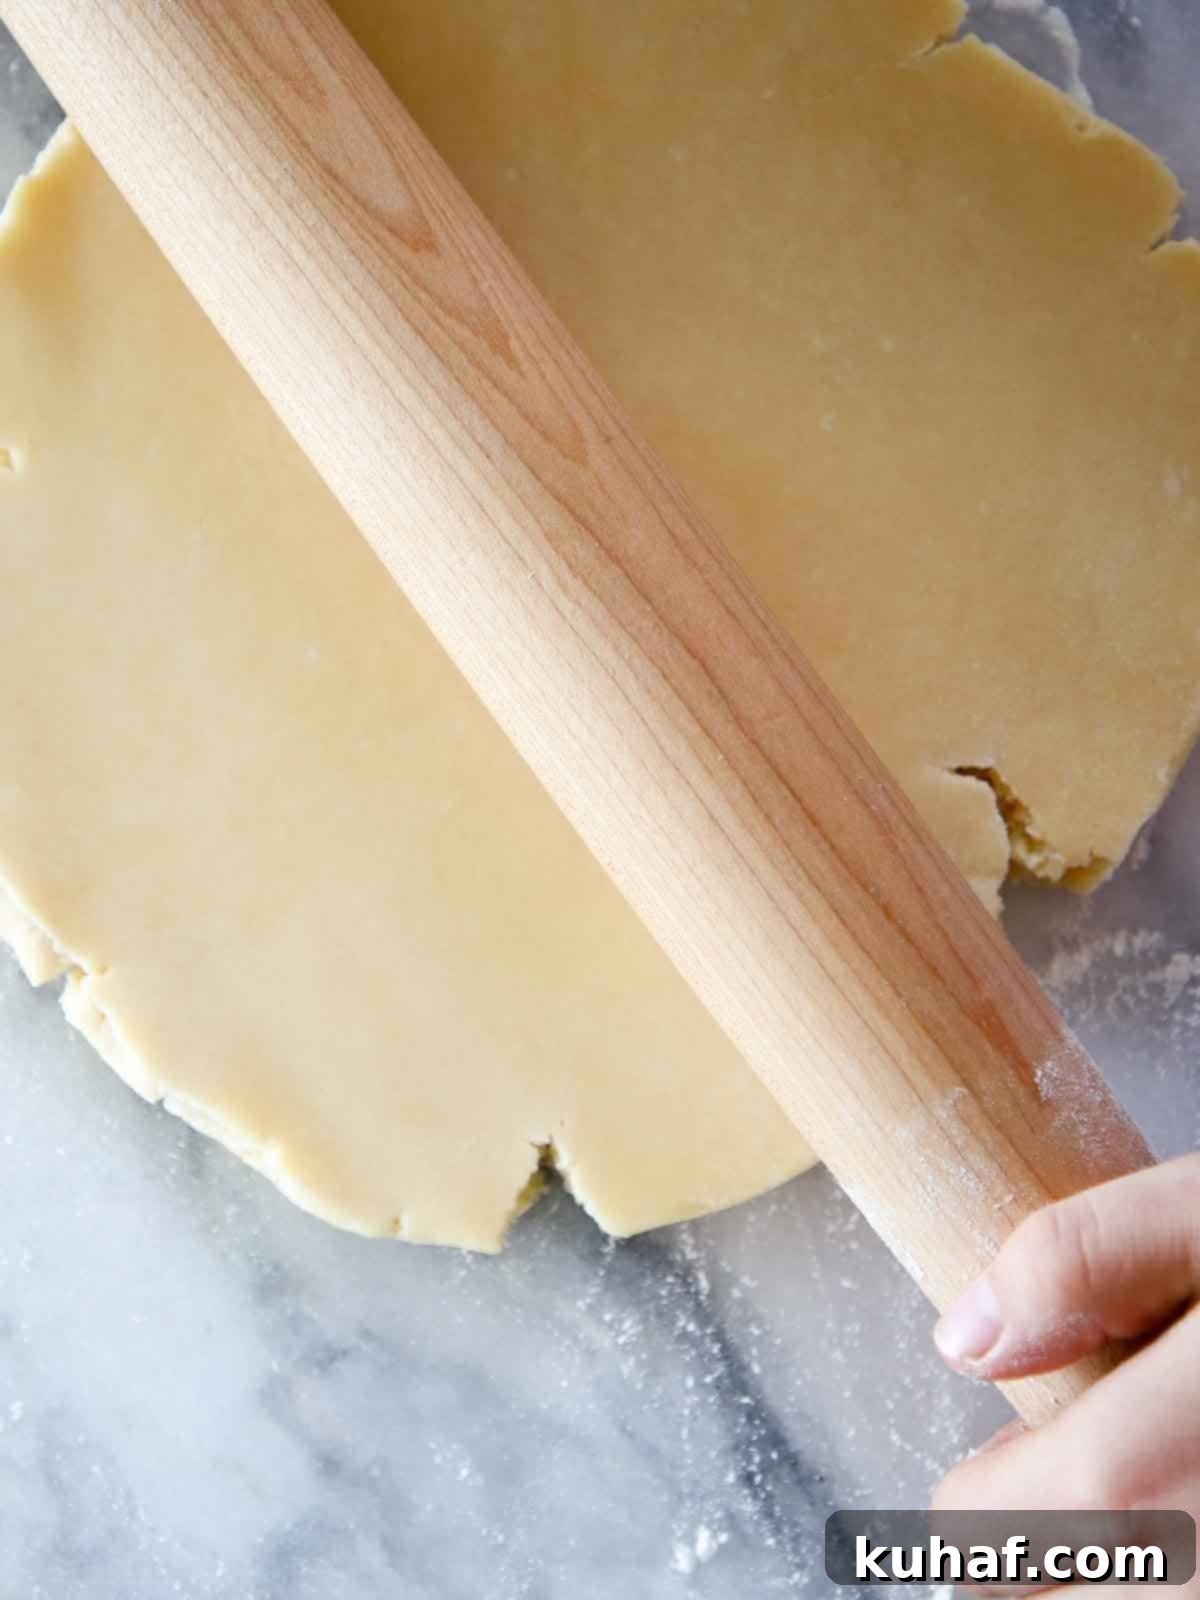
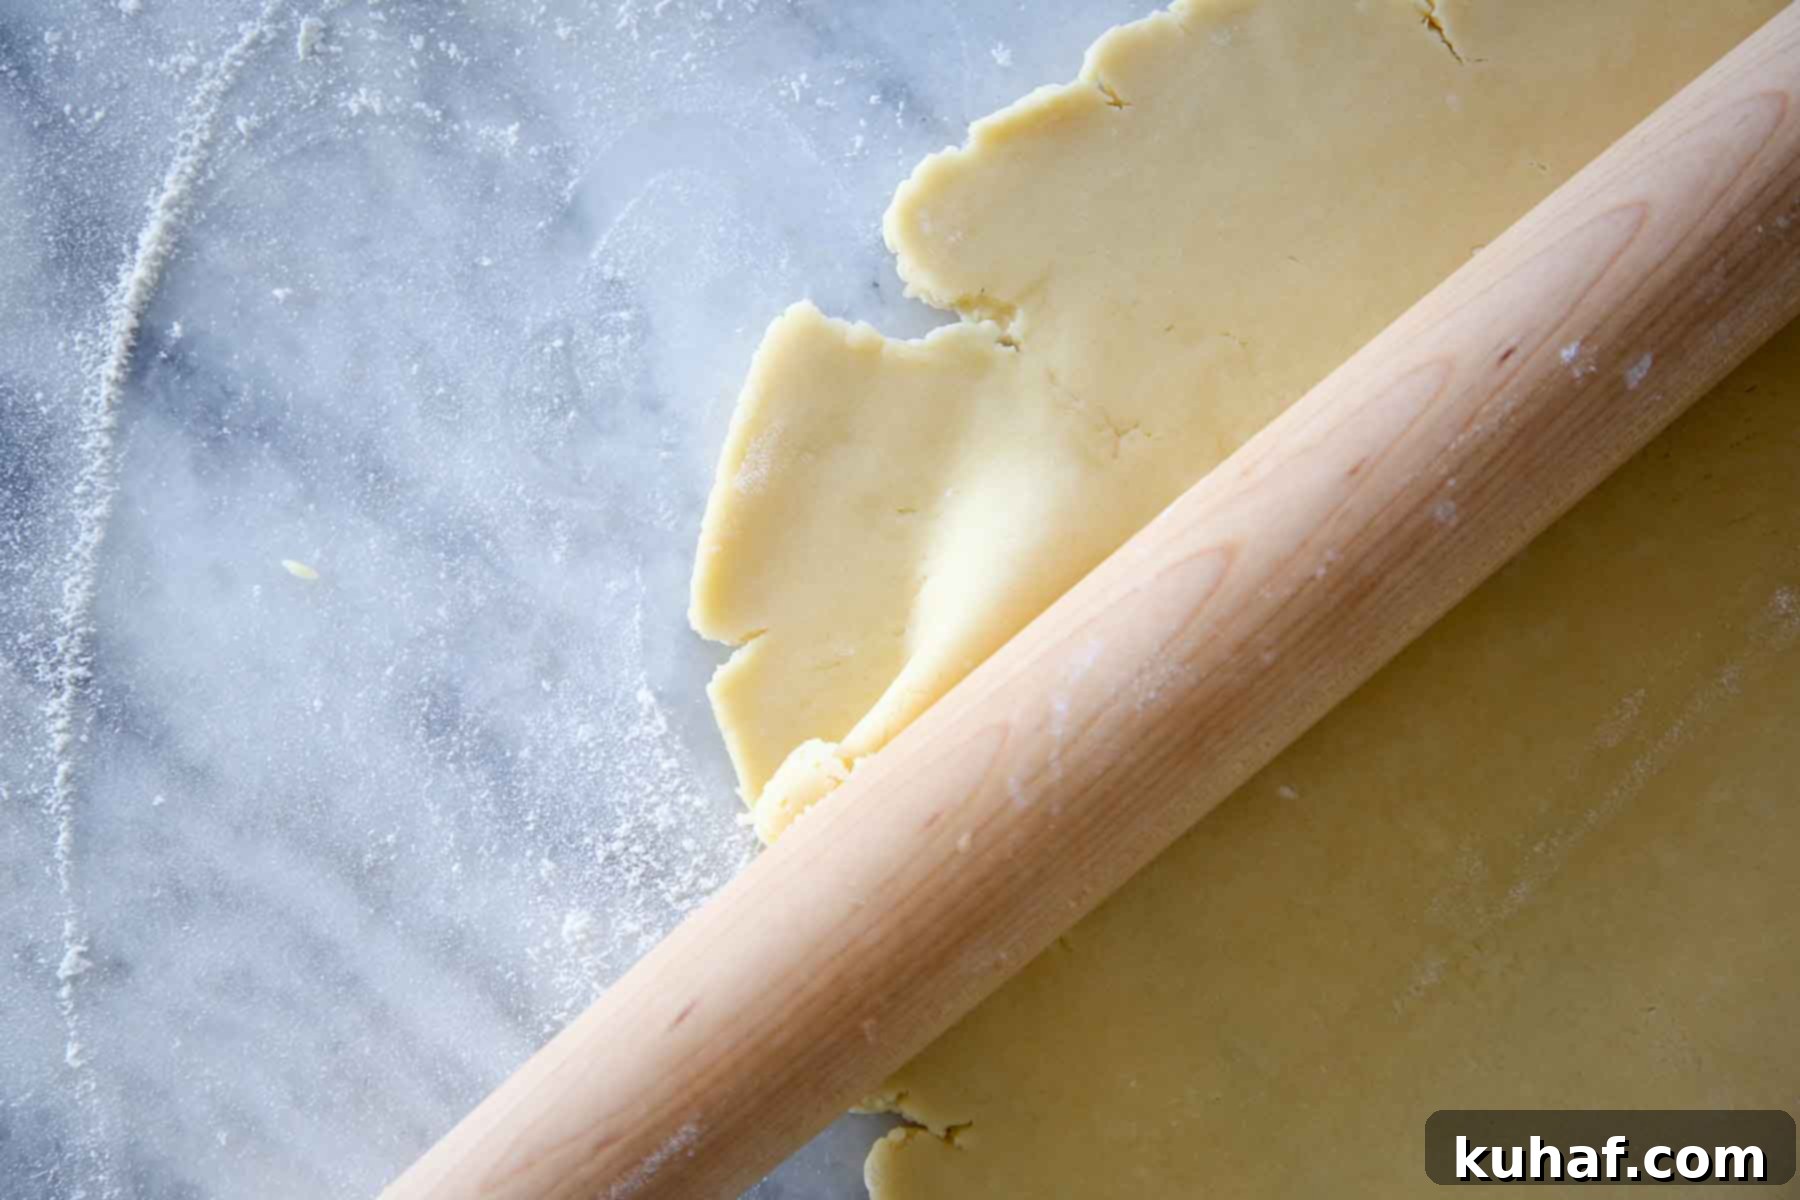
- Roll Between Two Pieces of Parchment Paper While the Dough is Room Temperature: This technique is an absolute game-changer and a secret weapon for pastry chefs! Rolling your slightly softened (but not warm or melted) dough between two pieces of parchment paper prevents it from sticking stubbornly to your rolling pin or work surface. This ingenious method eliminates the frustrating need for excessive dusting flour, which can inadvertently toughen your dough. It also significantly reduces cracking, making the dough much easier to handle, roll evenly, and confidently transfer to your tart pan. After rolling the dough to your desired thickness, ensure you chill it thoroughly; this firming period is essential not only for preventing unwanted shrinkage during baking but also for maintaining that coveted tender and crisp texture.
Essential Ingredients & Smart Substitutions for Pâte Sucrée
This Pâte Sucrée recipe calls for a handful of simple yet crucial ingredients, each playing a vital role in achieving the perfect sweet crust. Using quality ingredients will make a noticeable difference in the flavor and texture of your final product:
- Powdered Sugar (Confectioners’ Sugar): This is essential for its exceptionally fine texture, which dissolves beautifully and evenly into the softened butter. This creates a wonderfully smooth, tender dough without any hint of a grainy feel that granulated sugar would impart. As mentioned, always remember to sift it to eliminate any pesky lumps.
- Unsalted Butter (Softened): Butter is truly the heart and soul of this pastry, generously providing rich flavor, incredible tenderness, and contributes significantly to the delicate crumb. Using unsalted butter grants you complete control over the overall salt content in the recipe, allowing for precise seasoning. It is paramount that the butter is properly softened to room temperature for optimal creaming and emulsification. If, for convenience, you choose to use salted butter, remember to completely omit the additional kosher salt from the recipe. However, be aware that the exact salt content can vary considerably between different butter brands.
- Large Eggs (Room Temperature): I specifically advocate for using whole large eggs in this particular recipe, rather than opting for just egg yolks. The additional moisture contributed by the egg whites plays a crucial role in helping the pastry dough come together more easily, making it more pliable and less prone to cracking during handling and rolling. Furthermore, ensuring that your eggs are at room temperature is vital; cold eggs can cause the softened butter to seize and curdle, making smooth incorporation a challenging task.
- Pastry Flour or All-Purpose Flour: Both pastry flour and a good quality all-purpose flour can work wonderfully in this recipe, yielding excellent results. Pastry flour, by its very nature, possesses a lower protein content, which naturally contributes to an even more tender and delicate crust. However, all-purpose flour is a perfectly acceptable, widely available, and highly versatile alternative. If you happen to have access to a low-gluten all-purpose flour, such as White Lilly, it stands as an exceptional choice for achieving an even more exquisitely delicate and melt-in-your-mouth pastry texture.
- Kosher Salt: A measured pinch of kosher salt is not merely an optional addition; it is absolutely vital to thoughtfully balance the inherent sweetness of the dough. More importantly, salt acts as a powerful flavor enhancer, bringing forward and amplifying all the other delightful flavors present in the crust. If you do choose to use salted butter, you can and should confidently omit the additional kosher salt specified in the recipe. As a best practice, always taste a small piece of your raw dough (only if it contains no raw egg) or, more practically, a small piece of your final baked product to accurately adjust the seasoning to your precise preference in future batches.
For precise measurements and detailed quantity information, please refer to the complete recipe card provided below.
Exciting Possible Variations for Your Pâte Sucrée
While the classic Pâte Sucrée is absolutely divine on its own, it also serves as an incredibly versatile canvas for creative flavor infusions. Here are some delightful ways to customize and enhance your sweet tart crust, allowing you to tailor it perfectly to any dessert occasion:
- Infuse with Warm Spices: Elevate your Pâte Sucrée with a touch of comforting warmth and aromatic depth. Incorporate ½ to 1 teaspoon of ground cinnamon, nutmeg, ground ginger, a ready-made apple pie spice mix, a cozy pumpkin spice blend, or even an exotic chai spice directly into the dry ingredients before mixing. These additions are particularly wonderful for autumnal tarts featuring fillings like apples, pears, or pumpkin, adding a harmonious seasonal twist.
- Brighten with Zesty Citrus: For a refreshing and vibrantly aromatic twist, finely zest one large orange or two lemons directly into the powdered sugar before you begin the creaming process. The natural oils from the citrus zest will beautifully infuse throughout the dough, imparting a bright, invigorating flavor that truly awakens the palate. This citrus-infused crust is exceptionally exquisite when filled with a silky vanilla bean pastry cream and generously topped with an assortment of fresh berries, offering an easier, yet equally impressive, alternative to a delicate puff pastry fruit tart. Don’t forget that lime zest also works wonders, especially when aiming for tropical-inspired desserts!
- Add a Splash of Flavor with Extracts: Culinary extracts offer a wonderfully simple yet effective way to introduce complex and intriguing flavors to your Pâte Sucrée. For an enhanced classic flavor, add a teaspoon of pure vanilla extract along with the eggs. For something distinctly different, try ½ teaspoon of almond extract to beautifully complement nutty fillings, orange or lemon extract for a more intense and pronounced citrus note, or even a festive hint of peppermint extract for a delightful Holiday twist, which pairs perfectly with rich chocolate-based tarts. Always ensure you are using high-quality extracts for the most authentic and delicious flavor profile.
Step-by-Step Guide: How to Make Pâte Sucrée Like a Pro
Creating this tender, professional Pâte Sucrée is a surprisingly straightforward process when you meticulously follow these detailed instructions. Precision in each step ensures a perfect, foolproof crust every time. You’ll find full ingredient measurements and quantities conveniently listed in the recipe card below.
Step 1: Prepare Your Butter to Perfection
Begin by ensuring your butter is properly softened. This can be achieved by leaving it out at room temperature for at least an hour, or, if time is short, gently softening it in a stand mixer bowl using the paddle attachment on the lowest speed. The butter should be pliable enough to easily indent with your finger, offering minimal resistance, but it must not be melted or greasy. This precise consistency is absolutely crucial for successful creaming and achieving the desired texture of your dough.
Step 2: Cream Butter and Sifted Powdered Sugar Until Fluffy
Into the bowl of your stand mixer, fitted with the paddle attachment, add the carefully sifted powdered sugar and the perfectly softened butter. Start the mixer on a very low speed initially to prevent the fine powdered sugar from creating a cloud in your kitchen. Gradually increase the speed to medium-high. Cream the mixture diligently until it transforms into an incredibly light, airy, fluffy, and silky smooth consistency. This vital process thoroughly incorporates air, which significantly contributes to the dough’s tender texture and ensures that the sugar is completely dissolved for a uniform sweetness.
Step 3: Incorporate the Eggs Gradually
With the mixer running on medium speed, add the room temperature large eggs one at a time. It’s perfectly normal for the mixture to appear a little curdled, separated, or even “scary” at first, as the fats and liquids are in the process of emulsifying. Do not be alarmed or stop mixing; just allow the mixer to continue running at a moderate speed. The eggs will gradually incorporate at their own pace, transforming the mixture back into a beautifully smooth, homogeneous, and creamy consistency. A small professional tip: lightly pre-beating the eggs before adding them can sometimes aid in smoother and quicker incorporation.
Chef’s Insight: Utilizing both softened butter and room temperature eggs (especially if they have been lightly beaten) significantly eases the emulsification process in this critical step. This thoughtful preparation prevents a “broken” or curdled mixture and ensures a consistently smoother, more stable dough, laying the foundation for a truly tender crust.
Step 4: Add Dry Ingredients and Form the Cohesive Dough
Reduce the mixer speed to its lowest setting. Add the precisely measured flour and kosher salt to the bowl. Mix on low speed just until the dry ingredients are fully incorporated into the butter mixture. Be patient during this stage; it will initially look quite crumbly, then quite suddenly, it will come together to form a cohesive dough. The moment no streaks of dry flour remain and the dough gathers, stop mixing immediately. Overmixing is the enemy of tender pastry as it develops gluten, resulting in a tough, chewy crust. Trust the process – the dough will form beautifully!
Step 5: Chill and Prepare for Effortless Rolling
Carefully scrape the freshly made dough out of the mixer bowl using a silicone spatula or a sturdy bowl scraper. Divide the dough into the desired number of portions (for instance, two equal portions for standard 8-inch or 9-inch crusts). Gently flatten each portion into a disk, wrap it tightly in plastic wrap, ensuring no air can reach it, and then refrigerate for at least two hours. This chilling period is absolutely vital; it allows the butter to firm up, making the dough much easier to handle without becoming sticky, and crucially, it helps prevent excessive shrinkage during the baking process, ensuring a tender and perfectly shaped crust. You can store this prepared dough in the refrigerator for up to 3 days, or even freeze it for up to 2 months at this convenient stage.
Rolling Technique for Perfection: For the absolute best results and ease of handling, I highly recommend rolling the dough out while it is still slightly cool (but not rock hard and brittle) between two pieces of parchment paper. This ingenious method effectively prevents the dough from sticking to your rolling pin or work surface, eliminating the frustrating need for excessive dusting flour, which can inadvertently toughen the dough. This approach also significantly reduces the likelihood of cracking, making the dough much easier to manipulate and transfer to your tart pan. Once rolled to your desired thickness, you can effortlessly cut out shapes using a ring cutter, biscuit cutter, cookie cutter, or even simply trace around your tart pan with a paring knife. If your cutouts become too soft during handling, simply re-chill them briefly before lining your pans.
The Art of Blind Baking Your Sweet Tart Crust for Crisp Perfection
Blind baking is a crucial preparatory step for many tart and pie recipes, serving to ensure a perfectly crisp, fully cooked crust that can bravely withstand wet fillings without becoming soggy. While the general process shares similarities with my comprehensive tutorial on how to blind bake pie crust, Pâte Sucrée offers a significant advantage: it’s typically easier to work with, remarkably less prone to shrinking, and generally bakes faster than traditional, more delicate butter pastry.
Step 1: Prepare Your Oven and Tart Pan with Precision
Preheat your oven to 325°F (160°C) if you are using the convection setting (with fan), or 350°F (175°C) if using conventional heat (no fan). Opting for a slightly lower temperature with convection helps to prevent undesirable over-browning. Take one of your chilled, meticulously rolled, and precisely cut Pâte Sucrée crusts. Carefully line your chosen pie plate or tart tin with the dough, taking care to gently lift and crease it to ensure it fits snugly into all corners and along the edges. The firm, well-chilled dough will be much easier to manipulate without any tearing or stretching.
If you are creating a traditional pie, simply roll the excess dough underneath itself to create a neat, tight, and even spiral around the rim. Then, you can either crimp, pinch, or use the tines of a fork to create a beautifully decorative edge. For a professional-looking tart, a simpler method is to use your rolling pin to roll directly across the top edge of the tart tin, cleanly cutting off any excess dough. This technique effortlessly creates the perfectly straight, sharp, and elegant edges often observed in high-end French pastry shops.
Step 2: Chill and Dock the Dough for Stability
Once your dough is perfectly fitted and shaped into its tin, it is imperative to chill it again in the refrigerator for at least 30 minutes. This final chill is absolutely vital for two main reasons: it allows the gluten to relax completely, and it re-solidifies the butter within the dough. Both actions will significantly help prevent the crust from shrinking down the sides of the pan during the baking process. If your specific recipe calls for it, gently poke a few holes (this process is called ‘docking’) across the bottom of the crust with a fork. Docking allows steam to escape from underneath the dough, preventing the bottom from puffing up or bubbling during baking. For more detailed insights into when and why to dock a pie crust, refer to my comprehensive tutorial on when to dock a pie crust.
Step 3: Bake with Weights for Uniformity
Line the chilled, and if applicable, docked crust with a piece of parchment paper or aluminum foil, carefully pressing it gently against the sides of the dough. Fill the lined crust evenly with baking weights, dried beans, or uncooked rice. These weights serve a crucial purpose: they prevent the crust from puffing up excessively and help to maintain its perfectly formed shape during the initial phase of baking. Bake in the preheated oven until the edges of the crust and the parts visible just underneath the weights begin to turn a very light golden brown. This initial baking typically takes approximately 15-20 minutes, though the exact time may vary slightly depending on your oven’s calibration and the precise thickness of your crust.
Step 4: Finish Baking to Your Desired Golden Hue
Carefully remove the parchment paper and the baking weights from the crust. Return the crust to the oven and continue baking. For a partially blind-baked crust, bake until it achieves a uniform light golden brown color, which usually takes an additional 5-10 minutes. This level of baking is ideal when the pie or tart will undergo further baking with its filling, such as with this rich bourbon chocolate pecan tart or a comforting sweet potato pie. For a fully blind-baked crust, continue baking until it develops a deeper, rich golden brown color and sounds hollow when gently tapped. This deeper bake is essential for tarts and pies that will be filled with cold, no-bake fillings, like a luxurious French silk pie, ensuring the crust is completely cooked through and crisp.
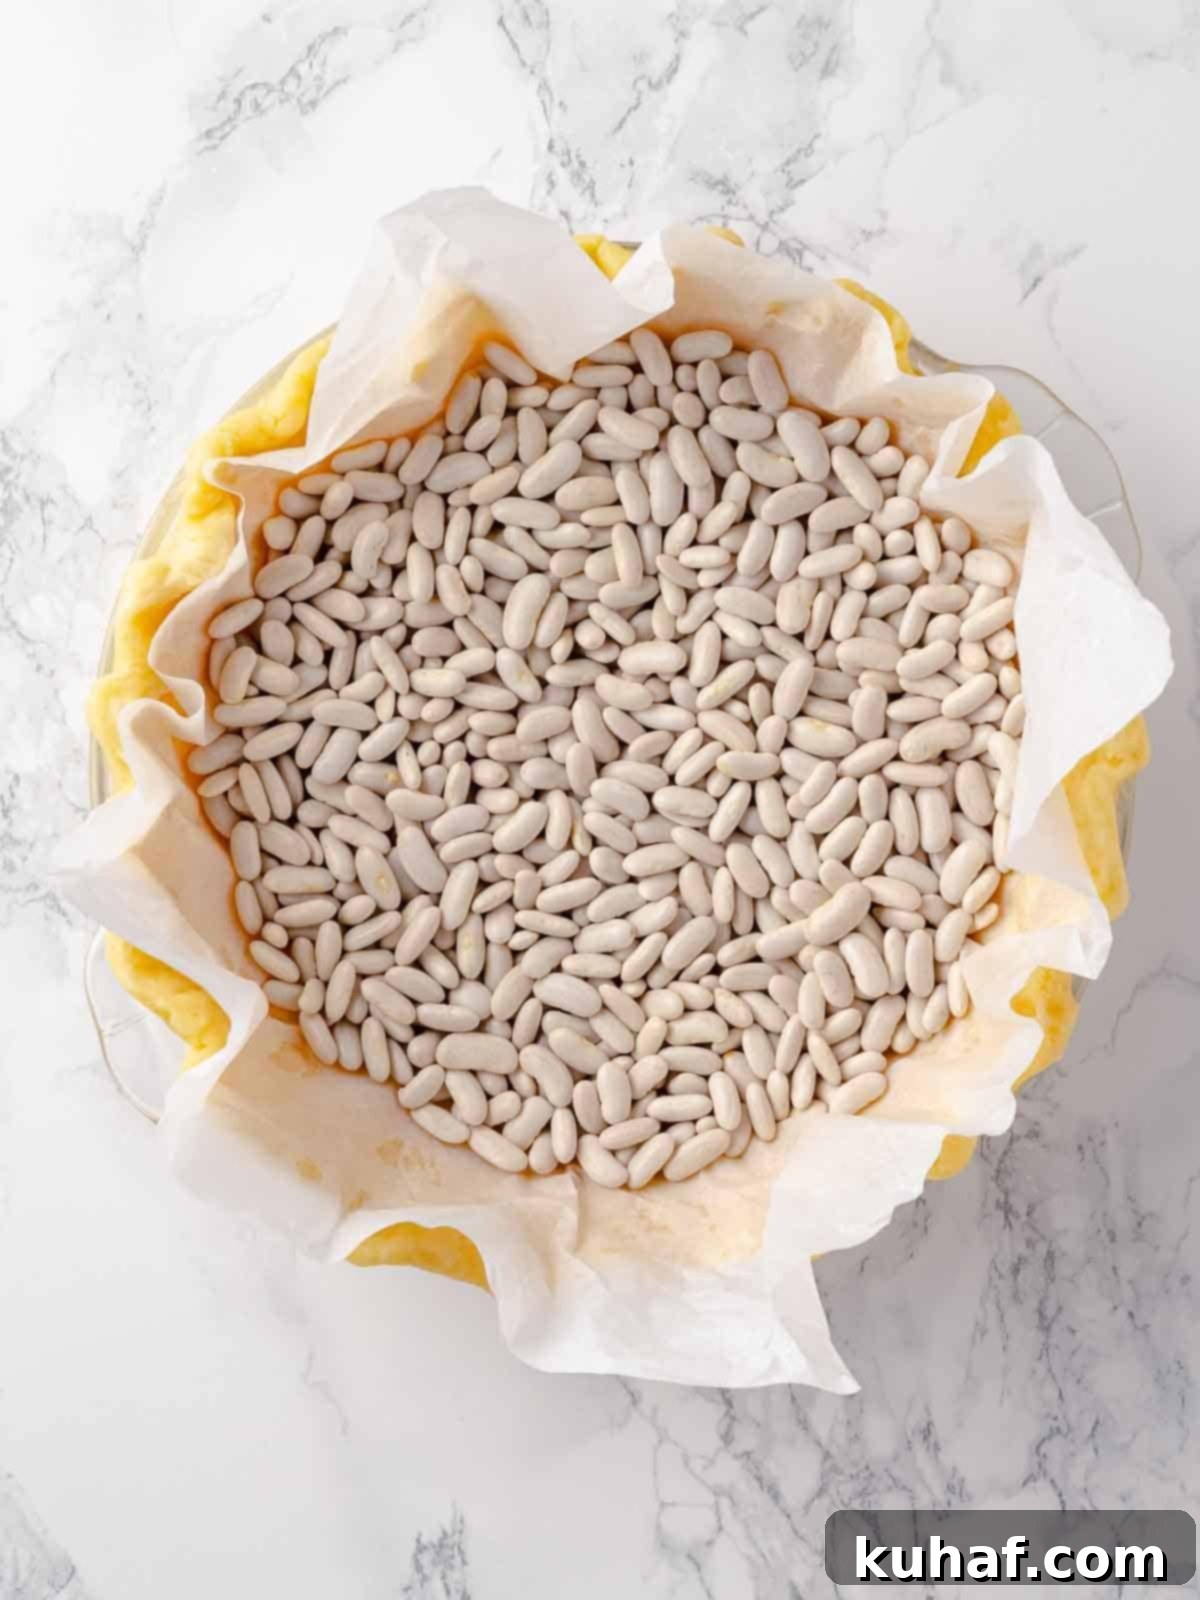
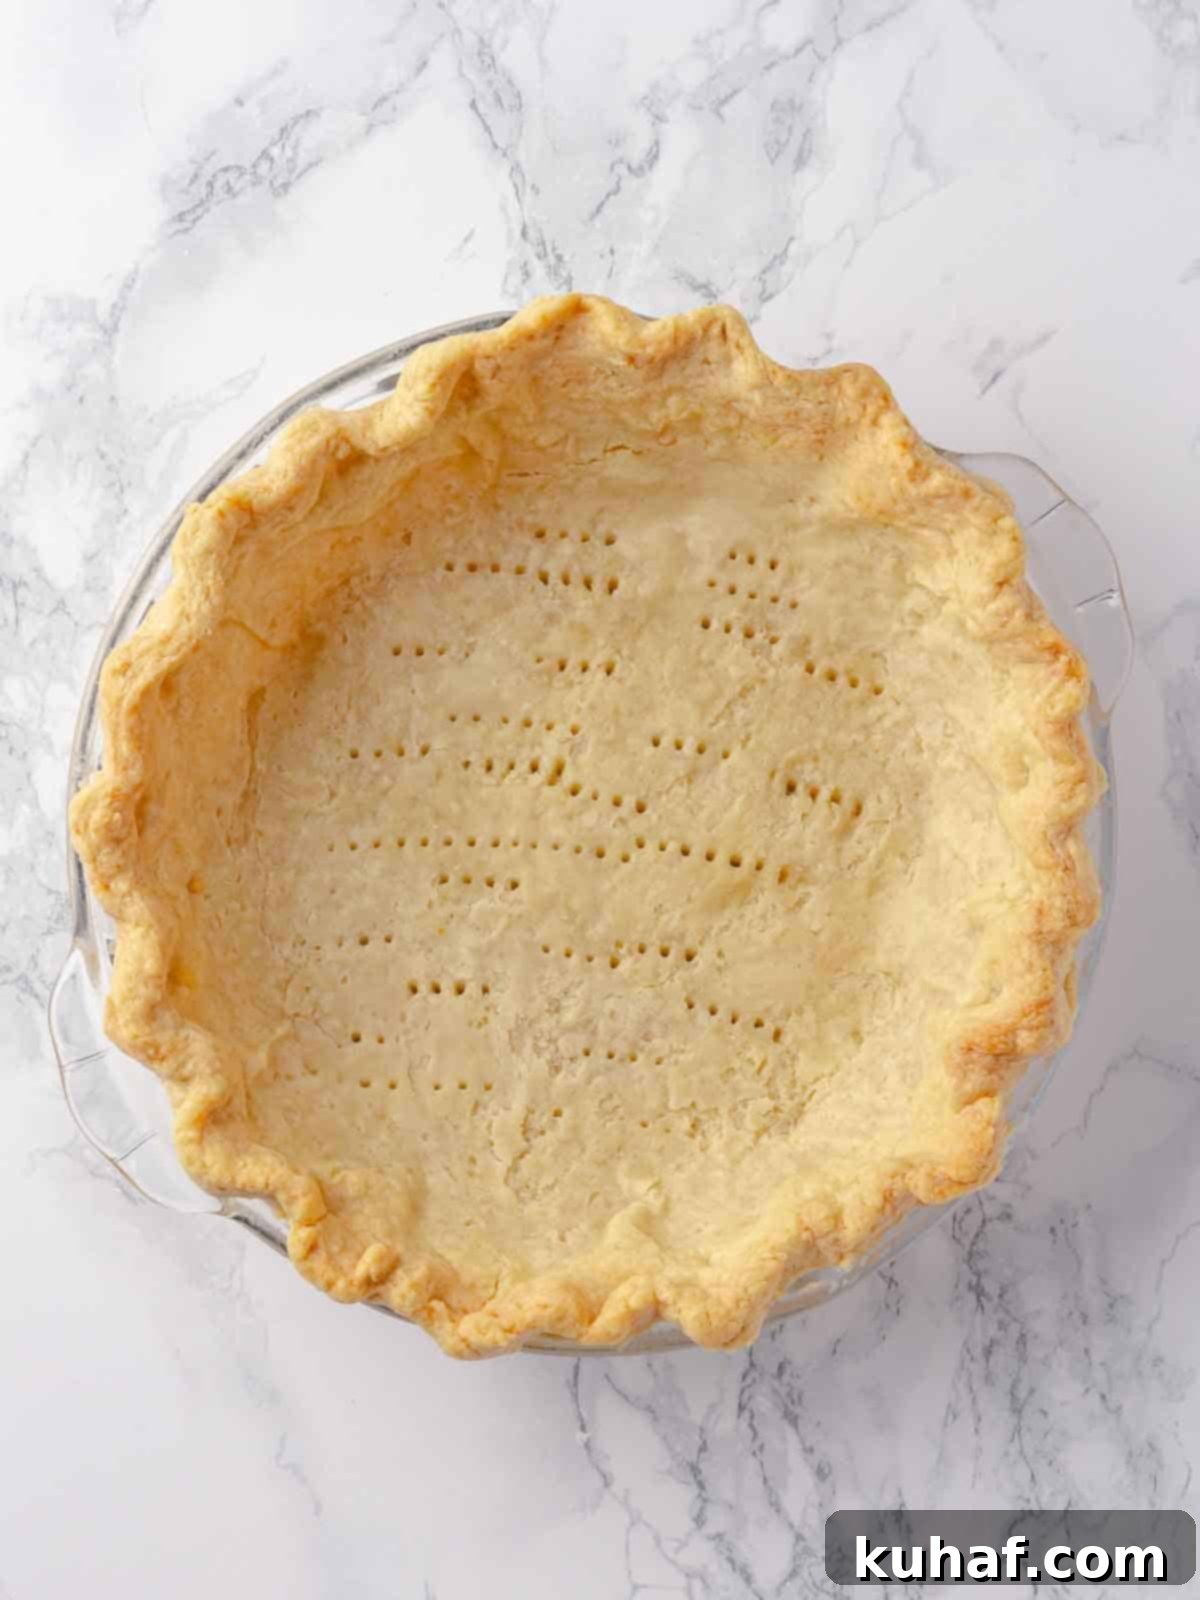
Quick Answer: Partially blind bake a crust when your pie or tart will undergo further baking with its filling, such as this indulgent bourbon chocolate pecan tart or a classic sweet potato pie. This ensures the crust is set but avoids overbaking during the second phase. Fully blind bake a crust or tart shell when you intend to fill it with a cold or uncooked filling, like a luxurious French silk pie. The goal here is a completely cooked, golden-brown shell that is ready to serve once filled.
Chef Lindsey’s Expert Recipe Tip
Please, do not be intimidated by working with pastry dough! Pâte Sucrée is remarkably forgiving and much more user-friendly than many realize. If you’re in the process of lining a tart pan and you happen to notice a small crack, a thin spot, or perhaps misjudged the size of your rolled circle, there is absolutely no need to stress or start over! Simply press another small piece of dough directly over the crack or gently fill in any gaps you find. The natural butter content in the dough will act as a marvelous adhesive, seamlessly blending the pieces together. Once baked, these minor imperfections will be virtually invisible, resulting in a perfectly seamless, sturdy, and utterly delicious crust.
Frequently Asked Questions About Pâte Sucrée
Proper storage is absolutely key to making Pâte Sucrée ahead of time and ensuring its maximum freshness, flavor, and usability. Here’s a comprehensive guide for each stage:
- Unbaked Dough (Refrigerated): When tightly wrapped in several layers of plastic wrap to prevent drying out and absorbing refrigerator odors, unbaked dough (whether in a neat disk, rolled-out sheet, or already meticulously lined in a tart or pie shell) can be safely stored in the refrigerator for up to 3 days.
- Unbaked Dough (Frozen): For significantly longer storage, tightly wrap the dough (either in flattened disks or pre-rolled sheets) in multiple layers of plastic wrap, followed by an additional protective layer of heavy-duty aluminum foil. Store this securely wrapped dough in the freezer for an extended period of up to 2 months. To use, thaw the frozen dough slowly overnight in the refrigerator before proceeding with rolling or baking.
- Baked Tart or Pie Shells: Once baked and completely cooled to room temperature, fully cooked tart or pie shells can be stored uncovered at room temperature for up to 3 days (assuming ambient humidity levels are not excessively high). For slightly longer preservation, they can be refrigerated for up to 5 days. For long-term storage, baked shells can be frozen for up to 3 months; ensure they are completely cool before wrapping tightly in plastic wrap and then foil. Thaw baked shells at room temperature, or re-crisp them in a low oven (around 300°F/150°C) for 5-10 minutes if they’ve lost some crispness before filling.
Pâte Sucrée, by its very nature, is specifically designed for sweet culinary applications due to its inherent sugar content and the tender, cookie-like crumb it develops when baked. It is generally not the ideal choice for savory pies or tarts, nor for rustic, free-form galettes (where a more robust, flaky crust like pâte brisée is typically preferred). Its remarkable ability to hold its shape beautifully, resist sogginess, and maintain a delicate crispness makes it perfect for a wide spectrum of sweet fillings.
Definitely try it as the exquisite base for my luscious French silk pie, a rich and decadent bourbon pecan tart, or this vibrant and tropical coconut mango tart. It truly excels when pre-baked in tart pans or pie tins because it retains its form without shrinking excessively and bakes to a gorgeous, uniform golden perfection. Once baked, you can fill these versatile sweet tart shells with an array of delightful cold fillings, such as tangy lemon curd, silky caramel pastry cream, decadent dark chocolate pudding, or creamy butterscotch pudding. Its incredible versatility makes it an indispensable tool in any baker’s repertoire!
Both Pâte Sucrée and Pâte Sablée are distinguished classic French enriched pastry doughs, meaning they both contain generous amounts of sugar and typically eggs, which makes them sweeter, richer, and significantly more tender than a basic, un-enriched pie crust. However, they possess distinct differences in both their ingredient ratios and, most importantly, their mixing methods, which ultimately results in subtle yet unique textural variations.
- Pâte Sucrée (“Sweet Pastry”): This dough typically incorporates a greater proportion of whole eggs and sugar compared to sablée. The fundamental difference lies in its mixing method: Pâte Sucrée is prepared using the creaming method, precisely like traditional cookie dough. In this technique, softened butter and powdered sugar are first creamed together until light and fluffy, then whole eggs are gradually added, and finally, the flour is incorporated. This method effectively incorporates air into the mixture, resulting in a delicate, crisp, and somewhat sturdy crust that offers excellent stability and holds up remarkably well to various fillings.
- Pâte Sablée (“Sandy Pastry”): In contrast, Pâte Sablée generally contains a higher butter content and often exclusively uses egg yolks (for superior richness) or, in some variations, no eggs at all, relying heavily on the butter and sugar for its tender quality. The defining characteristic of sablée is its mixing method: it employs the sablage (sandy) method, which is quite similar to how traditional, flaky pie crust (pâte brisée) is made. Cold butter is meticulously “cut into” the flour until the mixture resembles coarse, fine sand, and then the liquid component (be it egg yolks or a small amount of water) is added to bring it together. This specific method creates a much more crumbly, “sandy,” or shortbread-like texture, which is characteristically very delicate and quite fragile.
In essence, Pâte Sucrée is celebrated for its distinctive crisp, cookie-like snap and slightly firmer, more structured crumb, making it highly versatile. Pâte Sablée, on the other hand, is cherished for its extreme delicacy, crumbly nature, and a melt-in-your-mouth, almost shortbread-like quality. This particular recipe focuses on the widely popular, more versatile, and notably more beginner-friendly Pâte Sucrée.
If you tried this recipe and absolutely loved it, please take a moment to leave a 🌟 star rating and share your experience in the comments section below. I genuinely love hearing from you; your thoughtful comments truly make my day and help others discover delicious recipes!
Pâte Sucrée
Saved
Pin Recipe
Comment
Print Recipe
Ingredients
- ¾ cup powdered sugar (sifted)
- ¾ cup unsalted butter (softened to room temperature)
- 2 large eggs (room temperature)
- 2 ¾ cups pastry flour (or all-purpose flour)
- ½ teaspoon kosher salt (omit if using salted butter)
Instructions
-
Soften the butter in a stand mixer with the paddle attachment on low speed, or let it sit out at room temperature for an hour or so until it’s pliable. It is important that it is properly softened, but not melted.
-
Put the sifted powdered sugar and softened butter in the stand mixer. Start on low speed to avoid a cloud of sugar, then gradually increase to medium-high speed. Cream them together until the mixture is light, fluffy, and silky smooth, indicating good aeration.
-
With the mixer on medium speed, add the room temperature large eggs one at a time. The mixture might appear slightly curdled or separated initially, but continue mixing until the eggs are fully incorporated and the mixture is smooth again. Pre-beating the eggs lightly can aid in smoother incorporation.
-
Reduce the mixer speed to low. Add the flour and kosher salt to the bowl. Mix just until the dry ingredients are fully cut into the butter mixture and a cohesive dough forms. Be patient, as it will look crumbly before it comes together. Stop immediately to prevent gluten development and a tough crust.
-
Scrape the dough out of the mixer using a silicone spatula or bowl scraper. Divide it into the desired number of crusts (e.g., two for 8-9 inch tarts), flatten into disks, wrap them tightly in plastic wrap, and chill them in the refrigerator for at least two hours (or up to 3 days).
-
For best results, roll the chilled dough out while it is still slightly cool (but not hard) between two pieces of parchment paper. This method prevents sticking and makes it easy to transfer. It is especially useful if making tartlets or tiny pies. The dough can also be frozen at this stage for up to 2 months.
Video
Notes
Variations – Customize your Pâte Sucrée by adding citrus zest (lemon, orange, lime), warm spices (cinnamon, nutmeg, ginger, pumpkin pie spice), or extracts (almond, orange, peppermint, rum) along with the wet ingredients.
Storage – Store unbaked dough tightly wrapped in plastic wrap in the refrigerator for up to 3 days. For longer storage, freeze unbaked dough (disks or rolled sheets) for up to 2 months. Baked tart or pie shells can be kept at room temperature for up to 3 days, refrigerated for up to 5 days, or frozen for up to 3 months. Always ensure baked shells are completely cooled before wrapping for storage.
Nutrition
Before You Go: Continue Your Baking Journey
I genuinely hope you thoroughly enjoyed this professional chef-created Pâte Sucrée recipe and found it to be an incredibly valuable addition to your baking repertoire. Mastering this essential sweet tart dough will undoubtedly open up a delightful world of new dessert possibilities right in your own kitchen. But please, don’t stop here – continue to explore and expand your baking skills!
Be sure to check out our other incredibly delicious pie and tart recipes for even more baking inspiration and exciting new projects to try. And to truly elevate your culinary creations, peruse our exquisite collection of dessert toppings and sauces, which are meticulously crafted and perfectly suited for complementing your freshly baked Pâte Sucrée masterpieces. Happy baking, and may your kitchen always be filled with the sweet aroma of success!
