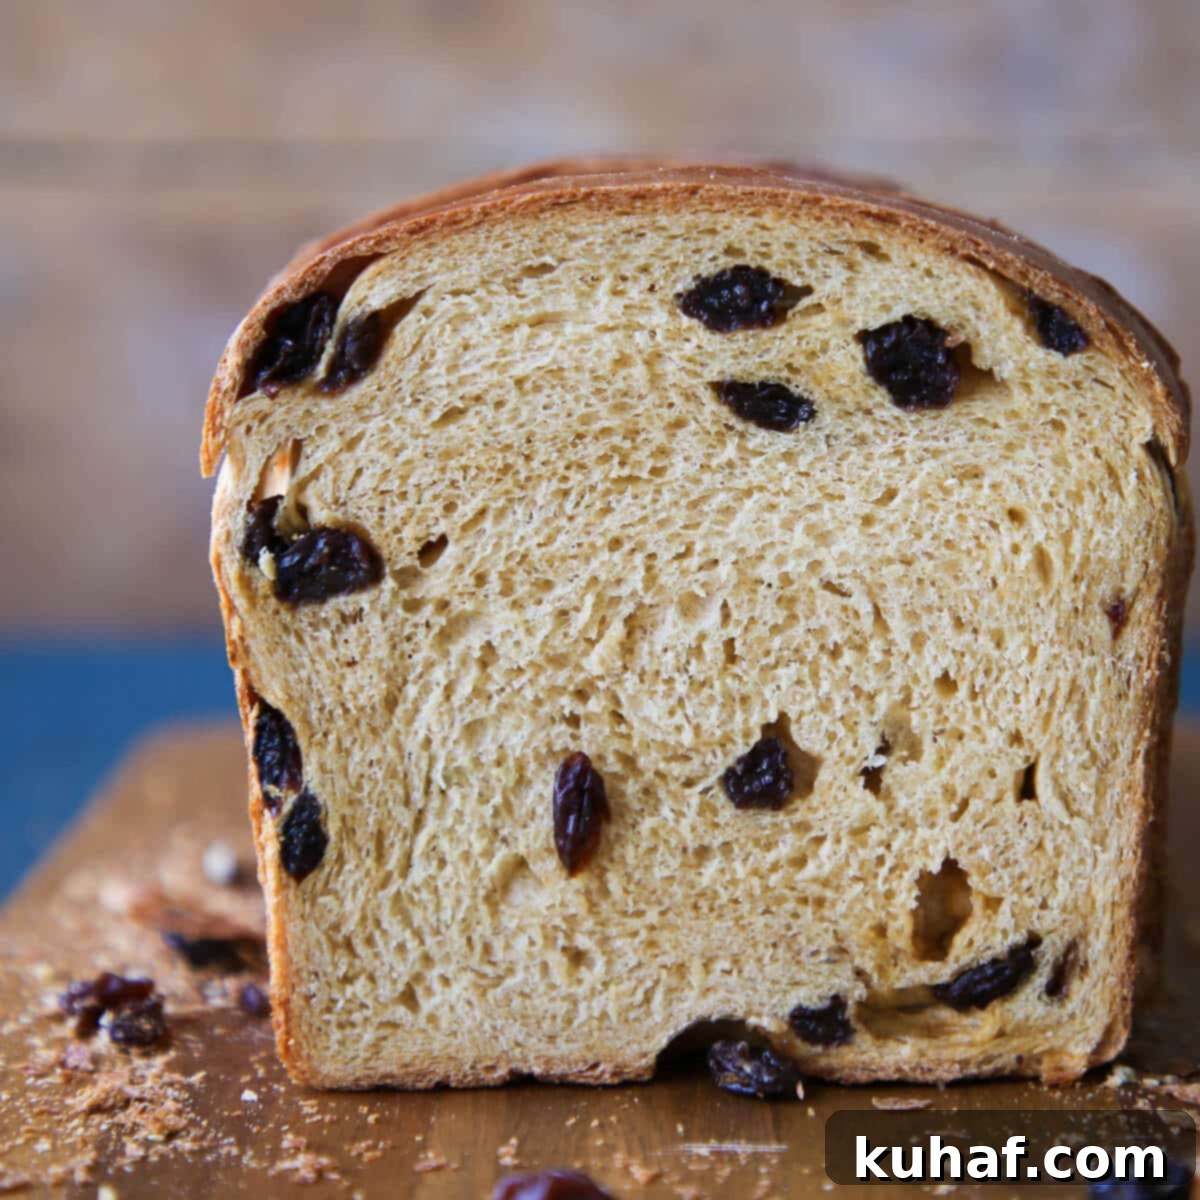
The Ultimate Soft & Moist Old-Fashioned Raisin Bread Recipe
This raisin bread recipe offers a delightful balance of softness, chewiness, and moistness, highlighted by a subtle hint of rich molasses flavor. It’s the kind of bread that truly shines, whether enjoyed in a simple slice, transformed into sweet cinnamon sugar toast, or elevated to a decadent French toast breakfast!
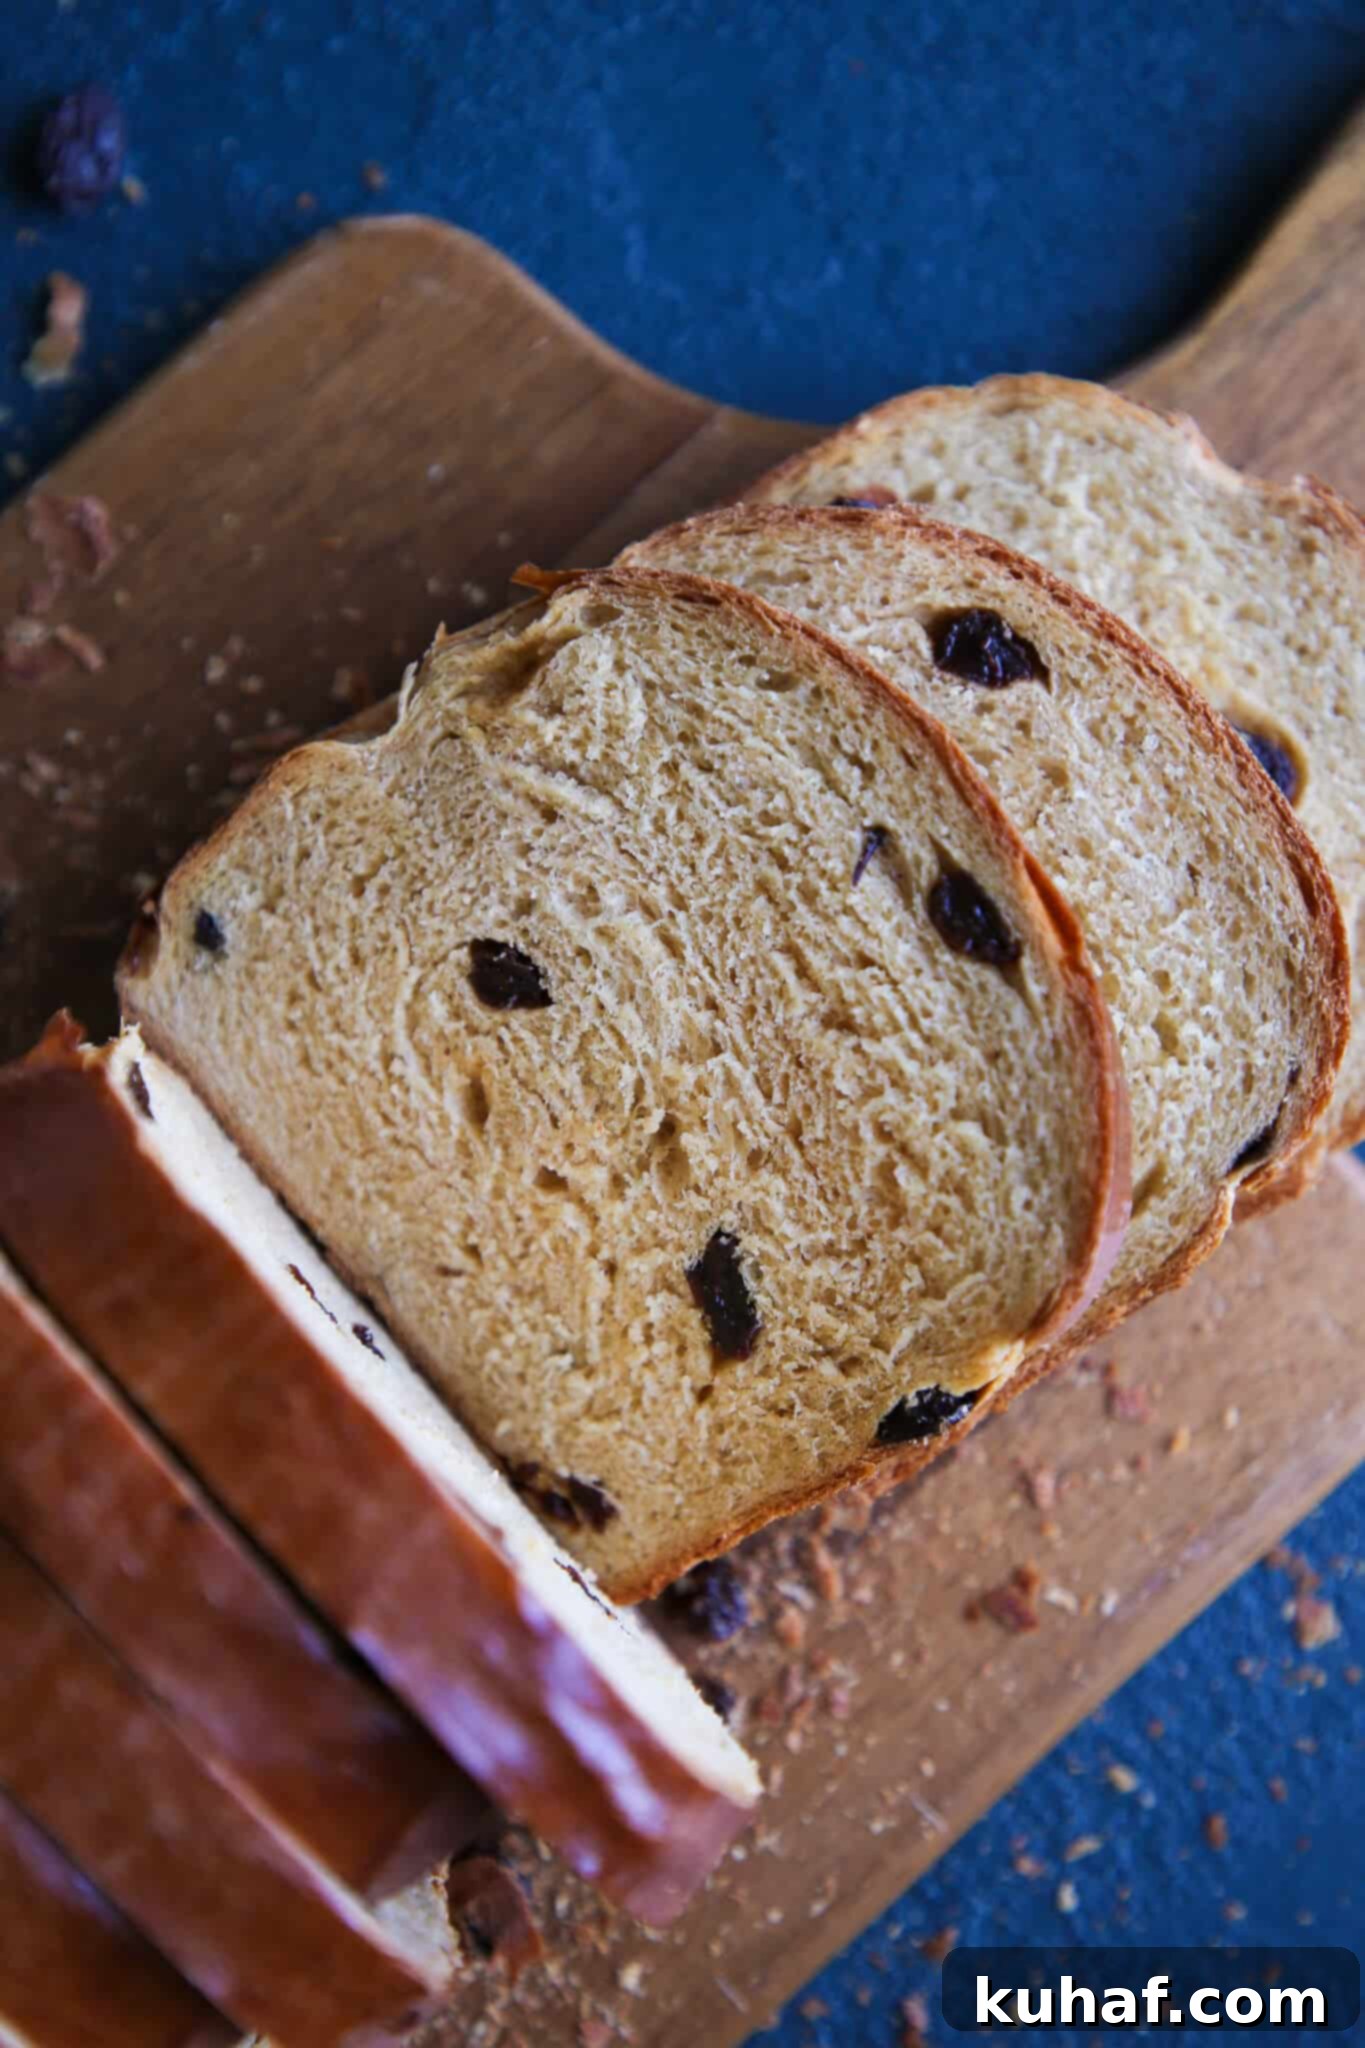
While many of my cherished raisin-filled breads, such as stollen and panettone, are traditionally reserved for holiday festivities, this particular raisin bread recipe breaks free from seasonal constraints, inviting you to savor its comforting goodness year-round! My discovery of this gem in the vintage American Woman’s Cookbook (the same source for my beloved 100% whole wheat bread) immediately piqued my interest. The intriguing combination of ingredients and a unique method compelled me to try it, and I’m so glad I did!
The result was everything I had hoped for and more – exceptionally moist, delightfully chewy, and bursting with flavor. What’s more, the incorporation of shortening and molasses makes this dough an absolute joy to mix and shape, creating a truly effortless baking experience.
Why You Will Love This Old-Fashioned Raisin Bread
- Unbeatably Soft, Tender, and Moist Texture: This recipe achieves an unparalleled softness and moisture thanks to a unique technique of melting shortening and molasses directly into the milk before combining with other ingredients. This creates a rich, tender crumb that stays fresh and delicious for days.
- Rich, Aromatic Flavor Profile: The harmonious blend of molasses and plump raisins infuses this bread with a warm, inviting flavor that is perfectly sweet and incredibly fragrant. Each bite offers a comforting taste experience that evokes nostalgic memories of home baking. You’ll be amazed at how well it retains its moisture and delightful taste for up to three days at room temperature!
- A Unique Take on a Classic: Unlike typical raisin bread recipes, this old-fashioned version stands out with its distinctive mixing method. The molasses provides a depth of sweetness and a hint of warm spice that granulated sugar can’t match, while shortening ensures a remarkably soft and tender texture that truly sets it apart.
- Yields Two Generous Loaves: This easy-to-follow recipe is perfect for sharing or stocking up! You’ll get two substantial loaves, making it ideal for gifting to friends and family, or freezing one for a convenient future treat. Double the deliciousness with minimal extra effort!
Table of Contents
- Why You Will Love This Old-Fashioned Raisin Bread
- Ingredients & Smart Substitutions
- Creative Variations to Try
- Professional Baking Tips for Success
- How to Make This Delicious Raisin Bread
- Chef Lindsey’s Recipe Tip
- Raisin Bread Recipe FAQs
- Recommended Raisin Bread Recipes
- Raisin Bread Full Recipe Card
- Before You Go: More Bread Inspiration
Ingredients & Smart Substitutions for Perfect Raisin Bread
- Whole Milk: Using whole milk is key for adding rich flavor and beneficial fat to this bread. Its lower water content and higher fat content are crucial for achieving that desirable tender and moist texture. While whole milk is recommended, you can certainly experiment with other milk substitutes you have on hand, such as 2% milk or even a plant-based milk for a dairy-free version. Buttermilk is also a fantastic option, offering a subtle tang and contributing to an even more tender crumb, much like in my popular honey whole wheat buttermilk rolls.
- Shortening: Ingredients like Crisco or other vegetable shortenings are invaluable for this recipe. Shortening adds essential fat and plays a vital role in inhibiting excessive gluten development. This results in a bread that is incredibly tender and melt-in-your-mouth soft. If you prefer, unsalted butter can be used as a direct substitute, or for a subtle difference, coconut oil also works well, imparting a slightly different flavor profile.
- Molasses: I specifically recommend using unsulphured molasses for its lighter, milder, and more balanced flavor. It imparts all those wonderful warm, deep, and slightly wintery notes without the strong, sometimes bitter, bite associated with blackstrap molasses. Beyond flavor, molasses is also an excellent food source for the yeast, helping to kickstart and sustain a vigorous proofing process, ensuring a beautifully risen loaf.
- Dry Active Yeast: This type of yeast requires an initial activation step, which offers a reliable and controllable fermentation process. If you don’t have dry active yeast, you can easily substitute it with double the weight of fresh yeast or half the weight of instant yeast. When using fresh or instant yeast, you can often add it directly to the dough mixture without prior hydration, simplifying the process.
- All-purpose Flour: Standard all-purpose flour provides the ideal protein content for a soft yet structured bread. While bread flour can be used for a slightly chewier texture, all-purpose flour ensures the classic tender crumb we’re aiming for. Ensure you measure accurately, preferably by weight, for consistent results.
- Kosher Salt: Kosher salt is preferred for its cleaner taste and larger crystals compared to table salt, which means a teaspoon weighs less and has a less intense saltiness. It’s crucial for enhancing the bread’s flavor, but it also plays a significant role in regulating yeast activity and strengthening the dough’s gluten structure, contributing to the overall hydration balance of the dough.
- Raisins: While I typically use dark raisins for their classic flavor and appearance, feel free to get creative! Golden raisins offer a slightly fruitier, brighter note, or you can use a delightful mix of both. For those who love an abundance of fruit, don’t hesitate to increase the quantity to up to 3 cups, just like I do in my rich sourdough raisin bread recipe. My philosophy is simple: the more raisins, the merrier the bread!
Please refer to the detailed recipe card at the end of this post for precise quantities and comprehensive instructions on all ingredients.
Creative Variations to Enhance Your Raisin Bread
- Craft a Delicious Cinnamon Swirl: For an irresistible cinnamon raisin bread, incorporate a tempting cinnamon swirl! After the initial bench rest, gently roll out each dough portion into an 8×12-inch rectangle. Lightly brush the surface with a touch of milk or water, then generously sprinkle a cinnamon-sugar mixture evenly over the dough, leaving a small border clear, just as you would when preparing delightful sourdough cinnamon rolls. Tightly roll the dough lengthwise, pinch the seam securely closed, and carefully place it seam-side down into your prepared loaf pan. Continue with the final proofing step.
- Experiment with Different Mix-ins: Don’t limit yourself to just raisins! This versatile bread base welcomes a variety of dried fruits and nuts. Try incorporating dried currants, reminiscent of these flavorful sourdough hot cross buns, or dried cherries for a bright, tart contrast, similar to my cherry sourdough bread. Freeze-dried strawberries or blueberries can also add a unique texture and flavor. For a nutty crunch, consider adding toasted pecans or walnuts. And for a decadent twist, sprinkle in some chocolate chips!
- Switch Up the Sweetener: While molasses provides a distinct depth, feel free to explore other sweeteners. Exchange the molasses for local honey to impart a different kind of floral sweetness and aroma. I’ve also successfully made this bread using dark brown sugar or light brown sugar, and the results were truly divine, offering a slightly different caramel note.
- Infuse with Aromatic Spices: Elevate the flavor profile with a touch of warming spices. Incorporate a teaspoon or two of my homemade apple pie spice or my cozy pumpkin spice blend into the flour mixture. These spice combinations beautifully complement the molasses and raisins, adding another layer of comforting flavor to your bread.
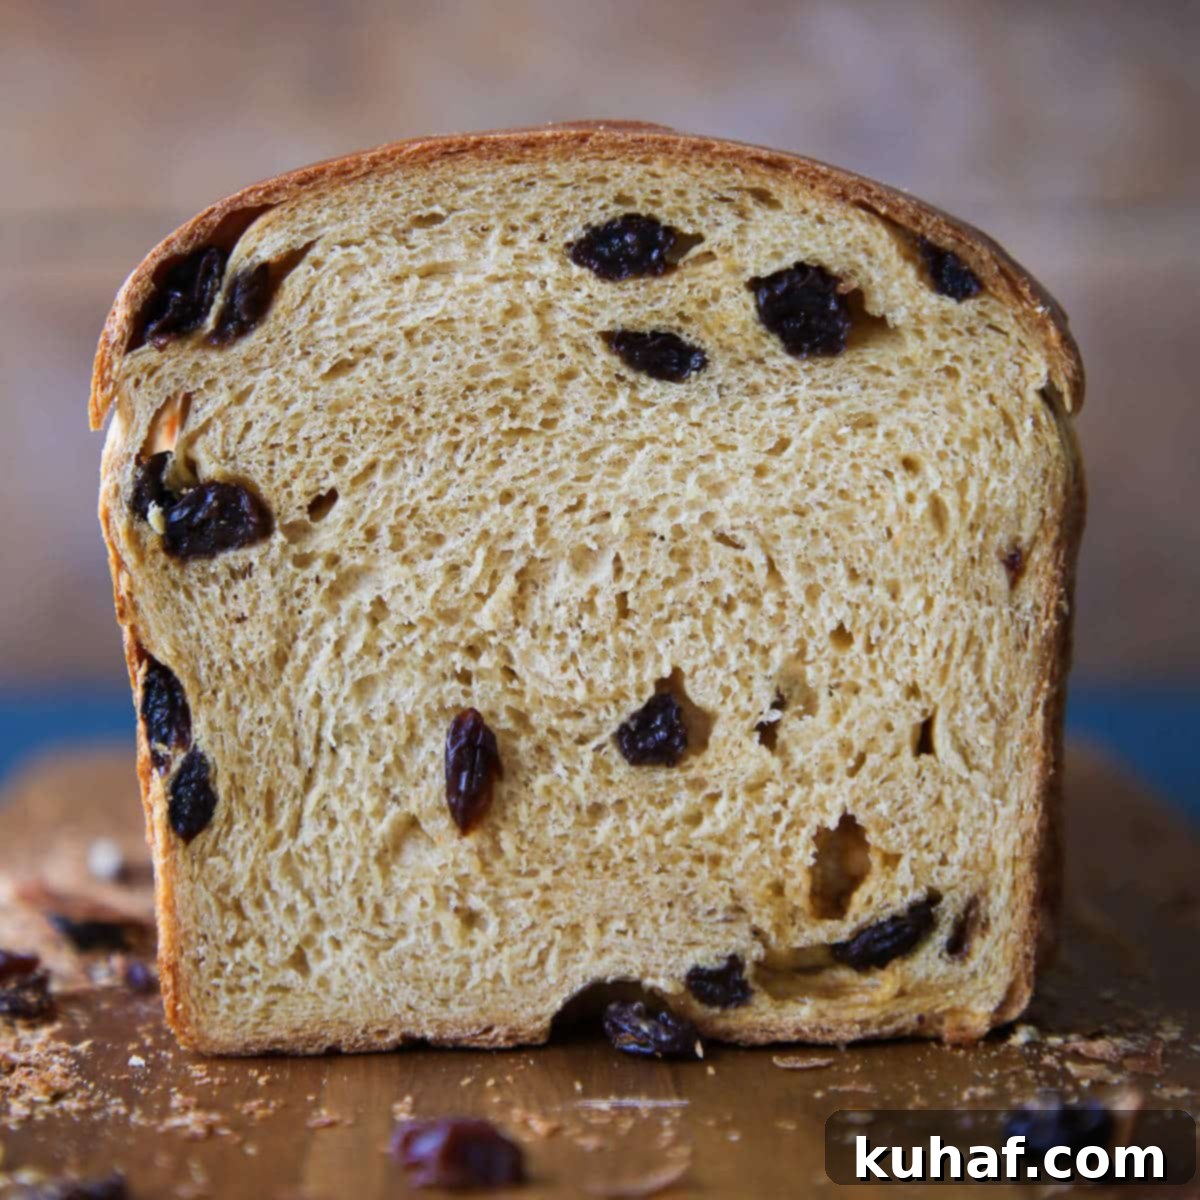
Professional Baking Tips for Perfect Raisin Bread
- Ensure Your Milk is Cooled to the Right Temperature: This is a critical step! If the milk mixture is too hot when you add the yeast, it will unfortunately kill the yeast, preventing your bread from rising. Yeast thrives and ferments best within a specific temperature range, ideally between 90°F and 110°F (32°C to 43°C). Using a thermometer to check the temperature precisely will ensure optimal yeast activity and excellent fermentation and growth for your dough.
- Never Rush the Proofing Process: Patience is truly a virtue in bread making. The bulk proof, or first proofing, is an essential stage for developing both the complex flavors and the robust structure of your dough. Rushing this process can lead to bread that tastes bland and overly yeasty. Furthermore, under-proofed dough often results in a dense, heavy loaf that can feel doughy even after it’s fully baked. Allow your dough the necessary time to double in size for the best possible outcome.
- Embrace Your Kitchen Scale for Accuracy: Baking, especially bread making, is a science where precision matters. The hydration level of your flour needs to be just right for proper gluten development, which directly impacts the texture and rise of your bread. The most accurate and consistent way to achieve this is by weighing all your ingredients, particularly flour, instead of relying on volume measurements. A kitchen scale will be your best friend in ensuring perfect bread every time!
- Achieving the Windowpane Test: Understanding when your dough is properly kneaded is crucial. The windowpane test helps you gauge sufficient gluten development. To perform it, pinch off a small piece of dough (about the size of a golf ball) and gently stretch it between your fingers. If you can stretch it thin enough to see light pass through without tearing, like a translucent windowpane, your gluten is well-developed. If it tears easily, continue kneading for a few more minutes and test again. This ensures a strong, elastic dough that will rise beautifully.
How to Make This Delicious Old-Fashioned Raisin Bread Recipe
Follow these detailed instructions to create your own scrumptious raisin bread. More precise measurements and comprehensive details are available in the recipe card found further down the page.
Mix the Dough:
Step 1: In a medium saucepan, combine the shortening, molasses, and whole milk. Gently heat this mixture over low to medium heat, stirring occasionally, until all the shortening has completely melted and the ingredients are well incorporated. Once melted, remove the saucepan from the heat and allow the mixture to cool down until it reaches a lukewarm temperature, specifically between 100°F and 110°F (38°C to 43°C). This temperature is crucial for activating the yeast properly.
Step 2: Once the milk mixture has cooled to the correct temperature, whisk in the active dry yeast. Let the mixture sit, completely undisturbed, for about 10-15 minutes. During this time, the yeast should activate, becoming bubbly and frothy on the surface. This indicates that your yeast is alive and active, ready to work its magic!
Important Yeast Check: If, after the full 15 minutes, you do not observe any bubbles or frothy activity, it’s highly likely that your yeast is no longer viable. This could be due to old yeast, improper storage, or the milk being too hot or too cold. It’s always best to discover this now rather than after you’ve invested time and ingredients waiting for a loaf that won’t rise. If inactive, discard and start again with fresh yeast.
Step 3: In the large bowl of a stand mixer, fitted with the paddle attachment, add the activated yeast mixture along with the kosher salt and all-purpose flour. Begin mixing on a low speed until all the ingredients are just combined and a shaggy dough forms. Scrape down the sides of the bowl as needed to ensure everything is incorporated.
Step 4: Switch the attachment to the dough hook. Continue mixing on a medium speed for approximately 10-12 minutes in a stand mixer, or until a smooth, elastic dough has formed and it successfully passes the “windowpane test” (as described in the professional tips above). This kneading time is vital for developing the gluten structure that gives the bread its characteristic texture.
Window Pane Test Reminder: To perform this test, take a small portion of dough and gently stretch it between your fingers. You should be able to stretch it thin enough to see light through it without it tearing. If it tears, it needs more kneading time. Remember, a piece of dough that is too small or overly aggressive pulling can also cause it to tear, so use a golf-ball sized piece and be gentle.
Step 5: Once the dough has reached the desired level of gluten development and passes the windowpane test, add the raisins. Mix on the lowest speed until the raisins are evenly distributed throughout the dough. Ensure they are fully incorporated, without over-mixing, to prevent tearing the developed gluten.
Bulk Proof (First Rise):
Step 6: Lightly oil a large, clean bowl with cooking spray or a thin coat of vegetable oil. Transfer the kneaded dough into the greased bowl. Turn the dough once to ensure it’s lightly coated with oil on all sides, which prevents it from sticking. Cover the bowl securely with a damp towel or plastic wrap to maintain a humid environment.
Step 7: Place the covered bowl in a warm, draft-free spot and allow the dough to proof until it has visibly doubled in size. This typically takes about an hour, but timing can vary depending on your ambient room temperature and humidity. The dough should feel light and airy when gently poked.
Step 8: Once doubled, gently turn the proofed dough out onto a clean countertop. Divide the dough into two equal portions. For precision, aim for approximately 730 grams per portion. This ensures uniform loaf sizes.
Working with Moist Dough: This bread dough is designed to be quite moist, so you generally won’t need to flour your work surface. Adding too much flour can make the dough stiff and harder to shape properly. If you find the dough is a bit sticky, instead of flour, use a light spray of nonstick cooking spray on your hands and countertop, similar to how I handle my tender potato rolls.
Shape the Bread:
Step 9: Before you begin shaping, preheat your oven to 350°F (175°C). Prepare two standard 9×5-inch loaf pans by spraying them thoroughly with nonstick cooking spray or greasing them with butter. This prevents sticking and ensures easy removal after baking.
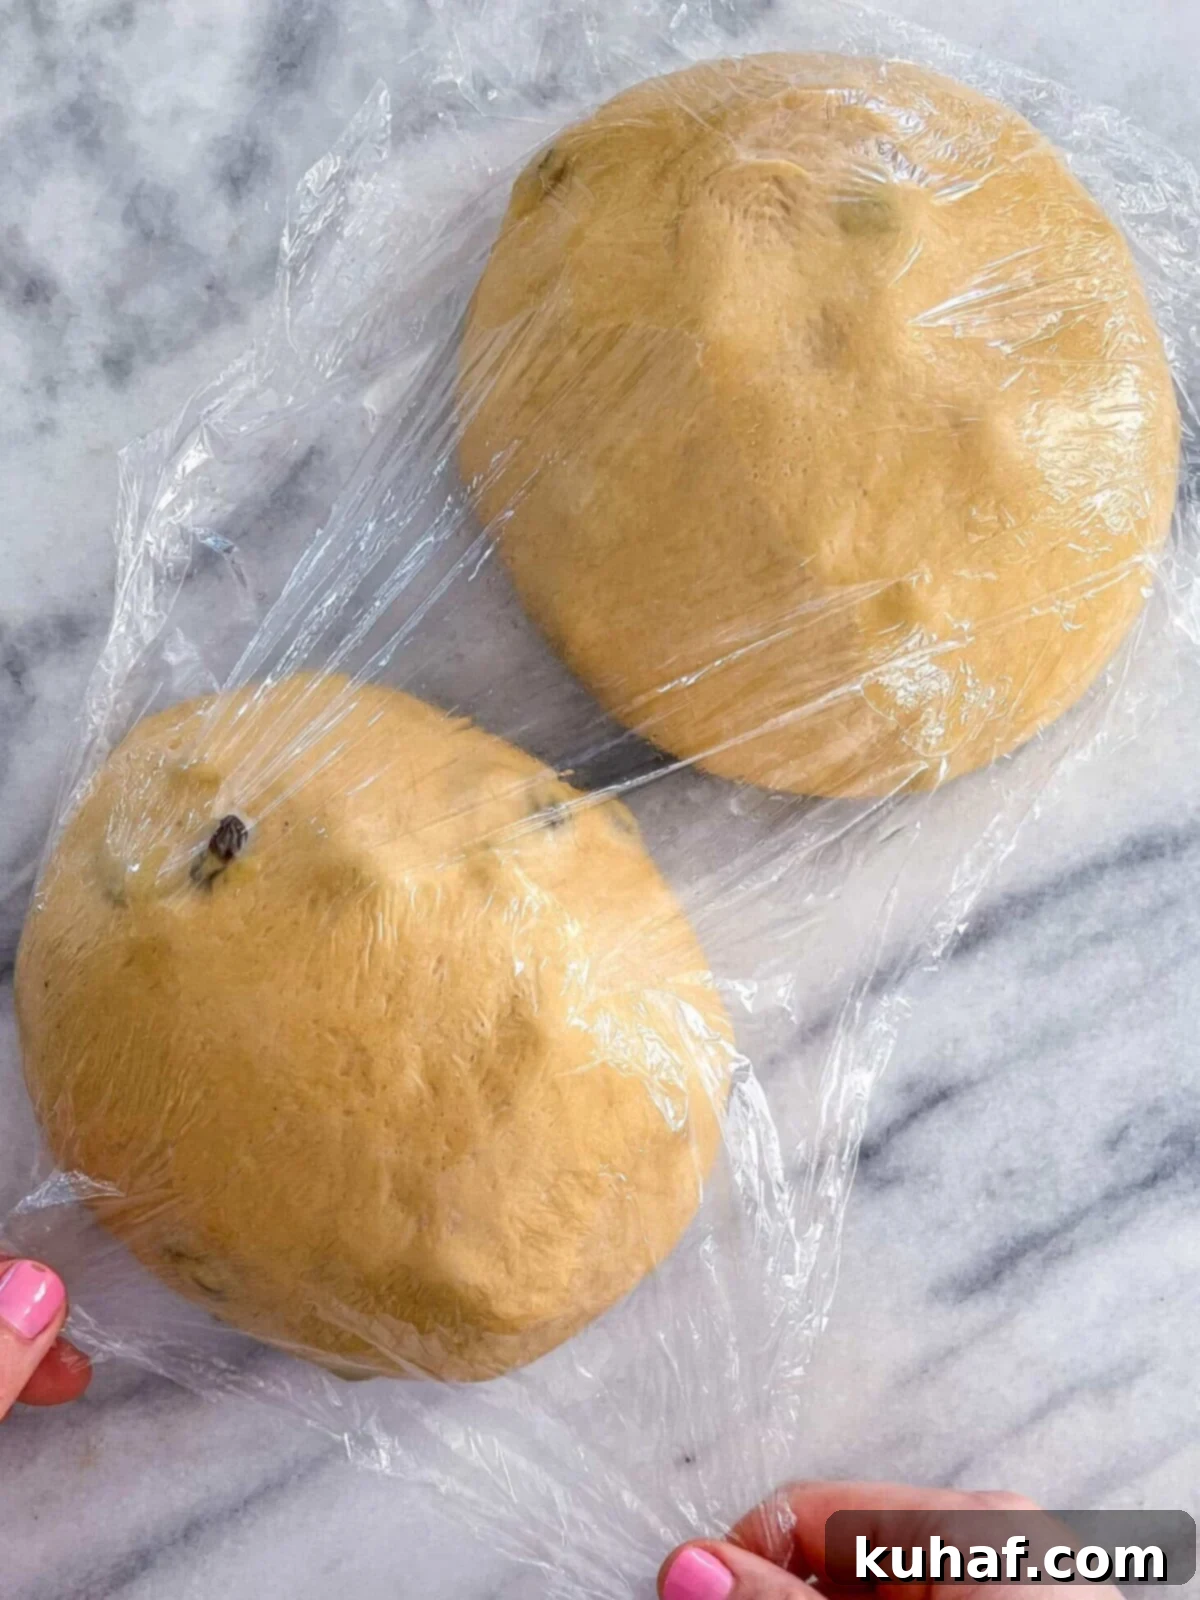
Step 10: Preshape the Dough (Boule): Take one portion of dough and gently preshape it into a round ball (boule). To do this, lightly flatten the dough, then fold each of its four sides towards the center, creating a somewhat square package. Flip the dough over so the seam side is down. Using both hands, gently pull the dough towards yourself across the countertop, allowing the surface to stretch taut over the top and tuck underneath. Rotate the dough a quarter turn and repeat this gentle pulling motion until you have a smooth, tight round dough ball. Cover the preshaped dough with plastic wrap and let it bench rest (sit undisturbed) for 10 minutes. This allows the gluten to relax, making final shaping easier.
Step 11: Final Shaping (Log for Loaf Pan): After the bench rest, it’s time for the final shape. Gently flip the preshaped dough over so the seam is facing upwards. Pick up the dough by two corners and allow gravity to gently stretch it into a rough rectangular shape. Place it back on your workbench with the seam still facing up. Fold the top third of the dough down towards the center and press firmly to seal. Rotate the dough 180 degrees and repeat this step with the other side, folding the new top third down towards the center and sealing. Now, using the heel of your right hand and the thumb on your left, starting from the right side of the dough, grab the top edge and fold it over your thumb, rolling it forward to create a tight cylinder. Press down firmly with the heel of your right hand along the seam you just created to seal it. Continue this rolling and sealing process along the entire length of the loaf until you have a tightly rolled log.
Pan Sizing Tip: Keep the length of your loaf pan in mind as you shape. You want the dough log to be roughly the same length as your pan, neither too long nor too short. You can place your pan on the bench in front of you as an easy visual reference. If the dough log isn’t tight enough or needs to be a bit longer, repeat the thumb-folding and sealing process once more to achieve the ideal shape and tension.
Step 12: Carefully place the shaped dough log into the prepared loaf pan, ensuring the seam side is facing down. This creates a smooth top for your finished bread. Cover the loaf pan securely with plastic wrap.
Final Proof and Bake:
Step 13: Place the covered loaf pans in a warm, slightly humid environment for their final proof. Allow them to rise until they have visibly doubled in size and feel noticeably light and airy to the touch. This can take anywhere from 45 minutes to 1.5 hours, depending on the warmth of your proofing spot.
For a Beautiful, Shiny Crust: If you desire a gorgeous, shiny golden-brown top for your bread, brush the surface lightly with a beaten egg (egg wash) just before placing the loaves in the oven. A thin, even coating is all you need to achieve this professional-looking finish.
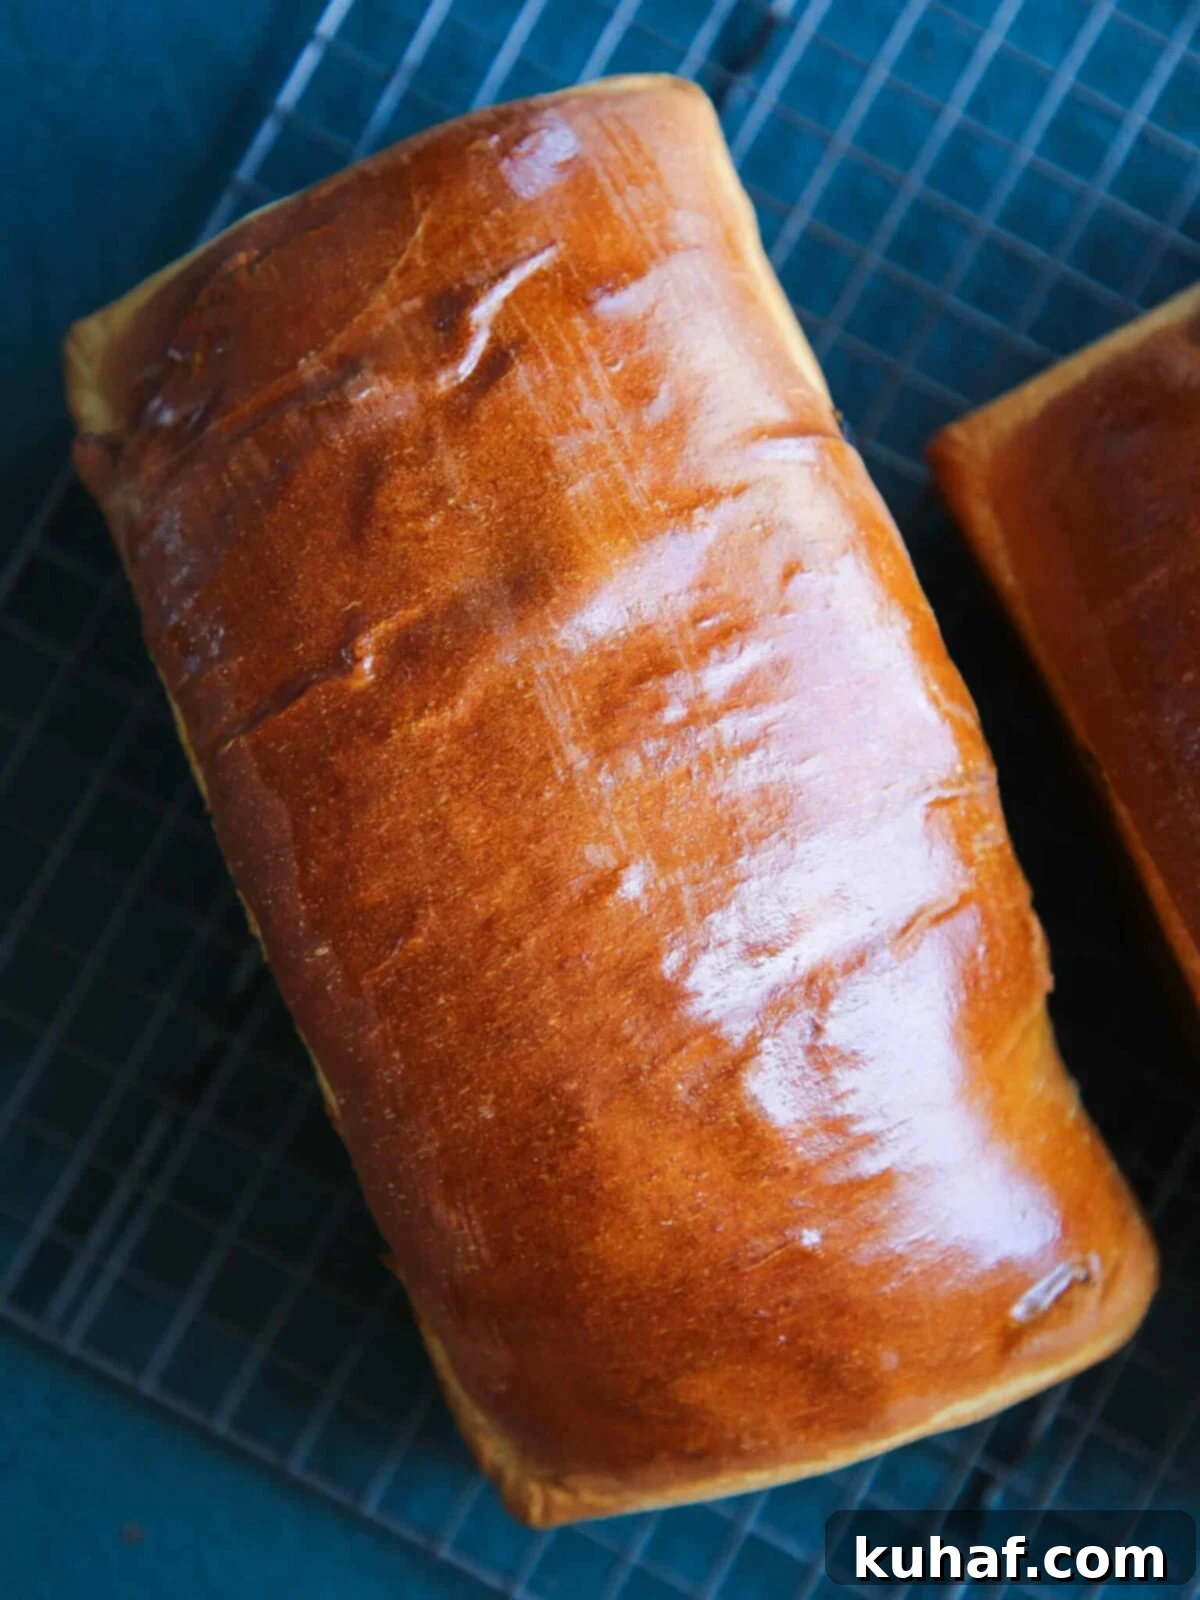
Step 14: Bake the loaves in your preheated oven at 350°F (175°C) until an instant-read thermometer inserted into the center of the bread registers 186°F (86°C). Alternatively, you can insert a wooden toothpick into the center; if it comes out clean, the loaves are done. As soon as they are baked, carefully turn the loaves out of their pans onto a wire cooling rack. Allow them to cool completely before attempting to slice. Slicing warm bread can lead to a gummy texture.
Chef Lindsey’s Recipe Tip
Immediate Removal from Pan: It is crucial to remove the baked bread from its loaf pan immediately after taking it out of the oven. If you allow the bread to cool while still in the pan, the trapped steam will accumulate at the bottom, making the crust soggy. We definitely want to avoid any soggy bottoms to ensure a perfectly crisp and delicious crust!
Raisin Bread Recipe FAQs
Thanks to the rich combination of molasses, milk, and shortening, this raisin bread is exceptionally soft and will remain wonderfully moist at room temperature for up to 3 days before it begins to show signs of drying out. For optimal freshness, store your well-wrapped loaves or slices in an airtight container at room temperature for up to 5 days. For longer storage, freeze the bread immediately after it has cooled completely for up to 2 months. Be aware that storing it in the refrigerator can actually dry out the bread more quickly. I personally find it much more convenient to pre-slice the bread before wrapping and freezing. This way, you can easily take out and thaw just a few slices at a time, preventing waste and making quick snacks or breakfasts effortless!
Generally, for this recipe, you do not need to soak raisins before incorporating them into the dough, unless they are particularly old and dry and feel hard. Plump, fresh raisins are ideal. However, if you want to infuse an extra layer of flavor and richness, you can certainly soak them in a liquid like brandy or rum, as I often do for my decadent rum raisin banana bread. If you choose to soak them, be sure to drain them thoroughly and pat them dry with a paper towel before adding them to the dough. Excess moisture can affect the dough’s consistency.
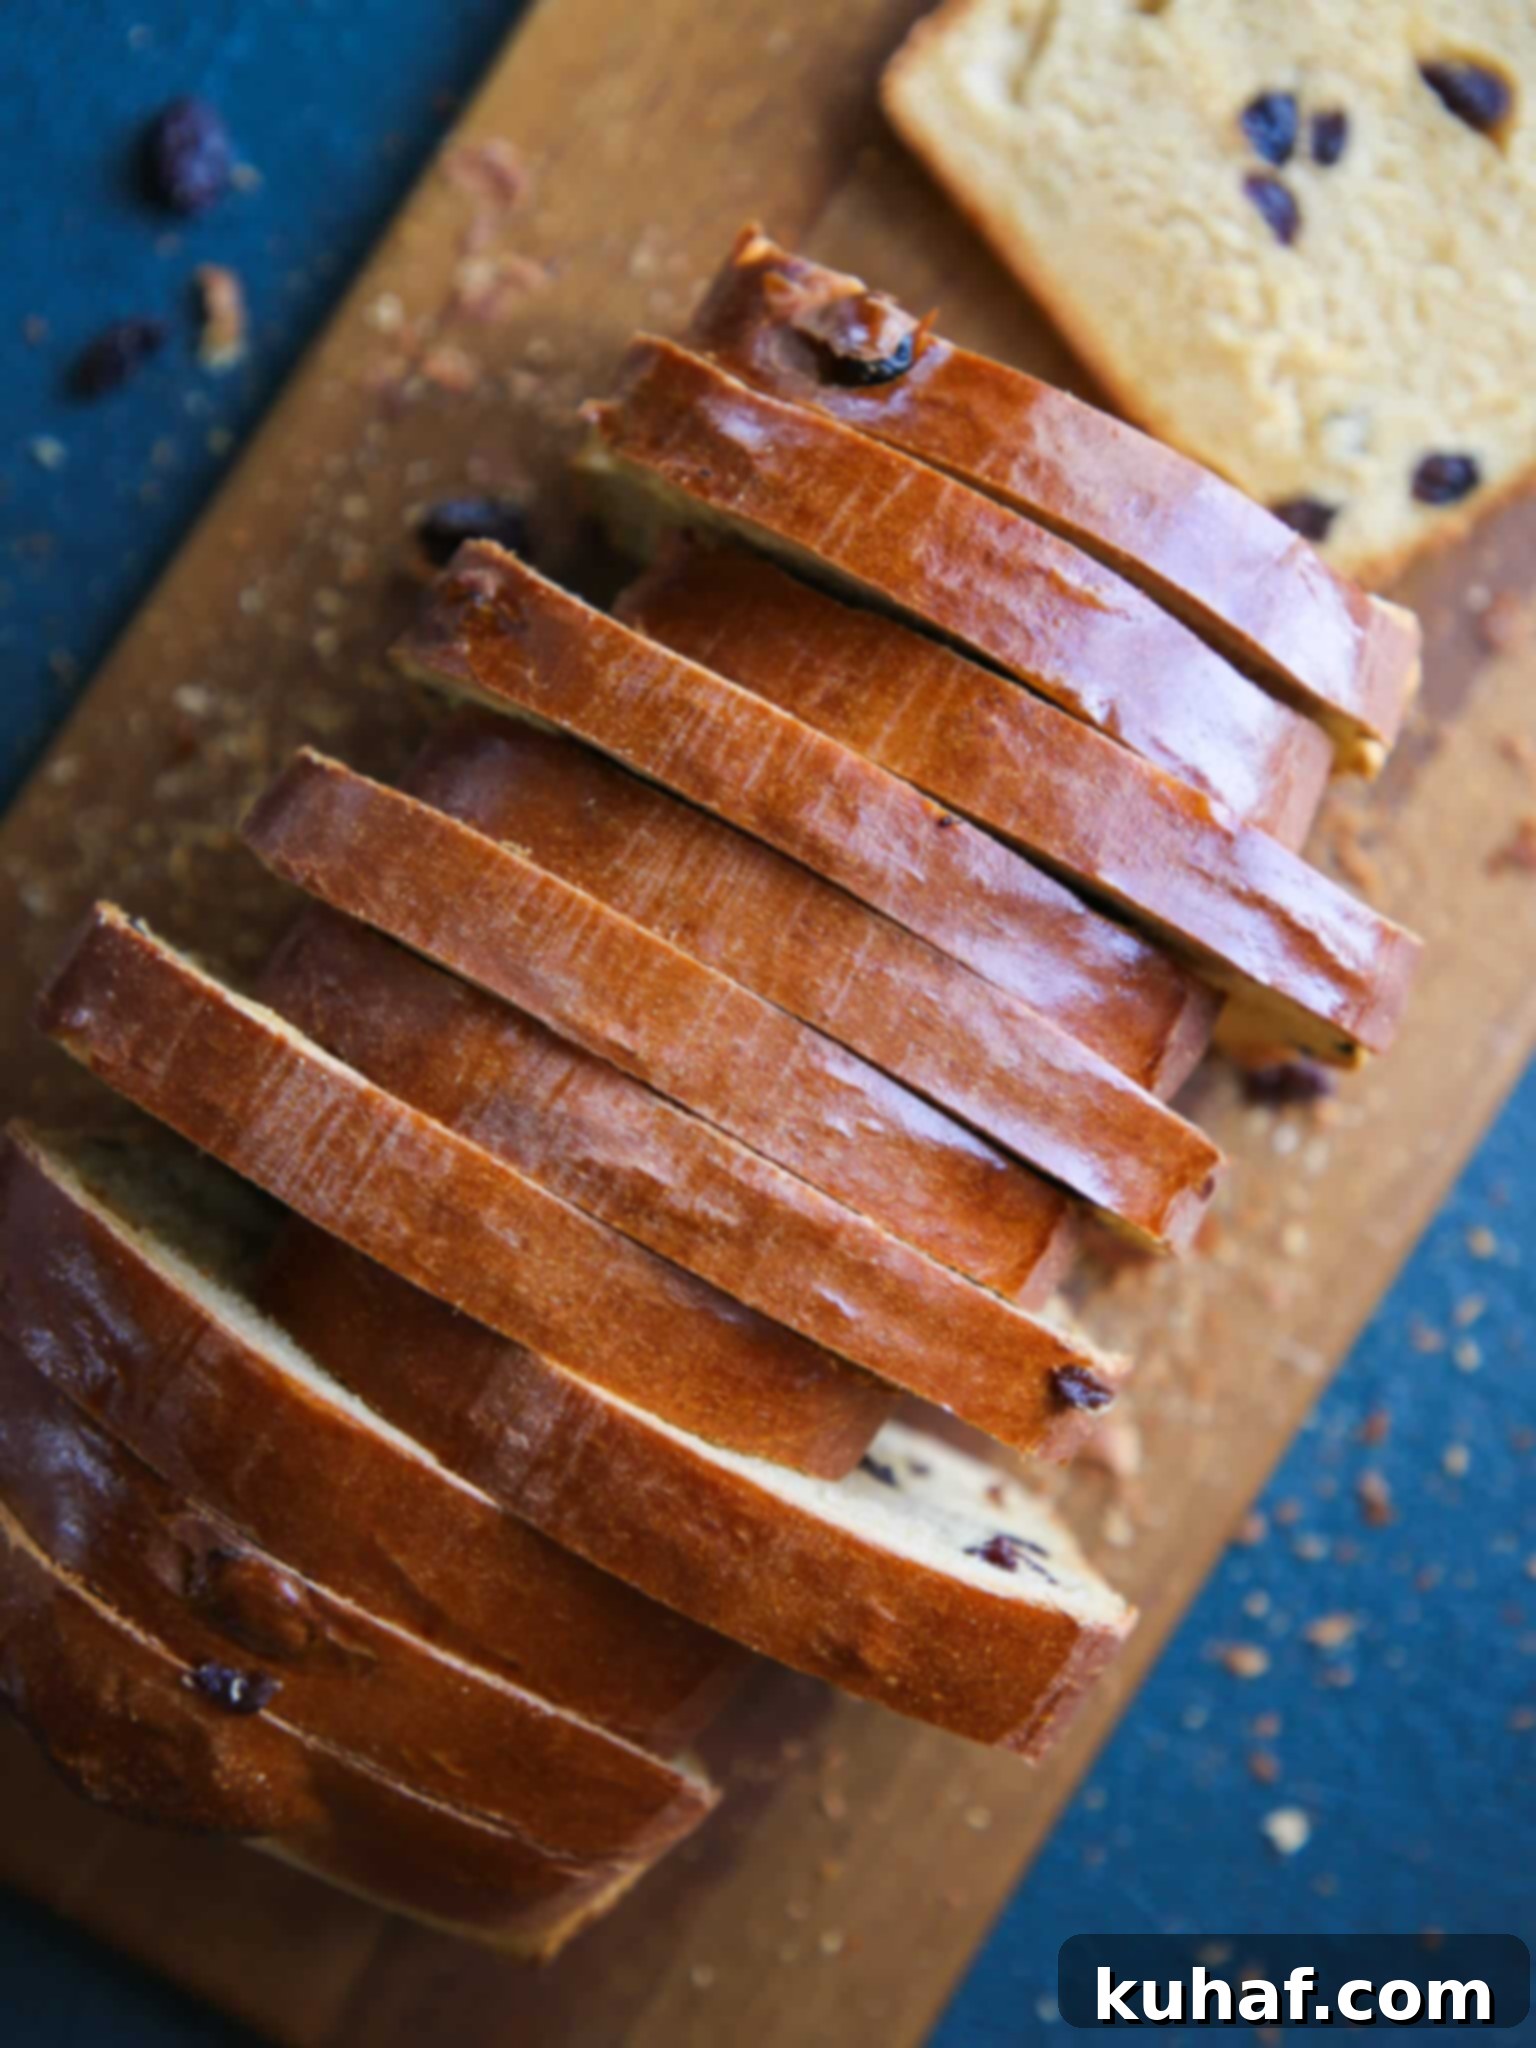
My absolute favorite way to enjoy raisin bread is toasted to perfection, generously slathered with butter, and then sprinkled with a sweet cinnamon sugar topping – simply irresistible! Beyond that classic, it pairs wonderfully with creamy homemade maple butter, a dollop of cream cheese, or your favorite fruit jam. For a delightful afternoon treat, serve it alongside a cup of hot tea or coffee.
Leftover raisin bread is a treasure trove of possibilities! It’s absolutely perfect for making indulgent cinnamon raisin French toast, a comforting easy bread pudding, or even a seasonal pumpkin bread pudding. You can also transform stale slices into sweet bread crumbs or crunchy croutons: simply toss the crumbs or bread cubes in melted butter, sugar, and your favorite sweet spices (like cinnamon or nutmeg). Toast them in the oven until golden brown and delightfully crunchy. These sweet additions are fantastic sprinkled over vanilla bean ice cream, perhaps drizzled with some salted caramel sauce!
Recommended Raisin Bread Recipes & More
Easy Quick Bread Recipes
Traditional Irish Soda Bread with Raisins
Sourdough Bread Recipes
Sourdough Raisin Bread
Yeasted Bread Recipes
The Best Stollen Recipe
Easy Quick Bread Recipes
Brown Butter Rum Raisin Banana Bread
If you tried this recipe and absolutely loved it, please take a moment to leave a 🌟 star rating and share your thoughts in the comments below. Your feedback truly brightens my day and helps others discover this wonderful recipe!
Raisin Bread
Chef Lindsey
45 minutes
30 minutes
1 hour 30 minutes
2 hours 45 minutes
24 slices
Saved
Pin Recipe
Comment
Print Recipe
Ingredients
- 2 cups whole milk warmed to 115°F (46°C)
- 2 tbsp shortening
- ¼ cup molasses
- 2 ¼ teaspoon dry active yeast
- 6 cups all-purpose flour
- 1 ½ teaspoon kosher salt
- ¾ cup raisins
0inch
9 x 5inch
rectangle
Instructions
Mix the dough:
-
Combine the shortening, molasses, and milk in a saucepan and heat until all the shortening has melted, stirring occasionally. Let this mixture cool until it is lukewarm (100°F – 110°F / 38°C – 43°C).
-
Whisk the active dry yeast into the mixture and let it sit, undisturbed, for 10-15 minutes, or until the yeast has bubbled and looks frothy.
-
In the bowl of a stand mixer fitted with the paddle attachment, combine the wet ingredients with the salt and flour. Mix on low until incorporated.
-
Switch to the dough hook attachment and mix on medium until a smooth, elastic dough has formed and it passes the windowpane test (approx. 10-12 minutes).
-
Once sufficient gluten development has occurred, add the raisins and mix on low until they are evenly distributed throughout the dough.
Bulk proof:
-
Oil a large bowl with cooking spray or vegetable oil. Place the dough in the greased bowl and cover with a damp towel or plastic wrap.
-
Allow to proof in a warm spot until doubled in size, which typically takes about an hour.
-
Turn the dough out onto a countertop and divide it into two equal portions (approximately 730g each).
Shape the bread:
-
Preheat the oven to 350°F (175°C) and spray two 9×5-inch loaf pans with cooking spray or butter.
-
Preshape each dough portion into a boule (round). Fold each of the four sides towards the center, then flip over (seam side down). Gently pull it towards yourself to create a smooth, tight surface. Cover with plastic wrap and bench rest for 10 minutes.
-
Final shape each dough into a log for the loaf pan. Flip the dough over so the seam is facing up. Stretch into a rectangle by picking it up and letting gravity pull. Place on the bench (seam still face up). Fold the top third towards the center, press down. Rotate 180 degrees, repeat with the other side. Use your right hand heel and left thumb to grab the top part from the right, fold it over your thumb, and seal it down by pressing the heel of your right hand on the seam. Repeat along the full length to create a tight log, ensuring it fits your loaf pan.
-
Place the shaped dough seam-side down in the prepared loaf pans. Cover with plastic wrap.
Final Proof and Bake:
-
Proof in a warm, humid place until they have doubled in size and feel light and airy to touch. (Brush with beaten egg for a shiny top if desired).
-
Bake in the preheated oven until a thermometer reads 186°F (86°C) or a toothpick inserted into the center comes out clean. Turn out onto a cooling rack immediately and cool completely before slicing.
Notes
Presentation – For an attractive, glossy golden crust, brush the top of each loaf with a simple egg wash (one egg beaten with a tablespoon of water) before baking.
Flavor Tips – While raisins are typically a staple, it’s always a good idea to taste your raisins if they’ve been stored for a while. You want to ensure they still taste fresh and sweet, avoiding any off-flavors in your finished bread.
Storage – Store your raisin bread well-wrapped or in an airtight container at room temperature for up to 5 days. For longer preservation, freeze the loaves (preferably pre-sliced for convenience) immediately after they have cooled completely for up to 2 months. The refrigerator can surprisingly dry out homemade bread faster than room temperature.
Nutrition
Carbohydrates: 31g |
Protein: 4g |
Fat: 2g |
Saturated Fat: 1g |
Polyunsaturated Fat: 1g |
Monounsaturated Fat: 1g |
Trans Fat: 1g |
Cholesterol: 2mg |
Sodium: 157mg |
Potassium: 163mg |
Fiber: 1g |
Sugar: 4g |
Vitamin A: 33IU |
Vitamin C: 1mg |
Calcium: 39mg |
Iron: 2mg
Bread
American
163
Like this? Leave a comment below!
Before You Go: Explore More Delicious Bread Recipes
I genuinely hope you thoroughly enjoyed preparing and tasting this wonderfully easy and delicious old-fashioned raisin bread recipe! It’s a true classic that brings comfort to any meal. Don’t stop your baking adventure here! Be sure to explore our other fantastic yeasted bread recipes for more delightful creations. You might particularly love our incredibly soft and wholesome whole wheat sandwich bread, perfect for everyday enjoyment, or treat yourself to the best cinnamon roll recipe with luscious cream cheese icing for an unforgettable breakfast or dessert. Happy baking!
