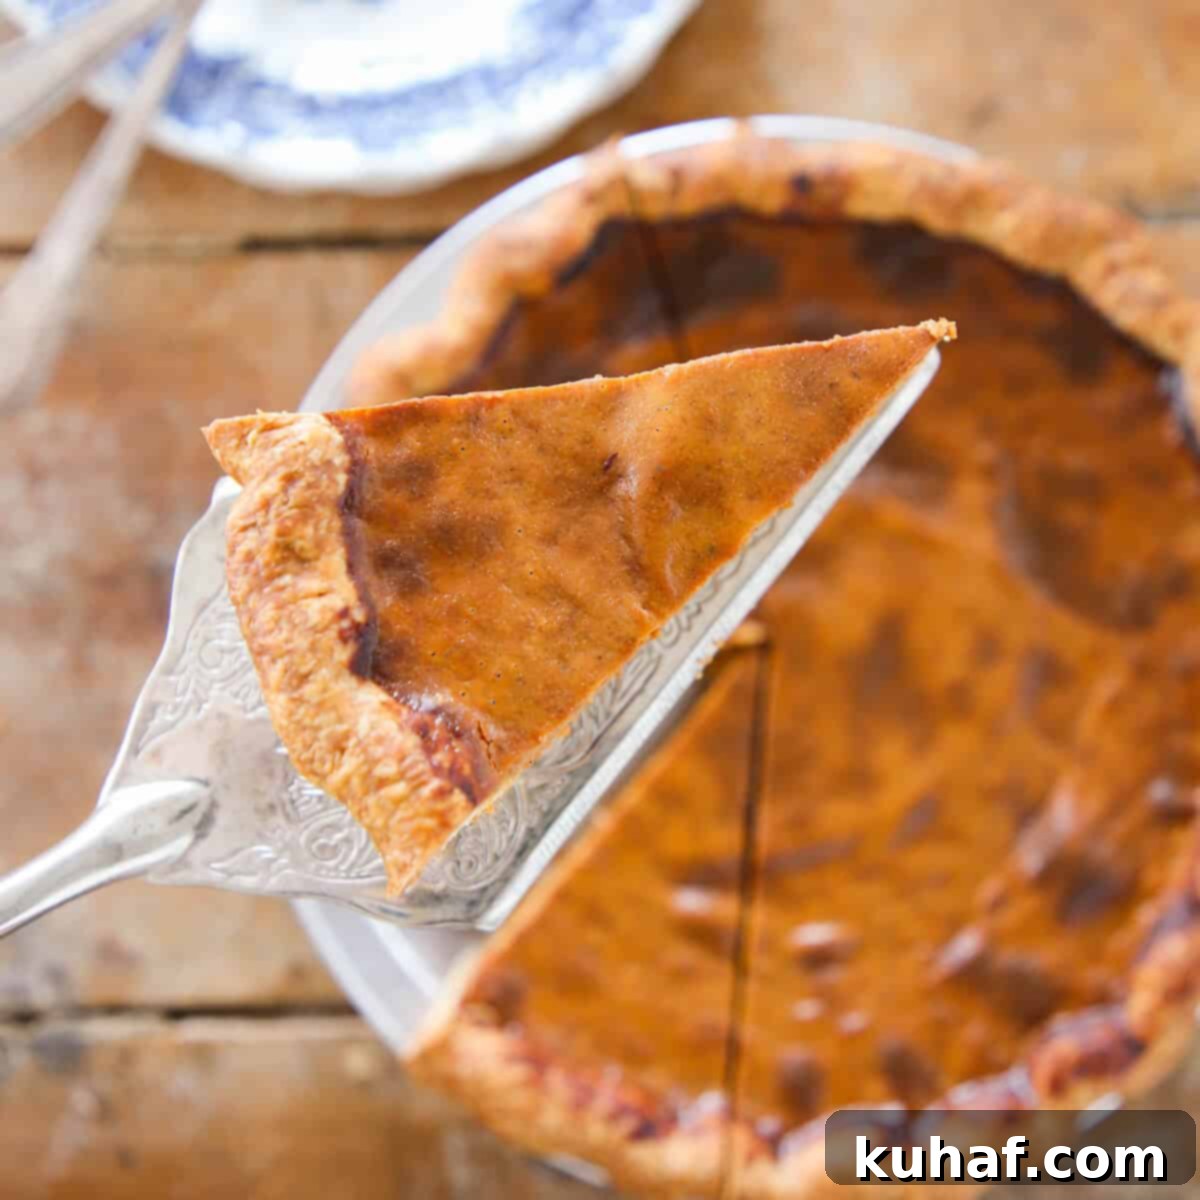
The Ultimate Easy & Foolproof Pumpkin Pie: Creamy, Spiced, and Crack-Free for the Holidays
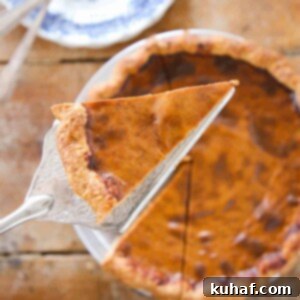
An incredibly easy pumpkin pie recipe that uses sweetened condensed milk and requires only 5 key ingredients. This simple approach involves whisking everything together, pouring the mixture into a pie crust, and baking to perfection! The result is a delightfully creamy, perfectly spiced, and utterly foolproof dessert, making it arguably the best pumpkin pie filling, especially when baked in a flaky all-butter pie crust.
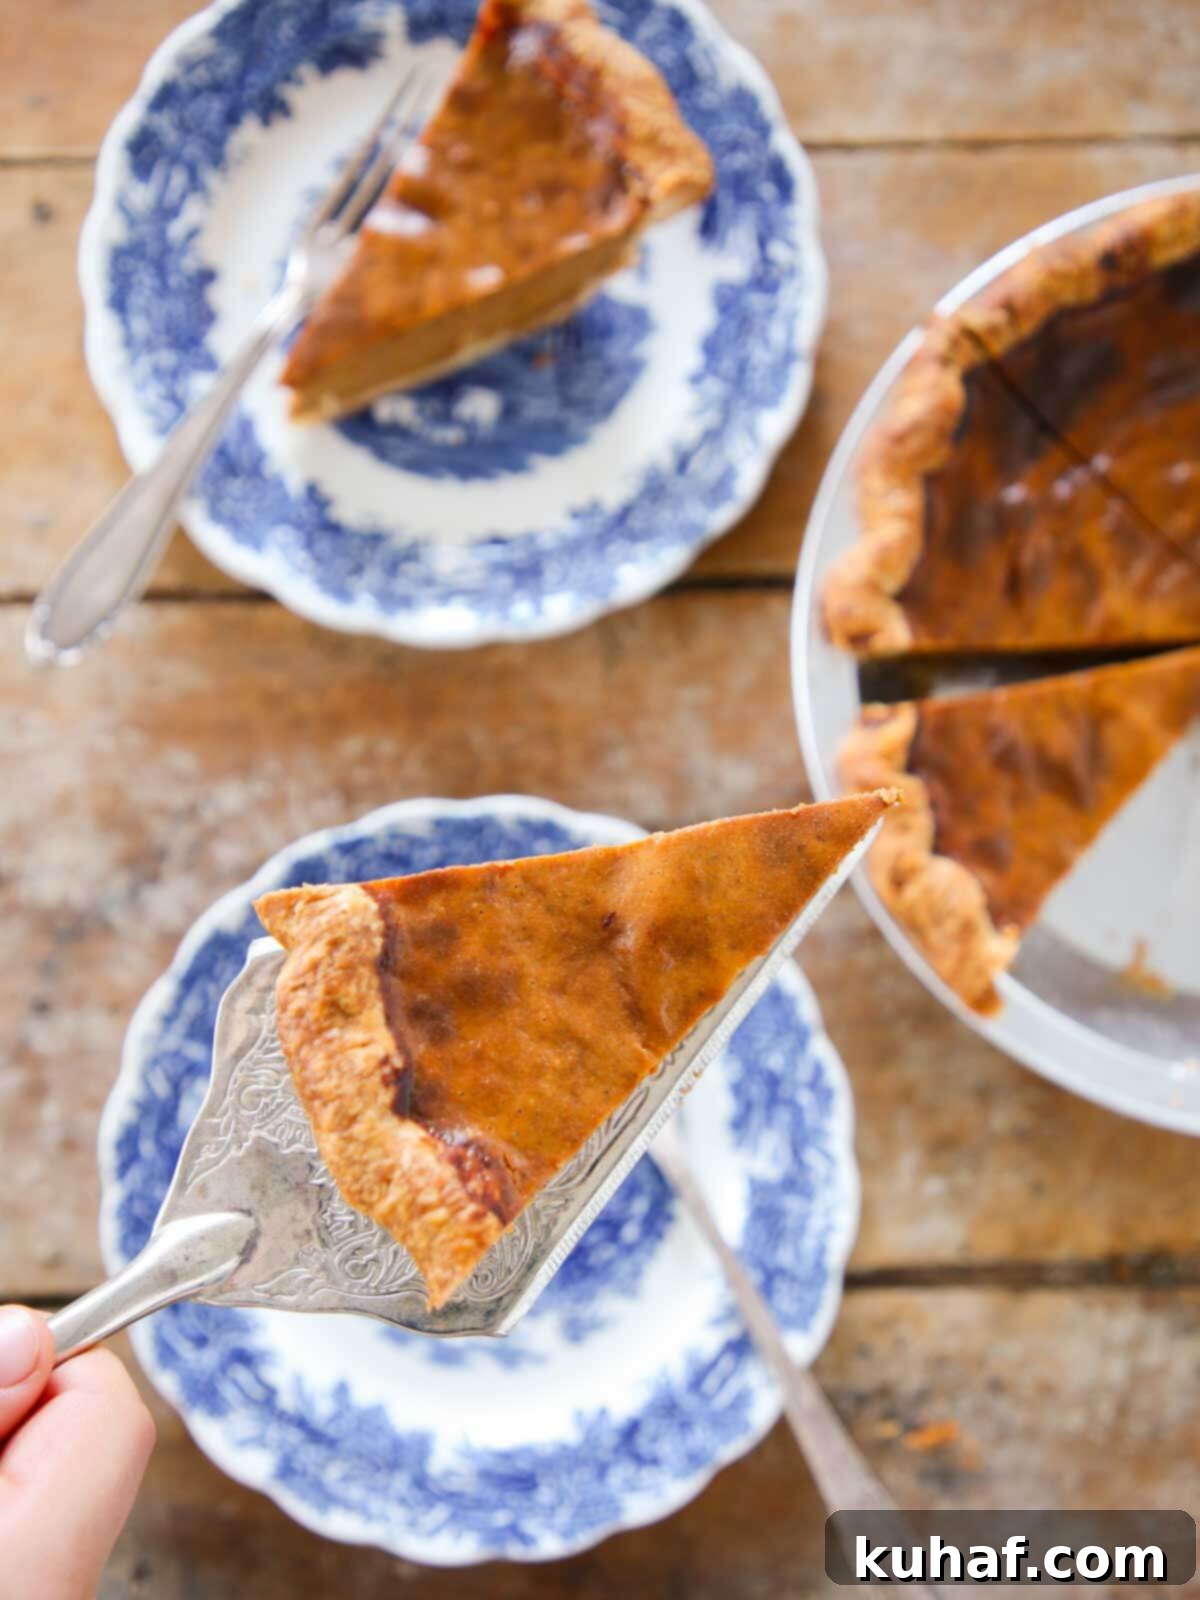
The holiday season, while joyful, can often bring a whirlwind of activity and unexpected challenges. Amidst all the chaos, one thing you can always count on is the unwavering perfection of this Easy Pumpkin Pie. It’s designed to come through beautifully, every single time, offering a comforting reliability during the busiest time of the year.
Beyond this incredible pumpkin pie, I’m here to guide you through a selection of your favorite holiday desserts. Explore classics like classic pecan pie, the comforting sweet potato pie, a festive pumpkin roll, and the impressive mile high apple pie. For a delightful change of pace, consider my Mom’s Apple Crisp. In fact, any of these 25 Best Pumpkin Recipes are guaranteed to elevate your Thanksgiving celebration to an unforgettable level.
Table of Contents
- Why This is the Best Homemade Pumpkin Pie
- Professional Tips for Baking Pumpkin Pie
- Choose the Right Pie Crust for Pumpkin Pie
- Essential Ingredients for Your Perfect Pumpkin Pie
- Possible Variations & Substitutions to Customize Your Pie
- How to Make Easy Pumpkin Pie: Step-by-Step Guide
- Chef Lindsey’s Recipe Tip for Success
- What to Serve with Pumpkin Pie for an Extra Treat
- Frequently Asked Questions About Pumpkin Pie
- Easy Pumpkin Pie Recipe Card
- Before You Go: More Dessert Inspiration
Why This is the Best Homemade Pumpkin Pie You’ll Ever Make
This isn’t just another pumpkin pie recipe; it’s *the* recipe that guarantees success and deliciousness, even for beginner bakers. Here’s why this 5-ingredient, sweetened condensed milk pumpkin pie stands out as the ultimate choice for your holiday table:
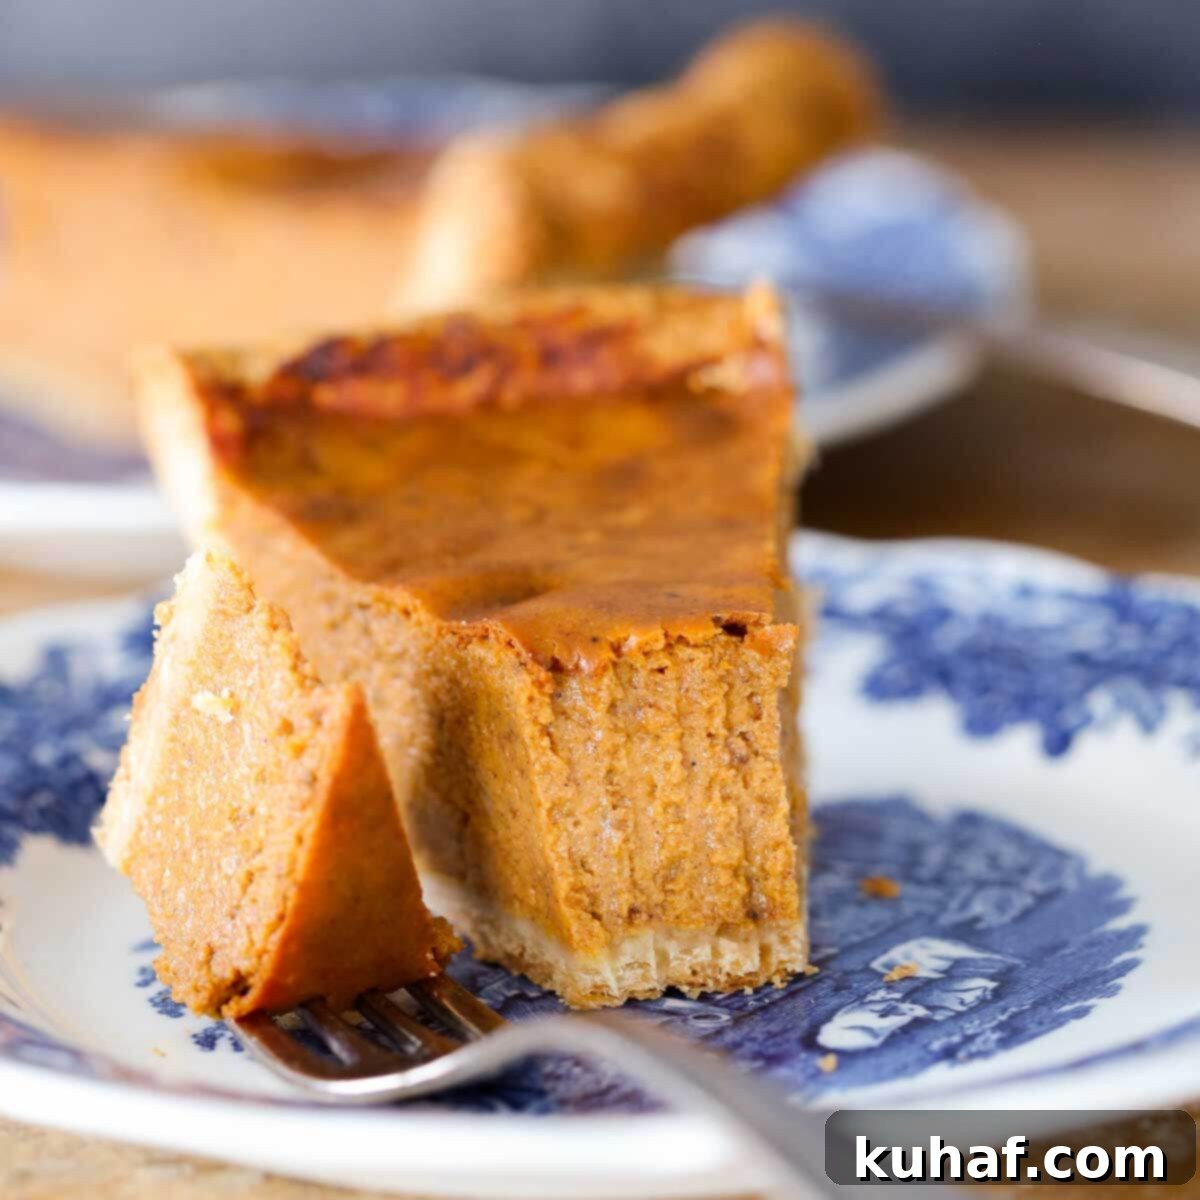
- Unbelievably Thick, Creamy & Smooth Texture: The secret weapon here is sweetened condensed milk. Unlike evaporated milk or traditional recipes that use regular milk and sugar, sweetened condensed milk boasts a lower water content and a rich, concentrated sweetness. This results in a luxurious, thick custard filling that is consistently creamy and smooth, baking flawlessly every single time without becoming watery or runny.
- Only 5 Essential Ingredients for Pure Simplicity! Forget long, complicated ingredient lists. My foolproof pumpkin pie recipe streamlines the process by focusing on just five core components: pumpkin puree, sweetened condensed milk, eggs, a balanced spice blend, and salt. You can even simplify the spices further by using 4 teaspoons of my pre-made pumpkin spice mix, saving you precious time during busy holiday preparations.
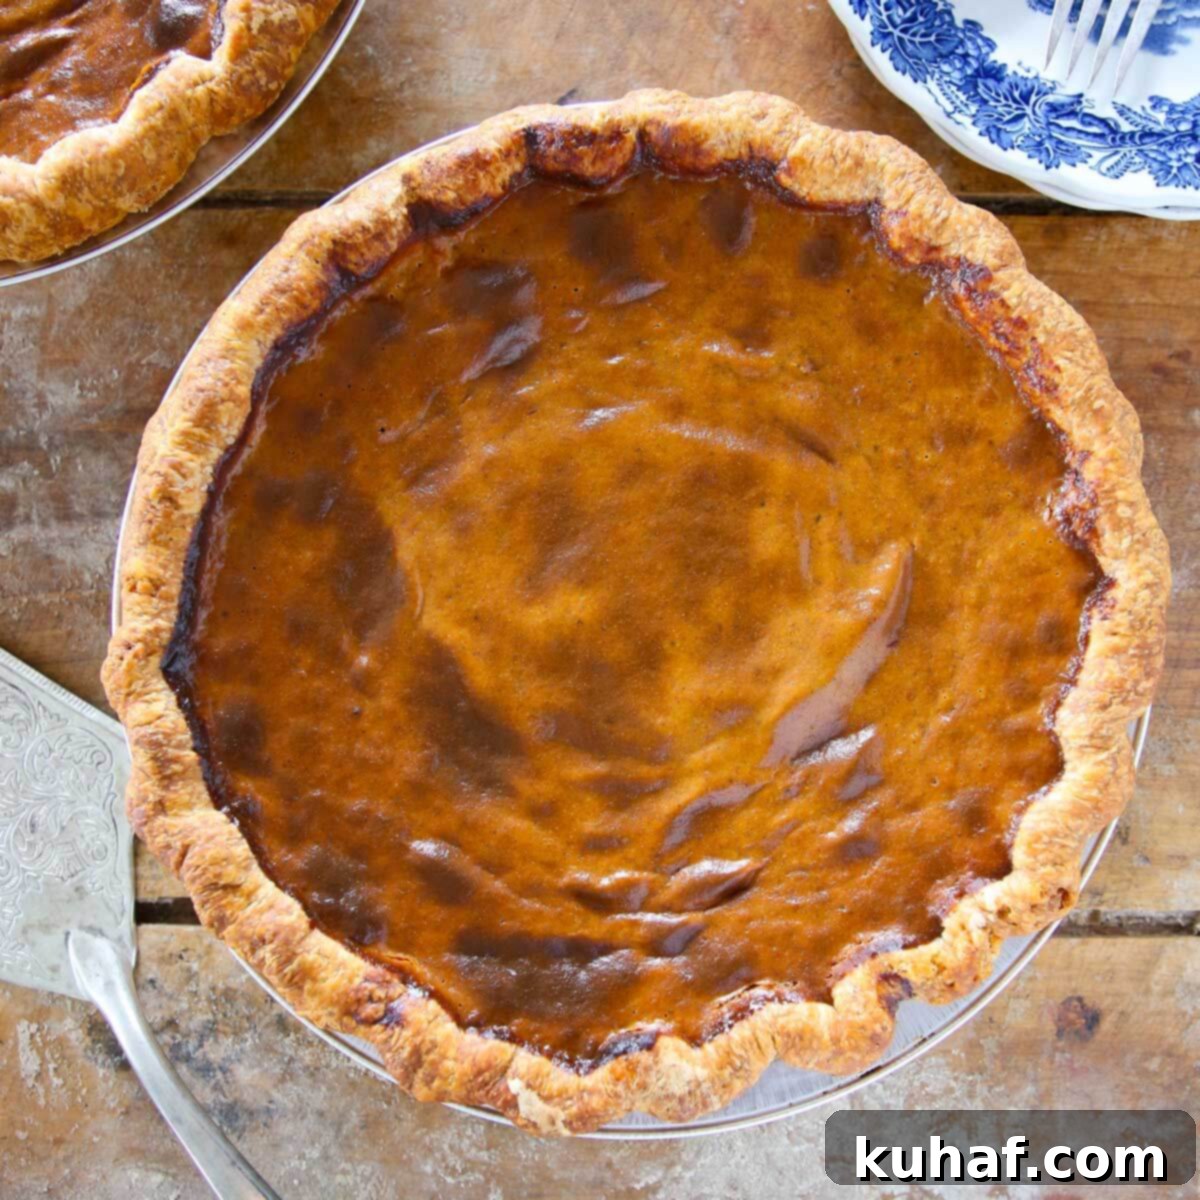
- Say Goodbye to Cracks – This Pie Won’t Crack! That dreaded crack across the beautiful surface of a pumpkin pie can be a baker’s nightmare. Consider the sweetened condensed milk your secret weapon against this common issue! Its unique properties help create a stable custard that resists cracking. The only ways this pie might crack are if it’s severely overbaked, if you unnecessarily poke it to check for doneness, or if you try to cool it down too rapidly (patience is key!).
- Effortless Mixing: Blender or Whisk – Your Choice! Whether you prefer the traditional route with a simple whisk or the convenience of modern appliances, this filling comes together in minutes. You can quickly mix your pumpkin pie filling in a stand mixer, with an immersion blender, or even a regular blender. This is a trick many professional bakers use for efficiency when making large batches, proving just how easy this recipe truly is.
Professional Tips for Baking the Perfect Pumpkin Pie
Achieving a bakery-quality pumpkin pie at home is simpler than you think with these expert tips:
- Master Your Spices: As Fine-Tuned as a Concert Piano. The blend of spices is crucial for that signature pumpkin pie flavor. I’ve dedicated years in professional kitchens to meticulously refine my pumpkin spice recipe, achieving an exquisite balance down to a fraction of a gram. While not strictly necessary, if you’re as passionate about precision as I am, weighing your spices with a micro scale can elevate your pie to another level. For convenience, simply use 4 teaspoons of my perfected pumpkin spice mix.
- Always Par-Bake Your Crust for a Flaky Foundation. There’s nothing worse than a “soggy bottom” pie, a sentiment Mary Berry and I wholeheartedly share! Par-baking (or blind baking) your pie crust creates a protective barrier, preventing the moist pumpkin filling from making the crust wet and doughy. This step ensures a wonderfully flaky and crisp crust that perfectly complements the creamy filling. For a detailed guide, watch my YouTube Tutorial on how to par-bake a pie crust or read all my tips in this post on how to partially blind bake pie crust.
- Whisk the Filling Until Velvety Smooth. Ensure your pie filling is perfectly uniform by whisking all ingredients together until no streaks of egg are visible. Undermixed eggs can lead to an uneven texture and an unappealing appearance in your finished pie. For maximum ease and efficiency, especially if you’re multitasking during the holidays, you can also mix the filling in a blender or with an immersion blender. See, I told you this was easy!
- Embrace the “Wiggle Test” – No Poking Allowed! Resist the urge to poke your pie with a knife or toothpick to test for doneness. This can create unattractive cracks as the pie cools. Instead, use the simple “wiggle test.” Gently give the pie dish a shake. If the center looks loose or liquid, it needs more time. A perfectly baked pumpkin pie will appear puffed around the edges and move like a firm Jell-O or cheesecake in one cohesive unit in the center. Allow it to cool completely for the most beautiful, crack-free surface.
Choosing the Right Pie Crust for Your Pumpkin Pie
The crust is the foundation of any great pie, and for pumpkin pie, you have several fantastic options:
- Flaky Pastry Crusts: My personal favorites are my signature vodka pie crust or this classic all-butter pie crust. Both deliver an incredibly flaky, tender texture that perfectly complements the creamy filling. The vodka crust provides extra flakiness, while the all-butter offers a rich, traditional flavor.
- Graham Cracker Crust: For a simpler, sweeter base, a baked graham cracker crust is an excellent choice. Its slightly crunchy texture and subtle sweetness provide a delightful contrast to the smooth pumpkin. This is a great option if you’re short on time or prefer a no-roll crust.
- Sweet Tart Crust (Pâté Sucrée): If you desire a more sophisticated and slightly firmer crust, a sweet tart crust (pâté sucrée) offers a buttery, cookie-like base. This crust is particularly sturdy and can add an elegant touch to your pumpkin pie.
- Store-Bought Pie Crust: Don’t underestimate the convenience of a high-quality store-bought pie crust! For those truly busy moments, a good refrigerated or frozen pie crust can be a fantastic time-saver without compromising too much on quality. Just ensure it’s blind-baked according to package directions for best results.
Essential Ingredients for Your Perfect American Pumpkin Pie
This streamlined recipe relies on a few key ingredients, each playing a vital role in creating that iconic, creamy pumpkin pie:
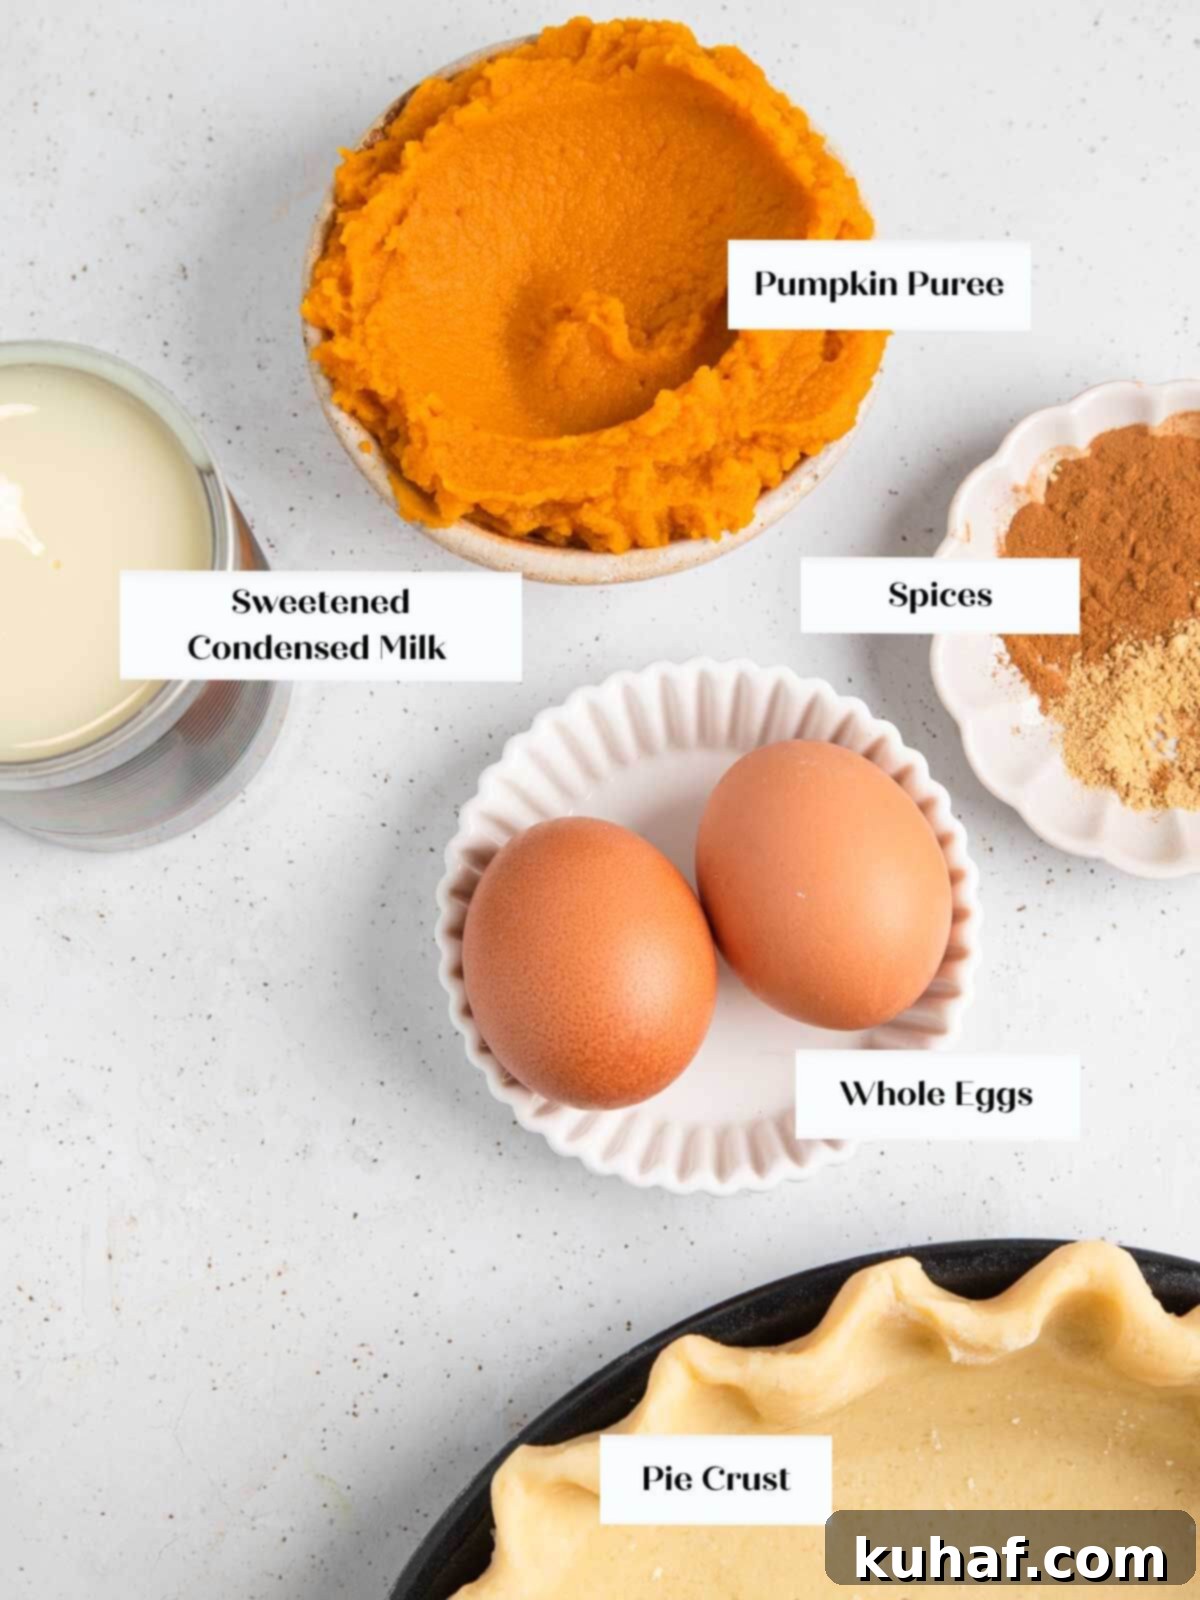
- Sweetened Condensed Milk: The star ingredient! Sweetened condensed milk is essential for this recipe. It adds rich sweetness and contributes significantly to the pie’s incredibly thick, creamy texture without adding excess moisture, which can lead to cracks or a watery filling. Its concentrated nature provides a lush custard base that’s foolproof.
- Whole Eggs: Eggs are the primary thickening agent in any baked custard, including pumpkin pie. They bind the ingredients together, creating that desirable set and smooth consistency. Ensure they are thoroughly whisked into the mixture; any visible streaks of egg white can result in an unappealing, uneven texture in your final pie.
- Perfectly Balanced Spices: The soul of pumpkin pie lies in its aromatic spice blend. This recipe features fine-tuned amounts of cinnamon, clove, ginger, and nutmeg. These spices are carefully measured to provide a warm, inviting flavor that isn’t overpowering. For ultimate convenience, you can substitute this precise blend with 4 teaspoons of my ready-made Pumpkin Spice Mix.
- Pure Pumpkin Puree (Not Pie Mix!): Always opt for pure pumpkin puree. I personally prefer Libby’s due to its consistent quality, which is crucial for recipe development. However, feel free to use your preferred brand. The critical distinction is to ensure it’s *pure pumpkin puree* and NOT pumpkin pie mix, which contains added sugar and spices that will throw off the balance of this recipe.
- Kosher Salt: A small but mighty ingredient, Kosher salt is less harsh and less dense than table salt. It plays a crucial role in heightening the complex flavors of the spices and balancing the sweetness. Without it, your pumpkin pie could taste dull, flat, or overly sweet, lacking the depth that makes it truly exceptional.
Possible Variations & Substitutions to Customize Your Pie
While this recipe is perfect as is, feel free to get creative and tailor it to your taste. Here are some ideas to mix things up:
- Elevate with a Streusel Topping: Add an irresistible crunch and extra flavor by topping your pie with streusel! For cohesive, buttery streusel pieces, use my brown sugar streusel recipe. If you prefer a lighter, crumbly texture, the topping from my pumpkin coffee cake would be perfect.
- Experiment with Flavor Infusions: Who says pumpkin pie has to be strictly traditional? Infuse new dimensions of flavor!
- Citrus Zest: Brighten your pie with the aromatic zest of citrus. Add a teaspoon of lemon zest, as seen in my pumpkin pie with a twist, or introduce the sophisticated notes of orange zest.
- Liqueurs: For an adult twist, a splash of Grand Marnier or a hint of bourbon can add a warm, complex depth to the filling, making your pie truly classy, just like you.
- Maple or Brown Sugar: While sweetened condensed milk provides the primary sweetness, a tablespoon of pure maple syrup or dark brown sugar can enhance the autumnal flavors further.
- Custom Spice Blends: My precisely balanced spice blend is fantastic, but you can always customize it. Feel free to adjust the amounts of cinnamon, clove, ginger, and nutmeg to your preference. Or, for ultimate simplicity, substitute all individual spices with 4 teaspoons of my convenient Pumpkin Pie Spice Mix.
- Homemade Pumpkin Puree: While I recommend Libby’s for consistency, you can absolutely use homemade pumpkin puree. However, it’s crucial to ensure your homemade puree has a similar consistency to canned. After cooking and pureeing your pumpkin, allow it to drain in a fine-mesh sieve lined with cheesecloth for at least 4 hours (or even overnight) to remove excess moisture. This step is vital to prevent a watery pie filling and maintain the desired creamy texture.
How to Make Easy Pumpkin Pie: A Step-by-Step Guide for a Crack-Free Result
Follow these detailed instructions to create a flawless, easy pumpkin pie that will impress everyone. Full measurements and additional tips are provided in the comprehensive recipe card below.
Par-Bake Your Pie Crust: The Secret to a Non-Soggy Bottom
Step 1: Prepare Your Oven and Dough. Preheat your oven to 350°F (175°C) if using convection, or 375°F (190°C) for a conventional oven. If you’re working with homemade pie dough, roll out one portion onto a lightly floured surface until it’s about ⅛th inch thick. Transfer this rolled dough to a baking sheet and chill it flat for at least 30 minutes. This crucial chilling period allows the gluten to relax, preventing shrinkage, and ensures the butter resolidifies, making for a flakier crust.
Step 2: Fit the Dough into Your Pie Dish. Carefully place the chilled dough over a 9-inch pie dish or tin. Allow the dough to warm up slightly, just enough to become pliable and workable without tearing. Gently lift the edges of the dough and let it settle into the bottom of the dish, ensuring it conforms to the contours. Press the sides gently to fit the dish, allowing the edges to overhang slightly. Starting from one side, roll the overhanging edges under themselves, towards the dish, creating a neat rim. Once you reach the dish, gently press down to seal and secure the edge. Repeat this process around the entire crust.
Step 3: Flute the Edges and Chill Again. For a decorative and classic finish, flute the edges of your pie crust. I prefer using my knuckles: press one knuckle on the outside edge and two knuckles from the inside, creating a wave pattern. Alternatively, you can use your fingertips. Once fluted, chill the pie crust for another 10-30 minutes. The duration depends on how warm the dough became during handling; if it’s still quite cold, 10 minutes will suffice. This re-chilling helps the crust hold its shape during baking.
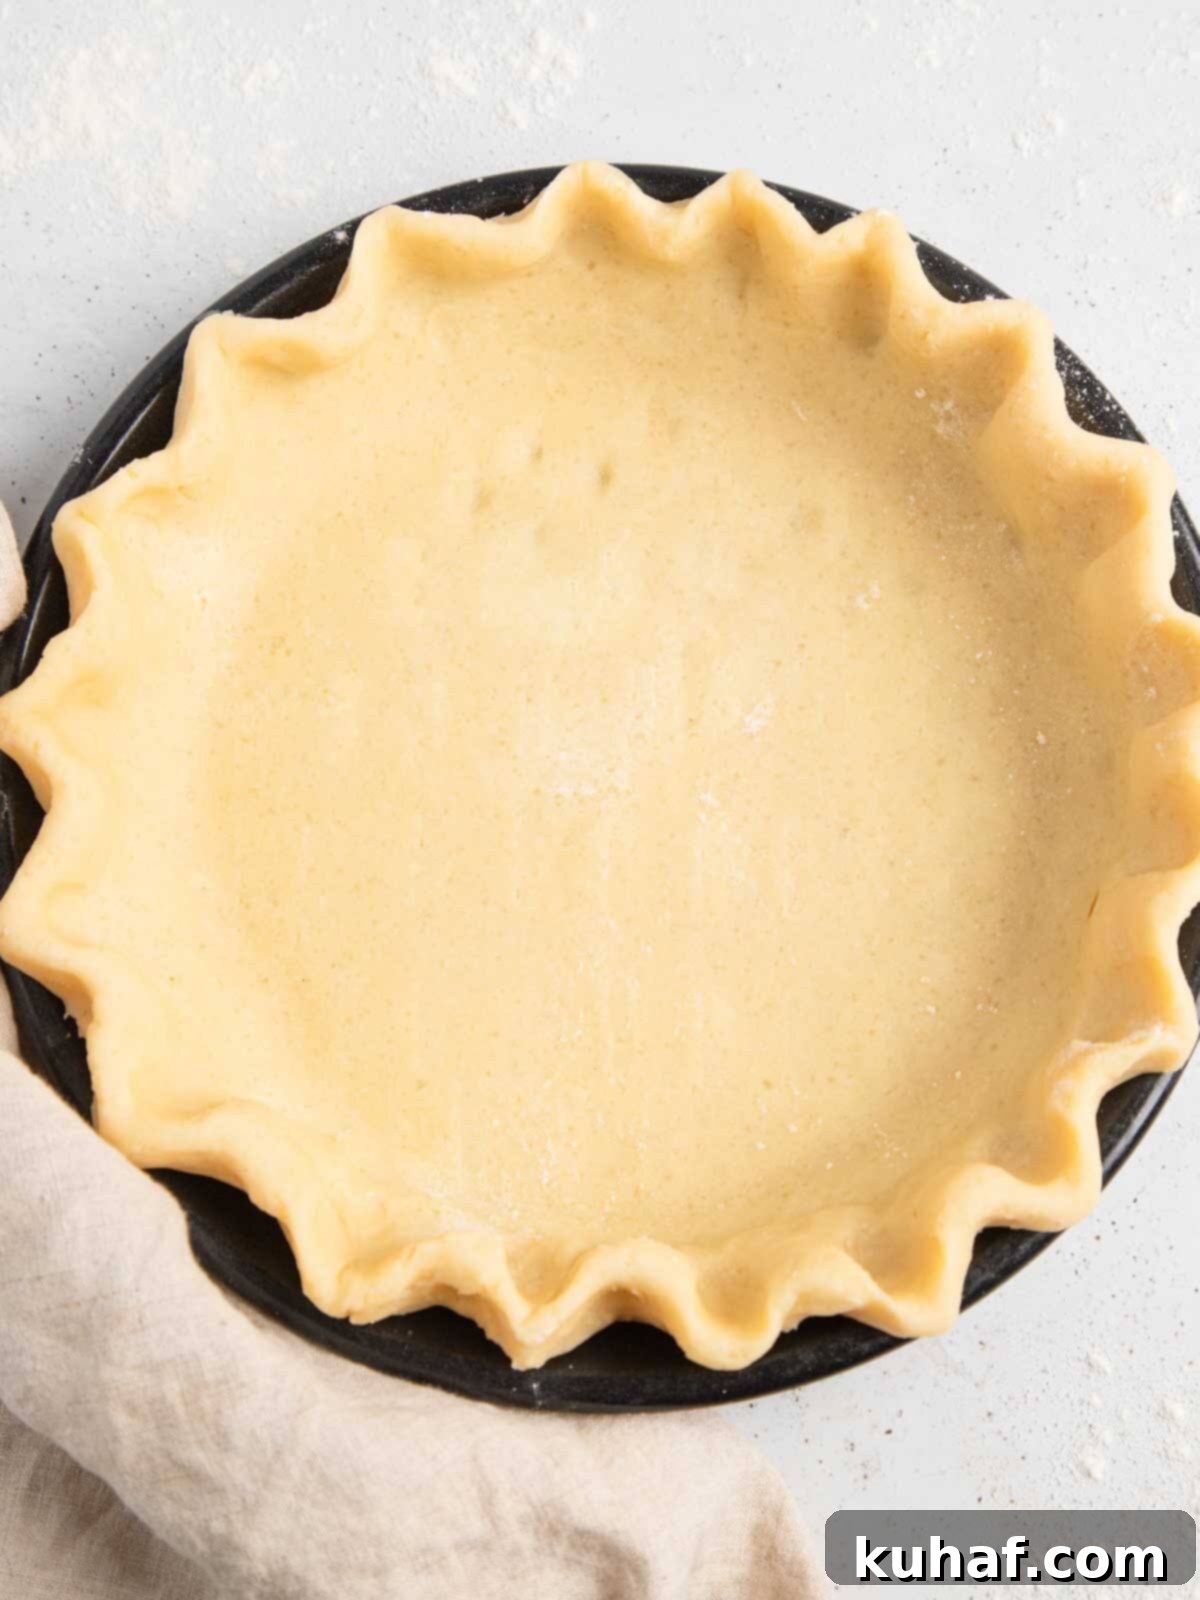
Step 4: Prepare for Blind Baking. Take a piece of parchment paper and crumple it into a tight ball, then unroll it. This technique softens the paper, allowing it to conform snugly to the shape of your pie crust without poking or leaving large gaps. Line the inside of your chilled crust with this softened parchment paper. Fill the lined crust with pie weights, dried beans, or rice. I’ve found dried beans work exceptionally well for even weight distribution.
Chef’s Tip for Parchment: Always crumple your parchment paper into a tight ball before unrolling and lining your pie crusts for par-baking. This simple step softens the paper and allows it to perfectly form to the shape of the crust, preventing it from puffing up or leaving uneven areas during baking.
Step 5: Par-Bake the Crust. Bake the weighted crust for 15-20 minutes. You’ll know it’s time to remove the weights and parchment when the crust has just started to turn golden brown and no longer appears raw or wet. Removing the weights too soon, especially from a ceramic dish, can cause the crust to slide down the sides. Continue baking for another 5-10 minutes, or until the bottom is lightly golden and set.
Make-Ahead Opportunity: This is the ideal par-baked stage! You can use the crust immediately while it’s still warm, or allow it to cool completely, wrap it tightly, and freeze it for later use. This is a fantastic way to get a head start on your holiday baking! Find more detailed instructions on how to par-bake pie crust in my dedicated tutorial.
Make & Bake the Pumpkin Pie Filling:
Step 6: Prepare the Filling. If your oven isn’t already, preheat it to 350°F (175°C). In a medium-sized bowl, combine all the filling ingredients (pumpkin puree, sweetened condensed milk, eggs, spices, and salt) except for the pie crust. Whisk everything together thoroughly until the mixture is completely combined and smooth, with no visible streaks of egg white. Achieving a smooth, uniform filling is key to a beautiful final texture.
Pro Mixing Hack: For ultimate speed and ease, especially when preparing multiple pies, you can also mix the entire filling in a blender or with an immersion blender. This method ensures a perfectly smooth custard every time and is a common practice in professional kitchens for large-scale batches!
Once thoroughly mixed, carefully pour the smooth pumpkin filling into your warm or cooled par-baked pie shell.
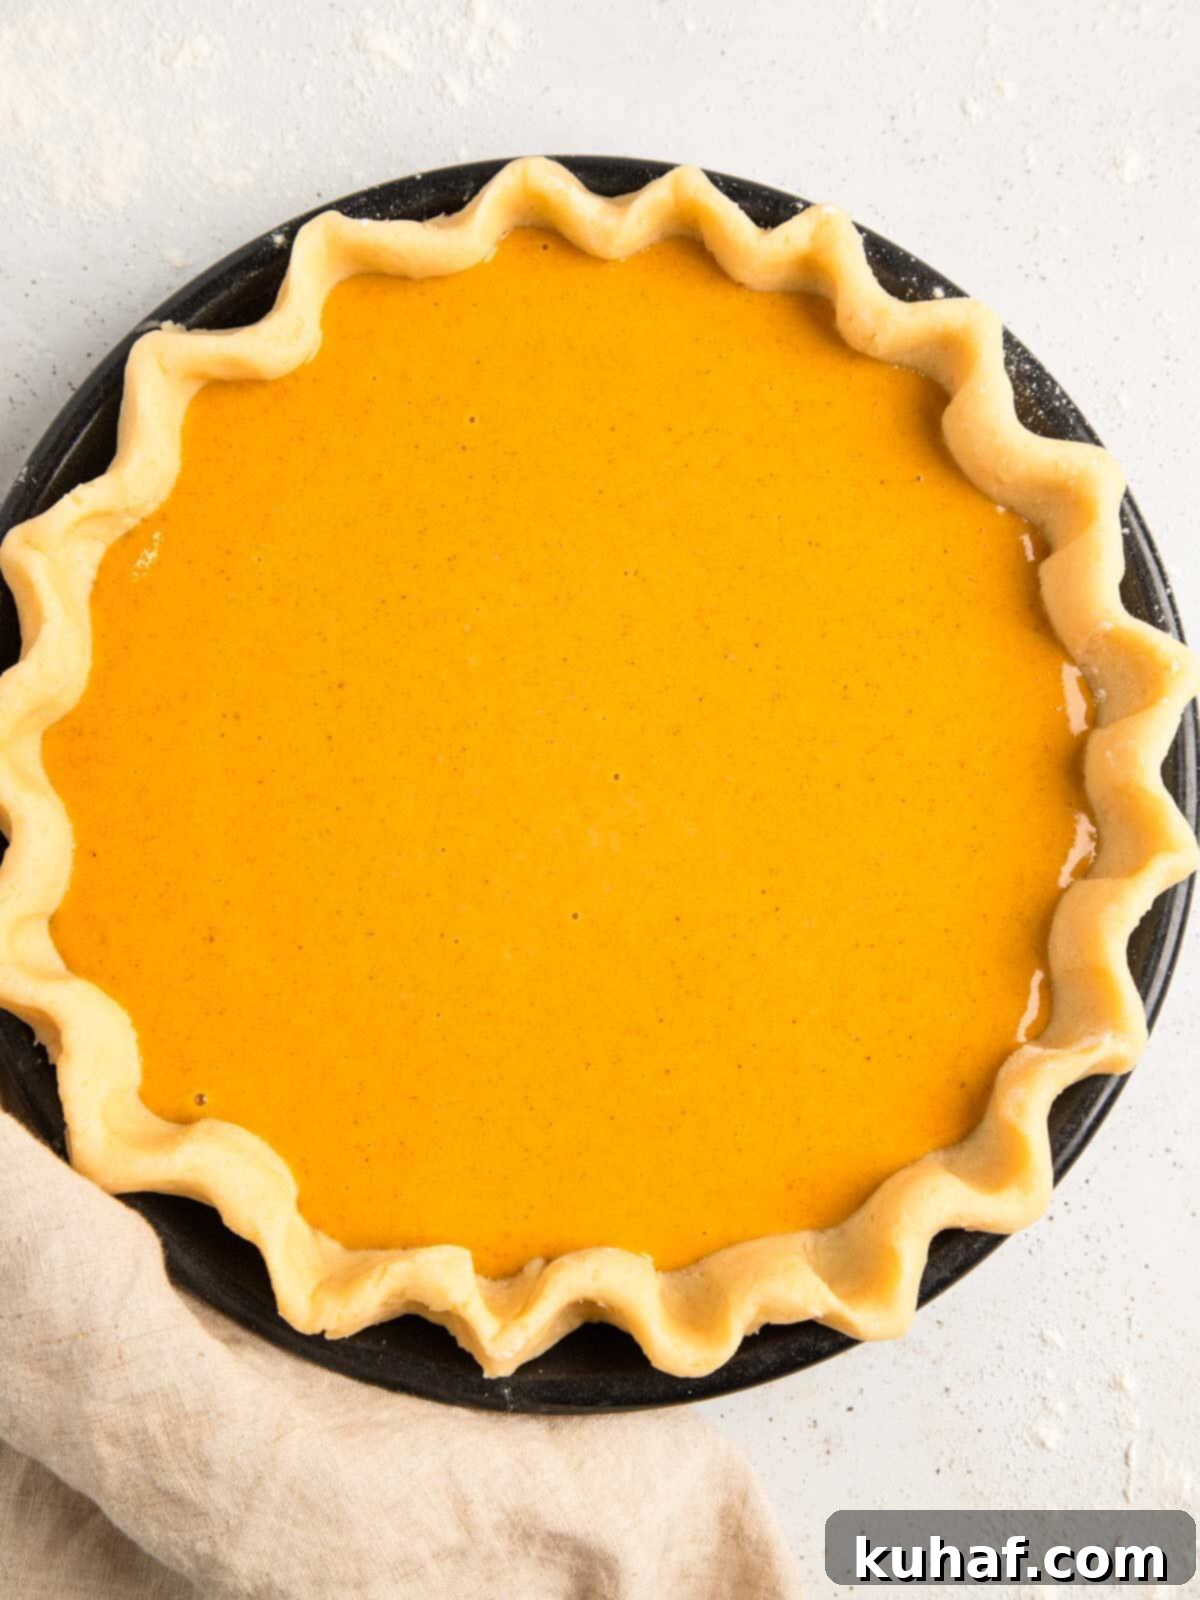
Step 7: Bake to Perfection. Place the pie in the preheated oven (350°F/175°C) and bake for approximately 35-40 minutes. The pie is done when the edges are set and appear slightly puffed, but the very center still shows a slight, cohesive jiggle when gently shaken (like a firm Jell-O or cheesecake). The filling will continue to set as it cools. It’s crucial not to overbake, as this is a primary cause of cracking. Resist the urge to poke the pie with a knife or cake tester to check for doneness, as this will almost certainly result in cracks as it cools.
Patience for Perfection: For a beautifully set, crack-free pumpkin pie, allow it to cool completely at room temperature before slicing. For the cleanest slices and best texture, refrigerate the pie for at least 2 hours (or overnight) before serving.
Chef Lindsey’s Recipe Tip: Adjusting for Pie Pan Size
This recipe is perfectly portioned for one standard 9-inch pie. However, if you’re using a deep-dish pie pan or a slightly larger pie dish, I highly recommend increasing the recipe by 1.5 times. This ensures your pie has sufficient filling and a substantial presence. When using 1.5 times the recipe, you will also need to adjust the baking time, likely increasing it to closer to 50 minutes to ensure the larger volume of filling sets properly. Always use the wiggle test for doneness!
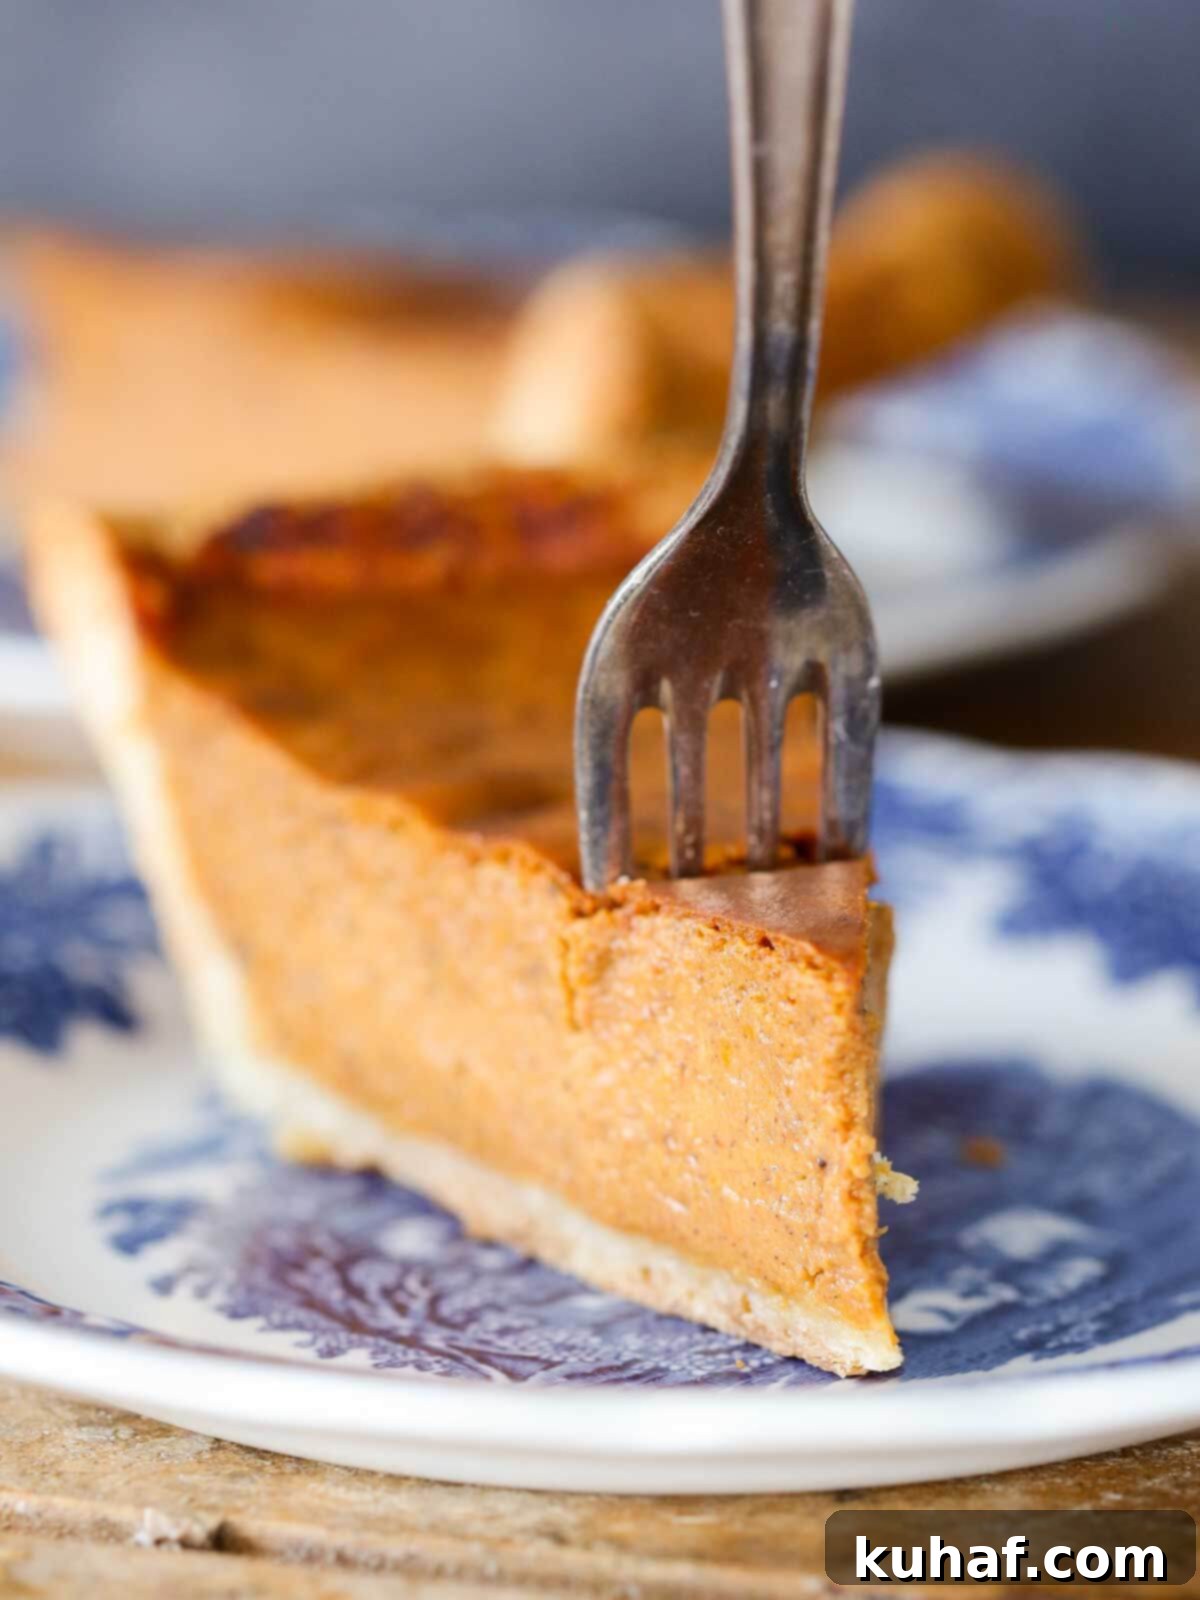
What to Serve with Pumpkin Pie for an Extra Treat
As a pastry chef, this is hardly a fair question because the possibilities are endless! Here are some delightful ideas to elevate your pumpkin pie experience or spark your own culinary creativity:
- Classic Whipped Cream: You can never go wrong with a generous dollop of homemade whipped cream. For a surprisingly bright and elegant twist, try making this lemon curd whipped cream – the citrus cuts through the richness beautifully.
- Decadent Sauces & Drizzles:
- Salted Caramel: A silky drizzle of my best salted caramel sauce adds a rich, sweet, and savory counterpoint.
- Lemon Curd: Trust me on this one! A swoosh of vibrant lemon curd offers a bright, tangy contrast that surprisingly enhances the pumpkin flavor.
- Maple Caramel: For ultimate Fall vibes, my salted maple caramel sauce brings a comforting, woodsy sweetness that’s perfect for the season.
- Add an Irresistible Crunch: While the crust provides some texture, a little extra crunch takes your pie to the next level.
- Brown Sugar Streusel: Crumble some baked brown sugar streusel over the top just before serving for a sweet, buttery crumb.
- Pumpkin Seed Brittle: Go the extra mile and create spectacular pumpkin seed brittle. Crushed and sprinkled over the pie, it offers a sophisticated, crunchy, and slightly nutty element.
Frequently Asked Questions About Baking Pumpkin Pie
A soggy bottom crust is typically caused by three main factors: under-baking the crust, baking at too low a temperature, or most commonly, not par-baking (blind baking) your pie crust. While you don’t *have* to par-bake for pumpkin pie, it is by far the most effective way to guarantee a flaky, crispy bottom. If you choose to skip par-baking, ensure you use a metal baking dish (which conducts heat better) and start baking the pie at 425°F (220°C) for the first 15 minutes before reducing the temperature to ensure a quick set for the crust.
Pumpkin pie is quite versatile in its storage. You can store a baked and cooled pumpkin pie at room temperature for up to 3 days, or refrigerated for up to 1 week. For longer storage, it freezes beautifully for up to 2 months. Always ensure the cooled pie is well-wrapped in plastic wrap or aluminum foil before storing to prevent it from drying out or absorbing other odors.
Thawing frozen pumpkin pie is straightforward. For best results, remove the pie from its wrapping (this is crucial to prevent the crust from becoming soggy due to condensation) and let it thaw at room temperature for several hours or overnight in the refrigerator. Thawing unwrapped ensures a crispier crust and helps prevent moisture from collecting on the pie’s surface, preserving its fresh texture.
Pumpkin pies commonly crack due to overbaking, cooling too quickly, or if the doneness was tested by piercing the pie with a knife or cake tester. Overbaking dries out the custard, causing it to shrink and crack. Rapid cooling creates thermal shock, leading to cracks. Always rely on the gentle “wiggle test” described in the baking tips; if the center has a slight, cohesive jiggle, it’s perfect. If you absolutely must verify, use a cake tester very carefully near the edge, not the center.
Absolutely! Pumpkin pie is an excellent make-ahead dessert, perfect for holiday planning. You can prepare and par-bake the pie crust up to a week in advance, then wrap and store it in the freezer. The entire pie can be prepared and baked up to one week before serving, then stored in the refrigerator. Alternatively, you can prepare the filling mixture and store it in a sealed container in the refrigerator for up to a week before pouring into a par-baked crust and baking.
If you tried this recipe and loved it, please leave a 🌟 star rating and let me know how it goes in the comments below. I love hearing from you; your comments make my day!
Easy Pumpkin Pie Recipe Card
Comment
Print Recipe
Ingredients
- 15 oz pureed pumpkin (NOT pumpkin pie mix)
- 14 oz sweetened condensed milk
- 2 large eggs, slightly whisked
- 2 ¼ teaspoon ground cinnamon
- ½ teaspoon ground cloves
- 1 ¼ teaspoon ground ginger
- ¼ teaspoon ground nutmeg
- 1 ⅛ teaspoon Kosher salt
- 1 (9 inch) pie crust (All Butter Pie Crust Recipe or your choice, par-baked)
Instructions
- Preheat oven to 350°F (175°C) convection or 375℉ (190°C) conventional.
Par-bake the pie crust:
- If using homemade pie dough, roll out one portion of pie dough on a lightly floured surface until about ⅛th inch thick. Chill for 30 minutes flat on a baking sheet. This allows the gluten to relax and the butter to resolidify, preventing shrinkage.
- Place chilled dough on top of a 9-inch pie dish or tin. Allow it to warm up just enough to be workable. Lift up the edges and allow it to settle on the bottom. Gently press the sides to fit the dish, allowing the edges to overhang. Start on one side and roll the edges under towards the dish. Roll until you reach the dish, then gently press it down on the dish to seal. Repeat with the rest of the crust.
- Flute the edges by pressing one knuckle on the outside and two knuckles around it from the inside of the crust. I prefer using my knuckles but you could also use your finger tips. Chill for 10-30 minutes depending on how warm it got. If it is still cold, just 10 minutes will do.
- Crumple a piece of parchment paper and line the inside of the chilled crust. Fill with pie weights, beans, or rice (beans work best for even distribution).
- Bake the weighted crust for 15-20 minutes. Remove the weights and parchment when the crust has just begun to brown and no longer looks raw. If you remove it too soon, the crust might slide down the sides of the dish.
- You can allow the par-baked crust to cool completely or you can fill it while still warm.
Prepare the pumpkin pie filling:
- My original recipe from 2013 involved heating the pumpkin puree with spices in a saucepan to bloom the spices and reduce a “canned” taste. While this still works, it can be omitted to simplify the process. These days, I simply whisk everything together for the easiest pie in the world!
- If you haven’t already, ensure the oven is preheated to 350℉ (175°C). In a medium bowl, whisk all filling ingredients (pumpkin puree, sweetened condensed milk, eggs, cinnamon, cloves, ginger, nutmeg, and salt) together until completely combined and smooth, ensuring no streaks of egg white are visible.
- Pour the smooth filling into your par-baked pie crust.
- Bake in the preheated oven (350°F / 175°C) for 35-40 minutes or until the edges are set and the center still jiggles slightly (like a firm Jell-O). The pumpkin pie filling will puff up and move as one cohesive unit. Do NOT poke the pie with a knife or cake tester to check for doneness, as this will cause it to crack as it cools.
- For a perfectly set and crack-free pie, allow it to cool completely at room temperature before cutting. It will slice best if refrigerated for at least 2 hours before serving.
- Wrap the cooled pie in plastic wrap or foil and store in the refrigerator. It will also keep for several days at room temperature if you prefer a softer custard.
Video
Notes
Presentation: To prevent cracking, allow the pie to cool completely at room temperature. Overbaking or testing doneness with a knife can also cause cracks. Always rely on the gentle wiggle test.
Flavor Tips: Do NOT substitute evaporated milk for sweetened condensed milk in this recipe. Sweetened condensed milk provides all the necessary sugar and is crucial for creating the thick, lush pie filling and preventing cracks.
Technique: While not strictly mandatory, par-baking your pie crust is the best way to ensure a flaky, crispy bottom and prevent sogginess. If you opt not to par-bake, use a metal baking dish and start baking at 425°F (220°C) for the initial 15 minutes before reducing the temperature.
Storage: Store pumpkin pie at room temperature for up to 3 days or refrigerated for up to 1 week. It can also be frozen for up to 2 months. Always wrap the cooled pie tightly in plastic wrap before storing.
This recipe yields 1 regular 9-inch pie. For a deep-dish or slightly larger pie pan, increase the recipe by 1.5 times and extend baking time to approximately 50 minutes, checking for doneness with the wiggle test.
For convenience, substitute all individual spices with 4 teaspoons of my Pumpkin Pie Spice Mix.
Nutrition
Calories: 195kcal | Carbohydrates: 28g | Protein: 5g | Fat: 7g | Saturated Fat: 3g | Polyunsaturated Fat: 1g | Monounsaturated Fat: 3g | Trans Fat: 0.003g | Cholesterol: 39mg | Sodium: 330mg | Potassium: 225mg | Fiber: 2g | Sugar: 19g | Vitamin A: 5644IU | Vitamin C: 2mg | Calcium: 114mg | Iron: 1mg
Like this? Leave a comment below!
Before You Go: More Dessert Inspiration for Every Occasion
I hope you thoroughly enjoyed this professional chef-tested and perfected recipe. Baking a truly easy and foolproof pumpkin pie can transform your holiday season, making it a little less stressful and a lot more delicious. Don’t stop here – explore our other delightful, chef-developed pie & tart recipes for more classic and innovative desserts. Or, if you’re a devoted fan of all things pumpkin, be sure to check out these 10 Easy Pumpkin Desserts that are perfect for fall entertaining and beyond!
