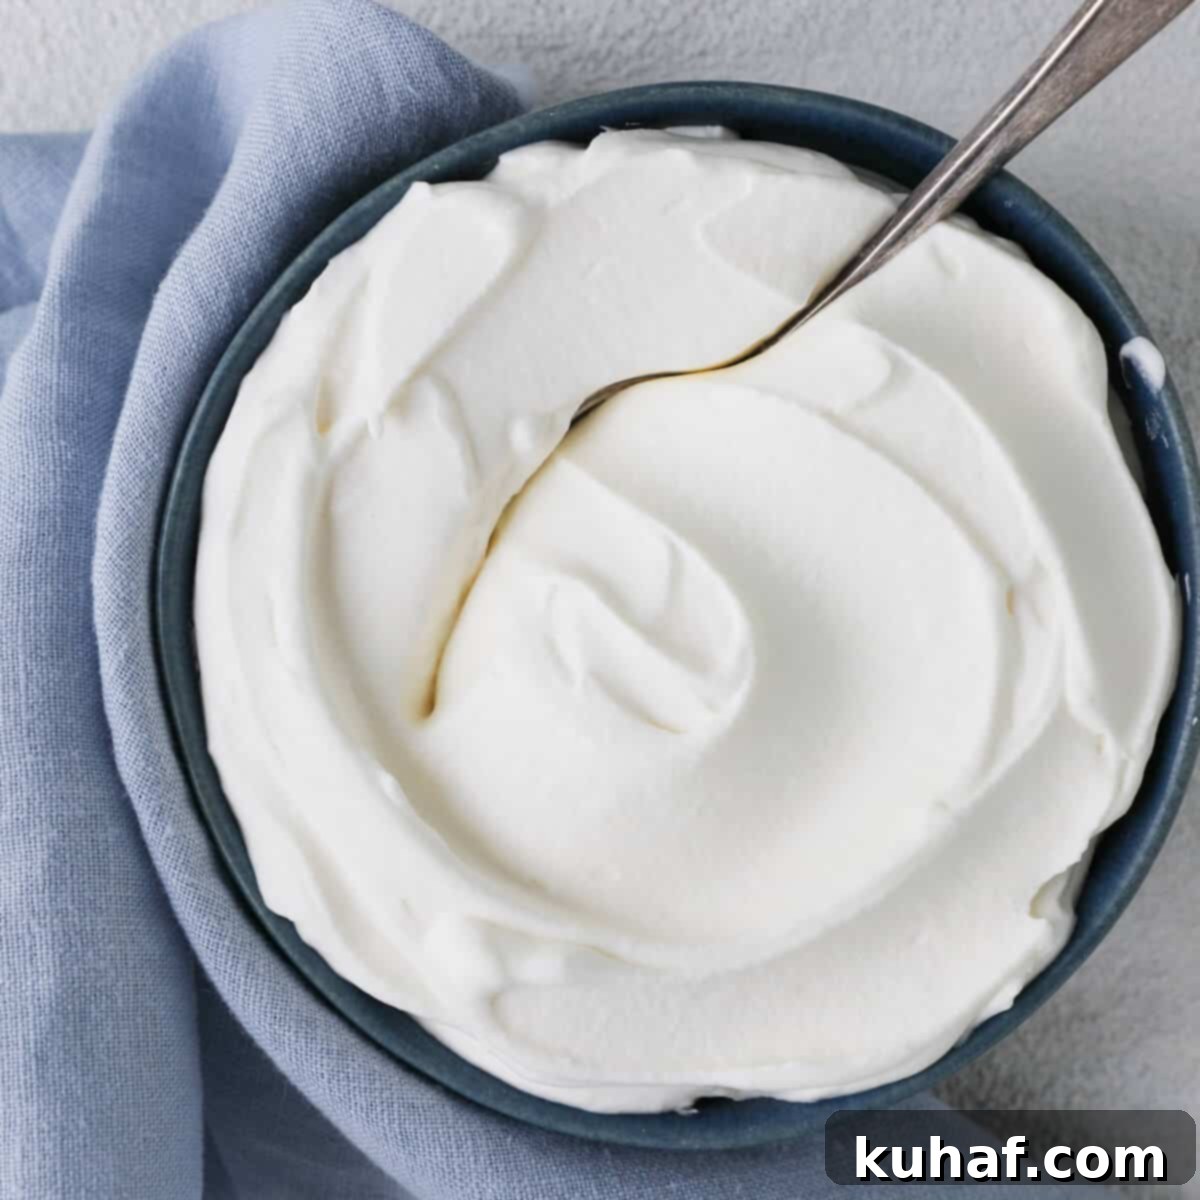
Master the Art of Homemade Whipped Cream: An Easy, Silky Smooth Recipe for Perfect Desserts
There’s nothing quite like the luxurious touch of freshly made whipped cream to elevate any dessert. Forget the cloying sweetness and artificial stabilizers of store-bought versions; this three-ingredient, homemade whipped cream is incredibly rich, delightfully silky smooth, and perfectly sweetened. In just under 5 minutes, you can create a pillowy cloud of pure deliciousness using either an electric mixer or a simple whisk. This comprehensive guide will walk you through the process, ensuring you achieve perfect, stable whipped cream every single time, transforming even the simplest treats into extraordinary culinary experiences.
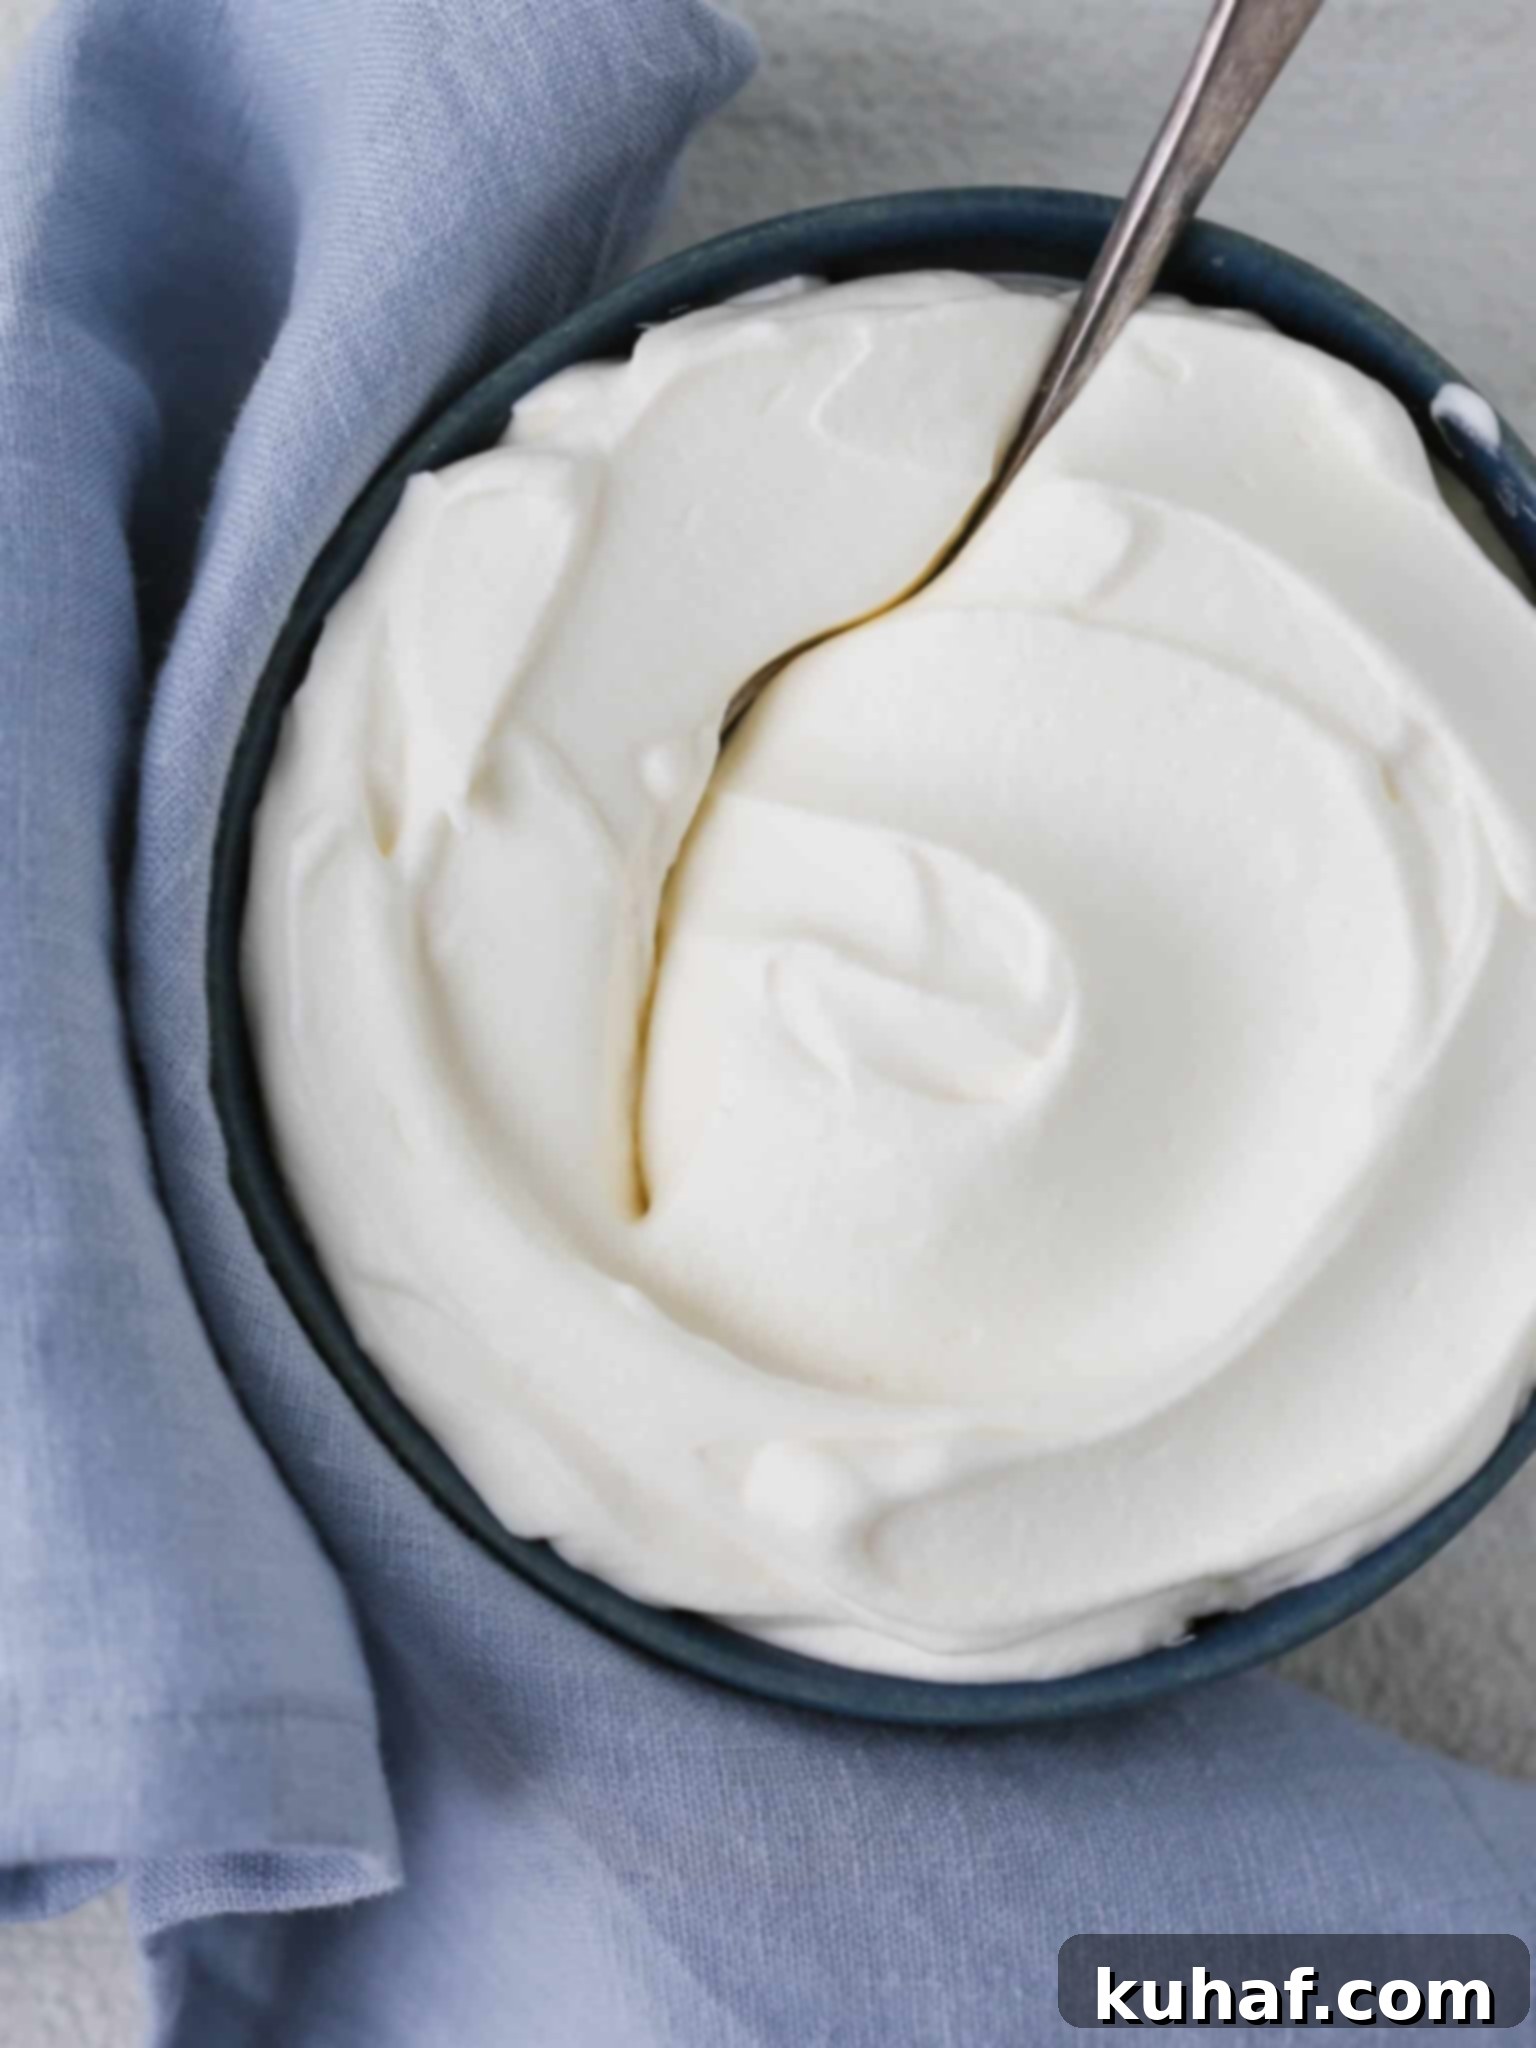
Homemade whipped cream is truly the “nude patent-leather pumps” of the dessert world – it’s a versatile, elegant staple that effortlessly complements almost any sweet treat. With very little effort, it pulls together flavors without competing, enhancing rather than overpowering. Imagine plain sliced strawberries transformed into a novel dessert with just a generous dollop of this pillowy, light, and perfectly sweet topping. Its delicate texture and creamy taste are unmatched by any aerosol can or pre-made tub, making it an essential skill for any home baker or dessert enthusiast.
In my professional life as a pastry chef, I always strive to balance desserts not only individually but as a whole. While some confections demand the richness of a double scoop of ice cream, a refreshing sorbet, or a decadent gelato, many others truly sing when paired with the delicate lightness of whipped cream. Sometimes, a simple, classic vanilla whipped cream is all that’s needed to complete a dish. However, the true beauty of homemade whipped cream lies in its adaptability. You can easily infuse it with other flavors, such as a bright and zesty lemon whipped cream for a citrusy twist, or a tangy crème fraîche whipped cream for a sophisticated counterpoint. To add an extra layer of texture and complexity, consider sprinkling a crunchy topping like a homemade brown sugar streusel or a unique pumpkin seed brittle on top. These small additions can elevate a simple dessert into something truly spectacular and memorable.
Table of Contents
- Why Homemade Whipped Cream is Simply the Best
- How to Use Homemade Whipped Cream: Endless Dessert Possibilities
- Essential Ingredients for Perfect Homemade Whipped Cream
- Can You Over-Whip Cream? (And How to Prevent It)
- Step-by-Step: How to Make Perfect Homemade Whipped Cream
- Tips for Success and Troubleshooting Homemade Whipped Cream
- Frequently Asked Questions About Homemade Whipped Cream
- Homemade Whipped Cream Recipe Card
- Before You Go! Explore More Delicious Dessert Recipes
Why Homemade Whipped Cream is Simply the Best
Before diving into the “how-to,” let’s take a moment to truly appreciate why making your own whipped cream is always the superior choice. Store-bought whipped toppings, while offering convenience, often contain a list of ingredients including hydrogenated oils, high-fructose corn syrup, and artificial flavors. They completely lack the genuine dairy richness and delicate, airy texture that only real cream can provide. Homemade whipped cream, on the other hand, is a pure expression of flavor and texture. It’s incredibly light, yet rich, with a natural sweetness that can be easily customized to your preference. The process itself is remarkably quick and satisfying, giving you complete control over the consistency and flavor profile. Once you taste the difference – the clean dairy flavor, the delicate sweetness, and the luxurious mouthfeel – you’ll likely never go back to the imitation stuff again!
How to Use Homemade Whipped Cream: Endless Dessert Possibilities
The versatility of homemade whipped cream knows no bounds. It’s a fundamental component in countless desserts, adding a touch of elegance, lightness, and creamy texture that can transform a simple dish into something extraordinary. Here are some of our favorite ways to incorporate this delightful topping into your culinary repertoire:
- Fruit’s Best Friend: Elevate simple fruit to a gourmet level. Pair freshly made whipped cream with macerated berries, plain sliced strawberries, or sweet cherries for an effortlessly elegant and light dessert. For an undeniably festive and bright twist, add a spoonful of vibrant lemon curd to your fruit and cream layers – it’s a burst of sunshine and creaminess in every bite!
- Trifle’s Crowning Glory: Layer generous amounts of whipped cream in a trifle for an impressive, yet surprisingly easy, party dessert. Infuse the cream with warming spices like cinnamon and nutmeg for a festive red velvet trifle, or keep it light and fruity for a refreshing lemon berry trifle. The contrasting textures of cake, fruit, and cream are simply divine.
- Pie Perfection: Dollop homemade whipped cream generously onto your favorite pie as a lighter, yet equally satisfying and luxurious, alternative to ice cream. Or, for a truly decadent presentation, use it to top the entire pie, like in this glorious homemade peanut butter ice cream pie, creating a beautiful and delicious finish.
- Lightening Up Fillings: Fold freshly whipped cream into heavier dessert components such as rich pastry cream, zesty lemon curd, or decadent chocolate mousse. This technique, often called a “chiboust cream” or “lightened mousse,” creates a lighter, airier, and more delicate texture, perfect for dessert fillings, tarts, or standalone treats.
- Parfait Power: Create stunning and customizable dessert parfaits by layering whipped cream with fresh fruit, bright lemon curd, rich fruit compotes, granola, or even a crunchy streusel. These individual desserts are not only beautiful to look at but also a delightful combination of textures and flavors.
- Cake’s Complement: Serve a generous spoonful of homemade whipped cream alongside a slice of cake for a quick, delicious, and perfectly balanced pairing. It’s especially delicious with a moist fig cake, a rich chocolate pound cake, or a spiced gingerbread cake, adding a lightness that beautifully contrasts the cake’s density and richness.
- Frozen Delights: Incorporate whipped cream into no-bake desserts or frozen treats. It’s a key ingredient for layering on an icebox cake, such as this luscious banana pudding ice box cake, or for making creamy, no-churn ice creams and semifreddos like those found in this 3-ingredient vanilla ice cream recipe. Its aeration contributes to a wonderfully light and smooth frozen texture.
Essential Ingredients for Perfect Homemade Whipped Cream
Creating perfect whipped cream is surprisingly simple, requiring just three core ingredients. However, the quality and type of these ingredients are crucial for achieving that ideal rich, silky smooth, and stable texture. Here’s what you’ll need and why:
- Heavy Cream (or Heavy Whipping Cream): This is the undeniable star of the show, and its fat content is non-negotiable for achieving stable peaks. Always opt for full-fat heavy cream, which typically boasts a fat content between 36% and 40%. Sometimes it’s conveniently labeled as “heavy whipping cream.” The high percentage of milk fat is precisely what allows the cream to effectively aerate and hold its structure when whipped. Light whipping cream, on the other hand, contains less fat (usually around 30-35%) and will not whip up in the same robust way. It tends to over-whip very easily, resulting in a grainy, curdled, or less stable texture that lacks the desired smoothness. Always check the label to ensure you’re getting the right product for truly stable and delicious homemade whipped cream.
- Powdered Sugar (Confectioner’s Sugar): While granulated sugar can be used in a pinch, powdered sugar (also universally known as confectioner’s sugar) is highly recommended for achieving the best texture in your whipped cream. Its finely milled texture incorporates seamlessly and effortlessly into the cold cream, ensuring a silky, smooth finish without any grittiness or undissolved crystals. An added bonus is that powdered sugar typically contains a small amount of cornstarch, which acts as a natural stabilizer, helping the whipped cream hold its beautiful shape for longer periods. Keep in mind that powdered sugar is generally sweeter by volume and weight than granulated sugar, so start with the recommended amount and adjust to your personal taste. For the smoothest possible cream, especially if your powdered sugar is prone to clumping, a quick sift before adding it to the cream is a good practice.
- Vanilla Extract: A touch of high-quality, pure vanilla extract is absolutely essential for enhancing the overall flavor profile of your homemade whipped cream. It adds a beautiful, warm, and aromatic depth that, when combined with the rich heavy cream, creates a taste reminiscent of melted vanilla ice cream or a classic crème anglaise. While vanilla is the traditional and most popular choice, feel free to experiment with other pure extracts like almond, peppermint, or even a splash of your favorite liqueur for different flavor variations. Ensure you’re using a good quality pure vanilla extract for the most authentic and delicious flavor.
- Optional: A Pinch of Salt: A tiny pinch of fine salt (just a quarter of an eighth teaspoon) can surprisingly elevate your whipped cream to another level. It doesn’t make it salty, but rather acts as a flavor enhancer, balancing the sweetness and rounding out the rich dairy notes, much like salt is used to enhance flavors in baking. This subtle addition makes a noticeable difference.
Can You Over-Whip Cream? (And How to Prevent It)
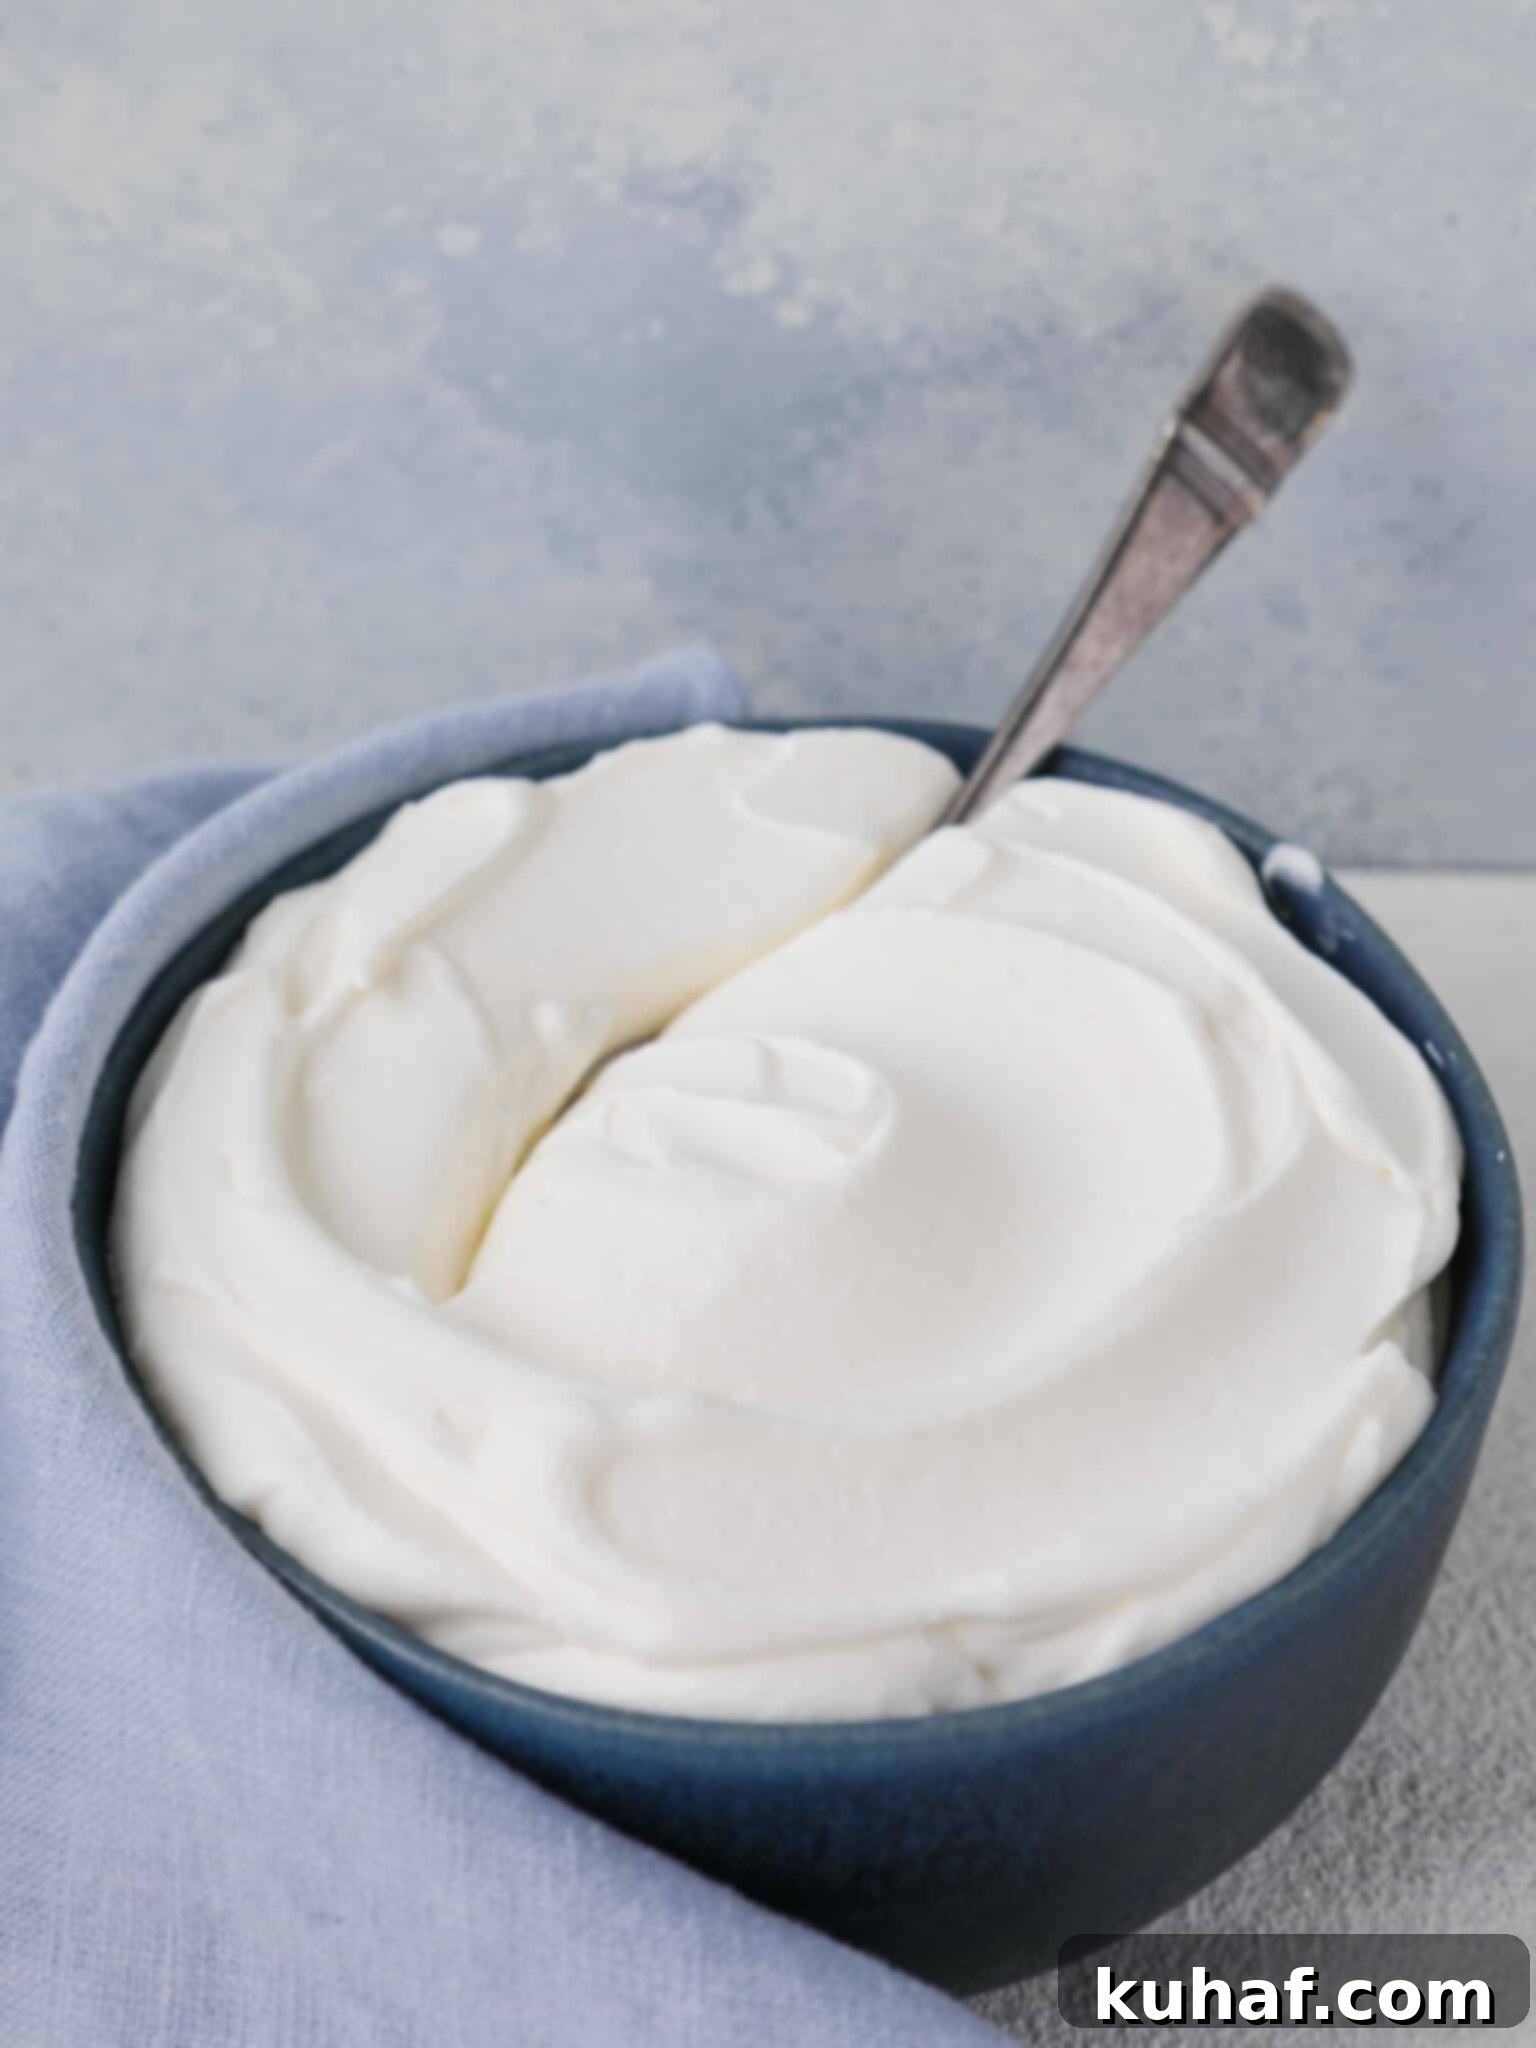
Absolutely, you can! Over-whipping cream is a common pitfall that can quickly turn your silky smooth creation into a grainy, unappetizing mess. When heavy cream is whipped, the fat globules in the cream are forced closer together, trapping air and forming a stable foam. However, if you continue to whip past the desired stage, these fat molecules begin to clump together too tightly, expelling the liquid (whey) and creating a texture that initially resembles cottage cheese or curdled milk. Eventually, if you keep going, you’ll actually make butter!
The key to preventing over-whipping is vigilance and knowing precisely when to stop. Whipped cream progresses through several distinct stages: soft peaks, medium peaks, and stiff peaks. It’s always best to stop frequently and check the stiffness, especially as you approach your desired consistency. Remember that any subsequent agitation of the cream – even gentle stirring, piping it through a pastry bag, or swirling it onto a pudding, pie, or cake – will continue to “whip” it further. Therefore, if you plan to pipe or spread it, it’s often prudent to stop just shy of stiff peaks to allow for that final bit of agitation. If your whipped cream starts to look visibly curdled or separates, the best thing to do is usually just to stop and consider your options (which we’ll cover in the FAQ). Prevention is always better than cure, so pay close attention to the sound of your mixer, the feel of your whisk, and the visual cues of the cream itself as it thickens. It’s far better to under-whip slightly and whisk a little more by hand if needed, than to go too far and ruin the texture.
Step-by-Step: How to Make Perfect Homemade Whipped Cream
Achieving perfect, stable whipped cream isn’t just about having the right ingredients; it’s also fundamentally about applying the correct technique. Follow these detailed steps for a consistently rich, thick, and beautifully stable result every single time:
-
Prepare Your Equipment: For optimal results, begin by placing your mixing bowl (ideally a large metal one, as metal retains cold better) and your whisk attachment (if using a stand mixer) or balloon whisk (if whipping by hand) into the freezer for 10-15 minutes. This chilling step is crucial as very cold equipment significantly helps the cream whip up faster and more stably, especially in warmer environments. A larger bowl than you might think you need will also aid in incorporating more air, leading to greater volume.
-
Combine Ingredients: Once your equipment is chilled, pour the very cold heavy cream into your prepared mixing bowl. Add the confectioner’s sugar, pure vanilla extract, and the optional pinch of salt. If your confectioner’s sugar tends to be lumpy (which is common), I strongly suggest giving it a quick sift directly over the cream before mixing. This ensures a perfectly smooth, silky texture for your finished whipped cream without any unwanted granules. If your sugar is smooth, sifting isn’t strictly necessary.
-
Begin Whipping Gradually: If using a stand mixer, attach the whisk and start whisking on a medium to medium-low speed. If you are whipping by hand, begin whisking vigorously and consistently. While the temptation might be to use a higher speed for quicker results, a medium-low speed is actually preferred. This slower, more gradual pace introduces air more gently and evenly, resulting in a significantly more stable, thicker, and richer whipped cream that holds its shape for longer, even when refrigerated. For this reason, I often choose a stand mixer on medium speed or hand whisking over a hand mixer, which can be too forceful even on its lowest setting and makes it much easier to accidentally over-whip.
-
Monitor Consistency (Soft Peaks to Stiff Peaks): Continue whisking, monitoring the cream’s consistency very closely. It will progress through different stages:
- Soft Peaks: This stage is achieved when you lift the whisk from the cream, invert it, and the cream forms a peak that gently droops or curls over itself. It’s light and airy, perfect for folding into mousses or serving with fresh fruit.
- Medium Peaks: Here, the peaks will hold their shape better but still have a slight, elegant curl at the very tip. This is a versatile, good all-purpose consistency for most toppings.
- Stiff Peaks: At this stage, when you remove and invert the whisk, the cream forms a peak that stands tall and remains completely vertical without drooping. This is the ideal consistency for piping intricate decorations or for toppings that need to hold their structure for an extended period. Typically, there are just a few vigorous whisks separating soft from stiff peaks, so pay very close attention as you approach your desired stage to avoid over-whipping.
-
Serve Immediately or Store: Once the desired consistency is achieved, turn off your mixer or stop whisking. Use your homemade whipped cream immediately for the freshest taste and best possible texture. If you’re not using it right away, promptly transfer it to a clean, airtight container and refrigerate for up to 3 days. See our storage tips for more details on keeping it fresh.
Tips for Success and Troubleshooting Homemade Whipped Cream
Even with the right ingredients and technique, a few extra professional tips can ensure your whipped cream is always perfect. Knowing how to troubleshoot common issues can save your dessert and prevent frustration:
- Keep Everything Cold: This cannot be stressed enough. Cold cream, a cold bowl, and a cold whisk are your absolute best friends in the world of whipped cream. The colder the environment and ingredients, the faster and more stable your whipped cream will be. If your kitchen is particularly warm, consider placing the mixing bowl of cream over an ice bath while whipping to maintain a low temperature throughout the process.
- Avoid Over-Whipping at All Costs: This is the most common mistake. It’s always better to slightly under-whip and then finish by hand if needed, adding just a few more strokes to reach perfection. Once the cream passes the stiff peak stage, it quickly moves to a grainy, curdled texture, and then directly into butter.
- Consider Your Equipment: While a stand mixer with a whisk attachment is ideal for hands-free, consistent whipping, a hand mixer can certainly work if used on a very low speed with careful monitoring. However, whipping by hand with a good quality balloon whisk offers the most precise control and often results in the most stable, finely textured cream, though it does require more arm work and patience.
- Don’t Skimp on Fat Content: Always, always use heavy cream with at least 36% milk fat. Anything less will struggle significantly to whip up properly and, if it does, it won’t hold its shape or volume for long. This is critical for stability.
- Cleanliness is Key: Ensure your mixing bowl and whisk are impeccably clean and completely free of any grease or oil residue. Even a tiny trace of fat can inhibit the whipping process by preventing the fat globules in the cream from properly emulsifying and forming stable air pockets.
- Add Stabilizers (Optional, for Longer Hold): For extra stability, especially if you need the whipped cream to hold its shape for an extended period (e.g., for piping decorations) or in warm conditions, you can consider adding a food-grade stabilizer. Common options include:
- Cornstarch: A tiny amount, about 1 teaspoon per cup of heavy cream, can be added along with the powdered sugar.
- Cream of Tartar: A pinch (approximately 1/4 teaspoon per cup of cream) helps to stabilize the protein structure of the cream.
- Unflavored Gelatin: Dissolve a small amount (e.g., 1/2 teaspoon gelatin in 1 tablespoon cold water, then warmed until completely clear) and allow it to cool slightly before slowly drizzling it into the cream as it reaches soft peaks. This provides superior stability for long-lasting whipped cream.
Frequently Asked Questions About Homemade Whipped Cream
If your whipped cream has just slightly crossed the line into being over-whipped – meaning it looks a little grainy or has small curdled bits, but isn’t yet fully separated into butter – you might be able to salvage it. The trick is to gently add a small amount of very cold, unwhipped heavy cream, one tablespoon at a time, to the over-whipped mixture. Then, whisk very gently by hand until it gradually returns to the desired smooth, creamy stage of stiffness. This technique works best if the cream is only marginally over-whipped. If it has truly separated into a completely curdled, buttery mess, there’s unfortunately not much you can do to restore its whipped texture, and it’s best to start again. However, don’t waste it! You can still use the “butter” in baking recipes or to butter toast.
There are a few common culprits when your heavy cream stubbornly refuses to whip up. The most frequent and critical reason is that the cream (or your mixing equipment) is too warm. Heavy cream needs to be very cold for the fat molecules to properly emulsify, trap air, and form a stable foam. Ensure your heavy cream has been thoroughly chilled in the coldest part of your refrigerator, and for optimal results, chill your mixing bowl and whisk in the freezer for 10-15 minutes beforehand, especially if your kitchen tends to be warm. Another major factor could be a low fat content. Double-check the label to ensure you’re unequivocally using full-fat heavy cream (typically 36-40% butterfat), not light whipping cream or half-and-half, which simply lack the necessary fat percentage to whip properly. Finally, ensure your bowl and whisk are impeccably clean and free of any grease residue; even a tiny amount of oil can inhibit the whipping process by breaking down the fat-air emulsion.
To maintain its freshness, delicate texture, and volume, store homemade whipped cream in a clean, airtight container in the refrigerator immediately after preparation. It’s crucial to ensure the container is well-sealed to prevent the whipped cream from absorbing any unwanted odors from other foods in your fridge and to minimize its exposure to air, which can cause it to deflate or dry out. For an extra layer of protection and to extend its freshness, you can place a piece of plastic wrap directly on the surface of the cream before sealing the lid, creating a barrier against air.
Homemade whipped cream is undeniably at its peak freshness and most stable immediately after whipping. However, when stored correctly, it will typically keep well for about 3 days in the refrigerator. After this initial period, it may begin to “weep” or leak liquid, and its texture might become slightly less stable or airy. While it can often be gently re-whipped by hand for a few seconds to restore some of its body and appearance, it’s generally recommended to consume it within the initial 3 days for optimal quality, taste, and texture. Factors such as a warmer refrigerator temperature, using older cream to begin with, or contamination from uncleaned utensils can unfortunately cause it to spoil faster.
Unfortunately, directly freezing and thawing plain homemade whipped cream is generally not recommended, as its delicate texture changes significantly upon thawing. The water in the cream tends to separate from the fat, resulting in a grainy, watery, and deflated consistency that is far from desirable for a topping. However, if you wish to enjoy whipped cream in a frozen format, it can be successfully frozen as an integral part of other desserts, where its texture change is either intended or masked. This includes applications such as an icebox cake (where it freezes solid with other layers), no-churn ice cream, or semifreddo. In these scenarios, the whipped cream contributes to the overall frozen texture but isn’t expected to retain its light, airy structure after thawing.
Yes, absolutely! Homemade whipped cream can be made ahead of time, typically up to three days in advance, provided it’s stored correctly in an airtight container in the refrigerator. While it’s always at its peak freshness and fluffiness immediately after whipping, it holds up remarkably well for a few days. If you notice it has deflated slightly or appears a bit less voluminous after a day or two, you can easily give it a gentle whisk by hand for a few seconds just before serving to restore its beautiful volume and airy texture. This makes homemade whipped cream a fantastic make-ahead option for dinner parties, busy holiday baking schedules, or simply to have on hand for impromptu dessert cravings.
Absolutely! This recipe is incredibly scalable, making it perfect for any occasion, big or small. You can easily double, triple, or even quadruple the ingredients to produce larger batches of homemade whipped cream, depending on your needs. Your only practical limitations will be the physical capacity of your stand mixer bowl or the size of your mixing bowl if you are whipping by hand. Just ensure you have adequate space for the cream to expand significantly as it whips and to allow for proper aeration. When making larger batches, it becomes even more crucial to start with very cold ingredients and chilled equipment, and to whip at a consistent medium speed to ensure even, stable, and perfectly textured results throughout the entire batch.
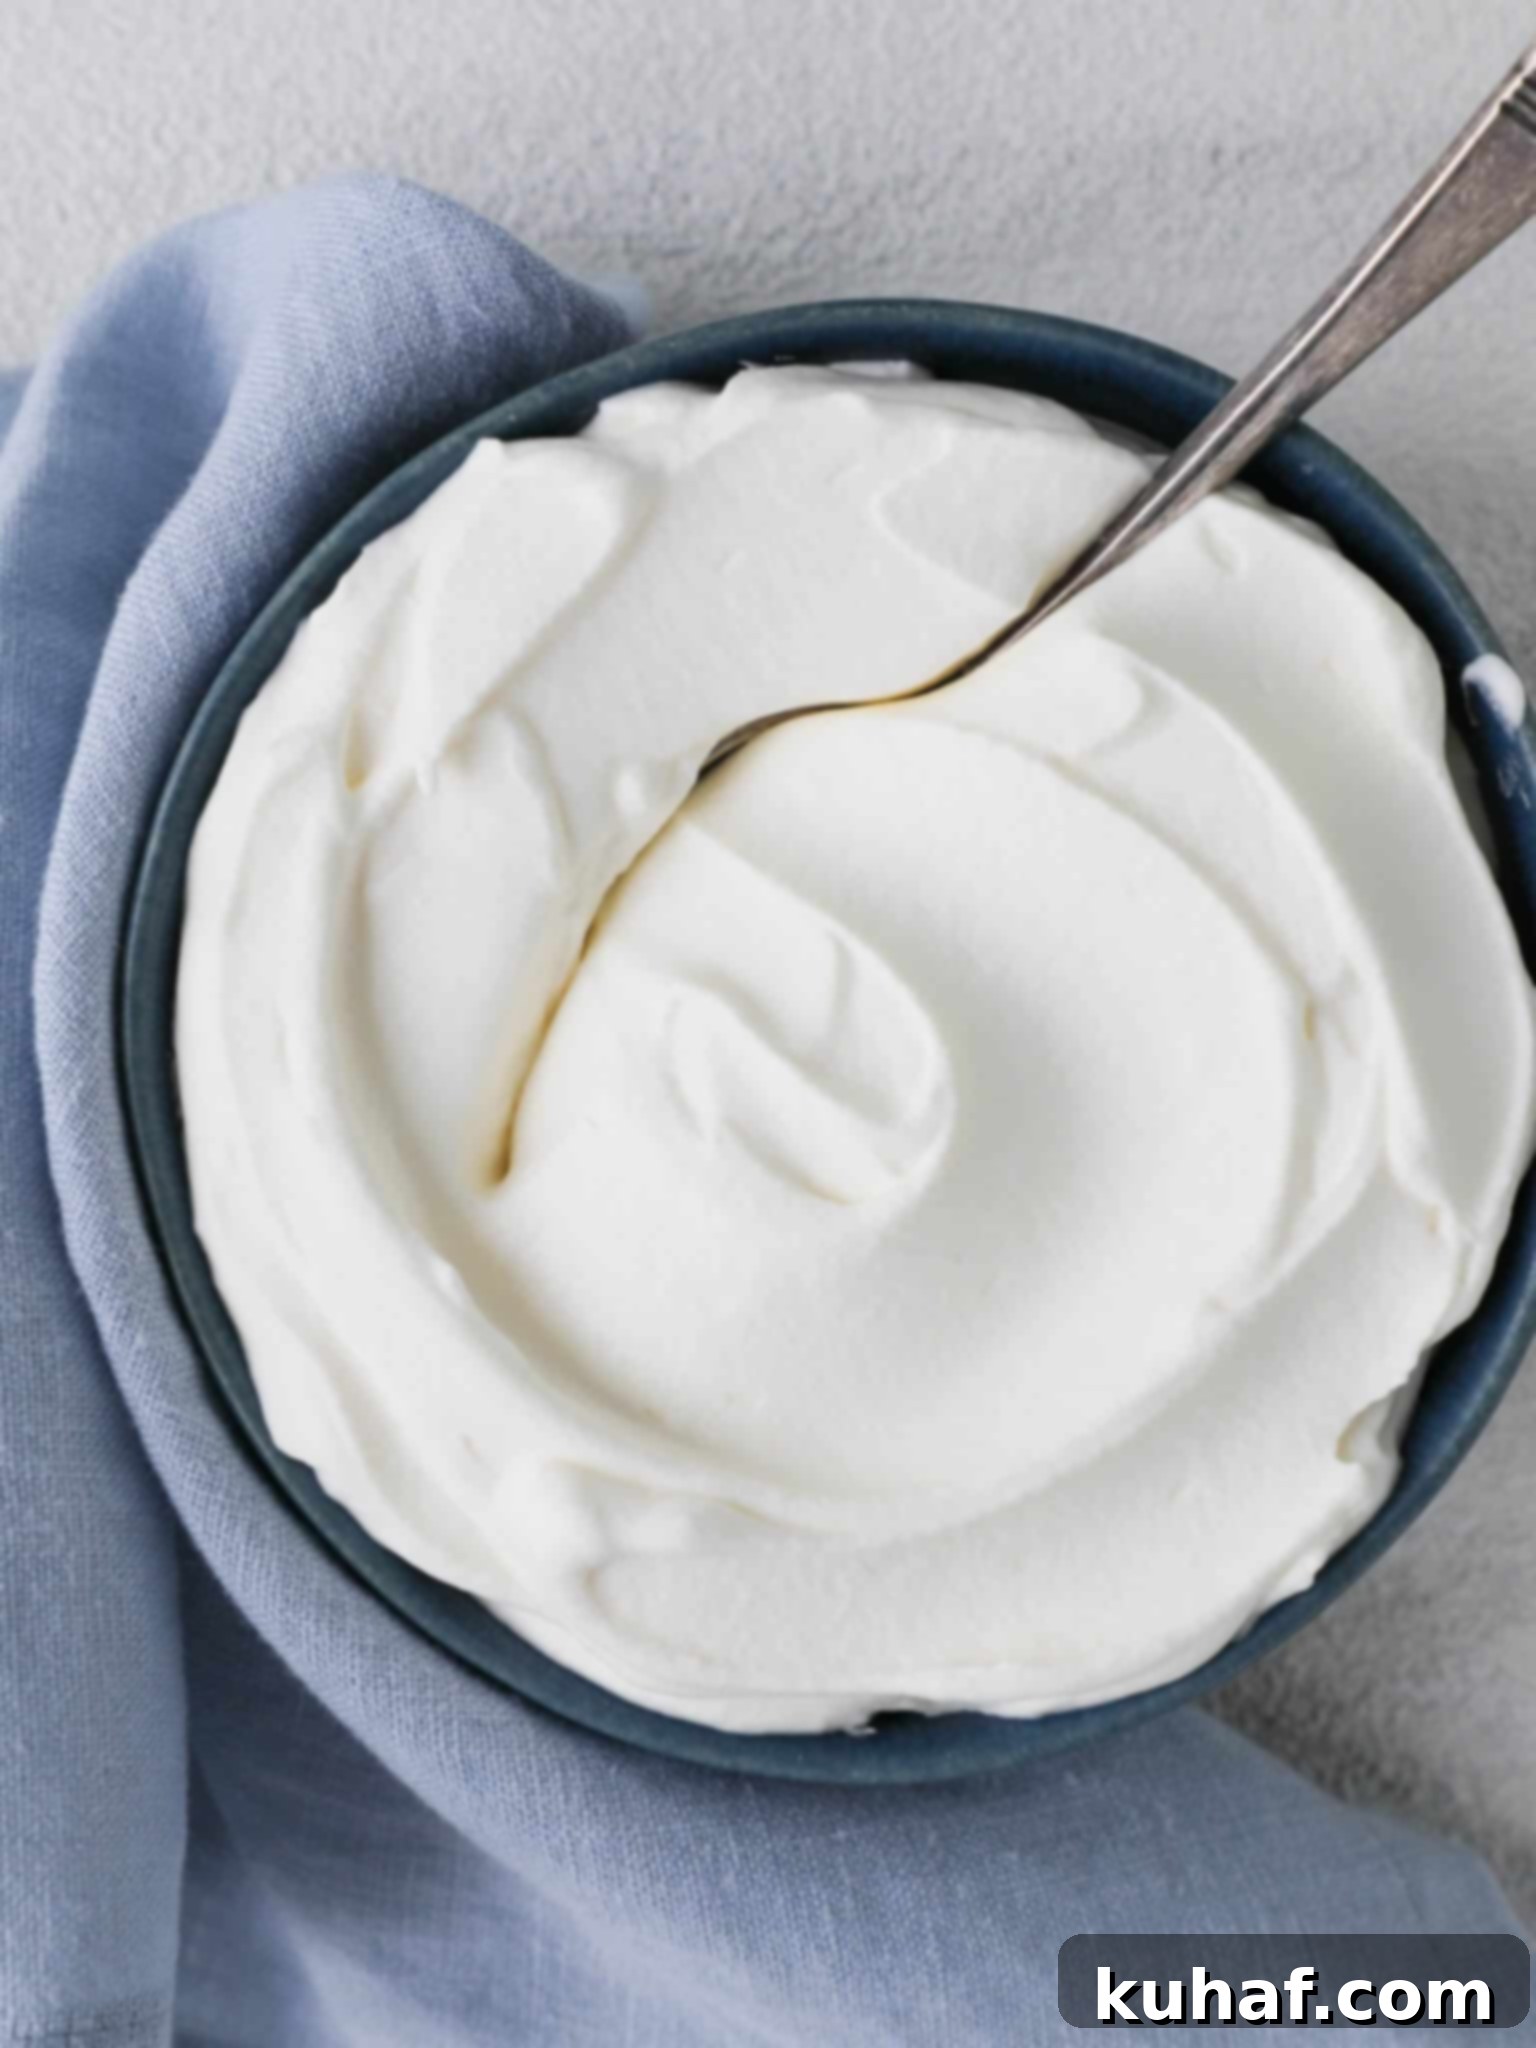
Homemade Whipped Cream: The Ultimate Easy Recipe
Pin Recipe
Comment
Print Recipe
Equipment
-
1 KitchenAid Stand Mixer with 6-Quart Bowl (or any large, chilled mixing bowl, preferably metal)
-
1 Whisk Attachment (for stand mixer) or 1 Large Balloon Whisk (if whipping by hand)
-
Measuring Cups and Spoons
Ingredients
- 2 cups Heavy Cream (full-fat, 36-40% butterfat), thoroughly chilled
- 2 tbsp Confectioner’s Sugar (powdered sugar), sifted if prone to lumps
- ½ tsp Pure Vanilla Extract (high quality recommended)
- Optional: Pinch of Fine Salt (enhances sweetness and flavor)
Instructions
-
Prepare Your Equipment: For best results and the most stable whipped cream, place your mixing bowl (ideally a large metal one) and your whisk attachment (for a stand mixer) or balloon whisk (for hand whipping) into the freezer for 10-15 minutes to chill thoroughly. This critical step helps the cream whip up faster and more stably, especially in warmer kitchens.
-
Combine Ingredients: Pour the very cold heavy cream into your chilled mixing bowl. Add the confectioner’s sugar, pure vanilla extract, and an optional pinch of fine salt. If your confectioner’s sugar tends to be lumpy, I strongly suggest sifting it directly into the cream to ensure a perfectly smooth, silky texture without any unwanted granules. Otherwise, sifting isn’t strictly necessary.
-
Begin Whipping Gradually: If using a stand mixer, attach the whisk and start whisking on medium to medium-low speed. If whipping by hand, begin whisking vigorously and consistently. While higher speeds might seem quicker, a medium-low speed is preferred as it gradually incorporates air, resulting in a more stable, thicker, and richer whipped cream that holds its shape longer. Hand mixers can be used, but be cautious, as their forcefulness can lead to over-whipping more easily; keep it on the lowest setting.
-
Reach Desired Consistency: Continue whisking, monitoring the cream’s consistency closely.
- Soft Peaks: The cream will form gentle peaks that droop when the whisk is lifted. This is light and airy, ideal for folding into other mixtures.
- Stiff Peaks: The cream will form firm, upright peaks that hold their shape without drooping when the whisk is lifted. This is perfect for piping or for toppings that need to stand tall.
Stop whipping as soon as your desired consistency is reached. Over-whipping can quickly turn your cream grainy or even into butter. It’s always safer to stop slightly early and whisk a few more seconds by hand if needed.
-
Serve or Store: Use your homemade whipped cream immediately for the freshest taste and best texture. If not using right away, promptly transfer it to a clean, airtight container and refrigerate for up to 3 days.
Notes
Nutrition
Before You Go! Explore More Delicious Dessert Recipes
Now that you’ve mastered the art of making flawless homemade whipped cream, you’re perfectly equipped to explore an even wider world of exquisite sweet creations. Whipped cream is just the beginning of your dessert journey, acting as the perfect canvas for endless culinary delights! Don’t forget to check out our other delicious, chef-developed Dessert Recipes to find the ideal pairing for your freshly made, silky-smooth topping. From decadent cakes to light and fruity treats, and impressive trifles, there’s always something new and exciting to discover that will delight your taste buds and impress your guests!
