The Best Traditional Raspberry Linzer Cookies Recipe: A Melt-in-Your-Mouth Holiday Treat
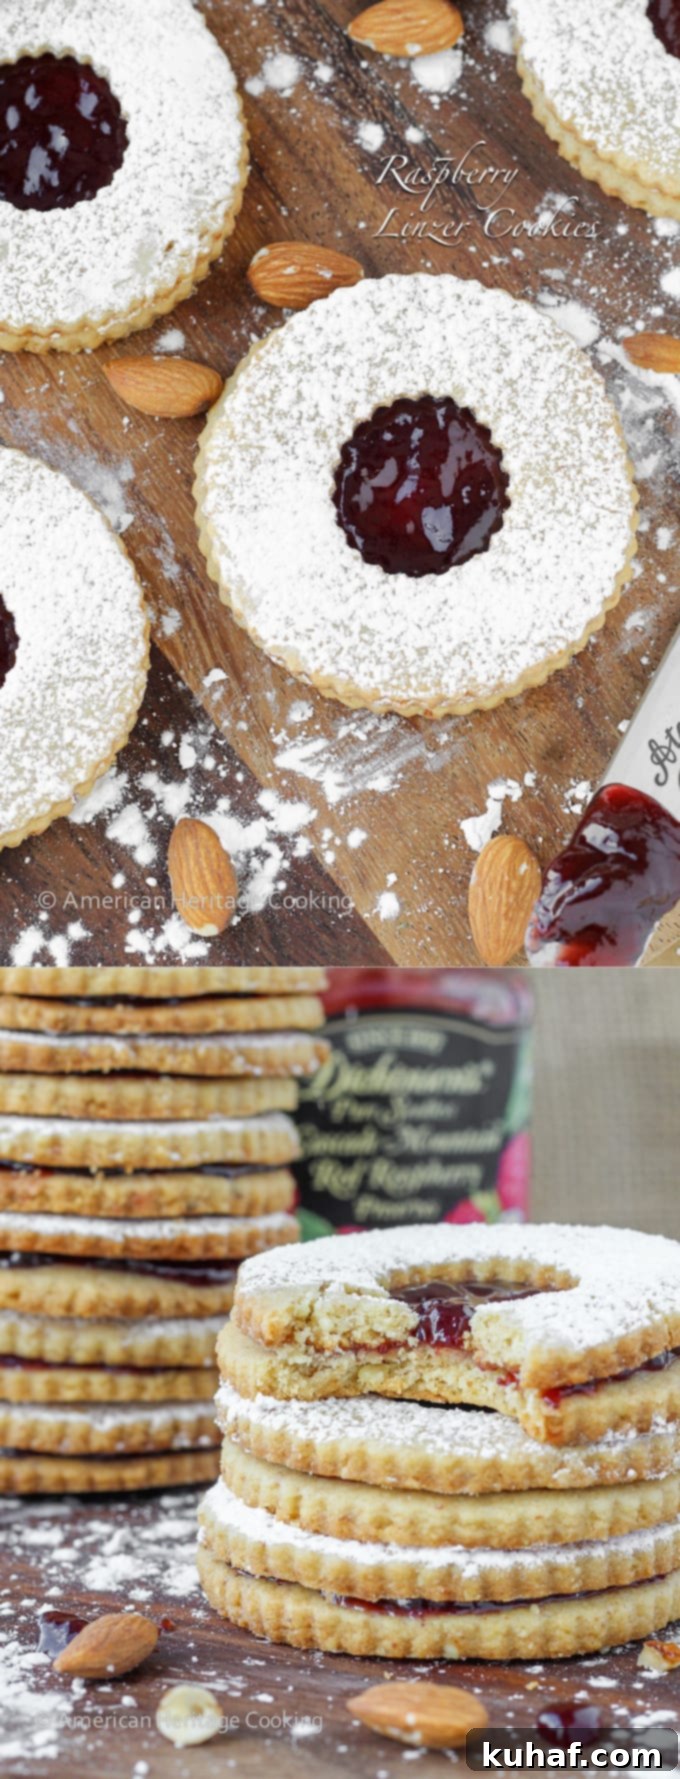
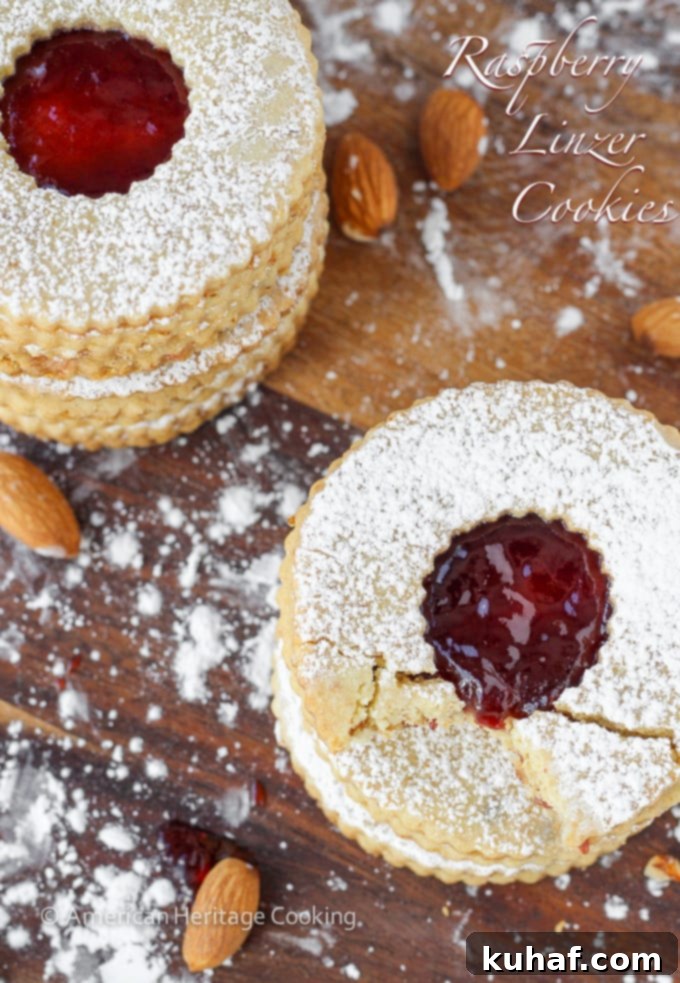
Linzer cookies are an exquisite delight, featuring a soft, tender almond-infused cookie dough that cradles a luscious layer of vibrant raspberry jam, all finished with a delicate dusting of confectioners’ sugar. Our signature recipe elevates this classic, incorporating notes of brown sugar, cinnamon, and vanilla to create a truly unforgettable flavor profile. Prepare to bake the best Linzer cookies you’ve ever tasted!

These stunning almond cookies boast a wonderfully soft and tender texture, subtly enhanced by hints of rich brown sugar, warm cinnamon, and nutty almond. The cookies themselves are perfectly balanced in sweetness, allowing the bright fruit preserves and a final flourish of powdered sugar to provide a delightful contrast. More than just visually appealing, Linzer cookies are incredibly delicious and make exceptional gifts, bringing joy to any occasion. I frequently include them in gift assortments alongside favorites like soft gingerbread cookies, cherry pecan cookies, and classic soft sugar cookies. My experience with this recipe runs deep; I’ve personally baked tens of thousands of these for initiatives like Cookies for Kids Cancer, as special giveaways at restaurants, and for our bakery’s popular Christmas Cookie Tins.
Table of Contents
- Why You’ll Adore This Linzer Cookie Recipe
- What Exactly Are Linzer Cookies?
- Expert Tips for Crafting Perfect Linzer Cookies
- Essential Ingredients for Linzer Cookies
- Creative Variations & Substitutions
- Step-by-Step Guide: How to Make Linzer Cookies
- Chef Lindsey’s Secret Tip
- Frequently Asked Questions About Linzer Cookies
- Full Linzer Cookies Recipe Card
- Before You Go!
Why You’ll Adore This Linzer Cookie Recipe
This Linzer cookie recipe isn’t just another cookie; it’s a testament to professional baking, refined over years to guarantee consistently perfect results. Here’s why it will become your new go-to:
- Ideal for Shipping & Gifting: Raspberry Linzer cookies are remarkably stable, making them perfect for shipping to loved ones or adding to holiday cookie platters. What’s more, their flavor and tender texture actually deepen and improve over time, making them a fantastic make-ahead gift!
- Scalable for Any Batch Size: Whether you’re baking a small batch for your family or a massive quantity for a special event, this recipe is incredibly versatile. In my professional career, I’ve scaled this exact recipe to fill an 80-quart mixer, yielding thousands of cookies with the same exceptional quality as a smaller batch. For larger preparations, always use a kitchen scale for precise ingredient measurements.
- The Ultimate Melt-in-Your-Mouth Texture: Unlike many Linzer recipes that rely on a simple shortbread dough (which can sometimes be too dry for a sandwich cookie), our recipe uses a generous amount of butter and less sugar. This unique balance creates an incredibly tender, melt-in-your-mouth cookie that absorbs moisture from the jam beautifully, softening perfectly without becoming overly sweet. It’s truly a superior sandwich cookie experience.

What Exactly Are Linzer Cookies?
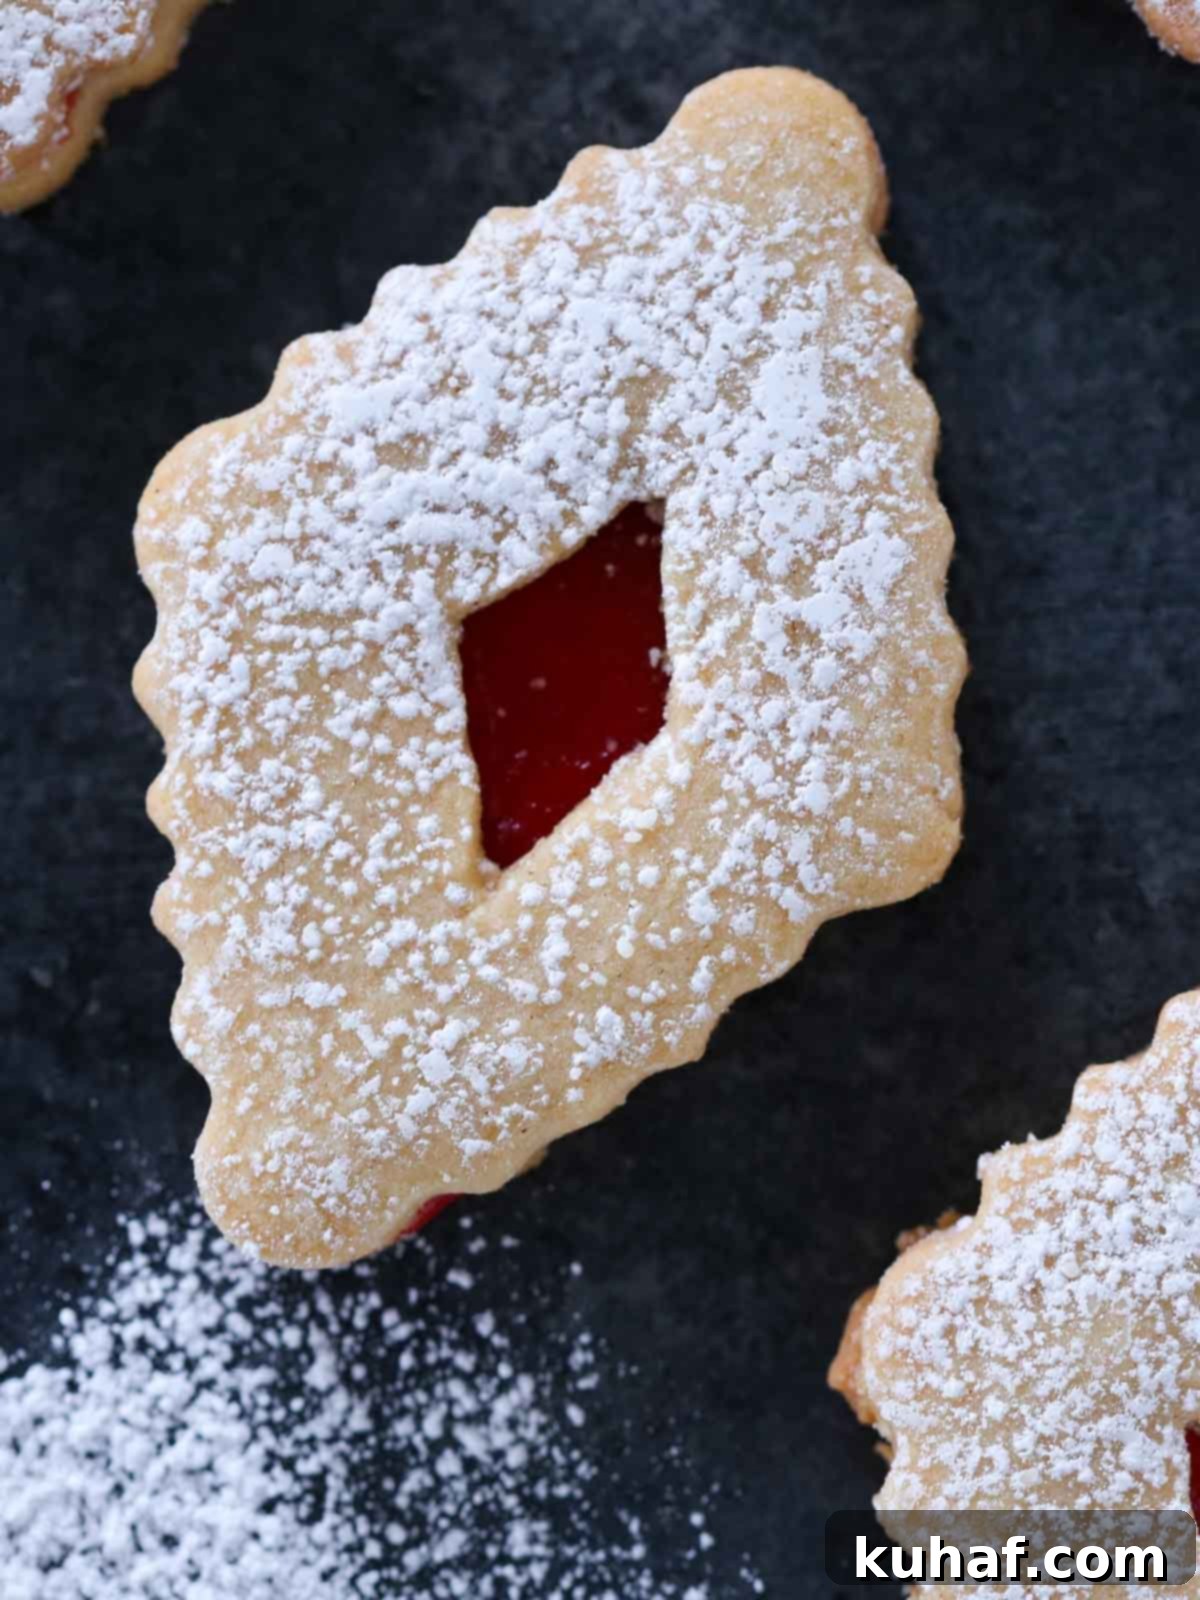
Linzer cookies are elegant, jam-filled sandwich cookies, directly inspired by the famous Viennese Linzer Torte. These delightful confections typically feature a rich, buttery dough flavored with finely ground nuts, most commonly almonds or hazelnuts. While raspberry or apricot preserves are the traditional fillings, any fruit jam or even other spreads can create a delightful variation. Characterized by a cut-out “window” on the top cookie that reveals the vibrant filling beneath, Linzer cookies are not only a feast for the taste buds but also a treat for the eyes, especially popular during holiday seasons and special occasions.
Expert Tips for Crafting Perfect Linzer Cookies
Achieving bakery-quality Linzer cookies is simple with these professional insights. Follow these tips to ensure your cookies are tender, flavorful, and beautifully presented every time:
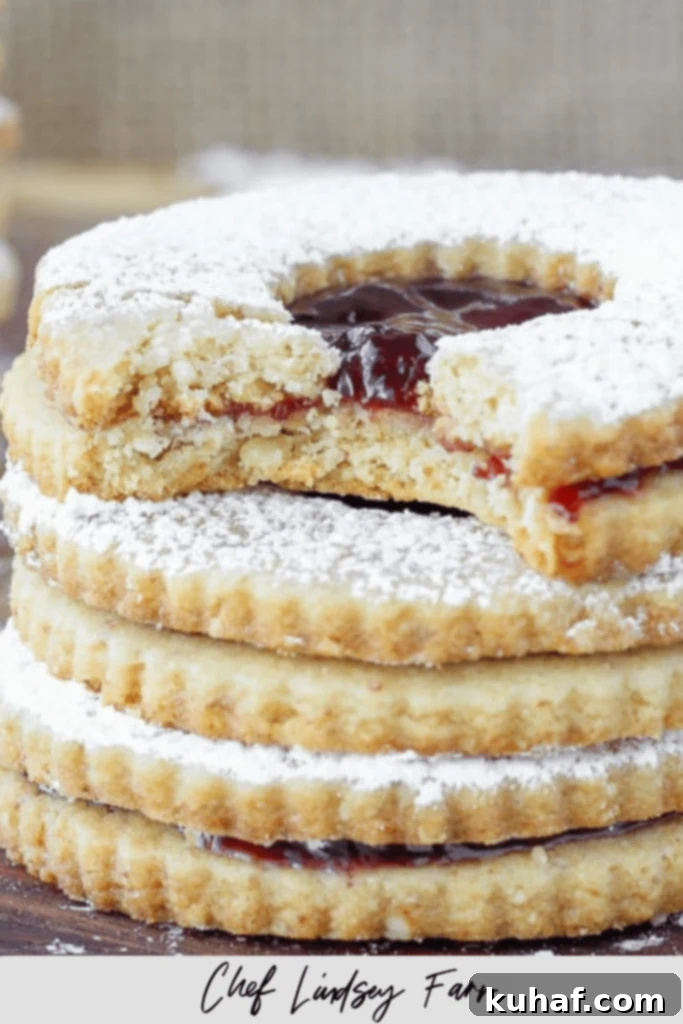
- Patience is a Virtue: Allow Flavors to Meld. While tempting to devour immediately, Linzer cookies truly shine on the second day, or even a few days after assembly! Apply a nice, thin layer of jam or preserves all the way to the edges of the bottom cookies. Over time, the jam will soften and permeate the cookie, creating a unified, irresistible flavor and texture. This melding of flavors is absolutely to die for!
- Bake Tops and Bottoms Separately: The delicate cut-out tops of Linzer cookies bake much faster than the solid bottom pieces. To avoid overbaking the tops or underbaking the bottoms, always bake them on separate baking sheets. This allows you to remove each batch precisely when it’s perfectly golden.
- Resist the Urge to Overfill: It’s easy to get carried away with the delicious jam, but using too much can actually detract from the cookie experience. Excessive filling can cause the top cookie to slide off, the jam to ooze out the sides, and disrupt the delicate balance of flavors. A modest ¾ teaspoon of preserves per cookie is typically ideal.
- For even more detailed guidance, be sure to check the “How to Make” section below for additional professional tips integrated into each step!
Essential Ingredients for Linzer Cookies
Each ingredient plays a crucial role in the texture and flavor of these exceptional Linzer cookies:
- Almonds: I typically use blanched, whole almonds, which I finely process. However, almond meal is an excellent (and easier!) alternative that works just as well. Use whatever you have on hand!
- Light Brown Sugar: This isn’t just for sweetness; light brown sugar adds essential moisture, contributing to a softer, more tender cookie. Its molasses notes also impart a rich, nuanced flavor that granulated sugar simply can’t match.
- All-Purpose Flour: Proper measurement is key here! Always fluff your flour in the bag, then spoon it into your measuring cup and level it off with a knife. Incorrect measurement, especially too much flour, will result in dry, crumbly cookies.
- Baking Powder: We use double-acting baking powder, which provides two stages of leavening: an initial lift when mixed with wet ingredients and another boost when exposed to heat in the oven, ensuring a perfectly risen cookie.
- Kosher Salt: Unlike finer ground varieties, Kosher salt is less salty by volume and helps to heighten and balance all the other flavors, preventing the cookies from tasting dull or flat.
- Cinnamon: I prefer the bold, warm notes of Saigon cinnamon, but any quality ground cinnamon will infuse the dough with a delightful aromatic warmth.
- Unsalted Butter: Baking with unsalted butter allows you to precisely control the salt content in your recipe. Different brands of salted butter contain varying amounts of salt, which can make recipe adjustments challenging. Ensure your butter is at room temperature for optimal creaming.
- Whole Egg: The large egg serves multiple purposes: it adds structure and a touch of leavening, the yolk contributes richness and fat, while the white provides moisture. Eggs also help emulsify the batter, ensuring a perfectly consistent and tender texture.
- Vanilla Extract: Pure vanilla extract not only adds its own exquisite flavor but also beautifully enhances the existing flavors of other ingredients, particularly the brown sugar and almonds.
- Powdered Sugar: The final dusting of powdered sugar (confectioners’ sugar) contributes an extra layer of sweetness and helps to keep the assembled cookies moist during storage, besides adding to their classic appearance.
- Seedless Preserves: While I highly recommend seedless raspberry preserves for their traditional flavor and smooth texture, any delightful jam or preserve of your choice will work wonderfully.
Creative Variations & Substitutions for Linzer Cookies
Linzer cookies are a fantastic canvas for culinary creativity! Feel free to experiment with these ideas to personalize your batch:
- Endless Shapes & Sizes: Embrace the versatility of Linzer cookies! Use any cookie cutters you adore. Heart shapes are lovely for Valentine’s Day or Mother’s Day, while snowflakes, stars, or trees are perfect for festive Christmas bakes. Make them as grand or as petite as you wish – you don’t need a specialized Linzer cookie cutter set, just use what you already have and have fun!
- A Medley of Jams & Spreads: Get adventurous with your fillings! Beyond the classic raspberry, try apricot, peach, or strawberry jam. For a decadent twist, consider spreads like Nutella (as seen in these chocolate Nutella Linzer cookies), bright lemon curd, spiced cookie butter, or even a rich salted caramel sauce. Just remember that fillings like lemon curd will require refrigeration.
- Infuse the Dough with New Flavors: Elevate the cookie dough itself! I’ve successfully made this recipe with almond extract, hazelnut flour, and even different types of almond flour. For a bright, citrusy note, finely grate orange or lemon zest directly into the sugar before creaming it with the butter. The zest’s oils will infuse the sugar, creating a wonderfully aromatic dough.
- Opt for a Glaze Instead of Powdered Sugar: During my time baking for restaurants and Cookies for Kids Cancer, my Linzer cookies became so popular they were affectionately dubbed “Lindsey’s Linzers.” One memorable year, I created a “lemon poppy seed” theme. I flavored the dough with lemon zest, then instead of powdered sugar, I glazed the tops with a simple mixture of powdered sugar and fresh lemon juice, finished with a sprinkle of poppy seeds. You can achieve similar vibrant results using orange juice or even tropical passionfruit juice!
Step-by-Step Guide: How to Make Linzer Cookies
Follow these detailed instructions to create perfect Austrian-inspired Linzer cookies every time. You’ll find further details and precise measurements in the comprehensive recipe card below!
Prepare the Cookie Dough
This method ensures a tender, flavorful dough that’s easy to work with.
- Combine Dry Ingredients: In a medium-sized bowl, whisk together the all-purpose flour, baking powder, kosher salt, and ground cinnamon until thoroughly combined. Set this dry mixture aside.
- Process Almonds (if applicable): If you’re using whole blanched almonds, combine them with ¼ cup of the light brown sugar in a food processor. Pulse intermittently until the almonds are finely ground, resembling a coarse meal. Be careful not to over-process, or you’ll end up with almond butter. If using almond meal, simply mix it with ¼ cup of brown sugar, breaking up any clumps.
- Cream Butter and Sugar: In a large bowl, using either a hand mixer or a stand mixer fitted with the paddle attachment, beat the softened, room-temperature unsalted butter and the remaining ¼ cup of brown sugar together. Cream them until the mixture is light and fluffy, which should take approximately 2 to 3 minutes. This creaming method incorporates air, contributing to the cookies’ tender texture. While it won’t get as intensely fluffy as a cake batter (due to the high butter content), it should still be noticeably lighter.
- Add Egg and Vanilla: Beat in the large egg and pure vanilla extract until fully incorporated into the butter mixture.
- Incorporate Dry Ingredients: Reduce the mixer speed to low. Gradually add the ground almond mixture, followed by the flour mixture in several additions. Mix just until everything is combined, taking care not to over-mix, which can develop the gluten and result in tough cookies. Periodically scrape down the sides of the bowl to ensure all ingredients are thoroughly incorporated.
- Chill the Dough: Divide the finished cookie dough in half. Shape each half into a flat disk and wrap them securely in plastic wrap. Refrigerate the dough for at least 2 hours, or preferably overnight, until it is firm. This crucial chilling step allows the gluten to relax, prevents the cookies from spreading excessively during baking, and makes the dough much easier to roll and cut.
Chef’s Tip on Chilling: For extra convenience, you can roll out the freshly made dough between two pieces of parchment paper to an even ⅛-inch thickness before chilling. Then, simply stack the parchment-wrapped dough layers in the refrigerator for 2 hours or overnight. This eliminates the need for rolling later and further helps the dough relax and butter re-solidify.
Roll, Cut, and Bake
Precision in this stage ensures beautifully shaped cookies.
- Prepare for Baking: Preheat your oven to 350°F (175°C) and line two large baking sheets with parchment paper. If your dough was chilled as disks, allow them to warm up on the counter just until they are firm but slightly pliable—cool to the touch but not rock hard. If you pre-rolled your dough between parchment, you can skip this warming step and proceed to cutting.
- Roll Out the Dough: Lightly dust your counter or a large piece of parchment paper with bench flour. Roll out one disk of dough to an even ⅛-inch thickness. This dough can be a little sticky, so re-flour your surface as needed. Rolling too thin will result in crispier cookies that don’t soften as nicely when assembled, while a slightly thicker roll (e.g., just under ¼ inch, as in some of my pictures) will yield a chewier, “chubbier” cookie.
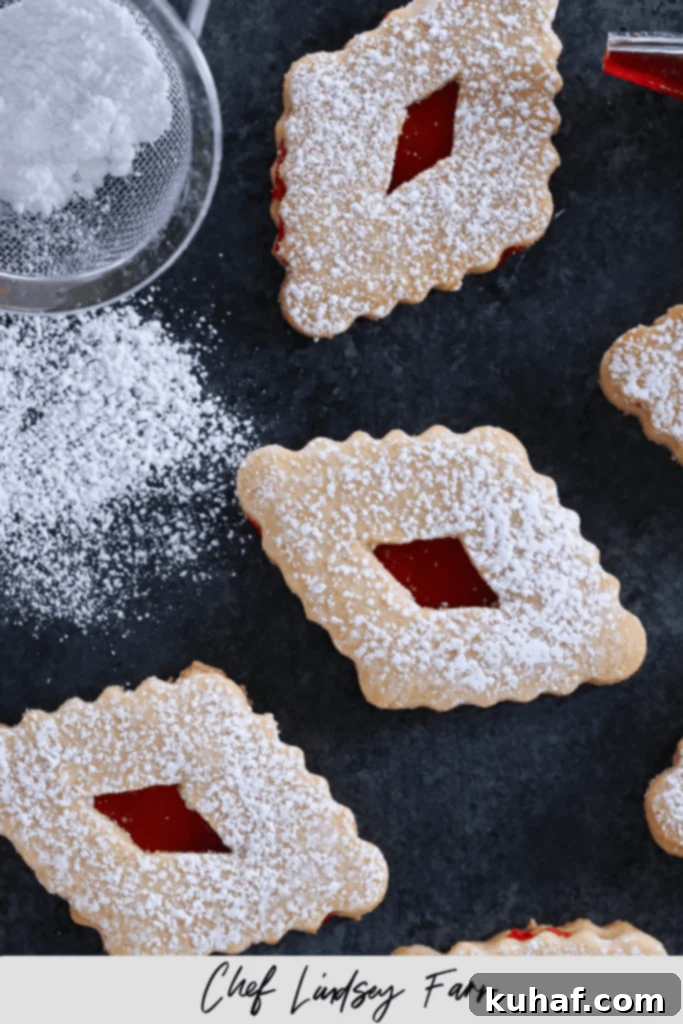
- Cut & Arrange Cookies: Using your chosen cookie cutter (e.g., a diamond shape for a classic look), cut out shapes from the dough. Carefully transfer these cutouts to your prepared baking sheets, spacing them about one inch apart. Now, for half of these cookies, use a smaller cookie cutter (or a paring knife) to cut out the centers – these will be your “tops.” Gather all dough scraps, gently press them together, re-roll, and cut more cookies until all dough is used.
- Optional Second Chill: Once all your cookies are cut and arranged on baking sheets, you have the option to chill them again for 20-25 minutes, or until firm to the touch. This step is highly recommended as it helps prevent the cookies from spreading in the oven, ensuring they maintain their crisp, defined edges.
- Bake Separately: Place the baking sheets in the preheated oven. Remember to bake the solid bottom pieces and the cut-out top pieces on separate baking sheets, as they will bake at different rates. Rotate the baking sheets halfway through the baking process for even browning. Bake until the edges just begin to brown slightly, and the centers puff up with small surface cracks. For my oven, this typically takes 8-10 minutes for the bottoms and 6-8 minutes for the tops.
- Cool Completely: Allow the cookies to cool slightly on their baking sheets for a few minutes before carefully transferring them to a wire rack to cool completely. This prevents them from breaking and ensures they set properly.
Assemble and Enjoy
The final touches bring these beautiful cookies to life.
- Dust the Tops: Once the cut-out top cookies have completely cooled, generously dust them with powdered sugar. This creates their iconic snowy appearance.
- Spread the Preserves: Take a bottom cookie (the solid piece) and spread about ¾ teaspoon of your chosen preserves onto its surface, ensuring the jam almost reaches the edges. You can use a little more if you prefer, but I find this amount perfectly balances the raspberry flavor with the rich almond cookie, preventing it from overpowering.
- Assemble: Carefully place a powdered top cookie over each jam-covered bottom cookie and press gently to adhere them together. While you can enjoy them immediately, I highly recommend waiting at least a day. This allows the flavors to truly meld and the cookies to soften slightly from the jam, creating an even more unified and delicious experience.
Chef Lindsey’s Secret Tip
These cookies are absolutely delicious fresh out of the oven, but their true magic unfolds on day two, three, and even up to day eight! The flavors have a chance to meld together beautifully, and the preserves gently permeate and soften the almond cookies, creating a truly unified and enhanced taste experience. This makes them perfectly suited for cookie trays, gifting, and shipping, knowing they’ll only get better with a little time!

Frequently Asked Questions About Linzer Cookies
To maintain their freshness and delicate texture, store your assembled Linzer cookies in a sealed airtight container at room temperature for up to 7 days. For best results, place layers of parchment paper between the cookies. For extended storage, you can freeze the assembled cookies for up to 3 months. The unbaked dough also freezes beautifully; simply bake directly from frozen without thawing.
Yes, chilling the dough is absolutely essential for perfect cut-out Linzer cookies. I always recommend chilling the dough for at least 2 hours, or overnight, before rolling and cutting. This crucial step helps the butter solidify, preventing the cookies from spreading too much in the oven and ensuring they maintain their sharp edges and beautiful shape.
These Linzer cookies are excellent for shipping! Their robust nature allows them to travel wonderfully. When packaging, ensure they are well cushioned with tissue paper or other soft padding to prevent them from jostling around in the tin. Please note that powdered sugar, despite your best precautions, tends to shift and settle during transit. I’ve tested this both ways, and the powdered sugar contributes significantly to the flavor, so I suggest letting it do its thing in the box. No one will mind a little re-dusting upon arrival!
Linzer cookies are classic sandwich cookies characterized by a rich, tender dough made primarily with nut flour, most commonly finely ground almonds or hazelnuts. This dough is then filled with a sweet fruit preserve, typically raspberry jam, and dusted with confectioners’ sugar for their signature look and taste.
If your Linzer cookie dough is crumbly, it’s likely due to a few factors. It might be too cold to roll – allow it to warm up slightly on the counter until it’s pliable but still firm. Another common reason is incorrect flour measurement (too much flour) or an imbalance in the ratio of fats to dry ingredients. If your dough is excessively crumbly, you can try incorporating an extra egg yolk or a teaspoon of milk to help bind it.
To prevent Linzer cookies from getting soggy, use just a thin, even layer of jam between the cookies and always store them at room temperature. Refrigeration or freezing can introduce excess moisture, making the cookies softer than desired. Additionally, ensure you bake the cookies long enough so they start with a slightly crisp texture. This initial crispness allows them to soften just perfectly once assembled with the jam, achieving that ideal melt-in-your-mouth quality without becoming mushy.

If you tried this recipe and loved it, please leave a 🌟 star rating and let me know how it goes in the comments below. I love hearing from you; your comments make my day!
Linzer Cookies
Chef Lindsey
30 minutes
10 minutes
2 hours
2 hours
40 minutes
18
cookies
Saved
Pin Recipe
Comment
Print Recipe
Equipment
-
Diamond Cookie Cutter
Ingredients
-
1
cup
almond flour (meal)
or ⅔ cup blanched whole almonds -
½
cup
packed light brown sugar -
2 ½
cups
all-purpose flour
spooned and leveled -
½
teaspoon
baking powder -
½
teaspoon
kosher salt -
¼
teaspoon
ground cinnamon -
1
cup
unsalted butter
room temperature -
1
large egg -
1
teaspoon
pure vanilla extract -
2
tablespoons
powdered sugar
for dusting -
12
ounces
seedless raspberry preserves
Instructions
Make cookie dough:
-
Whisk together the flour, baking powder, salt, and cinnamon in a medium bowl. Set this dry mixture aside.
-
If using whole almonds process the almonds and a ¼ cup of the brown sugar in a food processor, until they are finely ground. Be sure to pulse, so this does not make almond butter. If you are using almond meal, then just mix the meal with ¼ cup brown sugar.
-
In a large bowl with a hand mixer or in a stand mixer, beat the butter and the remaining ¼ cup of brown sugar until light and fluffy, which will take about 2 to 3 minutes. This is called the creaming method! It is helpful if the butter is already at room temperature for when you cream the butter and sugar. Do not expect it to get as intensely fluffy as it might for a cake batter. There is too much butter for that.
-
Add the egg and vanilla, and beat to incorporate.
-
Reduce the mixer speed to low and gradually add the ground almond mixture. Next add the flour mixture in several additions. Mix until it is just-combined, and be careful not to over-mix. Remember to scrape down the sides of the bowl so everything is incorporated!
-
Divide the dough in half. Shape each half into disks and wrap each disk securely in plastic wrap. Refrigerate until firm, which will take at least 2 hours, or overnight. You want it to be firm and set so you can get beautiful cookies that don’t shrink or spread.
Roll, Cut, and Bake:
-
Allow the disks to warm up on the counter until they are still cool to the touch but slightly softened. Preheat the oven to 350°F and line 2 baking sheets with parchment paper.
-
Dust your counter with bench flour. Roll out each piece of dough to as close to an ⅛ inch thickness as you can. In the pictures, I rolled it to a little less than ¼ inch, but I ended up with slightly chubbier cookies. This dough is a little sticky, so you might have to re-flour your counter.
-
Cut the dough with your cookie cutter of choice, and place on a prepared baking sheet. Space the cut pieces of dough one inch apart. Use a smaller cookie cutter, or paring knife, to cut out the centers of half the pieces. Keep your scraps, because you can (and should) re-roll them!
-
Once all your dough is cut, you can opt to chill your cookies again before you bake them. Chill them until they are firm to the touch, which will take about 20-25 minutes. I recommend this step, but it is technically optional.
-
While baking, rotate the cookie sheets halfway through. You want to bake until the edges begin to brown, which for me was 8-10 minutes for the bottoms and 6-8 minutes for the tops.
-
Cool slightly on the cookie sheet and then transfer to a wire rack to cool completely.
Assemble and enjoy:
-
When the tops (the ones with holes) have partially cooled, dust them generously with powdered sugar. Spread about ¾ teaspoon of preserves on each bottom (the cookies without holes). You can use a little more if you like, but I didn’t want the raspberry flavor to overpower the almond flavor. Spread the preserves until they reach the edges!
-
Place a powdered top on each bottom and press gently to stick them together. You can begin enjoying them immediately, but they do get better as the days go on! Waiting will give the flavors an opportunity to meld together and the cookies to soften slightly.
Video
Notes
Technique – Do not force your dough to roll out when it’s too cold. Instead, allow it to sit on the counter for a few minutes to soften slightly, making it much easier to work with.
Storage – Store these delightful cookies in an airtight container at room temperature for up to 5 days. Layer them with parchment paper to keep them fresh.
Recipe adapted from Real Simple | November 2010
Yield: 18 Cookies
Nutrition
Calories:
272
kcal
|
Carbohydrates:
35
g
|
Protein:
4
g
|
Fat:
14
g
|
Saturated Fat:
7
g
|
Polyunsaturated Fat:
1
g
|
Monounsaturated Fat:
3
g
|
Trans Fat:
0.4
g
|
Cholesterol:
36
mg
|
Sodium:
89
mg
|
Potassium:
48
mg
|
Fiber:
1
g
|
Sugar:
16
g
|
Vitamin A:
328
IU
|
Vitamin C:
2
mg
|
Calcium:
36
mg
|
Iron:
1
mg
Dessert
Austrian
272
Like this? Leave a comment below!
Before You Go!
We hope you thoroughly enjoyed this professional chef-tested recipe for traditional Linzer cookies. Our goal is to bring you delicious, reliable recipes every time. Don’t stop at Linzer cookies – explore our other fantastic cookie recipes, including these delightful chocolate chip shortbread cookies. Or, for even more festive inspiration, browse our complete collection of Christmas cookie recipes! Happy baking!
