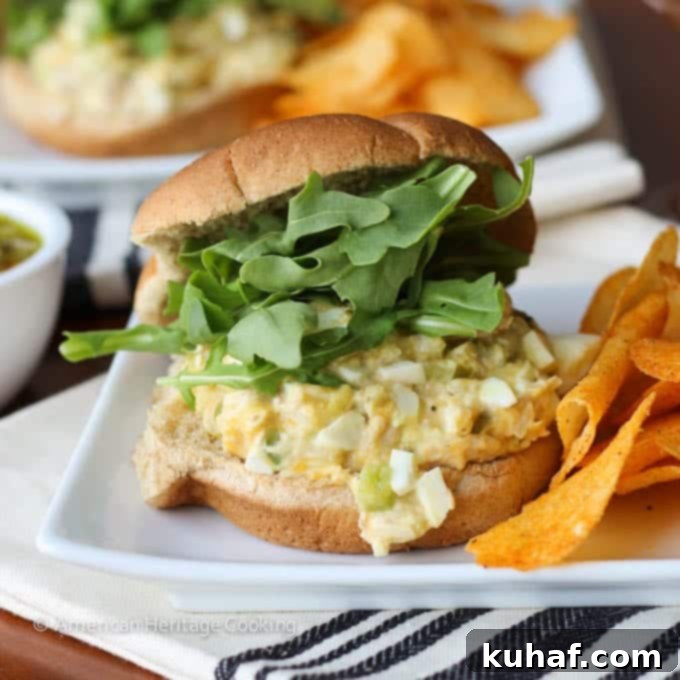
The Ultimate Tuna Melt Recipe: Grandma’s Cheesy Secret for a Perfect Sandwich
Few sandwiches evoke such comforting nostalgia as the classic tuna melt. It’s a culinary hug, a symphony of flavors and textures that satisfies the soul and brings back fond memories. This isn’t just any tuna melt; it’s a cherished family recipe from my Grandma Ruth Jean, elevated with a professional chef’s touch to ensure perfection in every bite. We’re talking flavorful tuna salad transformed into delightful patties, enveloped in gooey, melted cheese, all ready to enjoy in under 30 minutes! Get ready to discover your new favorite way to enjoy this beloved comfort food.
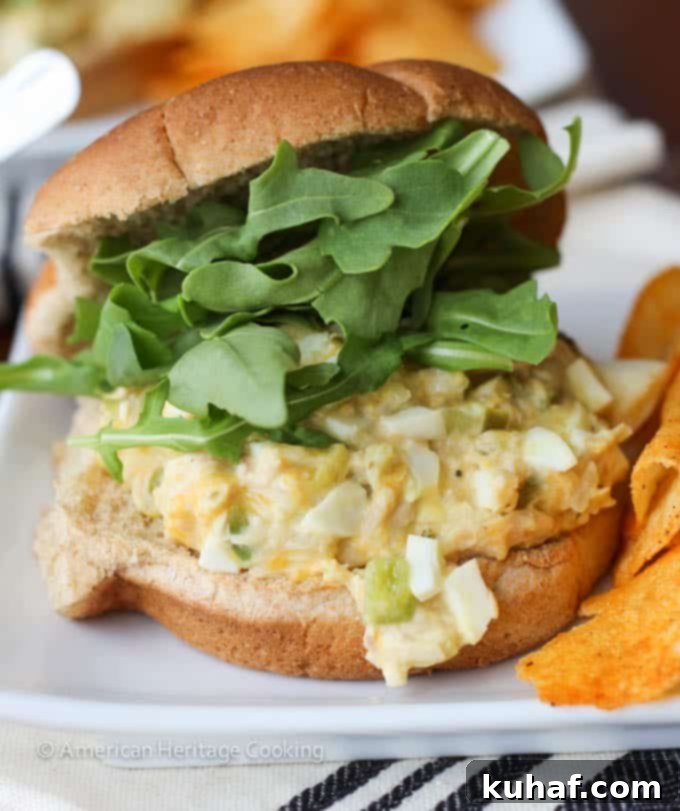
This exceptional tuna melt recipe originated in my Grandma Ruth Jean’s kitchen, a testament to timeless home cooking. Over the years, I’ve lovingly refined it, giving it my professional spin by optimizing the mayonnaise content for a better balance and upgrading to sharp cheddar cheese for an even richer, more satisfying flavor. The result is a simple yet incredibly delicious meal that’s perfect for a quick weeknight dinner, a satisfying lunch, or a casual gathering with friends.
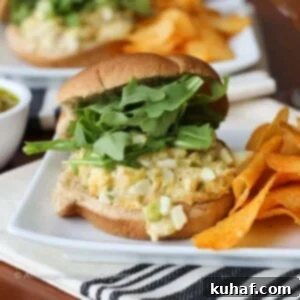
Ready to elevate your sandwich game? Add this irresistible tuna melt to your weekly rotation alongside other favorites like my real deal roast beef melt, the zesty pepper jack juicy lucy, and my personal favorite deviled egg salad sandwich! Each offers a unique flavor adventure that promises to delight your taste buds.
Table of Contents
- Why You Will Love This Classic Tuna Melt
- Professional Tips for Making the Ultimate Tuna Melt
- Ingredients You’ll Need
- Delicious Variations to Try
- How to Make the Perfect Tuna Melt
- Chef Lindsey’s Recipe Tip
- Frequently Asked Questions
- Tuna Melt Recipe Card
- Before You Go
Why You Will Love This Classic Tuna Melt
- It’s Exceptionally Well-Balanced. Many tuna melt recipes can fall flat, offering a singular savory note and a soft, uniform texture that quickly becomes monotonous. Our rendition meticulously addresses this, creating a truly dynamic culinary experience. We introduce the bright, tangy sweetness of relish to cut through the richness of the tuna and mayonnaise, preventing it from being overly heavy. Furthermore, the inclusion of crisp, finely chopped peppers and onions adds a delightful textural contrast, ensuring each mouthful is engaging and far from one-dimensional. This careful balance of sweet, savory, and fresh, coupled with varied textures, makes this the ultimate tuna melt recipe you’ll come back to again and again.
- It’s an Innovative Update on the Classic. Instead of simply spreading tuna salad onto bread, which can sometimes lead to a soggy sandwich or an uneven distribution of ingredients, we take a more refined approach. By forming the tuna salad into individual patties and integrating the shredded cheese directly into the mixture, we achieve a superior outcome. This method ensures that the cheese melts beautifully *within* the tuna, creating pockets of gooey, cheesy goodness in every single bite. It also gives the tuna salad a more substantial and appealing structure, preventing it from spilling out and making for a cleaner, more satisfying sandwich experience, almost like a gourmet tuna burger.
- It’s Professionally Tested for Perfection. While the warmth of a home kitchen recipe is undeniably charming, there’s an added layer of confidence when a dish has been rigorously tested and refined by a professional chef. This recipe has undergone that very process, ensuring not only delicious flavor but also reliable and consistent results every single time you prepare it. You can trust that the ingredient ratios, cooking times, and techniques have been optimized for restaurant-quality perfection, bringing a gourmet standard right into your home kitchen with minimal fuss.
Professional Tips for Making the Ultimate Tuna Melt
- Properly Drain the Tuna. This seemingly small step is absolutely crucial for the overall success and texture of your tuna melt. Excess water or oil in the canned tuna can lead to a watery, unappealing tuna salad that struggles to hold its shape and can make your bread soggy. When using water-packed tuna, I highly recommend placing it in a fine-mesh sieve and giving it a good rinse under cold water, then pressing firmly with the back of a spoon to extract as much liquid as possible. If using oil-packed tuna, simply drain it thoroughly. This ensures a firm, flavorful tuna base for your patties that will hold together beautifully.
- Adjust to Your Personal Preferences. Cooking is an art, and personal taste is paramount. This recipe is a fantastic starting point, but don’t hesitate to make it your own! If you prefer a luxuriously creamier tuna melt, feel free to add an extra tablespoon or two of mayonnaise or Miracle Whip until it reaches your desired consistency. Conversely, if you prefer a less sweet, more savory profile, you can reduce the amount of sweet relish or omit it entirely, perhaps substituting with a touch of Dijon mustard for a piquant kick or a dash of black pepper for warmth. Always taste as you go and adjust to suit your palate.
- Taste for Seasoning Before Serving. Before your tuna salad mixture is formed into patties and baked, it’s vital to taste it. The flavors will meld and intensify during cooking, but the initial seasoning is key. Take a small spoonful and evaluate its balance. Does it need a pinch more salt to enhance the overall flavor? A squeeze of fresh lemon juice could add brightness and acidity, while a touch more sweet relish might be needed for that perfect sweet-savory harmony. Adjusting at this stage ensures your final tuna melt is perfectly seasoned and utterly delicious, preventing any bland surprises later.
- Choose the Right Bread. The foundation of your tuna melt is just as important as the filling. A sturdy bread, roll, or bun is essential to support the moist tuna patties and gooey cheese without becoming soggy or falling apart. Opt for slices that are robust enough to toast well, creating a protective barrier and adding a satisfying crunch.
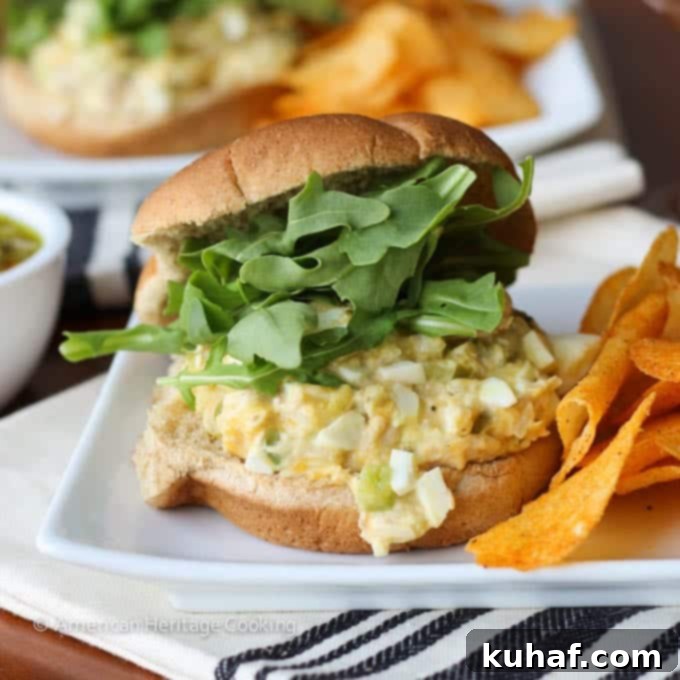
Ingredients You’ll Need for the Best Tuna Melt
- Tuna: The foundation of our melt! I recommend using one 7-ounce can of high-quality tuna fish. You have the choice of water-packed tuna or tuna packed in oil, whichever you prefer. Water-packed is often lighter and allows you to control the fat content, while oil-packed offers a richer flavor and often a more tender texture. Remember, proper draining is crucial regardless of your choice to prevent a watery result.
- Onion: You’ll need 2 tablespoons of finely chopped onions for this recipe. These add a sharp, aromatic bite that beautifully complements the richness of the tuna. Any variety will do, but my preference is for a red onion, yellow onion, or sweet onion. Red onions offer a slightly sweeter, milder flavor and a beautiful purple hue, while yellow or sweet onions provide a classic, robust onion taste. Chop them very finely to ensure they integrate seamlessly into the patties without overwhelming any single bite.
- Peppers: This recipe also calls for 2 tablespoons of finely chopped green bell peppers. These are essential for adding both a vibrant color and a wonderful crunch to the tuna salad mixture. Their mild sweetness also contributes to the overall flavor balance, preventing the tuna salad from being too heavy. Make sure they are finely diced for optimal texture and distribution within the patties.
- Relish: I personally love to use sweet relish for this recipe. Its delightful sweet and tangy notes provide a perfect counterpoint to the savory ingredients in the dish, preventing the tuna melt from tasting one-dimensional. If sweet relish isn’t to your liking, you are welcome to use savory pickle relish or finely chopped dill pickles for a more tart flavor profile.
- Eggs: You’ll need 2 tablespoons of chopped hard-boiled eggs for the tuna salad. These add an unexpected depth and creaminess to the tuna salad, making it even more substantial and flavorful, and helping bind the patties. For perfectly hard-boiled eggs every time, I place them in a pot of cold water, bring it to a rolling boil, then cover, remove from the heat, and let rest for 10 minutes before plunging them into an ice bath to cool rapidly. This method makes them easy to peel. Save any extra to whip up some perfect deviled eggs!
- Cheese: For that irresistible gooey factor, I used 1 cup of shredded sharp cheddar cheese for this recipe. It melts beautifully and imparts a rich, tangy flavor that elevates the entire sandwich. While the original recipe from Grandma called for a layer of American cheese for its supreme meltability, sharp cheddar offers a more complex and satisfying taste. You could even try other great melting cheeses like Swiss cheese, Gruyère, or Monterey Jack!
- Miracle Whip or Mayo: This recipe offers flexibility based on your preference. I used ¼ cup of Miracle Whip Light for this recipe, which gives a slightly sweeter, tangier, and lighter binder. The original Grandma’s recipe called for ½ cup of traditional mayonnaise, which provides a creamier, richer base. Try testing each of these options to see what you like best, and keep some on hand to make delicious slow cooker barbecue pulled chicken sandwiches.
- Rolls or Bread: The vessel for our delicious tuna melt! I love to serve these substantial tuna patties on a soft, slightly toasted brioche bun so that it truly feels like a gourmet tuna burger. This offers a satisfying chew and holds the patty well. Toasted bread slices are another fantastic and classic option, especially if it’s a hearty slice of deli-style rye bread, which lends a wonderful flavor profile.
See the recipe card below for full information on specific ingredients and precise quantities.
Delicious Variations to Try
- Bread Beyond the Bun: While brioche buns are a fantastic choice for a “tuna burger” experience, the world of bread offers endless possibilities for your tuna melt. For a truly classic diner feel, serve the tuna mixture between two slices of perfectly toasted bread. Sourdough bread lends a delightful tang that pairs wonderfully with tuna, while hearty whole wheat sandwich bread offers a nutritious option. Potato bread provides a soft, slightly sweet base that’s incredibly comforting. For a lighter, more elegant presentation, why not make an open-faced tuna melt on a single slice of toasted bread, perhaps with an extra sprinkle of cheese for optimal browning?
- Fresh Herb Infusion: To brighten and enhance the flavor profile of your tuna salad, consider incorporating fresh herbs. Finely chopped fresh dill offers a classic, aromatic pairing with tuna, while parsley adds a clean, herbaceous note that can cut through the richness. Chives provide a delicate oniony flavor without the sharpness of raw onion, and even a touch of tarragon can introduce a sophisticated, anise-like undertone. A tablespoon or two of fresh herbs can truly elevate your melt from good to extraordinary.
- Different Additions for Custom Flavor: The beauty of tuna salad is its versatility, allowing you to tailor the recipe to your exact preferences. Rather than solely using the traditional sweet relish, you can try adding a variety of different mix-ins to see what you like best. Experiment with finely chopped pickles for a more pronounced sour crunch, sliced green onions (scallions) for a milder onion flavor, or a dash of freshly ground black pepper for warmth. A teaspoon of Dijon mustard can add a tangy complexity, while a squeeze of fresh lemon juice brightens all the flavors and balances the richness. Personally, I often add thin tomato slices to the sandwich for a juicy bite, and an extra squeeze of fresh lemon juice for brightness!
How to Make the Perfect Tuna Melt
Follow these simple, step-by-step instructions to create the perfect tuna melt recipe every time. Further details, precise measurements, and a printable version can be found in the comprehensive recipe card below!
Step 1: Preheat Your Oven. Preheat the oven to 350°F (175°C). This ensures the oven is at the correct temperature when your patties are ready to bake, allowing for even cooking and perfectly melted cheese from the very start. Proper preheating is key to consistent results.
Step 2: Mix, Form, and Bake the Patties. In a medium-sized mixing bowl, combine the thoroughly drained canned tuna, finely chopped onion, green peppers, shredded cheese, chopped hard-boiled eggs, sweet relish, and your choice of Miracle Whip or mayonnaise. Using a fork, gently mix all the ingredients together. Be careful not to overmix, as this can make the tuna tough and pasty; the goal is to incorporate everything evenly while maintaining some texture. Once combined, divide the mixture into four equal portions and carefully form each into a patty shape. These patties should be firm enough to handle but not overly dense. Wrap each individual patty securely in aluminum foil. This foil packet helps steam the patties, ensuring they cook through evenly and the cheese melts perfectly without browning too quickly. Place the wrapped patties on a baking sheet and bake for 30 minutes in the preheated oven.
Pro Tip for Uniformity: Make your patties as uniform in size and thickness as possible. This ensures they’ll be done cooking at the same time, preventing some from being undercooked or overcooked, guaranteeing a perfect melt in every sandwich!
Step 3: Serve and Enjoy! Once baked, carefully unwrap the warm, cheesy tuna patties from their foil. Serve them immediately on your chosen toasted rolls or bread slices. For an extra touch of golden-brown crispiness and an even gooier cheese experience, you can briefly place the assembled open-faced sandwiches under the broiler for a minute or two before serving, if desired. Enjoy your perfectly crafted, comforting tuna melt!
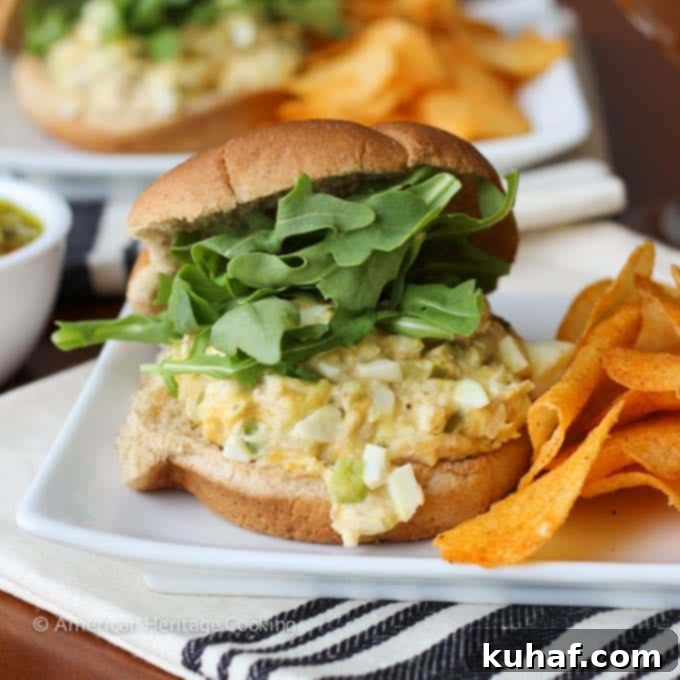
Chef Lindsey’s Recipe Tip: The Secret to Gooey Cheese
Use a good melting cheese. Selecting the right cheese is paramount for achieving that irresistible gooey texture that truly defines a perfect tuna melt. Not all cheeses melt equally well, so for the most luxuriously melted and delicious sandwich, always opt for a cheese known for its excellent melting properties. Classic choices like sharp cheddar cheese, with its robust flavor, are fantastic. Other superb options include creamy mozzarella, nutty Gruyère, mild provolone, and Monterey Jack cheese. These cheeses soften beautifully when heated, creating long, satisfying pulls of molten goodness. Avoid harder, crumbly cheeses that tend to simply warm rather than melt into a silky consistency, as they won’t give you that desirable gooey factor.
Frequently Asked Questions About Tuna Melts
You can store leftover tuna patties safely in an airtight container in the refrigerator for 3 to 4 days. For the best quality and to prevent sogginess, it’s advisable to store the tuna patties separately from your rolls or bread. When reheating, you can warm the patties gently in a pan or oven until heated through. For longer storage, leftover patties can also be frozen! Wrap them individually in plastic wrap, then place them in a freezer-safe bag or container. They will stay good for about 3 months. Remember to freeze buns and patties separately for optimal freshness upon thawing.
Absolutely, this recipe adapts beautifully if you prefer a more traditional tuna melt without forming patties. Simply prepare the tuna salad mixture as written in the recipe, then spread it generously onto a slice of toasted bread or a bun. Top with an additional slice of cheese if desired. Place the open-faced sandwich (or two slices with tuna and cheese in between) in the preheated oven for about 7-10 minutes, or until the cheese is bubbling, melted, and the tuna salad is warmed through. This offers a quicker, yet equally delicious, classic tuna melt experience.
Yes, you can certainly make a fantastic tuna melt on the stovetop using a skillet! Prepare the tuna salad as written in the recipe. Then, lightly butter one side of your rolls or bread slices. Heat a non-stick skillet over medium heat. Place the buttered side of the bread down in the pan, then add a generous portion of the tuna salad mixture. Top with an additional slice of cheese if desired, and then the second piece of bread (butter-side up). Cook for approximately 3-5 minutes per side, or until both sides are golden brown and the cheese is beautifully melted and gooey. Keep the heat moderate to ensure the bread toasts without burning and the interior warms thoroughly.
Tuna melts are incredibly versatile and pair wonderfully with a variety of sides, making them perfect for lunch or a casual dinner. For a classic pairing, serve them with a bag of your favorite crispy potato chips (like BBQ chips!) and a crisp dill pickle spear to cut through the richness. For something fresher and lighter, a kale and cabbage slaw salad or a simple green salad with a light vinaigrette dressing would be excellent. If you’re looking for a heartier accompaniment, consider serving them with sweet potato oven fries for a touch of sweetness, a warm and comforting bowl of easy tomato bisque, or savory rosemary lemon roasted cauliflower! These options offer a perfect balance to the richness of the tuna melt.
If you tried this incredible tuna melt recipe and loved it, please take a moment to leave a 🌟 star rating and let me know how it goes in the comments below. I absolutely love hearing from you; your comments truly make my day and inspire more delicious recipes!
Tuna Melt
Pin Recipe
Comment
Print Recipe
Ingredients
- 1 7-oz can tuna fish
- 2 tablespoons chopped onions
- 2 tablespoons chopped green peppers
- 2 tablespoons sweet relish
- 2 tablespoons chopped hard boiled eggs
- 1 cup shredded cheddar cheese or American
- ¼ cup miracle whip light the original calls for ½ cup mayo
Instructions
-
Preheat the oven to 350°F (175°C).
-
In a medium-sized bowl, mix the thoroughly drained canned tuna, finely chopped onion, green peppers, shredded cheese, chopped hard-boiled eggs, sweet relish, and your choice of Miracle Whip or mayonnaise. Mix well, but lightly with a fork, being careful not to overmix. Form the mixture into four uniform patties and wrap each securely in aluminum foil. Place the wrapped patties on a baking sheet. Bake for 30 minutes in the preheated oven.
-
Once baked, carefully unwrap the warm, cheesy tuna patties. Serve them immediately on toasted rolls or bread slices for a delicious and satisfying meal.
Notes
Variations – Try adding fresh herbs like finely chopped dill or parsley to your tuna salad recipe for an extra burst of freshness and flavor. Experiment with different types of bread or additional mix-ins like celery or Dijon mustard to customize to your taste.
Storage – You can store leftover tuna patties in an airtight container in the fridge for 3-4 days. For best results, store the patties and roll or bread separately. Cooked patties can also be frozen for up to 3 months; thaw in the refrigerator before reheating.
Nutrition
Before You Go
I hope you thoroughly enjoyed preparing and tasting this professional chef-tested tuna melt recipe, a true testament to timeless comfort food! It’s a dish designed to bring joy and satisfaction to your table. Be sure to explore our other delicious, chef-developed sandwich recipes for more culinary inspiration. Happy cooking!
