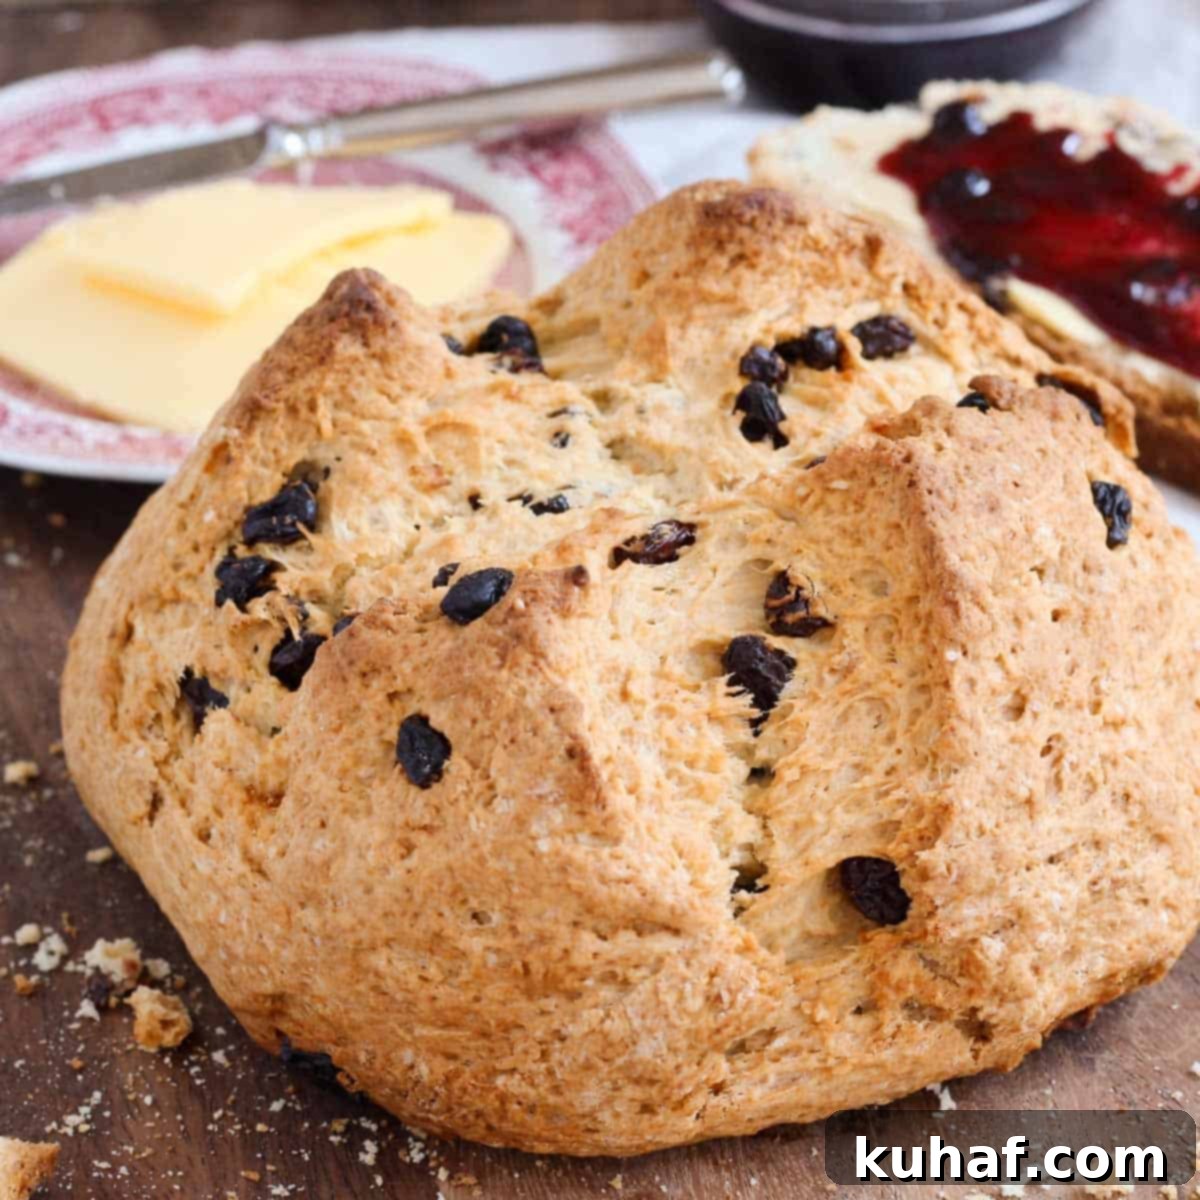
Mastering Traditional Irish Soda Bread with Raisins: An Authentic & Easy Recipe
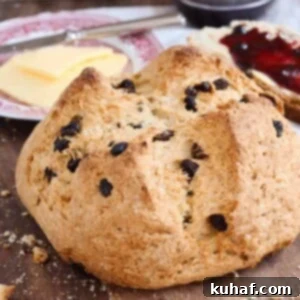
There’s nothing quite like a slice of homemade bread, and this **Traditional Irish Soda Bread with plump raisins** is a true delight. Imagine a loaf that’s wonderfully soft on the inside, encased in a perfectly crusty exterior. Its texture is tender, dense, and moist, yet still retains that characteristic crumbly charm. Fresh from the oven, a thick slice slathered generously with creamy Irish butter and your favorite fruit jam is pure comfort. This quick bread is an authentic taste of Ireland, made simple for your kitchen.
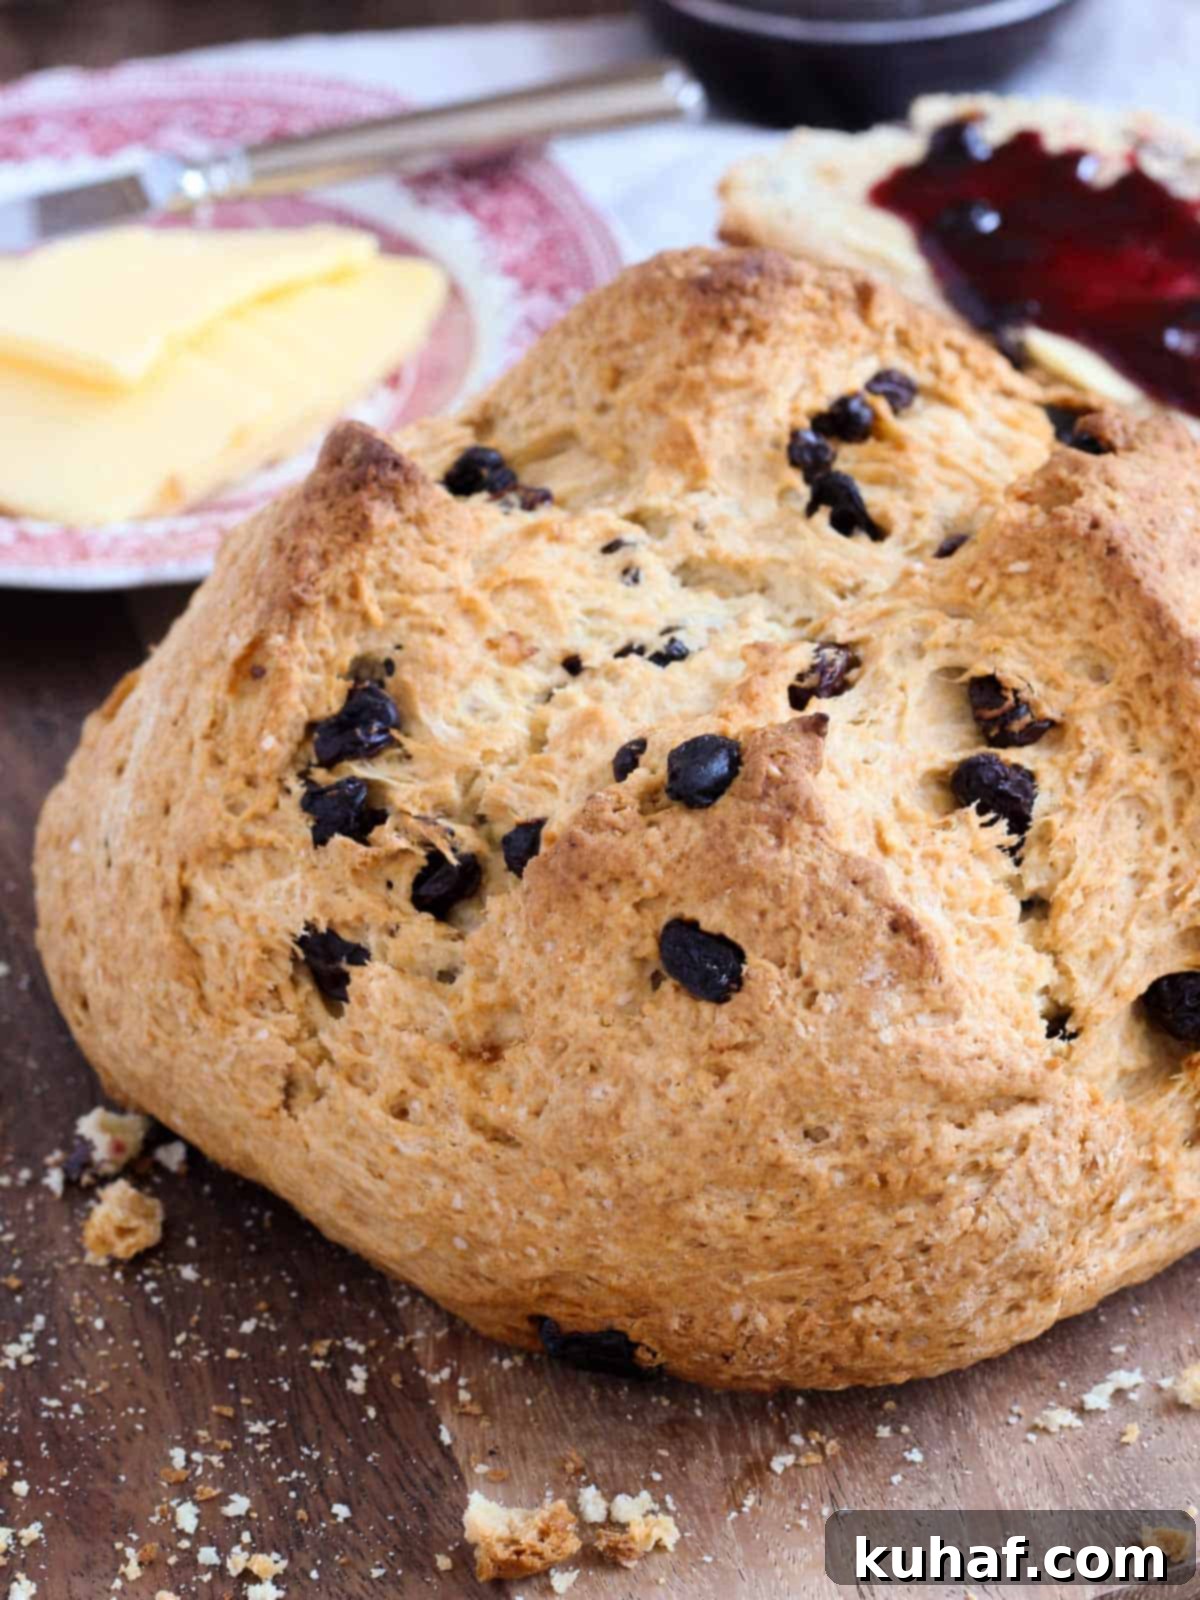
Irish soda bread is a staple, but everyone has their own preference. For me, the ideal loaf boasts a tight, tender crumb, a subtle hint of sweetness that elevates it beyond mere “bread,” and it must never be dry. Crucially, it **must contain raisins**. This recipe adheres to a truly traditional approach, notably containing no egg, which allows the natural flavors and textures of the other ingredients to shine through. My quest for the perfect soda bread led me through countless recipes, from family favorites to culinary school versions, all of which fell short (often due to an excess of baking soda). So, I took matters into my own hands, meticulously crafting and perfecting this recipe over time. The result is what I confidently call the ultimate traditional Irish soda bread with raisins.
This recipe achieves that elusive perfect balance: just the right amount of baking soda to react with the buttermilk, preventing any bitter aftertaste, and a delightful touch of sweetness. This easy quick bread isn’t just for breakfast or a snack; it’s incredibly versatile. Consider using thick chunks to soak up the rich gravies of hearty stews like this Dutch oven beef stew or a warming lamb stew, offering a delicious alternative to potatoes. It also makes an excellent side dish for dipping into savory meals such as this bright lemon chicken recipe, a comforting chicken shepherd’s pie, or the classic corned beef and cabbage, especially around St. Patrick’s Day.
Table of Contents
- Why This Is the Best Irish Soda Bread Recipe
- Essential Ingredients for Irish Soda Bread
- Buttermilk Substitute for Soda Bread
- Variations & Flavorful Substitutions
- Professional Baking Tips for Perfect Soda Bread
- How to Make Traditional Irish Soda Bread
- Chef Lindsey’s Expert Recipe Tip
- Irish Soda Bread Recipe FAQs
- Recommended St. Patrick’s Day Recipes
- Traditional Irish Soda Bread Recipe Card
- Explore More Delicious Recipes
Why This Is the Best Irish Soda Bread Recipe
- The Perfect Ratio of Baking Soda to Buttermilk: This is the secret to avoiding a common pitfall. Many soda bread recipes use too much baking soda in relation to the buttermilk, leading to unreacted soda. This excess can impart an unpleasant bitter, metallic flavor that lingers long after you’ve finished eating. My carefully calibrated recipe ensures a balanced reaction, resulting in a clean, delicious taste.
- Unbeatable Tender, Moist Texture: The subtle additions of butter and sugar, meticulously cut into the flour, are key to achieving an incredibly tender and moist crumb. This dynamic duo not only prevents the bread from drying out but also contributes a richer, more complex flavor profile, making each bite truly satisfying.
- Developed and Perfected by a Professional Pastry Chef: Dissatisfied with every existing soda bread recipe I encountered, I embarked on a journey to create my own. This particular recipe has been refined and perfected over many years, honed in the demanding kitchens of New York City restaurants. You can trust that it’s been rigorously tested and optimized for superior results every single time.
- An Incredibly Easy Quick Bread: Irish soda bread is celebrated for being a “quick bread,” which means it requires absolutely no yeast! The magic of its rise comes from the simple chemical reaction between baking soda and buttermilk. This makes it an incredibly fast recipe to prepare, often coming together in just about 5 minutes of active prep time. You can even mix and knead it entirely by hand, making it accessible for bakers of all skill levels.
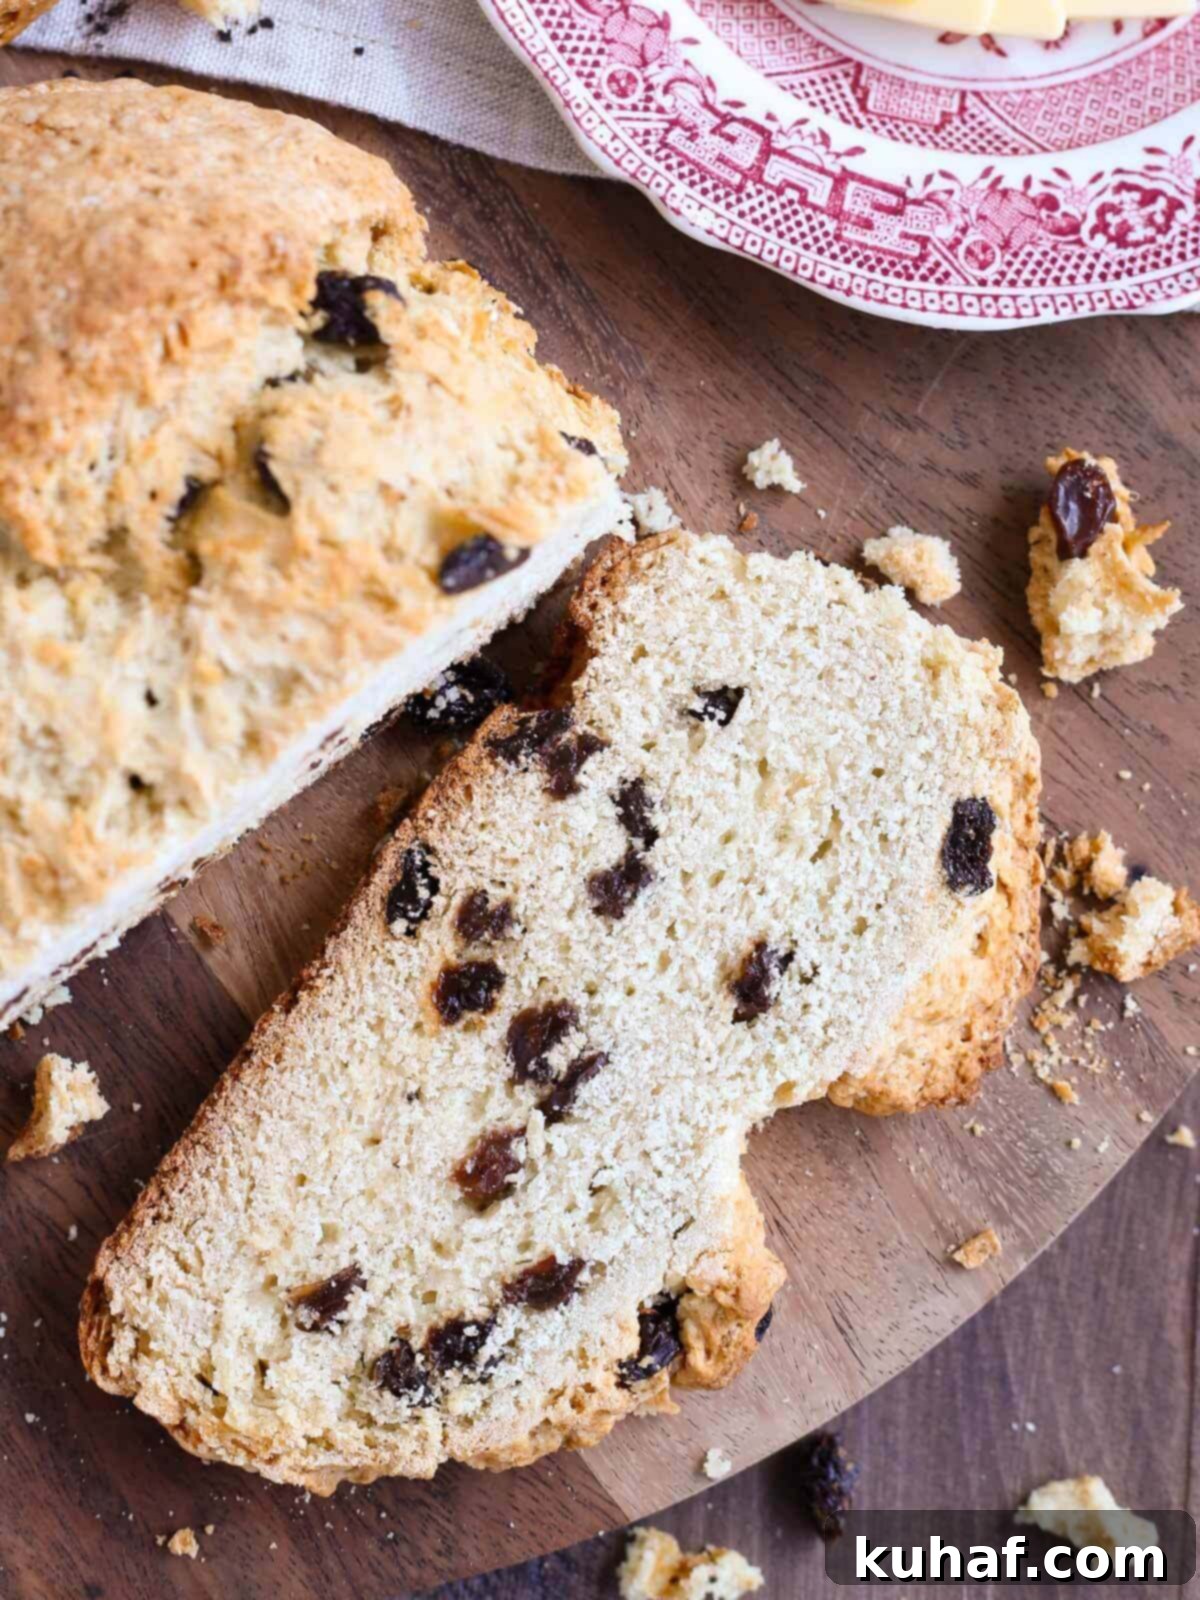
Essential Ingredients for Irish Soda Bread
Creating this delicious soda bread starts with a few key ingredients. Each plays a vital role in achieving the perfect flavor and texture. Here’s a closer look at what you’ll need and why:
- All-Purpose Flour: The foundation of our bread. While some traditional recipes call for whole wheat flour, all-purpose flour provides a lighter, more tender crumb. Ensure it’s fresh for the best results.
- Baking Soda: This is the namesake ingredient! Baking soda reacts immediately upon contact with an acid, in this case, the buttermilk. This reaction produces carbon dioxide gas, which leavens the bread. Crucially, it also changes the flavor of the soda itself. Using too much unreacted soda will leave an unpleasant, metallic taste and mouthfeel in your bread. My recipe ensures this balance is perfect.
- Baking Powder: To provide a more robust and reliable rise without compromising flavor, I incorporate a touch of baking powder. Unlike baking soda, baking powder contains its own acidic component and works in two stages (when wet and when heated), ensuring a consistently airy, yet dense, texture.
- Kosher Salt: Essential for balancing the sweetness and enhancing all the other flavors in the bread. Don’t underestimate its importance for a well-rounded taste.
- Granulated Sugar: While traditional soda bread is often savory, I prefer a slightly sweeter version. A modest amount of granulated sugar not only provides a hint of sweetness but also helps to shorten the gluten strands in the flour, contributing to that desirable tender crumb. If you prefer a purely savory loaf, you can easily omit it.
- Unsalted Butter: Cold, cubed unsalted butter is cut into the flour mixture, creating pockets of richness that melt during baking, contributing to the bread’s tender texture and depth of flavor. If you’re a fan of rich, salty butter, you could omit the kosher salt above and use a good quality salted Irish butter like Kerrygold. Remember to save some extra for slathering on top with a dollop of mixed berry jam!
- Buttermilk: The critical acidic component that activates the baking soda. I developed this recipe using low-fat buttermilk. Full-fat buttermilk can be too thick, potentially requiring more liquid to bring the dough together, which might alter the final texture. Low-fat provides the perfect consistency.
- Raisins or Currants: These are technically optional, but I firmly believe they are a must for that contrasting burst of sweetness and chewy texture against the dense bread. They truly elevate the flavor profile. If you have extra, they’re fantastic in a batch of hermit cookies or my raisin bread recipe!
For precise quantities and a detailed ingredient list, please refer to the comprehensive recipe card below.
Buttermilk Substitute for Soda Bread
I understand that buttermilk isn’t always a pantry staple. If you find yourself without it, you can create a simple substitute. For every cup of milk you need, add 1 tablespoon of lemon juice or white vinegar. Let it sit for 10 minutes until it slightly curdles. While this will provide the necessary acidity for the baking soda to react, it’s important to note that this won’t yield quite the same depth of flavor or the exact tender crumb as genuine buttermilk. It will, however, allow you to make a perfectly respectable and delicious soda bread.
Variations & Flavorful Substitutions
While this traditional recipe is perfect as is, Irish soda bread is wonderfully adaptable. Don’t hesitate to experiment and make it your own!
- Bite-Sized Soda Bread Rolls: For a quick and charming side dish, transform your loaf into individual rolls. Divide the dough into 12 equal pieces, gently roll them into small balls, and then make a shallow cross cut on top of each with a sharp or serrated knife. Bake for approximately 8-12 minutes, or until a cake tester inserted into the center comes out clean. They’re perfect for dinner parties or simply for enjoying fresh.
- Explore Other Delicious Add-ins: The world of dried fruits and spices offers endless possibilities. Instead of raisins, try plump currants for a slightly tarter bite. Caraway seeds are a classic addition in some regions of Ireland, offering a unique anise-like flavor. Feel free to mix in other dried fruits like chopped apricots, cranberries, or even a blend of mixed peel. To add a bright, aromatic citrus note, zest an orange or lemon directly into the sugar before mixing it into the dry ingredients. The oils will infuse beautifully throughout the bread.
- Craft a Savory Soda Bread: For those who prefer a less sweet profile, a savory soda bread is incredibly satisfying. Incorporate finely chopped fresh herbs such as aromatic rosemary, pungent oregano, mild chives, or earthy sage into the dough. For an extra layer of flavor and richness, mix in some shredded low-moisture cheeses like sharp Parmesan, nutty Swiss, or sophisticated Gruyère. This makes a fantastic accompaniment to soups or stews.
- St. Patrick’s Day Celebrations: Irish soda bread is often a centerpiece for St. Patrick’s Day. If you’re looking for more festive baking ideas to complement your soda bread, explore these delightful recipes: indulgent St Patrick’s Day cupcakes topped with Baileys buttercream, a rich Baileys Irish coffee caramel brownie recipe, or this decadent Guinness chocolate cake.
Professional Baking Tips for Perfect Soda Bread
Achieving a truly exceptional Irish soda bread, one that stands out from the rest, comes down to a few key techniques. As a pastry chef, I’ve learned these nuances ensure a tender, flavorful loaf every time:
- Incorporate the Butter Thoroughly but Gently: When cutting the cold butter into the flour mixture, aim for pieces that are almost indiscernible, resembling coarse sand or fine crumbs. This process coats the flour particles with butter, which inhibits excessive gluten development. Shorter gluten strands result in a wonderfully tender, melt-in-your-mouth texture, preventing the bread from becoming tough or chewy. This technique is similar to how you’d prepare dough for delicate treats like my blueberry scone recipe, ensuring maximum tenderness.
- The “Secret Ingredient” is Your Touch: Beyond precise measurements, the true secret ingredient in this recipe is a gentle, loving hand. When adding the buttermilk and bringing the dough together, use your hands to really feel the texture. Knead it softly, with a sense of care and intuition. The dough will communicate with you, telling you when it has absorbed enough liquid and when it’s just cohesive enough, signaling it’s ready for baking. This mindful approach ensures your bread will have an unparalleled tenderness.
- Ensure Deep Cross Cuts for Tradition and Function: The traditional cross cut on top of the loaf isn’t just for aesthetics; it also helps the bread to expand evenly during baking. Make sure these two cuts are at least ½ inch deep. If the cuts are too shallow, they will likely disappear into the crust as the bread bakes and rises, losing that iconic traditional appearance. While it will still taste wonderful, a well-defined cross adds to the authentic charm.
- Avoid Overmixing at All Costs: This is perhaps the most critical rule for any quick bread, and Irish soda bread is no exception. Overmixing develops too much gluten, which will lead to a tough, rubbery loaf. Once you add the buttermilk, work quickly and gently, just until the ingredients are combined and a cohesive dough forms. Minimal kneading is key. Think of the delicate touch required for chocolate chip scones – the same principle applies here to maintain a light, tender texture.
- Remember, It’s a Quick Bread, Not a Yeast Bread: A common misconception is that all bread requires yeast. Traditional Irish soda bread is a prime example of a quick bread, meaning its leavening comes from a chemical agent like baking soda reacting with an acid (buttermilk), rather than yeast. This fundamental difference is what makes it such a fast and straightforward bread to prepare, perfect for a last-minute addition to dinner tonight!
How to Make Traditional Irish Soda Bread
Follow these simple, step-by-step instructions to create the best Irish soda bread with raisins in your own kitchen! More detailed measurements and full recipe specifics are provided in the comprehensive recipe card below.
Step 1: Prepare Your Oven and Baking Surface. Preheat your oven to 375° F (190°C). Line a baking sheet with parchment paper for easy removal and cleanup. Alternatively, use a well-seasoned cast iron pan (at least 12 inches in diameter) for a beautifully browned crust.
Step 2: Combine Dry Ingredients. In a medium-sized bowl, thoroughly whisk together the all-purpose flour, baking soda, baking powder, kosher salt, and granulated sugar. For traditional bakers, you can also dump this mixture directly onto a clean counter or a large wooden cutting board to work with it by hand.
You can also make this bread in a large bowl, using either a pastry blender or your hands to combine ingredients.
Step 3: Cut in the Butter. Evenly sprinkle the cold, cubed butter over your dry flour mixture. Using a bench scraper, pastry blender, or your fingertips, cut the butter into the flour until the pieces are **almost indiscernible**. The mixture should resemble coarse crumbs. This step is crucial for a tender texture.
Step 4: Incorporate the Buttermilk. Gradually add the buttermilk. As you pour, use your bench scraper or hands to gently scoop the flour mixture over the buttermilk, working it in slowly. Be gentle and avoid overmixing. Initially, you’ll use the bench scraper to mound the flour onto the buttermilk until it’s absorbed before adding more. Once a cohesive dough begins to form, set aside the scraper and use your hands to gently knead the buttermilk in, just until the dough comes together.
The finished dough should not have any dry patches, but it also shouldn’t feel overly sticky to the touch.
Step 5: Add the Raisins. At this point, gently but quickly knead the raisins into the dough. Remember, you want to knead as little as possible to prevent the bread from becoming tough. The exact amount of buttermilk can vary slightly, so you might use a little more or less to achieve the perfect consistency – it should be cohesive but not sticky.
Stand Mixer Method: For a more hands-off approach, you can use a stand mixer. Simply add all the dry ingredients and the cold, cubed butter to the mixer bowl, fitted with the paddle attachment. Mix on low speed until no large pieces of butter remain; the butter should almost disappear into the flour mixture. With the mixer still on low, slowly pour in the buttermilk until a cohesive dough forms. Be extra vigilant with a stand mixer not to overmix. Once combined, turn the dough out onto your counter and gently knead in the raisins by hand.
Step 6: Shape and Score the Loaf. Lightly shape the dough into a round loaf. Using a sharp knife, make two deep cuts in the shape of a cross on the top surface of the dough. Ensure these cuts are approximately ½ inch deep; this depth is essential for the prettiest, most traditional-looking loaf.
Step 7: Bake to Perfection. Carefully transfer the shaped loaf to your prepared cast iron skillet or parchment-lined baking sheet. Bake in the preheated oven for 45-50 minutes, or until a wooden skewer or cake tester inserted into the center comes out clean. Be mindful not to over-bake, as this can lead to a dry loaf. Keep a close eye on it during the final minutes of baking!
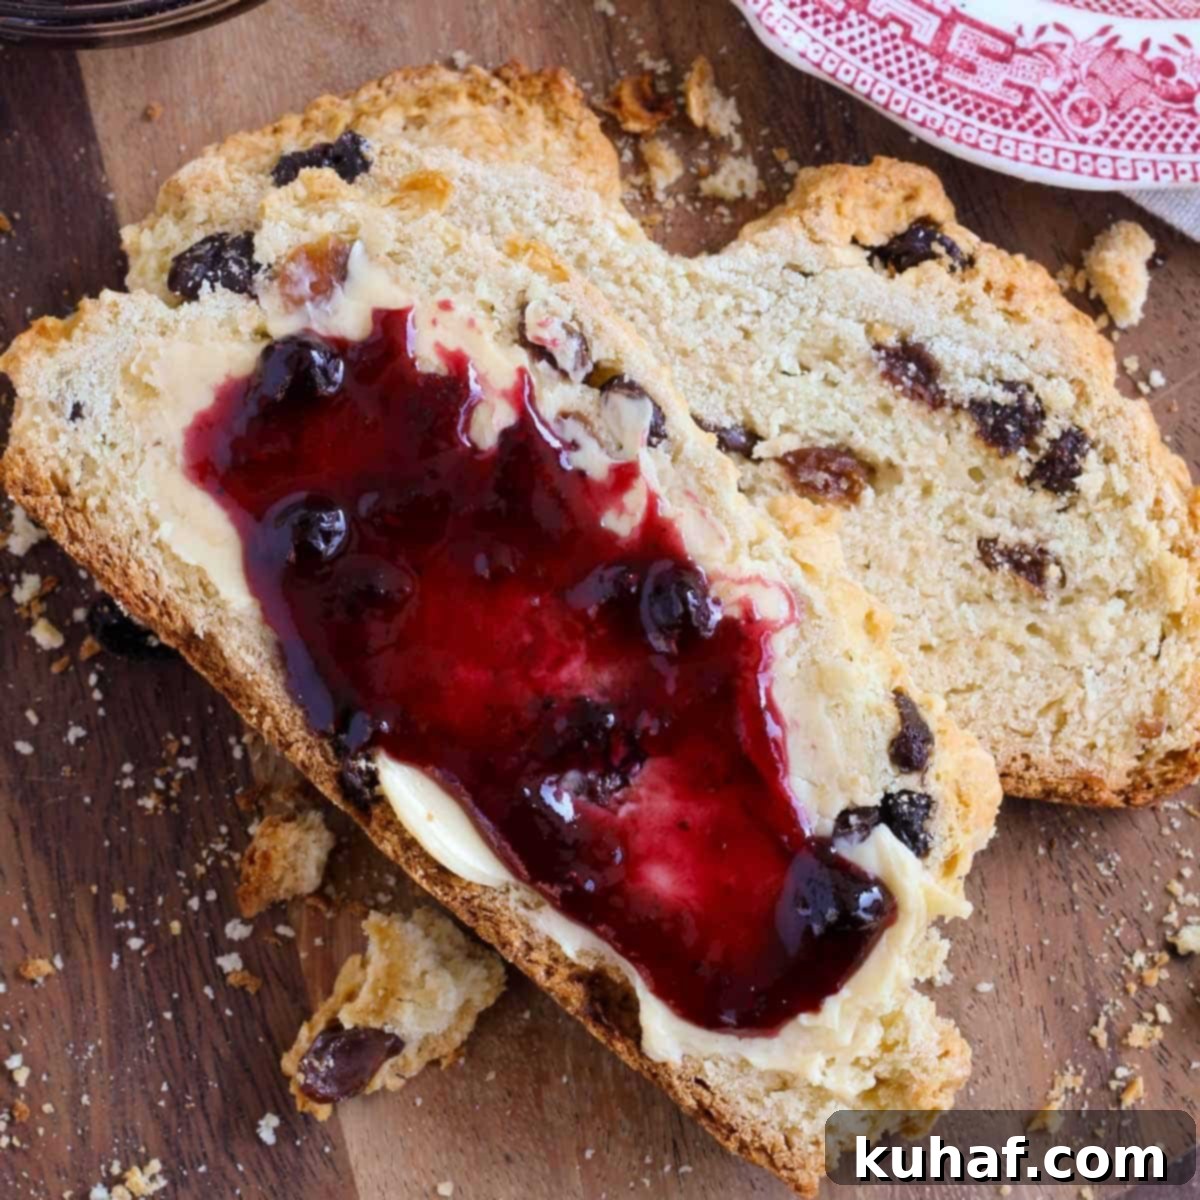
Serve your warm, homemade Irish soda bread immediately with a generous spread of Irish salted butter and your favorite jam (bonus points if you serve it with homemade quick strawberry jam)!
Chef Lindsey’s Expert Recipe Tip
When working with this dough, I find there’s absolutely no need to flour my hands or add any extra flour to the exterior of the loaf. A little bit of stickiness is a small, worthwhile price to pay for achieving the best possible flavor and preventing a dry crust. Raw flour on the outside of baked goods can leave an unpleasant taste and texture, so I always recommend keeping it minimal for superior results.
Irish Soda Bread Recipe FAQs
Irish soda bread is truly at its peak freshness on the day it’s baked or the very next day. To maintain its quality, store the cooled bread in an airtight container at room temperature for up to 3 days. For longer storage, you can freeze individual slices or the entire loaf, wrapped tightly, for up to a month. If enjoying after a couple of days, toasting the slices will help revive their fresh taste and texture. Always serve it at room temperature or gently warmed for the best experience.
Historically, the most traditional Irish soda bread was a very simple affair, often containing just four core ingredients: flour, baking soda, buttermilk, and salt. These were the staples available in most Irish homes. However, over time, recipes evolved, and modern interpretations frequently include additions like butter, sugar, and of course, raisins or caraway seeds. So, while not strictly part of the very oldest traditions, raisins have become a beloved and common addition, creating a slightly sweeter, richer loaf that many now consider “traditional.” There are now infinite flavor combinations based on this versatile original recipe!
The bitter or metallic taste in some Irish soda breads is a common issue, and it almost always stems from an imbalance in the leavening agents. Specifically, it occurs when too much baking soda is used in proportion to the acidic buttermilk. If there isn’t enough acid to react with all the baking soda, the unreacted soda will leave a distinct, unpleasant bitter taste that can linger in your mouth even after you’ve swallowed the bread. This precise balance is a crucial element that many recipes overlook, but it’s one I’ve perfected in my own recipe to ensure a delicious, clean-tasting loaf every time.
Recommended St. Patrick’s Day Recipes
Cupcake Recipes
St Patrick’s Day Cupcakes
Cake Recipes
Guinness Chocolate Cake
Soup and Stew Recipes
Dutch Oven Beef Stew
Soup and Stew Recipes
Lamb Stew Recipe
If you tried this traditional Irish soda bread recipe and loved it, please take a moment to leave a 🌟 star rating and share your experience in the comments below. I truly value your feedback; your comments make my day and help others discover great recipes!
Traditional Irish Soda Bread with Raisins
Pin Recipe
Comment
Print Recipe
Ingredients
- 2 ½ cups all-purpose flour
- 1 teaspoon baking soda
- 1 teaspoon baking powder
- ¾ teaspoon kosher salt
- ¼ cup sugar
- ¼ cup unsalted butter cold, cubed
- 1 cup buttermilk
- ¾ cup raisins or currants
Instructions
-
Preheat oven to 375° F (190°C). Line a baking sheet with parchment paper or use a well-seasoned cast iron pan (at least 12 inches).
-
In a medium bowl, whisk together the flour, baking soda, baking powder, salt, and sugar. You can then dump this mixture onto a clean counter or a large wooden cutting board to work with it by hand, or continue in the bowl using a pastry blender or your hands.
-
Sprinkle the cold butter cubes over the flour mixture. Using a bench scraper, pastry blender, or your hands, cut or rub the butter into the flour until the butter pieces are almost indiscernible and the mixture resembles coarse crumbs.
-
Slowly add the buttermilk, scooping the flour mixture over the liquid and gently working it in. Do this in stages. At first, use the bench scraper to mound the flour on top of the buttermilk until it’s absorbed before adding a little more. Once a dough begins to form, switch from the bench scraper to your hands and gently knead the buttermilk into the dough until it just comes together and is cohesive. The dough should not have any dry patches but shouldn’t be overly sticky either. At this point, gently but quickly, knead in the raisins. You can always adjust with a tiny bit more or less buttermilk to get the right consistency. Remember to knead it as little as possible to prevent the bread from becoming tough.
-
Stand Mixer Method: Alternatively, you can prepare the dough in a stand mixer. Add the dry ingredients to the bowl of your stand mixer, fitted with the paddle attachment, along with the cold, cubed butter. Mix on low speed until no large pieces of butter remain; the butter should be nearly fully incorporated into the flour mixture. With the mixer still on low speed, slowly pour in the buttermilk just until a cohesive dough forms. It’s especially important with a stand mixer to be very careful not to overmix the dough. Turn the dough out onto your counter and gently knead in the raisins by hand.
-
Shape the dough into a round loaf. Using a sharp knife, make two deep cuts in the shape of a cross on the top of the dough. Ensure these cuts are approximately ½ inch deep for the most traditional and aesthetically pleasing loaf. Place the shaped dough in your cast iron skillet or on the parchment-lined baking sheet, and bake in the preheated oven for 45-50 minutes, or until a wooden skewer or cake tester inserted into the center comes out clean. Watch it carefully to avoid over-baking!
Video
Notes
Presentation Tip: To ensure the classic cross remains visible after baking, make sure your two cuts on the top of the loaf are ½ inch deep. Shallower cuts may disappear as the bread rises.
Key Technique: As with all quick breads, the most important technique is to avoid over-mixing the dough. Overworking it will develop too much gluten, resulting in a tough bread. Mix just until combined.
Flavor Variations: Feel free to customize! Add different dried fruits (like cranberries or chopped apricots) or nuts for a sweet twist. For a savory option, mix in chopped fresh herbs (rosemary, chives, sage) and shredded low-moisture cheese (Parmesan, Gruyère).
Storage Best Practices: For the best flavor and texture, Irish soda bread is ideal the day it’s baked or the following day. Store any leftovers in an airtight container at room temperature for up to 3 days. For longer preservation, the bread freezes wonderfully for several weeks.
Serve your delicious soda bread at room temperature or gently warmed for an extra comforting experience!
Nutrition
Explore More Delicious Recipes
I sincerely hope you enjoyed creating and tasting this professional chef-tested recipe for Traditional Irish Soda Bread with Raisins. Baking bread from scratch is a deeply rewarding experience, and this quick bread is an excellent starting point. If you’re eager to continue your baking journey, I invite you to explore our other delicious, chef-developed easy quick bread recipes, perfect for any occasion. Or, if you’re feeling adventurous and ready to tackle a different kind of challenge, why not try your hand with a yeasted bread, such as my beloved recipe for Panettone? Happy baking!
