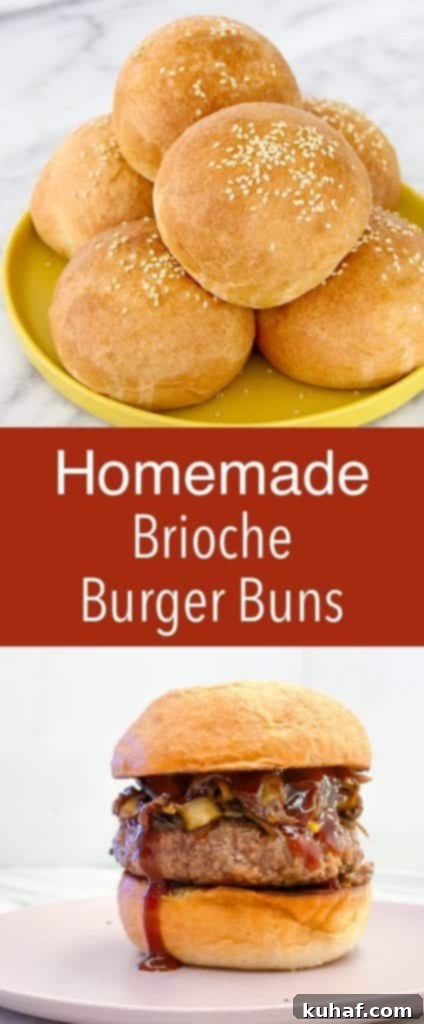
Mastering the Perfect Brioche Hamburger Buns: A Steakhouse-Quality Recipe for Soft, Buttery Perfection
Say goodbye to bland, store-bought bread and hello to the most exquisite Brioche Buns you’ll ever bake! This recipe isn’t just any brioche bun recipe; it’s a meticulously developed and perfected formula straight from the bustling kitchens of a high-end Manhattan steakhouse. Designed to produce unbelievably soft, rich, and buttery hamburger buns, these are guaranteed to transform your next burger night or elevate any sandwich to gourmet status.
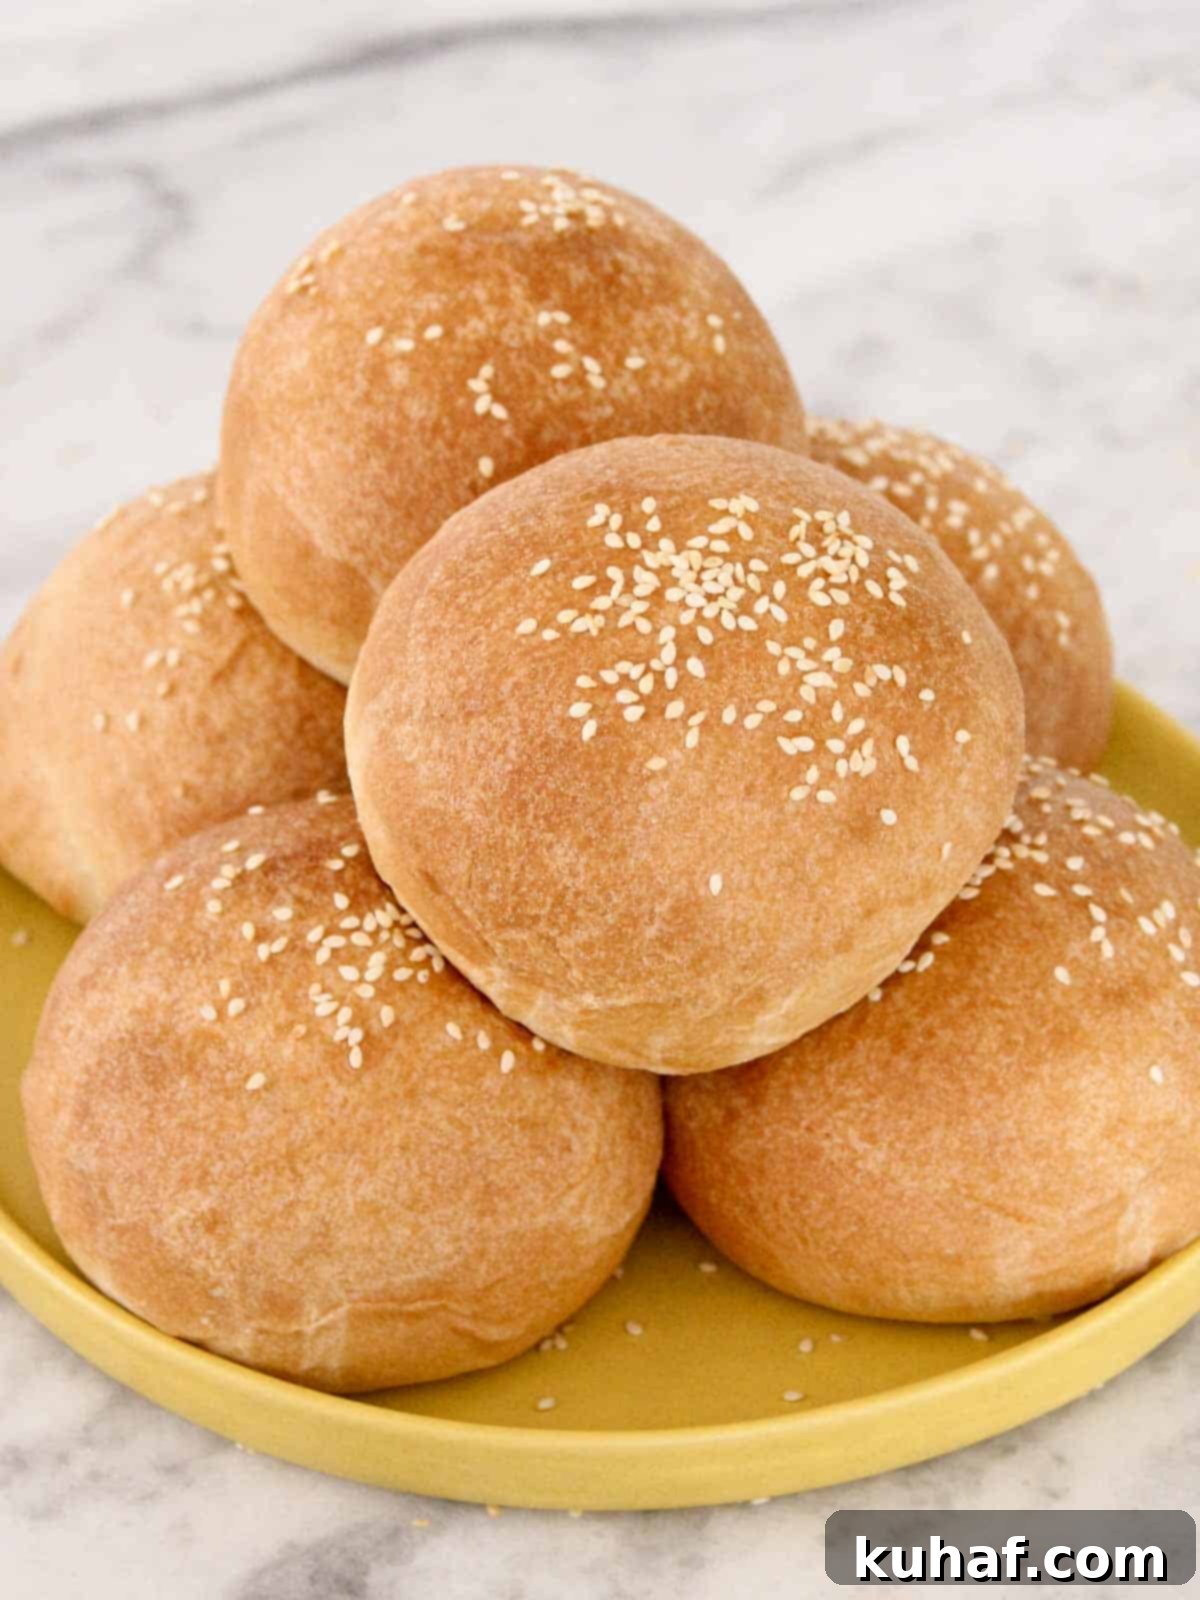
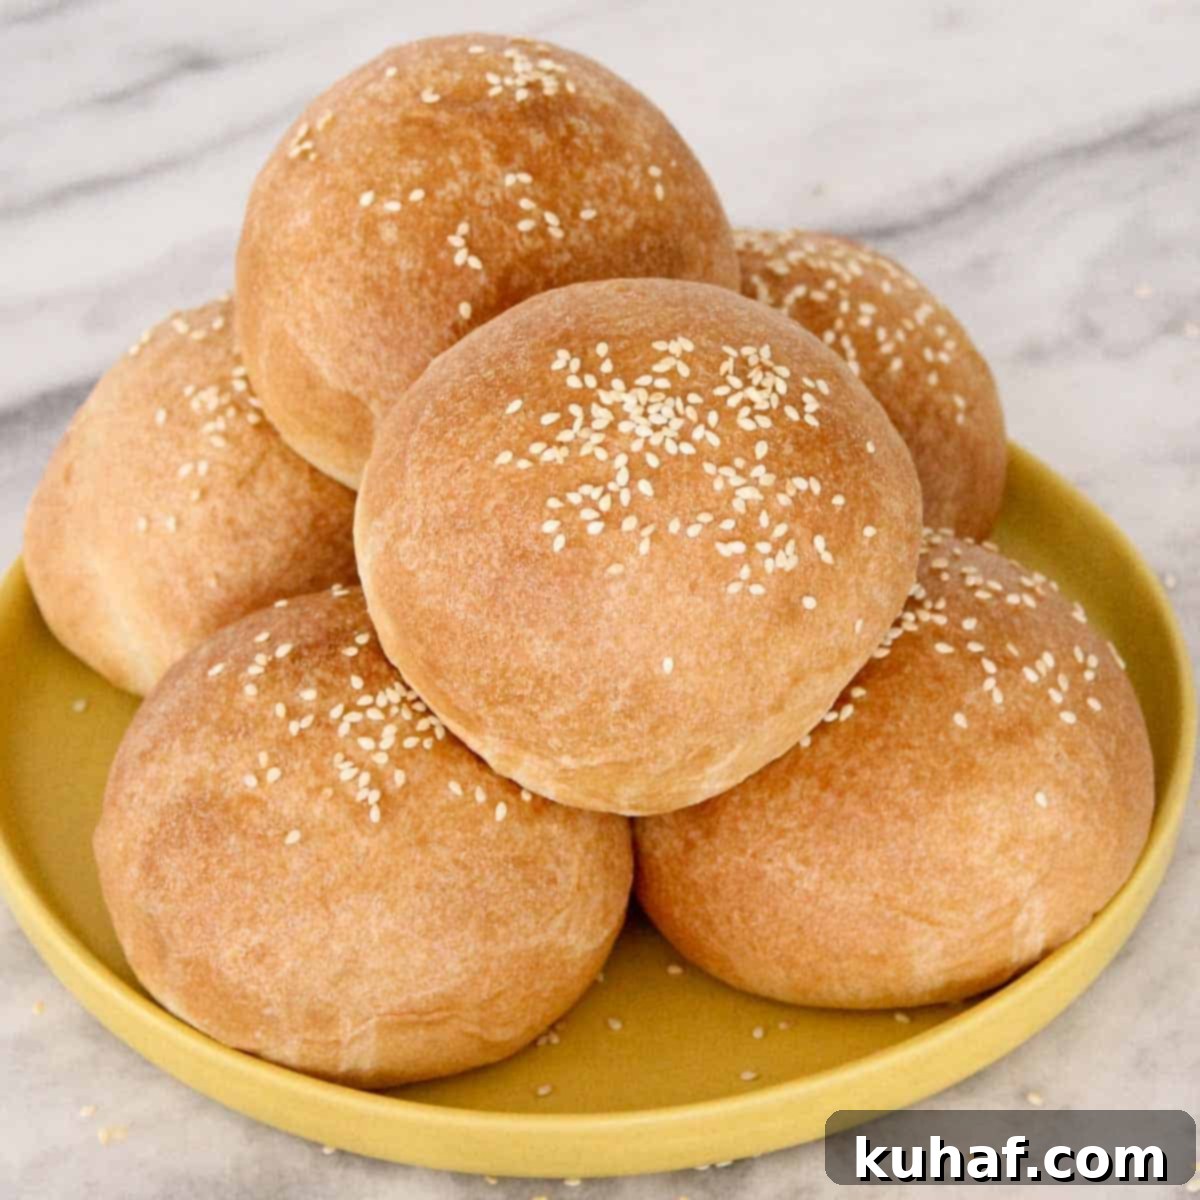
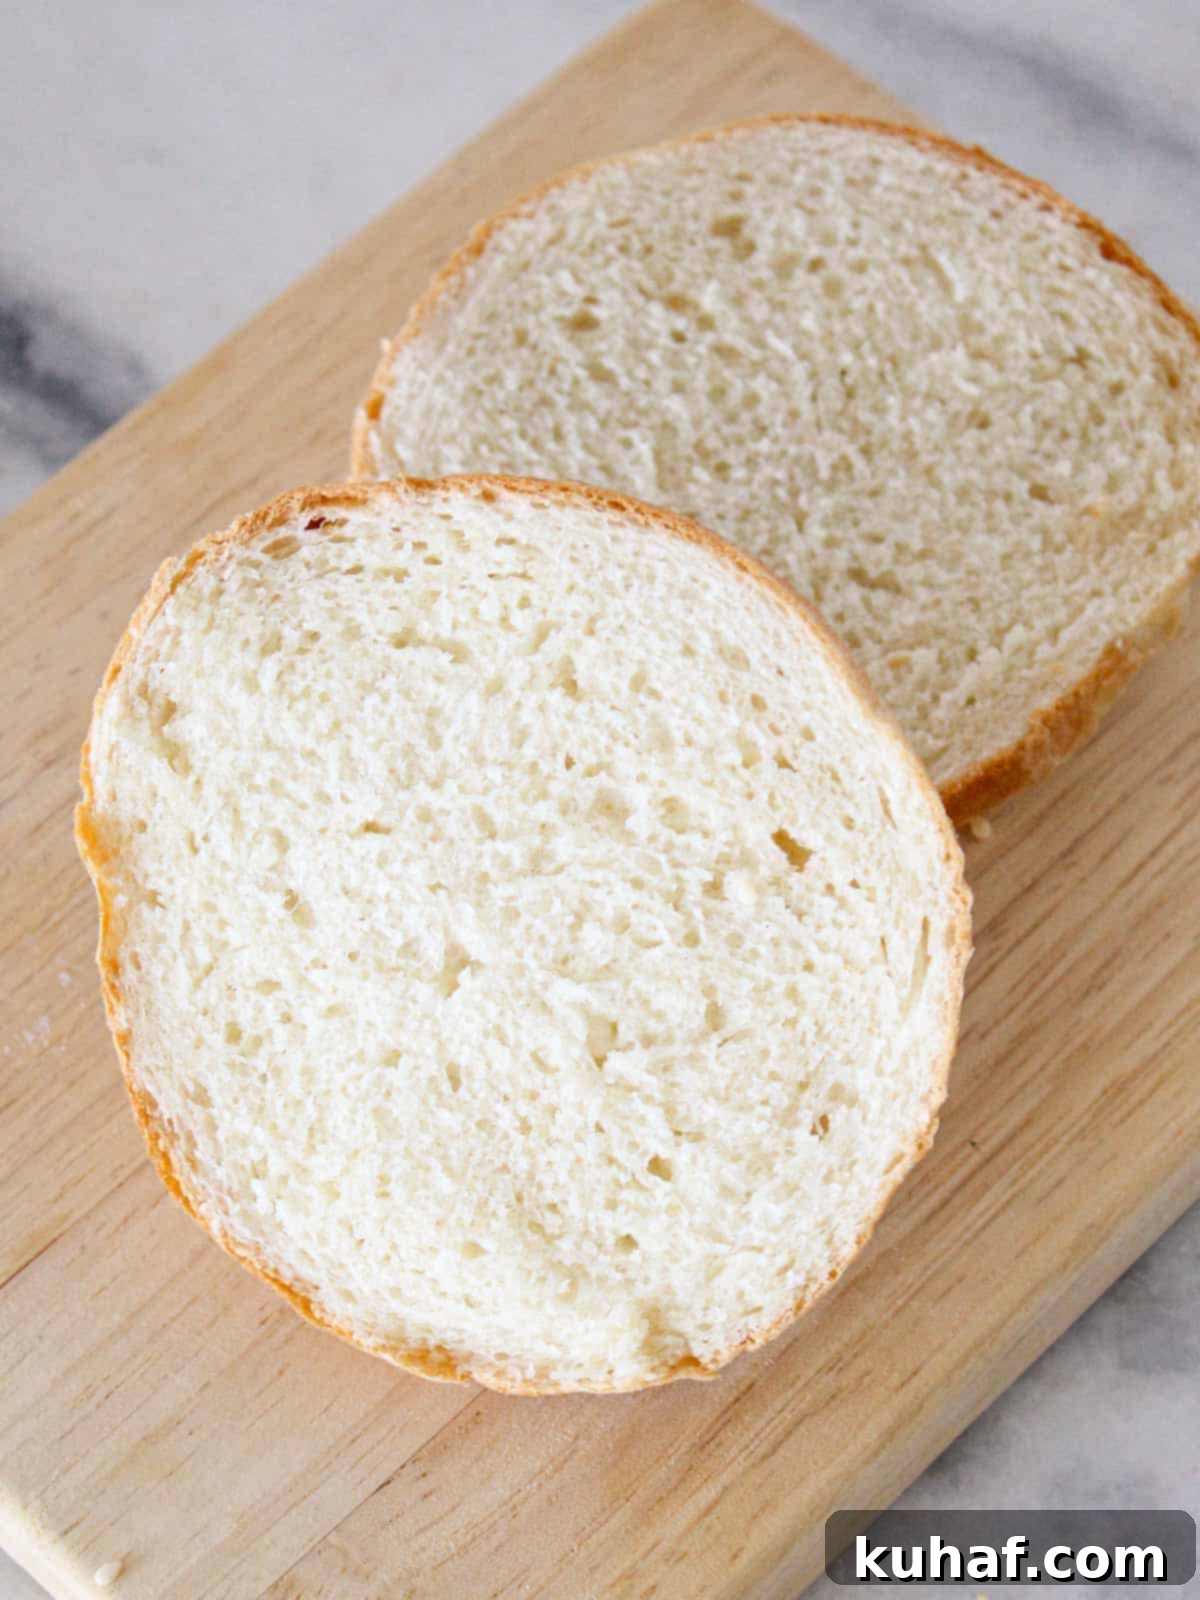
These professional-grade brioche buns are surprisingly simple to make, yielding a light, fluffy texture with a delicate crumb. Each bun boasts a perfectly balanced buttery flavor, complemented by just a hint of sweetness – making them the ideal companion for everything from juicy hamburgers to slow cooker BBQ chicken sandwiches. While they use less butter than my traditional brioche bread recipe, they sacrifice absolutely none of the incredible flavor or tender texture that brioche is renowned for.
I can confidently say these are the best hamburger buns you’ll ever taste. They’re the very same brioche buns we crafted daily at a distinguished New York City steakhouse during my culinary school days. This recipe has set the standard for me; every other bun I encounter is measured against the unparalleled quality of these homemade brioche beauties. Prepare to experience a truly superior bun that will forever change your perception of a perfect burger.
Why This Brioche Bun Recipe Will Become Your New Favorite
- Developed in a NYC Steakhouse: These aren’t just home-cook friendly; they’re restaurant-quality. This recipe has been rigorously tested and perfected in a demanding Manhattan steakhouse kitchen, ensuring consistent excellence and an unexpectedly easy process for a professional-level result. You’re getting a secret weapon for your kitchen!
- Unrivaled Softness, Tenderness, and Buttery Flavor: Prepare for a sensory delight. The texture is incredibly soft and tender, melting in your mouth, while the rich, buttery flavor with its subtle sweetness creates a magnificent base for any filling. It’s truly the perfect canvas for savory burgers, pulled meats, or sophisticated sandwiches.
- An Easy, Incredibly Versatile Dough: Don’t let the gourmet name intimidate you! This dough is straightforward to work with and incredibly forgiving. Not only does it produce spectacular hamburger buns, but it’s also ideal for crafting delightful slider buns, elegant dinner rolls, or even gourmet hotdog buns. I’ll walk you through the precise instructions for each variation.
Table of Contents
- Why You Will Love this Brioche Bun Recipe
- Ingredients for Perfect Brioche Buns
- Professional Tips for Baking Brioche Buns
- How to Make Brioche Hamburger Buns (Step-by-Step)
- Chef Lindsey’s Expert Baking Tip
- Creative Ideas for Serving Brioche Buns
- Tips for Storing Homemade Brioche Buns
- Brioche Buns Recipe FAQs
- More Recommended Bread Recipes
- Full Brioche Buns Recipe Card
- Before You Go: Explore More Bread Recipes
Essential Ingredients for Perfect Brioche Buns
Creating these divine brioche buns starts with a selection of high-quality ingredients, each playing a crucial role in the final texture and flavor. Here’s a closer look at what you’ll need and why:
- Milk: I always opt for whole milk. Its higher fat content contributes significantly to the brioche’s signature richness and ensures a wonderfully tender crumb. While low-fat or even plant-based milk alternatives can be used, expect a slight difference in the richness and overall texture. Warming the milk slightly is crucial for activating the yeast.
- Dry Active Yeast: My preference is dry active yeast for its reliability and consistent performance. Unlike instant yeast, active dry yeast benefits from a short proofing period, which allows it to fully activate and begin developing flavor before mixing with the flour. This extra time also helps to build a strong gluten network, essential for the buns’ structure and their ability to hold up to juicy fillings like turkey sloppy joes.
- Granulated Sugar: A modest amount of granulated sugar serves multiple purposes. It feeds the yeast, aiding in its activation and vigorous rise. It also contributes to the beautiful golden-brown crust and imparts that subtle, characteristic sweetness of brioche, balancing the richness of the butter.
- All-Purpose Flour: For these buns, all-purpose flour is ideal. It strikes the perfect balance, providing enough gluten to create a strong, elastic dough that can trap gases and rise beautifully, without making the finished buns overly chewy or tough. While bread flour can also be used, it may result in a slightly denser texture. Save your whole wheat flour for other delicious bakes like these honey whole wheat buttermilk rolls!
- Unsalted Butter: The star of brioche! Unsalted butter is essential for achieving that characteristic rich flavor, incredible tenderness, and luxurious mouthfeel. Using unsalted butter gives you complete control over the salt content in the recipe.
- Kosher Salt: There’s a significant amount of kosher salt in this recipe, and for good reason. Salt is not just for flavor; it also strengthens the gluten structure and helps to regulate yeast activity, preventing the dough from rising too quickly. Be sure to use kosher salt, as its larger granules mean it is less salty by volume compared to fine table salt or sea salt, ensuring proper seasoning without over-salting.
- Whole Egg: For that classic, professional burger bun sheen, brushing the tops of your shaped buns with a well-beaten whole egg is key. This “egg wash” also helps any toppings adhere beautifully. You can brush them with melted butter instead for a softer crust, but the finish will be more matte.
- Sesame Seeds: An optional but highly recommended topping! In the steakhouse, we often used a mix of black and white sesame seeds for visual appeal. Feel free to use any seeds you have on hand – poppy seeds or even everything bagel seasoning can also be fantastic.
For precise measurements and detailed quantities, please refer to the comprehensive recipe card located at the bottom of this post.
Professional Tips for Baking Flawless Brioche Buns
Achieving bakery-quality brioche buns at home is entirely possible with a few professional insights:
- Consistency is Key (Use a Kitchen Scale!): Baking is a science, and precision yields perfection. An inexpensive digital kitchen scale is your best friend here. It not only guarantees the exact amount of each ingredient in your dough, which is crucial for brioche, but also ensures that each bun is uniformly sized. Consistent bun sizes are vital because they will proof and bake evenly, preventing some from being under or overdone.
- Never Skip Either Proofing Stage: It’s tempting to rush, but resist the urge to shorten or skip the bulk proof (the first rise). This initial proofing period is absolutely essential. During this time, the yeast works its magic, developing the complex flavors unique to brioche and strengthening the gluten network. This foundational structure is what gives your buns their incredible rise, airy texture, and delicious depth of flavor. The second proof, or final proof, is equally important for achieving that light and fluffy final product.
- Measure by Weight to Easily Scale the Recipe: One of the greatest advantages of baking by weight is the ease of scaling. Whether you need a massive batch for a party or just a few for a quiet evening, you can confidently scale this recipe up or down. Your stand mixer’s capacity is your only limit! I’ve personally made up to 40 quarts of this dough in a commercial kitchen, so you can trust the measurements. For example, you can effortlessly divide the recipe in half to make just 4 burger buns or a generous 18 sliders, all with the same consistent, delicious results.
How to Make Brioche Hamburger Buns: A Step-by-Step Guide
Follow these detailed instructions to craft perfect, golden brioche buns every time. You’ll find further specifics and ingredient measurements in the recipe card below.
Make & Shape the Brioche Dough:
Step 1: Activate the Yeast. In the bowl of your stand mixer, whisk together the active dry yeast, warm milk (ensure it’s between 100 – 110°F / 38-43°C – too hot will kill the yeast, too cold won’t activate it), and granulated sugar. Give it a gentle stir and then let it sit undisturbed for about 10 minutes. You’ll know it’s ready when the mixture becomes visibly bubbly and foamy on the surface, indicating the yeast is active and thriving.
Step 2: Mix the Dough and Develop Gluten. To the bubbly yeast mixture in the mixer bowl, add the all-purpose flour, softened unsalted butter, and kosher salt. Begin mixing with the paddle attachment on low speed to just combine the ingredients. Once a shaggy dough forms, switch to the dough hook attachment. Increase the mixer speed to medium and continue mixing to thoroughly develop the gluten. This process will take about 10-15 minutes. The dough is ready when it pulls cleanly away from the sides of the bowl, looks smooth and slightly glossy, and passes the windowpane test (you can stretch a small piece thin enough to see light through it without tearing).
Pro Tip for Gluten Development: You can also develop the gluten in the flour, milk, sugar, yeast, and salt *first*, and then incorporate the butter. This method can significantly decrease the total mixing time because butter, being fat, can inhibit gluten formation. To do this, mix all ingredients except butter with the dough hook until a smooth dough forms (about 8-10 minutes). Then, reduce the mixer speed to low and add the softened butter all at once. Continue mixing until the butter is fully incorporated, and there are no visible pieces or streaks of butter remaining. Once smooth and glossy again, proceed to Step 3!
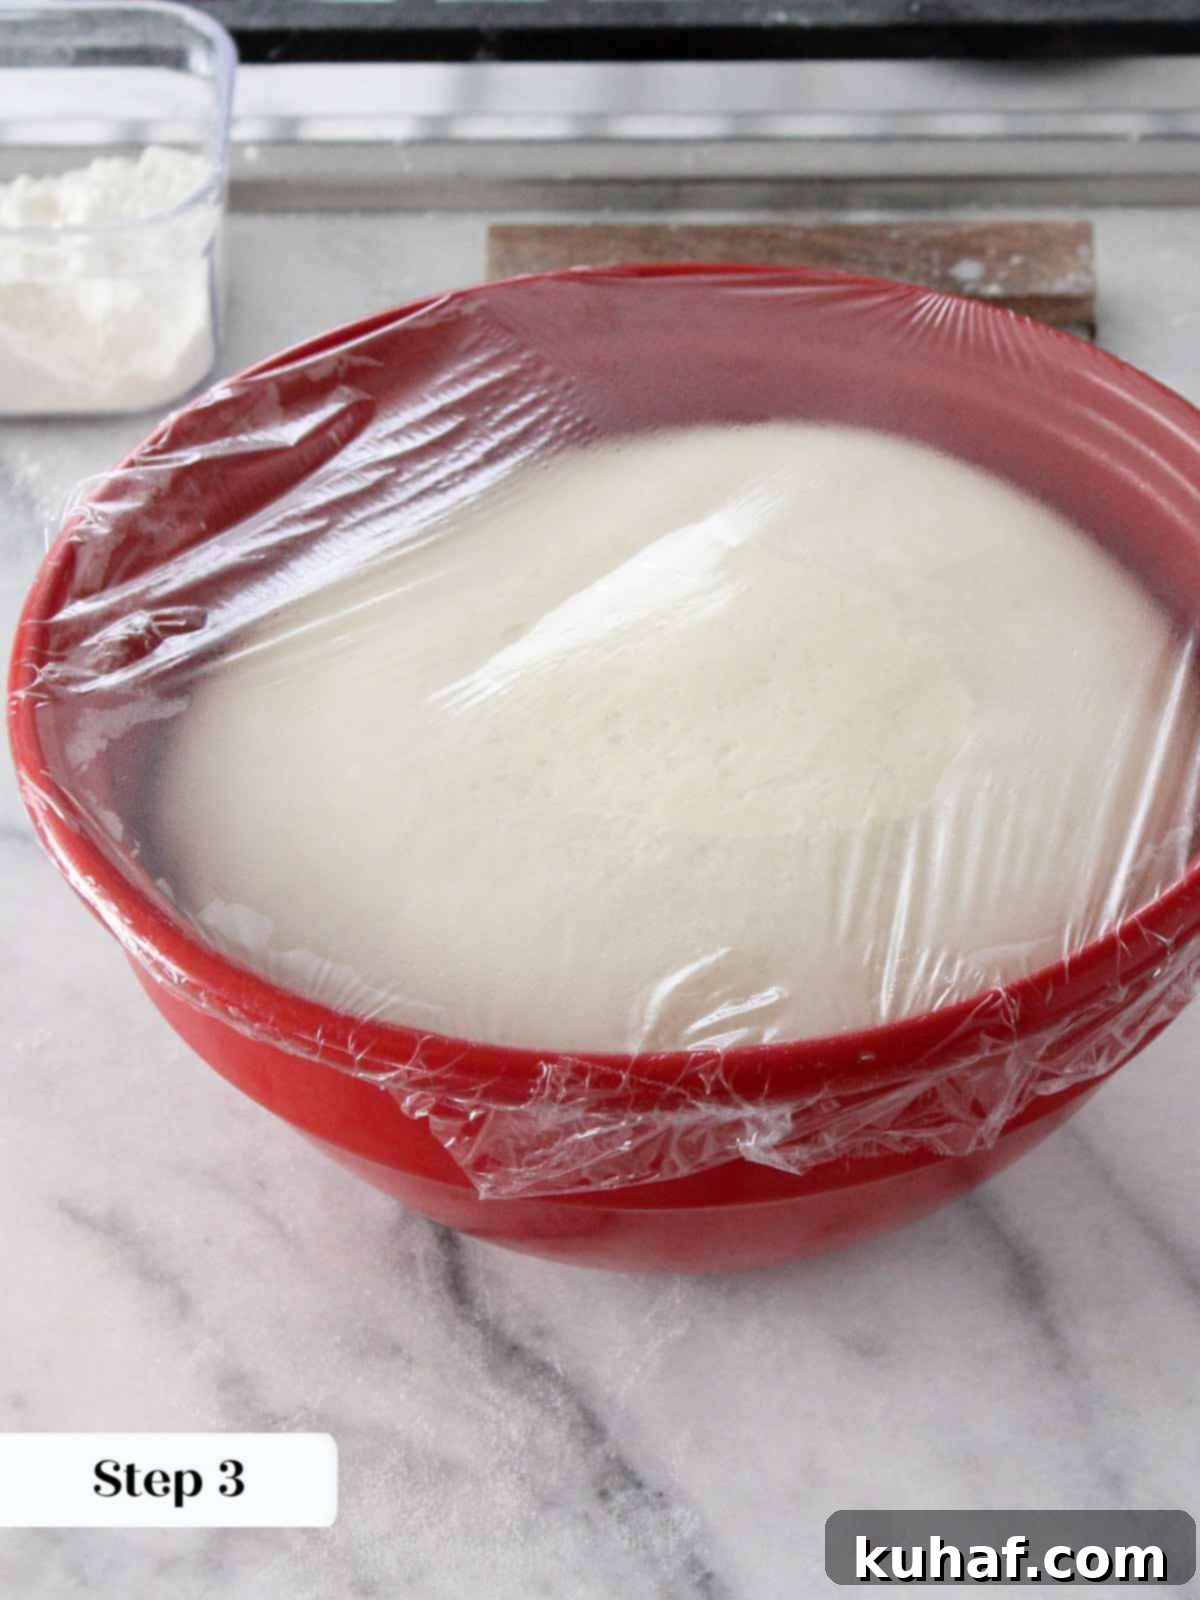
Step 3: First Rise (Bulk Proof). Lightly coat a large clean bowl with cooking spray or a neutral oil. Transfer the dough to this bowl, turning it once to coat all sides lightly. Cover the bowl tightly with plastic wrap to prevent a skin from forming. Place it in a warm, draft-free spot (like a slightly warm oven that’s turned off, or near a sunny window) and let it proof until it has doubled in size. This crucial first rise will typically take approximately 1 to 1.5 hours, depending on the warmth of your kitchen.
Step 4: Divide the Dough. Once proofed, gently deflate the dough. For standard hamburger buns, divide the dough into 8 equal pieces, each weighing between 110 – 115 grams. If you don’t have a scale, simply eyeball 8 evenly sized pieces. For smaller applications, aim for 45-50g pieces for slider buns or dinner rolls, and 75-85g pieces for hotdog buns. This recipe will yield a total of 8 hamburger buns, approximately 36 slider buns, or about 22 hotdog buns.
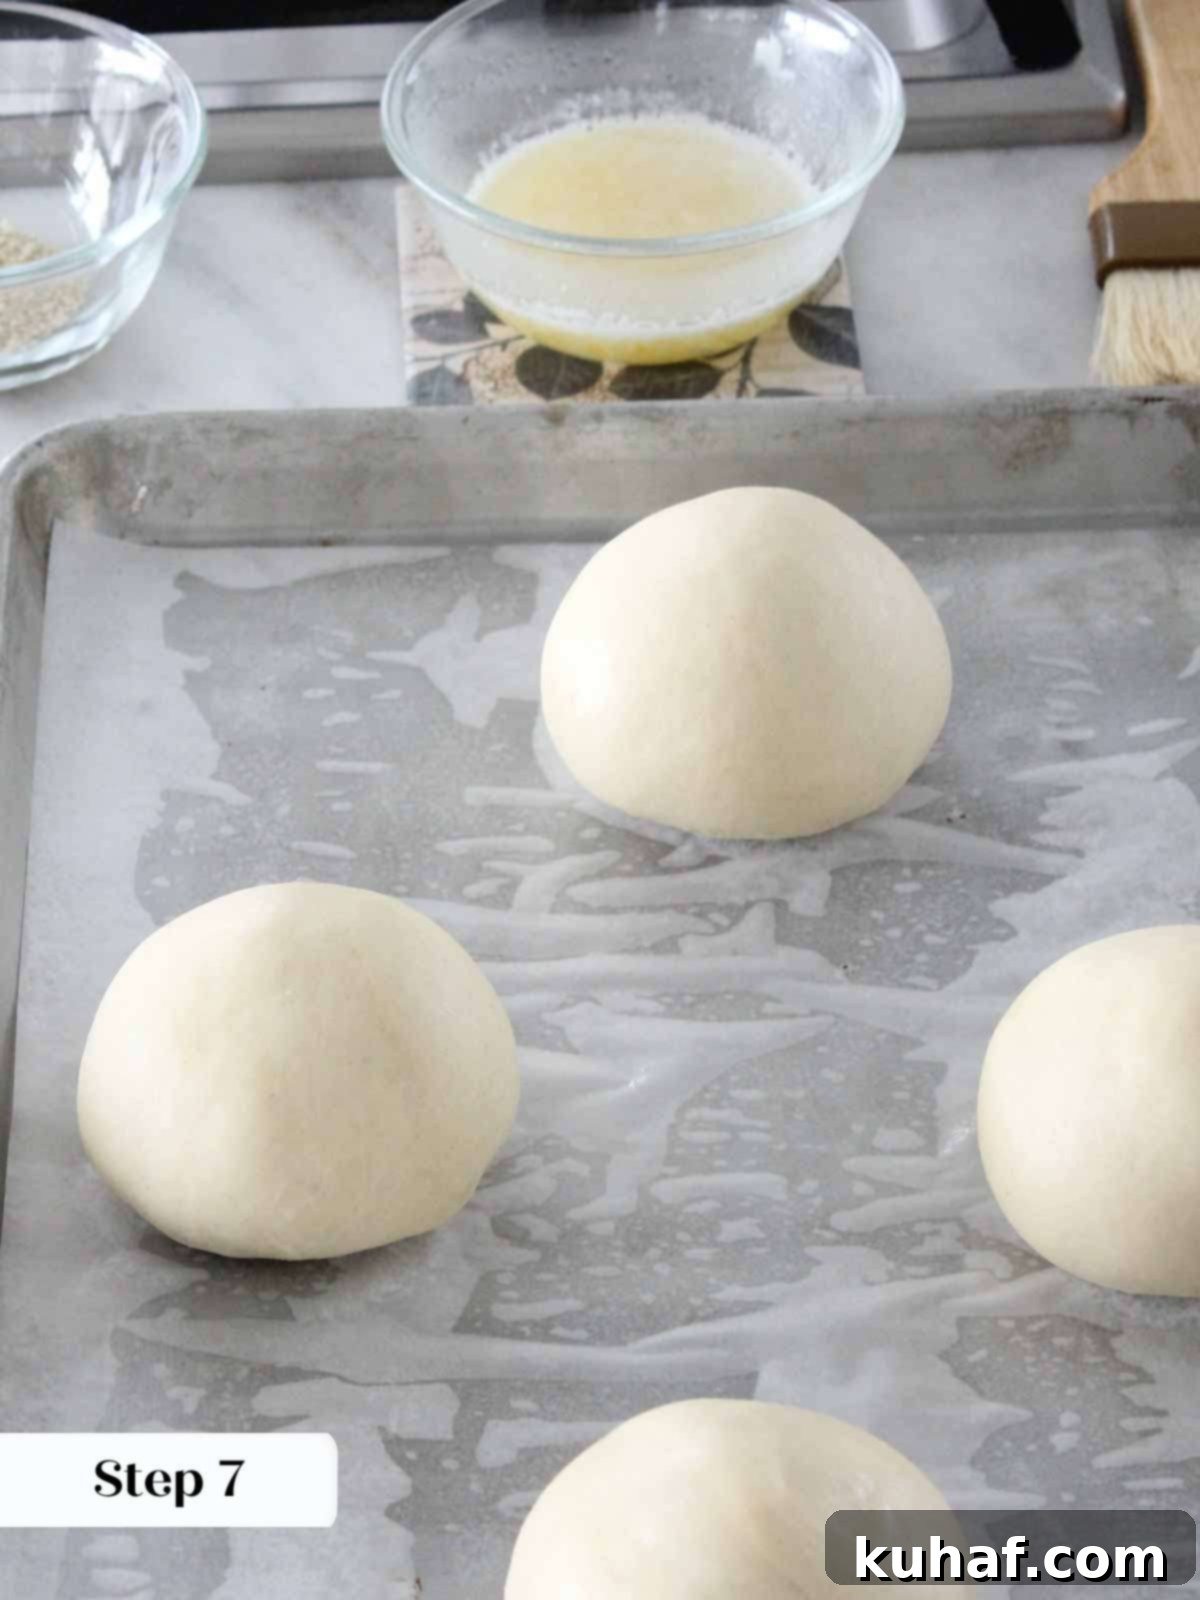
Step 5: Shape the Buns. Take each individual piece of dough and place it on a clean, un-floured surface (the slight stickiness will help with tension). Fold the four corners of the dough into the center, effectively creating a tighter ball. Flip the dough over so the seam side is down. Now, using the palm of your hand, gently roll the dough in a circular motion, without letting it roll *around* too much – the goal is to create surface tension. Use your thumb to tuck the dough underneath itself as you pull back towards you with your other fingers, tightening it into a perfectly smooth, taut ball. When properly shaped, the dough ball should sit up tall and proud on your counter with a smooth, dome-like top.
Shaping Perfection: If the surface of your dough ball starts to crack while you’re shaping it, it means you’re creating too much tension. Continuing to shape will only make the gluten contract more. Simply move on to the next piece and aim for a slightly looser shape. The ideal bun is a smooth, tall ball that holds its shape gracefully on the counter.
Step 6: Prepare for Final Proof. Arrange the shaped buns on a baking sheet lined with parchment paper, ensuring they are spaced about 3 inches apart to allow for expansion. Lightly spray one side of a piece of plastic wrap with non-stick cooking spray and gently lay it directly over the surface of the dough balls, spray-side down. This direct contact prevents a skin from forming and locks in crucial moisture during the final rise.
Final Proofing & Baking:
Step 7: Final Proofing. Place the covered baking sheet in a warm, draft-free area and let the dough rise again. This second proof is shorter, typically taking approximately 30-45 minutes, depending on the ambient temperature of your kitchen. The buns are fully proofed when they appear visibly puffy and feel incredibly light and airy when gently squeezed. They should be a bit more than doubled in size but still hold their shape.
Moisture Retention is Key: Using plastic wrap or a reusable silicone cover for both proofing stages is vital to lock in moisture and prevent the dough’s surface from drying out. A dry surface can hinder a proper rise and lead to a tough crust. If you must use a kitchen towel, make sure to dampen it slightly.
Step 8: Preheat the Oven. While your buns are undergoing their final proof, preheat your oven. For convection ovens (with a fan), set it to 350°F (175°C). If you’re using a conventional oven (no fan), preheat to 375°F (190°C). Ensuring the oven is fully preheated before baking is critical for a good oven spring and even cooking.
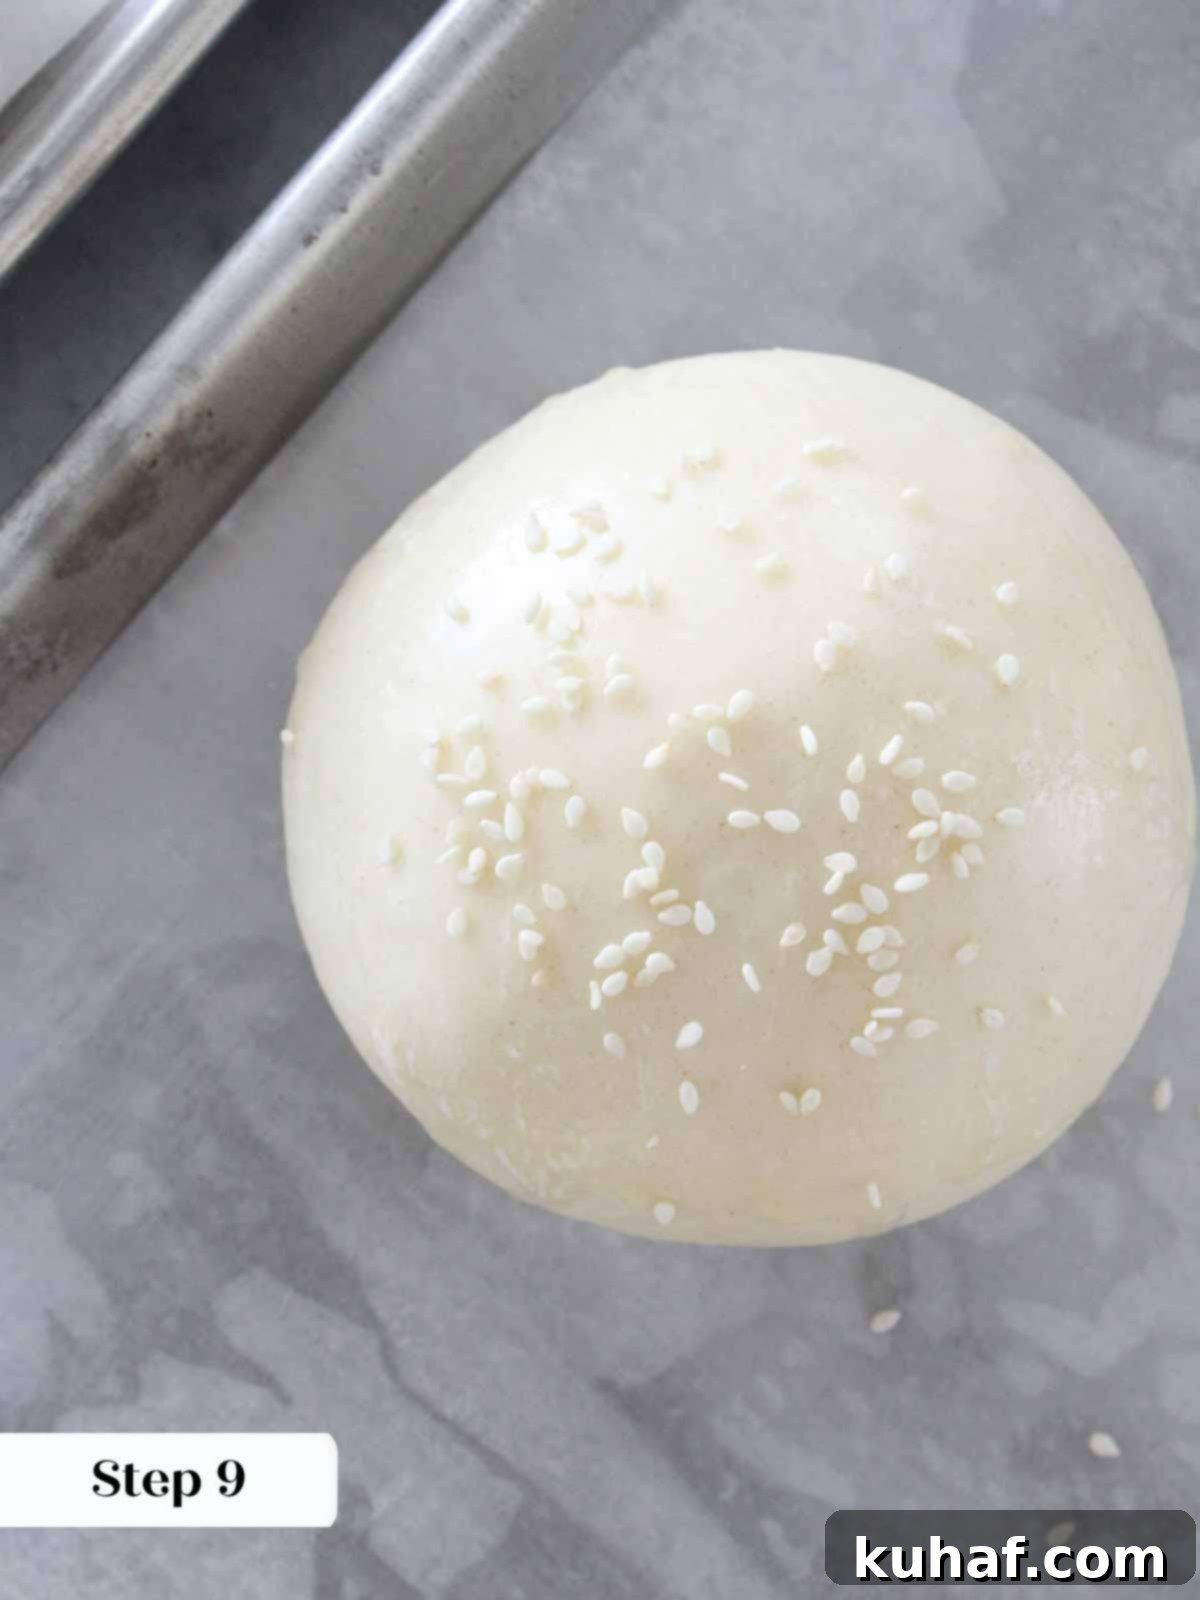
Step 9: Egg Wash & Toppings. Once fully proofed, gently brush the tops of each bun with your beaten egg wash (or melted butter if preferred). This creates a beautiful, glossy finish and helps any toppings adhere. Sprinkle generously with sesame seeds, poppy seeds, or your topping of choice (this step is optional but highly recommended for that classic look and added texture).
Step 10: Bake to Golden Perfection. Place the baking sheet into the preheated oven and bake until the brioche buns are a rich, golden brown on top and feel light when lifted. This typically takes approximately 12-15 minutes. Keep an eye on them, as oven temperatures can vary. Once baked, transfer the buns to a wire rack to cool completely before slicing and serving. This allows the internal structure to set properly.
Chef Lindsey’s Expert Baking Tip: Trust Your Instincts (and Learn from Mistakes!)
When it comes to baking bread, “feel” is often far more important than strictly adhering to specific times. While the given proofing times are a good guideline, learning to trust your instincts about the dough’s texture and appearance takes practice. So, be patient with yourself and welcome any “mistakes” as learning opportunities – that’s truly how we become better bakers!
Understanding the consequences of proofing is crucial: Buns that are proofed for too little time (under-proofed) will result in a dense, tight texture. They won’t have developed enough air pockets, leading to a heavy crumb. Conversely, buns proofed for too long (over-proofed) will initially appear very light and airy, but they are prone to deflating in the oven, leading to a flat appearance. Over-proofed dough can also develop a slightly sour, yeasty taste, and the final texture, while light, will lack the desired structure and bounce.
The best way to develop this intuition is to pay close attention to the visual and tactile cues at each stage, especially during the second proof. When you gently poke the dough, it should spring back slowly. If it springs back immediately, it needs more time. If it collapses or doesn’t spring back at all, it might be over-proofed. Don’t be afraid to experiment and observe – your hands and eyes are your most valuable tools!
Creative Ideas for Serving Your Homemade Brioche Buns
The versatility of this brioche bun recipe means the serving possibilities are truly endless. Get ready to elevate any meal!
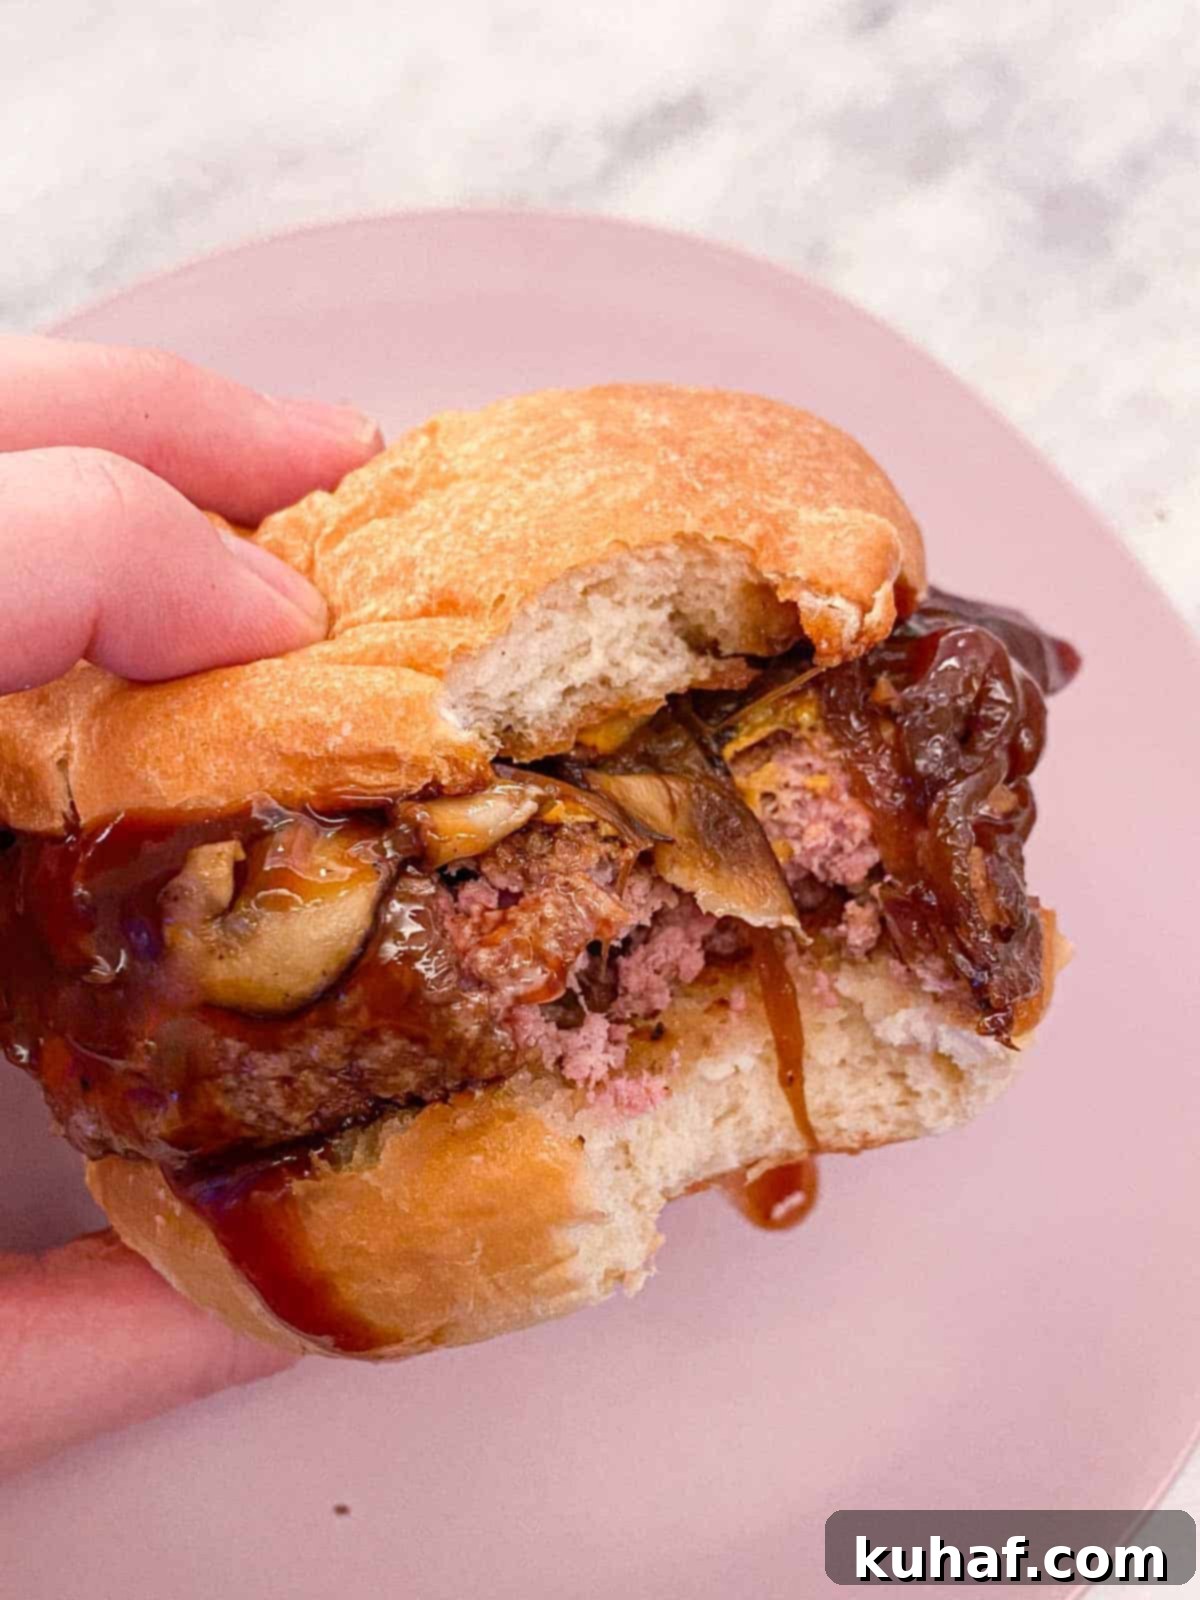
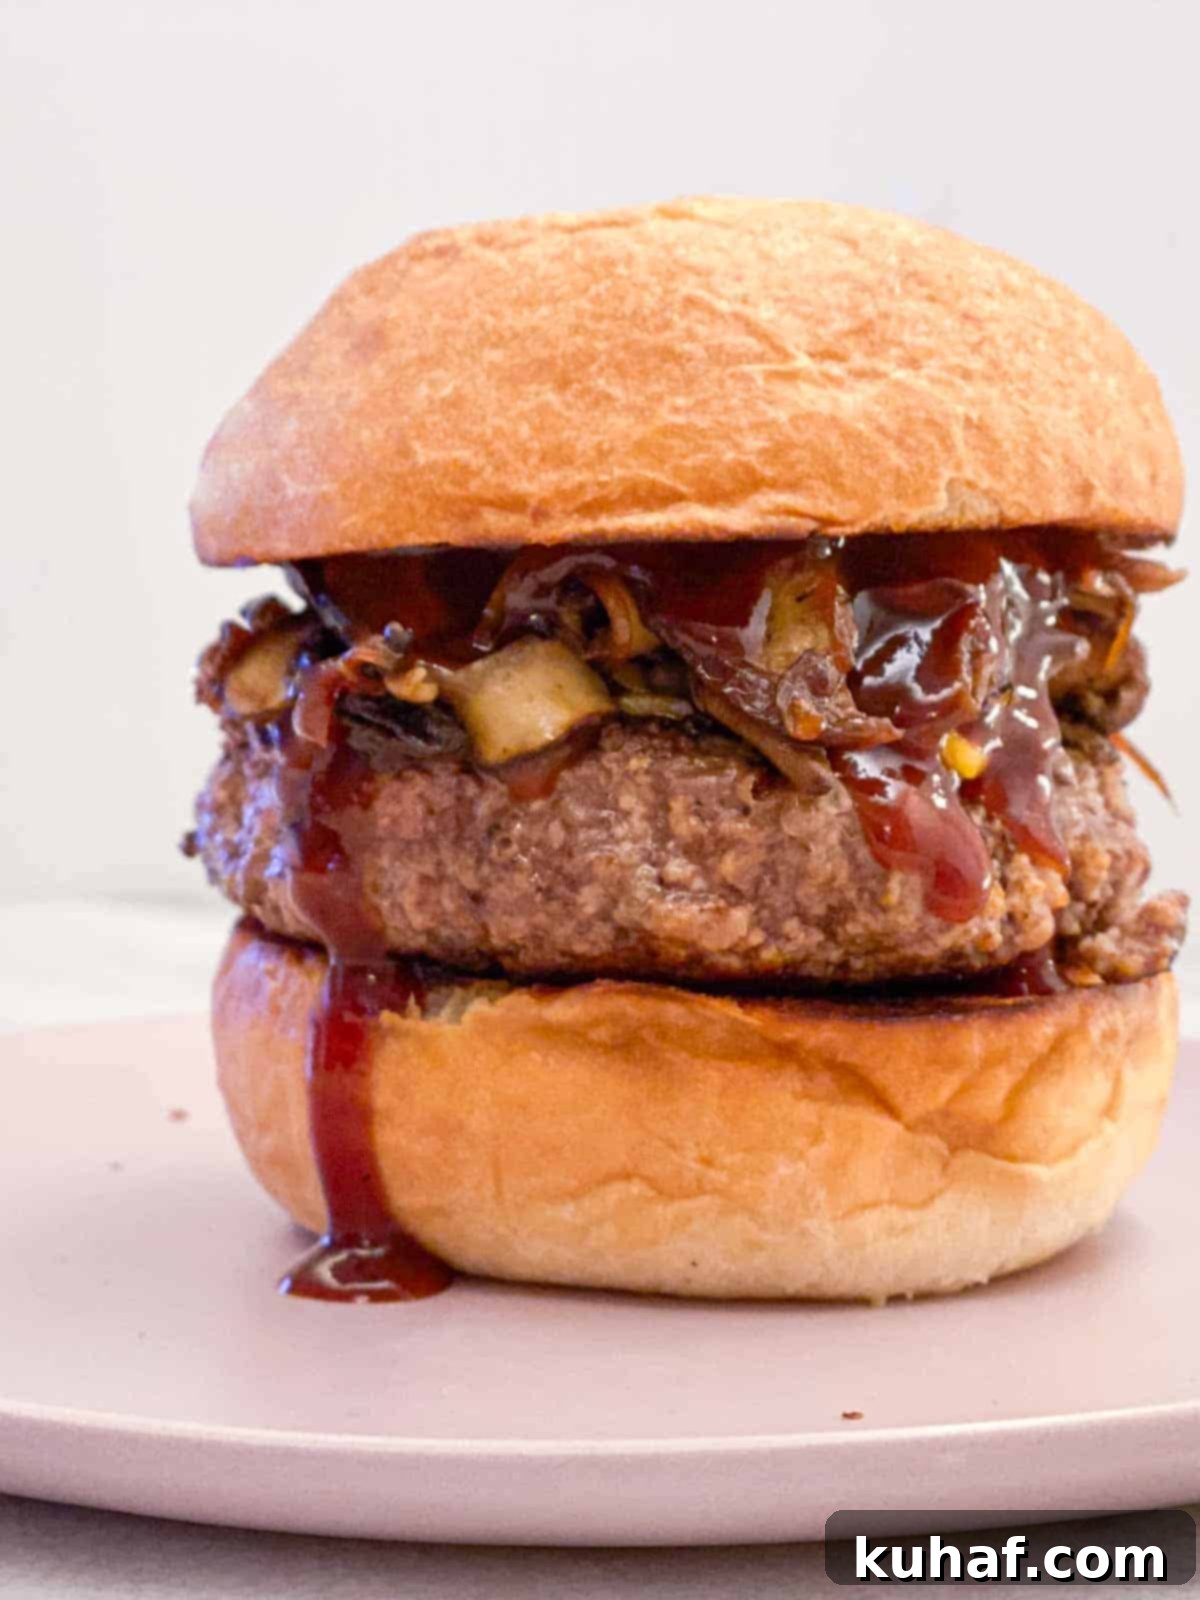
- Transform Your Next Burger Night: These buns are game-changers for any burger. Imagine them cradling delicious ground chicken burgers, juicy gourmet turkey burgers, or classic beef patties. For an epic experience, pile them high with savory caramelized onions, sautéed mushrooms, and a generous drizzle of your favorite easy BBQ sauce, just like I did for these mouth-watering hamburgers. For an unexpected twist, try a dollop of creamy yum yum sauce – an instant upgrade!
- Perfect for Miniature Delights: This very same dough can be scaled down to make approximately 36 adorable slider buns or individual dinner rolls. They’re a fantastic, richer alternative to my easy dinner rolls and perfect for small gatherings. Fill them with anything from mini pulled pork sandwiches to miniature deviled egg salad sandwiches for a charming brunch or appetizer idea.
- Craft the Best Hotdog Buns: Forget bland, supermarket hotdog buns! Shape this brioche dough into elongated rolls (75-85g each) for a truly decadent hotdog experience. They’re fabulous for your favorite Frankfurters or even as a luxurious vessel for a buttery lobster roll – pure indulgence!
- Elevate Any Sandwich: The simplest way to transform an ordinary sandwich into an extraordinary one is to upgrade the bread. These brioche buns are superb for any filling. Try them lightly toasted with a warm roast beef melt, a comforting classic like my grandmother’s tuna melt, or even a spicy pimento cheese sandwich. The soft, rich texture provides a delightful contrast and absorbs flavors beautifully.
Tips for Storing Your Homemade Brioche Buns
To keep your delicious brioche buns fresh and maintain their wonderful texture, proper storage is key:
- Short-Term Storage (Room Temperature): Store your completely cooled brioche buns, well-wrapped in plastic wrap or in an airtight container, at room temperature for up to 2 days for the absolute best texture. While they will keep for up to 5 days at room temperature, the texture does begin to decline after the second day as bread naturally stales.
- Avoid Refrigeration: I generally advise against storing bread in the refrigerator for extended periods. The cold temperatures can actually accelerate the staling process, making your buns dry out faster and potentially impacting their delicate flavor. While they might last a week, the quality will diminish.
- Long-Term Storage (Freezer): For keeping your brioche buns fresh for longer than a couple of days, the freezer is your best friend. Once completely cooled, wrap each bun individually in plastic wrap, then place them in an airtight freezer bag. They will keep beautifully in the freezer for up to 2 months. To enjoy, simply thaw them unwrapped at room temperature, or warm them gently in a low oven for a few minutes to restore their fresh-baked softness.
Brioche Buns Recipe FAQs
For that classic, professional look, I typically top my brioche buns with white sesame seeds. However, the options are incredibly versatile! You can leave them “naked” for a simpler look, or experiment with black sesame seeds, poppy seeds, or even a savory “everything bagel” seasoning blend – yes, you absolutely can! For that characteristic glossy top and to help the toppings adhere better, brush the proofed dough with a well-beaten egg wash just before baking. This gives a much more vibrant shine than butter alone.
Brioche stands apart from typical bread because it’s an “enriched” dough. This means it contains a higher proportion of fat (butter), milk, sugar, and often eggs, which give it its distinctive richness, softness, and slightly sweet flavor. Traditional brioche bread can have an incredibly high butter content, sometimes up to 50% of the flour’s weight! While brioche buns for burgers or sandwiches typically contain a more moderate amount of butter, it’s still enough to create that uniquely soft, tender, and incredibly flavorful dough that sets it apart from leaner bread varieties.
Absolutely! In my professional opinion, brioche buns are hands down the best choice for burgers. Their luxurious softness and tender crumb provide a wonderful contrast to a hearty burger patty. The inherent buttery flavor of brioche complements and enhances the savory notes of the burger and its toppings, elevating the entire experience. Moreover, while brioche is delightfully soft, it’s also surprisingly absorbent without becoming soggy too quickly, making it perfect for soaking up all those delicious burger juices without falling apart.
While a stand mixer with a dough hook makes the process considerably easier, especially for developing the gluten in an enriched dough like brioche, it is possible to make it by hand. Be prepared for a good arm workout! You’ll need to knead the dough vigorously on a lightly floured surface for 15-20 minutes, or until it becomes smooth, elastic, and passes the windowpane test. The key is to keep kneading until the dough is no longer sticky and has developed sufficient gluten strength.
More Recommended Bread Recipes from Chef Lindsey
Yeasted Bread Recipes
Brioche Bread Recipe
Dinner Roll Recipes
Easy Dinner Roll Recipe
Dinner Roll Recipes
Potato Rolls
Breakfast Pastry Recipes
Pecan Sticky Buns Recipe
If you tried this recipe and loved it please leave a 🌟 star rating and let me know how it goes in the comments below. I love hearing from you; your comments make my day!

Brioche Buns
Pin Recipe
Comment
Print Recipe
Ingredients
- 1 cup +2 tbsp whole milk warm
- 4 teaspoons dry active yeast 13g
- 2 tablespoons granulated sugar heaping
- 4 cups all-purpose flour
- 5 tablespoons unsalted butter
- 1 tablespoon kosher salt
- 1 whole egg beaten for egg wash
- ¼ cup sesame seeds
Instructions
-
In the bowl of a stand mixer combine yeast, milk (warmed to between 100 – 110°F) and sugar. Allow to sit, undisturbed, for about 10 minutes until bubbly.
-
To the mixer bowl add flour, butter and salt. Mix with paddle attachment to combine then switch to hook attachment and mix on medium to develop gluten. Mix until smooth dough forms. It will pull away from the sides of the bowl and the surface will be smooth and slightly glossy.
-
Place in large bowl coated with cooking spray or lightly oiled. Cover the bowl with plastic wrap and proof in a warm spot until double in size. This will take approximately 1 – 1.5 hours.
-
For burger buns divide into 110 – 115 g pieces, or just eye-ball eight pieces. Slider buns or rolls should be between 45-50g and hotdog buns should be between 75-85g. This recipe will yield 8 hamburger buns, 36 slider buns or 22 hotdog buns.
-
Shape the dough: Take each piece and fold the four corners into the center. Flip it over (seam side down) onto an un-floured surface. Roll in the palm of your hand without letting the dough roll around, tighten it into a ball. Use your thumb to press the dough under itself and then pull back towards you with your other fingers. Tightening until the surface is smooth and the ball stands up tall and proud on the counter. Place on parchment lined baking sheet about 3 inches apart.
-
Spray the surface of plastic wrap with non-stick cooking spray and cover the dough directly on the surface.
-
Proof in a warm spot until they feel light and airy when gently squeezed. They will be a bit more than doubled, approximately 30-45 minutes depending on the heat of your kitchen.
-
Pre-heat the oven to 350°F convection (with the fan) or 375°F conventional (no fan) while the buns proof.
-
Brush the tops with beaten egg or melted butter. Sprinkle with sesame seeds (optional)
-
Bake in preheated oven until golden brown, approximately 12-15 minutes.
Video
Notes
Presentation – Brush with well-beaten egg before topping with seeds for that shiny top! The egg wash will also help the seeds stick to the dough during baking.
Storage – Store well-wrapped at room temperature for up to 5 days or frozen for up to 2 months. There are no preservatives, so it will have the best texture if consumed within 2-3 days.
Nutrition
Before You Go: Explore More Delicious Bread Recipes
I hope you thoroughly enjoyed baking and tasting these incredible brioche hamburger buns! They’re truly a game-changer for any meal. If you’re eager to continue your baking journey and explore more homemade bread, I invite you to peruse all our fantastic yeasted bread recipes. Perhaps try making some comforting potato rolls next, or head straight over to my versatile whole wheat sandwich bread recipe for another rewarding bake. Happy baking!
