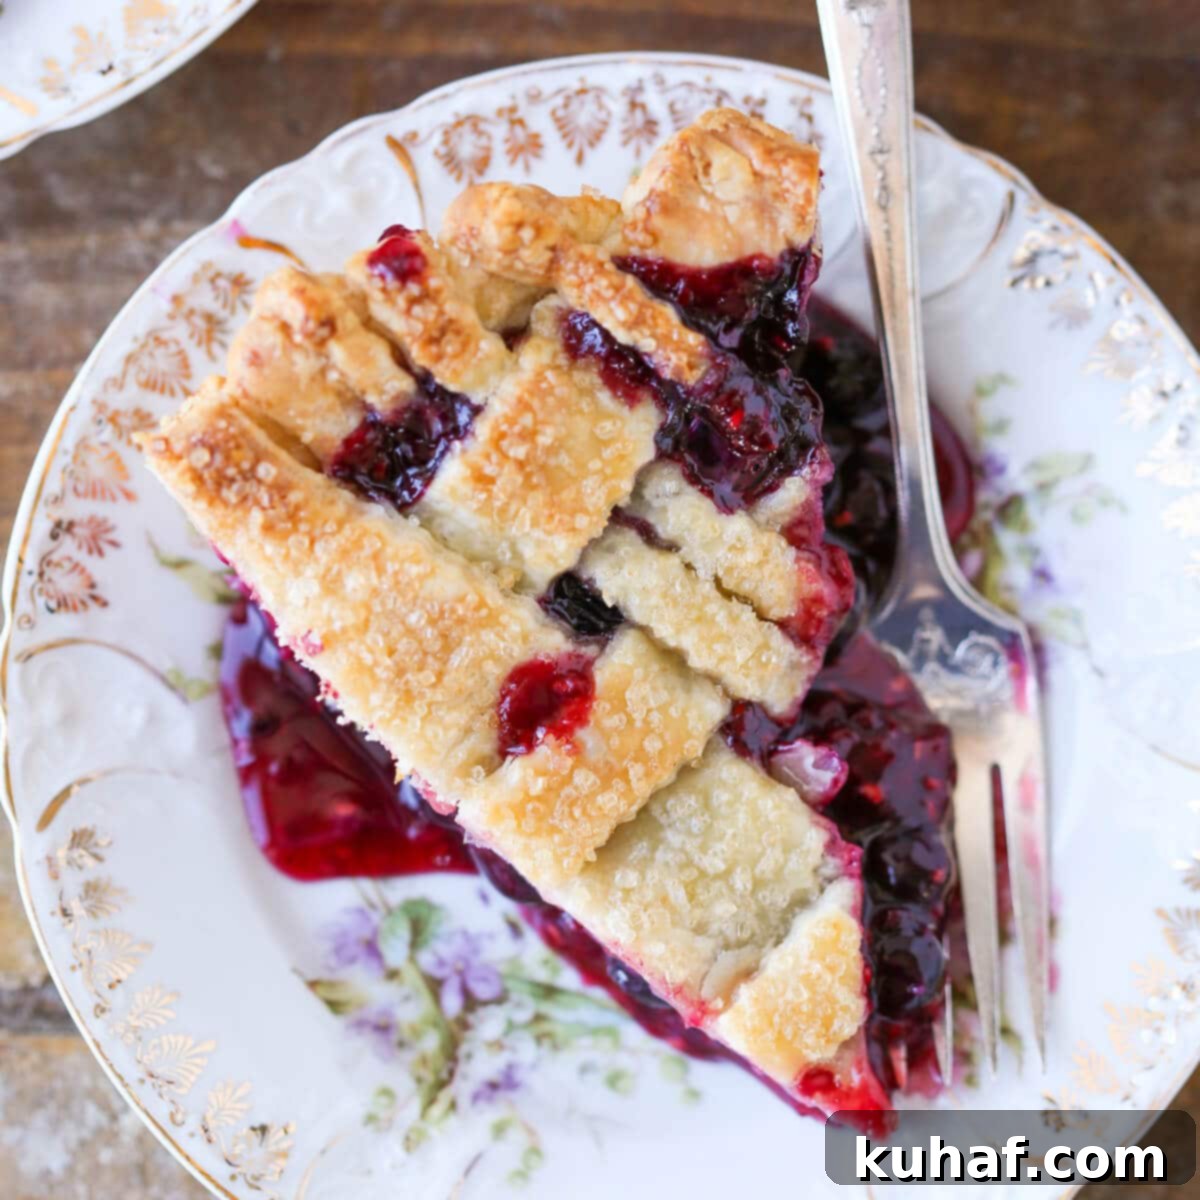
The Ultimate Mixed Berry Pie Recipe: A Chef’s Guide to a Perfect Lattice Crust
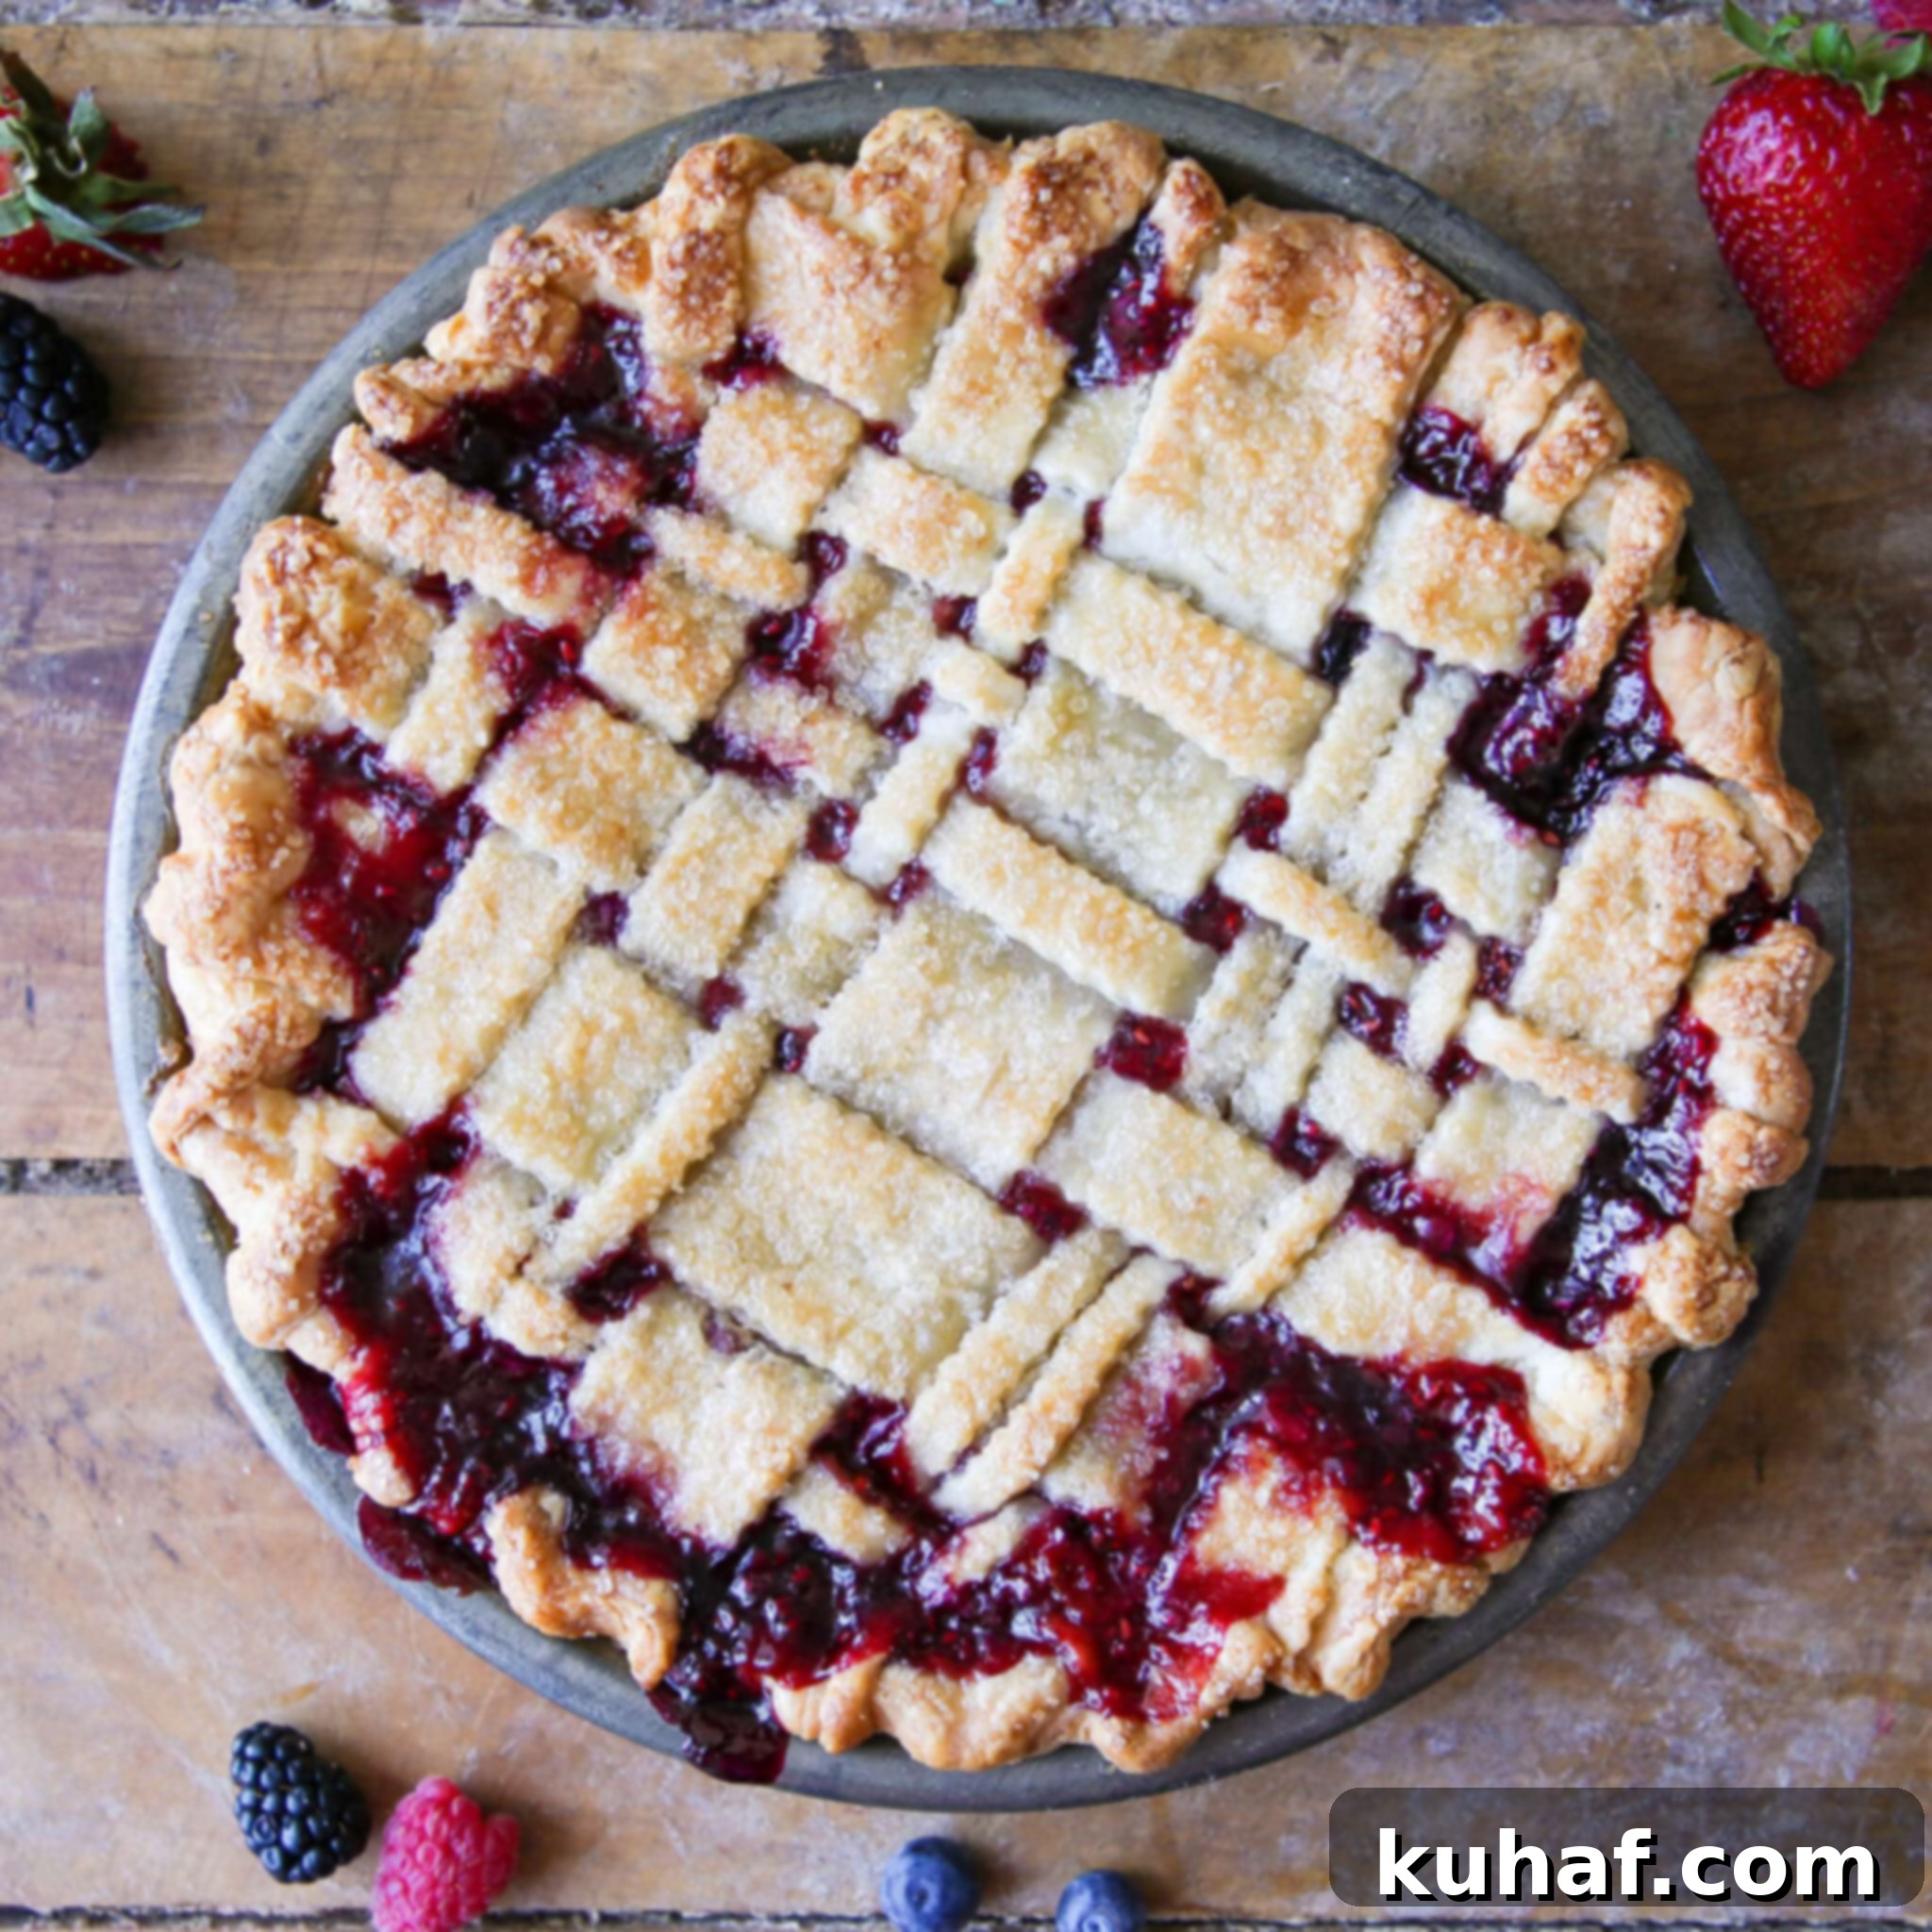
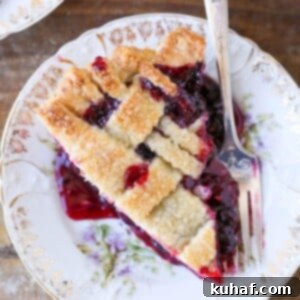
Prepare to be amazed by this show-stopping Mixed Berry Pie, elegantly crowned with a golden, intricate lattice crust! This exquisite recipe brings together four distinct types of berries, harmoniously blending into a thick, rich, and utterly delightful filling that strikes the perfect balance between tart and sweet. Whether it’s a special occasion or a simple craving for homemade goodness, this pie is guaranteed to impress.
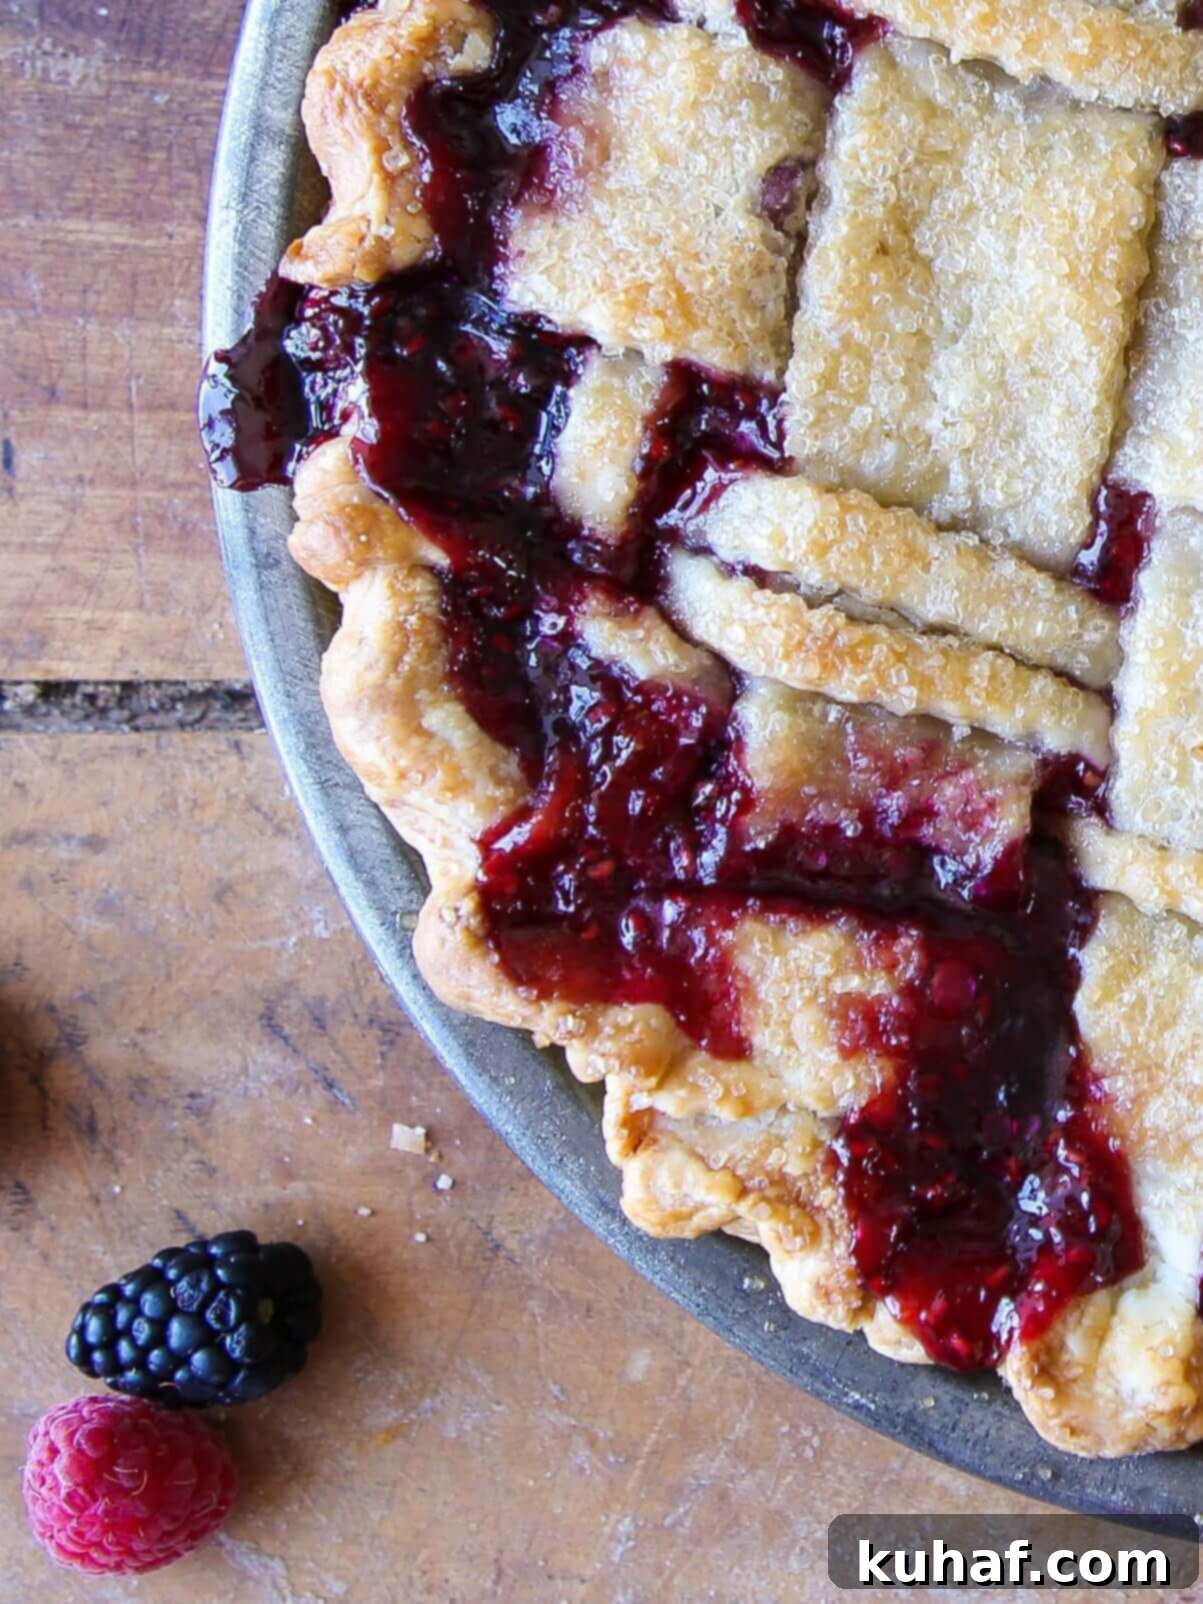
For those new to my kitchen, let me share a little secret: I approach pie-making with the utmost seriousness. Every detail matters – from achieving the ideal level of sweetness and the perfect harmony between filling and crust, to ensuring each slice holds its magnificent shape. This isn’t just a recipe; it’s a labor of love that we proudly feature in our very own pastry shop.
And now, I’m thrilled to share our five-star secret recipe with you! It comes complete with all the insider tips and tricks we use daily, so you can recreate this masterpiece in your own home kitchen. Imagine pulling a warm, fragrant pie from your oven, its golden crust hinting at the luscious berry treasure within.
While a chilled slice straight from the refrigerator can be a simple pleasure, some moments call for something a bit more grand. Elevate this mixed berry pie with a generous scoop of creamy French vanilla ice cream, or a delicate spoonful of elegant vanilla crème anglaise. Feeling adventurous? Rebel against tradition and top it with a dollop of bright lemon curd. Trust me, I admire your creativity!
Table of Contents
- Why You Will Love This Mixed Berry Pie
- Expert Tips for the Perfect Mixed Berry Pie
- Essential Mixed Berry Pie Ingredients
- Choosing the Best Berries for Your Pie
- Creative Variations for Your Pie
- Smart Ingredient Substitutions
- Step-by-Step Guide: How to Make Mixed Berry Pie
- Chef Lindsey’s Special Recipe Tip
- Why Tapioca Flour is the Best Pie Thickener
- Using Frozen vs. Fresh Berries
- Can I Use Tapioca Pearls Instead of Tapioca Flour?
- How to Use Tapioca Pearls in Mixed Berry Pie
- Frequently Asked Questions About Mixed Berry Pie
- Complete Mixed Berry Pie Recipe Card
- Before You Go!
Why You Will Love This Mixed Berry Pie:
- It’s Wonderfully Adaptable: This recipe provides a clear framework, outlining the essential “do’s and don’ts” of mixed berry pie, allowing you to confidently mix and match your favorite berries and even experiment with different crusts. Whether you prefer the bounty of summer berries or what’s readily available, you can easily adapt this recipe to suit your taste and the season. It’s a versatile foundation for your culinary creativity!
- It’s Visually Stunning: Beyond its incredible taste, this pie is a feast for the eyes. With a perfectly baked, thick, and sliceable filling that showcases a vibrant pop of color from the berries, topped with a beautifully crafted lattice, it’s truly a centerpiece dessert. Each slice reveals layers of rich fruit, inviting everyone to indulge.
- It’s Sensational in Flavor: This mixed berry pie is designed to be a total crowd-pleaser, delivering an irresistible balance of tartness and sweetness. The distinct flavors of summer berries shine through, expertly complemented and enhanced by a touch of fresh lemon juice, which brightens the entire profile. It’s a truly memorable taste experience that will have everyone asking for seconds.
Expert Tips for the Perfect Mixed Berry Pie:
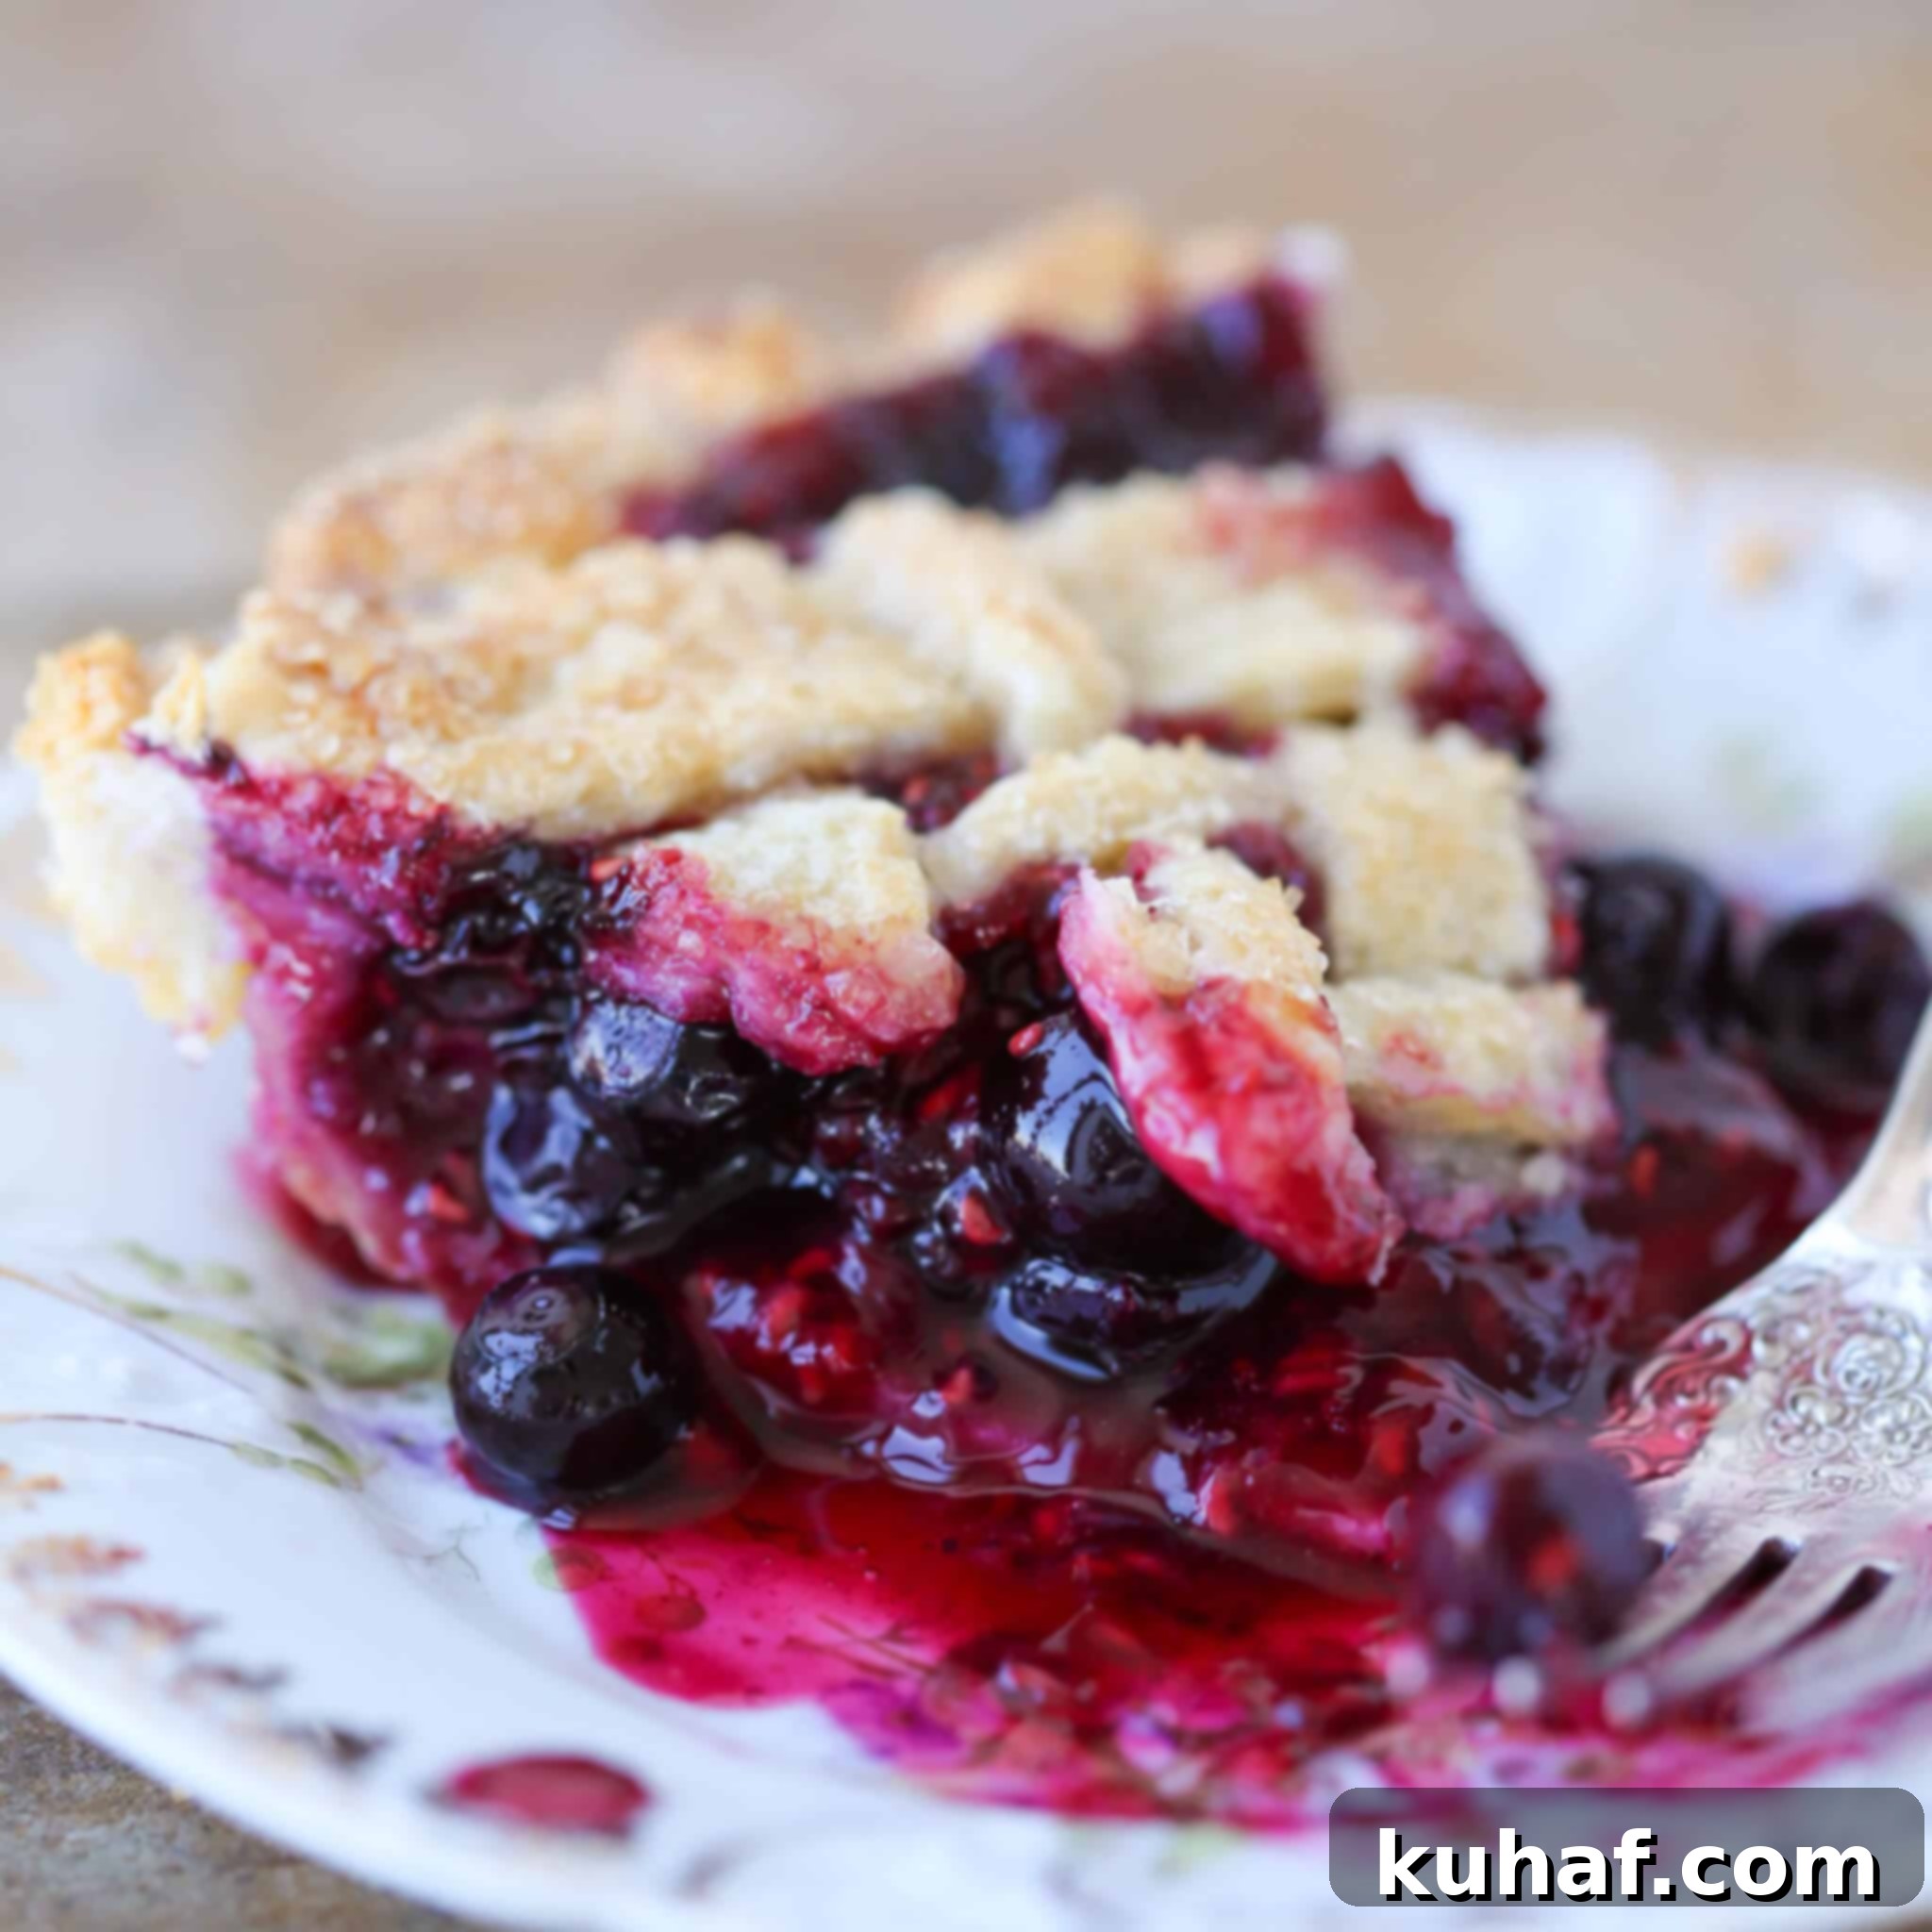
- Don’t Skip the Precooked Filling: While it may seem like an extra step, precooking the berry filling is absolutely crucial for achieving that perfectly thick, rich, and sliceable texture. This process allows excess moisture to evaporate, concentrates the vibrant berry flavors, and, most importantly, fully activates the tapioca flour thickener. Skipping this step often results in a looser, runnier filling that can be challenging to slice neatly.
- Chill That Filling! Seriously: Resist the urge to pour hot or even warm filling directly into your meticulously prepared, chilled pie crust. Doing so will immediately melt the butter in the crust, preventing it from forming those desirable flaky layers. A cold crust is key to a tender, flaky texture, so ensure your filling is completely cooled before assembling your pie.
- Let’s Talk About Tapioca: For all my fruit pies, I consistently use and recommend Bob’s Red Mill tapioca flour. This is the brand I’ve rigorously tested and perfected with all the pie fillings in my pastry shop, Shop Pastry Creations. It’s important to note that different brands of tapioca flour can have varying thickening powers. If you use an alternative, you may need to adjust the quantity slightly through a bit of trial and error to achieve the ideal consistency.
Essential Mixed Berry Pie Ingredients
- Mixed Berries: Our signature pie features a delightful medley of fresh blueberries, juicy blackberries, sweet raspberries, and vibrant strawberries. This combination offers a complex flavor profile and texture, making each bite exciting.
- Lemons: Much like in my beloved mixed berry jam recipe, a splash of lemon juice is transformative. It brightens and elevates the natural flavors of the berries, preventing the pie from becoming overly sweet and adding a refreshing, zesty counterpoint. Don’t forget the zest for an extra aromatic kick!
- Sugar: Simple granulated sugar is all you need. The key is to adjust the amount based on the natural sweetness and ripeness of your berries. Always taste your fruit first!
- Cinnamon: Ground cinnamon is a true star in this mixed berry pie. It introduces a warm, comforting depth that beautifully complements the bright fruit flavors, adding another layer of complexity to the overall taste. Opt for a high-quality variety like fragrant Saigon cinnamon or delicate Ceylon cinnamon for the best results.
- Tapioca Flour: I swear by tapioca flour for thickening my fruit pies because of its superior thickening power compared to cornstarch. Crucially, it’s flavorless once cooked, so it won’t impart any off-putting taste, and it doesn’t require pre-hydration. All my pie recipes are developed using Bob’s Red Mill Tapioca Flour, as its consistency and performance are unmatched. There was a tapioca shortage in 2021; we don’t talk about those dark times in the pastry shop!
- Pastry Flour: Pastry flour contains just the right amount of gluten to create a tender, flaky pie crust when handled correctly. All-purpose flour can also be used. Whichever you choose, always measure your flour by weight or by fluffing it first, then spooning it into the measuring cup to avoid a dense crust.
- Water: Ice-cold water is essential for pie crusts. It helps keep the butter cold, preventing it from melting prematurely. Add it sparingly, just enough for the dough to come together without becoming sticky or over-hydrated.
- Kosher Salt: Kosher salt is preferred in baking due to its coarser grain, which makes it less salty by volume compared to finer table salt. This allows for better control over the overall seasoning of your pie crust, enhancing the flavors without making it overly savory.
- Butter: I always use unsalted butter for baking, giving me complete control over the salt content in the recipe. Different butter brands have varying salt levels, which can make consistent recipe results challenging. Using cold, cubed unsalted butter is crucial for achieving a tender, flaky pie crust.
Choosing the Best Berries for Your Pie:
You have the flexibility to mix and match any types of berries you love in this pie! However, a crucial tip for success is to ensure that blueberries still make up the majority of your berry mixture. This is because blueberries are naturally rich in pectin, which acts as a powerful thickening agent for the pie filling. If you significantly reduce the proportion of blueberries, you may end up with a runnier filling, or you will need to compensate by increasing the amount of tapioca flour used. Always taste your berries for sweetness and ripeness before adding them; this will help you determine if you need to adjust the amount of sugar or add a touch of lemon zest to balance the flavors. I find it best to mix the berries first and then taste the blend to get a true indication of how the flavors will meld together during baking.
Creative Variations for Your Pie
- Pie Crust Options: While I used my reliable all-butter pie crust for this recipe, feel free to explore other delicious alternatives. It would be equally delightful with my nutty almond flour pie crust, the incredibly flaky foolproof vodka pie crust, or even a good quality store-bought crust if you’re pressed for time.
- Explore Different Berry Combinations: As mentioned, you can absolutely customize the berry blend to your liking! Just remember that maintaining a higher ratio of blueberries is beneficial due to their natural pectin content, which helps thicken the filling. Always taste your fruit mixture before adding it to the pie. Depending on the sweetness and ripeness of your chosen berries, you might want to adjust the sugar content or add a little extra lemon zest to achieve perfect flavor harmony.
- Mini Pies for Individual Servings: Who says pies always have to be for sharing? Turn this recipe into adorable, single-serving mini pies! Remember that the baking time will be significantly shorter, so keep a close eye on them and remove them from the oven once their tops are golden brown and the filling is visibly bubbling. If you enjoy mini treats and have some apples on hand, consider making some charming mini apple pecan crumble pies to join the party!
- Top Crust Creativity: For this recipe, I demonstrated how to create a beautiful latticed top crust using the step-by-step method found in my how to lattice pie crust tutorial. However, you have many options for the top layer! You could simply place a solid second pie crust on top, create decorative shapes with cookie cutters (perfect for seasonal themes), or even use an egg wash and a sprinkle of turbinado sugar for a glistening finish. For a different texture, consider a delicious streusel topping or crumb topping, just like I use in my popular berry crumble recipe!
Smart Ingredient Substitutions
- Flour for Crust: You can confidently use either pastry flour or all-purpose flour for your pie crust, following the same preparation steps. Both will yield a delicious result, though pastry flour tends to produce a slightly more tender crust.
- Tapioca Pearls for Flour: If you don’t have tapioca flour, you can substitute it with tapioca pearls. However, it’s essential to grind them down into a finer consistency (ideally a powder) and allow them to hydrate sufficiently in the filling before baking. You’ll also need to adjust the ratio to achieve the desired thickness, as it’s not a direct one-to-one swap.
- Other Thickeners: While some bakers swear by cornstarch or regular flour to thicken their berry pies, I personally find that these can sometimes impart an undesirable starchy flavor or a cloudy appearance to the filling. However, in a pinch, it’s absolutely fine to use what you have on hand! The most important thing is that you still end up with a delicious homemade pie to enjoy.
Step-by-Step Guide: How to Make Mixed Berry Pie
Follow these detailed instructions to create a flawless mixed berry pie every time! You’ll find precise measurements and additional insights in the comprehensive recipe card below.
Part 1: Make the Pie Crust:
Note: For convenience, you are welcome to use a high-quality store-bought pie crust for this recipe, just ensure you have enough for both the bottom and top layers. For the stunning visuals in this post, I meticulously prepared my All Butter Pie Crust using the efficient stand-mixer method.
Step 1: In a large bowl, whisk together your pastry flour, salt, and granulated sugar. This ensures an even distribution of flavor throughout the crust.
Step 2: Using a stand mixer fitted with a paddle attachment, add the cold, cubed butter to the flour mixture. Mix on low speed until the butter is broken down into pieces slightly larger than peas. This creates pockets of butter that yield a flaky crust.
Step 3: Gradually add ice water to the mixer’s bowl, one tablespoon at a time, mixing gently after each addition. Continue until the flour mixture resembles coarse crumbs and just begins to come together. Be very careful not to over-hydrate the dough or over-develop the gluten, as this will result in a tough crust.
Step 4: When the dough appears shaggy—meaning it has loose strands or shards of pastry with some unincorporated flour—turn it out onto a lightly floured surface. Work the dough together by gathering it and pressing it away from you with the heel of your hand. Do this only until it barely comes together. If it crumbles, lightly dip your hand in ice water and pat it onto the dough. Remember, gentleness is key to managing gluten development!
Step 5: Divide the dough into two equal halves and gently press each half into a flat disk. Wrap each disk tightly in plastic wrap and chill in the refrigerator for at least 2 hours, or ideally overnight. If chilling overnight, allow the dough to rest at room temperature for a short while before rolling, as overly cold dough will crack easily.
Part 2: Pre-cook the Filling:
Step 6: In a medium saucepan, combine all the filling ingredients (berries, sugar, lemon juice, lemon zest, cinnamon, and tapioca flour). Cook the mixture slowly over low heat, stirring occasionally, until the berries start to break down and the tapioca flour is completely absorbed and no longer visible. This crucial step should take at least 15 minutes, allowing flavors to meld and moisture to reduce.
Step 7: Increase the heat to medium-high and bring the mixture to a boil. Allow it to boil vigorously for exactly one minute. This burst of heat is essential for thoroughly activating the tapioca, ensuring a perfectly set filling.
Step 8: Immediately pour the hot, cooked filling onto a baking sheet that has been lined with plastic wrap or parchment paper. Spread it into a thin, even layer. Cover the filling loosely and transfer it to the refrigerator to cool completely. This rapid cooling prevents overcooking and further thickens the filling.
Part 3: Assemble and Bake the Pie:
Step 9: On a lightly floured surface, roll out one disk of your chilled pie crust to an approximate ⅛-inch thickness. I find a French rolling pin offers excellent control over pressure and shape, making the process easier.
Step 10: Carefully line a 9-inch pie dish with the rolled-out pie dough. Gently press it into the contours of the dish. Pour the completely cooled berry filling evenly into the prepared crust.
For the flakiest, crispiest pie crusts, especially when using a precooked filling, always opt for a metal pie tin! Metal conducts heat much faster than ceramic or glass, ensuring the bottom crust cooks thoroughly and becomes beautifully golden brown at the same rate as the filling, preventing any sogginess.
Step 11: Top your pie with the second rolled pie crust. You can either place it as a solid top or create a stunning lattice design. For step-by-step instructions on crafting a beautiful lattice, consult my detailed tutorial on How to lattice a pie crust. Once the top crust is in place, crimp the edges decoratively to seal the pie.
Step 12, Optional: For a gorgeous golden-brown finish and a touch of sparkle, brush the top crust lightly with heavy cream and sprinkle generously with turbinado sugar before baking the pie.
Step 13: Chill the assembled pie in the refrigerator for at least one hour before baking. This helps the crust retain its shape and flakiness. Meanwhile, preheat your oven to 350°F (175°C).
Step 14: Bake the pie in the preheated oven for 45-50 minutes, or until the filling is actively bubbling in the center (visible through any lattice openings) and the pie crust has turned a deep, rich golden brown. If the edges brown too quickly, you can cover them loosely with aluminum foil.
Step 15: Let the pie cool completely. This step is critical for the filling to fully set and achieve its perfect sliceable consistency. Rushing this will result in a runny pie. Once cooled, serve it with a scoop of vanilla ice cream within a week, or wrap it well and freeze for up to two months for later enjoyment.
Chef Lindsey’s Special Recipe Tip
Always bake your pie with the pie dish resting on a baking sheet! This simple trick is a lifesaver. It acts as a safety net, catching any stray berry filling that might bubble over, ensuring your oven stays clean. For bonus points and even easier cleanup, line that baking sheet with parchment paper or aluminum foil.
Why Tapioca Flour is the Best Pie Thickener
- Superior Flavor Profile: Unlike some other thickeners, tapioca flour is completely flavorless once cooked. Have you ever accidentally tasted raw flour in a pie? Not pleasant! Tapioca ensures your pie filling tastes purely of delicious berries, without any starchy or off-putting undertones.
- Silky Smooth Texture: Nobody wants a gritty or gummy pie filling. Tapioca consistently produces a smoother, silkier, and more luxurious filling texture than even cornstarch. It provides that perfect, melt-in-your-mouth consistency that truly elevates the pie experience.
- Enhanced Curb Appeal: While flour will thicken your mixed berry pie, it often leaves the filling looking cloudy and opaque, muting the natural vibrancy of the berries. Tapioca, on the other hand, thickens clearly, allowing those beautiful, rich berry colors to truly pop and shine through the crust.
- Unmatched Strength & Staying Power: This is where tapioca truly excels. It has a remarkably firm hold that remains stable and resists weeping long after other thickeners might start to release liquid. While cornstarch can offer a strong initial grip, it tends to leach liquid after about 5 days (sometimes sooner, depending on the amount used), leading to a less appealing, watery filling. Tapioca ensures your pie stays perfectly set for longer.
Using Frozen vs. Fresh Berries
While I generally prefer the vibrant flavor and texture of fresh berries whenever they are in season, you can absolutely make this pie with frozen berries! If you opt for frozen berries, there are a few considerations. First, ensure you still maintain a majority of blueberries in your mix, as their natural pectin is vital for thickening. Second, remember that frozen berries often release more liquid, so the precooking step for the filling becomes even more important to achieve the desired consistency. Finally, always taste-test your frozen berry mixture for sweetness and adjust the sugar accordingly, as their sugar content can vary.
Can I Use Tapioca Pearls Instead of Tapioca Flour?
Yes, you can substitute tapioca pearls for tapioca flour in fruit pies, but with a few crucial modifications. For best results, I recommend buying small tapioca pearls and then grinding them into a fine powder using a food processor or a spice mill before use. This prevents unattractive large clumps of tapioca in your baked pie filling. After incorporating the ground pearls into your mixed filling, allow it to sit for at least 30 minutes (or even up to an hour) to give the tapioca pearls ample time to fully hydrate and absorb moisture before baking. This hydration step is essential and differentiates their use from tapioca flour, which typically doesn’t require pre-soaking.
How to Use Tapioca Pearls in Mixed Berry Pie
- Grind Them Finely: It’s highly advisable to grind your tapioca pearls down to as close to a powder consistency as possible. The finer the grind, the less likely you are to encounter visible, slightly chewy tapioca pearls in your smooth pie filling.
- Ensure Adequate Hydration: This is a critical step for tapioca pearls. After mixing them into your fruit filling, allow the filling to sit in the refrigerator for a minimum of 30 minutes to an hour. This extended resting period provides the tapioca pearls sufficient time to fully absorb moisture and hydrate, a step not typically needed for instant tapioca flour.
- Adjust Your Ratio Carefully: It’s important to understand that tapioca pearls do not have a direct one-to-one volume or weight substitution for tapioca flour. For this mixed berry pie recipe, you will need to experiment and adjust the tapioca pearl ratio to achieve your desired filling thickness. There isn’t a single magic bullet measurement, as pearl size and grind can vary. I suggest starting with a 1:1 swap by *volume* as a baseline, then making slight adjustments based on how well your filling thickens during the precooking stage.
Frequently Asked Questions About Mixed Berry Pie
To maintain its freshness and quality, store your baked mixed berry pie at room temperature for up to 3 days. If you need to keep it longer, it can be refrigerated for up to 1 week. For extended storage, the pie freezes beautifully for up to 2 months. Always ensure the pie has cooled completely before wrapping it tightly in plastic wrap to prevent freezer burn or moisture absorption. For the best reheating results, place the frozen or refrigerated pie in a preheated 350°F (175°C) oven and bake until the filling is warmed through and the crust has re-crisped.
Achieving a perfectly flaky, non-soggy bottom crust is key to a great pie! The best method is to use a metal pie tin, as metal conducts heat more efficiently and bakes the bottom crust at a similar rate to the filling. Equally important is ensuring your pie crust remains cold throughout the preparation process and never pouring a hot filling into a cold crust. These fundamentals, combined with proper chilling before baking, significantly reduce the risk of a soggy bottom.
I personally prefer to thicken this berry pie using tapioca flour because it is inherently tasteless and cooks to a clear finish, allowing the vibrant berry colors to shine. While other thickeners like cornstarch or flour can be used, they may sometimes impart a starchy flavor or a cloudy appearance. For a more detailed discussion on various thickeners and their applications, please refer to the “Substitutions” section above.
The most effective way to prevent a berry pie from having a runny filling is a dual approach: utilizing tapioca flour as a superior thickener and, crucially, pre-cooking the filling. Pre-cooking the berries allows excess moisture to evaporate, concentrates the fruit’s natural flavors, and fully activates the tapioca flour, ensuring a consistently thick, sliceable, and perfectly set pie filling every single time.
If you tried this recipe and loved it, please leave a 🌟 star rating and share your experience in the comments below. I absolutely adore hearing from you; your feedback truly brightens my day!
Mixed Berry Pie
Chef Lindsey
45 minutes
45 minutes
1 hour
30 minutes
12
people
Saved
Pin Recipe
Comment
Print Recipe
Ingredients
For the Filling:
-
¾
cup
Tristar strawberries
-
1 ½
cup
blueberries
-
1
cup
raspberries
-
1
cup
blackberries
-
½
cup
sugar
-
1 ½
teaspoons
lemon Juice
-
1
lemon
zested -
¼
teaspoon
cinnamon
-
2
tablespoons
tapioca
For the All Butter Pie Crust:
-
2 ¼
cup
pastry flour
measured by fluffing the flour then spooning it in -
1
teaspoon
kosher salt
-
1
teaspoon
sugar
-
9
tablespoons
unsalted butter
cold and cubed into 1/2 inch cubes -
2 ¼
oz
cold water
or as much or as little as needed -
2
tablespoons
heavy cream
-
¼
cup
turbinado sugar
optional
Instructions
Make the pie crust:
-
Note: You can also use a store-bought pie crust, just be sure you have enough for a bottom crust and a top crust. For the pictures, I made the recipe for my All Butter Pie Crust with the stand-mixer method.
-
Whisk together pastry flour, salt and sugar.
-
Using your stand mixer, cut the butter into the flour mixture. Do this until the butter is broken down into slightly larger than pea-sized pieces.
-
Slowly begin to add your ice water to the mixer’s large bowl one tablespoon at a time. Gently mix the flour until it is crumbly. Be careful not to add more water than you need, because you do not want to over-hydrate the dough or over-develop the gluten.
-
When your dough is shaggy, which means it looks like shards or strands of pastry, and there is still some loose flour, turn out your dough from the mixer onto a lightly floured surface. Work the dough together by gathering it and pressing it away from you with the heel of your hand. Do this JUST until it comes together. If it is crumbling, then dip your hand in a little ice water and pat it on the pastry dough. Seriously, that’s it. Remember the gluten!
-
Divide the dough in half and press each half into a disk. Wrap in plastic wrap and chill for 2 hours or overnight. If you chill your dough overnight, you will need to let it rest a bit before rolling it out or it will be too cold. If your dough is too cold when you are rolling it, it will crack.
Pre-cook the filling:
-
In a pot, combine all filling ingredients. Cook the filling slowly over low heat until the berries begin to break down. You want to cook it until the tapioca flour is absorbed and no longer visible. This should take at least 15 minutes.
-
Turn up the heat and boil the mixture for one minute to begin activating the tapioca.
-
Pour the cooked filling out onto a baking sheet lined with plastic wrap or parchment paper. Cover the filling and let it cool completely in the refrigerator.
Assemble and bake the pie:
-
Roll out your pie crusts on a lightly floured surface to about an ⅛-inch thickness. I like to use a French rolling pin so that I can control the pressure and shape of my crust more easily.
-
Line a pie dish with one circle of pie dough and fill it with the cooled filling.
-
Top your pie with a second pie crust circle or a latticed top and crimp the edges decoratively. Watch my YouTube tutorial on How to lattice a pie crust for step-by-step instructions on how to make a beautiful lattice top. {If you like, send me a picture of your creation so I can see how it turns out!}
-
If desired, brush the top crust with heavy cream and sprinkle it with turbinado before baking the pie.
-
Chill at least an hour before baking.
-
Preheat the oven to 350°F.
-
Bake the pie in a preheated oven for 45-50 minutes, or until the filling is bubbling in the center and the pie crust is a dark golden brown.
-
Let the pie cool completely. Serve it within a week, or wrap it well and freeze for later enjoyment.
Video
Notes
Technique
– Be sure to pre-cook and then completely cool your filling.
Storage
– Mixed Berry Pie will keep 3 days at room temperature, a week refrigerated or up to 2 months frozen.
Yield: 1, 9” Pie
Nutrition
Calories:
244
kcal
|
Carbohydrates:
38
g
|
Protein:
4
g
|
Fat:
10
g
|
Saturated Fat:
6
g
|
Polyunsaturated Fat:
1
g
|
Monounsaturated Fat:
3
g
|
Trans Fat:
0.3
g
|
Cholesterol:
25
mg
|
Sodium:
197
mg
|
Potassium:
164
mg
|
Fiber:
5
g
|
Sugar:
17
g
|
Vitamin A:
343
IU
|
Vitamin C:
17
mg
|
Calcium:
24
mg
|
Iron:
1
mg
Dessert
American
244
Like this? Leave a comment below!
Before You Go!
I sincerely hope you enjoyed creating and savoring this professional chef-tested recipe for Mixed Berry Pie. It’s truly a delight to share my passion for baking with you! For more delicious, chef-developed inspirations, be sure to explore our collection of other incredible pie recipes. Imagine pairing this vibrant berry pie with the zesty freshness of an easy key lime pie and the comforting richness of a classic banana cream pie. This trio would create an unforgettable summer dessert spread, perfect for any gathering or just a special treat for yourself. Happy baking!
