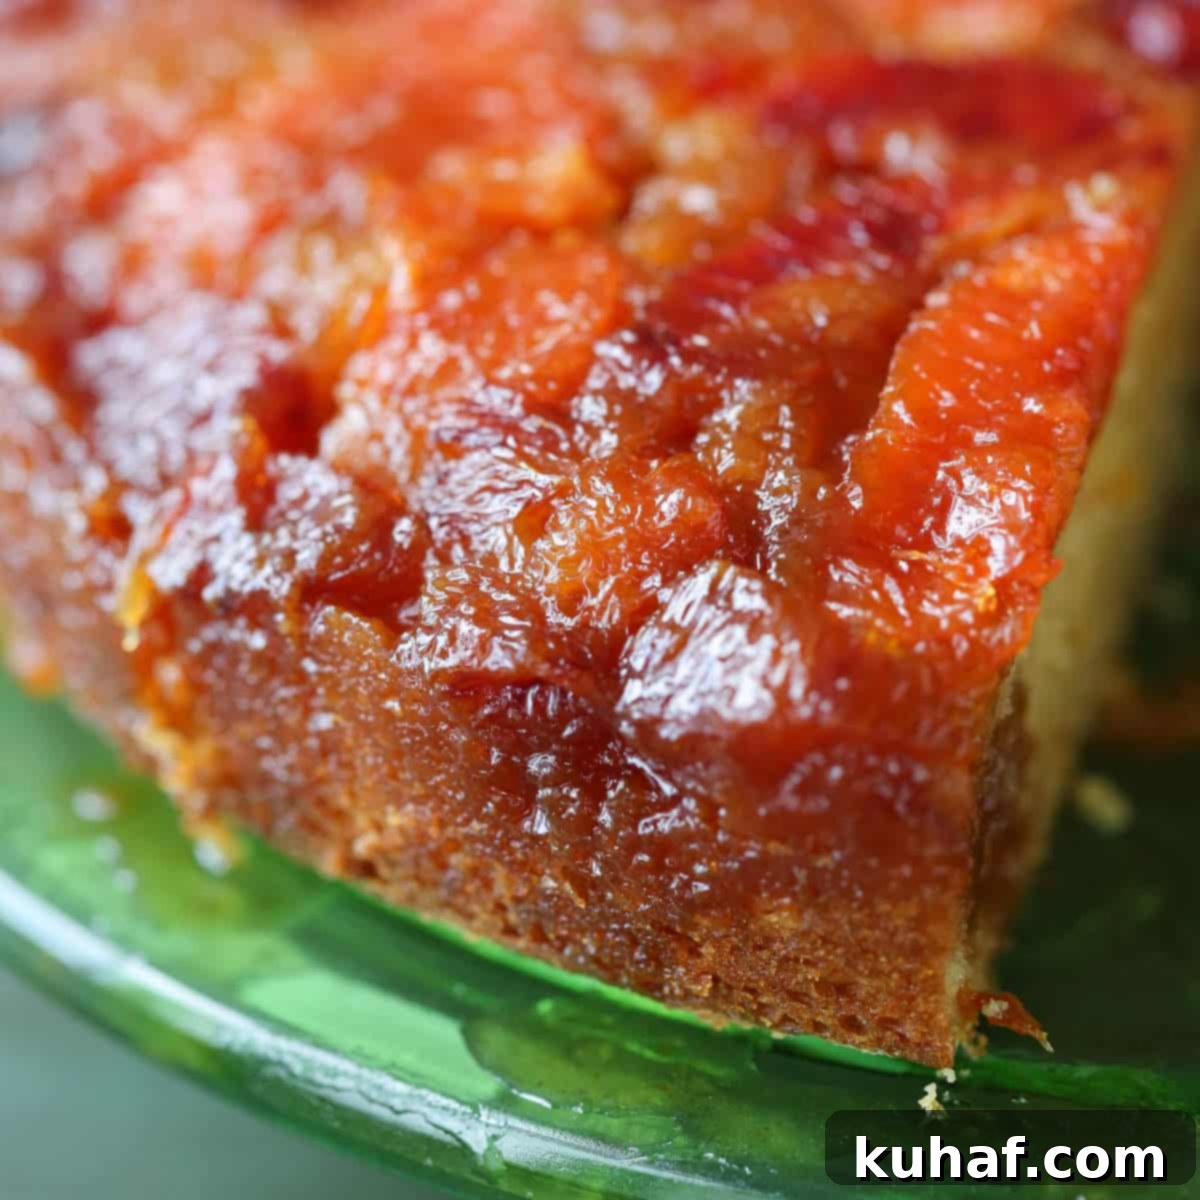
The Ultimate Zesty Orange Upside Down Cake: Moist, Tender, and Caramelized Perfection
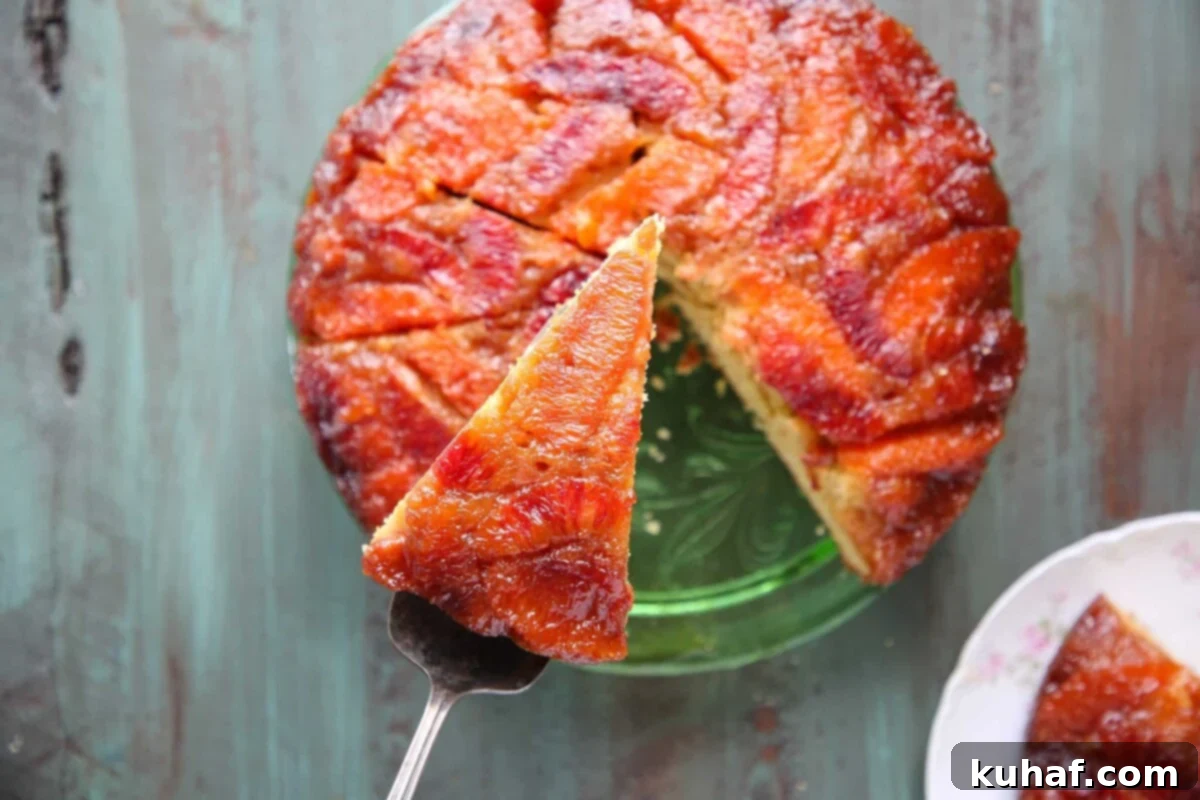
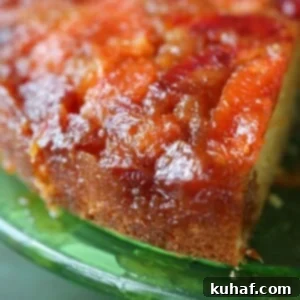
This orange upside down cake is a true masterpiece, combining a vibrant array of oranges baked in a rich, buttery caramel base beneath a wonderfully tender and moist citrus-infused cake. Once flipped, it reveals a breathtakingly beautiful and irresistibly delicious dessert that’s sure to impress!
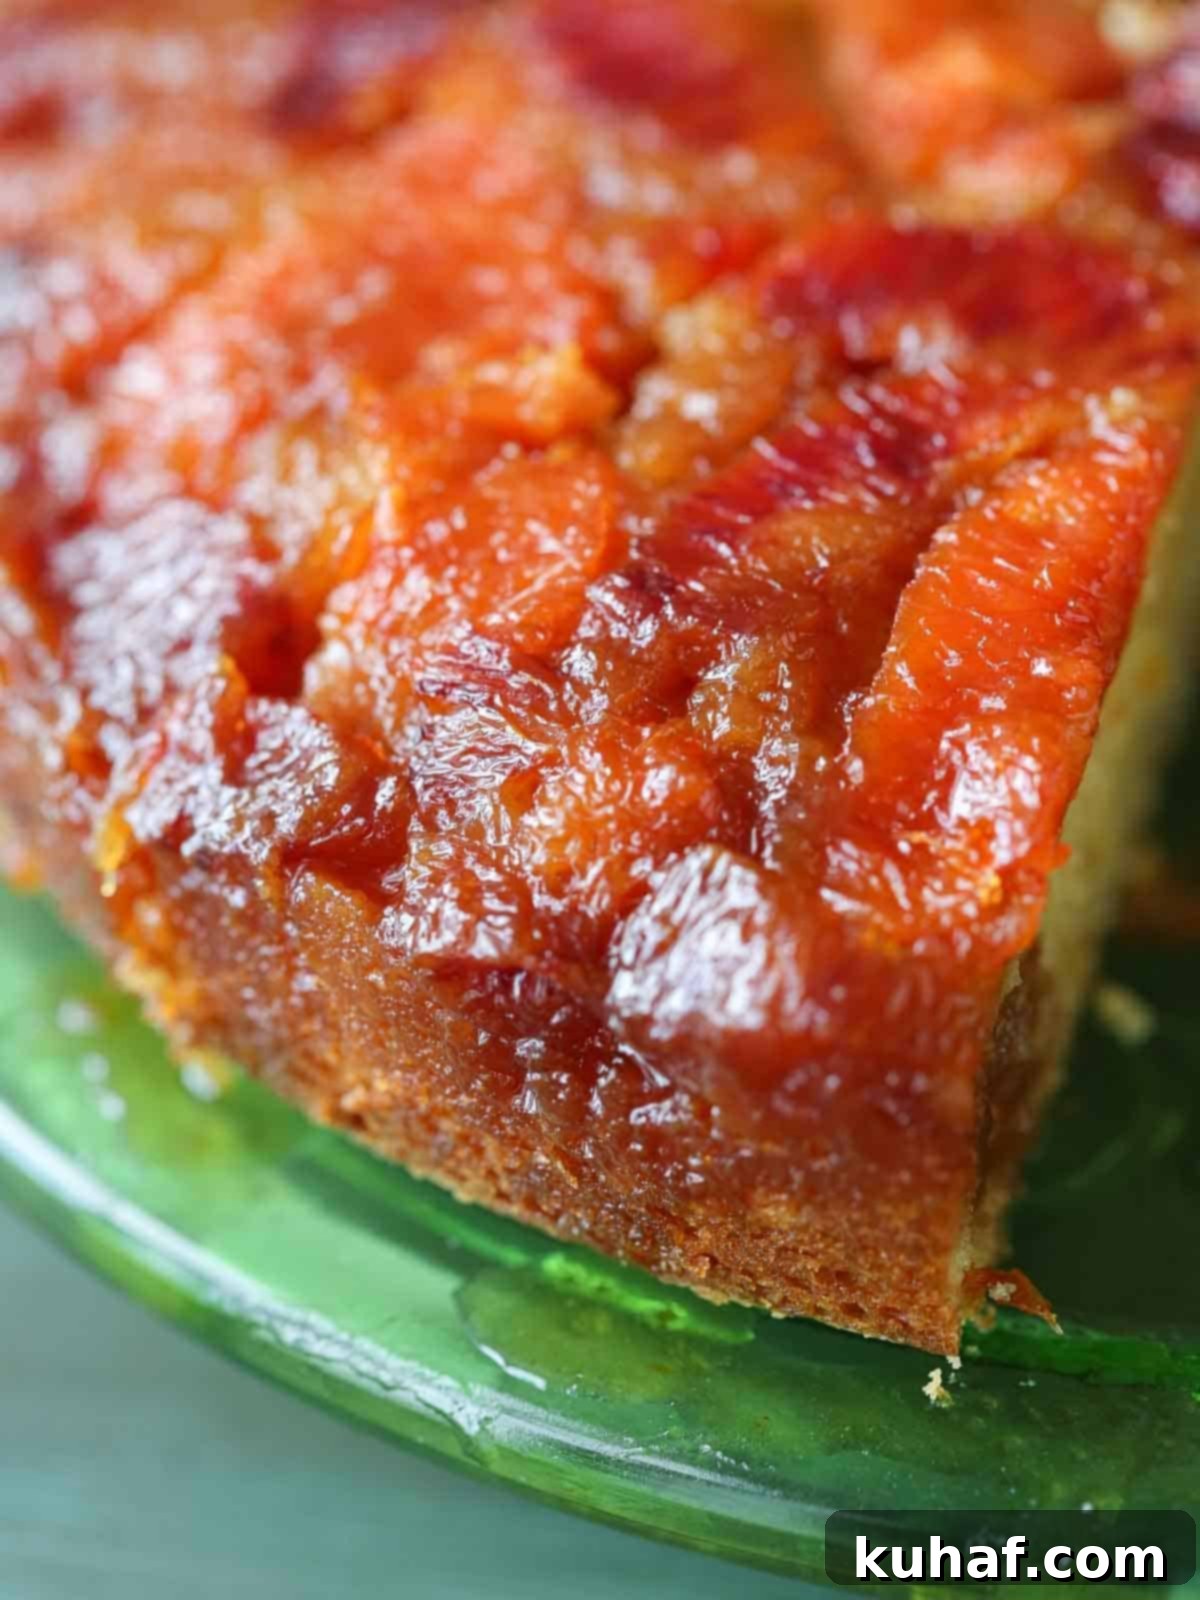
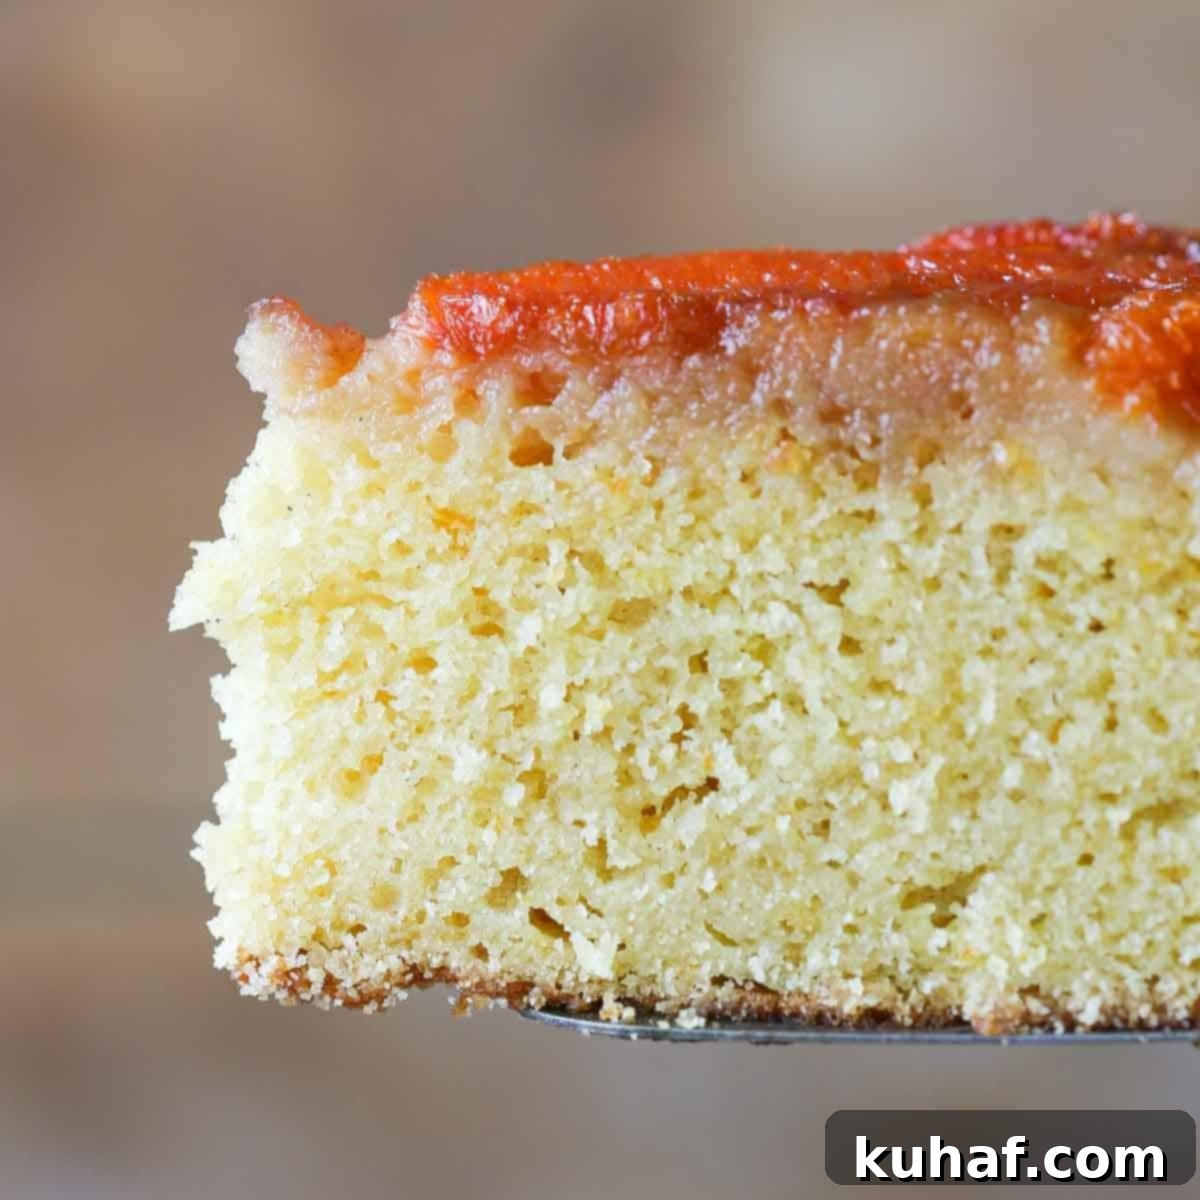
While the show-stopping caramelized orange top undeniably steals the spotlight, the real magic of this orange upside down cake lies in its incredibly moist and flavorful brown sugar orange cake. Crafted with a perfect blend of tangy buttermilk and rich brown sugar, the cake achieves an extraordinary level of moisture, boasting a fluffy and tender crumb that practically melts in your mouth.
You’re going to adore the harmonious fusion of zesty citrus, sweet caramel, and the delicate texture of the orange cake. Few desserts offer such an exquisite balance of simplicity and elegance as this type of upside down cake. If you love this concept, you might also enjoy a pear upside down cake or a classic apple tarte tatin, both celebrated for their delicious and gorgeous presentations. For a delightful bite-sized orange treat, be sure to try these orange financiers!
Table of Contents
- Why You Will Love This Orange Upside Down Cake
- What Exactly is an Upside Down Cake?
- Essential Ingredients for Your Orange Upside Down Cake
- Variations & Substitutions to Customize Your Cake
- Professional Tips for Baking the Best Orange Upside Down Cake
- Step-by-Step: How to Make Orange Upside Down Cake
- Chef Lindsey’s Recipe Tip for Perfect Citrus Flavor
- Orange Upside Down Cake Recipe FAQs
- Recommended Fruity Dessert Recipes
- Orange Upside Down Cake Recipe Card
- Before You Go: Explore More Delicious Desserts
Why You Will Love This Orange Upside Down Cake
- A mix of oranges creates a stunning, vibrant top. By utilizing a blend of blood oranges and cara cara oranges (or even classic navel oranges), you achieve a visually striking and uniquely delicious topping. The contrasting colors and subtle flavor differences elevate this cake from simple to spectacular. Each slice offers a mosaic of citrus that is as delightful to behold as it is to taste.
- Delicate, moist, and fluffy orange cake base. An upside down cake’s true success hinges on the quality of its cake base. This recipe delivers a light, fluffy, and incredibly tender buttermilk cake, generously flavored with bright orange zest and the deep, rich notes of brown sugar. The result is a cake that is moist without being dense, providing the perfect canvas for the caramelized fruit.
- You can customize the top from simple to elaborate. Whether you prefer the intricate beauty of carefully arranged orange sûpremes (segmenting the fruit to remove all pith and membrane) or the straightforward elegance of simple orange rings or slices, this cake allows for complete creative freedom. Every arrangement, no matter how simple or complex, yields a gorgeous result, making it a versatile dessert for any occasion.
What Exactly is an Upside Down Cake?
An upside down cake is a classic dessert made by first placing a layer of fruit (typically sliced) and a rich, buttery caramel sauce at the bottom of a baking pan. The cake batter is then poured directly over this fruit and caramel layer. As the cake bakes, the fruit softens and infuses the caramel, creating a luscious, glossy topping. Once baked and slightly cooled, the cake is carefully inverted onto a serving plate, revealing the beautifully arranged, caramelized fruit on top – hence the name “upside down cake.” This method ensures the fruit remains moist and visually appealing, offering a dramatic and delicious presentation with minimal effort. It’s a timeless technique that transforms simple ingredients into an elegant dessert.
Essential Ingredients for Your Orange Upside Down Cake
Crafting the perfect orange upside down cake starts with understanding the role each ingredient plays. Here’s a deeper look into the components that make this cake truly exceptional:
- Oranges: The star of the show! For this recipe, I love using a mix of cara cara oranges and blood oranges. Cara caras offer a sweet, slightly pink flesh and low acidity, while blood oranges provide a beautiful deep red hue and a distinct berry-like flavor. This combination ensures a diverse appearance and a complex, delightful flavor profile. However, any sweet, juicy orange variety, such as navel oranges, will yield a wonderful result. Choose firm, heavy oranges for the best juice content.
- Granulated Sugar: Essential for both the caramel topping and the cake batter. In the caramel, it melts and caramelizes, creating that signature golden-brown, sweet base. In the cake, it provides sweetness and contributes to the tender texture by interfering with gluten development.
- Kosher Salt: A crucial flavor enhancer. In the caramel, a pinch of kosher salt beautifully balances the sweetness, preventing it from being cloyingly sugary and highlighting the citrus notes. In the cake batter, it amplifies the overall flavor, making all the other ingredients shine.
- Butter: High-quality unsalted butter is key for both richness and texture. For the caramel, it adds a smooth, luxurious mouthfeel and helps create a stable emulsion. When creamed with sugar in the cake batter, it incorporates air, contributing to a light and fluffy cake, while its fat content ensures a wonderfully tender texture. Always use unsalted butter to control the salt content in your baking.
- Baking Powder & Baking Soda: These leavening agents work in tandem to give the cake its ideal height and delicate fluffiness. Baking soda reacts powerfully with the acidity of the buttermilk, producing a quick lift for a tall, airy cake. Baking powder provides a more gradual and even rise, contributing to a consistently delicate crumb. The combination ensures a perfectly balanced lift.
- Cake Flour: While I don’t always insist on cake flour, this orange upside down cake is one instance where it’s truly indispensable, much like for an angel food cake. Cake flour has a lower protein (gluten) content and a finer texture compared to all-purpose flour. This is absolutely essential for achieving that supremely light, airy, and “melt-in-your-mouth” finished cake texture that truly sets this recipe apart.
- Light Brown Sugar: Used in the cake batter, light brown sugar brings more than just sweetness. Its molasses content adds a subtle, rich caramel-like flavor and, importantly, extra moisture. This additional moisture is vital for keeping the cake exceptionally soft and tender, enhancing its keeping qualities and deepening its overall taste.
- Orange Zest: The zest is where the vibrant, aromatic oils of the orange are concentrated. Zesting it directly into the sugar allows the sugar crystals to absorb these fragrant oils, infusing the cake batter with a delicate, bright, and intensely floral orange flavor that permeates every bite. Don’t skip this step for maximum citrus impact!
- Whole Eggs: Eggs serve multiple purposes in baking. They act as a binder, provide structure, add richness, and help with leavening. Beating them into the creamed butter and sugar one at a time ensures proper emulsification and incorporation of air, contributing to the cake’s light structure.
- Vanilla Extract: A universal flavor enhancer, vanilla extract adds warmth, depth, and a touch of sweetness that beautifully complements the bright citrus notes of the orange. Choose a high-quality pure vanilla extract for the best flavor.
- Buttermilk: I typically bake with low-fat buttermilk, as it provides just the right amount of fat to keep cakes moist without making them heavy. Its acidity is crucial for activating the baking soda, leading to a beautifully tall and tender cake. Buttermilk also adds a subtle tang that balances the sweetness and brightens the overall flavor profile.
For precise measurements and quantities, please refer to the complete recipe card below.
Variations & Substitutions to Customize Your Cake
One of the joys of baking is the ability to adapt and customize recipes to suit your taste or what you have on hand. This orange upside down cake recipe is wonderfully flexible:
- Buttermilk Substitutions: While fresh buttermilk is highly recommended for its unique acidity and tenderness-imparting qualities, if you’re in a pinch, don’t attempt homemade buttermilk with milk and lemon juice; it simply doesn’t yield the same results for baking. A better alternative is to substitute ½ cup of sour cream mixed with 2 tablespoons of water. This will provide a similar fat and acid content, though the cake’s texture might be ever so slightly denser than with true buttermilk.
- Change the Cake Flavor: The base cake is incredibly versatile. You can easily switch up the citrus profile by using the zest of any other citrus fruit you desire – think lemon, lime, or grapefruit for a different tangy twist. Alternatively, omit the citrus zest entirely and double the vanilla extract for a more classic, rich vanilla flavor. This same tender cake batter also pairs exceptionally well with spices, as I demonstrated in the cardamom cake for my pear upside down cake. Consider adding warm spices like apple pie spice, pumpkin spice, or even a light hand with speculoos spice mix for an autumn or holiday twist.
- Use Any Fruit for the Topping: During my years working in Manhattan restaurants, creating various upside down cake designs was always a favorite and creative endeavor. You can truly use almost any fruit that holds its shape well during baking. Besides oranges and pears, consider pineapple rings, sliced apples, peaches, plums, or even firm berries like cranberries or cherries (though their tartness may require adjusting sugar). Avoid very soft or watery fruits like mango or kiwi, as they can break down too much and make the caramel soggy.
Professional Tips for Baking the Best Orange Upside Down Cake
Achieving a truly outstanding orange upside down cake involves a few key techniques and considerations. As a professional chef, I’ve learned these tricks over years of perfecting desserts, and they’ll make all the difference in your home baking:
- Always use cake flour and sift it. While I often advocate for minimal fuss in baking, there are specific recipes where meticulous steps yield significant rewards. This cake is one of them. Cake flour, with its lower protein content, creates an exceptionally tender and delicate crumb that almost melts in your mouth. Sifting it ensures there are no lumps and that the flour is perfectly aerated, contributing to a lighter texture and even distribution throughout the batter.
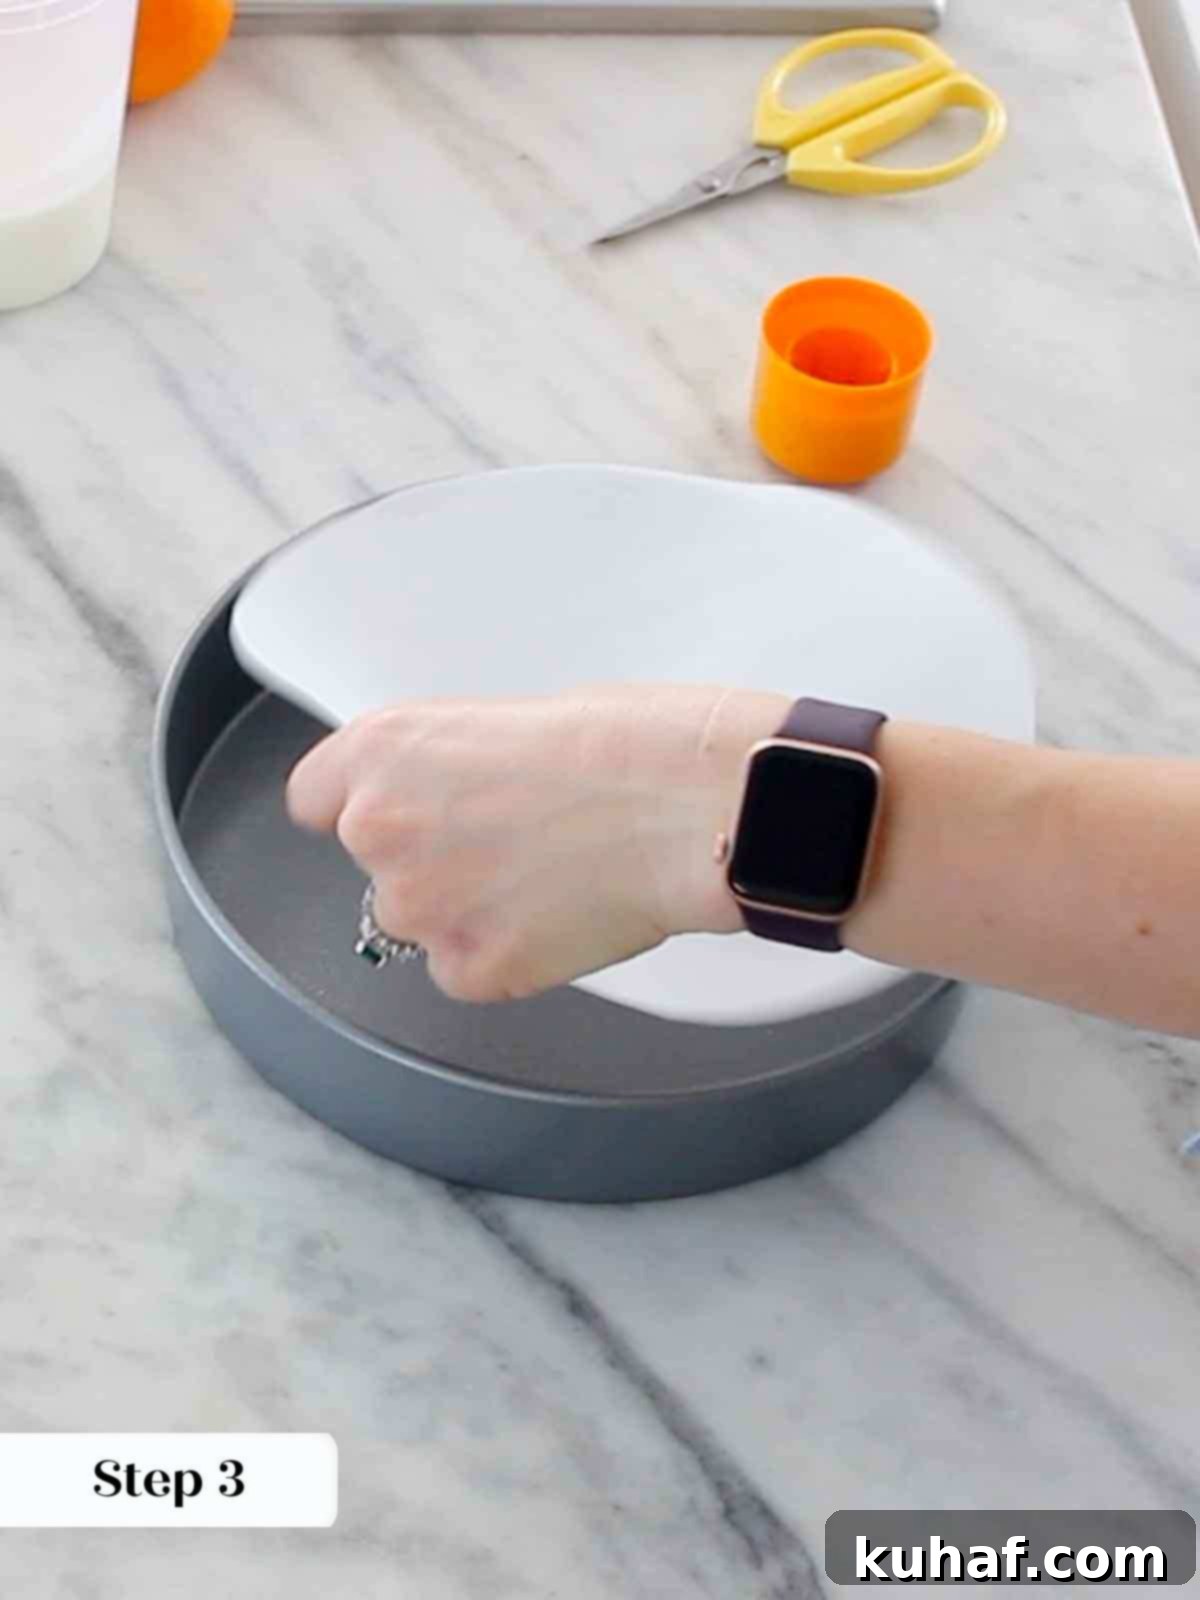
- Line the cake pan with parchment paper. This seemingly small step is arguably the most crucial for an upside down cake. Skipping it can lead to frustrating moments where your beautiful caramelized topping sticks stubbornly to the bottom of the pan, ruining the presentation. Parchment paper creates a non-stick barrier, guaranteeing a clean release and a perfectly intact fruit layer every time. Simply trace the bottom of your pan onto parchment, cut it out, and place it in the greased pan.
- Turn the cake out while still warm, but not immediately. The timing of inversion is critical. The oranges cook in a rich brown sugar caramel, which will solidify and stick firmly to the pan as it cools. Therefore, you must turn the cake out while it’s still warm enough for the caramel to be fluid. I recommend running a thin knife or offset spatula carefully around the edges of the pan immediately after removing it from the oven to loosen the cake. Then, wait for about 15 minutes before inverting it onto your serving plate or cooling rack. This brief cooling period allows the cake to set slightly, preventing it from crumbling, while the caramel remains pliable enough to release beautifully.
- I prefer to slice off the orange peel and bitter pith entirely. This is an extra step, often called “sûpreming” or “segmenting” the oranges, but it is unequivocally worth the effort for an unparalleled flavor profile. The white pith directly beneath the colorful rind is notoriously bitter and can impart an unpleasant flavor to your delicate cake. By meticulously removing the peel and all the pith, you ensure that only the sweet, juicy, and bright essence of the orange remains. You want your guests to savor the delicate, floral notes of orange and the rich caramel, not be overwhelmed by any bitterness.
- Cut with a serrated knife for clean slices. This tip comes directly from my experience serving countless versions of this cake in bustling Manhattan restaurants. A sharp, smooth knife can sometimes drag or tear through the soft cake and the often-uneven, slippery caramelized orange pieces. A serrated knife, however, slices cleanly and effortlessly through both the cake and fruit layers, giving you neat, professional-looking slices every time, without disturbing the beautiful topping.
Step-by-Step: How to Make Orange Upside Down Cake
Follow these detailed instructions to achieve a flawless and delicious orange upside down cake every single time. You’ll find more precise details and exact measurements in the recipe card provided below.
How to Sûpreme Oranges (or simply slice them):
Preparing the oranges carefully is a key step to ensure the best flavor and presentation for your cake.
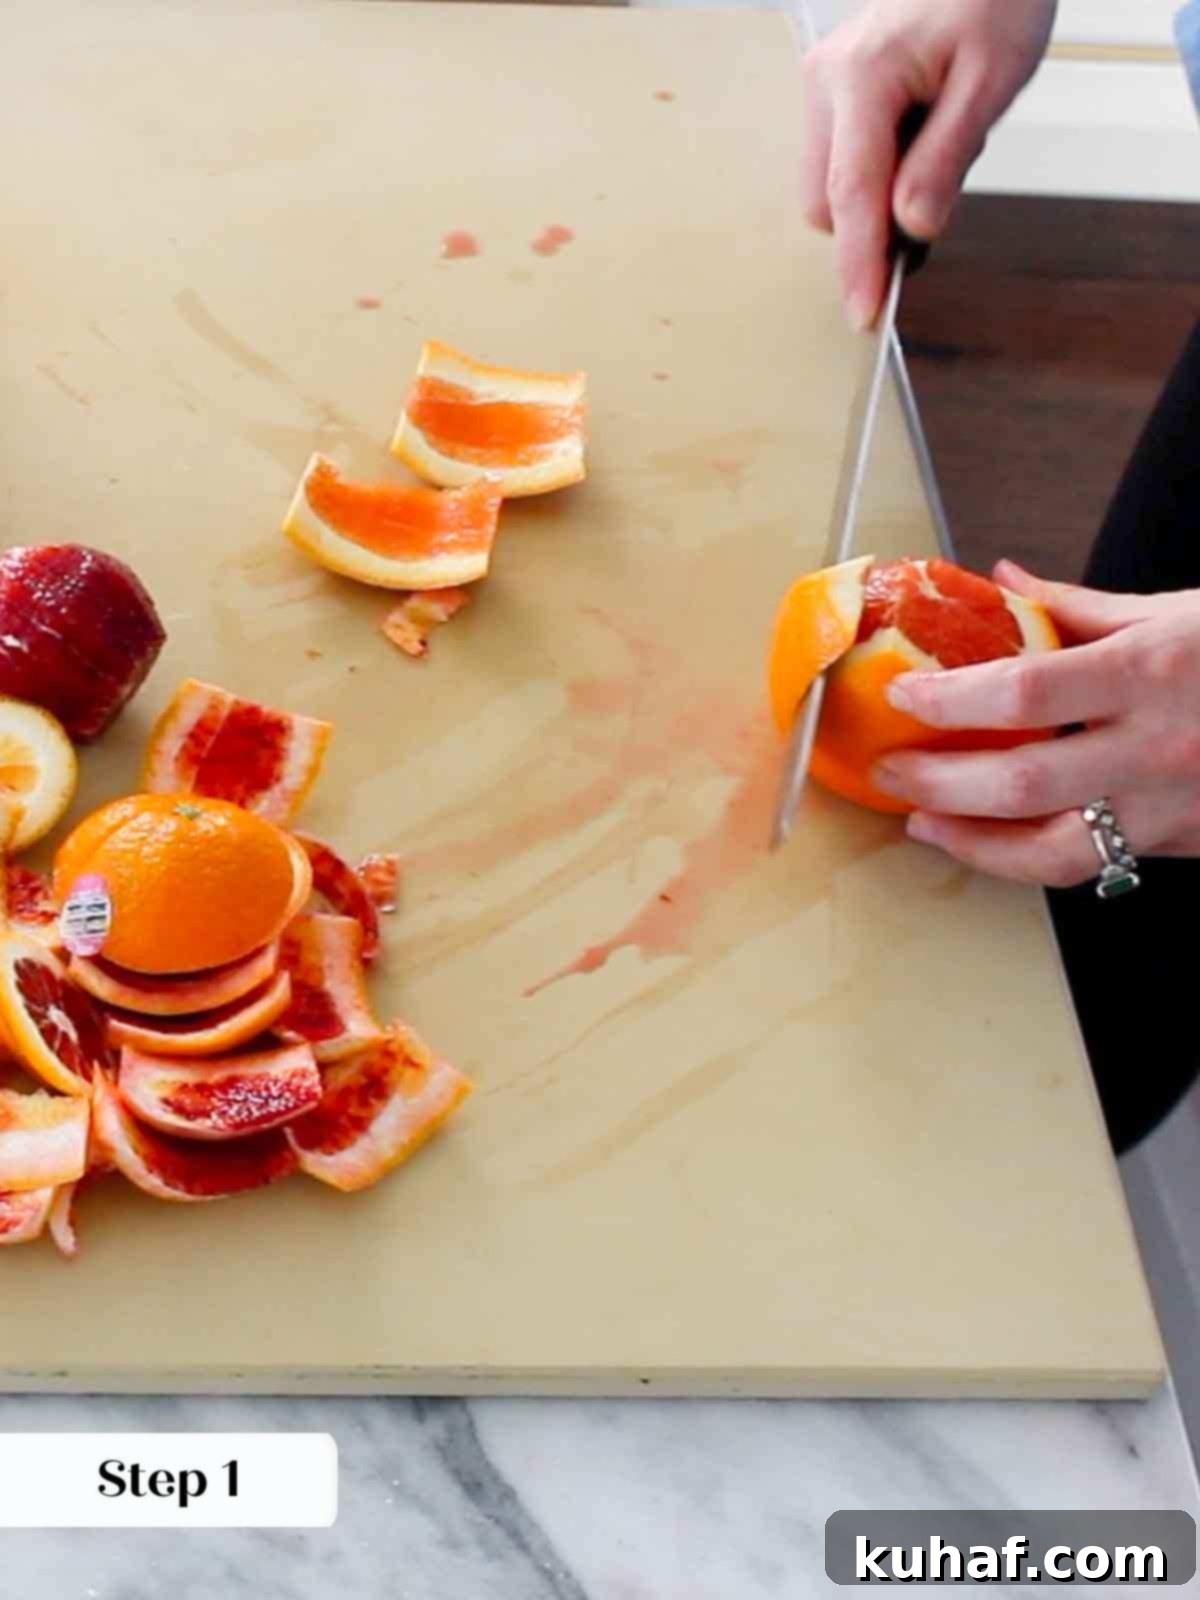
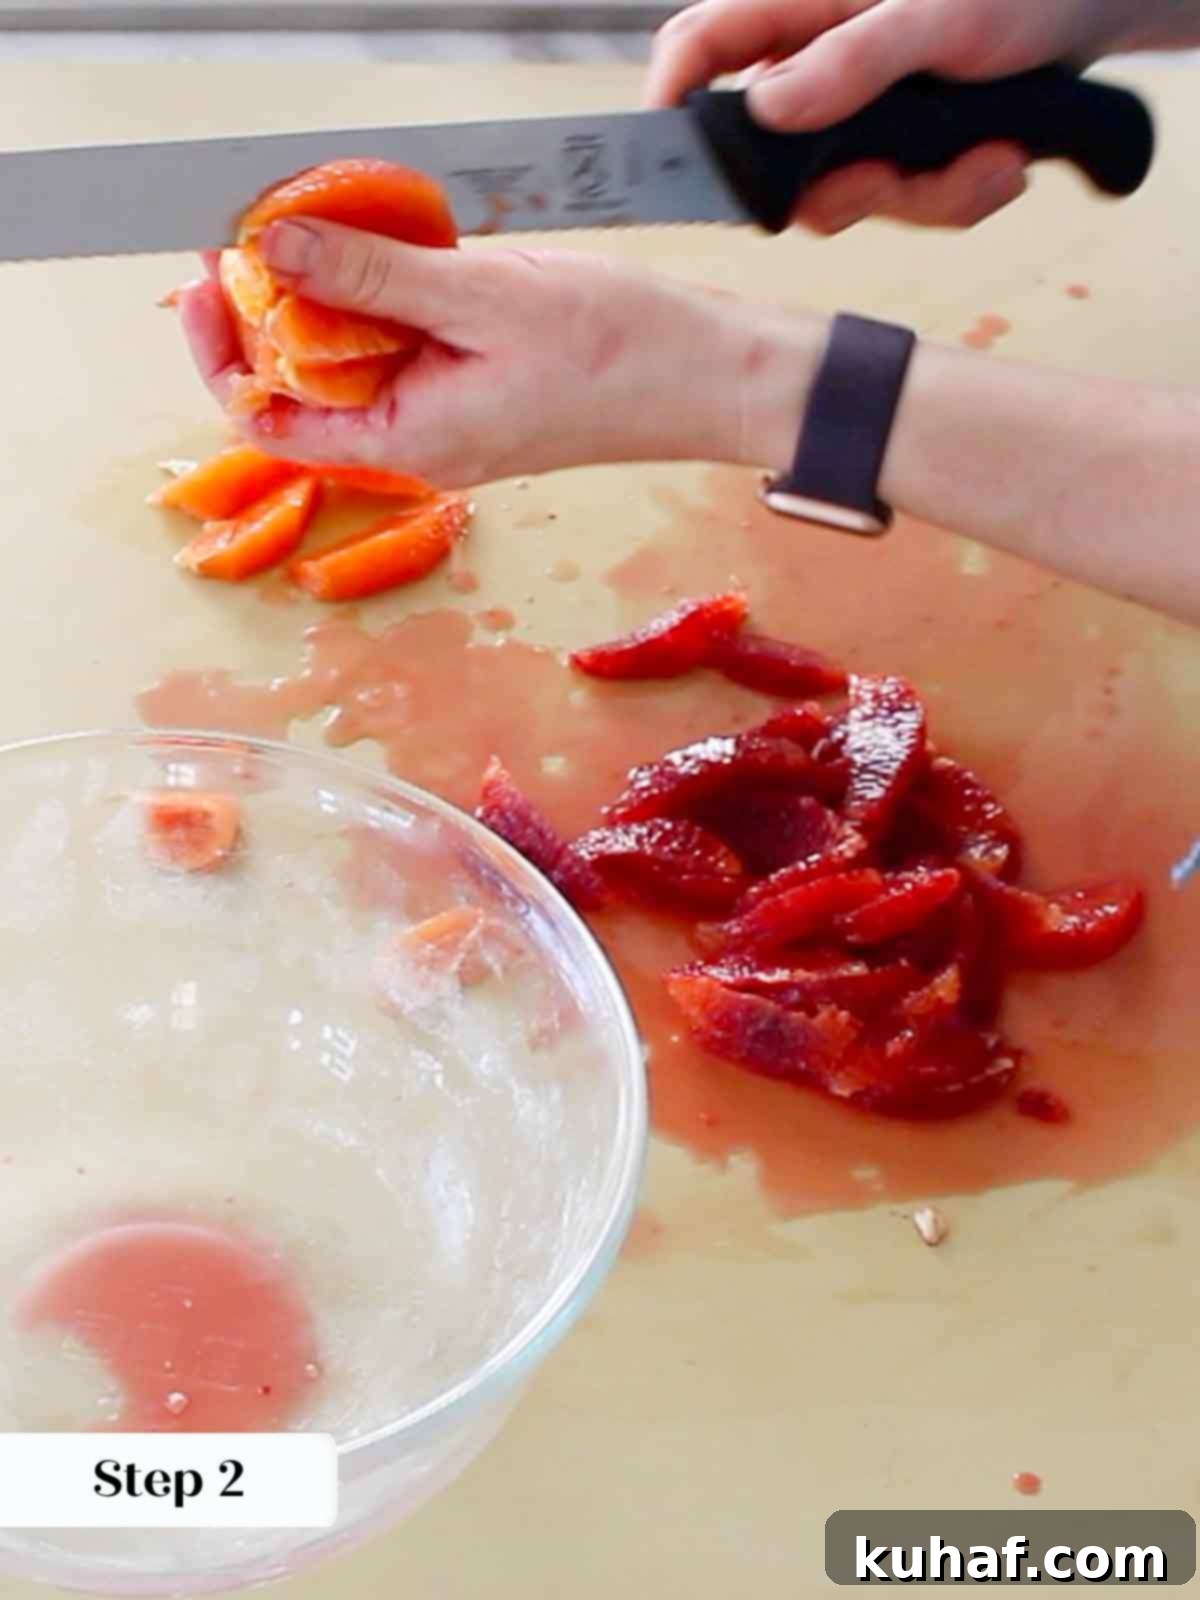
Step 1: Begin by cutting off the top and bottom of each orange to create a stable base. Then, stand the orange on one end and, using a sharp knife (a serrated knife can be surprisingly effective here for control), slice downwards, following the curve of the fruit to remove all of the rind and the thin white pith, exposing the vibrant orange pulp. Work your way around the entire orange.
Step 2: Once the orange is peeled, you have two options: you can either meticulously cut out individual sûpremes by slicing between the membranes to release the pure, seedless pulp wedges, or, for a quicker method that uses fewer oranges and is less fiddly, simply slice the peeled oranges into uniform rounds. Both methods result in a beautiful presentation, but sûpreming ensures absolutely no bitter pith remains.
Make the Caramel Layer:
This sweet, buttery caramel forms the base and the glossy top of your cake.
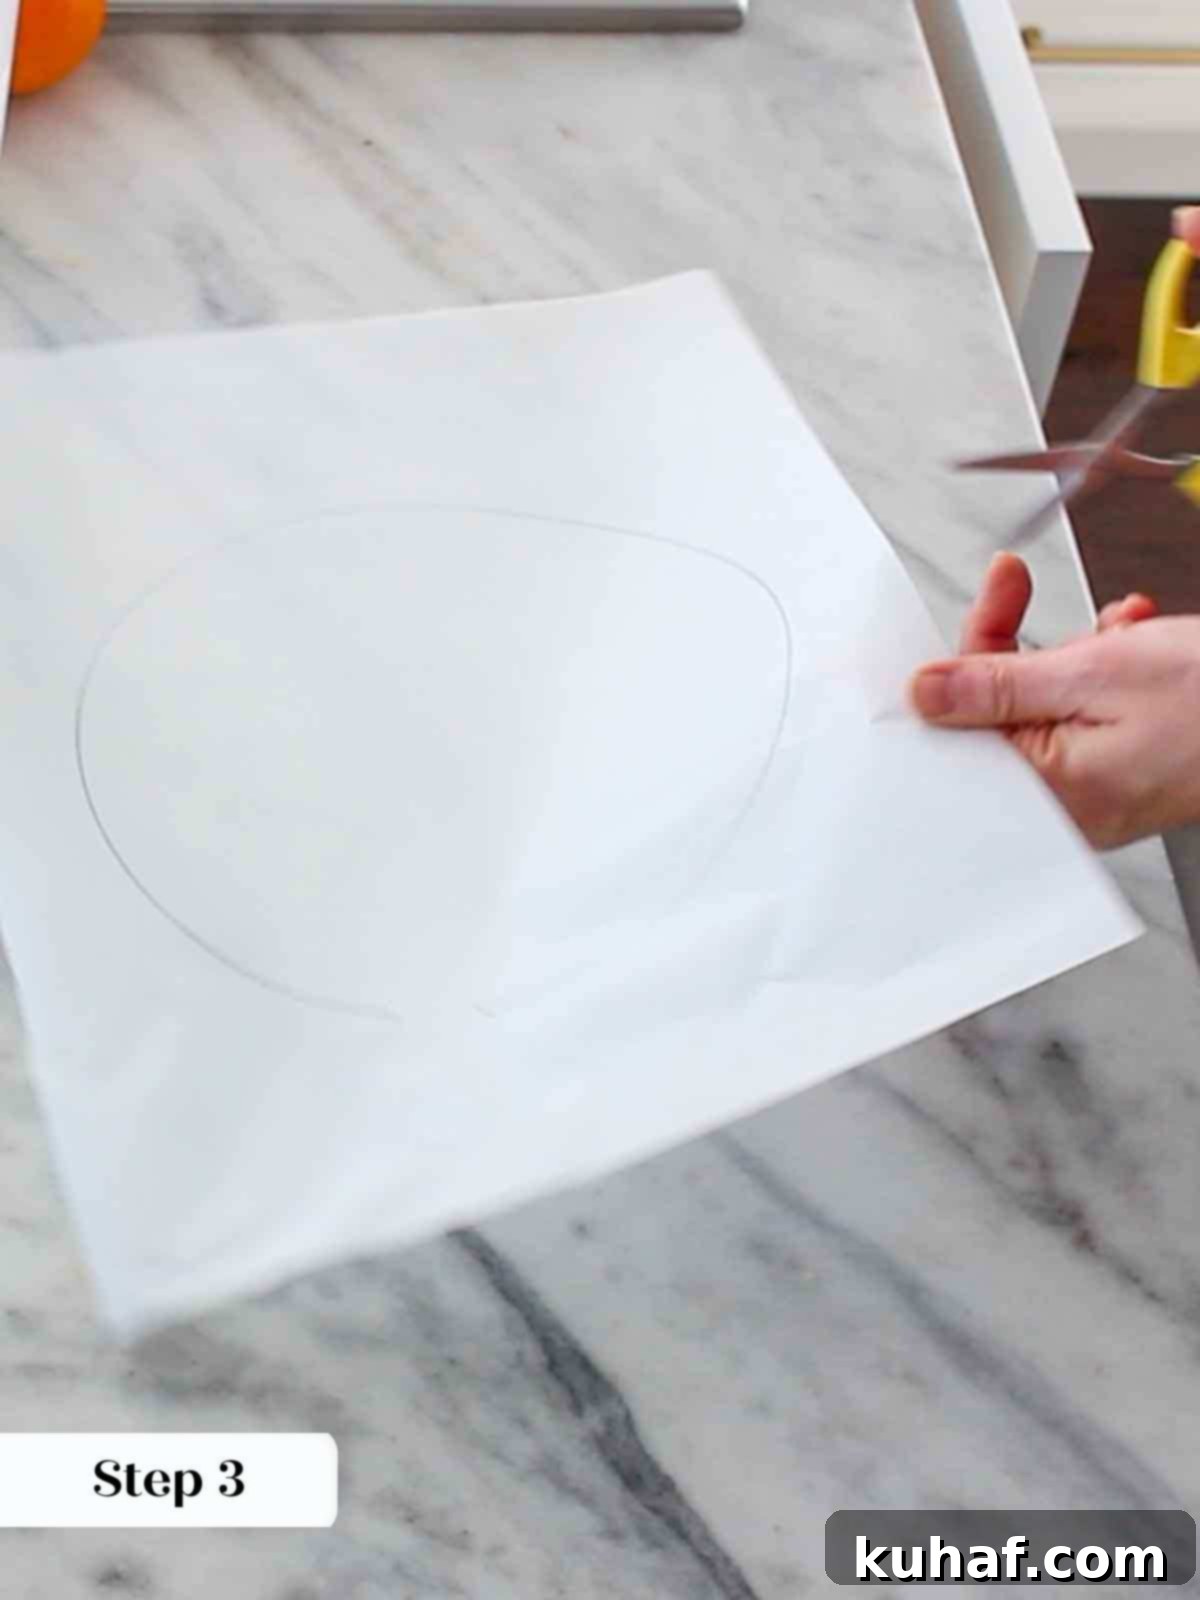
Step 3: Prepare your baking pan by generously spraying a 9-inch round pan with cooking spray, then carefully lining the bottom with a circle of parchment paper. This step is crucial for an easy release and a perfect presentation. Set the prepared pan aside, and preheat your oven to 325°F (160°C) if using convection (with the fan) or 350°F (175°C) if using conventional heat (no fan).
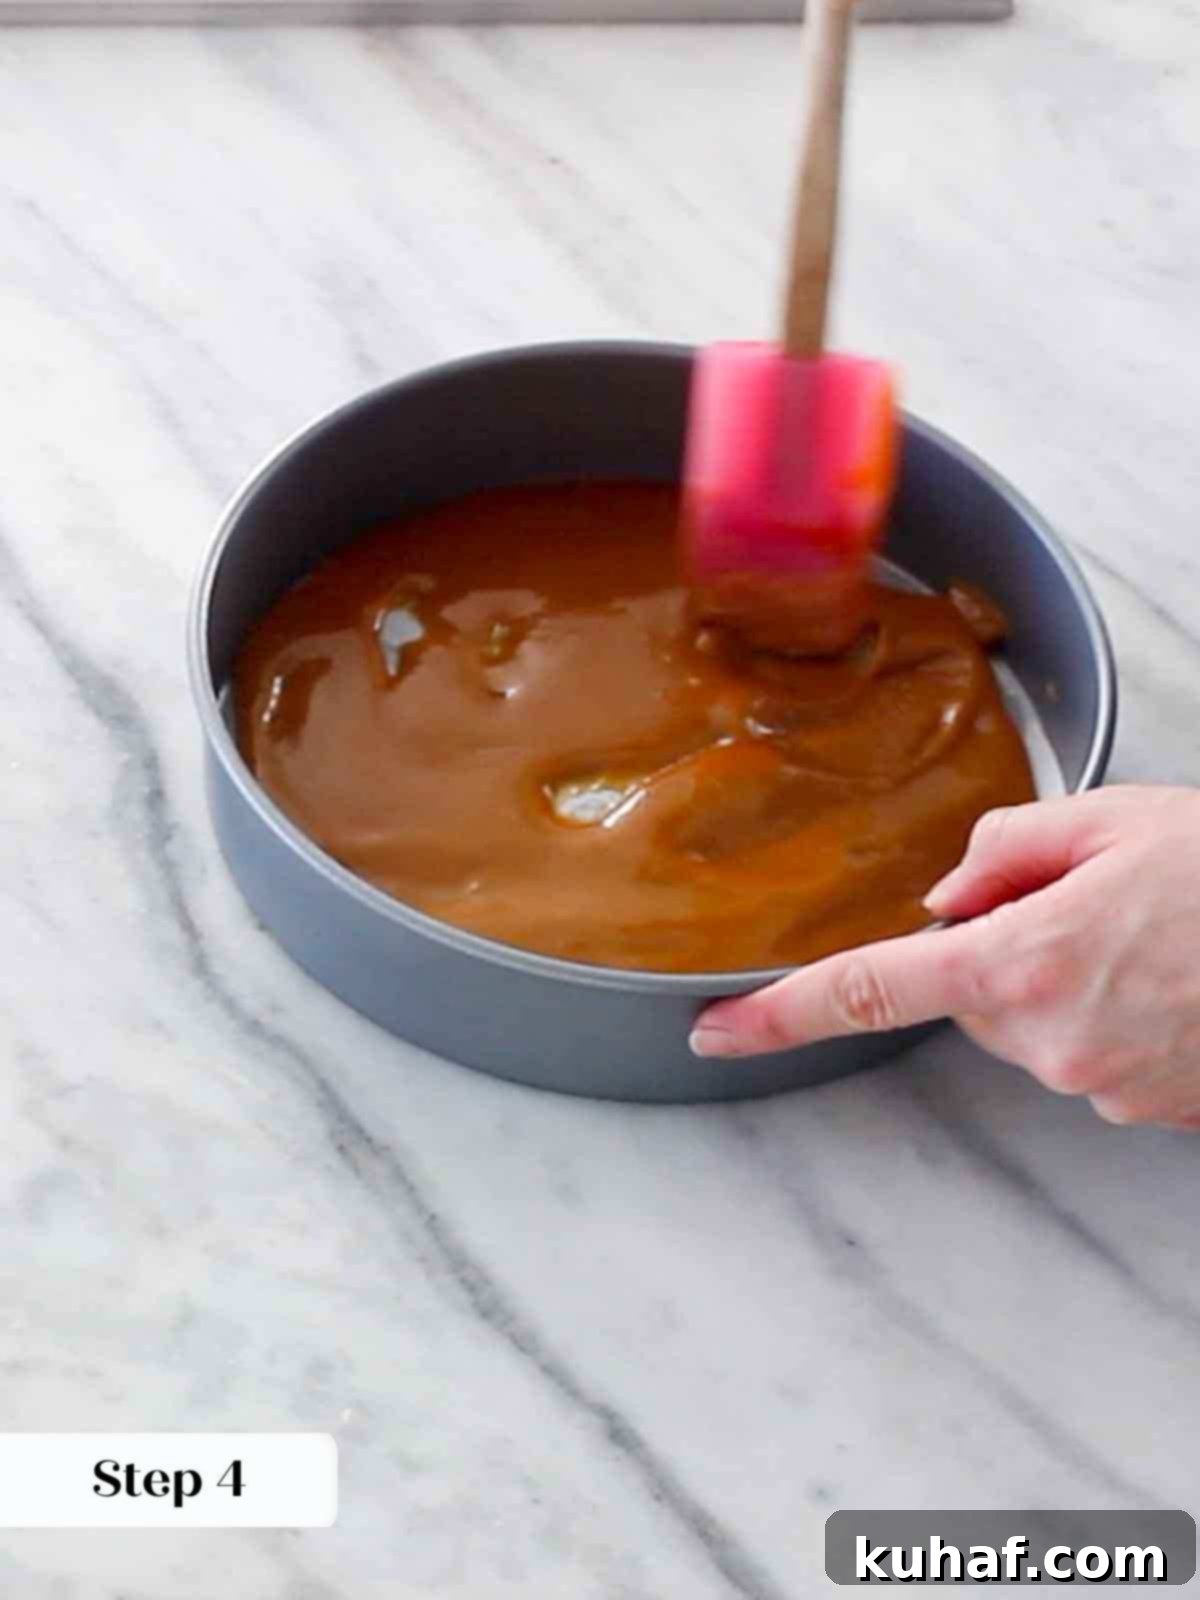
Step 4: Now, create the luscious caramel that will be the first layer in your pan. In a small, heavy-bottomed saucepan, melt the butter over medium heat. Once melted, add the granulated sugar, kosher salt, and lemon juice (which helps prevent crystallization). Stir just enough to combine, then allow the mixture to cook without excessive stirring until it begins to boil. Continue to cook, swirling the pan occasionally, until the sugar has fully dissolved and the mixture transforms into a beautiful medium amber color – think the rich, warm hue of fallen leaves in autumn. Immediately pour the hot caramel into your prepared pan and carefully spread it evenly across the bottom using an offset spatula or by tilting the pan.
Pro Tip for Caramel: Try to stir the caramel as little as possible once the sugar starts dissolving and boiling. This “wet caramel” method is generally easier for home bakers but is also more prone to crystallization. If you notice a few sugar crystals forming, don’t panic! Just keep cooking. It will not significantly impact the final taste or texture of the cake once baked under the fruit and batter.
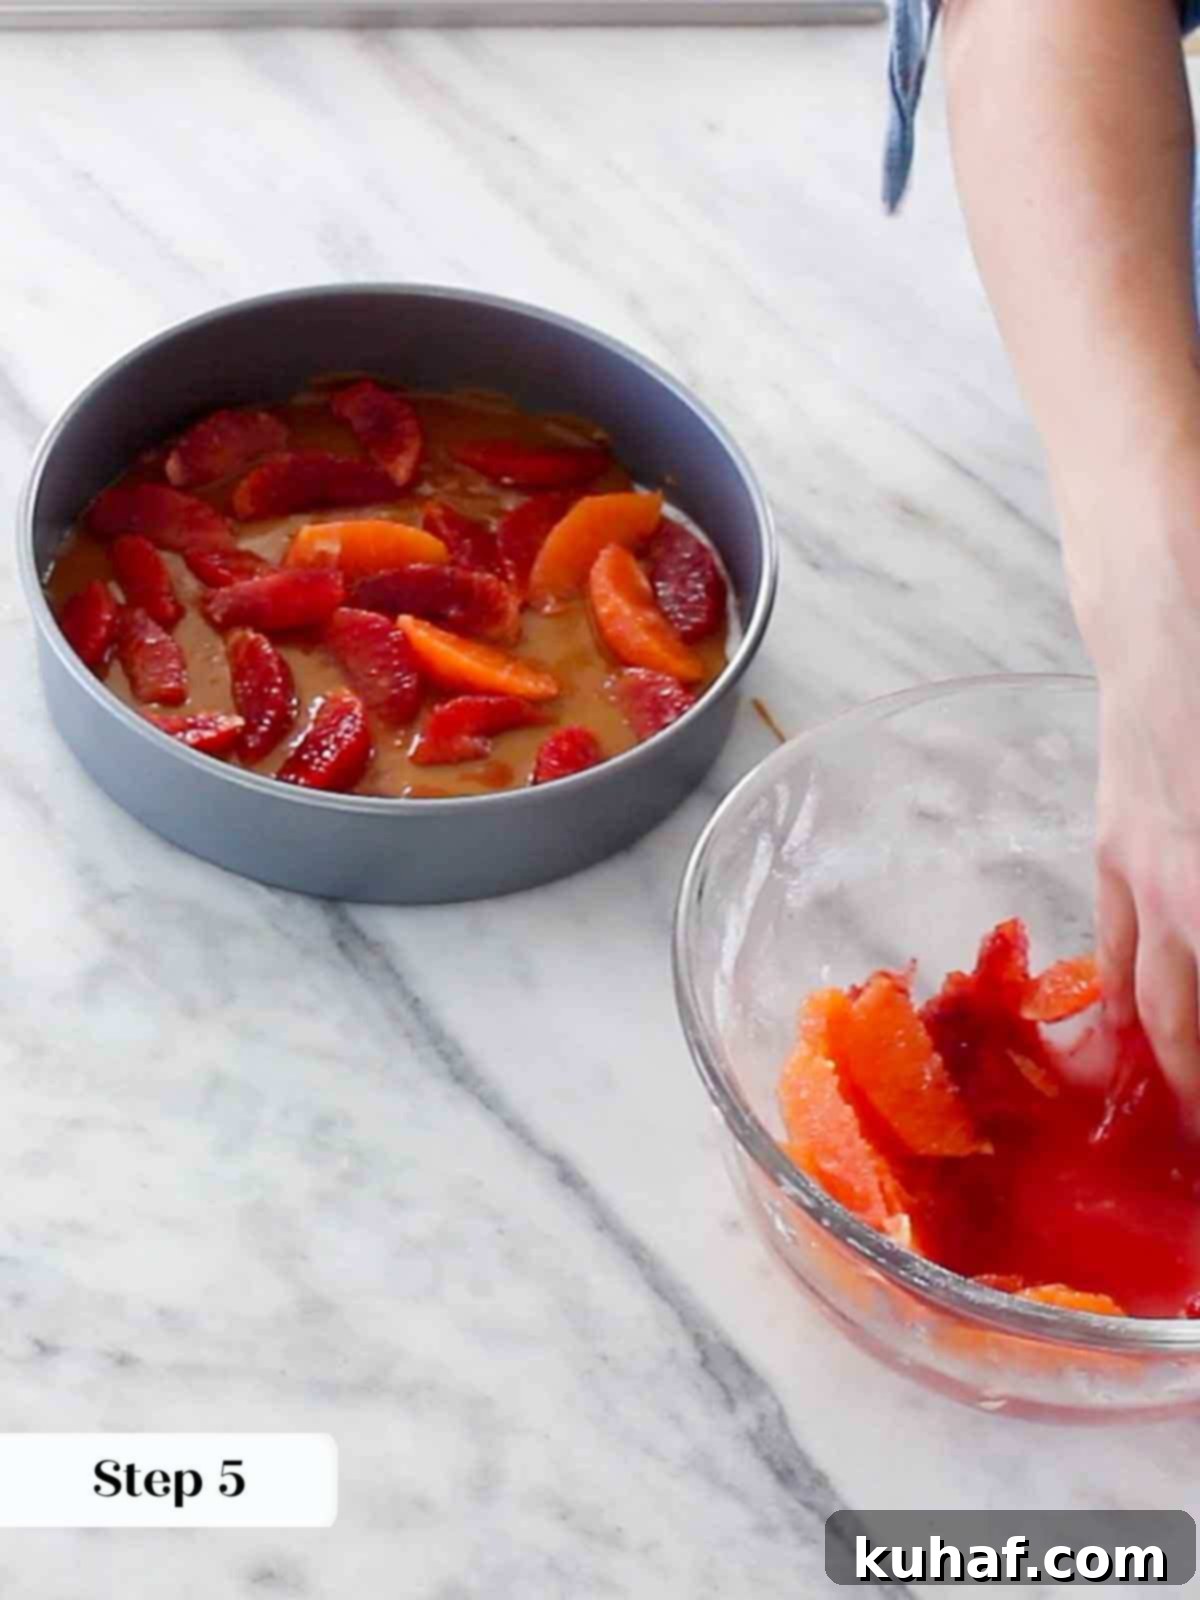
Step 5: Once the caramel is spread, immediately arrange your prepared orange slices (sûpremes or rounds) artistically on top. Work quickly but carefully, as the caramel will begin to set. Overlapping the slices slightly can create a beautiful pattern, but ensure they cover most of the caramel layer.
Make & Bake the Cake Batter:
Now for the fluffy, tender cake that will bake above the gorgeous orange and caramel layer.
Step 6: In a medium bowl, meticulously sift together the cake flour, baking powder, baking soda, and kosher salt. Sifting is crucial here to ensure a light, even texture and to thoroughly combine the dry ingredients. Set this mixture aside.
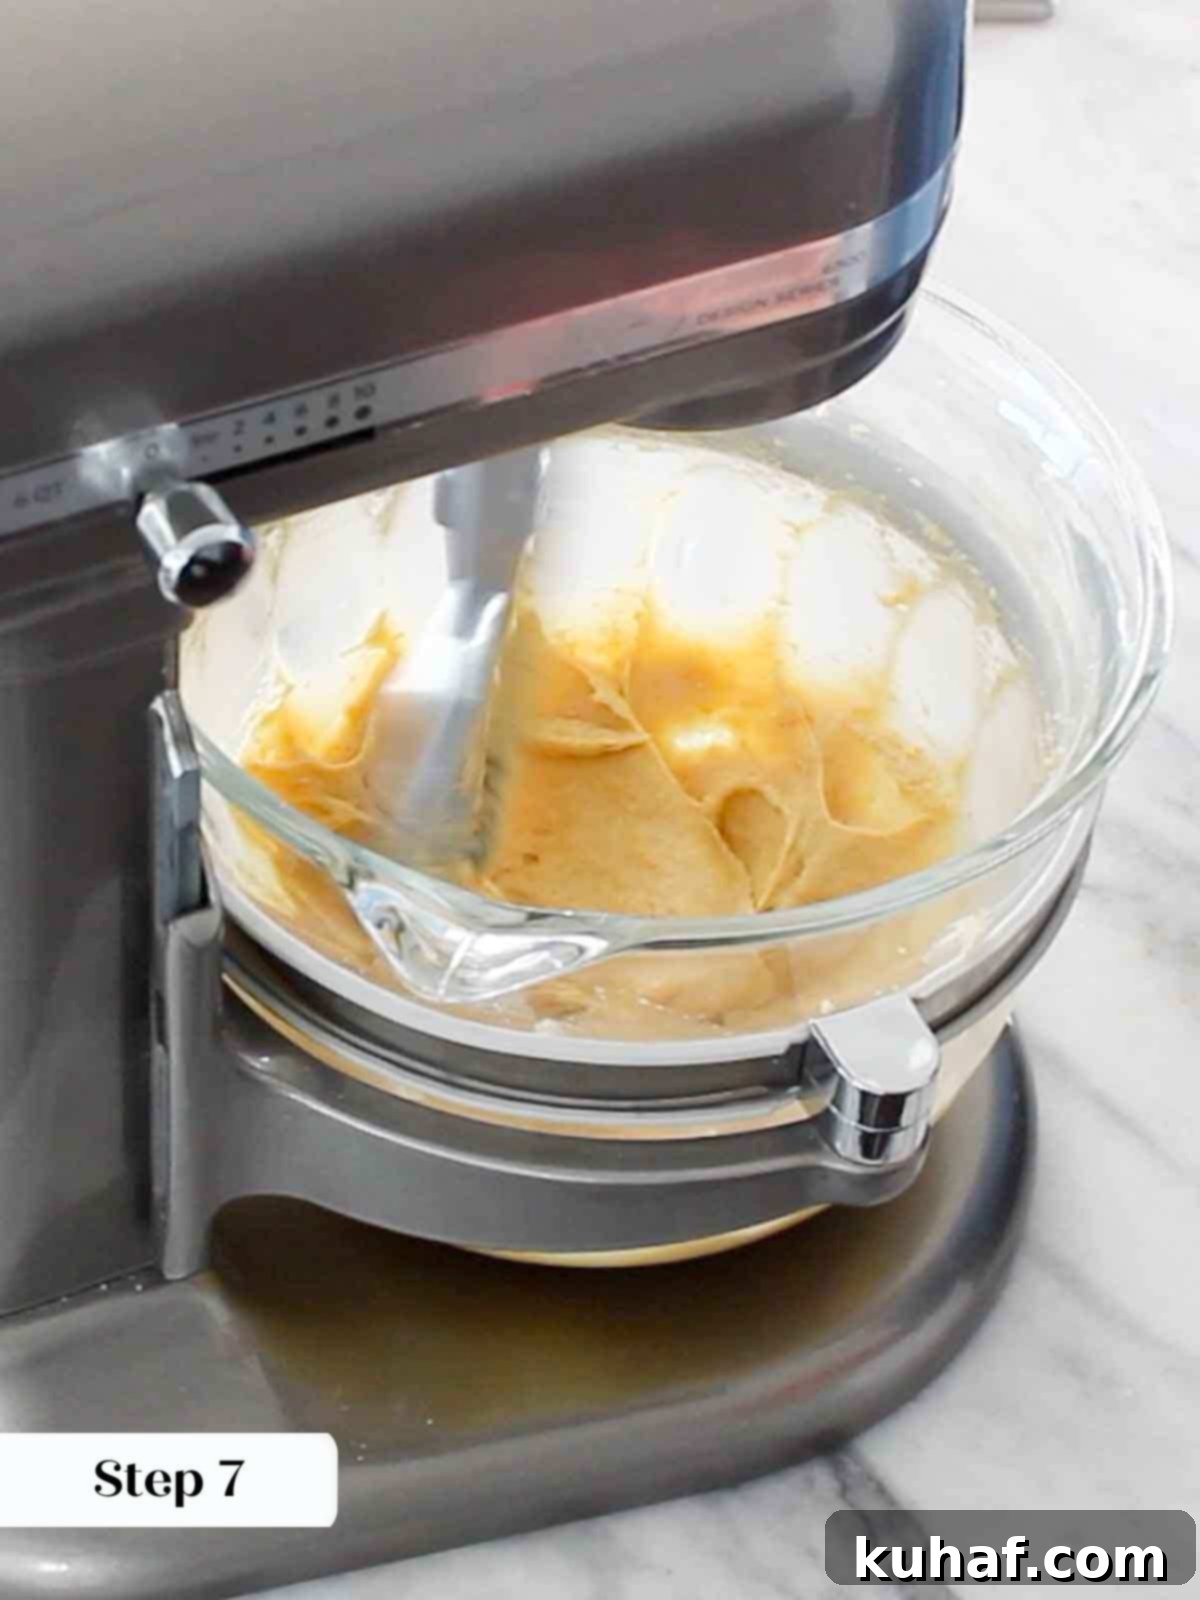
Step 7: In the bowl of a stand mixer fitted with the paddle attachment, or using a large bowl and a hand mixer, cream together the room temperature unsalted butter, light brown sugar, and vibrant orange zest. Beat on medium-high speed until the mixture is visibly lightened in color and wonderfully fluffy, usually 3-5 minutes. This step incorporates air, which is vital for the cake’s tender crumb. Next, beat in the whole eggs one at a time, ensuring each egg is fully incorporated before adding the next. Stop to scrape down the sides of the bowl between each addition to ensure everything is evenly mixed. Add the vanilla extract with the final egg, beating until just combined.
Step 8: Reduce the mixer speed to low. Alternately add the sifted dry flour mixture and the low-fat buttermilk to the wet ingredients. Begin and end with the flour mixture, adding it in three parts, with the buttermilk in two parts. Mix only until just combined. Overmixing will develop the gluten in the flour, resulting in a tough cake.
Chef’s Mixing Tip: For the most tender crumb, I always recommend performing the last few folds of the batter by hand with a rubber spatula. This gentle approach ensures you don’t overmix the batter, which is a common pitfall that can lead to a dense, tough cake. You want to see just a few streaks of flour remaining before stopping.
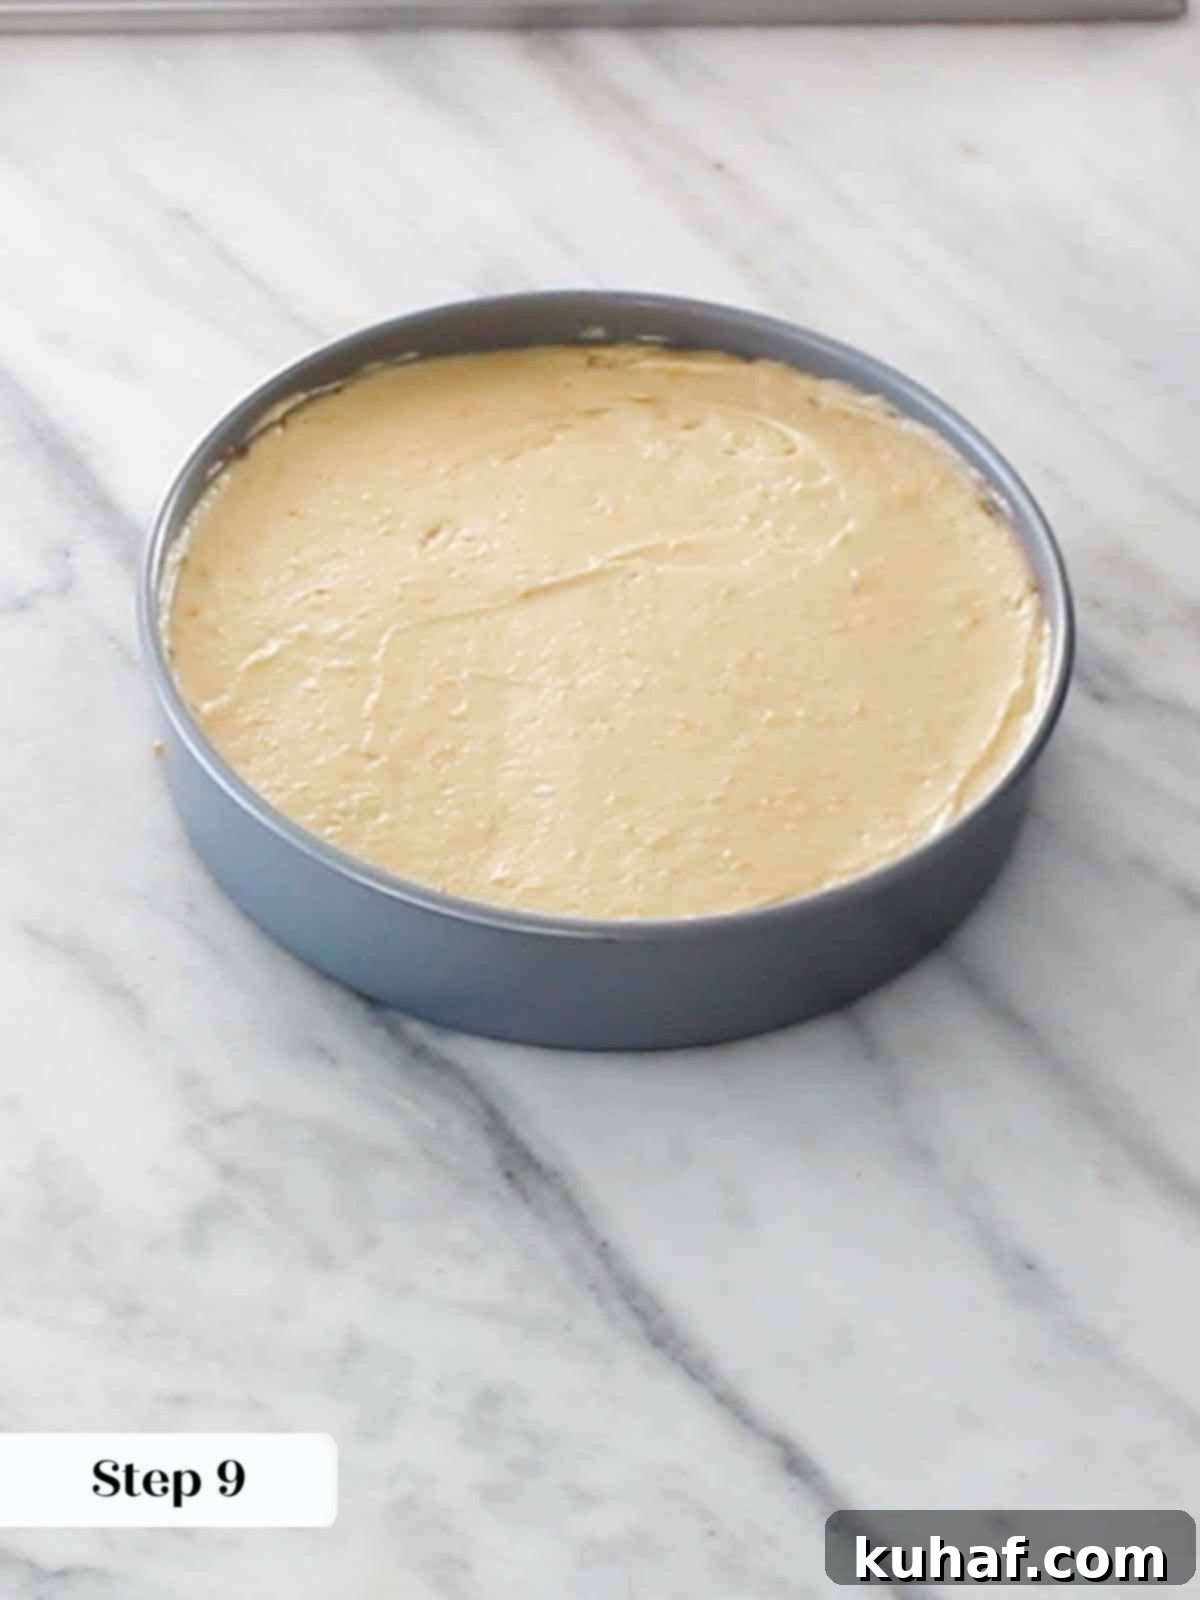
Step 9: Carefully spoon the prepared cake batter over the arranged orange slices and caramel in your pan. Gently spread the batter out with an offset spatula or the back of a spoon, ensuring it’s evenly distributed and covers all the fruit without disturbing the arrangement beneath. Do not press down too firmly.
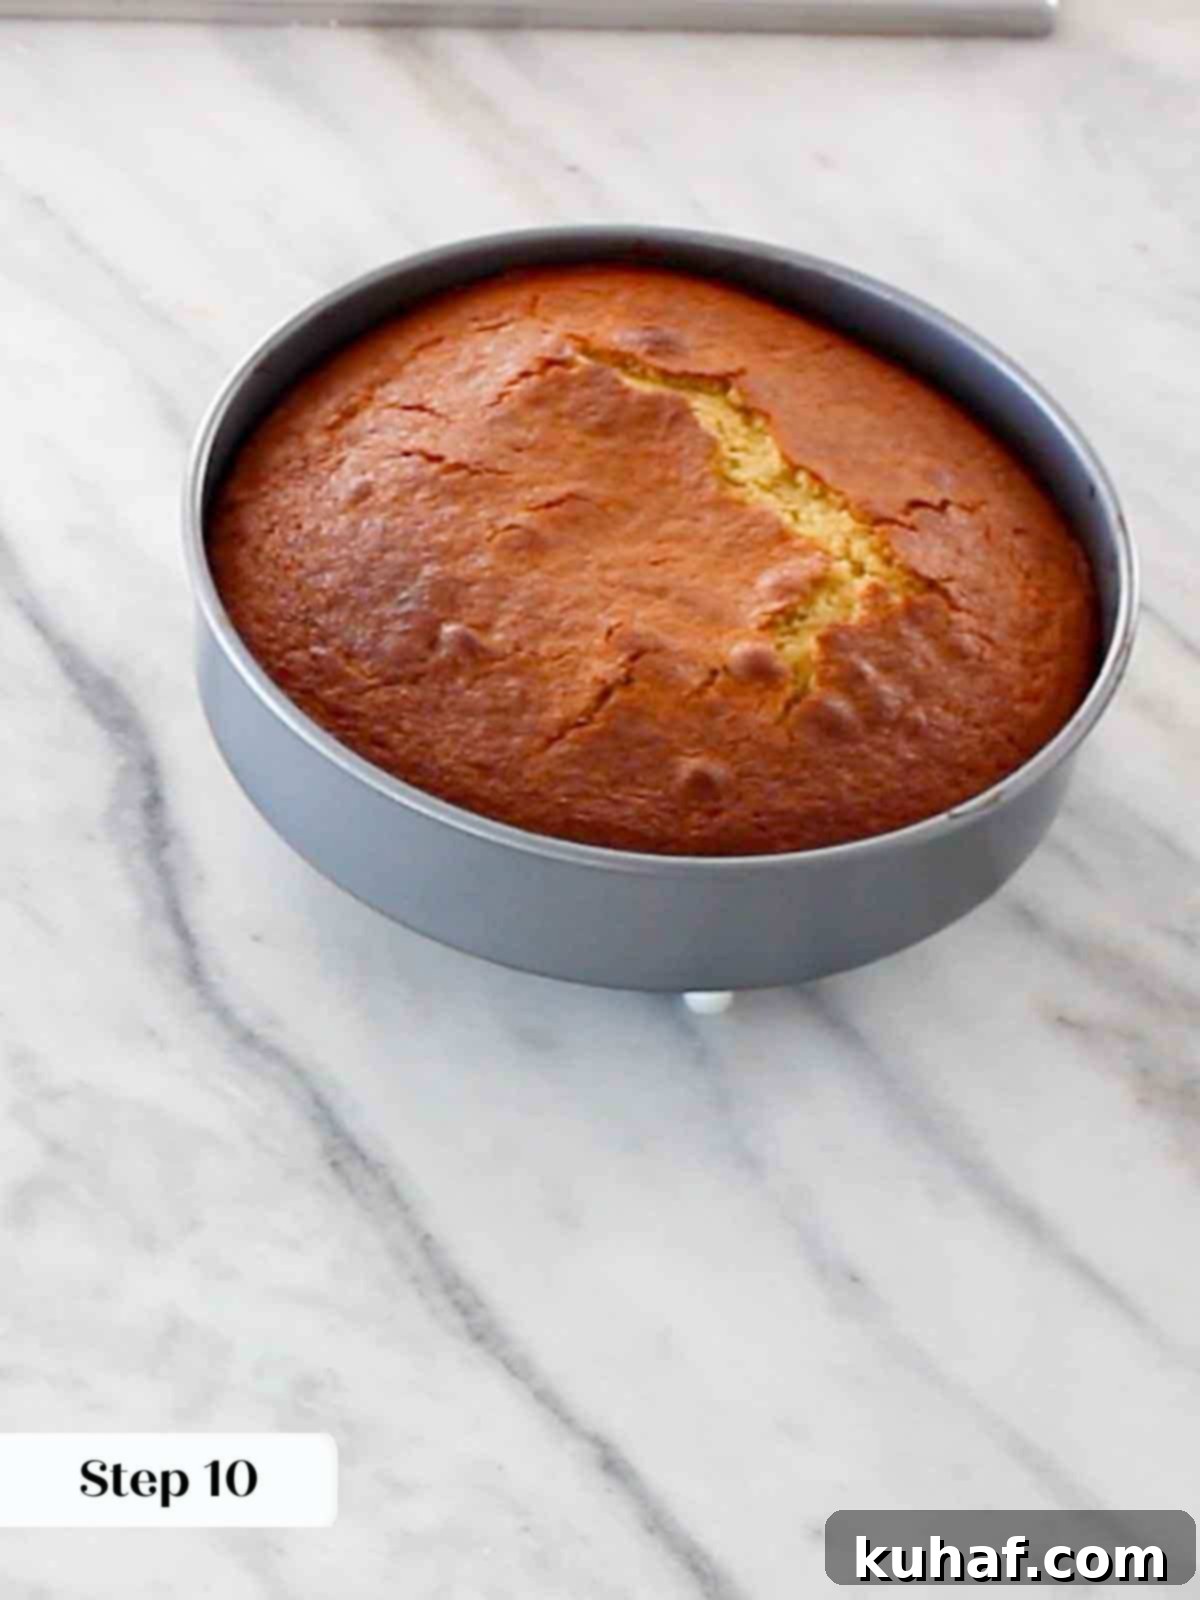
Step 10: Bake in your preheated oven for approximately 35-40 minutes. The cake is ready when it is beautifully puffed up, golden brown on top, and a wooden skewer or cake tester inserted into the center comes out with only a few moist crumbs clinging to it (not wet batter). Avoid overbaking to maintain moisture.
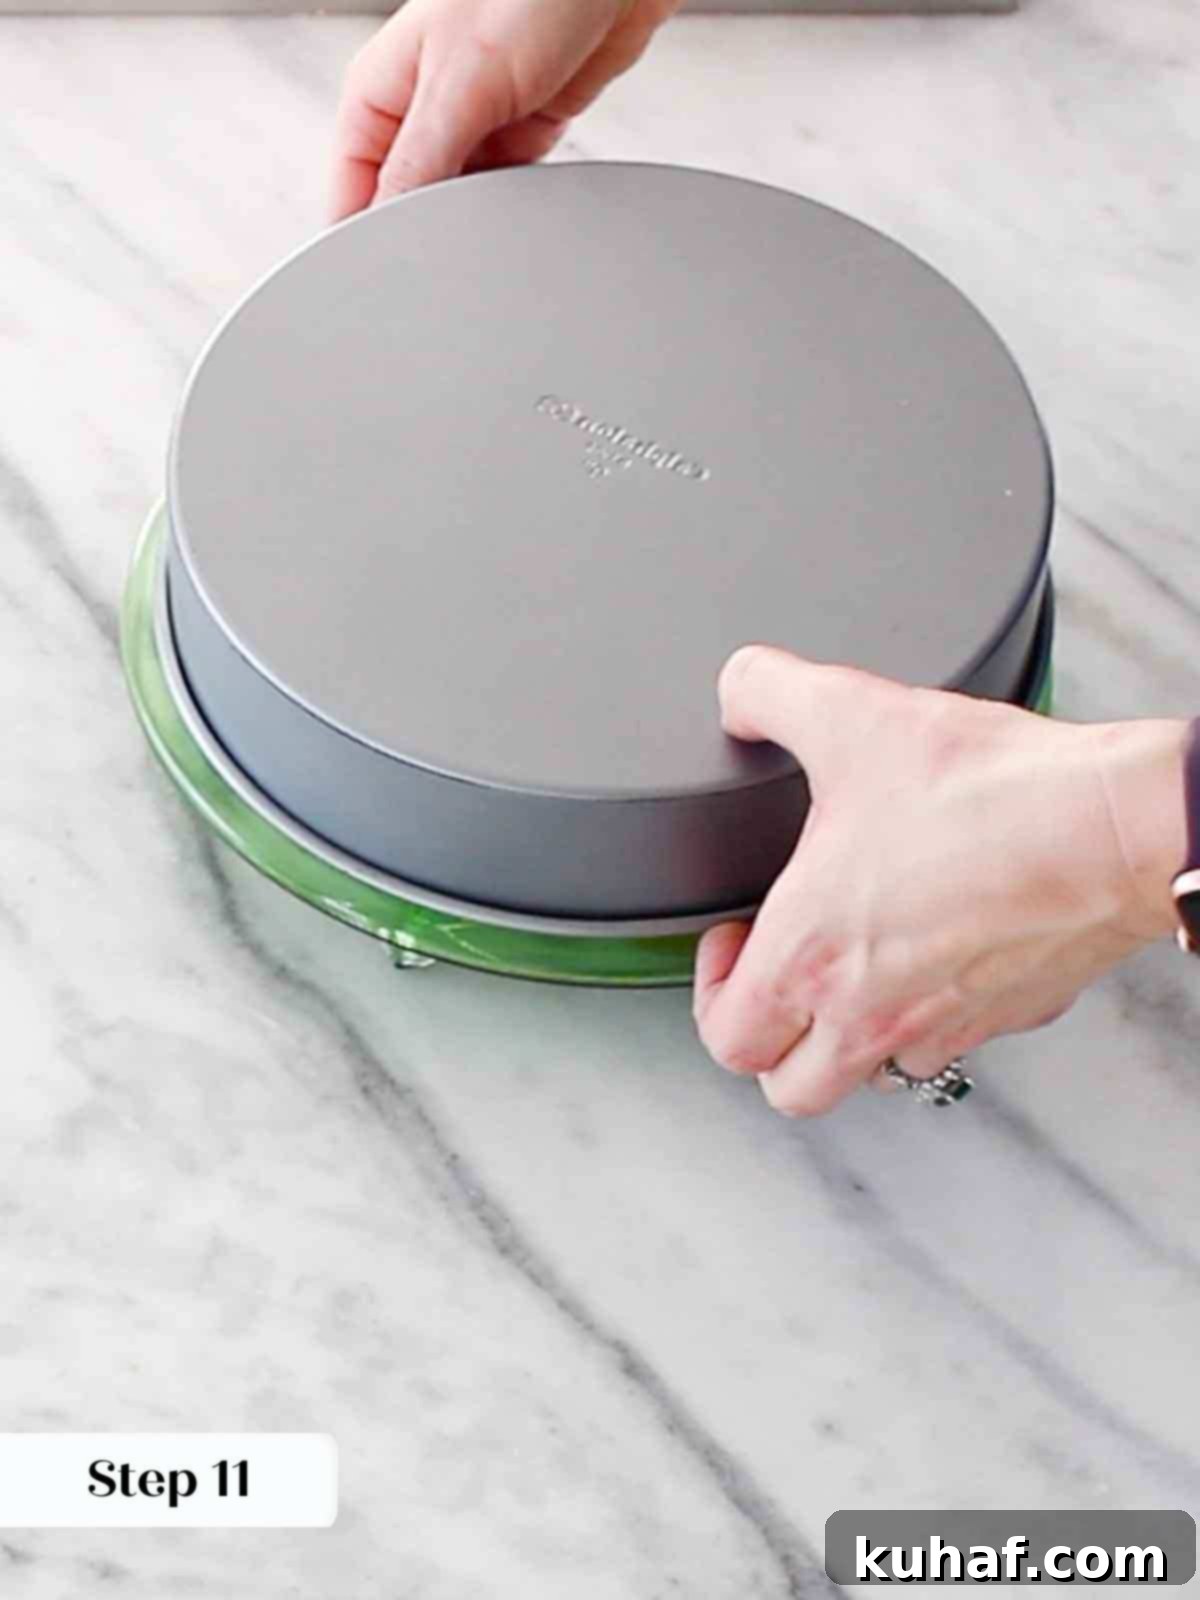
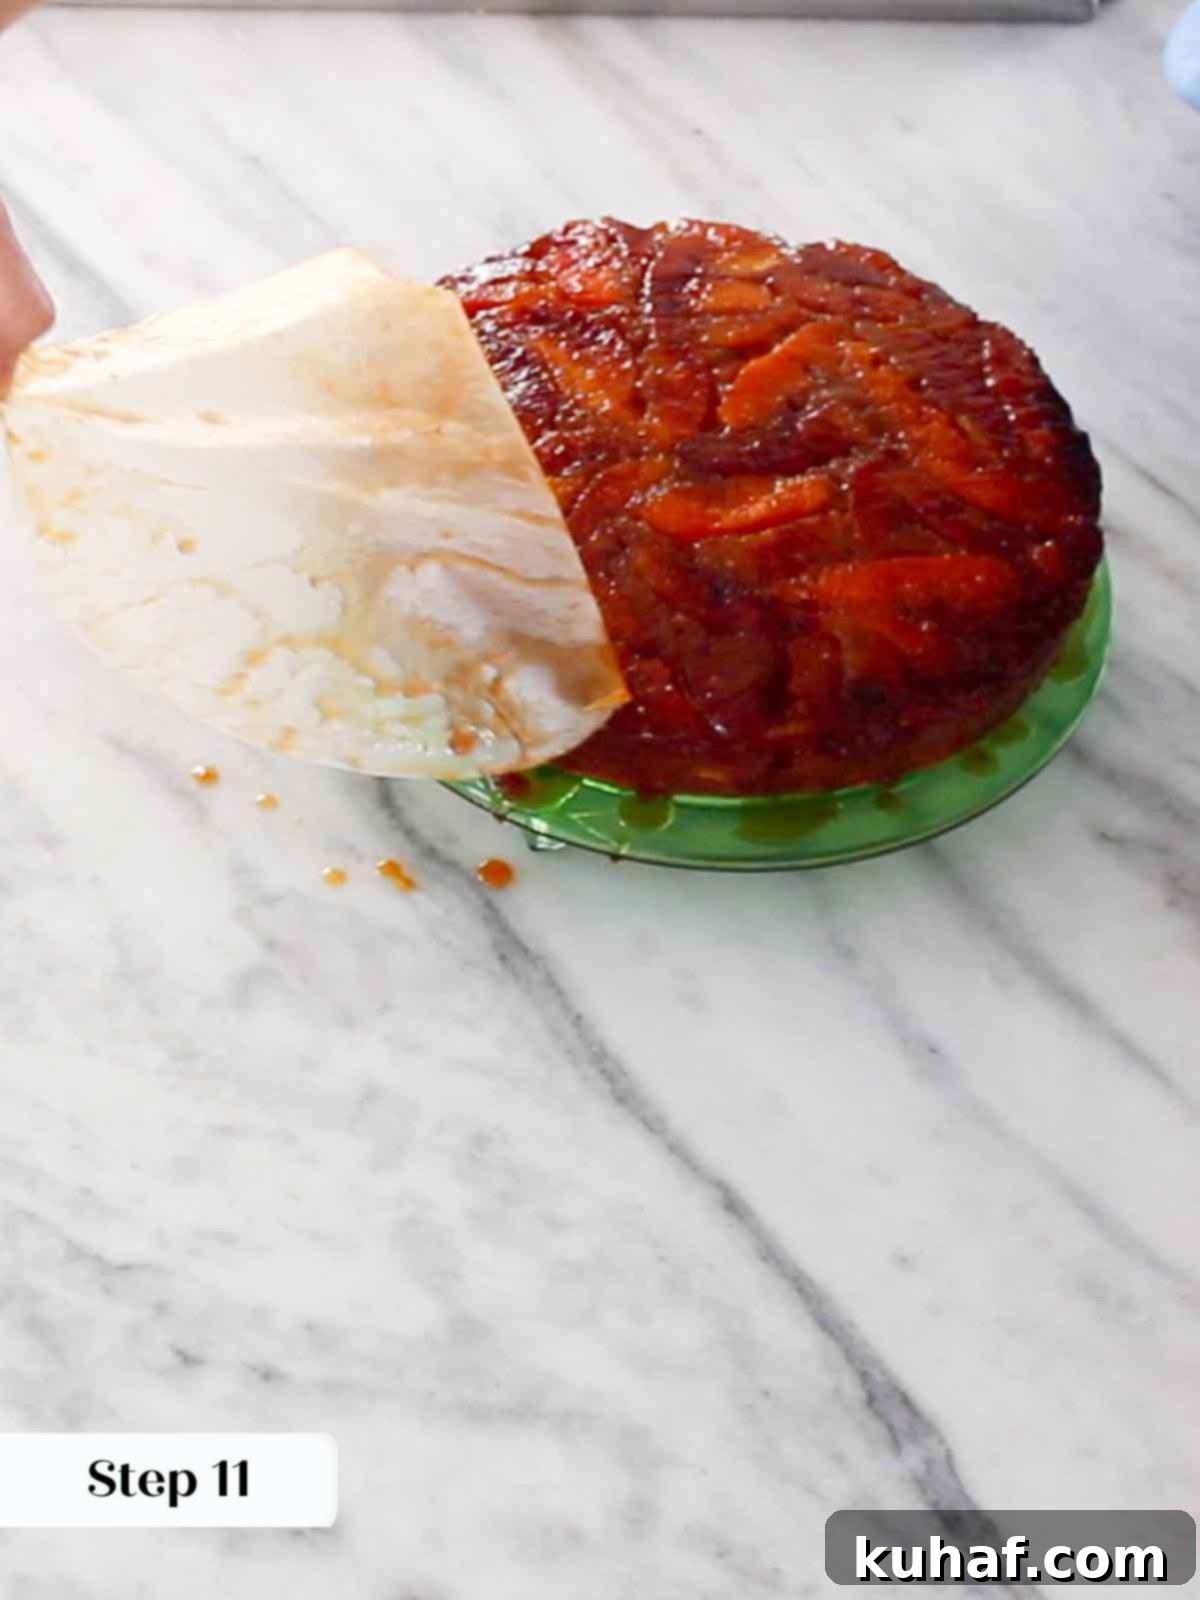
Step 11: Immediately after removing the cake from the oven, run a butter knife or a thin offset spatula around the inner edges of the pan. This helps to loosen the cake from the sides while it’s still warm. Crucially, let the cake cool in the pan for exactly 15 minutes. This cooling period is vital; it allows the cake to firm up slightly and the caramel to remain liquid enough to release cleanly. After 15 minutes, place a rimmed baking sheet or a cooling rack firmly over the top of the cake pan, then, with confidence and a swift motion, flip the cake over. Carefully lift the pan away. The caramel will likely still be dripping, so ensure your catching surface is ready! Gently peel off the parchment paper from the top of the cake, revealing your stunning caramelized orange topping.
Important Flipping Timing: Timing is everything when inverting an upside down cake! If you wait too long (e.g., let it cool completely), the caramel will cool and set hard, making it stubbornly stick to the pan and potentially ruining your beautiful topping. Conversely, if you flip it too soon (right out of the oven), the caramel will be excessively runny and may pool on your counter rather than adhering to the cake. But fear not if this happens! Should the caramel separate, simply collect it in a jar or small bowl and pour it generously over the cake when you serve it. Voilà! Problem solved, and you’ve got an extra-saucy treat!
Chef Lindsey’s Recipe Tip for Perfect Citrus Flavor
For the absolute best flavor and texture in your orange upside down cake, I cannot stress enough the importance of removing both the outer orange skins and, critically, the white pith. This extra step, while a bit more work, is profoundly worth it. The pith contains compounds that are quite bitter, and leaving even small amounts can introduce an unwelcome, harsh note that detracts from the delicate, sweet-tangy balance we aim for. By meticulously preparing your oranges, you ensure that only the bright, pure, and non-bitter essence of the citrus infuses your cake and caramel, resulting in a superior overall taste experience. Skipping this step means accepting a slightly bitter undertone in your finished cake.
Orange Upside Down Cake Recipe FAQs
For optimal freshness and texture, I highly recommend baking this cake immediately after mixing the batter due to the reactivity of the baking soda. Once baked, allow the cake to cool completely before storing. You can then wrap it tightly in plastic wrap or an airtight container and store it at room temperature for up to 3 days. If you need to keep it longer, it will last well in the refrigerator for about a week. For extended storage, the cake freezes beautifully for several months when properly wrapped. It’s also worth noting that once oranges are sliced, they begin to release their juices, which can subtly alter the cake’s texture over time, so enjoy it fresh if possible!
The ideal time to flip an upside down cake is after it has cooled in the pan for approximately 15 minutes. This crucial waiting period allows the cake structure to set somewhat, preventing it from collapsing, while ensuring the caramelized topping remains warm and fluid enough to cleanly release from the pan. For the absolute best results and a smooth release, always bake this cake in a pan that has been lined with parchment paper. Before flipping, remember to run a thin knife or offset spatula gently around the edges of the cake to loosen it from the pan. Once inverted, you can carefully rearrange any fruit pieces that may have shifted and pour any excess caramel that might have dripped onto your serving platter back over the top of the cake. This serves as a natural, delicious cake soak!
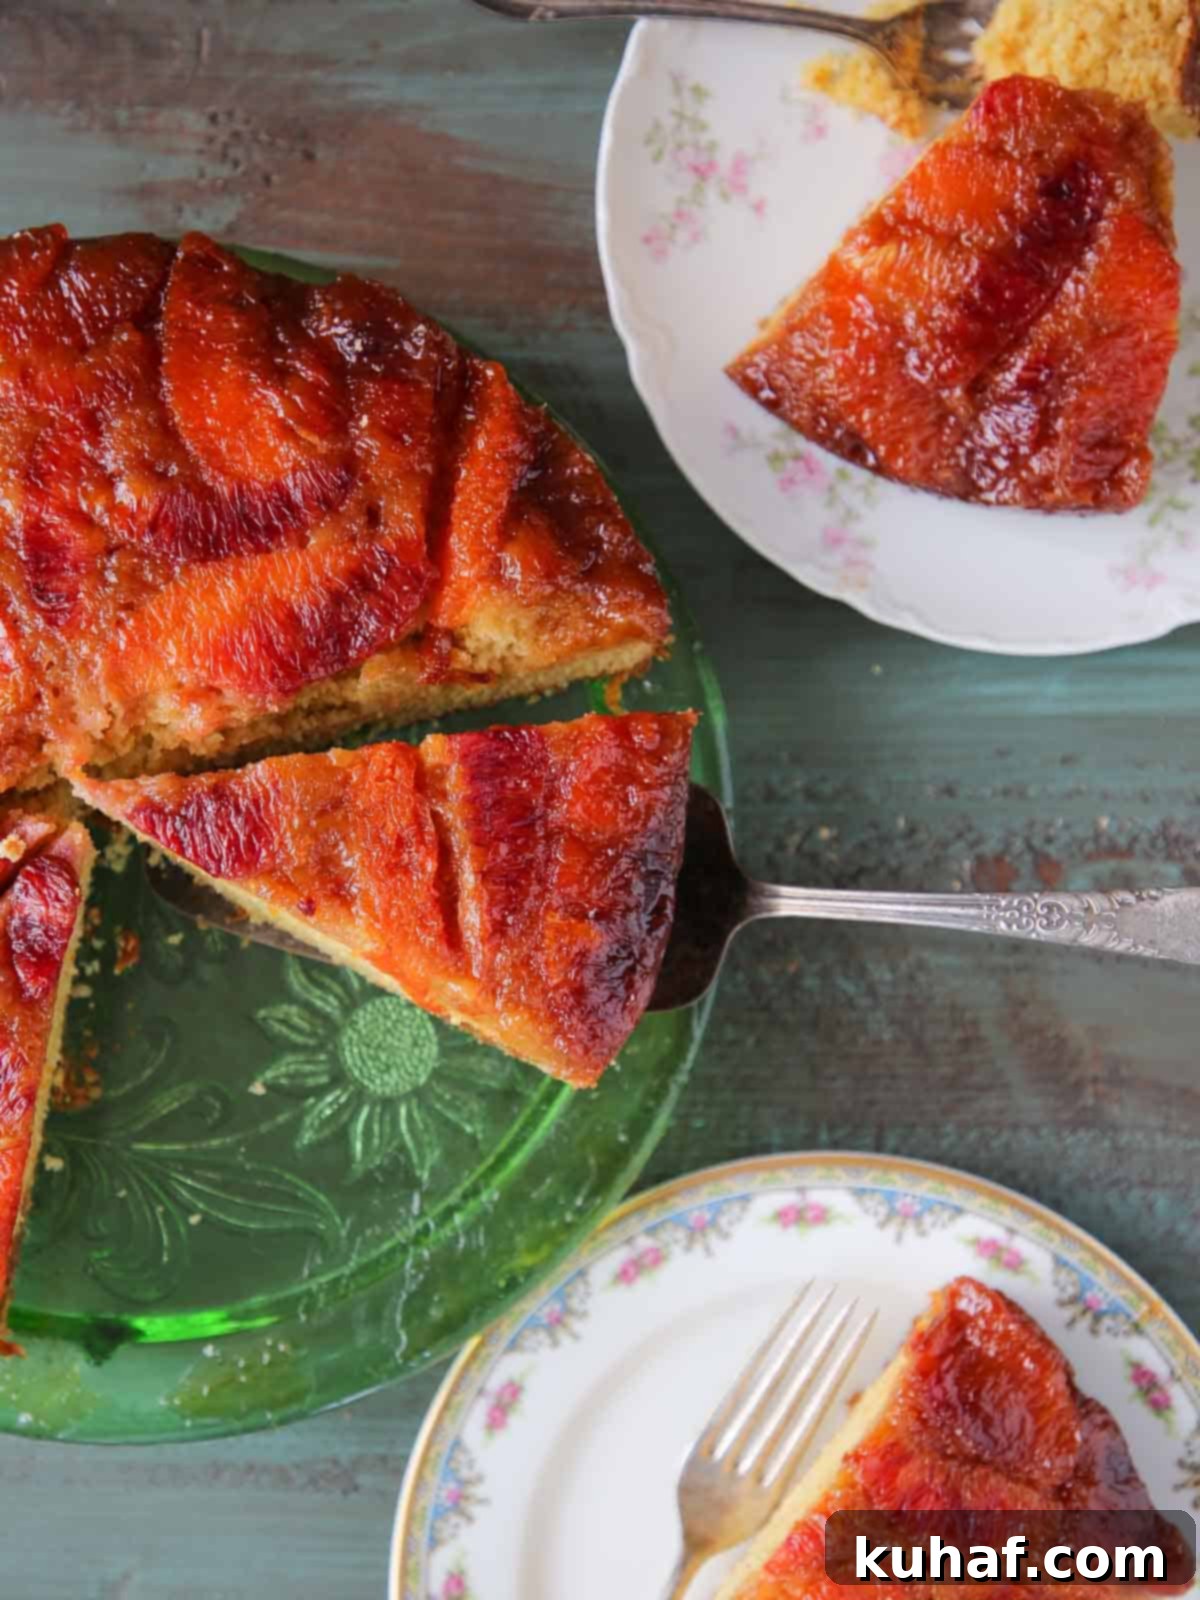
This delightful orange upside down cake is wonderfully versatile and can be served at room temperature or gently warmed for an extra comforting touch. To truly elevate the experience, I love to serve it alongside a decadent salted caramel sauce or a rich butterscotch sauce, perhaps with a scoop of creamy vanilla bean ice cream melting gloriously on top. It’s also absolutely exceptional with a simple spoonful of smooth crème anglaise, which adds a sophisticated, custardy note. The bright citrus and sweet caramel notes make it a perfect dessert for special occasions or a lovely everyday treat.
Recommended Fruity Dessert Recipes
If you’ve enjoyed this delightful orange upside down cake, you’ll love exploring these other chef-tested fruity dessert recipes. Each one brings its own unique flavor and charm to your table.
Cake Recipes
Pear Upside Down Cake
Christmas Cookie Recipes
Orange Financiers
Cake Recipes
Fruit Cake
Cake Recipes
Hummingbird Cake
If you tried this recipe and absolutely loved it, please take a moment to leave a 🌟 star rating and share your experience in the comments section below. I genuinely love hearing from you – your feedback truly brightens my day!
Orange Upside Down Cake
Pin Recipe
Comment
Print Recipe
Ingredients
- 4 oranges mix of blood orange and cara cara or navel
For Caramel:
- ¾ cup granulated sugar
- pinch kosher salt
- 3 tablespoons unsalted butter cubed
- 1 tablespoon lemon juice half a lemon
For the Batter:
- 2 cups cake flour
- 2 teaspoons baking powder
- ½ teaspoon baking soda
- 1 teaspoon kosher salt
- 9 ½ tablespoons unsalted butter room temperature
- 1 cup light brown sugar or dark
- 2 blood oranges zested, or 1 regular orange
- 2 whole eggs
- 1 ½ teaspoons vanilla extract
- 1 cup low fat buttermilk
Instructions
-
Cut the oranges so that you slice off the rind and the thin skin exposing the pulp. Cut out sûpremes (slice out the pulp from the pith in wedges) or slice them into rounds. The second method uses fewer oranges and is much faster! Clearly I have regrets about my choices in the video!
-
Spray a 9 inch round pan with cooking spray and the line with parchment. Set aside, and preheat oven to 325°F convection (with the fan) or 350°F conventional (no fan).
-
Make the caramel, which will be your first layer in the pan. To do this, melt butter in a pot. Add remaining ingredients and cook until boiling and sugar has dissolved and caramelized. Pour in prepared pan and spread out. Arrange orange slices on top artfully.
-
Sift together cake flour, baking powder, baking soda and salt. Set aside.
-
In the bowl of a stand mixer cream butter, sugar and zest until light and fluffy.
-
Beat in the eggs one at a time, scraping down between each addition. Add the vanilla with the last egg.
-
Reduce the mixer speed to low and alternately add the flour mixture with the buttermilk. I like to do the last few folds with a spatula to make sure I don’t over mix the batter.
-
Pour into prepared pan on top of citrus and then spread out with an offset spatula.
-
Bake in preheated oven for 35-40 minutes or until puffed, golden brown and a cake tester comes out with a few clinging crumbs in the center.
-
Release the cake from the sides of the pan while still warm by running a butter knife or offset spatula around the edges.
-
After 15 minutes, flip out the cake onto a rimmed baking sheet or cooling rack. The caramel will continue to drip, so make sure you have something to catch it! If you wait too long to flip, the caramel will begin to cool and set, and it won’t want to release from the pan. If you flip too soon, the caramel will be too runny and you will end up with a pool of sauce on the counter and not in your cake! Fortunately if this happens, just pour it into a jar or other vessel and pour it over the top when you serve it. Voilà! Problem solved.
Video
Notes
Substitutions – Making homemade buttermilk with milk and lemon juice isn’t the same thing, so I recommend substituting ½ cup sour cream mixed with 2 tablespoon water.
Variations – Change the flavor of the cake by using different zest, adding spices with the dry ingredients, or by folding fruit into the batter.
Storage – I recommend baking this cake immediately after mixing because of the quantity of baking soda. Cool, wrap and store at room temperature for up to 3 days, refrigerated for a week or frozen for several months.
Nutrition
Before You Go: Explore More Delicious Desserts
I sincerely hope you savored every bite of this professional chef-tested orange upside down cake recipe. It’s a true delight that brings bright flavors and a stunning presentation to any table. If this recipe sparked your culinary creativity, I invite you to delve deeper into our collection of other delicious, chef-developed cake recipes. Or, if you’re looking for the perfect accompaniment, discover our extensive range of ice cream recipes to serve alongside this or any other dessert. Happy baking!
