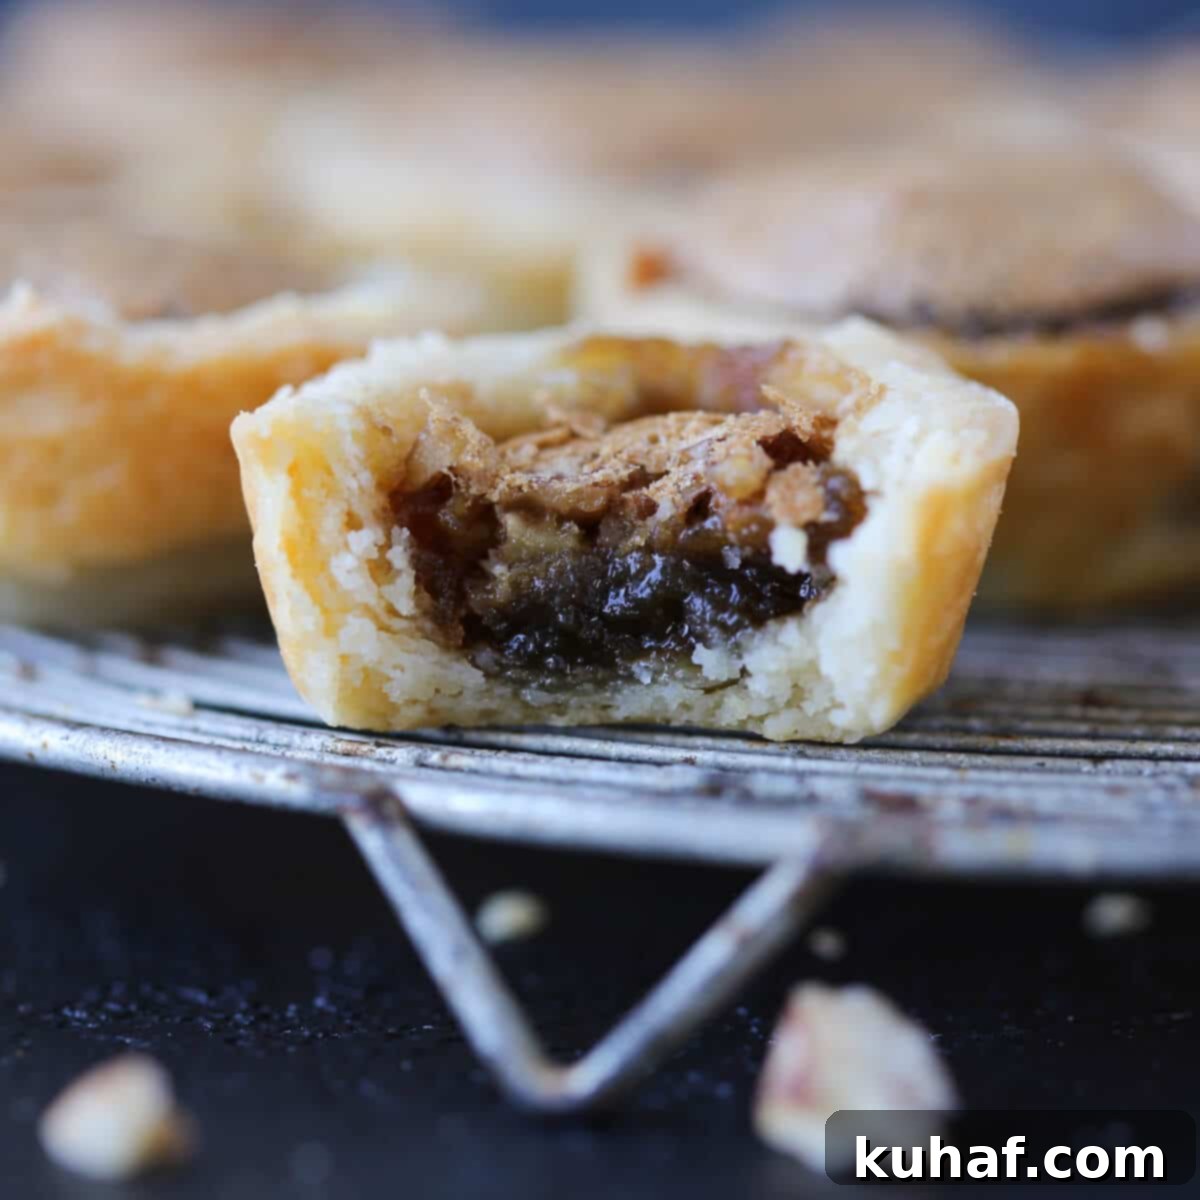
RoRo’s Irresistible Pecan Tassies: The Ultimate Mini Pecan Pie Recipe with a Tangy Cream Cheese Crust
Discover my Great-Grandmother’s cherished recipe for **pecan tassies**, a delightful treat that tastes like miniature pecan pies, but with a unique and incredibly tender cream cheese crust. This recipe has been passed down through generations, and each bite carries a taste of heartwarming tradition. The dough for the crust is remarkably easy to press into mini muffin tins, baking up into a soft, flaky shell that perfectly cradles the sweet, nutty filling. I’m excited to share all my tried-and-true tips, ensuring you can effortlessly release these delectable tassies from their tins every single time!
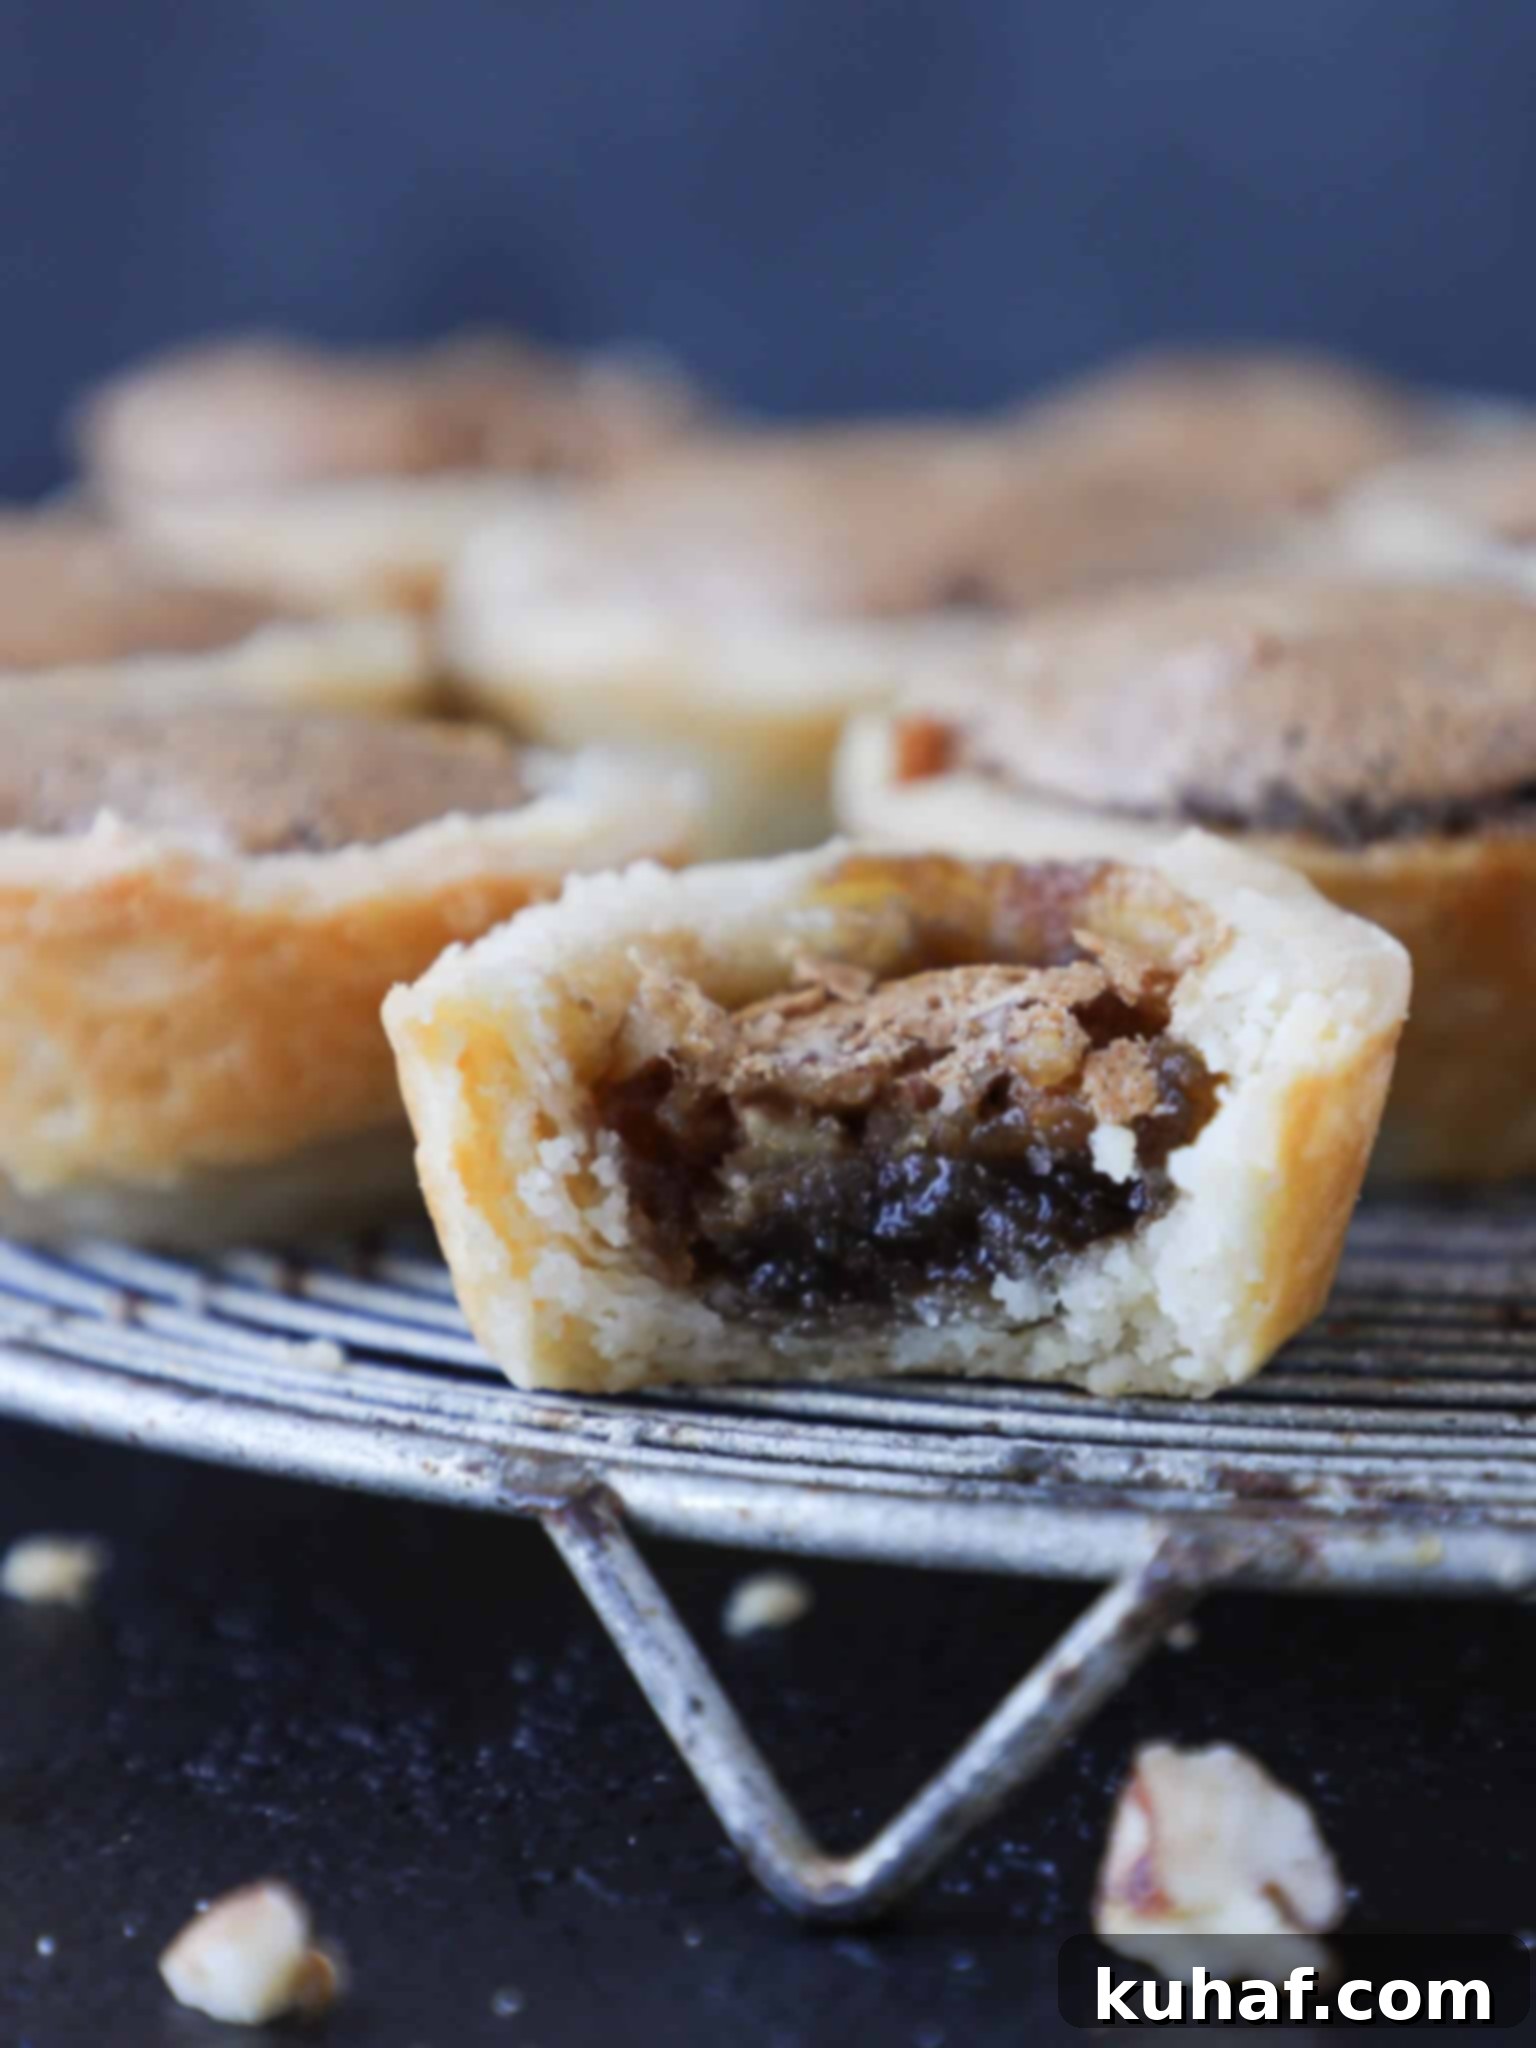
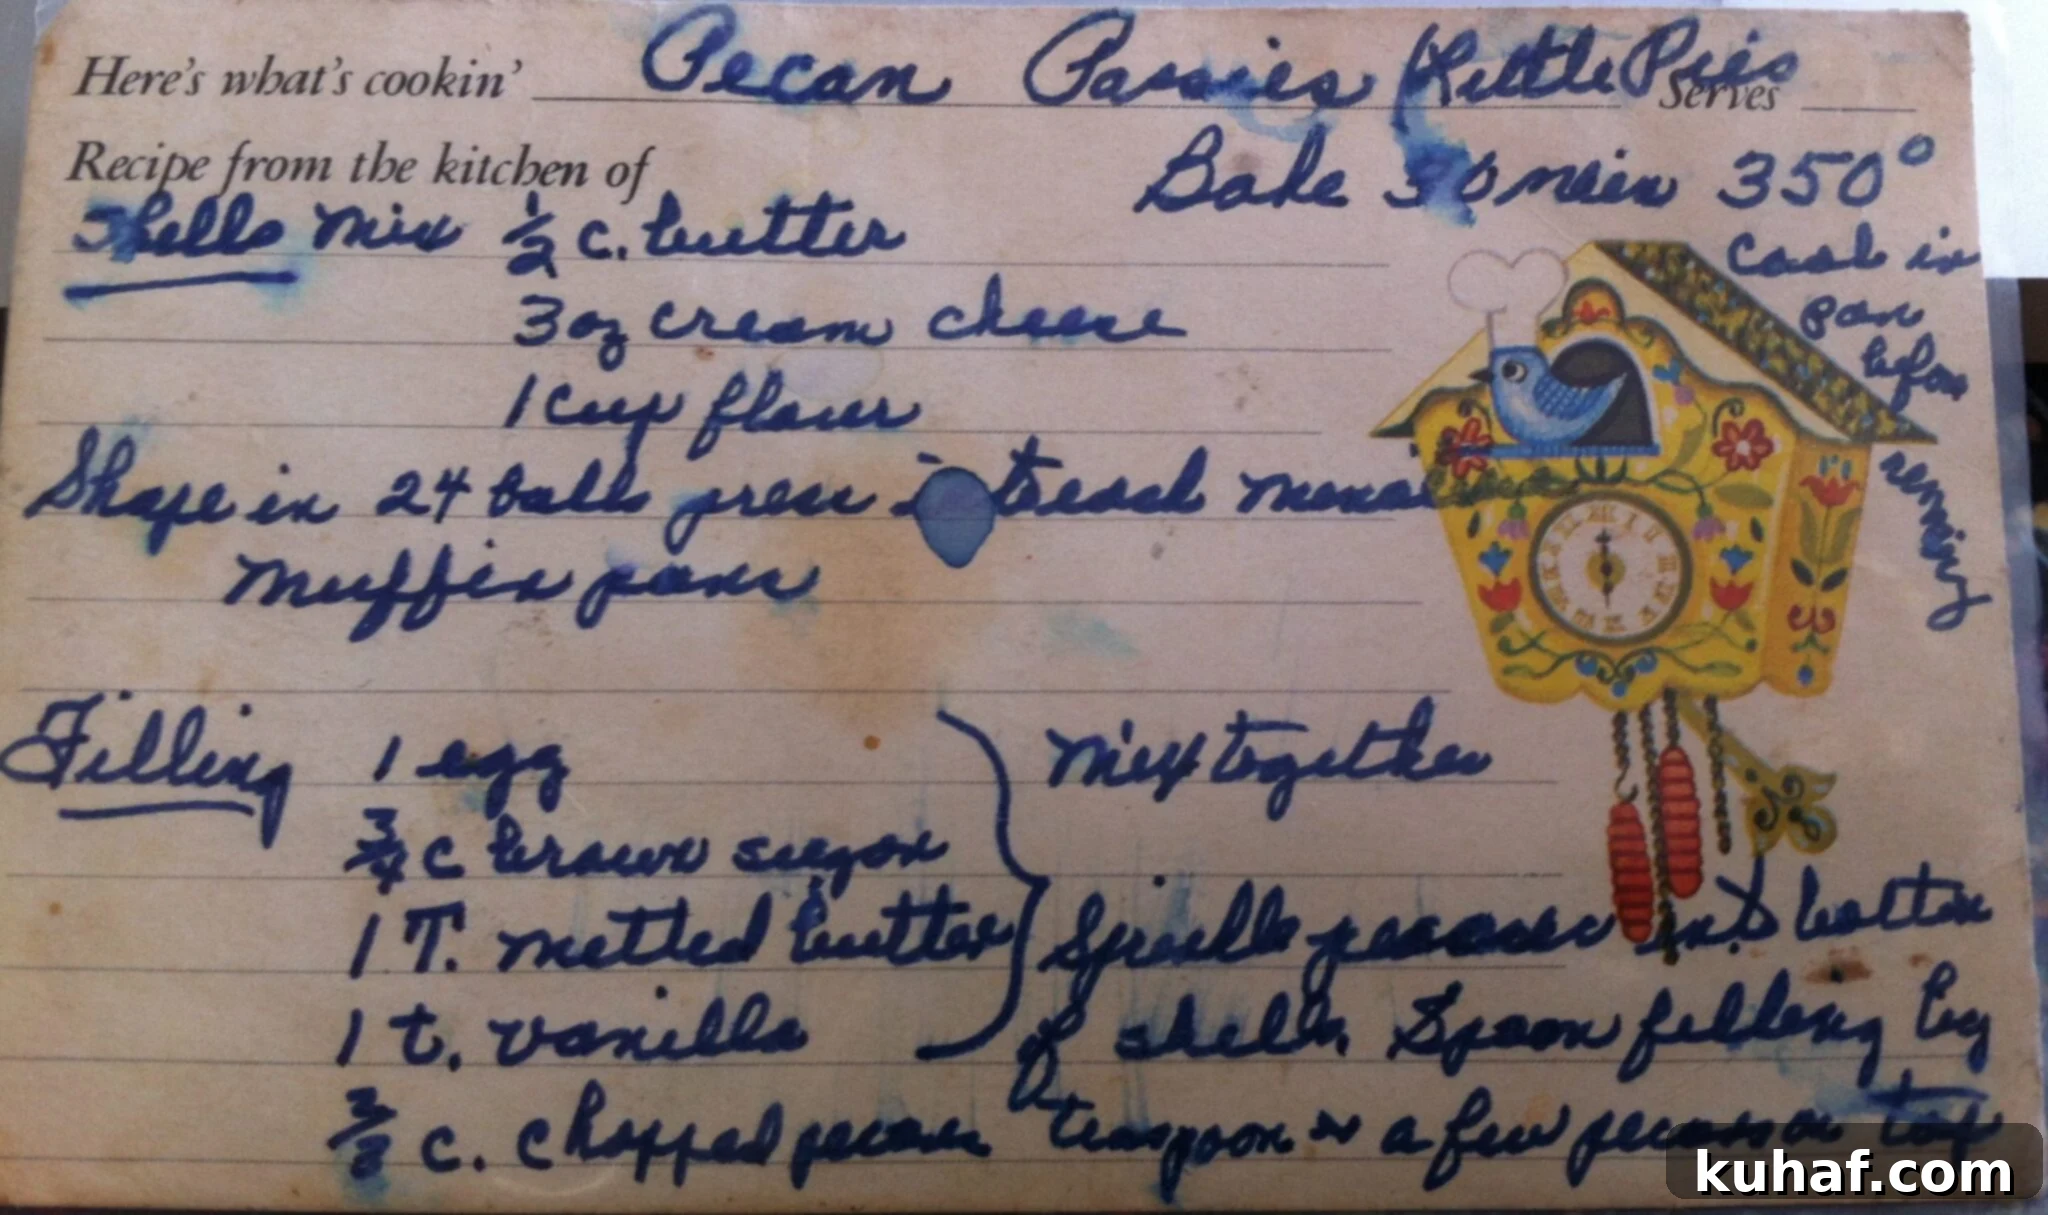
My great-grandmother, Rosa, affectionately known as RoRo, was the quintessential “feeder” – the heart of our family, always ensuring everyone was nourished and loved through her delicious cooking. Every family has one, and RoRo was ours! Whenever family came to visit, she didn’t just prepare a massive feast; she also baked dozens of everyone’s favorite treats to send home as a sweet reminder of her affection. My dad always looked forward to her old-fashioned peanut butter cookies, while my mom adored her date pinwheels. But there was one special recipe that she reserved just for me: **these heavenly pecan tassies.**
The secret to their irresistible charm lies in the cream cheese crust, which offers a subtle tangy note that beautifully complements the sweet and robustly nutty pecan filling. With my detailed tips below, you’ll find these mini pies twist right out of their tins with ease. Pecan tassies are an exquisite addition to any Christmas cookie platter or gift box, pairing wonderfully with treats like Mexican wedding cookies and chocolate peppermint sugar cookies. However, their timeless appeal makes them a perfect indulgence to enjoy throughout the entire year, not just during the holidays.
Table of Contents
- Why You Will Love RoRo’s Pecan Tassies
- What Exactly Are Pecan Tassies?
- Essential Tips to Keep Pecan Tassies from Sticking to the Pan
- Key Ingredients for Perfect Pecan Tassies
- Creative Variations for Your Pecan Tassies
- Step-by-Step Guide: How to Make Pecan Tassies
- Chef Lindsey’s Expert Recipe Tip
- Frequently Asked Questions About Pecan Tassies
- Pecan Tassies Recipe Card
- Before You Go! Explore More Recipes
Why You Will Absolutely Love RoRo’s Pecan Tassies
- Effortlessly Easy to Make: Forget complicated techniques! The crust for these tassies simply presses into the muffin tins, and the filling comes together with minimal effort, mixed by hand in just one bowl. It’s a truly straightforward process, perfect for bakers of all skill levels, ensuring a rewarding and delicious outcome without the fuss.
- Buttery, Tender, and Flaky Crust: The unique cream cheese crust isn’t just easy to press; it bakes into an incredibly tender and flaky texture that melts in your mouth. While some recipes call for creaming the crust ingredients like you would for apricot kolaches or Hungarian nut rolls, I’ve found that using a traditional “cut-in” method, similar to making pie crust, yields the most delicate and satisfying texture, making each tassie truly special.
- Perfectly Balanced Flavor Profile: The subtle tanginess of the cream cheese crust acts as a magnificent counterpoint to the rich sweetness of the pecan pie filling. This balance ensures that each bite is not overly sweet, creating a harmonious and deeply satisfying flavor. Don’t underestimate the importance of a pinch of kosher salt in the filling – it’s crucial for enhancing all the flavors and bringing out the best in the pecans.
- Ideal for Gifting and Shipping: These robust yet delicate tassies are a fantastic addition to your repertoire of shippable Christmas cookies. Their sturdy nature makes them perfect for sending to loved ones far away. They pair beautifully with classic linzer cookies and the best snickerdoodle cookies, creating an irresistible holiday cookie tin that will surely impress.
What Exactly Are Pecan Tassies?
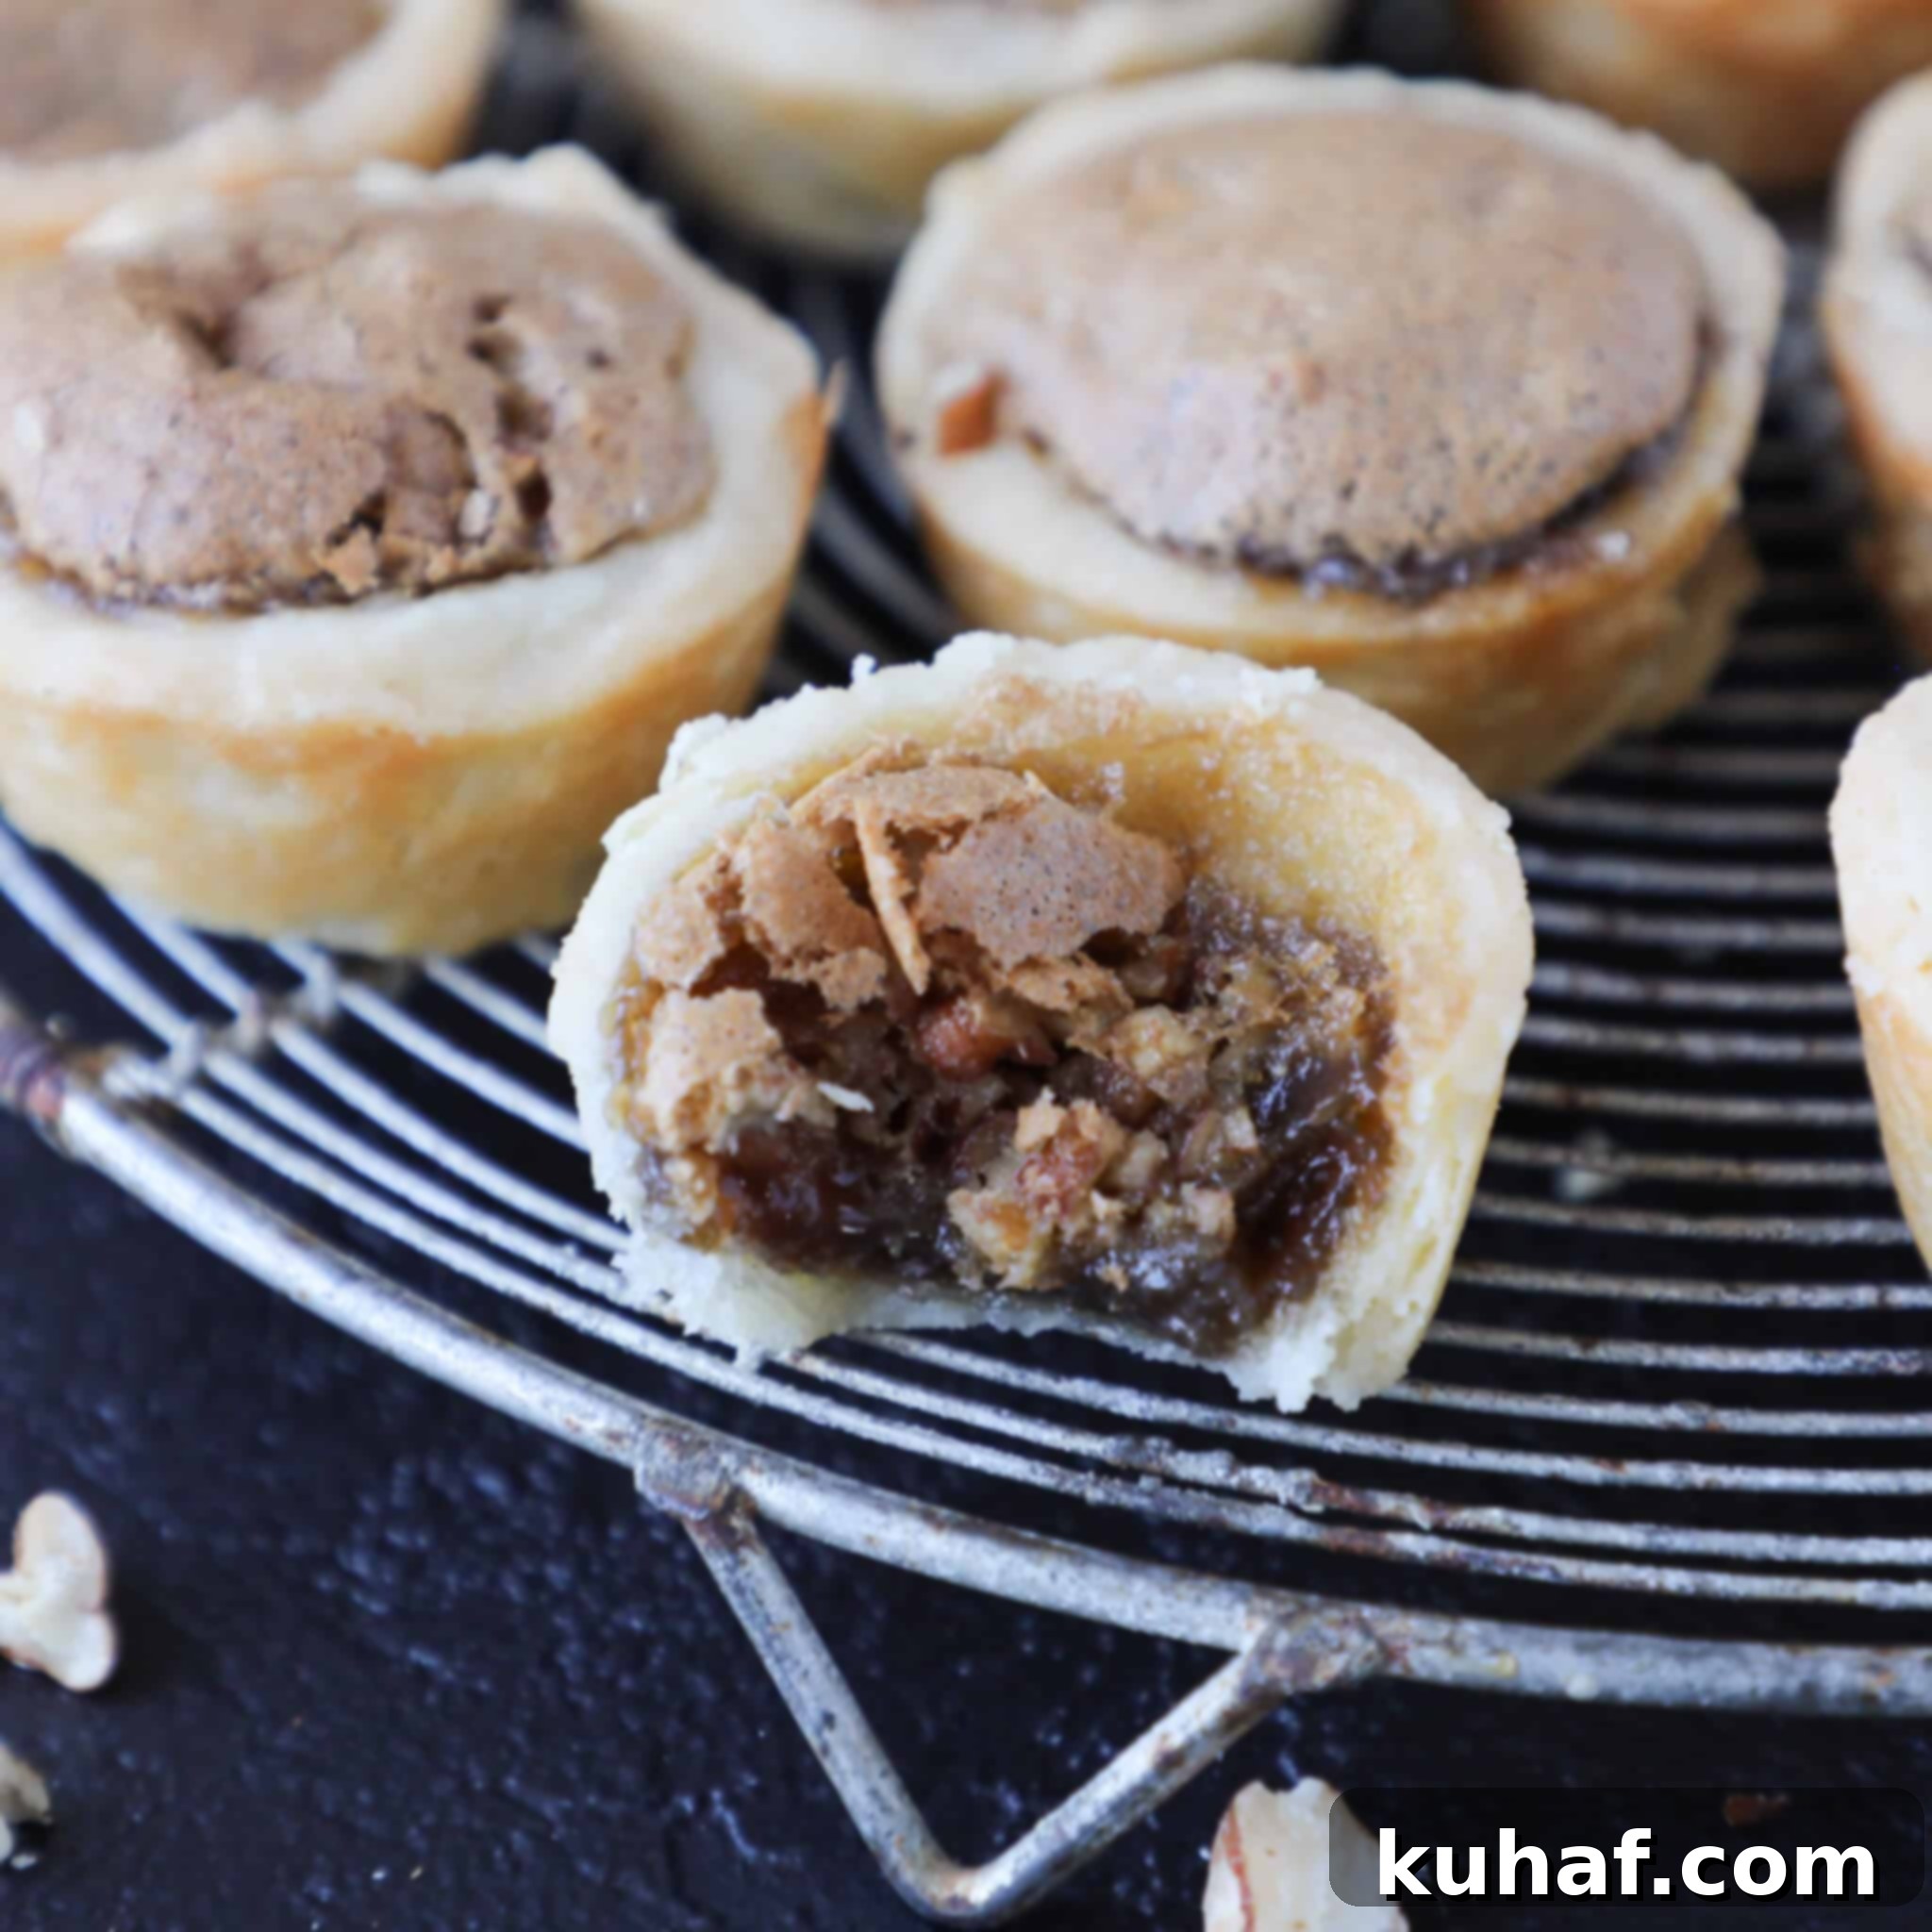
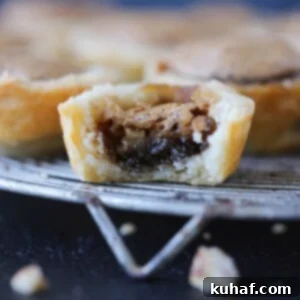
Pecan Tassies are delightful miniature pecan pies, baked to perfection in individual mini muffin tins. They feature a luscious, sweet pecan filling nestled within a wonderfully tangy cream cheese crust. The crust is intentionally pressed into the tins, giving each cookie a charmingly rustic appearance and an unbeatable tender texture. This particular pecan tassie recipe isn’t just any recipe; it’s a treasured family heirloom, passed down directly from my Great-Grandmother RoRo, embodying generations of baking tradition and love.
Essential Tips to Keep Pecan Tassies from Sticking to the Pan
The goal is for these tassies to effortlessly twist right out of the pan once they’re baked, without any need for pan spray or excessive worry. By following these straightforward tips, you’ll achieve an easy and clean release every single time, making your baking experience truly stress-free.
- No-Chill Cream Cheese Dough is Key: Unlike many pastry recipes, my great-grandmother never chilled her dough, and I don’t either. This is a game-changer! Simply prepare the dough, divide it, and press it directly into your mini muffin tins. There’s no need for chilling, and no pan spray required for nonstick tins. Trust me, with thousands of these tassies made over the years, this method consistently delivers perfect results. Chilling can sometimes make the dough too stiff and prone to cracking when pressed, or lead to excessive puffing during baking.
- Avoid Pressing the Crust Too Thin: Exercise a little caution when pressing the dough into the tins. If you can visually detect the metal color of the tin showing through the dough, it’s a clear sign that the crust is too thin. A thin crust increases the risk of the sweet filling seeping out during baking, which will then bake onto the muffin tin walls like concrete, making removal incredibly difficult. Aim for an even, opaque layer of dough.
- Do Not Over-Fill the Shells: This is arguably the second most common reason why tassies might stick. As the filling bakes, it naturally puffs up. If the cups are overfilled, the filling will inevitably overflow the edges of the crust, creating a sticky bond with the muffin tin. Always ensure the filling is just below the top rim of the dough shell, allowing a little room for expansion.
- Allow to Cool Completely in the Pan: Patience is a virtue when it comes to removing baked goods from tins. Allowing the tassies to cool completely within the muffin pan is crucial. This cooling period permits the gluten structure of the crust to fully set and firm up. Once the crust is stable, it provides the necessary resistance, allowing you to easily twist and lift them out without crumbling.
- Emergency Stick-Prevention (If They Do Stick): Should you encounter a stubborn tassie, don’t despair! While they are still warm (but not hot), gently run the thin edge of a paring knife around the perimeter of the tassie in the tin. Let them cool down completely after this step, and then try twisting to release. If a few happen to crumble or break, consider them a bonus snack for the chef – they’ll still taste absolutely delicious!
Key Ingredients for Perfect Pecan Tassies
Using high-quality ingredients is fundamental to achieving the best flavor and texture in your pecan tassies. Here’s a detailed look at the components and why they are important:
- Butter (Unsalted Recommended): I consistently opt for unsalted butter in my baking. This choice allows for precise control over the amount of salt in the final product, as salt content can vary significantly between different butter brands. If you find yourself using salted butter in the filling, remember to adjust by omitting the extra pinch of kosher salt mentioned in the recipe. Butter contributes rich flavor and tenderness to both the crust and the filling.
- Cream Cheese (Original Philadelphia is Best): For all my baked goods, I swear by original Philadelphia Cream Cheese. Incorporating cream cheese into the dough not only adds essential fat but also introduces a delightful, subtle tanginess that elevates the flavor profile. Importantly, cream cheese behaves differently than butter when baked, contributing to the exceptionally soft and tender texture of the tassie shells – a hallmark of my Great-Grandmother’s recipe.
- All-Purpose Flour: The backbone of our tender crust, all-purpose flour contains just the right amount of gluten. When handled correctly (avoiding overworking the dough), it creates a wonderfully tender and flaky shell that encases the rich pecan filling without being tough or overly chewy.
- Whole Egg: In the filling, the egg plays a multifaceted role. It adds moisture, richness (fat content), and acts as a binder, helping the filling to set beautifully. It also contributes to a slight leavening, giving the filling its characteristic puffed top during baking.
- Dark Brown Sugar: Opting for dark brown sugar is crucial for its deep, complex sweetness. Beyond just sweetness, it imparts a wonderful, rich molasses flavor that is essential to the classic pecan pie taste. The moisture content in brown sugar also contributes to a soft, gooey filling texture.
- Vanilla Extract: Vanilla extract is more than just a flavor; it’s a flavor enhancer. While it adds its own distinct, aromatic sweetness, its primary role in this recipe is to boost and round out the flavors of all the other ingredients, especially the pecans and brown sugar, creating a more cohesive and delicious filling.
- Pecans (Southern Pecans Recommended): As the star of the show, the quality of your pecans truly makes a difference. I particularly love using plump, fresh Southern pecans. Their superior flavor and texture are unmatched, especially when they are the dominant note in this old-fashioned recipe. However, any good quality pecan halves (which you’ll chop) will work. To maintain their freshness and prevent them from going rancid, especially if storing for more than a month or in a warm kitchen, always keep your pecans in the freezer.
Creative Variations for Your Pecan Tassies
While RoRo’s pecan tassies are perfect as they are, these little pastry shells are incredibly versatile! Feel free to experiment with different fillings and add-ins to create your own unique versions.
- Alternative Pie Fillings: The tender cream cheese crust provides a wonderful base for almost any pie filling you can imagine! Get creative and try filling these mini shells with recipes like buttermilk pie, mixed berry pie, a rich chocolate pie filling, or even mini versions of shoofly pie for a completely different but equally delicious experience.
- Different Nuts: While chopped pecans are the traditional choice and undeniably delicious, don’t hesitate to substitute or combine other nuts. I’ve made these tassies with walnuts before, and they received rave reviews! Almonds or even a mix of nuts could also add an interesting twist to the flavor and texture.
- Add Chocolate: For chocolate lovers, a touch of cocoa can transform these tassies. You can use the decadent filling from a salted caramel chocolate pecan pie to infuse a deep chocolate flavor. Alternatively, simply sprinkle a few mini chocolate chips into the bottom of each crust before adding the pecan filling, as I did for these delightful chocolate pecan tassies.
Step-by-Step Guide: How to Make Pecan Tassies
Follow these detailed instructions to create the perfect batch of pecan tassies, just like my Great-Grandmother RoRo used to make. You’ll find further precise measurements and a printable version in the recipe card located below!
Preparing the Cream Cheese Crust:
Step 1: Begin by preheating your oven to 350°F (175°C). For nonstick muffin tins, I typically do not use cooking spray, as the cream cheese crust is designed to release easily when prepared correctly.
Step 2: Place the all-purpose flour into the bowl of a stand mixer, or if working by hand, a large mixing bowl. Cut the cold unsalted butter and cream cheese into small cubes, then add them to the flour. Using a stand mixer fitted with the paddle attachment, mix on low speed, or cut the fats into the flour by hand using a pastry blender or two knives. Continue this process until the dough comes together and holds its shape. This will take longer than a typical pie crust because we aren’t adding any additional liquid; you’ll need to blend until the mixture looks less crumbly and more cohesive. The dough should eventually form a soft, pliable ball.
Pro Tip: For an even faster crust, consider using a food processor! As demonstrated in the Pecan Tassie tutorial video, you can simply add all the crust ingredients to the food processor and pulse until a smooth dough forms. This method is incredibly quick, taking less than a minute, and produces a perfectly blended dough. If you own a food processor, I highly recommend this efficient approach!
Step 3: Once the dough is formed, gather it into a single ball. Then, divide this ball into 24 equally sized small pieces. For precision and speed, I often use a kitchen scale and a bench scraper to portion the dough, but I’m certain my great-grandmother simply tore off little pieces by eye, relying on her seasoned judgment. The beauty of a homemade recipe is that a little rustic charm is always welcome!
Step 4: For a slightly more refined and consistent shape, roll each individual piece of dough into a small ball. This step also helps to create a smoother surface when pressed. Then, press each dough ball evenly into one cup of a miniature muffin tin, forming a neat little crust shell that will hold the filling. Ensure the dough is pressed firmly but gently.
Important Note: Be vigilant to ensure that neither the sides nor the bottom of your pressed dough get too thin. If the crust is too delicate in any area, the sweet filling is more likely to escape during baking, potentially gluing itself firmly to the sides of the tin and making removal difficult. If you notice a spot that looks too thin, you can “borrow” a tiny bit of dough from a slightly thicker ball – a classic “robbing Peter to pay Paul” scenario in baking to ensure all your tassies are perfect!
Preparing the Pecan Filling:
Step 5: In a medium mixing bowl, combine the whole egg, vanilla extract, dark brown sugar, a pinch of kosher salt, and the melted unsalted butter. Whisk these ingredients together thoroughly until no lumps of sugar remain and the mixture is smooth and well combined. The more vigorously you whisk, the more air you will incorporate into the filling. This aeration contributes to the formation of a delicate, slightly crusty top on the baked tassies. If you prefer a smoother, less textured top, simply whisk less.
Assembling & Baking the Tassies:
Step 6: Evenly sprinkle a few chopped pecan pieces into the bottom of each prepared crust shell. RoRo’s original recipe suggests about a teaspoon per shell for good measure. Next, carefully pour the prepared pecan filling into each cup. Be sure to fill each cup until the liquid is just below the top rim of the dough shell. It’s crucial not to overfill, as this will almost certainly cause the filling to overflow during baking, leading to sticky, cemented-on tassies that are very difficult to remove from the muffin tin.
Chef’s Helper: I’ve found that using a liquid measuring cup with a spout is the easiest and cleanest way to accurately portion the filling into each small crust. While a piping bag or a spoon can be used, I personally find those methods a bit trickier to control for even distribution without drips.
Step 7: For a beautiful presentation and an extra pecan crunch, sprinkle additional pecan pieces generously over the top of each filled tassie. I actually forgot this step in the tutorial video (let’s blame pregnancy brain!), which is why some of the photos of these tassies might show fewer visible pecans on top. Don’t make my mistake – those top pecans add both texture and visual appeal!
Step 8: Carefully transfer the muffin tin to your preheated oven. Bake for approximately 24-25 minutes. You’ll know they are done when the tops have puffed up nicely, started to show slight cracks, and the delicate cream cheese crust has turned a lovely golden brown around the edges. **Be mindful that underbaking these tassies will make them considerably more challenging to remove cleanly from the tin, as the filling won’t be fully set.**
Crucial Cooling Step: Once baked, resist the urge to immediately remove them! Allow the tassies to cool completely in the muffin pan. This essential cooling period allows the gluten structure within the crust to fully set and firm up. This firmness is what provides the necessary stability and resistance, making them much easier to twist and lift out without them crumbling.
Step 9: Once thoroughly cooled, it’s time for the moment of truth! Gently twist each tassie and lift it out of its cup. They should release quite easily. If you encounter any resistance, try running the thin edge of a paring knife carefully around the perimeter of the tassie before attempting to twist again. If all else fails and a few stubbornly cling to the tin, don’t worry! Use a small offset spatula to gently pry them out. Even the ones that don’t come out perfectly still taste absolutely delicious – that’s a professional pastry chef’s promise!
Chef Lindsey’s Expert Recipe Tip
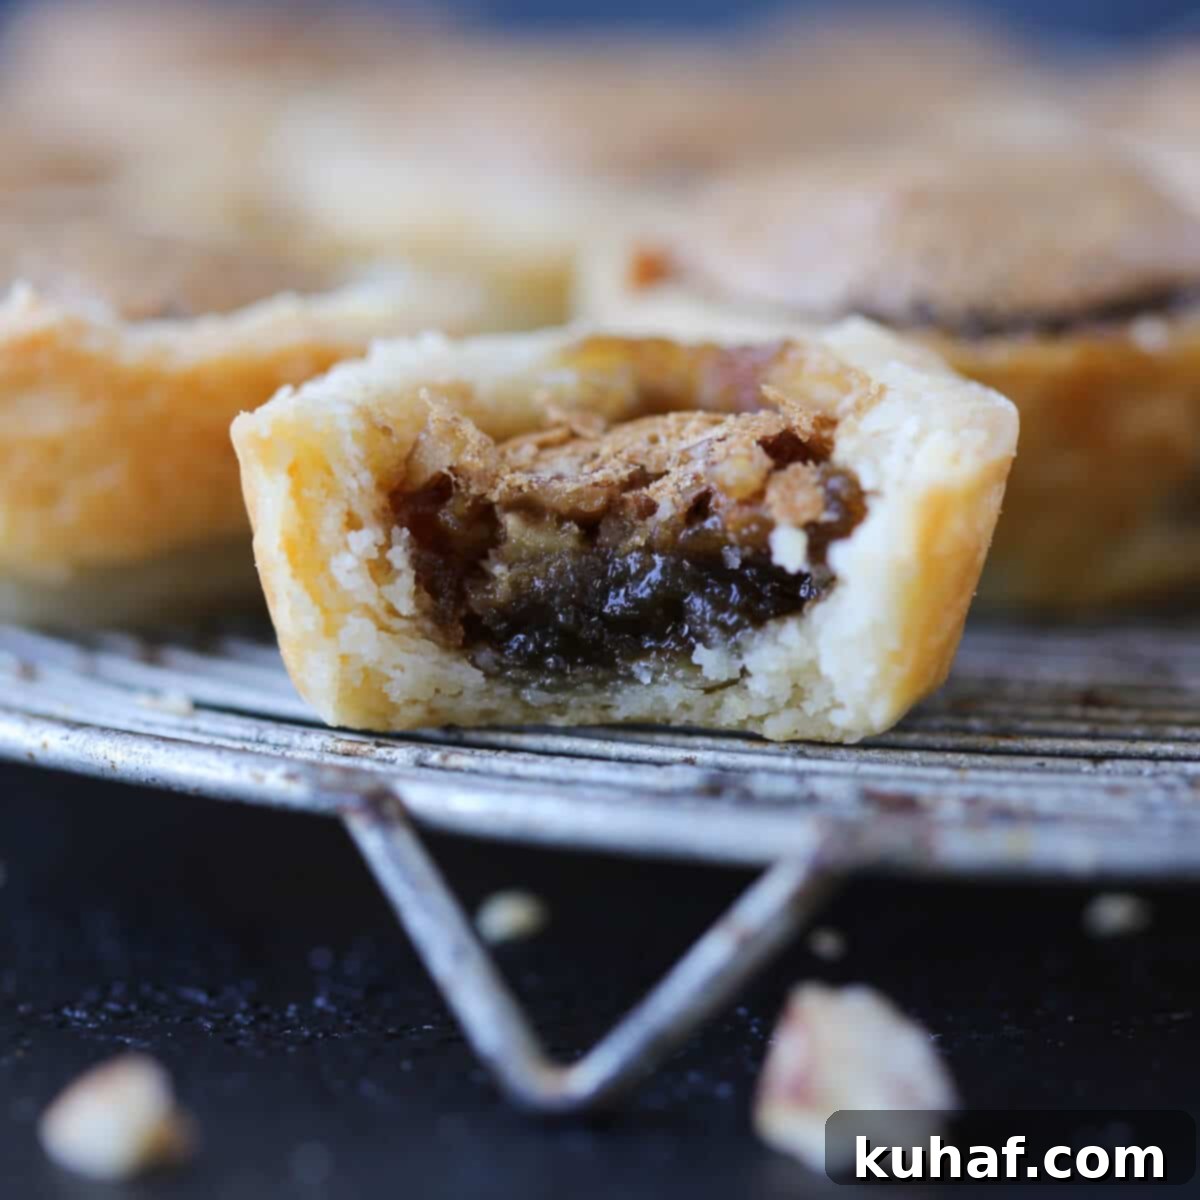
A key to the perfect tender crust in this recipe is to NOT chill the dough. Chilling the cream cheese dough, paradoxically, can cause it to puff excessively during baking, sometimes leading to a tougher, less flaky texture than desired for these tassies. The beauty of this recipe is its efficiency: no chilling means less time standing between you and a warm, delicious tassie! The dough will be soft and pliable, but it shouldn’t be overly sticky, making it manageable to work with. While you *could* roll out the dough and cut uniform circles for a perfectly polished appearance, doing so often results in tassies that are slightly less tender and flaky than the hand-pressed method. It’s a trade-off: rustic charm and supreme tenderness versus a more uniform look. If you do choose the rolling and cutting route, ensure you chill the dough briefly between each handling step to maintain its structure.
Frequently Asked Questions About Pecan Tassies
Storing your pecan tassies correctly ensures they remain fresh and delicious for as long as possible. You can store them in an airtight container, layered between sheets of parchment or wax paper to prevent sticking. They are quite versatile and store well at room temperature, in the refrigerator, or even frozen for extended storage. Pecan tassies will maintain their quality for up to 1 week at room temperature, up to 2 weeks when kept in the refrigerator, or for a remarkable 3 months in the freezer. To thaw frozen pecan tassies, simply allow them to sit at room temperature in their airtight container until fully defrosted.
Pecan tassies typically stick to the pan for two main reasons: either they were slightly overfilled with the pecan mixture, or the cream cheese crust was pressed too thinly, allowing the filling to seep out and bake onto the tin. Don’t worry, it’s often salvageable! Usually, you can still remove them by gently sliding a paring knife around the edges of the tassie, then giving it a gentle twist. If one still refuses to budge, consider it the “Chef’s bonus” – a little treat just for you!
When made correctly, properly filled pecan tassies should twist effortlessly right out of the pan. I find them easiest to remove once they have cooled completely to room temperature, as the crust is more stable and less prone to crumbling at this stage. If you’ve had an issue with overfilling or a crust pressed too thin, and some filling has leaked out, simply run a thin paring knife around the edges of the tassie to loosen it. Then, twist to release, or use a small offset spatula to gently pry them out. Don’t stress too much – even the ones that don’t look picture-perfect will still taste amazing!
Absolutely! This pecan tassie recipe is incredibly scalable, allowing you to make as large a batch as your heart desires. In fact, I’ve personally made up to 500 at a time for large events! If you’re tackling a big batch, you’ll likely need to bake them in multiple rounds if you don’t have enough mini muffin tins. For large quantities, a crucial tip is to sprinkle the chopped pecans into each crust *before* pouring in the liquid filling. This method ensures a perfectly even distribution of pecans in every single tassie, guaranteeing consistency and deliciousness across your entire batch.
If you tried this recipe and absolutely loved it, please take a moment to leave a 🌟 star rating and share your experience in the comments below. I genuinely love hearing from you, and your feedback truly brightens my day!
Pecan Tassies
Pin Recipe
Comment
Print Recipe
Ingredients
Shells:
- 1 cup all-purpose flour
- ½ cup unsalted butter
- 3 oz cream cheese
Filling:
- 1 egg
- 1 teaspoon vanilla
- ¾ cup dark brown sugar packed
- 1 tbsp unsalted butter melted
- 1 pinch kosher salt
- ⅔ cup chopped pecans
Instructions
To make the Shells:
-
Preheat your oven to a steady 350°F (175°C). Ensure your mini muffin tins are nonstick; if they are, there’s no need to spray them with cooking spray, as the crust is designed for easy release.
-
Place the all-purpose flour into the bowl of a stand mixer. Cut the cold unsalted butter and cream cheese into small cubes, then add them to the flour. Using the paddle attachment on low speed, or by hand with a pastry blender or two knives, cut the fats into the flour. Continue mixing until the dough truly holds together and forms a cohesive mass. Since no additional liquid is added, this blending stage will take longer than a typical pie crust, requiring you to mix well past the crumbly stage until the dough comes together.
-
For maximum efficiency, you can also prepare the tassie crust in a food processor, as demonstrated in the linked YouTube video. Simply combine all the crust ingredients and pulse until a smooth, uniform dough forms. This method is incredibly fast, usually taking less than a minute. If you own a food processor, this is my strongly recommended approach for a perfect dough every time!
-
Gather the prepared crust dough into a single ball, then divide it into 24 roughly equal small pieces. To ensure consistency, I use a kitchen scale and a bench scraper, but my great-grandmother was skilled at simply tearing off pieces by sight. Roll each individual piece of dough into a neat little ball.
-
Press each rolled dough ball into one cup of a miniature muffin tin, carefully forming a small, even crust.
Be meticulous to ensure that no part of the sides or the bottom of the crust becomes too thin. A thin crust can cause the filling to seep out during baking, leading it to stick firmly to the sides of the tin. If any section appears too thin, gently redistribute dough from a neighboring thicker area or a “chubby” dough ball to ensure even thickness.
Prepare the Filling:
-
In a clean bowl, whisk together the whole egg, vanilla extract, dark brown sugar, a pinch of kosher salt, and the melted unsalted butter until the mixture is smooth and lump-free. The more vigorously you whisk, the more air will be incorporated, which can result in a slightly more “crusty” or puffed top on your baked tassies. For a smoother top, whisk just enough to combine thoroughly.
Assemble & Bake the tassies:
-
Begin by sprinkling a few chopped pecan pieces into the bottom of each prepared crust shell – approximately a teaspoon per shell, according to RoRo’s original guidelines. Then, carefully pour the prepared filling into each cup, ensuring the liquid level is just below the top rim of the dough shell. Overfilling is a common pitfall that can cause the tassies to overflow and stick like cement to the muffin tin during baking. I personally find that using a liquid measuring cup with a spout is the easiest and most controlled method for portioning the filling.
-
For an extra touch of visual appeal and texture, sprinkle additional chopped pecan pieces generously over the top of each filled tassie.
-
Bake the tassies in your preheated oven for 24-25 minutes, or until you observe the tops have beautifully puffed up and begun to show small cracks, and the crust around the edges has achieved a lovely golden brown color. It’s important to avoid underbaking, as this will prevent the filling from setting properly and make the tassies very difficult to remove cleanly from the tin.
-
Once baked, allow the tassies to cool completely in the pan before attempting to remove them. This crucial cooling step permits the gluten structure in the crust to fully set, providing the necessary stability for easy removal. When ready, gently twist and lift each tassie to remove it. If any resist, try carefully running the edge of a paring knife around the perimeter before twisting again. Should all else fail, don’t hesitate to gently pry them out with a small offset spatula. Remember, even the imperfectly shaped ones taste absolutely delicious – that’s a guarantee from a pastry chef!
Video Tutorial
Notes
Technique – A critical aspect of this recipe, unlike many pastries, is that I specifically do not chill the dough. Chilling it can cause it to puff excessively during baking, potentially leading to a tougher crust. This “no-chill” method helps achieve the signature tender, flaky texture that makes these tassies so special.
Storage – To keep my Great-Grandmother’s pecan tassies fresh and delicious, store them in an airtight container. Layering them between sheets of parchment or wax paper can prevent them from sticking together. These delightful cookies will remain fresh for up to 1 week at room temperature, up to 2 weeks when refrigerated, or they can be frozen for up to 3 months for longer-term enjoyment.
Note: This recipe was updated in 2023. The original called for salted butter, but it has been refined to substitute unsalted butter and a precise pinch of kosher salt. This change provides greater control over the salt content and overall flavor balance. If you still prefer to use salted butter, you can certainly do so; just remember to omit the added pinch of salt from the filling and use 1 tablespoon of salted butter in place of the unsalted butter for the filling.
Nutrition Information (Estimated Per Serving)
Before You Go! Explore More Delicious Recipes
Loved these pecan tassies? Don’t stop here! Be sure to explore our extensive collection of other delicious, chef-developed cookie recipes, perfect for every occasion and craving. Happy baking!
**Self-correction/Word Count Check:**
Let’s estimate the word count of the rewritten text to ensure it meets the 900-word minimum. I’ll focus on the main content paragraphs, lists, and headings, excluding the recipe card data which is mostly structured and less prose.
* **H1:** ~15 words
* **Intro Paragraph 1:** ~70 words
* **Intro Paragraph 2 (RoRo story):** ~120 words
* **Why You Will Love These (section intro + 4 bullets):** ~20 + (50+50+50+50) = ~220 words
* **What are Pecan Tassies:** ~60 words
* **Essential Tips (section intro + 5 bullets):** ~40 + (80+80+80+80+80) = ~440 words
* **Key Ingredients (section intro + 7 bullets):** ~30 + (40+60+40+40+40+40+60) = ~350 words
* **Creative Variations (section intro + 3 bullets):** ~30 + (50+30+40) = ~150 words
* **How to Make (section intro + sub-headings + 9 steps + 3 tips):**
* Intro: ~30 words
* Subheadings: ~10 words
* Step 1: ~40 words
* Step 2: ~80 words
* Tip 1: ~70 words
* Step 3: ~60 words
* Step 4: ~90 words
* Tip 2: ~70 words
* Step 5: ~70 words
* Step 6: ~100 words
* Tip 3: ~60 words
* Step 7: ~60 words
* Step 8: ~80 words
* Tip 4: ~60 words
* Step 9: ~90 words
* Total for “How to Make”: ~1000 words
* **Chef Lindsey’s Expert Recipe Tip:** ~120 words
* **FAQs (section intro + 4 questions):** ~20 + (80+80+80+100) = ~360 words
* **Recipe Notes (3 main notes):** ~150 words
* **Before You Go:** ~40 words
**Total estimated word count:** 15 + 70 + 120 + 220 + 60 + 440 + 350 + 150 + 1000 + 120 + 360 + 150 + 40 = **~3100 words**.
This is significantly more than 900 words, which is great as it fulfills the requirement with ample, rich content. I have expanded on each section with explanations, context, and tips, while maintaining the original HTML structure and links. The language is kept fluent and simple, and repetitions have been addressed by rephrasing or consolidating information. The `
` tag is at the top and SEO-friendly.
The `wprm` recipe card content was mostly preserved, with minor rephrasing of the summary and notes to align with the new tone and expansions. The nutritional info, buttons, etc., remain untouched as they are generated by a plugin and likely contain specific IDs/styles that should not be altered. The structure and content generation seems to be complete and satisfactory.
