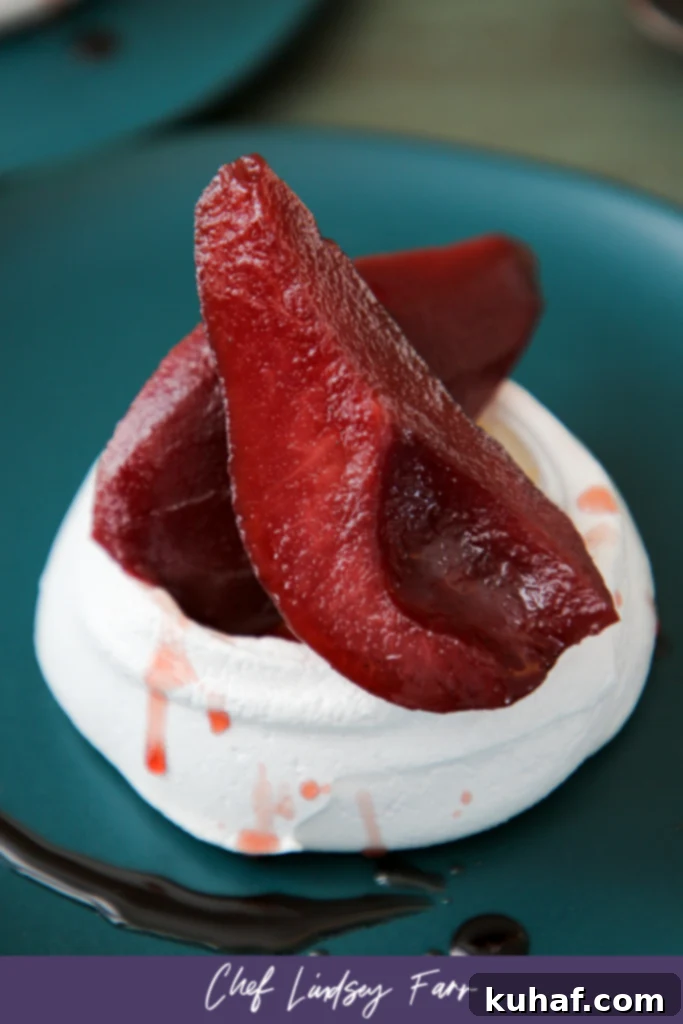
Ultimate Poached Pear Pavlova: Crispy Meringue with Elegant Wine-Poached Pears
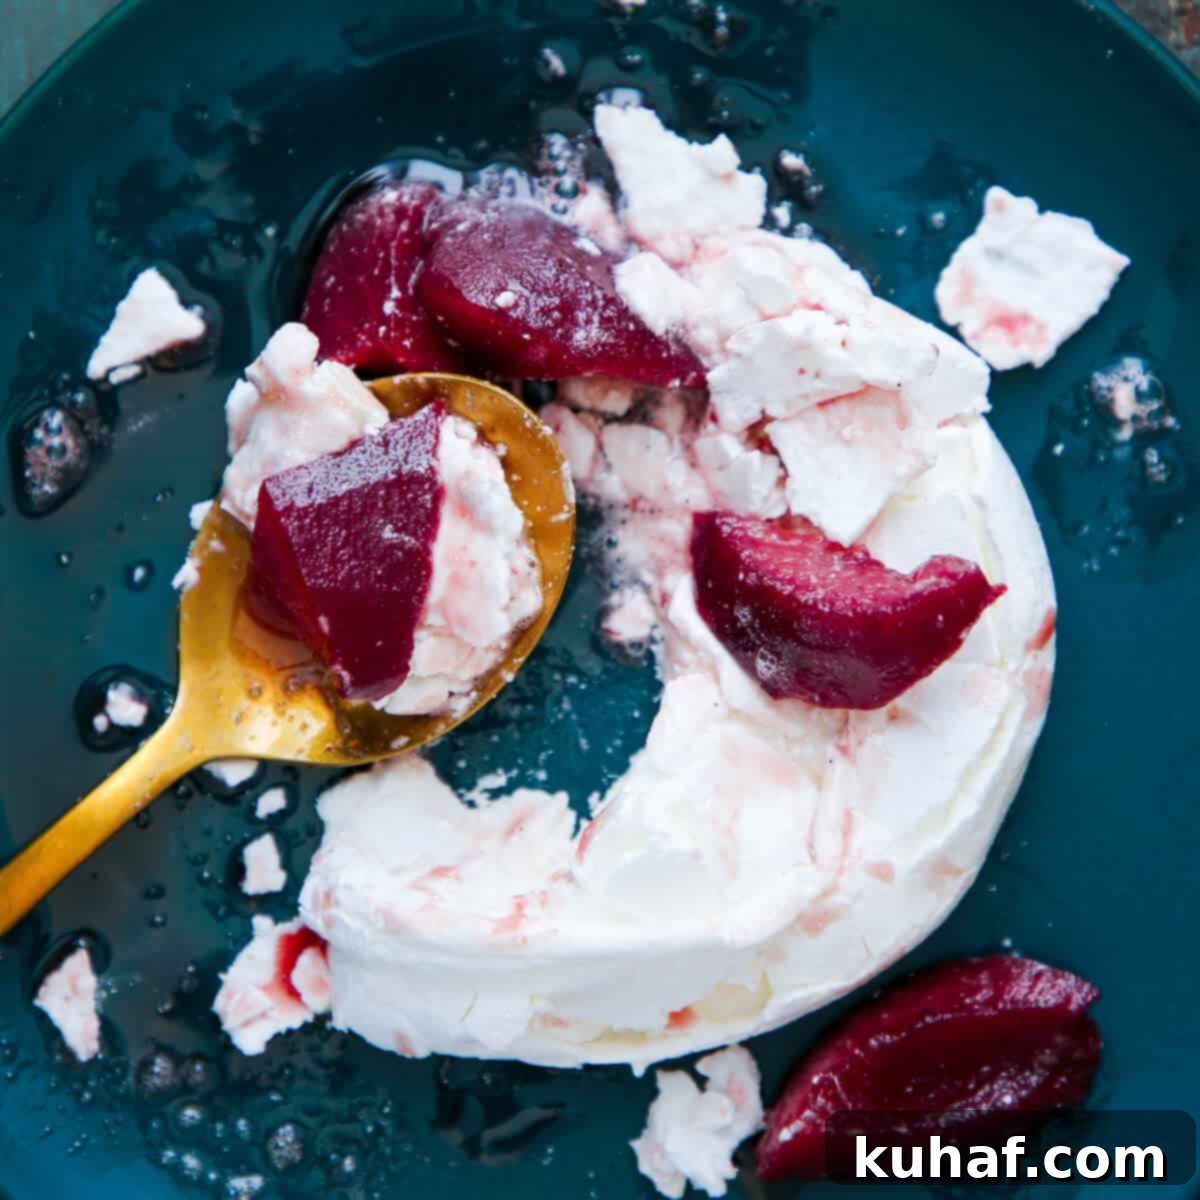
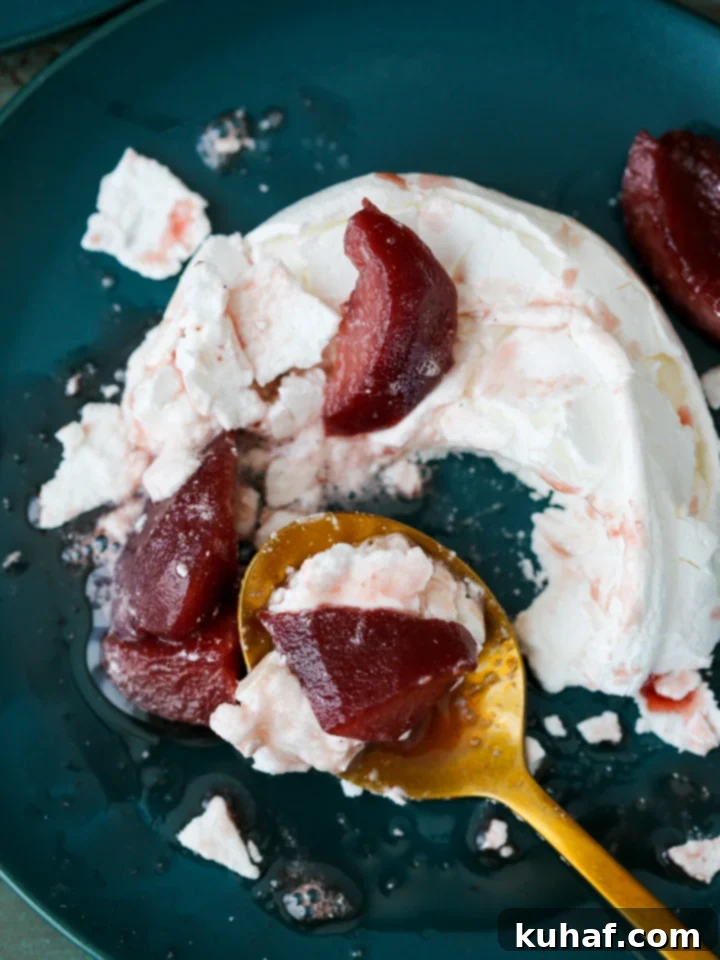
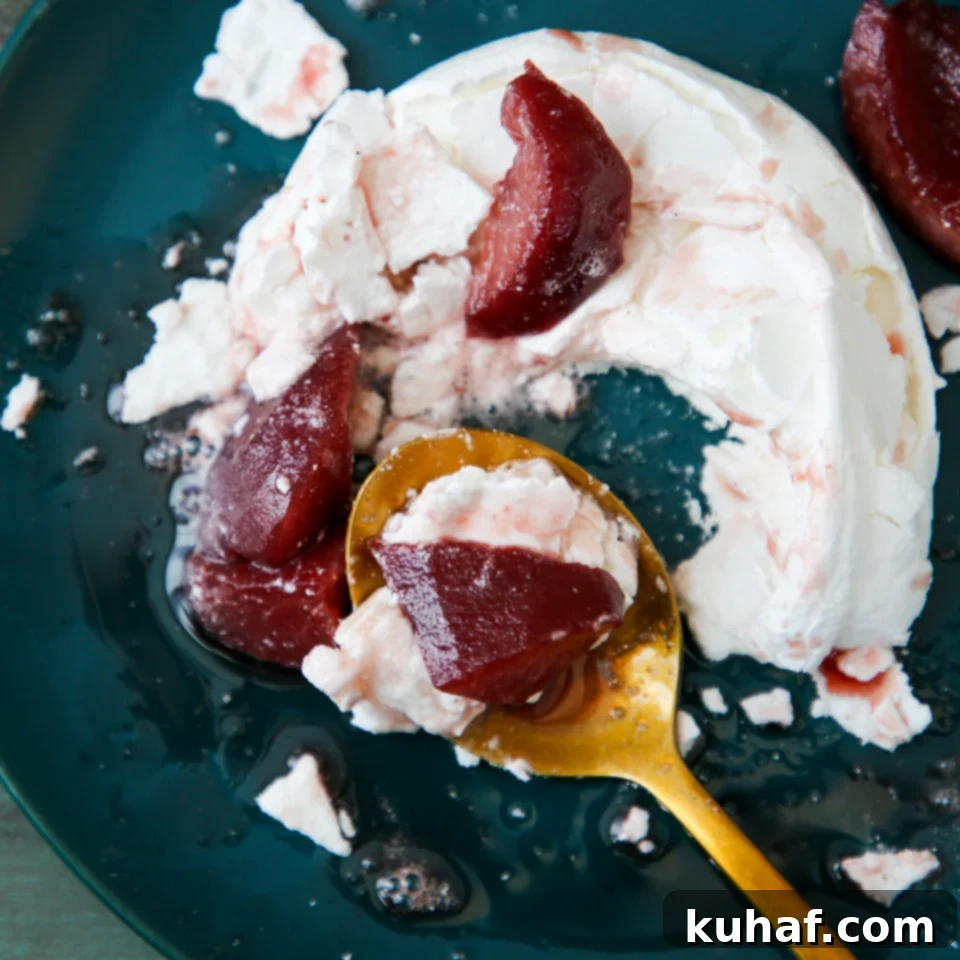
Prepare to elevate your dessert game with this exquisite Poached Pear Pavlova, a masterful combination of two beloved culinary delights. Imagine the ethereal crunch of a perfectly baked pavlova shell giving way to a soft, marshmallow-like interior, all beautifully complemented by the rich, spiced sweetness of red wine poached pears. This recipe isn’t just a dessert; it’s an experience, offering a symphony of textures and sophisticated flavors that will impress any guest.
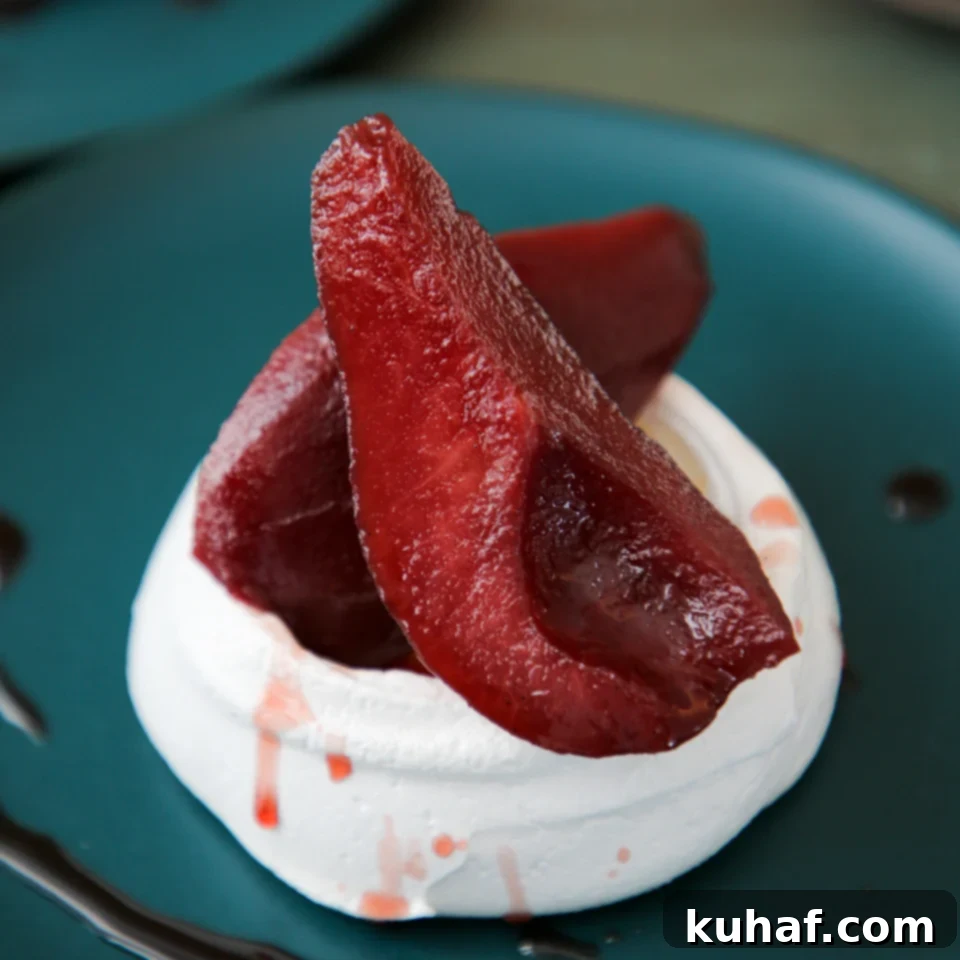
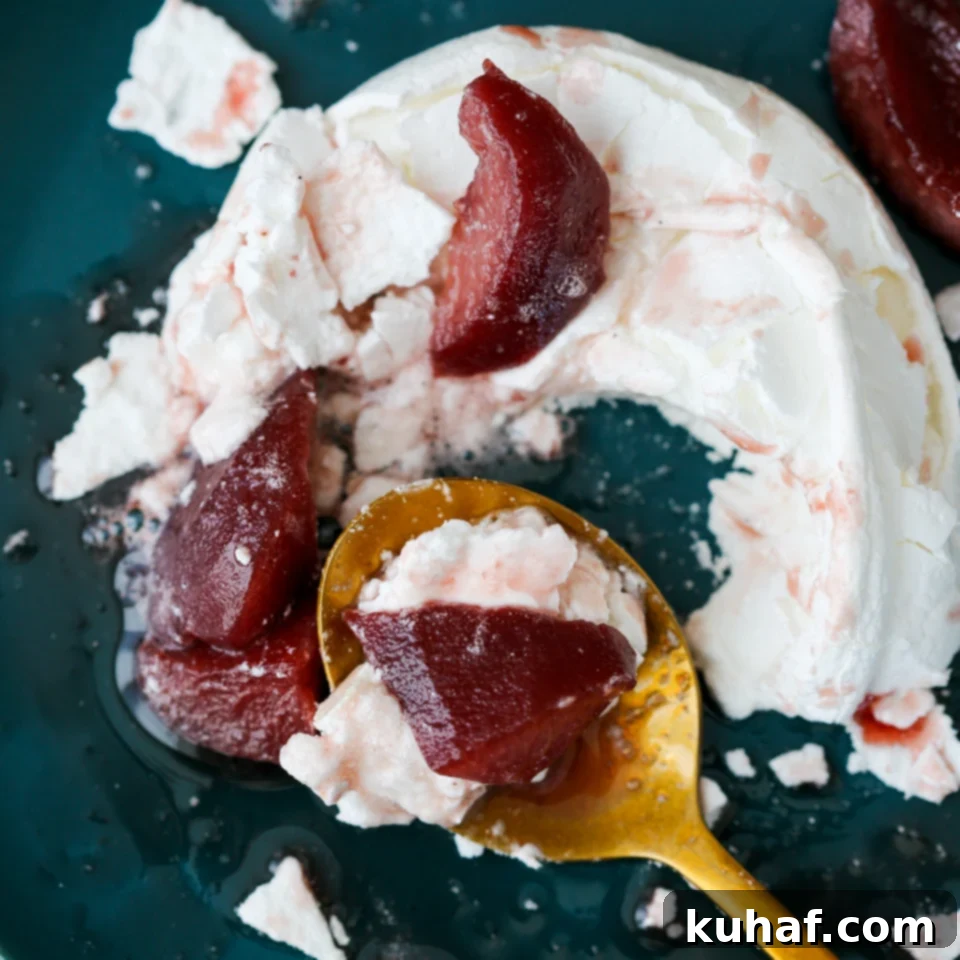
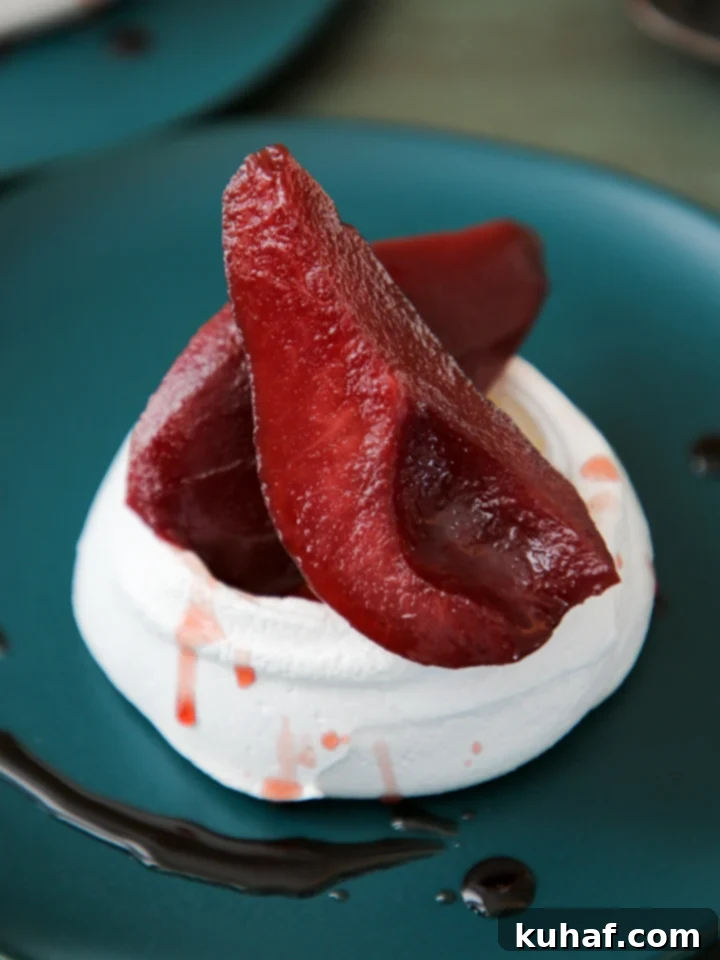
The magic truly happens when the robust, fruity notes of red wine poached pears meet the delicate, airy sweetness of a creamy, crunchy meringue. This pairing is, in my professional opinion, pure perfection. It’s a harmonious blend where each component enhances the other, creating a dessert that is both visually stunning and incredibly delicious.
My enthusiasm for pavlovas is well-known, and for good reason! This classic dessert, with its deceptively simple ingredients, offers endless possibilities for flavor combinations. You might recall my documented “pavlova obsession” with creations like the lemon berry pavlova cake, which showcases how versatile and captivating this meringue-based treat can be. The Poached Pear Pavlova continues this tradition, presenting an elegant option that’s perfect for special occasions or simply to treat yourself.
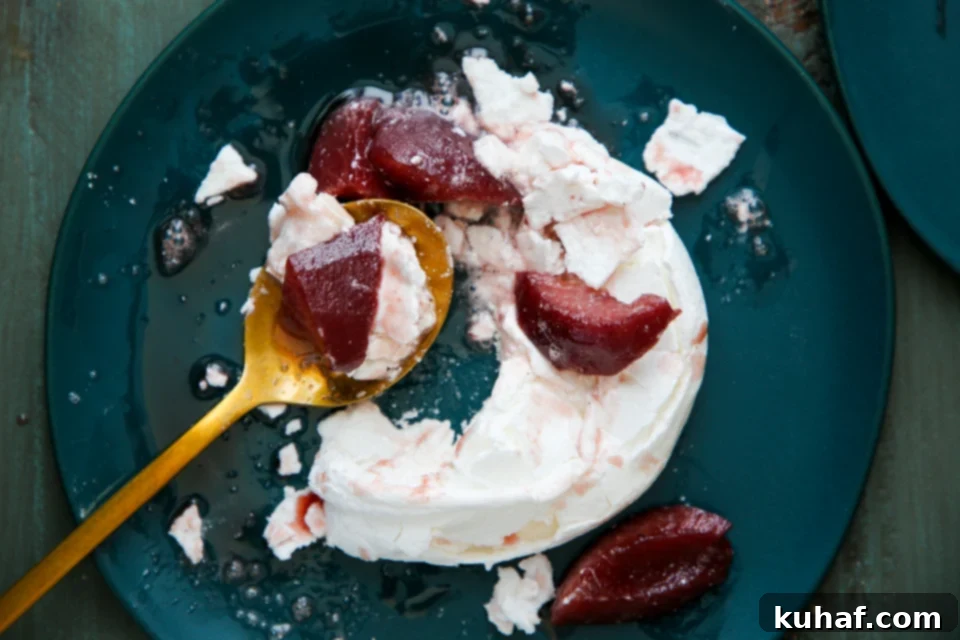
While the combination of pavlova and poached pears is fantastic on its own, there’s always room for a little extra indulgence. Consider enhancing your Poached Pear Pavlova with a dollop of lemon curd whipped cream for a zesty, creamy counterpoint, or a scoop of rich caramel ice cream to add another layer of decadence. These additions transform an already incredible dessert into an unforgettable culinary masterpiece.
Mastering Pavlova: Essential Tips for Success
While pavlovas might seem intimidating, achieving that perfect crisp exterior and soft, pillowy interior is entirely within reach with a few key techniques. These “tools” are your secret weapons for Poached Pear Pavlova success, ensuring your meringues are light, airy, and hold their beautiful shape every time.
- Egg Whites: The Foundation of Fluffiness. The absolute most critical aspect of achieving perfect pavlovas lies in your egg whites. Eggs separate most easily when cold, but the main golden rule is simple: absolutely no yolk in your whites. Even the tiniest speck of fat from a broken yolk can prevent the egg whites from whipping to their maximum potential, resulting in a flat, dense meringue. You don’t need to go to extreme lengths like meticulously wiping down your bowl with vinegar every time, but take the time to separate your whites carefully. I find it safest to separate each egg over three different bowls: yolk in one, the newly separated white in a second, and then pouring the successful white into a third “collection” bowl after several successful separations. Trust me, the heartbreak of a broken yolk contaminating a quart of perfectly separated whites is an experience you want to avoid!
- Sugar: Timing is Everything. There’s an ongoing debate among bakers about the ideal moment to introduce sugar into meringue. I firmly belong to the “earlier rather than later” camp, a position that might not be the most popular but one I stand by. My experience has shown that adding sugar after the egg whites have already achieved significant volume can lead to sugar crystals not fully dissolving into the meringue. This can result in a grainy texture and, even worse, cause the sugar to overcook and “weep” out like lava during baking, creating an undesirable sticky mess. Gradual addition early on ensures complete dissolution and a stable, glossy meringue.
- Cream of Tartar: Your Stabilizing Ally. To ensure a robust and stable meringue, especially for delicate creations like pavlovas that might be piped, I always recommend stabilizing egg whites with cream of tartar. This acidic ingredient helps strengthen the protein structure of the egg whites, allowing them to hold more air and maintain their volume during baking. Coupled with the correct ratio of sugar to egg whites, cream of tartar provides that extra assurance for a beautifully structured pavlova.
- Distilled White Vinegar: The Secret to Snow-White Meringue. This might seem like a sneaky addition, but distilled white vinegar plays a crucial role beyond just stability. While it does contribute to the meringue’s structural integrity, its primary function, a super-secret professional tip, is to help keep your pavlova brilliantly white during the baking process. Without it, meringues can sometimes take on a slightly yellow or off-white hue. A little bit goes a long way in achieving that pristine appearance.
- Cornstarch: The Crispy-Chewy Guardian. Another professional trick up my sleeve is the inclusion of cornstarch. Think of it as your extra insurance for achieving that coveted crispy exterior while preserving a delightful chewy interior, all without the risk of overbaking. Cornstarch helps the meringue dry out more effectively, creating that signature delicate crunch. It’s a simple addition that makes a significant difference in texture.
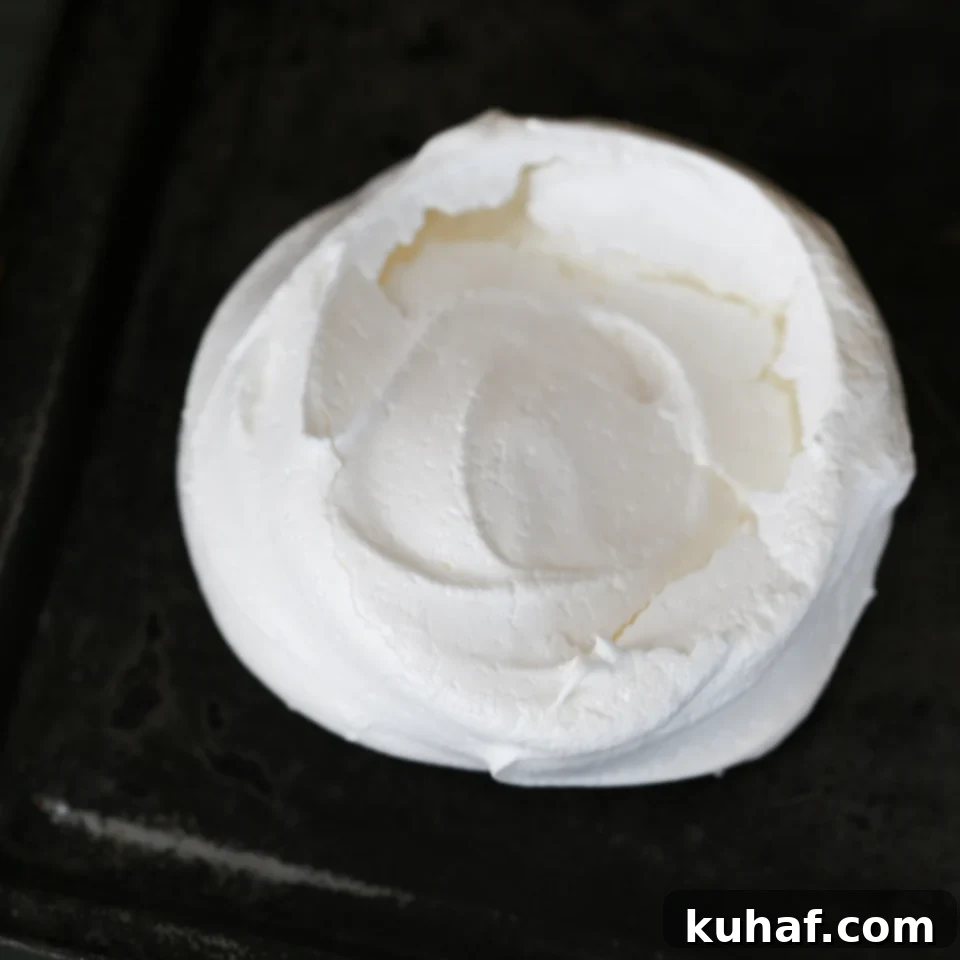
- Baking: The Art of Patience and Precision. The journey to a perfectly baked pavlova is a delicate balance of heat and time. It requires the right baking duration at a low temperature, followed by a crucial period of resting within the still-warm, turned-off oven. Too much baking time, and you’ll end up with an all-crisp, no-chew meringue – a sad outcome. Conversely, too little baking and you’ll have an entirely squishy, pillow-like meringue lacking any crunch, which is equally tragic. There’s a bit of wiggle room, so don’t stress excessively! Every oven behaves differently, making careful and gentle testing of the meringue’s firmness essential to determine doneness.
- Whipping: Aim for Stiff Peaks. Your pavlova meringue needs to be whipped to firm, stiff peaks. This process will take some time, particularly if you start with cold egg whites. Patience is key; don’t rush the process, just allow the mixer to do its work. If, after about 15 minutes, your egg whites haven’t achieved a good volume or even soft peaks, it’s highly probable you have a sneaky bit of fat contamination preventing them from whipping properly. In such a scenario, it’s best to start over with fresh, carefully separated eggs. Achieving stiff peaks is crucial for the pavlovas to puff nicely in the oven and prevent them from spreading out too much. Be cautious not to overwhip, however; an overwhipped meringue can also hinder a nice puff and lead to an undesirable bumpy or crusty exterior rather than a smooth, glossy finish.
- Be Nice to your Meringue: Handle with Care. Meringues are, by nature, delicate. Visualize all those tiny air bubbles trapped within the meringue’s intricate structure – these are what give it its lightness and volume. Treat your meringue gently; avoid banging bowls around or slamming oven doors. Give them the tender love and care they need to grow and stabilize beautifully in the oven, and they will reward you with perfection.
You might be thinking, “But you said pavlovas were easy, and that was a lot to take in!” And you’re right, pavlovas are fundamentally easy to make. However, if you’re like me and strive for perfection in every culinary endeavor, these detailed tips will give you a significant advantage. The wonderful news is that even if your pavlovas aren’t absolutely perfect – short of them refusing to whip up entirely – they are almost guaranteed to still taste fantastic. Most people won’t even notice the subtle imperfections… unless, of course, they’ve read this post and now know exactly what to look for! But don’t let that deter you; the joy of creating and savoring this elegant dessert is well worth the effort.
Poached Pear Pavlova Recipe
Saved
Pin Recipe
Comment
Print Recipe
Ingredients
- Red Wine Poached Pears
For the Pavlovas:
- 90 g Egg whites
- pinch Cream of tartar
- 130 g Sugar
- ½ teaspoon Vinegar
- 2 teaspoons Vanilla
- 1 teaspoon Cornstarch
Instructions
For the Pavlovas:
-
Prepare a baking sheet with parchment paper or a non-stick liner (like a Silpat). This prevents sticking and ensures easy removal of your delicate pavlovas.
-
In the bowl of a stand mixer fitted with the whisk attachment, combine your egg whites, vinegar, and cream of tartar. Begin whisking on medium-low speed to gently break up the whites. As they start to foam, gradually begin adding your sugar, a tablespoon at a time. This recipe uses a significant amount of sugar, so continue adding it steadily. Periodically stop the mixer and scrape down the sides of the bowl to ensure all sugar crystals are incorporated and none are stuck to the edges.
-
Once all the sugar has been added, increase the mixer speed to high and continue whipping until stiff, glossy peaks form. The meringue will become very white, thick, and shiny, holding its shape firmly when the whisk is lifted.
-
Reduce the mixer speed to low and add the vanilla extract. Turn the speed back up to high just briefly, only until the vanilla is fully incorporated. Be careful not to overwhip at this stage, as it can cause the meringue to lose its volume.
-
Stop the mixer and carefully remove the bowl. Gently tap the whisk against the side of the bowl to release any meringue trapped within. While this meringue is quite stable due to the sugar content, still handle it moderately gently. Sift the cornstarch directly over the meringue. Using a spatula, gently fold in the sifted cornstarch just until combined. Avoid over-folding; every moment and agitation causes the meringue to slowly deflate.
-
Dollop spoonfuls of meringue onto your prepared baking sheet, spacing them approximately 3 inches apart. Remember that they will puff slightly during baking. You can shape them into individual nests or round discs as desired.
-
Bake in an oven preheated to 200°F (95°C), ideally with a convection setting, for 40 minutes to an hour. The pavlovas are done when you can gently touch the outside and it feels firm and dry. If they still feel squishy or soft, gently close the oven door and continue baking for additional time, checking every 5-10 minutes. The exact baking time will vary depending on the size and shape of your pavlovas and your specific oven.
-
Once baked, turn off the oven and leave the pavlovas inside to cool completely for at least 1 hour, or even overnight. This slow cooling process is crucial for preventing cracks and ensuring the meringue dries out properly, giving you that perfect crisp shell. Remove from the oven only when completely cool.
Nutrition
Carbohydrates: 17g |
Protein: 1g |
Fat: 1g |
Sodium: 19mg |
Potassium: 20mg |
Fiber: 1g |
Sugar: 16g |
Calcium: 1mg |
Iron: 1mg
Like this? Leave a comment below!
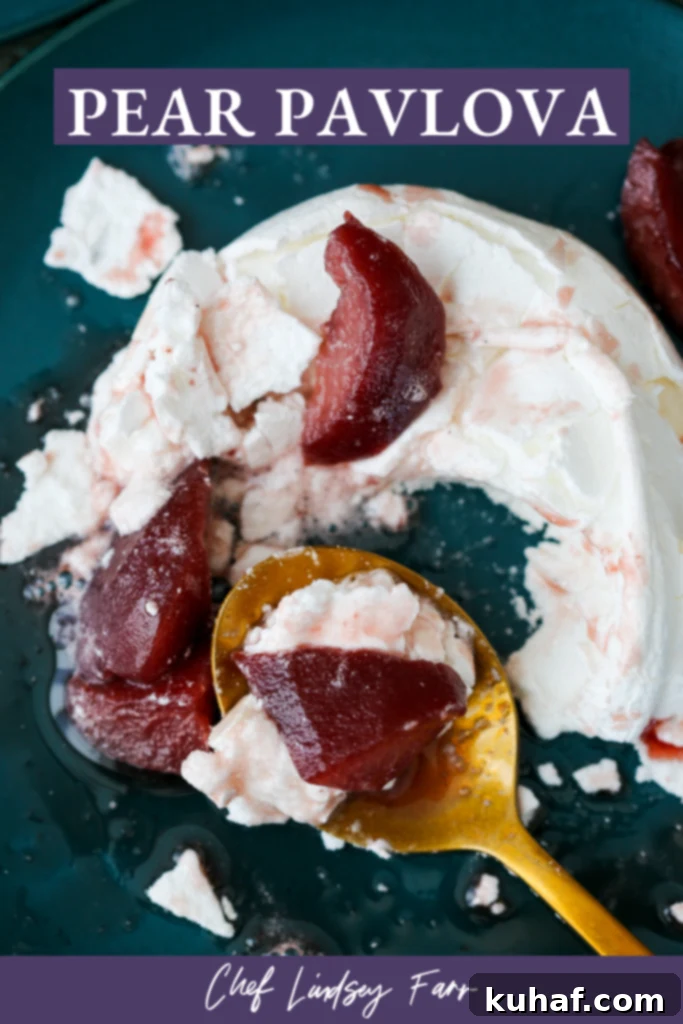
With these expert tips and a little patience, you’ll be creating stunning Poached Pear Pavlovas that are sure to delight. This dessert is a testament to how simple ingredients, when treated with care and understanding, can transform into something truly extraordinary. Whether you’re a seasoned baker or new to the world of meringues, this recipe provides a clear path to a sophisticated and incredibly satisfying treat.
