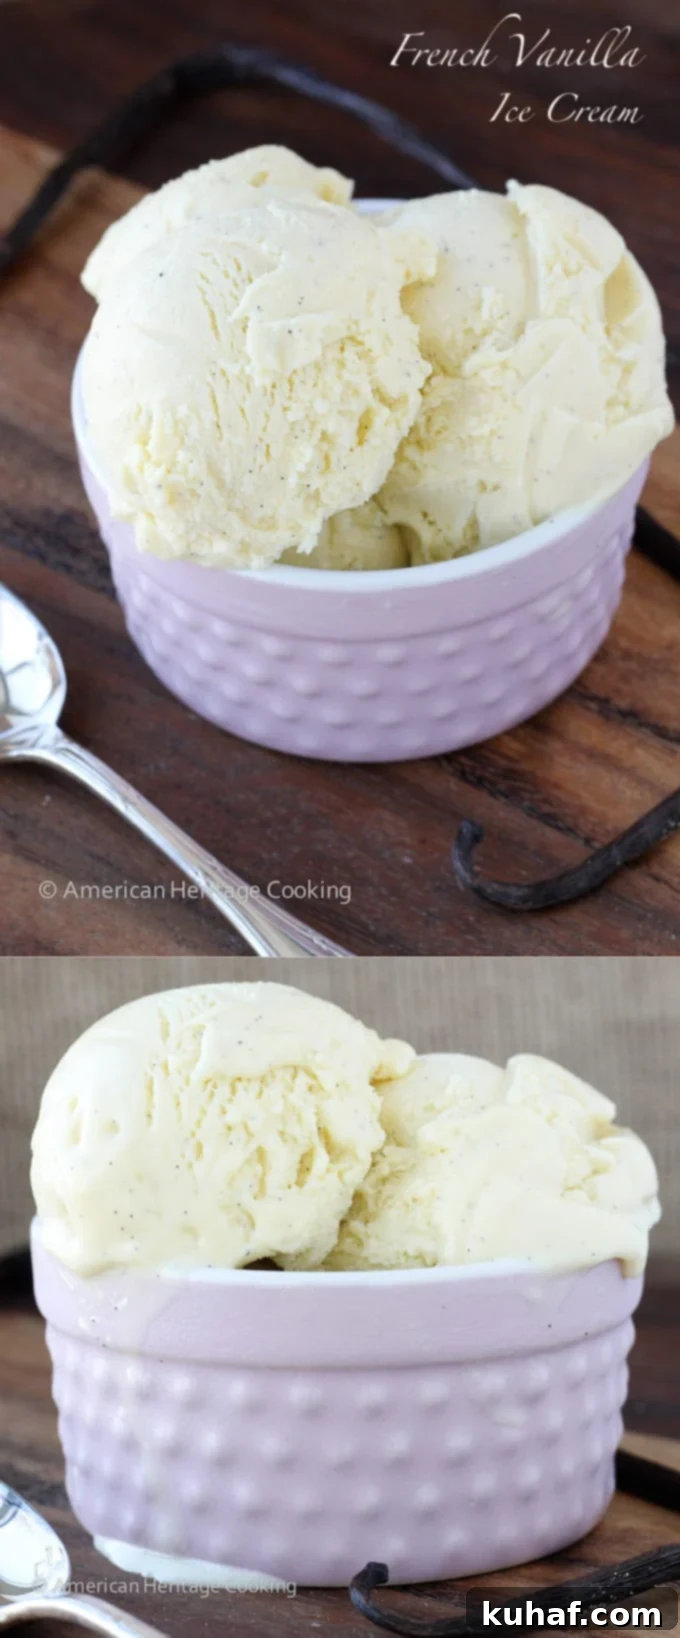
Mastering the Art of Homemade Vanilla Bean Ice Cream: A Professional Chef’s Guide to Unparalleled Creaminess
Unlock the secrets to crafting the most exquisite vanilla bean ice cream right in your own kitchen! This isn’t just any recipe; it’s a professional pastry chef’s perfected method for achieving a rich, impossibly creamy texture and an authentic, complex vanilla flavor that store-bought versions simply can’t match. With only 6 essential ingredients, you’ll be amazed at how simple it is to create a dessert that will truly impress.
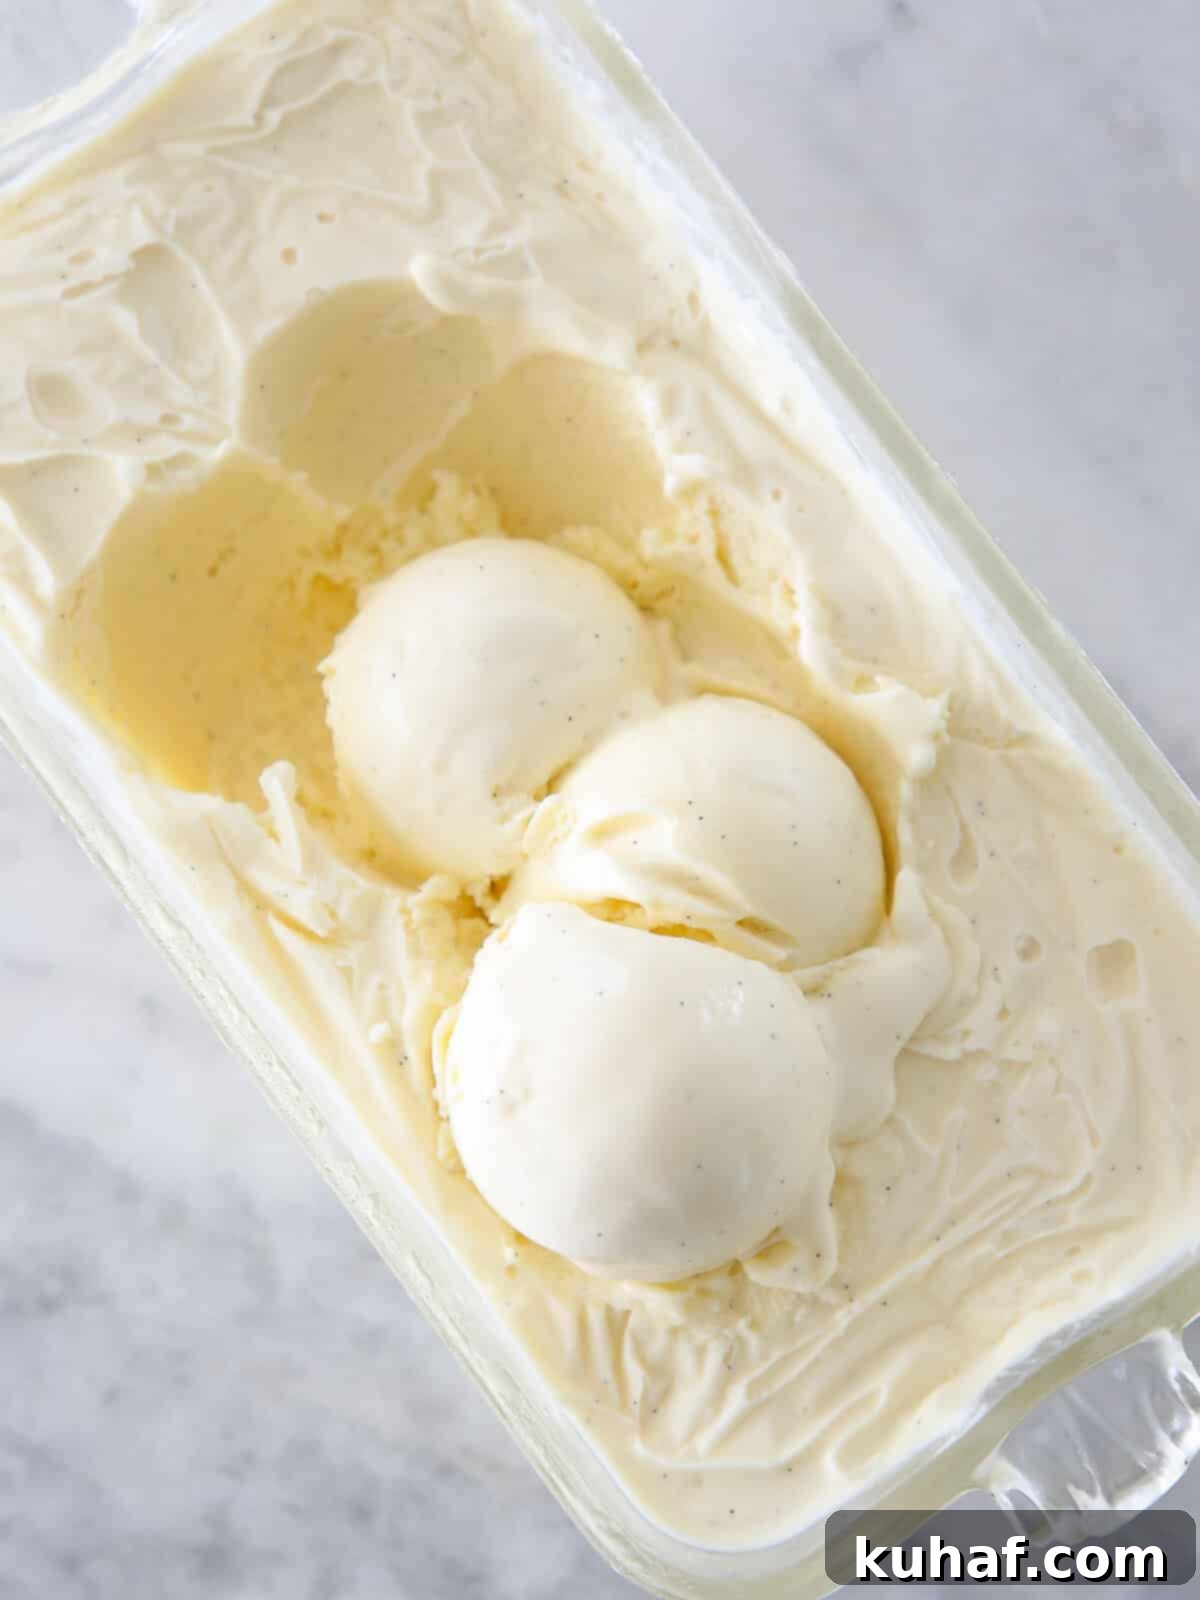
This exceptional vanilla bean ice cream recipe is built upon a luxurious, velvety custard base. This base is meticulously infused with genuine vanilla bean, ensuring every spoonful delivers a deep, complex vanilla flavor profile that tantalizes the palate. While it is possible to make ice cream without eggs, such recipes often fall short in terms of richness and supreme creaminess. My approach exclusively utilizes an egg yolk-based custard, which is the secret to its unparalleled texture and flavor.
To achieve this homemade masterpiece, you will need an ice cream maker (or a stand mixer attachment). While it adds an extra step to your dessert preparation, the superior quality and taste of the final product make it incredibly worthwhile. Imagine serving this glorious ice cream atop a warm, comforting bread pudding, a decadent flourless chocolate cake, a vibrant mixed berry pie, or as the perfect accompaniment to any of our other delicious pie recipes or professional cake recipes! Its versatility is truly unmatched.
Table of Contents
- Why This is the Best Vanilla Bean Ice Cream Recipe
- Professional Tips for Crafting Perfect Vanilla Ice Cream
- Essential Ingredients for Vanilla Bean Ice Cream
- Creative Variations & Smart Substitutions
- Secrets to Keeping Homemade Ice Cream Creamy, Not Icy
- Step-by-Step Guide: How to Make Vanilla Bean Ice Cream
- Chef Lindsey’s Expert Recipe Tip
- Inspiration: What to Serve with Vanilla Bean Ice Cream
- Frequently Asked Questions About Vanilla Bean Ice Cream
- Printable Vanilla Bean Ice Cream Recipe
- Before You Go: Explore More Deliciousness
Why This is the Best Vanilla Bean Ice Cream Recipe You’ll Ever Make
My quest for the ultimate vanilla ice cream led to years of meticulous refinement in professional restaurant kitchens. This recipe embodies that dedication, offering a dessert experience that stands above the rest:
- Unbelievably Creamy and Rich Texture: My extensive testing focused on creating the thickest, silkiest, and richest custard-based ice cream imaginable. The secret lies in adding extra fat primarily through egg yolks, rather than relying solely on heavy cream. This technique ensures an incredibly luxurious texture without the unpleasant, fatty coating on the mouth that can result from an overabundance of cream. The egg yolks act as a natural emulsifier and thickener, delivering a truly superior mouthfeel.
- Genuine, Complex Vanilla Bean Flavor: Every ounce of delightful vanilla flavor in this recipe comes from the infusion of real, high-quality vanilla beans. This natural infusion imparts a sophisticated depth and complexity that vanilla extract alone simply cannot replicate. You’ll notice delicate floral notes and a profound aroma. A smart trick? You can even repurpose the spent vanilla bean pods from other recipes, like those used for homemade marshmallows, to extract every last drop of flavor!
- Surprisingly Simple with Accessible Ingredients: Despite its gourmet quality, this recipe utilizes just a few basic ingredients that you likely already have on hand – with the vanilla bean being the only specialty item. If you’ve successfully made a crème anglaise before, then crafting this homemade ice cream will be an absolute breeze. Don’t be intimidated by the “professional” label; the process is straightforward and incredibly rewarding!
Professional Tips for Crafting Perfect Vanilla Bean Ice Cream
Achieving truly exceptional homemade ice cream requires a few expert techniques. Here are my professional insights to guide you:
- Insist on Real Madagascar Vanilla Beans: The quality of your vanilla bean directly impacts the final flavor. There’s an undeniable subtlety and profound depth of flavor in ice cream made by infusing actual vanilla beans that is entirely lacking when using mere extract or even vanilla bean paste. Madagascar vanilla beans, specifically, are renowned for their classic, rich, and creamy vanilla notes, making them the ideal choice for this recipe. Their unique aromatic compounds develop beautifully when gently infused into the custard base.
- Completely Chill the Base for Optimal Texture: This step is non-negotiable for preventing the formation of undesirable ice crystals during the churning process. A thoroughly chilled ice cream base (ideally, refrigerated overnight) will churn into a much thicker, smoother, and creamier ice cream. The colder the base, the faster it freezes during churning, resulting in smaller ice crystals and a superior, velvety texture. Plan ahead for this crucial chilling time!
- Divide the Sugar Between Cream and Egg Yolks: This seemingly small detail plays a vital role in both flavor development and preventing common kitchen mishaps. Adding a portion of the sugar to the cream mixture helps to raise the boiling point of the milk, significantly reducing the risk of it scorching and developing an off-flavor. The remaining sugar, when whisked with the egg yolks, acts as a protective barrier, preventing the yolks from scrambling prematurely when the hot cream is tempered into them. This ensures a silky-smooth custard every time.
- Exercise Caution Against Over-Churning: While it’s tempting to keep churning for maximum volume, over-churned ice cream can lead to several undesirable outcomes. It tends to freeze excessively hard, making it difficult to scoop. In extreme cases, the cream can actually separate, resulting in an unpleasant, fatty coating sensation in your mouth after each bite. Pay close attention to the consistency – you want it to resemble soft-serve ice cream, pulling away from the sides of the churn and holding its shape when scooped, but still soft.
Essential Ingredients for Your Masterpiece Vanilla Bean Ice Cream
Crafting this rich and creamy vanilla bean ice cream requires only a handful of quality ingredients. Each plays a critical role in achieving the perfect balance of flavor and texture:
- Heavy Cream: Heavy cream is fundamental for contributing the essential fat content to our custard base. This fat is what delivers that incredibly creamy, luxurious mouthfeel and rich taste that defines exceptional ice cream. It also helps to prevent the formation of large ice crystals, resulting in a smoother final product.
- Whole Milk: I exclusively use whole milk for all my custards, including this ice cream base. Its higher fat content compared to skim or low-fat milk makes it more stable during heating, reducing the risk of curdling, and significantly enhances the overall richness and body of the ice cream.
- Granulated Sugar: Granulated sugar serves multiple purposes in this recipe. Beyond providing essential sweetness, it acts as a crucial protector against the milk scorching during heating and safeguards the delicate egg yolks from scrambling prematurely during the tempering process. Furthermore, sugar is a natural anti-freeze, contributing to the ice cream’s scoopable texture by preventing it from freezing solid.
- Kosher Salt: A small amount of Kosher salt is a flavor secret weapon. It doesn’t make the ice cream salty, but rather meticulously enhances and balances all the other flavors, particularly the complex notes of the vanilla, without the need for additional sugar. It’s the subtle touch that makes all the difference.
- Vanilla Bean: The star of the show! A single, high-quality vanilla bean (preferably Madagascar) is where all the deep, aromatic flavor originates. You’ll split and scrape out the tiny, fragrant seeds, then infuse both the seeds and the spent pod into the cream. Don’t discard those pods prematurely! They can still lend fantastic flavor. You can even use pods previously scraped for other recipes, like for a delicious banana pudding, making this ingredient more economical.
- Egg Yolks: These are the heroes of a truly rich, French-style ice cream. Egg yolks provide both the primary thickening power for the custard and a significant boost of emulsifying fat. You need both properties for an ultimately creamy, smooth, and stable ice cream. Don’t let the egg whites go to waste; they can be reserved for making delightful treats like egg white marshmallows or a stunning pavlova cake!
For precise quantities and a complete breakdown, please refer to the detailed recipe card below.
Creative Variations & Smart Substitutions for Your Ice Cream
While this vanilla bean ice cream is perfect as is, it also serves as an incredible base for your culinary creativity. Here are a few ideas to customize your homemade treat:
- Alternative Vanilla Flavorings: If a fresh vanilla bean isn’t readily available, you have excellent alternatives. You can substitute 2 teaspoons of high-quality vanilla bean paste for the vanilla bean, which offers a similar depth of flavor and visual specks. Alternatively, 1 tablespoon of good quality vanilla extract can be used, though the flavor profile will be slightly less complex than that of a real bean.
- Using Half and Half: For a slightly lighter (but still creamy) option, or simply for convenience, you can substitute 3 cups of half and half for the combined measurement of 1 ½ cups whole milk and 1 ½ cups heavy cream in the recipe. The fat content will be slightly different, but it will still yield a delicious result.
- Unleash Your Creativity with Mix-ins: This vanilla ice cream is the ultimate canvas for any mix-in you can imagine! Elevate it with a luscious swirl of homemade salted caramel sauce, a rich chocolate fudge sauce, a bright and fruity quick strawberry jam, or tangy cherry preserves. For added texture, fold in crunchy baked streusel topping, warm apple pie filling, or a delightful combination of both! If chocolate is your true calling, however, I highly recommend checking out my recipe for the best chocolate ice cream instead.
Secrets to Keeping Homemade Ice Cream Luxuriously Creamy, Not Icy
Achieving that perfectly smooth, scoopable texture in homemade ice cream is a common challenge. Here’s how to ensure your vanilla bean creation remains divinely creamy and free from ice crystals:
- Prioritize Egg Yolks for Fat Content Over Excessive Cream: While heavy cream contributes fat, relying too heavily on it can lead to an unpleasant, waxy mouthfeel in the final product. My professional method focuses on incorporating more fat through egg yolks. These yolks not only provide richness but also act as powerful emulsifiers, creating a thicker, smoother, and more stable base. This results in an ice cream that’s both supremely creamy and melts beautifully without coating your palate. Rest assured, I’ve meticulously tested the ratios in this recipe to ensure maximum creaminess without any “eggy” flavor. Simply follow the recipe as directed for perfect results.
- Thoroughly Chill the Ice Cream Base – Ideally Overnight: This cannot be stressed enough. The colder your ice cream base is before churning, the faster it will freeze in the ice cream machine. This rapid freezing process is essential for creating smaller ice crystals, which are the hallmark of creamy, smooth ice cream. While you can technically churn the base once it’s cold to the touch, allowing it to chill in the refrigerator overnight (or for at least 8 hours) will yield the absolute thickest base and the creamiest, most luxurious ice cream. Plan this chilling time into your schedule for the best outcome.
- Consider Adding a Stabilizer for Professional Results: For the ultimate silky texture, prolonged creaminess in the freezer, and delayed melting, professional kitchens and commercial ice cream producers often use stabilizers. These ingredients prevent ice crystal growth and improve texture. For home cooks, you have two excellent options: an ice cream stabilizer blend designed for home use, or a small amount of xanthan gum. I provide detailed instructions for incorporating either in the recipe card below, ensuring you can achieve that sought-after, professional-grade texture.
Step-by-Step Guide: How to Make Luxurious Vanilla Bean Ice Cream
Follow these detailed instructions to create the perfect vanilla bean ice cream every single time. For precise measurements and additional details, refer to the comprehensive recipe card below.
Part 1: Crafting the Silky Custard Ice Cream Base
This is the foundation of your incredible ice cream, so pay close attention to these critical steps:
Step 1: Prepare Your Equipment for Success. Begin by placing the canister of your ice cream machine into the freezer. Simultaneously, pre-freeze the container you intend to store your finished ice cream in. A standard loaf pan (which holds approximately one quart) works exceptionally well for this purpose, providing a good surface area for even freezing. Ensuring everything is pre-chilled will greatly benefit the final texture of your ice cream.
Step 2: Infuse the Cream Mixture. In a large, heavy-bottomed pot, combine the whole milk, heavy cream, kosher salt, and half of the granulated sugar. Now, take your vanilla bean. Using a small paring knife, carefully split the bean lengthwise and scrape out all the tiny, fragrant seeds. Add both the scraped seeds and the empty vanilla bean pod directly into the cream mixture. Place the pot over medium-high heat, stirring occasionally, until the mixture just barely comes to a gentle boil. The goal here is to warm the liquids and infuse them thoroughly with the vanilla flavor.
Pro Tip for Infusion: In professional settings, larger batches of cream take longer to come to a boil, allowing for deeper flavor infusion. You can replicate this at home by starting your cream mixture on a slightly lower heat setting and then gradually increasing it. This allows the vanilla ample time to release its complex aromas and flavors into the liquid.
Step 3: Prepare the Egg Yolks for Tempering. While your cream mixture is heating, prepare your egg yolks. In a separate large bowl, combine the egg yolks with all of the remaining granulated sugar. Whisk vigorously and continuously until the mixture becomes visibly lighter in color, transforming into a pale yellow, and has a slightly thick, ribbon-like consistency. I typically add the sugar to the yolks and whisk them together just as the cream mixture begins to steam, indicating it’s nearly ready for tempering.
Important Note on Egg Yolks: Avoid letting the sugar sit with the egg yolks for an extended period without whisking. Sugar can “cook” or denature the egg proteins, leading to undesirable hard, scrambled-egg-like pieces in your custard. Constant whisking is key here!
Step 4: Temper the Eggs and Thicken the Custard. Once the cream mixture reaches a gentle boil and is steaming vigorously, begin the tempering process. Slowly, and in a thin stream, pour about one-third of the hot cream mixture into the bowl with the whisked egg yolks, whisking constantly and vigorously. This gradual addition of hot liquid slowly raises the temperature of the yolks without scrambling them. Once tempered, pour the entire egg yolk mixture back into the pot with the remaining cream. Return the pot to the stove and cook over medium heat, stirring continuously with a heat-proof spatula. Continue cooking until the base thickens enough to coat the back of a wooden spoon. For precision, use an instant-read thermometer; the base should reach 85°C (180°F). Do not let it boil after adding the eggs.
Step 5: Rapid Cooling for Optimal Texture. Immediately strain the hot custard base through a fine-mesh sieve into a clean bowl. This removes any potential cooked egg bits or vanilla bean pod fragments, ensuring a perfectly smooth custard. Now, place this bowl into a larger bowl filled with an ice bath (plenty of ice cubes with a small amount of water). The ice bath is crucial as it rapidly halts the cooking process, preventing the custard from over-thickening and promoting the creamiest texture. Stir the custard occasionally in the ice bath for about 10-15 minutes until it’s cool to the touch. Once cooled, cover the surface of the custard directly with plastic wrap (to prevent a skin from forming and keep out freezer odors) and poke a few small holes for ventilation. Refrigerate the custard.
Maximizing Creaminess: While you can proceed to churn the base as soon as it’s thoroughly cold (typically 3 hours), for the absolute thickest base and creamiest, most luxurious ice cream, I highly recommend chilling it overnight in the refrigerator. This extended cooling period allows the fat molecules to fully solidify and integrate, significantly enhancing the final texture.
Part 2: Churning and Freezing Your Homemade Vanilla Bean Ice Cream
Now that your base is perfectly chilled, it’s time to transform it into ice cream!
Step 6: Churning the Base. Assemble your ice cream machine according to the manufacturer’s specifications. It is vital to pour the thoroughly chilled custard base into the machine only after the churning mechanism has already started running. Adding the base to a stationary machine can cause it to freeze instantly onto the sides of the bowl, hindering proper churning and resulting in an uneven texture.
Step 7: Monitor for Perfect Consistency. Continue churning the ice cream for the duration recommended by your machine’s manual, typically between 20-30 minutes. You’ll know it’s ready when its volume has increased by approximately one-third, and the ice cream begins to pull away from the sides of the churning bowl. At this stage, it should have the consistency of soft-serve ice cream – firm enough to hold its shape when scooped, yet still pliable. In my Cuisinart machine, this usually takes a solid 25 minutes to achieve the ideal texture.
Step 8: Final Freezing for Firmness. Once churned, immediately transfer the soft ice cream into your pre-frozen storage container (like the loaf pan). Press a piece of plastic wrap directly onto the surface of the ice cream, ensuring there are no air pockets. This crucial step prevents the formation of ice crystals on the surface and protects the ice cream from absorbing any unwanted freezer odors. Place the covered container in the freezer for at least 4 hours, but ideally overnight, to allow the ice cream to firm up completely and achieve its optimal scoopable texture.
Chef Lindsey’s Expert Recipe Tip
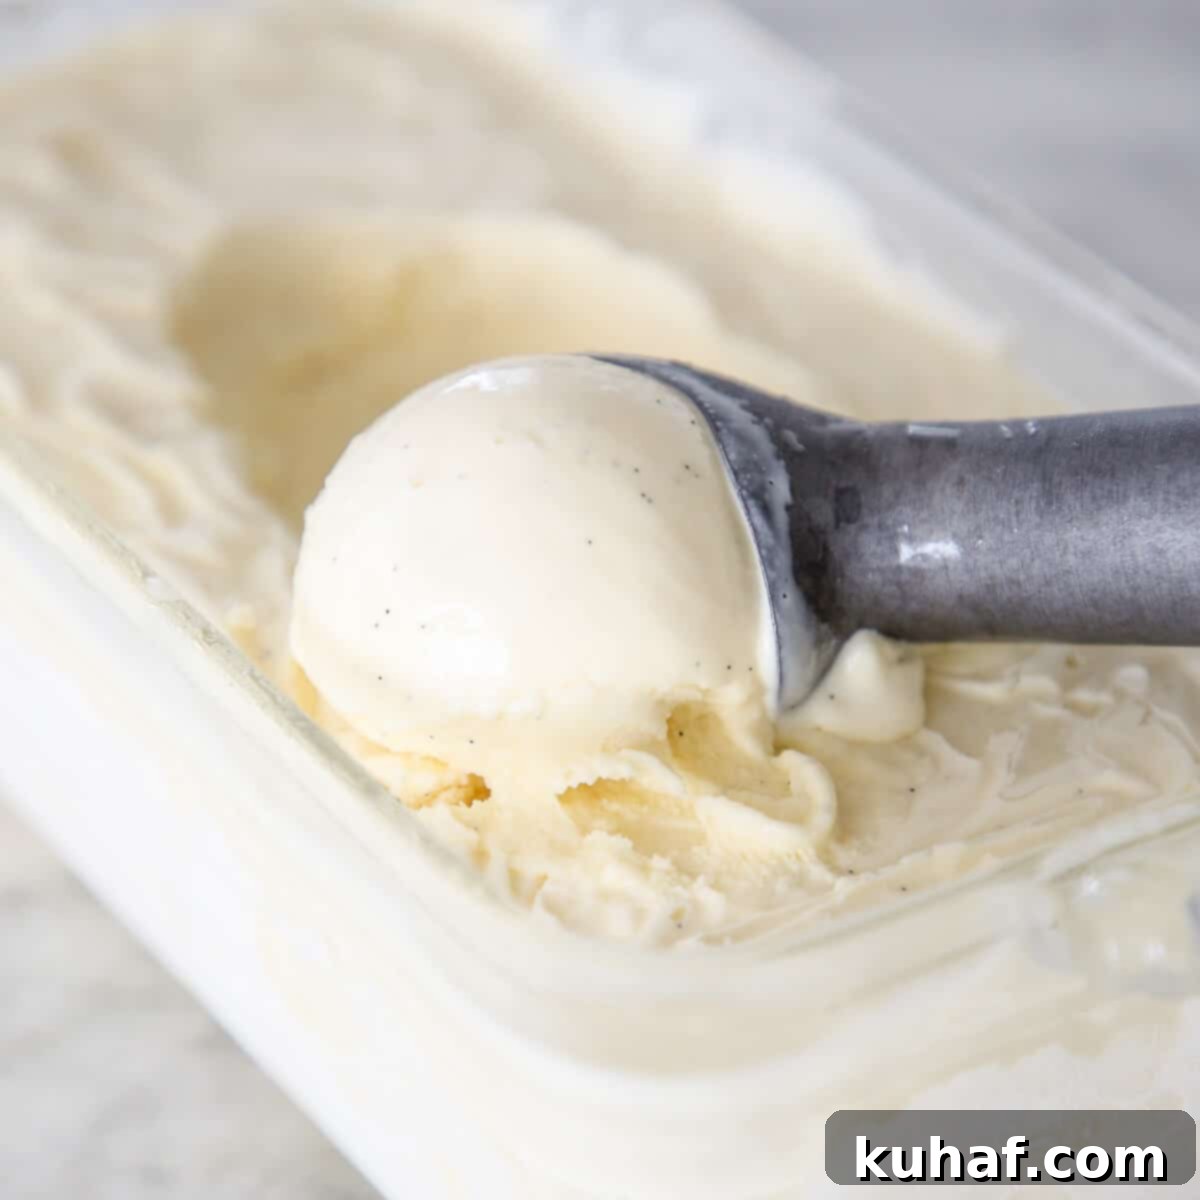
For the easiest and most perfect scoops, allow your homemade ice cream to sit at room temperature for about 5 minutes before serving. This brief period slightly softens the ice cream, making it much more pliable. Another helpful trick is to dip your ice cream scoop or spoon in hot water just before each scoop. This creates a thin layer of warmth, allowing for effortlessly smooth, perfectly rounded scoops!
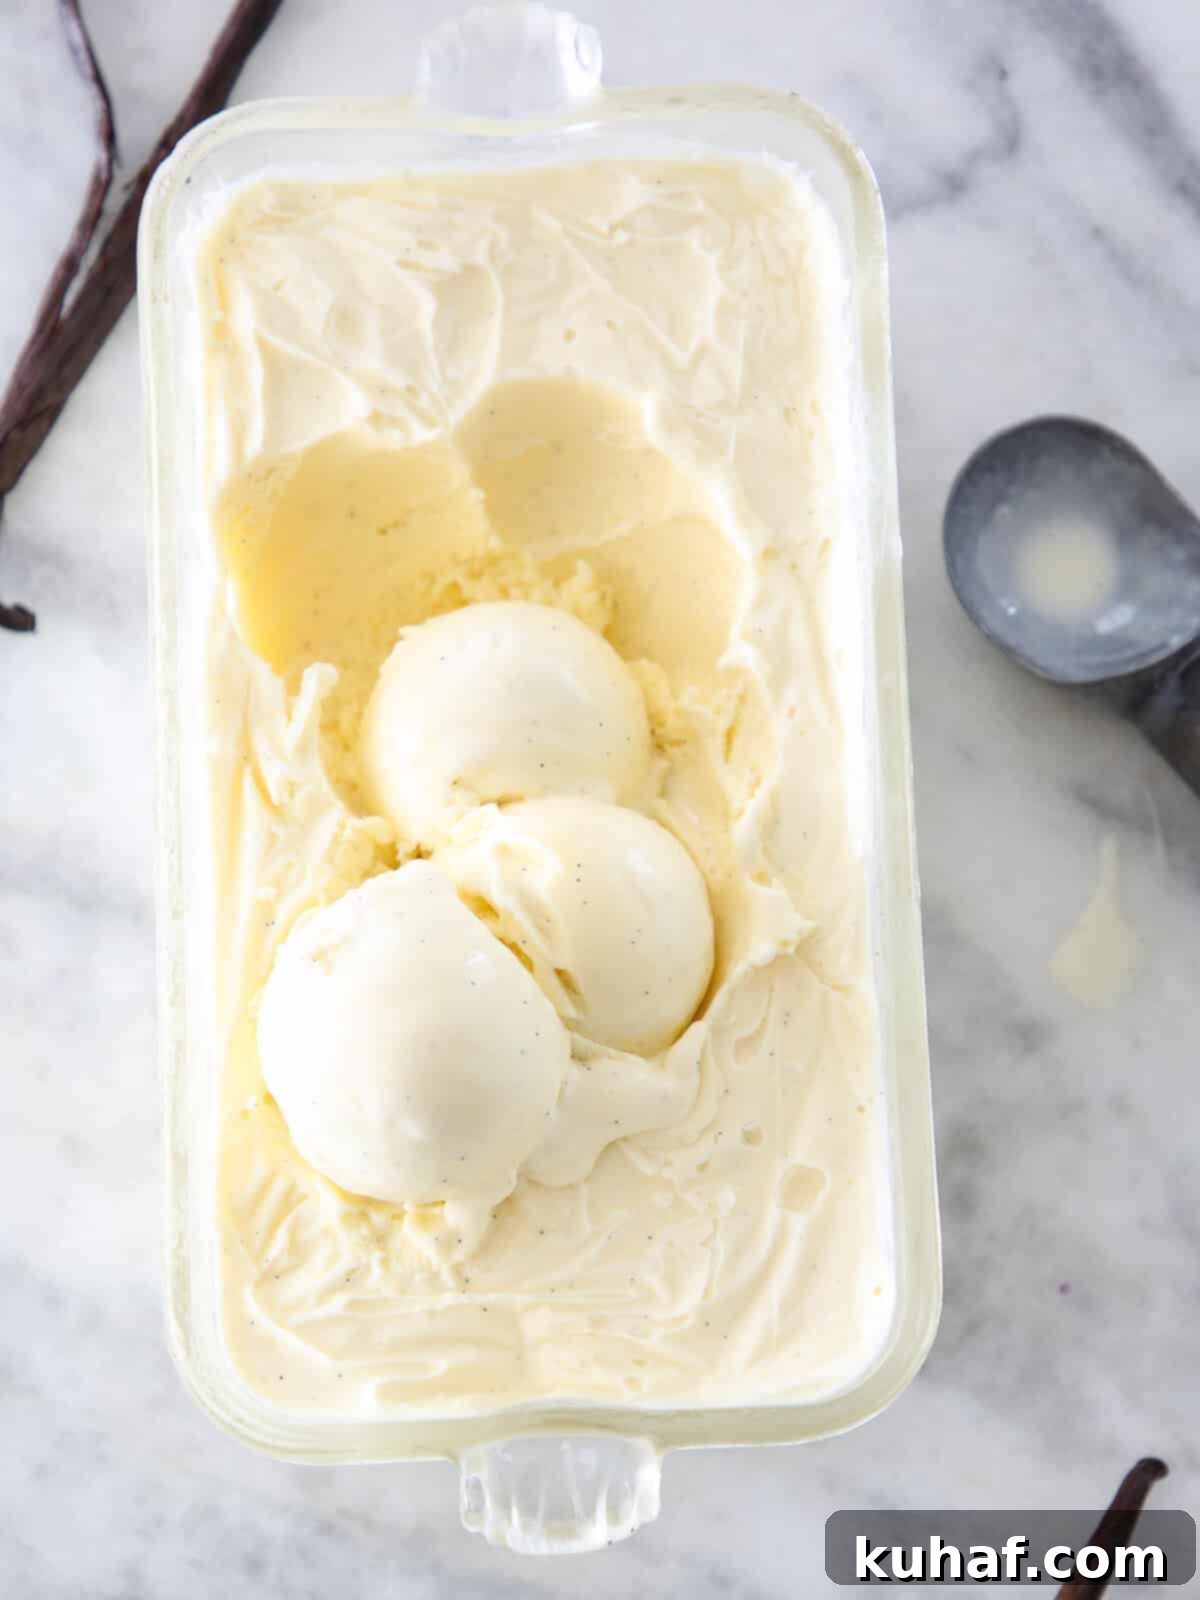
Inspiration: What to Serve with Homemade Vanilla Bean Ice Cream
The beauty of this classic vanilla bean ice cream lies in its incredible versatility. It pairs beautifully with almost any dessert, but here’s a little inspiration to get your creative juices flowing and truly elevate your serving:
- Let It Be the Star Dessert: Sometimes, simplicity is pure elegance. Allow your exquisite homemade ice cream to shine as the main event. Top it simply with a rich hot fudge sauce, a decadent salted caramel sauce, or a warm, spiced easy apple compote. Add a delightful textural contrast with a sprinkling of this easy brown sugar streusel topping, delicate pizzelle cookies, crispy oat lace cookies, or crumbled chocolate chip shortbread cookies.
- A Classic Pairing with Cake: No birthday celebration or special occasion cake is truly complete without a generous scoop of creamy vanilla ice cream. Whether you’re serving a vibrant funfetti sheet cake or a comforting classic yellow cake, the cool, smooth ice cream provides a delightful contrast to the cake’s tender crumb. Explore all our cake recipes for more delicious pairing ideas!
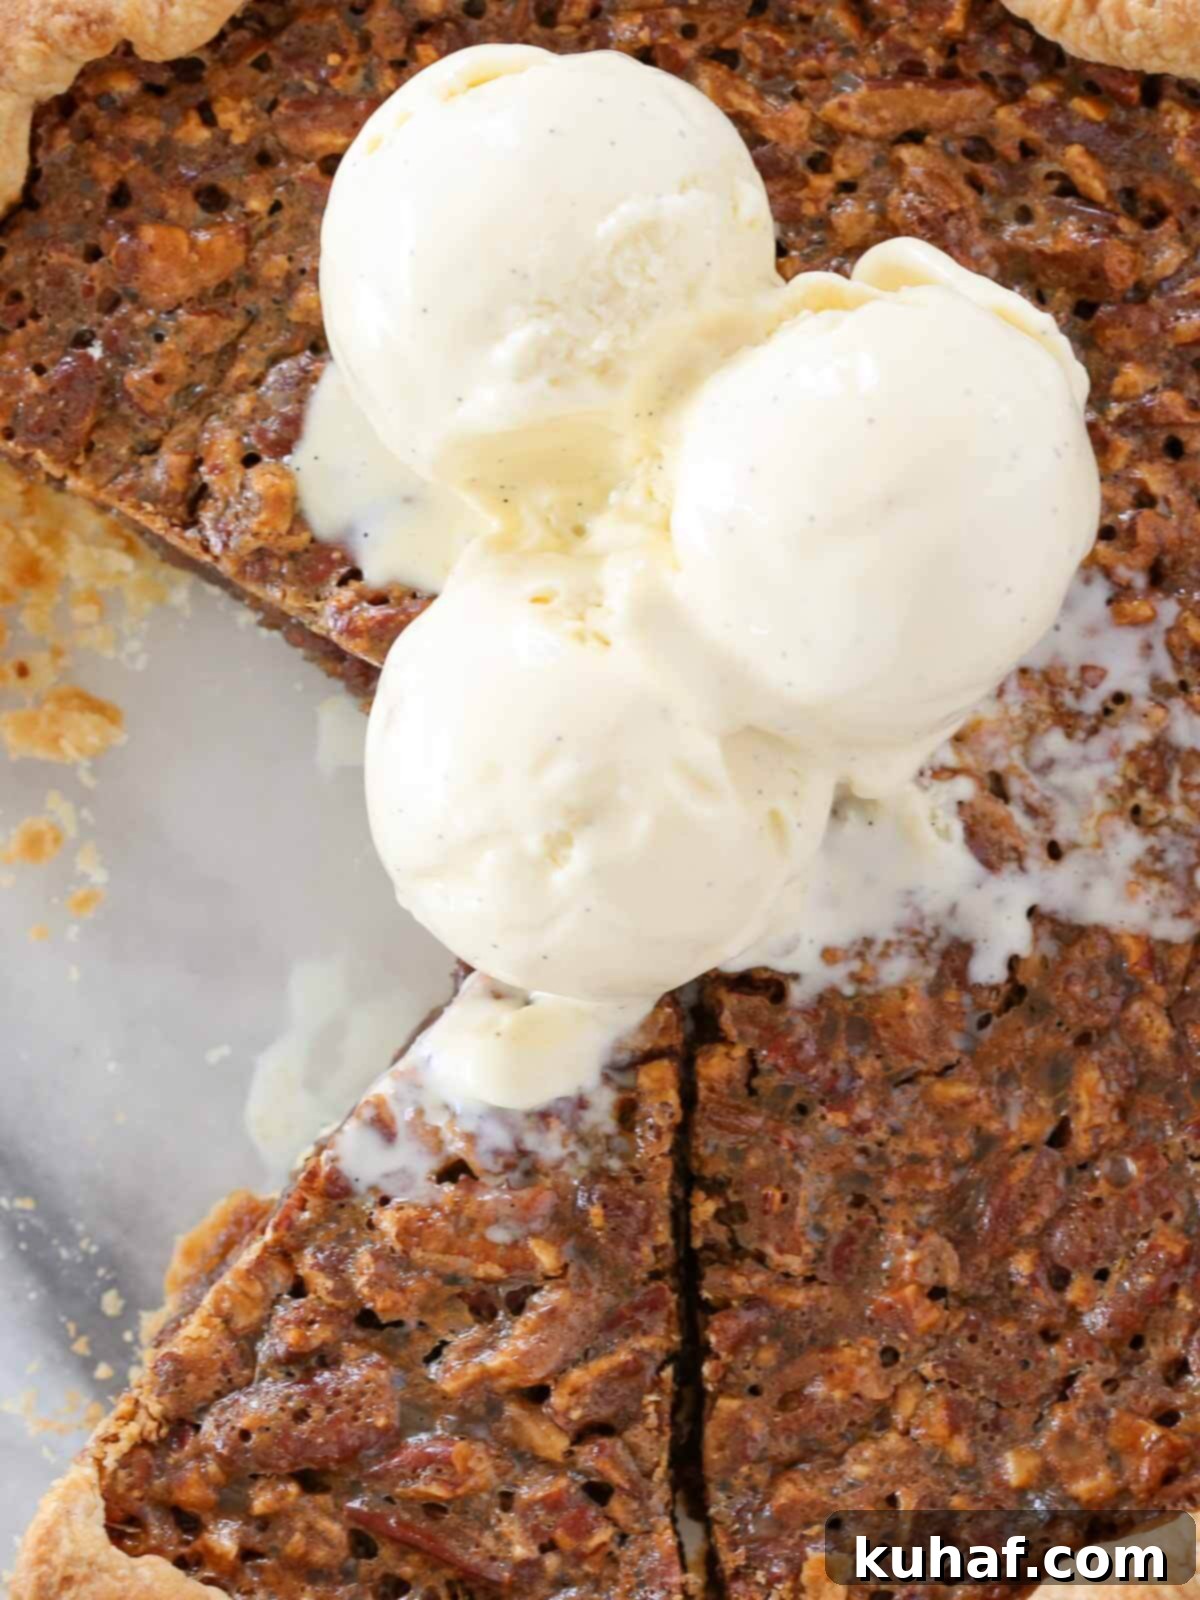
- The Ultimate Pie Companion: There’s something undeniably nostalgic and utterly satisfying about a scoop of melting vanilla ice cream cascading down the sides of a warm slice of pie. The cool creaminess cuts through the richness of the pie, creating a symphony of flavors and textures. Try this timeless combination with a juicy blueberry pie, a comforting easy apple pie, or a tart cherry pie with an almond crust.
- Enhances Any Fruit, Spiced, or Chocolate Dessert: The neutral yet complex flavor of vanilla, combined with the richness of cream, has a unique ability to amplify and complement a wide array of other flavors. It beautifully highlights the warm spices and molasses in a moist gingerbread cake, or the bright tang of fruit in a raspberry rhubarb crumble. Furthermore, it enhances and balances the deep, intense notes of any chocolate dessert, from a simple one-bowl chocolate cake to something more elaborate.
Frequently Asked Questions About Homemade Vanilla Bean Ice Cream
To maintain the optimal texture and flavor of your homemade vanilla bean ice cream, store it in an airtight container in the coldest part of your freezer. For best results and to prevent ice crystals from forming on the surface, press a layer of plastic wrap directly onto the surface of the ice cream before sealing the container. This also helps to prevent the ice cream from absorbing any unwanted flavors from other items in your freezer. Properly stored, it will stay delicious for up to 1 month, though it’s often so good it won’t last that long!
Vanilla bean ice cream is a luxurious, custard-based ice cream distinguished by its flavoring method: it’s made by infusing the milk and cream with actual split and scraped vanilla beans. This process allows the rich, complex, and aromatic compounds from the entire vanilla pod (both seeds and pod) to deeply flavor the base. The visible specks of vanilla seeds throughout the ice cream are a hallmark of its authenticity and intense flavor.
The primary distinction lies in their flavoring. Standard vanilla ice cream is typically flavored primarily with vanilla extract, which is an alcohol-based solution of vanilla compounds. Vanilla bean ice cream, on the other hand, derives its flavor directly from the seeds and/or whole pod of the vanilla bean, or from vanilla bean paste, which contains the seeds. This leads to a more robust, nuanced, and visibly flecked product, often indicating a higher quality ingredient.
Many connoisseurs and professional chefs agree that vanilla bean ice cream offers a superior taste experience compared to ice cream flavored solely with vanilla extract. The use of real vanilla beans imparts a more profound, multi-dimensional, and authentic vanilla flavor with subtle floral and woody undertones. The visible vanilla specks are also a visual cue of its premium quality. While “French vanilla” can sometimes be made with only extract, true French vanilla often incorporates both vanilla seeds and an egg yolk custard base, blurring the lines between the two in quality.
When using an ice cream stabilizer (which often requires heat to activate) or xanthan gum, it’s crucial to add them correctly to prevent clumping. I always recommend whisking the chosen stabilizer thoroughly into the cold milk and cream mixture before you begin heating it. This ensures it disperses evenly before the liquid thickens. For a standard recipe using around 3 cups of liquid, a good starting point is 1 teaspoon of commercial ice cream stabilizer or ½ teaspoon of xanthan gum. However, be aware that commercial stabilizers vary in composition and strength, so some minor experimentation might be needed to find your preferred texture.
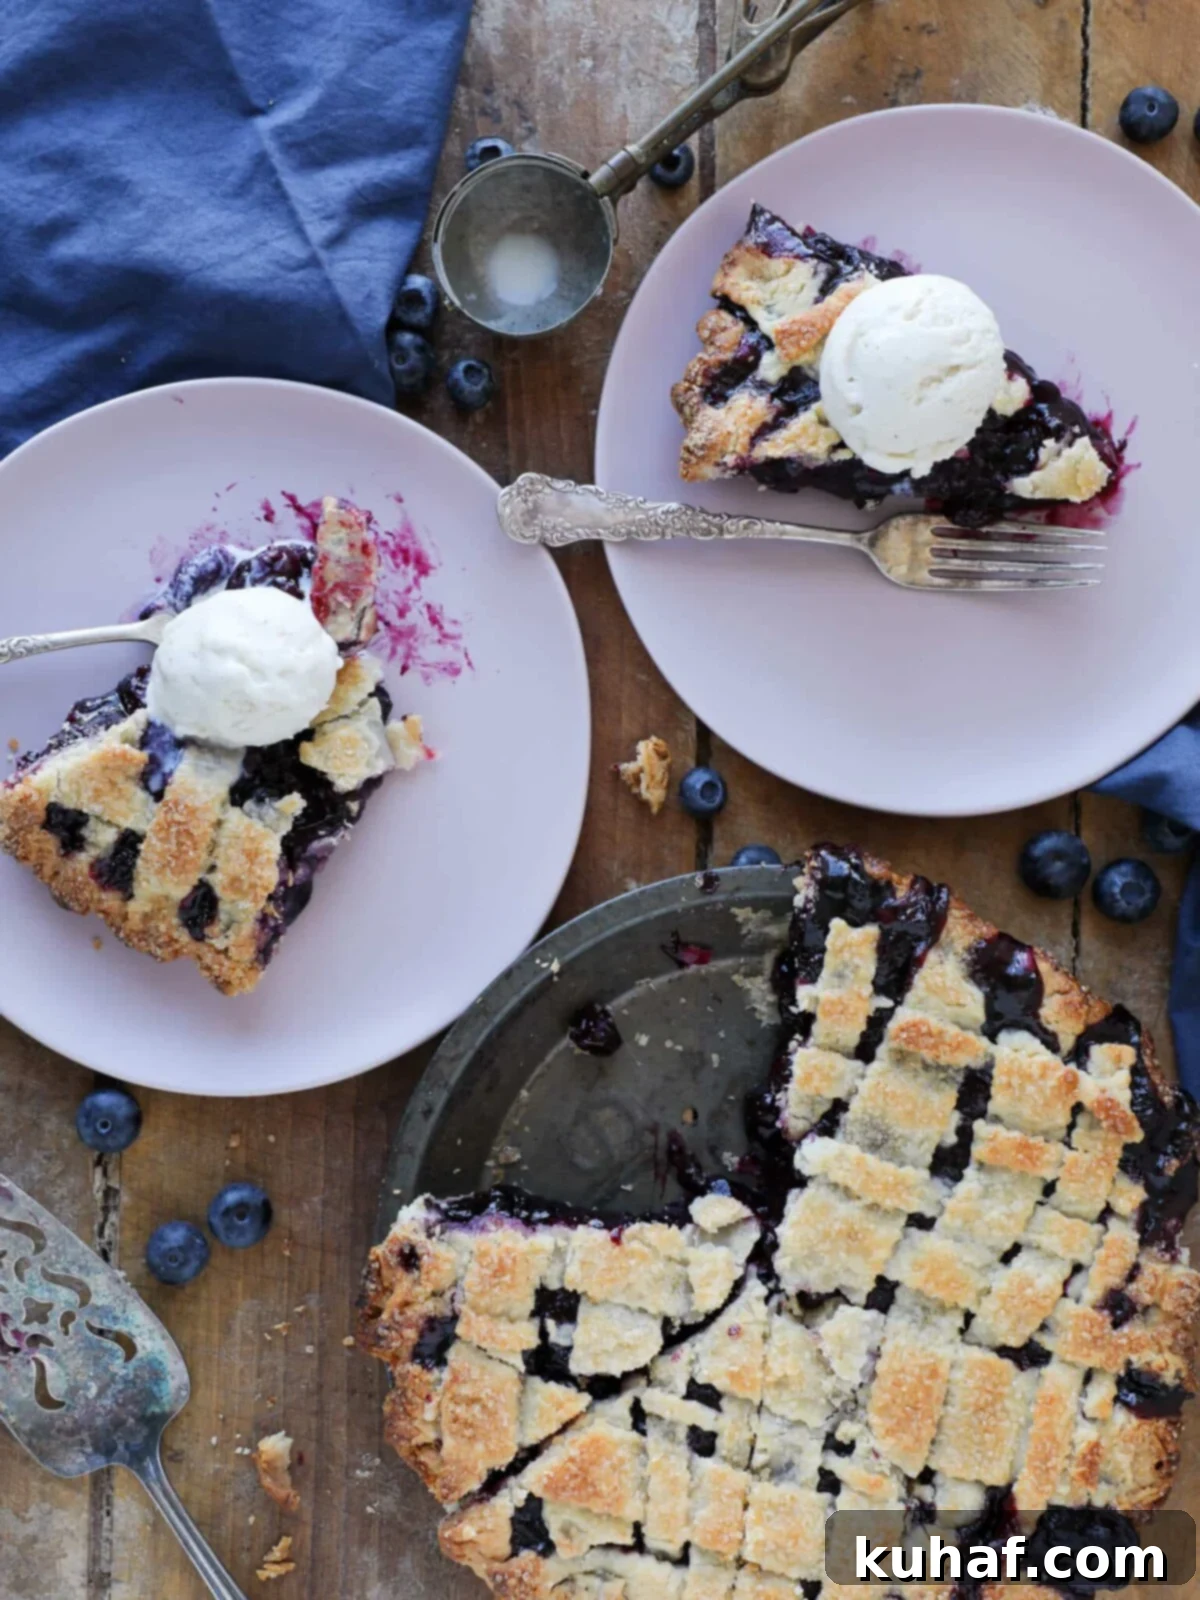
If you tried this glorious homemade vanilla bean ice cream recipe and absolutely loved it, please take a moment to leave a 🌟 star rating and share your experience in the comments below. I genuinely love hearing from you – your feedback truly makes my day!
Vanilla Bean Ice Cream
Pin Recipe
Comment
Print Recipe
Ingredients
- 1 ½ cups whole milk
- 1 ½ cups heavy cream
- ⅔ cup granulated sugar divided
- 1 vanilla bean split & scraped
- 1 teaspoon kosher salt
- 5 egg yolks
Instructions
-
Ensure both your ice cream maker’s mixing bowl and the container you plan to store the finished ice cream in are thoroughly pre-frozen. This is crucial for achieving optimal texture.
Make Ice Cream Custard Base
-
Prepare an ice bath: place a fine-mesh strainer over a medium bowl, and then place that bowl over a larger bowl filled with ice and a little water. This will be used to cool your custard quickly.
-
In a heavy-bottomed saucepot, combine the whole milk, heavy cream, ⅓ cup of the granulated sugar, and kosher salt.
-
Using a small knife, split the vanilla bean lengthwise and scrape out all the tiny, fragrant seeds. Add both the seeds and the split vanilla bean pod directly into the cream mixture.
-
Heat the milk mixture over medium heat, stirring occasionally to ensure the sugar dissolves completely. Continue heating just until the mixture comes to a gentle, rolling boil (you’ll see small bubbles breaking the surface).
-
Meanwhile, in a separate large bowl, whisk the egg yolks with all the remaining granulated sugar until the mixture is lightened to a pale yellow and forms ribbons when lifted. I add the sugar to the yolks and whisk just as the cream mixture begins to steam, which prevents the sugar from denaturing the egg proteins.
-
Once the cream mixture reaches a boil, slowly and gradually pour about one-third of the hot cream into the whisked egg yolks while whisking constantly. This tempering step prevents the eggs from scrambling. After tempering, pour the entire egg yolk mixture back into the saucepot with the remaining cream.
-
Return the pot to medium heat and cook, stirring constantly with a silicone spatula, until the mixture has thickened sufficiently to coat the back of a wooden spoon. Use an instant-read thermometer to ensure the base reaches 85°C (180°F). Do not allow it to boil once the egg mixture has been added.
-
Immediately pour the hot custard through the prepared sieve into the bowl nestled in the ice bath. Stir occasionally to facilitate cooling for about 10-15 minutes, until cold to the touch. Remove the vanilla bean pod. Cover the surface of the custard directly with plastic wrap to prevent a skin from forming and refrigerate for at least 3 hours, or preferably overnight, for the thickest, richest ice cream.
Churn the Ice Cream
-
Once the base is thoroughly chilled, pour it into your ice cream machine according to the manufacturer’s specifications. Always ensure the machine is running before adding the base to prevent it from freezing instantly onto the sides of the bowl.
-
Continue churning until the volume of the ice cream increases by approximately one-third, and it begins to pull away from the sides of the churning bowl. The consistency should resemble soft-serve ice cream. For my Cuisinart, this typically takes a solid 25 minutes.
-
Immediately transfer the freshly churned ice cream into your pre-frozen 1-quart container (like a loaf pan). Press plastic wrap directly onto the surface of the ice cream to prevent any ice crystals from forming and to shield it from absorbing freezer odors. Place in the freezer to harden for at least 3 hours, but ideally overnight, for the best scoopable texture.
Video
Notes
Storage – Store your homemade ice cream in an airtight container with plastic wrap pressed directly onto the surface in the freezer for up to 1 month for optimal freshness.
Yield: Approximately 1 Quart of churned ice cream
Nutrition
Before You Go: Explore More Deliciousness
I genuinely hope you thoroughly enjoyed preparing and tasting this professional chef-tested recipe for vanilla bean ice cream. It’s truly a labor of love that delivers exceptional results. Don’t let your ice cream journey end here! Be sure to explore our other equally delicious and chef-developed ice cream recipes to discover new favorites and expand your dessert repertoire.
