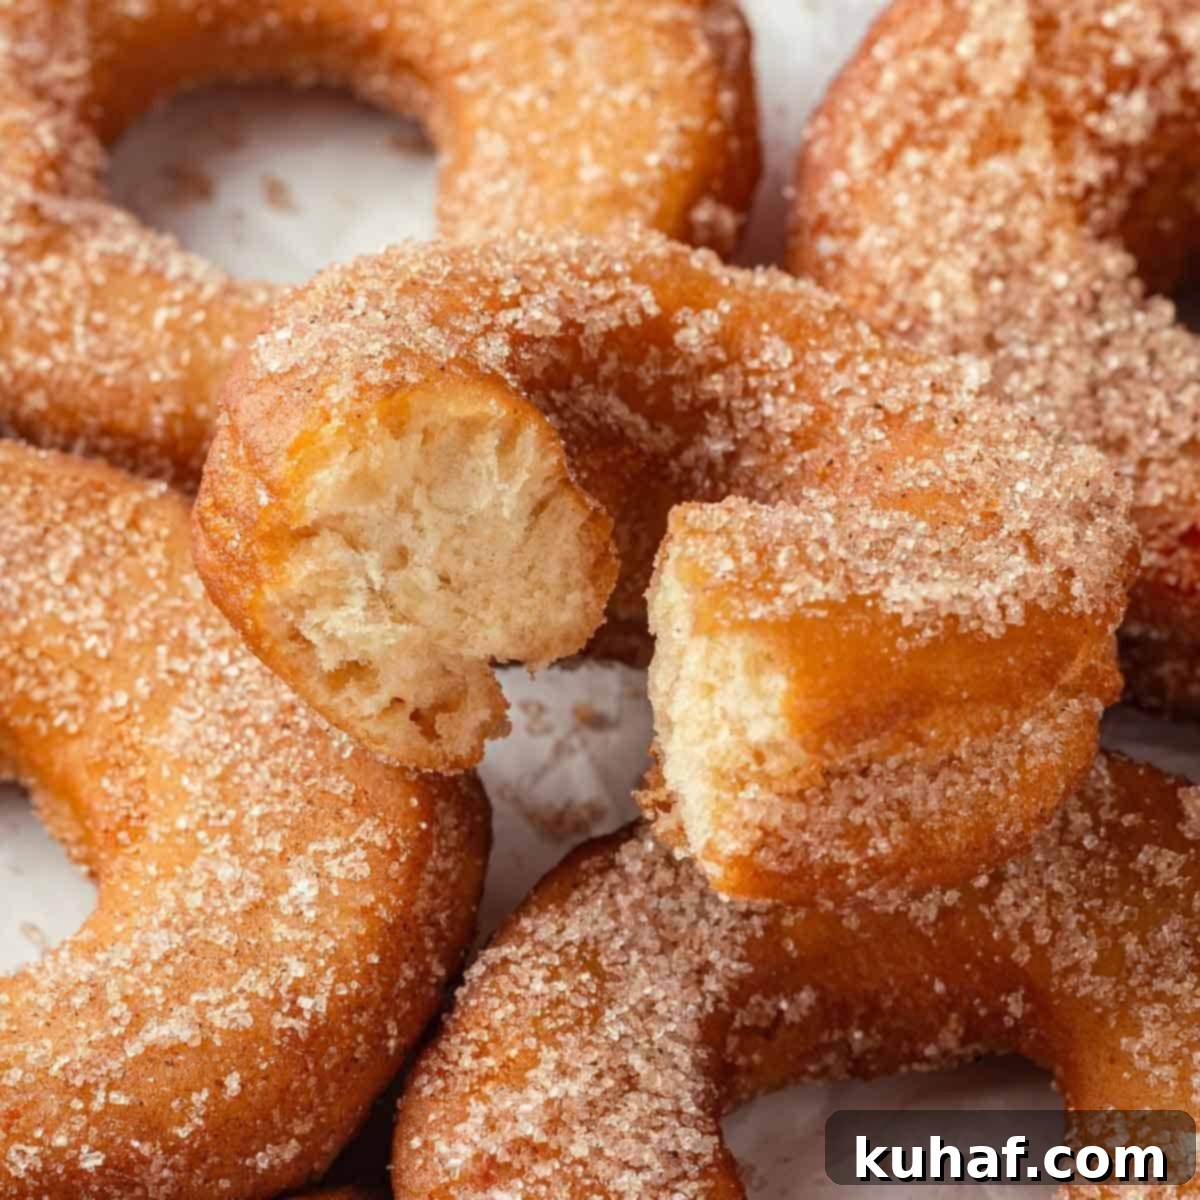
Irresistible Homemade Apple Cider Donuts: Your Ultimate Fall Flavor Recipe Guide
Nothing captures the essence of autumn quite like a batch of warm, freshly made Apple Cider Donuts! These delightful treats are a true celebration of fall, infused with a rich, concentrated apple cider flavor thanks to a special reduction process, perfectly complemented by warm cinnamon. Our easy-to-follow recipe yields light and tender fried cake donuts, each boasting a wonderfully soft interior and a satisfyingly crispy, cinnamon-sugar-coated exterior. Get ready to indulge in the quintessential taste of fall with every single bite.
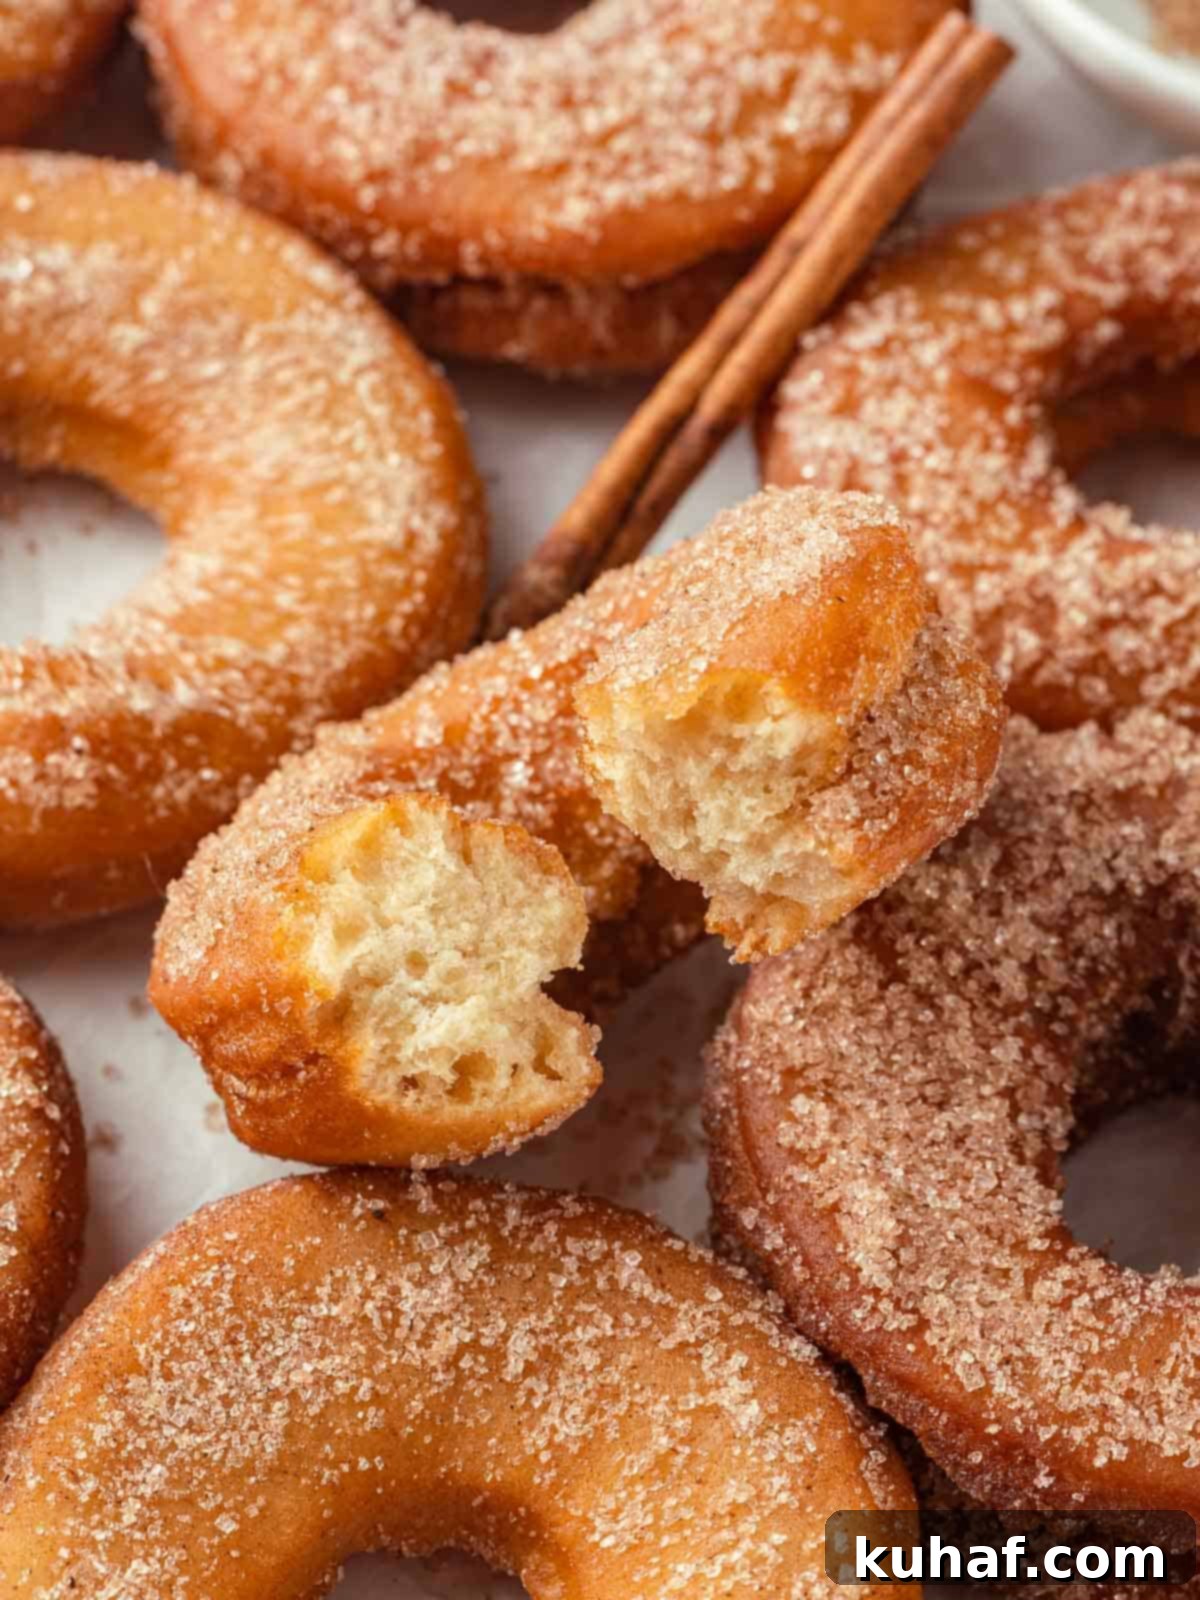
For many, the crisp air and vibrant colors of fall bring to mind a cherished tradition: visiting an apple orchard, perhaps apple picking, and then savoring a paper bag filled with warm apple cider donuts on the drive home. However, as a pastry chef, I’ve often found myself a little disappointed that many commercial apple cider donuts lack that authentic, deep apple cider flavor. Years ago, I took it upon myself to perfect a recipe that truly delivers on its promise. These homemade apple cider donuts are brimming with that spiced apple goodness, offering a light, airy cake donut texture with an irresistibly crispy finish, all generously coated in a shimmering cinnamon sugar mixture. They are a game-changer for anyone seeking genuine fall flavor in their donuts.
Once you master the art of crafting and frying these incredible apple cider donuts, the world of homemade fried treats is yours to explore! For another delightful fall donut experience, be sure to try my pumpkin spice cake donuts, which are equally perfect for the season. If you’re looking to expand your donut repertoire, delve into my yeasted jelly donuts, which can be filled with a luscious caramel pudding for an extra decadent treat. And for those who appreciate classic, simple, yet utterly delicious donuts that can rival even the most famous shops, don’t miss my old-fashioned sour cream cake donuts or my rich glazed chocolate cake donuts. Each recipe promises a unique and satisfying homemade donut experience.
Table of Contents
- Why These Are the Best Apple Cider Donuts
- Professional Tips for Perfect Homemade Apple Cider Donuts
- Essential Ingredients for Apple Cider Donuts
- Delicious Variations to Try
- How to Make This Apple Cider Donut Recipe
- Chef Lindsey’s Recipe Tip: Calibrating Your Thermometer
- Frequently Asked Questions About Apple Cider Donuts
- Apple Cider Donuts Recipe Card
- Before You Go: Explore More Fall Recipes
Why These Are the Best Apple Cider Donuts
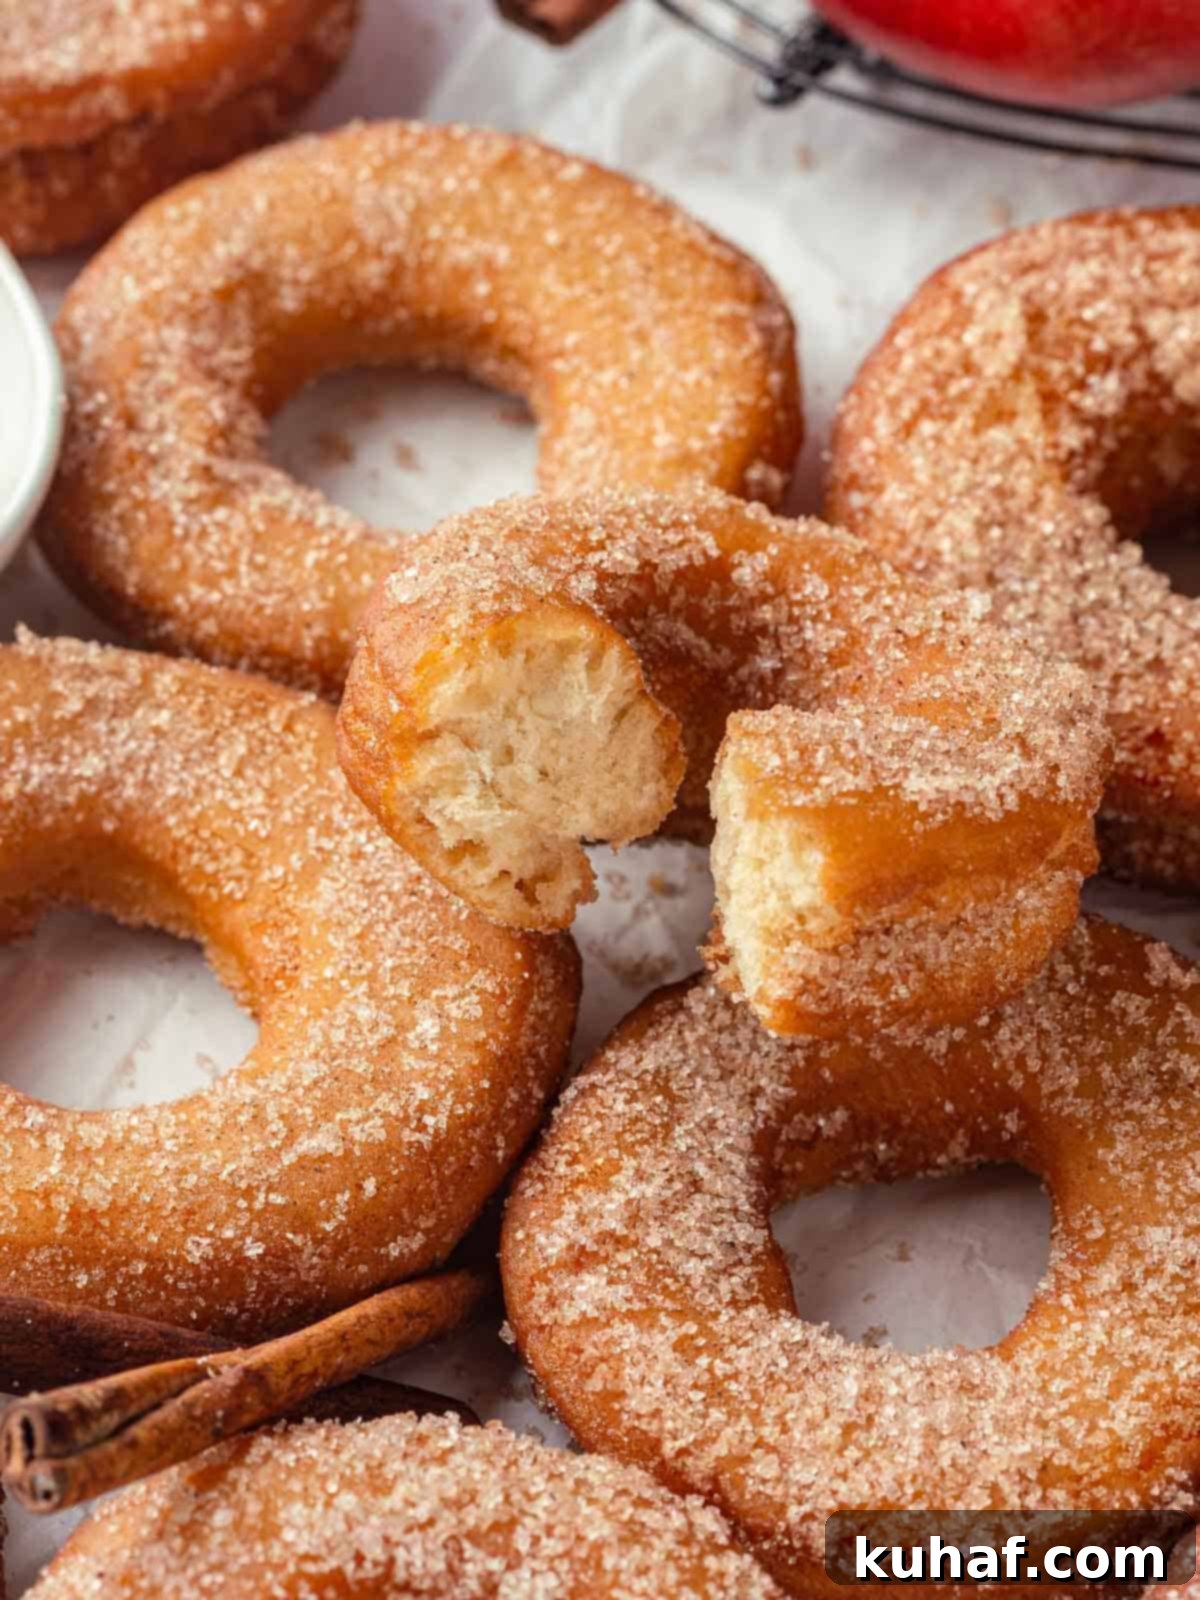
- Light, Tender, Apple Cinnamon Cake Donut: Unlike some heavier, denser donuts, our fried cake donuts achieve a truly remarkable texture. They are incredibly light and airy in the center, almost melting in your mouth, while maintaining a perfectly crisp and crunchy exterior. This delightful contrast in textures is what makes them utterly irresistible and sets them apart.
- Nostalgic and Authentic Apple Cider Flavor: The secret to our donuts’ intense apple cider taste lies in a crucial step: reducing the apple cider. This process concentrates the cider’s natural sugars and vibrant apple notes, while simultaneously cooking out excess water. The result is a delicious, syrupy concentrate that infuses the donut dough with an unparalleled, authentic apple cider flavor that you’ll truly savor. These aren’t just “apple-flavored” donuts; they genuinely taste like apple cider!
- Dough Can Be Made in Advance for Convenience: Life can be busy, but that shouldn’t stop you from enjoying homemade donuts. This recipe offers excellent flexibility, as the apple cider donut dough can be prepared up to three days ahead of time. You can conveniently store the dough in the refrigerator at various stages of preparation, allowing you to fry fresh, warm donuts whenever the craving strikes, without the rush.
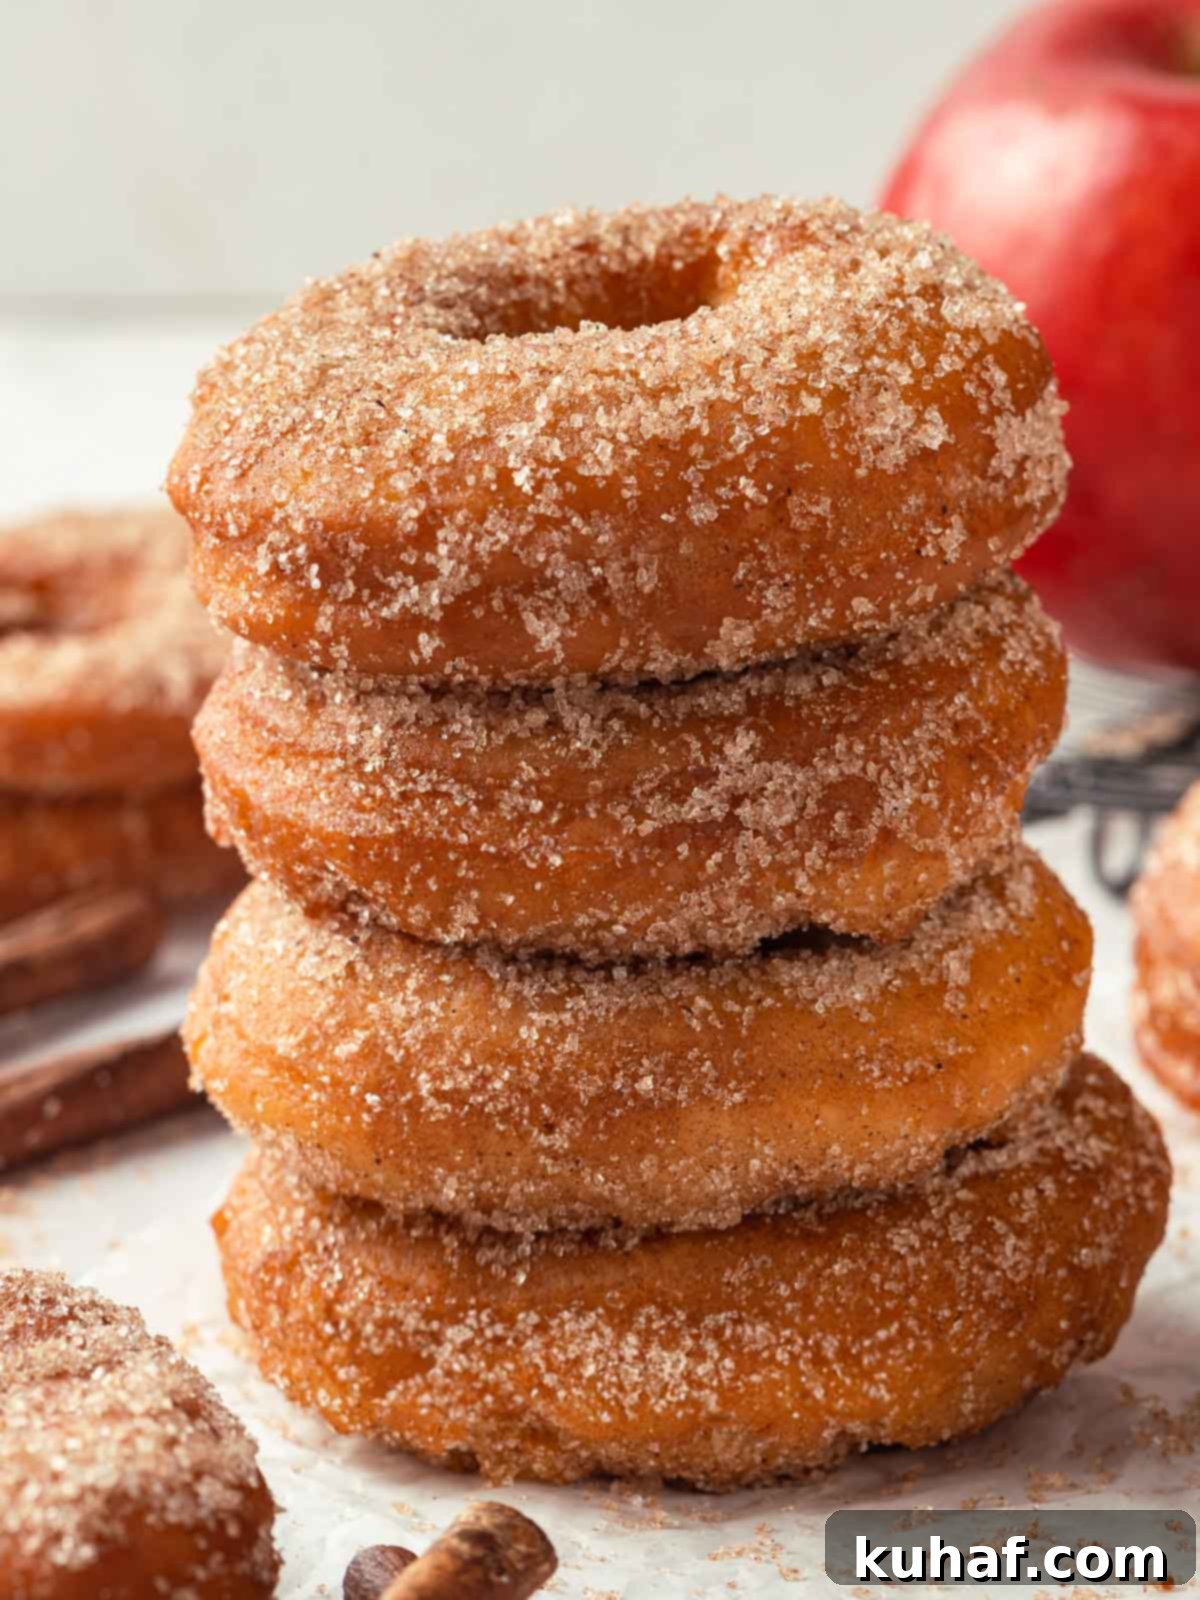
Professional Tips for Perfect Homemade Apple Cider Donuts
- Keep Your Dough Cold: Maintaining a cold dough temperature is paramount for achieving light, tender, and airy cake donuts. Overworking warm dough can lead to excessive gluten development, which results in a tough, chewy texture. By working quickly and keeping the dough chilled, you prevent the gluten from over-activating, ensuring your donuts remain wonderfully delicate.
- Use Neutral Oil at the Correct Temperature: The type and temperature of your frying oil are critical. Opt for a neutral-flavored oil with a high smoke point, such as canola, peanut, or sunflower oil. The ideal frying temperature is consistently between 325°F and 330°F. If the oil is too cold, your donuts will absorb excess oil and become greasy. If it’s too hot, the exterior will burn before the inside has a chance to cook through, leaving you with raw centers. A reliable thermometer is your best friend here.
- Always Cut a Hole in the Center of the Donut: For cake donuts, the hole in the center isn’t just for aesthetics – it’s absolutely essential for proper cooking. Without this central opening, the thicker dough in the middle would cook much slower than the edges. This would inevitably lead to an undercooked or raw center and a potentially burned exterior. The hole ensures even heat distribution and uniform cooking throughout the donut.
- Source Quality Apple Cider: The flavor of your apple cider donuts hinges significantly on the quality of your apple cider. If possible, seek out fresh apple cider from a local farmers’ market or an apple orchard. These ciders often boast a more concentrated, vibrant, and authentic apple flavor compared to mass-produced varieties, and this superior taste will directly translate into a more delicious and aromatic donut.
Essential Ingredients for Apple Cider Donuts
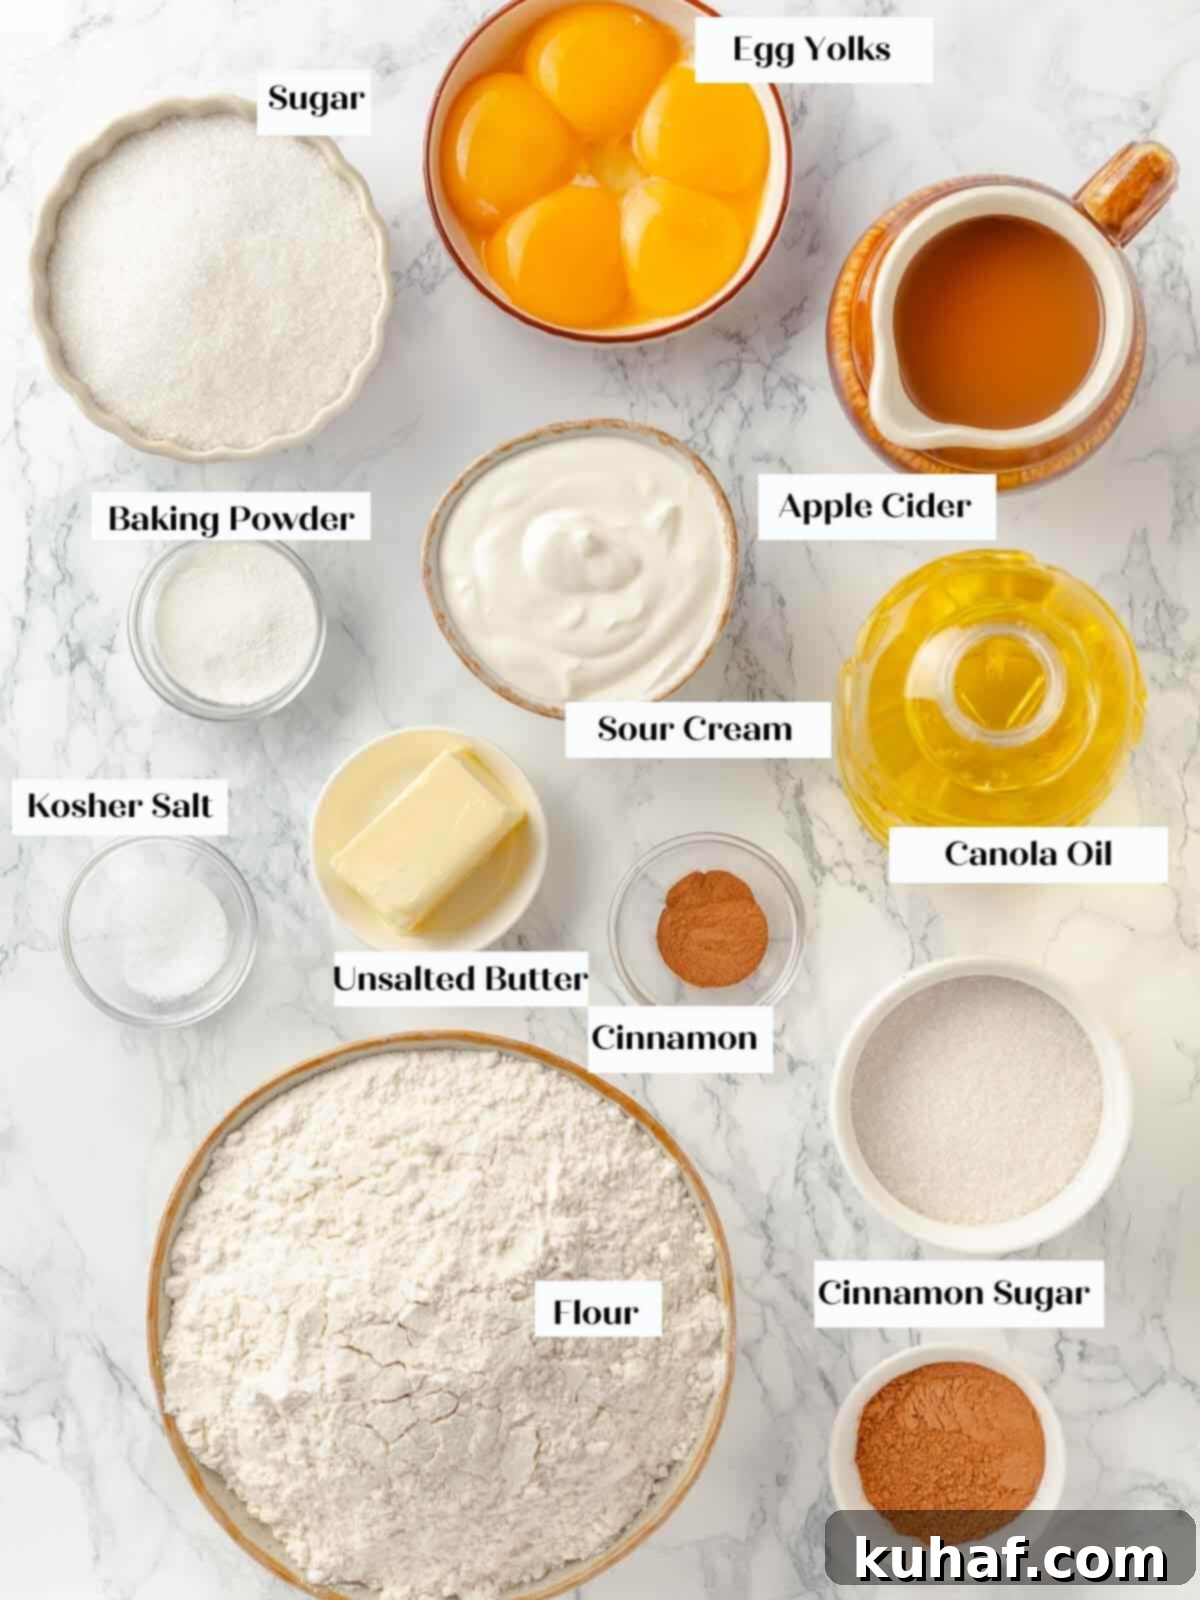
- Granulated Sugar: This provides the primary sweetness for our donuts. When creamed with butter and egg yolks, it also contributes to the leavening process, helping to create a soft, tender, and light texture. While you *could* use brown sugar, I find that its distinct molasses notes can sometimes mute the delicate apple cider flavor we’re trying to highlight.
- Unsalted Butter: Adds richness, flavor, and moisture to the donut dough, contributing to its tender crumb. Using room temperature butter is key for proper creaming.
- Egg Yolks: The egg yolks are powerhouses in this recipe, adding essential fat, moisture, and additional leavening. The fat from the yolks enriches the dough and helps to shorten gluten strands, preventing the donuts from becoming overly elastic and ensuring they remain beautifully cakey and tender.
- Sour Cream: I typically use full-fat sour cream for maximum richness and moisture, but a low-fat version can also work. The acidity in sour cream reacts with the baking powder, aiding in leavening, and also contributes to the characteristic tangy flavor and moist texture of cake donuts.
- Apple Cider: The star of the show! Reducing the apple cider is non-negotiable. This process concentrates its intense apple flavor and evaporates excess water, resulting in a thick, flavorful syrup. This allows us to incorporate a robust apple taste without making the dough too wet or loose. Absolutely do not substitute with apple cider vinegar.
- All-Purpose Flour: My preferred choice for most donut recipes, all-purpose flour strikes the perfect balance. It contains just enough gluten to develop a stable structure, yet allows the donuts to remain wonderfully tender and soft.
- Baking Powder: We use double-acting baking powder as our primary leavening agent. It reacts twice: once when mixed with an acid (the sour cream) and again when exposed to heat during frying. This ensures consistent lift and a light texture. Baking soda alone would not provide the same sustained leavening, especially if the dough is made in advance, as its reaction is primarily instantaneous.
- Kosher Salt: A crucial ingredient that balances the sweetness and enhances all the other flavors in the donut, bringing out the best in the apple and cinnamon.
- Ground Cinnamon: This warm spice is essential for achieving that classic fall apple cider donut taste, complementing the apple perfectly and adding aromatic depth.
- Canola Oil: I recommend canola oil for frying due to its neutral flavor and high smoke point. Other suitable neutral-flavored oils with a high smoke point, like vegetable oil, peanut oil, or Crisco, can also be used.
For precise quantities and a complete list of ingredients, please refer to the comprehensive recipe card below.
Delicious Variations to Try
- Experiment with Spices: While cinnamon is classic, don’t hesitate to change up the spice profile! You can swap the cinnamon for a fragrant apple pie spice mix or a cozy pumpkin spice blend for a different autumnal twist. For unique flavor notes, consider adding a pinch of cardamom, a touch of ground ginger, or freshly grated nutmeg. For a sophisticated hint of vanilla, infuse your granulated sugar with a spent vanilla bean before coating the donuts. You can use these different spice blends both within the donut dough itself and in the cinnamon sugar mixture for an extra layer of flavor.
- Add a Decadent Glaze: For those who prefer a glazed donut, these apple cider donuts are an excellent canvas! You can opt for a rich salted caramel glaze, a simple and elegant vanilla donut glaze, or even a spiced glaze that complements the apple flavor. After frying, allow the donuts to rest on a wire rack for a moment to let any excess oil drip off. Just like with my Krispy Kreme copycat donut recipe, the key to a perfectly adhering glaze is to dip them while they are still warm, ensuring a smooth, even coating.
- Create Different Sizes: This versatile dough allows for various sizes. You can make smaller, bite-sized donuts, or simply fry all the donut holes for a quick, pop-able treat. However, I generally advise against making the donuts significantly larger, as bigger donuts will require a longer frying time. This extended cooking can lead to them absorbing more oil, potentially making them greasier and less enjoyable.
How to Make This Apple Cider Donut Recipe
Follow these detailed instructions to achieve perfect apple cider donuts every single time! Comprehensive measurements and additional tips can be found in the recipe card provided below.
Make the Donut Dough:
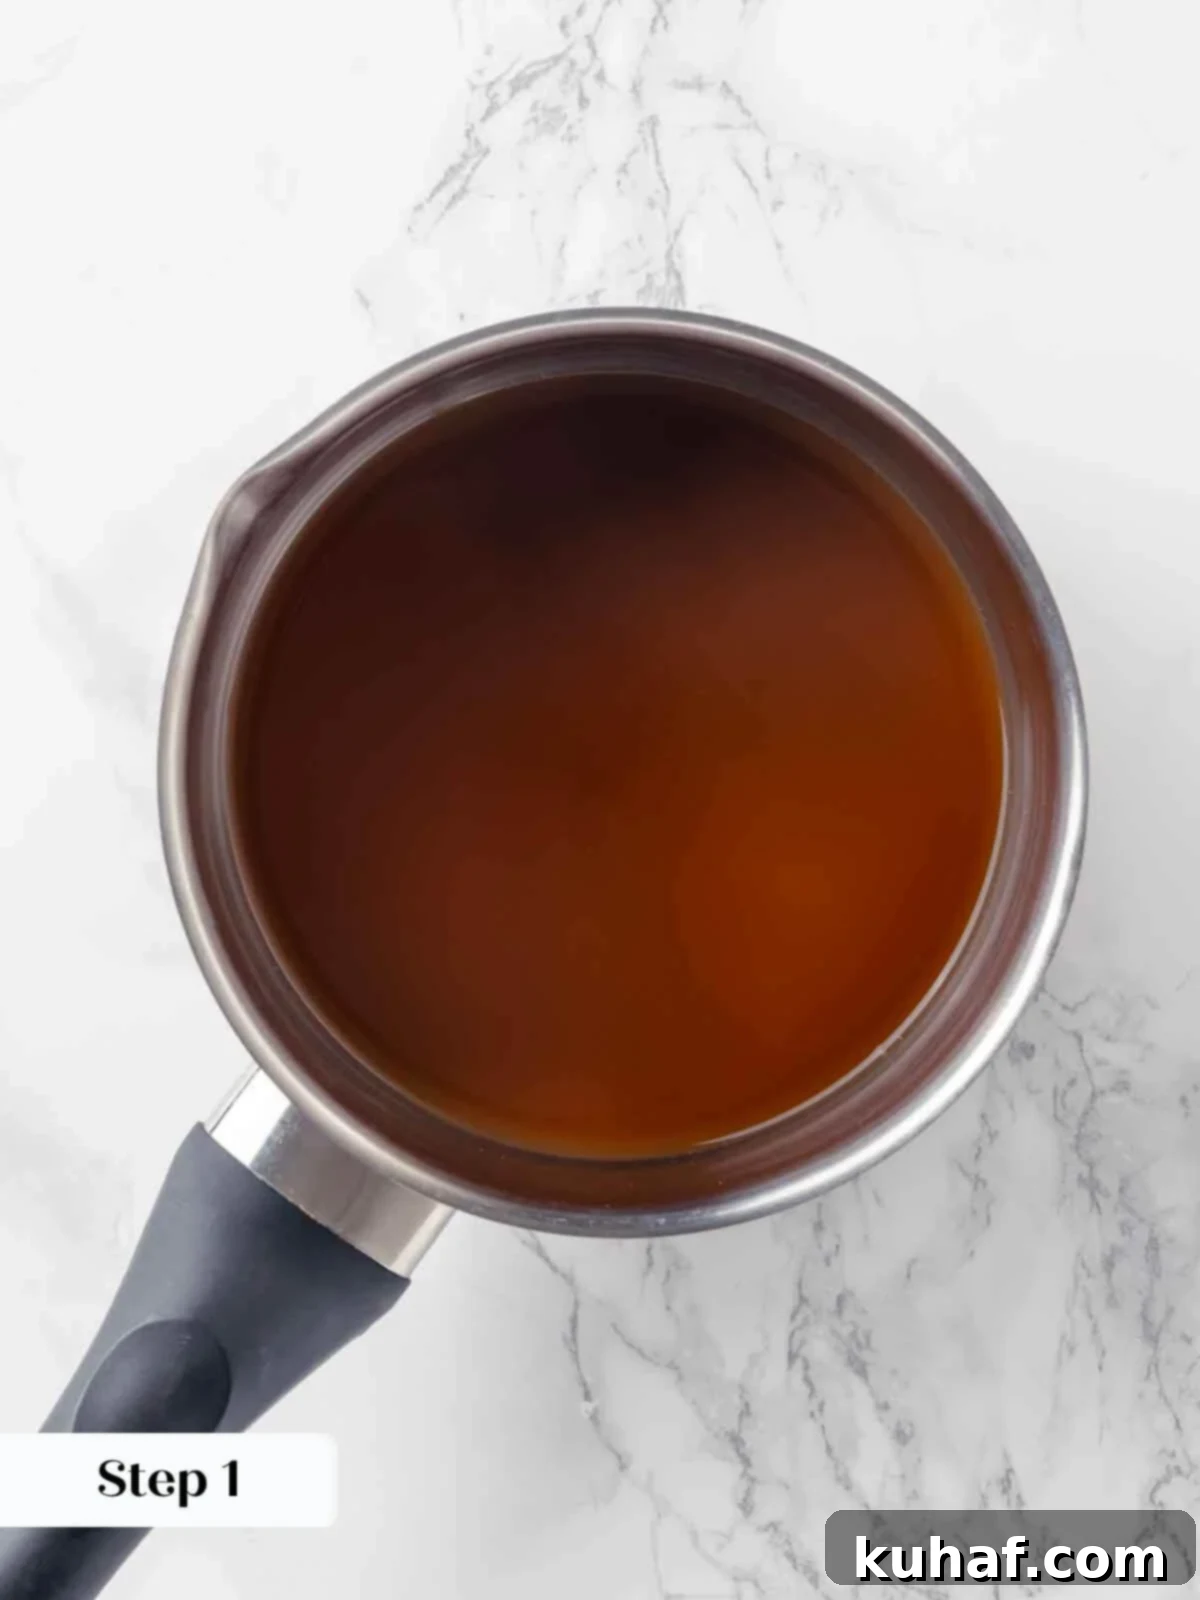
Step 1: Reduce the Apple Cider. In a small saucepan, bring 1 ⅓ cups of apple cider to a simmer over medium heat. Reduce the cider by half until it measures approximately 166g (a scant ⅔ cup). This concentration is vital for intense apple flavor. Once reduced, allow the apple cider concentrate to cool completely to room temperature. You can also prepare this step in advance and store the cooled reduction in an airtight container in the refrigerator.
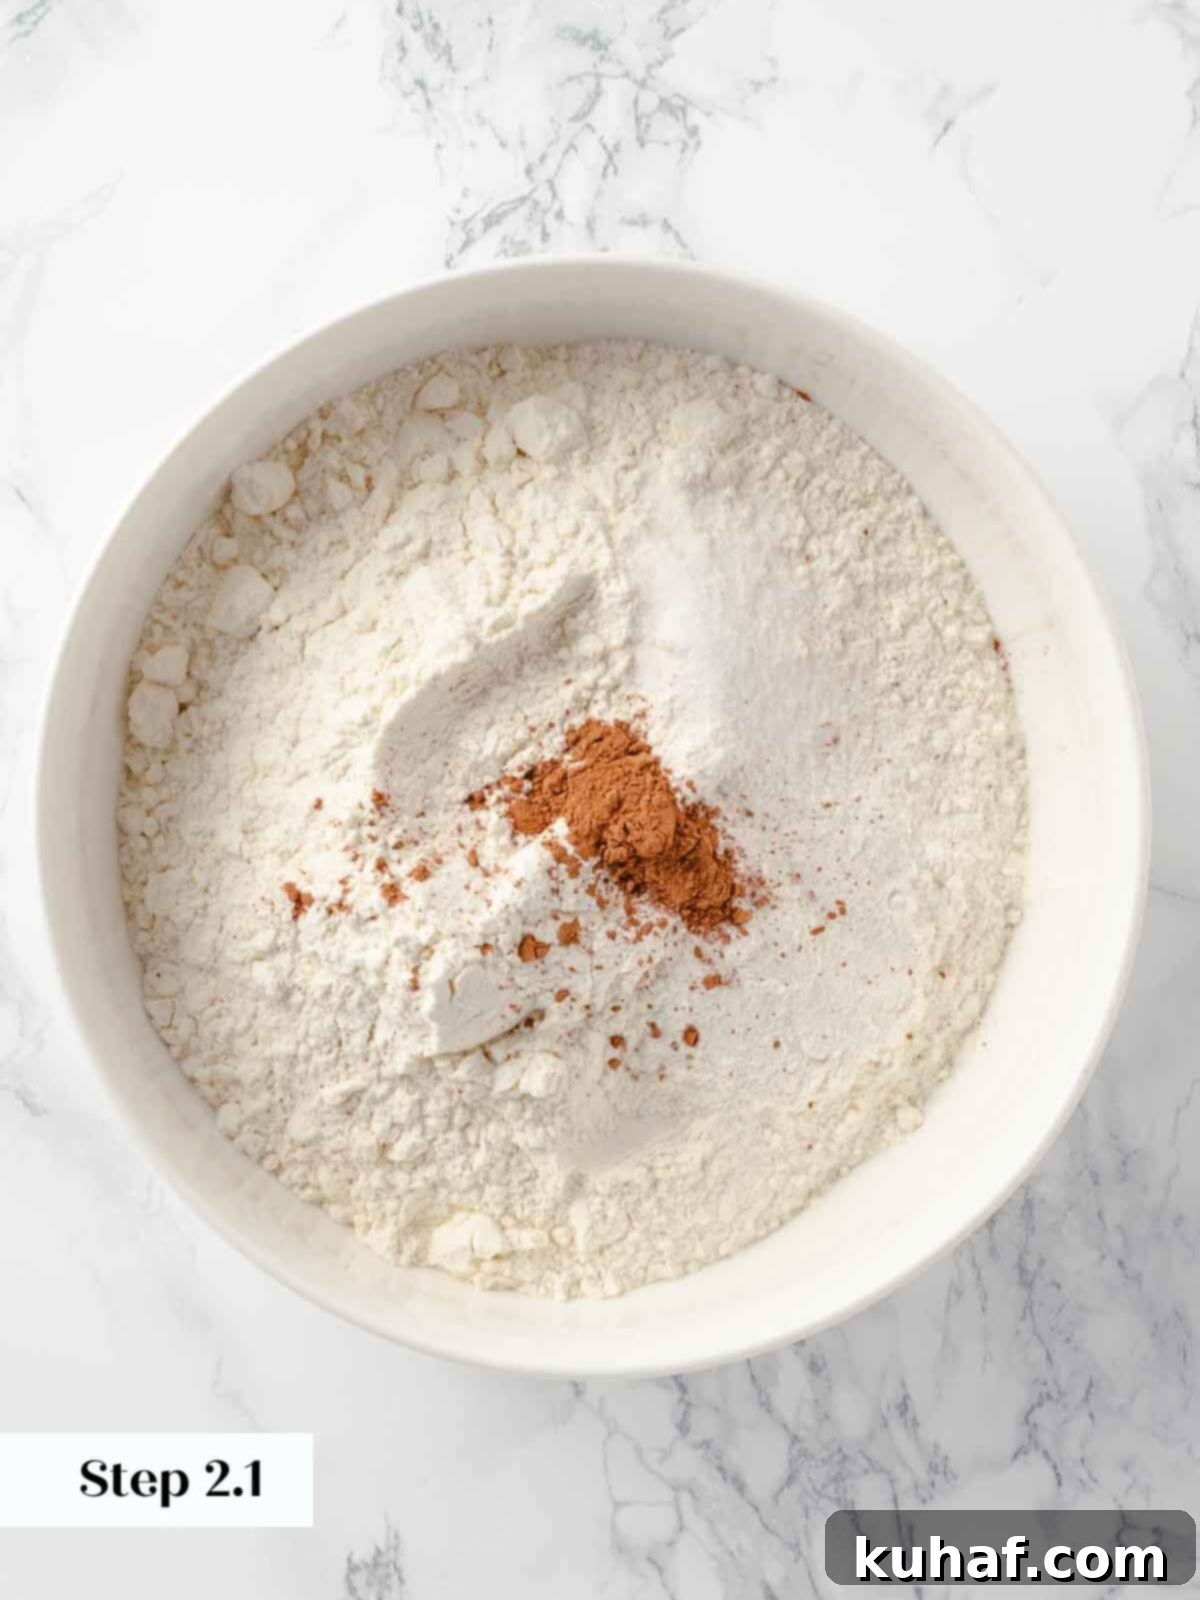
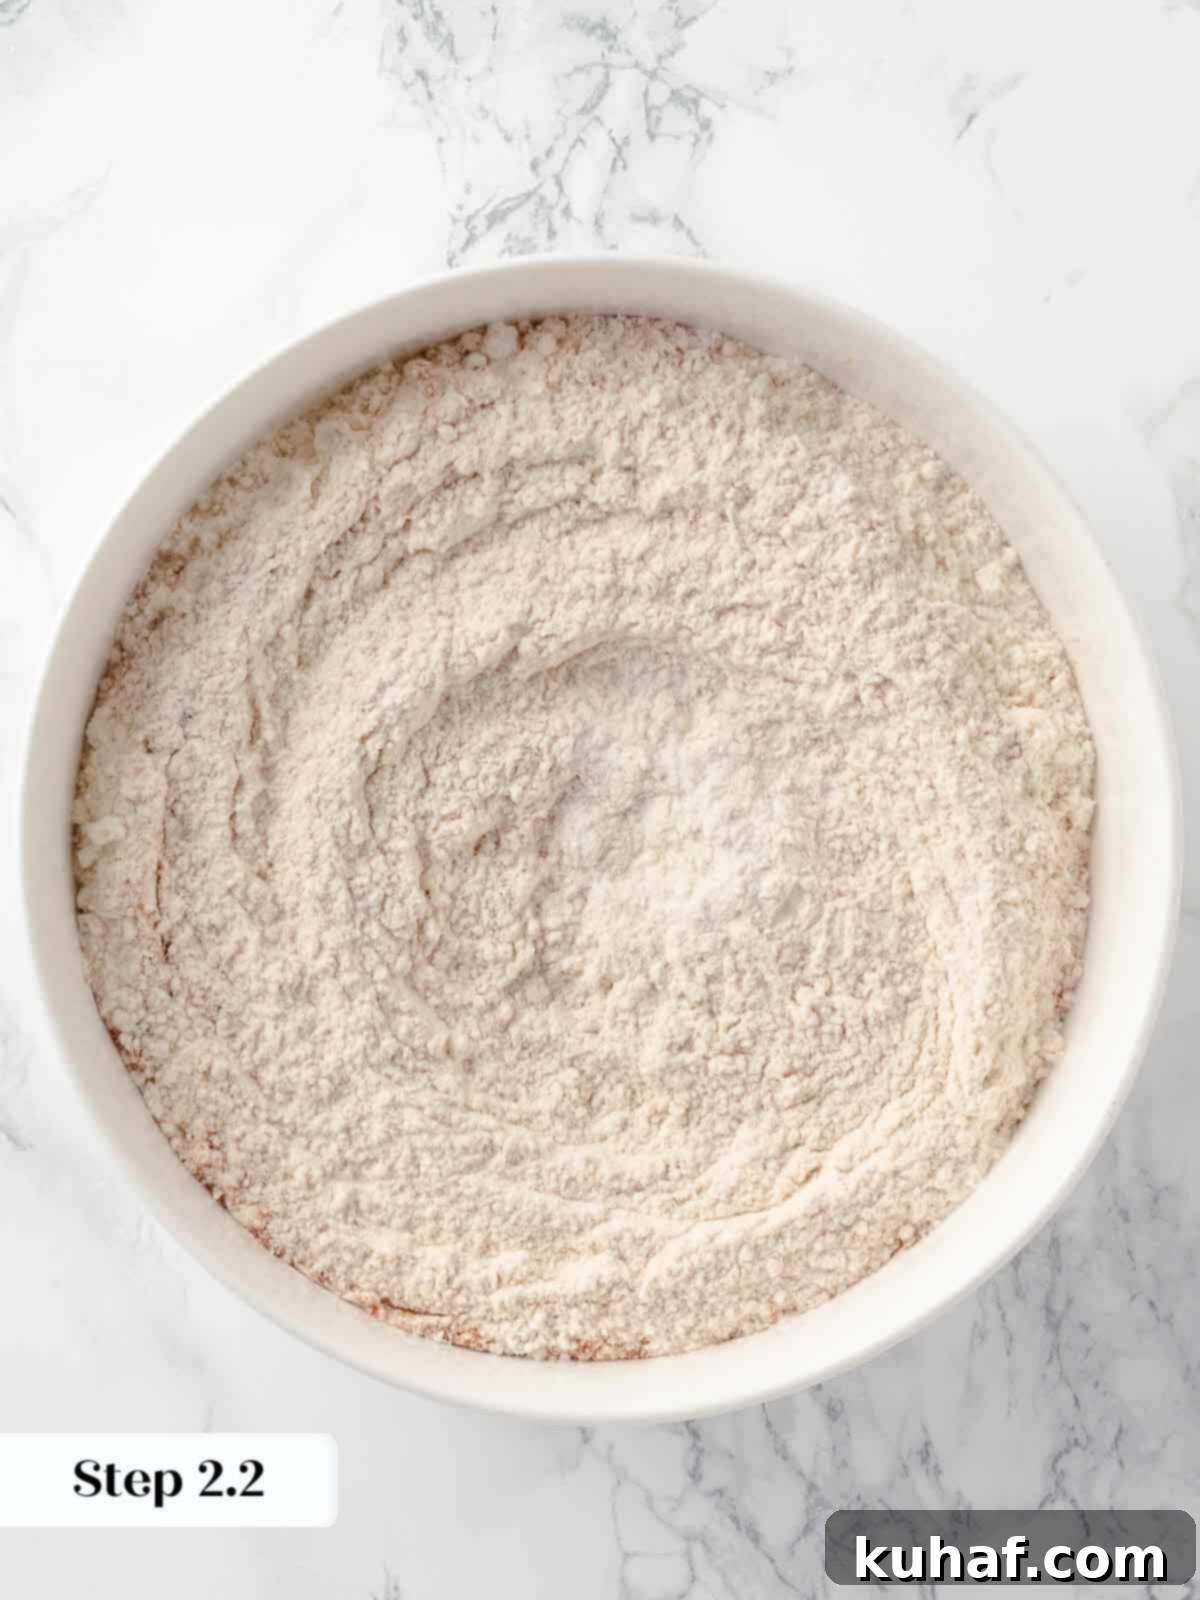
Step 2: Prepare Wet and Dry Mixtures. In a large mixing bowl, whisk together the dry ingredients: all-purpose flour, baking powder, kosher salt, and 1 teaspoon of ground cinnamon. Set this mixture aside. In a separate medium bowl, whisk together the cooled apple cider reduction with the sour cream until well combined.
Step 3: Prepare Baking Sheet for Chilling. Line a standard baking sheet with plastic wrap, ensuring the plastic covers the entire surface. Generously dust the plastic wrap with all-purpose flour. This step will prevent the sticky dough from adhering to the plastic during chilling.
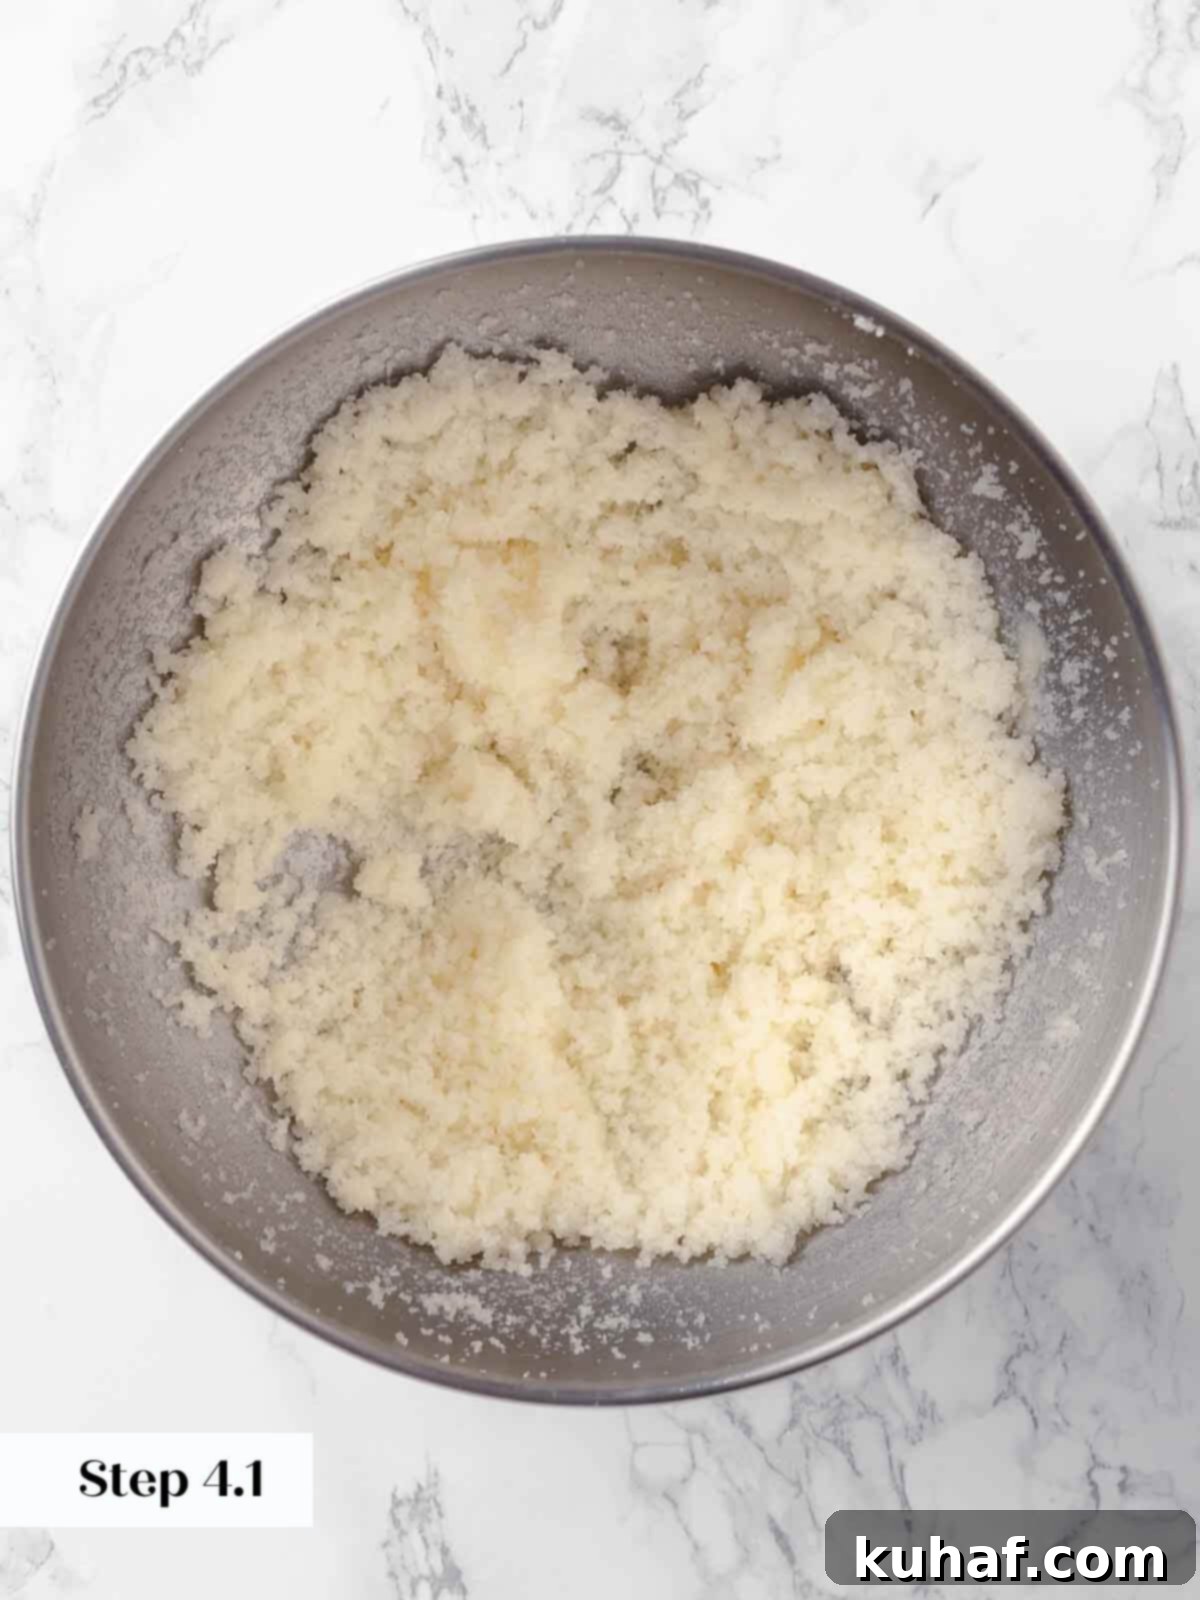
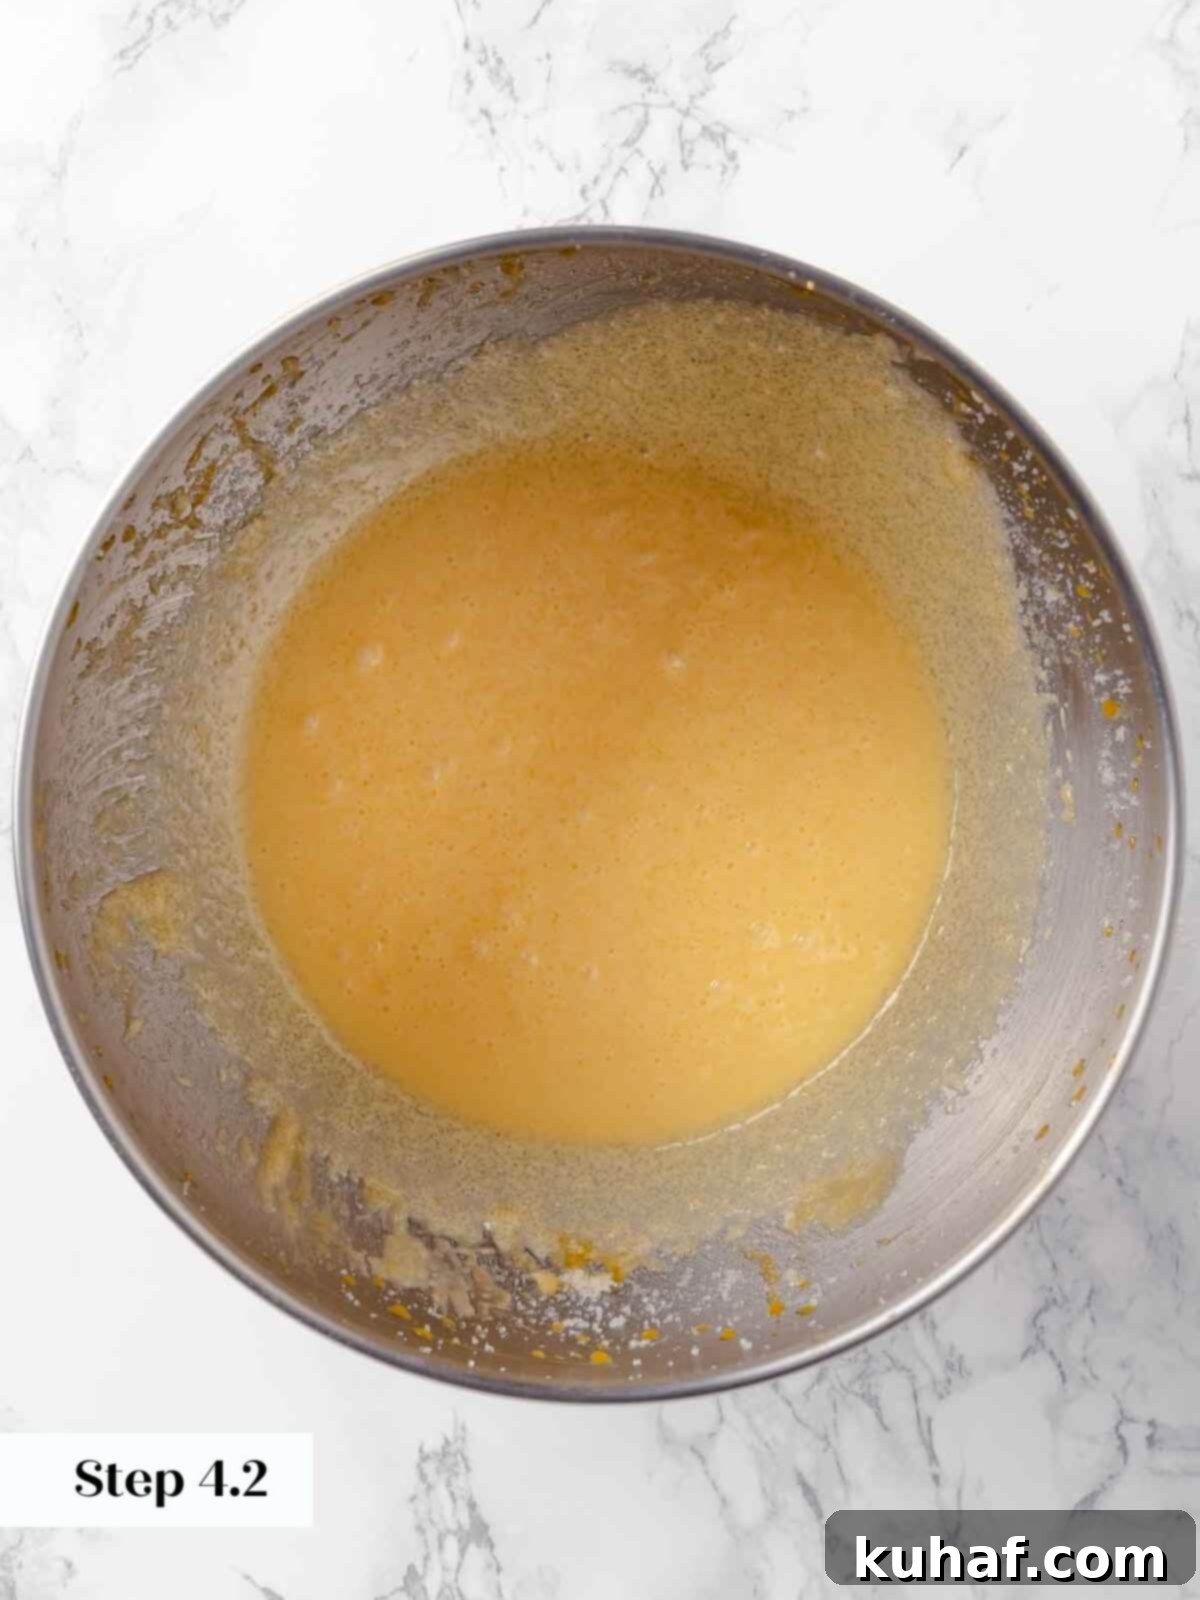
Step 4: Cream Butter, Sugar, and Yolks. In the bowl of a stand mixer fitted with the paddle attachment (or using a large bowl and a hand mixer), combine the room temperature unsalted butter and granulated sugar. Beat them together on medium speed until a light, sandy, and creamy mixture forms. Then, slowly add the egg yolks one at a time, beating on high speed for about 2 minutes until the mixture becomes pale yellow and fluffy, thoroughly aerated. This creaming process incorporates air, which contributes to the donut’s light texture.
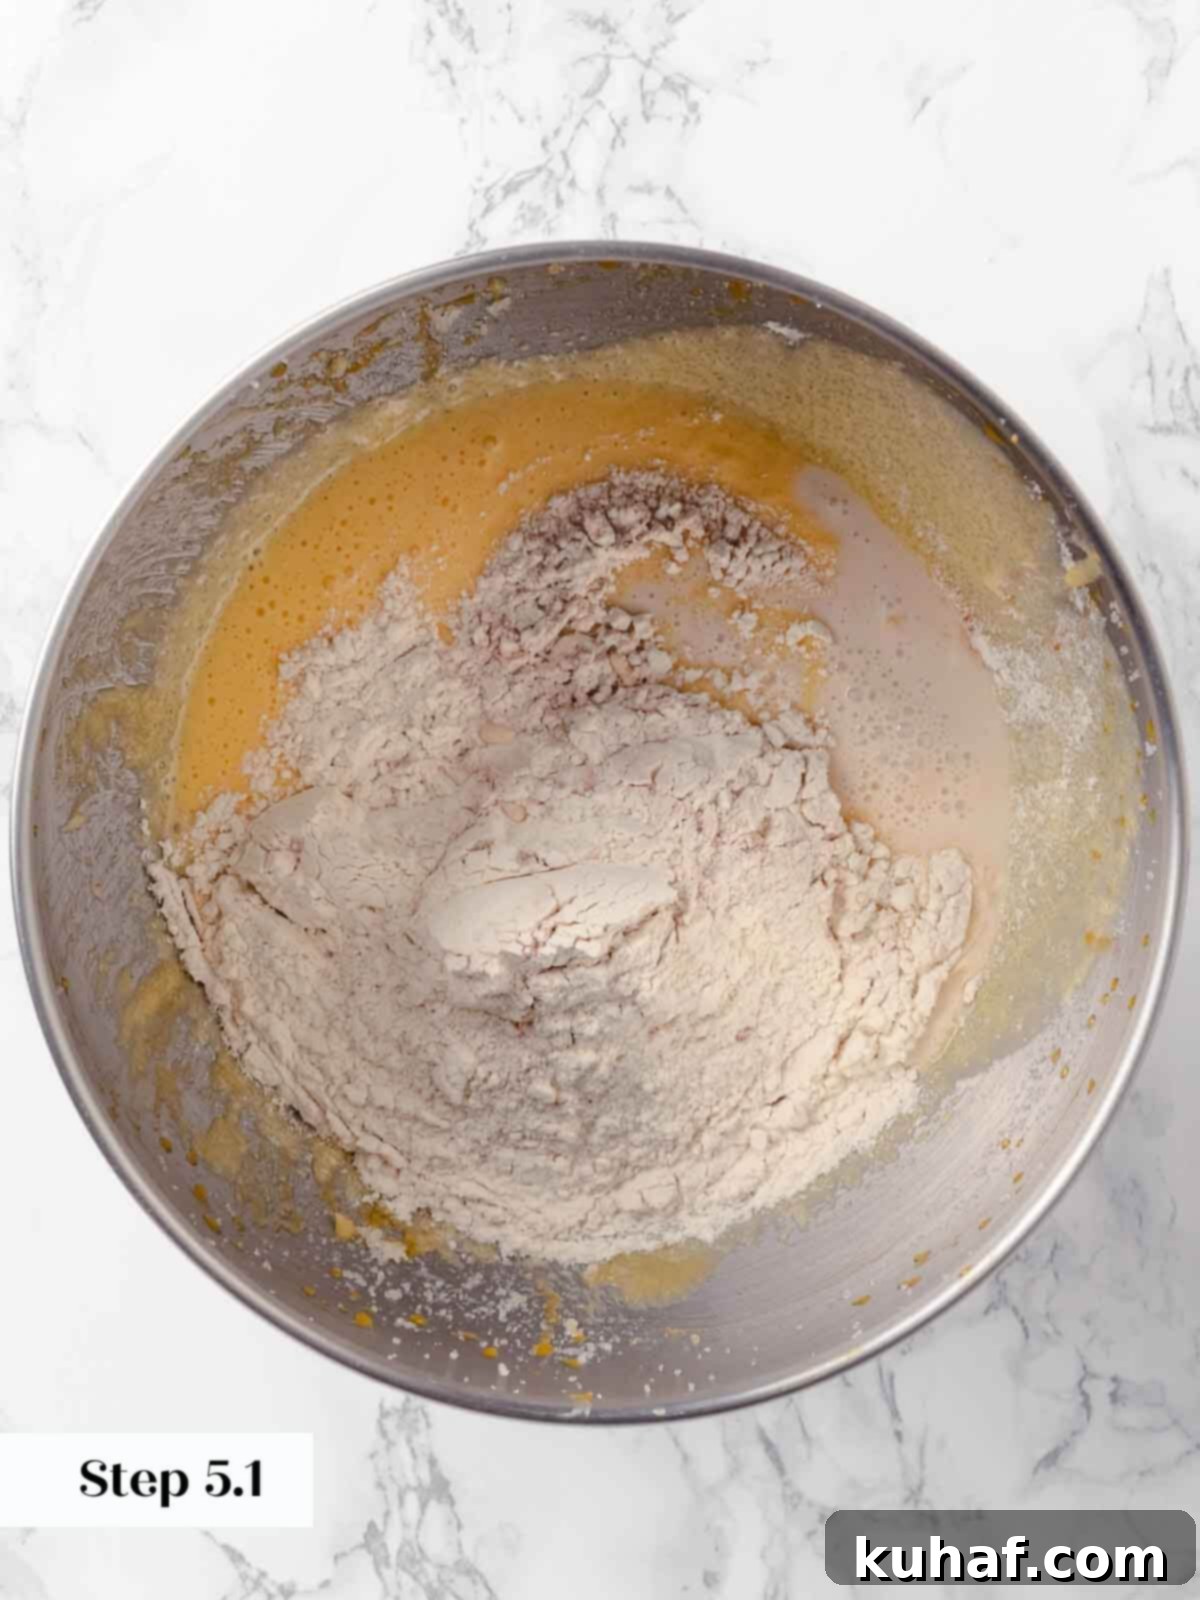
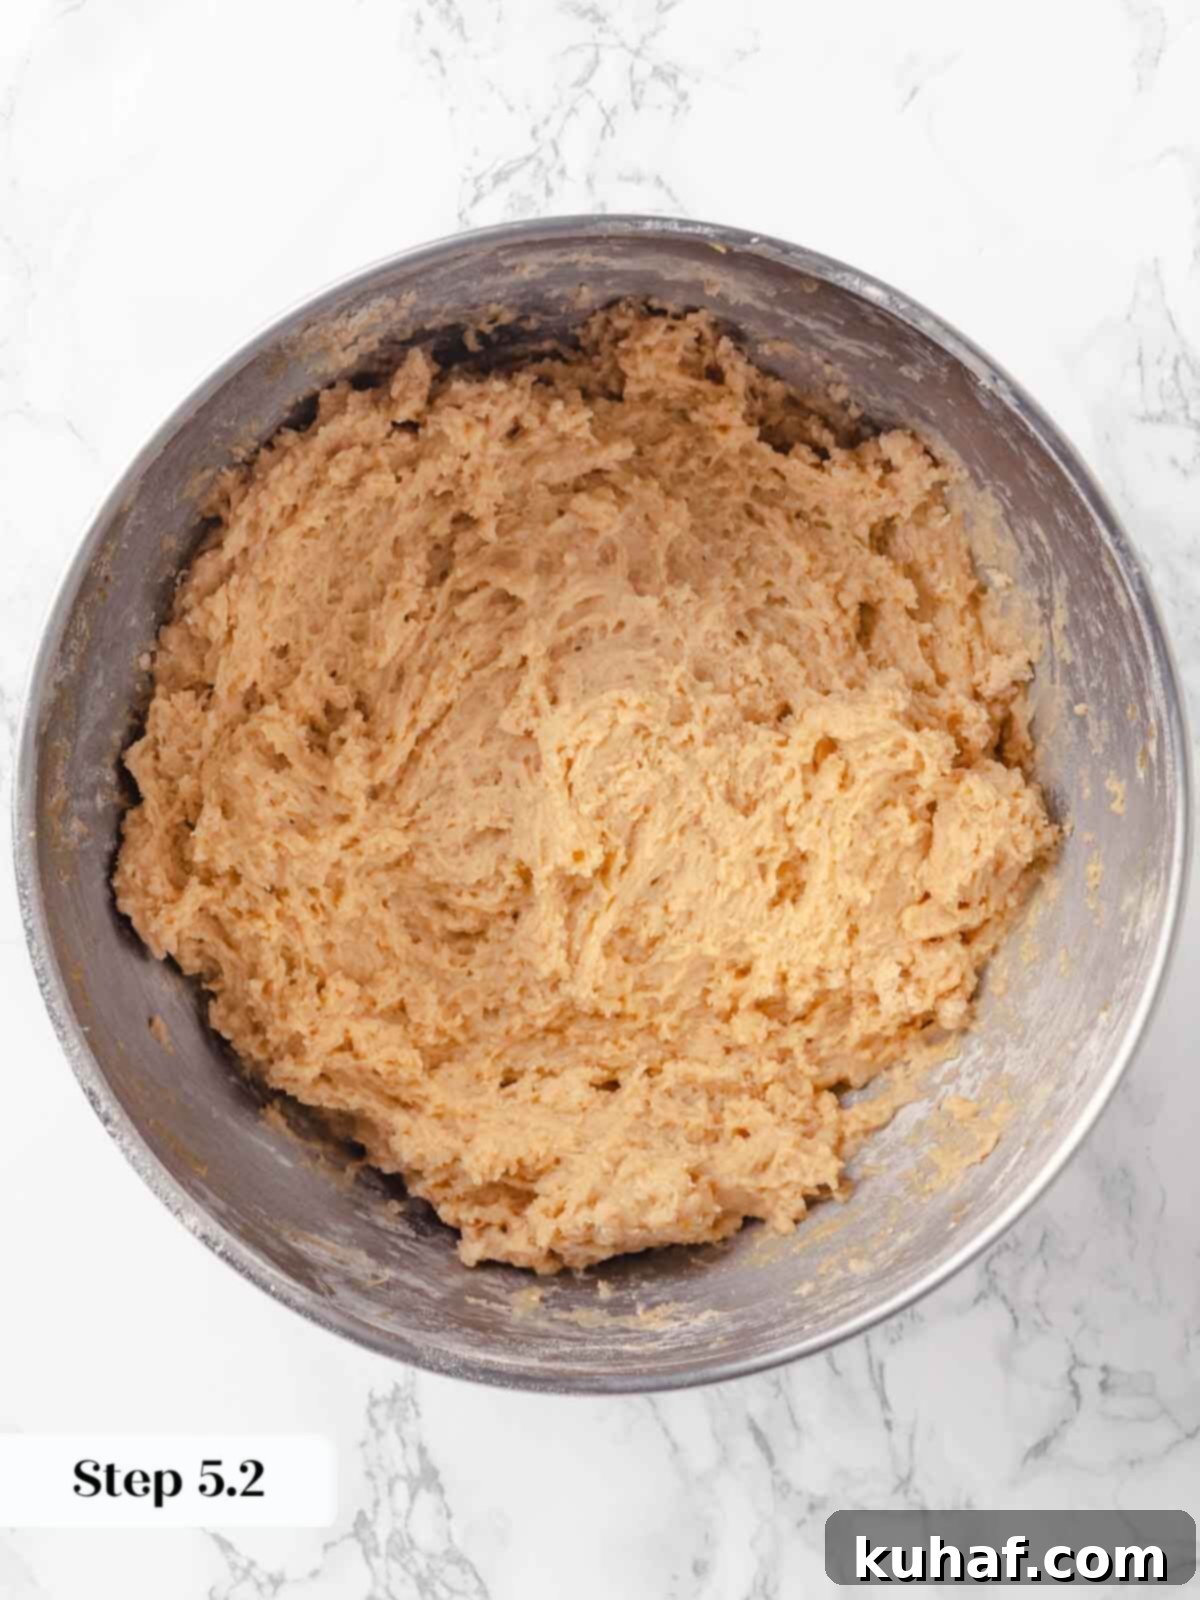
Step 5: Combine Wet and Dry Ingredients. With the stand mixer set to its lowest speed, begin to alternately add the prepared flour mixture and the wet ingredients (sour cream and apple cider reduction mixture) to the creamed butter, sugar, and egg yolks. Add them in several small additions, starting and ending with the dry ingredients. Mix only until the dry ingredients are just fully incorporated into the wet. It’s crucial not to overmix at this stage.
Chef’s Tip for Tender Donuts: You want to perform this mixing step as quickly as possible. Excessive mixing will over-develop the gluten in the flour, which can lead to a tough, chewy cake donut. Over-developed gluten can also cause “tunnels” to form in the interior of your donuts, negatively affecting their delicate texture. Mix just until combined for optimal tenderness.
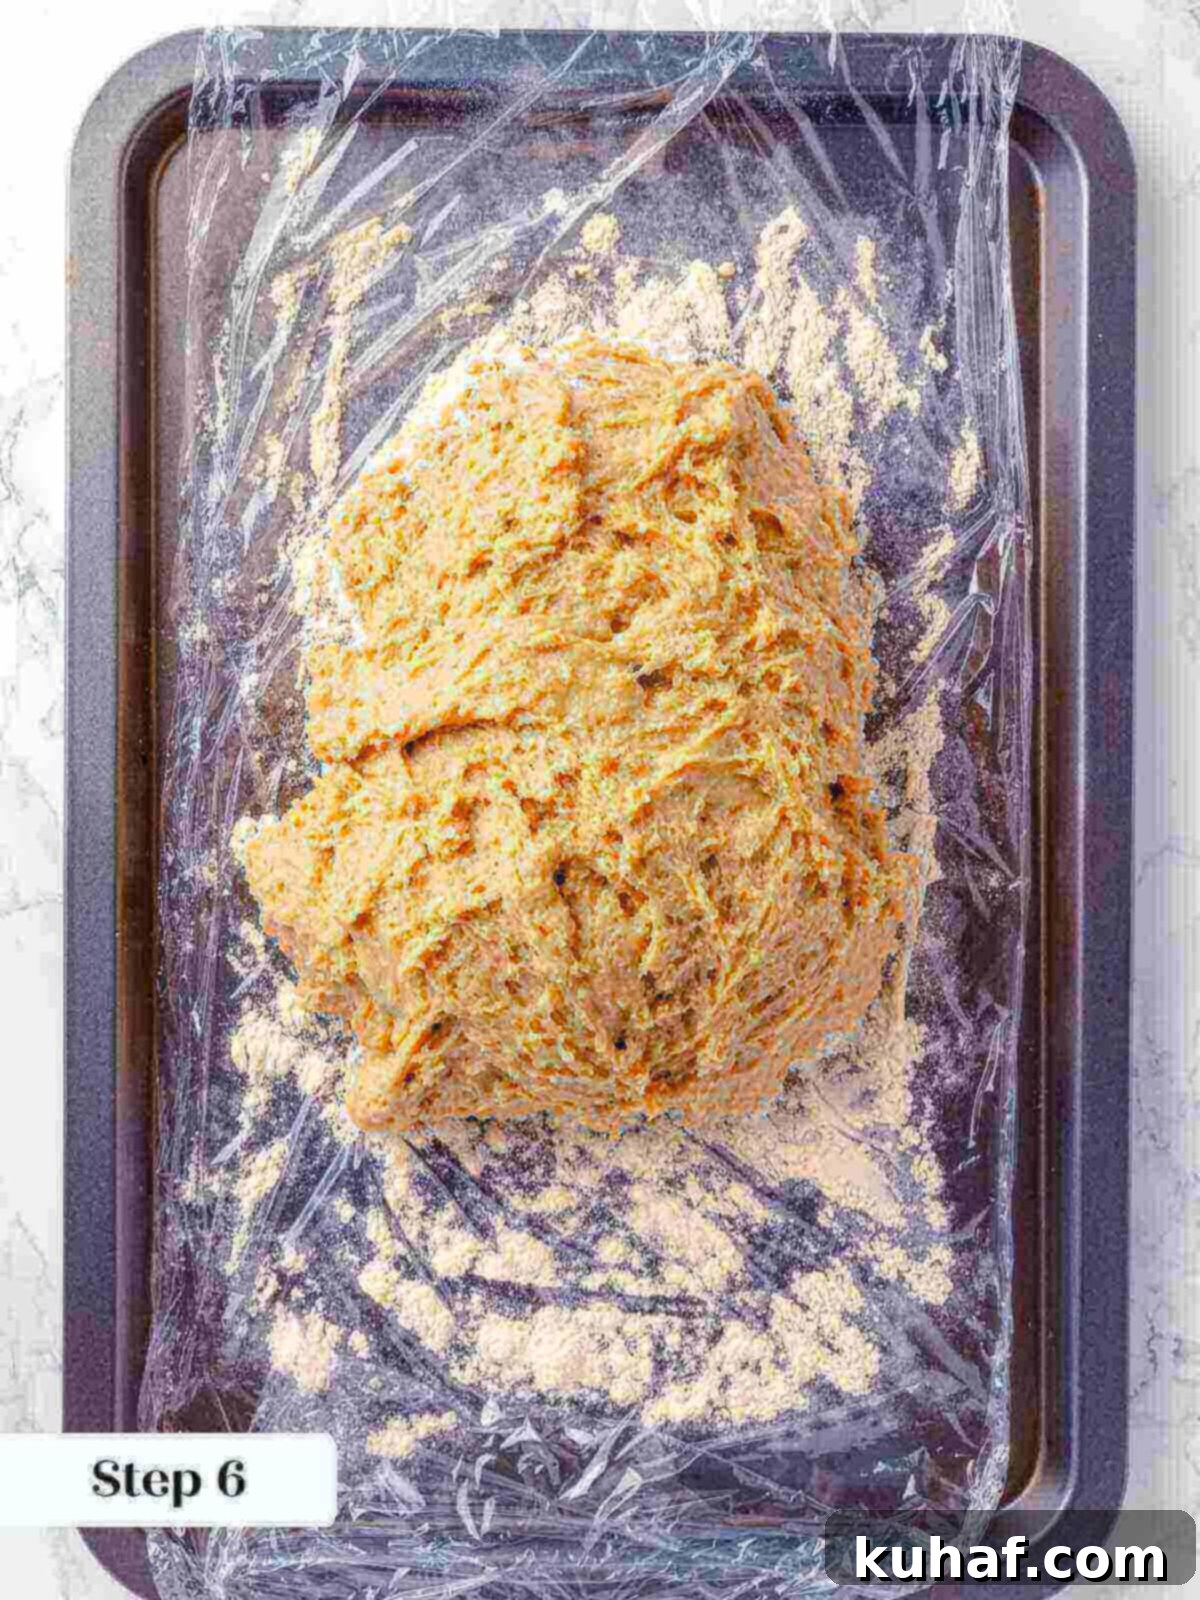
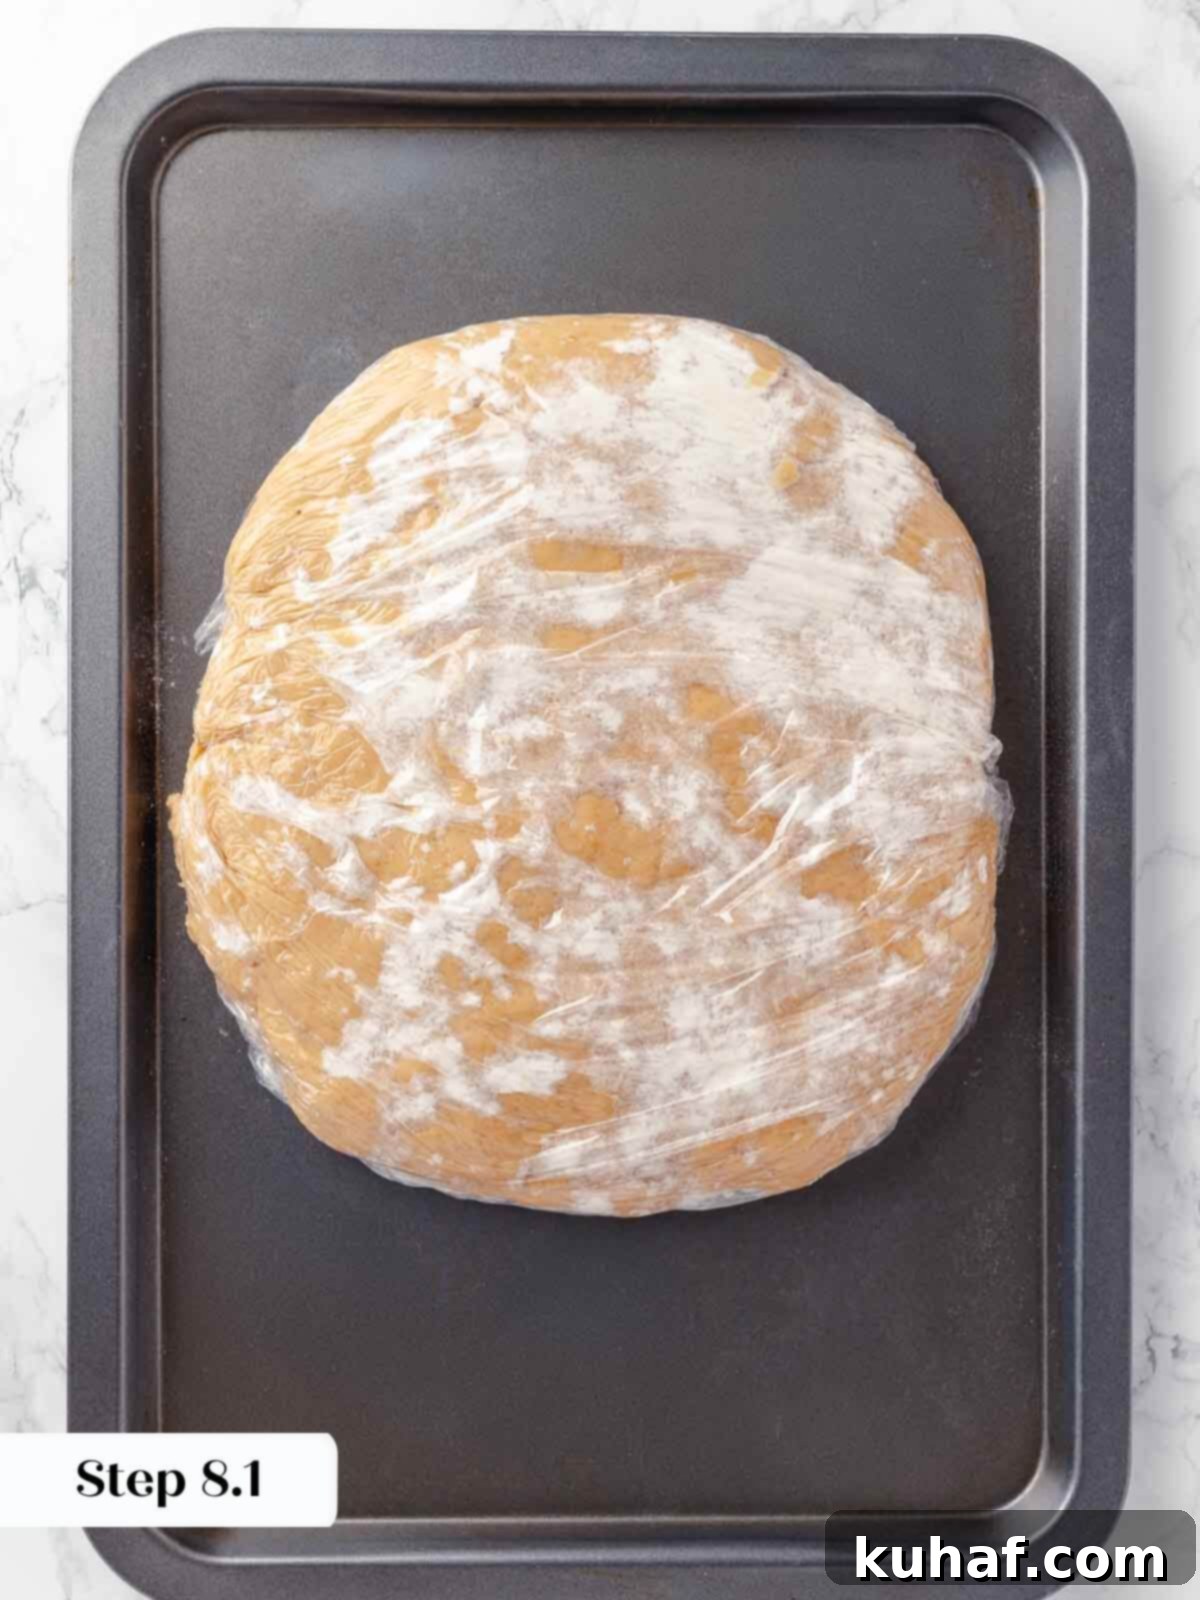
Step 6: Chill the Dough. Carefully transfer the freshly mixed dough onto the flour-dusted plastic wrap on your prepared baking sheet. Dust more flour generously over the top surface of the dough, then fold the edges of the plastic wrap over the dough to cover it completely. To facilitate faster chilling, gently press the dough out into a flattened, even circle or rectangle, about 2 inches thick. Place the covered dough in the refrigerator and chill for a minimum of 60 minutes.
Make-Ahead Dough: This dough is incredibly forgiving! It can be prepared up to this point and stored securely covered in the refrigerator for up to 3 days. This flexibility makes it perfect for planning ahead for a weekend brunch or a special fall treat.
Cut the Donuts:
Step 7: Prepare a Second Baking Sheet. Line another baking sheet with parchment paper. Lightly spray the parchment paper with a nonstick cooking spray to ensure the cut donuts don’t stick. Set this aside, as it will hold your shaped donuts before frying.
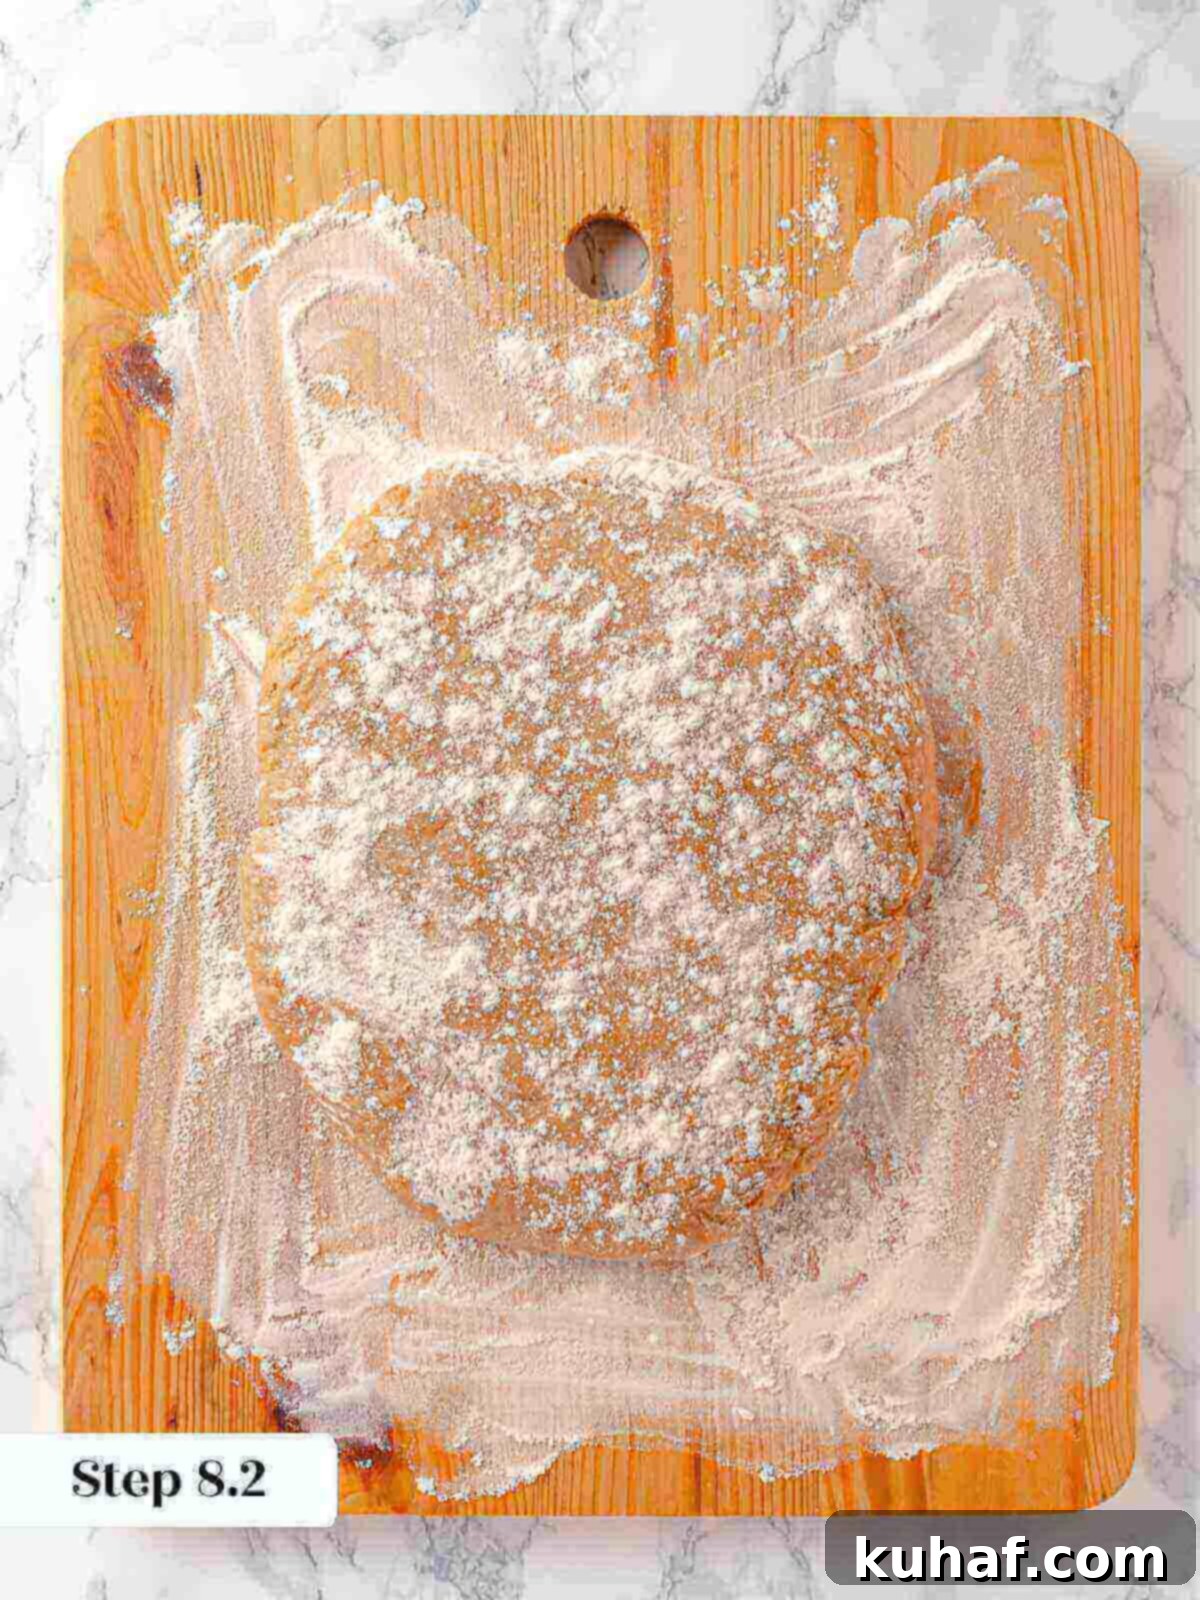
Step 8: Flour Your Work Surface Generously. Liberally dust your clean work surface with all-purpose flour. Retrieve the chilled dough. While it’s still on the plastic wrap, dust the top of the dough with an additional layer of flour. Carefully invert the dough onto your floured work surface, so the original floured side is now down. Lightly dust the new top surface of the dough with more flour.
Dealing with Sticky Dough: Don’t be shy with the flour here! It might feel like a lot, but a common concern with cake donut dough, especially sour cream varieties, is stickiness. This dough is naturally a bit sticky, but a generous application of “bench flour” on your work surface and on the dough itself will make it manageable and easy to work with.
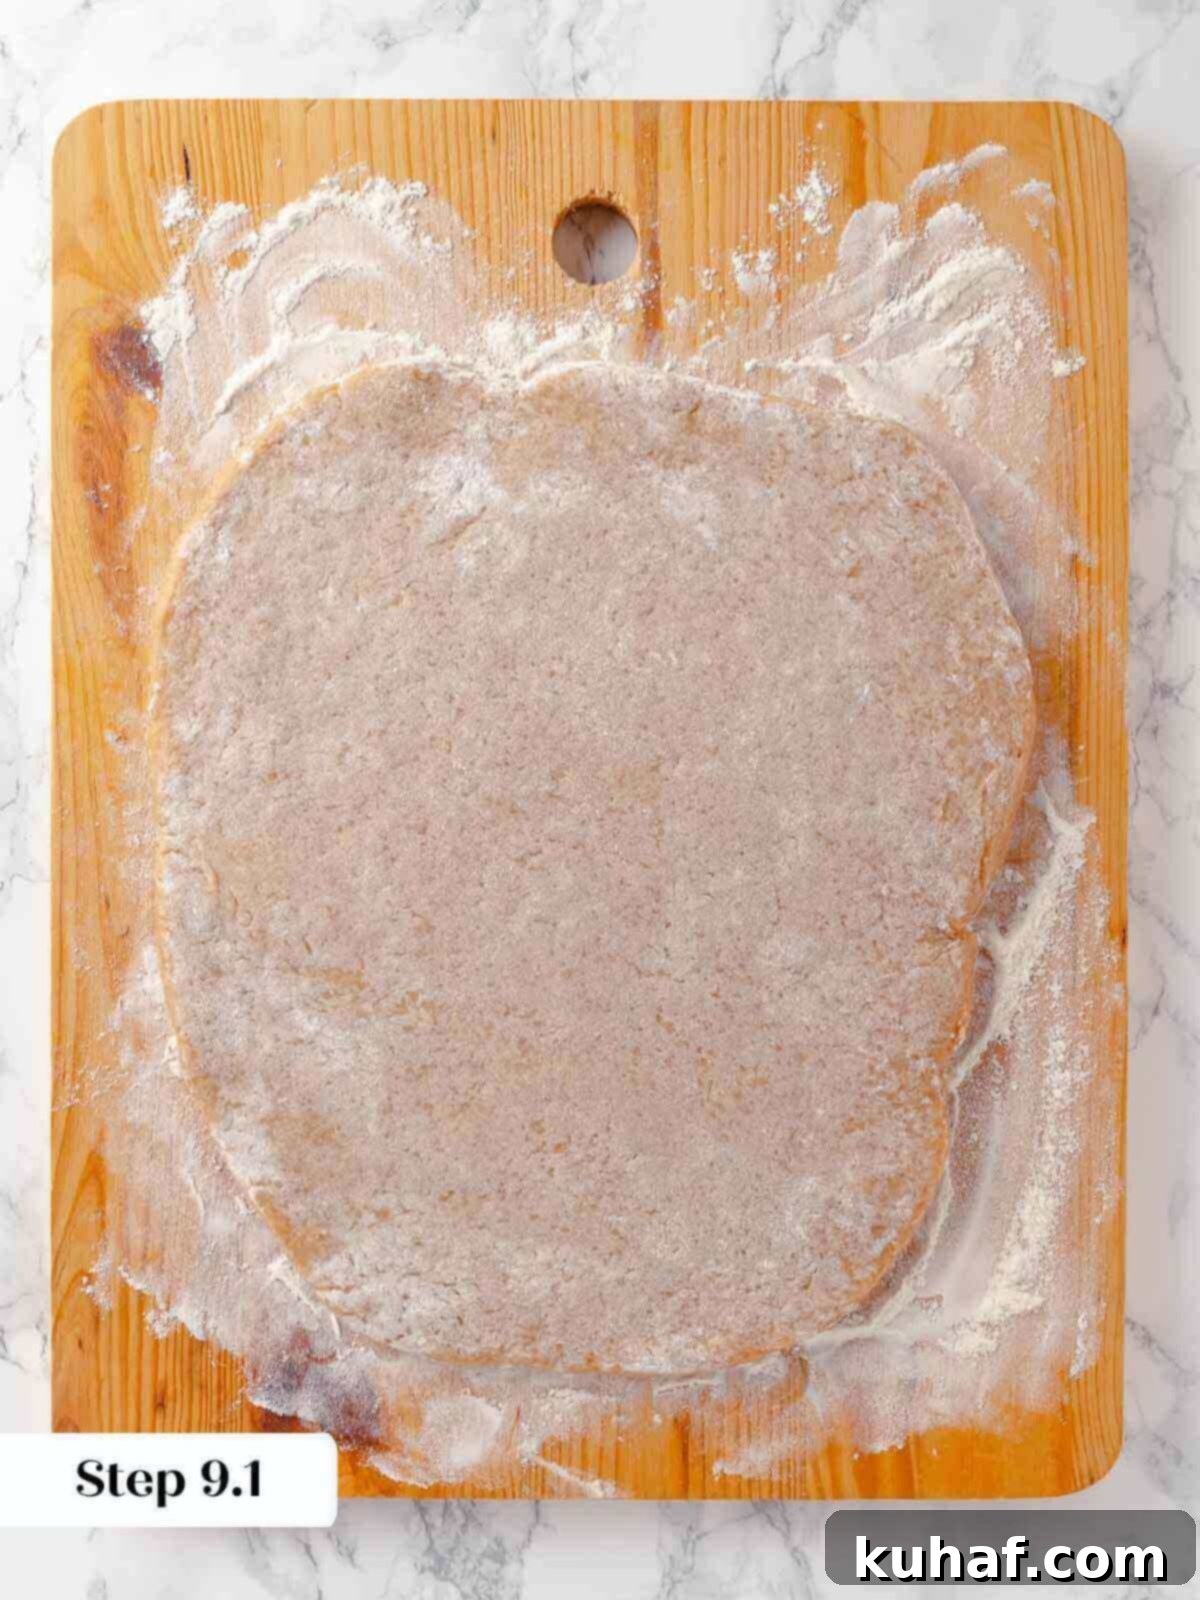
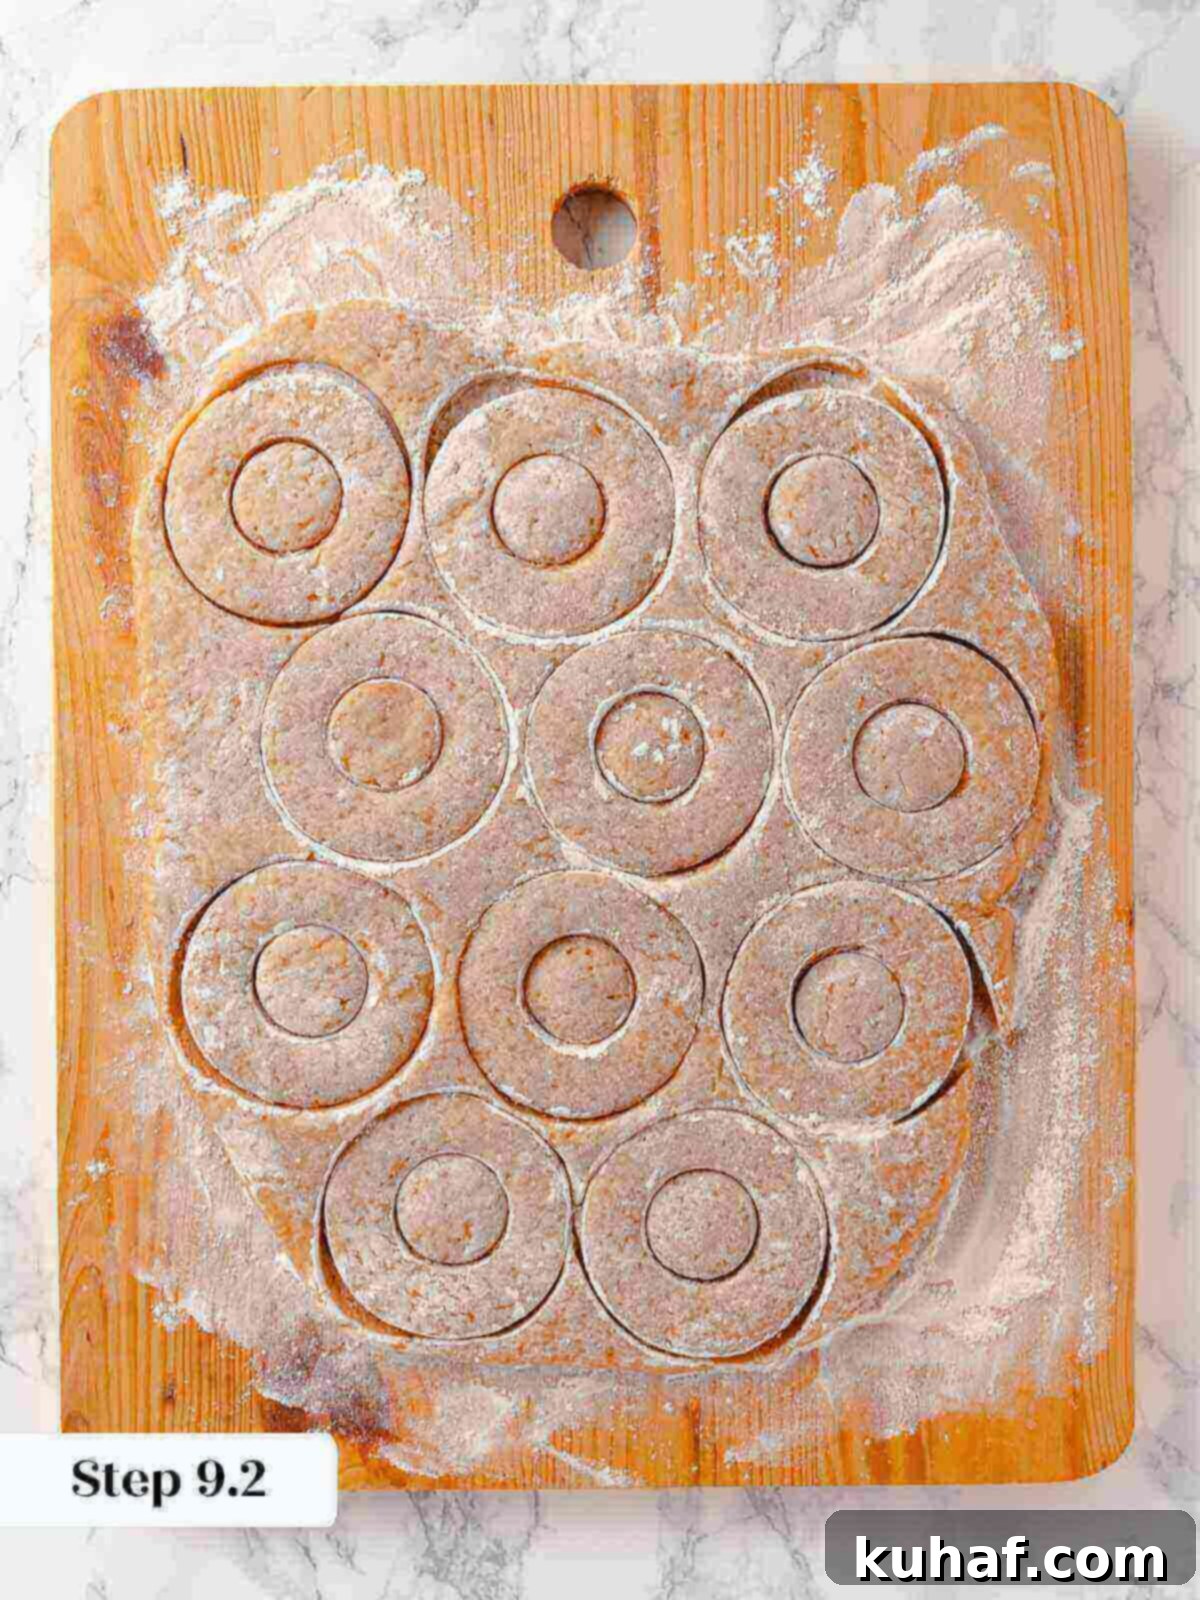
Step 9: Roll and Cut the Donuts. Working efficiently to keep the dough as cool as possible, use a rolling pin to roll out the dough to an even ½-inch thickness. Once rolled, gently brush off any excess flour from the top surface of the dough. Using a 3-inch round cutter for the donuts and a 1 ¼-inch ring cutter (or a smaller round cookie cutter or even a small glass) for the centers, begin cutting your donut shapes. Lightly tap your cutters in flour before each cut to prevent sticking. Carefully transfer the cut donuts and their smaller donut holes to your prepared sheet pan.
Bonus Donut Holes: After you’ve cut out all your full-sized donuts, gather the dough scraps. Re-roll them gently and use the smaller cutter to make additional donut holes. These little bites are perfect for snacking on while you patiently fry the larger donuts – a delicious chef’s perk!
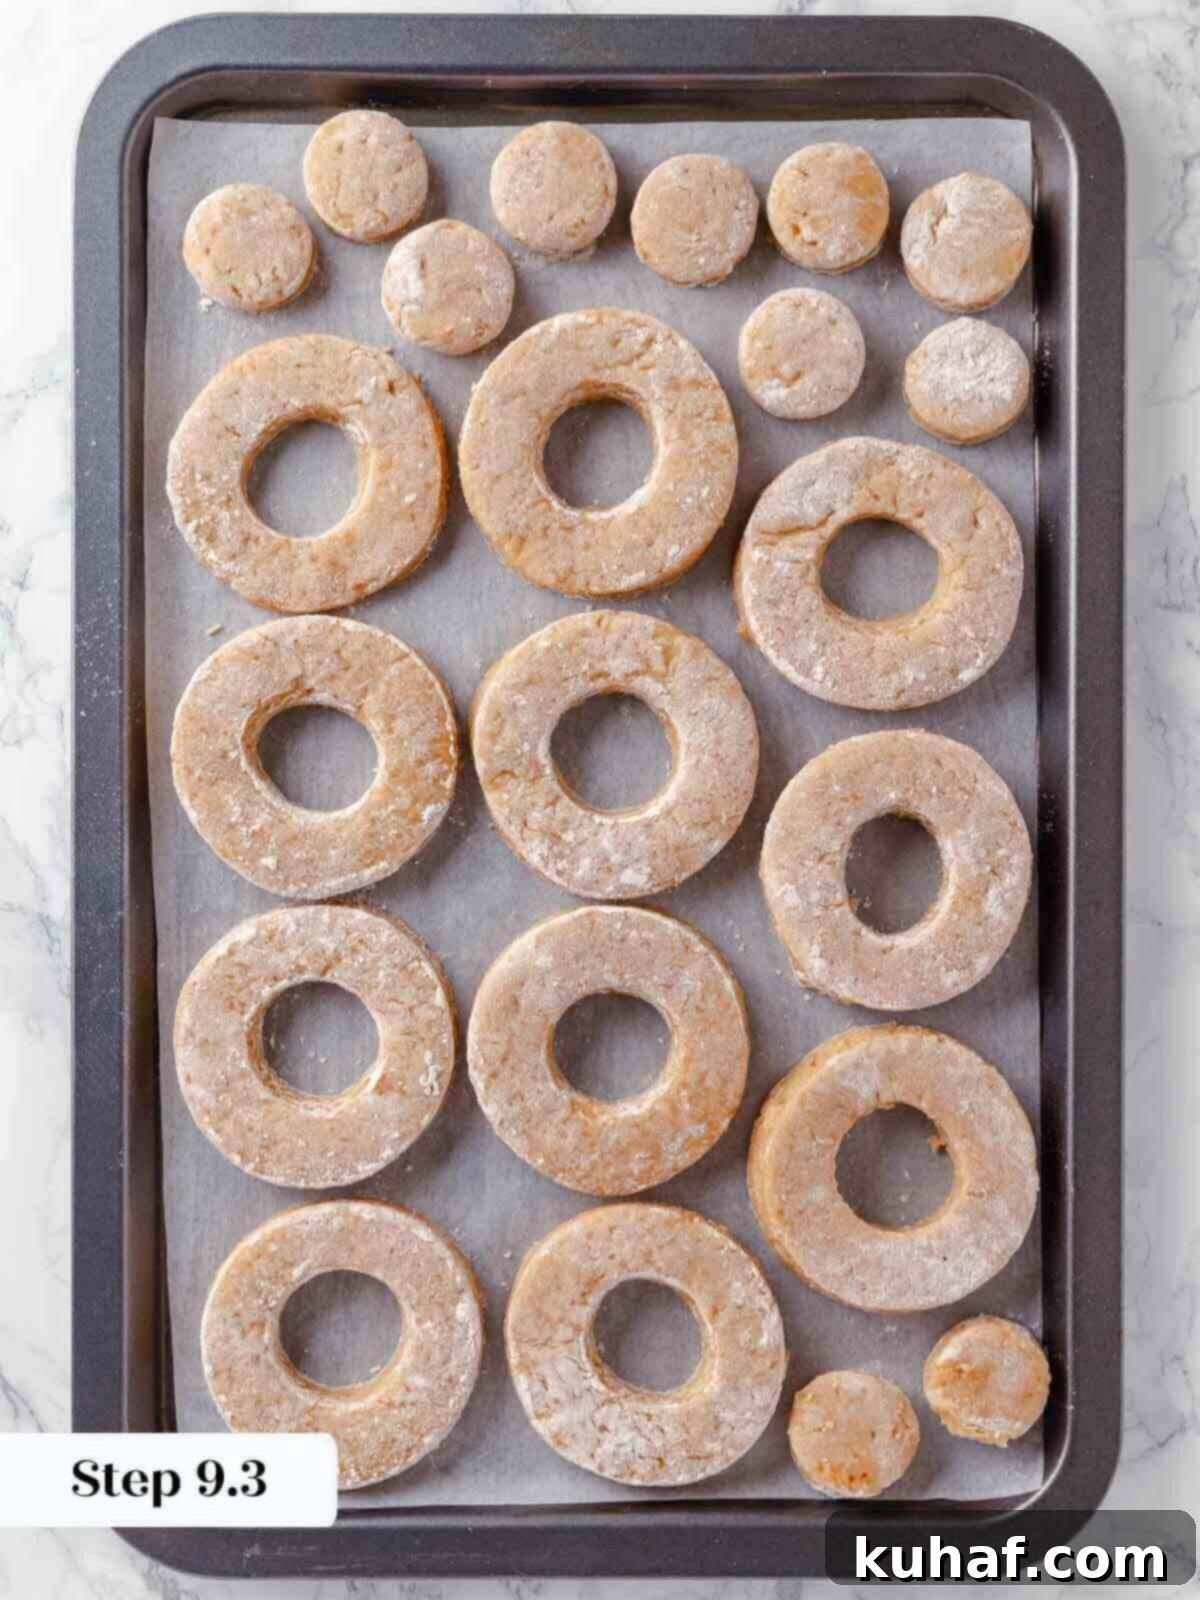
Step 10: Final Chill Before Frying. Once all your donuts and donut holes are cut and arranged on the sheet pan, cover the entire pan loosely with plastic wrap. Ensure the plastic wrap does not directly touch the top of the donuts to avoid sticking. Place the pan in the refrigerator to chill for at least 2 hours. For optimal texture and flavor, I often let mine chill overnight. This extended chill time helps the dough firm up and allows the flavors to meld beautifully, making for a better frying experience.
Advanced Prep and Freezing: The cut, unfried donuts can be stored in the refrigerator for up to three days. For longer storage, you can freeze the cut dough for up to one month. If freezing, make sure to thaw them completely in the refrigerator before proceeding to fry. I do not recommend frying cake donuts directly from frozen, as this can lead to uneven cooking and a less desirable texture.
Frying the Apple Cider Donuts:
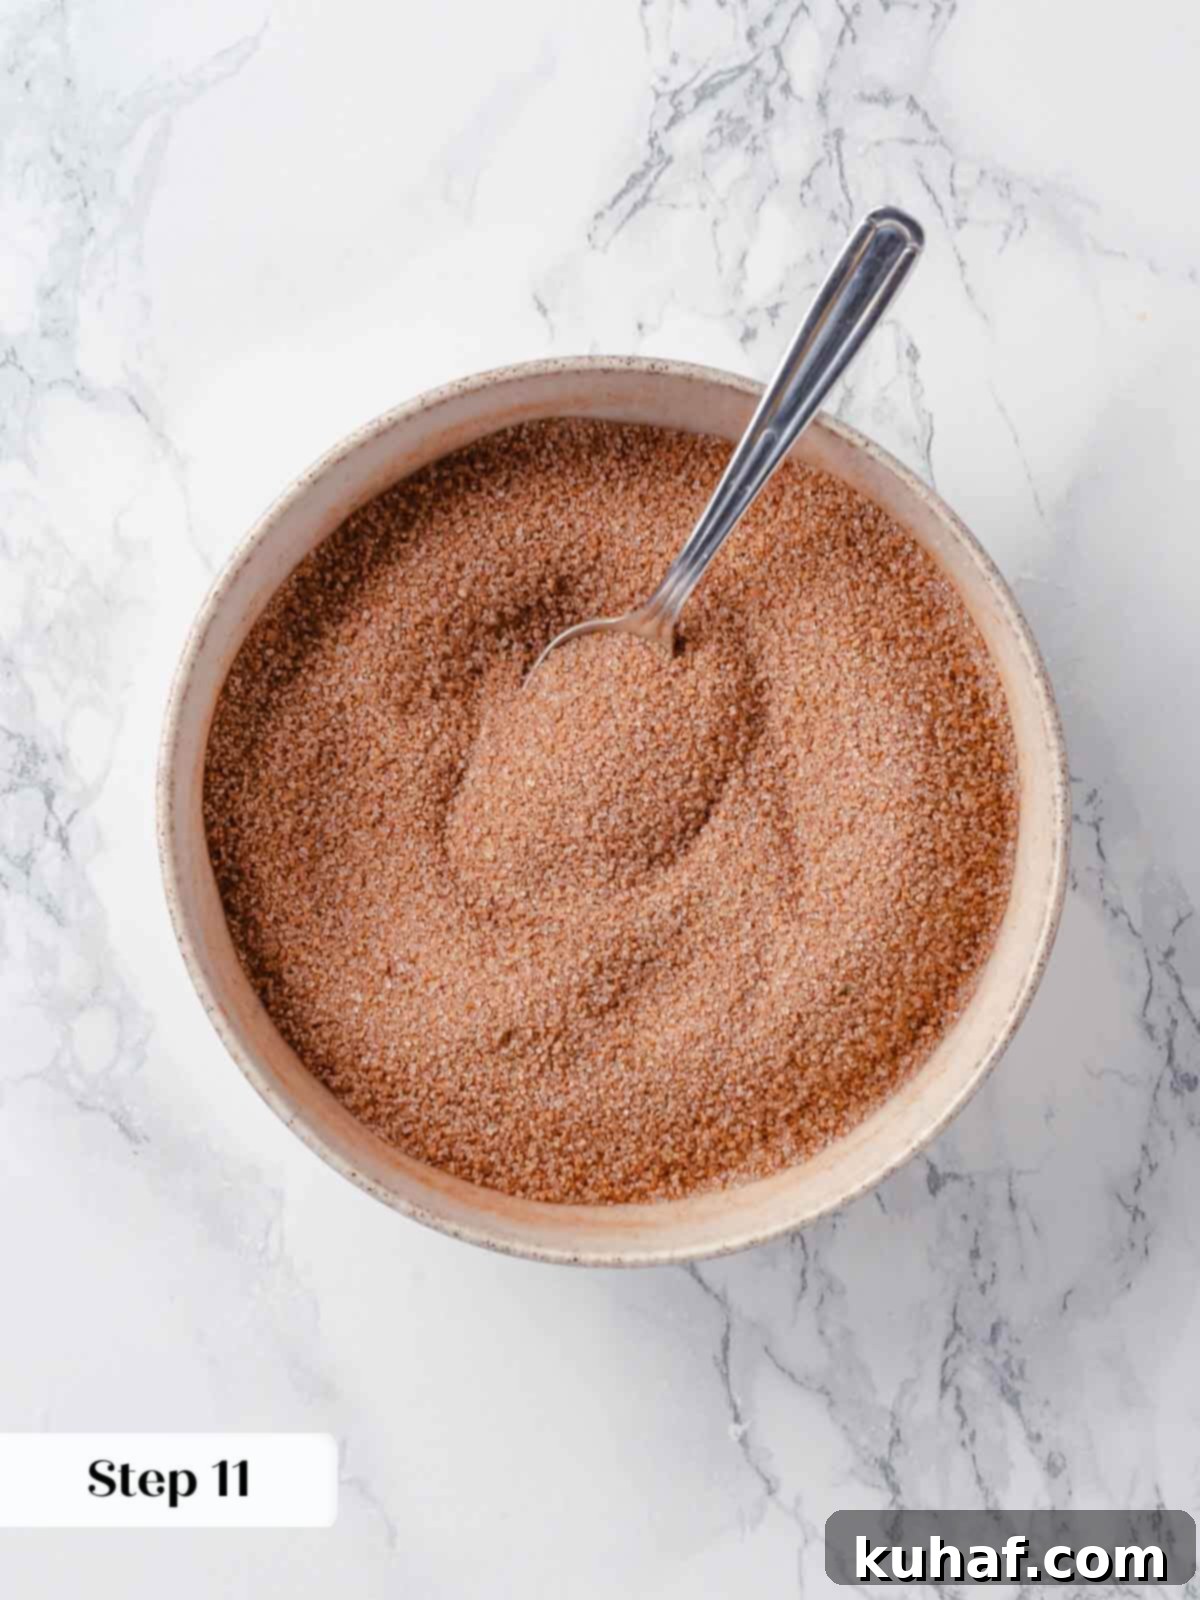
Step 11: Set Up Your Frying Station. Before you begin frying, meticulously set up your station for efficiency and safety. Place a wire cooling rack over a rimmed baking sheet or several layers of paper towels nearby – this will be for draining excess oil from the freshly fried donuts. Have a slotted spoon or a spider skimmer ready to safely remove the donuts from the hot oil. Finally, in a shallow dish, whisk together the granulated sugar and ground cinnamon to create your delicious cinnamon sugar coating.
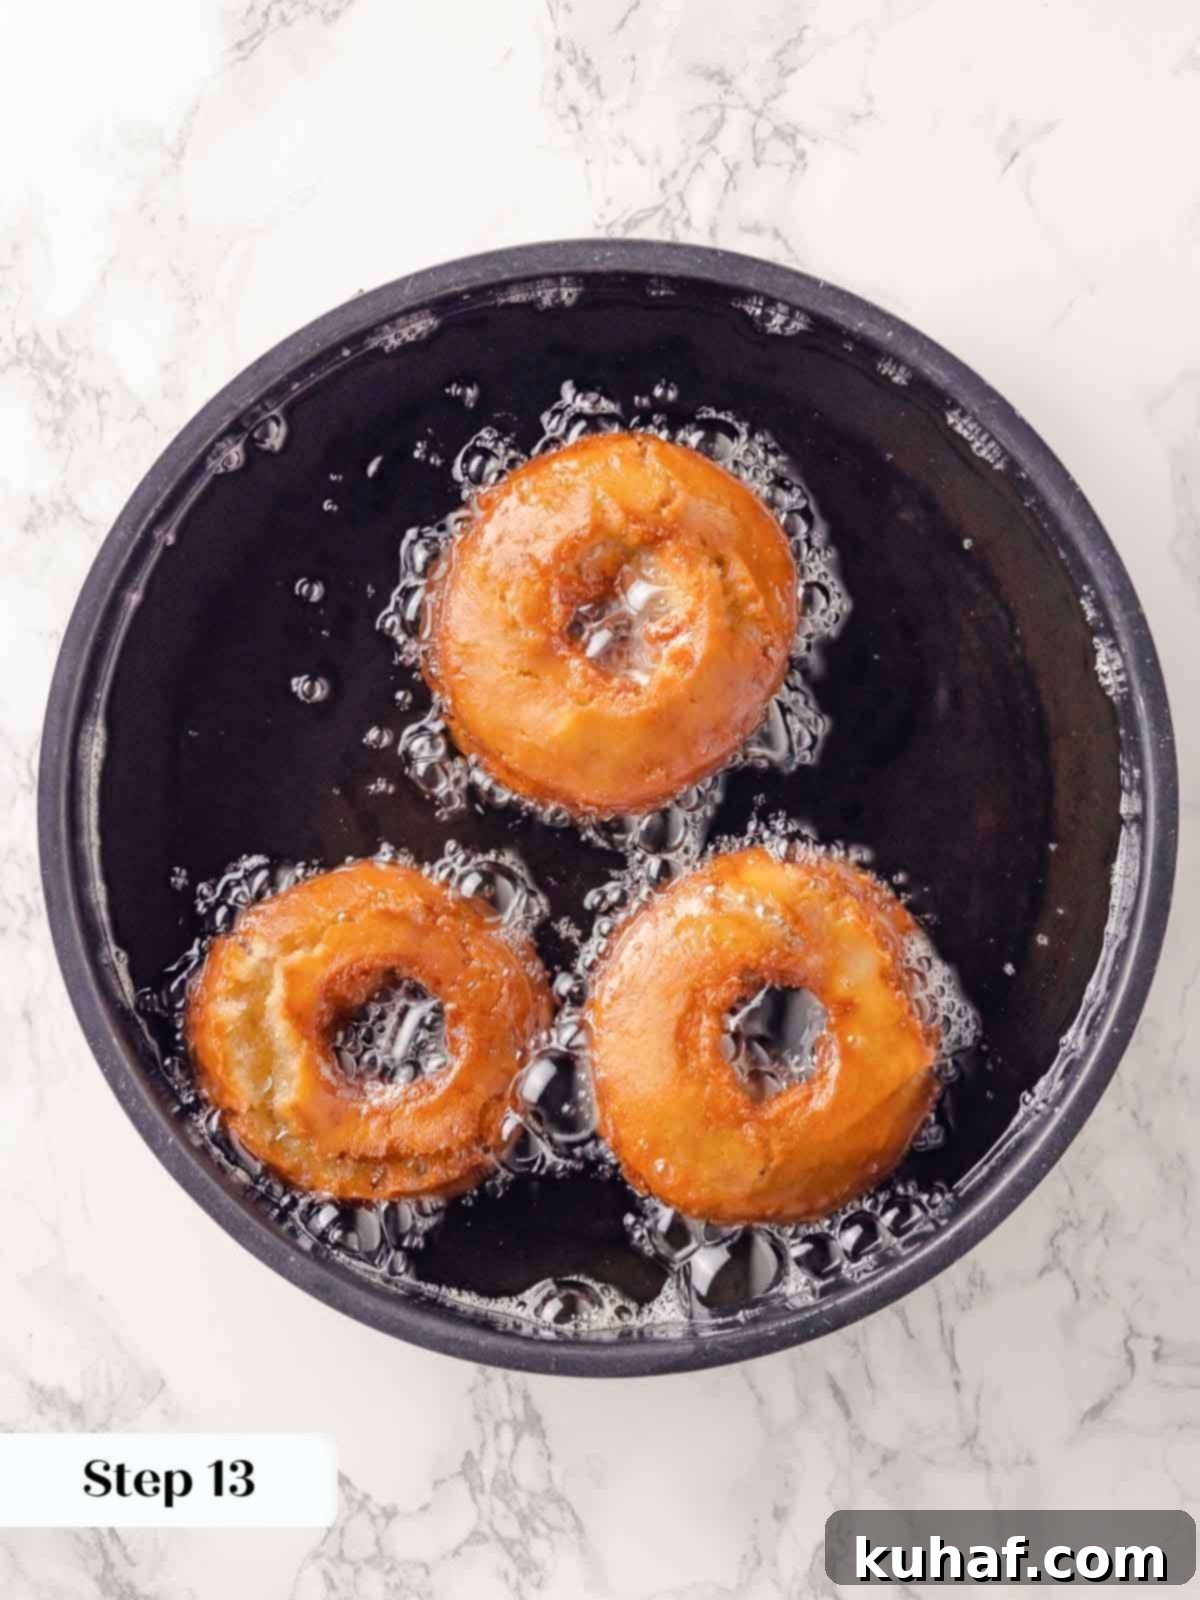
Step 12: Heat the Frying Oil. Pour your chosen neutral oil (like canola or peanut) into a deep fryer or a heavy-bottomed Dutch oven. Ensure the oil is at least 2 inches deep, providing enough depth for the donuts to float and cook evenly. Heat the oil gradually to a precise temperature of 325°F (163°C). Throughout the frying process, it’s crucial to monitor and adjust the heat as needed to maintain a consistent oil temperature between 325°F and 330°F (163°C-166°C).
Temperature Precision is Key: A reliable clip-on fry/candy thermometer is an absolute must for successful donut frying. I always heat my oil to about 330°F (166°C) *before* adding the first batch of cold donut dough. The cold dough will naturally cause the oil temperature to drop a few degrees, so starting slightly higher helps maintain the optimal range. Consistent temperature prevents oily donuts and ensures even browning.
Step 13: Fry the Donuts in Batches. Gently lower three donuts into the hot oil at a time. Resist the urge to overcrowd the fryer, as this will significantly drop the oil temperature and lead to greasy, poorly cooked donuts. Keep the remaining uncooked donuts in the refrigerator until ready to fry. Once the donuts rise to the surface (usually within a few seconds), cook them for 30 seconds, then carefully flip them with your slotted spoon. Continue to fry until the bottom side develops a beautiful golden-brown color, which typically takes about 80 seconds. Flip them again and fry for another 80 seconds, or until they achieve a lovely, even golden-brown hue on both sides.
Checking for Doneness: Just like baking a cake, you can test the doneness of your fried donuts. Carefully remove one donut from the oil and insert a thin cake tester or wooden skewer into its center. If it comes out clean, the donut is fully cooked through. If there’s any wet batter, fry for a little longer.
Step 14: Drain Excess Oil. Once fried to perfection, use your slotted spoon or spider to carefully remove the donuts from the hot oil. Transfer them immediately to the prepared wire rack set over a sheet pan or paper towels. This allows any excess oil to drain off, preventing the donuts from becoming soggy.
Frying Donut Holes: Donut holes cook much faster due to their smaller size. Fry them for about 30 seconds per side initially, then flip. They typically need another 40-60 seconds on each side until they are puffed up and golden brown all over. While you *can* cook them for the same amount of time as the full donuts, be aware they might become a little dry due to overcooking. Keep an eye on them!
Step 15: Coat with Cinnamon Sugar While Warm. This is a crucial step for the iconic cinnamon sugar coating! Once the donut is cool enough to handle comfortably but still noticeably warm to the touch, gently dip it into the cinnamon sugar mixture. Roll it around to ensure it’s thoroughly coated on all sides. Immediately place the coated donut back on the wire rack. The residual heat and slight stickiness of the warm donut are what allows the sugar to adhere properly. If you wait until the donuts are completely cool and dry, the coating will simply fall off, leaving you with a less satisfying finish.
Chef Lindsey’s Recipe Tip: Calibrating Your Thermometer
Accuracy is everything when frying! Before you even think about heating oil, take a moment to test the calibration of your candy or fry thermometer. Thermometers, especially candy thermometers, can easily become inaccurate if bumped or dropped. You can use two simple methods to check its precision:
- Ice Bath Method: Fill a glass with crushed ice and then add cold water. Stir for about 30 seconds to ensure the water temperature is uniform. Insert your thermometer into the ice bath, making sure the probe doesn’t touch the bottom or sides of the glass. Let it sit for at least 10 seconds. A properly calibrated thermometer should read 32°F (0°C).
- Boiling Water Method: Bring a pot of water to a rolling boil. Insert your thermometer into the boiling water, again ensuring the probe doesn’t touch the bottom. Let it stabilize for at least 10 seconds. At sea level, a correctly calibrated thermometer should read 212°F (100°C). (Note: Boiling point decreases at higher altitudes).
If your thermometer reads significantly off, it might need to be adjusted (if adjustable) or replaced. An accurate thermometer is your best tool for perfectly fried donuts, preventing them from being greasy or undercooked.
Frequently Asked Questions About Apple Cider Donuts
Fried donuts, especially these delightful apple cider cake donuts, are truly at their absolute best on the day they are made. For short-term storage (within 24 hours), they should be kept at room temperature and, surprisingly, left uncovered. Storing them in an airtight container can trap moisture and cause them to absorb residual oil, leading to a slightly greasy taste and a softer, less desirable texture. If you need to store them for slightly longer than a day, placing them in a container with a corner cracked open or a paper towel to absorb moisture is a good compromise. They will gradually start to dry out, but they will still be quite delicious. I strongly advise against placing fried donuts in the refrigerator or freezer after they’ve been cooked, as this dramatically compromises their texture and flavor.
While fried donuts *can* technically be frozen for up to a month, I generally do not recommend freezing them after they’ve been fried. The freezing and thawing process tends to negatively impact their delicate texture, often making them soggy or dry. A much better approach is to freeze the *uncooked, cut donut dough* instead. You can freeze the cut dough on a parchment-lined baking sheet until solid, then transfer the frozen pieces to an airtight freezer-safe bag or container. When you’re ready to enjoy them, thaw the frozen dough completely in the refrigerator before frying as directed in the recipe. Keep in mind that over an extended period, the baking powder might lose some potency, so the donuts might not puff up quite as much. I do not recommend frying cake donuts directly from frozen.
While it’s technically possible to bake donut dough, I would strongly advise against baking *these specific* apple cider donuts. This recipe is meticulously developed for frying, which is essential for achieving their signature light, airy interior, crispy exterior, and rich flavor. Baking them would result in a significantly different texture – they would likely be denser and much drier, resembling more of a scone or a very firm cake than a traditional donut. While the underlying dough is delicious, the baked version simply won’t have the desirable, indulgent texture that defines an authentic apple cider donut. For the best experience, frying is the way to go with this recipe.
Yes, absolutely! Reducing the apple cider is not an optional step; it is a critical component for both the flavor and the proper texture of these donuts. The reduction process serves two main purposes: first, it concentrates the natural sugars and vibrant essence of the apple cider, making its flavor much more intense and noticeable in the finished donut. Without this step, the apple flavor would be too subtle. Second, it cooks out a significant amount of the water content from the cider, leaving you with a thicker, syrupy concentrate. If you were to add unreduced apple cider, the extra liquid would make the dough too wet and sticky, drastically affecting its consistency and making it challenging to work with, as well as altering the final donut’s texture.
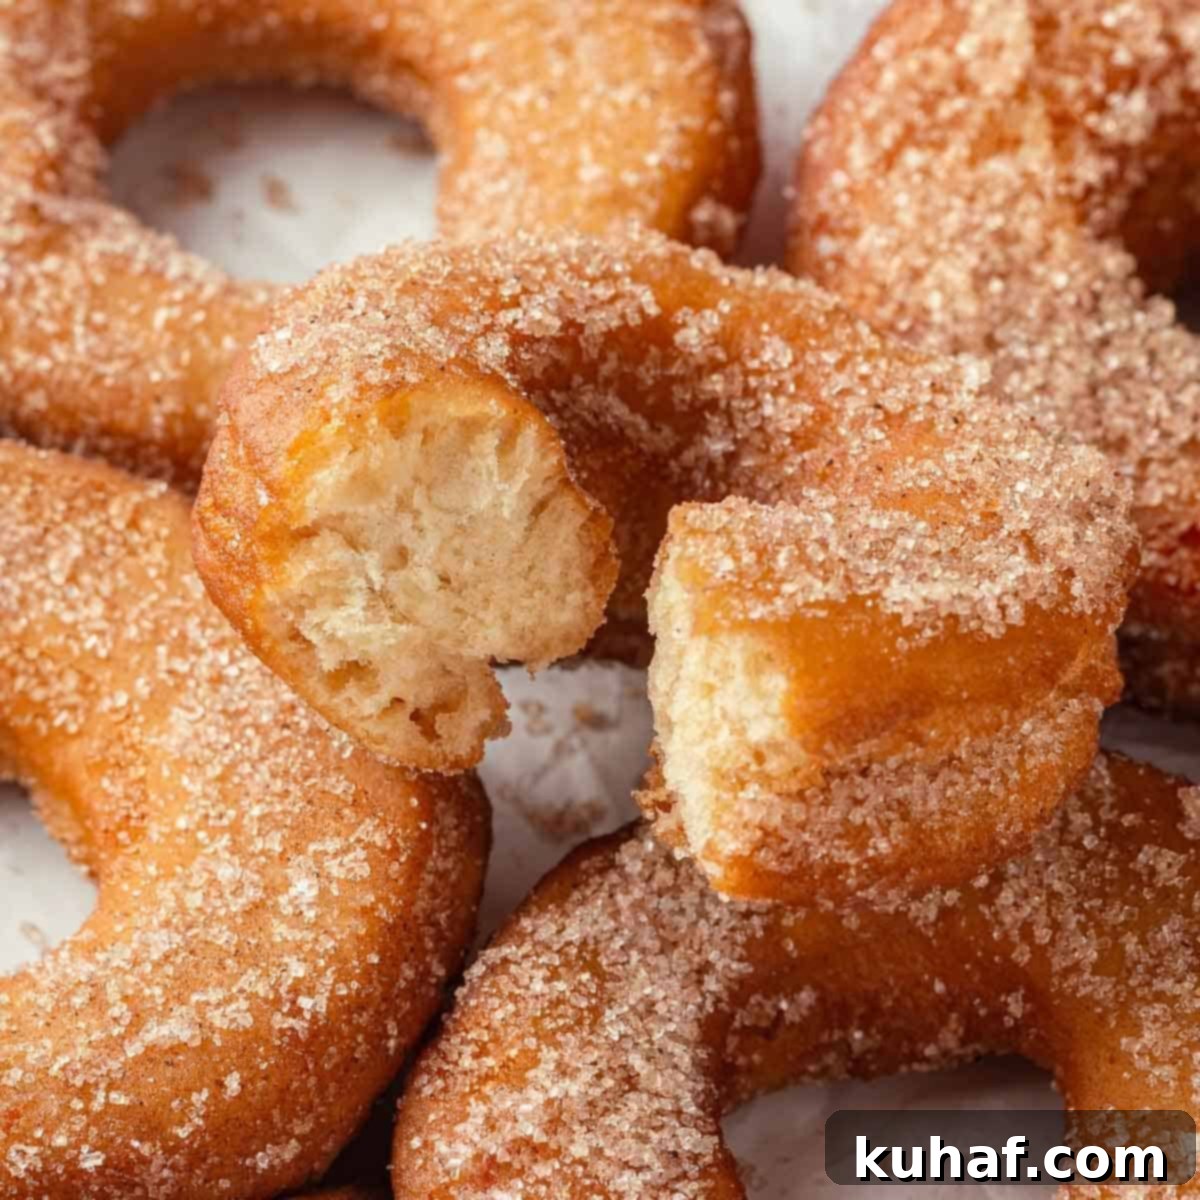
If you tried this homemade apple cider donut recipe and absolutely loved it, please take a moment to leave a 🌟 star rating and let me know how it went for you in the comments below. I truly love hearing from you; your feedback and comments always make my day!
Apple Cider Donuts
Chef Lindsey
30 minutes
20 minutes
2 hours
2 hours
50 minutes
12
donuts
Saved
Pin Recipe
Comment
Print Recipe
Ingredients
For the Donuts:
-
1 ¼
cups
granulated sugar
-
2 ½
tablespoons
unsalted butter
room temperature -
5
large egg yolks
-
¾
cup
sour cream
-
1 ⅓
cups
apple cider
-
4 ¾
cups
all-purpose flour
-
1
tablespoon
baking powder
-
1
tablespoon
kosher salt
-
1
teaspoon
ground cinnamon
-
96
fl oz
Oil for frying
I used canola
Cinnamon Sugar Mixture:
-
1
cup
granulated sugar
-
4
teaspoons
ground cinnamon
Instructions
Make the Donut Dough:
-
In a small saucepan reduce the apple cider in half to 166g or a scant ⅔ cup. Allow it to cool at room temperature, or make it ahead and store it in the refrigerator.
-
In a large bowl, whisk together the all-purpose flour, baking powder, kosher salt, and 1 teaspoon cinnamon and set aside. In a separate bowl, whisk together the sour cream and apple cider reduction.
-
Line a baking sheet with plastic wrap and then dust the surface of the plastic wrap generously with flour.
-
In the bowl of a stand mixer fitted with the paddle attachment or with a hand mixer in a large bowl, beat butter and sugar until a sandy mixture forms. Slowly add the yolks and beat on high speed until pale yellow and fluffy, about 2 minutes.
-
With the stand mixer on low, alternately add the flour mixture and the wet ingredients (sour cream mixture) to the bowl in several additions. Stop the mixer when the dry ingredients are fully incorporated.
-
Transfer the dough to the flour-dusted plastic wrap, dust more flour over the top of the dough, and fold the edges of the plastic over the top to cover. I press the dough out into a flattened circle about 2 inches thick to help it chill faster. Refrigerate for 60 minutes.
Cut the donuts:
-
Line a baking sheet pan with parchment paper, spray the paper with nonstick spray, and set aside.
-
Generously dust a work surface with flour. While the dough is still on the plastic wrap, dust the top of the dough with flour. Turn the dough out onto your floured surface, floured side down. Lightly dust the top with more flour.
-
Working quickly to keep the dough cool, roll out the dough to ½ inch thick and brush any excess flour from the top of the dough. Use a 3-inch and 1 ¼ – inch ring cutters, round cookie cutters or a glass to cut the donuts and holes. Lightly tap the cookie cutter in flour before cutting each donut. Place the donuts and donut holes on the prepared sheet pan.
-
Cover the sheet pan with plastic wrap, but do not let the plastic touch the top of the donuts. Chill in the refrigerator for 2 hours. At this step, I let mine chill overnight.
Frying the apple cider donuts:
-
Before frying, set up your frying station! Place a wire rack on a rimmed baking sheet or over paper towels. Use a slotted spoon or spider to remove the donuts from the oil, and whisk together the sugar and cinnamon for the cinnamon sugar coating.
-
Pour oil into a fryer or a Dutch oven, making sure the oil is at least 2 inches deep. Heat the oil to 325° F. Adjust the heat to keep the temperature between 325° and 330°F while frying.
-
Gently place three donuts in the fryer, keeping the remaining donuts in the fridge. Once they rise to the surface, cook for 30 seconds and flip them with a slotted spoon. Fry until the bottom develops a nice golden brown color, about 80 seconds. Flip it again and then fry for another 80 seconds or until the color is a nice, even golden brown.
-
Transfer to a wire rack set over a sheet pan or paper towels.
-
Once the donut is barely cool enough to handle, dip the donut in the cinnamon sugar and place it back on the wire rack. Dipping a hot donut will ensure that the sugar sticks! If they are cool and dry, then the coating will just fall off.
Notes
Presentation – Place the donuts in the sugar mixture while they are still hot. This will allow the cinnamon sugar mixture to stick to the donuts.
Variations—You could add a glaze to the donuts instead of the cinnamon sugar mixture, such as a cinnamon or caramel glaze.
Storage – Fried donuts are best the day they are made. They should be stored at room temperature uncovered. When stored in an airtight container, they start to taste a bit like oil. If storing for longer than a day, place it in a container with a corner cracked open. They will slowly start drying out, but they will still be delicious. I don’t recommend placing fried donuts in the refrigerator or freezer.
Nutrition
Calories:
413
kcal
|
Carbohydrates:
80
g
|
Protein:
7
g
|
Fat:
8
g
|
Saturated Fat:
4
g
|
Polyunsaturated Fat:
1
g
|
Monounsaturated Fat:
2
g
|
Trans Fat:
0.1
g
|
Cholesterol:
96
mg
|
Sodium:
698
mg
|
Potassium:
111
mg
|
Fiber:
2
g
|
Sugar:
41
g
|
Vitamin A:
273
IU
|
Vitamin C:
0.4
mg
|
Calcium:
102
mg
|
Iron:
3
mg
Breakfast, Dessert, Snack
American
413
Like this? Leave a comment below!
Before You Go: Explore More Fall Recipes
I sincerely hope you thoroughly enjoyed this professional chef-created recipe for the most delightful homemade apple cider donuts. There’s nothing quite like the taste of fall, and these donuts truly capture that magic. Don’t stop your culinary journey here! I invite you to explore all of our incredible donut recipes for more delicious fried treats. Or, if you’re eager to dive deeper into the wonderful flavors of autumn, discover the 25 Best Pumpkin Recipes for Fall, explore these 10 Easy Pumpkin Desserts, or simply peruse our entire collection of pumpkin recipes! Happy baking and happy fall!
