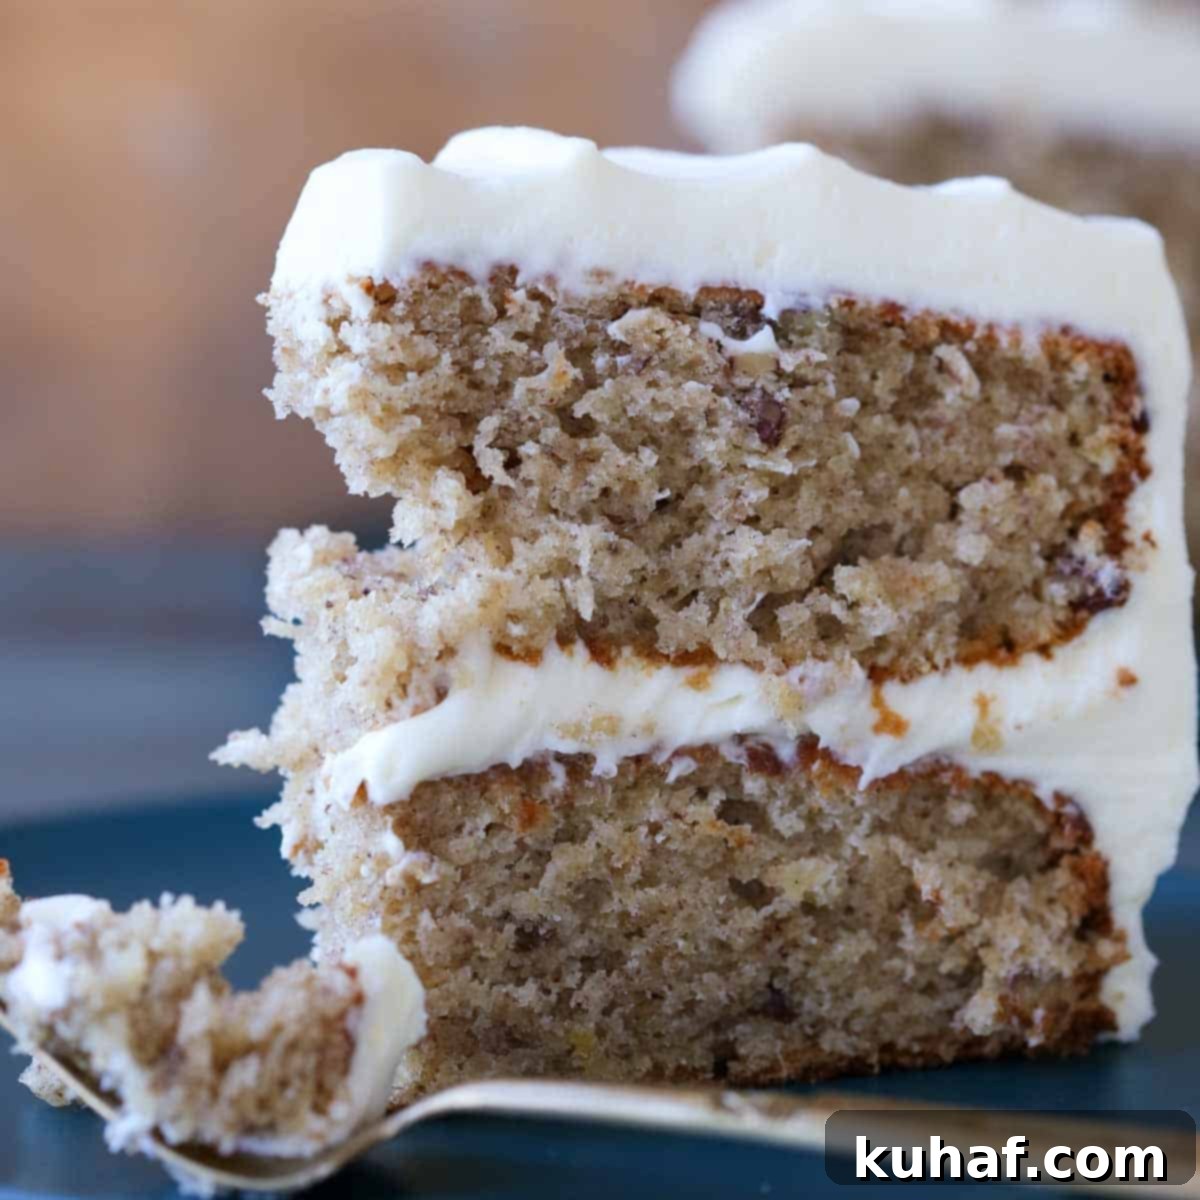
Indulge in the Best Hummingbird Cake Recipe: A Moist Southern Classic with Cream Cheese Frosting
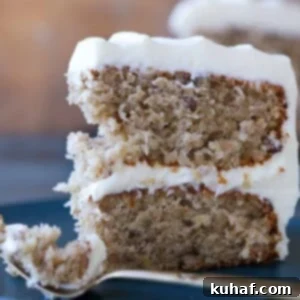
Prepare to fall in love with this truly classic Hummingbird Cake. It’s a dessert that perfectly embodies the flavors of spring and summer, offering an irresistible combination of soft, incredibly moist, and tender cake infused with just the right balance of sweet bananas, tangy pineapples, and crunchy pecans. Each delightful bite is complemented by a delicate, light spice blend, making it a truly unique and beloved treat. This exquisite cake is generously layered with the ultimate cream cheese buttercream frosting, providing a rich, creamy, and wonderfully tangy finish that elevates every slice.
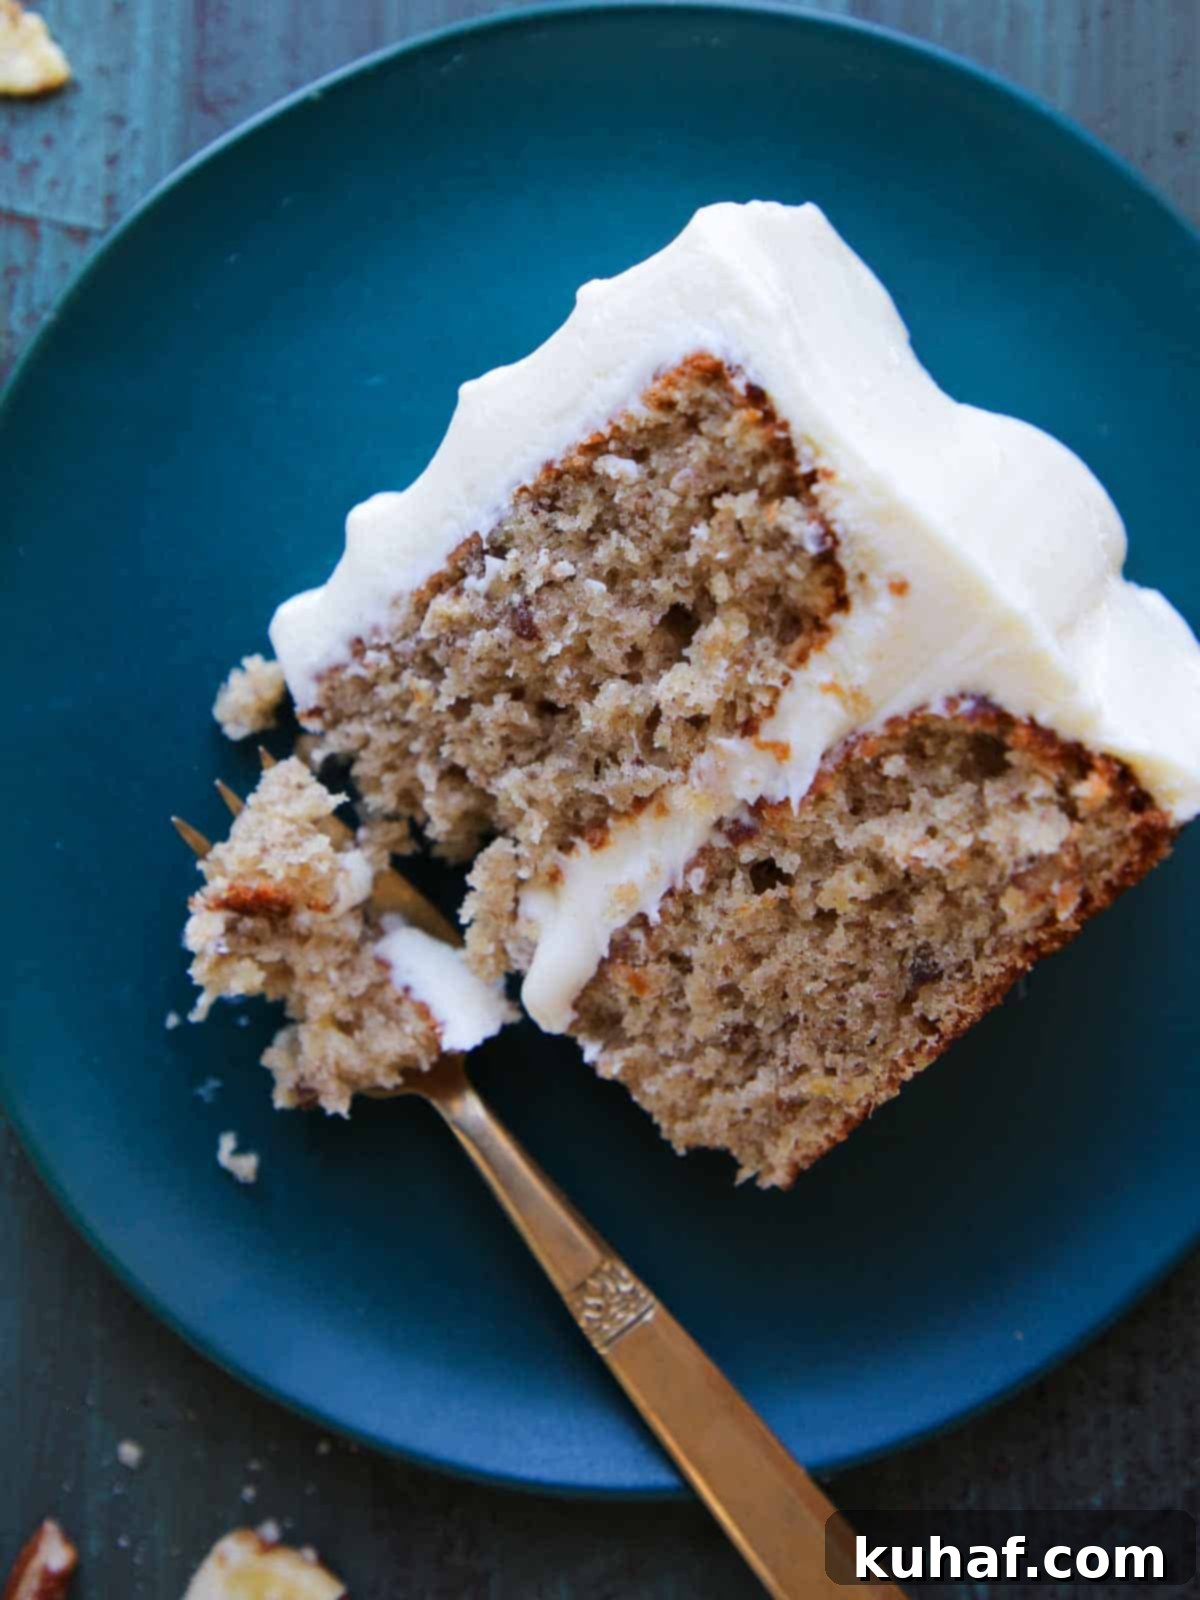
For me, Hummingbird Cake is the quintessential dessert to celebrate the arrival of Spring and Summer. While it often takes a backseat to other popular classics like the best Carrot Cake, this tropical-inspired beauty truly deserves its own moment in the spotlight. The delightful blend of ripe bananas and juicy pineapple gives it an exotic, sun-kissed flavor profile, reminiscent of other island-inspired desserts such as rum cake, this vibrant tropical trifle recipe, and these fluffy coconut cupcakes topped with marshmallow fluff frosting. It’s a taste of paradise in every bite!
Yet, despite its tropical roots, the addition of toasted pecans and a generous slathering of our luscious cream cheese buttercream frosting firmly roots this cake in the rich culinary traditions of the American South. This particular cake stands as one of my all-time favorite desserts, holding a cherished place alongside other beloved Southern staples. Think of the rich sweetness of pecan pralines, the comforting simplicity of Southern cornbread, the fluffy goodness of buttermilk biscuits, and the delicate bite of pecan tassies. Hummingbird Cake, with its unique blend of flavors and textures, fits perfectly into this esteemed collection, offering comfort and celebration in every forkful.
Table of Contents
- Why You Will Love this Hummingbird Cake Recipe
- Professional Tips for Making Hummingbird Cake
- Why do they call it a ‘Hummingbird Cake’?
- Essential Ingredients for Hummingbird Cake
- Creative Variations & Smart Substitutions
- How to Make Classic Hummingbird Cake: Step-by-Step Guide
- Chef Lindsey’s Recipe Tip for Bakers
- Frequently Asked Questions About Hummingbird Cake
- Full Hummingbird Cake Recipe Card
- Before You Go: More Cake Delights
Why You Will Love This Hummingbird Cake Recipe
This isn’t just any Hummingbird Cake; it’s a meticulously crafted recipe designed to deliver an unparalleled baking and eating experience. Here’s why this particular rendition will become your new favorite:
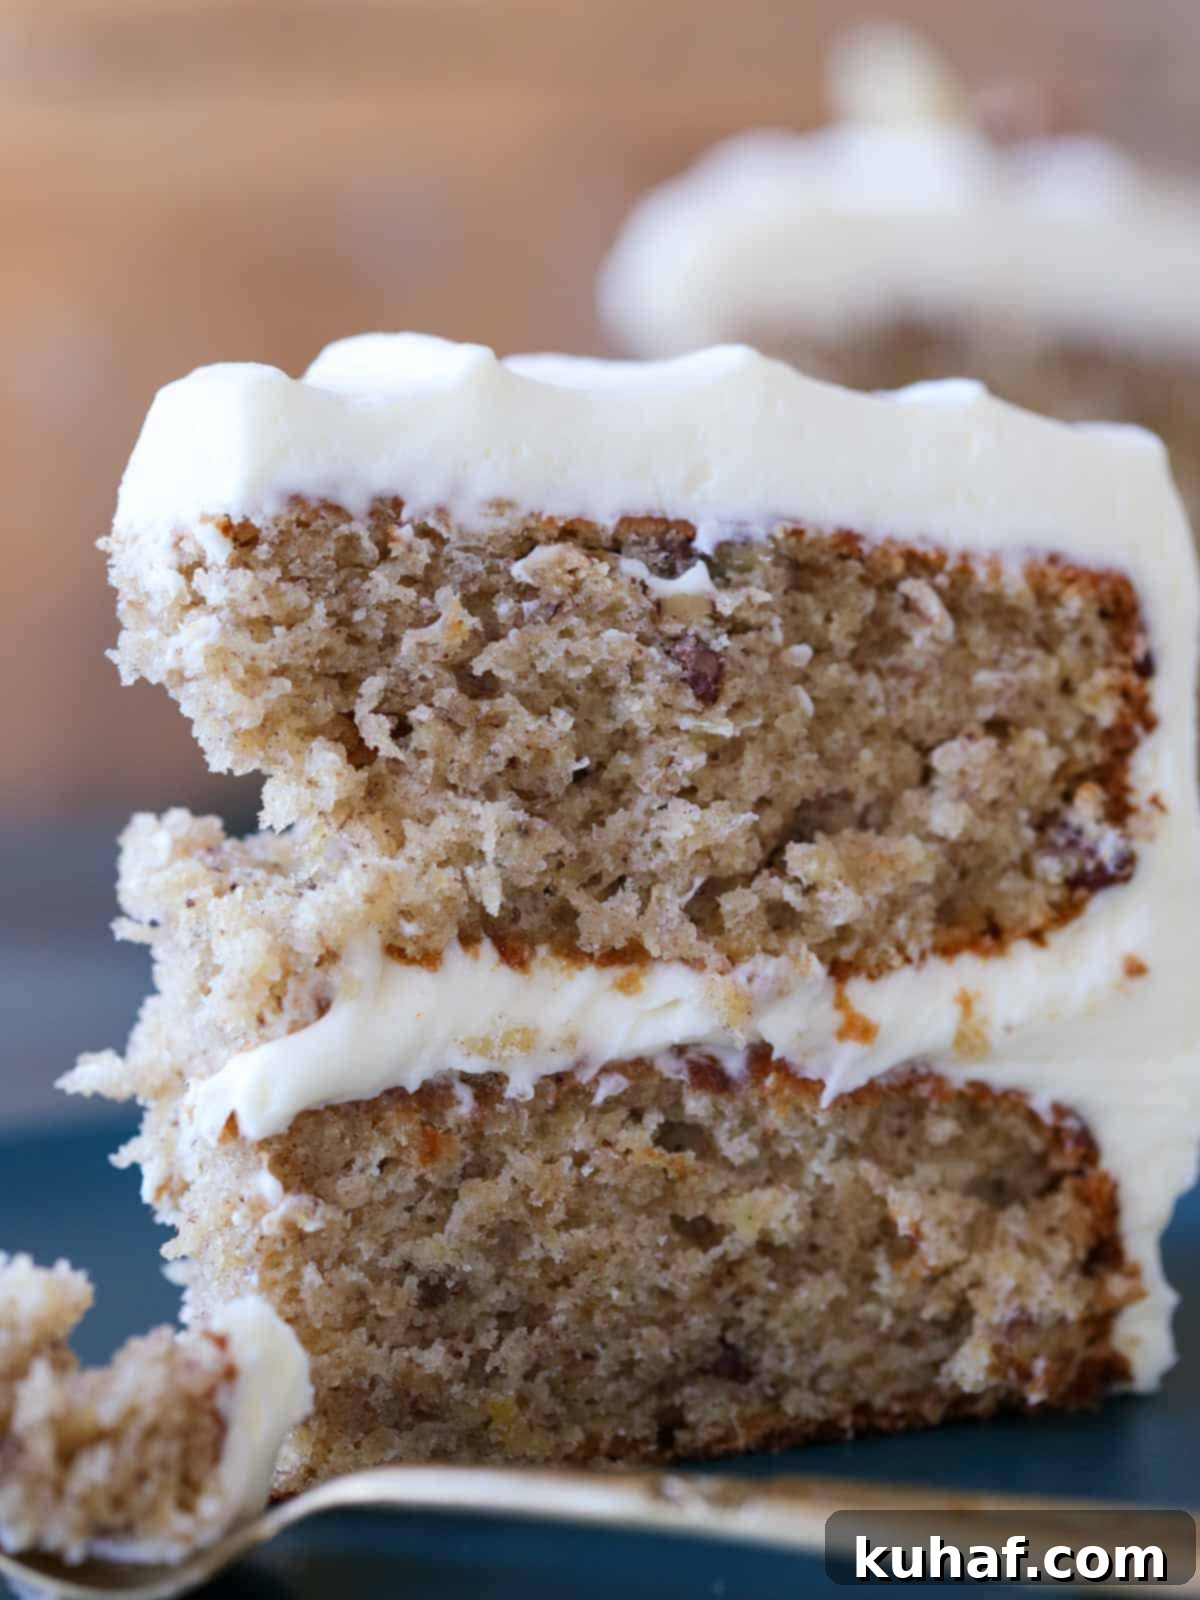
- Soft, Moist, and Gently Spiced Perfection: Imagine a cake that is so tender it practically melts in your mouth, consistently moist without being dense, and infused with a comforting, light cinnamon spice. This cake achieves that perfect balance. Throughout its delicate crumb, you’ll find delightful pockets of toasted pecans, adding a wonderful textural contrast and nutty depth to the sweet banana and pineapple flavors. It’s a symphony of textures and tastes.
- A Southern Living Classic, Masterfully Adapted by a Pastry Chef: This recipe pays homage to the beloved original printed in Southern Living, which captured hearts across the nation. However, it has been expertly re-envisioned by a pastry chef, incorporating professional techniques and insights to enhance its qualities. Key adaptations include a significant reduction in oil (by a third!), an increase in the amount of banana for richer flavor and moisture, and a completely optimized mixing method. These changes don’t just tweak the recipe; they transform it into an even more refined and superior dessert.
- Uniquely Lighter and More Tender Than Other Recipes: What sets this recipe apart is its innovative approach to incorporating fruit. By pureeing the ripe bananas and canned pineapple (juice and all) together *before* adding them to the dry ingredients, we achieve an exceptionally light and tender cake texture. This method ensures maximum moisture distribution throughout the batter, resulting in a cake that is never dry or heavy. For those who enjoy an extra textural element, you can always fold in additional small banana pieces along with the pecans, creating delightful bursts of fruit in every slice.
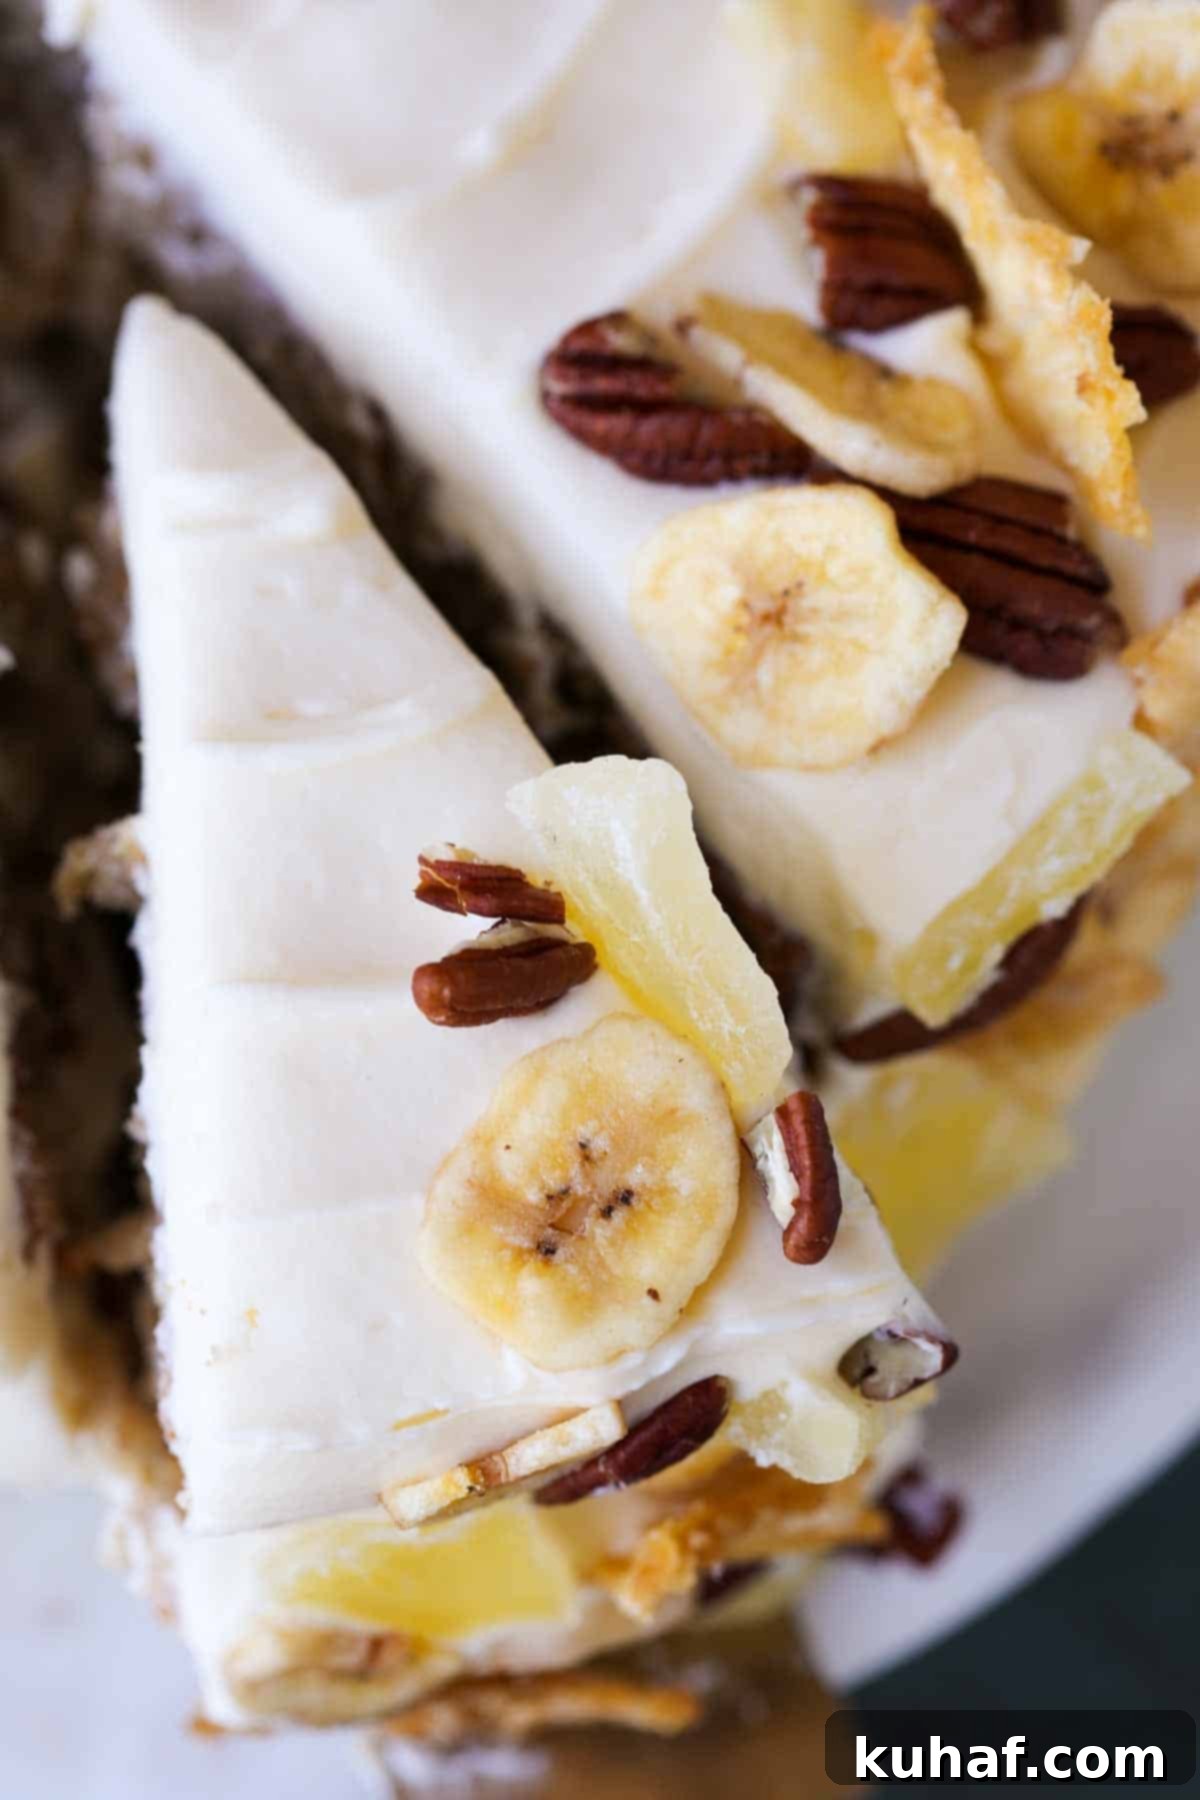
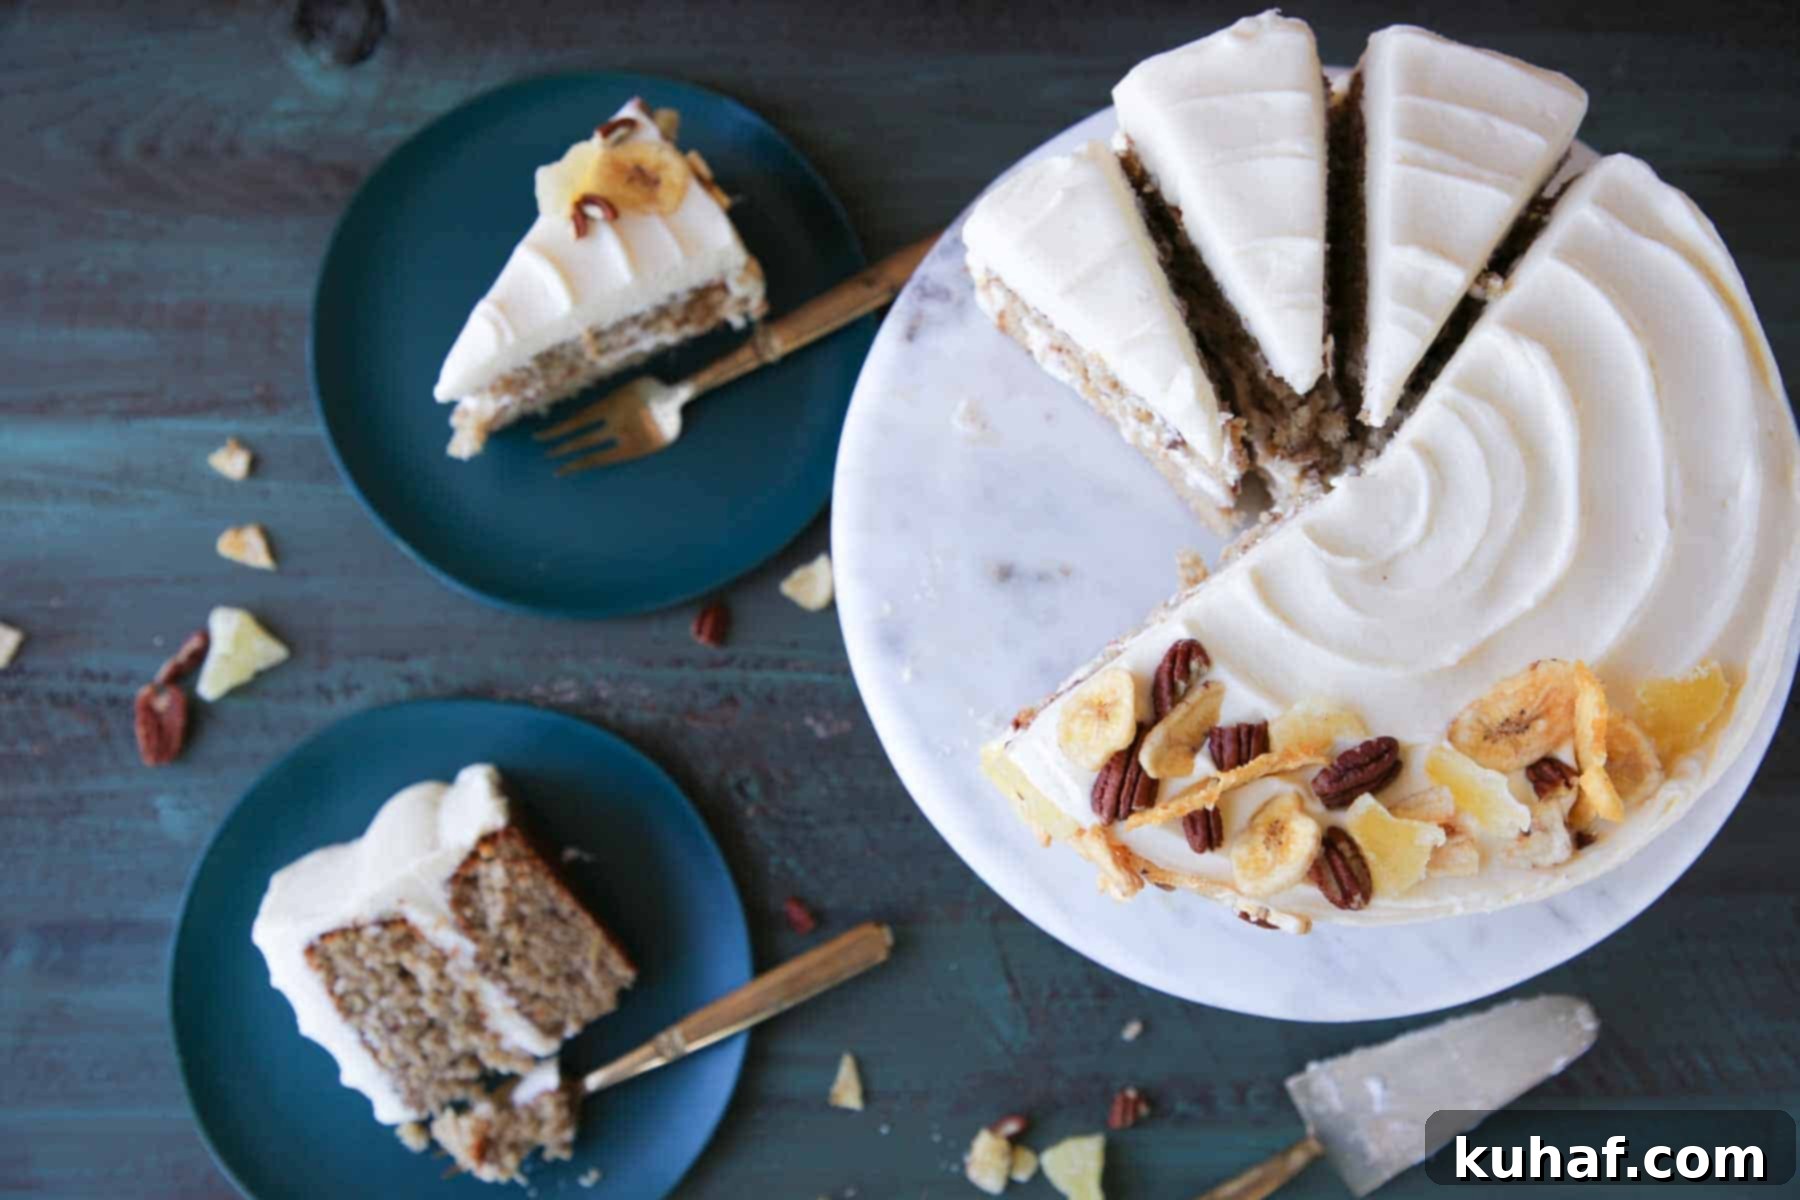
- Elegantly Dressed with a Unique Mosaic Decoration: Traditional hummingbird cakes are often simply garnished with crushed or whole pecans. While charming, this felt like an opportunity to elevate the cake’s presentation. This recipe introduces a captivating mosaic pattern using a thoughtful arrangement of dried pineapples, dehydrated pineapple slices, crisp banana chips, and pecans. This artistic touch not only makes the cake visually stunning, perfect for any special occasion, but also adds interesting new textures and concentrated fruit flavors to the garnish, offering a truly gourmet experience.
Professional Tips for Making Hummingbird Cake
Achieving a truly exceptional Hummingbird Cake involves more than just following steps; it’s about understanding the techniques that make a difference. Here are some professional insights to ensure your cake turns out perfectly every time:
- Master the Classic Liquid Fat Cake Mixing Method: The foundation of a moist, fluffy, and tender cake lies in its mixing method. This recipe utilizes a technique similar to the one I perfected for the carrot cake that famously beat Bobby Flay. The secret is emulsifying the oil into the beaten whole eggs. This process creates a stable emulsion that traps air, leading to a cake with an incredibly fine crumb and superior moisture retention. While simply whisking all ingredients together might seem easier, it often results in a denser, potentially oily cake. Taking the time to properly emulsify ensures a lighter, more ethereal texture.
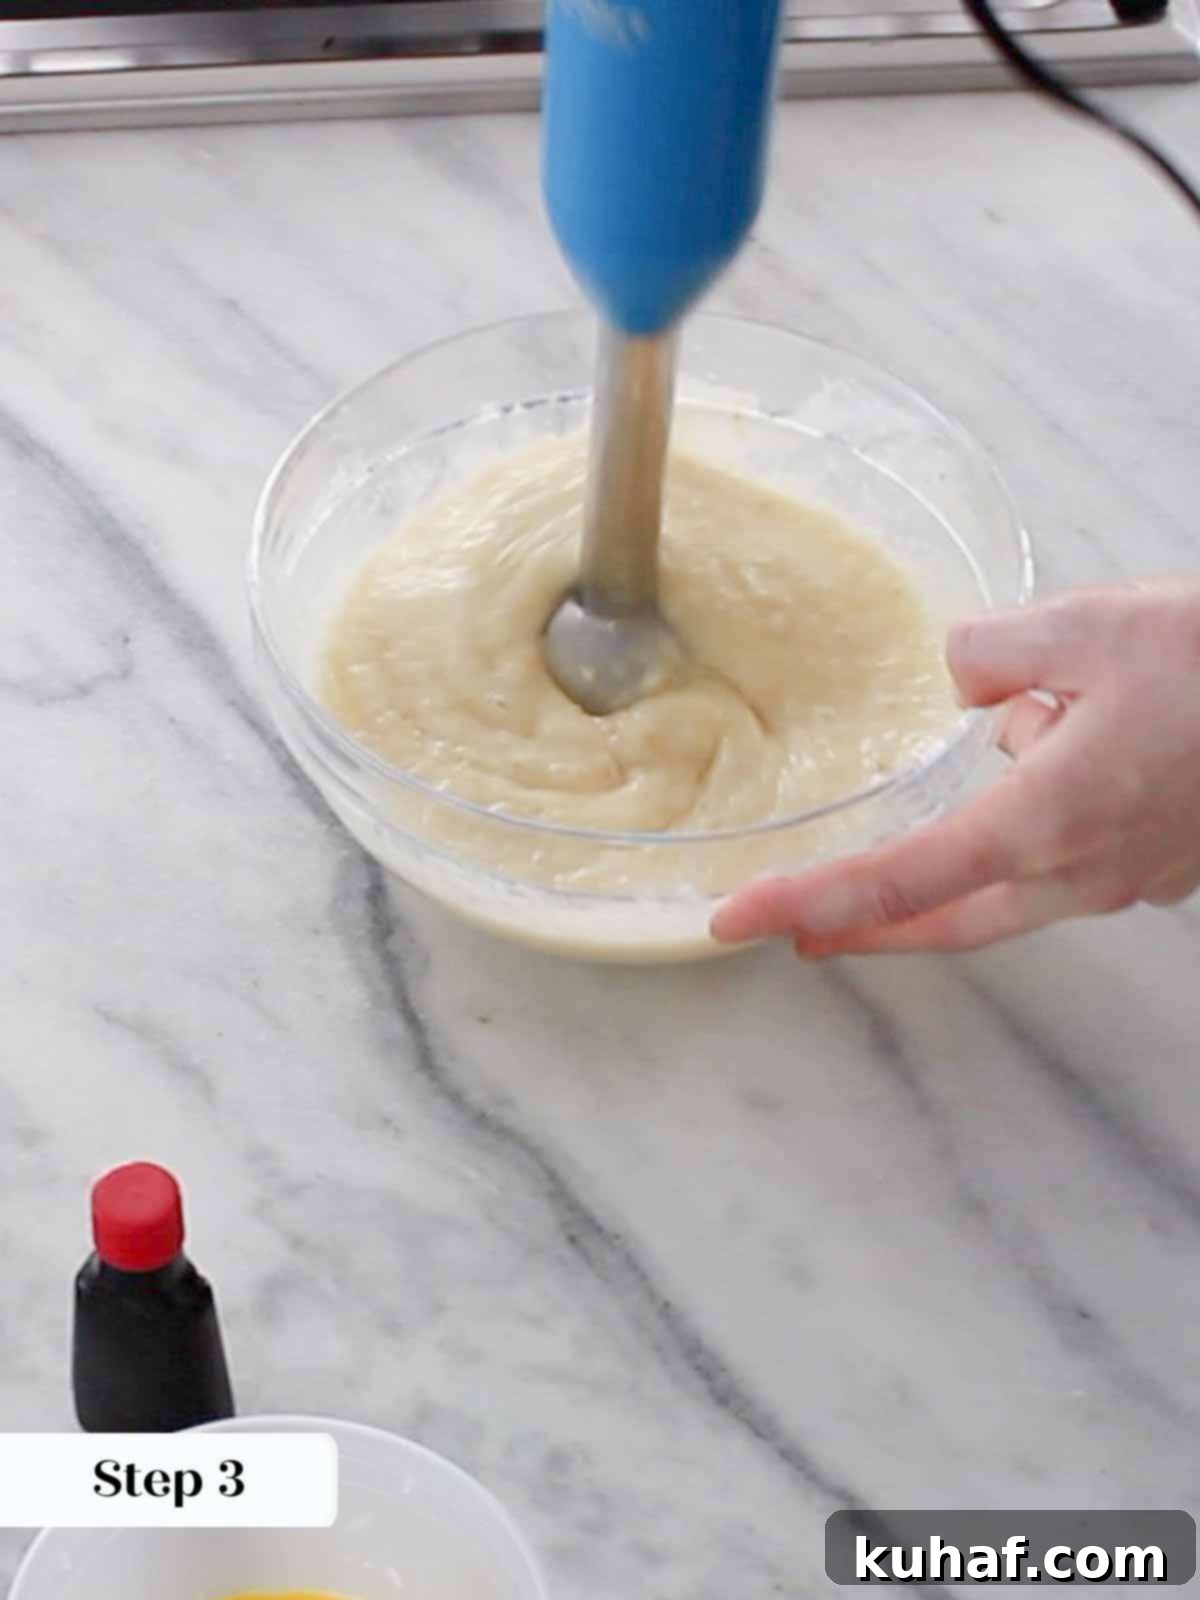
- Blend Banana and Pineapple for Ultimate Moisture and Lightness: One of the most crucial steps for this cake’s signature texture is to blend the ripe bananas and canned crushed pineapple (along with its juice!) together. You can use a standard blender or an immersion blender for this. Adding this pureed fruit mixture before the dry ingredients ensures that the fruit’s moisture and natural sugars are thoroughly incorporated throughout the batter. This not only makes the cake exceptionally moist but also contributes significantly to its light and tender structure, preventing any dry spots and allowing the fruit flavors to meld beautifully.
- Always Toast the Pecans: Southern Living famously emphasized this point, and they were absolutely right. Toasting pecans is not just an optional step; it’s a game-changer for flavor and texture. When pecans are toasted, their natural oils are released, intensifying their nutty flavor to a remarkable degree. Furthermore, this process helps the pecans maintain their delightful crunch even after being baked into the moist cake, preventing them from becoming soggy. A few minutes in the oven transforms them into golden nuggets of flavor and texture that truly enhance the overall experience of the cake.
Why Do They Call It a ‘Hummingbird Cake’?
The intriguing name of this delightful dessert often sparks curiosity. The Hummingbird Cake actually hails from Jamaica, an island nation where the vibrant, scissors-tail hummingbird is the beloved national bird. Locals affectionately refer to this cake as “Doctor Bird Cake,” a charming nickname for this specific species of beautifully feathered friend, reflecting the cake’s perceived ability to make people as happy and lively as a hummingbird.
The cake’s journey to international fame began in 1968 when Jamaica’s Tourist Board exported several local recipes, including this tropical dessert, to the United States as part of a promotional campaign. Just ten years later, in 1978, the iconic Southern Living magazine published the Hummingbird Cake recipe, and from there, it truly “took flight” (pun absolutely intended!). Its unique flavor profile, combining familiar Southern ingredients with exotic fruit, quickly captivated readers. By 1990, the Hummingbird Cake had soared to become Southern Living’s most requested and celebrated recipe by its readers, solidifying its place as a quintessential Southern classic. And you can be absolutely certain that its rise to fame was propelled by the irresistible pairing with a rich, decadent cream cheese frosting!
Essential Ingredients for Hummingbird Cake
Crafting the perfect Hummingbird Cake starts with selecting the right ingredients. Here’s a breakdown of what you’ll need and why each component is crucial for achieving that signature moist, tender, and flavorful result:
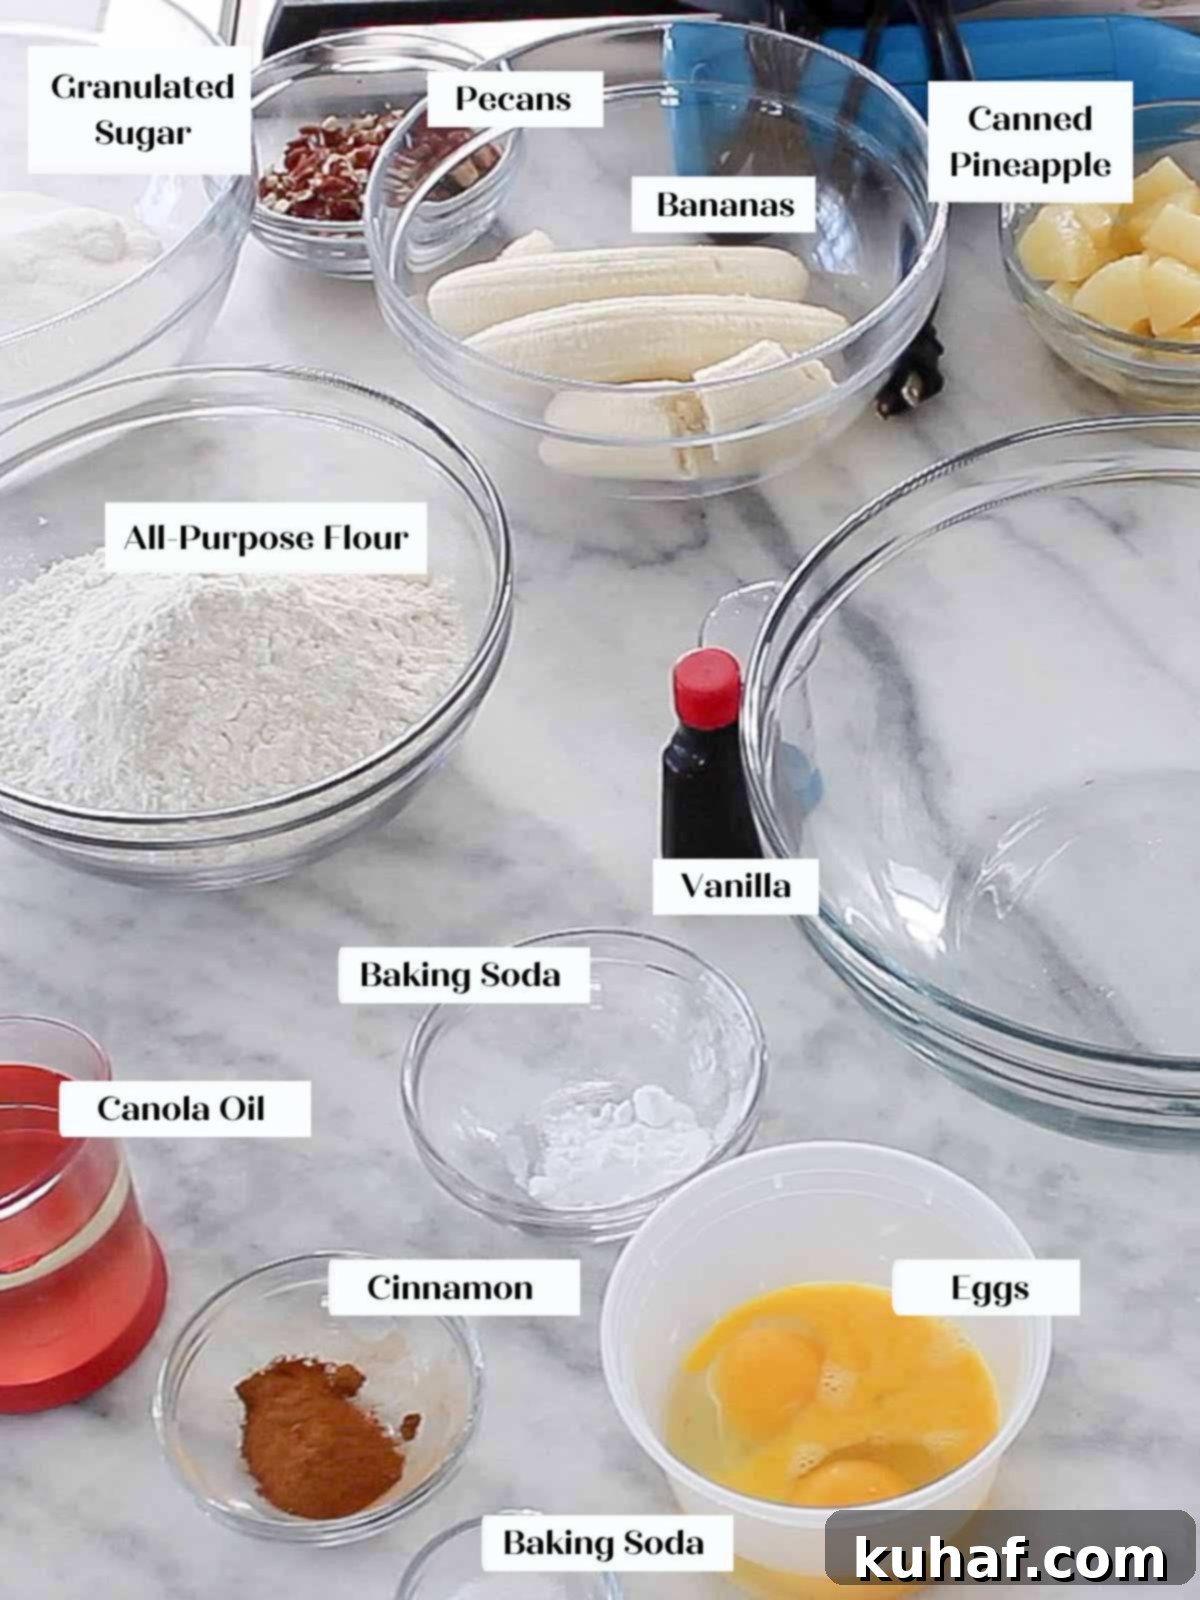
- All-Purpose Flour: This is my go-to flour choice as it’s readily available in most home kitchens. Its balanced protein content provides just the right structure for a tender crumb. If you prefer to use cake flour, which will result in an even lighter texture, remember to sift it thoroughly for optimal results.
- Ground Cinnamon: The gentle warmth of cinnamon is a signature spice in Hummingbird Cake, beautifully complementing the fruit flavors without overpowering them.
- Baking Soda: This leavening agent plays a vital role by reacting with the natural acidity in the canned pineapples, creating a powerful lift and a light, airy texture. This reaction is typically stronger than what you’d get from the same amount of baking powder. If you must substitute, use 2 teaspoons of baking powder instead.
- Kosher Salt: A small amount of kosher salt is essential to balance the sweetness and enhance all the other flavors in the cake, bringing a subtle depth.
- Whole Eggs: Eggs are crucial for structure, moisture, and emulsification in the batter. They also contribute to the cake’s richness and golden color.
- Vegetable Oil: Canola oil is highly recommended for this recipe as it contributes significantly to the cake’s exceptional moisture and tenderness. Its neutral flavor allows the fruit and spice notes to shine. While you could substitute with melted (but not hot) coconut oil for a similar moist result, avoid using butter in the cake batter as its water content will produce a different, less moist texture.
- Vanilla Extract: High-quality vanilla extract adds a layer of warm, aromatic sweetness that rounds out the cake’s flavor profile beautifully.
- Granulated Sugar: Provides sweetness, helps tenderize the cake, and contributes to its moist texture by attracting and holding moisture.
- Canned Crushed Pineapple (with juice): You’ll use the entire can, juice and all! The juice is a key liquid component and adds both moisture and essential acidity for the baking soda reaction. Since we’ll be blending the pineapple with bananas, any cut of canned pineapple (crushed, rings, chunks) will work. While fresh pineapple can be used, ensure it is very ripe and in season, and be mindful that it might introduce an unknown quantity of liquid, which could affect the batter consistency.
- Ripe Large Bananas: The bananas are central to the cake’s flavor and moisture. A “large banana” typically measures between 6-7 inches and about an inch in diameter. When in doubt, it’s best to measure – you’ll need approximately 1 ½ cups (about 250g) of mashed bananas. The most important tip: ensure your bananas are truly ripe, showing plenty of brown spots on their skins. They should be soft, but not mushy (save overly ripe bananas for classic banana bread!). Ripe bananas are sweeter and have a more intense flavor.
- Pecans: Essential for their nutty flavor and delightful crunch. I often buy pecan pieces because they toast faster and are frequently more economical than whole pecans. Toasting them is a must to deepen their flavor and maintain their crispness after baking.
- Cream Cheese (for frosting): Opt for full-fat, softened cream cheese for the richest, creamiest, and most stable frosting. Its tangy notes perfectly balance the cake’s sweetness.
- Unsalted Butter (for frosting): Softened unsalted butter provides the necessary richness and structure for a velvety cream cheese buttercream.
- Powdered Sugar (for frosting): Also known as confectioners’ sugar, this provides sweetness and structure to the frosting, dissolving smoothly to create a silky texture.
- Lemon Juice (for frosting): Freshly squeezed lemon juice brightens the frosting, adding a touch of tangy acidity that cuts through the richness and enhances the overall flavor.
- Vanilla Extract (for frosting): Adds depth and a classic sweet aroma to the buttercream.
Refer to the recipe card below for precise measurements and comprehensive ingredient details.
Creative Variations & Smart Substitutions
While this classic Hummingbird Cake recipe is perfect as is, it also lends itself beautifully to creative variations and smart substitutions. Feel free to customize it to your taste or to accommodate ingredients you have on hand:
- Canola Oil Substitutions: If you don’t have canola oil, melted (but not hot) coconut oil can be an excellent substitute in this recipe, yielding a cake that is just as moist and tender, and adding a subtle tropical note. However, I advise against substituting with melted butter for the cake batter. While butter adds a delicious flavor, its higher water content means it doesn’t contribute to moisture in the same way as oil, often resulting in a less tender crumb.
- Elevate with a Flavorful Cake Soak: For an even more indulgent and intensely flavored cake, consider adding a simple syrup soak. To make simple syrup, simply boil equal parts water and granulated sugar until the sugar dissolves, then let it cool completely to room temperature (or refrigerate it). You can use this plain, or infuse it with extra flavor by adding a splash of rum, a squeeze of lemon or orange juice, or any other favorite liqueur or extract. Brushing this syrup onto your cooled cake layers before frosting is an easy yet incredibly effective way to amp up the moisture and introduce a new dimension of flavor to your Hummingbird Cake!
- Customizing the Buttercream Flavor: The cream cheese buttercream is divine, but you can certainly get creative with its flavor! For a boozy kick, try adapting the rum cream cheese frosting from my red velvet cake recipe, or simply add 1-2 tablespoons of your favorite alcohol directly to the buttercream recipe provided below. Bourbon, rum, or even a fruit liqueur would work wonderfully. Alternatively, incorporate a different extract, such as almond or coconut, or swap the lemon juice for orange juice to enhance the tropical notes.
- Exploring Different Buttercreams: I know this might be an unpopular opinion among traditionalists, but you absolutely can experiment with other frosting types! If you’re feeling dramatic and want a show-stopping cake, try piling on my airy homemade marshmallow frosting and giving it a quick toast with a kitchen torch for a S’mores-like effect. A bright and refreshing lemon buttercream frosting would also complement the cake’s fruitiness beautifully. For a silky, less sweet option, a Swiss meringue buttercream, perhaps flavored with homemade lemon curd, would add a sophisticated twist.
How to Make Classic Hummingbird Cake: Step-by-Step Guide
Creating this perfectly moist and flavorful cake is a rewarding experience. Follow these detailed instructions to achieve a flawless Hummingbird Cake every single time. More precise measurements and additional tips can be found in the comprehensive recipe card further down this page.
Phase 1: Prepare and Bake the Cake Layers
Achieving light, evenly baked cake layers is the first step to success. Pay attention to pan preparation and mixing techniques for the best results.
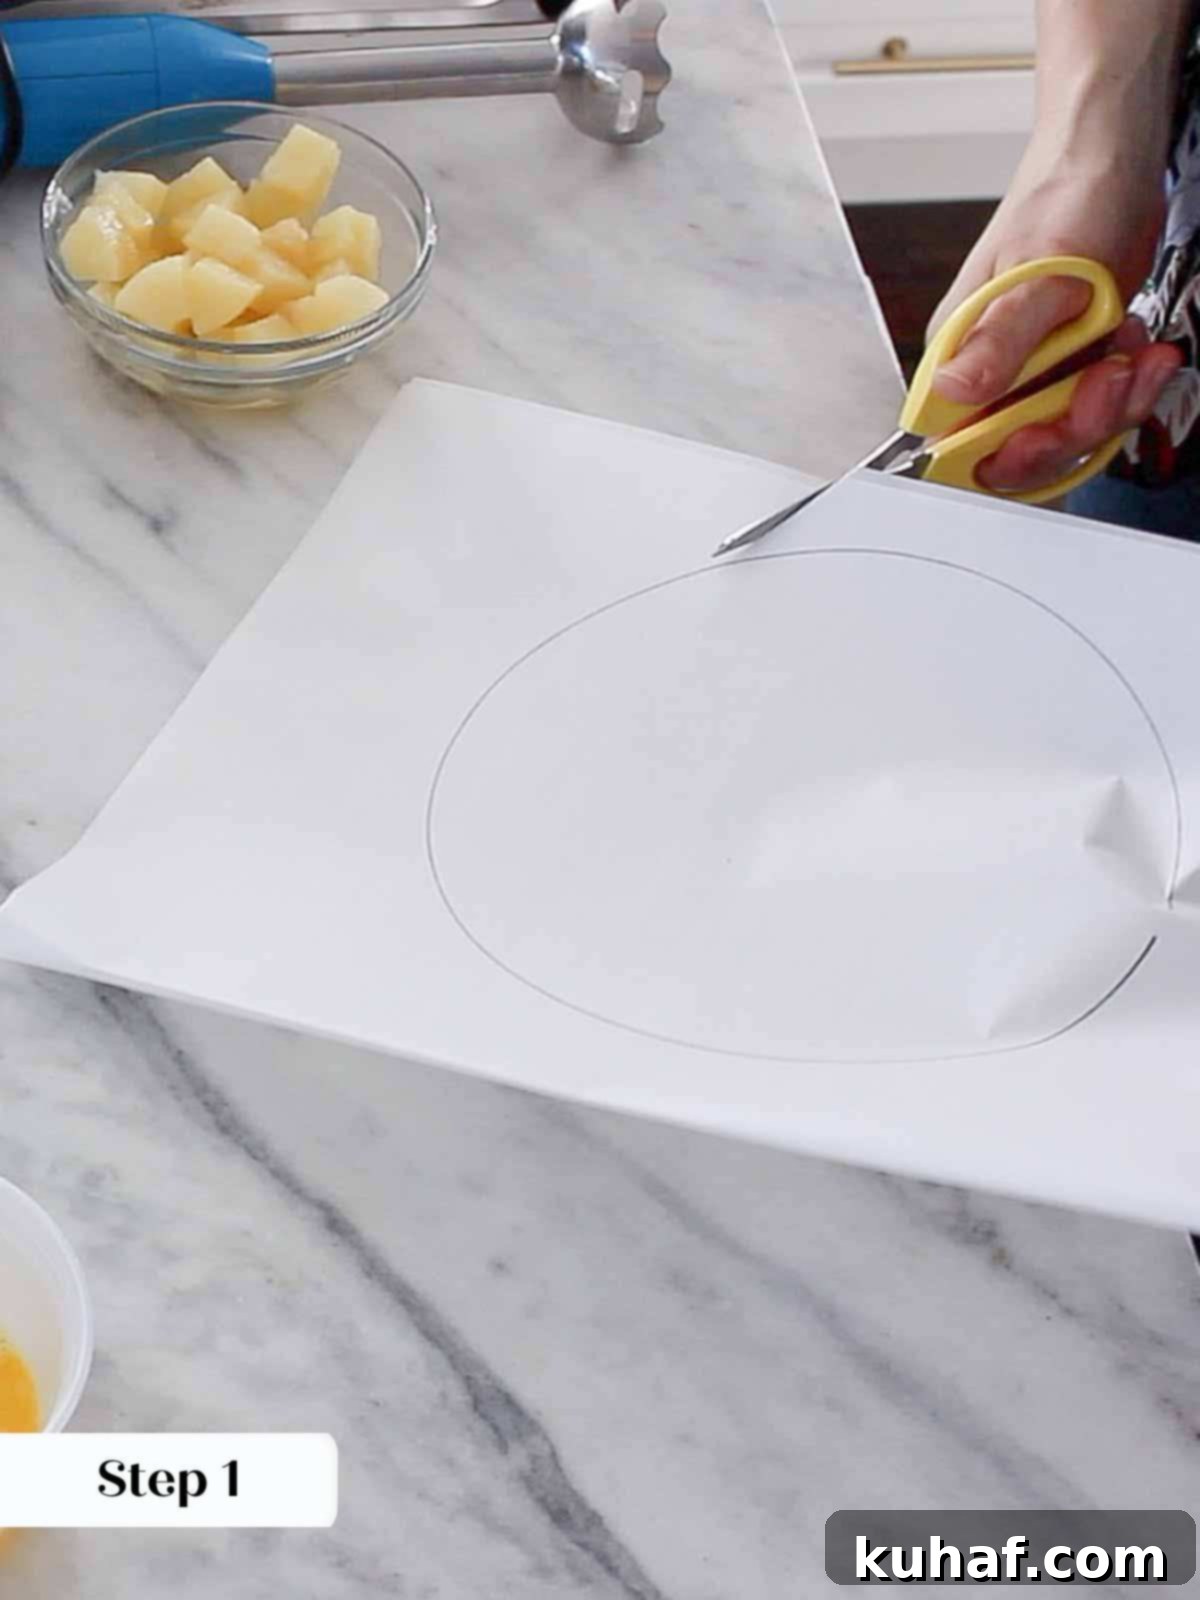
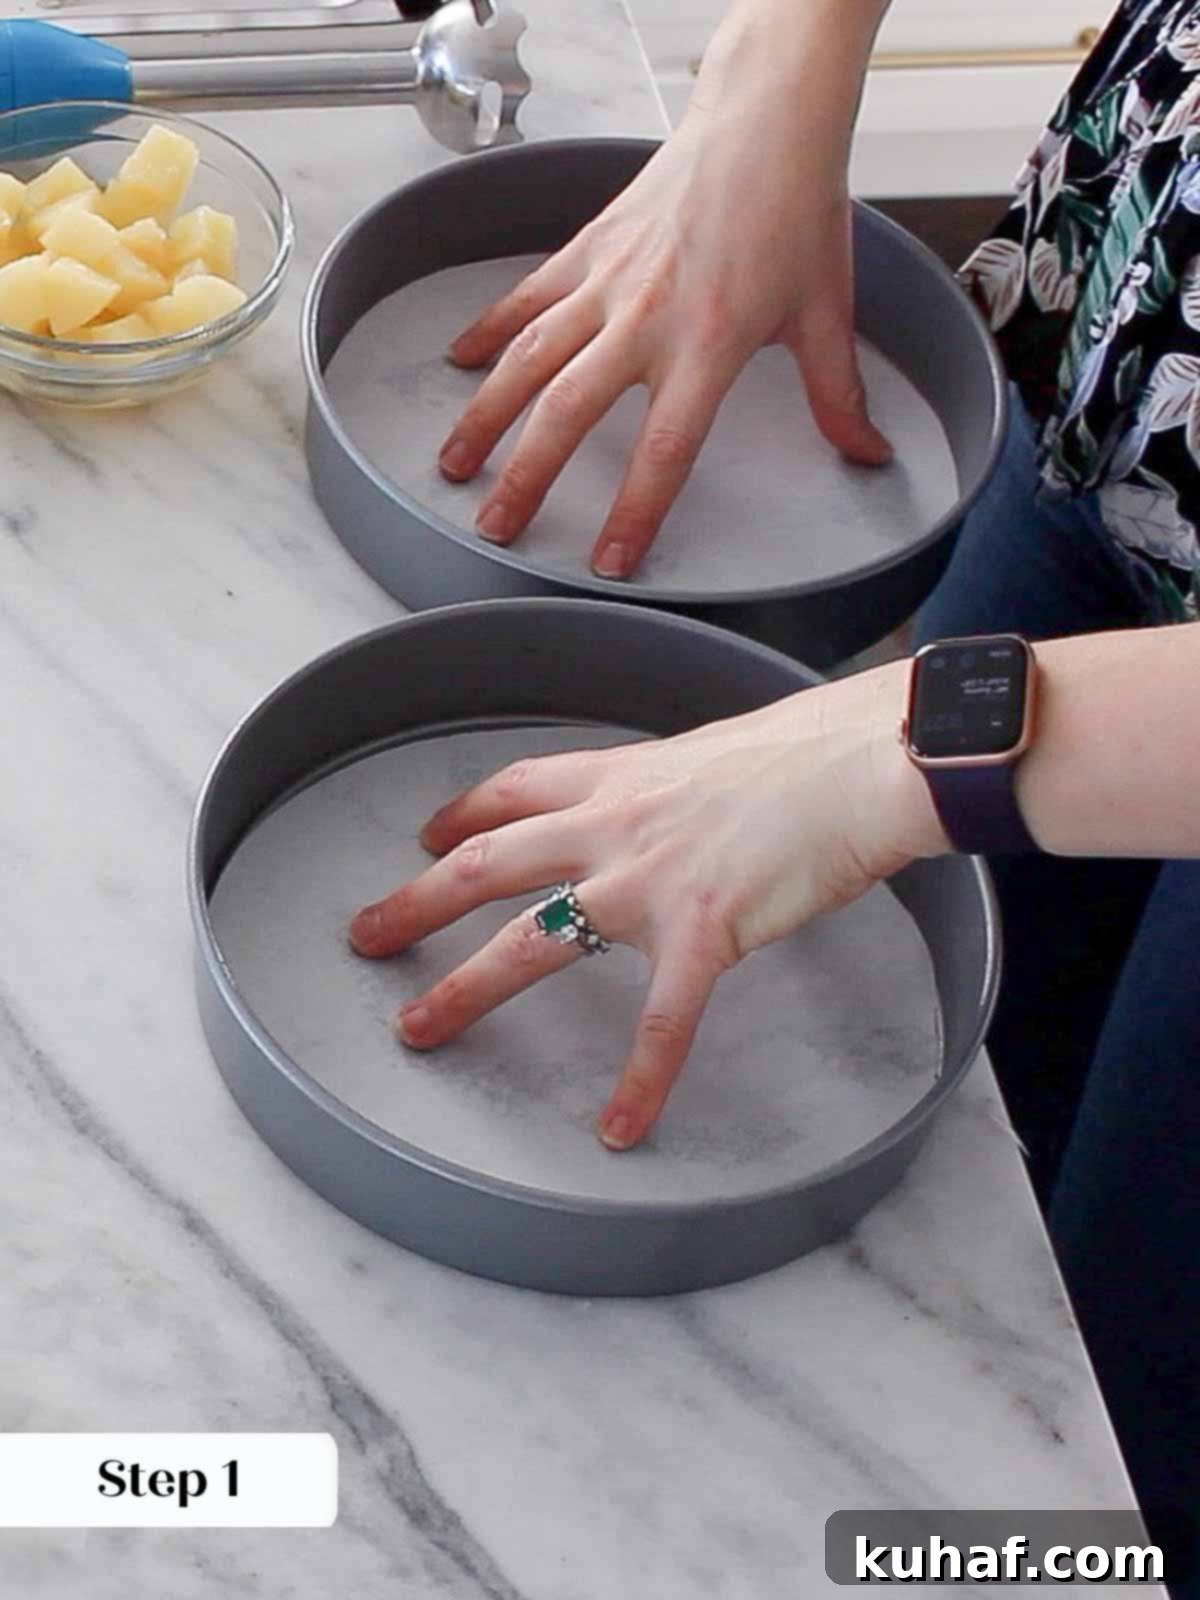
Step 1: Begin by preparing your cake pans. Lightly spray two 8 or 9-inch round cake pans with non-stick baking spray, ensuring full coverage of both the bottom and sides. Then, line the bottom of each pan with a parchment paper circle. This critical step prevents sticking and ensures your beautiful cake layers release cleanly. Preheat your oven to 350°F (175°C) in conventional bake mode.
For perfectly sized parchment circles, you can either purchase pre-cut cake rounds or easily make your own. Simply trace the bottom of your cake pan onto parchment paper, then cut *just inside* the traced line for an ideal fit. This small detail makes a big difference in preventing cakes from sticking.
Step 2: Spread your pecans in a single, even layer on a baking sheet. Toast them in the preheated oven for 5-8 minutes, or until they turn a beautiful golden brown and you can distinctly smell their rich, nutty aroma. Immediately remove them from the oven and allow them to cool completely. If you started with whole pecans, chop them finely after they’ve cooled. To save time, I often opt for pre-chopped pecan pieces, which allows me to bypass this chopping step – a small efficiency that adds up when you’re baking large batches!
Step 3: In a medium bowl, thoroughly whisk together the all-purpose flour, ground cinnamon, baking soda, and kosher salt. Set this dry mixture aside. In a separate medium bowl, or directly in your blender, combine the canned pineapple (including its juice) and the ripe bananas. Blend them together until smooth, using either a hand blender (immersion blender) or a regular blender. Alternatively, you can mash them very well with a fork until almost a puree.
Step 4: In the bowl of a stand mixer fitted with the whisk attachment (or in a large mixing bowl if using a hand mixer, as I sometimes demonstrate in my videos), whisk the whole eggs until they are well beaten and slightly frothy. This incorporates air, which contributes to the cake’s lightness.
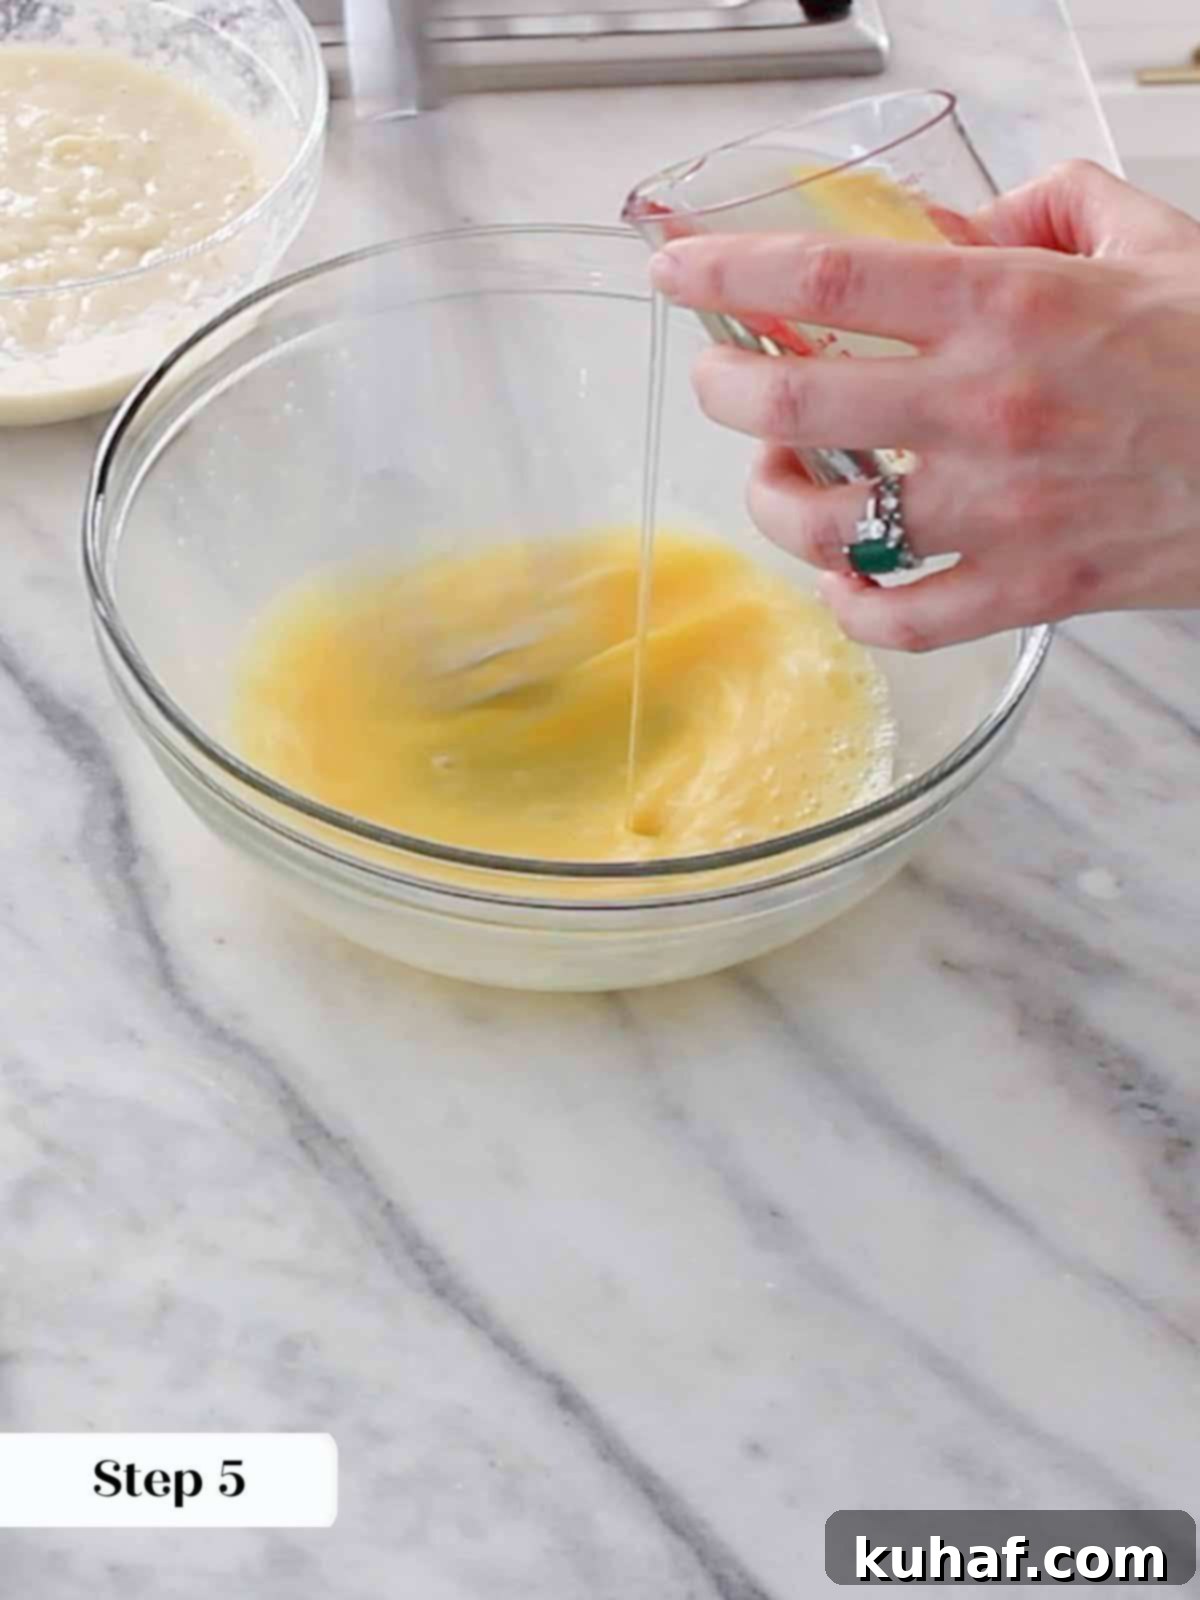
Step 5: With the mixer on medium-low speed, slowly drizzle in the vegetable oil, followed by the vanilla extract. Continue to whisk until the oil and vanilla are fully emulsified into the eggs, creating a smooth, homogenous mixture. This emulsification is key to the cake’s moist and tender crumb.
Step 6: Gradually whisk in the granulated sugar until just combined. Then, add the blended pineapple-banana mixture, incorporating it fully into the wet ingredients. The batter will be quite fluid at this stage.
Step 7: Gently fold the reserved dry flour mixture into the wet ingredients using a spatula, mixing only until just combined and no streaks of dry flour remain. Overmixing can lead to a tough cake. Finally, fold in the toasted, cooled pecans. Divide the batter evenly between your two prepared cake pans. You can eyeball this, but for perfectly uniform layers, I recommend using a kitchen scale – each cake pan should contain approximately 950 grams of batter.
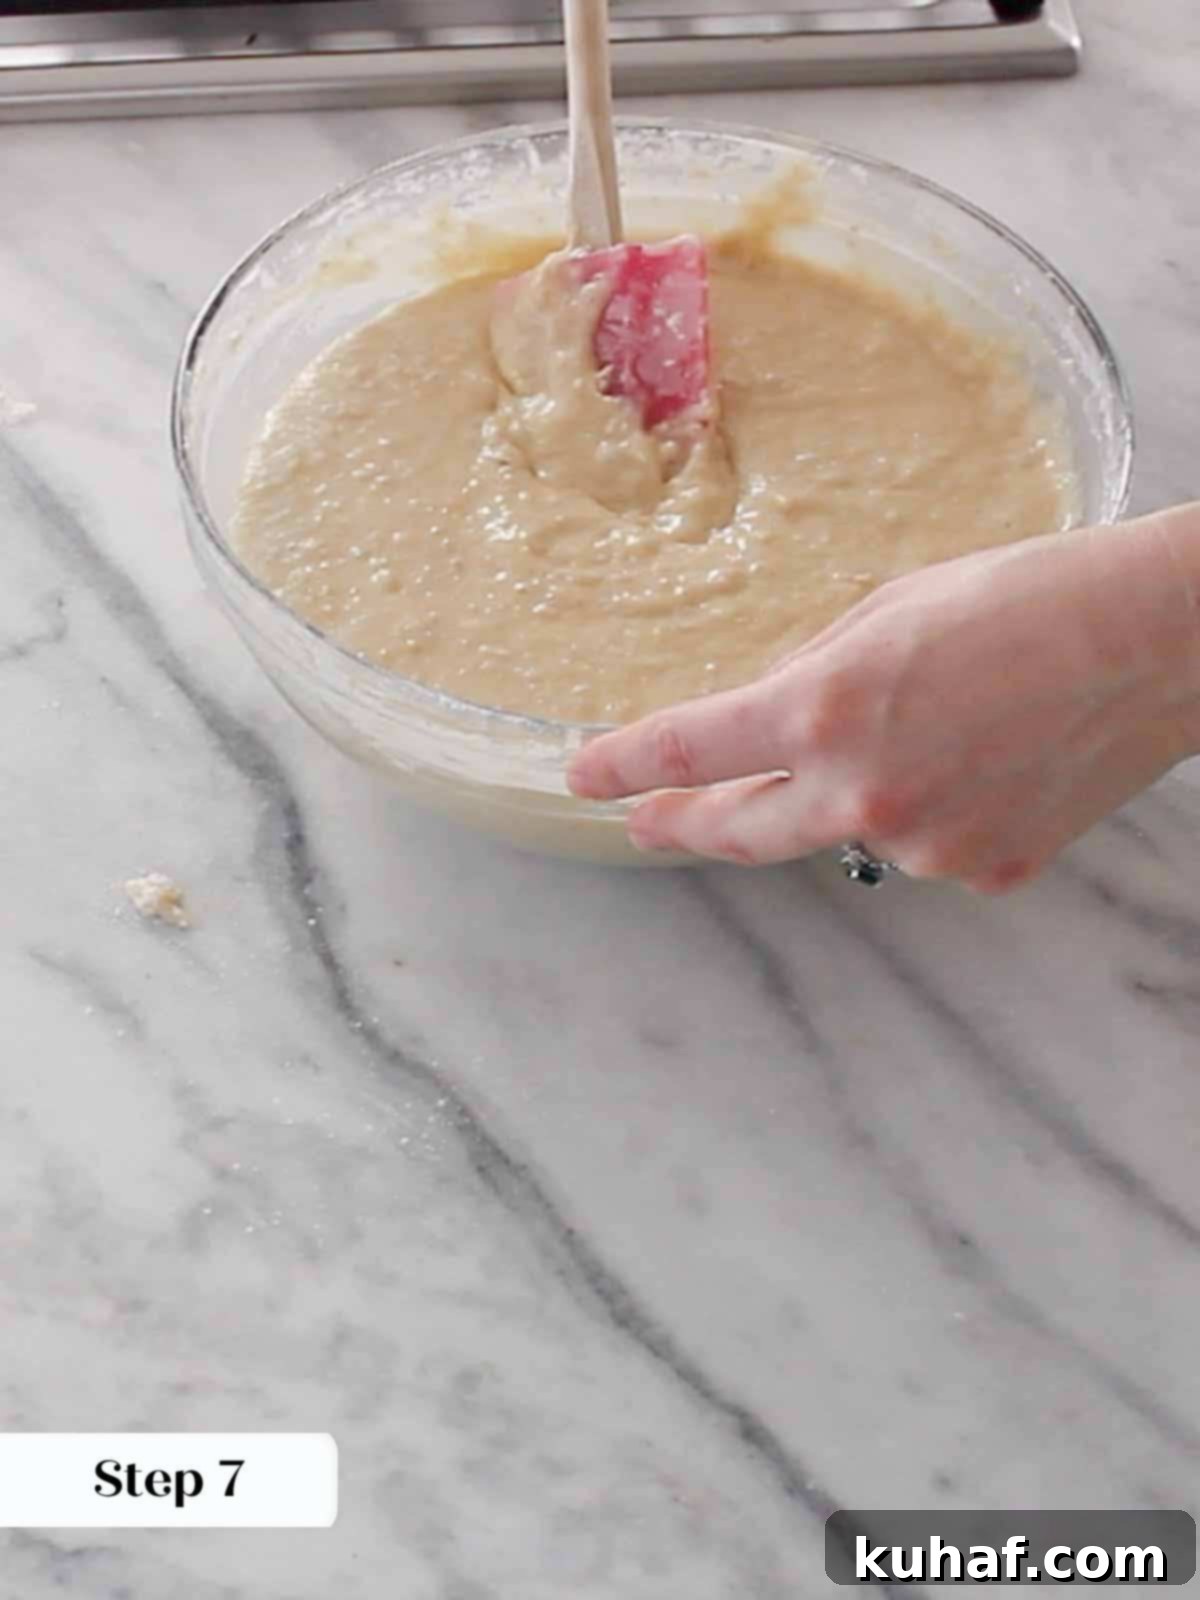
For truly even cake layers, the most reliable method is to use a kitchen scale to weigh your batter. Each pan should receive approximately 950 grams of batter. This small effort ensures your cake bakes evenly and stacks beautifully.
Step 7 (Continued): Bake the cake layers in the preheated oven for approximately 25-30 minutes. The cake is done when a cake tester, toothpick, or thin bamboo skewer inserted into the center comes out with only a few moist crumbs clinging to it, but no wet batter streaks. Avoid overbaking, which can lead to a dry cake.
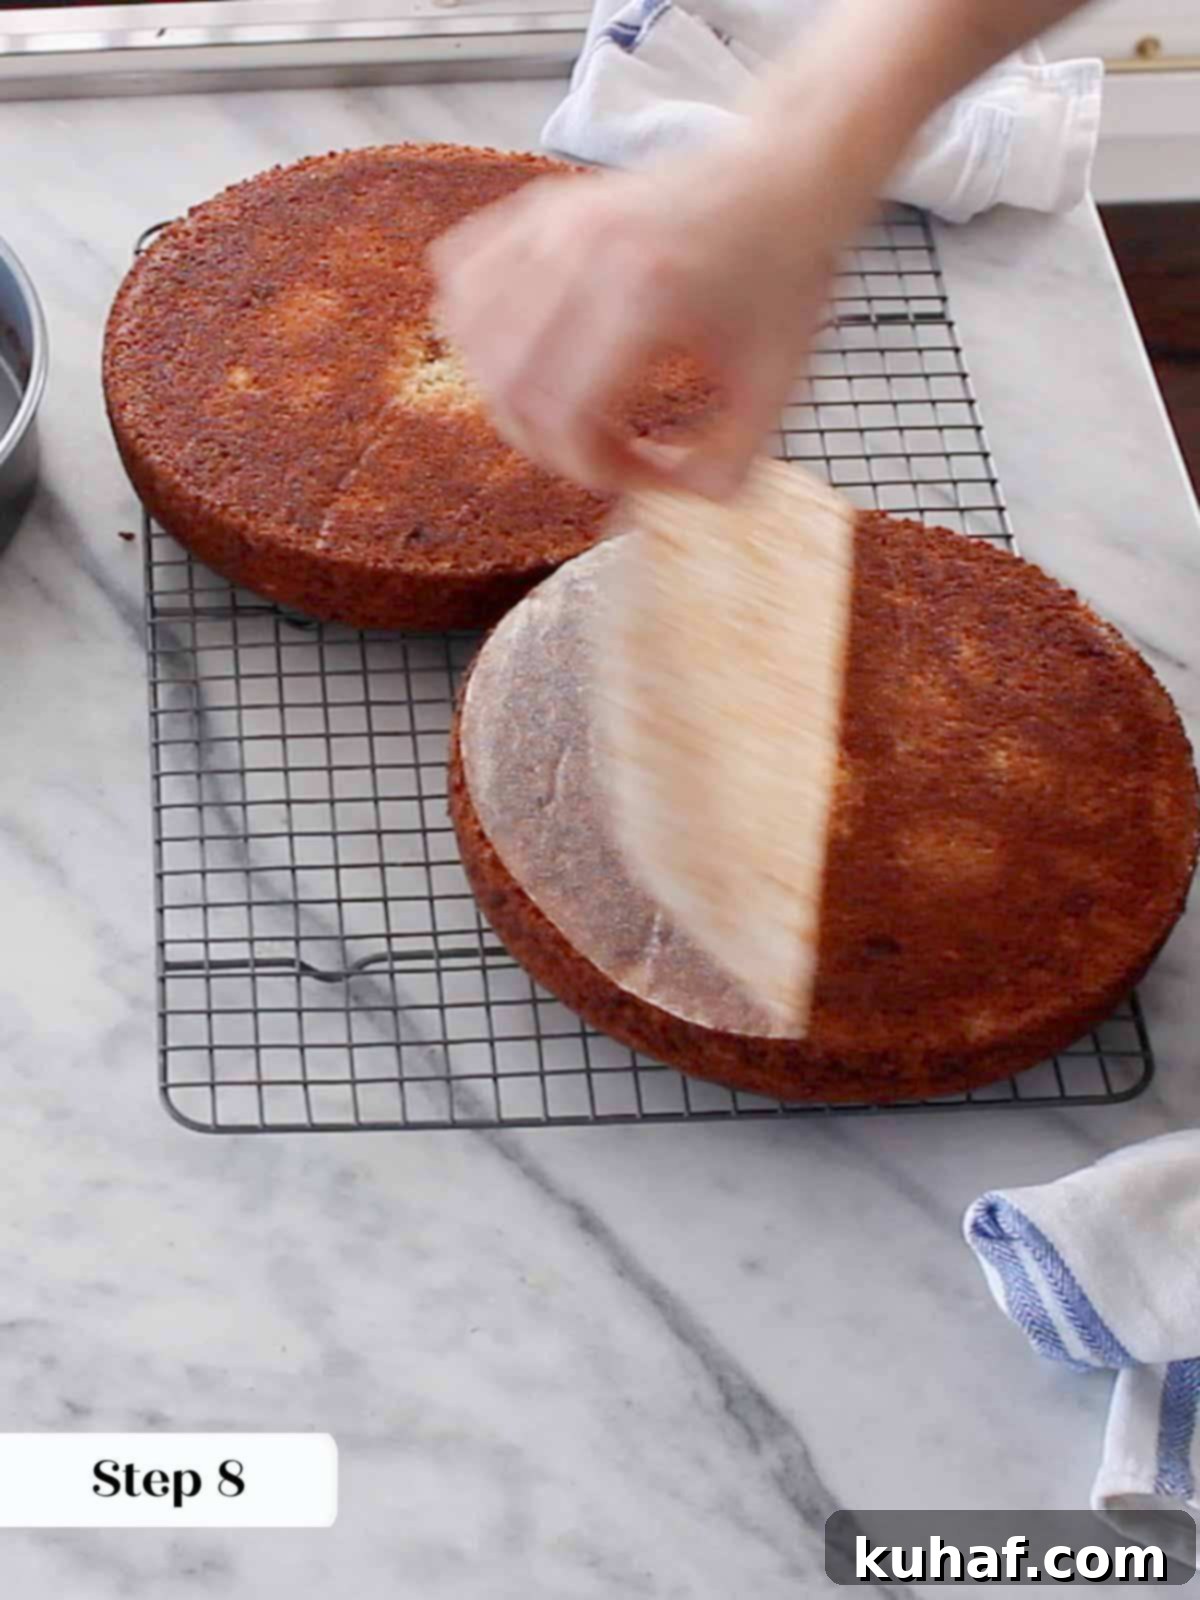
Step 8: Once baked, remove the cakes from the oven and let them cool in their pans for about 10 minutes. This allows the cake to firm up slightly. Then, carefully invert the cakes onto a wire cooling rack to cool completely upside down. Cooling upside down helps to flatten any slight dome that may have formed, making your layers perfectly level for assembly.
Phase 2: Prepare the Cream Cheese Buttercream Frosting
This luscious cream cheese buttercream is the perfect accompaniment, adding a tangy, creamy counterpoint to the sweet cake.
Step 1: In the bowl of a stand mixer fitted with the paddle attachment (or using a large bowl and a hand mixer), combine the softened full-fat cream cheese, softened unsalted butter, and powdered sugar. Beat on medium speed until the mixture is completely smooth, light, and fluffy, with no lumps of cream cheese or butter remaining.
Step 2: Add the fresh lemon juice and vanilla extract to the creamed mixture. Beat again on medium-high speed for another 1-2 minutes until all ingredients are thoroughly incorporated and the frosting is smooth, creamy, and wonderfully tangy. Scrape down the sides of the bowl as needed to ensure everything is well mixed.
If your frosting becomes too warm and soft during mixing or while you’re waiting for your cake layers to cool, don’t worry! Simply place the entire mixing bowl, along with the paddle attachment, into the refrigerator for 30 to 60 minutes. Once chilled, beat it again on medium speed until it returns to a smooth, pipeable consistency. This tip is a lifesaver for perfect frosting!
Phase 3: Assemble and Decorate Your Hummingbird Cake
With cooled cake layers and silky frosting, it’s time to bring your masterpiece together and add the finishing touches.
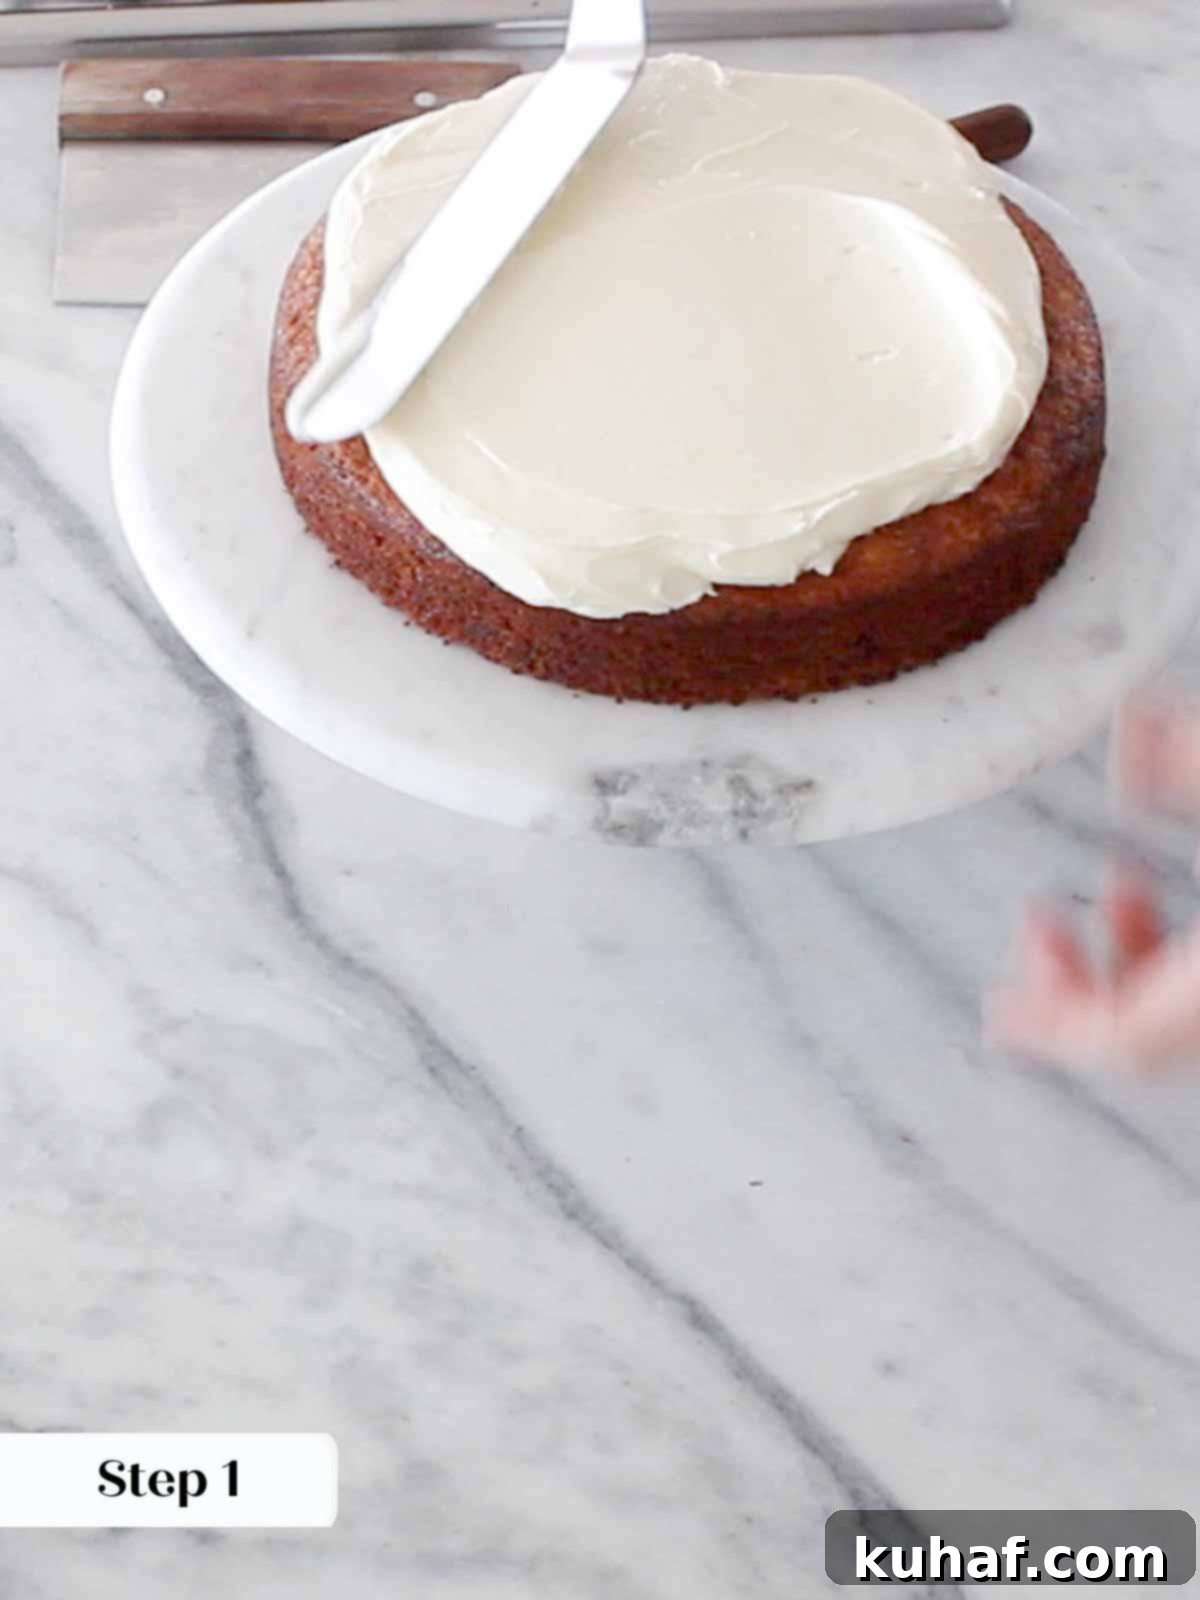
Step 1: Place your first cooled cake layer onto your favorite cake stand, serving plate, or platter. Dollop about 1 cup of the prepared cream cheese frosting onto the center of this layer, then use an offset spatula to gently spread it out into an even layer, reaching almost to the edges.
Step 2: Carefully place the second cake layer directly on top of the first, aligning it as best you can. A professional trick is to place the top layer upside down, so the perfectly flat bottom of the cake now serves as the perfectly flat top of your assembled cake. This eliminates the need for leveling and ensures a smooth surface for your final frosting, without wasting any delicious crumbs! Add about half of the remaining buttercream onto this second layer and spread it out evenly with a large offset spatula, allowing a little to gracefully spill over the edges.
For an effortlessly flat top, always place your top cake layer upside down. The bottom of the baked cake is naturally the flattest, ensuring a perfectly level surface without the need for trimming or crumb wastage.
Step 3: Using the remaining buttercream, smooth a very thin layer over the sides of the entire cake. This initial layer, known as a “crumb coat,” can be a bit challenging as the cake might feel a little wiggly-jiggly, but persistence pays off. You could choose to stop here for a trendy “naked cake” look, or for a pristine finish, pop the entire cake into the refrigerator for at least an hour (or up to two) until this crumb coat is completely set and firm. This firm layer will lock in all loose crumbs.
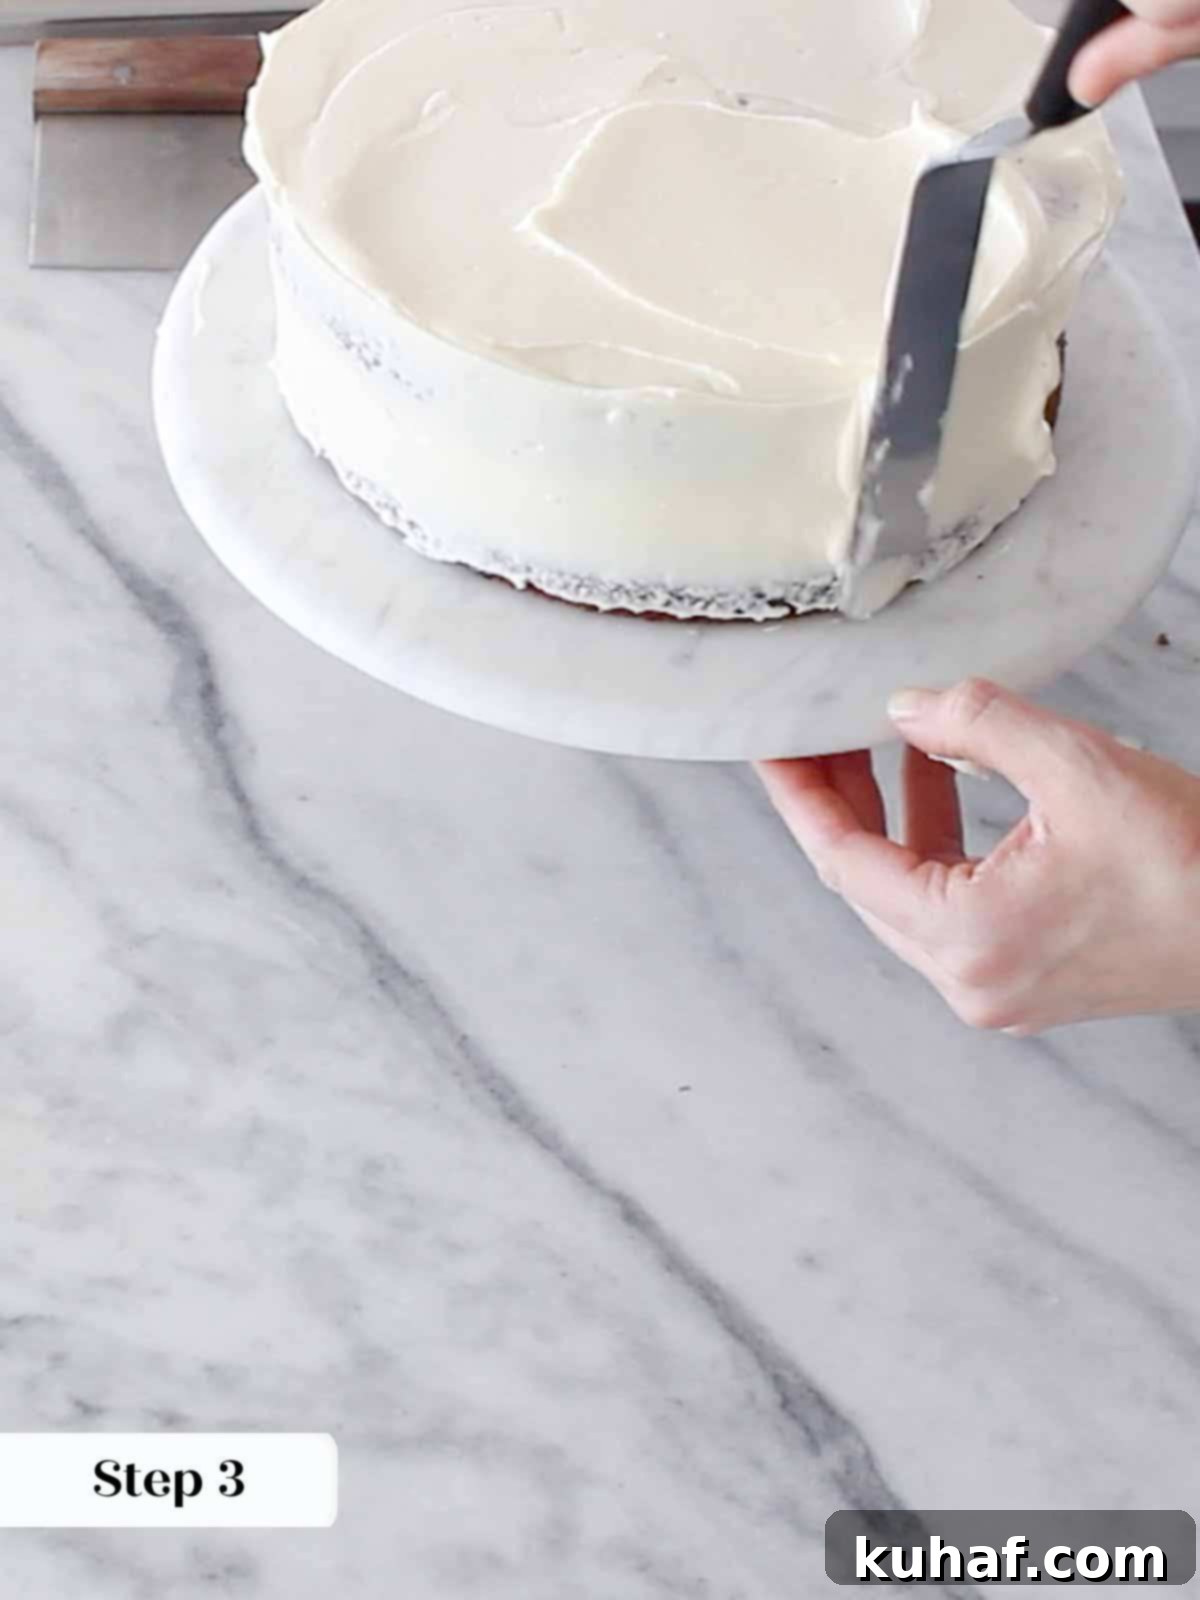
The “crumb coat” is a professional’s secret weapon! This thin initial layer of frosting captures any stray crumbs, preventing them from mixing into your final, pristine layer of buttercream. It’s the key to a beautifully smooth and clean exterior.
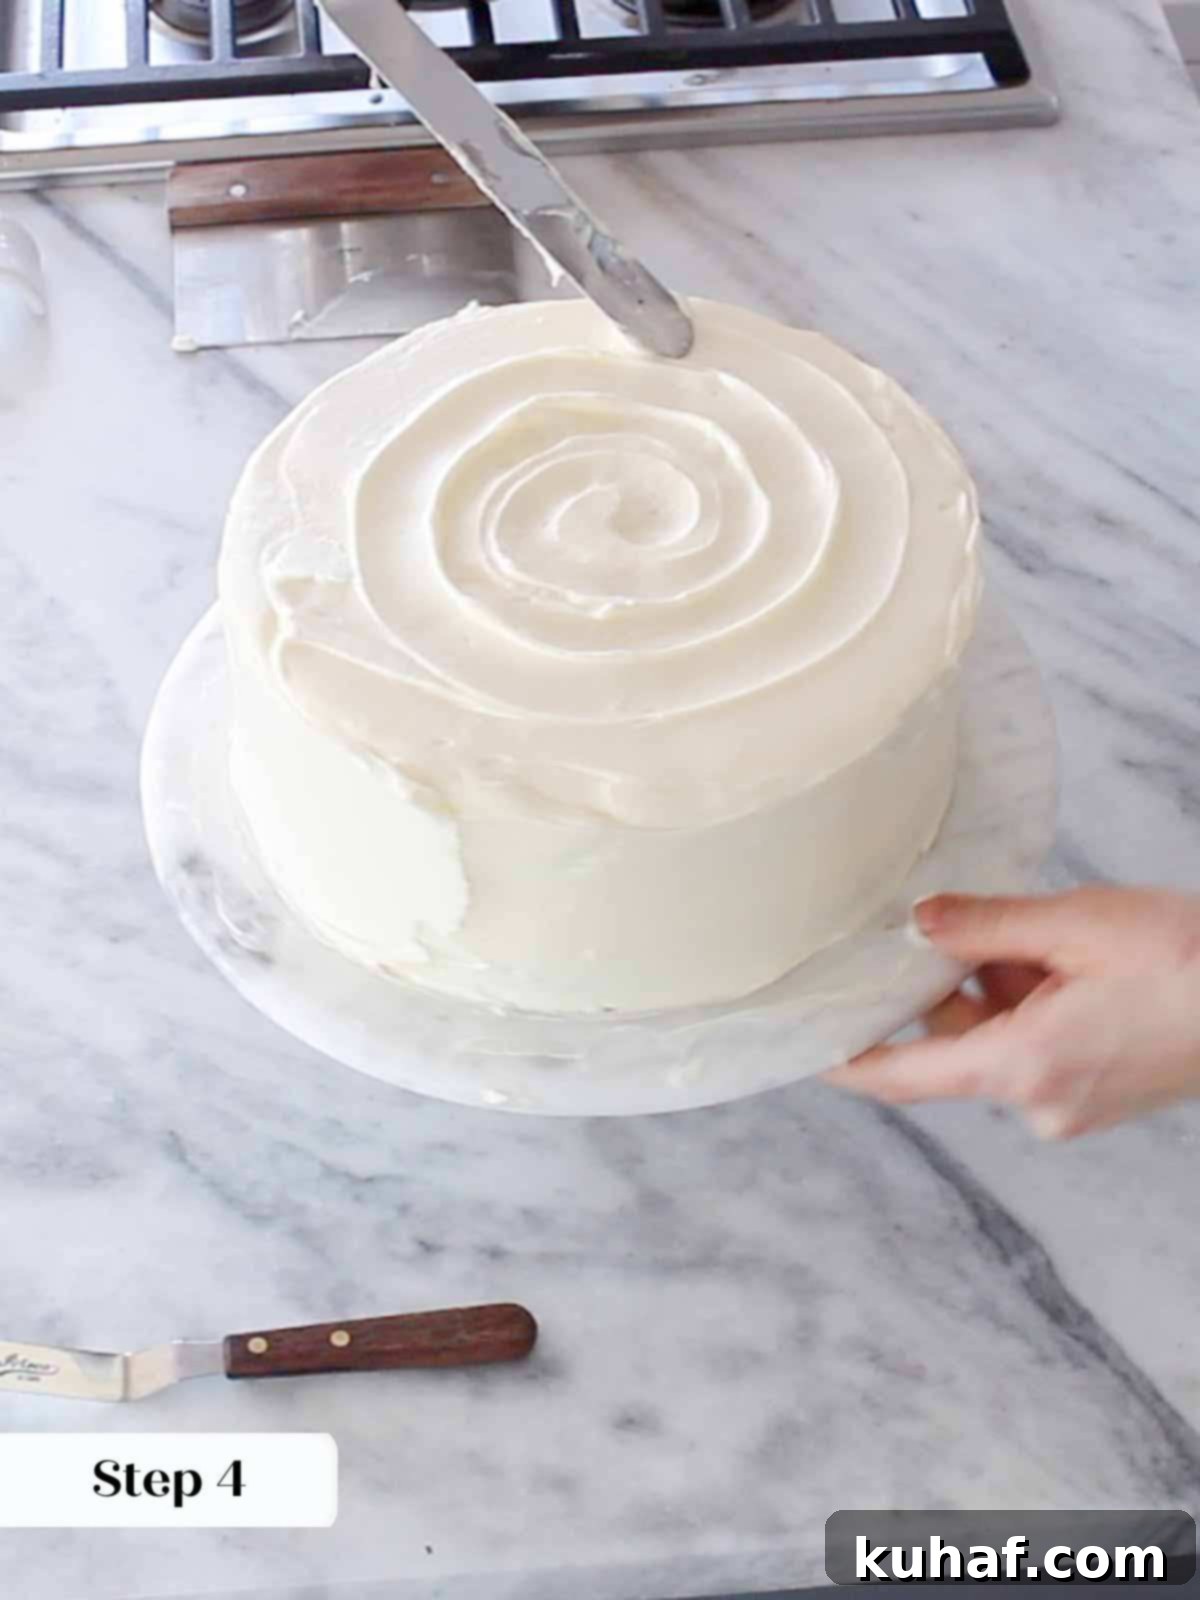
Step 4: Once the crumb coat is chilled and firm, take the cake out of the refrigerator. Spread the remaining buttercream evenly over the sides and top of the cake. For an elegant finish, I like to create a subtle swirl pattern on top by rotating my cake stand like a turntable while gently dragging the tip of a large offset spatula across the surface. Then, I smooth the sides using a bench scraper for crisp, clean edges.
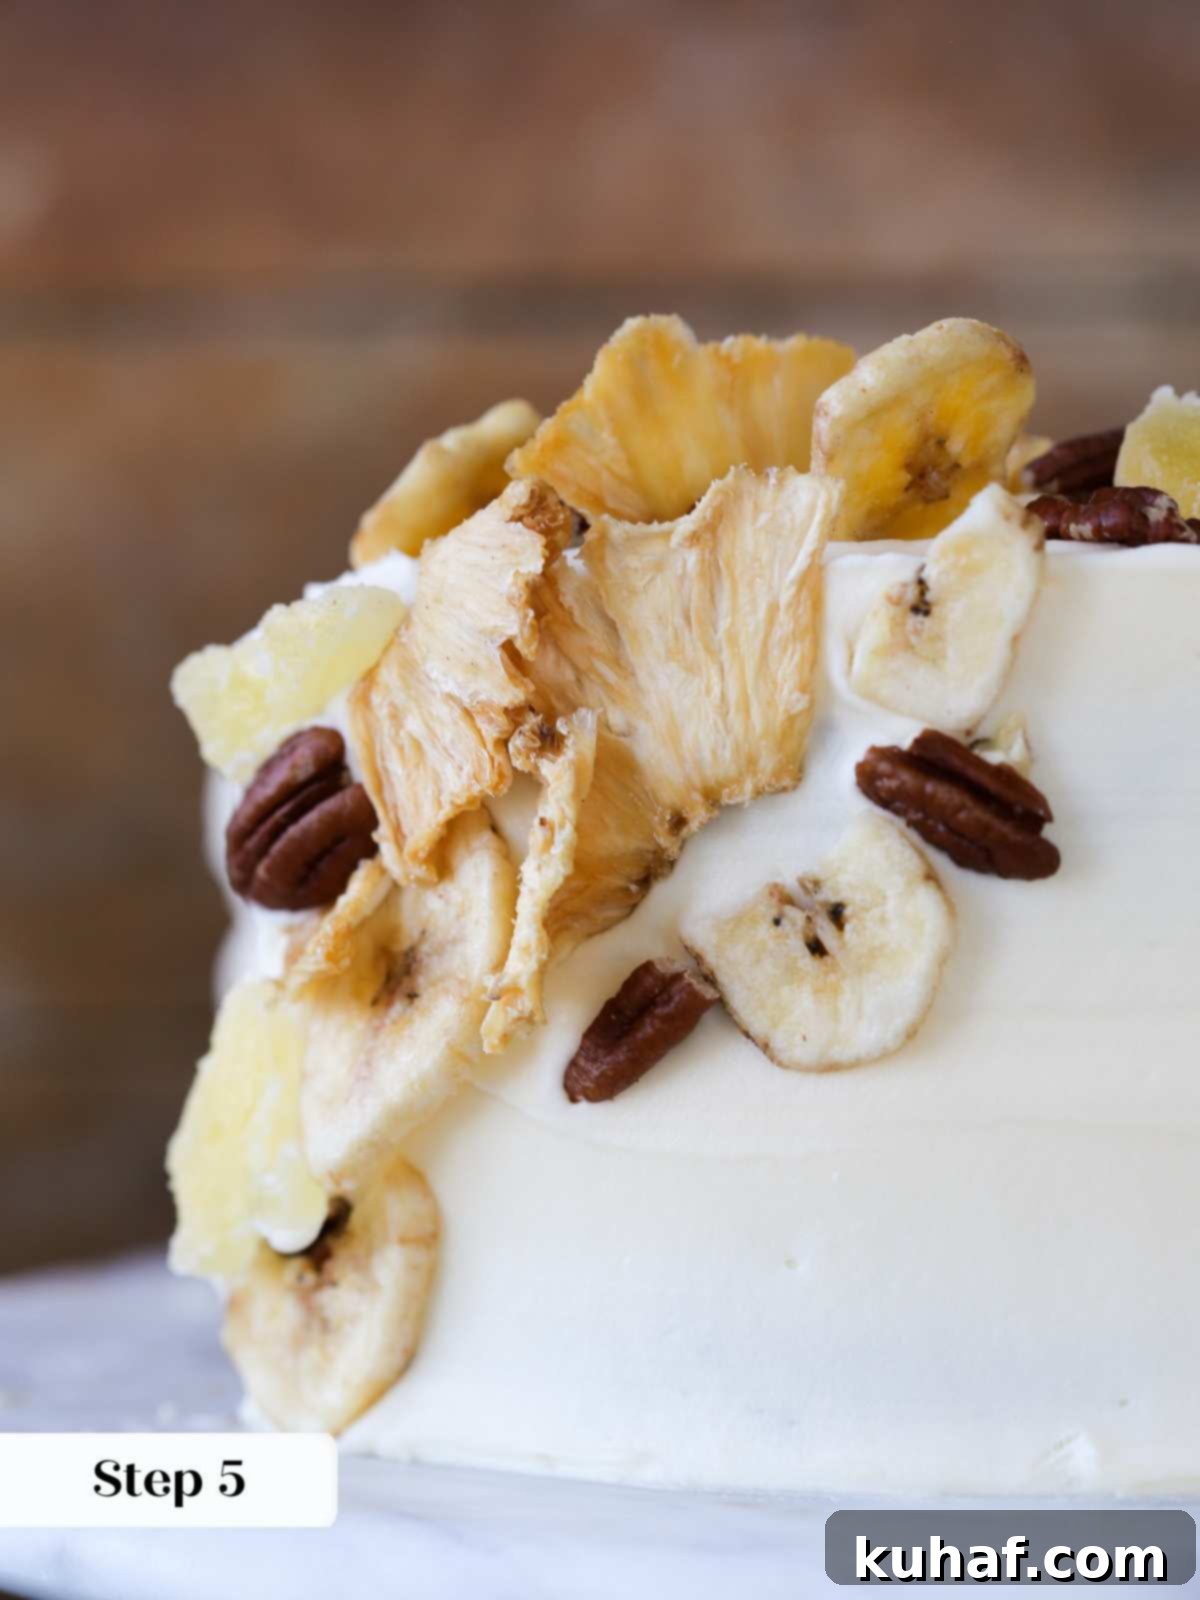
Step 5: Now comes the fun part: decorating! Arrange whole pecans, crisp banana chips, dehydrated pineapple slices, and dried pineapple pieces in a pleasing mosaic pattern on the top of your cake. You can refer to the video below to see how I created the specific design pictured. Alternatively, you could completely cover the cake with a dense layer of these garnishes, or stick to the classic Southern décor by adding a simple rim of crushed pecans around the base or top edge. Let your creativity shine!
Chef Lindsey’s Recipe Tip for Bakers
For a more casual, shareable dessert that’s perfect for a crowd, consider baking the entire Hummingbird Cake batter in a single 9×13 inch rectangular baking pan. This saves you the trouble of layering and allows for a simpler presentation. Once baked and cooled, generously cover the top with an epic amount of our delicious cream cheese frosting. Then, you can either spend all your time creating a massive, impressive mosaic of fruits and nuts, or simply spread the frosting and serve. I might be alone in my mosaic pastry obsession, but the possibilities are endless for making this cake your own!
Frequently Asked Questions About Hummingbird Cake
Hummingbird cake can be stored in a closed container or under a covered cake stand at room temperature for up to one day. However, due to the cream cheese buttercream, which requires refrigeration for optimal freshness and safety, for longer storage, it’s best to keep the cake refrigerated. Store it, covered, in the refrigerator for up to 1 week. If you need to store it even longer, you can wrap it tightly and freeze it for up to 2 months. For the best flavor and texture after freezing, allow the cake to thaw slowly overnight in the refrigerator before serving.
Hummingbird Cake offers a wonderfully complex yet comforting flavor profile. It tastes predominantly like a moist, warmly spiced banana cake, with delightful, sweet-tart undertones from the pineapple. The toasted pecans add a nutty crunch and earthy depth, while hints of vanilla tie all the flavors together. When paired with the classic cream cheese frosting, as it traditionally is, the cake gains a rich creaminess and a subtle, tangy finish that perfectly balances its sweetness, creating a truly harmonious and irresistible dessert.
For the absolute best enjoyment, serve Hummingbird Cake at room temperature. While the cake itself is delicious warm, the cream cheese frosting doesn’t hold up well to warmth and can become too soft. I personally love to serve generous slices of this incredibly moist cake with a drizzle of homemade salted caramel sauce and a scoop of creamy vanilla ice cream for an ultimate dessert experience. However, it’s equally delightful served with a dollop of tangy lemon curd or a luxurious spoonful of crème anglaise. Choose your favorite accompaniment, or simply enjoy it on its own!
If you tried this wonderful recipe and absolutely loved it, please take a moment to leave a 🌟 star rating and share your thoughts in the comments below. I genuinely love hearing from you; your feedback and comments truly make my day!
Hummingbird Cake
Pin Recipe
Comment
Print Recipe
Ingredients
For the Cake:
- 3 cups all-purpose flour
- 1 teaspoon cinnamon
- 1 teaspoon baking soda
- ½ teaspoon kosher salt
- 3 whole eggs
- 1 cup vegetable oil
- ½ tablespoon vanilla extract
- 2 cups granulated sugar
- 8 oz canned pineapple in their own juice
- 3 large bananas ripe (brown spotted)
- ¾ cups pecans chopped and toasted
- dried fruit and extra pecans for garnish optional
For the Cream Cheese Buttercream:
- 21 oz cream cheese full-fat, softened
- 18 tablespoons unsalted butter softened
- 2 cups powdered sugar
- 2 tablespoons lemon juice juice from 1 lemon
- 1 teaspoon vanilla extract
Instructions
-
Spray and line two 8 or 9 inch round cake pans with parchment. Be sure to spray the sides of the pan. Preheat oven to 350°F
-
Whisk together flour, cinnamon, soda and salt; set aside.
-
Use a hand blender (immersion blender) or a regular blender to blend the pineapple and bananas together. You can also just mash them very well.
-
In the bowl of a stand mixer fitted with the whisk attachment or in a large bowl, whisk the eggs until beaten.
-
Whisk in the oil and vanilla until emulsified
-
Whisk in the sugar followed by the pineapple banana mixture
-
Fold in the flour mixture followed by the chopped pecans.
-
Divide between the two prepared pans. Bake until cake tester or skewer comes out with only a few clinging crumbs but no wet batter streaks, approximately 25-30 minutes.
-
Cool 10 minutes in the pans then turn out onto a cooling rack to cool completely.
For the Cream Cheese Buttercream:
-
Cream together cream cheese, butter and sugar until smooth. Add lemon juice and extract.
-
If it gets too warm, chill the it. Just pop the whole bowl and attachments in the fridge and give it an hour. Beat with paddle until smooth and silky.
Video
Notes
Presentation – For a truly show-stopping dessert, decorate your cake in a beautiful mosaic pattern using pecans, banana chips, dehydrated pineapples, and pineapple chips.
Variations – Feel free to soak the cake layers with a flavored simple syrup for extra moisture and taste, or add up to 2 tablespoons of your favorite alcohol to the buttercream for a boozy twist.
Storage – Store your Hummingbird Cake at room temperature for up to 1 day. For longer freshness, refrigerate it, well-covered, for up to 7 days. For extended storage, wrap the cake tightly and freeze for up to 2 months.
This recipe was originally adapted from a classic Southern Living publication.
Nutrition
Carbohydrates: 45g |
Protein: 4g |
Fat: 16g |
Saturated Fat: 2g |
Polyunsaturated Fat: 8g |
Monounsaturated Fat: 5g |
Trans Fat: 1g |
Cholesterol: 27mg |
Sodium: 137mg |
Potassium: 135mg |
Fiber: 2g |
Sugar: 26g |
Vitamin A: 62IU |
Vitamin C: 8mg |
Calcium: 14mg |
Iron: 1mg
Before You Go: More Cake Delights
Thank you for embarking on this delightful baking journey with us! If you’ve enjoyed creating and tasting this exquisite Hummingbird Cake, we invite you to explore our other equally delicious cake recipes. From the vibrant and zesty Orange Upside Down Cake to the comforting and spiced carrot cake cupcakes with cream cheese frosting, there’s always a new baking project waiting to bring joy to your kitchen. Happy baking!
