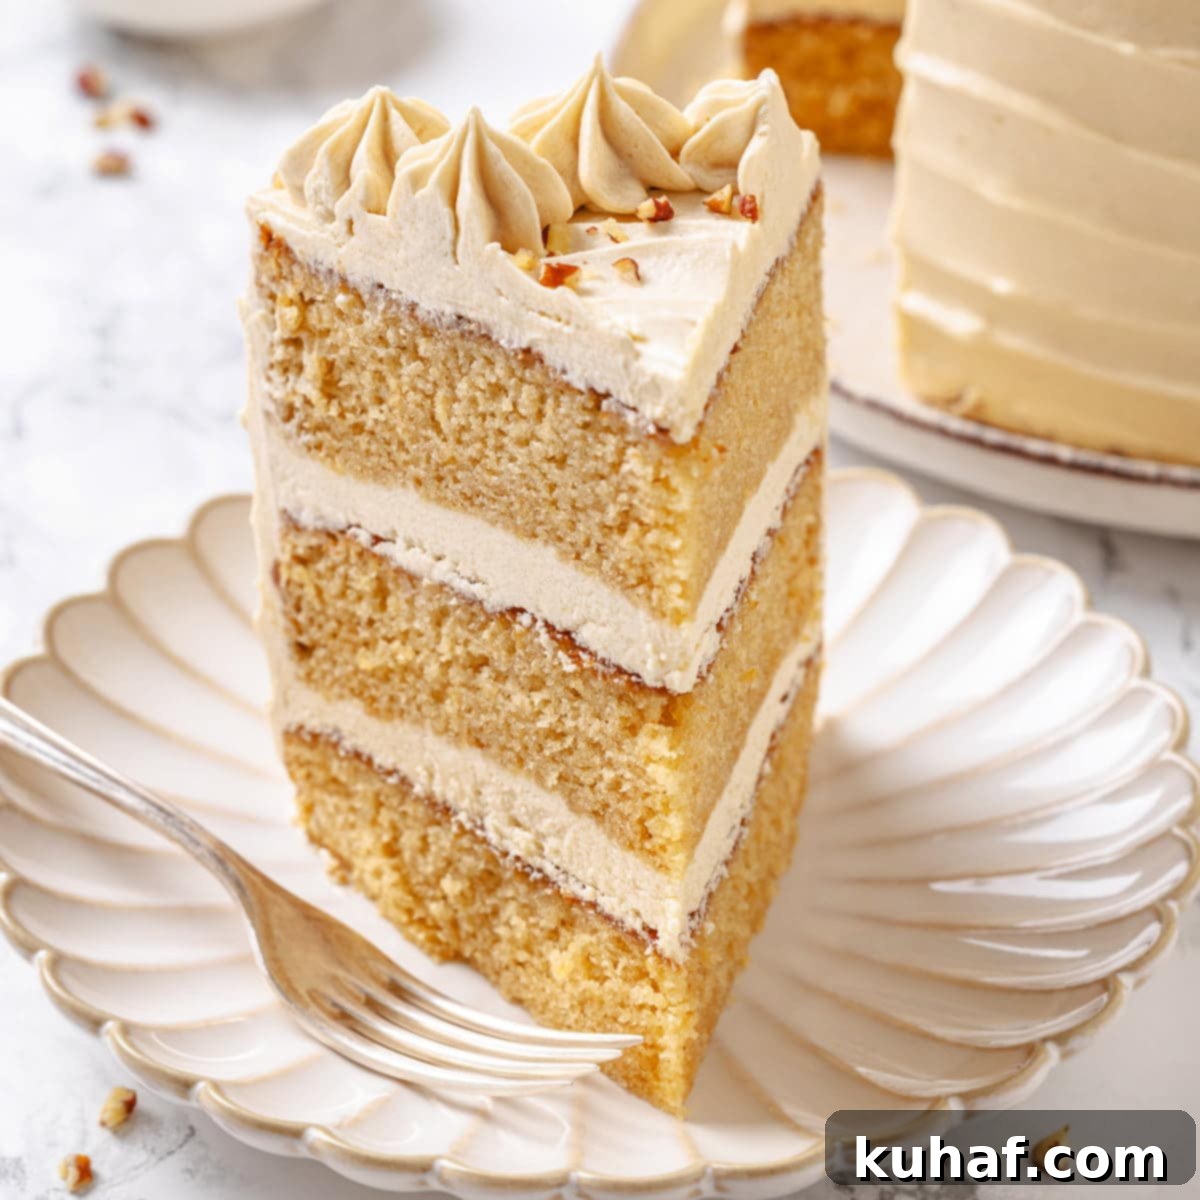
Ultimate Moist Maple Cake with Silky Ermine Frosting: Your Go-To Fall Dessert Recipe
Indulge in the cozy flavors of autumn with this incredible Maple Cake recipe. This dessert promises a soft, tender crumb bursting with authentic maple goodness, all mixed effortlessly in a single bowl. What truly sets this cake apart is its pairing with a luxurious, silky cooked maple frosting, often referred to as ermine or flour buttercream, which perfectly balances the sweetness and elevates the entire experience. Whether you’re a seasoned baker or just starting, this easy-to-follow recipe will quickly become a cherished favorite.
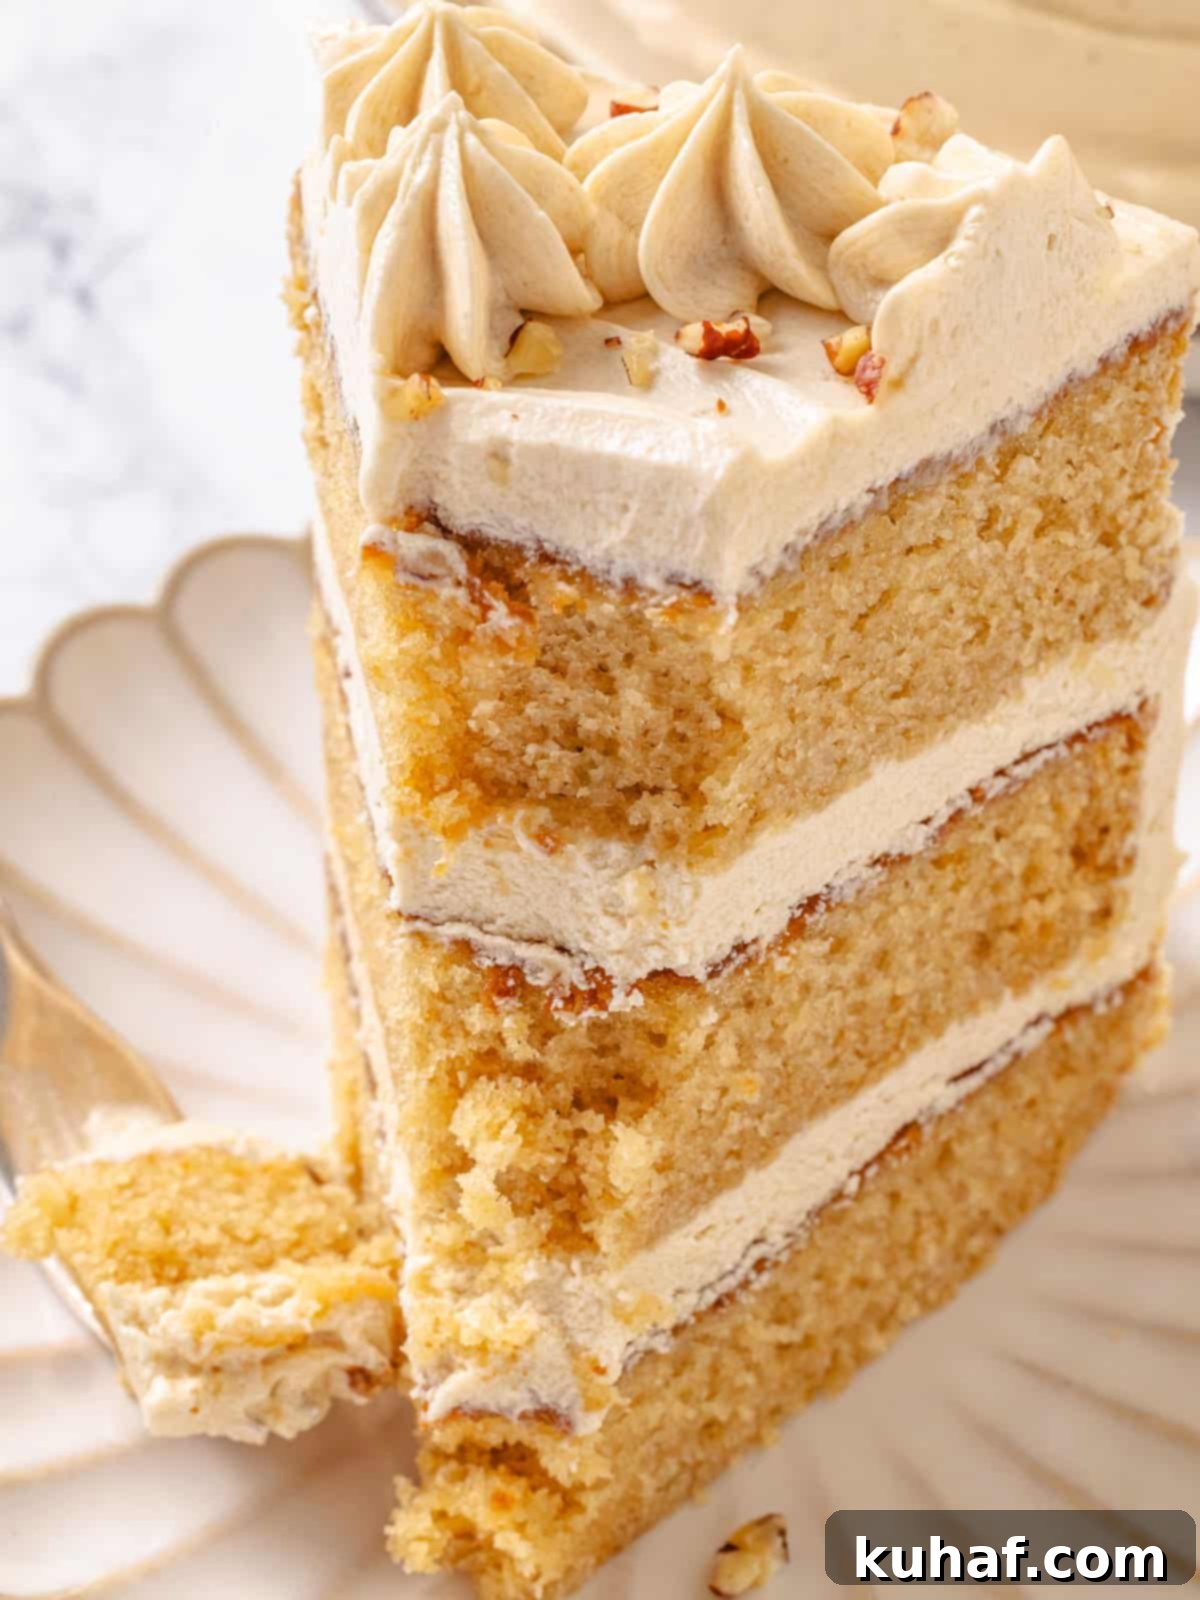
Crafting the perfect maple cake has been a journey of careful experimentation and dedication. My initial attempts focused on a butter-based cake, much like my popular vanilla cupcakes. However, while delicious, these tests consistently yielded a cake that lacked the desired tenderness and exceptional moistness I envisioned for a true maple centerpiece. The rich, thick nature of pure maple syrup requires a specific fat interaction to prevent a dense or dry result.
After several iterations, I shifted my approach to an oil-based cake, drawing inspiration from my beloved easy moist chocolate cake. This change proved to be the breakthrough! The neutral oil creates an incredibly soft, wonderfully moist, and exquisitely tender crumb that beautifully showcases the delicate maple flavor without becoming heavy or greasy. This method ensures every slice is a delightful experience, maintaining its freshness for days.
For the best possible flavor, I wholeheartedly encourage you to invest in pure Grade A maple syrup – specifically the “dark amber color and robust flavor” variety. This isn’t just a suggestion; it’s a recommendation that will transform your baking. The depth and richness of high-quality maple syrup are unparalleled and truly worth the splurge. Not only will it make this cake spectacular, but it can also be used to create other autumnal delights like my savory maple bundt cake and the festive pumpkin trifle. Any remaining syrup is perfect for drizzling over a stack of fluffy whole wheat pancakes for a luxurious breakfast.
Why You Will Adore This Maple Cake Recipe
- Authentic and Perfectly Balanced Maple Flavor: Unlike recipes that rely heavily on artificial extracts, this cake celebrates the genuine, complex notes of pure maple syrup. I’ve meticulously tested and refined the proportions in both the cake and the frosting to ensure a pronounced yet naturally sweet maple profile that isn’t cloyingly sugary. It’s the taste of a crisp autumn morning in every bite.
- Effortlessly Easy & Remarkably Moist: Designed for simplicity, this entire cake batter comes together in a single bowl, making cleanup a breeze. The strategic use of oil combined with the natural humectant properties of maple syrup guarantees an exceptionally moist cake that remains wonderfully fresh and tender for several days, without drying out. It’s a forgiving recipe perfect for busy bakers.
- Luxuriously Light and Fluffy Maple Ermine Frosting: Forget heavy, overly sweet buttercreams. Our signature maple frosting is a whipped dream, boasting a cloud-like texture that melts in your mouth. By gently cooking flour with milk to create a stable base (similar to the foundational technique in an Italian meringue buttercream, but simpler), we achieve a remarkable lightness and piping stability, allowing for stunning decoration and a truly superior mouthfeel.
Table of Contents
- Why You Will Love This
- Ingredients & Substitutions
- Variations
- Expert Baking Tips
- How to Make the Best Maple Cake
- Chef Lindsey’s Baking Insights
- Recipe FAQs
- Recommended Cozy Cake Recipes
- Maple Cake Recipe Card
- Before You Go
Essential Ingredients & Smart Substitutions for Maple Cake
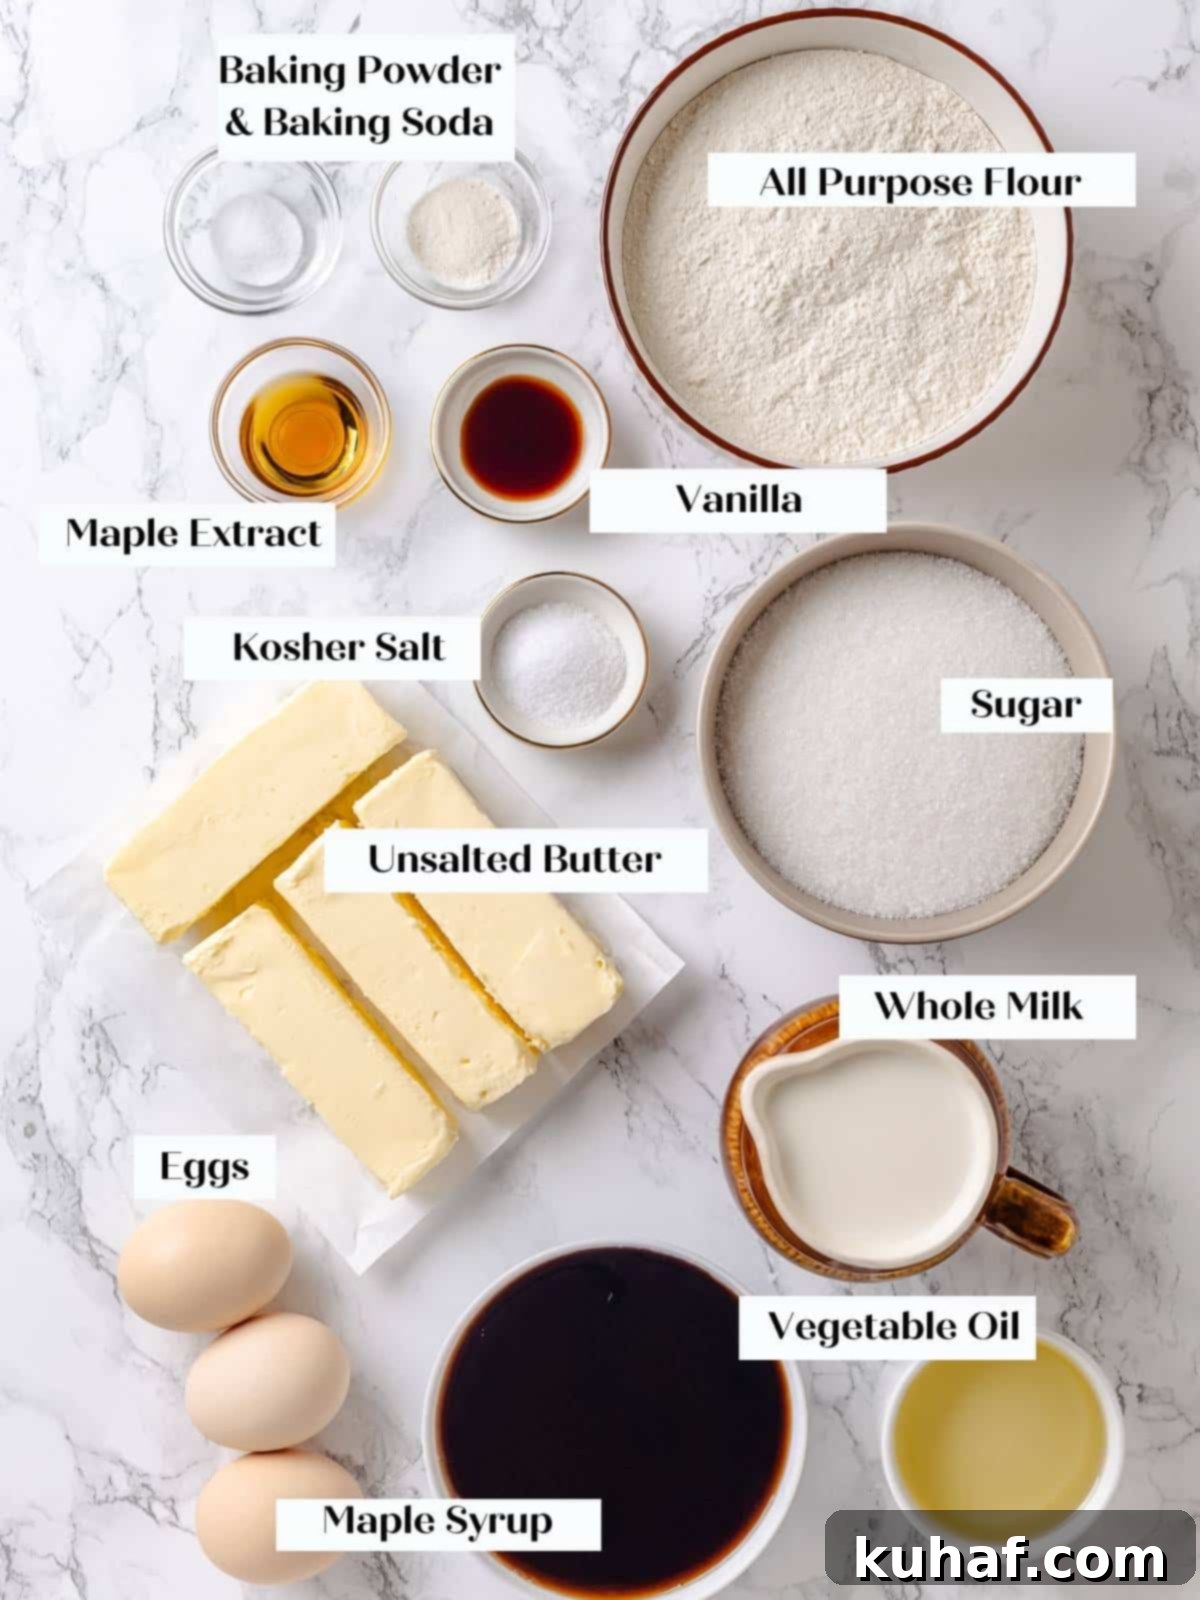
Every ingredient in this maple cake recipe plays a crucial role in achieving its perfect flavor and texture. Here’s a detailed look at what you’ll need and how you can make smart substitutions:
- All-Purpose Flour: This forms the structural backbone of our cake. For those seeking a gluten-free option, King Arthur’s Cup4Cup flour is an excellent 1:1 substitute for the cake batter, ensuring a comparable tender crumb. However, a word of caution for the frosting: using gluten-free flour can sometimes result in a grainy texture. If you’re committed to a completely gluten-free cake, consider pairing it with a Swiss meringue buttercream instead, which naturally avoids flour in its base.
- Eggs: Eggs are vital for both structure and emulsification in this oil-based cake. They help bind the fat (oil and maple syrup) and liquid ingredients, creating a stable batter that bakes up moist and tender, rather than greasy. Ensure your eggs are at room temperature for optimal mixing.
- Maple Extract: While optional, a touch of maple extract significantly amplifies the robust maple flavor without adding extra sweetness or moisture, which can be tricky to balance. It’s a wonderful secret weapon for a truly pronounced maple essence.
- Granulated Sugar: This provides sweetness and contributes to the cake’s tender texture. For a subtle twist and added depth, you can experiment with substituting light or dark brown sugar, which imparts a hint of molasses. For an even more intense maple experience, consider using maple sugar, though it tends to be pricier and may require slight adjustments to liquid content.
- Vegetable Oil: The key to this cake’s exceptional moistness and light crumb is the neutral vegetable oil. It keeps the cake tender for days and prevents it from drying out. It’s crucial to choose a neutral-flavored oil (like canola, sunflower, or grapeseed oil) as its presence is discernible. Save your robust olive oil for recipes where its flavor is desired, such as this delicious pumpkin olive oil cake.
- Pure Maple Syrup: This is the star ingredient! I strongly recommend using pure Vermont maple syrup, specifically “Grade A: dark amber color and robust flavor” (formerly known as “Grade B”). This grade offers the richest, most concentrated maple flavor and a thicker consistency, making it ideal for baking. While “Grade A: Very Dark and Strong Flavor” exists, it’s typically more expensive and harder to source. Avoid imitation maple syrups, as they lack the complex flavor and purity essential for this recipe.
- Whole Milk: Whole milk contributes richness and fat, resulting in a more flavorful and moist cake. Its lower water content compared to skim milk helps maintain the perfect balance in the batter. Feel free to use your favorite dairy-free milk substitutes, such as almond milk or oat milk, keeping in mind that the fat content might vary slightly.
For precise quantities and detailed instructions, please refer to the comprehensive recipe card below.
Creative Variations to Elevate Your Maple Cake
This versatile maple cake recipe provides an excellent foundation for creative culinary explorations. Here are a few delightful variations to inspire you:
- Embrace the Nutty Crunch: Introduce a textural contrast by folding in some toasted nuts into the cake batter. Pecans, walnuts, or hazelnuts are all fantastic choices that complement maple beautifully. For an extra touch of elegance and crunch, consider garnishing the frosted cake with candied nuts, adding both visual appeal and a delightful sugary crispness.
- Transform into Delightful Cupcakes: Easily convert this layered cake into individual treats by baking the batter in cupcake liners. This recipe yields approximately 24 standard-sized cupcakes. Reduce the baking time to 15-20 minutes, or until a skewer inserted into the center comes out clean. Once completely cooled, pipe generous swirls of the creamy maple frosting on top for a perfect single-serving dessert.
- Experiment with Diverse Buttercreams: While the cooked maple frosting is a true highlight, you can certainly explore other frosting options. A luscious caramel Swiss meringue buttercream would offer a sophisticated pairing, while a tangy cream cheese buttercream frosting provides a classic contrast. Alternatively, you can flavor a simple American buttercream recipe with maple liqueur or maple extract for a quick and delicious alternative.
- Add a Luscious Filling: Take your maple cake to the next level by incorporating a flavorful filling between the layers. Create a “dam” around the edge of each cake layer using a ring of maple frosting, then fill the center with exquisite additions like a rich salted maple caramel sauce, a sweet and tart easy apple compote, or a festive cranberry chutney for a burst of seasonal flavor.
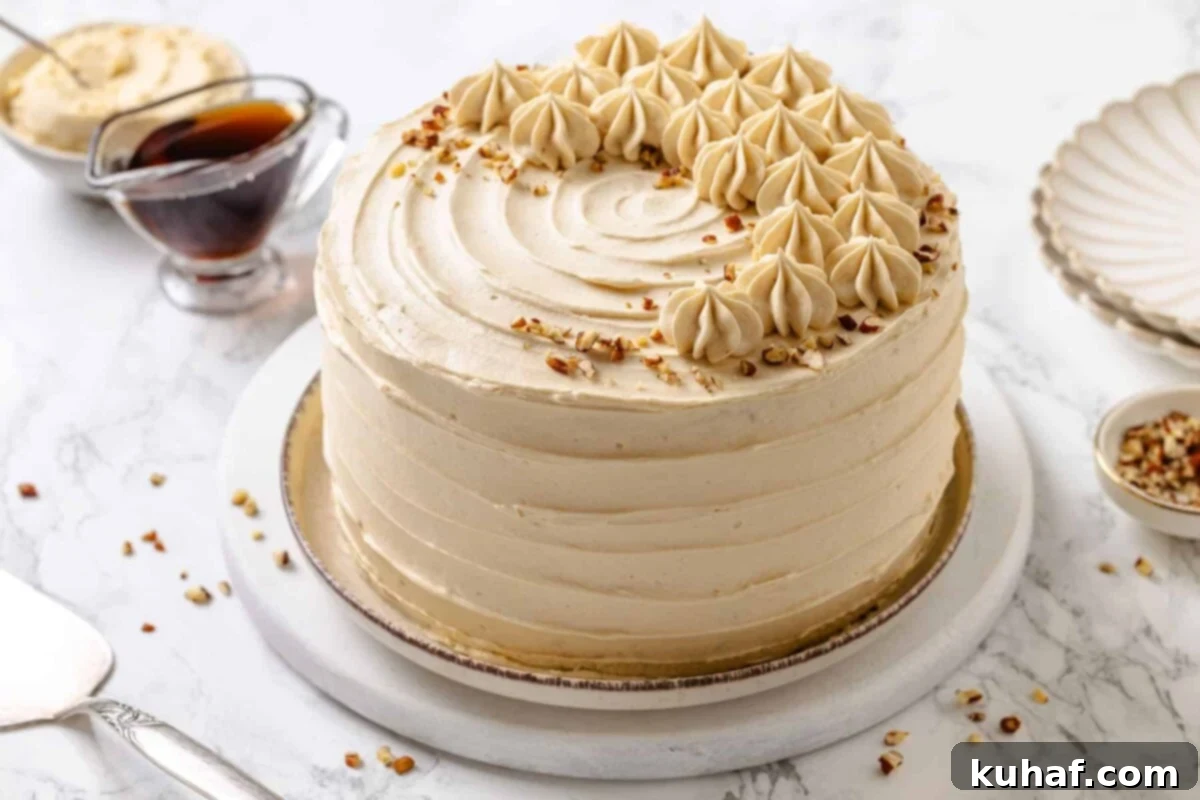
Professional Tips for Maple Cake Perfection
Achieving bakery-quality results at home is easier than you think with these expert insights:
- Master the Cooked Flour Base for Stable Frosting: The foundation of our silky maple frosting relies on properly cooking the flour base. This step is directly correlated to the final stability and texture of your frosting. You want to cook the mixture over medium heat, stirring constantly, until it visibly thickens to a consistency where it “plops” off your spoon or spatula in a cohesive mass, rather than pouring in a stream. A key indicator is when a line drawn through the mixture on the back of your spoon holds its shape. Undercooking will result in a runny frosting, while proper cooking ensures a pipeable, resilient buttercream, even in warmer conditions.
- Strategic Timing for Seamless Baking: Optimize your baking process for efficiency and best results. My preferred method is to prepare the cake batter first. While the cake layers are baking in the oven, I immediately begin preparing the cooked flour base for the frosting. This strategic timing allows both the cake and the frosting base ample time to cool completely before you begin assembly. If you find yourself in a rush and need to speed up the cooling of the frosting base, place it in the refrigerator, stirring every 20 minutes to ensure even cooling and prevent a skin from forming.
- Choose Your Cake Finish Wisely: The aesthetic of your cake often depends on the type of finish you desire. For a flawlessly smooth, professional appearance, similar to this elegant chocolate raspberry cake, I highly recommend refrigerating your crumb-coated cake layers until firm (about 20-30 minutes). This crucial step sets the initial frosting layer, preventing crumbs from mixing into your final coat and providing a stable canvas to build upon. This makes it much easier to apply subsequent layers of frosting and achieve a perfectly smooth exterior without the frosting shifting or tearing. If, however, you prefer a charmingly rustic, swirled finish, much like my delightful chocolate mayonnaise cake, you can simply apply the frosting with an offset spatula or the back of a spoon, creating beautiful, organic swirls and peaks without the need for additional chilling.
- Ensure Room Temperature Butter for Frosting: For the ermine frosting, it’s critical that your unsalted butter is at true room temperature (around 68-70°F or 20-21°C). This allows it to whip up light and airy, creating the perfect emulsion with the cooled flour base. If your butter is too cold, it won’t cream properly; if it’s too warm, the frosting can become greasy or soupy.
- Don’t Overmix the Cake Batter: Once you begin incorporating the dry ingredients with the wet, mix just until combined. Overmixing develops the gluten in the flour, which can lead to a tough and chewy cake rather than the desired soft and tender crumb. A few small lumps of flour are acceptable and will disappear during baking.
How to Create a Masterpiece: Crafting Your Maple Cake
Follow these detailed instructions to bake an absolutely perfect maple cake with ease. More specific measurements and comprehensive details can be found in the recipe card below.
Part 1: Preparing the Exquisitely Moist Maple Cake
Step 1: Prepare Your Oven and Pans. Begin by preheating your oven to 325°F (160°C) if using convection (with a fan), or 350°F (175°C) for a conventional oven (without a fan). Prepare 2 (or 3, for taller layers) 8 or 9-inch round cake pans by generously spraying them with non-stick baking spray, then lining the bottoms with parchment paper circles. This ensures your cake layers release effortlessly.
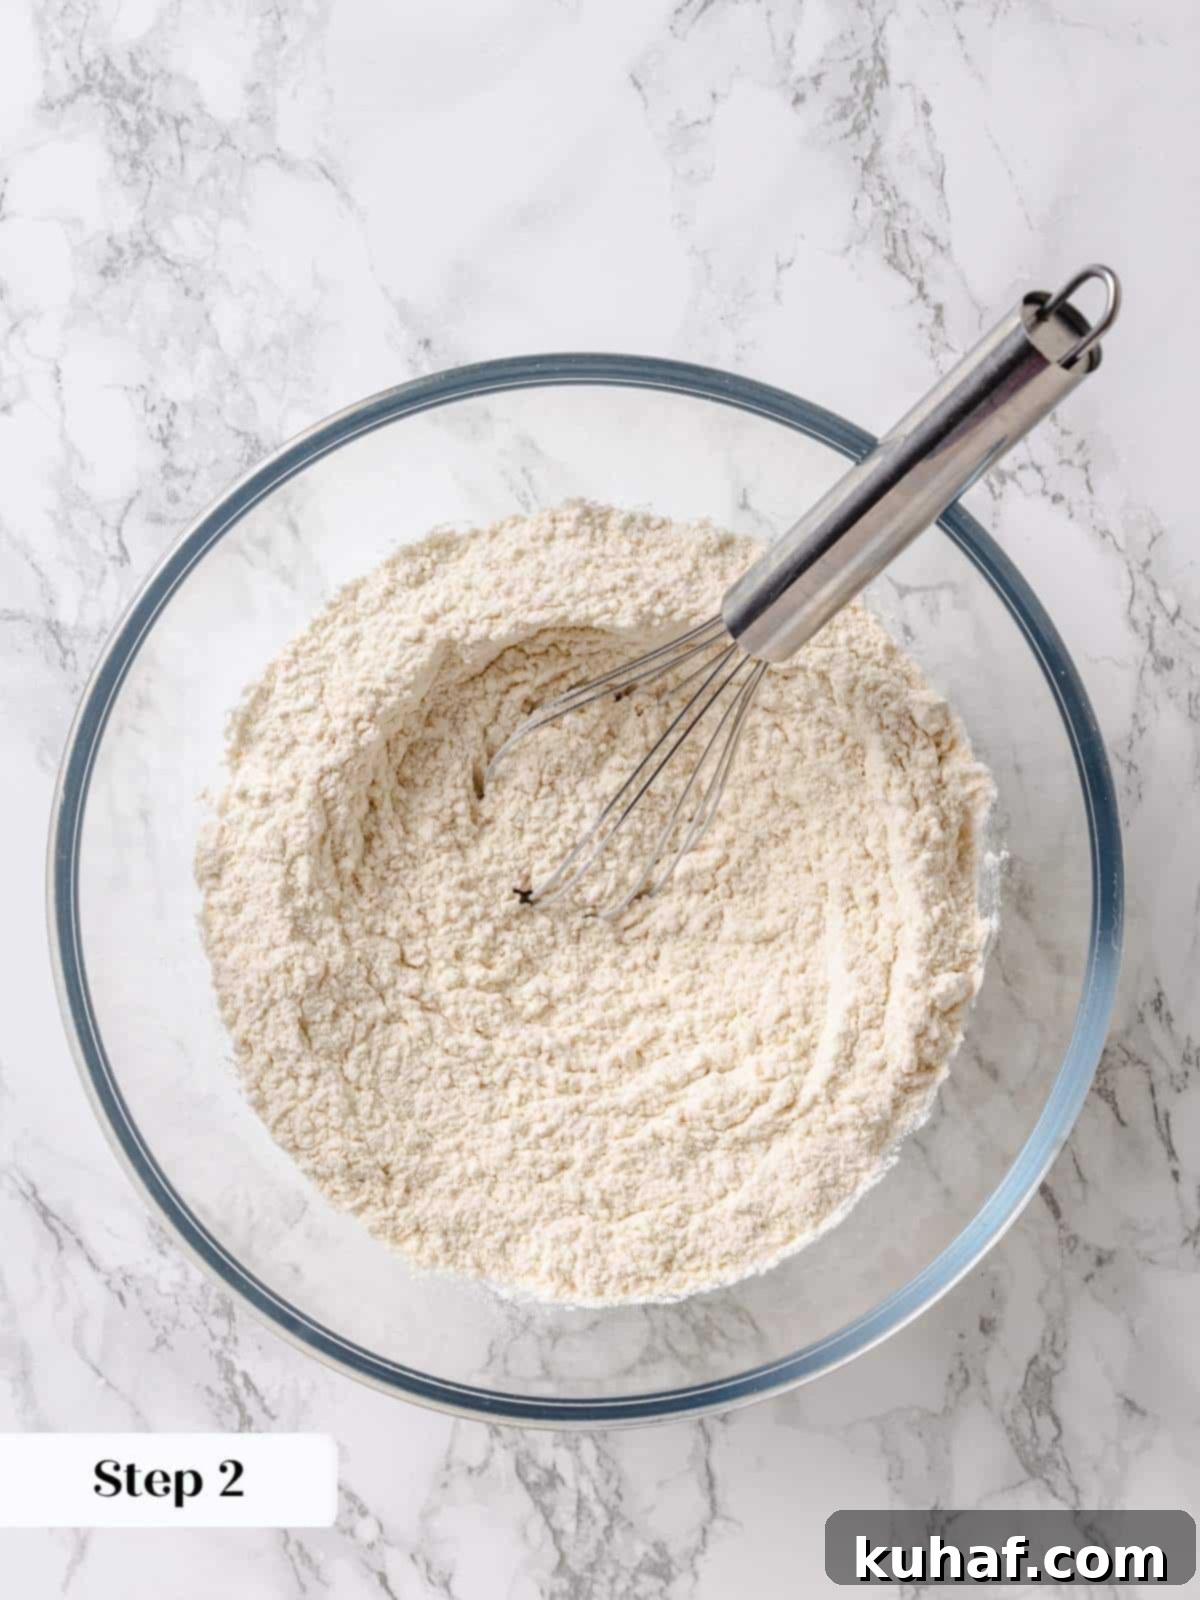
Step 2: Combine Dry Ingredients. In a medium-sized bowl, whisk together the all-purpose flour, kosher salt, baking powder, and baking soda until thoroughly combined. Set this mixture aside for later use (photo 1). This ensures leavening agents are evenly distributed.
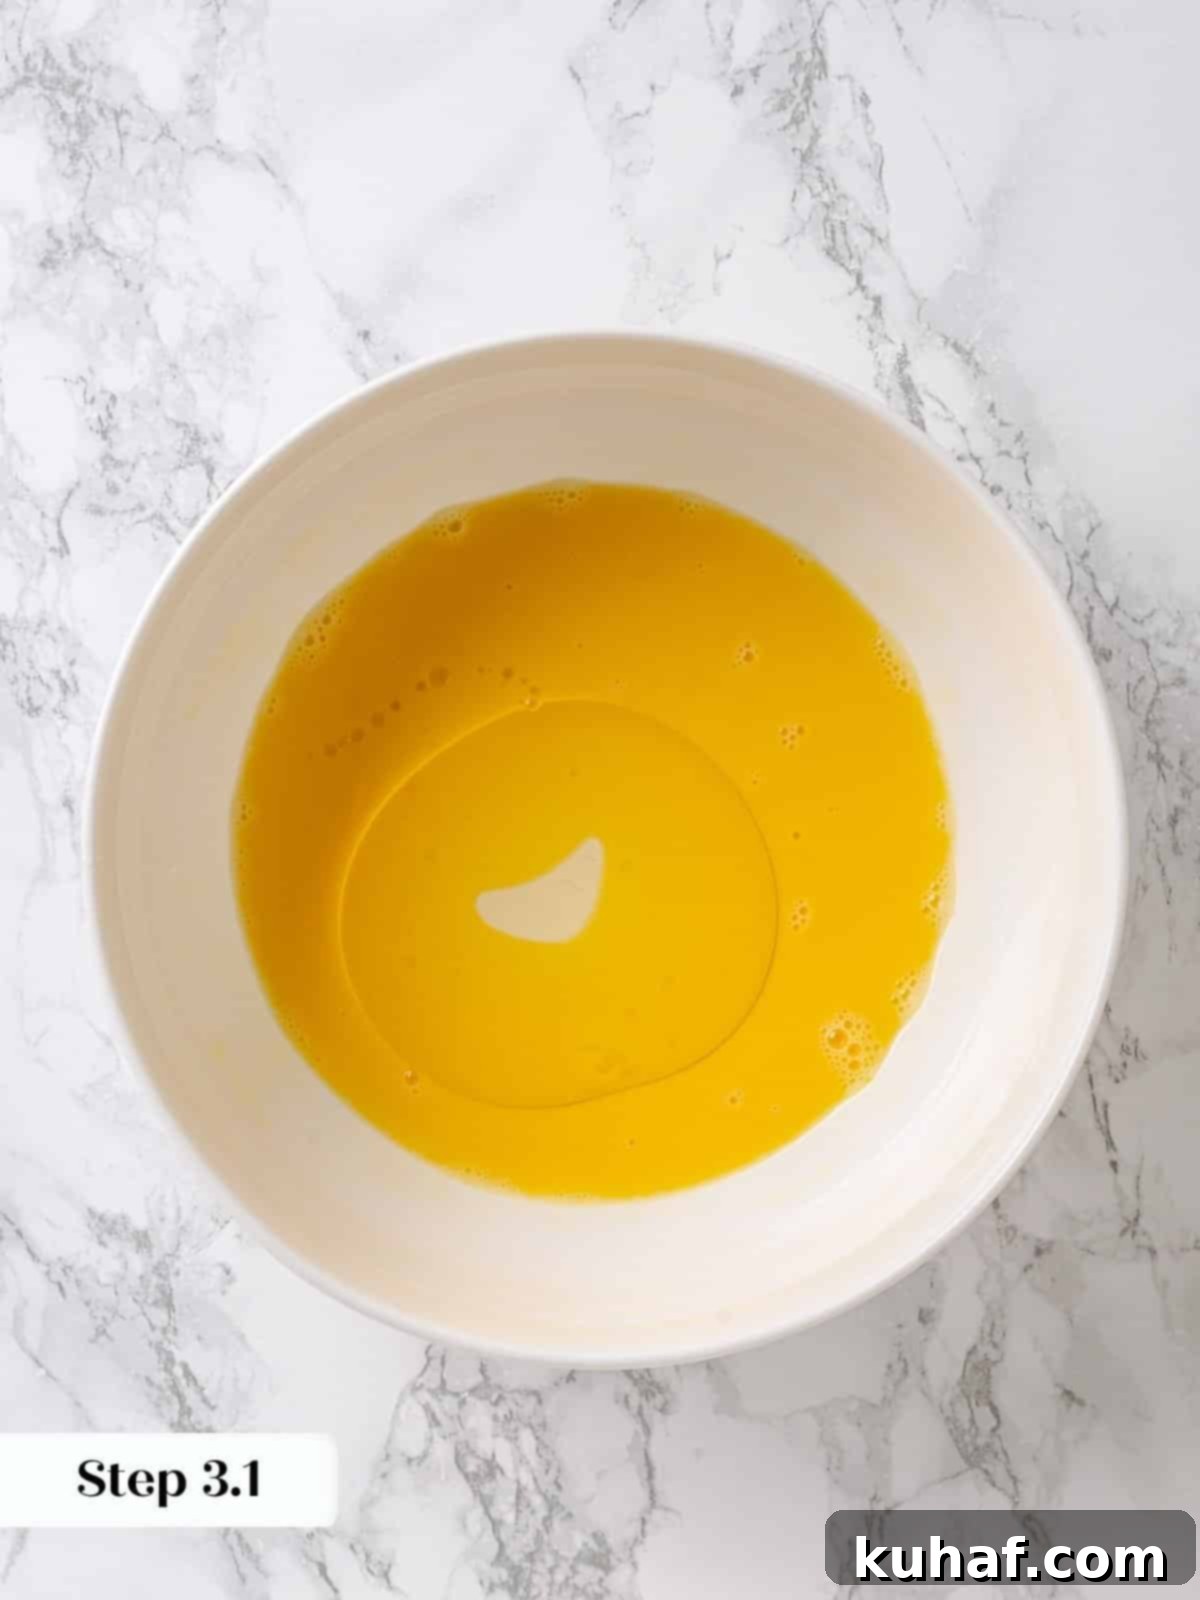
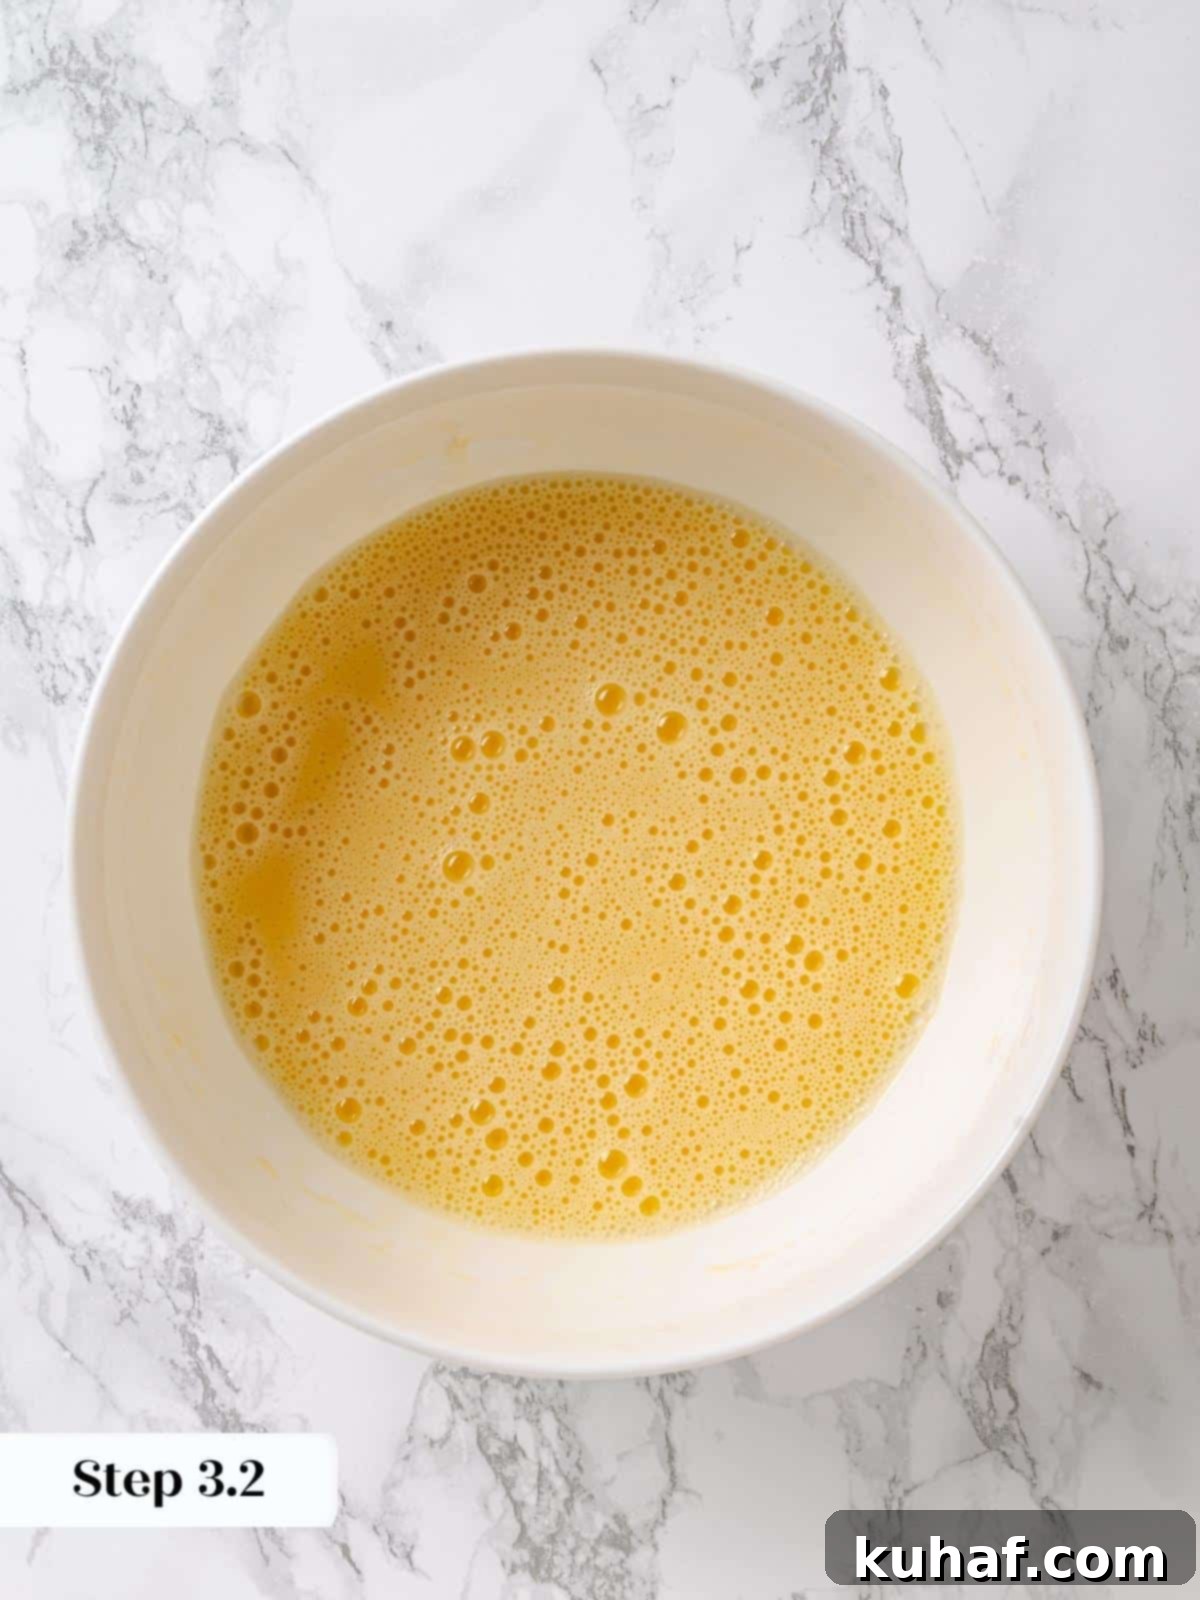
Step 3: Emulsify Eggs and Oil. In a separate, larger bowl, whisk the large eggs until they are smooth and homogenous. Gradually and slowly pour the vegetable oil into the whisked eggs while continuously whisking. This creates a stable emulsion, which is key to a moist, non-greasy cake (photos 2 & 3).
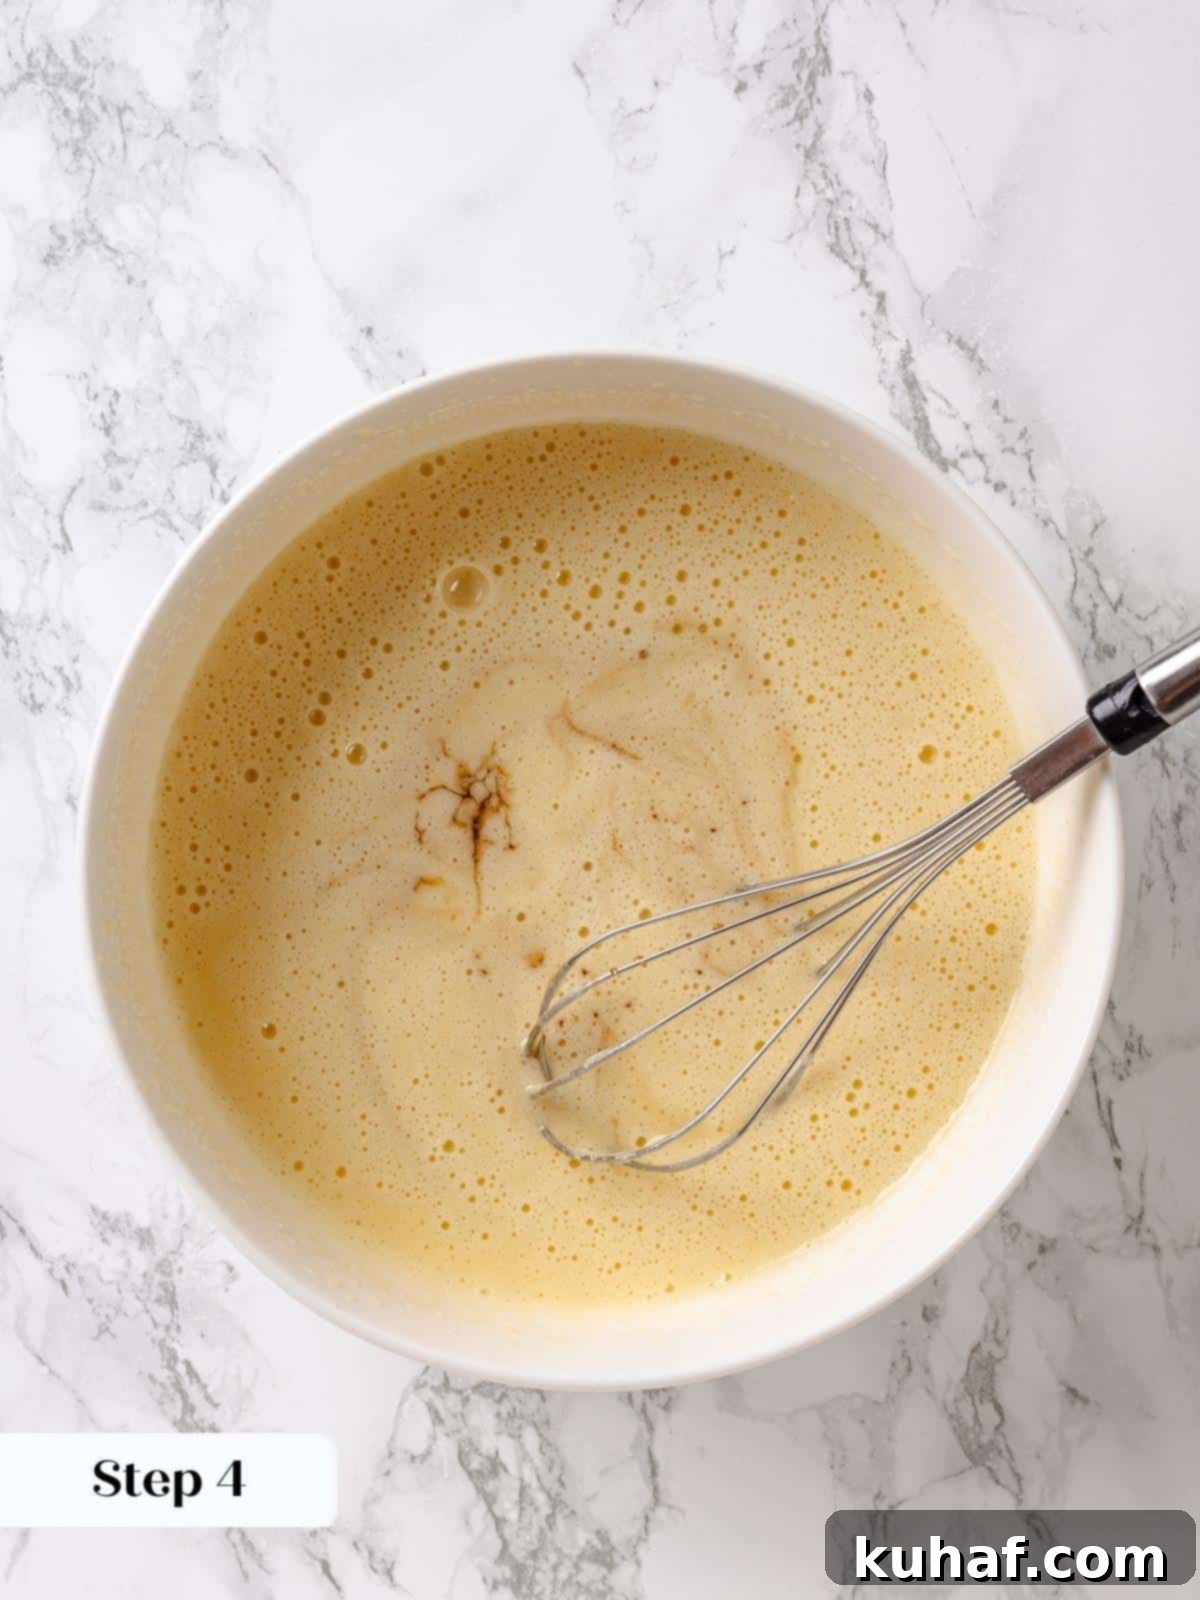
Step 4: Incorporate Sugars and Maple. Add the granulated sugar and the optional maple extract to the emulsified mixture, whisking until smooth and fully incorporated. Next, whisk in the pure maple syrup, ensuring it’s completely blended into the wet ingredients (photo 4). This wet mixture forms the flavor base of your cake.
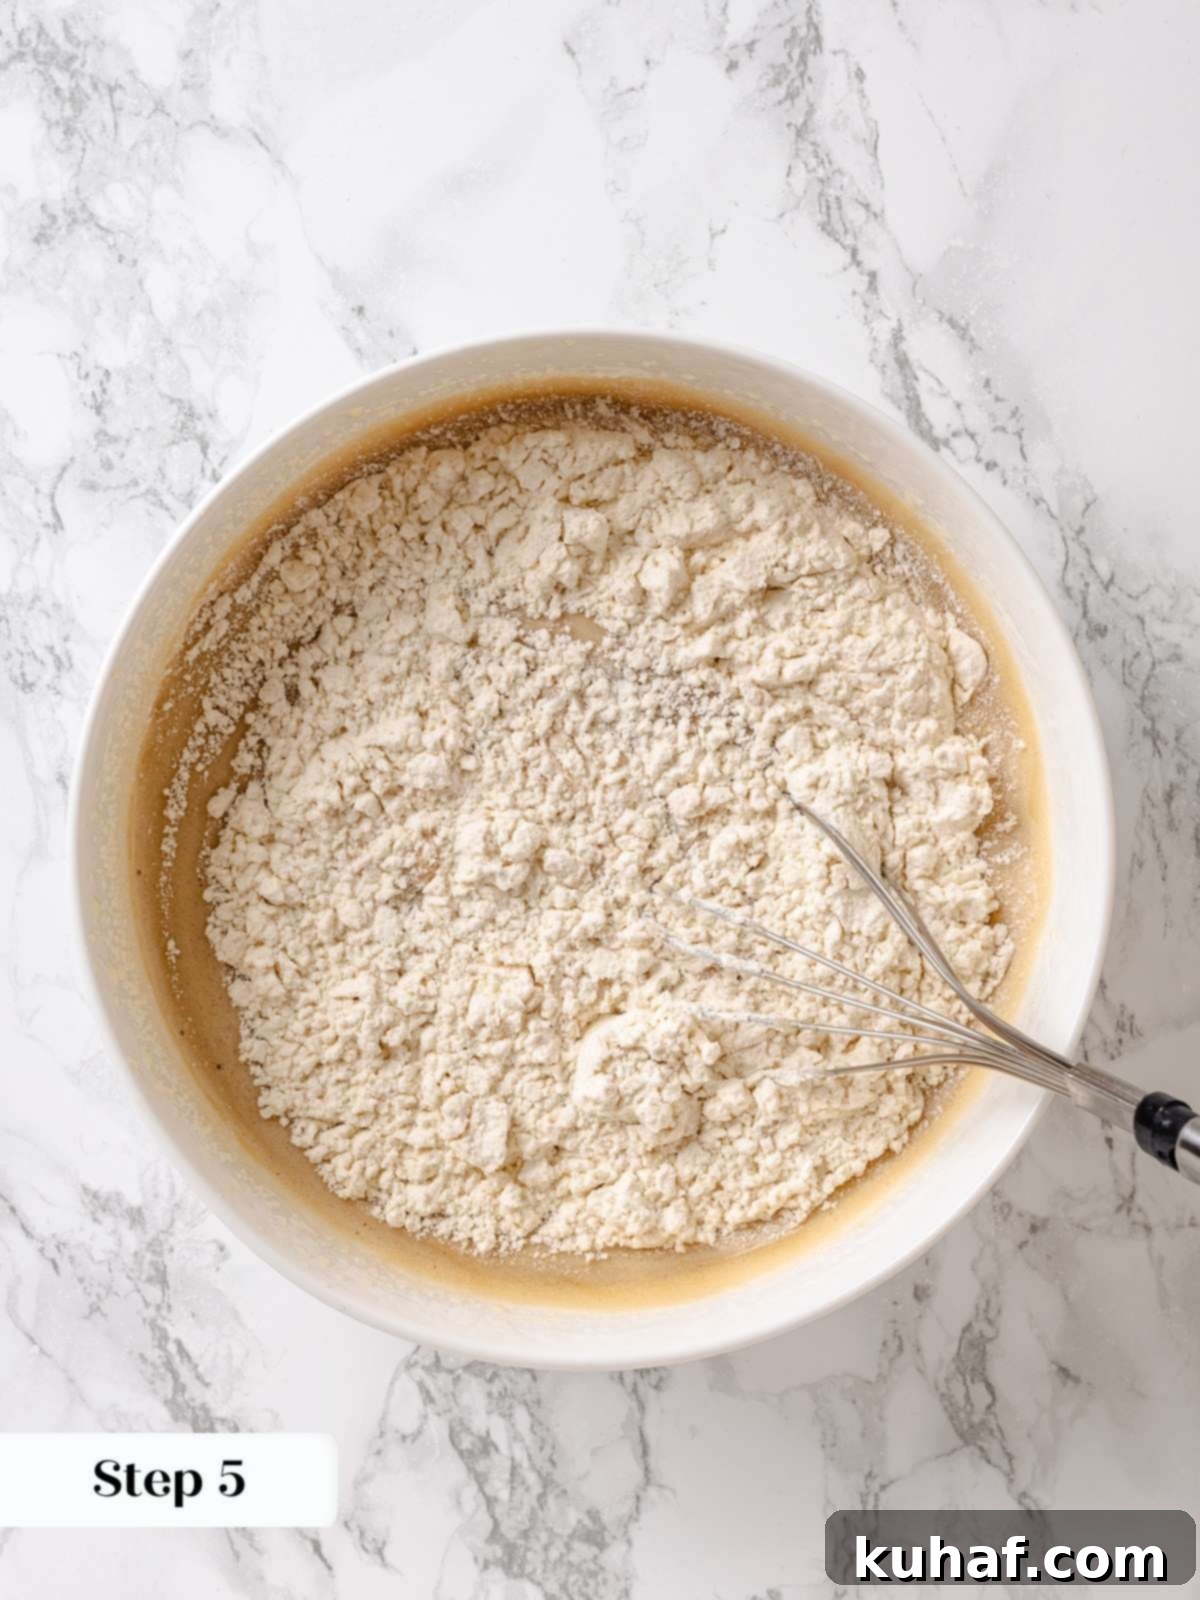
Step 5: Alternate Dry and Wet Additions. Now, it’s time to incorporate your dry and wet ingredients. Alternately add the prepared flour mixture and the milk in three additions. I recommend adding about one-third of the flour and one-third of the milk simultaneously, then whisking gently until no lumps remain. Repeat this process with the remaining dry ingredients and milk until a smooth batter forms (photo 5). Be careful not to overmix!
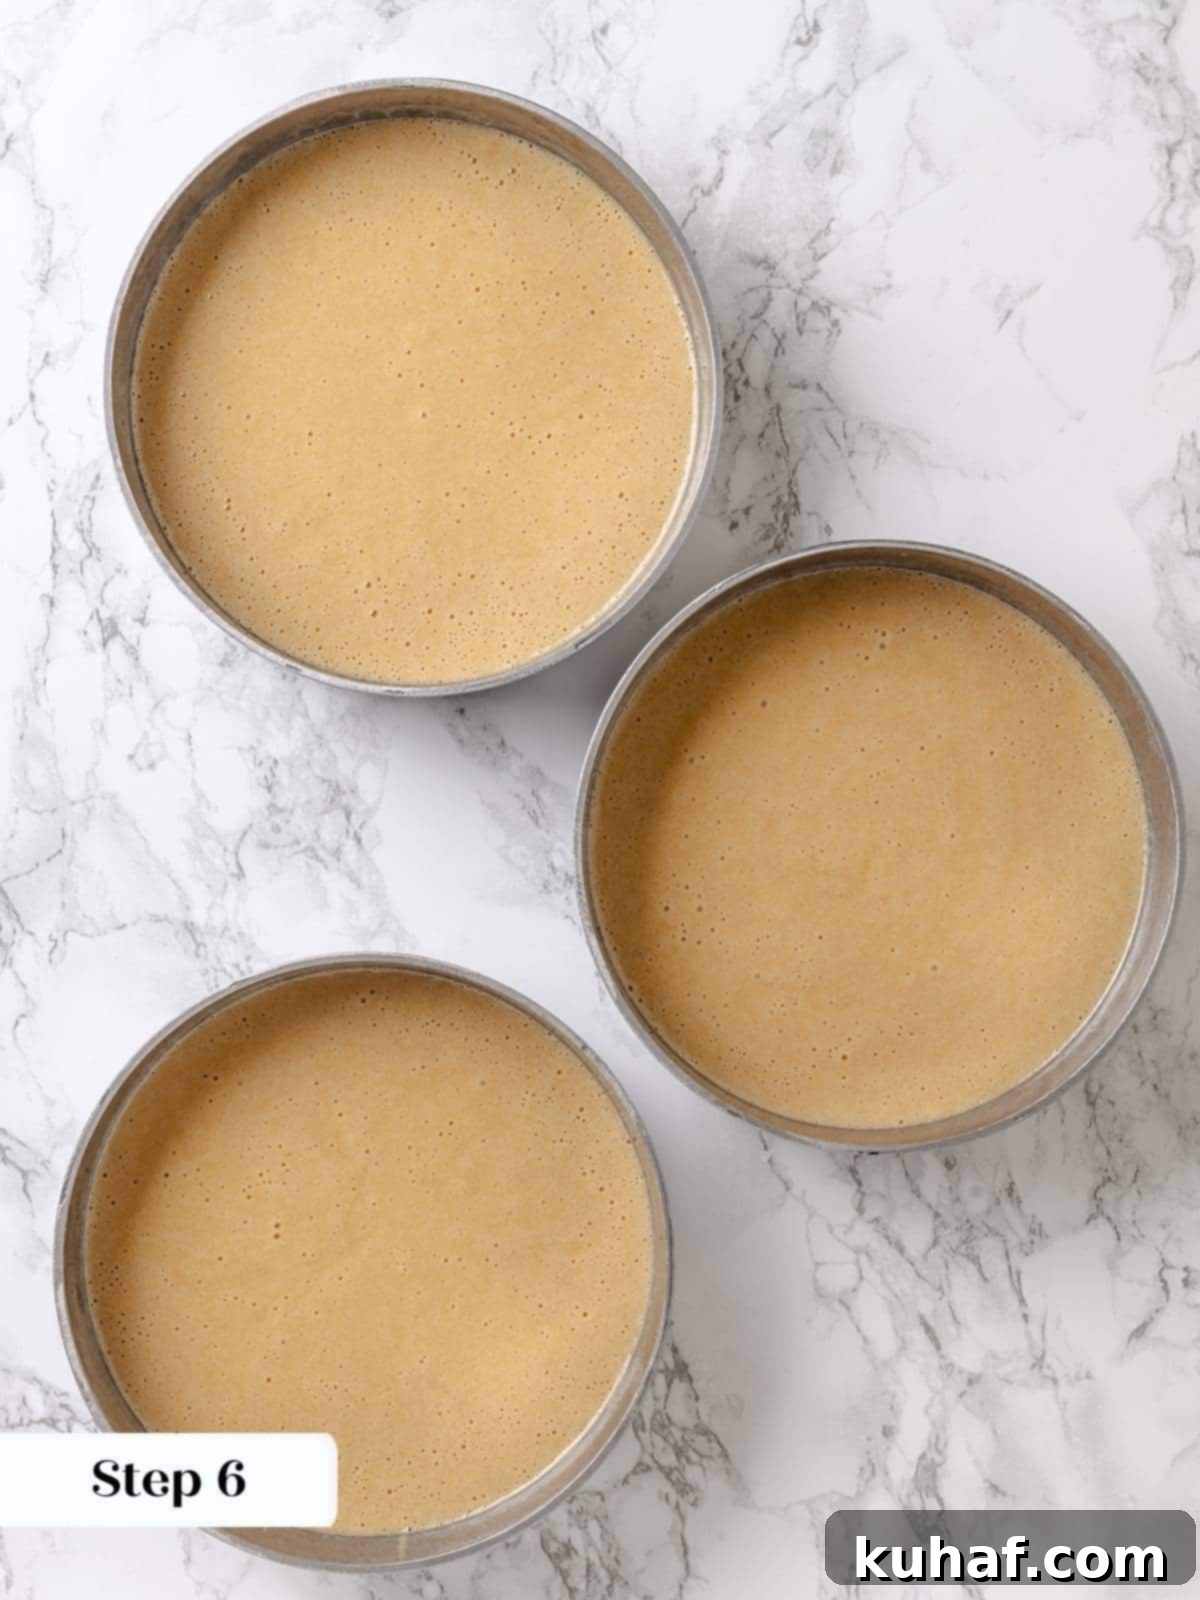
Step 6: Fill Pans and Bake. Evenly divide the maple cake batter between your prepared cake pans. For precise layers, you can weigh the batter in each pan. Place the pans into your preheated oven (photo 6).
Pro Tip: For two even layers using 8-inch or 9-inch pans, aim for approximately 850g of batter per pan. In my tests, baking two 850g layers at 325°F convection took about 37 minutes.
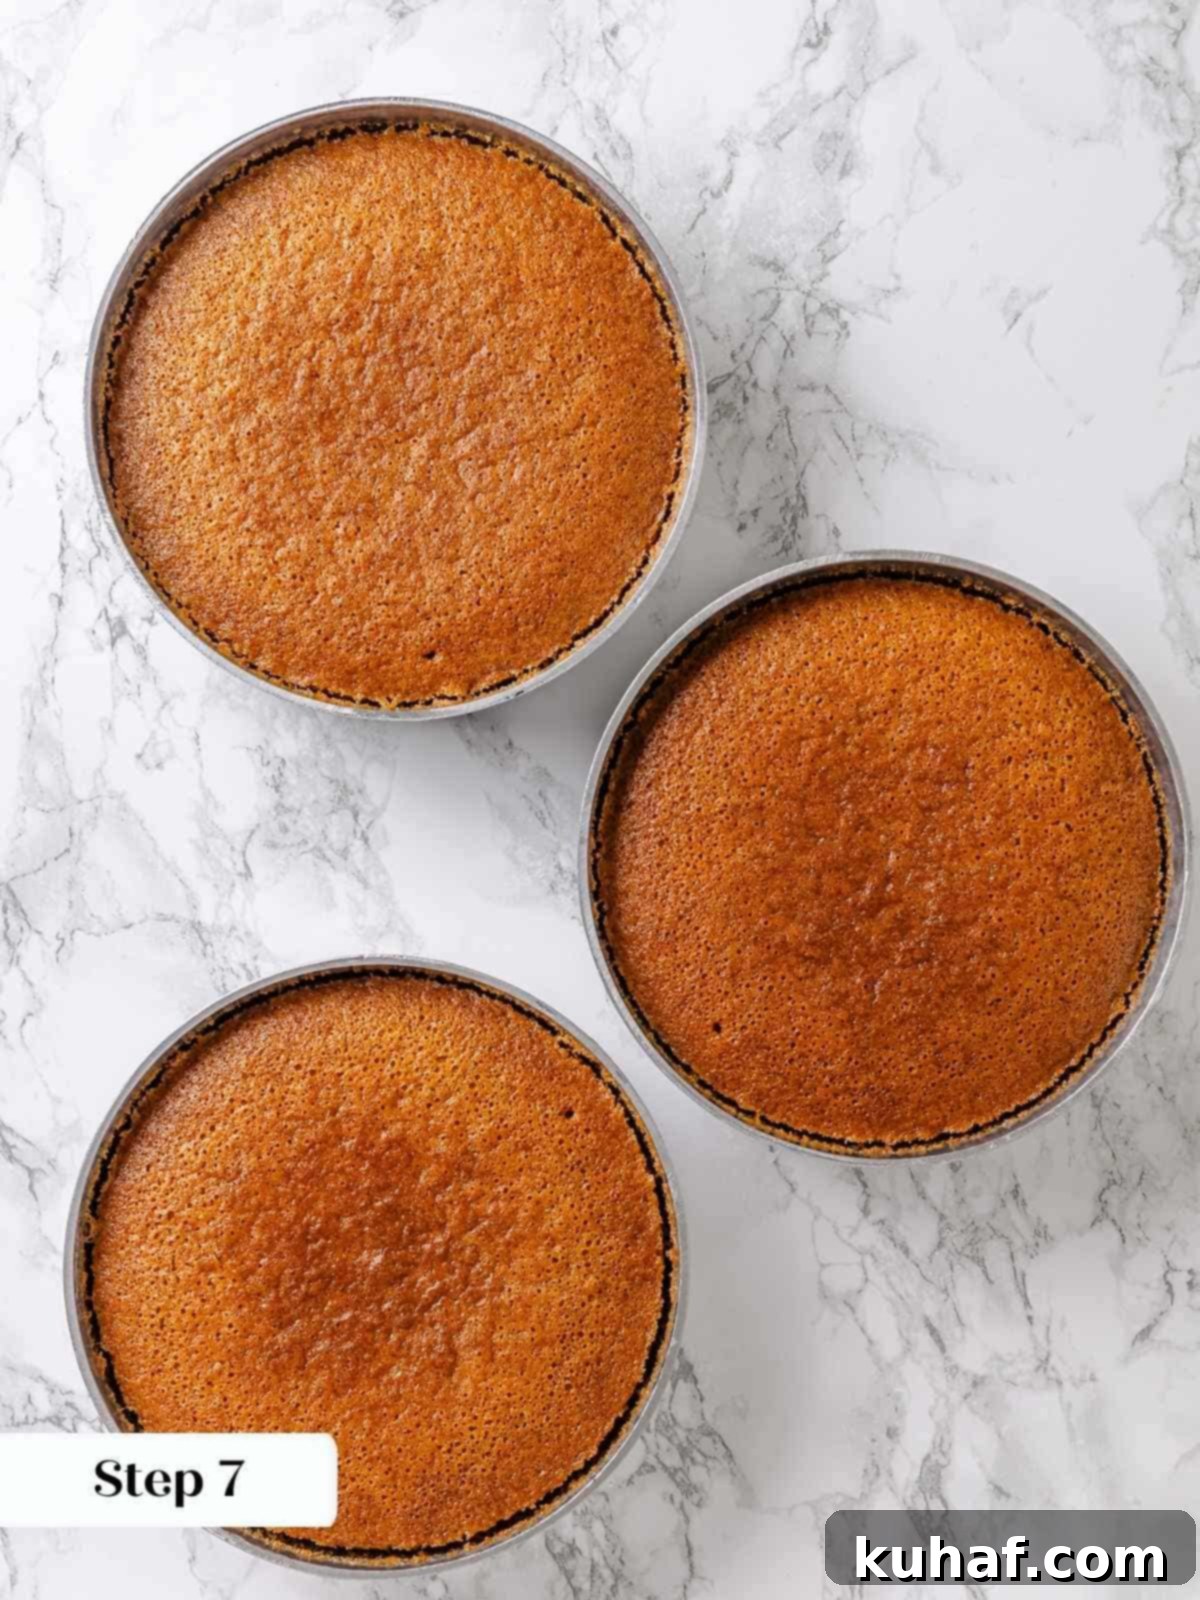
Step 7: Check for Doneness. Bake until a cake tester or wooden skewer inserted into the center of a cake layer comes out clean, or with just a few moist crumbs clinging to it. The tops of the cakes will turn a lovely golden brown, appearing slightly darker around the edges (photo 7).
Step 8: Cool Your Cake Layers. Allow the cakes to cool in their pans for about 10 minutes. This helps them firm up slightly before handling. Then, gently loosen the sides by running a thin paring knife or small offset spatula around the edges. Invert the cakes onto a wire rack, carefully remove the parchment paper from the bottoms, and allow them to cool completely to room temperature before applying any frosting. Rushing this step can lead to melted frosting and a messy cake.
Part 2: Crafting the Silky Maple Ermine Frosting
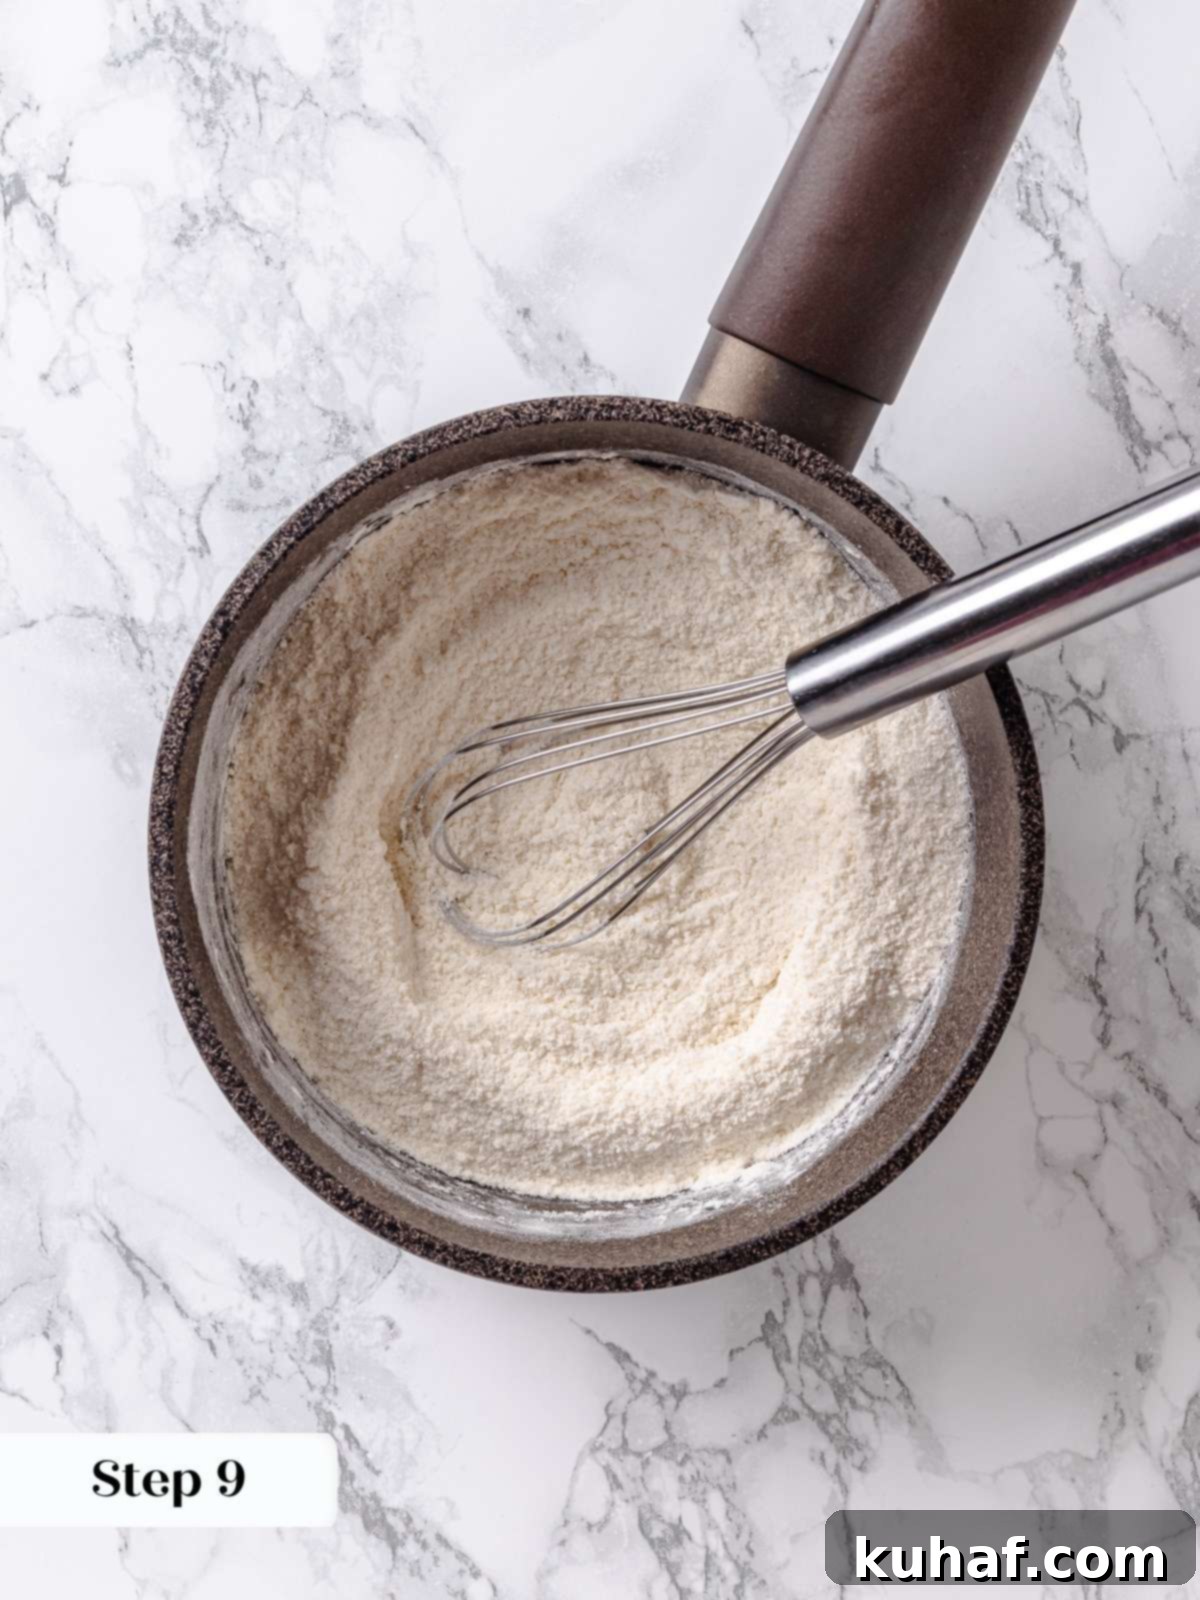
Step 9: Combine Frosting Base Dry Ingredients. In a large, heavy-bottomed saucepan, combine the flour, granulated sugar, and salt. Whisk them together thoroughly to ensure there are no lumps (photo 8).
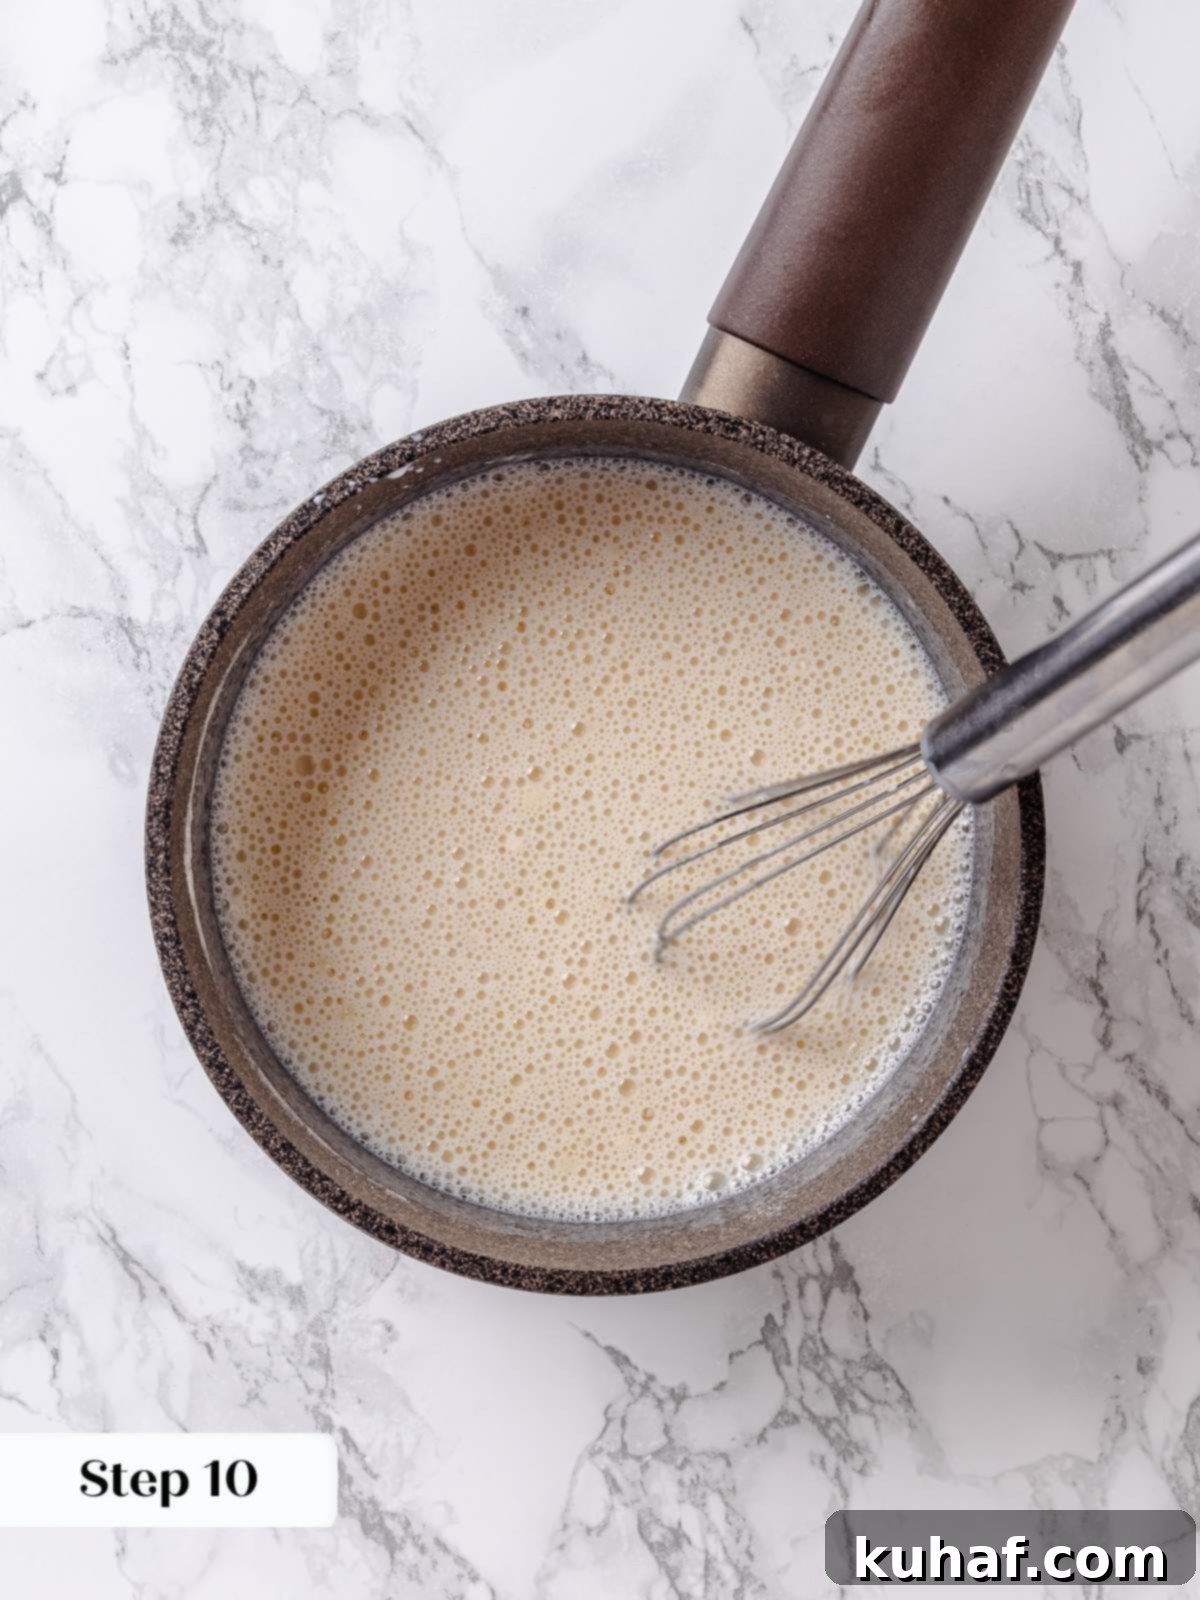
Step 10: Gradually Whisk in Milk. Slowly begin to whisk in the whole milk, adding just a small amount at a time. Ensure each addition is fully incorporated before adding more milk. This gradual method is crucial for preventing lumps and achieving a perfectly smooth base, much like when you’re making a silky homemade vanilla pudding (photo 9).
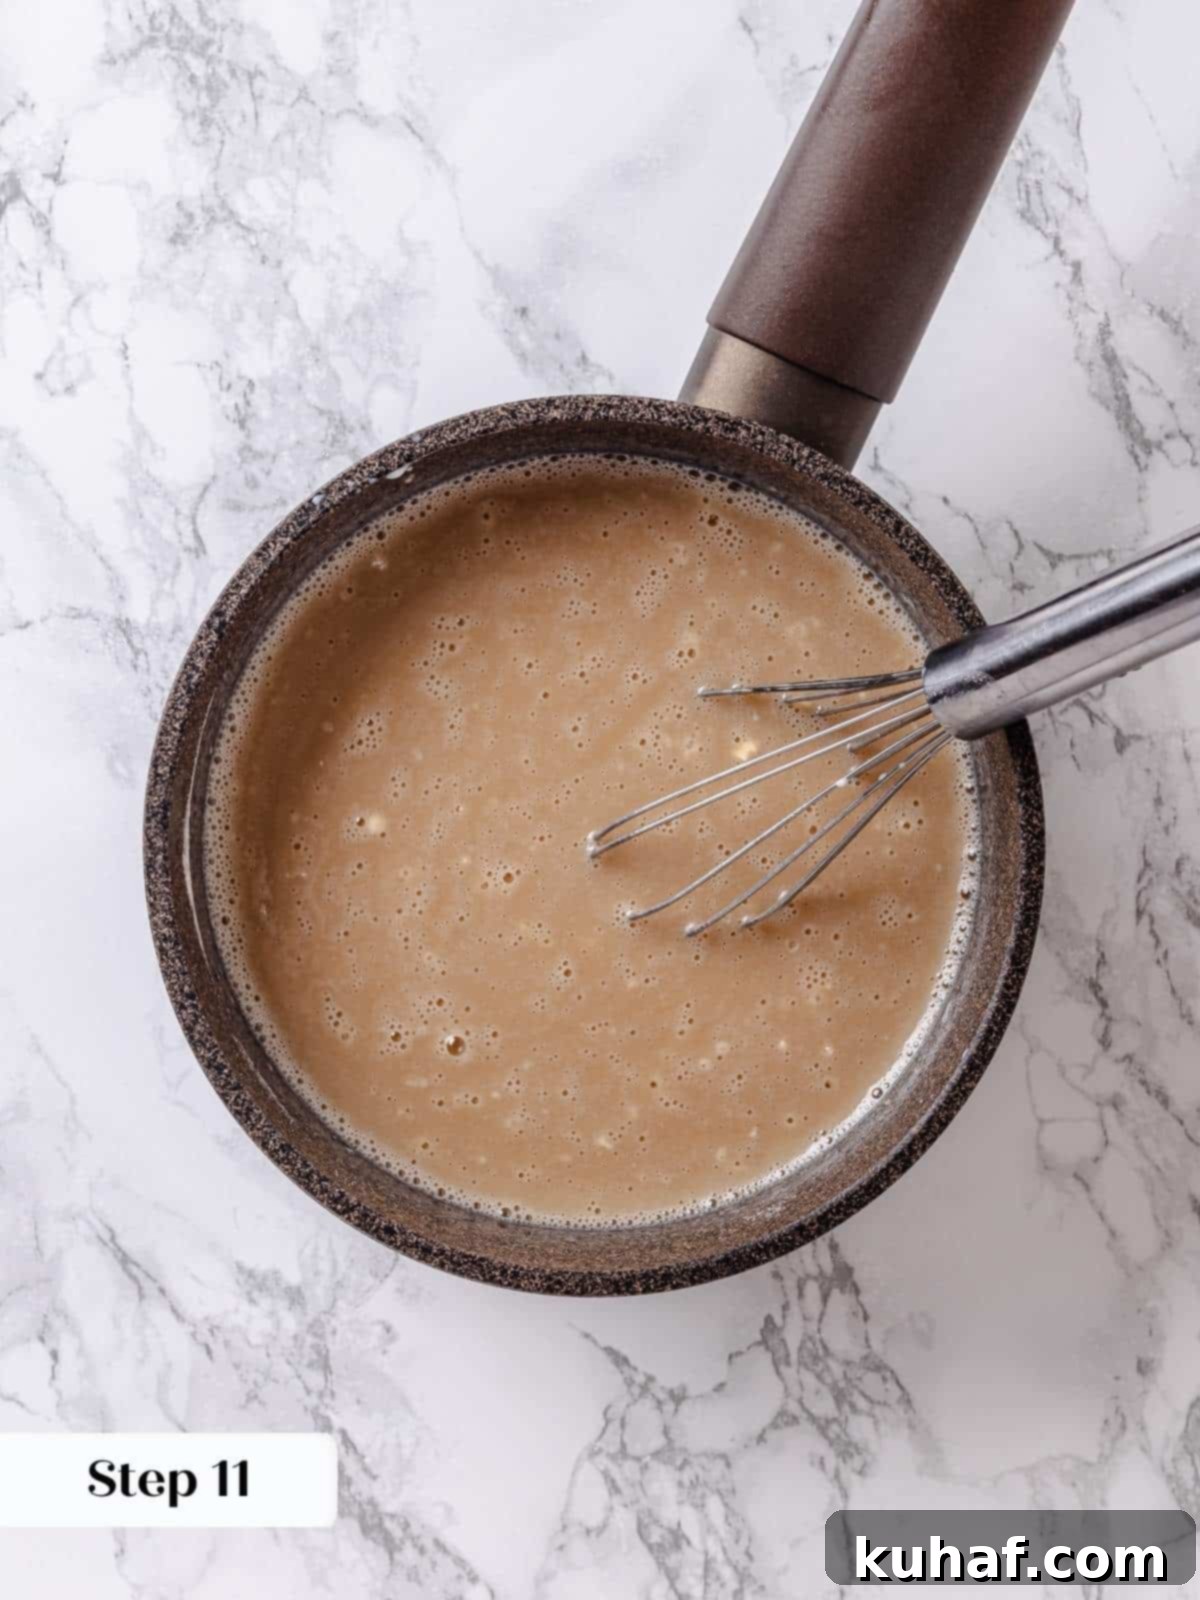
Step 11: Add Maple Syrup & Cook. Once the milk is incorporated, stir in the maple syrup. Switch from a whisk to a heat-resistant silicone spatula. Cook the mixture constantly over medium heat, stirring vigilantly (photo 10).
Chef’s Technique: To prevent burning and ensure even cooking, I recommend stirring in a zig-zag pattern across the bottom of the pot, then around the edges. Repeat this continuous motion to scrape the entire bottom surface, similar to techniques used for delicate custards like crème anglaise or easy lemon curd.
Step 12: Achieve Optimal Thickness. Continue cooking and stirring until the flour mixture has thickened significantly. It should no longer pour in a thin stream but rather drop off your spoon in thick clumps. This process can take around 20-25 minutes, depending on your heat and pot. Patience here is key!
Important Note: The thickness of this cooked base directly determines the final consistency and stability of your frosting. A thicker, well-cooked base will yield a pipeable frosting that holds beautiful lines and intricate details, even in warm and humid conditions.
Step 13: Cool the Frosting Base. Remove the thickened flour mixture from the heat and immediately scrape it into a clean, large bowl using your spatula. Cover the surface directly with plastic wrap to prevent a skin from forming as it cools. Allow it to cool completely to room temperature until it is no longer warm to the touch. To expedite cooling, you can place the bowl in the refrigerator, stirring every 20 minutes until it reaches body temperature (photo 11).
Step 14: Whip the Butter. In the bowl of a stand mixer fitted with the whisk attachment, beat the room-temperature unsalted butter on medium-high speed. Continue to beat until the butter becomes incredibly light, fluffy, and almost white in color, indicating it’s well aerated.
Step 15: Gradually Add Cooled Base. With the mixer still running on medium speed, add the cooled maple flour mixture one spoonful at a time. Allow each spoonful to beat in thoroughly and fully incorporate before adding the next. Periodically stop the mixer to scrape down the sides of the bowl with a spatula, ensuring everything is evenly mixed (photo 12).
Step 16: Scrape and Re-Whip. After incorporating all of the flour mixture, stop the mixer one last time. Scrape down the sides and bottom of the bowl thoroughly to catch any unmixed ingredients. This ensures a homogenous, smooth frosting.
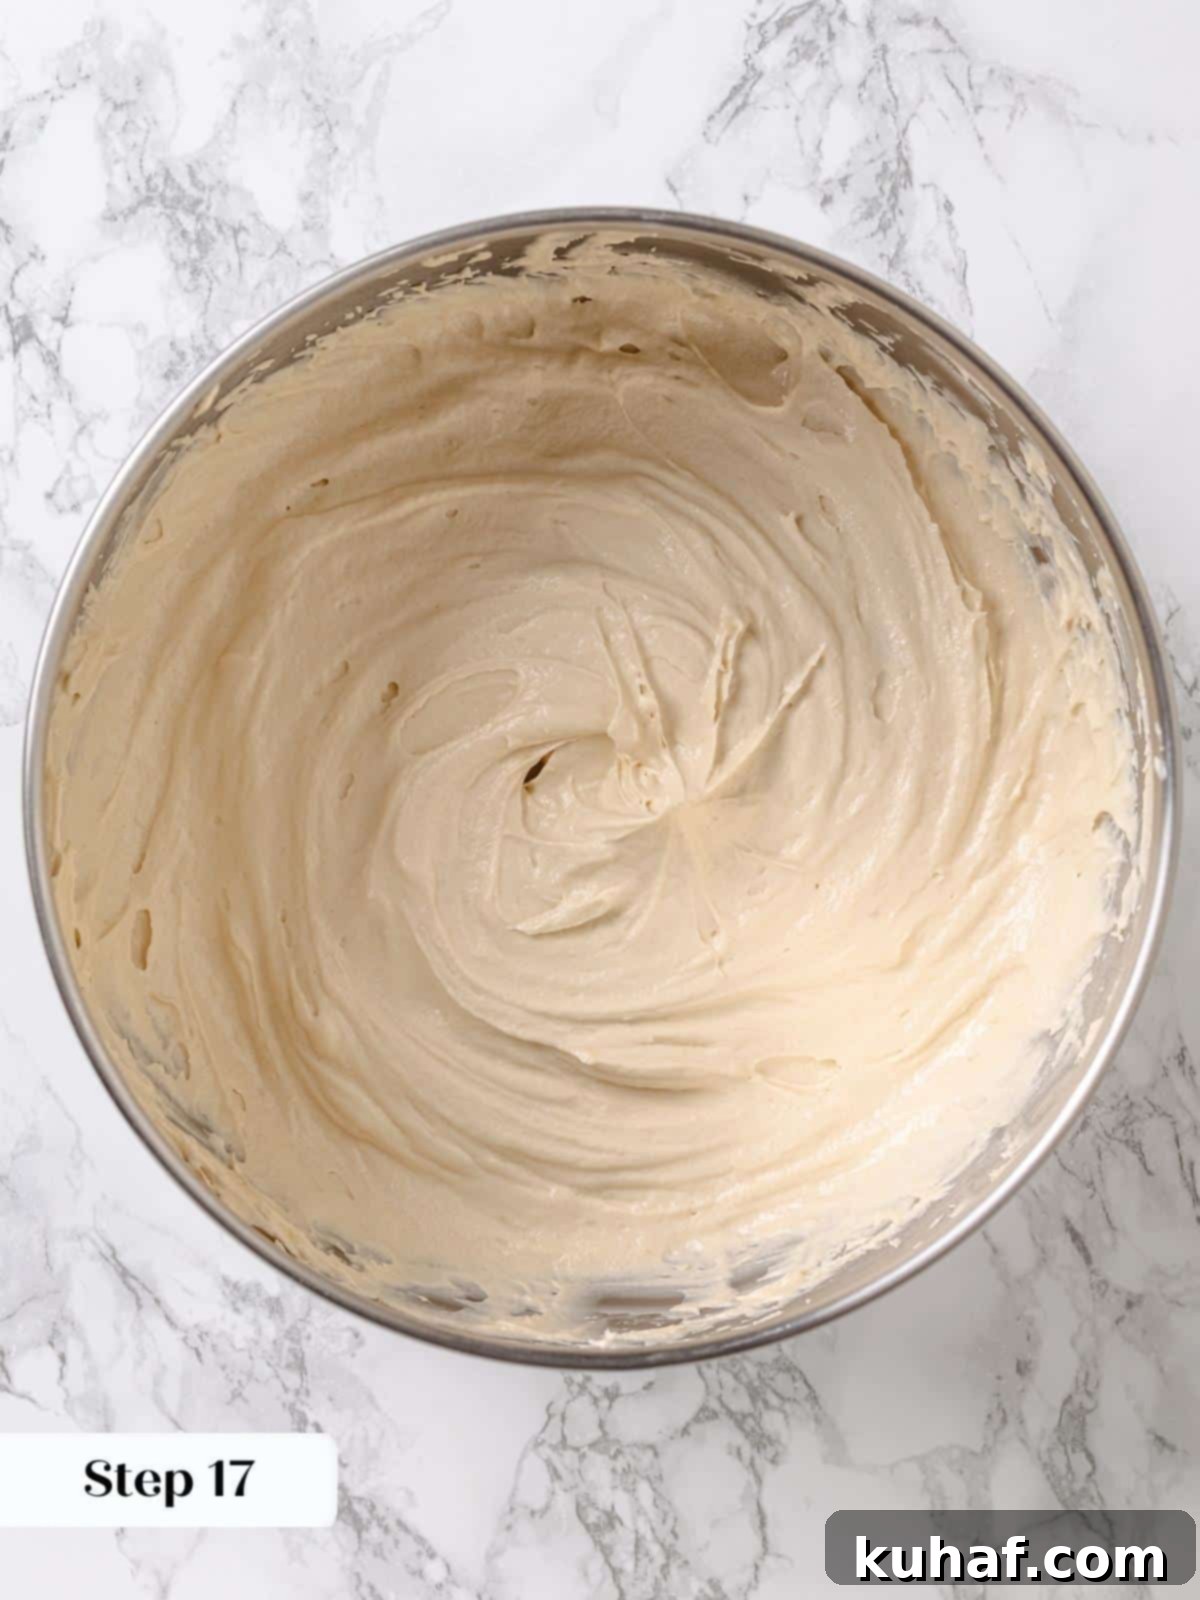
Step 17: Beat to Stiff Peaks. Add the vanilla extract to the frosting. Continue to mix on high speed until the frosting is light, fluffy, and holds stiff peaks. It should be able to stand up to piping without deflating (photo 13).
Part 3: Assembling Your Elegant Maple Cake
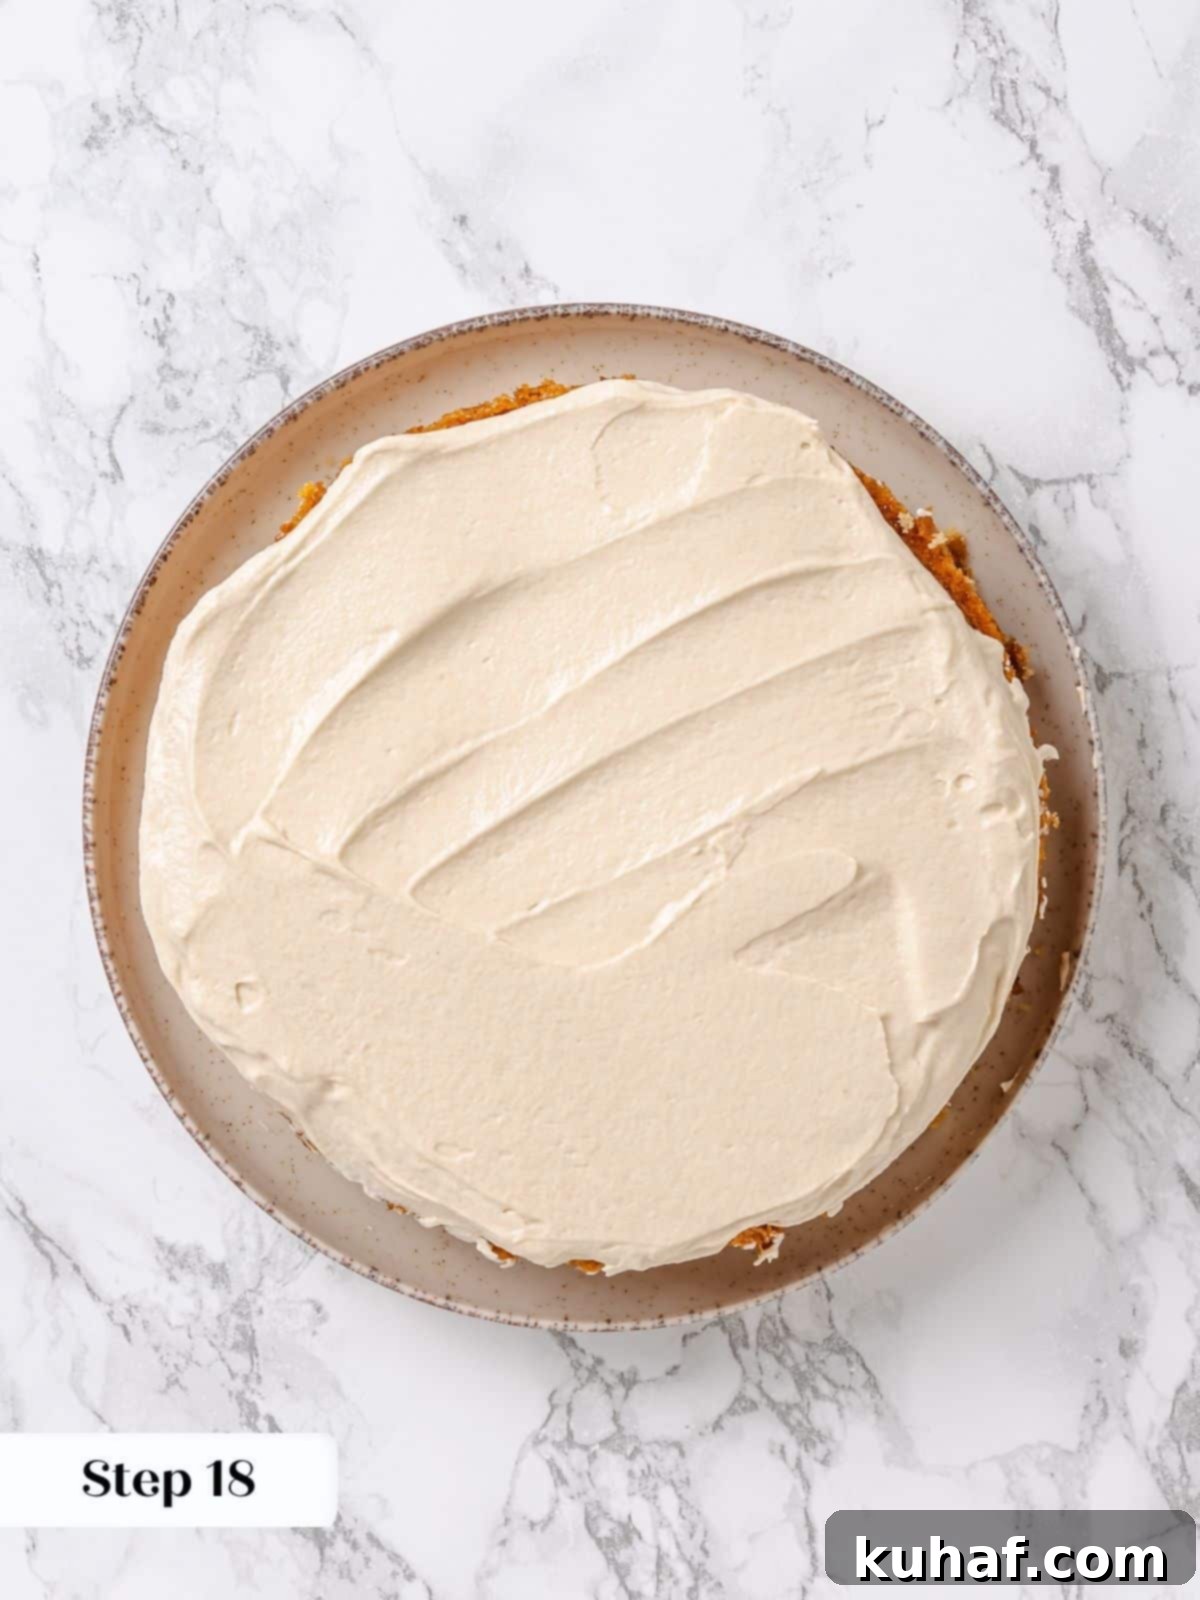
Step 18: First Layer & Crumb Coat. Once your cake layers are completely cooled, place one layer onto your chosen cake stand, plate, or platter. Dollop about one-third of the maple frosting onto the top of this layer and spread it out evenly, allowing some to spill over the edges. Use the frosting that has spilled over to lightly coat the sides of the cake – this thin layer is your “crumb coat” and will trap any loose crumbs, ensuring a smooth final finish (photo 14).
Pro Tip for Stability: For the most professional-looking finish, especially if you’re aiming for crisp edges, refrigerate the crumb-coated cake for 30 minutes to an hour. This allows the buttercream to set, providing a firmer foundation that prevents the weight of subsequent layers from squishing out the soft frosting. If you’re short on time or patience, you can certainly proceed without chilling, but be gentle!
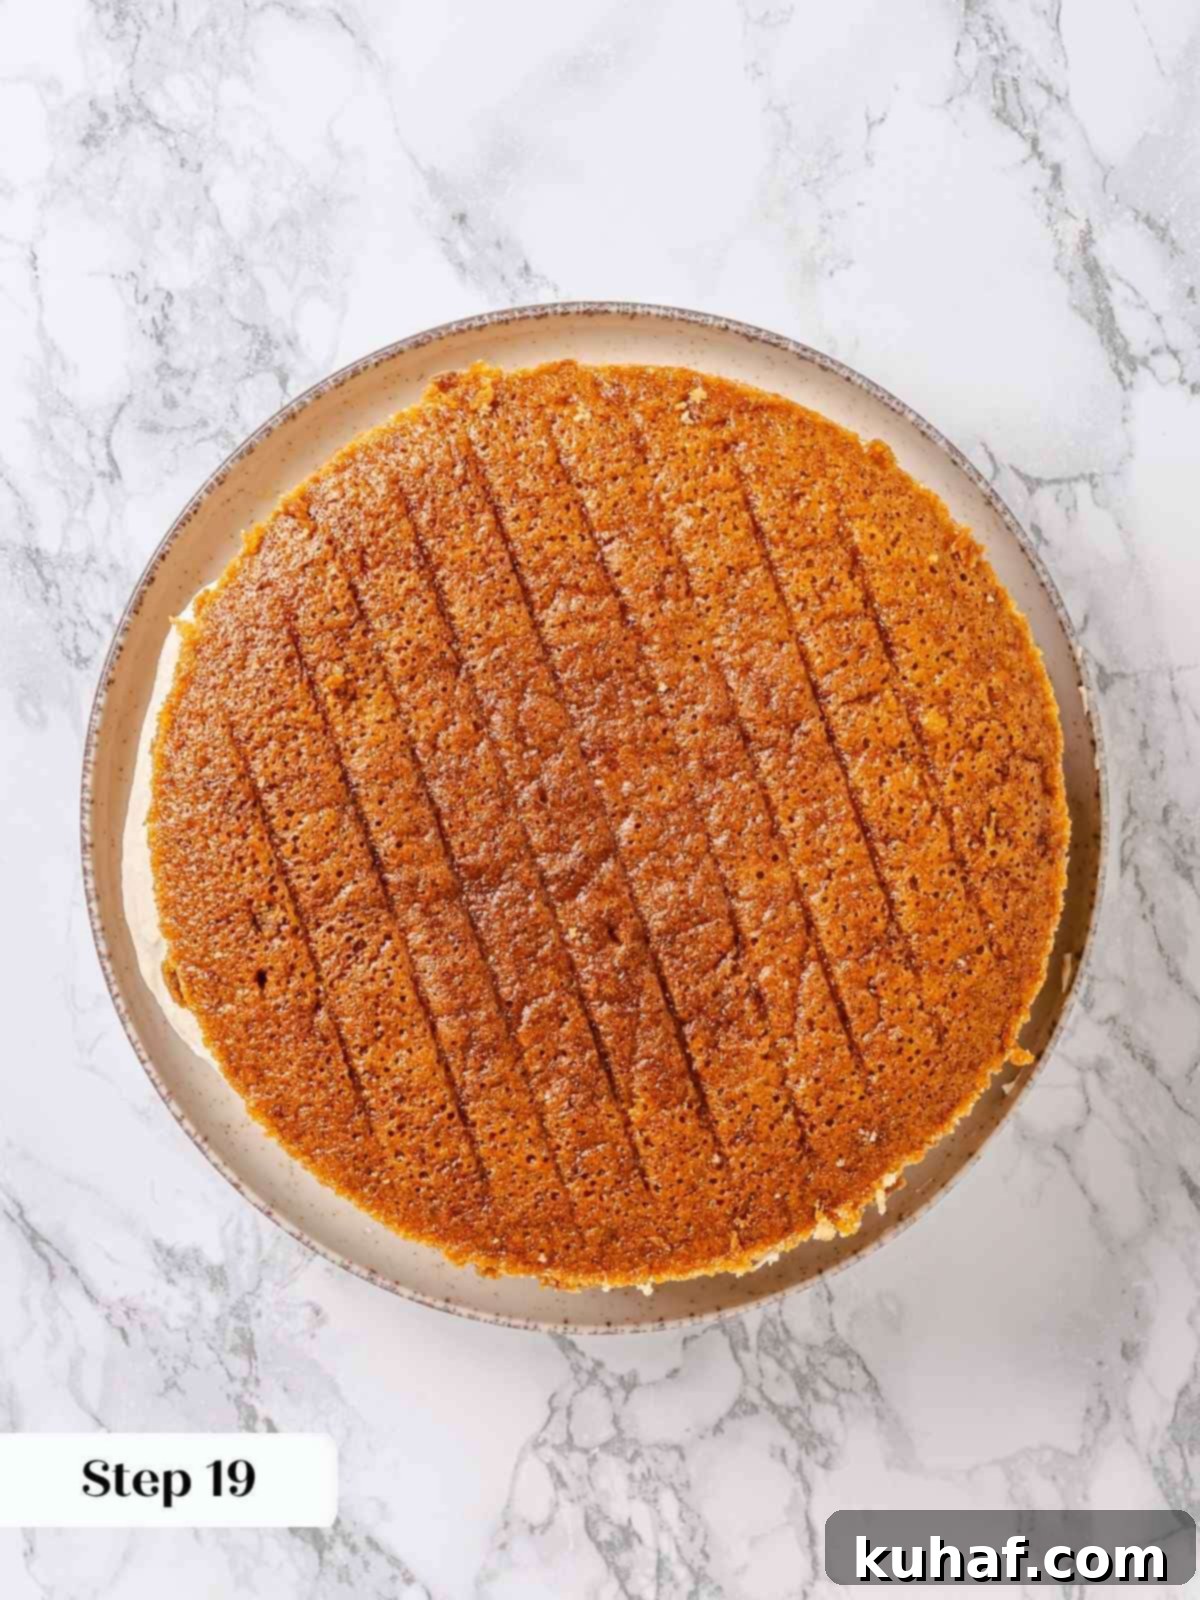
Step 19: Add Second Layer and Crumb Coat. Carefully place the second cake layer directly on top of the frosted first layer (photo 15). Repeat the process with another one-third of the maple frosting, covering the top and applying another light crumb coat to the sides of the cake. If making a three-layer cake, repeat this step for the third layer.
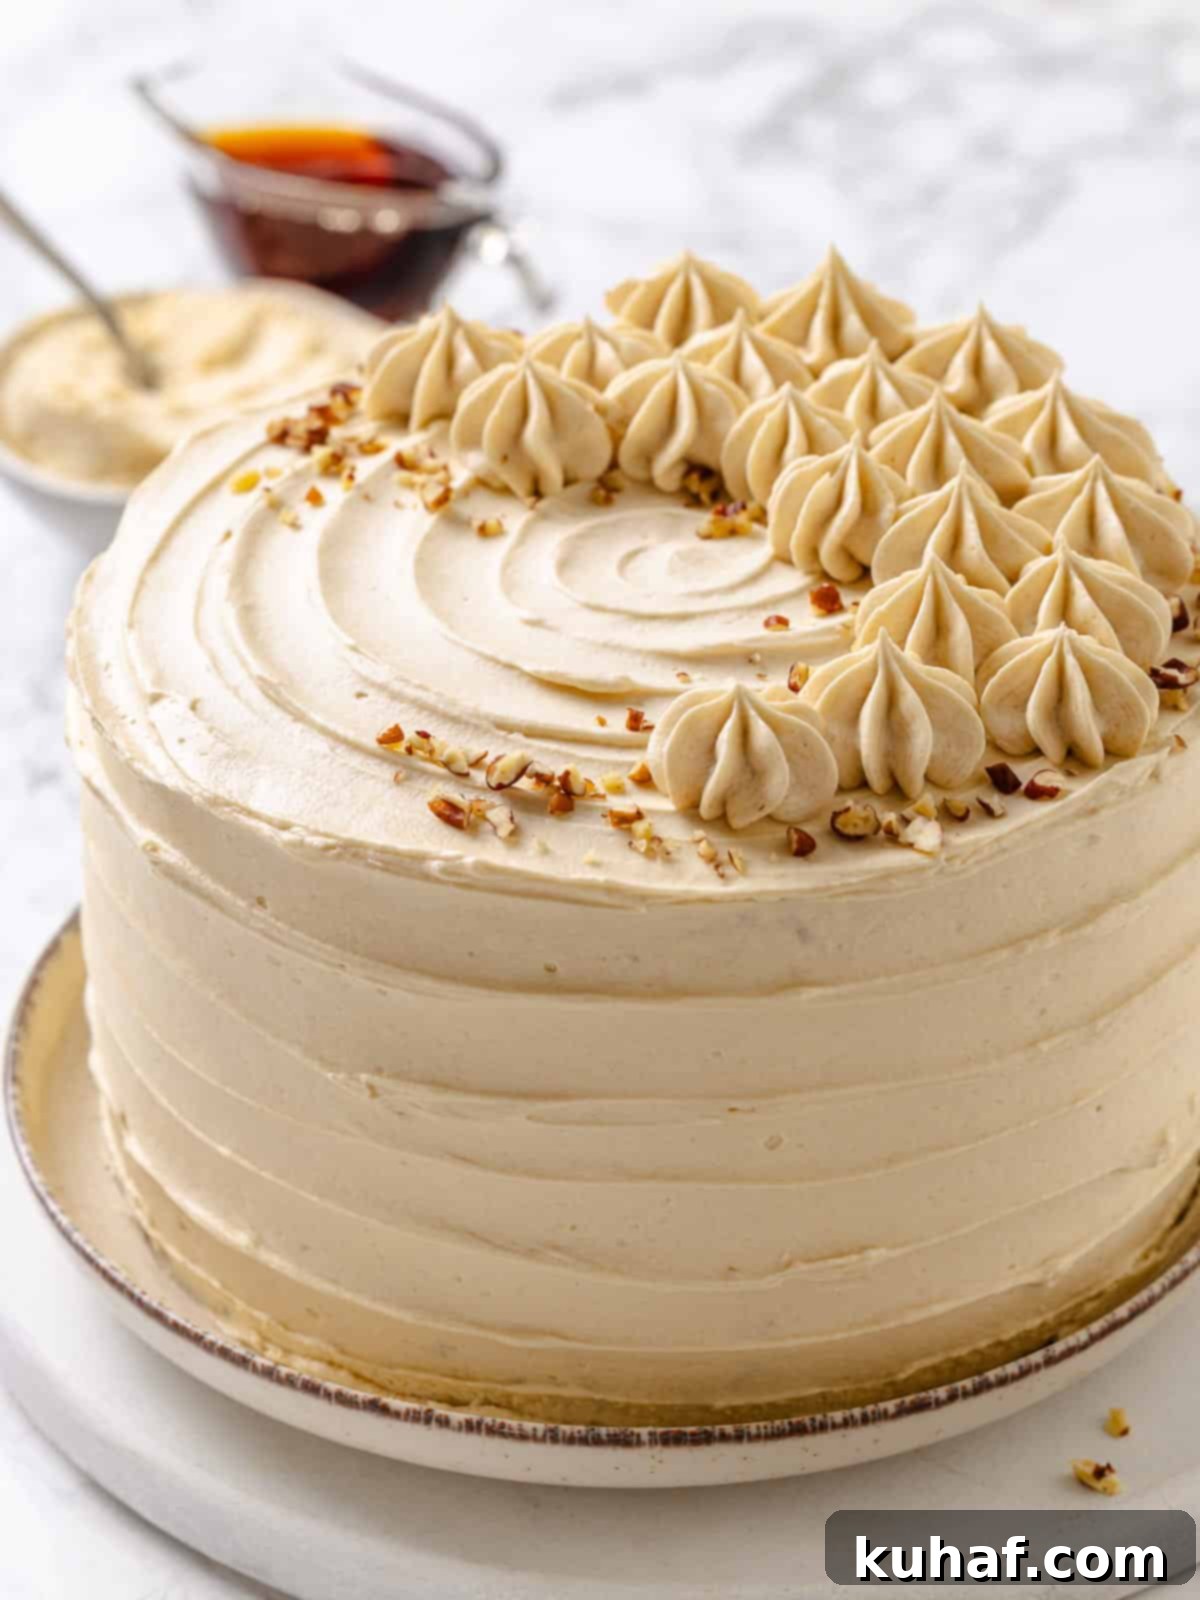
Step 20: Fill Gaps and Final Frost. If there are any visible gaps between your cake layers, you can use a small offset spatula or a piping bag filled with frosting to meticulously fill them in for a seamless appearance. While this step can seem meticulous, it contributes to a polished final product. Finish by applying the remaining frosting to the top and sides of the cake, smoothing it out for a refined look or creating beautiful swirls for a more rustic charm.
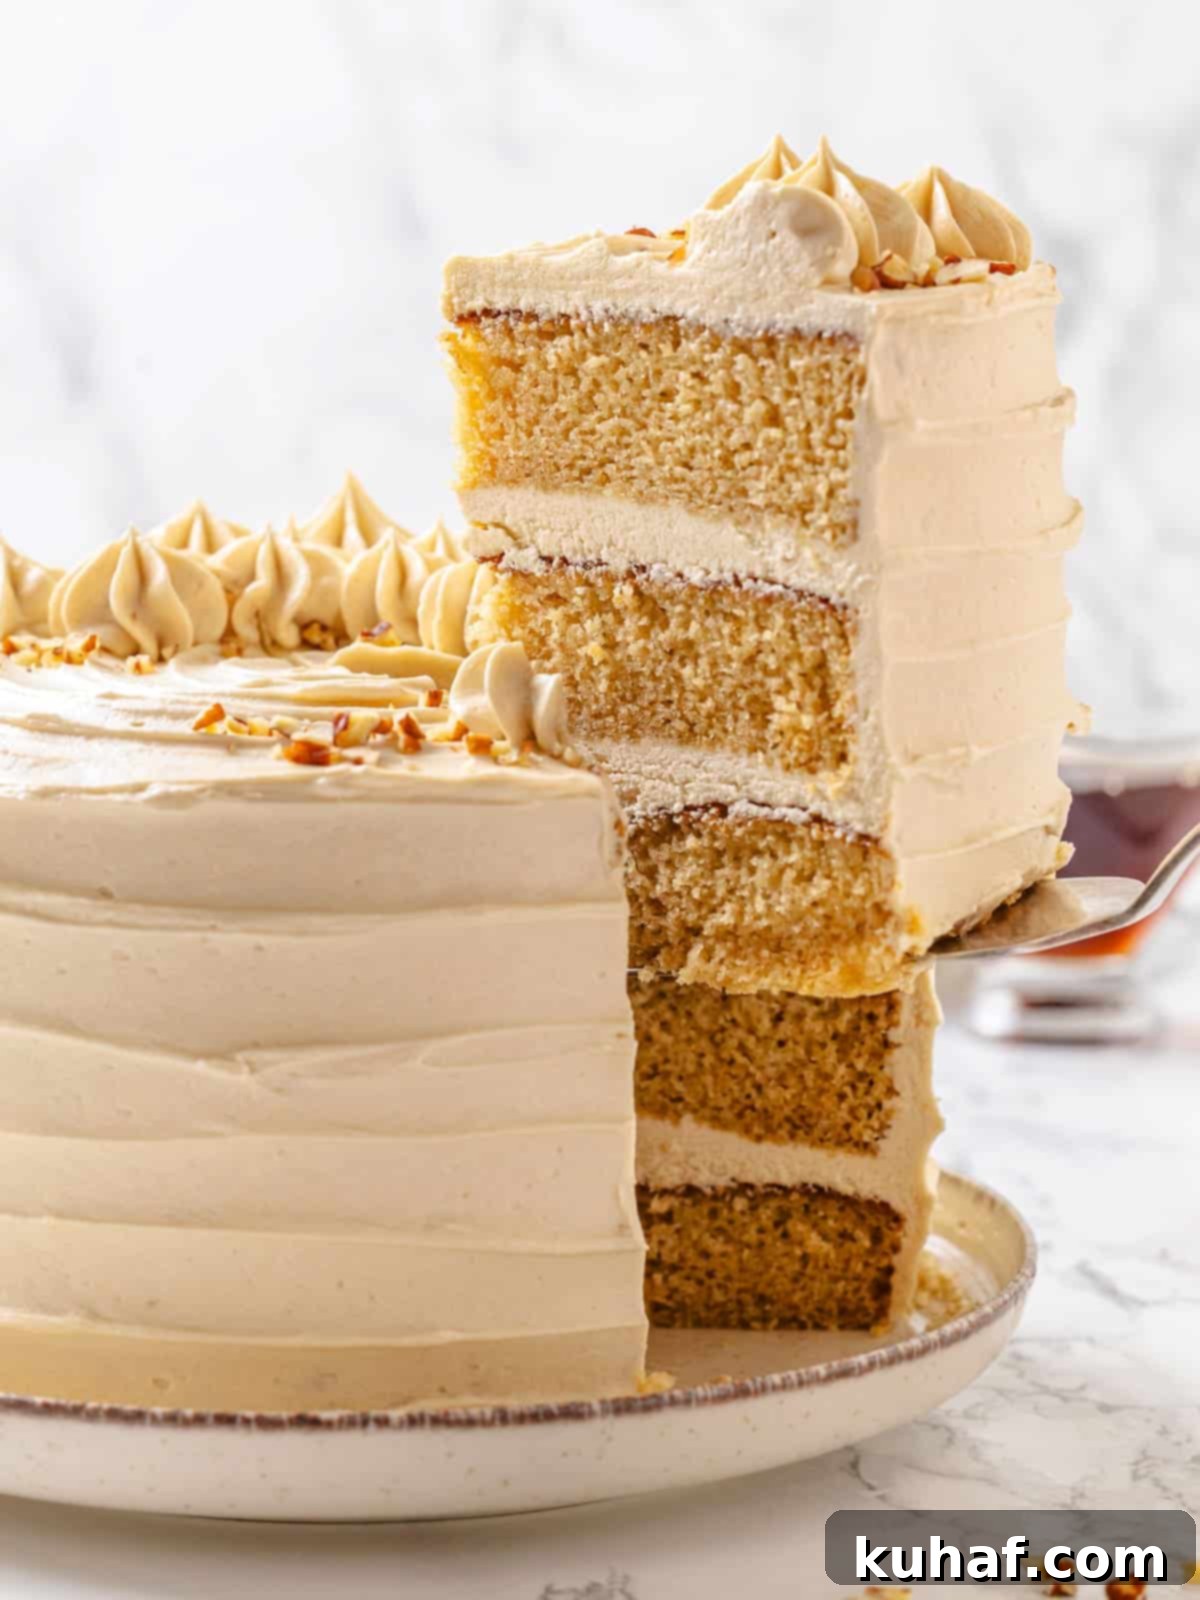
Step 21: Store and Serve with Joy (photo 16). Your magnificent maple cake is now ready! This cake will remain wonderfully moist for up to 4 days at room temperature. For extended freshness, especially after the first day, I recommend wrapping it loosely and storing it in the refrigerator. However, for the absolute best flavor and texture, always allow the cake to come to room temperature for about 30-60 minutes before serving. Enjoy every delightful bite!
Chef Lindsey’s Baking Insights for Reduced Sweetness
I’ve carefully formulated this recipe to minimize the maple syrup in the frosting while preserving its rich, authentic flavor. However, if you prefer an even less sweet frosting, I highly recommend exploring my versatile ermine frosting recipe. You can easily adapt it by substituting a portion of the vanilla extract with high-quality maple extract. This modification allows you to achieve a similarly light and stable frosting with a pronounced maple flavor, but with greater control over the overall sweetness level.
Maple Cake Recipe Frequently Asked Questions (FAQs)
For unfrosted maple cake layers, ensure they are well-wrapped in plastic film and can be stored at room temperature for a day, in the refrigerator for up to a week, or frozen for up to 2-3 months. Any unused maple frosting should be kept in an airtight container in the fridge for up to two weeks. Once the cake is frosted and assembled, it can safely remain at room temperature for up to four days. For longer preservation, store the frosted cake in an airtight container in the refrigerator, bringing slices to room temperature before serving for optimal flavor and texture.
For unparalleled texture and a truly rich, deep flavor in your baked goods, it is absolutely essential to use pure maple syrup designated as “Grade A: dark amber color and robust flavor.” This grade was formerly known as “Grade B,” and it signifies a syrup that has been cooked down longer, resulting in a more concentrated maple essence and a thicker consistency, both of which are highly desirable for baking. Avoid lighter grades, which tend to have a milder flavor, and steer clear of artificial syrups that lack the complex natural taste.
A runny maple frosting is typically due to one of two main reasons. Firstly, the most common culprit is not cooking the flour base long enough. The flour mixture must thicken significantly and hold its shape to provide the necessary structure for the frosting. Secondly, if the butter you use is too warm or has melted, the frosting won’t have sufficient structure to hold its whipped, pipeable shape. Always ensure your cooked flour base is completely cooled and your butter is at a firm but pliable room temperature for optimal results.
Yes, you can adapt the cake portion of this recipe to be gluten-free by substituting the all-purpose flour with a high-quality gluten-free all-purpose baking blend, such as King Arthur’s Measure for Measure or Cup4Cup, on a 1:1 basis. However, as noted in the ingredients section, using gluten-free flour in the ermine frosting base can sometimes result in a slightly grainy texture. For a completely smooth gluten-free frosting, consider making a Swiss meringue buttercream and flavoring it with maple extract instead.
For a delightful textural contrast and complementary flavor, toasted pecans, walnuts, or hazelnuts are excellent choices to incorporate into your maple cake. Toasting the nuts before adding them will enhance their flavor significantly. You can gently fold them into the batter before baking or use them as a decorative topping, perhaps even candied, for an extra special touch.
More Cozy Cake Recipes You’ll Love
If you’re a fan of comforting and delicious cakes, explore these other heartwarming recipes perfect for any occasion, especially during the cooler months:
Cake Recipes
Maple Pound Cake with Maple Glaze
Cake Recipes
Classic Applesauce Cake
Cake Recipes
Decadent Pumpkin Spice Bundt Cake
Cake Recipes
Irresistible Sour Cream Pound Cake
If you tried this delightful Maple Cake recipe and absolutely loved it, please take a moment to leave a 🌟 star rating and share your experience in the comments below. Your feedback brightens my day and helps other bakers discover this wonderful treat!
Maple Cake Recipe
Pin Recipe
Comment
Print Recipe
Ingredients
For the cake:
- 3 ½ cups all-purpose flour
- 1 ½ teaspoons kosher salt
- 2 teaspoons baking powder
- ½ teaspoon baking soda
- 3 large eggs
- ½ teaspoon maple extract optional
- ¾ cup vegetable oil or another neutral oil
- 1 ½ cups granulated sugar
- 1 cup maple syrup grade A, dark amber
- 1 cup milk
For the maple ermine frosting:
- 10 tablespoons all-purpose flour
- 1 cup whole milk
- ¾ cup maple syrup grade A, dark amber
- ⅔ cup granulated sugar
- 2 teaspoons vanilla extract
- 1 teaspoon kosher salt
- 2 cups unsalted butter room temperature
Instructions
Prepare the Cake:
-
Preheat the oven to 325°F convection (with the fan) or 350°F conventional (without the fan)—spray and line 2 (or 3) 8 or 9-inch cake pans with parchment paper.
-
Into a medium bowl, combine the all-purpose flour, salt, baking powder, and baking soda. Set aside.
-
In a separate large bowl, whisk the eggs until smooth and homogenous. Slowly pour the oil into the eggs while whisking to create an emulsion.
-
Add the sugar to the bowl and the maple extract (optional) and whisk until smooth and incorporated. Whisk in the maple syrup.
-
Alternately add the flour and milk in 3 additions. I add about 1/3 of each at the same time, then whisk until no lumps remain. Repeat with the remaining dry ingredients and milk.
-
Divide the batter between the cake pans and bake in the preheated oven.
-
Bake until a cake tester comes out clean or with just a few clinging crumbs. The tops will be a nice golden brown but darker around the edges.
-
Let cool for 10 minutes in the pans, then loosen the sides by running a paring knife or small offset spatula around the edges. Flip out onto a wire rack, remove parchment paper, and then cool completely before frosting.
Prepare Maple Frosting:
-
In a large saucepan, combine the flour, sugar, and salt. Stir to combine.
-
Slowly whisk in the milk, adding just a little at a time, making sure it is completely incorporated before adding more. This will keep it lump-free, just like when making homemade vanilla pudding.
-
Stir in maple syrup. Switch from the whisk to a silicone spatula and stir constantly over medium heat.
-
Continue cooking until the flour mixture has thickened and will drop off a spoon in clumps rather than pour off in a stream.
-
Remove from the heat and scrape into a large bowl with the spatula. Cover the top with plastic wrap that is touching the surface, and allow to cool at room temperature until it is no longer warm to the touch. You can speed this up by cooling it in 20-minute intervals in the refrigerator, stirring and repeating until it is body temperature.
-
In the bowl of a stand mixer fitted with the whisk attachment, beat the butter on medium-high speed until fluffy and almost white in color.
-
With the mixer running, add a spoonful of the maple mixture and allow it to beat in thoroughly before adding the next. Scraping down the sides of the bowl as you go.
-
Stop the mixer to scrape in the last of the flour mixture and scrape down the sides and bottom of the bowl.
-
Add the vanilla extract and continue to mix on high until it holds stiff peaks.
Assembly:
-
Once the cakes are cooled, place one layer on your favorite cake stand, cake plate, or platter. Add about 1/3 of the frosting to the top of the cake and spread it out, allowing some to fall over the edges. Coat the edges with the frosting that spilled over – this is your crumb coat!
-
Place the second layer on top of the frosting and repeat with another 1/3 of the frosting. Covering the top and crumb coating the sides.
-
Fill in any gaps between the cake layers using an offset spatula or by filling a small piping bag with frosting and piping it in. This feels unnecessary for this cake, but I’m just giving you all the possibilities!
-
Store and serve. The cake will stay moist for 4 days. I do prefer to wrap and refrigerate after 1 day, but it is best served at room temperature.
Notes
Flavor Tips – The maple extract is an optional but highly recommended ingredient. It provides a concentrated boost of maple flavor without adding extra sweetness or liquid, which are often challenging to balance in baking. Maple syrup itself, while delicious, significantly impacts both the moisture and sugar content of a recipe.
Variations – For an even more intense maple flavor profile, consider substituting some or all of the granulated sugar in the cake batter with pure maple sugar. This will deepen the overall maple notes significantly.
Technique for Frosting Stability – When preparing the ermine frosting, the key to its perfect consistency lies in the thickness of the cooked flour base. A base that is cooked thoroughly until very thick and cohesive will result in a robust, pipeable frosting that retains beautiful lines and intricate details, even in challenging environments with high heat and humidity.
Storage Recommendations – Once fully frosted, the maple cake can be stored comfortably at room temperature for up to four days. For longer storage, or if you live in a warm climate, it is advisable to transfer the cake to the refrigerator. Always allow chilled cake to come to room temperature before serving for the best possible taste and texture experience.
Nutrition
Before You Go: Explore More Seasonal Sweet Treats!
I sincerely hope you savored the experience of baking and tasting this delightfully sweet and seasonal layered maple cake. It’s truly a perfect treat for chilly autumn days or any time you crave a comforting dessert. If you’re eager to discover more incredible fall dessert recipes that capture the essence of the season, don’t miss out on our other delicious creations. Indulge in the rich flavors of this decadent pumpkin cake, or satisfy your craving for nutty sweetness with these irresistible maple pecan pie bars with a buttery shortbread crust. Happy baking, and enjoy every flavorful moment!
