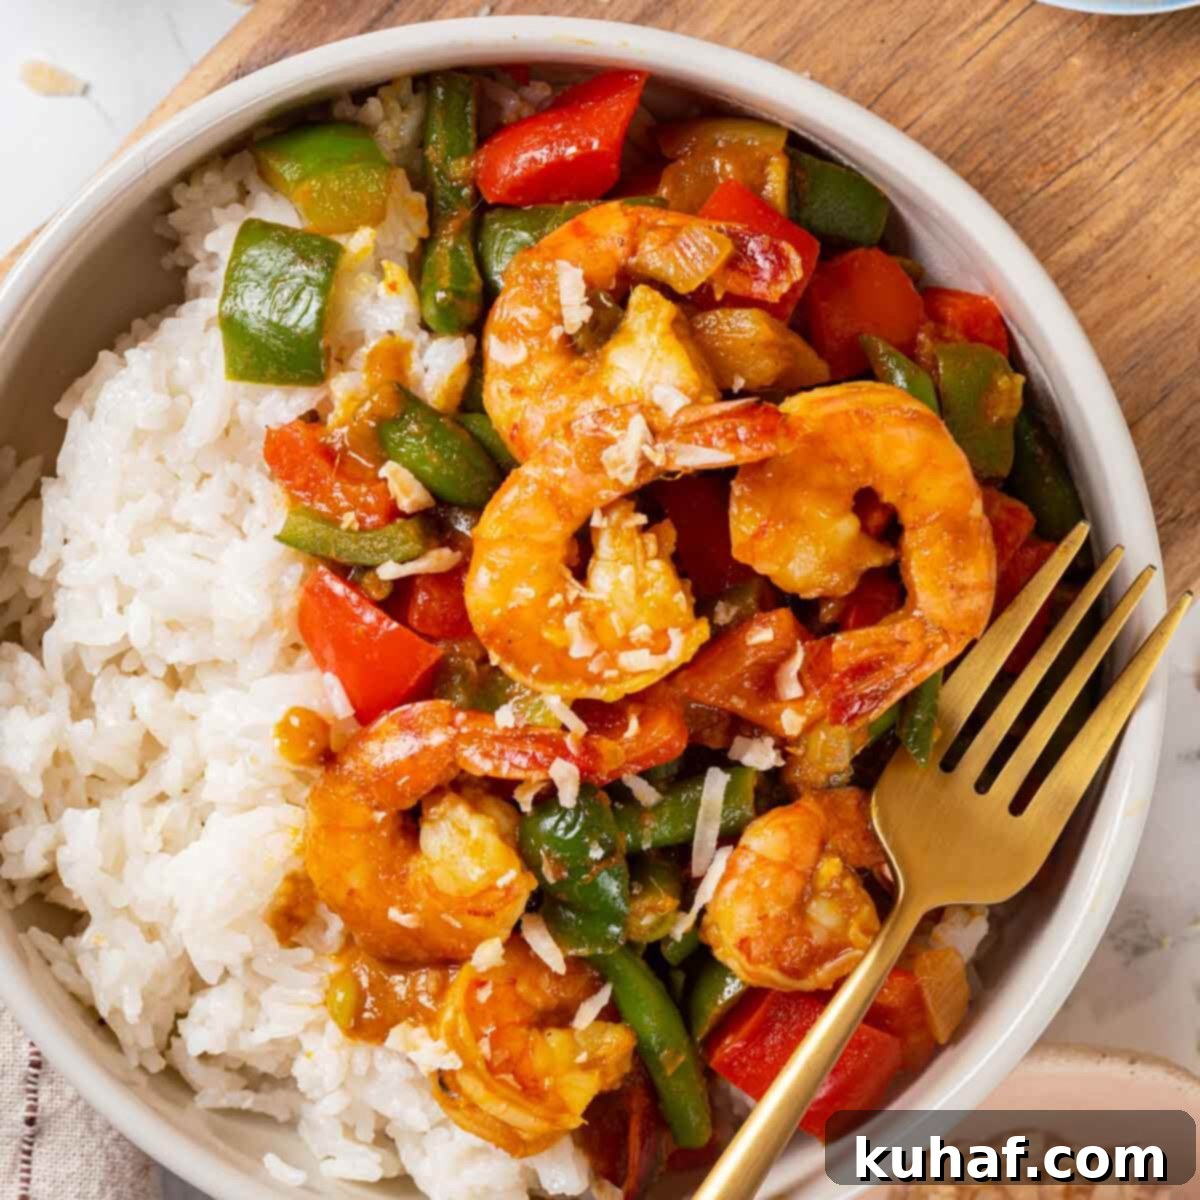
Easy & Flavorful Shrimp Curry with Coconut Rice: Your Weeknight Family Favorite
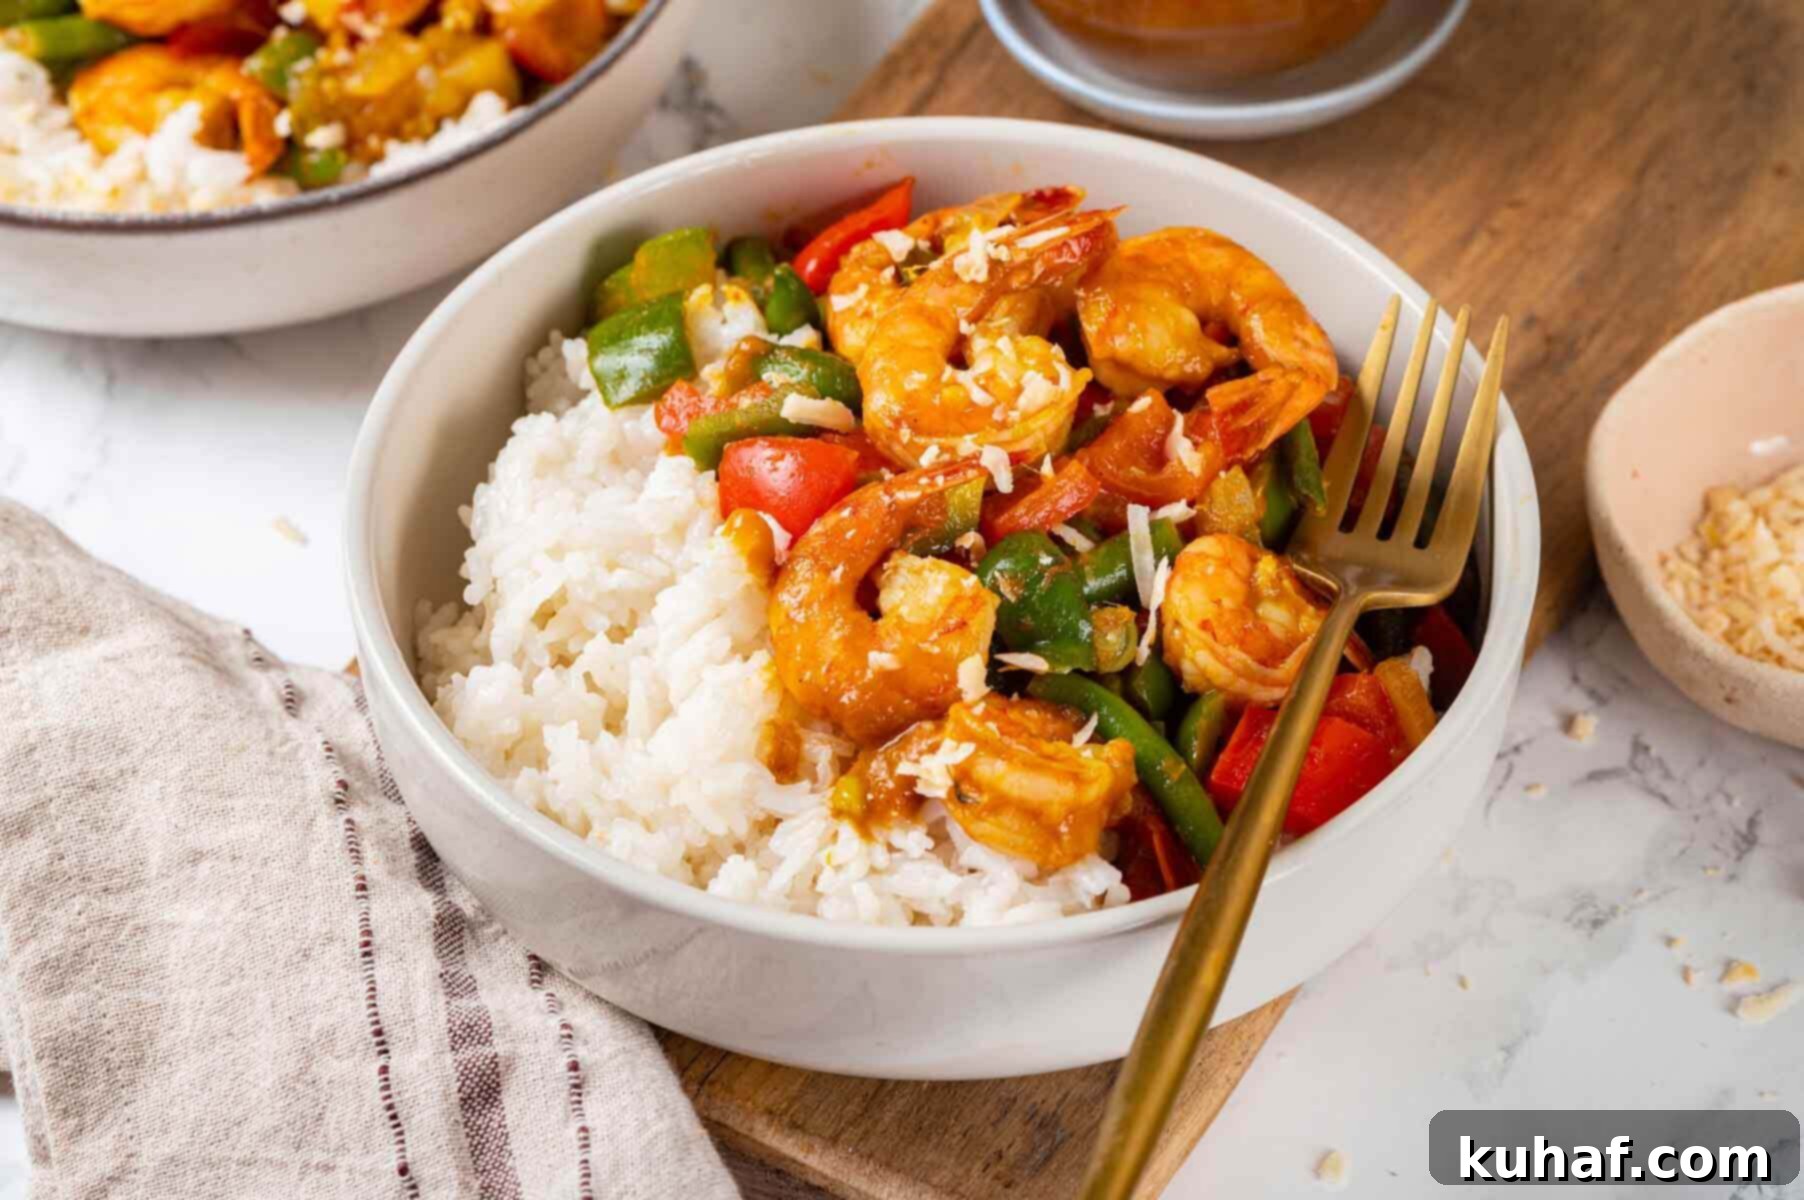
Transform your dinner routine with this incredibly flavorful shrimp curry, perfectly paired with fragrant, easy-to-make coconut rice. This vibrant dish is a testament to how complex flavors can come together in a surprisingly simple weeknight meal that your entire family will absolutely adore. Bursting with sweet and spicy notes, loaded with fresh, crisp vegetables, and featuring succulent shrimp, this recipe promises to be so delicious that everyone will be eager for second helpings.
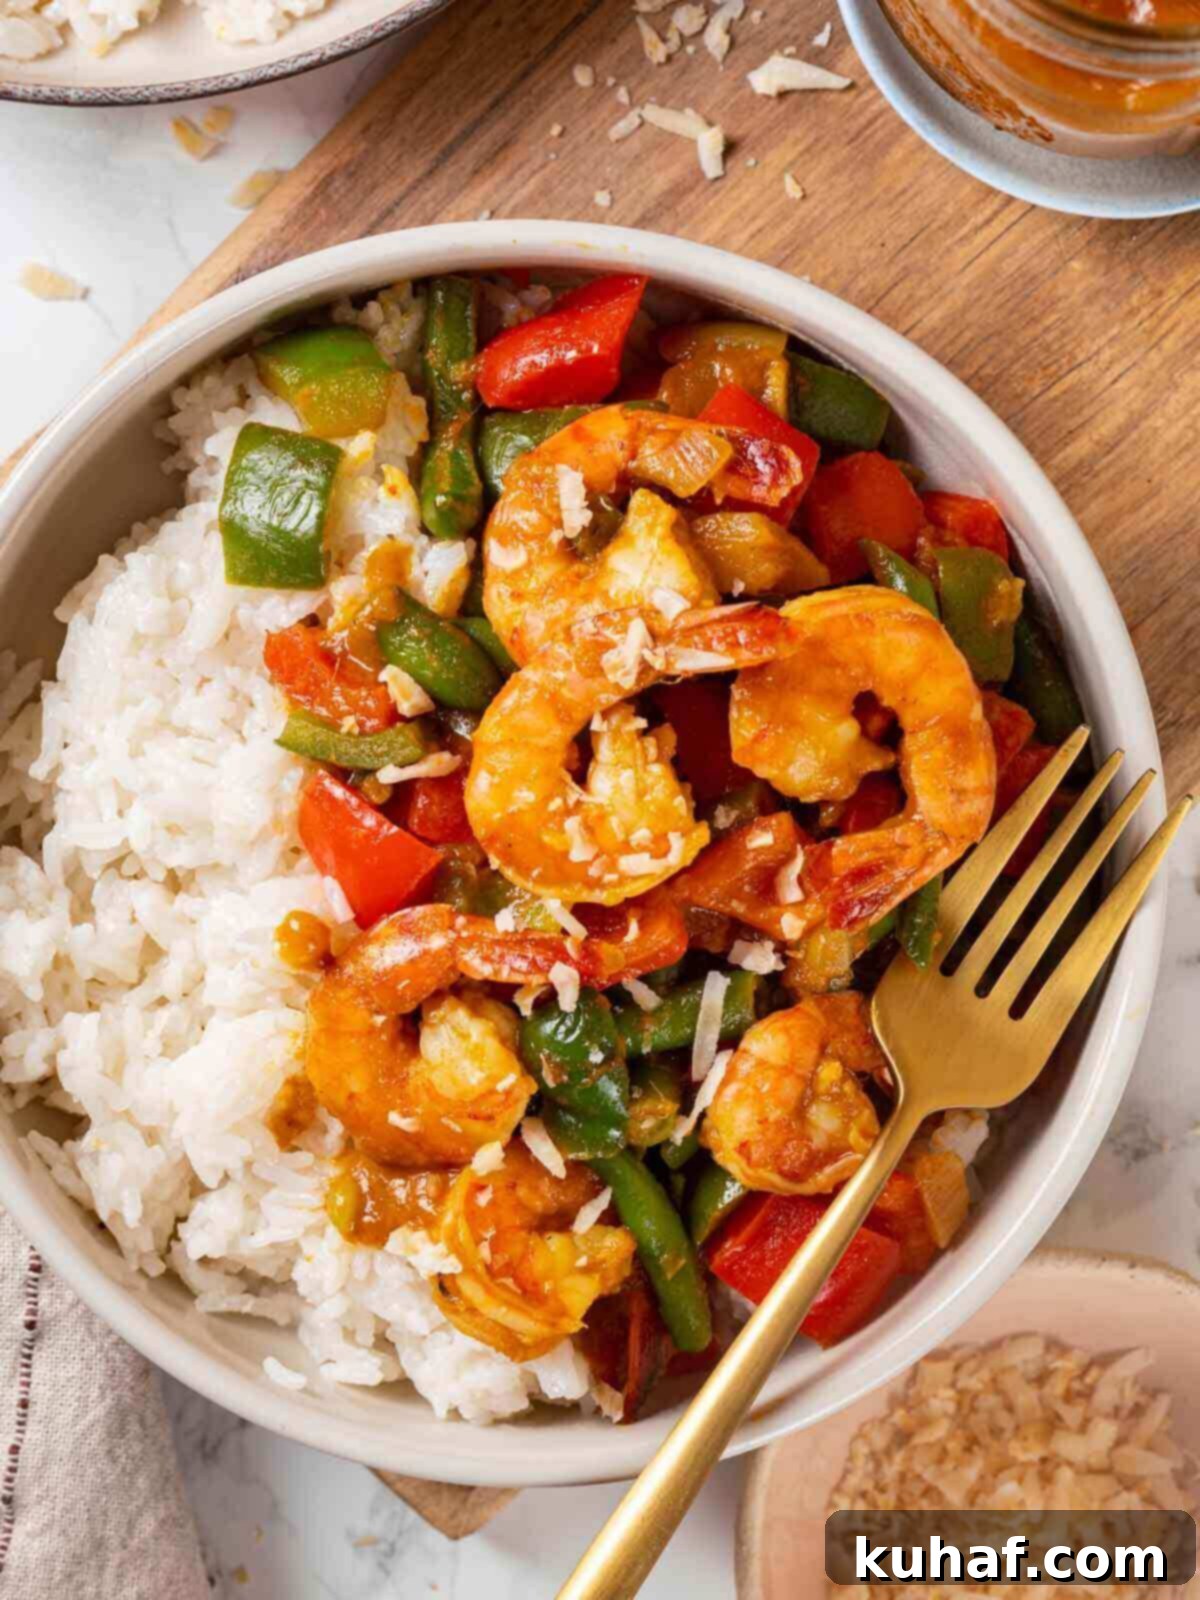
While the taste of a well-crafted curry often suggests hours of intricate cooking, this recipe demystifies the process, proving that a restaurant-quality curry is well within reach for the home cook. The secret lies in a balanced combination of aromatic ingredients, a rich curry paste, and a touch of fruity mango chutney, all brought together with quick-cooking shrimp and perfectly sautéed vegetables. Serve it alongside a bed of fluffy coconut rice, and you’ll have a dish that feels gourmet but takes minimal effort. Give this shrimp curry recipe a try, and you might just discover a new staple for your family’s weekly menu!
Looking for more exciting sweet and spicy dinner ideas to spice up your week? Don’t miss out on our Spicy Peach Pork Chops, savory Chipotle Chorizo Tacos, and our irresistible Sweet and Spicy Baked Chicken Wings!
Table of Contents
- Why You’ll Love This Easy Shrimp Curry Recipe
- Professional Tips for Crafting the Perfect Shrimp Curry
- Key Ingredients for Your Delicious Shrimp Curry
- Exciting Variations for Your Shrimp Curry
- Step-by-Step Guide: How to Make This Flavorful Curry
- Chef Lindsey’s Recipe Tip: Mastering the Heat
- Frequently Asked Questions About Shrimp Curry
- Shrimp Curry Recipe Card
- Before You Go: Explore More Chef-Developed Recipes
Why You’ll Love This Easy Shrimp Curry Recipe
This shrimp curry isn’t just another dinner; it’s a culinary experience designed for both ease and exceptional flavor. Here’s why it’s destined to become a staple in your kitchen:
- An Incredibly Easy & Versatile Recipe. Life gets busy, but delicious meals shouldn’t be complicated. This recipe streamlines the curry-making process, making it perfect for those hectic weeknights. Beyond its simplicity, it’s wonderfully adaptable. Feel free to experiment with different seasonal vegetables you have on hand, adjust the spice level by choosing a mild or hot curry paste, or enhance its richness by incorporating a full-fat coconut milk for a truly creamy curry. This flexibility ensures you can customize it to your taste and what’s available.
- Perfectly Balanced Sweet and Spicy Flavors. Developed by a professional chef, this recipe strikes an exquisite balance between sweet and spicy. You can trust that every element, from the perfectly cooked shrimp to the fluffy, aromatic coconut rice, and the harmoniously blended curry sauce, has been carefully considered. The natural sweetness of mango chutney beautifully complements the piquant notes of the curry paste, creating a depth of flavor that is both comforting and exciting. Best of all, you have complete control to adjust the sweet-to-spicy ratio to your personal preference!
- Ideal for Meal Prep and Make-Ahead Convenience. Save time during the week by preparing this dish in advance. This shrimp curry is an excellent candidate for meal prep or batch cooking, allowing you to enjoy a flavorful, home-cooked meal even when you’re short on time. Once prepared, the dish can be conveniently refrigerated for several days or frozen for longer storage. This makes it a fantastic option for packed work lunches or quick, satisfying dinners on busy evenings, as the flavors often deepen and meld beautifully overnight.
Professional Tips for Crafting the Perfect Shrimp Curry
Achieving a truly outstanding shrimp curry is easier than you think with these expert tips:
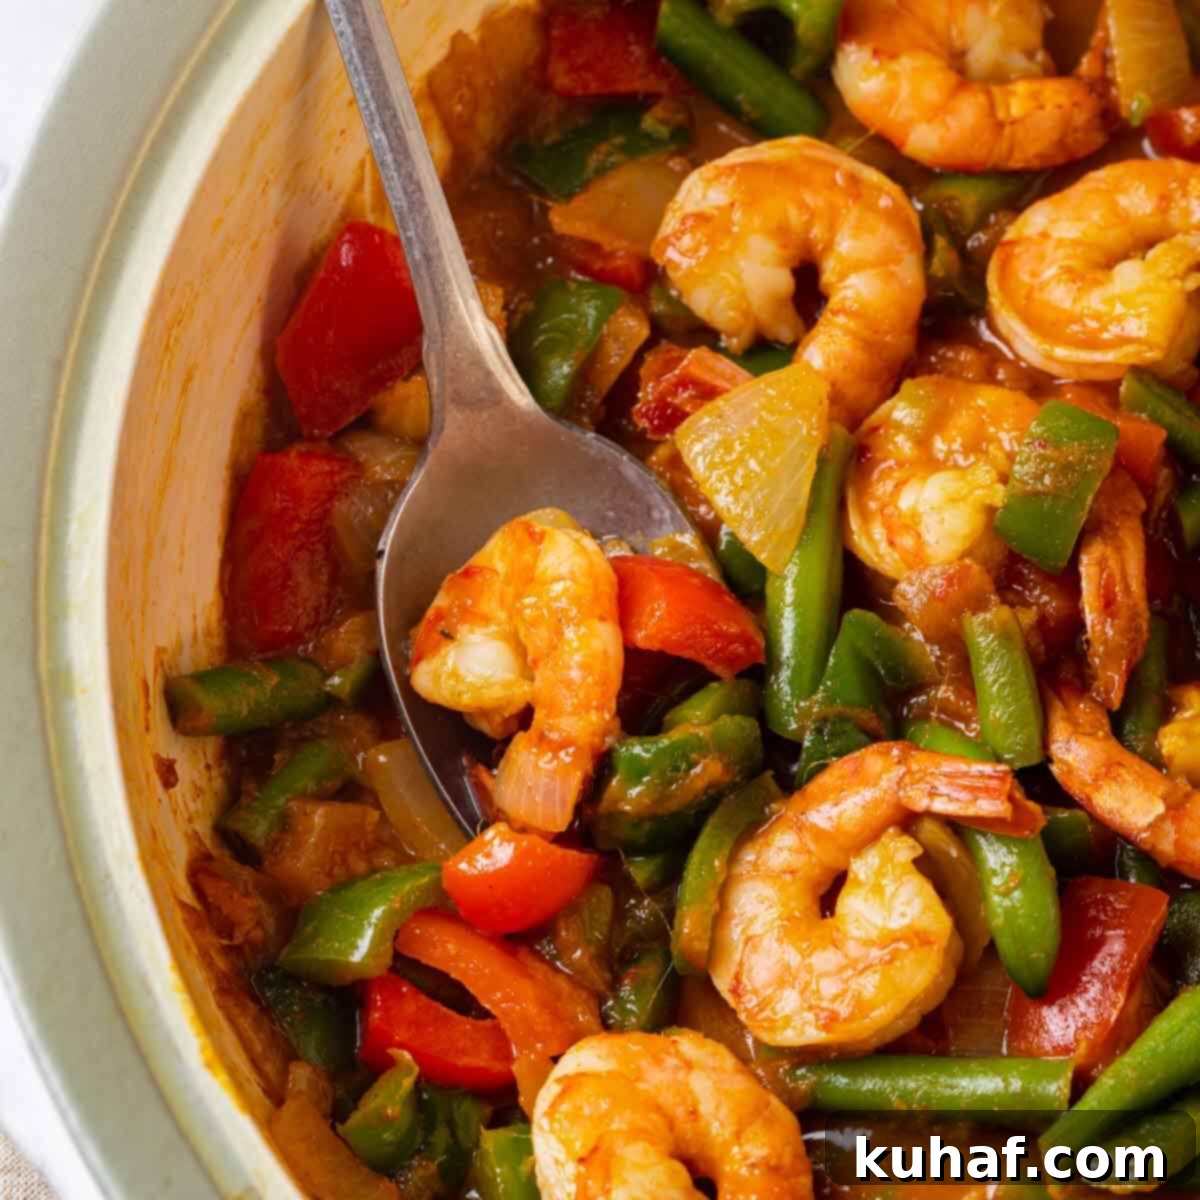
- Watch Your Shrimp Closely. Shrimp cooks remarkably fast, and overcooked shrimp can quickly become rubbery and tough. To prevent this, stay attentive throughout the cooking process. Shrimp typically requires only 3-4 minutes per side (depending on size) until it turns opaque and develops a characteristic “C” shape. As soon as it reaches this point, remove it from the heat to ensure tender, juicy results.
- Taste and Adjust Seasoning as You Go. One of the most important habits of a great cook is tasting. As you build the layers of your curry sauce – adding aromatics, curry paste, and mango chutney – take small samples. This allows you to assess the balance of flavors and adjust for additional salt, spice, or sweetness before the dish is complete. Don’t be afraid to add a pinch more salt, a squeeze of lime (for brightness), or a touch more chutney if needed. This iterative process is key to perfecting your dish.
- Rinse Your Rice Thoroughly. For fluffy, separate grains of rice rather than a sticky, gummy texture, rinsing is crucial. Placing your rice in a fine-mesh sieve and running cold water over it until the water runs clear helps remove excess surface starch. This simple step makes a significant difference in the final texture of your coconut rice, ensuring it perfectly complements the rich curry.
Key Ingredients for Your Delicious Shrimp Curry
Gathering high-quality ingredients is the first step towards a fantastic meal. Here’s what you’ll need for this flavorful shrimp curry:
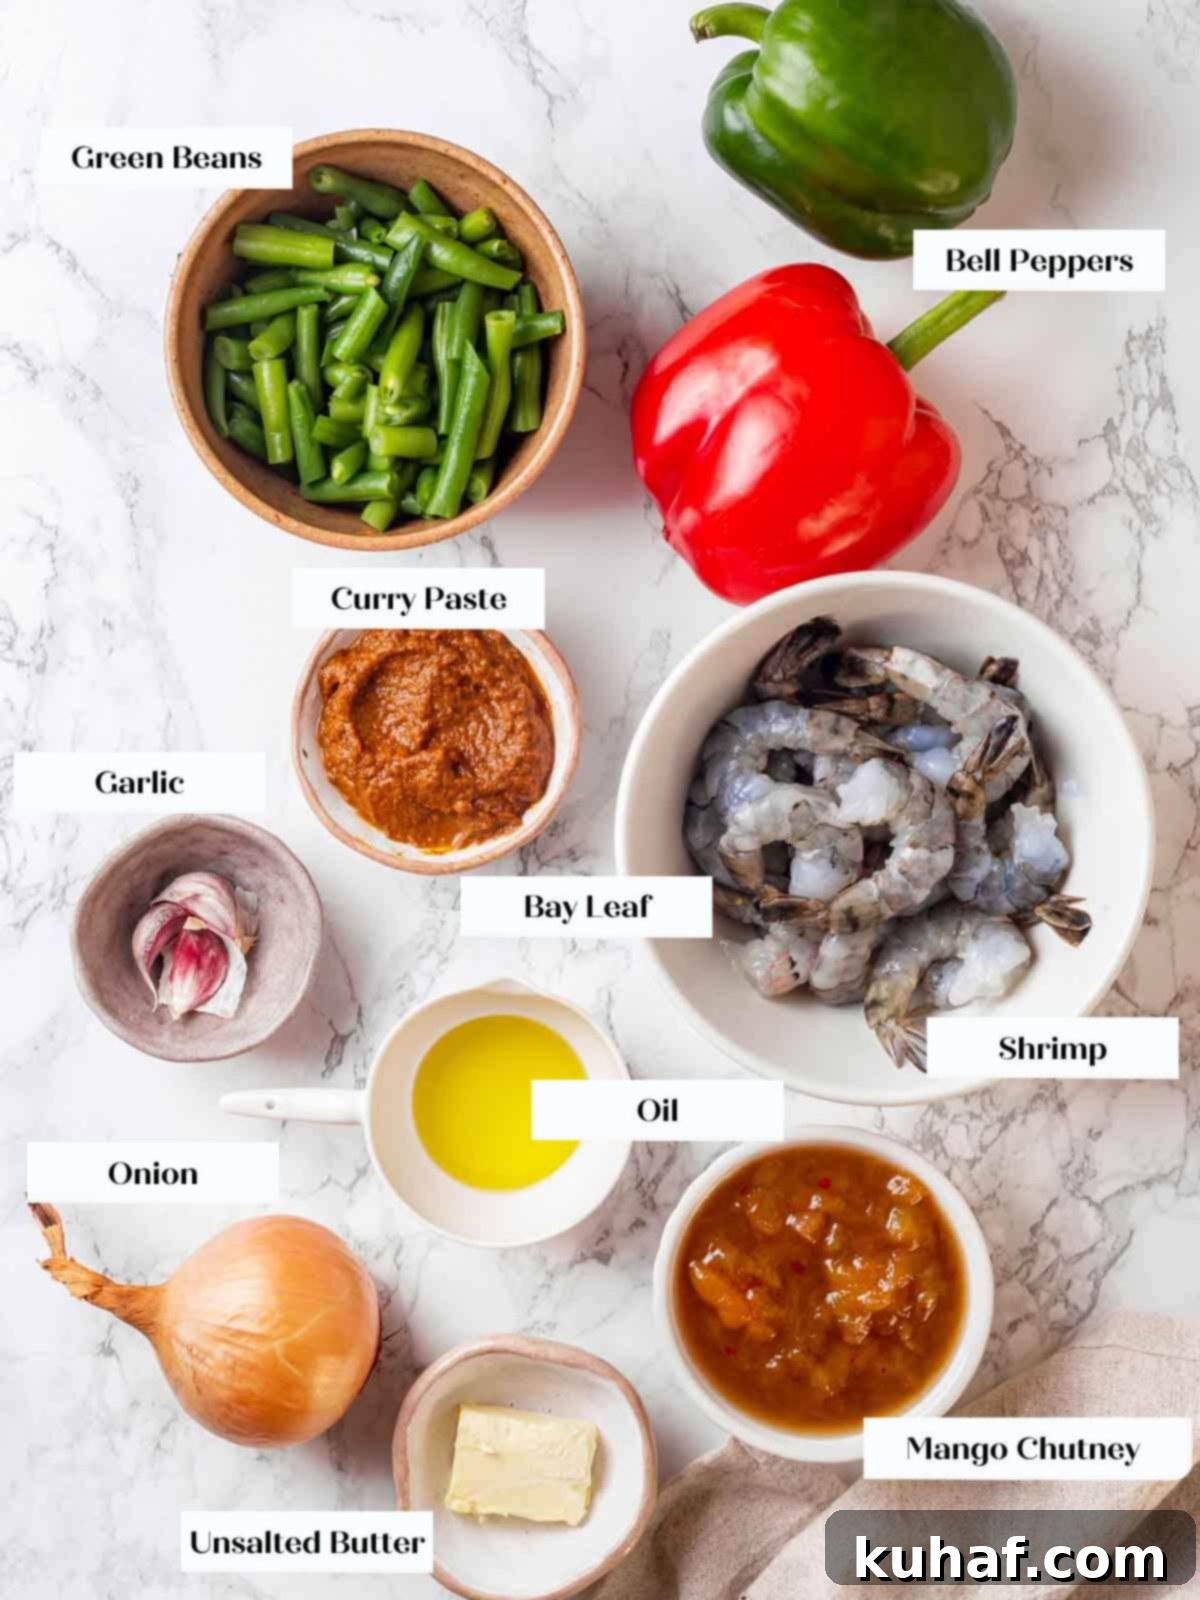
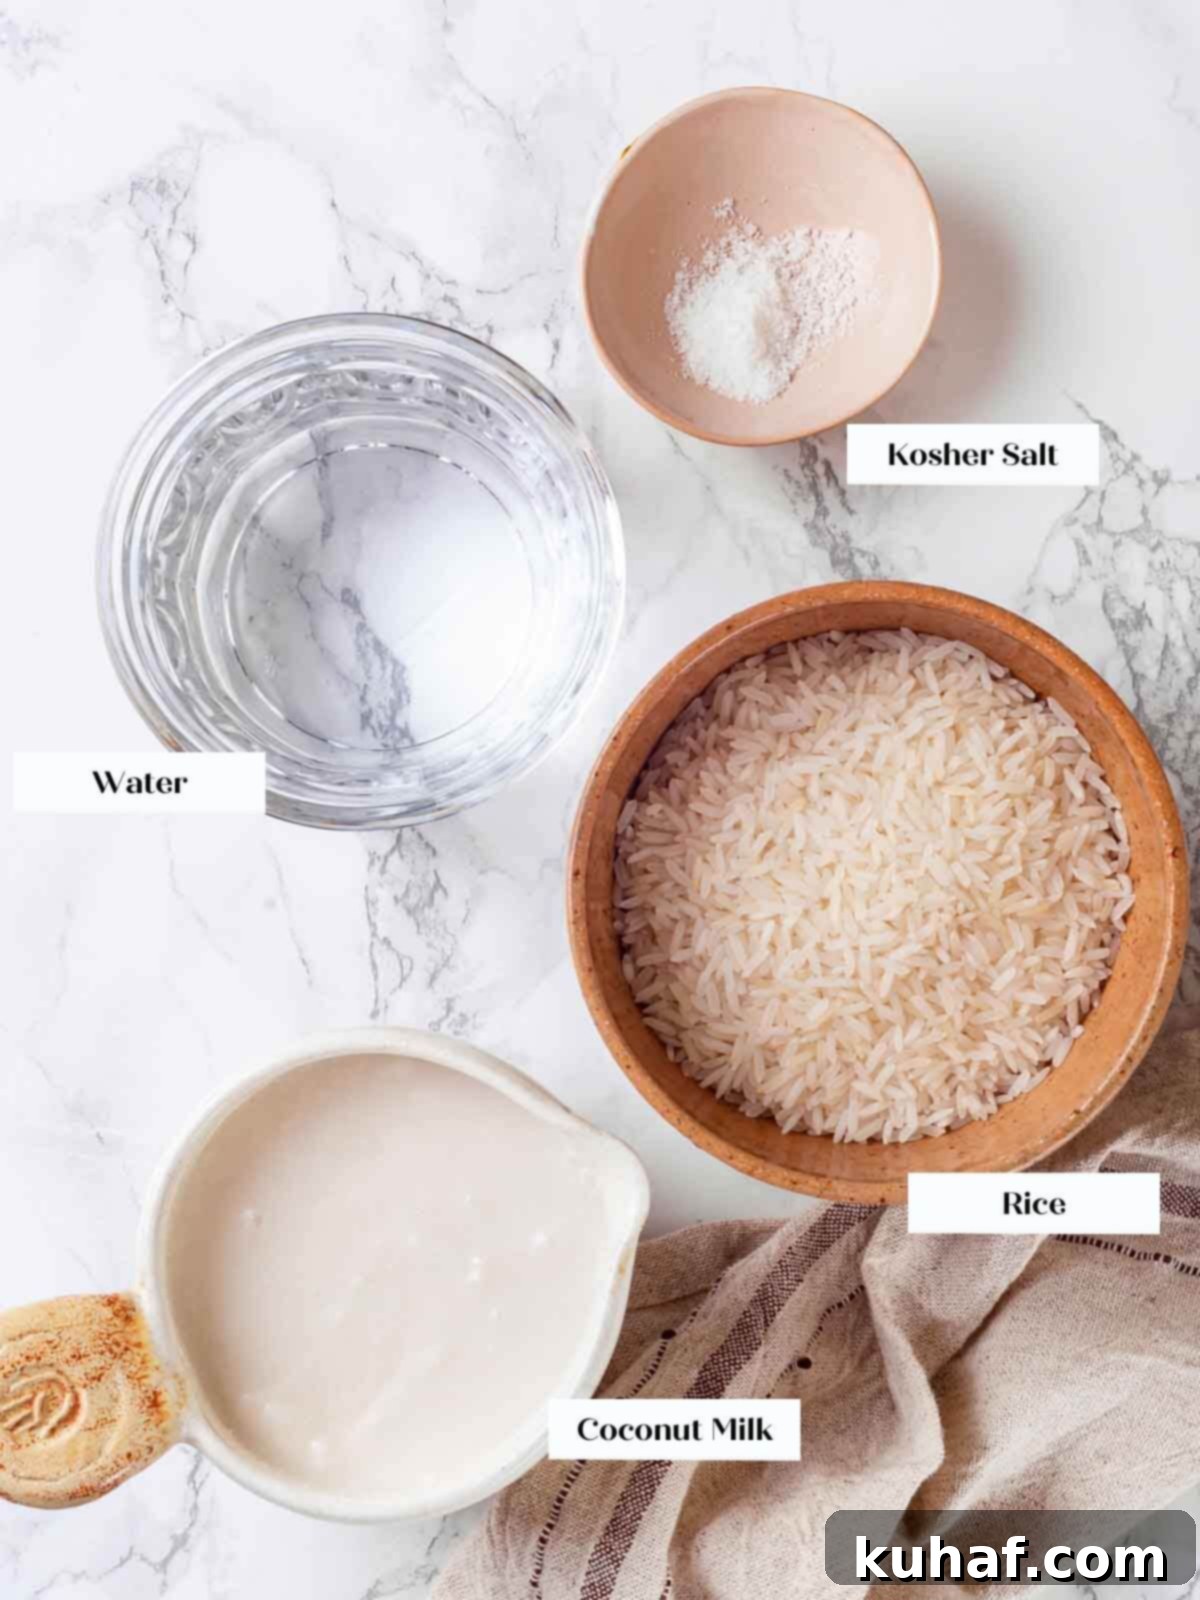
- Unsalted Butter: Provides a rich, foundational flavor for sautéing your vegetables.
- Oil: I highly recommend using an oil with a high smoke point for sautéing, such as avocado oil or grapeseed oil. This prevents the oil from scorching or smoking, ensuring a clean flavor and even cooking.
- Onion: Finely chopped, it forms the aromatic base of your curry, lending a subtle sweetness when sautéed until translucent.
- Bell Peppers: For both visual appeal and a broader flavor profile, I love to use a combination of 1 red bell pepper and 1 green bell pepper. They add a fresh, sweet crunch and beautiful color to the dish.
- Green Beans: Cut your green beans into uniform 1-inch pieces. This ensures they cook evenly and remain tender-crisp in the finished curry.
- Garlic: Freshly minced garlic is essential for that unmistakable aromatic kick that elevates any curry.
- Shrimp: I used 20 large jumbo shrimp for this recipe, which are substantial and cook quickly. Remember to devein them before cooking for the best eating experience. If you opt for smaller shrimp, you’ll want to adjust the quantity accordingly. For ultimate convenience, thawed frozen shrimp work perfectly and significantly cut down on prep time.
- Curry Paste: The heart of the curry! I prefer Tikka Curry Paste for its balanced flavor, but many other varieties like Thai red curry paste or green curry paste would also be delicious. Choose between a hot or mild curry paste based on your desired spice level.
- Mango Chutney: This provides a wonderful fruity sweetness and a tangy depth that beautifully complements the curry paste. Any good quality jarred mango chutney from your local grocery store will work wonderfully here.
- Coconut Milk: For the coconut rice, I used 1 can of light coconut milk to keep it a bit lighter. However, if you’re looking for an extra rich and creamy texture, feel free to use regular, full-fat coconut milk.
- Water: Essential for cooking the rice to perfection.
- Kosher Salt: A staple for seasoning, enhancing all the other flavors.
- Rice: I used 1 cup of uncooked jasmine rice for its aromatic qualities and fluffy texture. If you plan to make a larger batch of rice, remember to adjust the amount of water proportionally. For a delightful alternative, consider serving your curry with some warm, buttery garlic naan bread instead of or in addition to rice!
Refer to the recipe card below for precise measurements and comprehensive ingredient information.
Exciting Variations for Your Shrimp Curry
One of the best things about curry is its adaptability. Here are some fantastic ways to customize your shrimp curry to suit your taste or what you have available:
- Creamy Thai Coconut Shrimp Curry: To elevate this into a rich and authentic Thai-style coconut shrimp curry, simply incorporate canned coconut milk into your curry sauce. Pair this with a traditional Thai red curry paste for that classic flavor profile. To finish it off beautifully, add a generous squeeze of fresh lime juice or simmer the curry with a fragrant kaffir lime leaf for an extra layer of aromatic complexity.
- Vibrant Green Curry: For a refreshing and often spicier twist, substitute the tikka curry paste with a quality green curry paste. Green curry pastes typically feature fresh green chilies, herbs like cilantro and basil, and often kaffir lime, offering a brighter, more herbal flavor profile. This variation works particularly well with the added coconut milk for creaminess.
- Mellow Yellow Curry: If you prefer a milder, earthier curry, opt for a yellow curry paste. Yellow curries often feature turmeric (giving them their characteristic color), cumin, and coriander. I highly recommend pairing this variation with coconut milk, as a creamy yellow curry is incredibly delicious and comforting.
- Experiment with Spices and Fresh Herbs: Don’t hesitate to play with additional seasonings.
- Fresh Garnishes: Brighten your dish with a sprinkle of fresh cilantro, Thai basil, or mint just before serving.
- Deep Flavors: Sauté freshly grated ginger or finely chopped lemongrass with your onions and garlic for an added layer of aromatic depth. Incorporate ground coriander or cumin with your curry paste to enhance its complexity. A dash of traditional curry powder can also boost the overall “curry” flavor.
- Added Heat: If you crave more fire, introduce a pinch of cayenne pepper, finely diced fresh chili pepper (like bird’s eye chili), or a sprinkle of red pepper flakes during the cooking process. Remember to add these gradually and taste as you go!
- Vegetable Swaps: Beyond green beans and bell peppers, consider adding cauliflower florets, broccoli florets, snap peas, spinach (stirred in at the very end), or even chunks of sweet potato for added substance and nutrition.
Step-by-Step Guide: How to Make This Flavorful Curry
Follow these detailed instructions to create a perfect shrimp curry every time. Remember, further details and precise measurements can be found in the comprehensive recipe card below!
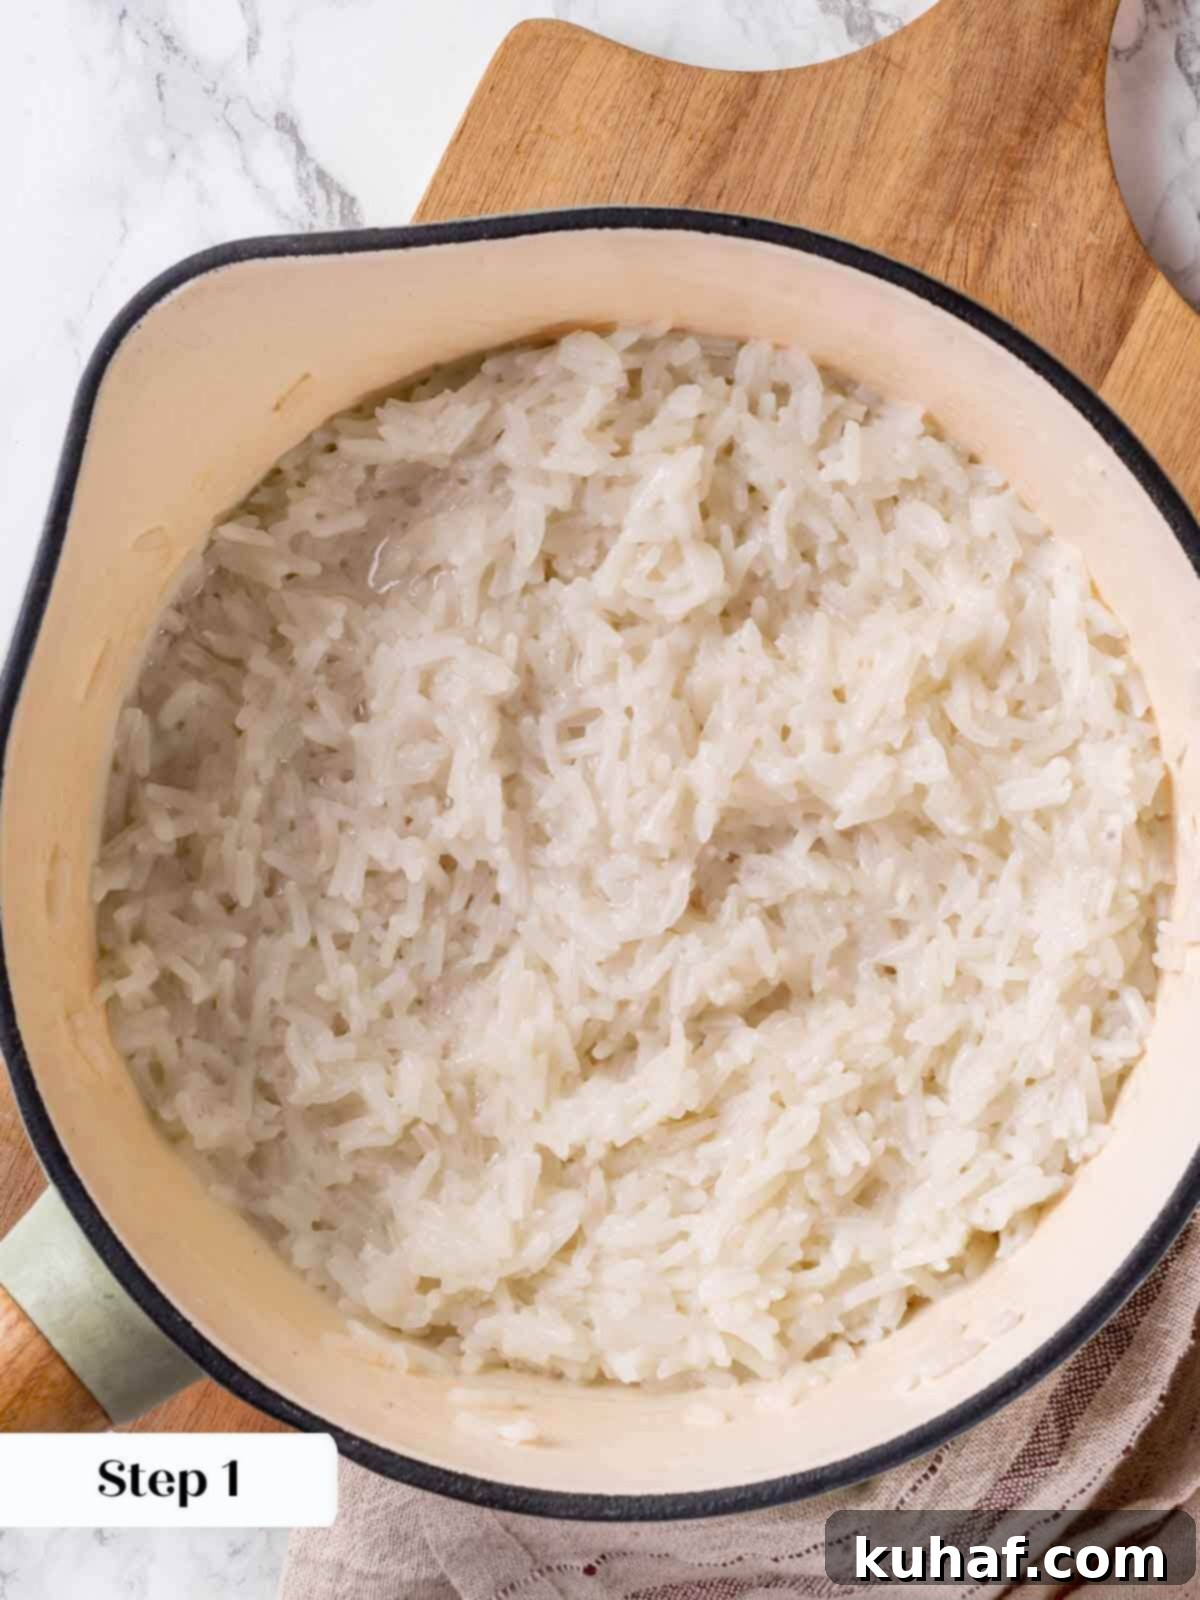
Step 1: Prepare the Coconut Rice. In a medium saucepan, combine all the ingredients for the coconut rice: jasmine rice, coconut milk, water, and a pinch of salt. Bring the mixture to a rolling boil over medium heat on your stovetop. Once boiling, immediately cover the saucepan with a tight-fitting lid, reduce the heat to its lowest setting, and allow it to simmer gently for 20-25 minutes. The rice is done when it’s tender and most of the liquid has been fully absorbed. Resist the urge to lift the lid during simmering to ensure proper steaming.
Pro Tip for Aromatic Rice: For an extra layer of flavor in your coconut rice, briefly sauté a quarter of a chopped onion and one clove of minced garlic in a teaspoon of oil in the saucepan before adding the rice and liquids. This simple step infuses the rice with a subtle, savory aroma.
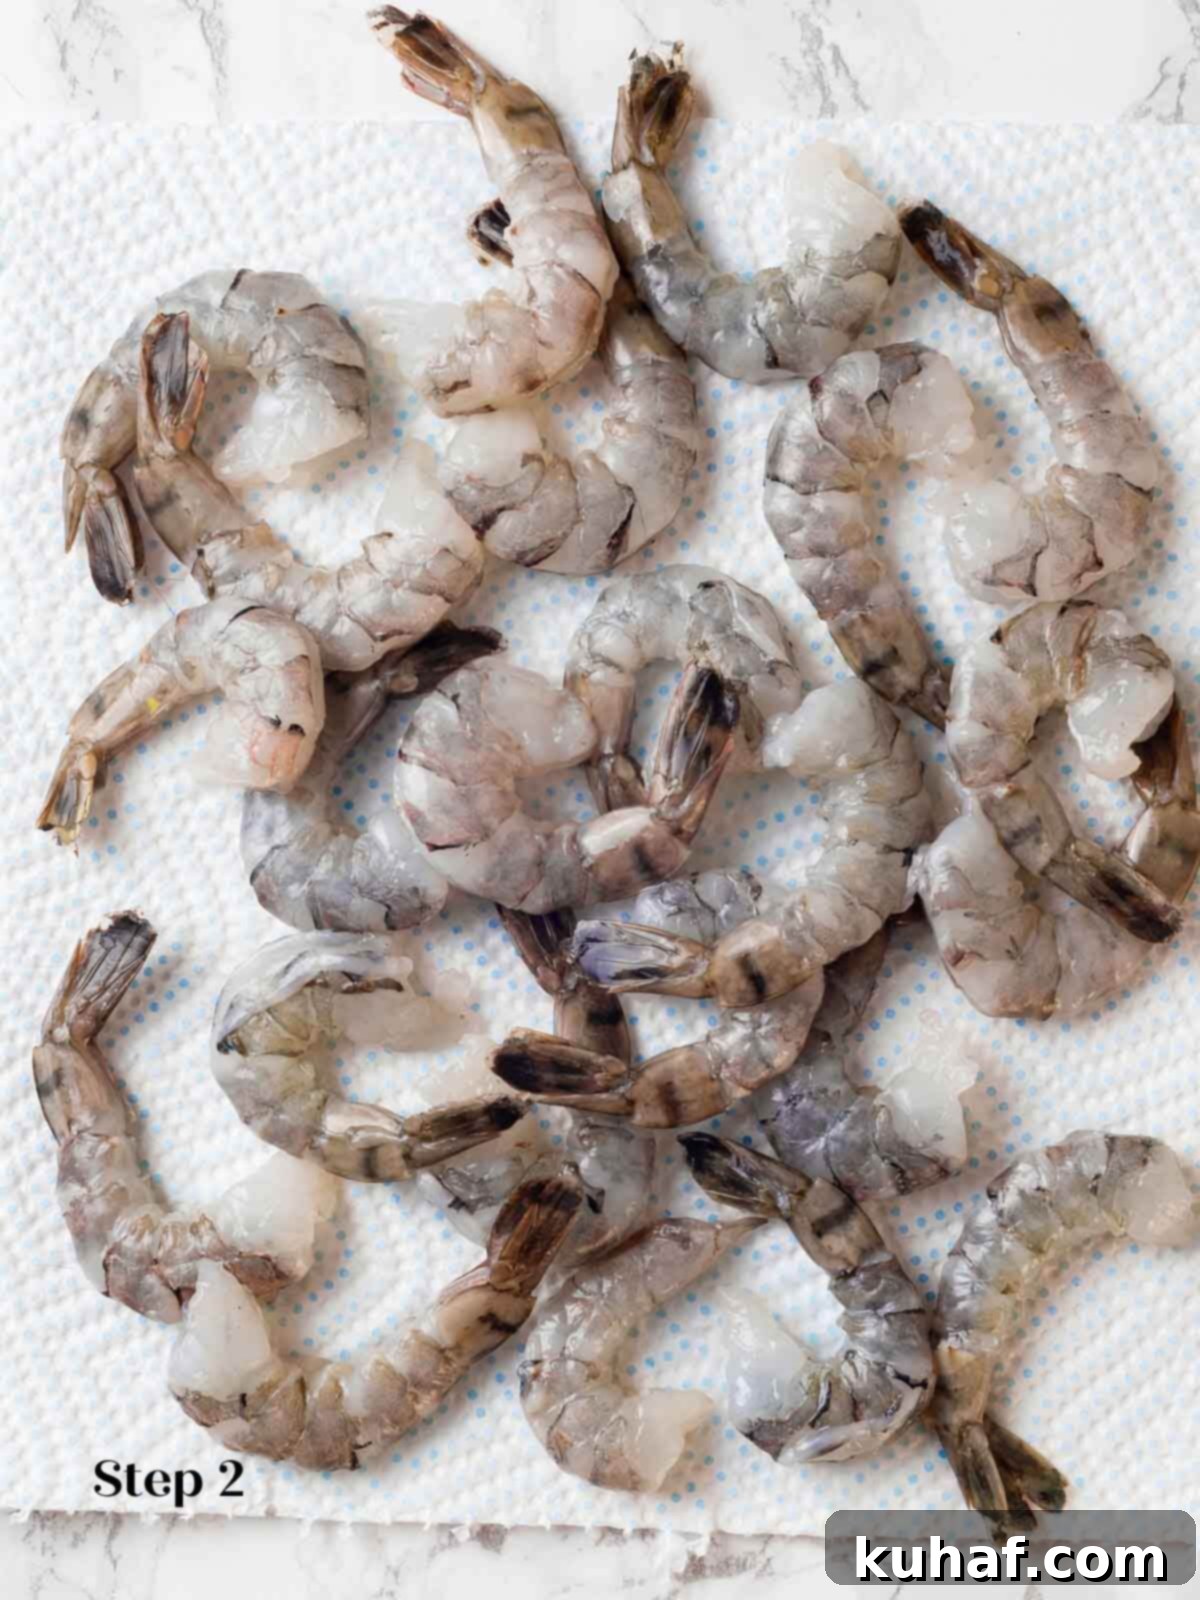
Step 2: Prepare the Shrimp. While your coconut rice is gently simmering, turn your attention to the shrimp. If you’re using frozen shrimp, thaw them quickly in a bowl of ice water. Once thawed or if using fresh, carefully devein the shrimp, then give them a quick rinse under cold water. Pat them thoroughly dry with paper towels to remove excess moisture; this step is crucial for achieving a good sear and preventing a watery curry. Set the prepared shrimp aside.
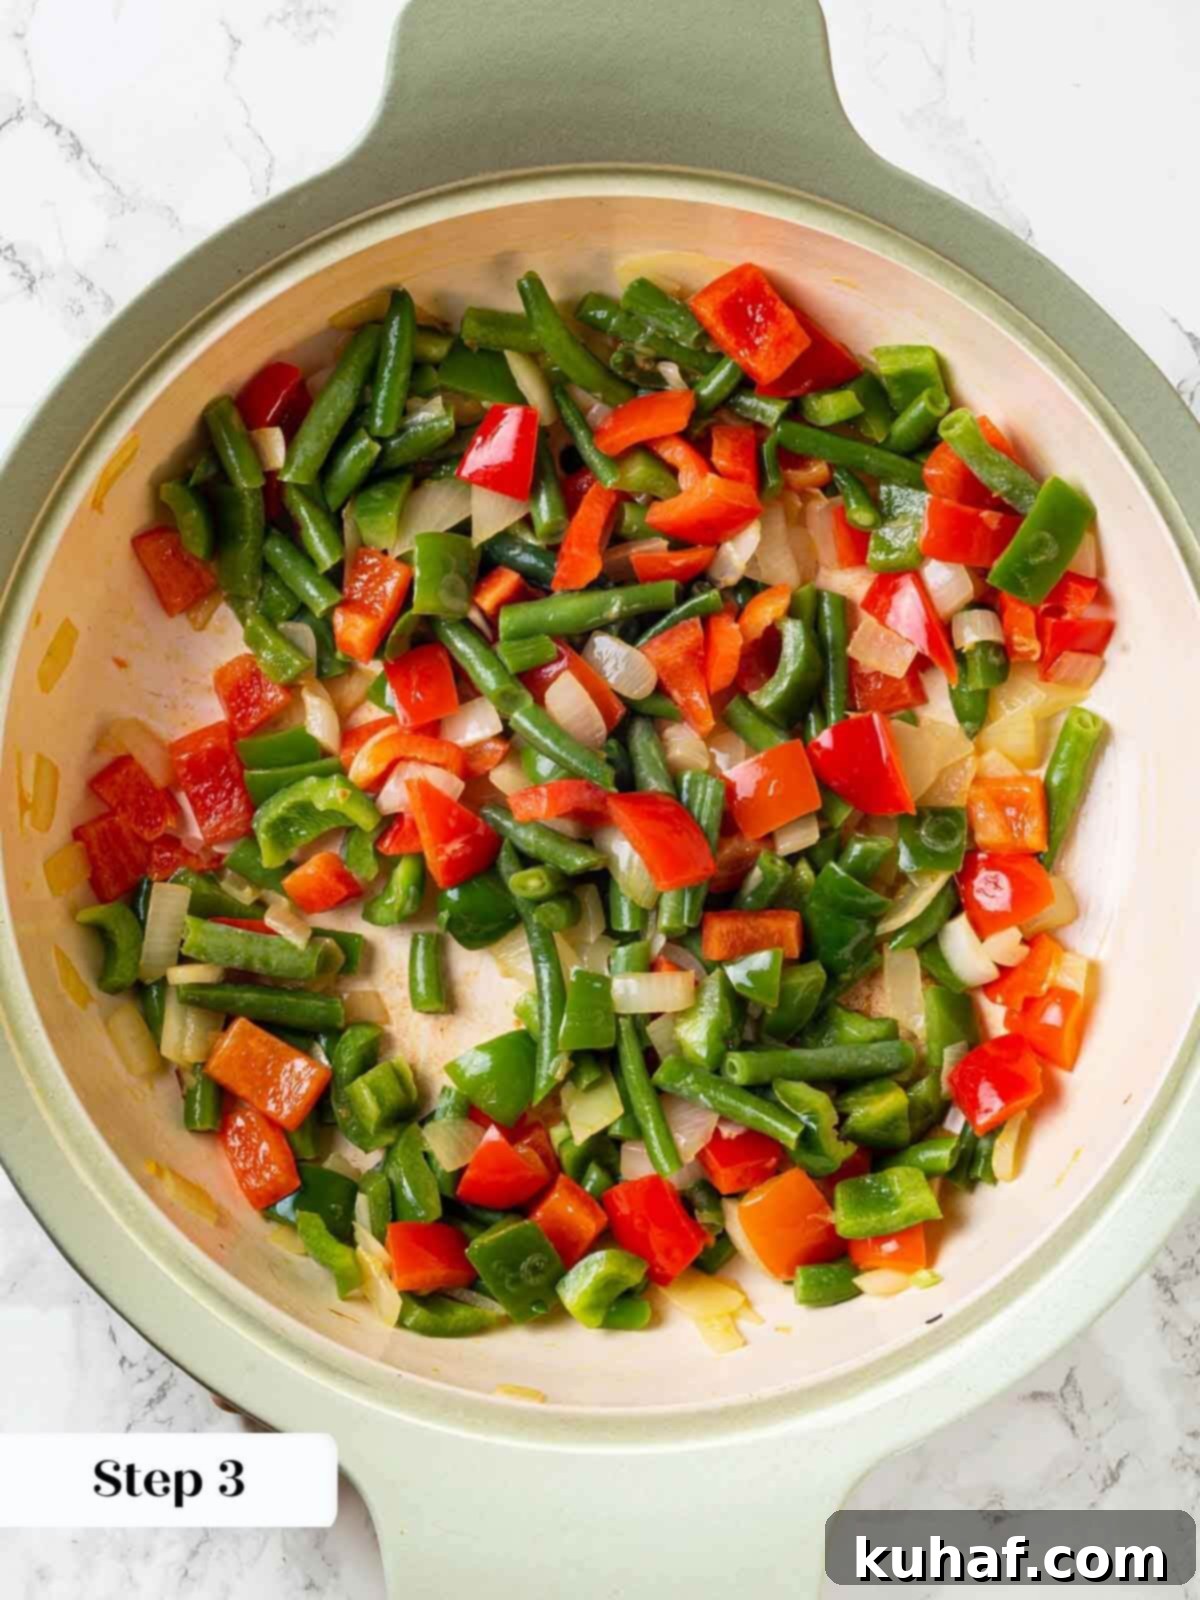
Step 3: Sauté the Vegetables. In a large skillet or Dutch oven, melt the unsalted butter over medium heat. Once shimmering, add the chopped green beans, onions, and bell peppers. Sauté these vegetables, stirring occasionally, until the onions become translucent and the bell peppers and green beans are tender-crisp, typically about 5-7 minutes. This process builds the foundational flavor of your curry.
Step 4: Add the Garlic. Once the other vegetables are tender, add the chopped garlic to the skillet. Continue to sauté for just 30-60 seconds, or until it becomes fragrant and just begins to turn golden. Be careful not to burn the garlic, as it can quickly become bitter.
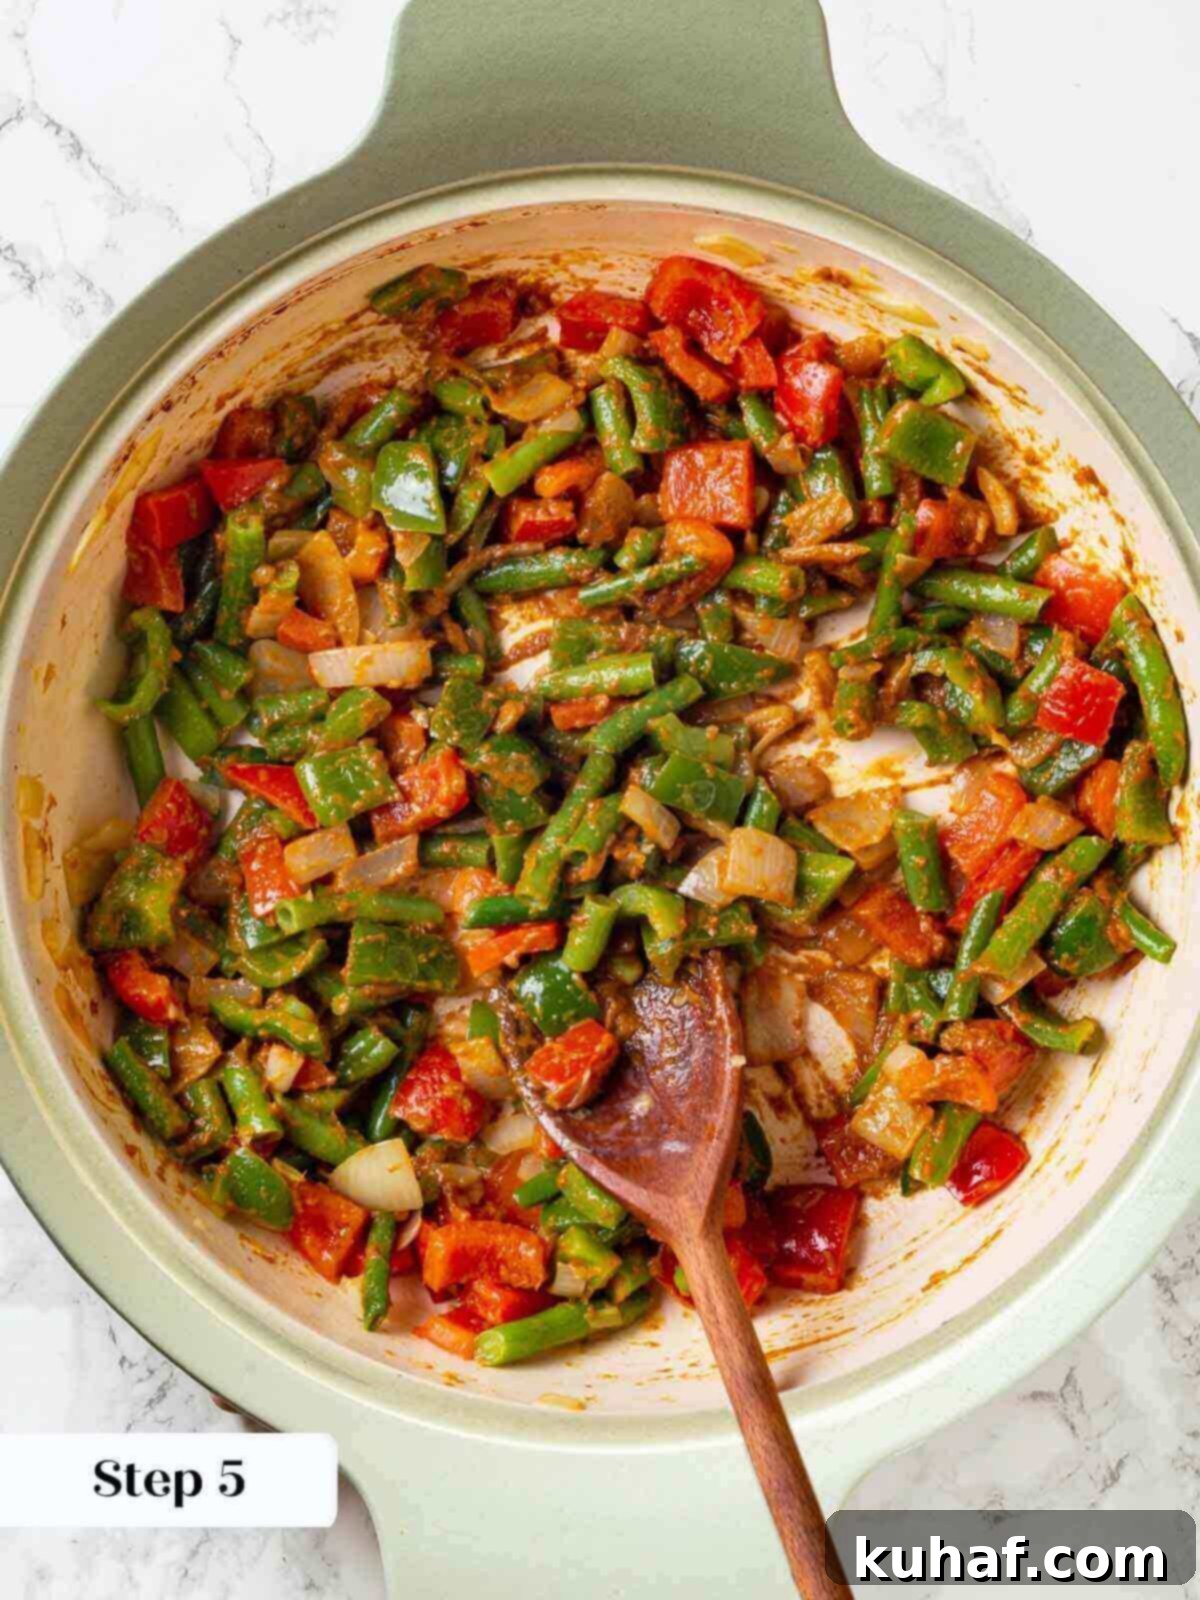
Step 5: Incorporate the Curry Paste. Add the chosen curry paste to the pan with the sautéed vegetables. Stir vigorously for about 1 minute, allowing the paste to cook slightly and release its aromatic oils, coating all the vegetables evenly.
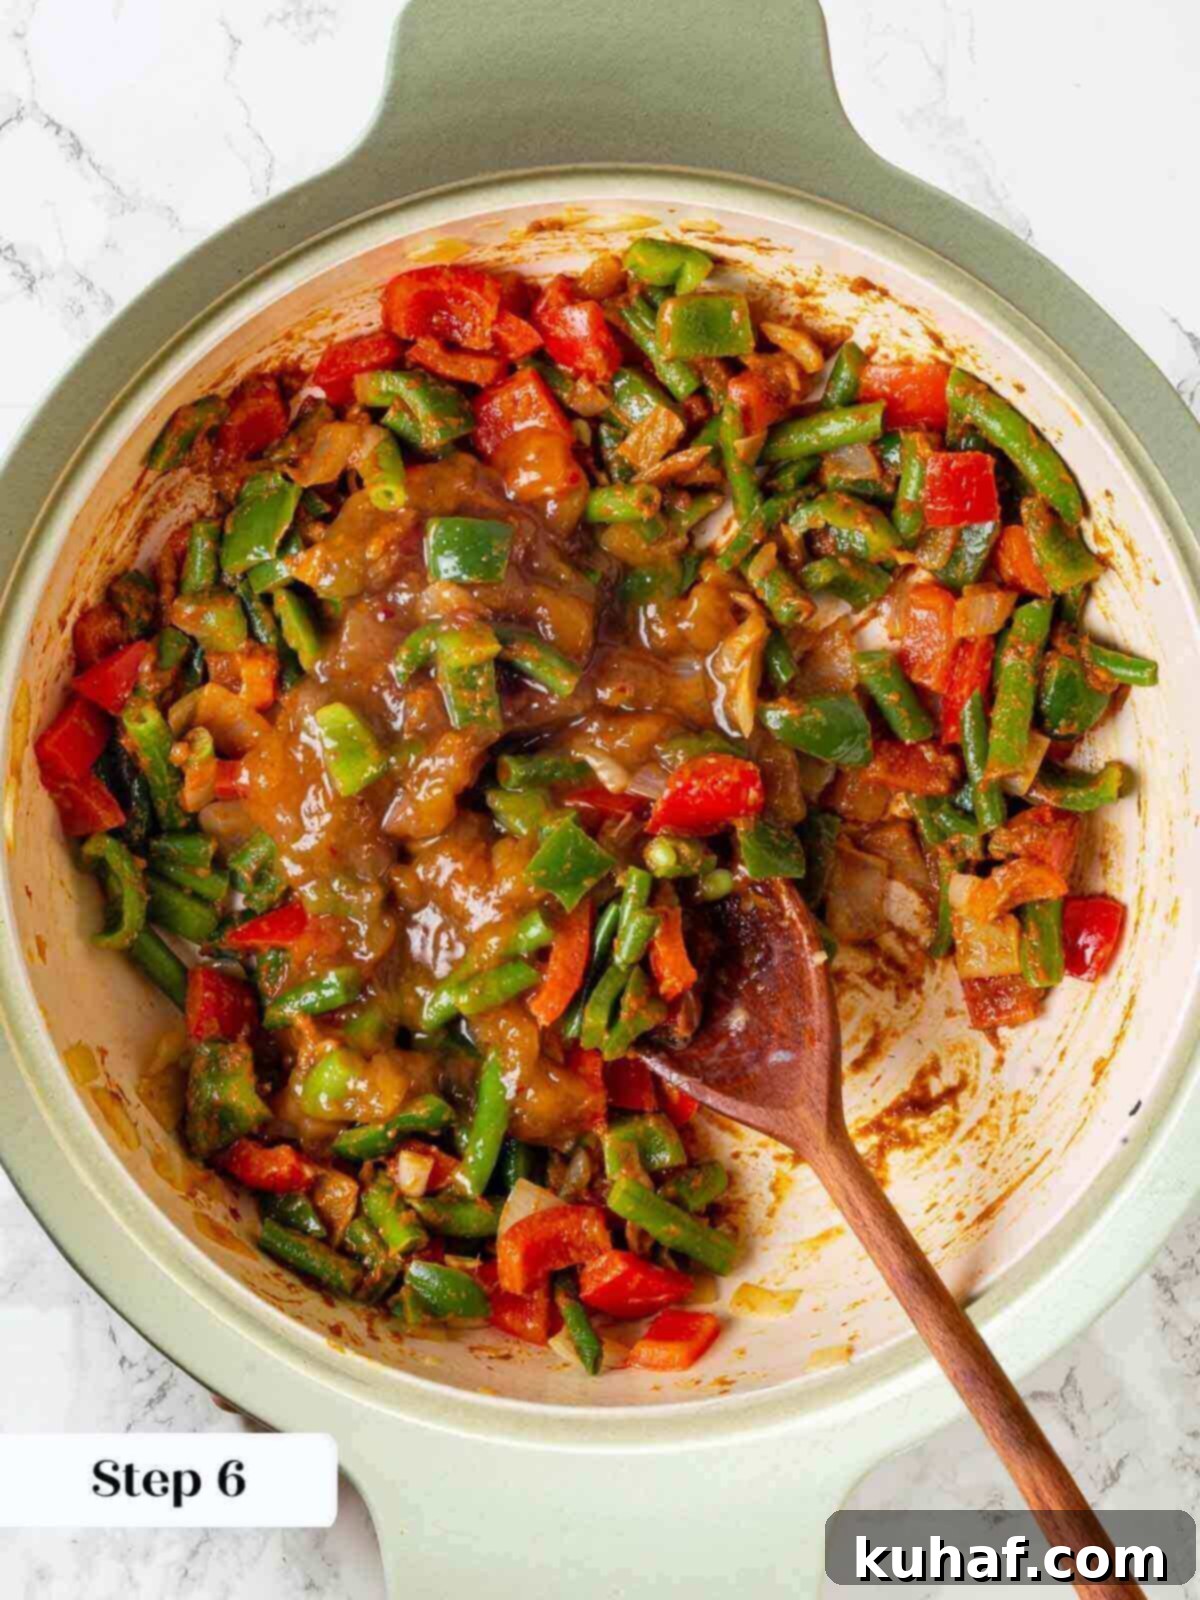
Step 6: Stir in Mango Chutney & Taste. Now, add the mango chutney to the pan. Stir it in thoroughly, ensuring it’s well combined with the curry paste and vegetables. At this point, it’s crucial to taste the sauce. Adjust the seasoning as needed; you can add more curry paste for extra spice, a pinch of salt to brighten the flavors, or even a tiny bit more chutney for sweetness, until the balance is just right for your palate.
Tip for Less Heat: If you find the curry has become too spicy for your preference, you can easily mellow it out. Stir in a tablespoon or two of unsweetened yogurt, sour cream, or extra coconut milk until it reaches a more comfortable heat level and desired creaminess.
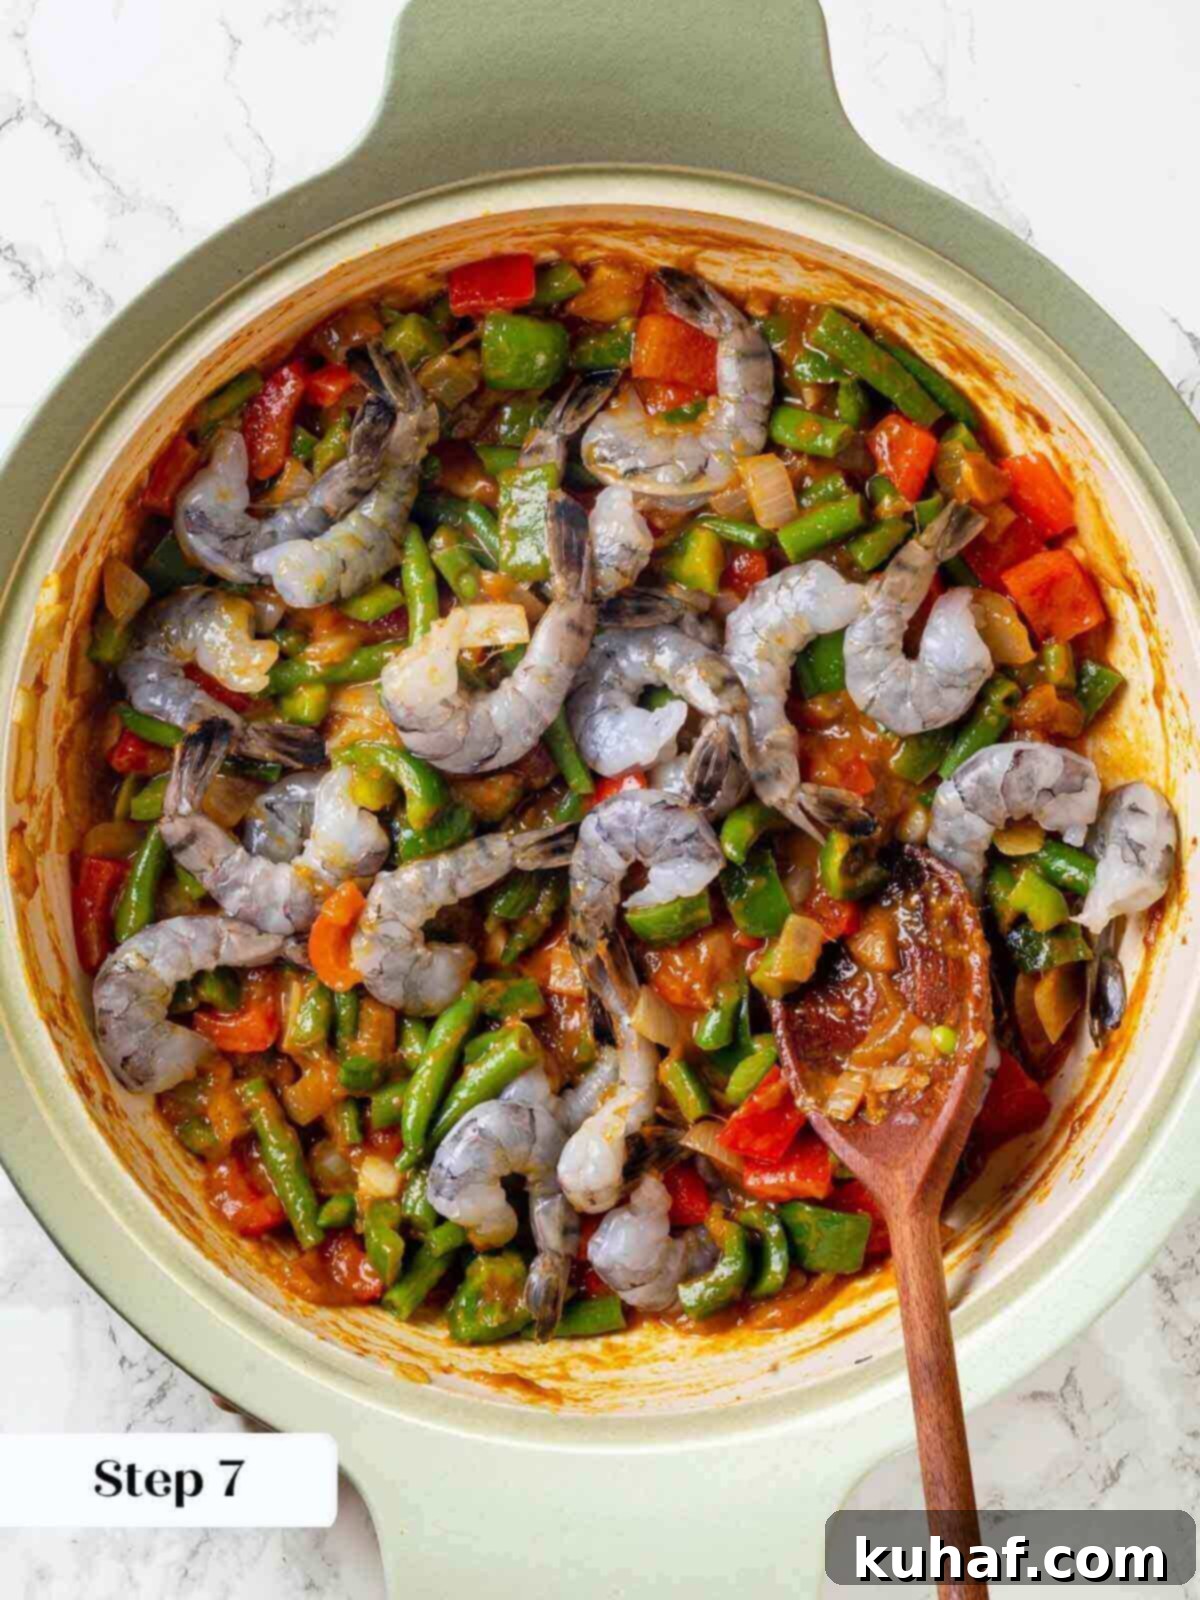
Step 7: Cook the Shrimp. Add the prepared shrimp to the pan with the curry sauce. Stir gently to ensure all the shrimp are coated in the flavorful sauce. Simmer just until the shrimp are fully cooked through, which will take approximately 3-4 minutes per side, depending on their size. They will turn opaque and curl into a “C” shape. Be careful not to overcook them!
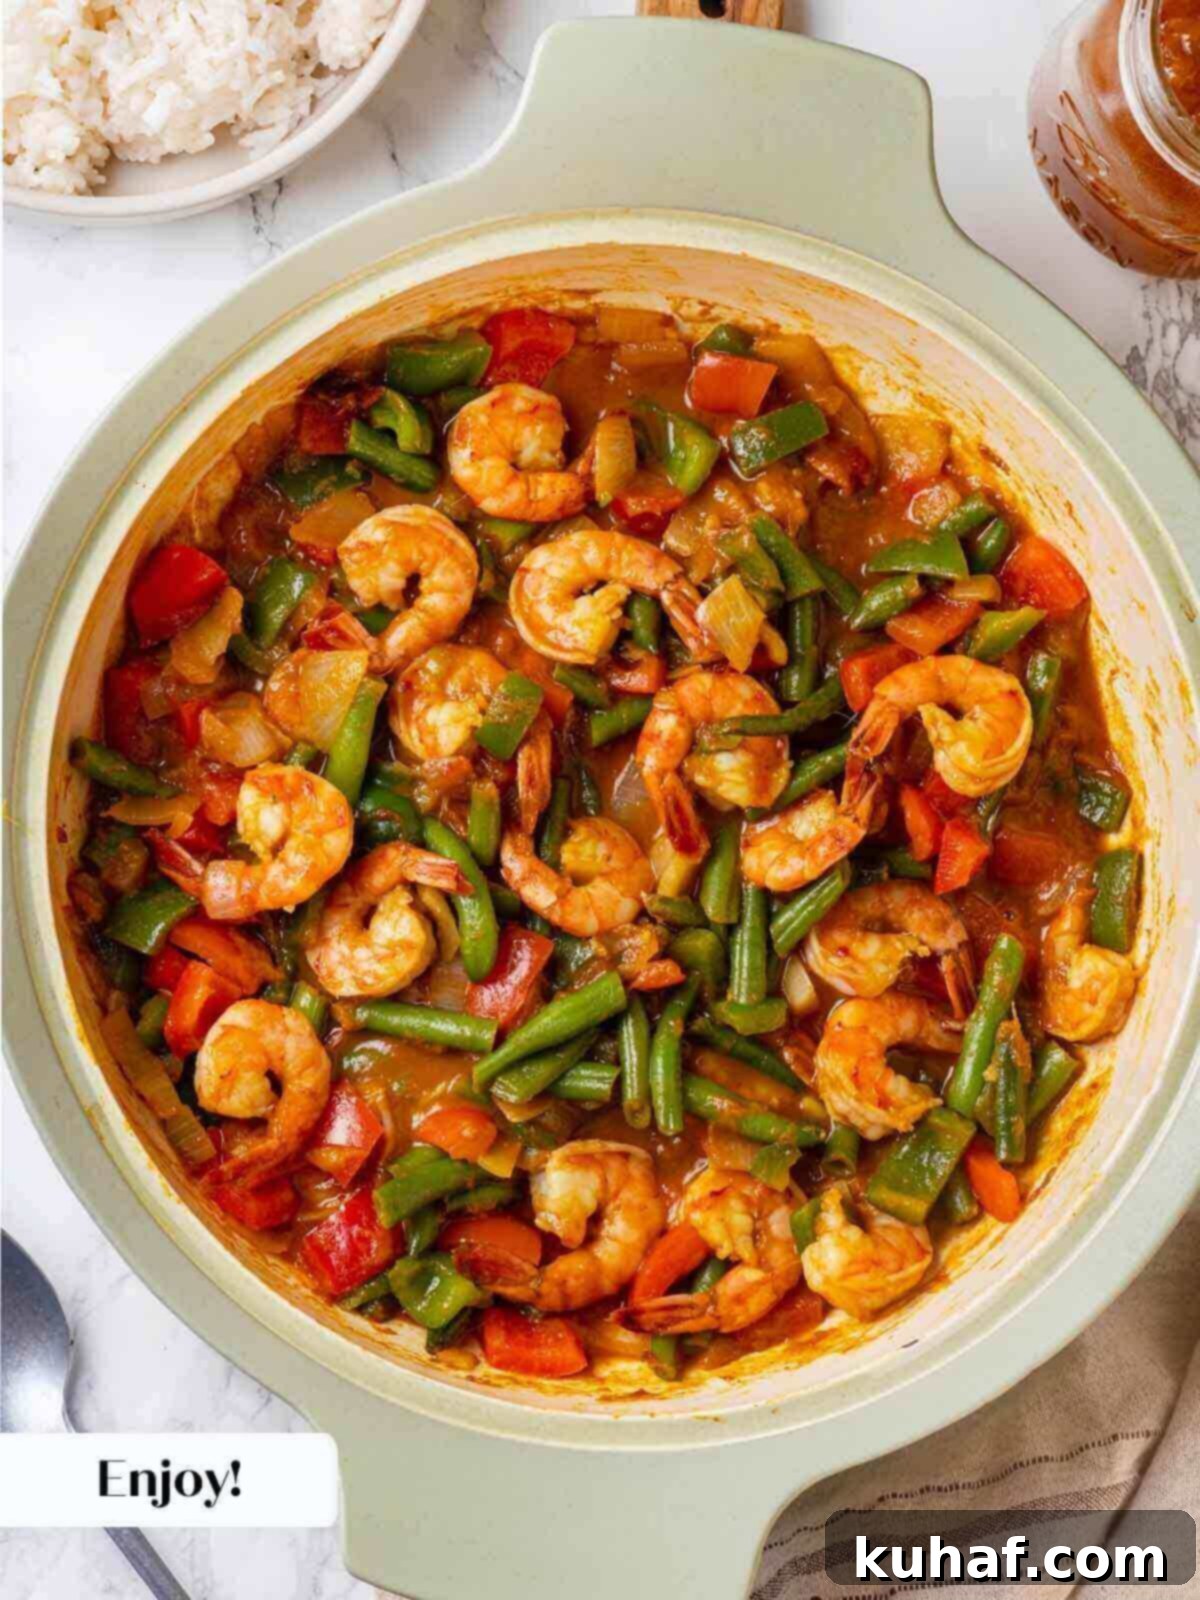
Step 8: Serve and Enjoy! Once the shrimp is perfectly cooked, your delicious curry is ready. Serve generous portions immediately over a bed of the fluffy coconut rice you prepared earlier. Garnish with fresh cilantro or a lime wedge if desired, for an extra burst of freshness.
Chef Lindsey’s Recipe Tip: Mastering the Heat Level
Customizing the spice level is key to enjoying your curry to the fullest. Curry pastes vary significantly in heat, from very mild to intensely fiery. If you prefer a milder curry, always start with a smaller amount of curry paste than the recipe suggests, perhaps half, and then gradually add more, tasting as you go, until you reach your desired level of heat. Conversely, if you’re a fan of bold, spicy flavors, don’t hesitate to add extra curry paste to the dish. Many brands also offer specific “mild” or “hot” versions, giving you even more control over the final kick of your delicious shrimp curry. Don’t be afraid to make it your own!
Frequently Asked Questions About Shrimp Curry
Leftover shrimp curry can be stored safely in an airtight container in the refrigerator for 3-4 days. For optimal freshness and texture, I highly recommend storing the curry and the coconut rice in separate containers. This also applies to freezing: freeze both components separately. To reheat, thaw frozen curry overnight in the fridge, then gently warm it on the stovetop over low heat, adding a splash of water or coconut milk if the sauce has thickened too much. Frozen rice can be reheated in the microwave; simply add a few teaspoons of water, cover, and microwave at 30-second intervals until it’s steaming hot and fluffy.
Absolutely! The beauty of curry lies in its versatility. Feel free to use any type of curry paste you prefer or have readily available. Thai red curry paste will offer a more intense, often spicier flavor. Green curry paste provides a fresher, more herbal note. Yellow curry paste tends to be milder and earthier, often with turmeric as a prominent spice. Even a homemade curry paste would be a fantastic choice for a truly bespoke flavor. Experiment to find your favorite!
Yes, using frozen shrimp is a convenient and perfectly acceptable option for this recipe. To prepare them, simply thaw the shrimp in a bowl of cold water for about 15-20 minutes, or until fully defrosted. Once thawed, it’s essential to pat them thoroughly dry with paper towels to remove any excess moisture. This critical step prevents the curry from becoming thin or watery and helps the shrimp achieve a better texture when cooked.
Of course! While jasmine rice is wonderful for its fragrance and fluffy texture, you can certainly substitute it with other rice varieties. Basmati rice, another aromatic long-grain option, or regular long-grain white rice would work well. If you prefer a healthier whole grain, brown rice is a great choice, though you’ll need to adjust the cooking time and liquid ratio accordingly (often requiring more water and longer cooking). For low-carb alternatives, consider serving your shrimp curry with cauliflower rice or broccoli rice – these soak up the sauce beautifully!
If you tried this delicious recipe and absolutely loved it, please take a moment to leave a 🌟 star rating and let me know how it went in the comments below. I genuinely love hearing from you; your feedback and comments truly make my day!
Shrimp Curry
Chef Lindsey
15 minutes
30 minutes
45 minutes
6 people
Saved
Pin Recipe
Comment
Print Recipe
Ingredients
For the Shrimp Curry:
- 1 tablespoon unsalted butter
- 1 onion chopped
- 1 red bell pepper chopped
- 1 green bell pepper chopped
- 1 cup green beans 1 inch pieces
- 3 cloves garlic chopped
- 20 jumbo shrimp deveined
- 4 tablespoons curry paste I used Tikka Curry Paste, but others would work too
- ½ cup mango chutney
- 1 tablespoon oil
For the Coconut Rice:
- 12 oz light coconut milk or regular if you want a treat!
- 1 ¼ cups water
- 1 pinch salt
- 1 cup jasmine rice uncooked
Instructions
Prepare the Rice:
-
In a saucepan, combine all of the ingredients for the rice (jasmine rice, coconut milk, water, and a pinch of salt). Bring to a boil on the stove over medium heat. Cover the saucepan, reduce heat to low, and simmer for 20-25 minutes or until the rice is tender and most of the liquid has been absorbed. Avoid lifting the lid during this process.
Prepare the Curry:
-
Thaw the shrimp in ice water if frozen. While the rice cooks, devein the shrimp, rinse them thoroughly, and pat dry with a paper towel. Set aside.
-
Melt 1 tablespoon of butter in a large skillet over medium heat. Sauté the green beans, chopped onions, and bell peppers until the onions are translucent and the peppers are tender, about 5-7 minutes.
-
Add the chopped garlic to the skillet and sauté for another 30-60 seconds until fragrant and just beginning to brown.
-
Add the curry paste to the pan. Stir well to coat all the vegetables and cook for 1 minute to release its aromas.
-
Add the mango chutney, stir well to combine into the sauce, and taste. Adjust with more curry paste for heat or salt to taste, ensuring a balanced sweet and spicy flavor.
-
Add the prepared shrimp to the pan and stir to coat. Simmer gently until the shrimp is fully cooked through, about 3-4 minutes per side, turning opaque and curling into a ‘C’ shape. Be careful not to overcook.
-
Serve your flavorful shrimp curry immediately over a bed of the hot, fluffy coconut rice. Garnish with fresh cilantro if desired.
Notes
Variations – Coconut shrimp curry: To make this a rich Thai coconut shrimp curry recipe, add 1 full can of coconut milk (light or full-fat) to the curry sauce along with Thai red curry paste. A squeeze of lime juice and fresh cilantro or Thai basil can add an authentic finish.
Storage – Store leftover shrimp curry in an airtight container in the refrigerator for 3-4 days. For best results, store the curry and rice separately. You can also freeze portions separately for up to 3 months. Thaw overnight and reheat gently on the stovetop for curry, and in the microwave with a splash of water for rice.
Nutrition
Carbohydrates: 53g |
Protein: 13g |
Fat: 10g |
Saturated Fat: 6g |
Polyunsaturated Fat: 1g |
Monounsaturated Fat: 2g |
Trans Fat: 0.1g |
Cholesterol: 89mg |
Sodium: 448mg |
Potassium: 281mg |
Fiber: 3g |
Sugar: 17g |
Vitamin A: 2575IU |
Vitamin C: 49mg |
Calcium: 83mg |
Iron: 1mg
Dinner
American
359
Like this? Leave a comment below!
Before You Go: Explore More Chef-Developed Recipes
I genuinely hope you enjoyed preparing and savoring this professional chef-tested shrimp curry recipe. It’s a dish designed to bring vibrant flavors and culinary satisfaction to your table with ease. Don’t let your culinary journey stop here! I invite you to explore our other delicious, chef-developed recipes, particularly our diverse collection of summer dinner recipes, perfect for any season or occasion. Happy cooking!
