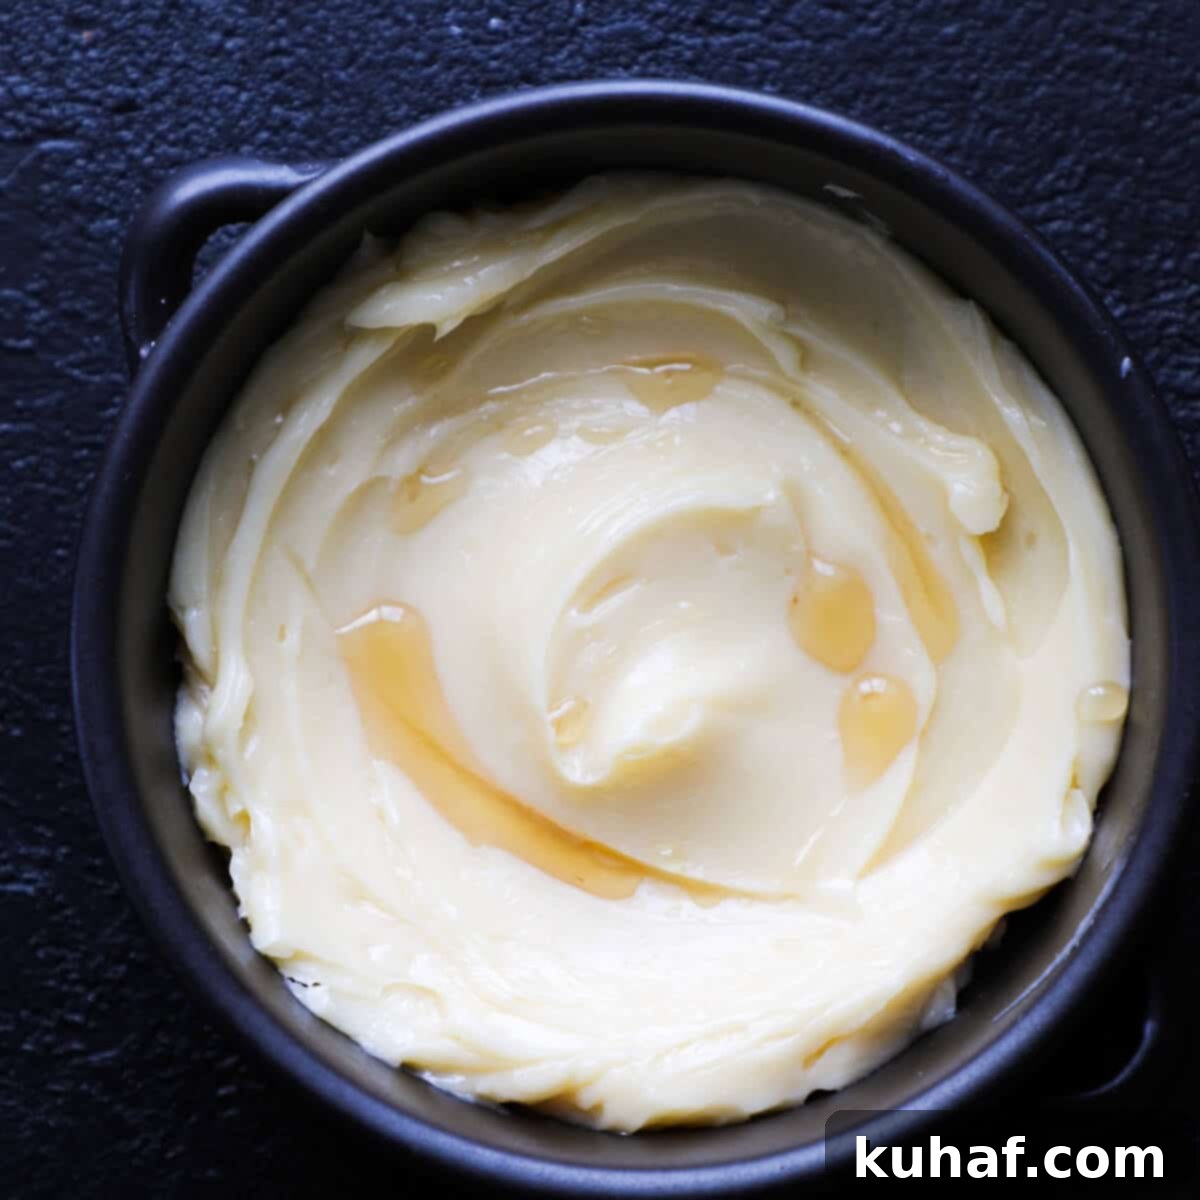
The Ultimate Homemade Maple Butter Recipe: Easy, Delicious & Versatile
Imagine a spread so rich, so perfectly balanced between sweet and savory, it elevates any breakfast, brunch, or dinner roll to an extraordinary culinary experience. This isn’t just butter; it’s **Homemade Maple Butter**, a luxurious concoction requiring only three simple ingredients. In mere minutes, you can create a velvety, melt-in-your-mouth spread that will become a staple in your kitchen. Forget store-bought alternatives; this easy maple butter recipe promises a depth of flavor and a creamy texture that is simply unmatched. It’s perfect for slathering on warm toast, fluffy pancakes, tender quick breads, or even your favorite dinner rolls, transforming everyday meals into moments of pure delight.
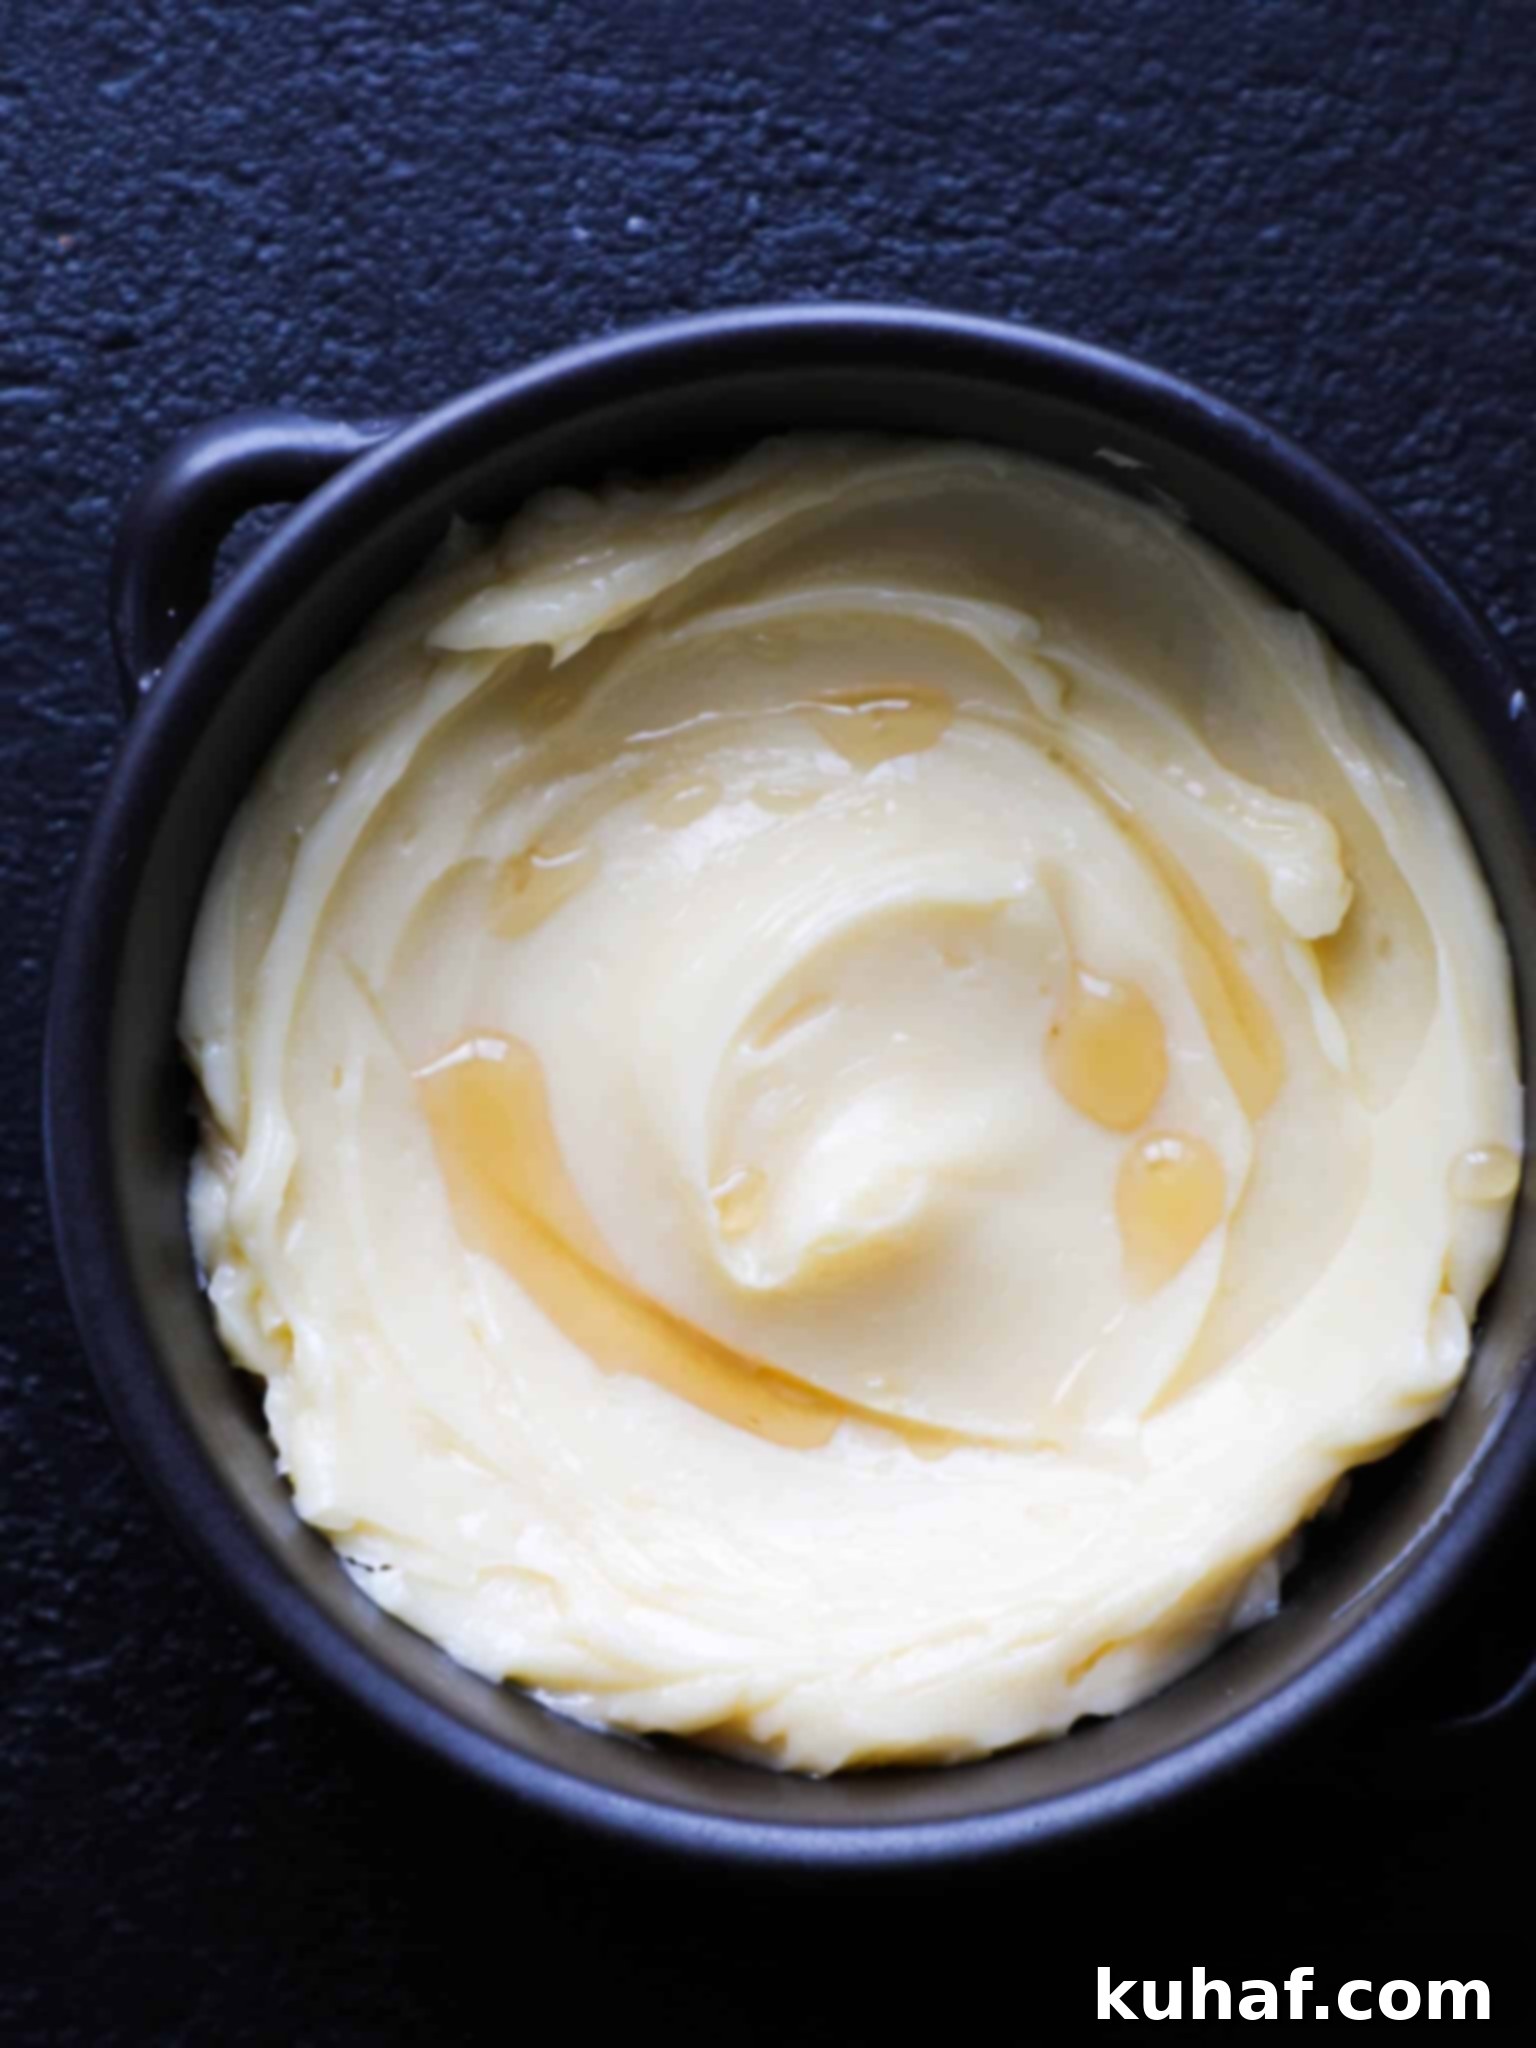
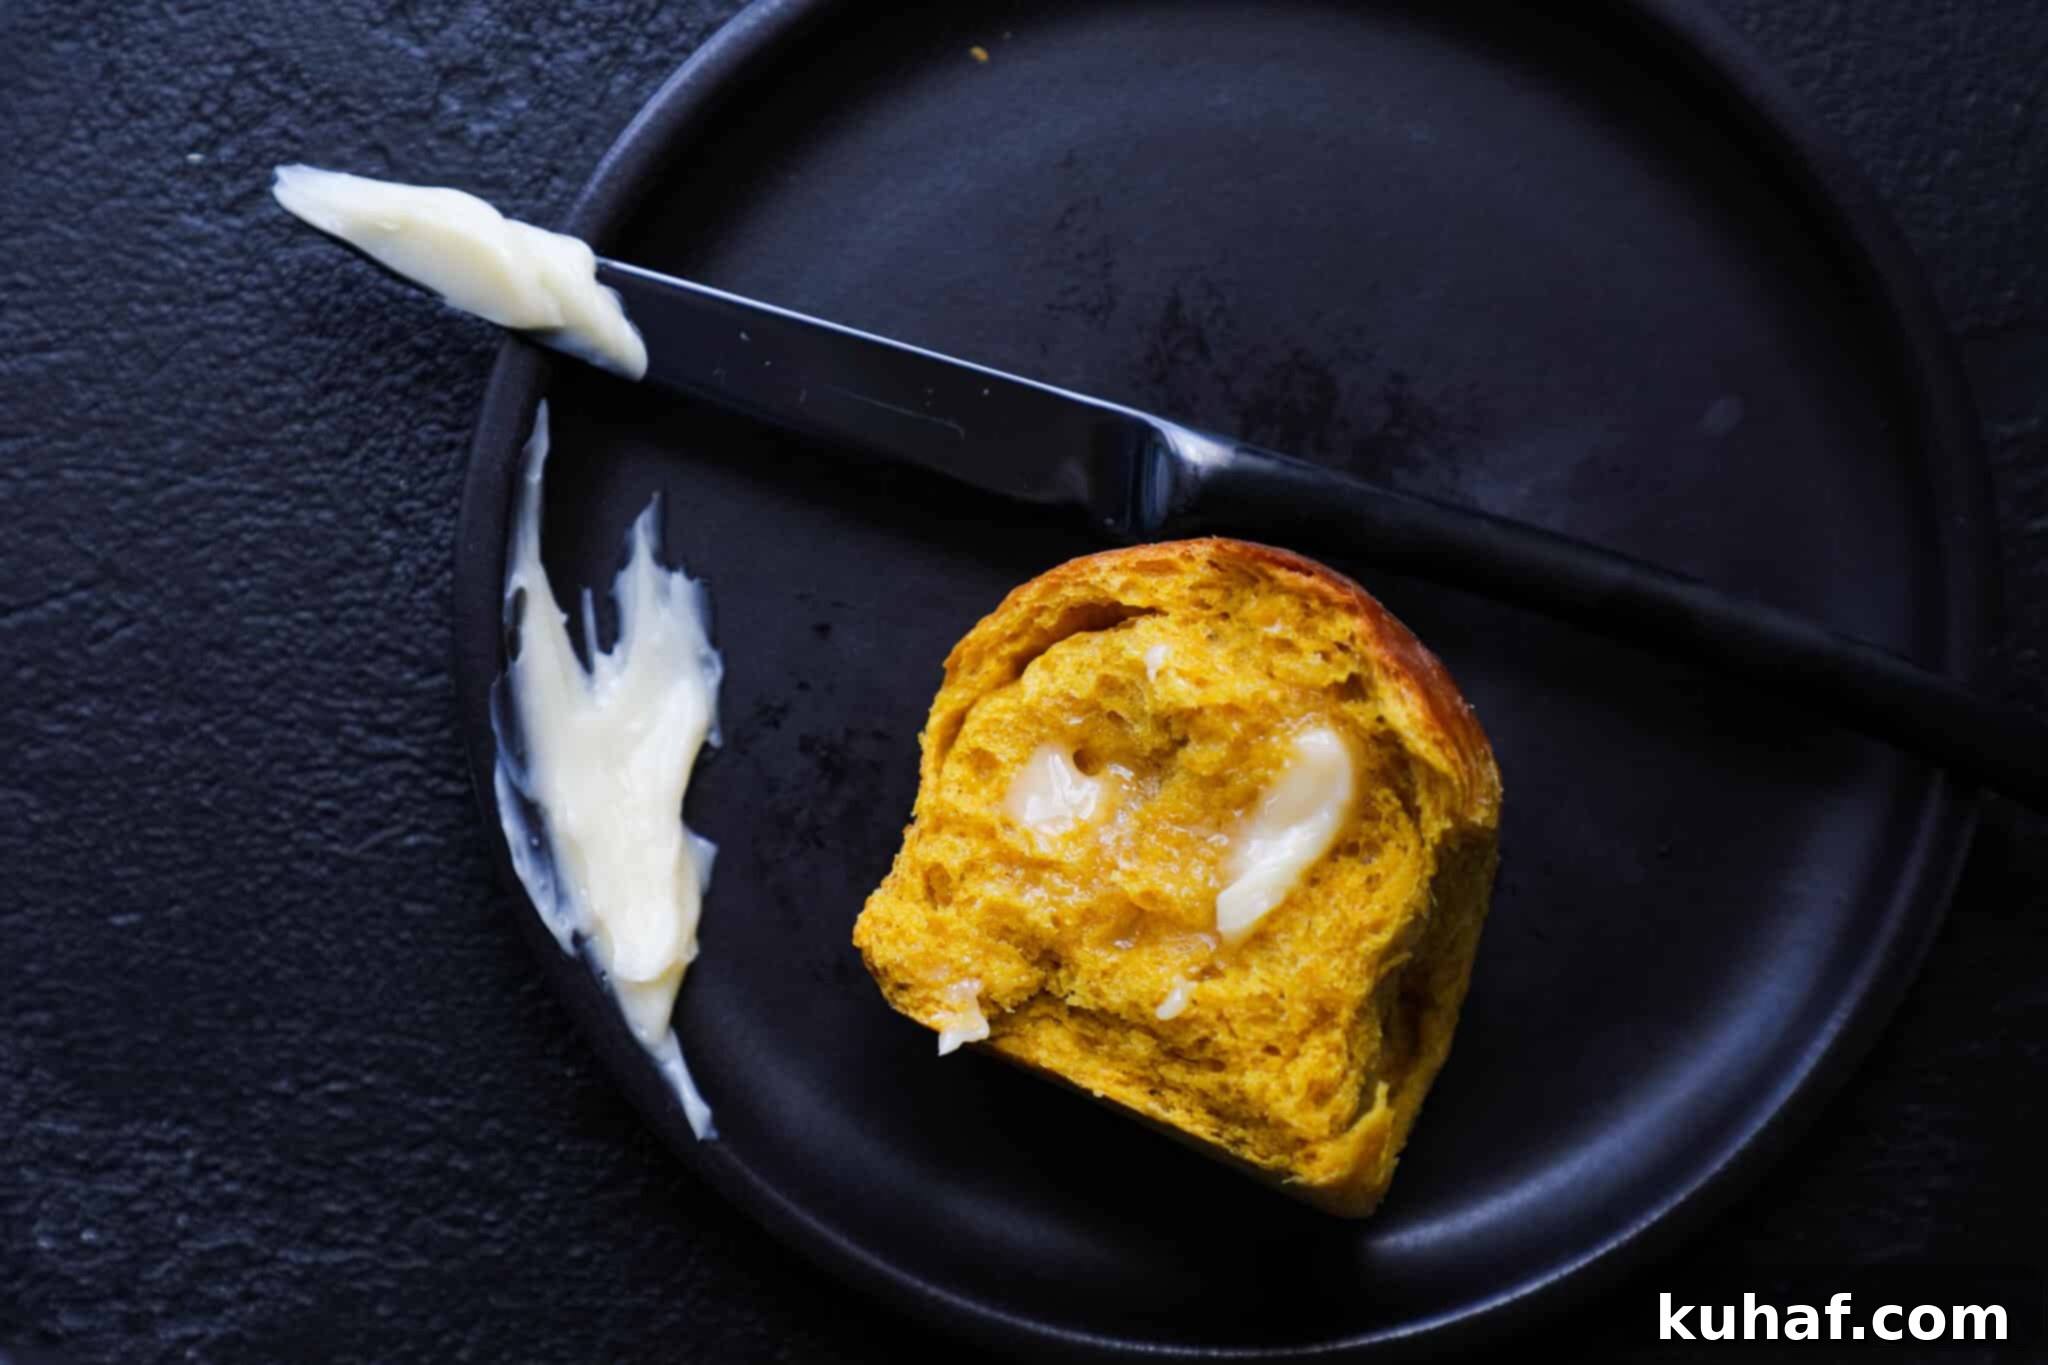
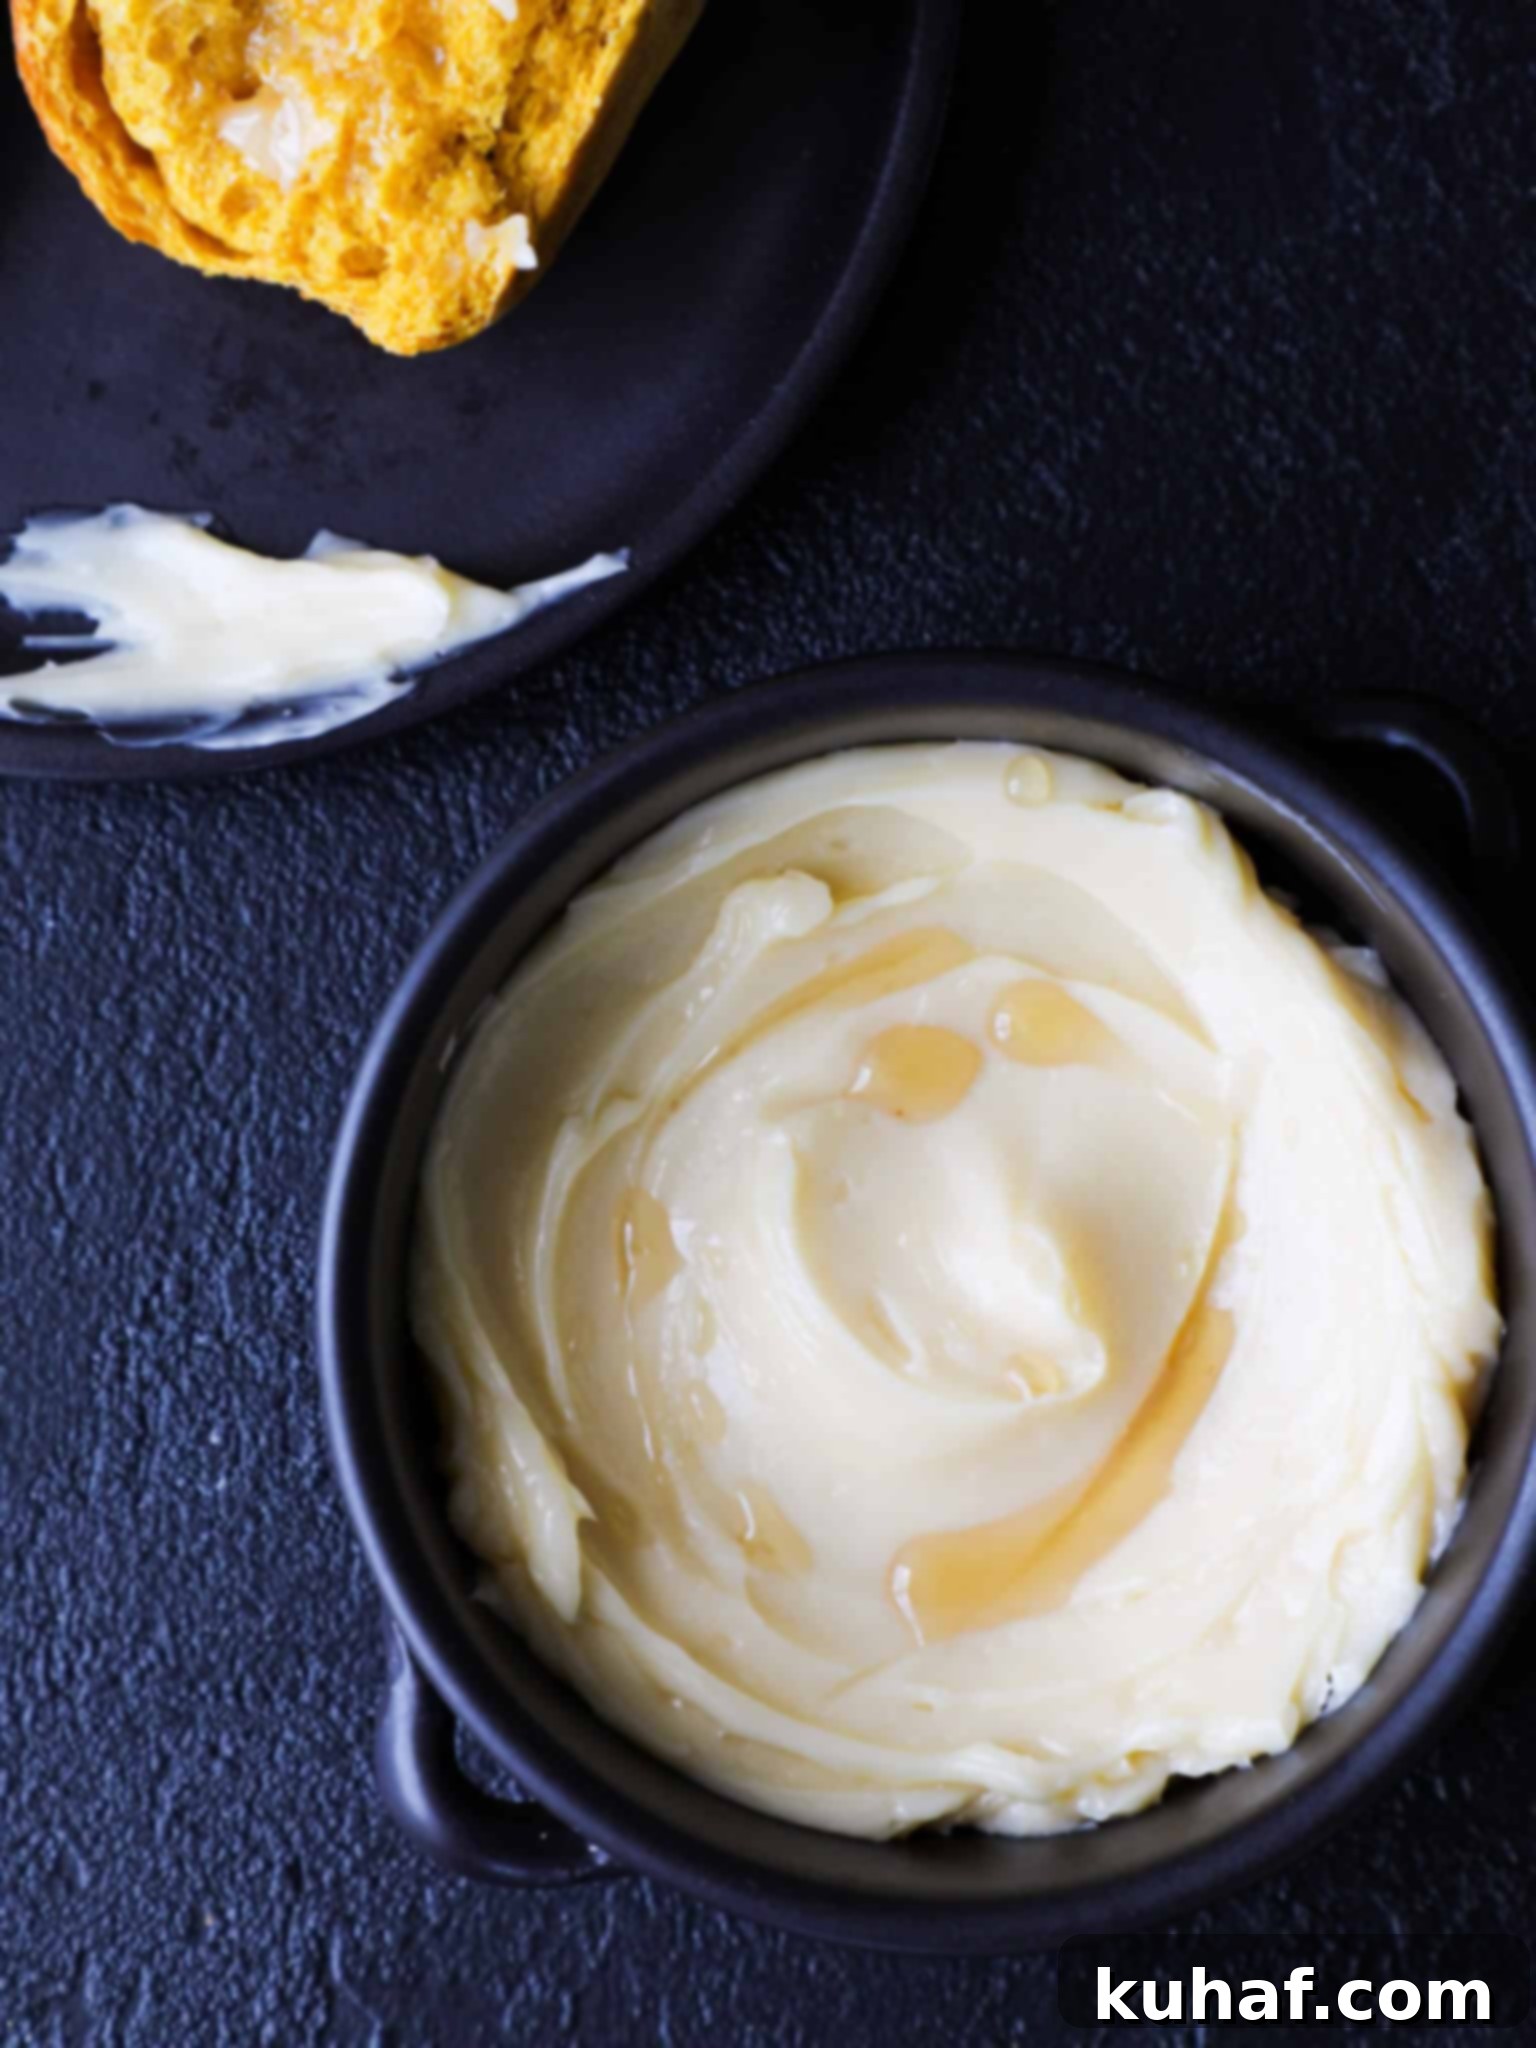
There’s a special kind of magic that happens when you sit down to a meal, and alongside a basket of warm bread, you find a small dish of exquisitely flavored butter. For me, it’s often the highlight, especially when that butter strikes the perfect balance of salty and sweet. That’s precisely the experience this homemade maple butter delivers. When I prepared my Pumpkin Spice Dinner Rolls, I quickly whipped up a batch of this delightful spread, and it instantly elevated the meal. Whether it’s paired with fluffy dinner rolls, slathered on a morning muffin, or even incorporated into a savory dish, this easy recipe for maple butter is guaranteed to bring a smile to your face. Its simple preparation belies its profound impact on your taste buds, making it an essential addition to any home cook’s repertoire.
Table of Contents
- Why Make Your Own Maple Butter?
- How to Use Homemade Maple Butter?
- Key Ingredients for Homemade Maple Butter
- Step-by-Step Guide to Making Maple Butter
- Delicious Variations for Maple Butter
- Tips for Perfect Homemade Maple Butter
- Frequently Asked Questions About Maple Butter
- Homemade Maple Butter Recipe Card
- Explore More Delicious Recipes!
Why Make Your Own Maple Butter?
While specialty stores might offer artisan flavored butters, making your own **homemade maple butter** is not only incredibly simple but also offers numerous advantages. Firstly, you have complete control over the quality of ingredients. You can choose the finest unsalted butter and premium pure maple syrup, ensuring a superior flavor profile free from artificial additives or preservatives. Secondly, it’s often more cost-effective to make at home, especially if you enjoy having flavored butter regularly. Thirdly, the satisfaction of whisking together just a few ingredients to create something so remarkably delicious is a reward in itself. This easy maple butter recipe also allows you to customize the sweetness and saltiness to perfectly match your preferences, something you can’t do with pre-made versions. It’s a small effort for a huge flavor payoff, making every bite of your toast, pancake, or scone feel extra special. Plus, homemade gifts always carry a touch of love, and a jar of this maple butter is sure to be a cherished present.
How to Use Homemade Maple Butter?
The versatility of homemade maple butter is truly impressive, making it a fantastic addition to both sweet and savory dishes. Its rich, melt-in-your-mouth texture and unique flavor profile will transform everyday fare into something special. Here are some of our favorite ways to enjoy this delightful spread:
- Breakfast & Brunch Staples: Start your day with a touch of gourmet. Drizzle melted maple butter over a stack of warm, fluffy buttermilk waffles or golden whole wheat pancakes for an instant upgrade. It’s also incredible spread generously on morning toast, English muffins, bagels, or even a warm croissant. Don’t forget to try it on French toast for an extra layer of flavor!
- Quick Breads & Muffins: Elevate your baked goods by slathering a thick slice of moist pumpkin bread, comforting banana bread, or a freshly baked muffin with this rich maple spread. The maple notes perfectly complement the spices and fruit in these treats, adding an irresistible sweetness and depth.
- Dinner Rolls & Savory Sides: Don’t limit this luxurious butter to just sweet applications! It’s absolutely divine on warm rosemary sourdough rolls, classic Southern cornbread, comforting potato dinner rolls, or wholesome whole wheat buttermilk rolls. The salty-sweet profile offers a wonderful contrast to savory bread, creating an unforgettable experience. Try it on Fall Spiced Cornbread for a seasonal twist that will impress your guests.
- Baking & Cooking: Get creative and substitute maple butter for regular butter in recipes like buttered pecans, sweet potato casseroles, or even for sautéing apples or squash. Its unique flavor adds a gourmet touch to countless dishes. You can even use it to finish grilled corn on the cob, as a glaze for roasted carrots, or spread it on a warm baked sweet potato for a simple yet decadent side.
Key Ingredients for Homemade Maple Butter
Making incredible maple butter is all about using high-quality ingredients. With only three components, each plays a crucial role in achieving that perfect salty-sweet balance and smooth texture. Here’s what you’ll need and why:
- Unsalted Butter: The foundation of our maple butter! I strongly recommend using unsalted butter for this recipe. The primary reason is control. Different brands of butter, especially salted varieties, can have varying sodium levels, making it difficult to consistently achieve the desired salty-sweet balance. Starting with unsalted butter allows you to precisely adjust the amount of salt to your taste, ensuring a perfect equilibrium of flavors. Ensure your butter is at **room temperature** – this is absolutely critical for a smooth, lump-free spread. Cold butter will not incorporate the maple syrup and salt properly, resulting in a separated or grainy texture. Let it sit on the counter for at least an hour or two until it’s soft enough to easily indent with your finger.
- Kosher Salt: Salt is more than just a seasoning; it’s a flavor enhancer that beautifully complements and balances the sweetness of the maple syrup. I prefer Kosher salt because its larger flakes provide a subtle crunch and a less intense saltiness per teaspoon compared to finer ground table salt. This makes it easier to control the overall saltiness and prevents the butter from becoming overwhelmingly salty. The larger granules also dissolve slowly, offering a delightful pop of saltiness as you eat. If using fine sea salt or table salt, you’ll need to use slightly less than the recipe calls for, so start small and taste as you go.
- Pure Maple Syrup: The star of the show! For the richest, most authentic maple flavor, always opt for pure Vermont maple syrup (or any high-quality pure maple syrup from a trusted source like Canada). Avoid artificial maple-flavored syrups, which lack the complex notes, natural goodness, and nutritional benefits of real maple. The current grading system classifies syrups by color and flavor. I recommend using “Grade A: dark amber color and robust flavor,” which was formerly known as “Grade B.” This grade offers the deepest, most pronounced maple flavor and a thicker consistency, perfect for incorporating into butter. While “Grade A: Very Dark and Strong Flavor” also exists and has an even more intense maple taste, it can be quite expensive and harder to find. Whichever grade you choose, ensure it’s 100% pure maple syrup for the best results in your homemade maple butter.
Step-by-Step Guide to Making Homemade Maple Butter
Creating this delightful maple butter is incredibly straightforward, requiring minimal effort for maximum flavor. Follow these simple steps to ensure your spread comes out perfectly smooth and delicious every time:
- Prepare Your Butter: The most crucial step for success is ensuring your unsalted butter is at true room temperature. This means it should be soft enough to easily mix but not melted or greasy. If you press it lightly, your finger should leave an indentation. If your butter is too cold, the maple syrup won’t emulsify properly, and you’ll end up with lumps or a separated mixture. Plan ahead and let it sit on the counter for at least an hour or two until it reaches the ideal consistency.
- Combine Ingredients: In a medium-sized mixing bowl, add the softened unsalted butter, the specified amount of kosher salt, and the pure maple syrup. These are your only three ingredients for a truly magical spread!
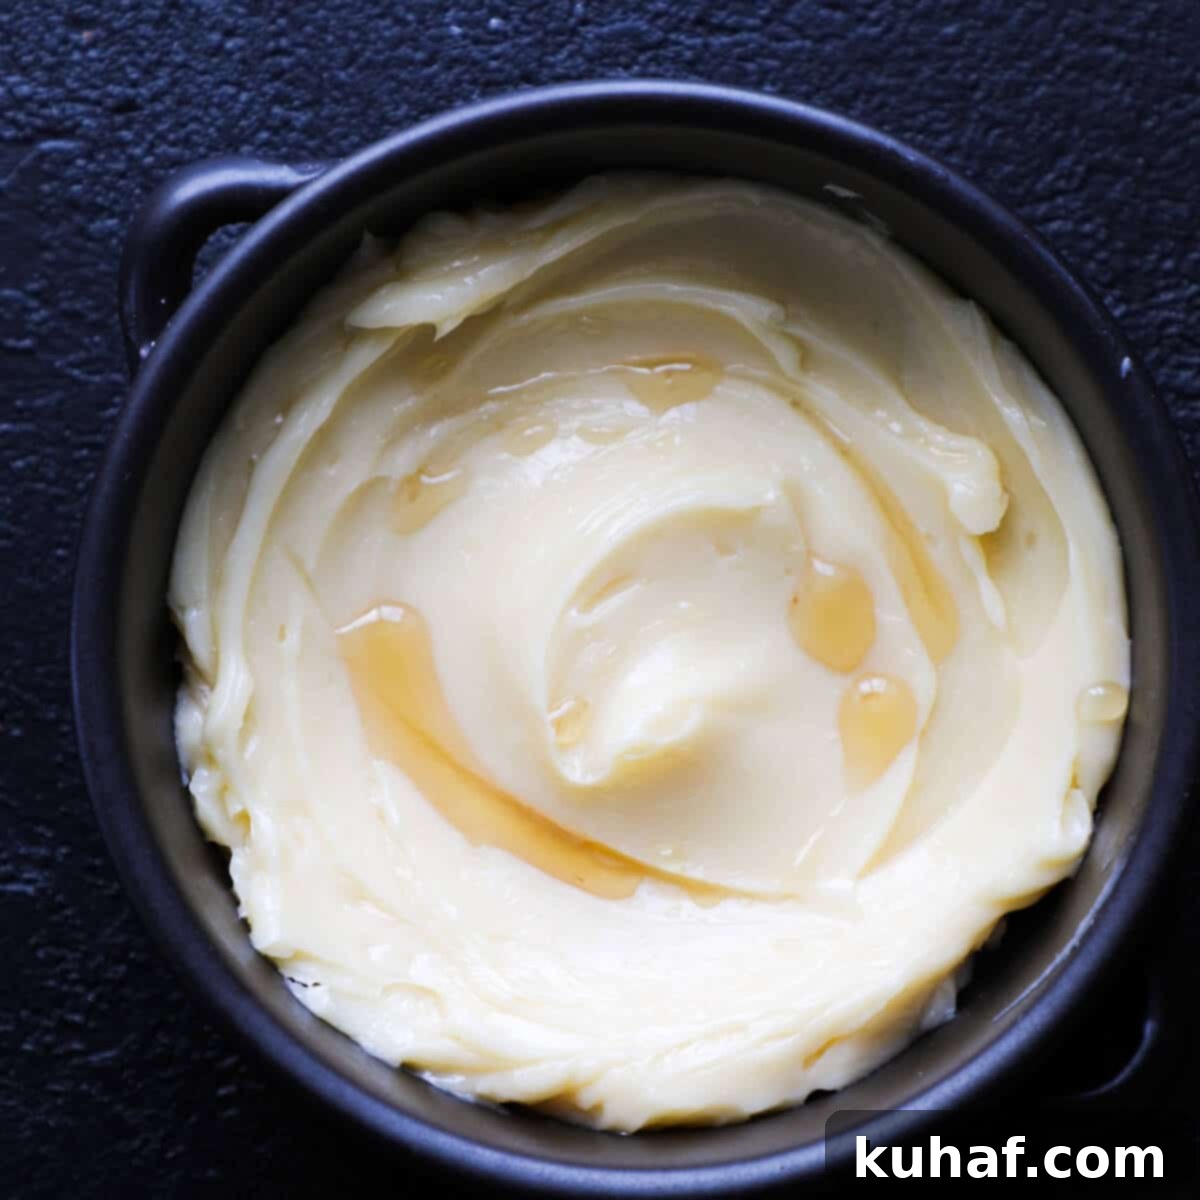
- Mix Thoroughly: Using a sturdy spoon, a fork, or a rubber spatula, stir all the ingredients together vigorously. For an even lighter, airier, and whipped texture, you can opt to use an electric hand mixer for one to two minutes until the mixture becomes fluffy and smooth. Continue mixing until the maple syrup is fully incorporated, and there are absolutely no streaks of unmixed butter or syrup. The final mixture should be uniform in color and have a beautifully creamy consistency.
- Taste and Adjust: Once thoroughly combined, take a small taste of your maple butter. This is your chance to fine-tune the flavor profile to your personal preference. If you prefer it sweeter, add a tiny bit more maple syrup, mixing it in completely. If you desire a stronger salty counterpoint to the sweetness, sprinkle in just a pinch more kosher salt. Remember to mix well after each adjustment.
- Serve or Store: Your freshly made homemade maple butter is now ready to be enjoyed! Spread it generously on your favorite warm bread, pancakes, waffles, or any baked good you fancy. For storage, transfer the maple butter to an airtight container.
The entire process takes just a few minutes, making it a perfect last-minute addition to any meal or a thoughtful homemade gift that speaks volumes of care and culinary skill.
Delicious Variations for Maple Butter
While the classic three-ingredient maple butter is undeniably delicious, it also serves as a fantastic canvas for creative culinary experimentation. Don’t hesitate to play with different types of butter, sweeteners, and additional flavorings to tailor this spread to your exact preferences or the dish you’re pairing it with. Here are some ideas to inspire you:
- Elevate Your Butter Base: For an exceptionally rich and decadent twist, consider using a higher-quality butter.
- European-style butter: These butters typically have a higher fat content (around 82% compared to standard American butter’s 80%) and are churned longer, resulting in a richer, creamier texture and a more pronounced, nuanced butter flavor. Brands like Kerrygold (Irish butter) are excellent choices. Just remember that many European-style butters are already salted, so be sure to taste your butter before adding any extra kosher salt to avoid over-salting.
- Cultured butter: Offering a slightly tangy, almost cheese-like, and more complex flavor profile, cultured butter can add an interesting depth and sophistication to your maple spread. It’s butter that’s been made with live bacterial cultures, much like yogurt.
- Homemade butter: If you’re feeling ambitious and have access to fresh, high-quality heavy cream, making your own butter will yield an incredibly fresh and uniquely flavorful base that takes this maple butter to the next level.
- Adjust the Sweetness Profile: The amount of maple syrup can be adjusted to your desired level of sweetness, allowing you to create a spread that is perfectly tailored to your palate.
- More or Less Maple Syrup: If you prefer a very pronounced maple flavor and sweetness, gradually add a bit more pure maple syrup, mixing well after each addition until you reach your ideal taste. For a more subtle sweetness that leans towards savory, reduce the amount slightly.
- Brown Sugar Boost: For an added layer of sweetness, a hint of molasses flavor, and a slightly richer caramel note, mix in a teaspoon or two of light or dark brown sugar. This can also contribute to a slightly thicker, more textured spread.
- Maple Sugar: For an intensified maple flavor and a slightly granulated texture, a small amount of pure maple sugar can be stirred in. This provides a more concentrated maple taste without adding extra liquid.
- Infuse with Warm Spices: Warm spices pair beautifully with maple, especially during the cooler months or for fall-themed dishes.
- Cinnamon or Nutmeg: A pinch (1/4 to 1/2 teaspoon) of ground cinnamon or freshly grated nutmeg can add a cozy, aromatic touch. These are especially lovely when pairing the maple butter with pumpkin bread or apple muffins.
- Pumpkin Pie Spice: For a true seasonal delight, incorporate a small amount (1/2 teaspoon) of pumpkin pie spice blend. This blend typically includes cinnamon, nutmeg, ginger, and cloves, offering a complex warmth.
- Cardamom: For an exotic and fragrant twist, a tiny pinch of ground cardamom can be surprisingly delightful.
- Add a Splash of Extract: Extracts are powerful, so use them sparingly to avoid overpowering the delicate maple flavor.
- Vanilla Extract: A quarter teaspoon of pure vanilla extract can enhance the overall sweetness, add a comforting aroma, and provide a lovely roundness to the flavor profile.
- Almond Extract: For a unique twist, a tiny drop (just a few drops, not a full quarter teaspoon) of almond extract can introduce a subtle nutty note that complements the maple beautifully.
- A Touch of Decadence: For those looking to elevate their maple butter even further.
- Bourbon or Rum: For an adult-friendly version, a very small splash (about ½ teaspoon) of good quality bourbon or dark rum can add a sophisticated depth of flavor and a warm, boozy undertone. Be mindful not to add too much liquid, which could alter the butter’s consistency.
- Citrus Zest: A little finely grated orange or lemon zest (from about half a citrus fruit) can brighten the flavor, adding a fresh, aromatic counterpoint to the sweetness of the maple.
Remember to taste your variations as you go to ensure they meet your flavor expectations. The possibilities are truly endless when it comes to customizing your perfect batch of homemade maple butter, making it a versatile ingredient for countless culinary adventures!
Tips for Perfect Homemade Maple Butter
Achieving that perfectly smooth, flavorful maple butter is easy when you keep a few key tips in mind. These insights will help you avoid common pitfalls and ensure your spread is always a triumph, whether you’re making it for yourself or to share with others:
- Room Temperature Butter is Non-Negotiable: We can’t stress this enough! If your butter isn’t genuinely soft (but not melted!), the maple syrup and salt won’t emulsify properly. This will result in a lumpy, grainy, or separated mixture that lacks that desirable creamy texture. Plan ahead and take your butter out of the fridge at least 1-2 hours before you start. You should be able to press a finger into it easily without much resistance.
- Whip for an Airier Texture: While a spoon works just fine for combining the ingredients, an electric hand mixer (or even a stand mixer with the paddle attachment) can whip the butter and maple syrup into a lighter, fluffier consistency. This incorporates air, making the maple butter even more spreadable, delightfully airy, and visually appealing. If you prefer a dense, traditional butter, simply stir by hand until well combined.
- Taste and Adjust Seasoning: Always taste your maple butter before concluding the recipe. The beauty of homemade is customization! Your palate is the best judge. If you find it needs more sweetness to perfectly balance the salt, add a little extra maple syrup. If you want to enhance the savory notes and cut through the sweetness, a tiny pinch more of kosher salt can do wonders. Remember, you can always add more, but you can’t take it away, so add gradually.
- Chill for Firmer Consistency: If your finished maple butter feels a little too soft for your liking, especially after being whipped or if your kitchen is warm, you can pop it into the refrigerator for 15-30 minutes. It will firm up slightly, making it easier to spread, or even shape into a decorative log if you’re feeling fancy.
- Consider a Food Processor: For larger batches or if you want an ultra-smooth consistency with minimal effort and without whipping too much air into it, a food processor can quickly combine the ingredients. Just be careful not to over-process, which could generate too much heat and potentially melt the butter. Pulse in short bursts until smooth.
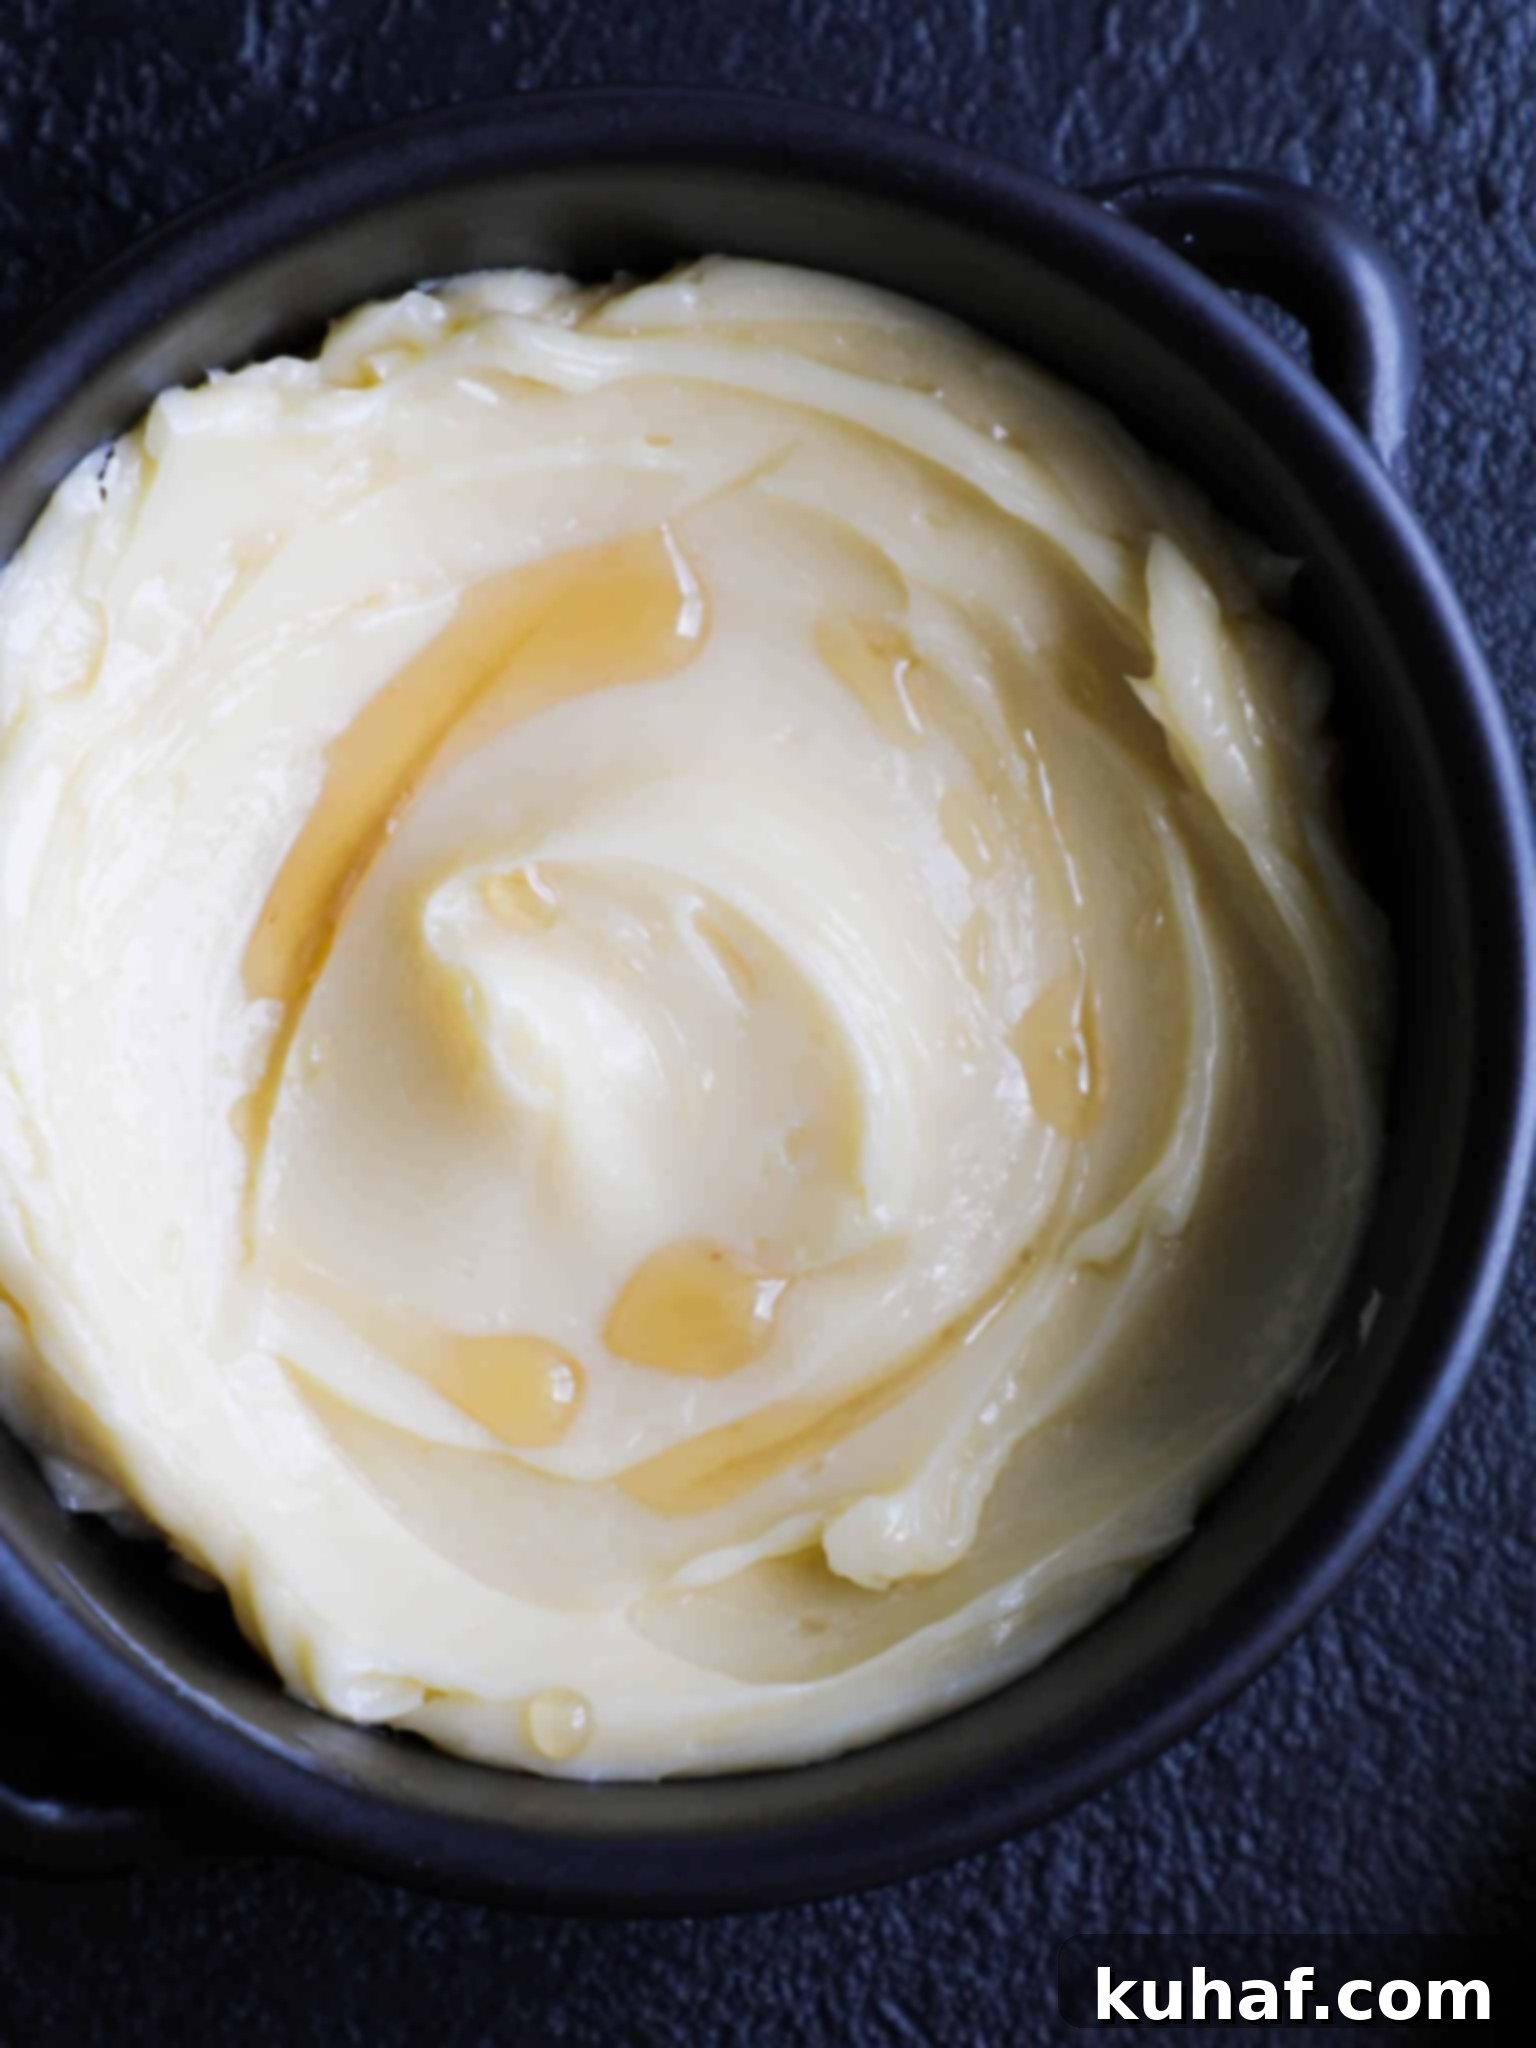
- Presentation Matters: If you’re serving this for guests or as part of a special brunch, presentation can enhance the experience. Consider pressing the maple butter into a small decorative mold (like a silicone candy mold), rolling it into a log wrapped tightly in parchment paper (then chilling and slicing into rounds), or simply serving it in a beautiful ramekin. A sprinkle of flaky sea salt on top can add a beautiful finish and an extra pop of flavor.
With these simple tips, your homemade maple butter will be consistently perfect, ready to impress on any occasion and elevate any dish it graces!
Frequently Asked Questions About Maple Butter
For the richest and most authentic flavor in your maple butter, I highly recommend using pure maple syrup. Specifically, I find that “Grade A: dark amber color and robust flavor” (which was formerly known as “Grade B”) offers the best balance of deep maple notes and a good consistency. Its robust flavor stands up well when mixed with butter, ensuring the maple taste isn’t lost. While “Grade A: Very Dark and Strong Flavor” also exists and has an even more intense profile, it’s often more expensive and less readily available. Always steer clear of artificial pancake syrups, as they are mostly corn syrup with artificial flavorings and won’t provide the natural depth and quality required for delicious homemade maple butter.
Proper storage is key to maintaining the freshness and flavor of your maple butter. It should always be stored in an airtight container or tightly wrapped in plastic wrap or parchment paper to prevent it from absorbing other odors in the refrigerator and to keep it fresh. When stored correctly in the refrigerator, homemade maple butter will last beautifully for up to 2 weeks. For longer storage, you can also freeze it.
Absolutely! Freezing is an excellent way to extend the shelf life of your homemade maple butter and ensures you always have some on hand. To freeze, wrap the maple butter tightly in plastic wrap, then place it in a freezer-safe bag or container. Label it with the date. It will keep well in the freezer for up to 3 months without any loss of quality. When you’re ready to use it, simply transfer it to the refrigerator to thaw overnight, or let it sit at room temperature for a shorter period until it’s spreadable. Freezing is perfect for making a large batch and enjoying it throughout the winter months or whenever a craving strikes!
Yes, this homemade maple butter recipe is incredibly forgiving and scales up beautifully! Whether you want to make a double batch for a holiday gathering or a quadruple batch to store in the freezer, the proportions hold true. There’s no special adjustment needed for larger quantities. The most important factor, especially when making larger quantities, is ensuring that all your butter is at a consistent room temperature. This will allow for easy and uniform incorporation of the maple syrup and salt, making even large batches a snap to prepare without any extra fuss.
If your maple butter appears separated or has lumps, it’s almost always due to the butter being too cold. When butter is cold, it struggles to properly emulsify with the liquid maple syrup, leading to an inconsistent texture. To fix this, first, ensure your butter is at true room temperature. If it’s still cold, let it soften further. You can also gently warm the mixture over a double boiler or in the microwave for a few seconds (being very careful not to melt it completely, just soften it), then mix vigorously again, preferably with a hand mixer, to bring everything back together into a smooth, creamy consistency.
While it’s highly recommended to use unsalted butter for better control over the salt content and to achieve the perfect salty-sweet balance, you can use salted butter in a pinch. If you do, omit the added kosher salt from the recipe initially. Once the maple butter is combined, taste it. If you feel it needs a bit more savory balance or a stronger salt flavor, add a tiny pinch of salt at a time until it reaches your desired preference. Keep in mind that the saltiness of salted butter can vary significantly by brand, so tasting as you go is essential.
If you tried this recipe and loved it, please leave a 🌟 star rating and let me know how it goes in the comments below. I love hearing from you; your comments make my day!
Homemade Maple Butter
Pin Recipe
Comment
Print Recipe
Ingredients
- ½ cup Unsalted Butter softened
- 3/8 tsp Kosher salt
- 2 tbsp Maple Syrup dark amber (formerly Grade B)
Instructions
-
In a bowl, combine the softened unsalted butter, kosher salt, and pure maple syrup.
-
Stir or whip until all ingredients are thoroughly incorporated and the mixture is smooth and uniform. Ensure there are no lumps of butter and the maple syrup is fully blended.
-
Taste and adjust seasoning if desired; add a little more salt or maple syrup to suit your preference.
-
Serve immediately or store in a sealed container in the refrigerator for up to 2 weeks, or freeze for up to 3 months.
Nutrition
Explore More Delicious Recipes!
If you’ve enjoyed mastering this easy homemade maple butter recipe, then you’ll love exploring more of our chef-developed creations! Don’t stop at condiments; dive into our collection of delightful Condiment Recipes to find new ways to elevate your meals, from savory spreads to sweet drizzles. Or, if this butter has inspired you to bake something fresh and warm, discover your next favorite among our wide array of comforting Bread Recipes, perfect for pairing with your new maple butter. Happy cooking!
