Rosemary Sourdough Dinner Rolls: Your Ultimate Guide to Flavorful Homemade Bread
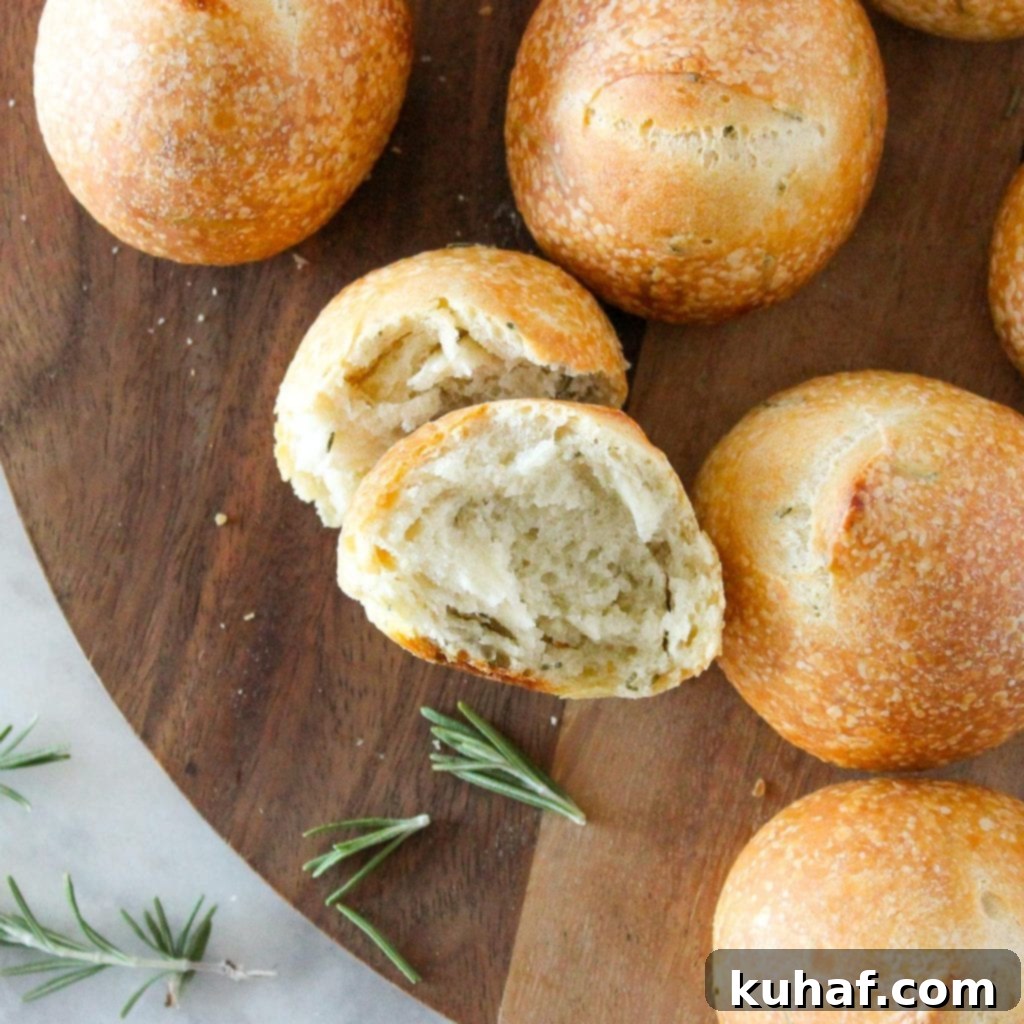
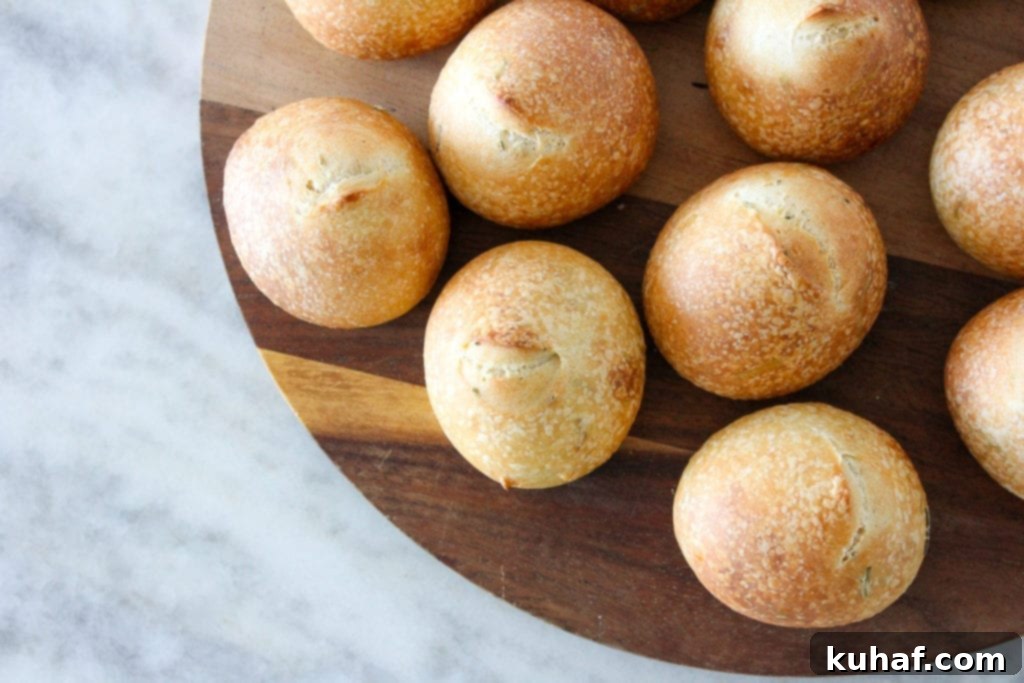
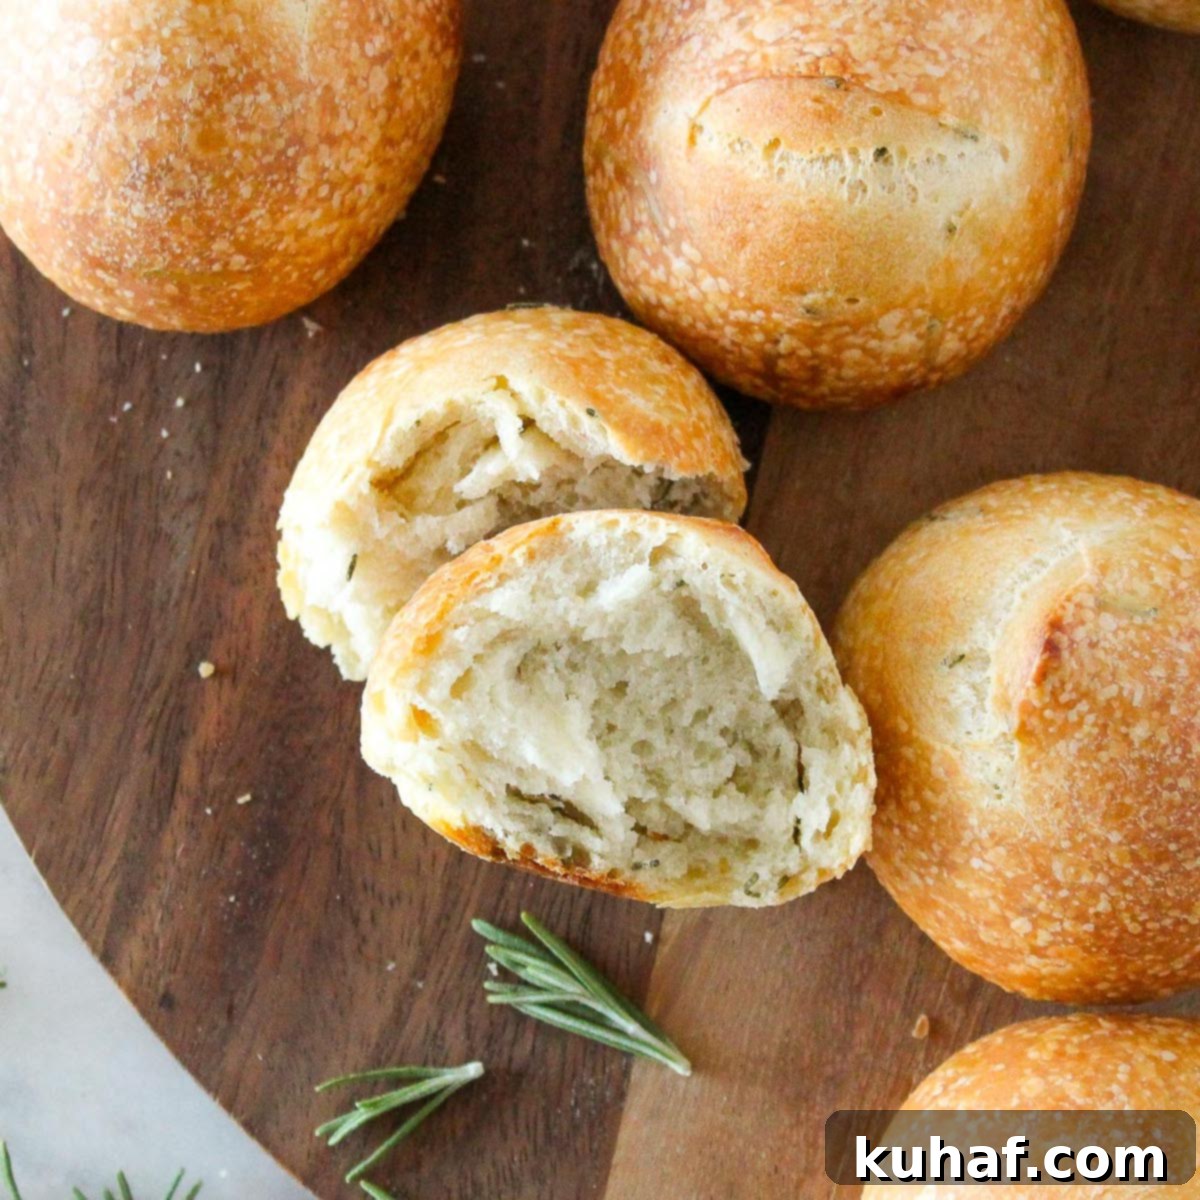
Prepare to elevate your dinner table with these incredible Rosemary Sourdough Rolls! Imagine a roll that’s irresistibly soft and airy on the inside, yet boasts a perfectly crisp, golden crust on the outside. Infused with the fragrant essence of fresh rosemary and naturally leavened with an active sourdough starter, these rolls are not just a side dish; they’re a culinary experience. Get ready to bake a batch of pure delight that will have everyone asking for more!

Why These Rosemary Sourdough Rolls Will Become Your New Favorite
If you, like me, believe that the subtle, woody aroma of rosemary can transform almost any dish, then your quest for the ultimate dinner roll ends here. These sourdough dinner rolls are a personal triumph, born from a deep love for both artisanal bread and this majestic herb. From savory steak chili to hearty lamb stew, succulent rosemary chicken, and even roasted rosemary potatoes, I find ways to incorporate rosemary into nearly everything. And when it comes to bread, its aromatic notes are simply unparalleled, creating a truly memorable culinary experience.
These homemade sourdough rolls aren’t just for special occasions; they’re a regular feature in my restaurant, often served alongside a variety of savory main courses because they are universally loved by guests. Today, I’m thrilled to share this cherished recipe with you, hoping it brings as much joy to your kitchen and dinner table as it does to mine. They are truly the perfect accompaniment for any meal, adding a touch of rustic elegance and incredible flavor that elevates even the simplest spread.

The Art of Sourdough Baking: Patience Yields Perfection
While the idea of baking with sourdough might seem daunting at first, these rosemary sourdough rolls are surprisingly approachable, especially for those familiar with the basics of sourdough baking. The key, however, is patience. Unlike commercial yeast breads that rise quickly, sourdough relies on the slow, natural fermentation of your starter, which develops an unparalleled depth of flavor and a unique texture that simply cannot be rushed. Every minute spent waiting is an investment in the complex flavors and superior structure that only sourdough can provide.
Batch Baking and Freezing for Ultimate Convenience
One of the most practical aspects of this recipe for sourdough dinner rolls is its outstanding freezer-friendliness. I often prepare these rolls in larger batches (easily doubling the recipe in a 6-quart mixer), allowing me to enjoy fresh-tasting bread whenever the craving strikes, without the full baking commitment each time. After baking and cooling completely on a wire rack, I simply transfer the leftovers into airtight ziptop freezer bags. This brilliant method means you can pull out a few rolls whenever needed! To serve, simply reheat them from frozen in a preheated 400°F (200°C) oven until they’re hot throughout and the crust has gloriously re-crisped. They genuinely taste as if they were just pulled from the oven, offering that delightful contrast of soft interior and crunchy exterior. This makes them perfect for busy weeknights, last-minute guests, or for creating something special like a mini deviled egg salad sandwich or serving alongside a comforting bowl of soup.
Nourishing Your Sourdough Starter: The Heart of Your Bake
A successful sourdough bake always begins with a healthy, active starter. This particular recipe for rosemary sourdough rolls specifically calls for a fed starter, meaning it’s vibrant, bubbly, and at its peak activity, ready to provide optimal leavening. If you’re new to the wonderful world of sourdough or need a refresher on how to start, feed, and maintain your starter, be sure to visit my comprehensive guide on creating and maintaining a sourdough starter. And remember, every bit of your sourdough journey can be utilized – don’t let any discard go to waste! It’s perfect for creating delicious and quick treats like sourdough crackers or for making my versatile sourdough pizza dough recipe.

Ingredients Spotlight: The Role of Rosemary and Your Levain
For these aromatic rosemary sourdough rolls, I highly recommend using fresh rosemary. Its vibrant, piney, and slightly peppery notes are released beautifully during baking, infusing each bite with an unforgettable, garden-fresh flavor. If fresh rosemary isn’t available, you can certainly use dried, but remember to cut the weight in half, as dried herbs are significantly more concentrated in flavor. The intensity and nuanced aroma of fresh rosemary truly make a difference in this recipe, delivering that authentic, gourmet touch that elevates these rolls from good to extraordinary.
Preparing Your Sourdough Starter: A Multi-Day Journey to Flavor
Baking exceptional sourdough is indeed a labor of love, and the journey often begins several days before you even plan to mix your dough. Think of it as a rhythm of nature, a dance with your starter – a living, breathing culture that needs care and attention. If your sourdough starter has been enjoying a “nap” in the refrigerator, it needs to be gently awakened and brought back to its full, vigorous activity. I recommend taking it out at least two days before your planned baking day. Allow it to sit at room temperature for about 12 hours before its first feeding. From then on, a consistent nightly feeding routine will ensure your starter is robust, bubbly, and ready to work its magic when it’s time to build your levain, promising powerful leavening and rich flavor in your sourdough bread.
Understanding the Liquid Levain for Optimal Dough
This recipe specifically calls for a liquid levain, which simply means the starter build has a higher proportion of water to flour, resulting in a more liquid or “slack” consistency. There’s no need to maintain a separate liquid starter for this purpose; you can easily create a liquid levain from a portion of your regular, robust starter by adjusting the water-to-flour ratio during its feeding. The precise weight of starter in the levain build is crucial because, as any seasoned baker knows, successful bread-making is all about control. This brings us to our fundamental principle for achieving perfect bread: **CONTROL**!
Yes, fellow control-freaks and meticulous bakers, rejoice! Every step in sourdough baking offers an opportunity to precisely manage the variables, leading to consistent and outstanding results. Mastering these controls will not only improve your baking but also deepen your understanding of the sourdough process. Let’s dive into the core principles that will guide you to baking flawless rosemary sourdough dinner rolls every time.
Pro Tips for Baking Perfect Sourdough Rolls
- Control Your Starter’s Activity: The vitality of your sourdough starter is the bedrock of your bread. For the levain build, we strategically use a small percentage (around 10%) of active starter relative to the new flour and water. This isn’t arbitrary; it’s a precise calculation to ensure a slower, more controlled fermentation. This modest amount allows the yeast and beneficial bacteria to multiply and fully develop over 12-16 hours, reaching their peak activity precisely when you’re ready to mix your final dough. Using too much starter would cause the yeast to peak too rapidly, potentially leading to a less flavorful dough or one that quickly over-proofs.
- Control Your Ingredients with Precision: Baking is a science, and precision is paramount for consistent results. This is why volume measurements (cups, spoons) are deliberately omitted from this recipe. A digital kitchen scale is your indispensable tool in sourdough baking. The delicate balance of flour, water, salt, and starter is easily disrupted; even an extra tablespoon of flour or a few grams of water can significantly alter the dough’s hydration, texture, and ultimately, the final crumb of your homemade bread. Weighing your ingredients ensures consistent, repeatable success and a deeper understanding of your dough.
- Control the Dough’s Temperature: Temperature is arguably one of the most critical, yet often overlooked, factors in bread making. It directly influences fermentation speed and gluten development. This control begins with the temperature of your water. On colder days or when you want to subtly accelerate the rise, use warmer water for mixing. Conversely, if your kitchen is warm or you desire a longer, more controlled fermentation (which often translates to richer flavor), opt for cooler water. By adjusting water temperature, you can effectively manage the pace of your dough’s development, ensuring it rises optimally according to your schedule.
- Control the Gluten Development: Gluten is the structural framework of your bread, a protein network that traps the gases produced by the yeast, giving the rolls their characteristic rise, chew, and open texture. You need to develop just enough gluten to create a strong, elastic network that can support the dough and create that desirable open, tender crumb (the inside texture of the roll) with a light and airy feel. Be mindful not to overdevelop the dough; excessive mixing can actually cause the gluten network to break down, leading to a dough that struggles to hold its shape and results in a dense, tough texture that is unfortunately very difficult to salvage.
- Control the Shape for Structure and Crumb: The final shape of your roll is not just aesthetic; it’s fundamental to its internal structure and how it bakes. This versatile dough can be shaped into individual dinner rolls, small bâtards, a traditional loaf, or a round boule. Achieving a successful crumb, characterized by beautiful, airy pockets, depends on how well the dough maintains its shape during proofing and baking. This process starts with the pre-shape, which should never be skipped. The pre-shape helps organize the gluten strands, accustoming the dough to its ultimate form and building initial tension. Following this, a brief bench rest allows the gluten to relax, making the final shaping easier and preventing tearing or stressing the delicate gluten network. This organized structure maximizes steam and gas retention for an incredible oven spring.
- Control the Rise (Proofing Time): For sourdough, a slow and controlled rise is highly desirable. This extended fermentation period is essential for developing the complex, nuanced flavors that sourdough is famous for, as well as strengthening the gluten structure to achieve that signature chew. While adding a small amount of commercial yeast can speed up the rising process, it often comes at the cost of some of that signature sourdough depth and tangy complexity. Sometimes, for the sake of convenience or a quicker bake, this trade-off is absolutely worth it – I’m just saying! The key is understanding the balance and choosing what best suits your schedule and desired outcome.
- Control the Steam During Baking: Steam plays a more critical role than many realize, especially in the initial stages of baking. The first aspect of steam control involves scoring your rolls. Making precise cuts in the dough dictates where steam escapes, allowing for maximum oven spring and volume. These scores should be deep enough and strategically placed to guide expansion. Secondly, controlling the steam within the oven itself is vital during the first half of baking. A steamy environment keeps the crust soft, enabling the rolls to expand as much as possible before the crust sets and the yeast become inactive. If the crust hardens too quickly, the rolls won’t achieve their full potential. While I typically don’t stress about added steam for individual rolls as much as for a large loaf, if you desire an extra crispy crust and impressive oven spring, you can preheat an empty pan at the bottom of your oven. Once you place your baking trays with rolls inside, carefully pour a cup of water into the hot pan to create a burst of steam. Quickly close the oven door to trap it. After about 15 minutes, carefully remove the pan (mindful of the hot steam!) and continue baking until golden brown.
- Control Yourself (The Hardest Part!): Technically speaking, bread should be allowed to cool completely on a wire rack before slicing or tearing into it. This crucial step allows the internal crumb structure to fully set and ensures any residual alcohol from fermentation evaporates, resulting in the best flavor and texture. However, I’ll be honest: my self-control around freshly baked sourdough is severely overrated. If you’ve watched any of my baking videos, you’ll know I barely wait a full minute before indulging! So, you do you – I won’t tell. Just know the science, then follow your heart (and your hungry stomach!).
Explore More Delicious Homemade Bread Recipes
Dinner Roll Recipes
Fluffy Potato Rolls
Dinner Roll Recipes
Easy Homemade Dinner Roll Recipe
Sourdough Bread Recipes
Cherry Pecan Sourdough Bread
Sourdough Bread Recipes
Sweet Sourdough Raisin Bread
If you tried this amazing rosemary sourdough roll recipe and loved it, please take a moment to leave a 🌟 star rating and share your experience in the comments below. I genuinely love hearing from you; your feedback truly makes my day!

Rosemary Sourdough Rolls Recipe
Saved
Pin Recipe
Comment
Print Recipe
Ingredients
Levain Build (12-16 hours before mixing dough):
- 73 g All-Purpose Flour
- 91 g Water
- 8 g Active Sourdough Starter
Final Dough:
- 624 g Bread flour (All-Purpose flour like King Arthur’s will also work well)
- 29 g Milk
- 350 g Water
- 15 g Kosher Salt
- 172 g Liquid Levain (prepared as above)
- 57 g Olive Oil
- 6 g Fresh rosemary (finely picked and chopped)
Instructions
Part 1: Mix the Liquid Levain
-
12 to 14 hours before you plan to mix your main dough, prepare your levain. In a clean mixing container, combine the specified amounts of all-purpose flour, water, and active sourdough starter. Stir thoroughly with a small spatula until the flour is completely hydrated and no dry streaks remain. For ease of handling and to ensure you have enough for both your dough and a subsequent feeding, I often recommend doubling the levain build quantities for home bakers, though this recipe provides exact amounts for precision. Cover loosely and let it sit at room temperature until it’s bubbly and active.
Part 2: Make the Final Dough
-
Initial Mix and Autolyse: In the bowl of a stand mixer, fitted with the paddle attachment, combine the bread flour, water, milk, kosher salt, and your prepared liquid levain. Mix on low speed until all the ingredients are just combined and the flour is fully incorporated, forming a shaggy dough. Cover the bowl with plastic wrap and let the dough rest for 15 minutes (this process is called autolyse), which helps hydrate the flour and begin gluten development naturally. You can also start with a dough hook if preferred, but it may take slightly longer for initial incorporation.
-
Gluten Development: Switch to the dough hook attachment. Increase the mixer speed to medium. Continue mixing until you observe strands of gluten forming on the surface of the dough, and it begins to pull away from the sides of the bowl. Given the high hydration of this dough, it will likely not form a perfectly smooth ball around the hook – this is expected and desirable for a tender crumb. Aim for a cohesive, elastic dough that shows signs of strength.
-
Incorporate Olive Oil and Rosemary: Reduce the mixer speed to low. Gradually add the olive oil and the finely chopped fresh rosemary. Mix on low speed until all the olive oil has been completely absorbed by the dough, and it no longer appears greasy. The dough should transform into a smooth, pliable, and silky texture.
-
First Rise: Gently scoop the dough into a clean bowl that has been lightly oiled. Cover the bowl tightly with plastic wrap to prevent a skin from forming and ensure a good rise.
-
Warm Spot Proofing: Place the covered dough in a warm environment (around 75-80°F / 24-27°C is ideal) for 45 minutes to begin its bulk fermentation.
-
Perform Set of Folds: After 45 minutes, perform a set of “stretch and folds.” Lightly oil or wet your hand. Grab one side of the dough, gently stretch it upwards, and fold it into the center. Rotate the bowl 90 degrees and repeat this process with the remaining three sides, folding each into the center. This action further develops the gluten and builds strength in the dough.
-
Bulk Proofing: Recover the dough with plastic wrap and return it to your warm spot for bulk proofing. Check the dough every 45 minutes to monitor its progress. This bulk proofing stage will typically take approximately 2.5 hours, but timing can vary based on your starter’s activity and ambient kitchen temperature. The dough should feel noticeably light and airy, not dense or stiff, and have increased significantly in volume (look for about a 30-50% increase).
-
Pre-shape the Rolls: Lightly dust the top of the dough in the bowl with a small amount of flour. Gently turn the dough out onto a *very* lightly floured work surface.
-
Divide and Round: Divide the dough into 16 equal pieces, each weighing approximately 75g for consistent sizing. For each piece, gently fold it in half, then place it seam-side down on the counter. Using the palm of your hand, cup the dough and roll it in a circular motion to form a tight, smooth ball. If your surface has too much flour, the dough won’t “tuck” into itself properly; scrape away any excess flour with a bench scraper if needed. Achieving a smooth, round top with good surface tension is key. Repeat this process for all 16 pieces. Cover the shaped rolls loosely with plastic wrap and allow them to “bench rest” for 15 minutes, which lets the gluten relax before the final shaping. A video demonstration can be very helpful here if you’re new to shaping.
-
Final Shape and Traying: Repeat the same rounding process as with the pre-shape to ensure tight, smooth rolls with good surface tension. Arrange the newly shaped rolls on a parchment-lined sheet pan or in a well-greased rectangular baking dish, leaving some space between them for expansion. Cover again with plastic wrap.
-
Same-Day Baking: If you plan to bake these rosemary sourdough rolls today, place the covered rolls back into a warm spot. Allow them to rise for another 1-2 hours, or until they feel noticeably light and airy, and have roughly doubled in volume. Determining exact “doubled” volume on a flat sheet might be tricky compared to a proofing basket, but look for a significant increase and a very soft, puffy feel. Once ready, proceed directly to the baking steps below.
-
Next-Day Baking (Cold Proof): For a deeper flavor development and a more flexible baking schedule, place the covered rolls into the refrigerator to retard the dough overnight. This cold proofing significantly slows down yeast activity, allowing you to bake them anywhere from 12-18 hours later. When ready to bake, remove them from the fridge and allow them to come to room temperature for about 30-60 minutes while your oven preheats. This helps ensure an even bake.
Part 3: Baking Your Rosemary Sourdough Rolls
-
Preheat Oven & Score: Preheat your oven to 425°F (220°C) with convection (if available, it helps with even browning). While the oven preheats, you can optionally score the tops of your rolls for a decorative touch and to control steam release, which aids in oven spring. Kitchen scissors can be used to snip a small cross on top, or a lame/sharp knife for more intricate scoring patterns.
-
Bake to Golden Perfection: Place the rolls into the preheated oven. Bake for 20-25 minutes, or until the rolls are beautifully golden brown on the outside and sound hollow when tapped on the bottom. The rich color indicates a perfectly cooked crust and a flavorful interior.
-
Cool Completely (If You Can!): This is the hardest part for any baker, but it’s crucial for the best results! Allow your freshly baked rosemary sourdough dinner rolls to cool completely on a wire rack before serving. This vital step allows the internal crumb structure to set properly, improves the texture, and ensures the flavors fully develop and mellow.
-
Enjoy Your Masterpiece! Once cooled (or mostly cooled!), tear into these incredible rolls and savor the soft interior, crunchy crust, and fragrant rosemary. They are a true testament to the joy and rewarding process of homemade sourdough baking!
Video Guide
Chef’s Notes & Storage Tips
Nutrition Information (per roll)
Carbohydrates: 32g |
Protein: 5g |
Fat: 4g |
Saturated Fat: 1g |
Polyunsaturated Fat: 1g |
Monounsaturated Fat: 3g |
Cholesterol: 1mg |
Sodium: 366mg |
Potassium: 49mg |
Fiber: 1g |
Sugar: 1g |
Vitamin A: 15IU |
Vitamin C: 1mg |
Calcium: 11mg |
Iron: 1mg
Enjoyed this recipe? Leave a comment below!
Before You Go: Continue Your Sourdough Baking Journey
I sincerely hope you savored every moment of baking and enjoying these incredible rosemary sourdough rolls. There’s truly nothing quite like the satisfaction of creating delicious, wholesome bread from scratch, especially when it’s infused with such delightful flavors. Don’t stop your baking adventure here! Be sure to explore our other delightful yeasted bread recipes, including my beloved easy dinner roll recipe, perfect for when you need a quick and comforting bake that doesn’t require a sourdough starter. Happy baking, and may your kitchen always be filled with the wonderful aroma of fresh bread and the joy of sharing it with loved ones!

