Easy Sourdough Hot Crossed Buns: Your Go-To Recipe for Perfectly Spiced Easter Treats
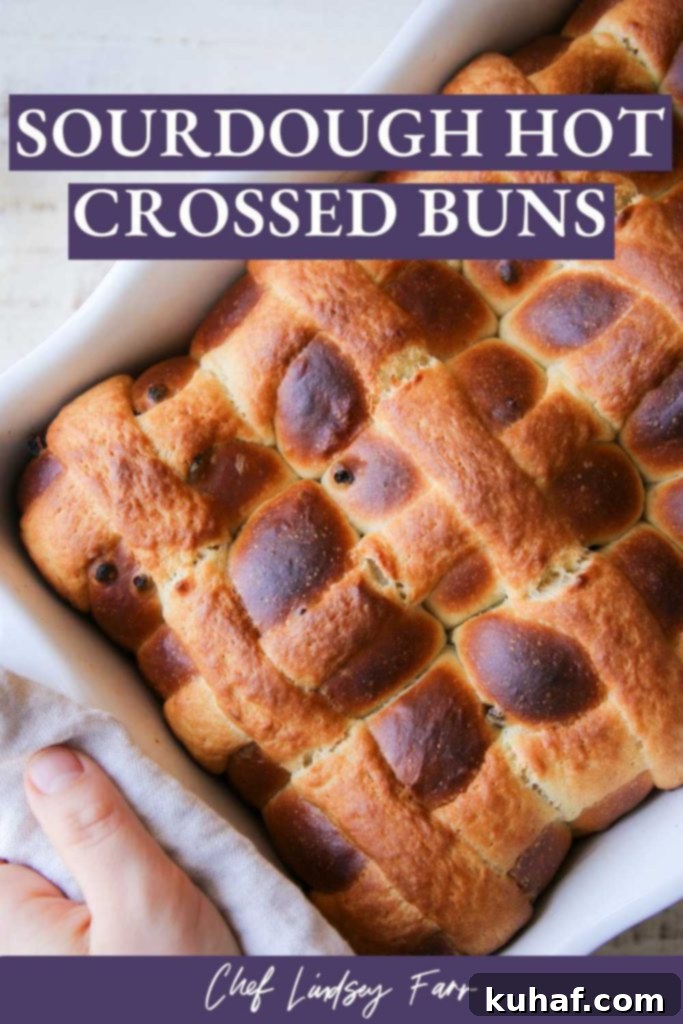
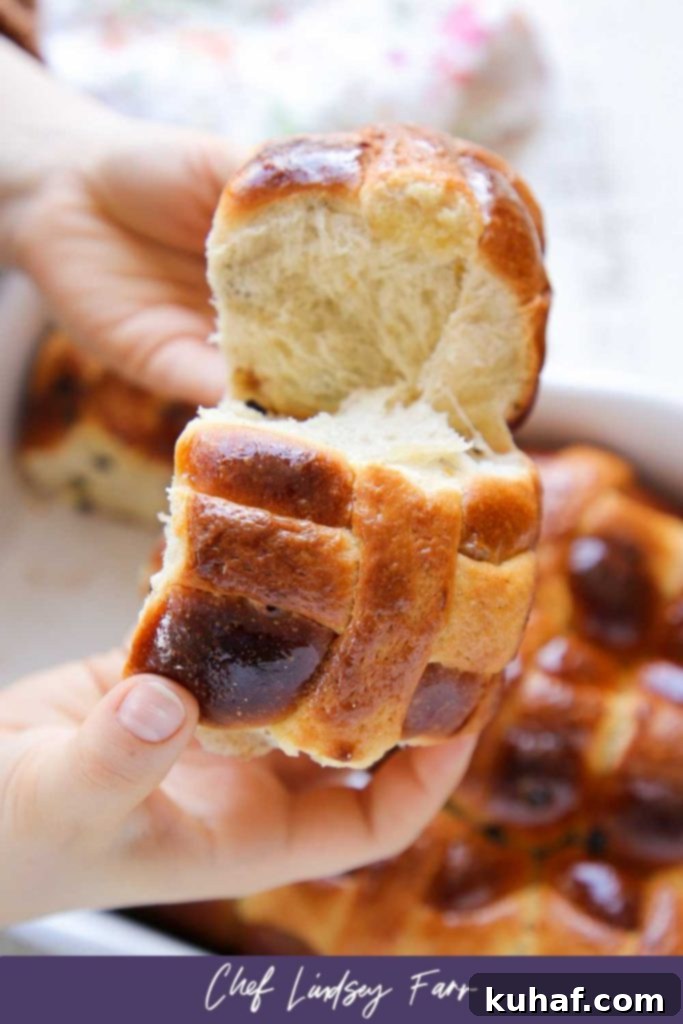
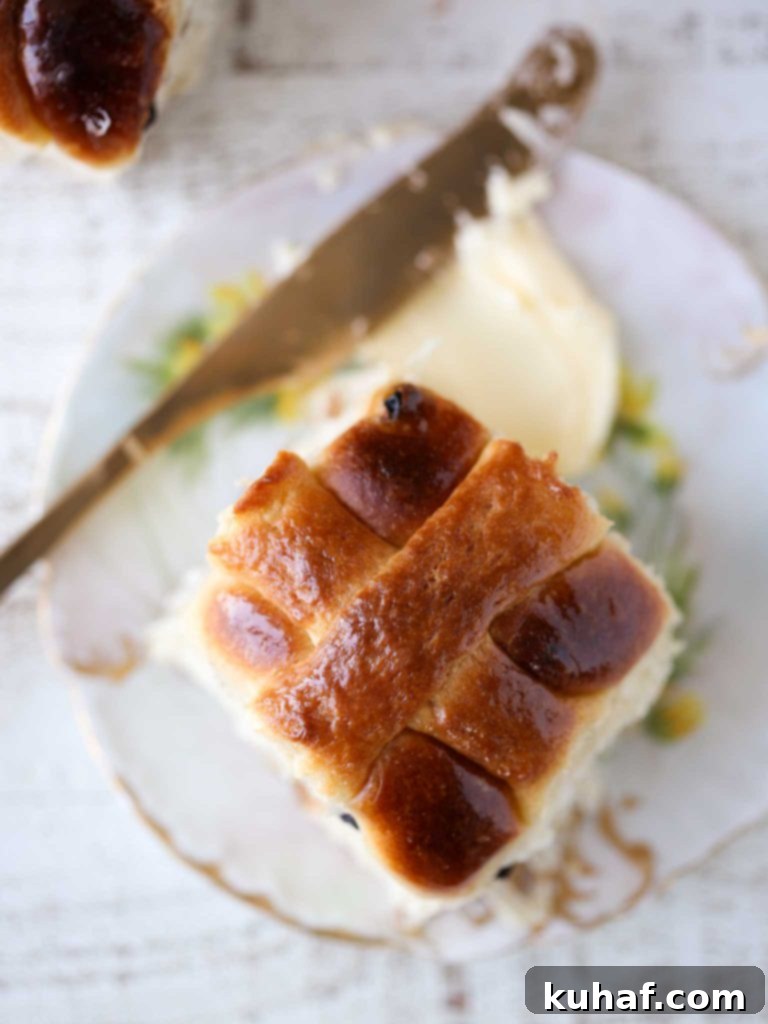
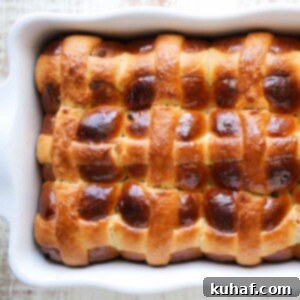
Prepare to fall in love with these **Sourdough Hot Crossed Buns**! Each bite offers an exquisite blend of soft, tender dough, fragrant orange zest, warm allspice, and sweet, juicy currants. The magic doesn’t stop there; they feature the classic piped butter-flour cross on top, which transforms during baking to a delightful, almost sugar-cookie-like texture that gently melts into the bun, adding an irresistible sweetness. This isn’t just a recipe; it’s an invitation to elevate your traditional holiday baking to an art form, all with the incredible depth of flavor that only sourdough can provide.
For too long, the idea of baking the perfect Hot Crossed Bun remained on my culinary bucket list. Every year, as Easter approached, I’d vow to create an exceptional recipe, only to find the season slipping away, leaving me to sigh, “next year.” But this year, the stars aligned, and “next year” became *now*. It was during a relaxed Friday in “the office” when my sourdough starter, bubbling with life, practically commanded me to put her to good use. My business partner, Mara, and I eagerly surrendered to the tempting call of sourdough bread recipes, much like our successful sourdough pizza dough recipe adventure.
The Sourdough Advantage: Why it Elevates Hot Crossed Buns
Mara, like many, had a history of perpetual disappointment with every Hot Crossed Bun she’d ever tasted. They were often dry, bland, or simply uninspiring. I saw this as a challenge, a delicious secret code to crack. These traditional Easter buns, with their rich history and symbolic cross, inherently possess the qualities I adore in baked goods: a delicate fragrance of citrus and spice, a wonderfully soft and enriched crumb, a generous touch of butter for luxurious indulgence, and, of course, currants – my personal secret passion, which I promise to share the full story of someday!
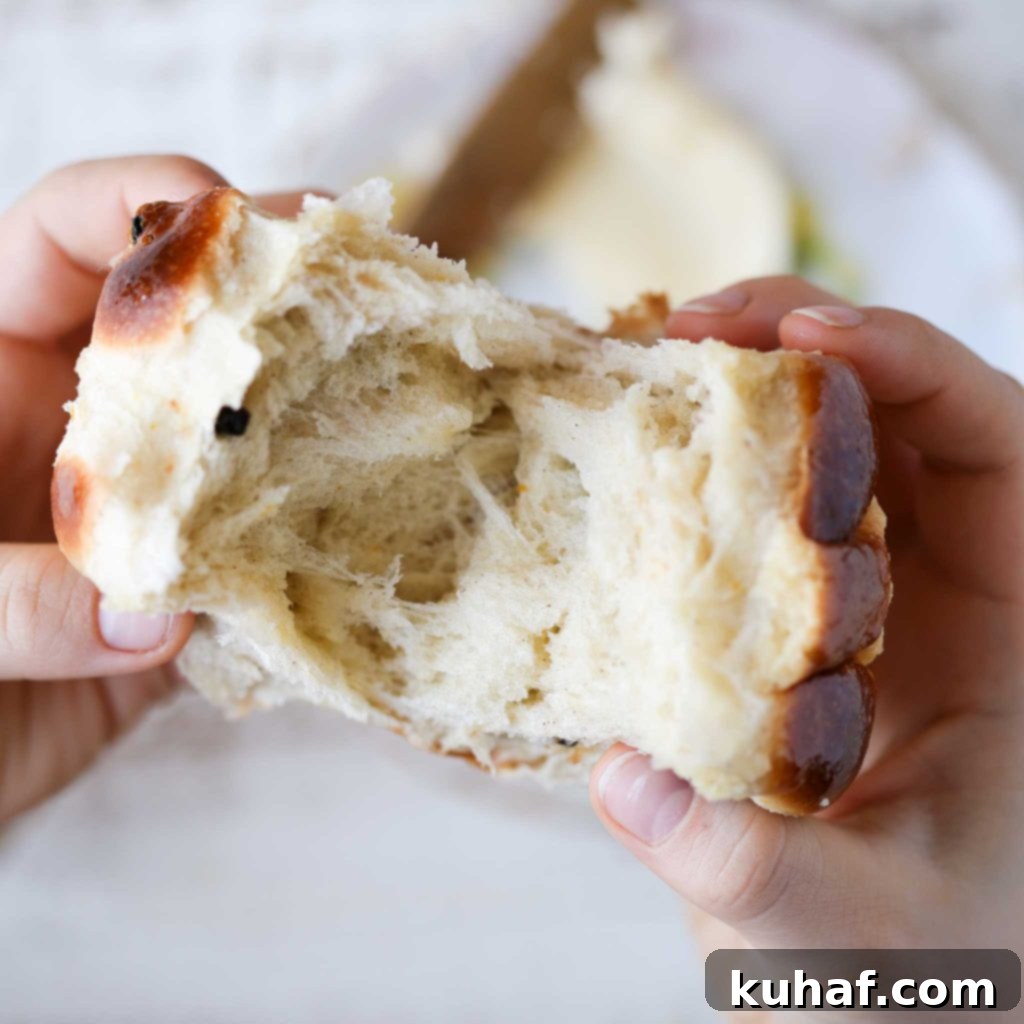
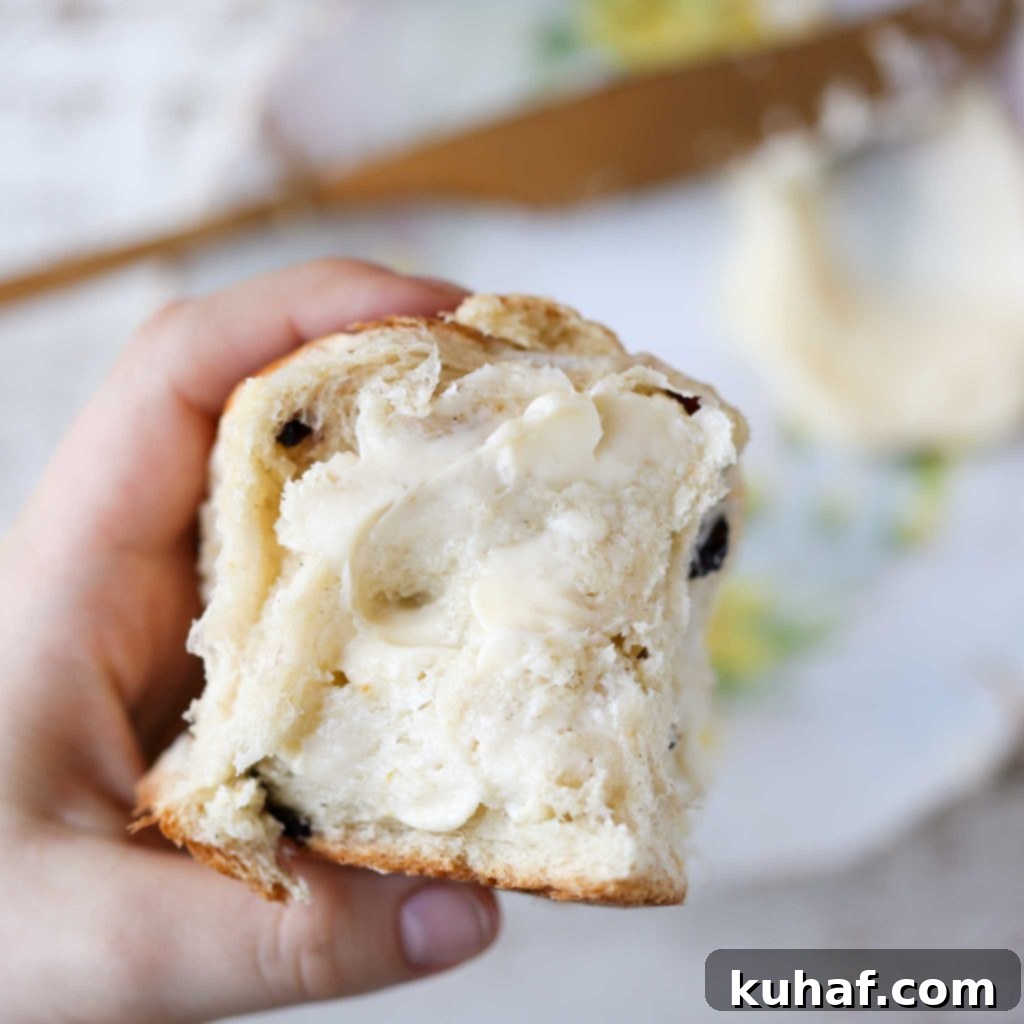
Incorporating sourdough into this classic recipe transforms it entirely. Sourdough not only acts as a natural leavening agent but also imparts an incredible depth of flavor, adding subtle tangy notes that perfectly complement the sweet and spicy elements. It creates a bun that is exceptionally tender and moist, with a chewy crumb that stays fresh longer than its purely yeasted counterparts. The natural fermentation process also aids in breaking down some of the starches, potentially making these delightful treats easier to digest for some. It’s a game-changer for anyone seeking a hot crossed bun that truly stands out.
Crafting the Perfect Hot Crossed Bun: Flavor & Texture
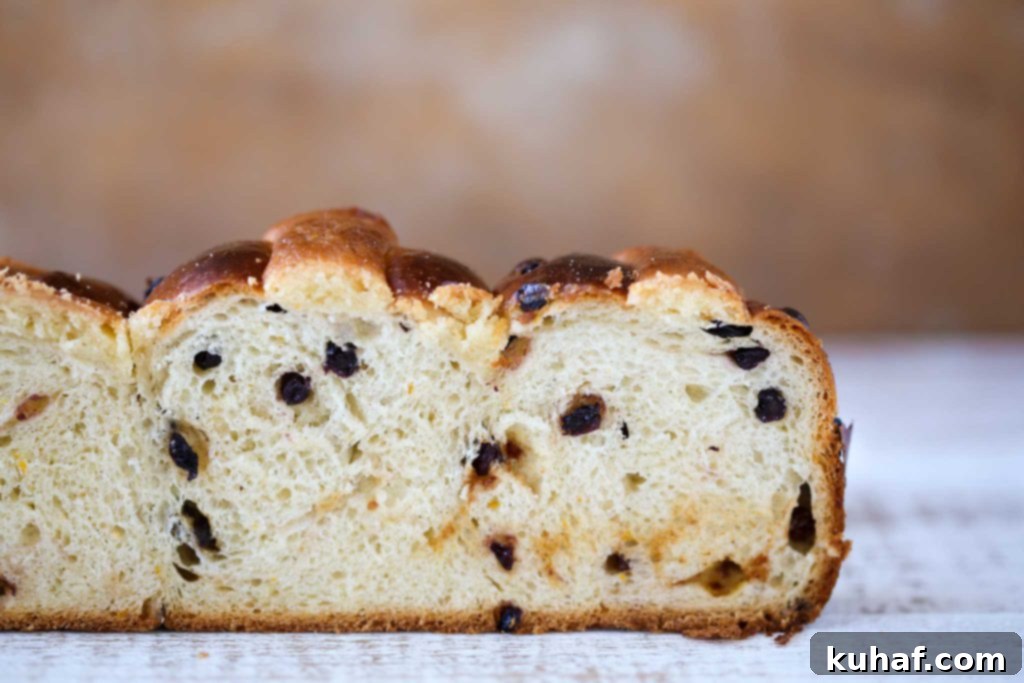
My vision for these buns was clear: they had to be everything a hot crossed bun *should* be, and then some. The combination of orange zest, allspice, and currants isn’t arbitrary; it’s a carefully balanced symphony of flavors. The bright, zesty notes of orange cut through the richness of the butter and milk, adding a delightful freshness. Allspice provides that classic warm, sweet, and slightly peppery spice profile, reminiscent of cloves, cinnamon, and nutmeg, which is essential for traditional Easter baking. And then, the currants. Smaller and more intensely flavored than raisins, they provide bursts of sweet-tart goodness that distribute beautifully throughout the dough without overpowering it. This meticulous selection of ingredients, combined with the sourdough process, results in a bun that is truly unparalleled.
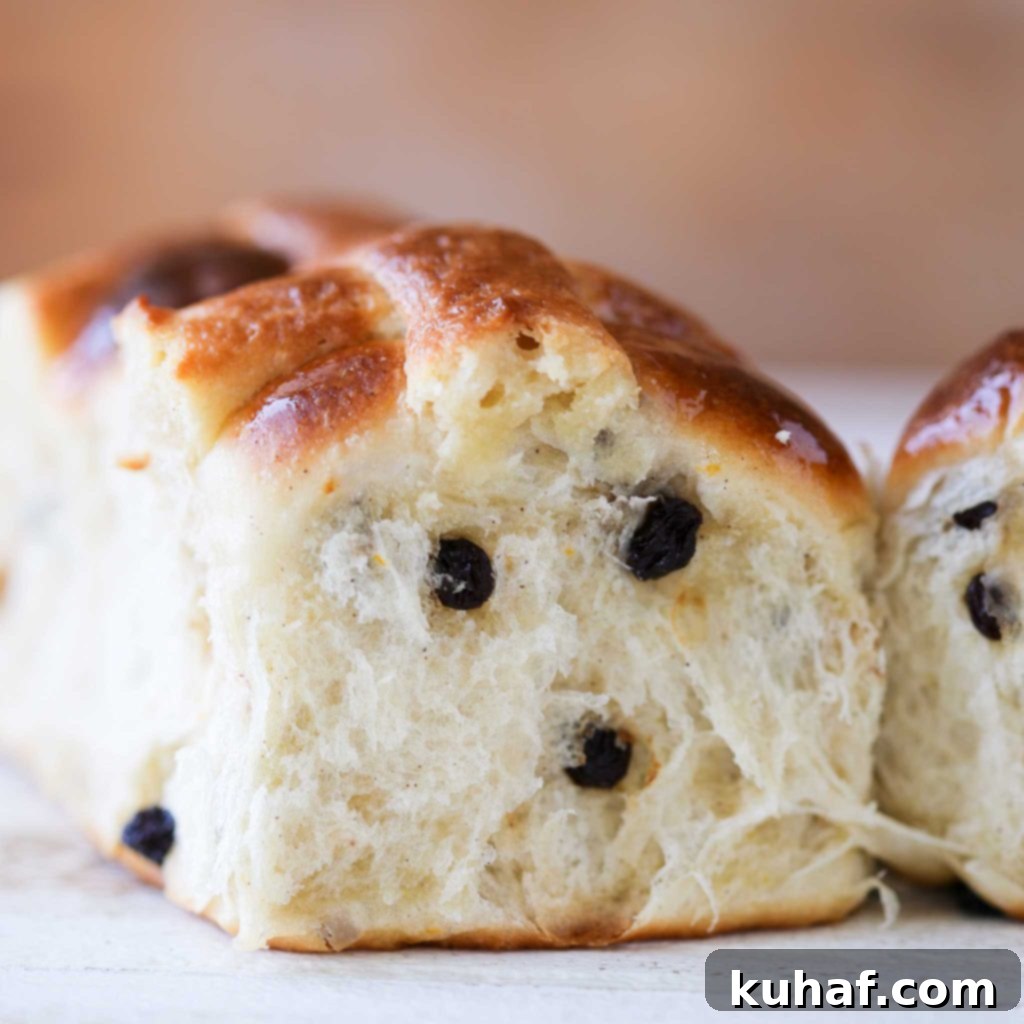
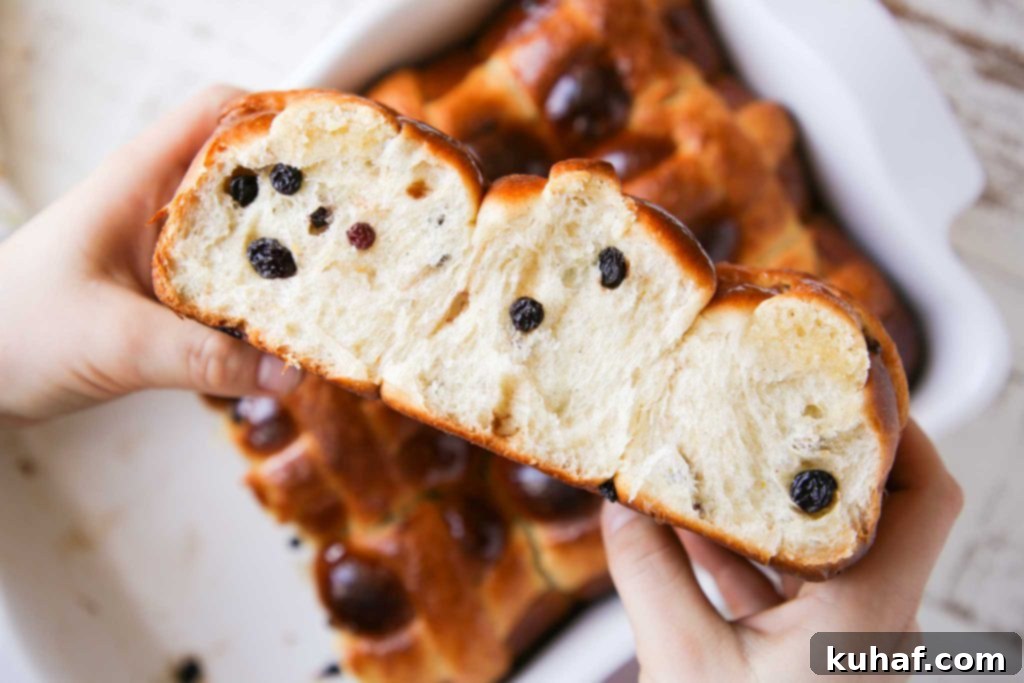
Spoiler Alert: I succeeded! These Sourdough Hot Crossed Buns are everything I dreamed they could be and more. They boast a light, airy crumb, a fragrant aroma, and a taste that will make you rethink every hot crossed bun you’ve had before. Get ready to embark on a life where mediocre hot crossed buns are a thing of the past. And the best part? Despite their gourmet quality, they are surprisingly EASY to make, even for those new to sourdough baking!
Getting Started: How to Cultivate Your Sourdough Starter
Are you eager to bake these alluring Sourdough Hot Crossed Buns but feeling a bit daunted by the first step: the sourdough starter itself? Fear not! Consider this your early holiday gift, because a vibrant sourdough starter is arguably Nature’s greatest contribution to the world of baking. It’s a living, breathing culture that gives your bread unparalleled flavor and texture. With our easy-to-follow sourdough starter recipe, you can cultivate your own robust starter and be baking fresh sourdough bread in as little as five days! Our comprehensive guide includes a day-by-day recipe and detailed answers to all your starter-related questions, ensuring you’re set up for success from day one. An active, healthy starter is the heart of this recipe, providing the characteristic tang and incredible rise.
Expert Tips for Baking Your Sourdough Hot Crossed Buns
Achieving bakery-quality sourdough hot crossed buns at home is entirely within reach with a few key considerations. First, ensure your sourdough starter is at its peak activity. A fed and bubbly starter will provide the best rise and flavor development. Temperature also plays a significant role in sourdough baking; a warm environment will encourage active fermentation and proofing. Don’t rush the proofing stages – patience is key to developing that incredible light and airy texture.
When mixing the dough, be mindful of overworking it, especially after adding the butter and currants. You want to develop enough gluten for structure, but keep the dough tender. The cross topping is an iconic feature, so take your time piping it. The slight dip between the buns created by the piping ensures a beautiful, defined cross. Finally, the simple syrup brushed on hot buns not only adds a lovely sheen but also a subtle extra layer of sweetness, locking in moisture and enhancing their delightful aroma. These small details collectively contribute to a truly magnificent result.
Explore More Sourdough Bread Recipes
Dinner Roll Recipes
Rosemary Sourdough Rolls
Sourdough Bread Recipes
Basic Sourdough Bread Recipe
Sourdough Bread Recipes
Sourdough Raisin Bread
Sourdough Bread Recipes
Cherry Pecan Sourdough Bread
If you tried this recipe and loved it, please leave a 🌟 star rating and let me know how it goes in the comments below. I love hearing from you; your comments make my day!
Sourdough Hot Crossed Buns
Pin Recipe
Comment
Print Recipe
Ingredients
Sponge:
- ⅓ cup 100% Sourdough Starter
- 1 teaspoon Dry Active Yeast
- ¾ cup + 1 ½ tablespoons Whole milk
- 1 tablespoon Sugar
- ¾ cup All Purpose Flour
Final Dough:
- 3 cups All Purpose Flour
- ¼ cup Sugar
- 1 ea Blood Orange zested
- 1 teaspoon Kosher Salt
- 6 ½ tablespoon Butter softened
- 1 Egg
- ½ teaspoon Allspice
- 1 cup Currants
For the Crosses:
- ¼ cup Butter melted
- 2 ½ tablespoons Milk
- ½ tablespoon Vanilla Extract
- ¾ cup Sugar
- ¼ e Egg beaten
- 1 cup All Purpose Flour
Simple Syrup
- ½ cup Sugar
- ½ cup Water
Instructions
Prepare Starter:
-
This recipe calls for a 100% hydration starter, meaning equal parts flour and water by weight. Ensure your starter is fed and active, having doubled in size, ideally 12 hours before you plan to mix the sponge. A vigorous starter is crucial for the best rise and flavor.
Make the Sponge:
-
Gently warm the milk to approximately 95°F (35°C) in a small pot on the stovetop or using a microwave. It should be lukewarm, not hot.
-
In a medium-sized bowl, combine all the ingredients listed for the sponge. Mix them thoroughly with your hands until well combined. The mixture will be quite wet and sticky, so using your hands makes the process much easier than a spoon.
-
Cover the bowl tightly with plastic wrap and place it in a warm spot in your kitchen. Allow it to ferment until it is visibly bubbly and has expanded, which should take approximately 30 minutes, depending on the warmth of your environment and the activity of your starter.
Mix the Dough:
-
While the sponge is developing, take this opportunity to measure out and prepare the remaining ingredients for the final dough.
-
In the bowl of a stand mixer, finely zest the blood orange directly into the sugar. Use your fingertips or the back of a spoon to rub the zest into the sugar; this helps release the fragrant oils and infuses the sugar with intense citrus flavor. Add the flour, kosher salt, softened butter, and allspice to the bowl. Finally, add the egg and the prepared sponge.
-
Attach the paddle attachment to your stand mixer and mix on low speed until all the ingredients are just combined and a shaggy dough forms. Scrape down the sides of the bowl as needed.
-
Switch to the dough hook attachment and continue mixing on medium speed. Knead the dough until it comes together into a cohesive mass around the hook and a “rough window pane” can be achieved. This means that if you pinch off a small piece of dough and gently stretch it, it should form a thin, translucent membrane without tearing immediately. The dough might not be perfectly smooth yet, but it should feel elastic and well-developed.
-
Add the currants to the dough. Mix on low speed just until they are evenly dispersed throughout the dough. Be careful not to overmix at this stage to avoid tearing the dough or crushing the currants.
-
Scrape the dough into a well-oiled bowl, ensuring it’s lightly coated to prevent sticking. Cover the bowl with plastic wrap and let it proof in a warm spot for 30 minutes. After 30 minutes, perform a series of folds: grab one side of the dough, gently stretch it upwards and then fold it over approximately one-third of the dough. Rotate the bowl 180 degrees and repeat this process with the opposite side. Then, rotate a quarter turn and repeat the folding technique, followed by another 180-degree rotation for the final fold. This technique helps develop gluten and strengthen the dough. You should end up with a neat, tight square packet of dough.
-
Admire your dough-folding prowess! Re-cover the bowl with plastic wrap and allow the dough to bulk proof until it has doubled in size. In my kitchen, this usually takes an additional hour or so, but timing can vary based on ambient temperature and starter activity. While the dough is finishing its bulk proof, prepare a 9 x 13-inch baking dish by generously greasing it with cooking spray or butter. (I always opt for butter – because why not add more deliciousness?!)
-
Once the dough has successfully doubled and feels light and airy to the touch, gently turn it out onto a very lightly floured surface. Sourdough enriched doughs are often quite manageable, requiring minimal additional flour.
-
Divide the dough into 12 equal portions. You can eyeball this for a rustic look, or for precision, weigh each portion to approximately 97g. Shape each portion into a smooth, round bun. Arrange these buns equidistant apart in your prepared baking dish.
-
Cover the dish loosely with plastic wrap and place it back in your warm spot for the final proof. This typically takes about an hour, or until the buns look puffy and have nearly doubled in size. As the buns are undergoing their final proof, prepare the cross topping and the simple syrup.
Make the Simple syrup:
-
In a small saucepan, combine the sugar and water, stirring gently to moisten all the sugar. Heat the mixture over medium heat, stirring occasionally, until it reaches a rolling boil and the sugar is completely dissolved. Remove the saucepan from the heat and allow the syrup to cool completely.
-
This simple syrup can be made weeks in advance and stored in an airtight container in the refrigerator. This recipe makes a bit more syrup than you’ll need for the buns, so save the remainder for sweetening cocktails, coffee, or other baked goods. Making a smaller batch can be tricky as the sugar may not dissolve properly before boiling.
Make the Cross Topping:
-
In a small saucepan, melt the butter over low heat. Add the sugar and cook, stirring constantly, until the mixture is bubbly and smooth. Remove from heat and stir in the remaining ingredients (milk, vanilla extract, beaten egg, all-purpose flour) until thoroughly combined. You’ll achieve a thick paste with a texture similar to choux pastry. Allow this mixture to cool slightly before transferring it to a piping bag fitted with a small round tip (or simply snip a tiny corner off a Ziploc bag).
-
Preheat your oven to 440°F (225°C).
-
Once the buns are fully proofed and ready to bake, carefully pipe the crosses onto the dough. Start by piping all the horizontal lines across the entire pan of buns, allowing the cross dough to dip slightly between each bun. Use kitchen scissors to snip the piping when you reach the end of a row. Rotate the baking dish 90 degrees (a quarter turn) and repeat the piping process for the vertical lines.
-
Before baking, use your scissors to cut the cross topping between each individual bun. This ensures that each bun has its own distinct cross. Place the buns in the preheated oven and bake for 10 minutes. After 10 minutes, rotate the pan 180 degrees, then reduce the oven temperature to 350°F (175°C). Continue baking for an additional 10-15 minutes, or until the internal temperature of a middle bun reaches 185°F (85°C) when checked with an instant-read thermometer. If you don’t have a thermometer, insert a cake tester or toothpick into the center; it should come out with clinging crumbs but no wet dough streaks.
-
Immediately upon removing the hot buns from the oven, generously brush them with the prepared simple syrup. This creates a beautiful, shiny glaze and adds an extra layer of sweetness.
-
While technically they should cool a bit before serving, who can resist these aromatic, warm buns? I say, dig right in and enjoy!
Notes
The exceptional Cross Topping recipe is adapted from Jeffrey Hamelman’s seminal work, “Bread: A Baker’s Book of Techniques and Recipes” – a true bible for bread enthusiasts.
Nutrition
Love this recipe? Share your thoughts below!
Before You Go: Continue Your Sourdough Journey
I genuinely hope you enjoyed this meticulously developed recipe, crafted by a professional chef with a passion for exceptional baking. These Sourdough Hot Crossed Buns are just a taste of the delicious possibilities that sourdough offers. Don’t let your baking adventure end here! Be sure to explore our other fantastic yeasted bread recipes for more traditional favorites. Or, if you’re ready for more buttery, tender indulgence, dive into my highly popular potato rolls, the rich and airy brioche bread recipe, or the comforting classic potato bread recipe! Happy baking, and enjoy every flavorful moment!
