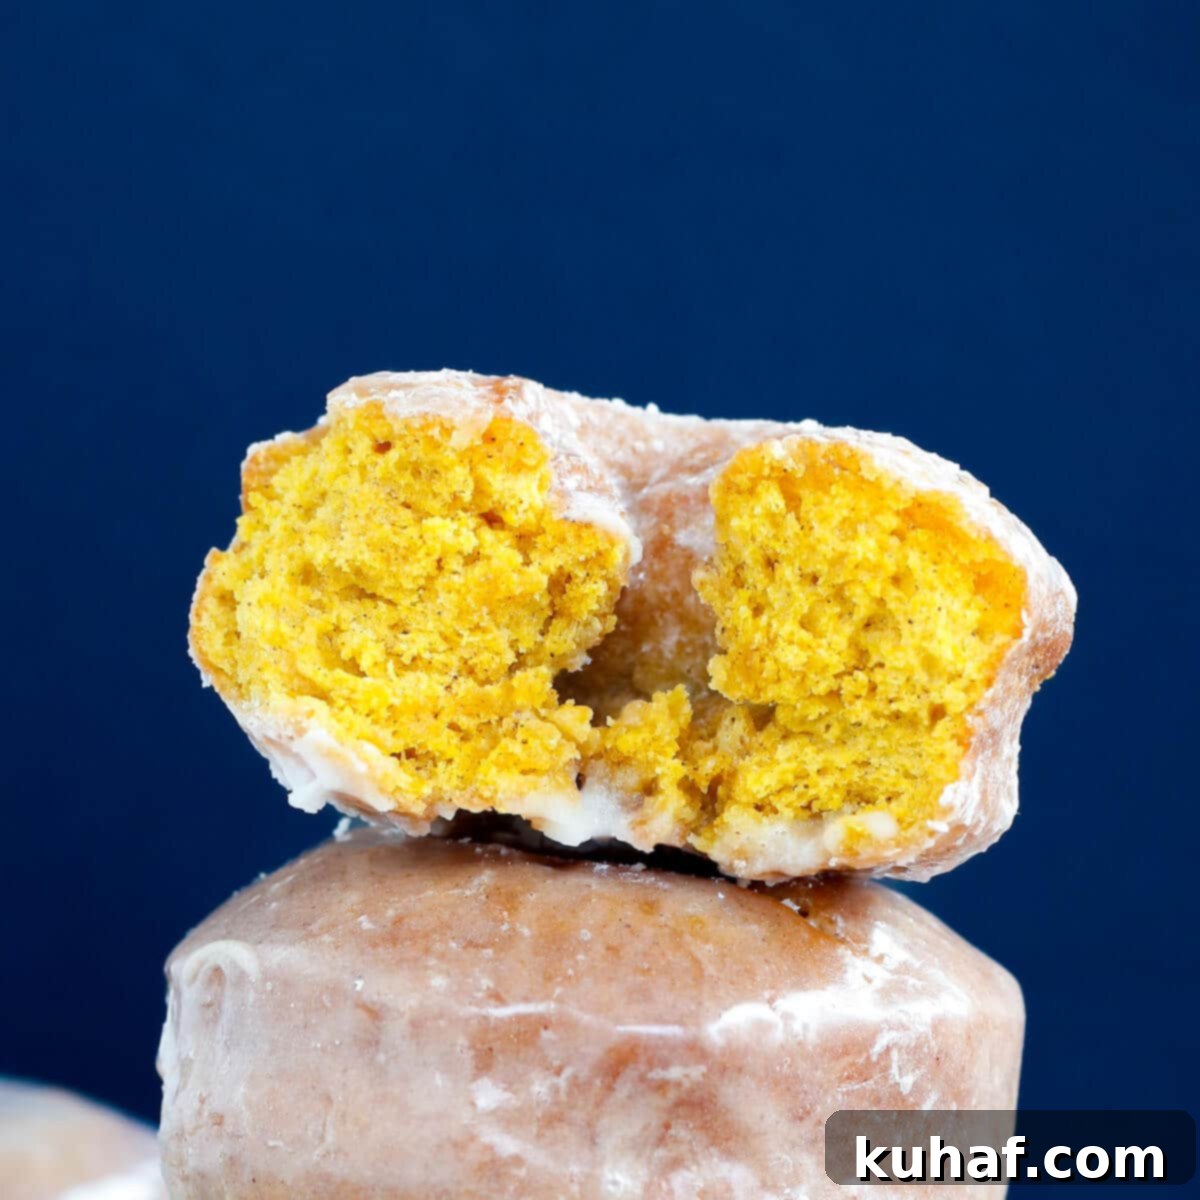
Irresistible Fried Pumpkin Cake Donuts with Cinnamon Glaze: A Homemade Fall Delight
Craving the ultimate fall treat? Look no further than these spectacular fried Pumpkin Donuts, generously coated with an effortless cinnamon glaze. These aren’t just any donuts; they are tender, moist cake donuts crafted with real pumpkin puree and a fragrant blend of pumpkin spice. Forget disappointing store-bought versions – I’m here to guide you through frying these pumpkin cake donuts to absolute perfection, ensuring a consistently delightful texture and flavor with every single bite.
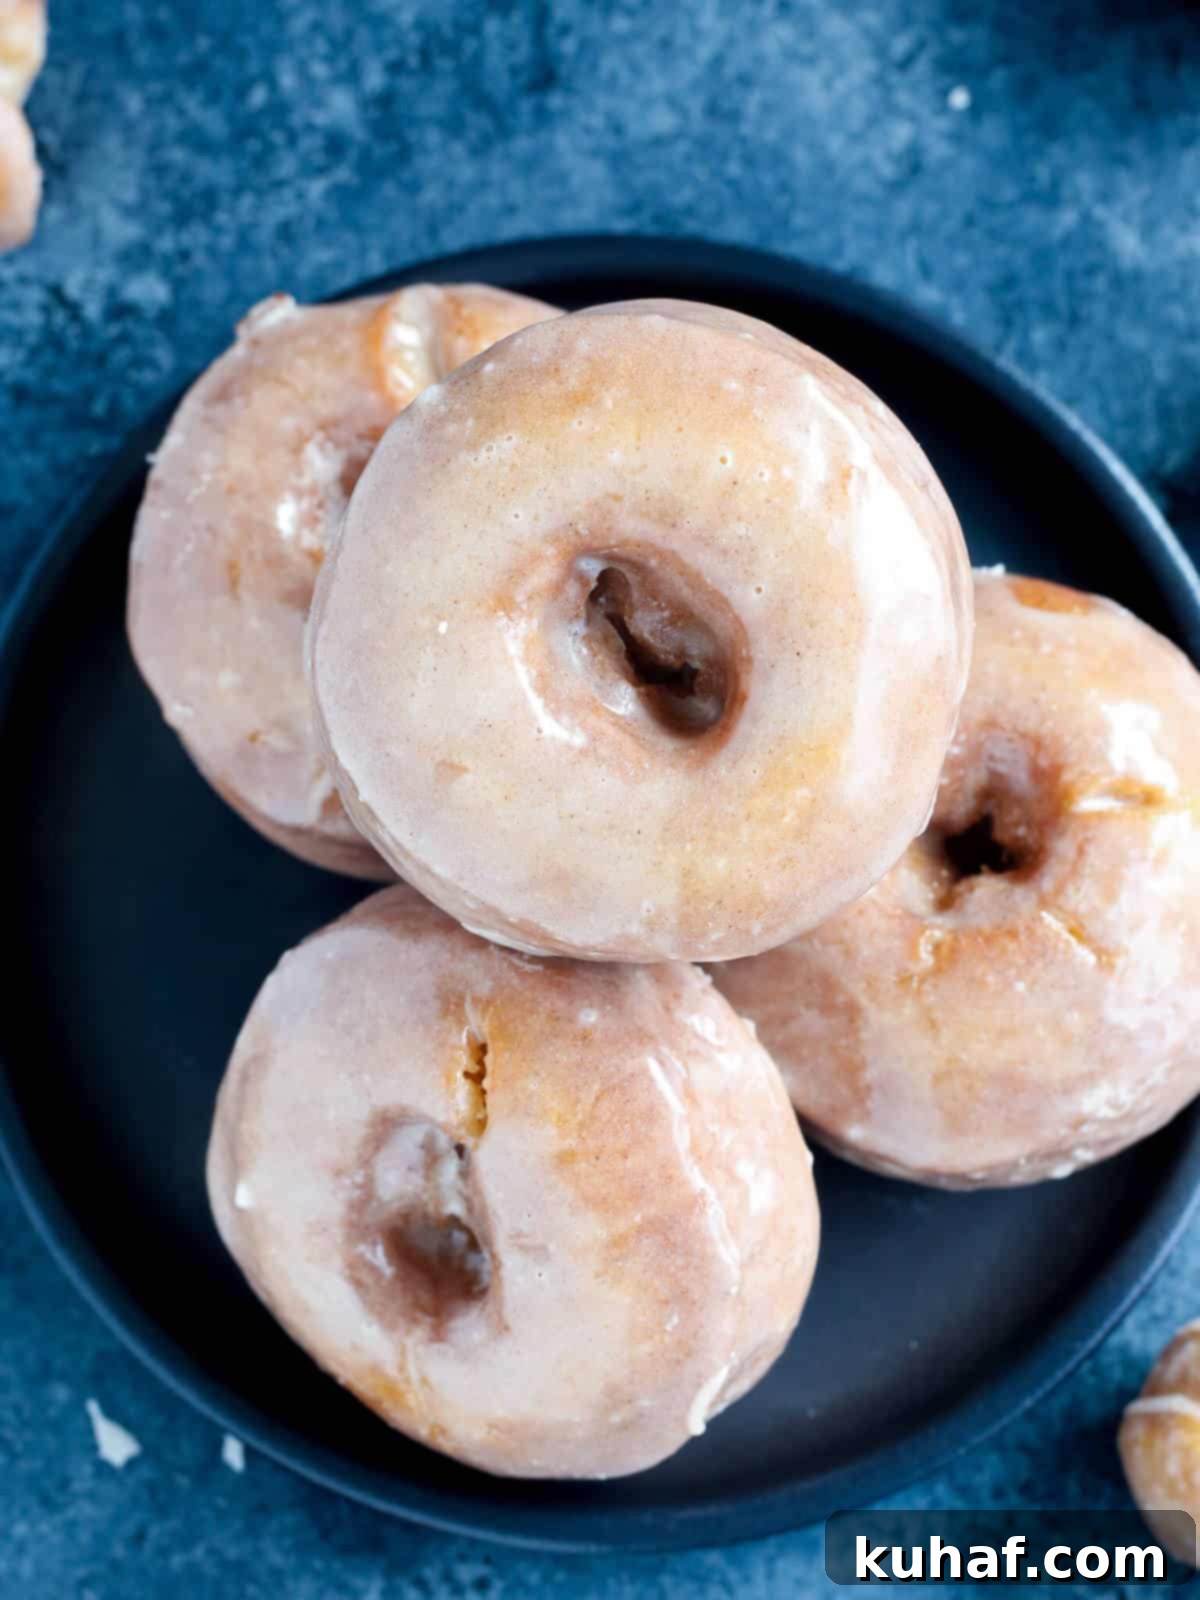
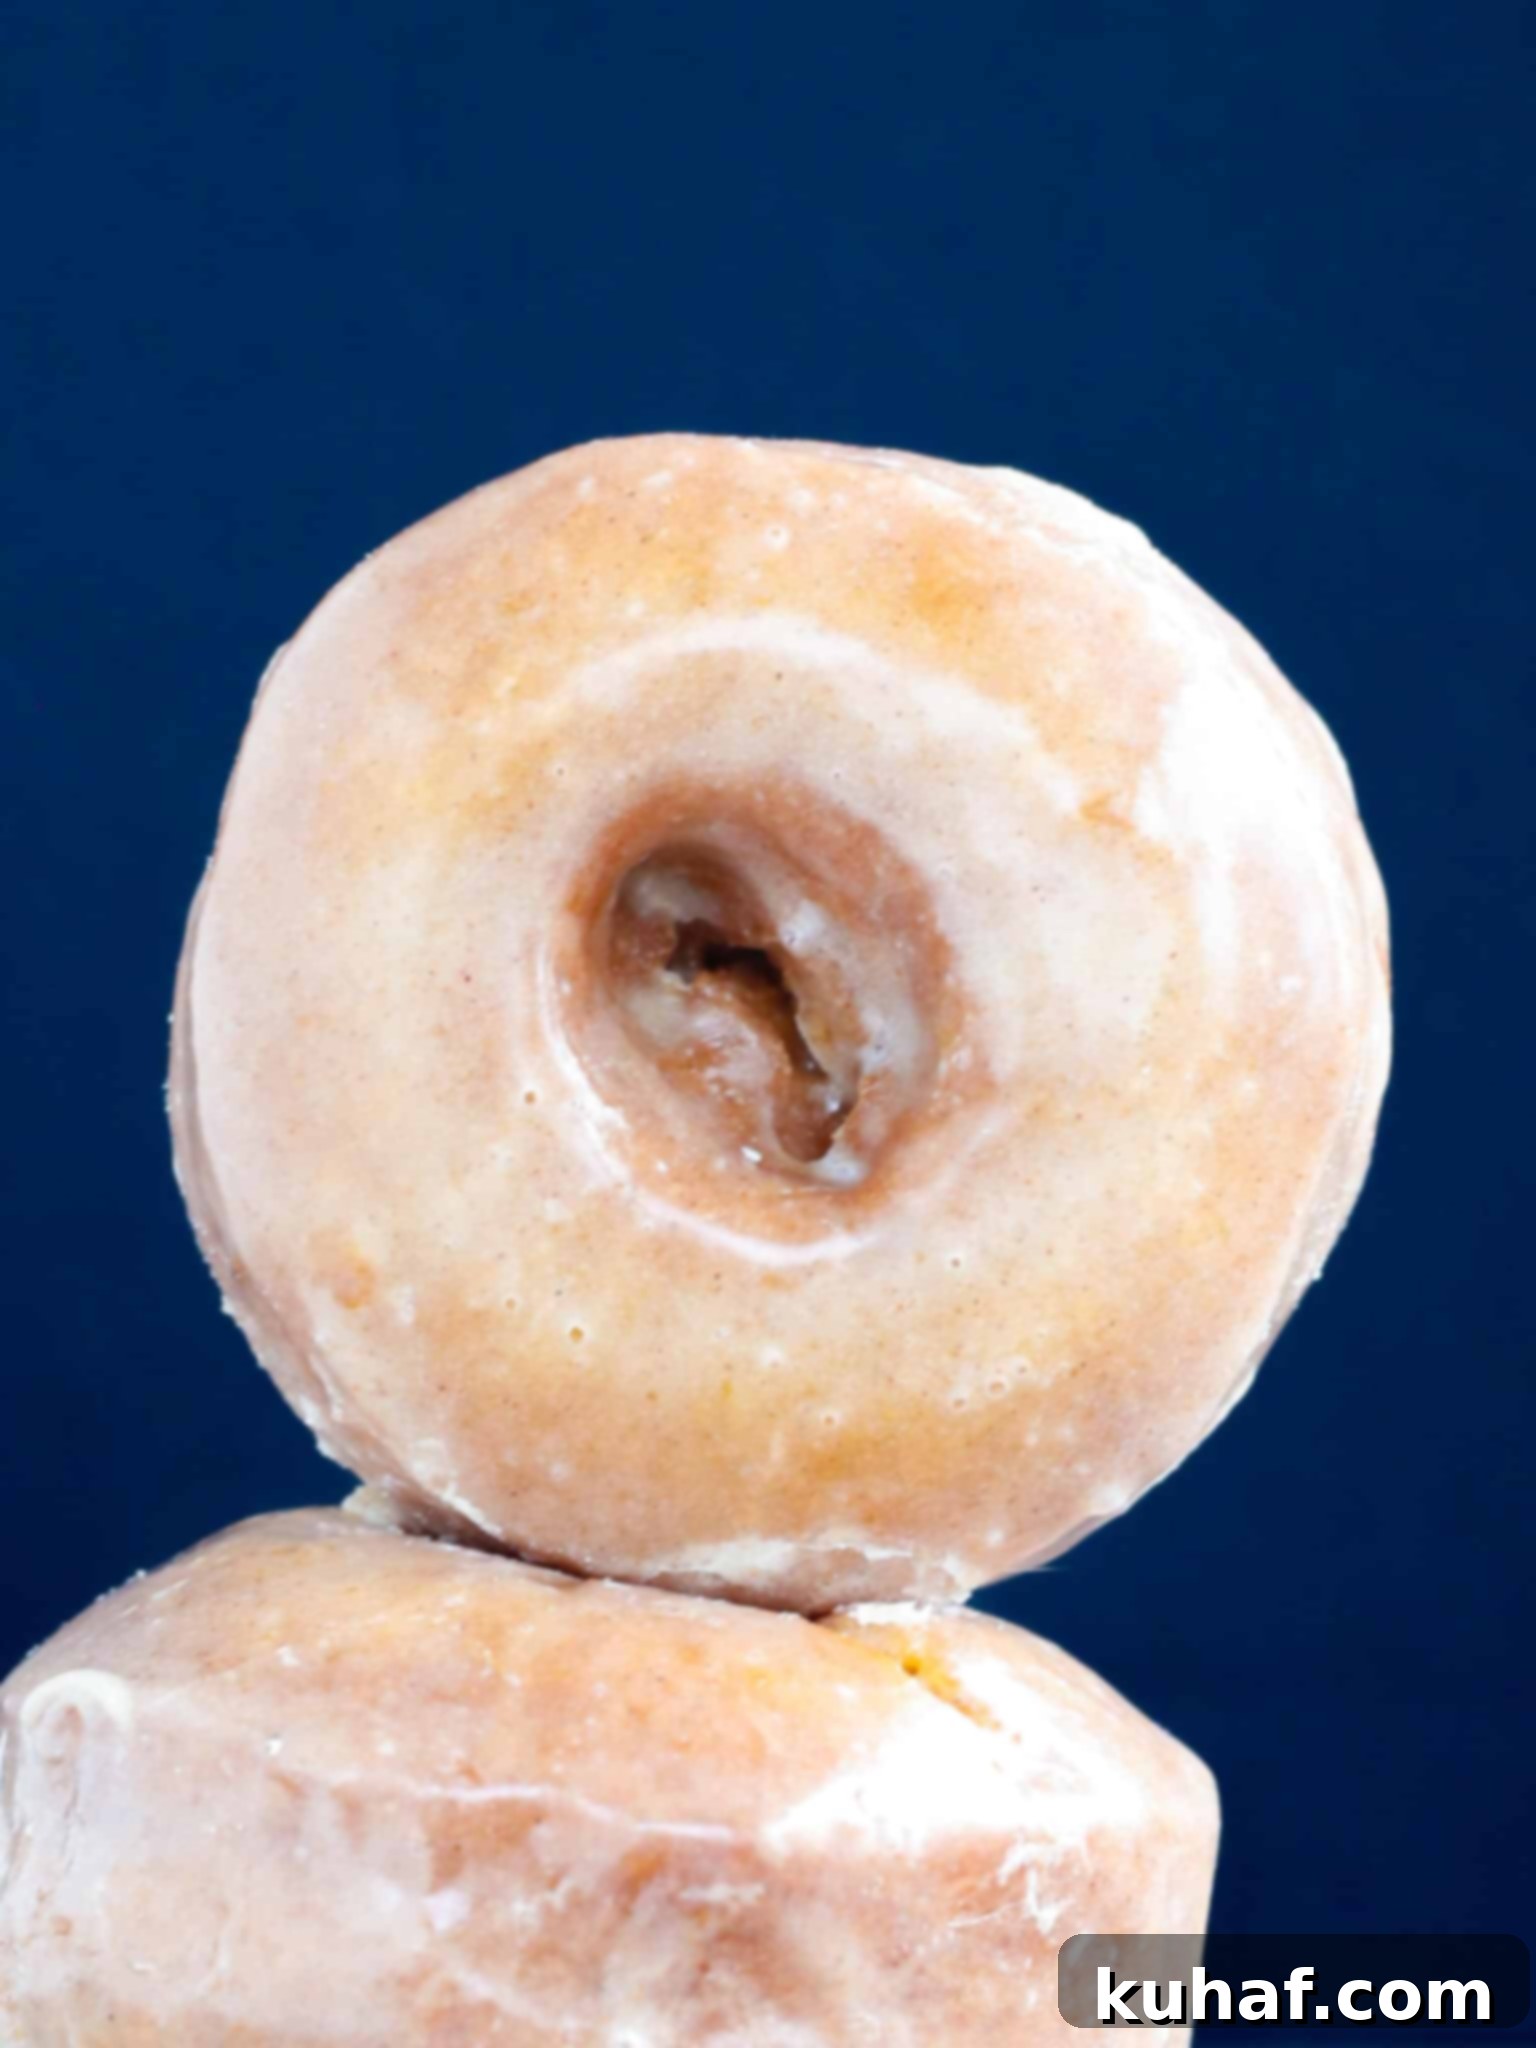
After a somewhat uninspiring encounter with a certain popular chain’s pumpkin donut, I was determined to create a cake donut that truly celebrated the rich, comforting flavors of pumpkin and spice. Countless tests and adjustments led to this perfectly balanced recipe, achieving the ideal consistency and an unmistakable, authentic taste. These delectable donuts feature a rich dough infused with real pumpkin puree and my signature homemade pumpkin spice blend. Once fried to golden perfection, they are generously coated in a cinnamon-infused adaptation of my classic donut glaze, creating a harmonious blend of sweetness and autumn warmth.
These homemade pumpkin donuts are incredibly versatile and perfect for any occasion. Serve them alongside a warm cup of coffee or a festive easy pumpkin spice cocktail for a delightful morning or afternoon treat. For a truly decadent dessert experience, consider topping them with a generous scoop of creamy vanilla ice cream and a luscious drizzle of salted maple caramel sauce. These pumpkin spice cake donuts are so exceptional, they easily earn their place among the 25 Best Pumpkin Recipes for Fall!
Table of Contents
- Why You Will Love This Pumpkin Donut Recipe
- Professional Tips for Perfect Pumpkin Donuts
- Key Ingredients for Your Pumpkin Donuts
- Possible Ingredient Substitutions
- Exciting Variations to Try
- How to Make Delicious Fried Pumpkin Donuts
- Chef Lindsey’s Expert Recipe Tip
- Frequently Asked Questions About Pumpkin Donuts
- Full Pumpkin Donuts Recipe Card
- Before You Go
Why You Will Love This Pumpkin Donut Recipe:
- Authentic Pumpkin & Spice Flavor: Unlike many commercial “pumpkin” donuts that taste only of spice, these homemade pumpkin donuts deliver a true, rich pumpkin pie flavor. By incorporating both pumpkin puree and a carefully balanced pumpkin spice mix directly into the dough, we ensure every bite is bursting with genuine autumn deliciousness. You’ll savor the creamy pumpkin notes alongside the warm spices.
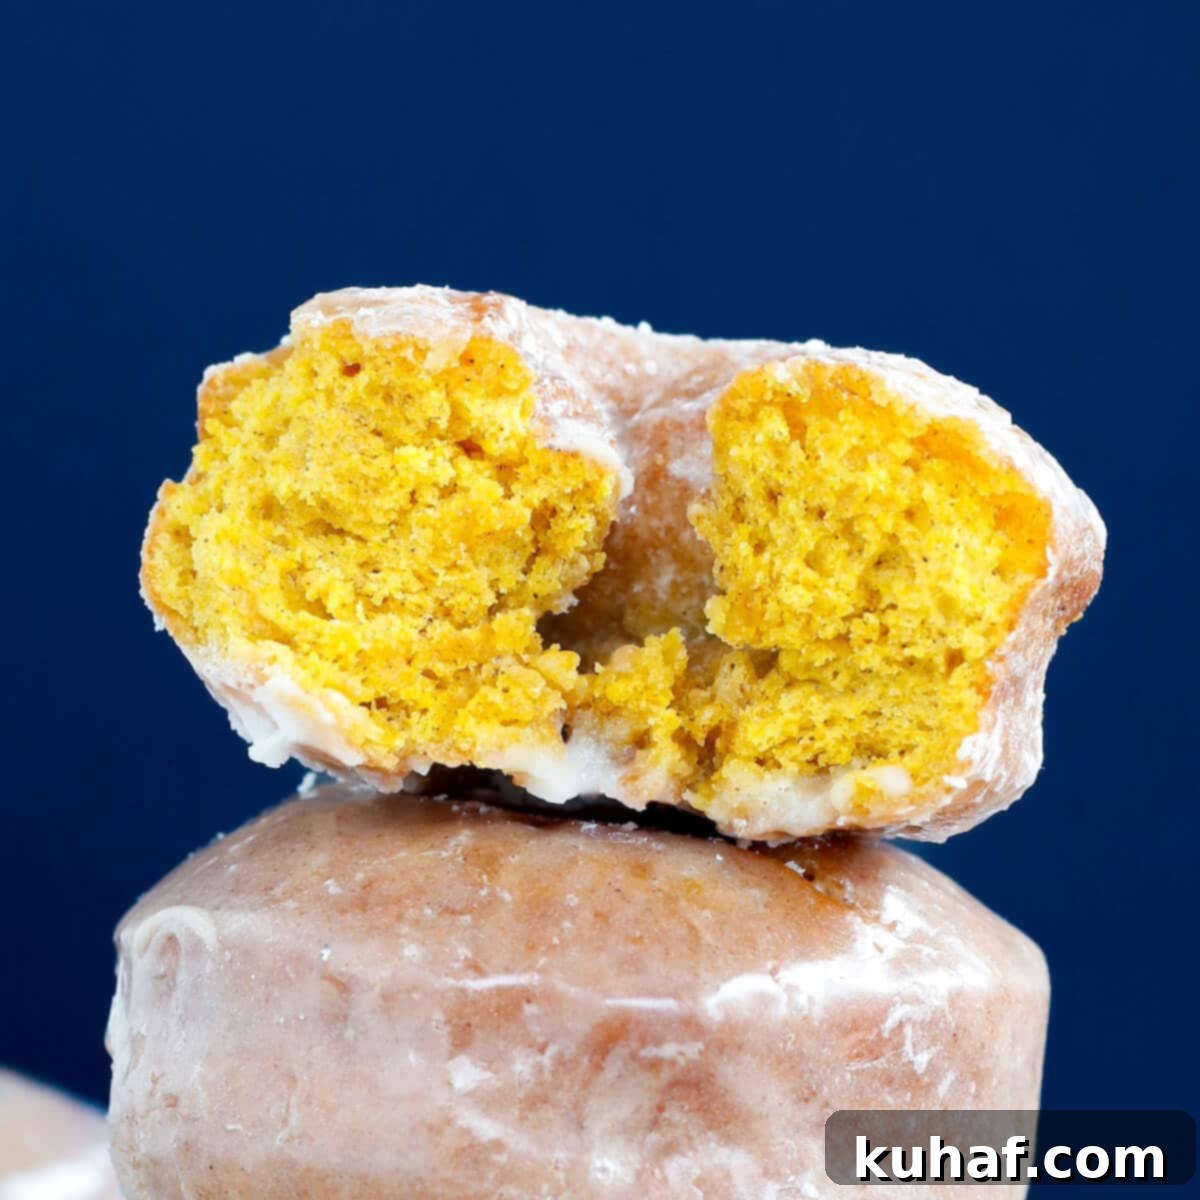
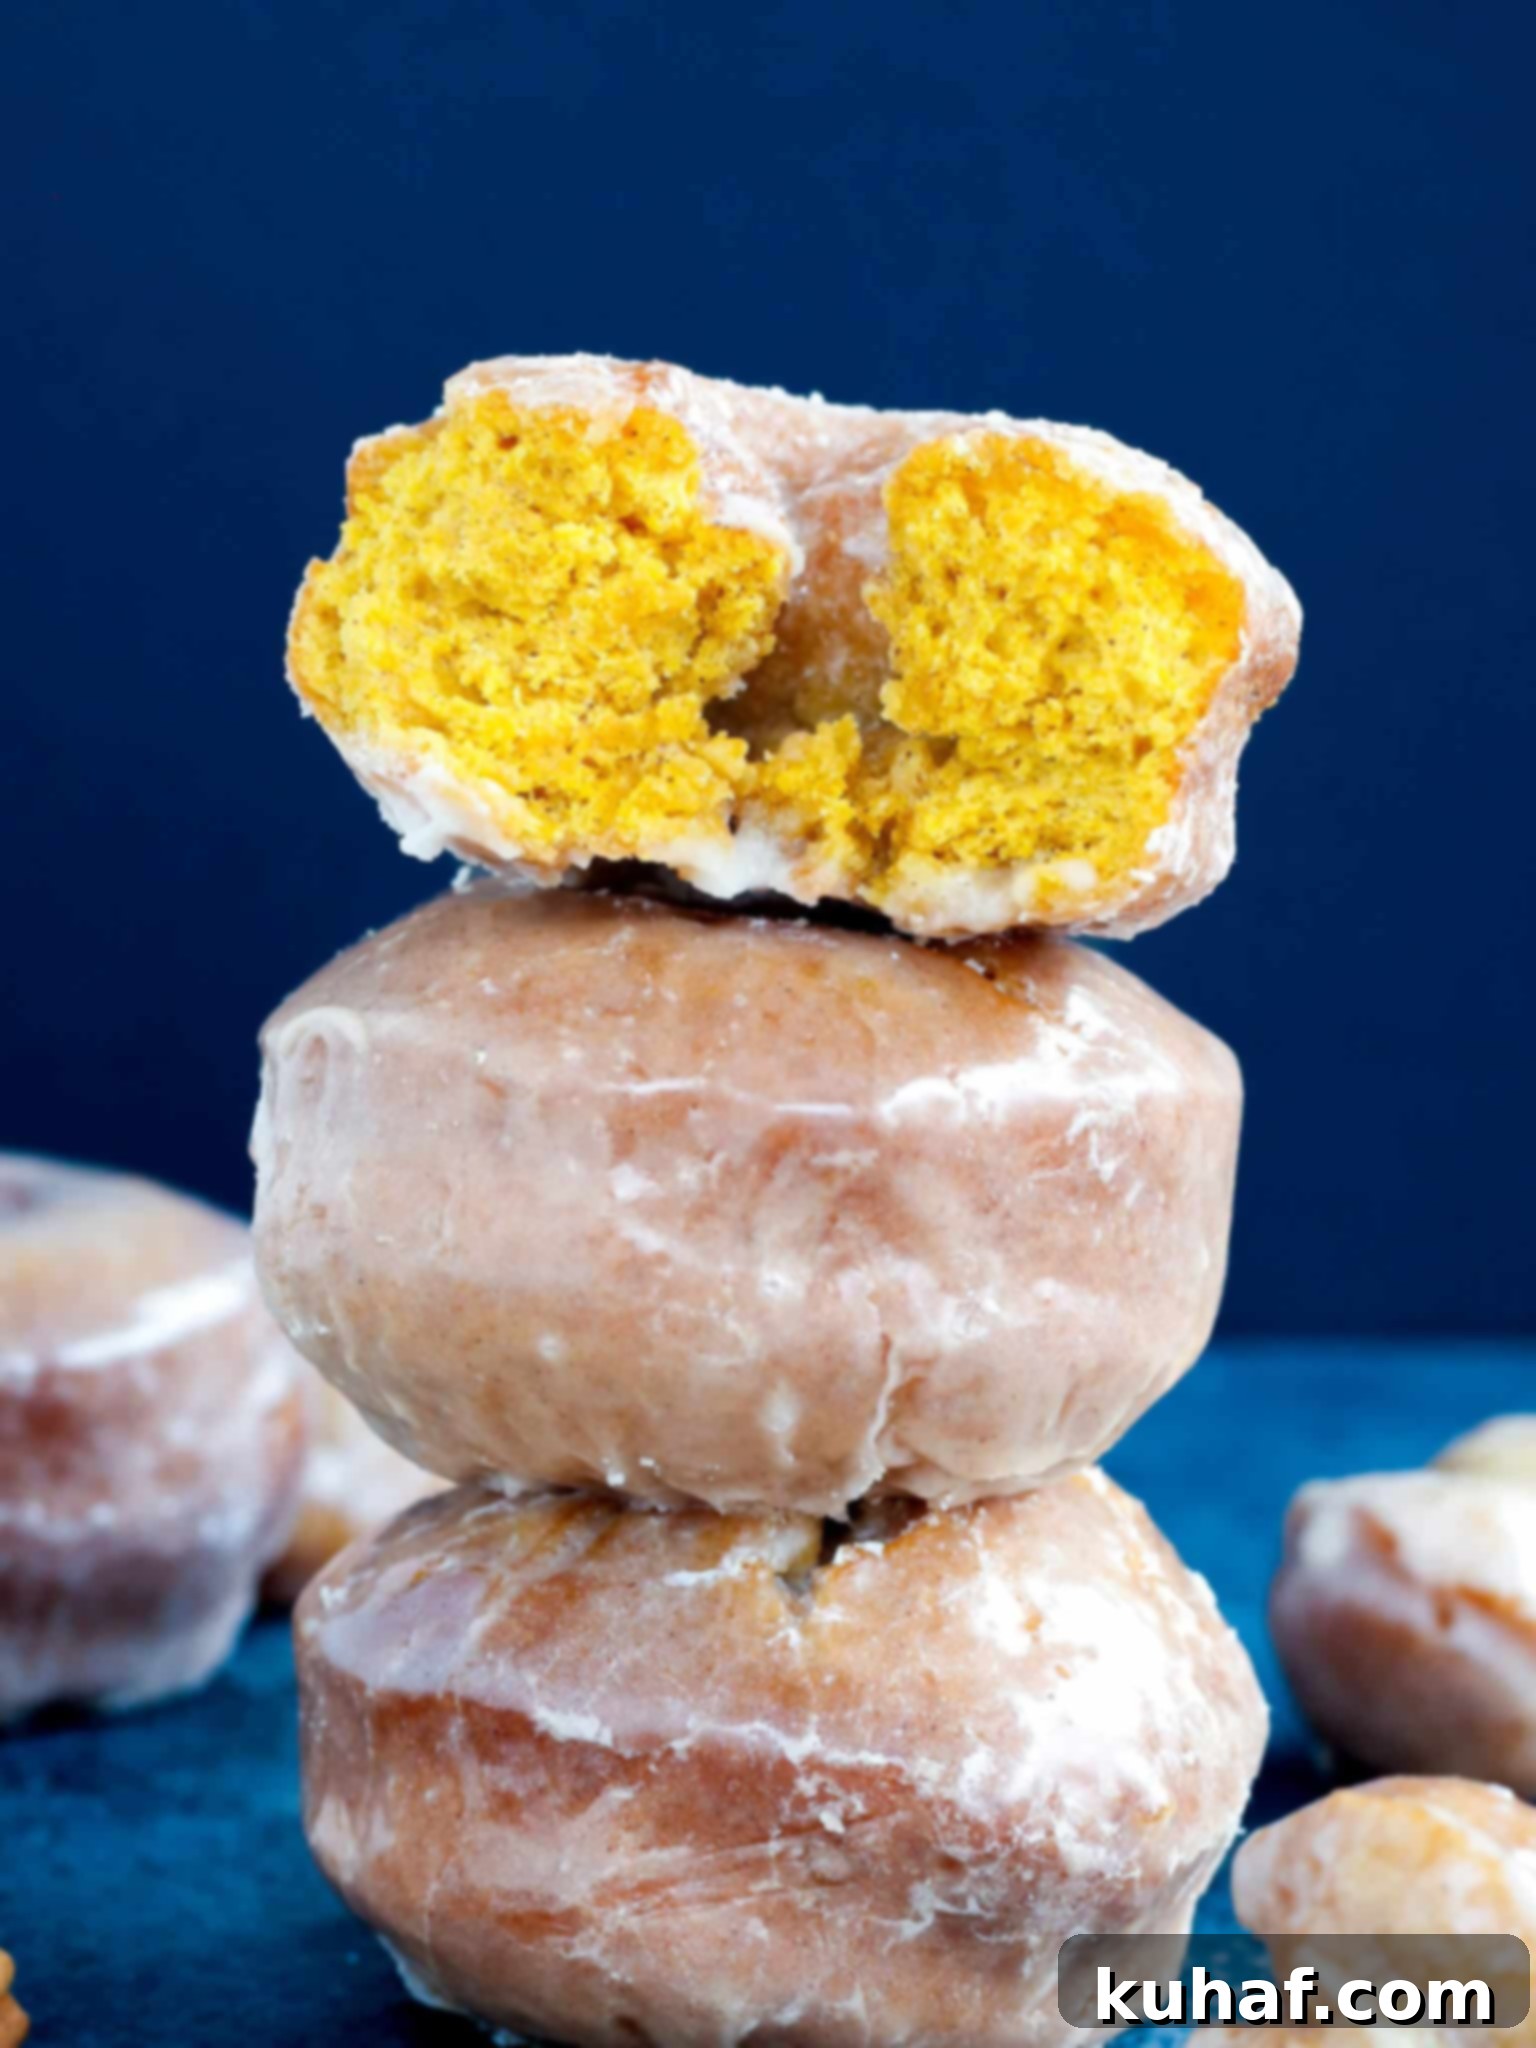
- The Perfect Cake Donut Texture: Achieving that ideal cake donut texture is an art, and I’ve meticulously balanced the amount of pumpkin puree in this recipe to guarantee a tender, moist, and delightfully cakey crumb. Too much pumpkin could result in a gummy texture, while too little would make the pumpkin flavor imperceptible. This recipe hits the sweet spot, giving you that satisfying, classic sour cream donut-like density with a soft interior.
- Gloriously Fried Donuts: There’s simply no substitute for the crispy exterior and fluffy interior of a perfectly fried donut. This recipe embraces the traditional frying method, which imparts a superior flavor and texture that baked donuts simply can’t replicate. And don’t worry if you’re new to frying – I’ll share all my professional tips to ensure you can fry these pumpkin donuts safely, easily, and with confidence, achieving that coveted donut shop quality right in your own kitchen!
Professional Tips for Perfect Pumpkin Donuts
- Master Gluten Control for Ideal Texture: Gluten, the essential protein network found in wheat flour, develops rapidly with agitation and heat. Too much gluten will result in tough, dense, and flatter donuts, far from the tender cake donut you desire. To prevent this, work quickly to keep the dough cool during rolling and cutting. When mixing, alternate adding wet and dry ingredients rapidly, and mix only until just combined. This gentle approach is key to achieving that delicate, cakey crumb, similar to the technique used in my glazed chocolate donuts.
- Choose the Right Oil and Manage Oil Absorption: The choice of frying oil significantly impacts the final taste and texture of your donuts. Always use a neutral-tasting oil with a high smoke point, such as canola oil. Oils like olive oil, for instance, have a low smoke point and a strong flavor that would overpower your delicious pumpkin donuts. Once your donuts are perfectly fried, immediately transfer them to a wire rack placed over a baking sheet. This allows excess oil to drip away, preventing the donuts from becoming greasy. Most importantly, meticulously control your oil temperature. If the oil is too cool, the donuts will absorb excessive amounts of oil, becoming heavy and oily. If it’s too hot, the exterior will brown too quickly, leaving the inside raw. Aim for a consistent temperature range, as detailed in the recipe.
- Pre-Cook Pumpkin Puree for Enhanced Tenderness: While you could technically skip this step, taking the extra time to pre-cook your pumpkin puree is a game-changer for these donuts. Gently simmering the pumpkin puree over low heat helps to reduce its moisture content. This reduction in moisture is crucial for achieving an exceptionally tender donut with that coveted old-fashioned texture, reminiscent of classic sour cream cake donuts. It prevents a gummy texture and concentrates the pumpkin flavor, ensuring your donuts are moist without being heavy.
Key Ingredients for Your Pumpkin Donuts
Each ingredient plays a vital role in creating these deliciously tender and flavorful fried pumpkin cake donuts:
- All-Purpose Flour: My go-to flour for most donut recipes, including delicate French crullers. It strikes the perfect balance, providing enough gluten to build a sturdy yet tender structure, ensuring your donuts are soft and cakey, not tough.
- Granulated Sugar: Beyond just sweetness, granulated sugar contributes significantly to the donut’s texture. When creamed with eggs and butter, it helps aerate the mixture, introducing air that acts as a leavening agent. This process results in a lighter, softer, and more tender donut crumb.
- Kosher Salt: A crucial flavor enhancer, kosher salt balances the sweetness and brings out the deeper notes of the pumpkin and spices, making the overall flavor profile more complex and satisfying.
- Egg Yolks: The powerhouses of richness! Egg yolks provide essential fat and moisture, which are critical for a tender, cakey texture. The fat content helps to shorten gluten strands, preventing the donuts from becoming chewy and contributing to their luscious, moist crumb. They also add a subtle richness that complements the pumpkin beautifully.
- Unsalted Butter: Using unsalted butter gives you complete control over the salt content in your dough. It adds a wonderful buttery flavor and contributes to the tender texture, enriching the donut without making it greasy.
- Pumpkin Puree: The star of the show! I typically use Libby’s pumpkin puree as it’s consistent for recipe development, but any pure pumpkin puree (not pumpkin pie mix, which contains added spices and sugar) will work. This ingredient provides the signature flavor, moisture, and a lovely orange hue to your donuts.
- Sour Cream: Indispensable for a true cake donut, especially for a sour cream-style donut! Sour cream is the primary source of moisture in this recipe and is what binds the dough together. Its acidity reacts with the baking powder, while its fat content keeps the donuts incredibly soft and tender, preventing a tough, overly wet dough.
- Baking Powder: For these donuts, double-acting baking powder is essential. It reacts once when mixed with an acid (our sour cream!) and then again when exposed to heat during frying. This dual reaction provides a consistent lift and a light, airy crumb. Baking soda alone would only react once and might leave your donuts dense, especially if the dough is prepared in advance.
- Spices (Cinnamon, Nutmeg, Ginger, Mace, Cloves, Allspice): This carefully selected blend of warm spices is what truly elevates the pumpkin flavor. For the most potent and authentic taste, always use fresh spices, ideally within one year of purchase. Their aromatic complexity is vital for that classic autumn appeal.
- Canola Oil: My preferred oil for frying due to its neutral flavor and high smoke point. This ensures that your donuts taste of pumpkin and spice, not of the frying oil. Alternatively, other neutral oils with high smoke points, such as Crisco shortening, are also suitable.
Possible Ingredient Substitutions
While the recipe is optimized as written, here are some possible substitutions and what to expect:
- Pumpkin Pie Spice Mix: To simplify your spice cabinet, you can easily substitute the individual spices listed with 6 teaspoons of my homemade pumpkin spice recipe (or a high-quality store-bought blend). This makes preparation even quicker, leaving you more time to perhaps whip up some pumpkin bran muffins for tomorrow while your donut dough chills. You’ll be crowned the Fall Breakfast Champion!
- Sour Cream: Full-fat sour cream is vital for the soft, tender texture of these donuts. The fat content helps to create a rich crumb and prevents toughness. While you can use low-fat sour cream or even Greek yogurt, be aware that the final texture will be slightly impacted – they may be a bit less rich and tender. Do not decrease the fat content and expect identical results, but they will still be delicious.
- Baking Powder: This recipe specifically calls for double-acting baking powder for a reason. It ensures two stages of leavening: once when it mixes with the acidic sour cream, and again when heated in the fryer. If you were to use baking soda, it would react mostly during mixing, leaving little leavening power by the time the dough hits the hot oil. This could result in noticeably denser donuts. Stick to double-acting baking powder for optimal lift.
- Egg Yolks: I strongly advise against substituting whole eggs for the egg yolks. The whites from whole eggs would introduce additional moisture without the corresponding fat, leading to a tougher donut. The yolks are specifically chosen for their fat content, which contributes to richness and a tender, cakey texture by interfering with excessive gluten development. Taking the moment to separate them is worth it, and you can even save the whites to make a stunning pavlova cake for another dessert!
Exciting Variations to Try
Once you’ve mastered the basic recipe, feel free to get creative with these delicious variations:
- Experiment with Glaze Flavors: The cinnamon glaze is fantastic, but you have other delicious options! For a simpler finish, roll your hot donuts in a mixture of cinnamon sugar. Alternatively, create a delightful maple glaze by substituting maple syrup for the milk in my classic donut glaze recipe. If opting for a maple glaze, I recommend adding an extra pinch of kosher salt to balance the sweetness, as maple syrup is essentially 100% sugar. This small addition will enhance the overall flavor depth.
- Make All Donut Holes: Why stop at just the donut rings? Cut all the dough into charming donut holes instead! They are incredibly fun to eat, perfect for sharing, and fry up in a fraction of the time compared to full-sized donuts. Just be sure to adjust frying times accordingly (they’ll be much quicker!).
How to Make Delicious Fried Pumpkin Donuts
Follow these detailed instructions to create consistently perfect, tender, and flavorful pumpkin donuts every single time. For precise measurements and a printable version, please refer to the complete recipe card below.
Make the Donut Dough:
Step 1: Prepare the Pumpkin Puree. In a small saucepan, cook the pumpkin puree over very low heat for approximately 20 minutes. This crucial step removes excess moisture, which is key to achieving a tender, cakey donut texture rather than a gummy one. Allow the puree to cool completely. For quicker cooling, spread it thinly on a plastic-lined, rimmed baking sheet and place it in the refrigerator. Once cooled, gently drain off any separated moisture.
Chef’s Tip for Rapid Cooling: To expedite the cooling process for your reduced pumpkin puree, spread it thinly and evenly on a plastic-lined, rimmed baking sheet. Pop it into the refrigerator, and it will chill down much faster, allowing you to proceed with the recipe without delay.
Step 2: Combine Dry and Wet Ingredients. In a large mixing bowl, thoroughly whisk together the all-purpose flour, baking powder, kosher salt, and all of your aromatic pumpkin spices. Set this dry mixture aside. In a separate medium bowl, whisk together the cooled pumpkin puree and the sour cream until well combined. Set this wet mixture aside.
Step 3: Prepare Your Mixing Bowl for Dough. Lightly spray a large mixing bowl with nonstick cooking spray, or generously flour a piece of plastic wrap and use it to line the bowl, as demonstrated in many baking videos. This preparation will prevent the sticky dough from adhering to the bowl later.
Step 4: Cream Sugar, Butter, and Yolks. In the bowl of a stand mixer fitted with the paddle attachment, combine the granulated sugar, softened unsalted butter, and egg yolks. Beat this mixture on high speed for about 2 minutes. Continue until the mixture lightens in color, becomes visibly fluffier, and its volume increases significantly. This creaming process incorporates air, which contributes to the donuts’ light texture.
Step 5: Incorporate Wet and Dry Mixtures. Reduce the stand mixer speed to low. Gradually add the dry ingredients and the pumpkin-sour cream mixture, alternating between them, a large spoonful at a time. Mix only until the dry ingredients are just fully incorporated into the dough. It’s vital not to overmix at this stage.
Critical Mixing Technique: To ensure your cake donuts remain tender and don’t become tough with internal tunnels, add the wet and dry ingredients as quickly and gently as possible. Overworking the dough develops gluten excessively, which is exactly what we want to avoid for a soft, cake-like texture.
Step 6: Chill the Dough. Transfer the prepared dough to your plastic wrap-lined bowl. Lightly spray the top surface of the dough with nonstick spray, then fold the edges of the plastic wrap tightly over the dough to cover it completely. Alternatively, if using floured plastic wrap, scrape the dough onto it, sprinkle with more flour, and wrap well. Refrigerate the dough for at least 60 minutes. This chilling period is crucial as it firms up the dough, making it much easier to handle and cut, and helps prevent over-development of gluten.
Make-Ahead Convenience: The prepared donut dough can be stored in the refrigerator for up to 3 days, making it perfect for preparing in advance for a fresh batch of donuts any morning!
Cut the Donuts:
Step 7: Prepare Baking Sheet. Line a half-sheet pan with parchment paper. Lightly spray the parchment paper with nonstick cooking spray to prevent sticking, and set it aside.
Step 8: Flour Your Work Surface and Roll Dough. Generously dust your clean work surface with all-purpose flour. This dough tends to be stickier than other donut doughs due to the pumpkin puree. While the dough is still in its bowl, dust the top surface with flour. Turn the dough out onto your floured work surface, floured side down, then dust the top with even more flour. Working quickly to maintain the dough’s coolness, roll it out evenly to a thickness of approximately ½ inch.
The Importance of Dough Thickness: The thickness of your rolled dough is key. Donuts expand significantly when fried. If the dough is too thick, the outside will cook and brown, but the inside will remain raw. If it’s too thin, you won’t achieve that delightful contrast between the crispy fried exterior and the moist, cakey interior. Aim for that ½ inch thickness for optimal results.
Step 9: Cut Donuts and Holes. Lightly brush any excess flour from the top surface of the rolled dough. Use a 3-inch round donut cutter and a 1 ¼-inch smaller ring cutter to cut out your donuts and their centers (holes). Dip the cutters in flour before each cut to prevent sticking and ensure clean edges. Carefully transfer the cut donuts and donut holes to your prepared sheet pan.
Maximize Your Dough: After cutting out all your primary donuts, gather the dough scraps. Re-roll them gently and use the small cutter to create additional donut holes. It’s a great way to ensure “waste not, want not” and enjoy even more delicious treats!
Step 10: Chill Cut Donuts. Cover the sheet pan with plastic wrap, being careful not to let the plastic touch the top of the donuts (you can lightly tent it or use toothpicks if needed). Chill the cut donuts in the refrigerator for at least 30 minutes. This chilling helps the donuts hold their shape better during frying and reduces oil absorption. I often let mine chill overnight at this stage for convenience.
Extended Storage for Cut Donuts: For ultimate convenience, you can cover and refrigerate the cut donuts for up to 3 days, or even freeze them for up to 1 month. If frozen, be sure to thaw them completely in the refrigerator before proceeding with frying.
Step 11: Prepare the Cinnamon Glaze. While your donuts are chilling, prepare the flavorful cinnamon glaze. In a medium bowl, whisk together the whole milk, powdered sugar, kosher salt, and ground cinnamon until smooth and free of lumps. Cover the glaze with plastic wrap, pressing it directly onto the surface to prevent a skin from forming. If you prefer a thinner glaze, you can gently heat it over a pot of simmering water on the stovetop. I found that dipping my donuts while they were still very hot made this step unnecessary, as the heat thins the glaze naturally.
How to Fry Pumpkin Donuts:
Step 12: Heat the Frying Oil. Pour your chosen frying oil (canola or another high-smoke-point neutral oil) into a deep fryer or a heavy-bottomed Dutch oven, ensuring the oil is at least 2 inches deep. Attach a clip-on fry or candy thermometer to the side of the pot. Heat the oil to 350° F (175° C). It’s advisable to initially heat the oil slightly higher, to about 360° F (182° C), because the cold donut dough will cause the oil temperature to drop once added. Throughout the frying process, adjust your heat as needed to maintain a consistent temperature between 350° – 360° F (175° – 182° C).
Oil Temperature Control is Paramount: A reliable clip-on fry/candy thermometer is absolutely essential for successful frying. Start heating your oil to 360°F (182°C) before introducing your first batch of cold donut dough, as the dough will naturally lower the oil temperature. Maintaining this consistent temperature range is key to perfectly cooked, non-greasy donuts.
Step 13: Fry the Donuts. Carefully and gently place no more than 3 donuts into the hot oil at a time, keeping the remaining donuts chilled in the refrigerator. Overcrowding the fryer will drastically lower the oil temperature, leading to greasy donuts. Once the donuts float to the surface, after about 30 seconds, use a slotted spoon to gently flip them over. Continue frying until the bottom side develops a beautiful golden-brown color, which typically takes about 65 seconds. Flip them again and fry for an additional 40 seconds, or until both sides are an even, appealing golden brown.
Testing for Doneness: To ensure your donuts are cooked through, carefully remove one donut from the oil using your slotted spoon. Insert a thin cake tester or skewer into the side – if it comes out clean, the donut is perfectly done. While you can break one open, the cake tester method is more precise and allows you to test each donut without sacrificing one.
Frying Donut Holes: Donut holes will fry much faster. Place them in the oil, fry for 30 seconds, flip, fry for another 40 seconds, flip again, and then fry for a final 20-30 seconds. They should puff up nicely and achieve an even golden-brown color all over. You can also use a cake tester to check their doneness.
Step 14: Drain Excess Oil. Once fried, immediately transfer the hot donuts to a wire rack that has been placed over a sheet pan (or paper towels) to catch any excess oil. This step is crucial for preventing soggy donuts.
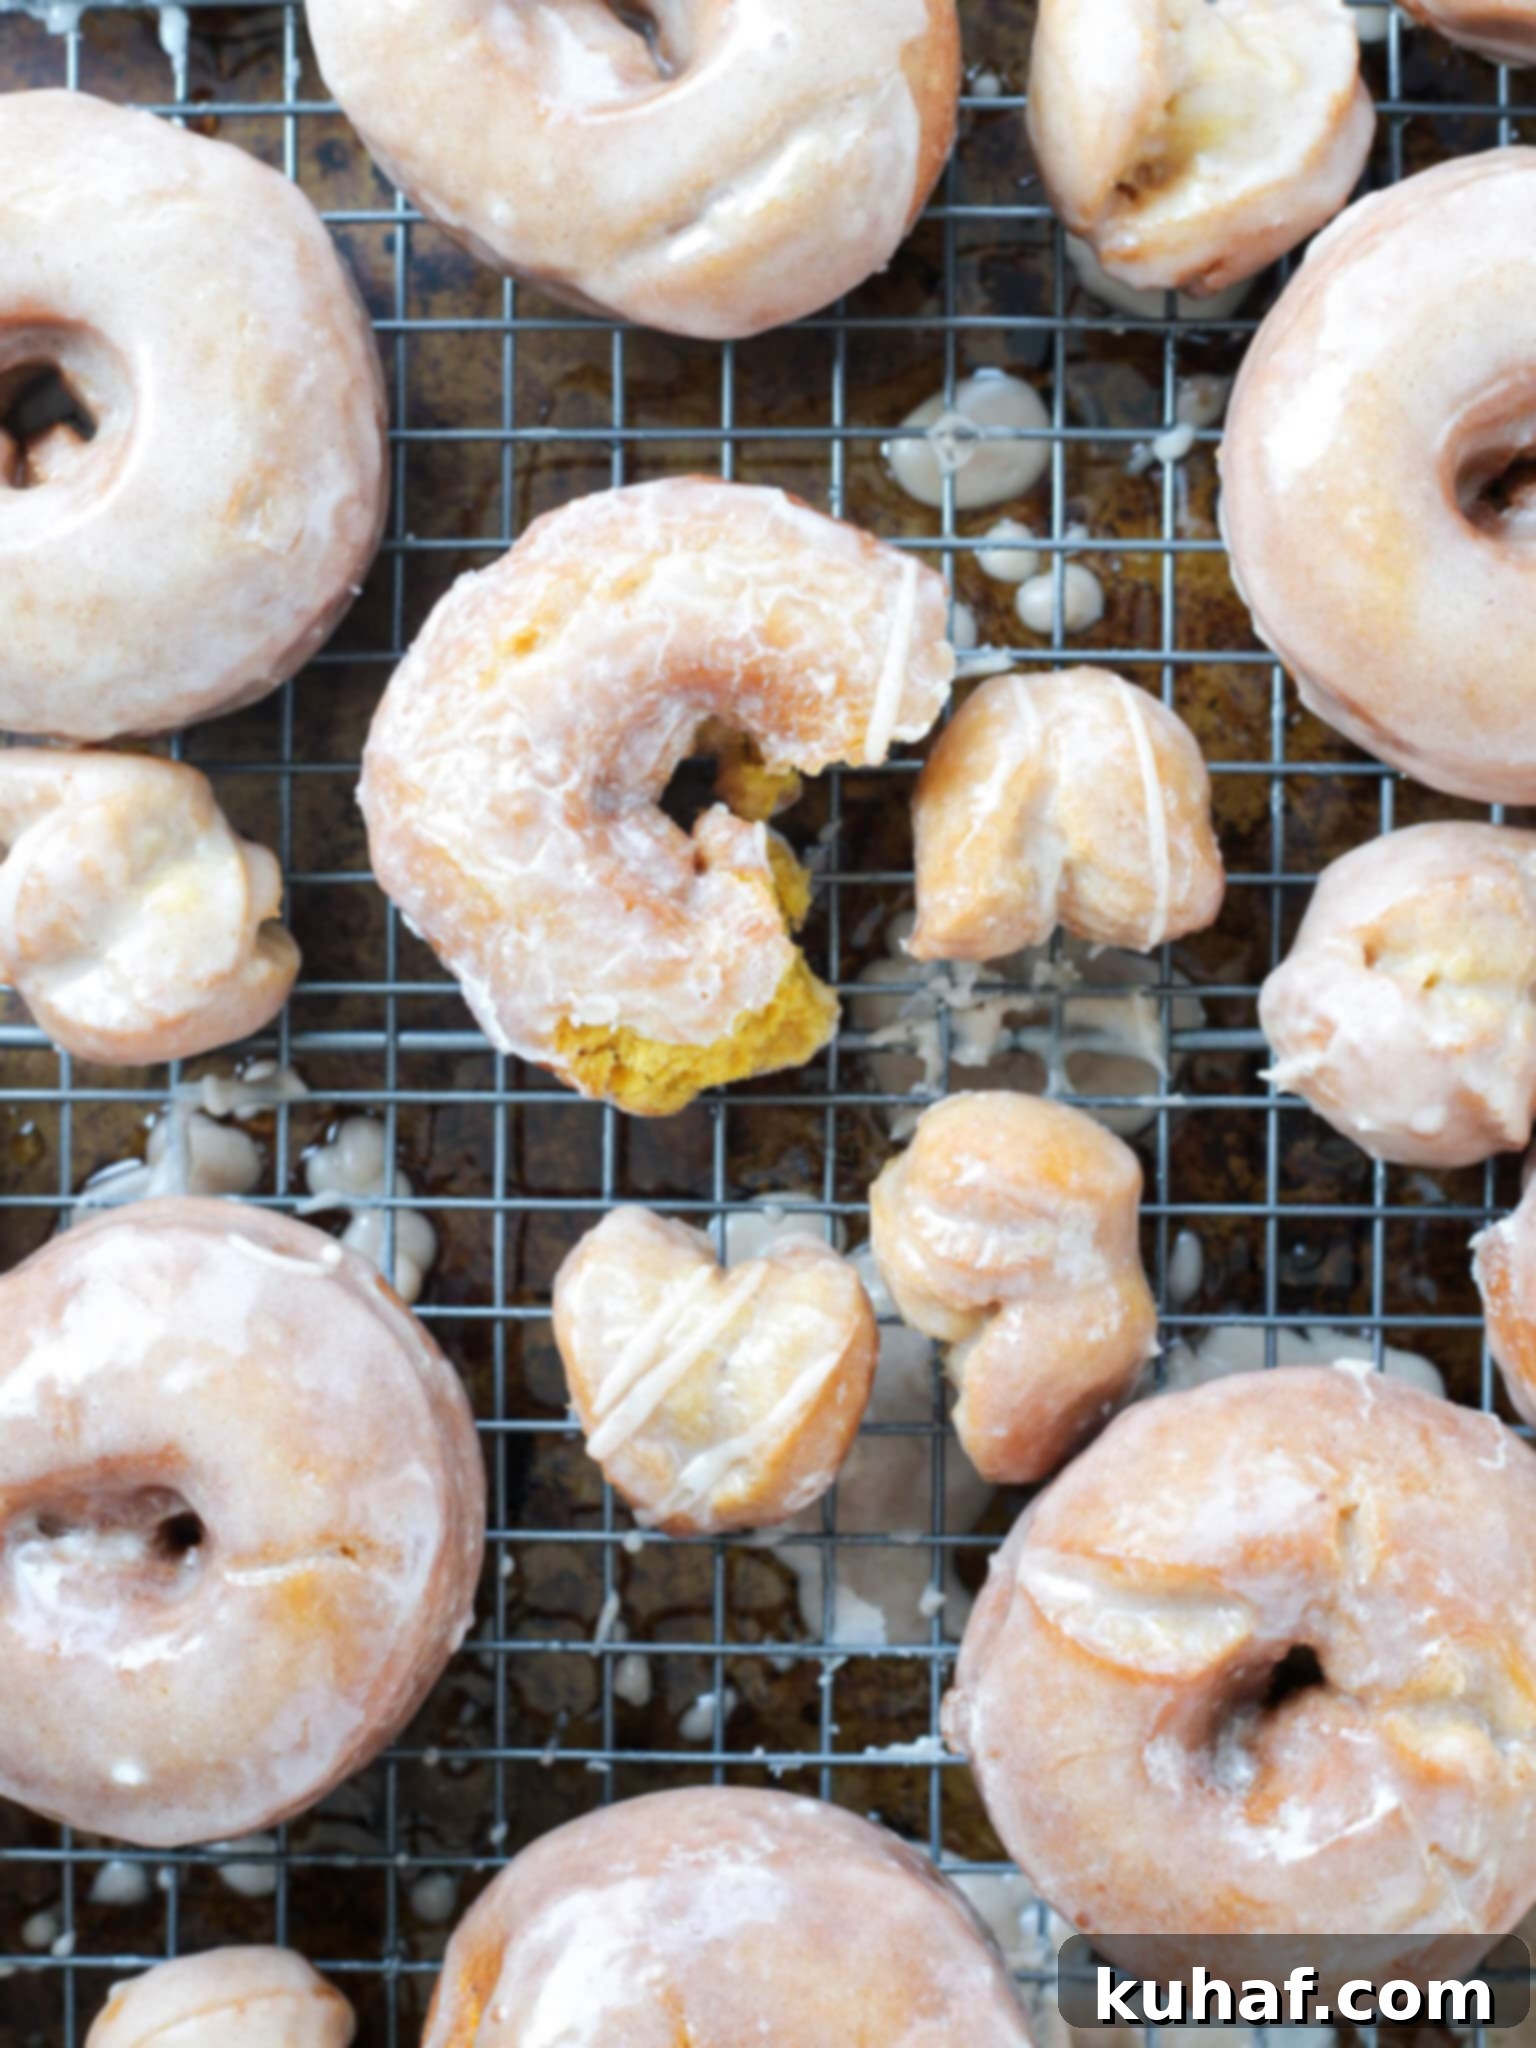
Step 15: Glaze While Warm. As soon as the donut is just barely cool enough to handle – ideally, only about 20-30 seconds after coming out of the fryer – dip it fully into the cinnamon glaze. Place the glazed donut back on the wire rack to allow any excess glaze to drip off and to set. Dipping a hot donut yields a beautifully even glaze that is neither too thick nor too thin, adhering perfectly. If your donuts have cooled too much, you can gently warm your glaze over simmering water to thin it before dipping.
Chef Lindsey’s Expert Recipe Tip
If you take away nothing else from this comprehensive guide, remember this single piece of advice: Stay calm and just keep going! Baking and frying, especially for the first time, can feel daunting, but every challenge is a learning opportunity. If your dough feels stickier than expected when rolling, don’t panic – simply add a little more bench flour to your work surface and persevere. If your very first donut comes out looking a bit too dark on the outside but seems doughy on the inside, that’s a clear signal to slightly lower your oil temperature and remember to use your trusty cake tester for subsequent batches. You’ve got this! Embrace the process, adjust as you go, and soon you’ll be enjoying perfectly homemade pumpkin donuts.
Frequently Asked Questions
It is strongly recommended not to bake this specific donut recipe. This recipe is formulated as a dough designed for frying, which results in its characteristic tender, cakey interior and crispy exterior. If this dough were baked, the donuts would become notably dense and lose their desired texture. Baked donuts typically utilize a thinner, more cake-like batter rather than a traditional dough, designed to rise and set differently in an oven.
For the absolute best flavor and texture, these pumpkin donuts are ideally enjoyed the day they are fried. If you plan to serve them within 24 hours, store them uncovered at room temperature. This method helps to preserve their delicate fried texture. When stored in an airtight container, glazed donuts will soften and may slowly develop a slightly oily flavor and texture over time. Glazed donuts, however, tend to retain their moisture longer than those simply tossed in sugar. They can be safely stored for up to 3 days at room temperature.
Absolutely! While these fried pumpkin donuts are best enjoyed fresh, you can certainly prepare them ahead of time by making and storing the dough. The preparation process can be paused at almost any stage before frying. The dough itself can be refrigerated for up to 3 days. Alternatively, you can cut the donuts and then refrigerate them for up to 3 days or freeze them for up to 1 month. If you freeze pre-cut donuts, remember to thaw them thoroughly in the refrigerator before you proceed with frying to ensure even cooking.
If you tried this recipe and loved it please leave a 🌟 star rating and let me know how it goes in the comments below. I love hearing from you; your comments make my day!
Pumpkin Donuts
Pin Recipe
Comment
Print Recipe
Ingredients
For the Donuts:
- 1¼ cups granulated sugar
- 2 ½ tablespoons unsalted butter
- 5 egg yolks
- 1 cup sour cream
- 1 cup pumpkin puree
- 5 cups all-purpose flour
- 1 tablespoon baking powder
- 1 tablespoon kosher salt
- 1 tablespoon ground cinnamon
- ¾ teaspoon ground nutmeg
- ½ teaspoon ground ginger
- ¼ teaspoon ground mace
- ¼ teaspoon ground cloves
- ⅛ teaspoon ground allspice
- 96 fl oz oil for frying I use canola
For the Glaze:
- 100 mL whole milk
- 1 teaspoon kosher salt
- 3¼ cups powdered sugar
- 1 teaspoon cinnamon
Instructions
To Make the Donut Dough:
-
In a small saucepan, cook the pumpkin puree over low heat to reduce excess moisture for about 20 minutes. Allow it to cool completely, then drain off any liquid that has separated. For quicker cooling, spread it on a plastic-lined baking sheet and refrigerate.
-
In a large bowl, whisk together the all-purpose flour, baking powder, salt, and all the spices. Set aside. In a separate bowl, whisk together the cooled pumpkin puree and sour cream. Set aside.
-
Line a large mixing bowl with plastic wrap and spray the plastic surface with nonstick cooking spray, or generously flour the plastic wrap. This helps prevent the dough from sticking.
-
In the bowl of a stand mixer fitted with the paddle attachment, beat the granulated sugar, unsalted butter, and egg yolks on high speed for about 2 minutes, until the mixture is lightened in color and volume has increased.
-
Reduce the stand mixer speed to low. Gradually alternate adding the dry ingredients and the pumpkin mixture, a large spoonful at a time. Stop mixing as soon as the dry ingredients are fully incorporated. This quick mixing is crucial to prevent excessive gluten development, which can lead to a tough donut with unwanted tunnels.
-
Transfer the dough to the plastic wrap-lined bowl. Spray the top of the dough with nonstick spray, then fold the edges of the plastic over to cover it completely. Alternatively, scrape the dough onto floured plastic wrap, sprinkle with more flour, and wrap well.
-
Refrigerate the dough for at least 60 minutes. The dough can be stored in the fridge for up to 3 days at this stage.
Cut the Donuts:
-
Line a baking half-sheet pan with parchment paper and lightly spray it with nonstick spray. Set aside.
-
Generously dust your work surface with flour, as this dough is stickier than typical donut doughs. While the dough is still in its bowl, dust the top with flour. Turn the dough out onto your floured surface, floured side down, then dust the top with more flour.
-
Working quickly to keep the dough cool, roll it out evenly to a thickness of ½ inch. This thickness is crucial for proper frying and texture.
-
Brush any excess flour from the top of the dough. Use a 3-inch round cutter and a 1 ¼-inch smaller ring cutter to cut out the donuts and their holes. Dip the cutters in flour before each cut. Carefully place the cut donuts and donut holes on the prepared sheet pan. [Pro Tip: After cutting all your main donuts, re-roll the scraps gently and cut more donut holes – minimizing waste!]
-
Cover the sheet pan with plastic wrap, ensuring the plastic does not touch the top of the donuts. Chill in the refrigerator for at least 30 minutes. You can also chill them overnight at this step. Cut donuts can be refrigerated for 3 days or frozen for 1 month (thaw before frying).
-
While the donuts chill, make the cinnamon glaze. In a medium bowl, whisk together the milk, powdered sugar, salt, and cinnamon until smooth. Cover the glaze directly with plastic wrap to prevent a skin from forming. If a thinner glaze is desired, gently warm it over simmering water. I found this unnecessary by glazing the donuts while hot.
How to Fry Pumpkin Donuts:
-
Pour oil into a fryer or Dutch oven, ensuring a depth of at least 2 inches. Heat the oil to 350°F (175°C). Use a clip-on fry/candy thermometer to monitor the temperature and adjust heat to maintain it between 350°-360°F (175°-182°C) during frying. I heat my oil to 360°F before adding a batch of donuts, as the cold dough will lower the temperature.
-
Gently place 3 donuts into the fryer (keeping the rest in the fridge to stay cold). Once they rise to the surface, after about 30 seconds, flip them with a slotted spoon. Fry until the bottom is golden brown, approximately 65 seconds. Flip again and fry for another 40 seconds, or until both sides are an even, appealing golden brown. Transfer immediately to a wire rack set over a sheet pan or paper towels to drain excess oil.
-
For donut holes: Fry for 30 seconds, flip, then another 40 seconds, then flip, and finally 20-30 seconds. They should puff up and be golden brown all over. Use a cake tester to confirm doneness if unsure.
-
Once a donut is just warm enough to handle (wait about 20-30 seconds after frying), dip it into the glaze, ensuring full coverage, and then place it back on the wire rack. Glazing a hot donut provides a smooth, even, and perfectly set coating.
Video
Notes
Presentation – These pumpkin cake donuts are fantastic glazed while warm with the classic cinnamon donut glaze. For variety, try rolling them in a cinnamon sugar mixture immediately after frying, or opt for a sweet and savory maple donut glaze.
Substitutions – Feel free to use high-quality homemade pumpkin puree instead of canned, ensuring it’s reduced to remove excess moisture. While full-fat sour cream is recommended for the best texture, low-fat sour cream or Greek yogurt can be used, though it may result in a slight, subtle change to the donut’s tenderness.
Storage – Store freshly fried and glazed pumpkin donuts at room temperature, uncovered, for up to 3 days to maintain their best texture and flavor. For longer storage, it is best to prepare the dough in advance: the uncooked dough can be stored in the refrigerator for up to 3 days, or the cut donuts can be frozen for up to one month. Always thaw frozen, pre-cut donuts in the refrigerator before frying.
Nutrition
Before You Go
I truly hope you’ve enjoyed creating and tasting this professionally tested recipe for delicious fried pumpkin cake donuts. These homemade treats are a testament to how simple ingredients, combined with expert techniques, can yield extraordinary results. Don’t stop your donut adventures here! Be sure to explore our other mouth-watering, chef-developed donut recipes, including a crowd-pleasing Krispy Kreme copycat donut recipe that will impress everyone. If you’re as much of a pumpkin enthusiast as I am, you’ll also love delving into our full collection of pumpkin recipes, perfect for celebrating the flavors of fall all season long. Happy baking and frying!
