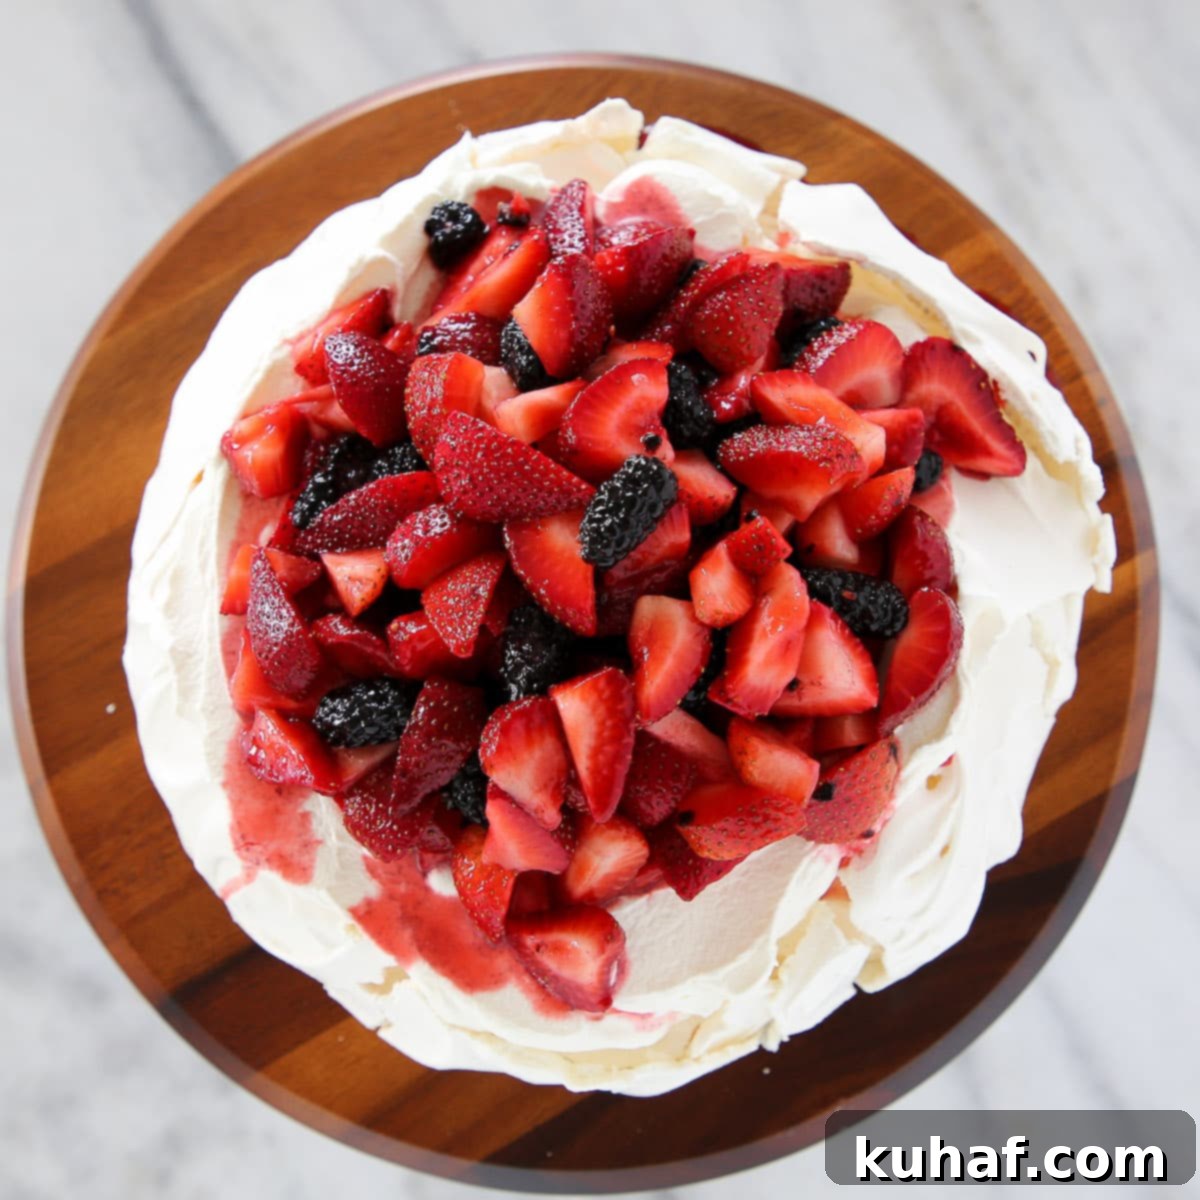
The Ultimate Lemon Berry Pavlova Cake: Crispy, Creamy, and Perfectly Tart-Sweet
This easy-to-follow recipe for a Lemon Berry Pavlova Cake creates a dessert that is delightfully crispy on the outside and wonderfully soft and pillowy on the inside. It strikes the perfect balance of tart and sweet, making it an utterly stunning and undeniably delicious showstopper for any occasion!
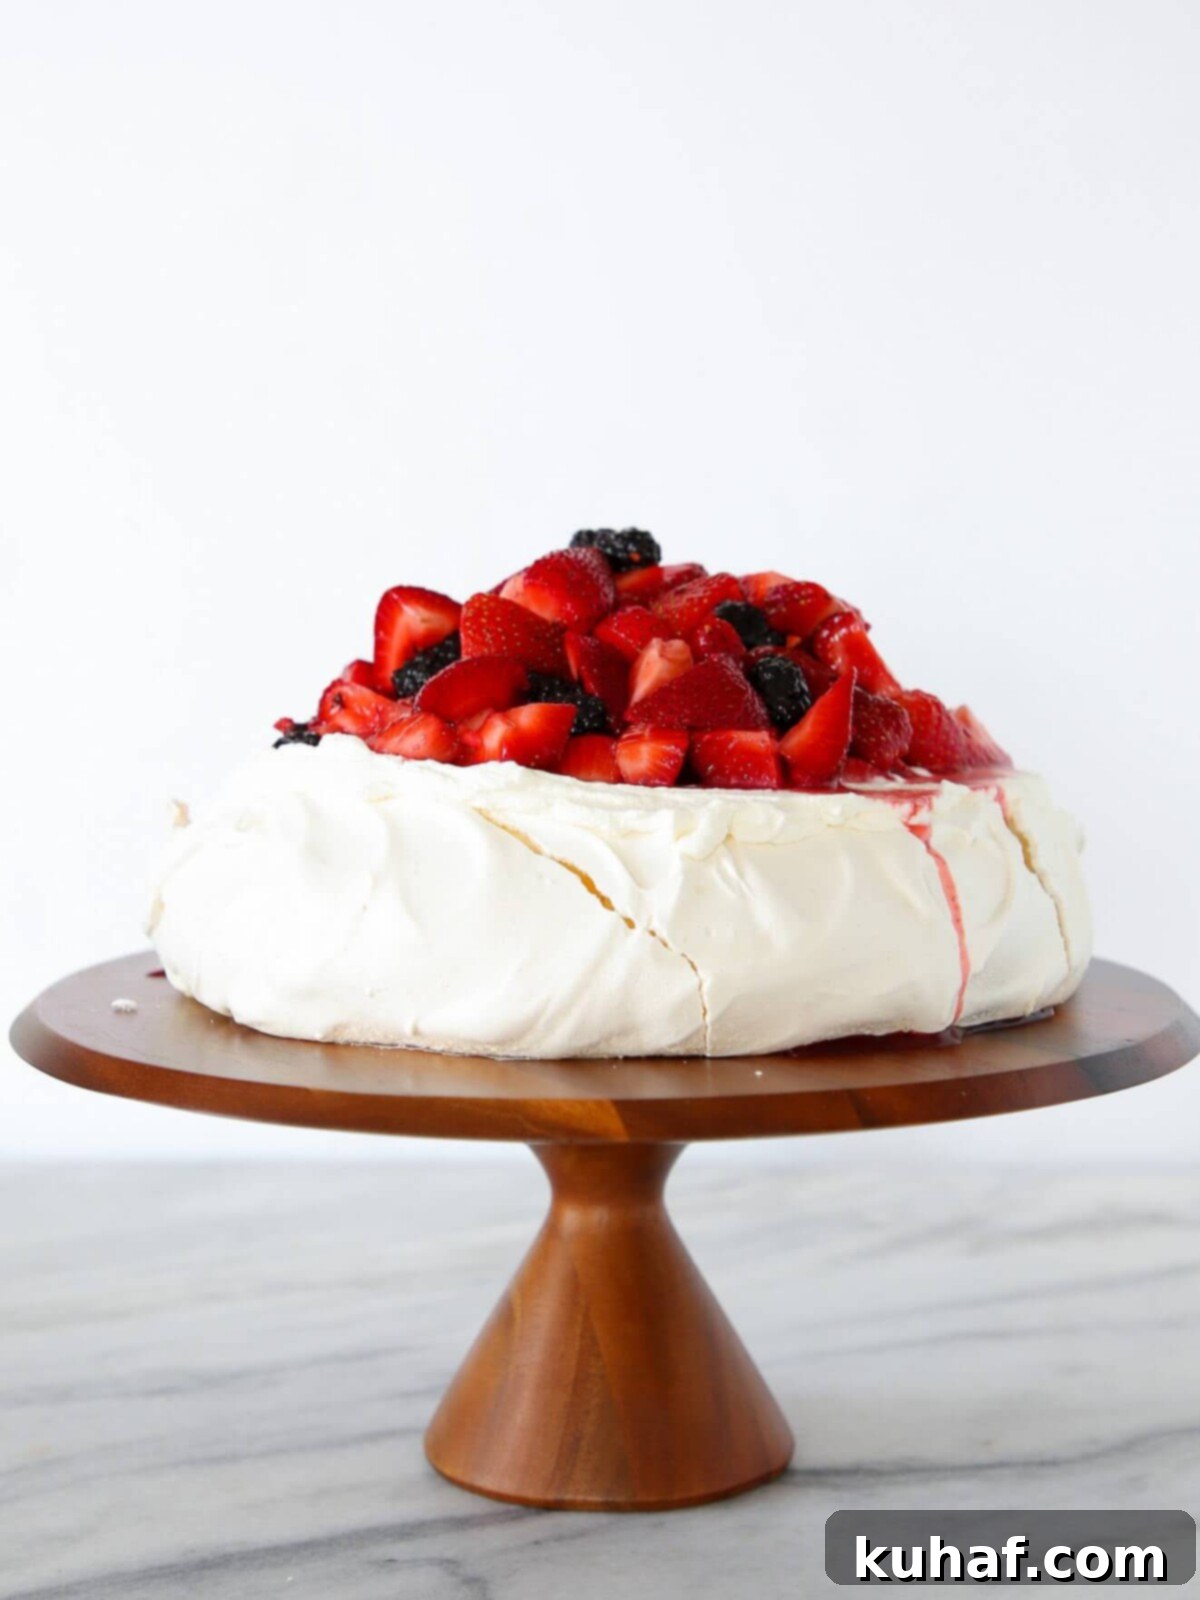
As a professional pastry chef, I often get asked about my favorite dessert. It’s a bit like choosing a favorite child – impossible, right? Yet, if pressed, I must confess that pavlovas hold a special place in my heart, especially when adorned with bright lemon curd and vibrant macerated berries. And when you make it a grand, showstopping Lemon Berry Pavlova Cake? That’s pure dessert nirvana!
In the bustling restaurant kitchens where I’ve spent countless hours, a significant amount of my time has been dedicated to conceptualizing new and exciting pavlova shapes for elegant plated desserts. My deep affection for them stems from their inherent perfection. When executed correctly, a pavlova offers an exquisite symphony of textures and flavors.
The magic lies in its contrasts: a delicate, crunchy meringue shell gives way to a surprisingly soft, marshmallow-like interior. This ethereal sweetness of the pavlova expertly balances the invigorating tartness of homemade lemon curd and the zesty lemon juice infused into the berries. Visually, the pristine white meringue provides a breathtaking canvas, allowing the vibrant hues of the beautiful berries and sunny yellow lemon curd to truly pop. Once you experience the harmonious blend of flavors and textures in this pavlova, I encourage you to explore my lemon pound cake for another sensational lemon-berry pairing that promises to delight your palate!
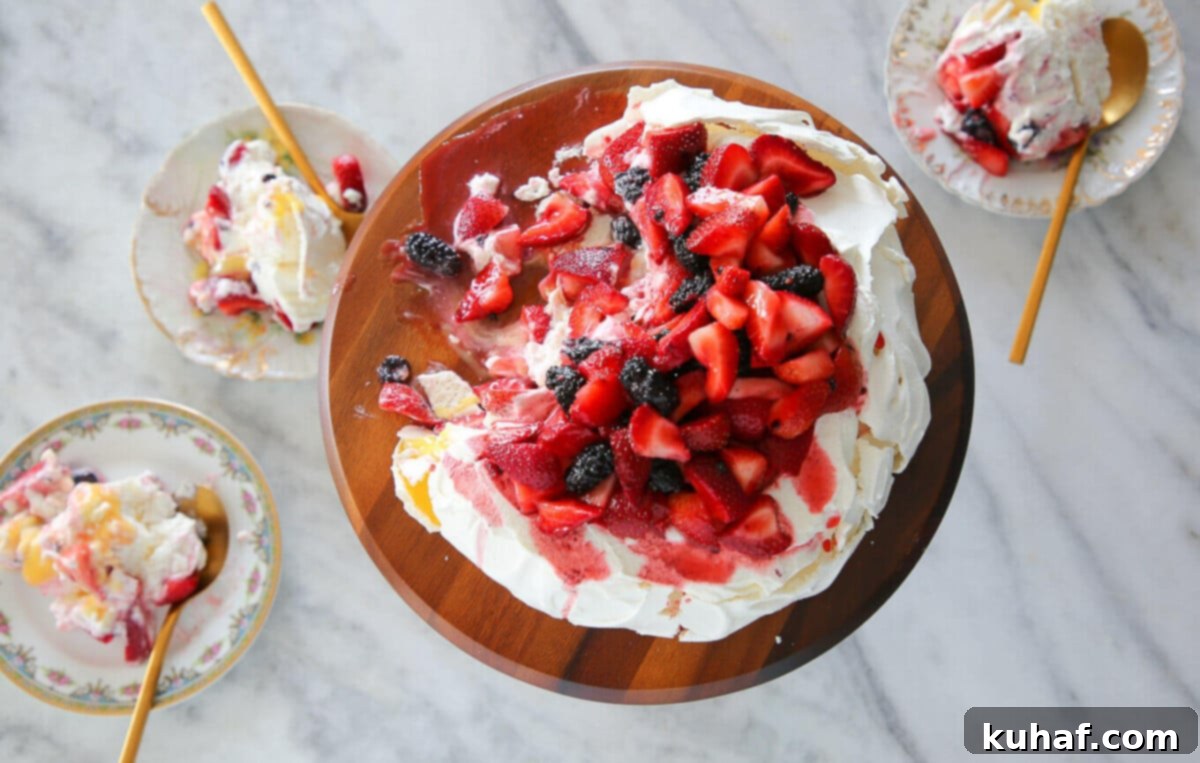
Mastering Pavlova: Essential Techniques for Perfection
While pavlovas are often perceived as simple desserts, achieving perfection, as with many seemingly straightforward pastry creations, relies on a few critical techniques and insider tricks. Having spent innumerable hours troubleshooting and teaching aspiring cooks the nuances of pavlova making, I’m here to guide you through every step to ensure your success.
Key Ingredients & Tools for Pavlova Success:
- Egg Whites: The foundation of any great meringue. Eggs are easiest to separate when cold, and the absolute most crucial factor is ensuring there isn’t a single trace of yolk in your whites. Even a minuscule amount of fat can prevent the egg whites from whipping up to their full, airy potential. While extreme measures like wiping down your bowl with vinegar aren’t strictly necessary, take your time with separation. I find it helpful to separate eggs over three bowls: one for yolks, one for the newly separated white, and a third ‘holding’ bowl into which I pour clean whites after several successful separations. Trust me, the heartbreak of a broken yolk contaminating a quart of perfectly separated whites is something you want to avoid! For optimal whipping volume, ensure your separated egg whites are at room temperature before you begin.
- Sugar: The role of sugar in meringue is dual-purpose: it sweetens and, more importantly, stabilizes the whipped egg whites. There’s a common debate about when to add sugar, but I firmly believe in adding it earlier rather than later. Incorporating sugar gradually after the whites have just started foaming helps the sugar crystals dissolve completely into the egg whites. This early integration prevents the sugar from crystallizing or ‘weeping’ out of the meringue during baking, which can lead to a sticky, overly browned crust instead of the desired crisp shell. Granulated sugar works well, but superfine or caster sugar dissolves even more readily for a smoother meringue.
- Cream of Tartar: This acidic ingredient is a fantastic stabilizer for egg whites, vital for meringues in general, including classics like lemon meringue pie and, of course, pavlovas. It helps the egg whites hold their structure, especially important if you plan on piping your pavlova into intricate shapes. The careful ratio of sugar to egg whites also contributes significantly to overall stability.
- Distilled White Vinegar: A secret weapon in the professional pastry kitchen! Like cream of tartar, vinegar adds a touch of stability to the meringue. However, its primary function is to help keep the meringue brilliantly white during the baking process, preventing it from turning yellow. This is a super-secret professional tip that truly makes a difference in the final appearance of your pavlova.
- Cornstarch: Another pro-tip for pavlova perfection! Cornstarch plays a critical role in achieving the characteristic texture of a pavlova: a perfectly crisp exterior with a soft, marshmallowy interior. It acts as an absorbent, helping the meringue dry out without becoming brittle or overbaked. Think of it as an insurance policy for that coveted crisp shell and tender heart.
- Baking: Achieving the ideal pavlova texture requires a precise balance of baking time, oven temperature, and a crucial cooling period within the oven. The goal is to dry the meringue out slowly, not cook it rapidly. Baking at too high a temperature or for too long will result in an entirely crisp, dry meringue with no soft chew. Conversely, insufficient baking will leave you with a squishy, collapsed pillow lacking any crunch. Both outcomes are, frankly, a tragedy. While there’s some slight room for variation, don’t stress too much! Every oven behaves differently, so careful observation and delicate testing are essential to find your oven’s sweet spot.
- Whipping: The key to a voluminous, stable pavlova is whipping the egg whites to stiff peaks. This process takes time, especially if you start with chilled egg whites (which, after separating cold, should be brought to room temperature for whipping). Be patient; don’t rush the process. If after 10-15 minutes your whites haven’t reached a good volume or even soft peaks, it’s likely a tiny bit of fat (from yolk) has contaminated your meringue, hindering its ability to whip. In this case, starting over with fresh, carefully separated eggs might be necessary. It’s truly important that your meringue holds stiff peaks; otherwise, it won’t puff up beautifully in the oven and may spread excessively. Be careful not to overwhip, either! Overwhipped meringue can become dry and granular, leading to a bumpy, uneven crust rather than a smooth, glossy exterior.
- Be Nice to your Meringue: Meringues are incredibly delicate structures, essentially a network of tiny air bubbles encased in protein. Treat them with care! Avoid banging bowls or slamming oven doors, as harsh movements can collapse those precious air bubbles. Give your meringue the gentle love and respect it needs to rise and set perfectly in the oven.
- “Umm, you said pavlovas were easy, but that was a lot!” You’re right, pavlovas are fundamentally easy to make, but if you’re aiming for absolute perfection (and you know I always am!), then these detailed tips will give you a significant advantage. The silver lining is that even if your pavlova isn’t picture-perfect – as long as the meringue whips up – it’s almost guaranteed to still taste delicious. No one else needs to know about any minor imperfections… unless, of course, they’ve read this post!
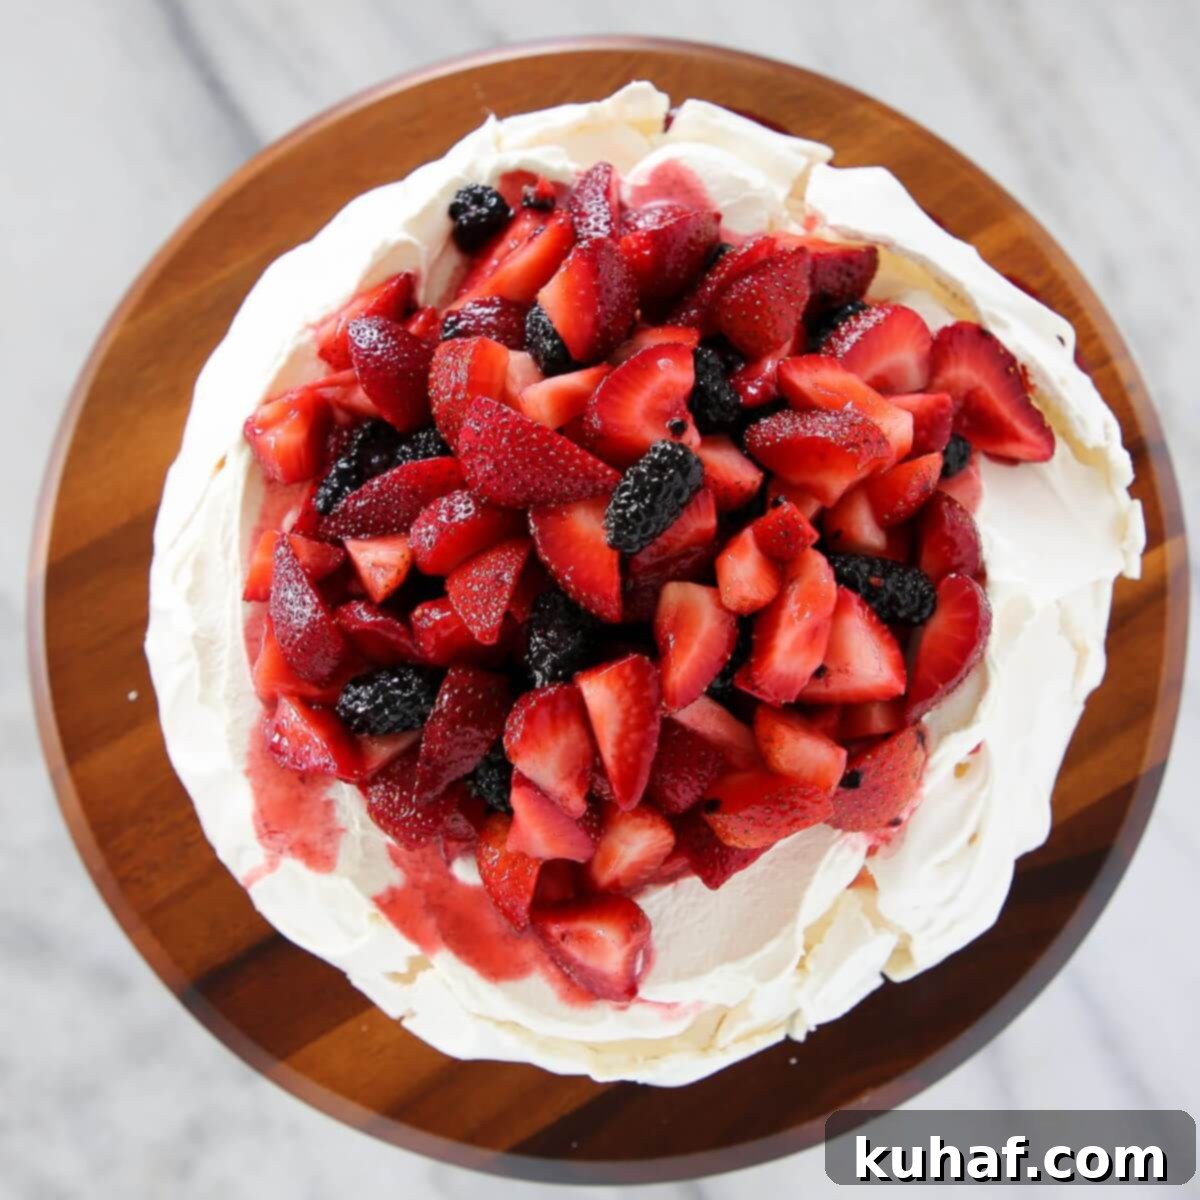
Complementary Toppings: Lemon Curd, Macerated Berries & Whipped Cream
While the pavlova shell is a star in its own right, its accompaniments elevate it to an extraordinary dessert experience. The beauty of these toppings, especially the macerated berries and whipped cream, is their flexibility.
If you’ve watched the accompanying video, you’ll know that I often don’t strictly measure the ingredients for my macerated berries and whipped cream. This is a rare moment of improvisation in the precise world of pastry, and I’m giving you full license to do the same! If you prefer absolute precision and want to get truly fancy, you can always follow my detailed lemon curd whipped cream recipe for all the nerdy specifics!
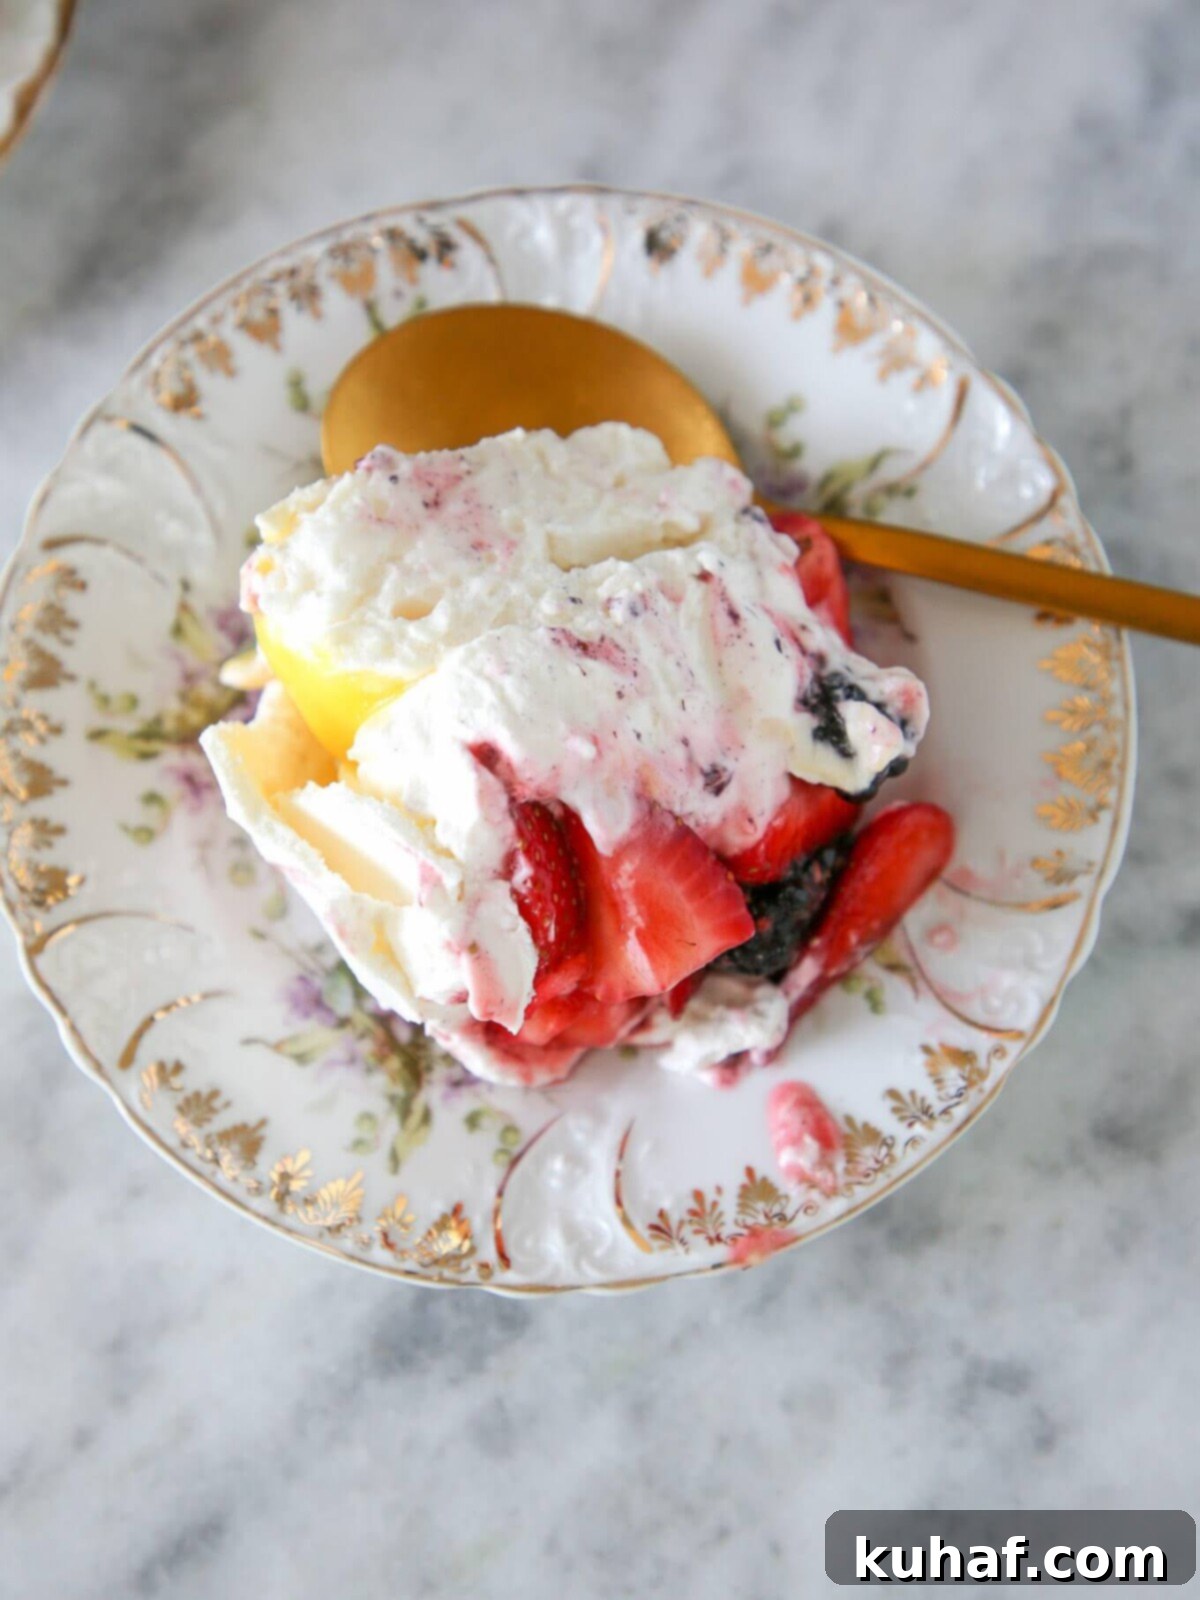
Berries naturally vary in sweetness depending on the season and ripeness. This means some batches might require a little more sugar for maceration, while others might need less. My approach is always to add a bit of sugar, taste, and then adjust as needed until the flavors sing. I apply the same philosophy to the whipped cream – sometimes I crave a slightly sweeter dessert, and other times I prefer the tang to shine. This is your dessert, so trust your palate, adjust to your preference, and it will be absolutely glorious!
What to do with Leftover Yolks?
After separating all those egg whites for your pavlova, you’ll inevitably be left with a generous quantity of egg yolks. Don’t let them go to waste! There are many delicious ways to utilize them.
My top recommendation? Make homemade ice cream! The yolks contribute to a rich, creamy custard base that forms the foundation of truly luxurious ice cream. You could also venture into making fresh, homemade mayonnaise if you’re feeling adventurous. Personally, I rarely do, but it’s a fantastic way to use them up!
The Best Pavlova Dessert Recipe
Chef Lindsey
40 minutes
40 minutes
1 hour
20 minutes
12
people
Saved
Pin Recipe
Comment
Print Recipe
Ingredients
For the Pavlova:
-
180
g
Egg whites
-
¼
t
Cream of tartar
-
260
g
Sugar
-
1
t
Vinegar -
1
T
Vanilla
-
2
t
Cornstarch
For the Whipped Cream:
-
520
g
Heavy whipping cream
cold -
20
g
Confectioner’s sugar
more to taste -
1
t
Vanilla extract
or any other extract that suits your fancy!
For the Macerated Berries:
-
500
g
Mixed berries
I used strawberries, blackberries and blueberries -
115
g
Granulated sugar
more or less to taste (my berries weren’t very sweet) -
50
g
Lemon juice
more to taste
Lemon Curd
Instructions
For the Pavlova:
-
Prepare a baking sheet with parchment paper or a non-stick liner (like a Silpat).
-
In the bowl of a stand mixer fitted with the whisk attachment, add your room temperature egg whites, vinegar, and cream of tartar. Begin whisking on medium-low speed to gently break up the whites and start forming a foam. Once they begin to foam, gradually add your sugar, a little at a time. This is a substantial amount of sugar, so you’ll need to add more than you might initially think in each increment. Stop the mixer occasionally and scrape down the sides of the bowl to ensure no sugar chunks remain stuck and all crystals dissolve evenly.
-
Once all the sugar has been incorporated, increase the mixer speed to high. Continue whipping until very stiff, glossy peaks form. The meringue should be bright white and hold its shape firmly when the whisk is lifted.
-
Reduce the mixer speed to low and add the vanilla extract. Increase the speed to high for just a few seconds until the vanilla is fully incorporated. Be careful not to overwhip at this stage.
-
Stop the mixer and carefully remove the bowl. Gently tap the whisk against the side of the bowl to release any meringue trapped within. While this meringue is quite stable due to the sugar content, still be moderately gentle. Sift the cornstarch directly over the meringue. Using a spatula, gently fold in the sifted cornstarch until just combined. Avoid over-folding, as every moment and every agitation can cause the delicate meringue structure to deflate.
-
Bake in an oven preheated to 200°F (preferably convection) for 40 minutes to 1 hour. The pavlova is done when you can gently touch the outside and it feels firm and crisp. If it still feels soft or squishy, gently close the oven door and continue baking for additional time. The exact baking time will vary depending on the size and shape of your chosen pavlova.
-
Once baked, turn off the oven and allow the pavlova to cool completely inside the oven for at least 1 hour, or ideally overnight. This slow cooling process is crucial to prevent cracking and ensures the desired texture. Remove and let it cool completely to room temperature before assembling.
For the Macerated Berries:
-
At least an hour before you plan to serve the pavlova, combine all the ingredients for the berries in a large bowl. You can prepare these the night before if desired; just note that the longer the berries sit in sugar, the more juice they will release. This isn’t a matter of right or wrong, but simply a factor to be aware of for your desired consistency.
For the Whipped Cream:
-
In a large, chilled bowl, combine all the ingredients for the whipped cream. Using a whisk attachment or hand mixer, whip the cream until it forms medium peaks. Stiff peaks are also perfectly fine, so feel free to whip it to your preferred consistency. This can also be prepared ahead of time and stored in the refrigerator.
Assembling Your Stunning Pavlova Cake
Once your pavlova shell is completely cooled and your toppings are prepped, it’s time for the grand finale – assembly! This is where your creation truly comes to life. Carefully transfer the cooled pavlova shell to your serving plate or stand. Gently spread a generous layer of the luscious lemon curd over the base. Follow this with a dollop (or several!) of your cloud-like whipped cream, spreading it to create a soft, inviting bed. Finally, spoon the vibrant macerated berries, along with their delicious juices, over the whipped cream. For an extra flourish, you can garnish with a few fresh mint leaves or a sprinkle of lemon zest. Serve immediately and enjoy the oohs and aahs!
Storage and Make-Ahead Tips
To truly enjoy the optimal texture of your pavlova, it’s best consumed within 4 days of being made. The crispy shell is susceptible to humidity, which can cause it to soften. If you need to store it, wrap the baked (but unassembled) pavlova shell very well in plastic wrap, then an airtight container. Keep it at room temperature in the least humid part of your house. Avoid refrigeration for the naked shell, as the moisture inside the fridge will quickly make it soggy.
For convenience, you can prepare the lemon curd and macerated berries a day or two in advance and store them in airtight containers in the refrigerator. The whipped cream can also be made a few hours ahead. Assemble the pavlova no more than a few hours before serving to maintain the integrity of the crispy meringue. An assembled pavlova will gradually soften as the moist toppings penetrate the meringue, so fresh assembly is always best for maximum impact.
Video
Notes
Pavlovas are at their best within 4 days of preparation. For optimal crispness, store the baked meringue shell (unassembled) wrapped tightly and at room temperature in the least humid area of your home.
Nutrition
Calories:
310
kcal
|
Carbohydrates:
40
g
|
Protein:
3
g
|
Fat:
16
g
|
Saturated Fat:
10
g
|
Polyunsaturated Fat:
1
g
|
Monounsaturated Fat:
4
g
|
Cholesterol:
49
mg
|
Sodium:
38
mg
|
Potassium:
105
mg
|
Fiber:
1
g
|
Sugar:
38
g
|
Vitamin A:
656
IU
|
Vitamin C:
3
mg
|
Calcium:
34
mg
|
Iron:
1
mg
Dessert
Australia
310
Like this? Leave a comment below!
