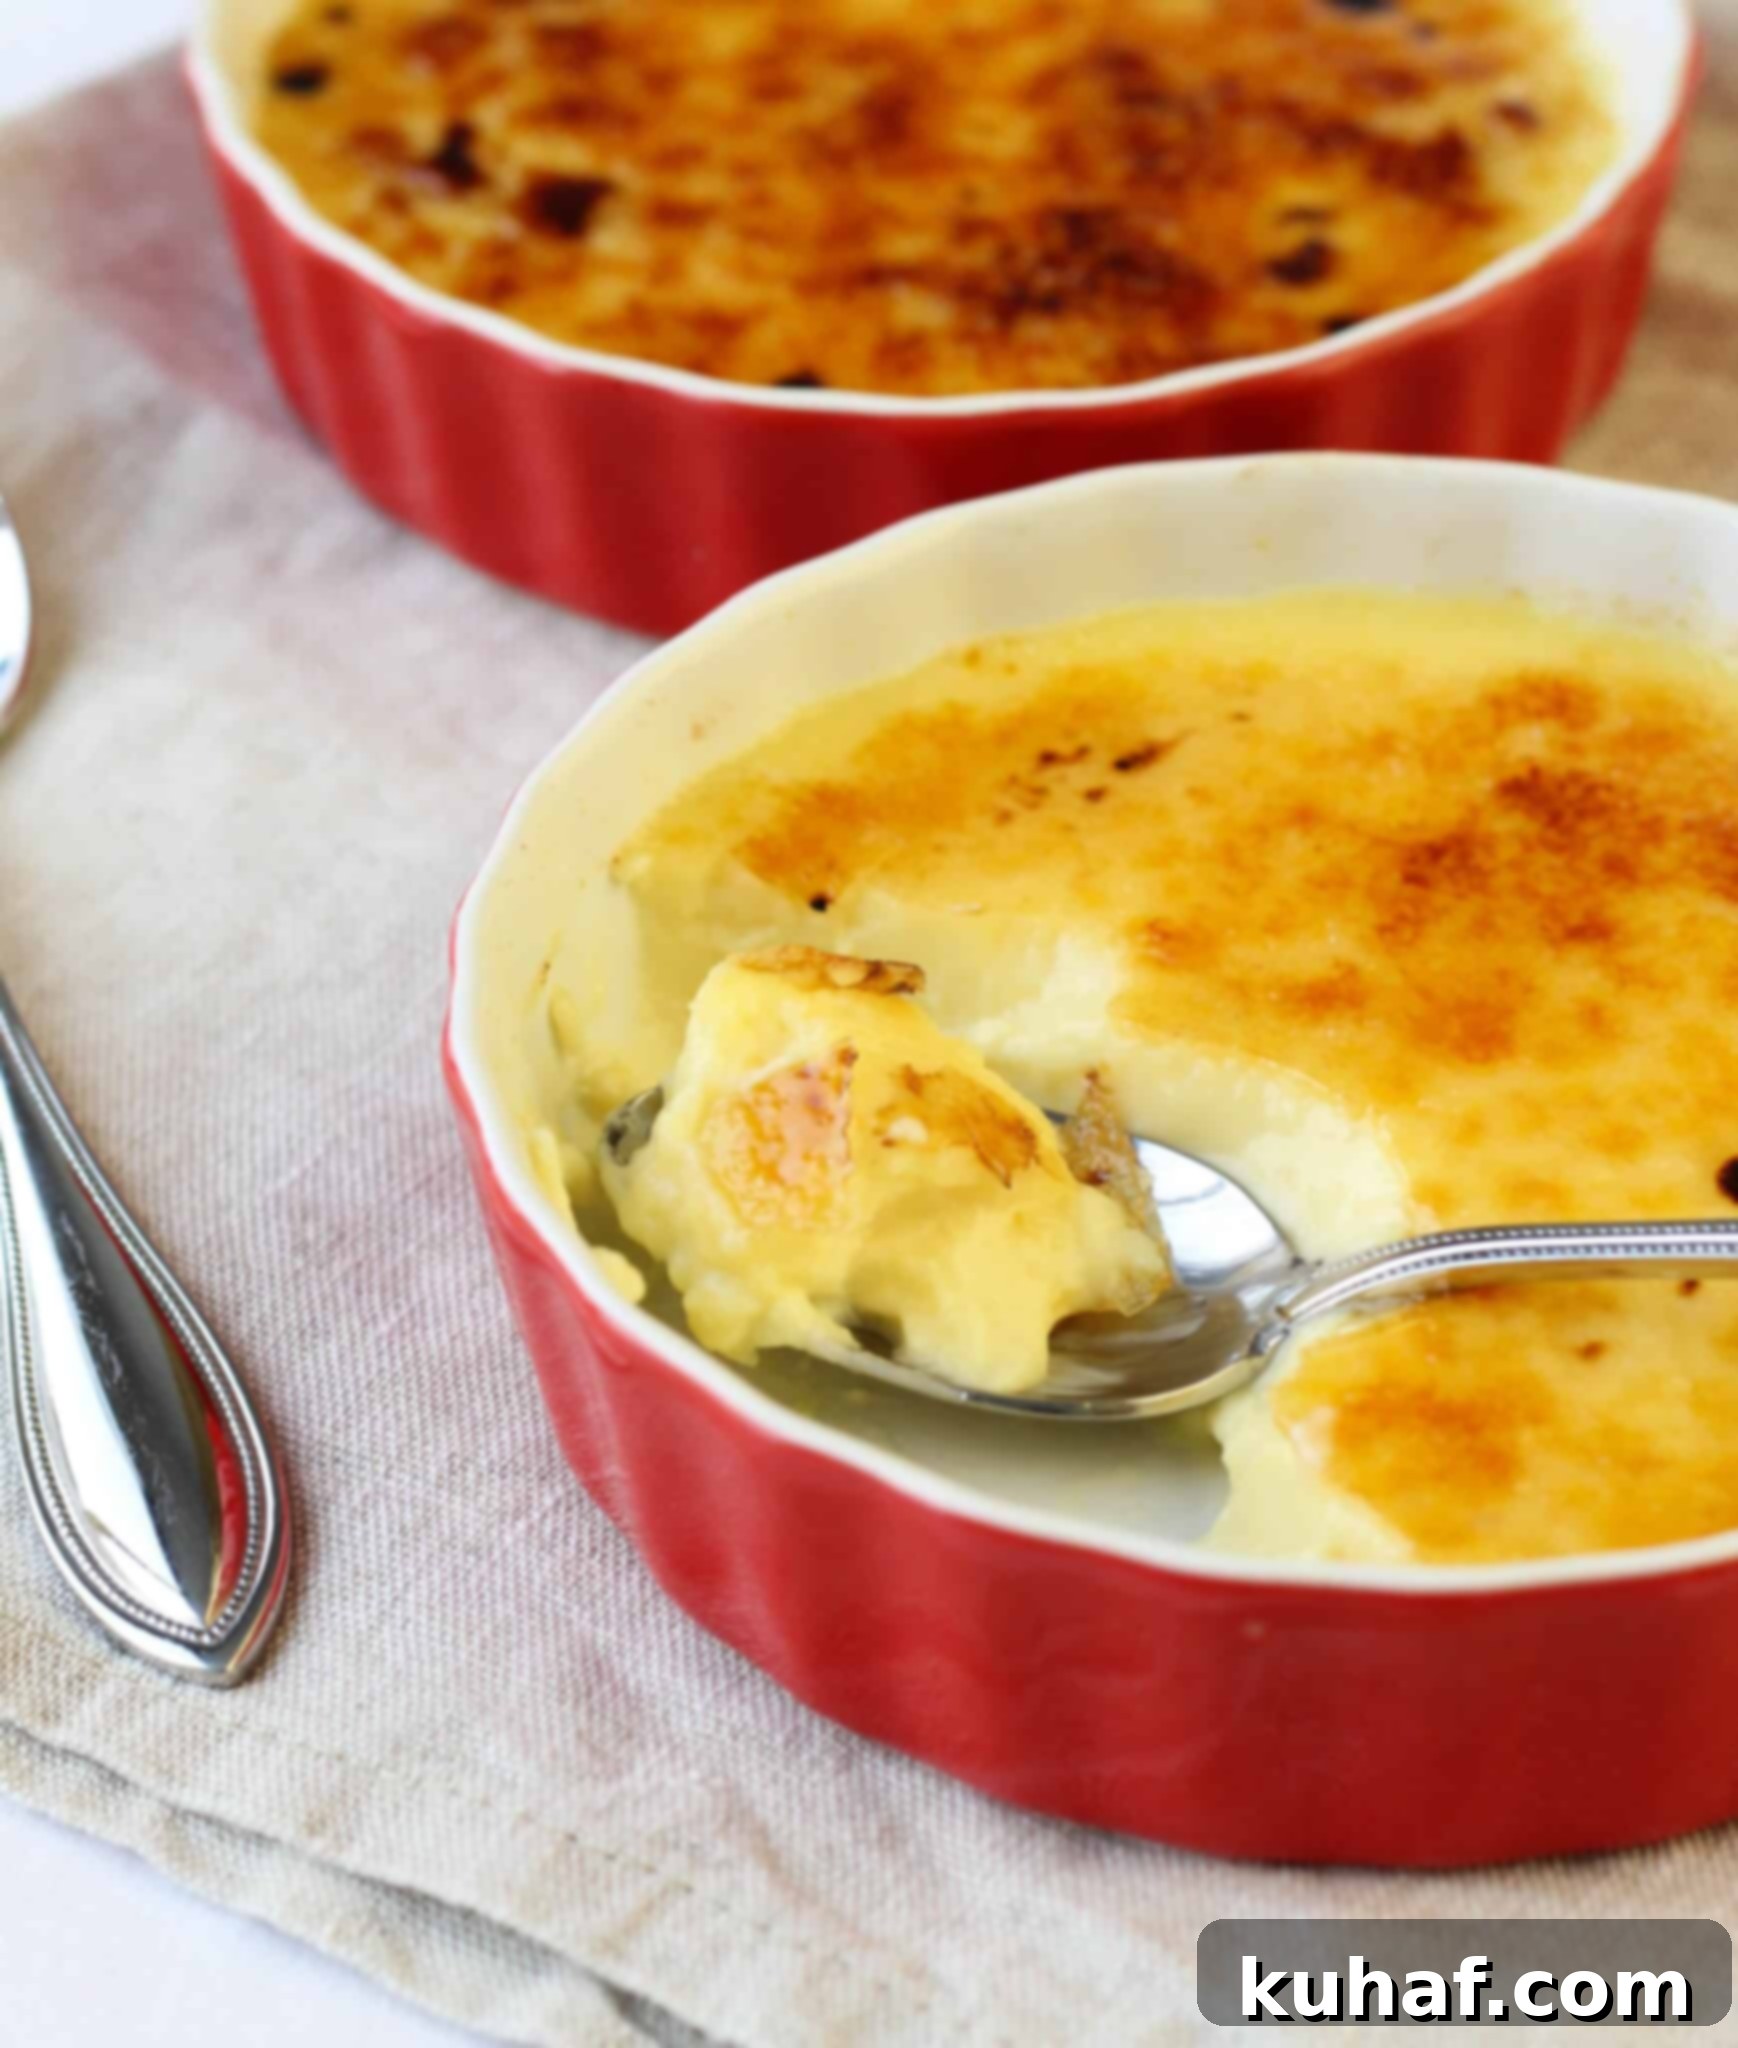
Easy Crème Brûlée Recipe for Two: Perfectly Creamy Custard with a Crunchy Caramel Top
Prepare to fall in love with this exquisite Crème Brûlée recipe, designed to deliver a perfectly creamy, silky vanilla custard crowned with a dazzling, crunchy caramelized sugar topping. What’s even better? This recipe is thoughtfully portioned for two, making it the ideal romantic dessert or a delightful personal treat.
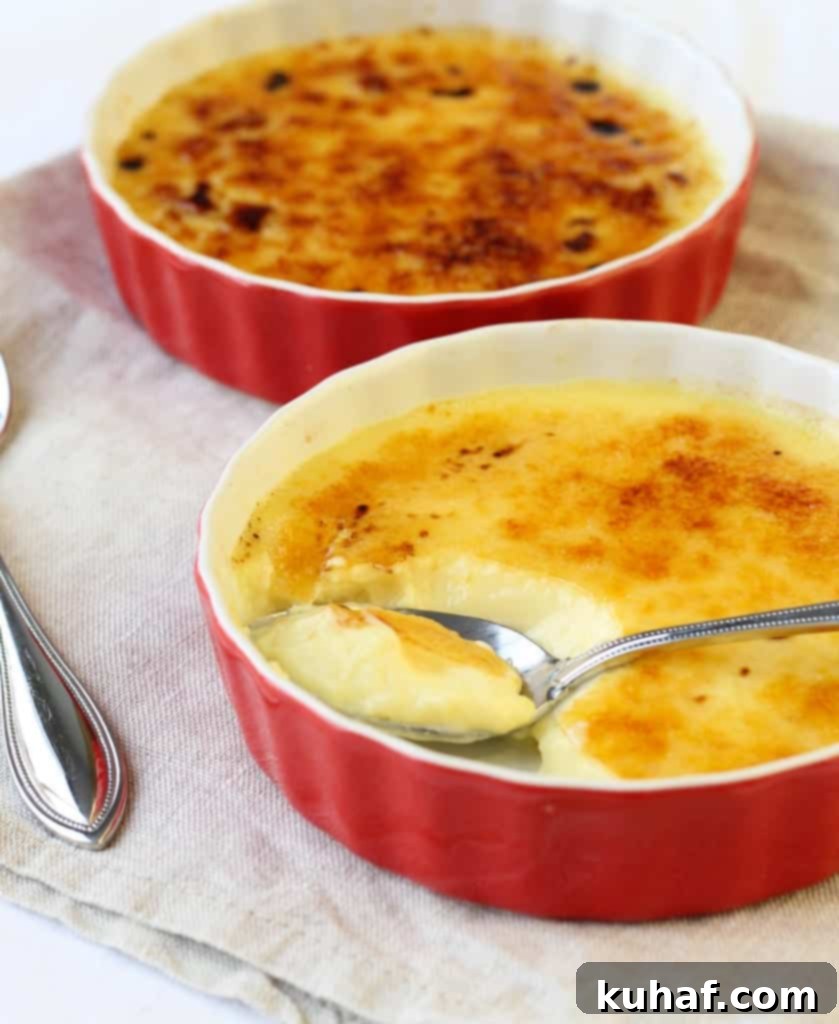
Ahh, Crème Brûlée. That iconic French dessert featuring a delicate, rich vanilla-infused custard hidden beneath a crisp, glass-like layer of burnt sugar. For too long, this elegant dessert was overshadowed by my own chocoholic tendencies, often relegated to a second-class status on restaurant menus. But now, I simply can’t get enough! And the most surprising revelation? Just how incredibly simple it is to recreate this culinary masterpiece from scratch in your own kitchen.
Why Homemade Crème Brûlée is a Game Changer
Making Crème Brûlée at home transforms it from an intimidating restaurant-only indulgence into an accessible and rewarding baking project. Forget the complex mystique; the process is straightforward, requiring just a few common ingredients and a bit of patience. The satisfaction of cracking through that freshly caramelized sugar with a spoon to reveal the silken custard beneath is unparalleled. It’s a dessert that truly dazzles, yet demands less effort than you might imagine.
Overcoming Common Fears: The Water Bath Reassurance
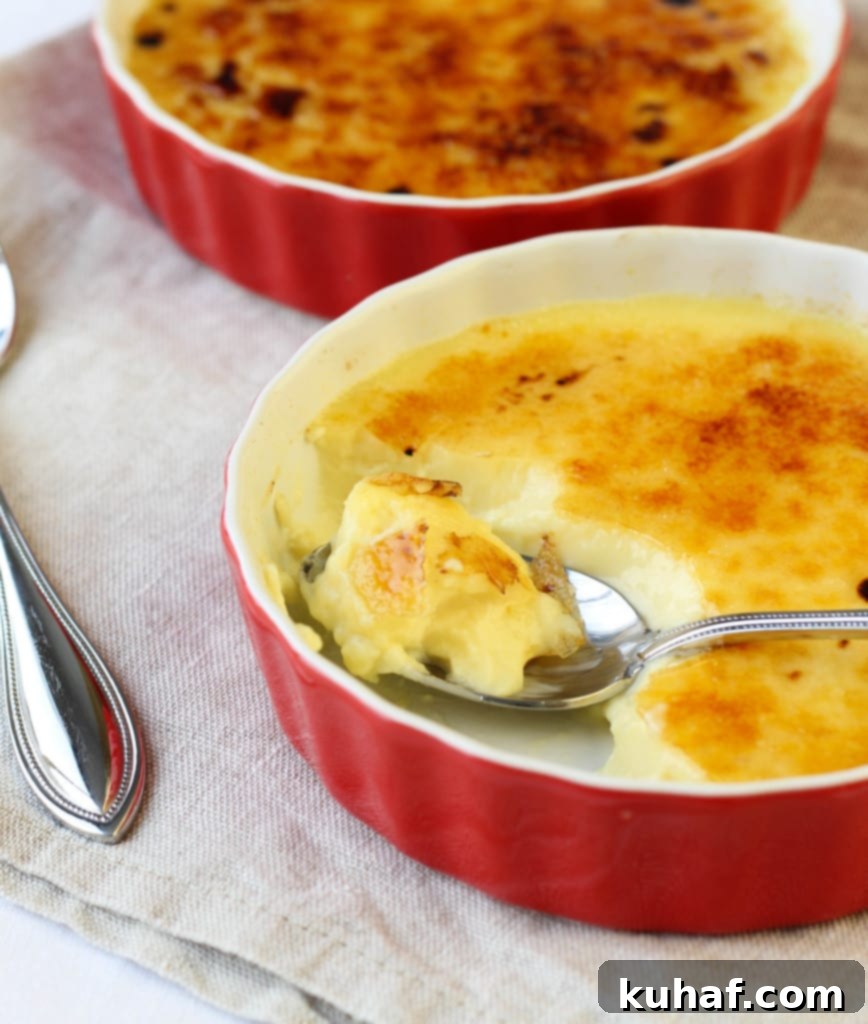
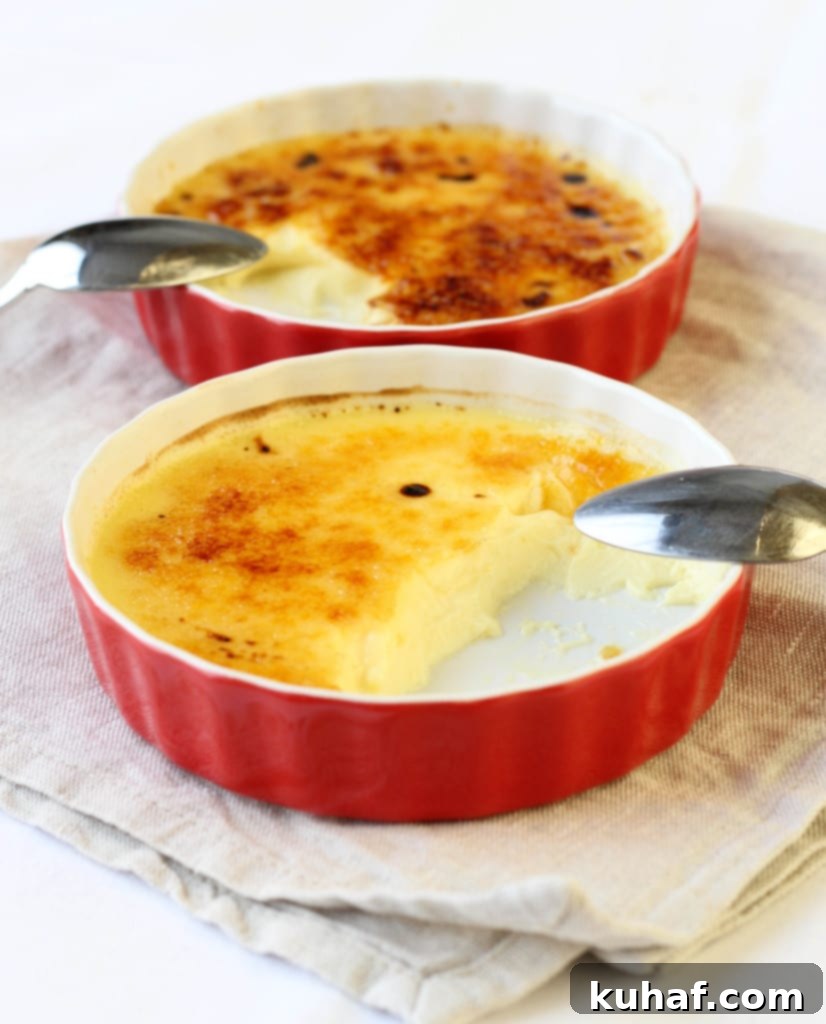
One of the most common hesitations people have with Crème Brûlée is the water bath (or bain-marie). This technique is crucial for gently cooking the custard, ensuring an even, silky texture without curdling. However, I once experienced a minor setback – some water splashed into my custard dish during baking. A big no-no, right? A HUGE no-no! Yet, to my genuine surprise, it came out totally fine! This little mishap taught me a valuable lesson: don’t let perfection be the enemy of good. Even with a minor imperfection, the end result can still be absolutely delicious. Observe, my friends:
The Ultimate Make-Ahead Dessert
Perhaps one of the greatest advantages of Crème Brûlée, especially when entertaining, is its make-ahead potential. The custards can be prepared and chilled in the refrigerator for up to 4 days (without the brûlée, of course). This incredible flexibility makes it the perfect dessert for any occasion, from an impromptu date night to a sophisticated dinner party. You can effortlessly whip them out of the fridge with a flourish, apply that yummy sugar, and dazzle your dinner guests with your culinary finesse just minutes before serving. It’s a true showstopper that frees you up to enjoy your company rather than being stuck in the kitchen.
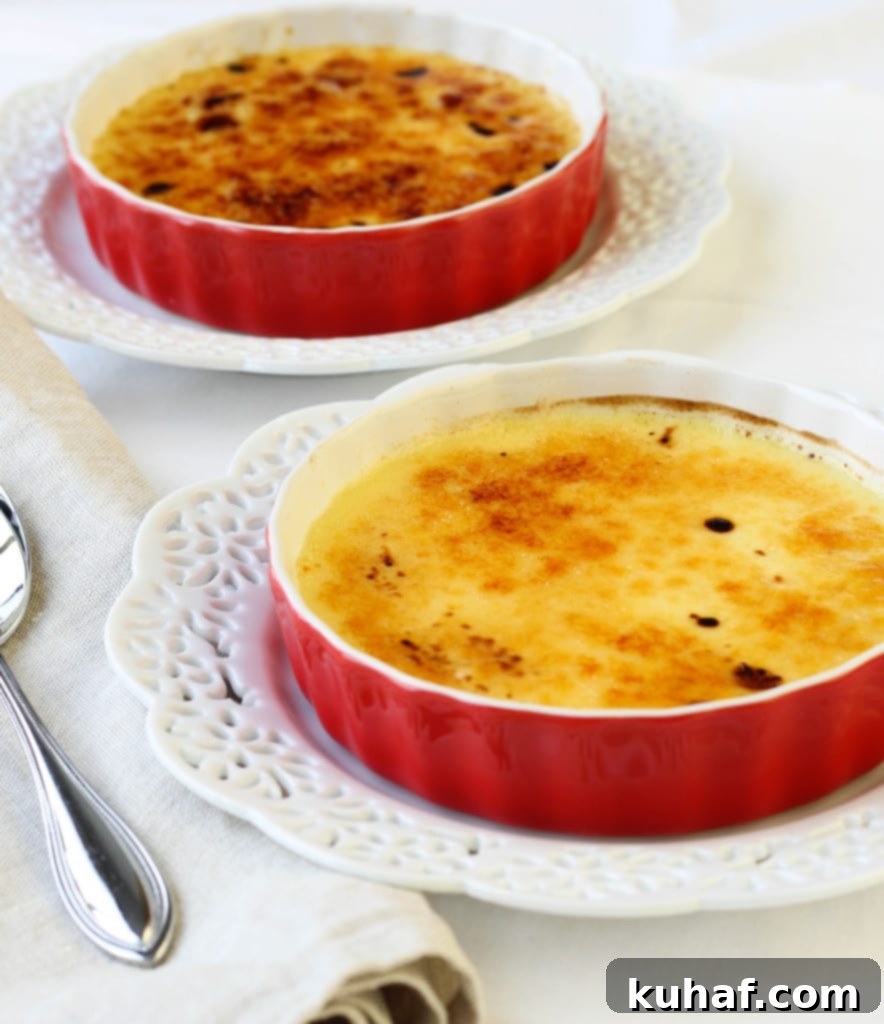
Et Voilà! Dessert is served!
Perfect Portions for Any Occasion
And the perfect portions for two? This Crème Brûlée recipe truly shines in its simplicity and versatility. It sounds like a dazzler for a romantic Valentine’s Day, a special date night at home, or even just to elevate a run-of-the-mill Tuesday dessert! Who says Tuesday can’t be luxurious? Nothing spices up a weekday quite like the rich decadence of homemade Crème Brûlée. It’s a delightful way to treat yourself and a loved one without being overwhelmed by a giant dessert.
The Secret to the Perfect Caramelized Crust: Sugar Selection
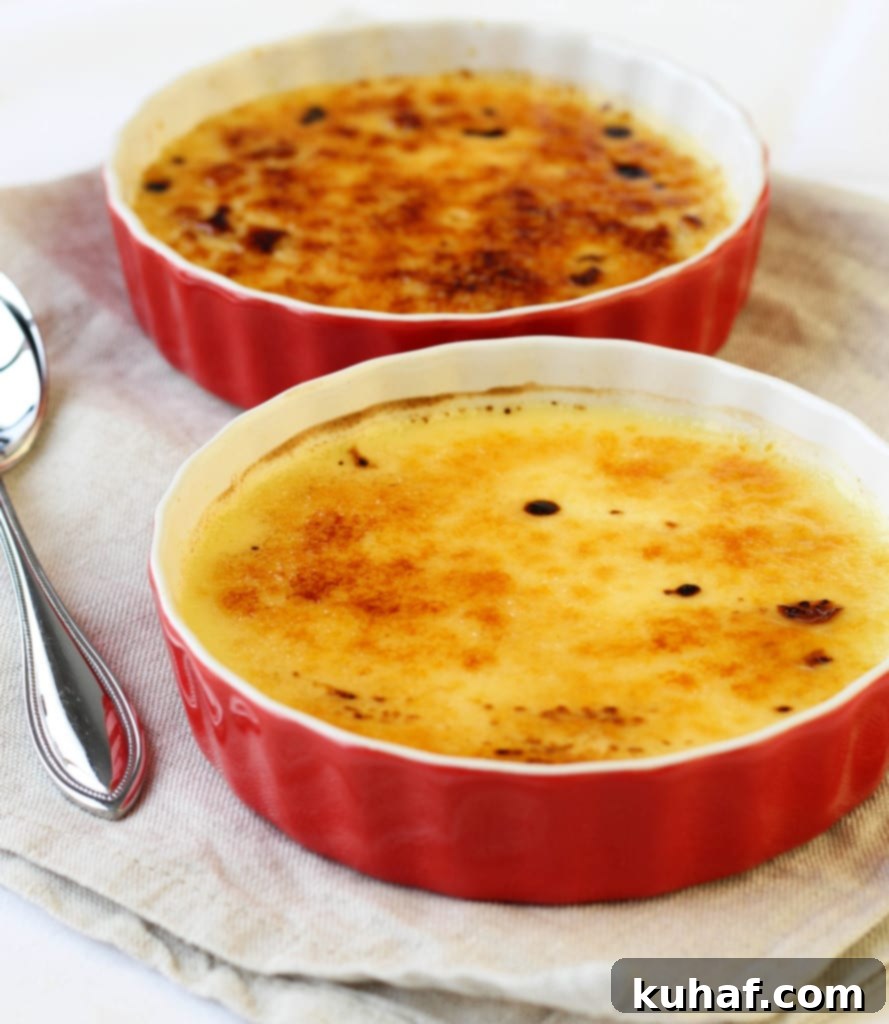
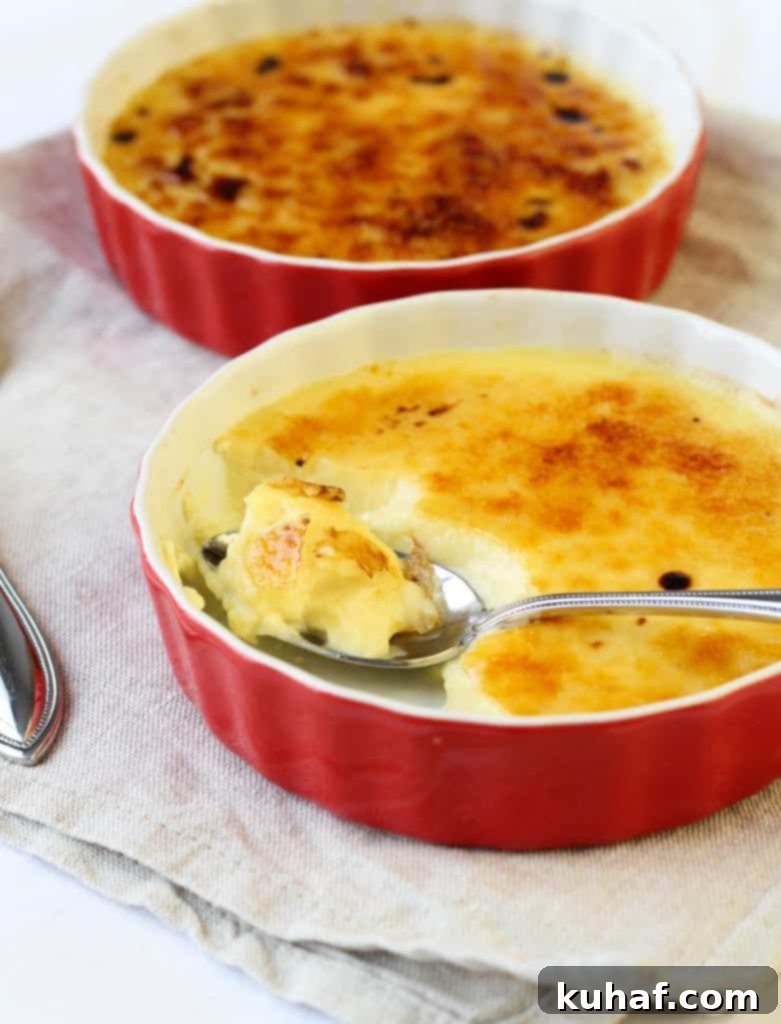
As part of my mini Test Kitchen, I experimented with different types of sugar for the brûlée topping. On one ramekin, I used turbinado sugar as the original recipe calls for (the rear ramekin in the picture), and on the second, I opted for superfine granulated sugar (the front ramekin). The results were quite telling. The superfine sugar melted considerably faster and created a much more even, consistent crust. In contrast, the turbinado sugar began to burn in spots way before all the granules had melted, leading to an uneven and somewhat scorched finish. I felt out of control, and, like Cher in Clueless, I really hate that! For a superior, reliably crisp, and evenly caramelized topping, superfine sugar is definitely the way to go. It offers a more predictable and beautiful result, making the final step of this dessert an absolute breeze.
The Dreamy Custard and Crisp Crust: A Symphony of Textures
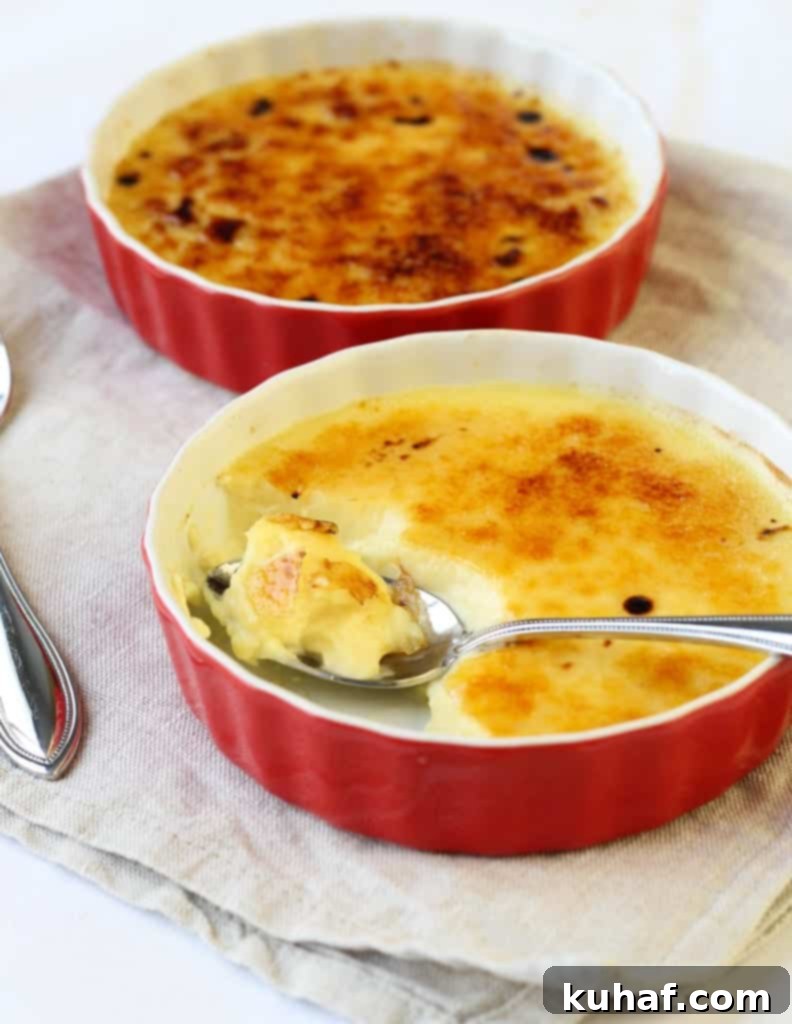
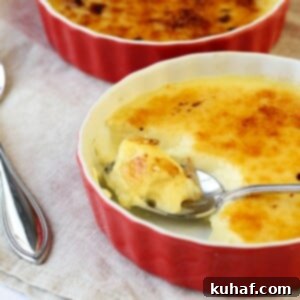
The resulting custard was nothing short of dreamy, boasting a noticeable and authentic vanilla flavor that truly elevates the dessert. Paired with that beautifully crisp, golden crust, each spoonful offers a delightful interplay of textures and tastes. Just like my beloved Crème Caramel recipe, this Crème Brûlée is simply to die for! It’s a testament to how simple ingredients, when treated with care, can create an unforgettable culinary experience.
Essential Tools for Crème Brûlée Success
While the recipe itself is straightforward, having the right tools can make the process even smoother:
- Ramekins: Two 4-5 oz ramekins are perfect for this recipe for two. Their shallow depth allows for a good custard-to-caramel ratio.
- Roasting Pan or Baking Sheet: Essential for creating the water bath. Choose one large enough to comfortably hold your ramekins.
- Fine Sieve: For straining the custard mixture, ensuring a perfectly smooth, lump-free texture. This step is non-negotiable for that silky finish.
- Kitchen Blowtorch: The star of the show for caramelizing the sugar. While some recipes suggest a broiler, a blowtorch offers much more control and a consistent, professional-looking crust.
- Whisk: For smoothly combining ingredients and tempering the egg yolks.
- Turkey Baster: Surprisingly handy for safely removing water from the roasting pan after baking, preventing accidental splashes when taking out the hot ramekins.
Troubleshooting Common Crème Brûlée Issues
Even with an easy recipe, sometimes things don’t go exactly as planned. Here are a few tips:
- Custard is too watery or runny: This usually means it wasn’t baked long enough. Look for set edges but a slight wobble in the center. Don’t be afraid to put it back in the oven for a few more minutes.
- Custard is curdled or grainy: Overcooking is the most common culprit. The water bath helps prevent this, but baking at too high a temperature or for too long can still cause it. Ensure your oven temperature is accurate.
- Caramelized sugar burns too quickly: This is where superfine sugar shines. If using coarser sugar, move your blowtorch flame more quickly and from a slightly greater distance. Practice makes perfect!
- Sugar doesn’t melt evenly: Again, superfine sugar is key. Ensure the sugar is sprinkled in a thin, even layer across the entire surface of the chilled custard.
Crème Brûlée – Perfect Portions For Two!
Chef Lindsey
15 minutes
30 minutes
2 hours
2 hours 45 minutes
2 people
Saved
Pin Recipe
Comment
Print Recipe
Ingredients
- 1 cup heavy whipping cream cold
- 2 tablespoons sugar
- pinch kosher salt
- 3 egg yolks save the whites for Angel Food Cake!
- ½ teaspoon vanilla extract
- 2 teaspoons superfine sugar
Instructions
-
Preheat oven to 300°F (150°C) with the rack in the lower third of the oven. Set a pot of water on the stove to boil. Place two 4-5 oz ramekins in a roasting pan or a deep baking dish (if you are using shallower dishes).
-
In a small saucepan, combine ½ cup of the heavy cream, 2 tablespoons of sugar, and a pinch of kosher salt. Gently bring the mixture to a simmer over medium heat, stirring frequently with a whisk until the sugar is dissolved. Do not let it boil vigorously.
-
Remove the cream mixture from the heat and let it cool for about 5 minutes. Then, add the remaining cold heavy cream to further cool down the mixture, bringing it to a warm (but not hot) temperature.
-
In a medium, heatproof bowl, whisk the 3 egg yolks until they are smooth and well combined. Add the ½ teaspoon of vanilla extract. Gradually add ¼ cup of the slightly cooled cream mixture into the egg yolks while continuously whisking to temper the yolks and prevent scrambling.
-
Continue to slowly add the remaining heavy cream mixture, ¼ cup at a time, to the egg yolk mixture, whisking continuously until the custard is perfectly smooth and has a uniform pale yellow color.
-
Strain the entire custard mixture through a fine-mesh sieve into a 2-cup measuring cup or a pitcher. This crucial step removes any small bits of cooked egg or impurities, ensuring an incredibly silky smooth custard. Discard any chunks caught by the strainer.
-
Carefully pour the boiling water into the roasting pan (with the ramekins already inside) until the water level reaches about halfway up the sides of the ramekins. Then, evenly divide the strained custard mixture between the two prepared ramekins.
-
Carefully place the roasting dish with the custards into the preheated oven, taking utmost care not to splash any water into the ramekins. (However, as I discovered, if a tiny splash occurs, don’t fret too much about it—they’ll still turn out beautifully!)
-
Bake for 20-40 minutes. The exact baking time will depend on the depth and material of your dishes. For reference, mine typically bake for about 28 minutes. The custards are done when the edges are set but the very center still has a slight, delicate wobble when gently shaken.
-
Once baked, I recommend siphoning most of the hot water out of the roasting dish using a turkey baster while it’s still in the oven. This makes it safer and easier to remove the pan. Then, carefully transfer the ramekins to a wire cooling rack using a large, sturdy spatula to cool completely.
-
Allow the custards to cool at room temperature for at least 1 hour, or until they reach room temperature. Cover each ramekin tightly with plastic wrap and place them in the refrigerator for a minimum of 2 hours, or up to 4 days, for proper chilling and setting.
-
To Finish the Crème Brûlée:
-
Remove the chilled custards from the refrigerator and let them sit at room temperature for about 30 minutes. Carefully remove the plastic wrap and gently blot any condensation that may have formed on the surface of the custard with a paper towel. This step is important for a crisp brûlée.
-
Evenly sprinkle 2 teaspoons of superfine sugar over the entire surface of each custard. Aim for a thin, uniform layer. [Note: If you are using deeper dishes than recommended, you may need to slightly reduce the amount of sugar to prevent an overly thick crust.]
-
Using a kitchen blow-torch, move the flame steadily across the surface of the sugar in small, circular motions. Do not keep the flame in one spot for too long, as this will cause burning. Continue until all the sugar has melted, turned a beautiful amber color, and reached your desired level of caramelization. The sugar will harden into a crisp crust as it cools.
-
Serve immediately. It is crucial NOT to place the brûléed custard back in the refrigerator, as this will cause the crunchy crust to soften and become chewy. That, my friends, would be an absolute travesty!
Notes
Recipe adapted from Tracey’s Culinary Adventures
Nutrition
Carbohydrates: 20g |
Protein: 8g |
Fat: 50g |
Saturated Fat: 30g |
Polyunsaturated Fat: 3g |
Monounsaturated Fat: 14g |
Cholesterol: 426mg |
Sodium: 45mg |
Potassium: 144mg |
Sugar: 20g |
Vitamin A: 2139IU |
Vitamin C: 1mg |
Calcium: 114mg |
Iron: 1mg
Dessert
French
556
Like this? Leave a comment below!
Before You Go: Explore More Delicious Custard Creations
I genuinely hope you enjoyed perfecting this professional chef-tested Crème Brûlée recipe and that it brings a touch of French elegance to your table. This delightful dessert is a testament to simple ingredients yielding extraordinary results. If you loved the creamy texture of this Crème Brûlée, I encourage you to explore our other delicious, chef-developed stirred custard recipes for more rich and satisfying treats. Or, perhaps you’re looking for another versatile and flavorful component for your baking projects? Why not try out this amazing vanilla bean pastry cream recipe next? It’s perfect for tarts, éclairs, and so much more!
Join Our Culinary Community
Don’t miss out on future recipes, chef tips, and exclusive content! Be sure to subscribe to our newsletter or follow us on social media to stay updated. We love seeing your culinary creations, so feel free to share your Crème Brûlée masterpieces with us!
