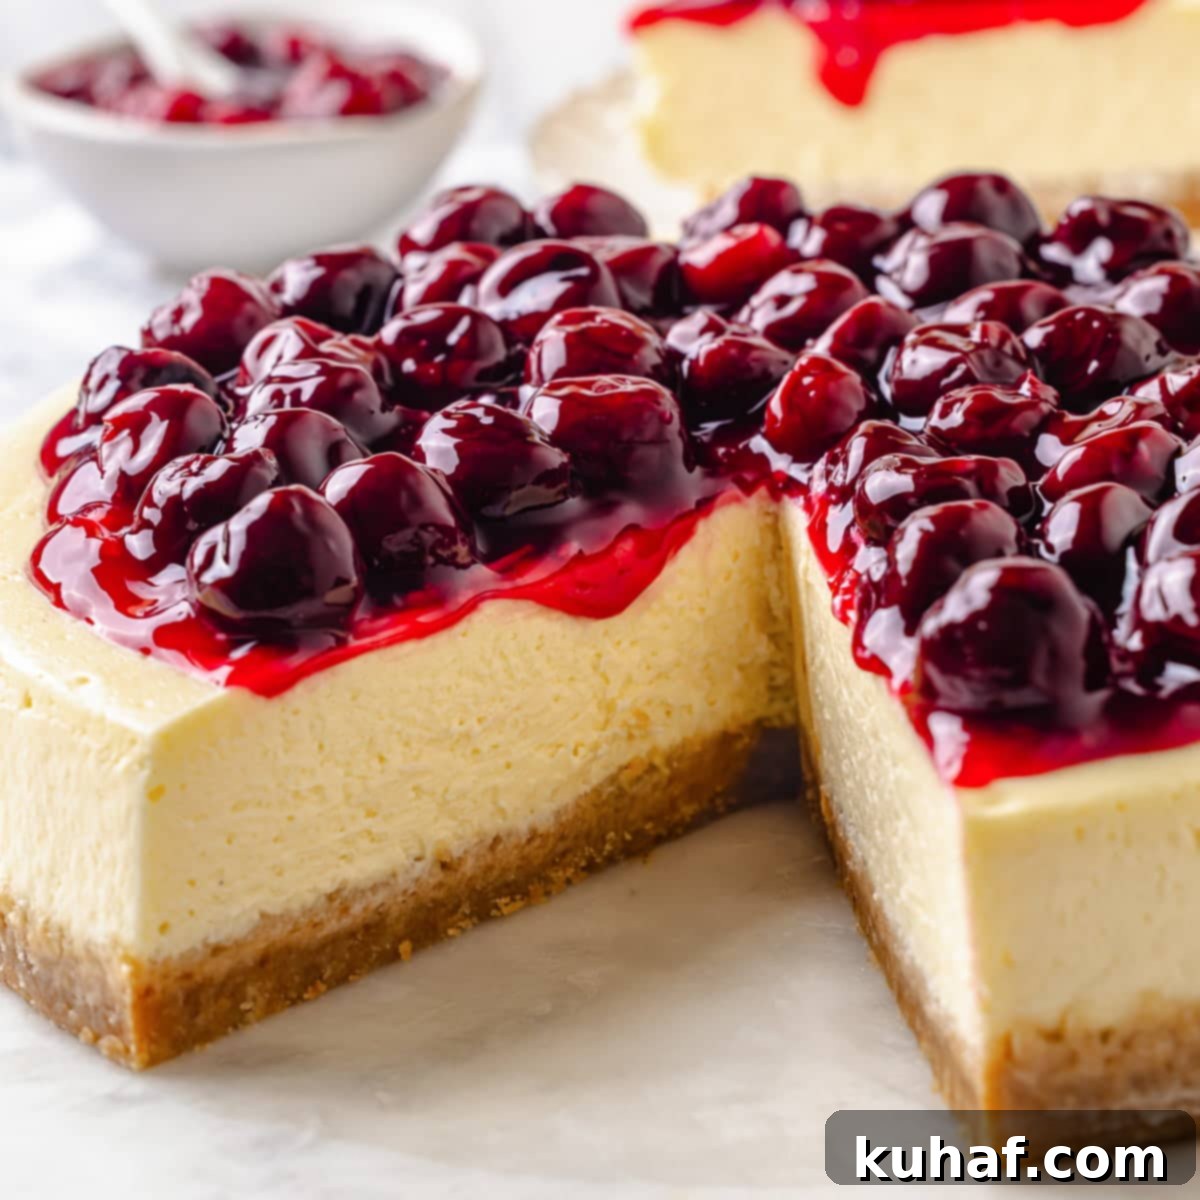
Ultimate New York Style Cherry Cheesecake with Homemade Cherry Pie Filling
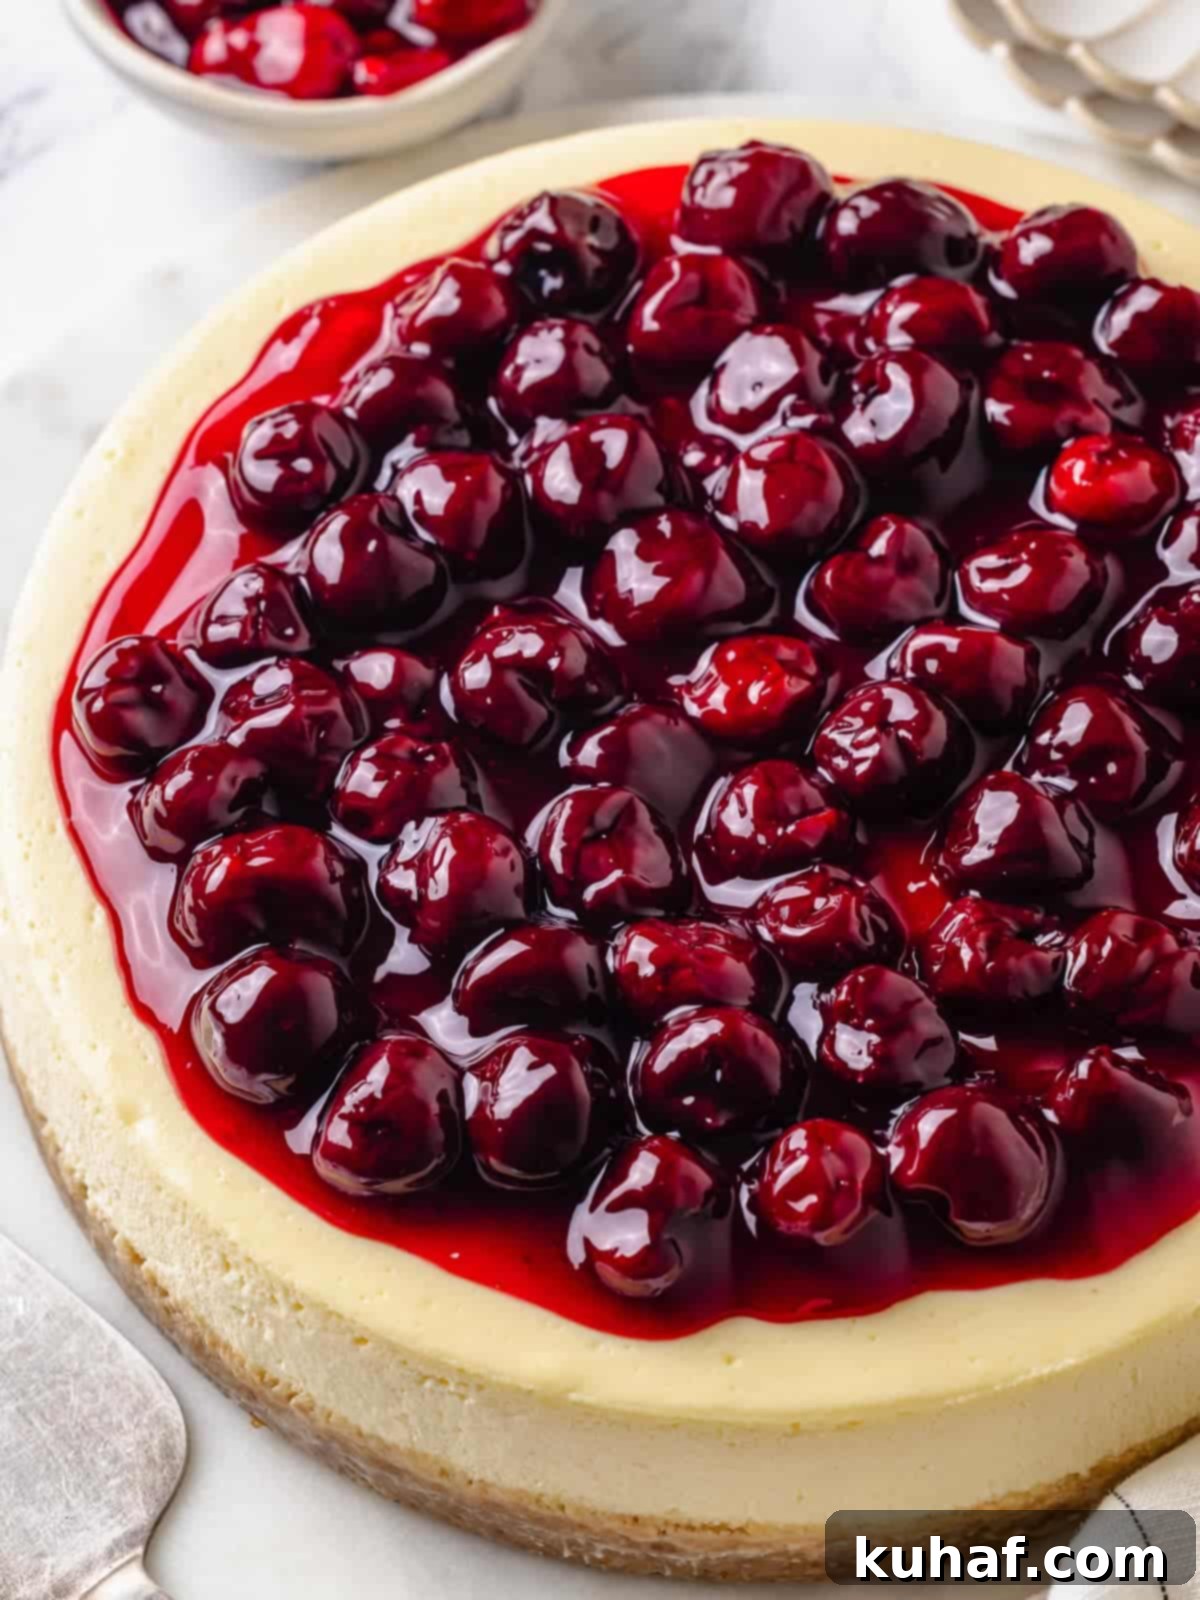
Indulge in the rich, creamy perfection of this **New York Style Cherry Cheesecake**. Featuring a buttery graham cracker crust, a velvety smooth vanilla cheesecake filling, and crowned with a luscious, bright homemade cherry pie filling, this dessert is a true showstopper. It’s a testament to classic baking, meticulously crafted to deliver an unforgettable experience with every bite.
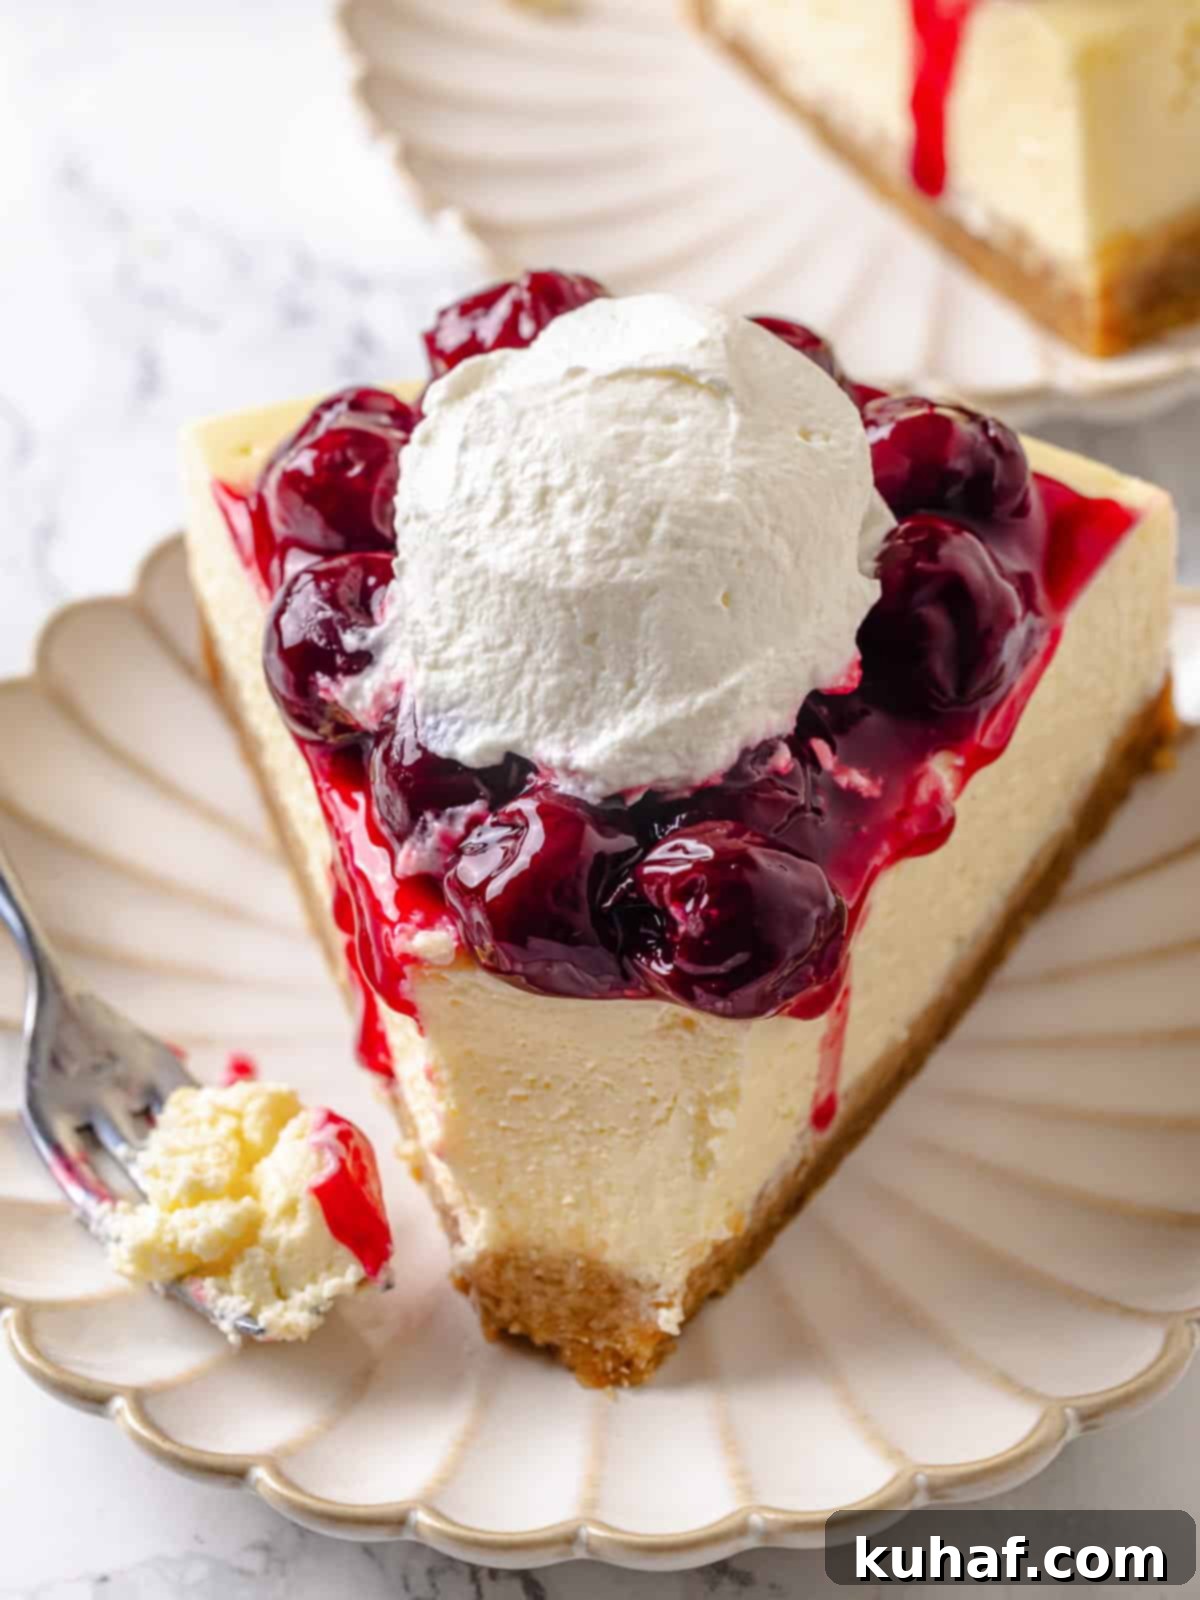
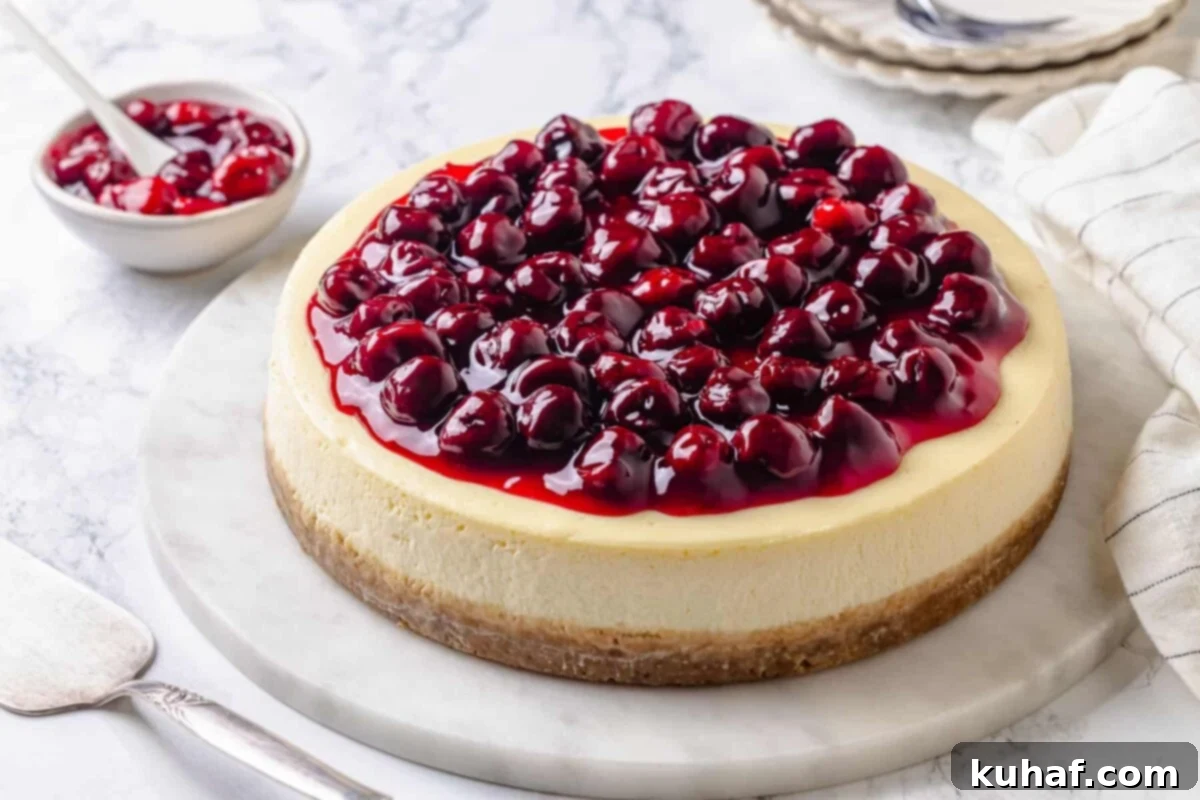
This exquisite cherry cheesecake truly captures the essence of summer, making it the perfect dessert for any warm-weather gathering. Each element works in harmony: a perfectly dense, incredibly creamy vanilla cheesecake forms the heart, supported by a crisp, buttery graham cracker crust. The grand finale is a generous layer of luscious, vibrant cherry pie topping that brings a delightful fruity tartness. This dessert isn’t just delicious; it’s also an excellent make-ahead option, ideal for special occasions like birthdays, festive potlucks, or patriotic celebrations like the Fourth of July, allowing you to focus on your guests while still impressing them with a homemade treat.
If you’re seeking more inspiration for delightful summer desserts, consider trying this refreshing cherry pie recipe with an almond crust or my comforting strawberry rhubarb crumble. Both are absolutely perfect for a backyard cookout or a picnic. And for those days when the heat is simply too much for oven baking, our no-bake options are a fantastic solution. Whip up this indulgent no-bake whiskey s’mores pie or savor the classic comfort of this homemade banana pudding. There’s a perfect dessert for every mood and season!
Table of Contents
- Why You Will Love This Classic Cherry Cheesecake
- Essential Ingredients & Smart Substitutions
- Creative Variations for Your Cheesecake
- Professional Baking Tips for Success
- How to Make the Perfect Cherry Cheesecake
- Chef Lindsey’s Recipe Tip
- Cherry Cheesecake Recipe FAQs
- More Recommended Dessert Recipes
- Cherry Cheesecake Recipe Card
- Before You Go
Why You Will Love This Classic Cherry Cheesecake
- Unmistakable Classic New York Cheesecake Texture and Flavor. This isn’t just any cheesecake; it’s a true New York-style masterpiece. I’ve dedicated years in professional restaurant kitchens, refining and perfecting this recipe to achieve that iconic dense yet incredibly creamy texture that melts in your mouth. The flavor profile is rich and tangy, a harmonious balance that never goes out of style. While I’ve explored many variations over my culinary career, there’s an enduring elegance and satisfaction that only a perfectly executed classic can deliver.
- Perfectly Crisp and Buttery Graham Cracker Crust. The foundation of any great cheesecake is its crust, and this recipe features an incredibly easy, three-ingredient graham cracker crust. It’s rich with butter, baked to a golden, crisp perfection, providing the ideal counterpoint to the smooth filling. Its subtle sweetness and hint of salt enhance every slice, ensuring a delightful textural contrast.
- Effortless, Luscious Homemade Cherry Pie Filling. Elevating this creamy cheesecake to new heights is our easy-to-make cherry pie filling. The vibrant, sweet-tart burst of fresh (or frozen) cherries simmered into a glossy, thick topping is what truly makes you think of a quintessential cherry cheesecake. Unlike store-bought alternatives, this homemade version boasts an unparalleled freshness and depth of flavor. In fact, it’s so good, you might want to make a double batch! Use the extra to whip up this irresistible cherry cobbler recipe or even serve it warm over vanilla ice cream.
Essential Ingredients & Smart Substitutions
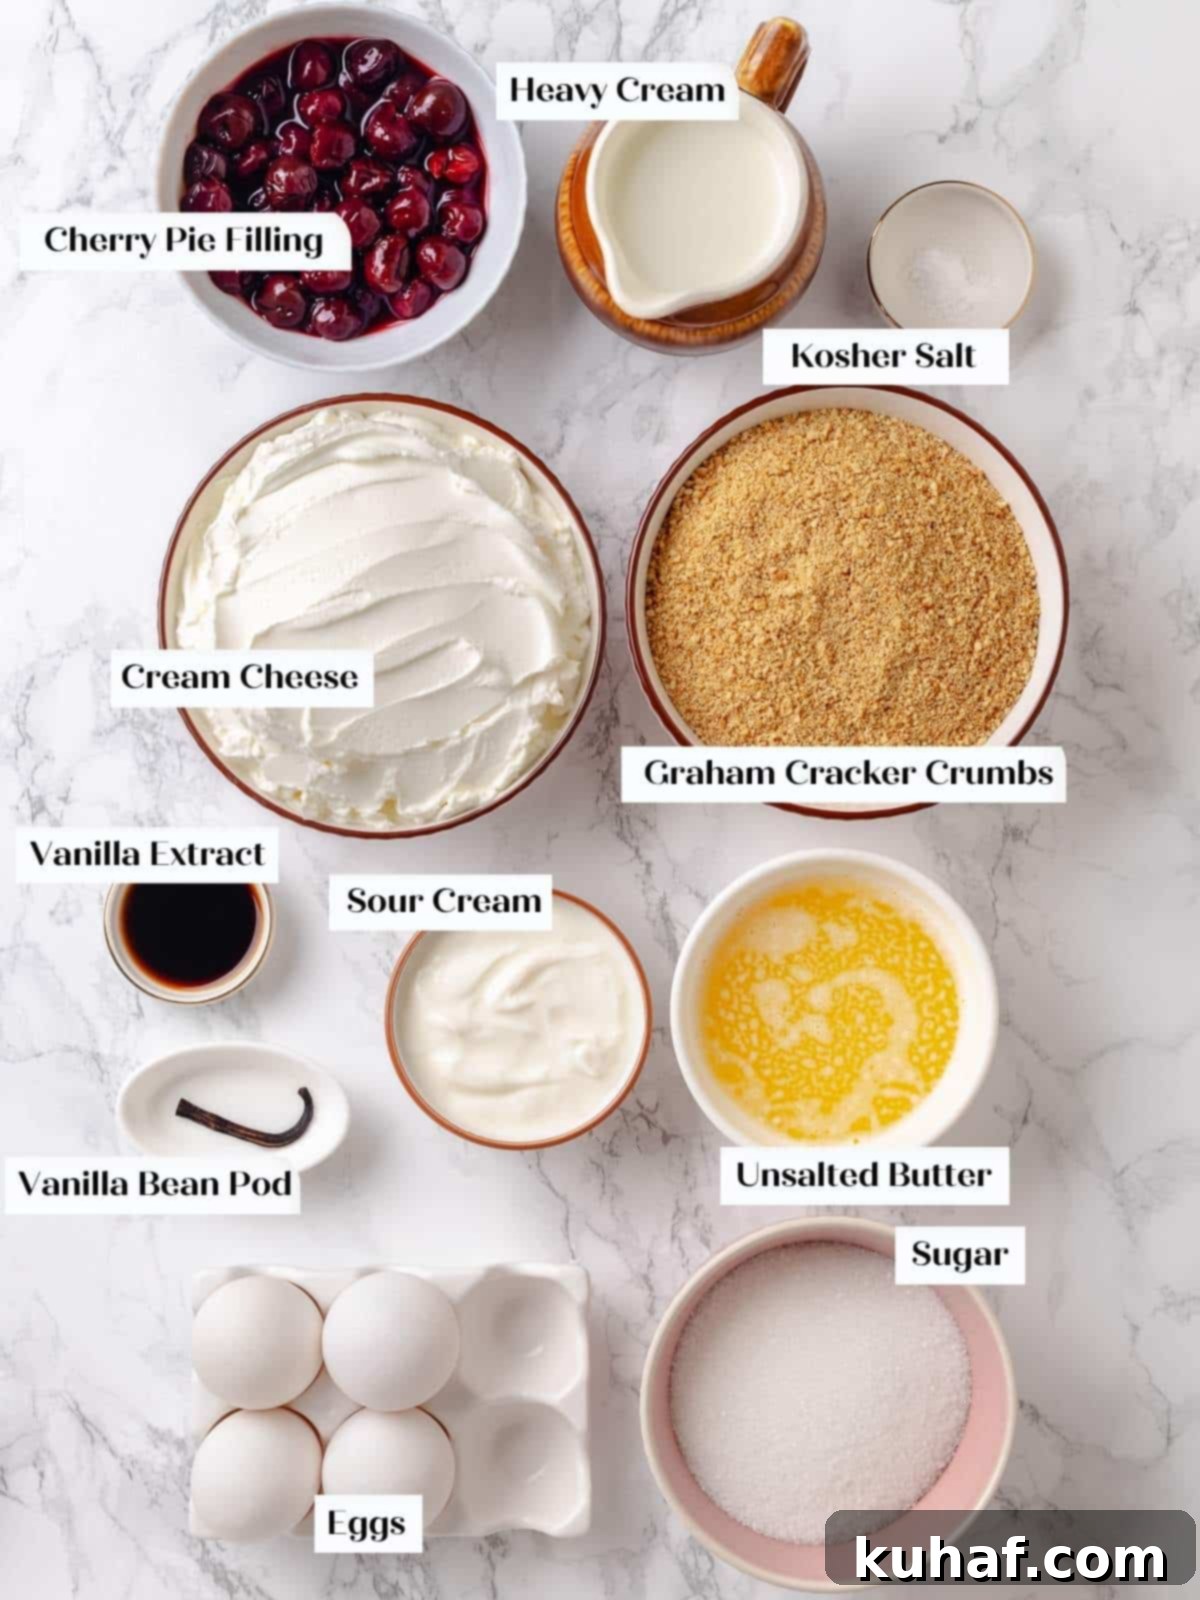
- Cream Cheese: For all my cheesecakes, including this one, I swear by original Philadelphia Cream Cheese. It consistently delivers the best flavor and texture. It’s crucial to use full-fat, brick-style cream cheese. While reduced-fat cream cheese *can* be substituted, it won’t yield the same dense, rich, and perfectly set cheesecake. Absolutely ensure it’s not the whipped variety, as its lighter texture won’t properly stabilize the custard, leading to a runny or crumbly result. Room temperature is key for a smooth batter!
- Egg and Egg Yolk: Cheesecake is fundamentally a baked custard, and eggs are the crucial element for achieving its signature structure and richness. The eggs and an extra egg yolk act as natural thickeners, binding the ingredients and ensuring the custard sets beautifully, just as they do in my luxurious vanilla crème brûlée or hearty lemon bread pudding. They contribute to the dense, smooth texture and the cheesecake’s ability to hold its shape.
- Sour Cream: Just like cream cheese, opting for full-fat sour cream is vital for the best cheesecake. Its high fat content helps prevent the batter from breaking or curdling, especially during the baking process, ensuring a smooth, uniform consistency. Beyond texture, sour cream introduces a wonderful tanginess that perfectly balances the sweetness and richness of the cream cheese, adding a layer of complex flavor that makes this cheesecake truly exceptional. Full-fat Greek yogurt or crème fraiche can be used as alternatives if sour cream is unavailable.
- Heavy Cream: Heavy cream plays a dual role in this recipe. It significantly contributes to the cheesecake’s luxurious moisture, preventing it from drying out. Furthermore, its rich fat content lightens the overall flavor profile, making the cheesecake feel indulgent without being overly heavy. It helps achieve that desirable silky mouthfeel.
- Graham Cracker Crumbs: Once I discovered the convenience of buying pre-crushed graham cracker crumbs, I never looked back! This saves a significant amount of time and ensures a uniform texture for your crust. However, if you prefer, you can easily buy whole graham crackers and crush them yourself using a food processor or by placing them in a bag and crushing them with a rolling pin until fine.
- Cherry Pie Filling: This recipe utilizes a half batch of my acclaimed homemade cherry pie filling, which is incredibly easy to make and far superior to canned versions. Its bright, fruity notes and perfect consistency are key to this cheesecake’s success. Don’t let any go to waste! Make a full batch and use the remainder to serve over this decadent chocolate ice cream recipe, or substitute the blueberries for cherries in these delightful no-bake blueberry cheesecake bars for a delightful twist.
See the recipe card below for full information on ingredients and precise quantities for the perfect cherry cheesecake.
Creative Variations for Your Cherry Cheesecake
While this classic cherry cheesecake recipe is perfect as is, it also serves as a fantastic base for creative modifications. Feel free to experiment and customize it to your taste!
- Change the crust. The graham cracker crust is a classic, but don’t hesitate to experiment! For a chocolate lover’s dream, swap it out for an Oreo crust, similar to the one found in my chocolate chip cheesecake recipe. You could also try crushing up some Biscoff cookies for a spiced, caramel note, or use cinnamon graham crackers to add a warm, aromatic twist to the base. Each crust variation will bring its own unique flavor dimension.
- Make it chocolate! For an intensely decadent experience, combine two beloved desserts: chocolate and cherry. Prepare my rich chocolate cheesecake recipe and then generously top it with the bright, fruity homemade cherry pie filling. The combination of deep chocolate and tart cherries is truly divine and utterly luxurious.
- Use different toppings. This traditional New York-style cheesecake is incredibly versatile and pairs beautifully with a variety of toppings. Instead of cherries, consider my sweet and spiced apple pie filling recipe, the vibrant filling from this blueberry pie recipe, or the fresh strawberry filling from this no-bake strawberry pie. For a non-fruit option, drizzle generously with homemade salted caramel sauce or spread a layer of bright, tangy easy lemon curd for a burst of citrus flavor. Each topping transforms the cheesecake into a new culinary adventure!
- Add in some flavor to the filling. Infuse the cheesecake batter with additional flavors for an extra dimension. Fold in a cup of mini chocolate chips for a subtle chocolatey crunch, or add the zest of one lemon for a bright, aromatic lift that complements the cherry topping beautifully. You can also switch out the vanilla extract for a teaspoon of almond extract to enhance the cherry flavor, or add a splash of bourbon for a sophisticated, warming note.
Professional Baking Tips for Success
Achieving a flawless, crack-free, and perfectly textured New York-style cheesecake requires attention to detail. These professional tips will guide you to success:
- Always use room-temperature ingredients! This is an absolute golden rule for cheesecake baking. Ensure your cream cheese, eggs, sour cream, and heavy cream are all at room temperature. Scale your ingredients and let them sit out for at least 2 hours. If you’re short on time, you can carefully place them near a warming oven or in a warm water bath (for eggs and cream cheese, if sealed) to speed up the process. Cold ingredients will not emulsify properly, leading to a lumpy batter and an inconsistent, often grainy, cheesecake texture that simply won’t set correctly.
- Let the cheesecake cool overnight. Patience is a virtue, especially when it comes to cheesecake. For the absolute best texture, flavor development, and the cleanest, most professional-looking slices, allow your cheesecake to cool at room temperature, then refrigerate it overnight (at least 8 hours). This extended chilling period allows the custard to fully set and firm up, much like a crème caramel. Rushing the cooling process can result in a softer, less stable cheesecake that is difficult to slice and prone to cracks.
- Beat the eggs for one minute each. When incorporating the eggs into your cream cheese mixture, add them one at a time and beat for a full minute after each addition. This specific technique helps to create a stable emulsion, thoroughly integrating the egg into the batter. It also gently whips in a small amount of air, contributing to that desirable light yet dense texture characteristic of a classic New York cheesecake, without over-aerating the batter, which can lead to cracking. Remember to scrape down the sides of the bowl frequently to ensure even mixing.
- Utilize a Water Bath for Even Baking. The water bath (bain-marie) is your secret weapon against cracks and ensures a creamy, even bake. The moist, gentle heat helps the cheesecake cook slowly and evenly, preventing the edges from baking too quickly and cracking while the center is still unset.
- Don’t Overmix the Batter. Once the cream cheese and sugar are smooth and the eggs are incorporated, add the sour cream and heavy cream and mix *just until combined*. Overmixing at this stage can incorporate too much air, which expands during baking and then collapses as it cools, leading to cracks and a less dense texture.
How to Make the Perfect Cherry Cheesecake
Follow these detailed, step-by-step instructions to create this classic New York-style cherry cheesecake. You’ll find further precise measurements and ingredients listed in the comprehensive recipe card below.
Prepare the pan and crust:
Step 1: Preheat the oven and prepare the pan. Begin by preheating your oven to 325°F (160°C). This ensures your oven is at a consistent temperature when the cheesecake goes in. To create a watertight seal for the water bath, meticulously wrap the outside of a 9-inch springform pan with heavy-duty aluminum foil. Using large sheets is ideal, but you can also carefully fold the edges of two smaller pieces together to ensure an impenetrable barrier. This prevents any water from seeping into the crust and making it soggy.
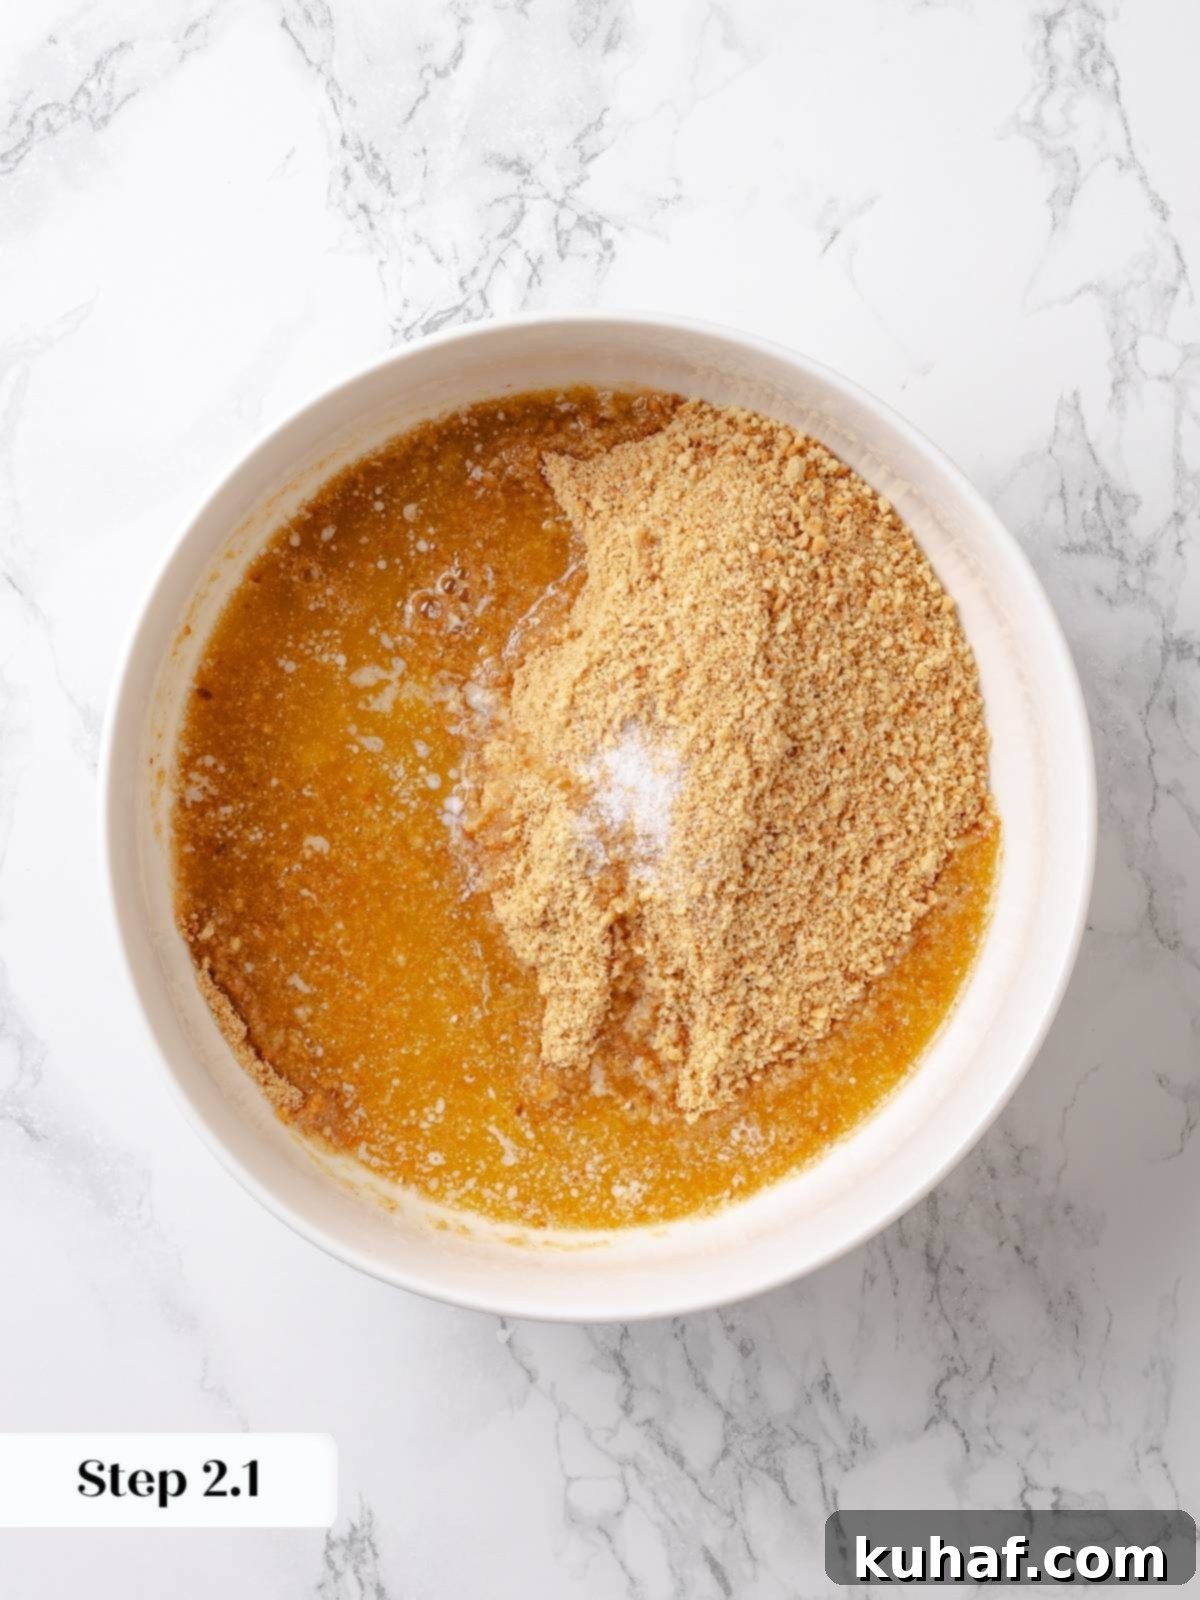
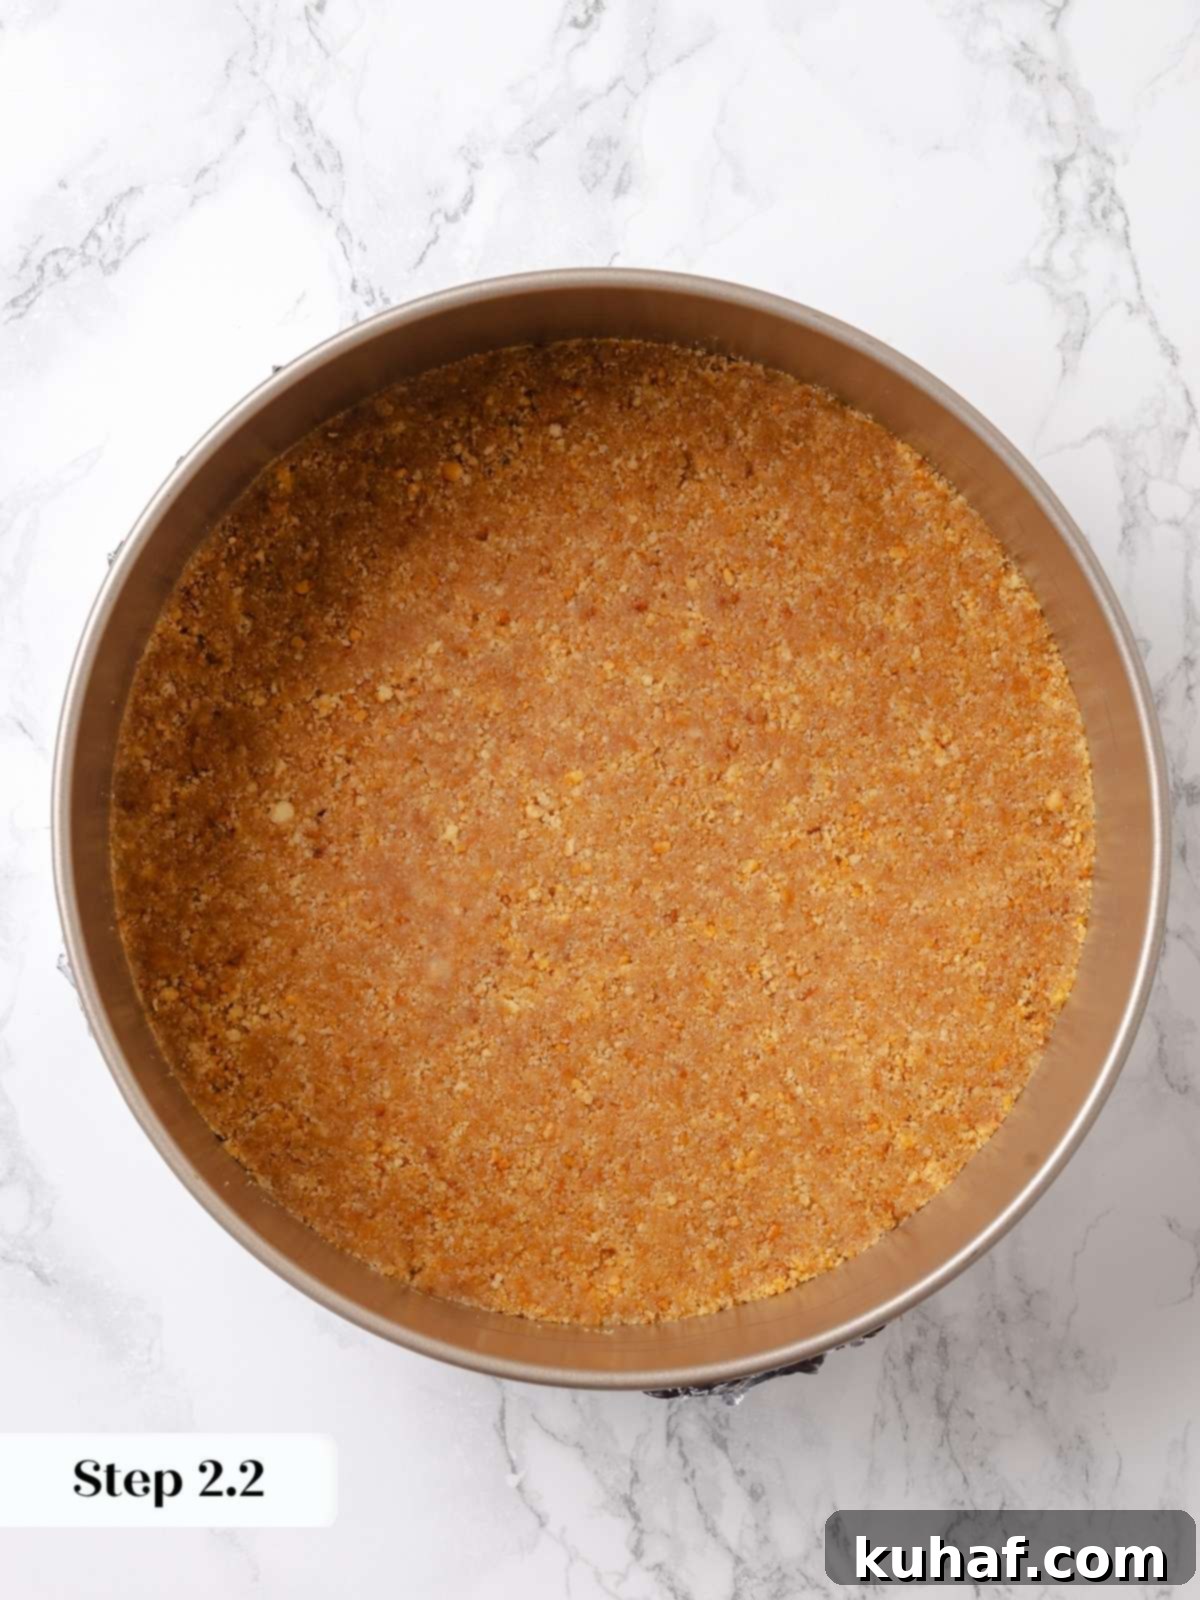
Step 2: Make the graham cracker crust. In a medium bowl, combine the graham cracker crumbs, a pinch of kosher salt (which enhances the flavor), and the melted unsalted butter. Mix thoroughly until all the crumbs are moistened and resemble wet sand. Press this mixture firmly and evenly into the bottom of your prepared springform pan. Use the flat bottom of a glass or your fingers to create a compact, uniform layer.
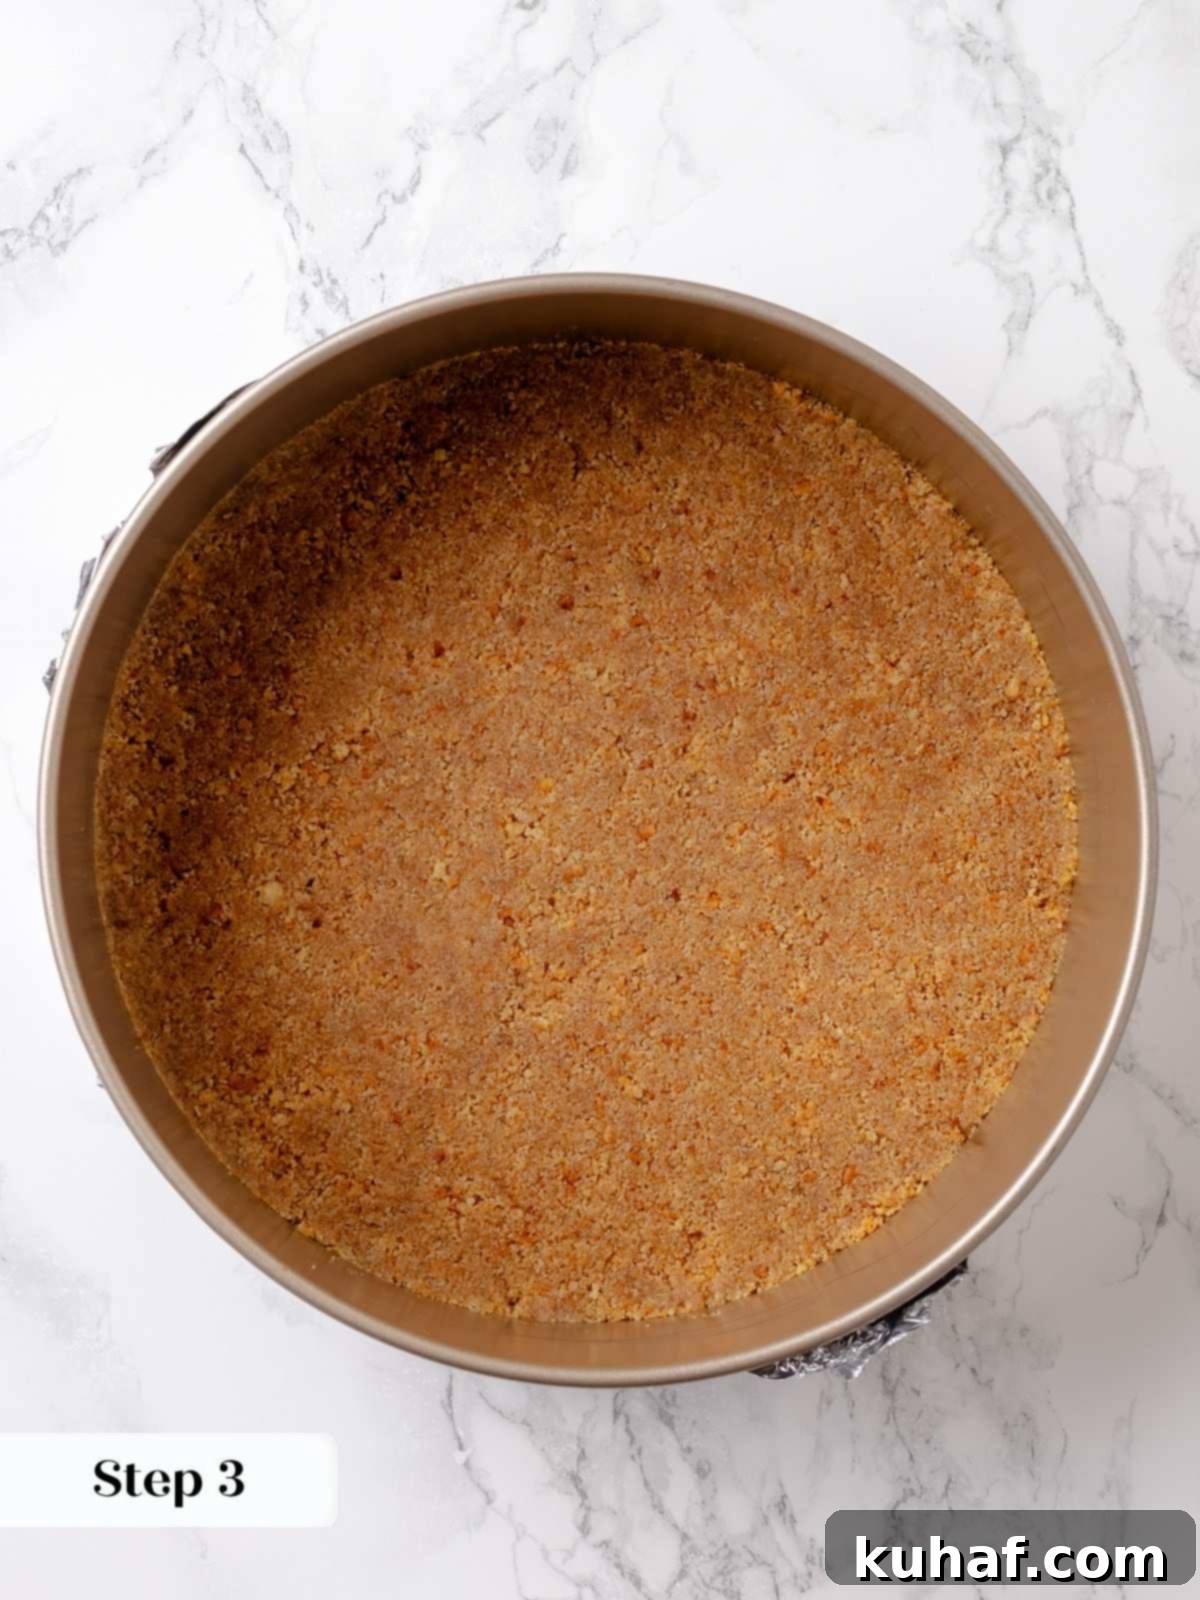
Step 3: Bake and cool the crust. Place the pan with the crust into the preheated oven and bake for 10 minutes. This short bake time helps to set the crust, making it deliciously crisp and preventing it from becoming soggy once the filling is added. After baking, remove the crust from the oven and transfer it to a wire cooling rack. Allow it to cool completely to room temperature before adding the filling; this is essential for maintaining its crispness.
Make the creamy cheesecake filling:
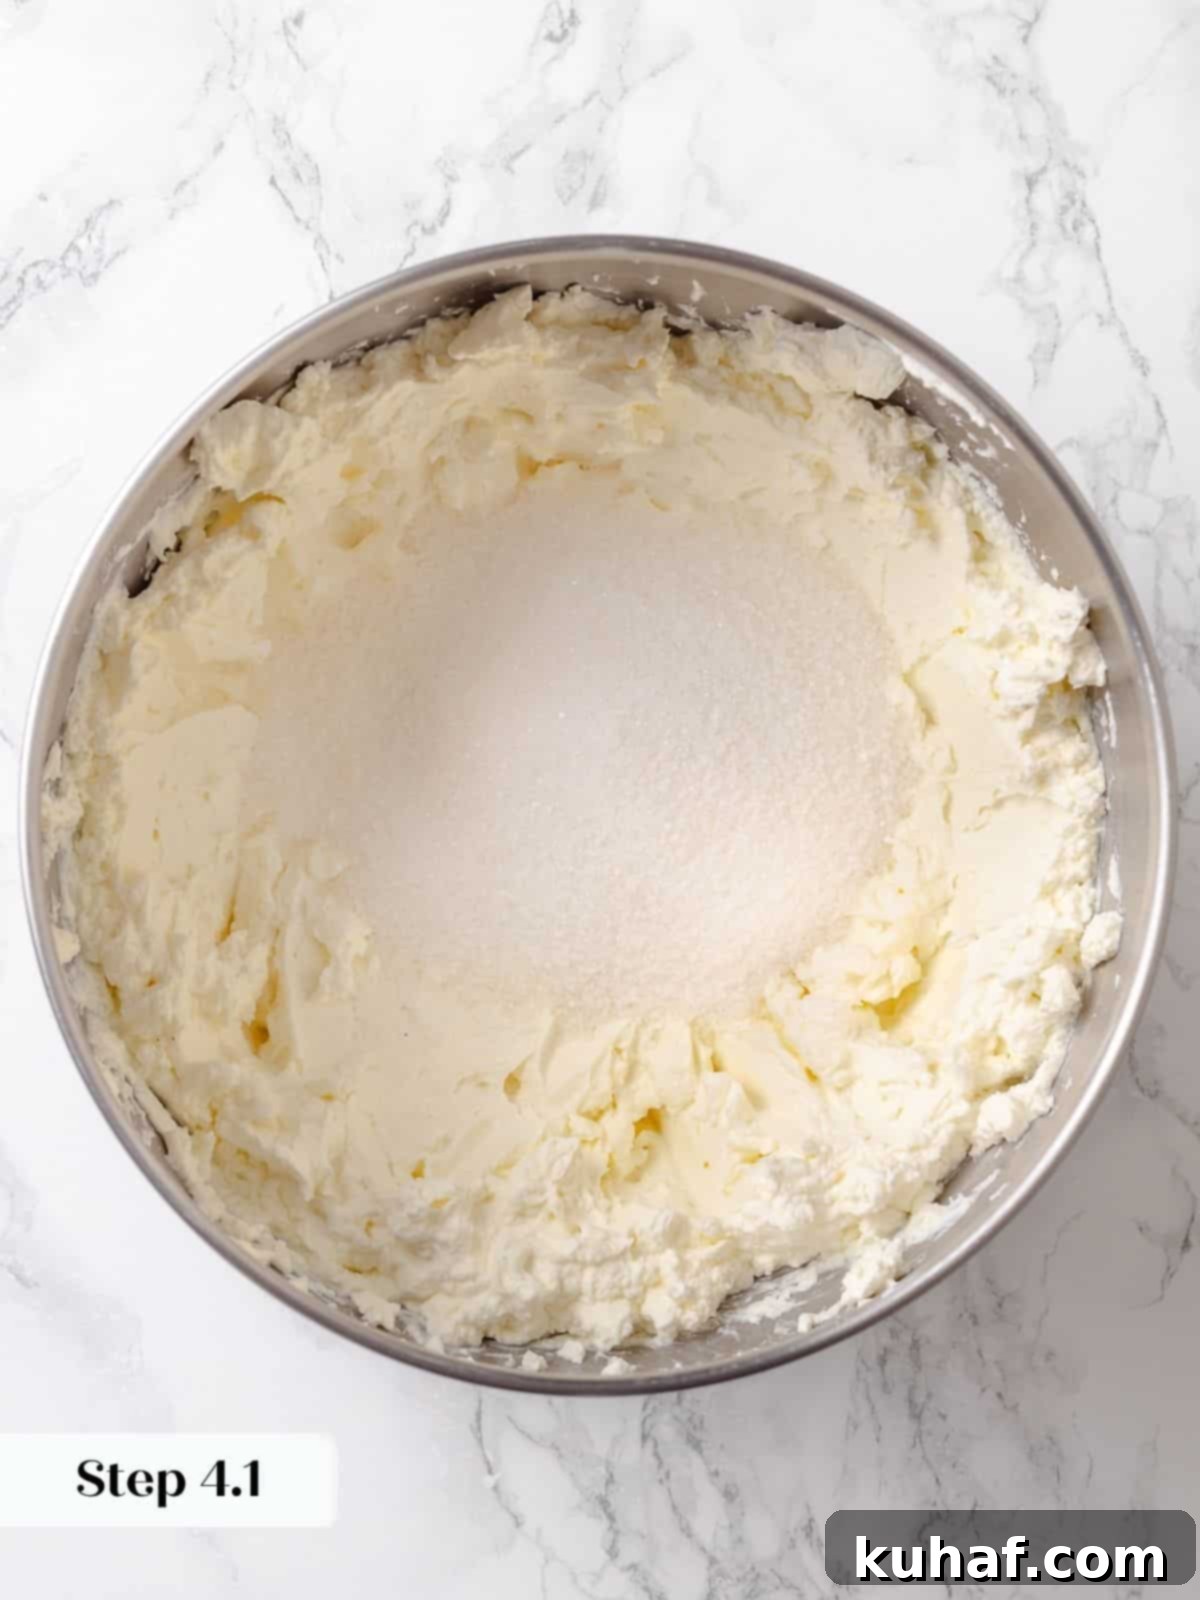
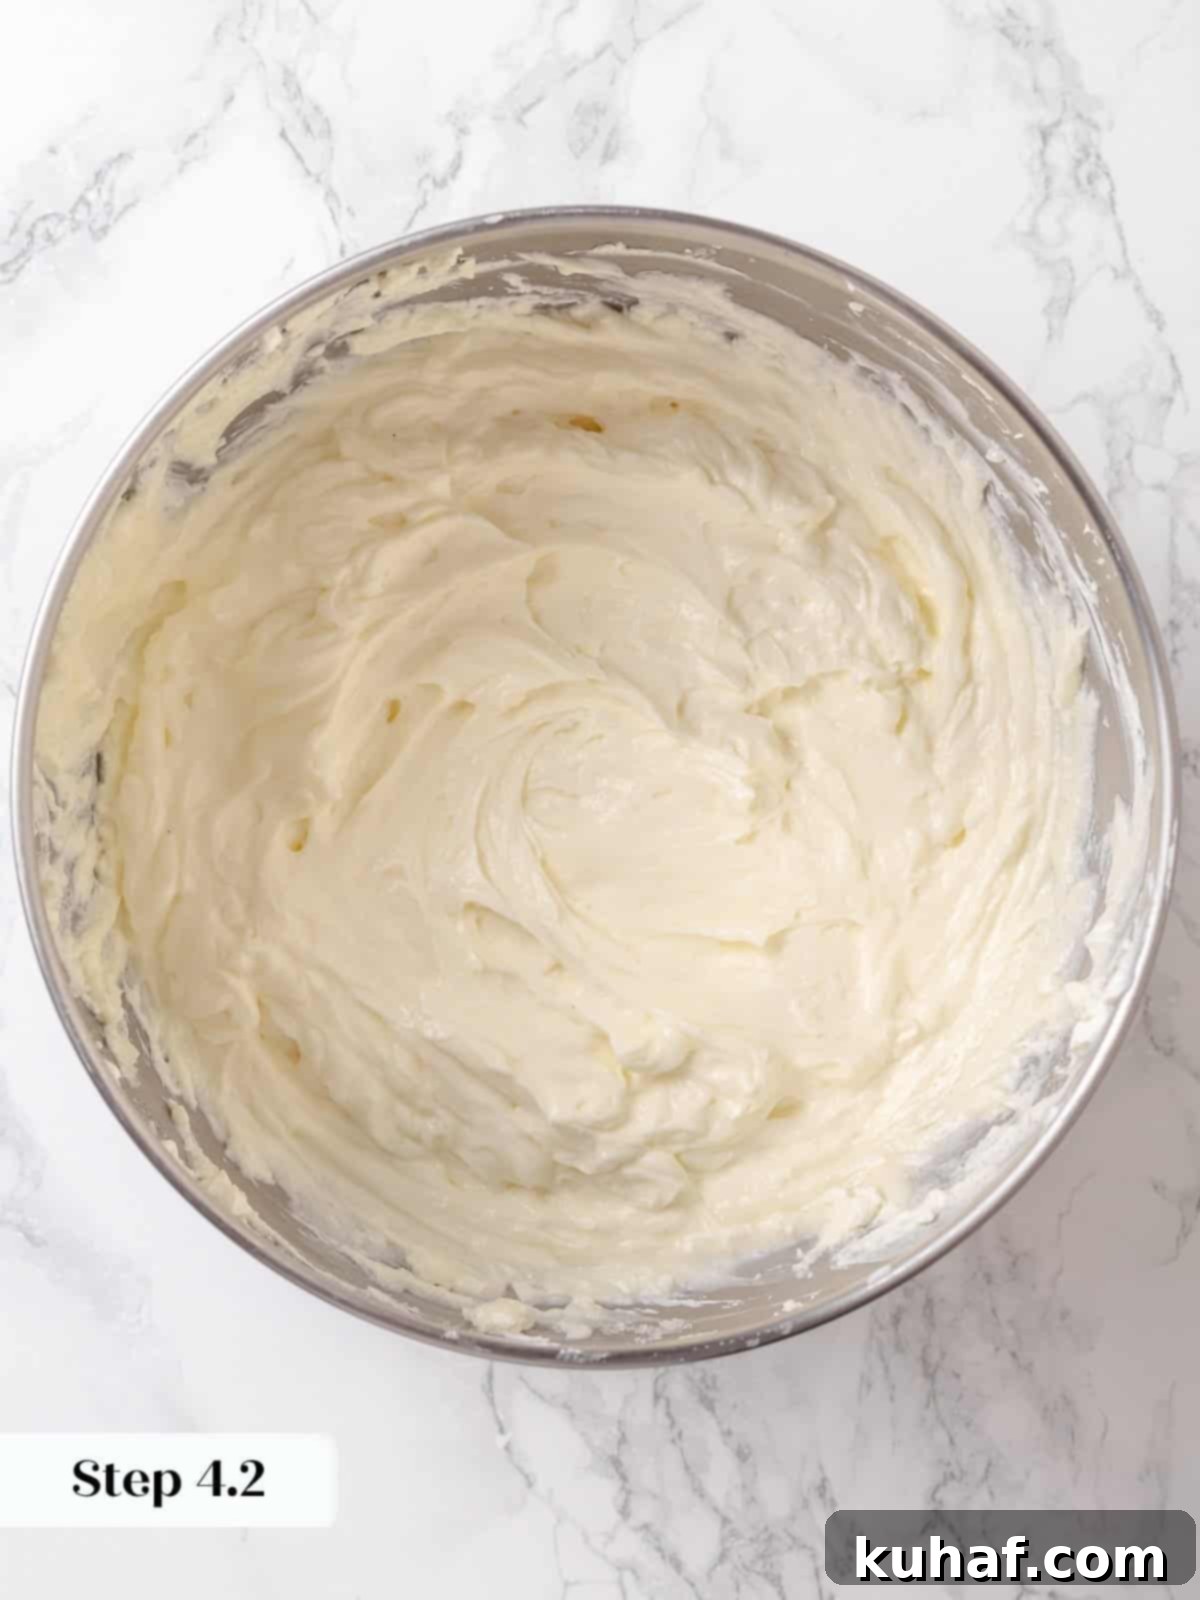
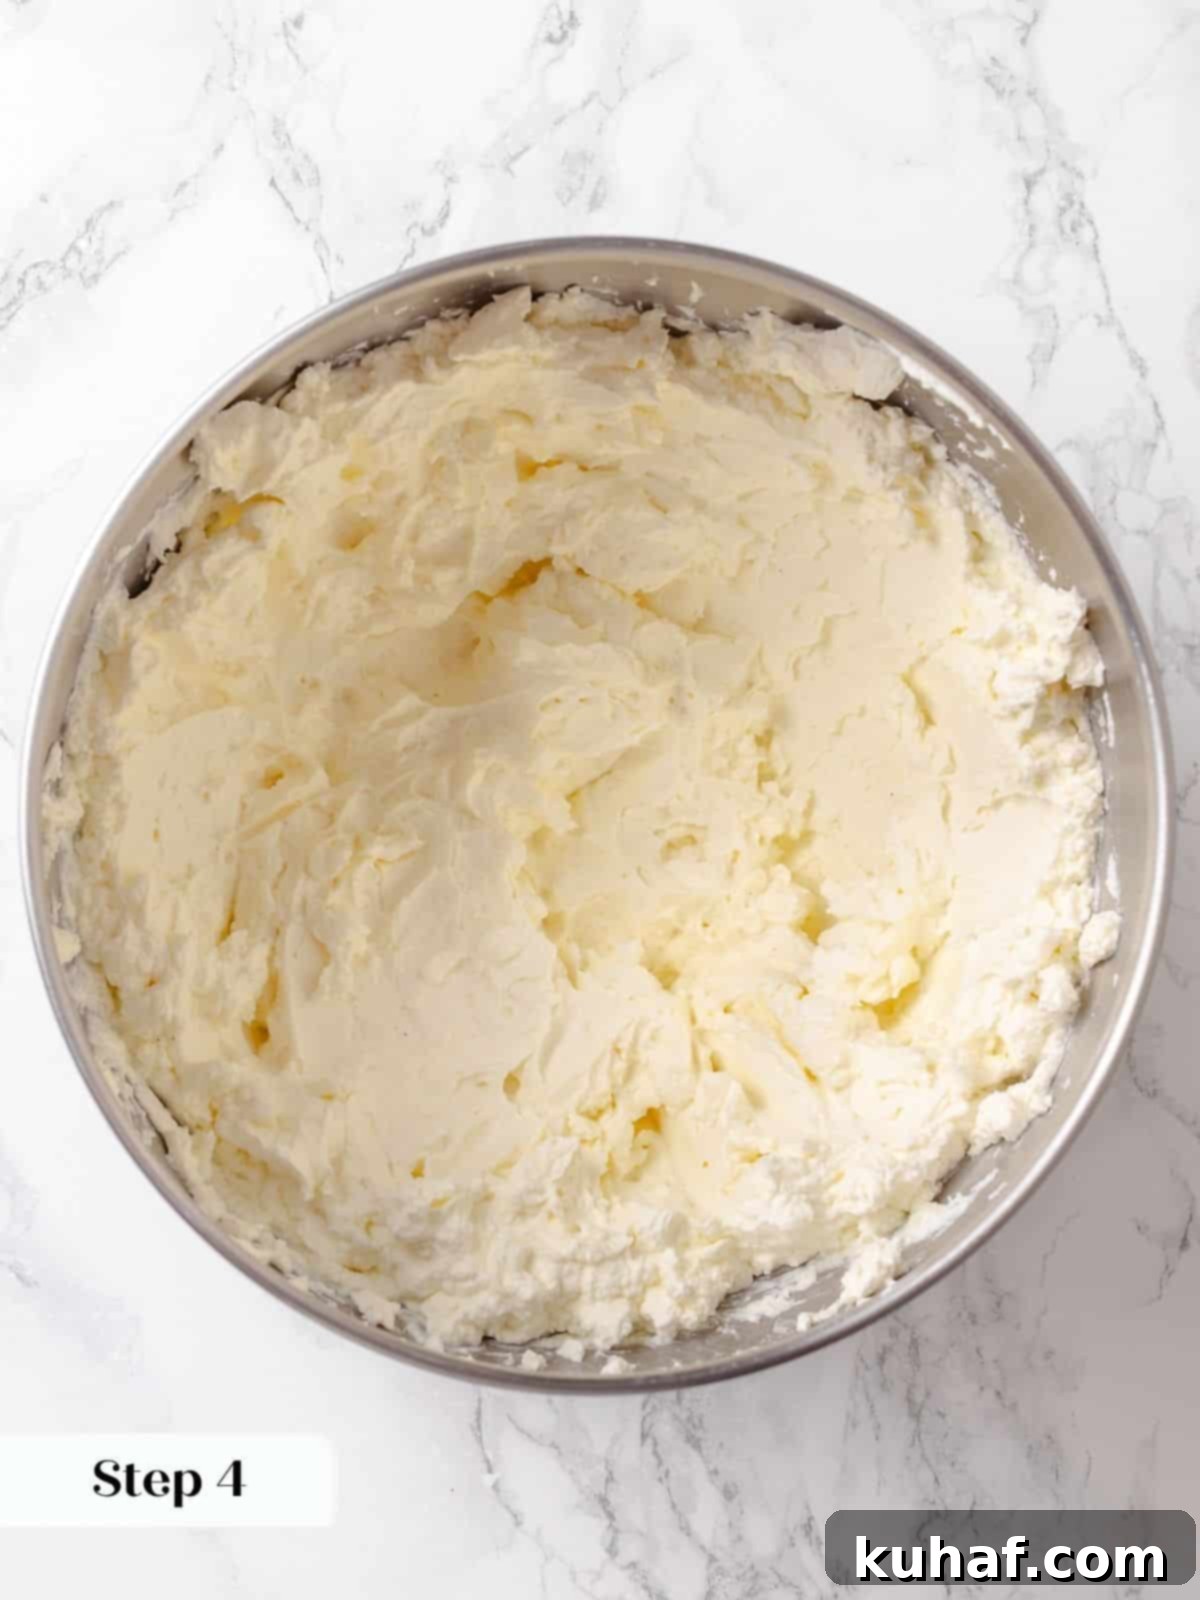
Step 4: Beat cream cheese and vanilla. In the bowl of a stand mixer fitted with the paddle attachment, add the softened room-temperature cream cheese, vanilla extract, and the scraped seeds from one vanilla bean pod. Beat on medium-high speed for several minutes until the mixture is incredibly silky, creamy, and completely smooth, with no lumps remaining. This step is crucial for a smooth cheesecake texture.
Step 5: Incorporate the sugar. Gradually add the granulated sugar to the mixer bowl while continuing to beat on medium speed. Continue mixing for several minutes, scraping down the sides of the bowl frequently, until the sugar has fully dissolved and no granules are visible when you rub a small amount between your fingers. This ensures a perfectly smooth and sweet filling.
Chef’s Note: Always remember to scrape down the sides and bottom of your stand mixer bowl thoroughly and frequently. Cream cheese has a tendency to stick to the bottom, and if not fully incorporated, it will leave small, unsightly lumps in your otherwise smooth cheesecake batter that are very difficult to remove later.
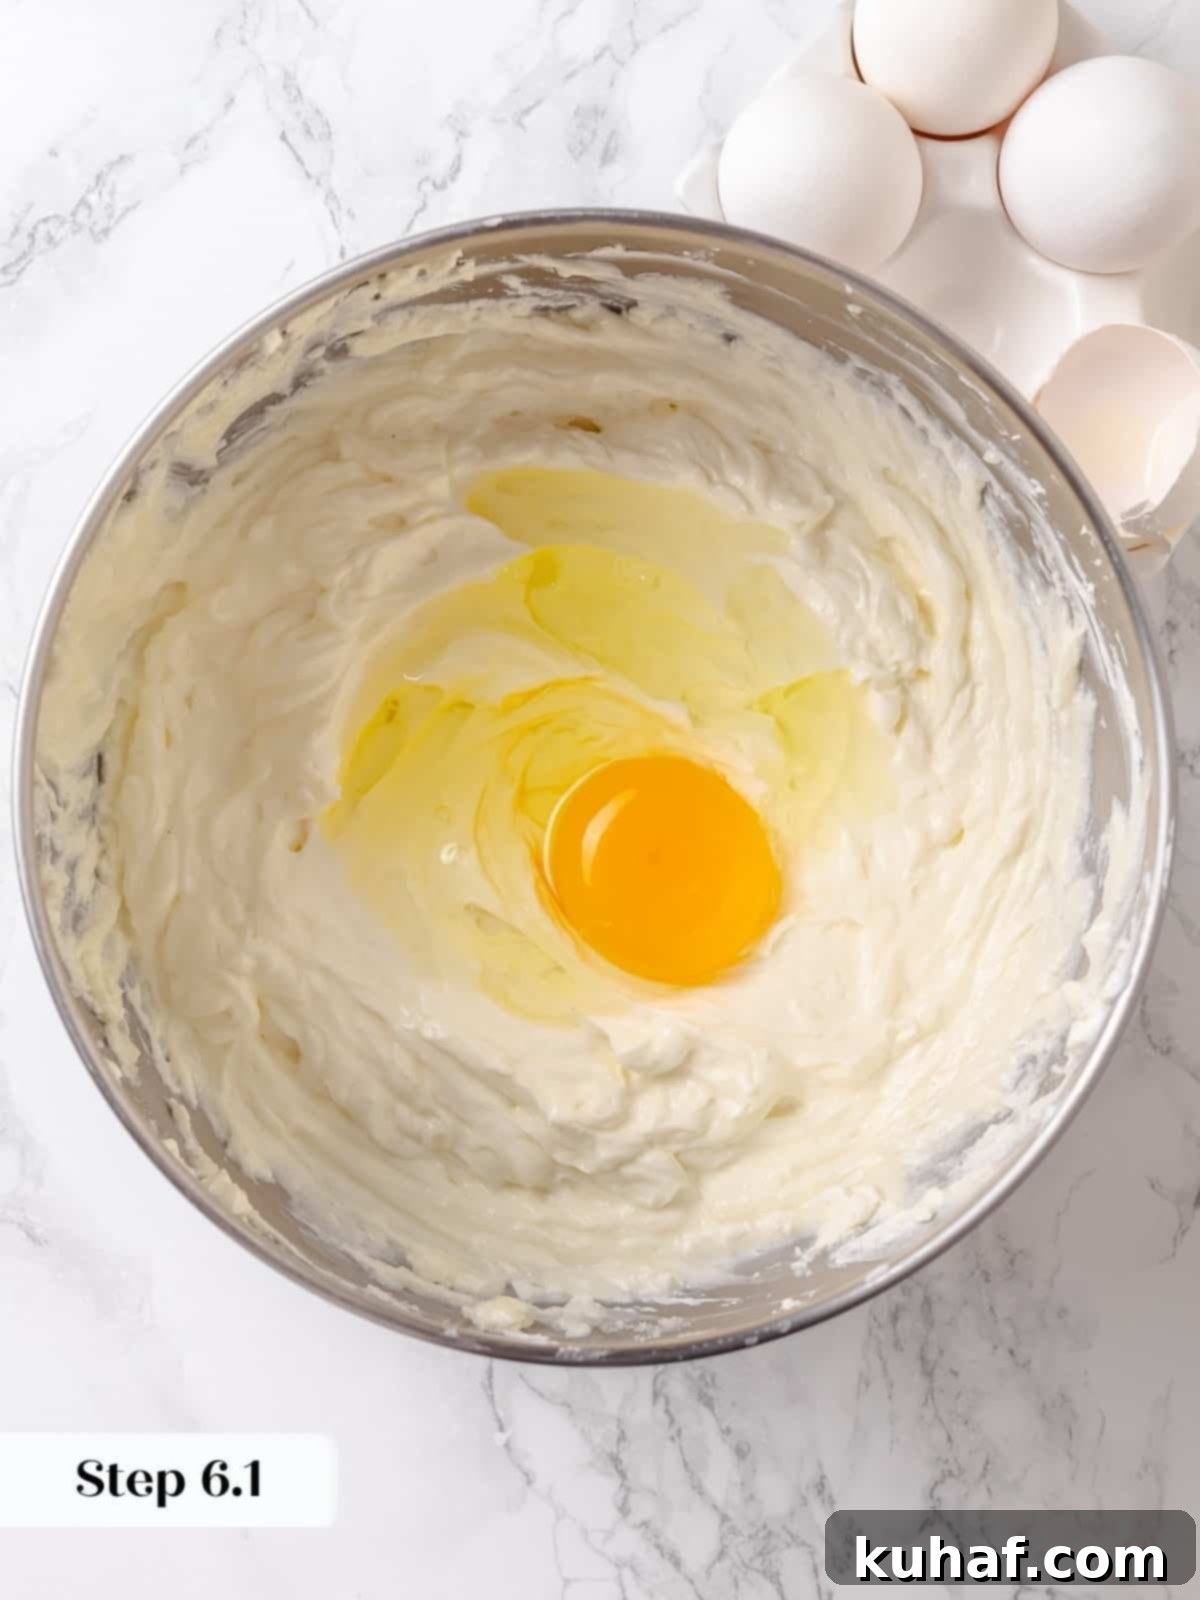
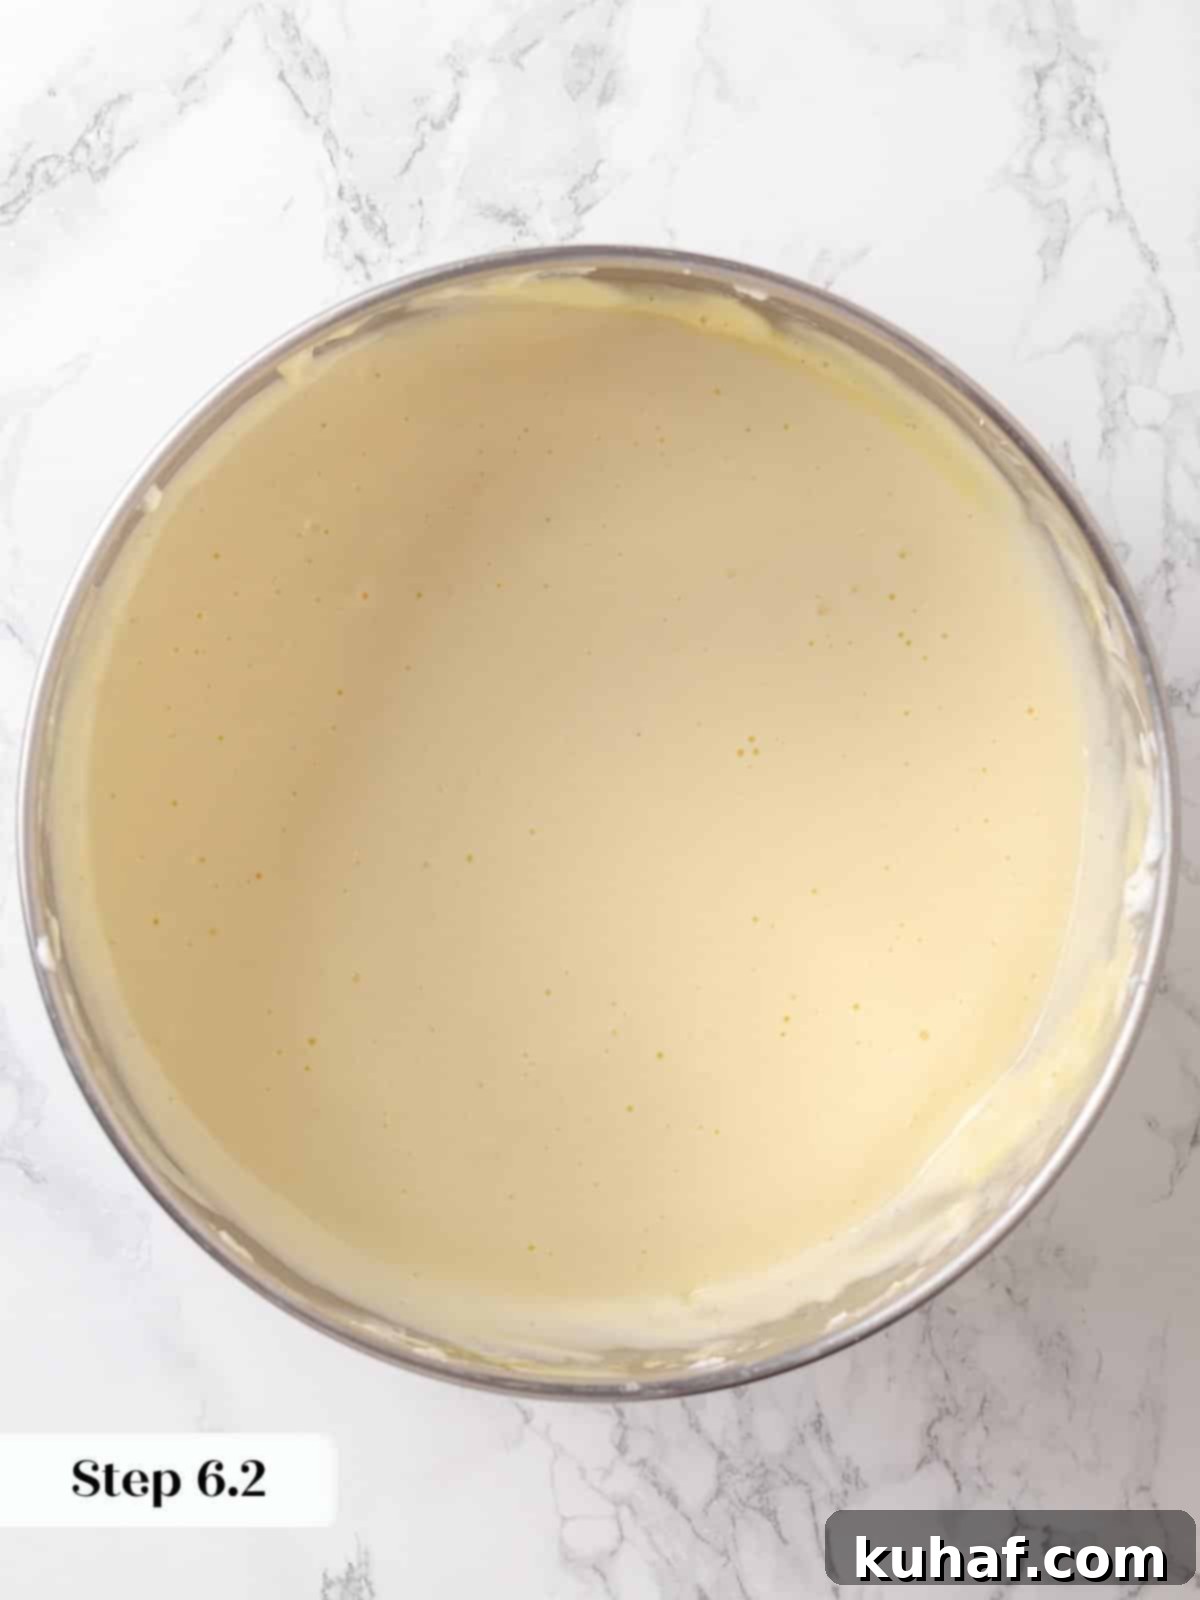
Step 6: Add the eggs one at a time. Reduce the mixer speed to low. Add the large eggs and the additional egg yolk one at a time to the cream cheese mixture. After each egg addition, beat for precisely 1 minute, then stop the mixer and thoroughly scrape down the sides and bottom of the bowl before adding the next egg. This methodical process ensures the eggs are fully incorporated without overmixing, which can introduce too much air and lead to cracks in the finished cheesecake.
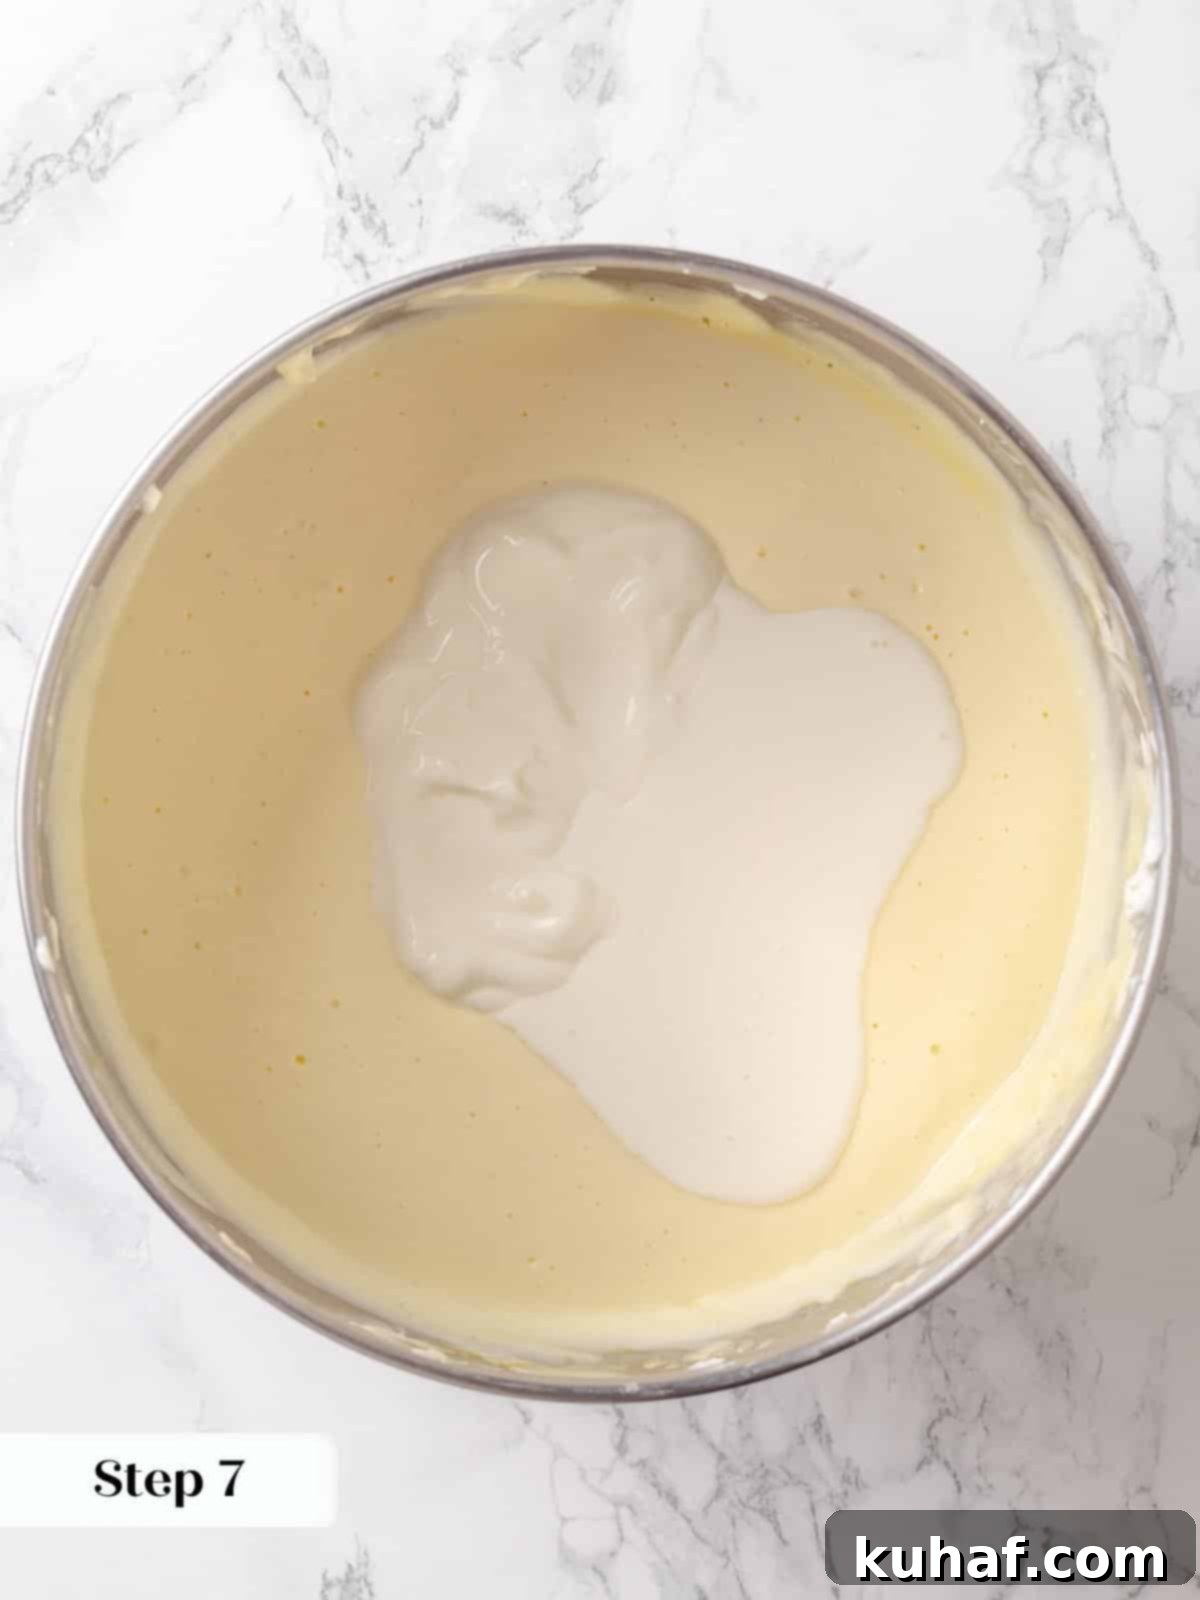
Step 7: Mix in sour cream and heavy cream. With the mixer still on low speed, add the room-temperature sour cream and heavy cream to the stand mixer bowl. Beat just until they are fully combined into the cheesecake batter. Start on the lowest speed to prevent splashing, then you can gradually increase it slightly if needed. Overmixing at this stage can incorporate too much air, which can lead to cracks in your finished cheesecake.
Pro Tip: To ensure a perfectly smooth batter and prevent any unmixed clumps of sour cream, I highly recommend whisking the heavy cream and sour cream together in a separate small bowl or even giving them a quick immersion blend before adding them to the main cheesecake base. This extra step guarantees an effortlessly uniform texture.
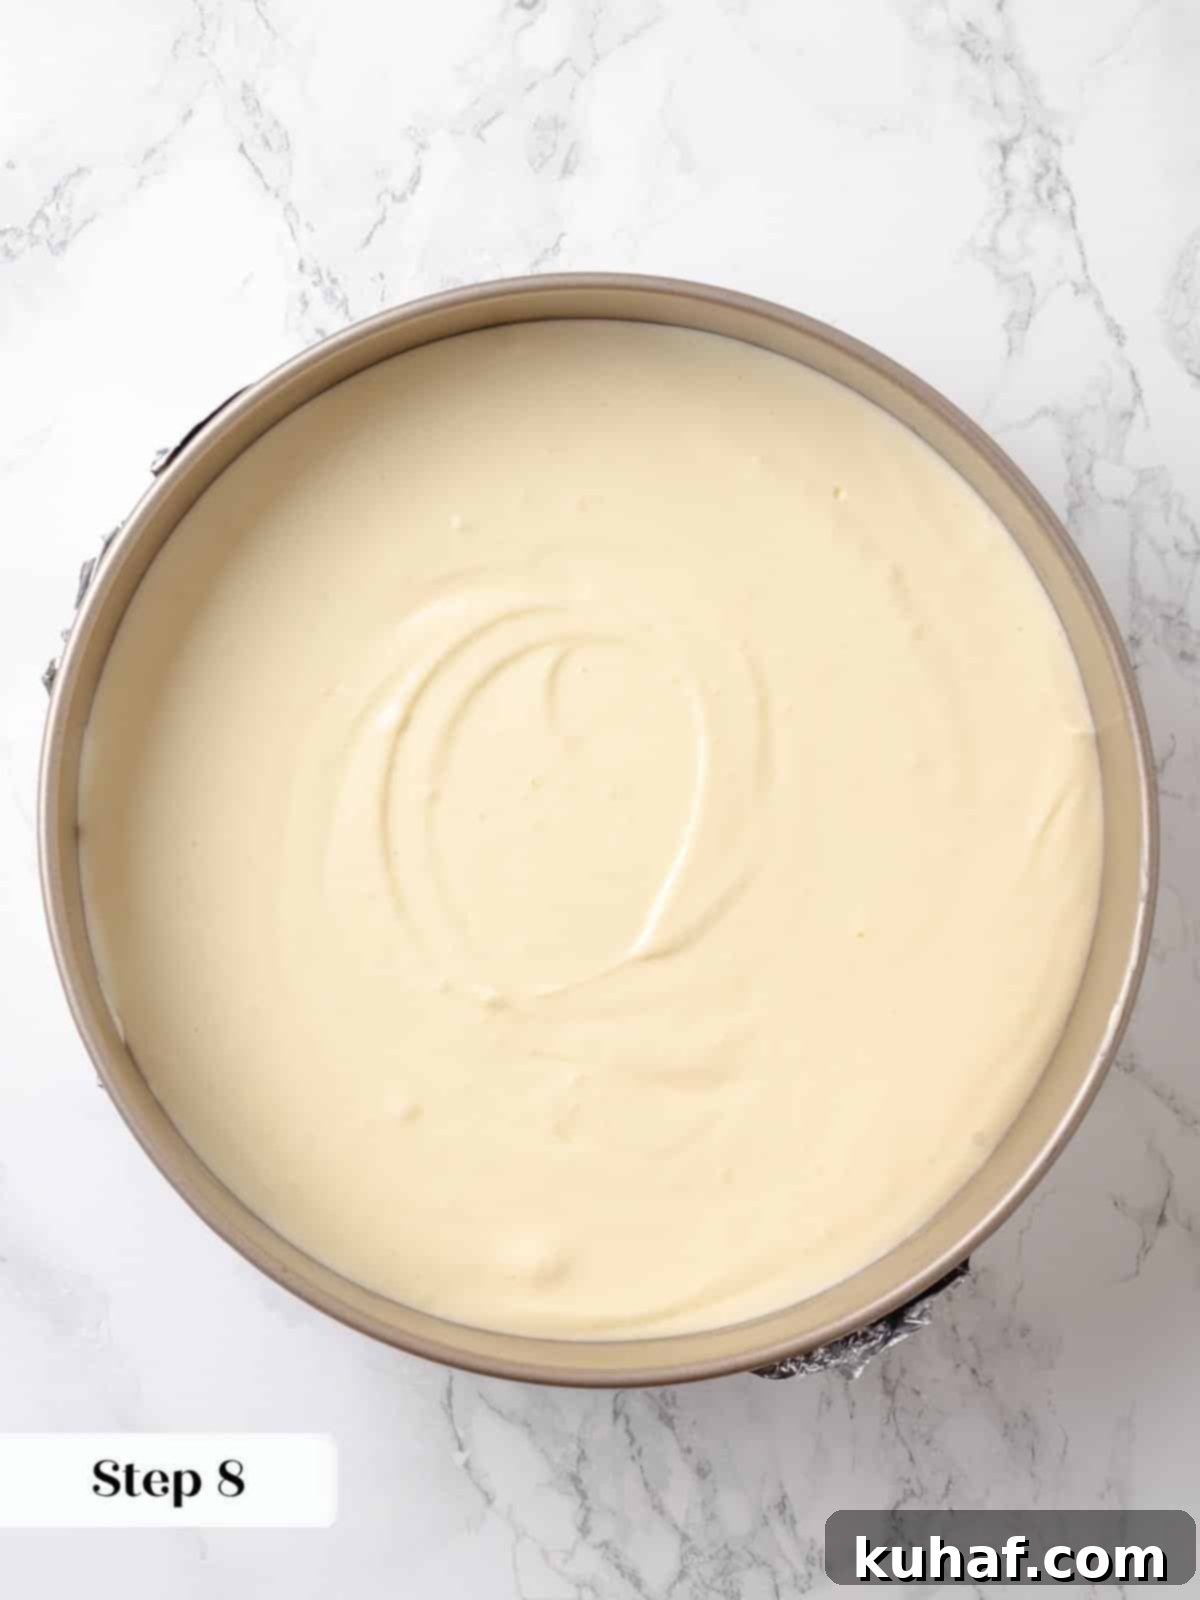
Step 8: Fill the crust. Carefully pour the creamy cheesecake filling into the completely cooled, prepared graham cracker crust. Gently shake the pan side to side to help the batter settle evenly, or use a small offset spatula to lightly spread it into a smooth, level layer. Avoid tapping the pan too vigorously, as this can introduce air bubbles.
Bake and Cool Your Cheesecake:
Step 9: Prepare the water bath. Place your foil-wrapped springform pan containing the cheesecake filling into a larger baking dish or roasting pan. Carefully transfer both pans into the preheated oven. Once inside, pour hot (but not boiling) water into the larger pan until it reaches halfway up the sides of the springform pan. Exercise extreme caution to avoid splashing any water into the delicate cheesecake batter.
Optional Cherry Swirl: For a beautiful marbled effect, dollop up to ¾ cup of your homemade cherry pie filling onto the cheesecake batter in several places before baking. Then, using a small spoon or a small offset spatula, gently swirl the filling into the cheesecake batter. Don’t overmix; just a few gentle swirls will create a stunning visual. The remaining filling will be used as a topping later.
Step 10: Bake cheesecake. Bake the cheesecake in the water bath for approximately 1 hour and 40 minutes. I recommend beginning to check for doneness after the first hour. The cheesecake is ready when the edges are set, but the very center still has a slight wobble to it. When gently shaken, the cheesecake should move in one cohesive mass, much like perfectly set Jell-O. If it’s still very liquidy in the center, bake for another 5-10 minutes. Avoid overbaking, as this is a primary cause of cracks.
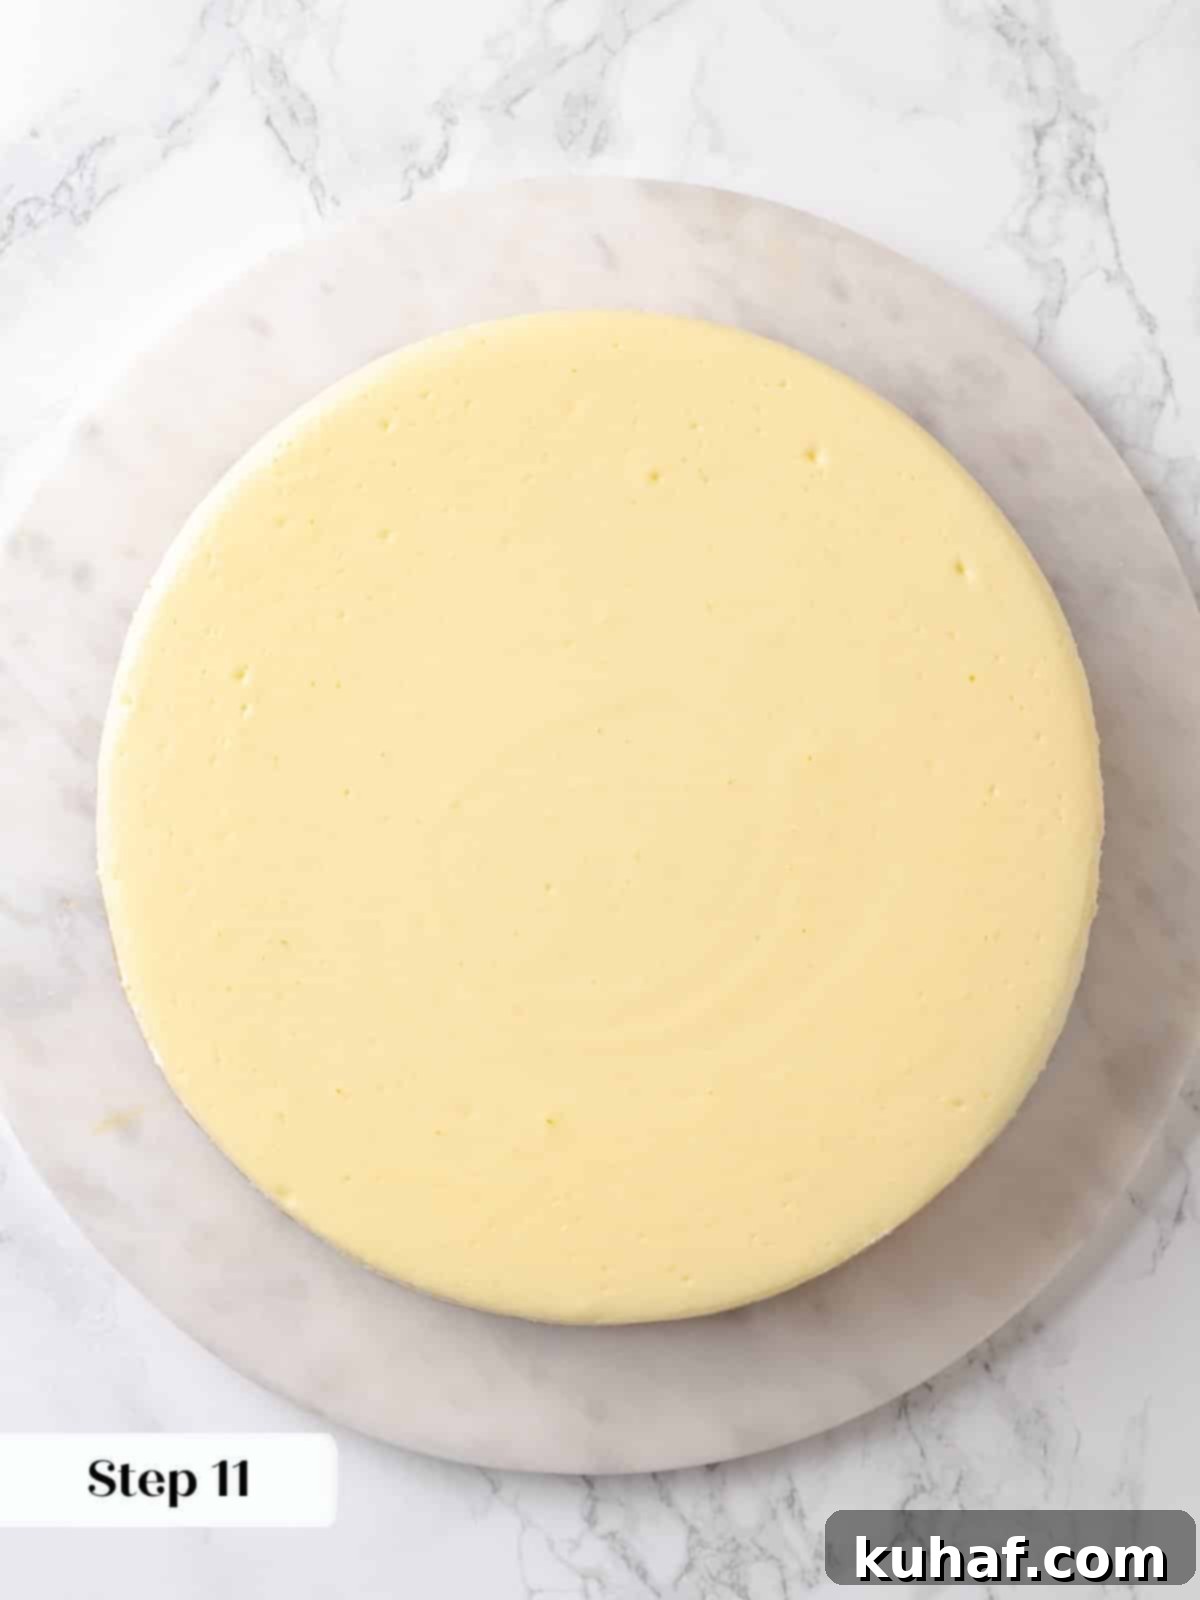
Step 11: Cool at room temperature. Once baked, carefully remove the cheesecake (still in its foil-wrapped springform pan) from the water bath. Place it on a wire cooling rack to cool completely at room temperature for at least 1-2 hours. Meanwhile, carefully remove the large roasting pan with the hot water from the oven and discard the water. Allowing a gradual cool-down at room temperature helps prevent cracks that can form from sudden temperature changes.
Step 12: Chill overnight. After the cheesecake has cooled completely at room temperature, wrap it securely with plastic wrap. Transfer the wrapped cheesecake to the refrigerator and chill for a minimum of 4 hours, but ideally overnight (8 hours or more). This crucial chilling period allows the cheesecake to fully set, firm up, and develop its rich flavors, ensuring a perfect texture and clean slices.
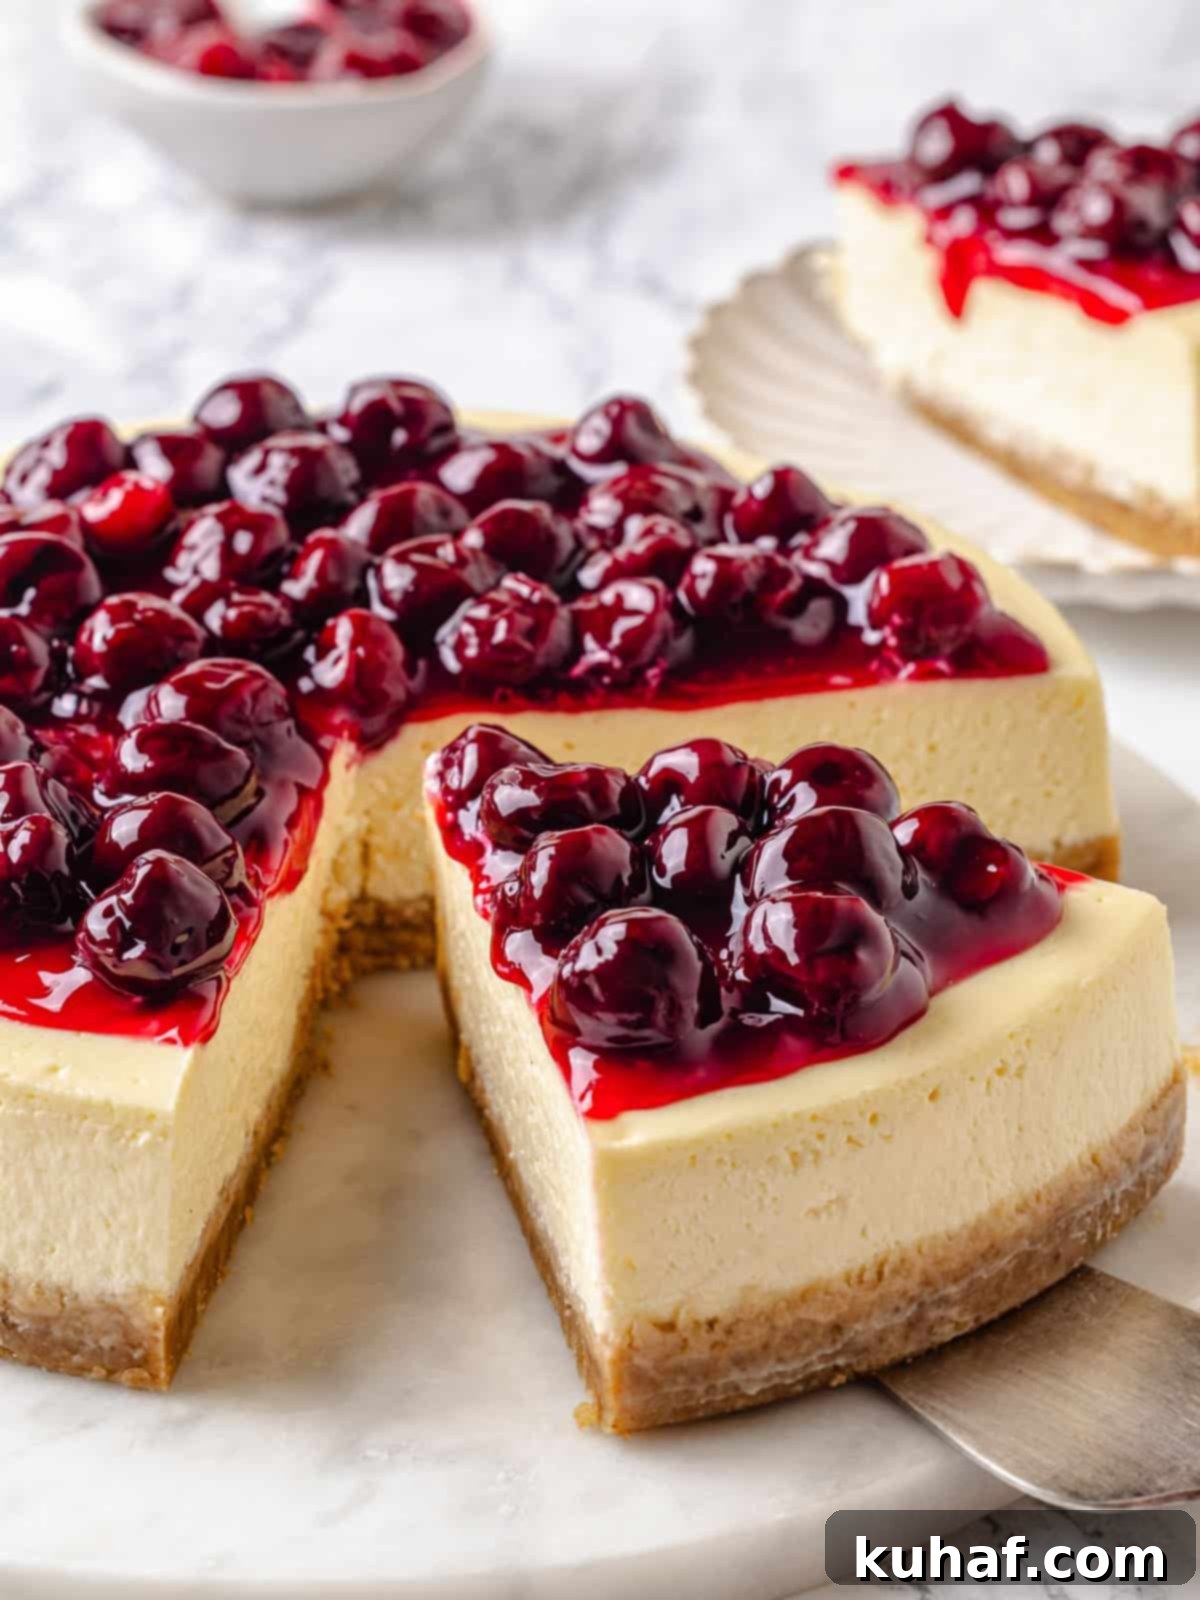
Step 13: Top and serve. Once fully chilled, carefully remove the springform pan sides. You can choose to spoon the homemade cherry pie filling generously onto the center of the entire cheesecake before slicing, creating a stunning presentation. Alternatively, for individual servings, spoon the cherry topping directly onto the top of each cut piece. Serve this magnificent dessert with a dollop of lightly sweetened whipped cream for an added touch of luxury.
Chef Lindsey’s Essential Recipe Tip
The integrity of your water bath is paramount for a perfect, crack-free cheesecake. Make absolutely sure the aluminum foil seal around your springform pan is tight and completely watertight! Even the slightest crack or tiny hole will allow water to seep in, resulting in an unfortunately soggy bottom crust. If you have any doubts about your foil coverage, don’t hesitate to double up the foil layers for extra protection. It’s better to be safe than sorry for this delicate dessert!
Cherry Cheesecake Recipe FAQs
To maintain its freshness and creamy texture, store your cooled cherry cheesecake well wrapped in plastic wrap. It will keep beautifully in the refrigerator for up to 10 days. For longer preservation, cheesecake freezes exceptionally well! You can freeze it for up to 3 months. When freezing, wrap individual slices or the whole cheesecake tightly in plastic wrap, then an additional layer of aluminum foil to prevent freezer burn. To thaw, simply transfer it to the refrigerator overnight. The homemade cherry filling should be stored separately in an airtight container in the refrigerator for up to a week, or in the freezer for up to 3 months.
The cheesecake is typically done baking when it reaches an internal temperature of 150˚F (65°C). However, using a probe thermometer in the center can sometimes encourage cracks. A more reliable visual test is to gently shake the pan; the edges of the cheesecake should appear set, while the very center (about 2-3 inches in diameter) should still have a slight, cohesive wobble, much like a firm Jell-O. If the entire cheesecake jiggles too much, it needs more time. If it’s completely firm, it’s likely overbaked. When in doubt, bake for an additional 5 minutes, then re-check.
Cheesecake cracks can be frustrating, but they’re often a result of a few common issues. The primary cause is almost always overbaking, which causes the cheesecake to dry out and pull apart. Another significant factor can be incorporating too much air into the batter during mixing, especially after the eggs have been added; this air expands during baking and then collapses as it cools, leading to fissures. Rapid temperature changes are also culprits. This is why it’s crucial to let the cheesecake cool gradually at room temperature on a wire rack before transferring it to the refrigerator. A water bath helps mitigate rapid temperature changes during baking, contributing to a smoother, crack-free surface. Small cracks don’t affect the taste, and you can always cover them with our delicious cherry topping!
More Recommended Dessert Recipes
Pies and Tart Recipes
Cherry Pie
Date Night
Chocolate Cheesecake Recipe
Pies and Tart Recipes
Cherry Pie Filling Recipe
Brownies & Bars Recipes
Blueberry Cheesecake Bars (No Bake)
If you tried this recipe and loved it, please leave a 🌟 star rating and let me know how it goes in the comments below. I love hearing from you; your comments truly make my day!
Cherry Cheesecake
Pin Recipe
Comment
Print Recipe
Ingredients
Filling:
- 32 ounces full-fat brick-style cream cheese room temperature; 4, 8 oz boxes
- 1 ½ teaspoons vanilla extract
- 1 vanilla bean pod seeds from one pod, save pod for later use
- 1 ¼ cups granulated sugar
- 3 large eggs room temperature
- 1 egg yolk
- ⅔ cup sour cream room temperature
- ½ cup heavy cream room temperature
Crust:
- 2 ¼ cups graham cracker crumbs
- ¼ teaspoon kosher salt
- ⅔ cup unsalted butter melted
Topping:
- 2 cups whipped cream sweetened or unsweetened
- 2 cups cherry pie filling half batch of my cherry pie filling recipe
Instructions
Prepare the pan and crust:
-
Preheat the oven to 325°F. Wrap a 9-inch springform pan with aluminum foil to create a water-tight seal.
-
Combine all ingredients for the crust and press into the bottom of the springform pan.
-
Bake in the preheated oven for 10 minutes. Cool completely on a cooling rack.
Make the filling:
-
To prepare the filling, beat the cream cheese, vanilla extract, and seeds in the bowl of a stand mixer fitted with the paddle attachment on medium-high speed until silky, creamy, and smooth.
-
Add the sugar to the mixer bowl and beat until no granules are visible. This usually takes 3–5 minutes.
-
Add the eggs to the cream cheese mixture one at a time and beat for 1 minute after each addition, scraping down the sides and bottom between each addition.
-
Add the sour cream and heavy cream to the stand mixer bowl and beat just to combine. I recommend starting to mix on low so it doesn’t slosh around. You can gradually turn up the speed.
-
Pour the cheesecake filling into the prepared crust and either shake gently or spread out with a small offset spatula.
Baking and Cooling:
-
Place the lined pan into a larger baking dish or roasting pan and place both in the oven. Pour hot water into the larger pan until it is halfway up the sides, being careful not to splash any into the cheesecake.
-
Bake for approximately 1 hour and 40 minutes or until set but still wobbly. I like to start checking after an hour. When gently shaken, the cheesecake will move in one cohesive mass like Jell-O.
-
Carefully remove the cheesecake from the water bath and place it on a wire cooling rack to cool completely at room temperature. Carefully remove the hot pan with the water from the oven and pour out the water.
-
Wrap cooled cheesecake and refrigerate at least 4 hours, but ideally overnight.
-
Either spoon the cherry pie filling onto the center of the cheesecake before cutting or onto the top of each piece. Serve with lightly sweetened whipped cream.
Notes
Presentation Tips – For the most professional-looking and clean slices, it’s absolutely essential to let the cheesecake cool overnight before you attempt to cut into it. When you’re ready to slice, use a long, sharp knife dipped in very hot water and wiped clean between each cut. The warm blade will glide through the dense, creamy cheesecake, giving you beautifully defined slices every time!
Flavorful Variations—Beyond changing toppings, you can swirl some of the homemade cherry filling directly inside the cheesecake batter before baking. This creates a stunning marbled effect that looks as good as it tastes. Then, top it with a simple vanilla whipped cream and more fresh cherry pie filling for a truly decadent treat!
Storage Guidelines—Your beautifully cooled cherry cheesecake can be stored, well wrapped in plastic wrap, in the refrigerator for up to 10 days. For longer storage, cheesecake freezes exceptionally well for up to 3 months. To freeze, wrap individual slices or the entire cheesecake tightly in plastic wrap, then again in aluminum foil to prevent freezer burn. Thaw slowly in the refrigerator overnight. The homemade cherry filling should be stored separately in an airtight container in the refrigerator for up to a week, or in the freezer for 3 months.
Nutrition
Before You Go
I sincerely hope you enjoyed creating and savoring this chef-tested classic cherry cheesecake recipe. It’s a dessert that consistently brings smiles and delight to any table. If you’re looking for even more delightful sweet treats, be sure to check out our other delicious summer dessert recipes. You might fall in love with this light and fragrant lemon olive oil cake, perfect for a subtle sweetness, or perhaps the rustic charm of this bountiful mixed berry pie! Happy baking!
