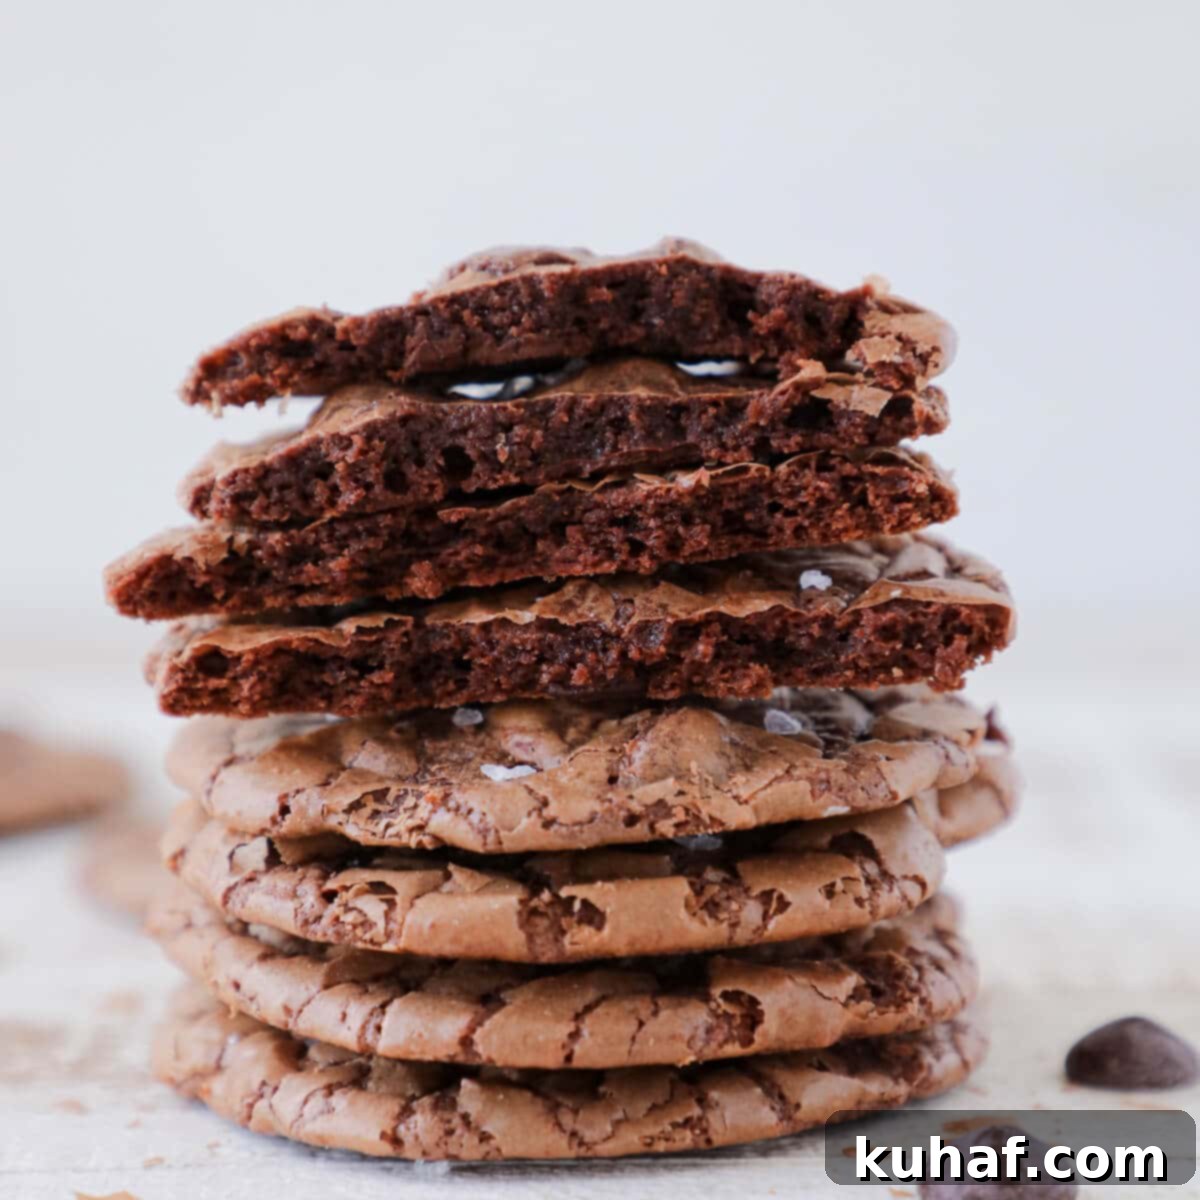
Ultimate Fudgy Brownie Cookies: Easy, No-Chill, Triple Chocolate Perfection
Brownie Cookies are the epitome of chocolate decadence, offering that irresistible combination of fudgy chewiness and the delicate, crackled top characteristic of the perfect brownie. Our expertly crafted recipe takes these beloved qualities and transforms them into a cookie that’s not only incredibly satisfying but also surprisingly quick to make. Featuring a luxurious blend of three types of chocolate and a genius no-chill dough, you can indulge in these homemade treats in under 30 minutes, making them your go-to solution for even the most intense chocolate cravings.
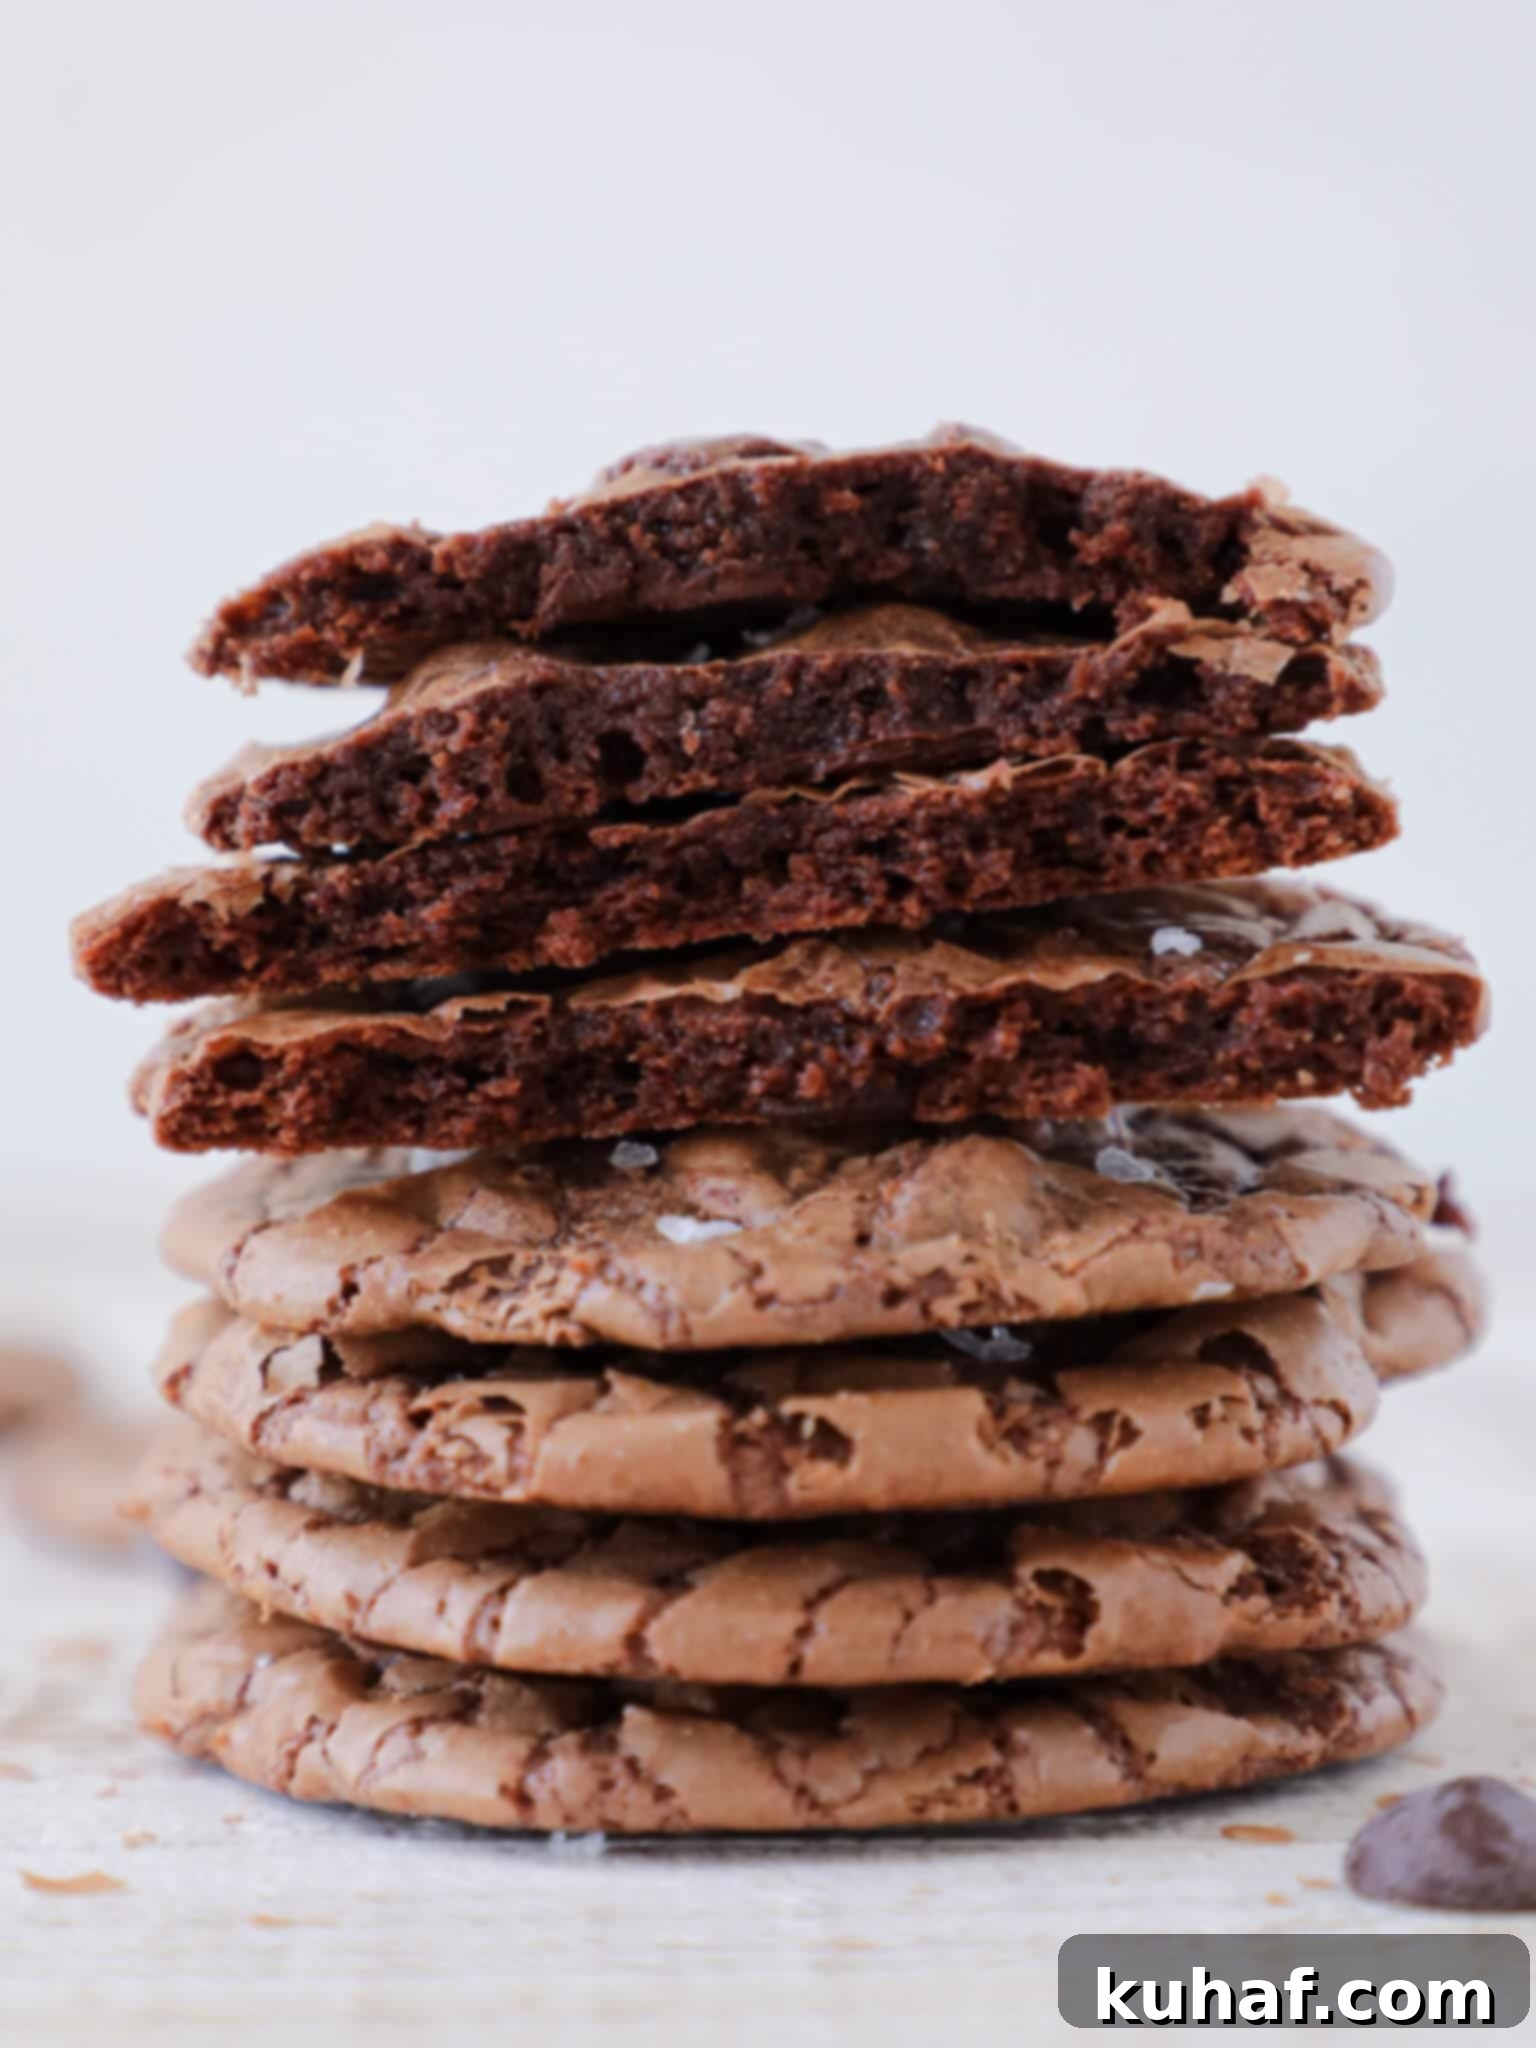
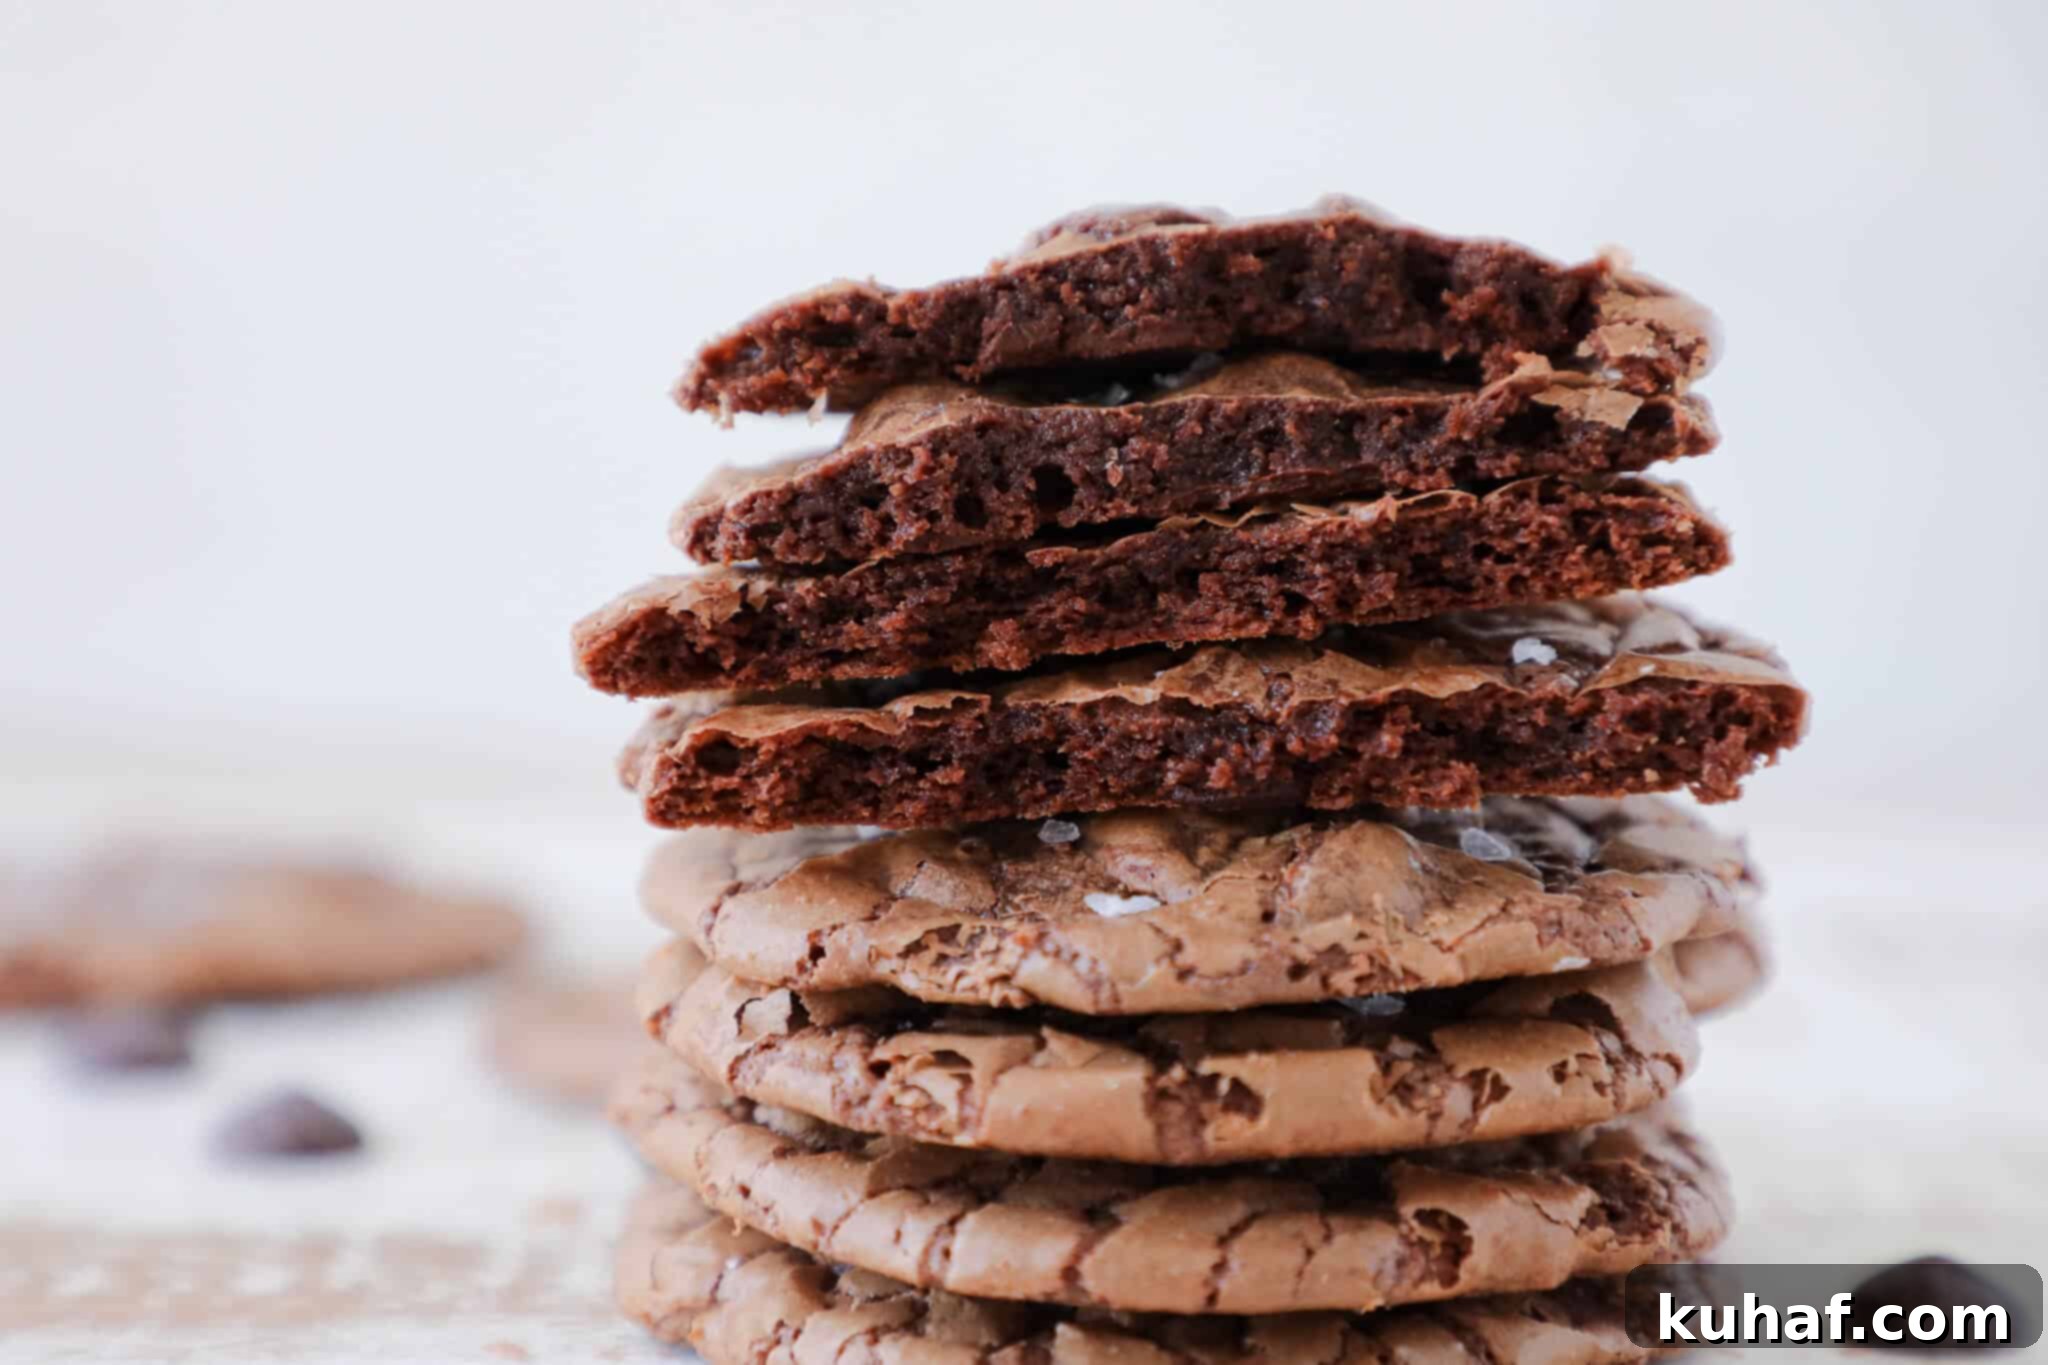
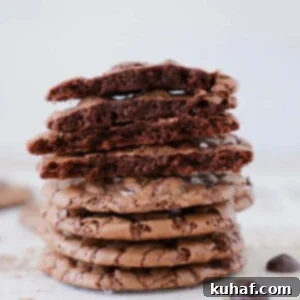
Prepare for an explosion of chocolate flavor! These fudgy brownie cookies deliver chocolate in a grand, unforgettable way. Every single bite is packed with a symphony of three distinct chocolate notes, complemented by delightful pockets of melted chocolate that create an unparalleled richness. They are incredibly fudgy, wonderfully soft, and deeply satisfying. And what’s that subtle whisper of flavor? Oh yes, a delicate hint of Maldon sea salt, perfectly enhancing the rich chocolate and adding that coveted crackly brownie top finish. Get ready to embrace the magic of salted chocolate; these cookies are here to impress.
Honestly, it’s nearly impossible to resist these straight out of the oven! Self-control often goes right out the window when a batch of these warm, fragrant cookies emerges. They hold a special, fudgy soft spot in my heart, right alongside my other cherished recipes like these festive chocolate crinkle cookies, the timeless comfort of old fashioned chocolate fudge, and my truly unforgettable chocolate fudge cake! Each one is a testament to the power of pure chocolate bliss, but these brownie cookies stand out for their unique texture and rapid preparation.
Table of Contents
- What Makes These Fudgy Brownie Cookies the Best?
- Professional Tips for This Brownie Cookie Recipe
- Ingredients
- Variations
- How to Make Brownie Cookies
- Chef Lindsey’s Recipe Tip
- Frequently Asked Questions
- Brownie Cookies Recipe
- Before You Go!
What Makes These Fudgy Brownie Cookies the Best?
- A Symphony of Chocolate: When we say triple chocolate, we mean it! These cookies are a celebration of cocoa in its finest forms. We incorporate rich melted semi-sweet chocolate for a deep, foundational flavor, robust cocoa powder for an intense chocolatey punch, and generous amounts of chocolate chips to ensure a burst of melty goodness in every bite. This layering of chocolate creates an incredibly complex and satisfying fudgy flavor that truly sets these cookies apart.
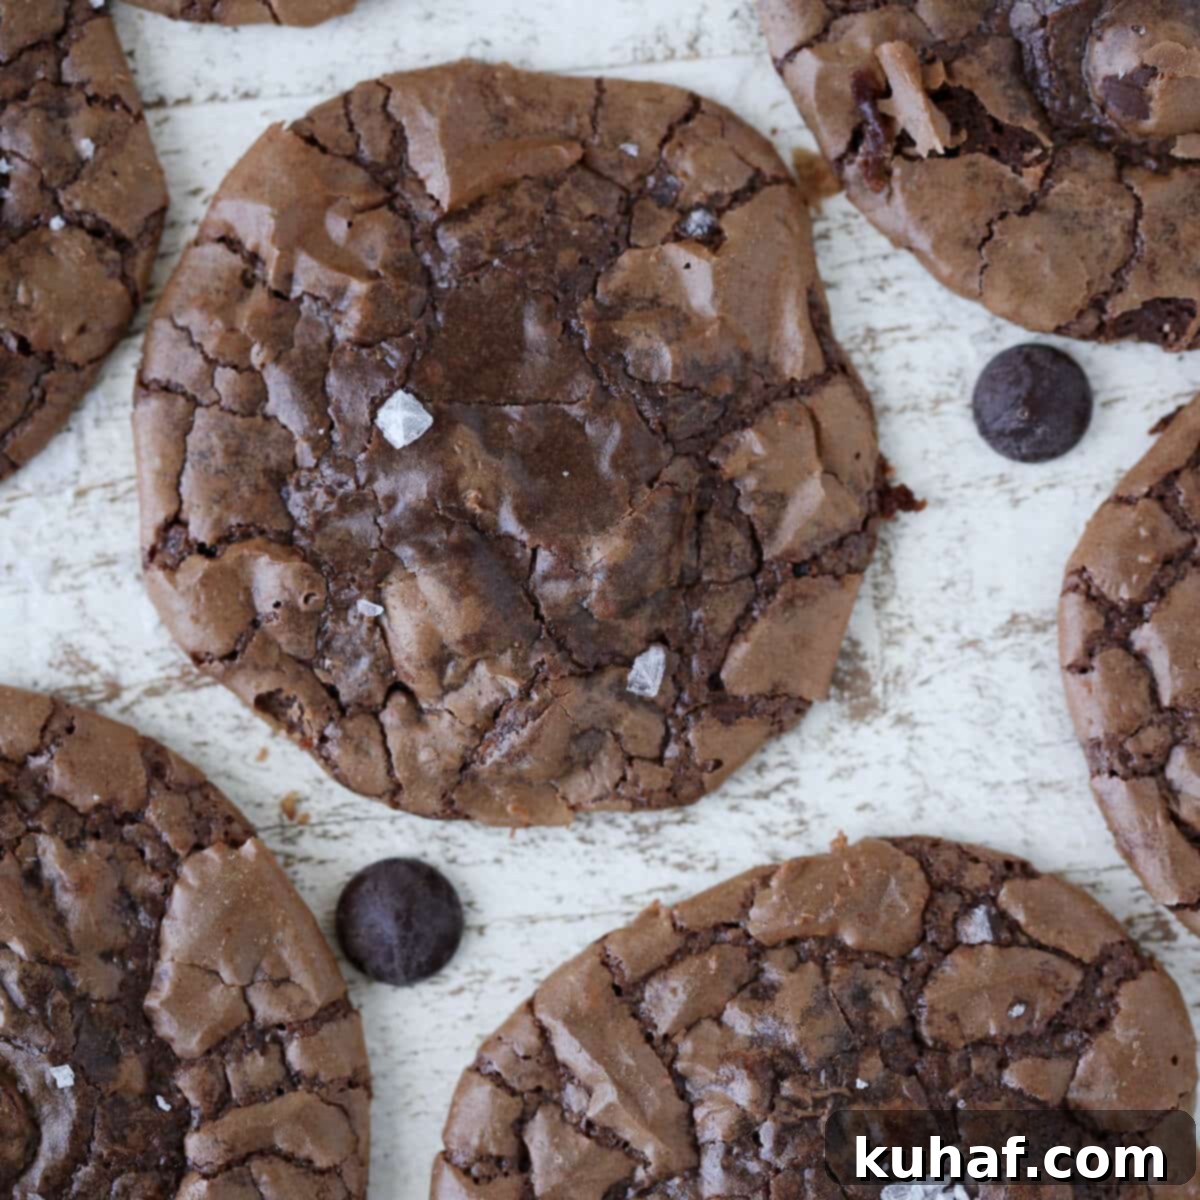
- Your Dream Brownie Texture, in Cookie Form: Imagine your absolute favorite brownie—that perfect corner piece with its slightly crisp edge, incredibly fudgy interior, and that coveted, delicate crackly top. This recipe magically captures all of those glorious textures within a single cookie! Each bite offers a delightful contrast: a tender, chewy center enveloped by a light, flaky crust that practically melts in your mouth. You no longer have to fight for the corner piece! 😉
- Effortless, No-Chill Baking: One of the greatest frustrations in baking can be recipes that demand hours of chilling time for the dough. Not these cookies! We’ve meticulously developed this recipe to eliminate the need for refrigeration, allowing you to go from craving to cookie perfection in approximately 30 minutes. It’s an ideal solution for impromptu dessert needs, busy weeknights, or when impatience gets the better of you (which, let’s be honest, is often with chocolate!).
- Crafted by a Professional Pastry Chef: This isn’t just another cookie recipe; it’s a culmination of extensive testing, refinement, and professional expertise. As a pastry chef, I’ve dedicated countless hours to perfecting the ratios and techniques to ensure these fudgy brownie cookies are consistently perfect. This fool-proof recipe is designed to deliver consistent, exceptional results every time, guaranteeing a treat so delicious you’ll want to make them again and again.
Professional Tips for This Brownie Cookie Recipe:
- Elevate with Salt for a Crunchy, Balanced Finish: Don’t underestimate the power of salt in chocolate desserts! A small amount of kosher salt incorporated into the dough enhances the chocolate’s depth, making it taste even more intense. For an exquisite finish, a delicate sprinkle of fleur de sel or flaky sea salt like Maldon on top just before baking adds a beautiful crystalline crunch and a sophisticated balance that cuts through the richness of the chocolate. Salt is, without a doubt, chocolate’s best friend, transforming a simple sweet into a culinary experience.
- Invest in High-Quality Chocolate: Since chocolate is the undisputed star of these fudgy brownie cookies, the quality of your chocolate will directly impact the final flavor. While good chocolate chips work, opting for the highest quality semi-sweet or bittersweet baking chocolate bars you can find will yield a significantly richer, more nuanced, and truly luxurious taste. Think of it as investing in the main ingredient of a gourmet dish – it truly makes a difference.
- Master the Art of Cook Time: The baking duration is crucial and directly influences the texture of your brownie cookies. For those who prefer a supremely soft, almost gooey center, err on the side of underbaking them slightly. If you like a firmer, chewier cookie, you might bake them a minute or two longer. The key is to watch them closely and avoid overbaking at all costs, as this can lead to dry, cakey cookies rather than the desired fudgy texture. The edges should be set, and the tops cracked, but the centers should still look slightly soft when removed from the oven, as they will continue to cook slightly on the hot baking sheet.
Ingredients
- All-purpose flour: Just like in my beloved brown butter brownies, these fudgy brownie cookies utilize just the right amount of all-purpose flour. Its role is primarily structural, providing enough gluten to hold the cookies together without making them tough or cakey, ensuring they retain that desired dense, chewy texture.
- Kosher Salt: Essential for balancing the sweetness and intensifying the chocolate flavor. It’s a flavor enhancer that truly makes the chocolate shine.
- Baking Powder: Baking powder is included in a small quantity to provide a minimal amount of lift, contributing to a slightly lighter texture than a dense brownie but still maintaining chewiness. The primary leavening agent, however, comes from the eggs, much like in this fudgy brownie recipe. This specific balance is what helps create that signature, beautiful crackled top.
- Light Brown Sugar: Provides moisture, chewiness, and a subtle caramel note that complements the deep chocolate flavor. Packed brown sugar is preferred for accurate measurement.
- Granulated Sugar: I prefer to use extra-fine granulated sugar for these fudgy brownie cookies. The smaller granules dissolve more rapidly and more evenly into the wet ingredients, which in turn leads to a more tender and delicate baked good with a smoother texture. This quick dissolution also aids in achieving that desirable crackly surface.
- Unsalted Butter: Provides richness and helps in creating a soft, tender crumb. Using unsalted butter allows for precise control over the overall salt content in the recipe.
- Eggs: I use large eggs for multiple crucial roles: they contribute fat for richness, act as a significant leavening agent, and provide the necessary liquid to bring the dough together. Along with the vanilla extract, the eggs are practically the sole liquid component in these fudgy brownie cookies, making their quality and temperature important.
- Vanilla Extract: Vanilla extract is a powerful flavor enhancer. It doesn’t just add its own sweet aroma; it profoundly deepens and enriches the chocolate flavor, adding complex undertones to the fudgy brownie cookies that make them even more irresistible. Use a good quality pure vanilla extract for the best results.
- Cocoa Powder: For this recipe, I specifically recommend using Dutch process cocoa powder due to its rich, mellow flavor and famously dark, appealing color, which gives the cookies a deep, intense hue reminiscent of brownies. While you can certainly use regular unsweetened cocoa powder, be aware that it will result in a slightly lighter color and a flavor that might be a touch more bitter and less smooth, as it’s more acidic.
- Semi-sweet chocolate: This is a key player in achieving the fudgy texture and intense chocolate flavor. I use either semisweet chocolate chips or high-quality baking chocolate bars for the melted chocolate component. It provides a balanced sweetness that rounds out the cocoa powder. For those who prefer an even more profound chocolate experience, substituting with bittersweet chocolate will deliver a more intense and less sweet chocolate flavor.
- Chocolate Chips: These are the “third chocolate” in our triple chocolate creation. They provide delightful pockets of melty, gooey chocolate throughout the cookie, adding textural interest and an extra burst of chocolate with every bite.
For a complete breakdown of precise measurements and quantities, please refer to the detailed recipe card conveniently located below.
Variations
- Experiment with Different Chocolate Chips: While bittersweet chocolate chips (especially those around 60-63% cacao) are my personal preference because they prevent the cookies from becoming overly sweet, feel free to use any type of chocolate chips you have on hand or adore! Milk chocolate chips will yield a sweeter, creamier cookie, while dark chocolate chips will intensify the richness. White chocolate chips can offer a lovely color contrast and a sweet, milky flavor. My steadfast advice? Use what you love and what you have readily available!
- Introduce Some Nutty Crunch: For those who appreciate a textural contrast, adding some chopped nuts can be absolutely delightful. Toasted walnuts or pecans are classic choices, bringing a earthy, buttery crunch that pairs beautifully with chocolate. If you’re feeling a bit more adventurous, consider hazelnuts (um, hello, a nod to my beloved Nutella cookie recipe!). Always remember to toast and cool the nuts before folding them into the dough; this simple step enhances their flavor and ensures a crisp texture. If you’re in an extra nutty mood, my old fashioned peanut butter cookies would make an incredible addition to any cookie platter alongside these! Or, for a truly wild twist, go bananas and slice up some delicious banana brownies for an epic dessert spread!
- Craft an Indulgent Ice Cream Sandwich: There are few pairings more iconic and satisfying than a warm, fudgy brownie and cold, creamy ice cream. Transform these brownie cookies into an unforgettable dessert experience by turning them into ice cream sandwiches! Simply let your freshly baked cookies cool slightly, then sandwich a generous scoop of your favorite ice cream between two cookies. I highly recommend trying my homemade vanilla bean ice cream, the rich and decadent chocolate ice cream, or for a sophisticated twist, my unique bourbon cherry caramel ice cream. The contrast of textures and temperatures is simply divine!
- Spicy Kick with Cayenne or Chili Powder: For a more adventurous palate, a tiny pinch (¼ teaspoon) of cayenne pepper or chili powder can be added to the dry ingredients. This subtle addition doesn’t make the cookies spicy, but rather enhances the chocolate’s depth and adds an unexpected warmth that creates a truly unique flavor profile.
- Mint Chocolate Dream: If you’re a fan of mint and chocolate, consider adding a teaspoon of pure mint extract along with the vanilla, or folding in some crushed peppermint candies or mint chocolate chips. This variation is particularly delightful around the holidays.
How to Make Brownie Cookies
For even more precise details and exact measurements for each ingredient, please refer to the comprehensive recipe card that you’ll find further down this page!
Step 1: Begin by preheating your oven to 350°F (175°C). If your oven has a convection setting, make sure to use the non-convection mode for these cookies to ensure even baking and that perfect crackled top. Next, prepare two standard baking sheets by lining them with either parchment paper or high-quality silicone baking mats. This crucial step prevents sticking and makes for easy cleanup.
Step 2: In a medium-sized mixing bowl, thoroughly whisk together your dry ingredients: all-purpose flour, rich cocoa powder, a touch of baking powder, and kosher salt. Whisking ensures that these ingredients are well combined and evenly distributed throughout the dough, preventing pockets of unmixed leavening or salt. Set this bowl aside for later use.
Step 3: In the spacious bowl of a stand mixer fitted with the paddle attachment, or using a large bowl and a hand mixer, combine the softened unsalted butter with both the light brown sugar and granulated sugar. Cream these ingredients together on medium-high speed until the mixture becomes visibly light, fluffy, and significantly paler in color. This creaming process incorporates air, which contributes to the cookies’ texture and volume.
Chef’s Pro-Tip: Always remember to pause and scrape the bottom and sides of the bowl frequently with a rubber spatula, especially during the creaming stage. Butter, in particular, has a tendency to stick to the bottom, refusing to fully incorporate into the sugar mixture. Ensuring everything is well combined is key for a uniform and perfectly textured cookie dough!
Step 4: Continue with the stand mixer on medium speed. Add the eggs one at a time, beating the mixture thoroughly after each addition until the egg is fully incorporated and the mixture looks smooth. This incremental addition prevents the batter from curdling and helps maintain its emulsion. Remember to scrape down the sides of the bowl as needed to ensure all ingredients are well mixed. Finally, add the vanilla extract along with the egg yolk; this ensures the vanilla’s flavor is evenly distributed.
Step 5: With the mixer still running on low to medium speed, pour all the melted semi-sweet chocolate into the creamed mixture at once. Beat thoroughly until the chocolate is fully combined and the mixture is a uniform, glossy dark brown. This step is critical for the intense chocolate flavor and fudgy texture.
Important Note: If your melted chocolate is too warm when added, it can cause the butter in your batter to melt excessively, leading to a much softer, more liquid-like dough. Should this happen (as it regrettably did in the video due to my own impatience!), don’t worry! Simply pop the entire bowl of batter into the refrigerator for 15-20 minutes to allow it to firm up slightly before proceeding.
Step 6: Reduce the mixer speed to low. Gradually add the whisked dry ingredients (flour, cocoa powder, baking powder, and salt) to the chocolate mixture. Add them in small increments.
Mixing Technique: I typically add the flour mixture in about 4-5 separate additions. To prevent overdeveloping the gluten, which can lead to tough cookies, add the next portion of flour only when the previous addition is almost, but not entirely, incorporated. Stop mixing as soon as no streaks of flour are visible.
Step 7: Once the flour is just fully incorporated and no dry streaks remain, add the chocolate chips. Mix on low speed for only a few seconds, just until the chocolate chips are evenly distributed throughout the dough. Overmixing at this stage can also lead to tough cookies.
Step 8: Using a standard cookie scoop (approximately 1.5-2 tablespoons per cookie), portion the dough evenly onto your prepared baking sheets, leaving about 2 inches between each cookie for proper spread. For an extra touch of gourmet flair, lightly sprinkle the top of each dough ball with a pinch of flaky sea salt, such as fleur de sel or Maldon salt. If, at this point, your dough seems too soft and spreadable, almost like brownie batter, it’s a clear sign that your melted chocolate was too warm earlier. No need to panic! Simply place your baking sheet with the scooped dough into the fridge for about 15 minutes to firm up slightly before baking.
Step 9: Bake the cookies in your preheated oven for approximately 13-15 minutes. The precise timing can vary slightly depending on your oven and desired texture. Look for the outsides to be set, the tops to have developed beautiful, distinct cracks, and the centers to no longer appear wet or like raw dough. Remember, a slightly underbaked center will result in a supremely fudgy cookie.
Step 10: Once baked, remove the cookie sheets from the oven and allow the cookies to cool directly on the hot sheet pan for about 5 minutes. This crucial resting period allows them to set up further and prevents them from breaking apart when transferred. After 5 minutes, carefully move the still-warm cookies to a wire rack to cool completely. While they are tempting warm, they reach their peak fudginess and chewiness once fully cooled.
Chef Lindsey’s Recipe Tip: The Importance of Your Cocoa Powder
Before you start mixing, take a moment to inspect your cocoa powder. It’s common for cocoa powder to clump up, especially if it’s been stored for a while or if some moisture has been absorbed over time. If you notice any lumps, don’t fret; simply sift the cocoa powder through a fine-mesh sieve before adding it to your dry ingredients. This ensures a smooth, lump-free batter and an evenly distributed chocolate flavor throughout your fudgy brownie cookies. A little extra care here makes a big difference in the final texture and taste!
Frequently Asked Questions About Fudgy Brownie Cookies
To maintain their optimal fudgy texture and rich flavor, store your baked brownie cookies in an airtight container at room temperature for up to 3 days. For longer storage, these cookies freeze beautifully! Simply place them in a freezer-safe bag or airtight container, separated by parchment paper, and freeze for up to 2 months. You can also prepare the cookie dough in advance, scoop it into balls, and freeze the unbaked dough for up to 2 months. This means you can have warm, freshly baked brownie cookies ready for any day of the week, simply by popping them into the oven straight from the freezer (you might need to add a minute or two to the bake time).
One of the best features of this particular brownie cookie recipe is that it’s designed to be a no-chill dough! You do not typically need to chill the cookie dough before baking, which means you can enjoy fresh cookies much faster. However, there’s one exception: if your melted chocolate was too warm when you incorporated it, the dough might become too soft. In this case, a quick 15-minute chill in the refrigerator will firm it up and make it easier to handle and scoop. While not strictly necessary, chilling the dough (even if just for a short period) can actually enhance the flavor development as the ingredients meld together, and it can result in a slightly chewier cookie due to less spread during baking. So, if you have the time, a short chill can be a beneficial step, but it won’t ruin your cookies if you skip it!
The most obvious difference between brownies and brownie cookies is their form factor! Brownies are typically baked in a pan, resulting in a dense, uniform slab that is then cut into squares or rectangles. Brownie cookies, on the other hand, are individually portioned and baked on a cookie sheet. This fundamental difference in format significantly impacts their texture. Traditional brownies are known for their dense, often moist interior, while brownie cookies typically boast a wonderfully fudgy and chewy interior with delightfully crisp, slightly chewier edges. Furthermore, while they share many common ingredients, the ingredient ratios are subtly different. Brownie cookies usually require a slightly higher proportion of flour compared to classic brownies to provide enough structure to hold their shape and prevent excessive spreading during baking, ensuring they remain distinct cookies rather than merging into a single pan of chocolate goo.
There are a few common culprits behind flat brownie cookies. Firstly, overmixing the dough can overdevelop the gluten in the flour, which leads to a tougher texture and causes cookies to spread more. Secondly, an oven that isn’t hot enough (or has fluctuating temperatures) can prevent the cookies from setting properly before spreading. Oftentimes, cookies can be flat if your baking powder has expired; always check the date and ensure it’s fresh for proper leavening. Another significant factor, as mentioned in our tips, is if your melted chocolate was too warm when added to the dough. This melts the butter, causing the dough to be too soft and ultimately leading to excessive spreading in the oven. To prevent this, ensure your melted chocolate is cooled to just above room temperature before incorporating it, and if your dough is still too soft, a quick 15-minute chill can often remedy the issue.
If you tried this incredible recipe for fudgy brownie cookies and loved every single bite, please do us a huge favor! Leave a 🌟 star rating below and share your experience in the comments section. Your feedback brightens my day and helps other bakers discover these delightful treats!
Brownie Cookies
Pin Recipe
Comment
Print Recipe
Ingredients
- ½ cup all-purpose flour
- 1 tablespoon cocoa powder I used Dutch processed
- ½ teaspoon kosher salt
- ¼ teaspoon baking powder
- 8 oz quality semi-sweet baking chocolate melted but not hot
- ¾ cup light brown sugar packed
- ¼ cup granulated sugar
- ¼ cup unsalted butter softened
- 2 eggs
- 1 egg yolk
- ½ teaspoon vanilla
- 1 cup bittersweet 60-63% chocolate chips
- Maldon Salt optional, for sprinkling
Instructions
-
Preheat your oven to 350°F (175°C) using the non-convection setting. Line two large baking sheets with parchment paper or silicone mats to prevent sticking.
-
In a medium bowl, whisk together the all-purpose flour, cocoa powder, baking powder, and kosher salt until well combined. Set these dry ingredients aside.
-
In the bowl of a stand mixer (or using a hand mixer), cream together the softened unsalted butter and both the light brown sugar and granulated sugar on medium-high speed until the mixture is light, fluffy, and pale in color, scraping down the bowl as needed.
-
Add the large eggs one at a time, beating well after each addition until fully incorporated. Scrape down the sides of the bowl to ensure everything is mixed. Add the vanilla extract along with the egg yolk and beat until just combined.
-
Pour all of the melted (but not hot!) semi-sweet chocolate into the mixture. Beat on medium speed until the chocolate is fully incorporated and the batter is smooth and glossy.
-
Reduce the mixer speed to low. Gradually add the reserved dry ingredients to the wet chocolate mixture in 4-5 additions, mixing just until almost fully incorporated before adding the next. Be careful not to overmix.
-
Once the flour is completely incorporated, add the bittersweet chocolate chips. Mix on low speed for just a few seconds until the chips are evenly distributed throughout the dough.
-
Use a cookie scoop to portion the dough onto the prepared baking sheets, leaving enough space between each cookie. If desired, sprinkle the tops with a touch of fleur de sel or flaky Maldon sea salt. If the dough is too soft (due to warm melted chocolate), chill the scooped dough on the baking sheets for 15 minutes before baking.
-
Bake in the preheated oven for 13-15 minutes, or until the edges are set, the tops are beautifully cracked, and the centers no longer look like raw dough but are still slightly soft for that fudgy texture.
-
Allow the brownie cookies to cool on the baking sheet for 5 minutes before carefully transferring them to a wire rack to cool completely. This helps them firm up and prevents breakage.
Video
Notes
Flavor Tips – The outstanding flavor of these cookies hinges entirely on the quality of your cocoa powder, the chocolates you choose (melted and chips), and your vanilla extract. Always opt for high-quality brands and ensure you genuinely enjoy their individual flavors, as they are the true stars of this dessert.
Technique – A critical point to remember: if your melted chocolate is too warm when added to the batter, you will, unfortunately, have to chill the dough. This exact scenario occurred in the video tutorial – my impatience got the better of me! Allow melted chocolate to cool to lukewarm before adding.
Storage – For optimal freshness, store your baked fudgy brownie cookies in an airtight container for up to 3 days at room temperature. For longer preservation, they can be frozen for up to 2 months. You can also freeze the raw cookie dough (scooped into balls) for up to 2 months, making fresh-baked treats accessible anytime!
Nutrition
Before You Go!
Thank you for joining me on this delightful culinary journey! I sincerely hope you enjoyed creating and tasting this professional chef-tested recipe for fudgy brownie cookies. These cookies are a testament to quality ingredients and perfected techniques, and I’m confident they’ll become a favorite in your kitchen. Don’t forget to explore our extensive collection of other delicious, chef-created Cookie Recipes for more inspiration and treats. Happy baking!
