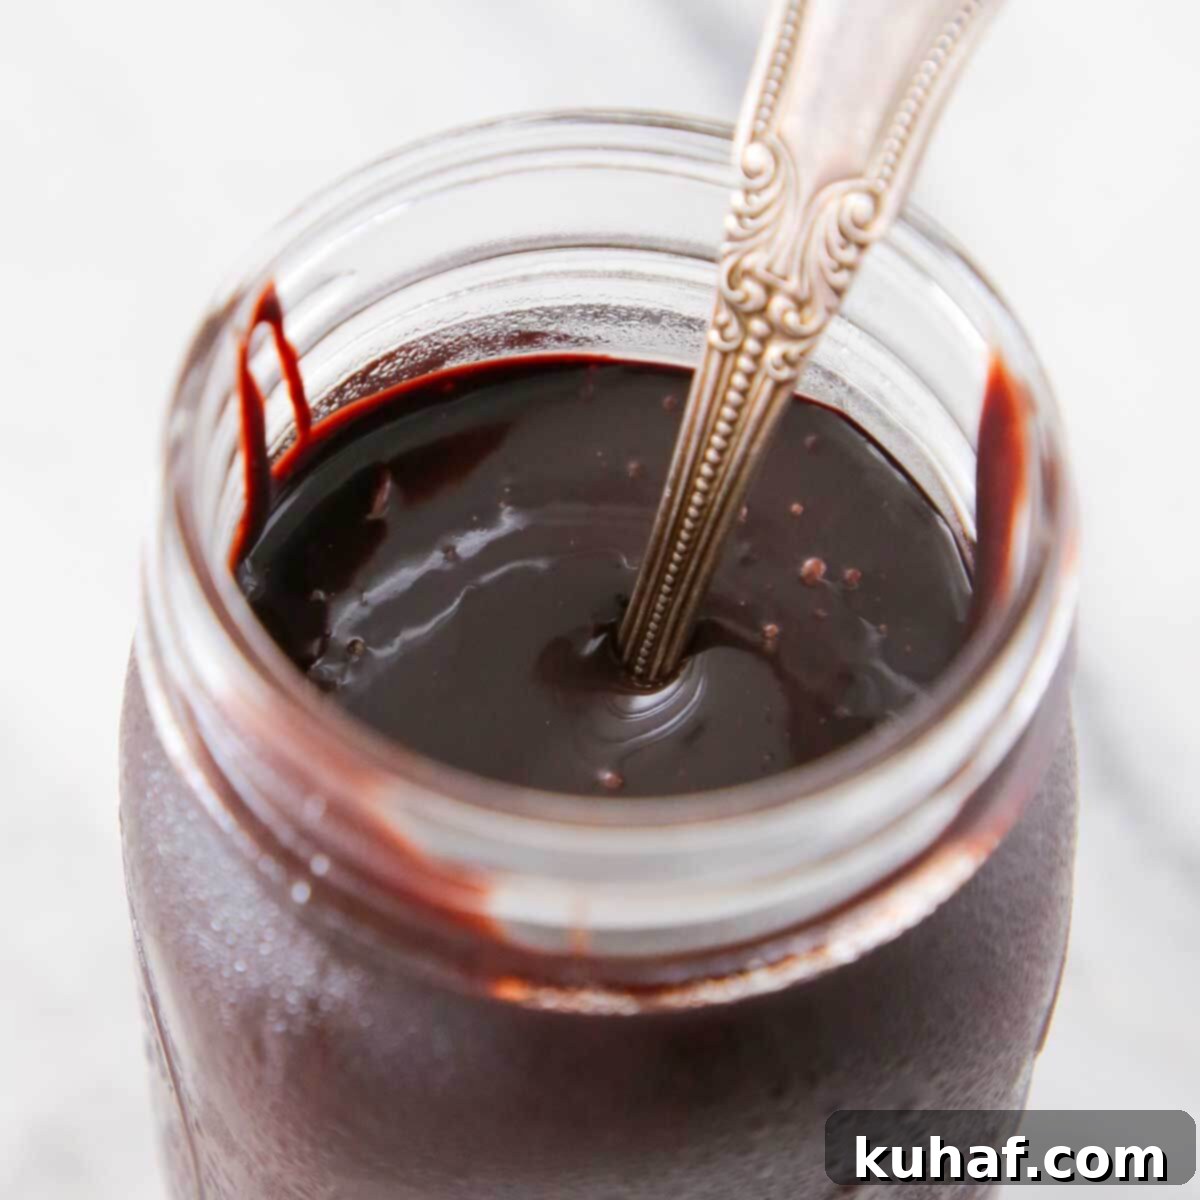
The Ultimate Old-Fashioned Hot Fudge Sauce Recipe: Silky, Rich & Irresistible
Prepare to elevate your dessert experience with this truly old-fashioned Hot Fudge Sauce Recipe. Crafted with a mere four essential ingredients, this recipe yields a hot fudge that is remarkably silky, incredibly smooth, and bursting with a deep, rich chocolate flavor that’s simply unmatched. This isn’t just any chocolate topping; it’s a pastry chef’s secret, promising a luxurious texture and profound taste that makes it as divine on classic ice cream sundaes as it is enjoyed by the spoonful, straight from the jar.
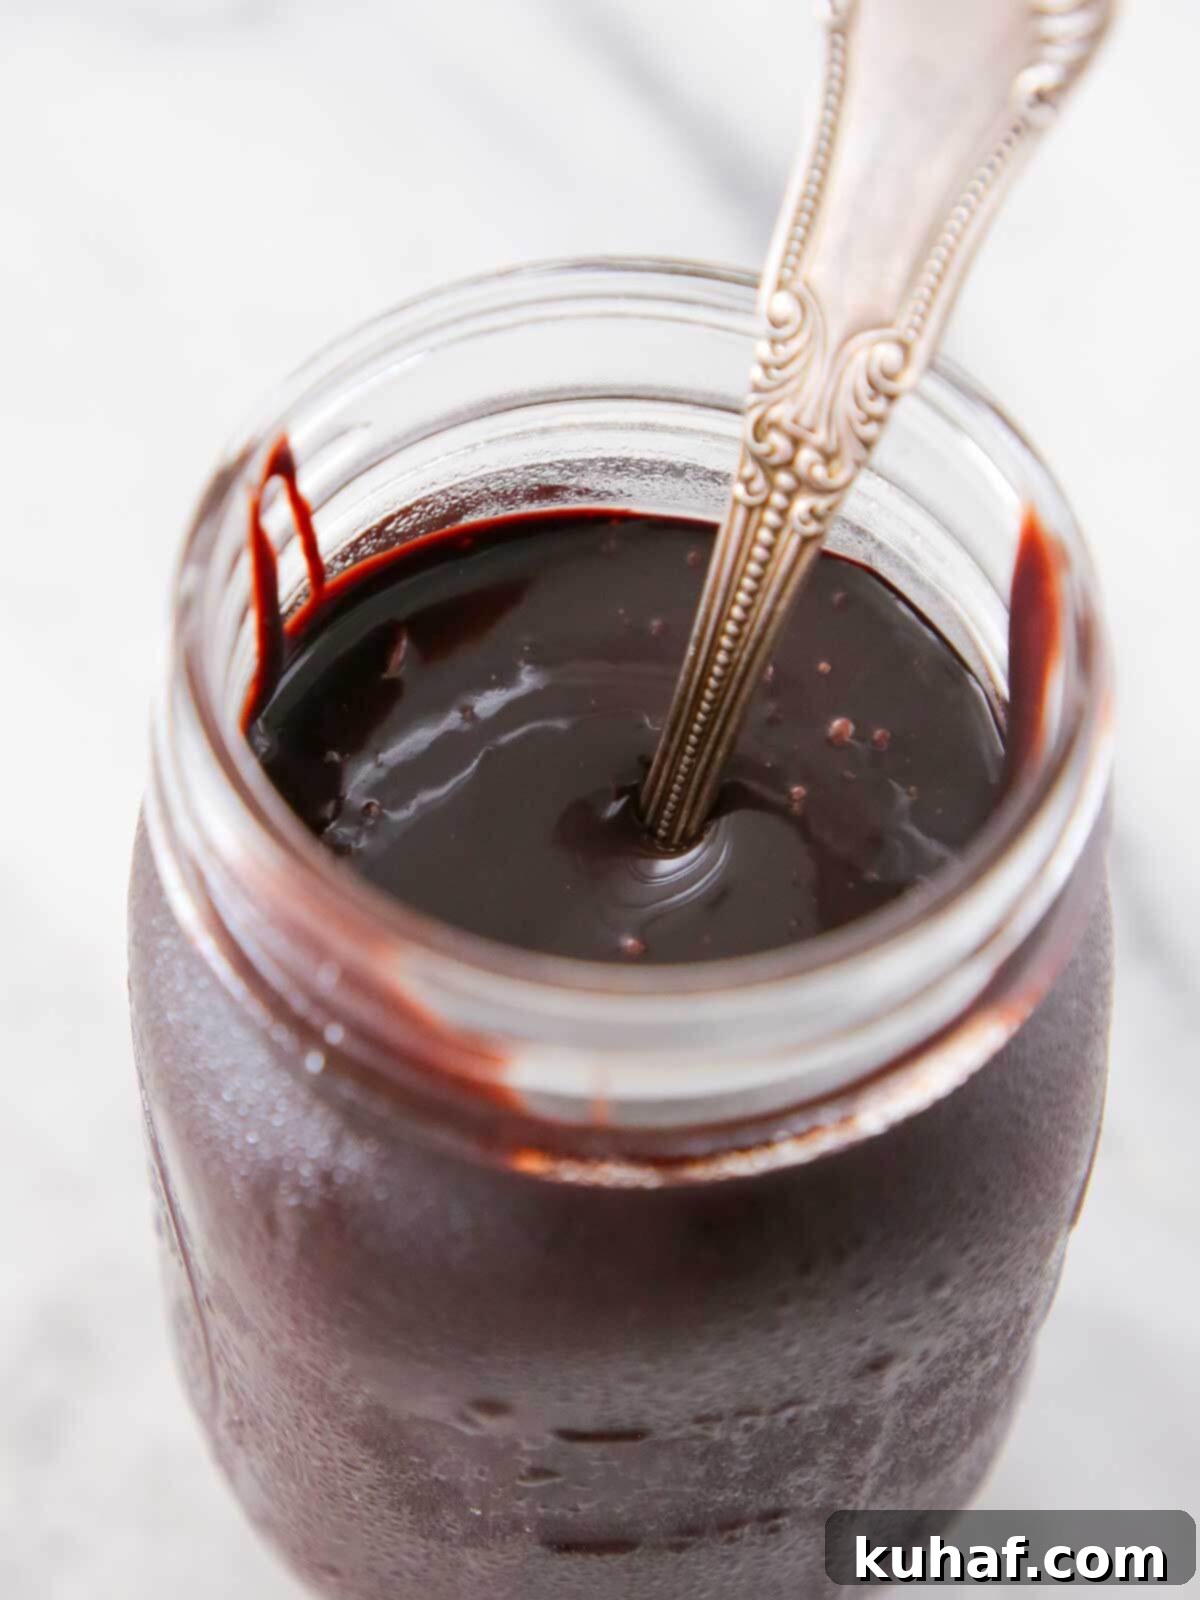
This homemade hot fudge sauce stands apart from typical chocolate syrups. It’s delightfully thick, with an almost chewy consistency reminiscent of liquid fudge, yet it maintains a luxurious pour. It is sinfully chocolatey without being overly sweet, allowing the true cocoa notes to shine. The subtle hint of vanilla, derived from a spent vanilla bean pod, works wonders to deepen the overall flavor profile, adding layers of aromatic complexity. We meticulously choose Dutch processed cocoa powder and rich heavy cream to achieve this optimal flavor and velvety texture, opting against shortcuts like chocolate chips or evaporated milk that can compromise quality.
While mastering this classic hot fudge sauce requires a little time and a touch of patience, the effort is undeniably rewarding. Once prepared, it stores beautifully in the refrigerator for months, ready to be a comforting indulgence on a challenging day or a warm, decadent treat on a chilly evening. Imagine drizzling this exquisite sauce over your favorite vanilla bean ice cream, pairing it with the best chocolate ice cream you can find, or complementing a rich chocolate chip cheesecake. Beyond ice cream, this versatile sauce serves as a sophisticated plating element, making any dessert feel instantly gourmet. Try it alongside a slice of chocolate pound cake, a luscious s’mores pie, or a slice of this heavenly chocolate fudge cake for an unforgettable experience.
Table of Contents
- Why You Will Love this Hot Fudge Recipe
- Professional Tips for Making Hot Fudge Sauce
- Ingredients Needed for the Perfect Hot Fudge
- How to Make Hot Fudge with Cocoa Powder: A Step-by-Step Guide
- How to Test Hot Fudge for Doneness
- Chef Lindsey’s Recipe Tip: Salvaging Scorched Sauce
- Cooling & Storing Homemade Hot Fudge Sauce for Longevity
- How to Serve Hot Fudge Sauce: Creative Ideas
- Frequently Asked Questions About Hot Fudge Sauce
- Hot Fudge Sauce Recipe Card
- Before You Go: Explore More Chocolate Delights
Why You Will Love this Hot Fudge Recipe
This isn’t just another hot fudge recipe; it’s a culinary journey back to basics, focusing on quality ingredients and time-tested techniques to deliver an unparalleled dessert experience. Here’s why this particular hot fudge sauce will quickly become your go-to:
- A True Old-Fashioned Hot Fudge Sauce Experience: Forget quick fixes involving melted chocolate or sweetened condensed milk. This recipe faithfully follows the traditional methods of old-fashioned fudge making, simply cooked to a lower temperature to achieve that pourable, rich sauce consistency. This is the authentic, velvety hot fudge sauce you’d expect to find at a gourmet ice cream parlor or a high-end restaurant, not the thin, watery syrups often passed off as fudge. It’s a nostalgic taste that brings back cherished memories.
- Incredibly Versatile for Dozens of Uses: The utility of this hot fudge sauce extends far beyond a simple ice cream topping. It’s the perfect companion for crafting gourmet milkshakes, drizzling over a warm peanut butter skillet cookie, or serving alongside your favorite bakery-style chocolate chip cookies for dipping. Imagine it enhancing a slice of rich chocolate cake or a fruity pie, adding an extra layer of chocolatey decadence to any dessert. It can even be a luxurious base for a homemade mocha!
- Deep Chocolate Flavor & Perfectly Smooth Texture: The beauty of this recipe lies in its simplicity. The carefully selected ingredients and the traditional cooking method work in harmony to guarantee a perfectly smooth, lusciously fudgy texture with an intensely rich chocolate flavor. The inclusion of kosher salt doesn’t just add seasoning; it acts as a flavor enhancer, amplifying the chocolate notes and creating a harmonious balance that keeps you coming back for more. The subtle hint of vanilla further enriches this complex flavor profile.
- Delicately Not Too Sweet: One common complaint about many quick hot fudge recipes is their cloying sweetness. This recipe is meticulously balanced to ensure it is profoundly chocolatey without being sugary. By avoiding sweetened condensed milk and relying on high-quality Dutch-processed cocoa powder and heavy cream, we achieve a depth of flavor that is sophisticated and satisfying, appealing to those who appreciate true chocolate taste over excessive sweetness.
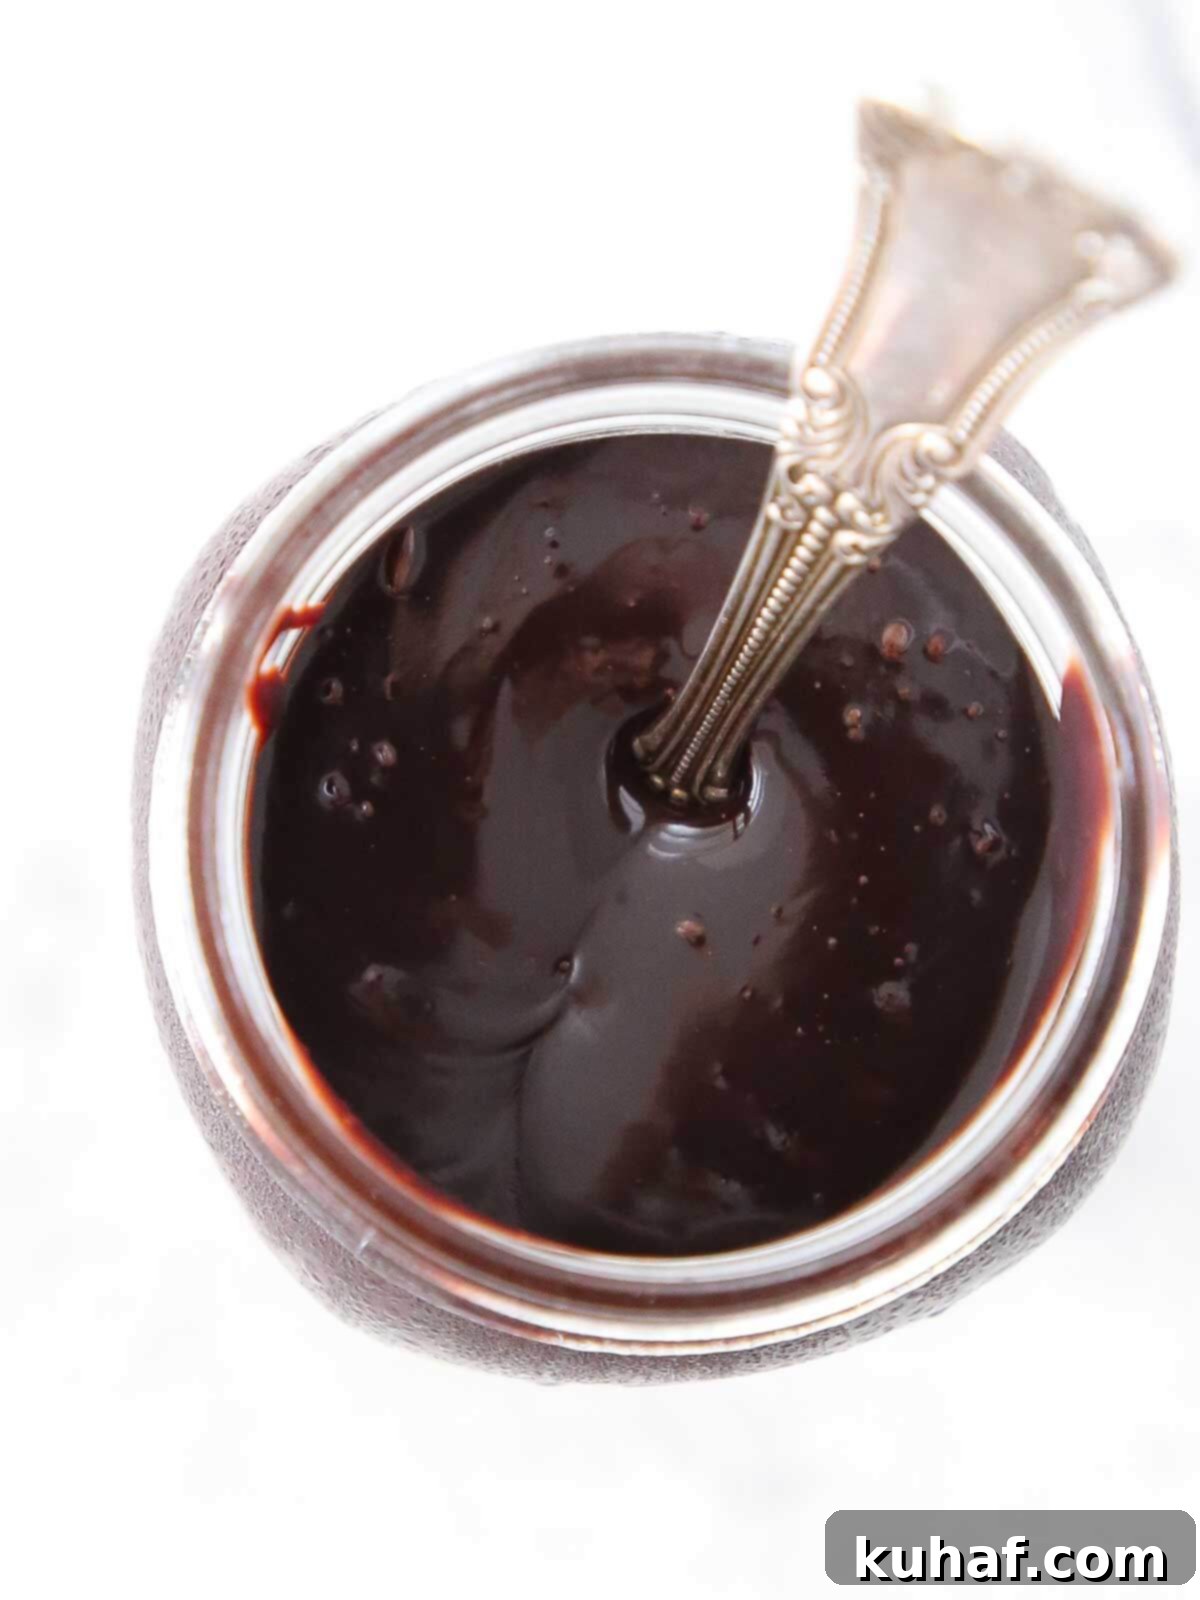
Professional Tips for Making Hot Fudge Sauce
Creating this exquisite hot fudge sauce is more art than science, but these professional tips will guide you to perfection every time:
- Low and Slow is the Way to Go: The absolute key to achieving that perfect, old-fashioned hot fudge consistency and deep flavor is to cook it over low heat for an extended period. Rushing the process by cranking up the heat can lead to scorching, a grainy texture, or an underdeveloped flavor. Depending on the batch size and your stovetop, this simmering phase can take anywhere from 20 to 40 minutes. This gentle heat allows the sugar to dissolve completely, the cocoa to bloom, and the ingredients to meld into a unified, silky sauce. Patience here truly pays off with a superior product.
- Rapid Cooling for Superior Storage and Longevity: If you plan to store this homemade hot fudge sauce for an extended period – and trust us, you’ll want to! – proper cooling is paramount. Rapidly cooling the fudge sauce helps prevent unwanted crystallization and significantly extends its shelf life, allowing it to remain delicious for over a year when refrigerated correctly. We’ll detail a step-by-step process below using an ice bath, which is crucial for achieving this optimal cooling and maintaining its smooth texture.
- Engage Your Senses and Check in with the Sauce: Don’t just set it and forget it! Throughout the cooking process, make it a point to regularly check in with your sauce. Give it a gentle whisk to ensure even cooking and prevent sticking. Feel for any resistance at the bottom of the pot, which could indicate scorching. Pay attention to the aroma; a slightly burnt smell is an early warning sign. Observe its thickening progress and adjust the heat as needed. This active engagement allows you to catch any potential issues early and make necessary adjustments, ensuring a perfect batch. Just like nurturing a good friendship, your hot fudge thrives on your attention.
Ingredients Needed for the Perfect Hot Fudge
This simple recipe relies on a few high-quality ingredients to achieve its incredible depth of flavor and luxurious texture. Each plays a crucial role:
- Granulated Sugar: Beyond just sweetness, granulated sugar is fundamental for creating the unique fudgy texture. Its crystalline structure, when dissolved and cooked with the other ingredients, is what gives hot fudge its characteristic body and slight chewiness. Without the right amount of sugar, you simply cannot achieve that authentic, rich fudge texture.
- Dutch-Processed Cocoa Powder: This is not the time for just any cocoa. We specifically recommend Dutch-processed cocoa powder because it has been treated with an alkali to reduce its acidity. This process results in a darker color, a smoother, less bitter chocolate flavor, and superior solubility, contributing to the richest, darkest, and most profoundly chocolatey hot fudge sauce imaginable. While standard cocoa powder can be used, it will yield a lighter color and a tangier flavor profile.
- Kosher Salt: A pinch of kosher salt is absolutely essential here. It acts as a powerful flavor enhancer, bringing out the complex notes of the chocolate and brilliantly balancing the sweetness, preventing the sauce from tasting flat or one-dimensional. Don’t skip it!
- Vanilla Bean Pod (Spent): For an unparalleled depth of vanilla flavor, we advocate using a spent vanilla bean pod – one from which the seeds have already been scraped for other recipes. Even after the seeds are used, the pod retains a wealth of aromatic compounds that will infuse your hot fudge with a subtle, sophisticated vanilla essence. While optional, and you could add a teaspoon of vanilla bean paste or high-quality vanilla extract at the end, nothing quite compares to the nuanced flavor imparted by a real vanilla bean. To prepare, simply save your used pods in an airtight container at room temperature until you’re ready to use them for simmering.
- Heavy Cream: This ingredient is non-negotiable for achieving the luxurious richness and silky smooth mouthfeel of our hot fudge. Heavy cream, with its high-fat content, moistens the cocoa powder beautifully and creates a decadent body without making the sauce overly thin or watery. It’s a key factor in developing that desirable fudgy, almost chewy consistency.
- Water: Initially, water helps to dissolve the sugar and hydrate the cocoa powder before the cream is fully integrated, ensuring a smooth base and preventing lumps. It helps control the initial thickness and allows for a longer simmering time without the sauce becoming too dense too quickly.
Refer to the recipe card below for precise measurements and comprehensive ingredient information.
How to Make Hot Fudge with Cocoa Powder: A Step-by-Step Guide
Follow these detailed instructions to create a flawless batch of hot fudge sauce every single time. Further details and exact measurements can be found in the recipe card at the end of this post.
Step 1: Combine Dry Ingredients. In a sturdy, heavy-bottomed saucepan that is at least 3 quarts in capacity (the deeper the better to prevent boil-overs), thoroughly whisk together the granulated sugar, Dutch-processed cocoa powder, and kosher salt. Whisking them dry first ensures that the cocoa powder is evenly distributed and helps prevent lumps once the liquids are added.
Step 2: Incorporate Liquids. Carefully add the vanilla bean pod (if using), followed by the heavy cream and water. Begin to whisk gently but persistently to combine the ingredients. This stage requires a bit of patience, which is key to a smooth sauce.
Pro Tip for Cocoa Powder: You’ll notice that cocoa powder is naturally hydrophobic, meaning it doesn’t readily mix with liquids (much like how cats notoriously dislike water! 😂). Don’t be discouraged if it initially resists hydrating and combining with the water and cream. Just keep whisking steadily. With consistent effort, the cocoa will eventually succumb to your will and integrate beautifully into a smooth batter-like consistency. Unlike cats, it always cooperates in the end!
Step 3: Cook and Thicken. Place the saucepan over medium heat and bring the mixture to a gentle boil, stirring occasionally. Once it begins to boil, immediately reduce the heat to low and allow it to simmer, continuing to stir periodically, until the sauce visibly thickens. This slow simmering process allows the flavors to deepen and the texture to develop properly. You can monitor the temperature with a candy thermometer (aim for approximately 205°F / 96°C for a good sauce consistency), but an even more reliable method is the “jam plate test” – a technique we’ll explain shortly.
- Scraping the Sides: After about 15 minutes of simmering, you can stop actively scraping the sides of the pot back into the sauce. The sauce that clings to the sides tends to cook faster and can sometimes burn, leading to an off-flavor if reincorporated. It’s best to leave it undisturbed from this point onwards.
- Dealing with Boil-Overs: Don’t panic if your chocolate sauce boils over – it happens even to experienced chefs (watch the video for a demonstration!). If this occurs, simply transfer the sauce to a clean, larger pot and continue cooking it. Ensure you don’t scrape any burnt bits from the bottom of the original pot into the new one.
How to Test Hot Fudge for Doneness
Beyond a candy thermometer, this simple visual test, similar to checking jam, is incredibly effective for perfect hot fudge:
- The Cold Plate Test: Keep a small ceramic plate in your freezer or refrigerator. When you suspect the fudge sauce is nearly done, dab a small amount onto the cold plate. Let it cool for a few seconds (you can even pop the plate back into the fridge for a minute). Then, hold the plate vertically. If the sauce runs quickly down the plate, it needs more cooking time. If it holds its shape, or runs very slowly and thickly, holding a distinct line, it’s done! This method allows you to see the true cooled consistency.
- Worst-Case Scenario Fix: If, after cooling overnight in the refrigerator, your sauce is still too runny, don’t despair! Simply reheat it gently on the stovetop over low heat, bringing it back to a simmer, and continue cooking until it passes the cold plate test. This recipe is very forgiving.
Step 4: Rapid Cooling with an Ice Bath. Once the sauce reaches the desired consistency, remove it from the heat. For optimal texture and extended shelf life, cool the fudge sauce rapidly using an ice bath. To create an ice bath, fill a larger bowl with ice and a small amount of water. Carefully nestle the saucepan containing your hot fudge sauce inside this larger bowl, ensuring the water doesn’t overflow into your fudge. Stir the fudge gently as it cools to distribute the cold evenly and prevent a skin from forming prematurely.
Step 5: Prepare for Refrigeration. Once the fudge has cooled significantly in the ice bath, cover the surface of the sauce directly with plastic wrap. This step is crucial to prevent a “skin” from forming as it continues to cool. Poke a few small holes in the plastic wrap to allow any residual steam to escape. Then, place the entire setup (the bowl with the sauce still in the ice bath) into the refrigerator. This ensures the sauce cools completely and evenly, stabilizing its texture and further minimizing bacterial growth, aiming to reach below 40°F (4°C) within two hours.
Step 6: Store Properly. Once the hot fudge sauce is completely chilled and set, transfer it from the saucepan into a clean, dry, and sealable jar or an airtight container. This proper storage ensures its freshness and allows it to maintain its luscious texture for an extended period in the refrigerator.
Chef Lindsey’s Recipe Tip: Salvaging Scorched Sauce
Despite our best efforts and vigilant attention, sometimes a chocolate sauce can catch on the bottom and begin to burn. Don’t panic! This is a common occurrence and often salvageable. The moment you detect a burnt smell or see any darkening at the bottom, immediately remove the pot from the heat. Without scraping the bottom or sides, carefully pour the unaffected sauce into a clean pot. If you don’t have another pot handy, pour it into a heat-safe bowl while you quickly clean the original pot. Once transferred, taste a small amount of the sauce from the clean pot. If the burnt flavor is only subtle or localized, you can often continue cooking it, being extra vigilant with stirring and heat control. If the burnt taste is pervasive and unpleasant, then you must make a judgment call: either accept its slightly altered taste (perhaps for a casual topping) or, for optimal results, consider starting over. Trust your palate!
Cooling & Storing Homemade Hot Fudge Sauce for Longevity
- Crucial Cooling for Shelf-Life: It cannot be stressed enough that properly cooling your homemade hot fudge sauce significantly impacts its shelf-life and safety. Utilizing an ice bath to bring the sauce’s temperature down to below 40°F (4°C) within two hours is critical. This rapid cooling process drastically reduces the window of opportunity for harmful bacteria to multiply, ensuring your fudge remains safe and delicious for longer.
- Preventing Contamination: Once your hot fudge is cooled and stored in a clean jar or airtight container, practice good hygiene to maintain its longevity. Always use a clean spoon or utensil each time you retrieve some sauce. Double-dipping, where a spoon used to serve ice cream (or for a taste test!) is put back into the jar, can introduce bacteria and dramatically shorten its shelf life. We’ve all been that person (cough, cough!), but a fresh utensil each time is best practice for preserving your hard work!
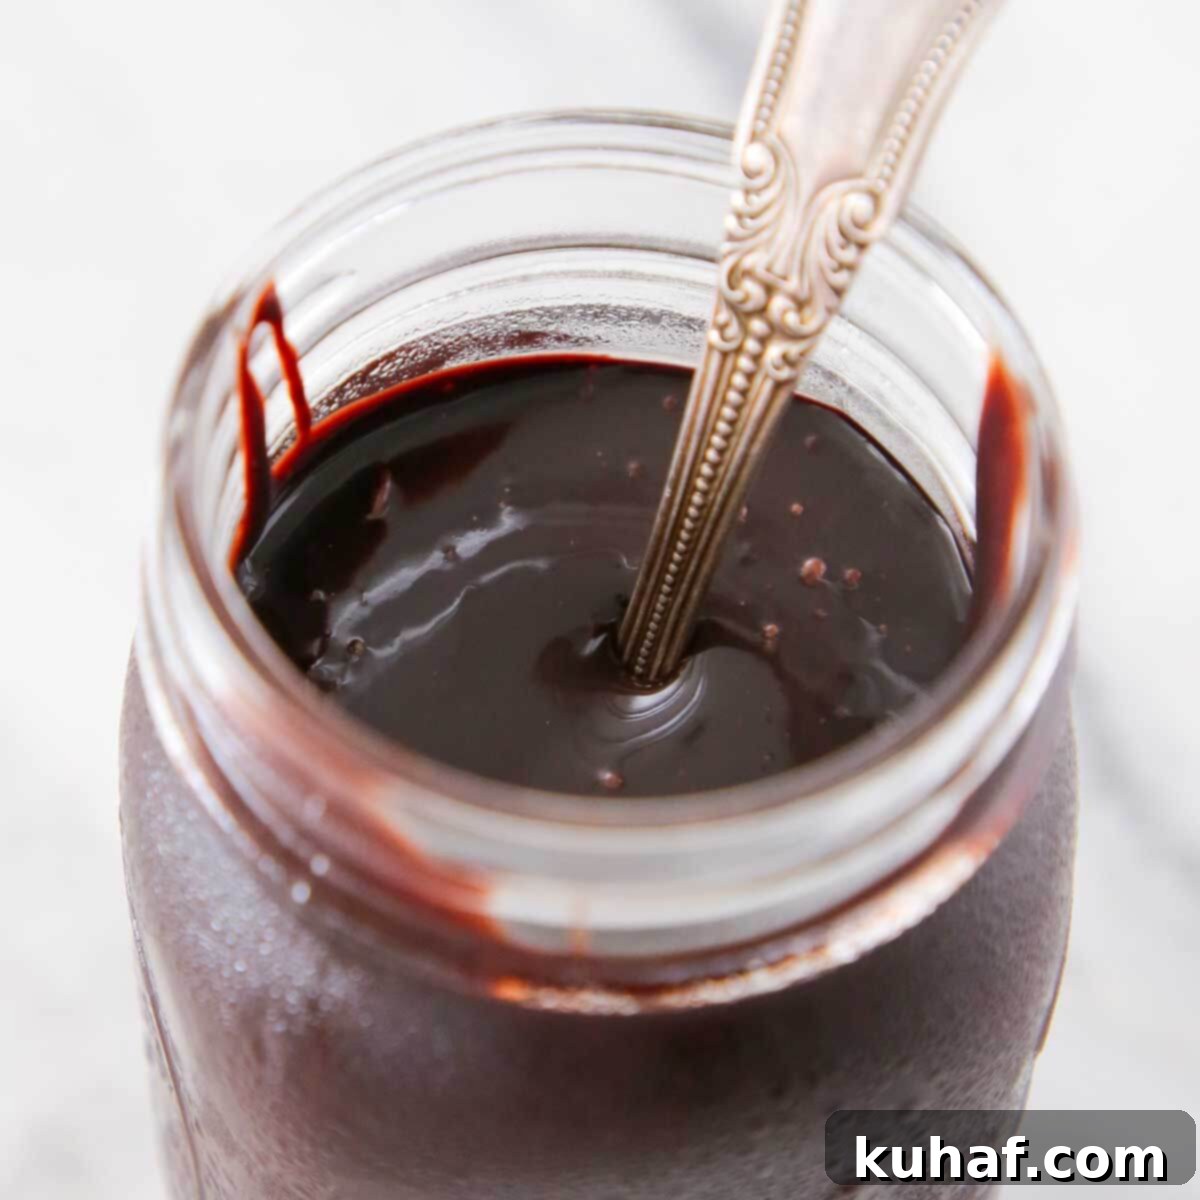
How to Serve Hot Fudge Sauce: Creative Ideas
The versatility of homemade hot fudge sauce knows no bounds! While it’s undeniably fabulous served warm over any ice cream flavor, truly shining in classic hot fudge sundaes, there are countless ways to enjoy its rich, chocolatey goodness:
- Classic Sundaes and Beyond: Create an unforgettable sundae with your favorite ice cream, whipped cream, nuts, and a generous pour of this warm hot fudge. For an extra decadent twist, add a drizzle of salted caramel sauce!
- Brownie Bliss: Transform a simple brownie into an extraordinary dessert by warming it slightly and topping it with a scoop of vanilla ice cream, then drenching it in hot fudge. For true chocolate lovers, try it over fudgy brownies for a double-chocolate delight.
- Milkshake Masterpiece: Blend a few tablespoons of hot fudge sauce into your next vanilla or chocolate milkshake for an incredibly rich, thick, and flavorful treat.
- Fruit Enhancer: Surprisingly, hot fudge pairs beautifully with fresh fruit. Drizzle it over sliced strawberries, bananas, or raspberries for a delightful contrast of fresh and decadent flavors.
- Cake and Cheesecake Companion: Elevate a slice of easy chocolate cake or a rich chocolate cheesecake by serving it with a warm side of hot fudge. It adds a gourmet touch to any baked good.
- Dipping Delight: Use it as a luscious dipping sauce for your favorite treats, such as thick chocolate chip cookies, crispy churros, or even pretzels for a sweet and salty combination.
- Coffee & Hot Chocolate Booster: Stir a spoonful or two into your morning coffee or hot chocolate for an instant upgrade to a gourmet mocha or intensely rich hot cocoa.
Frequently Asked Questions About Hot Fudge Sauce
Once fully cooled, store your homemade hot fudge sauce in a clean, sanitized, airtight container or jar in the refrigerator. When stored properly, it will maintain its quality for up to 6 months. For even longer preservation, you can freeze it for well over a year. Always ensure to use clean utensils to avoid contamination when serving.
The primary difference lies in their consistency, richness, and ingredients. Hot fudge sauce, especially an old-fashioned recipe like this one, is notably thicker, richer, and often has a slightly chewy, fudgy texture. It’s typically made with heavy cream and cooked longer to achieve this density. Chocolate sauce or chocolate syrup, on the other hand, is generally thinner, lighter, and often made with a higher proportion of water rather than heavy cream. It’s cooked for a shorter duration, resulting in its pourable, syrupy consistency, and can sometimes be less intensely chocolatey.
Absolutely! This recipe scales up beautifully, and I’ve successfully made much larger quantities in a commercial kitchen setting. When increasing the batch size, it’s crucial to use a significantly thick-bottomed and high-sided pot to accommodate the volume and prevent scorching. You’ll also need to watch it even more closely during the cooking process. At the very first sign of any burning or scorching on the bottom, immediately transfer the unaffected sauce to a clean pot to save your batch.
Reheating hot fudge is simple! For smaller portions, you can warm it in the microwave at medium power. Heat it in short 20-30 second intervals, stirring thoroughly after each interval until it reaches your desired temperature and consistency. Alternatively, for larger amounts or a more controlled heating, reheat the hot fudge on the stovetop over very low heat, stirring constantly to prevent it from sticking or scorching. Be patient and gentle to maintain its smooth texture.
Using a “spent” vanilla bean pod (one where the seeds have already been scraped out for another recipe) is a clever way to extract maximum flavor from a valuable ingredient. Even without the seeds, the pod itself retains a remarkable amount of vanilla essence. Simmering it in the hot fudge allows these subtle, complex vanilla notes to infuse into the sauce, deepening its overall flavor profile without the expense of a fresh, whole bean. It’s an eco-friendly and gourmet touch!
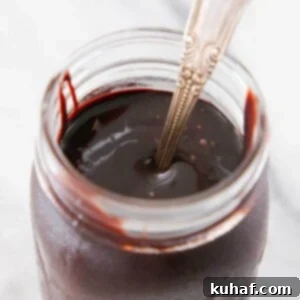
Hot Fudge Sauce
Pin Recipe
Comment
Print Recipe
Ingredients
- 1 ¼ cup granulated sugar 287g
- 1 cup Dutch processed cocoa powder
- 1 teaspoon kosher salt
- ½ vanilla bean pod already scraped of the seeds
- 1 cup heavy cream 260g
- ½ cup water
Instructions
-
In a heavy-bottomed sauce pot (at least 3 quarts or deeper for best results), whisk together the granulated sugar, Dutch-processed cocoa powder, and kosher salt thoroughly.
-
Add the spent vanilla bean pod (if using), followed by the heavy cream and water.
-
Whisk gently yet persistently to combine. Cocoa powder is hydrophobic and may resist mixing initially, but continue whisking until it fully hydrates and combines into a smooth consistency.
-
Heat the mixture over medium heat, stirring occasionally, until it begins to boil. Immediately reduce the heat to low and allow the sauce to simmer gently, stirring periodically, until it thickens to a rich consistency. You can use a candy thermometer (aim for approximately 205°F / 96°C) or test for doneness using the cold plate method: dab a small amount on a frozen or refrigerated plate, wait a few seconds, then hold the plate vertically. If the sauce runs quickly, continue cooking; if it holds a distinct line, it’s ready.
-
Remove the vanilla pod. If desired for an exceptionally smooth sauce, you can strain the sauce through a fine-mesh sieve. Promptly cool the sauce in an ice bath. To do this, fill a larger bowl with ice and a little water, then nestle the saucepan with the hot fudge inside the larger bowl, stirring gently as it cools.
-
Once significantly cooled, cover the surface of the sauce directly with plastic wrap to prevent a skin from forming, poking a few small holes for steam to escape. Place the entire setup (sauce in saucepan, still in the ice bath) into the refrigerator until the sauce is completely cooled and chilled.
-
Transfer the thoroughly cooled hot fudge sauce to a clean, sealable jar or airtight container. Store in the refrigerator for up to 6 months, or freeze for over a year for best quality.
Video
Notes
Flavor & Texture Tips – To prevent any burnt notes, stop actively scraping the sides of the pot back into the sauce after about 15 minutes of cooking. This prevents overcooked bits from being incorporated.
Troubleshooting Technique – If your sauce boils over, or you notice any scorching, immediately transfer the unburnt portion of the sauce to a new, clean pot and continue cooking. Do not scrape the bottom of the original pot.
Storage for Freshness – Store your delicious hot fudge sauce in a clean, sanitized, and airtight container in the refrigerator for up to 6 months. For even longer enjoyment, it can be frozen for well over a year.
Nutrition
Before You Go: Explore More Chocolate Delights
We sincerely hope you’ve enjoyed mastering this professional chef-tested recipe for the ultimate old-fashioned hot fudge sauce. Its silky texture and deep chocolate flavor are truly a game-changer for any dessert lover. Don’t let your culinary adventure end here!
Be sure to delve into our other delicious, chef-developed chocolate recipes, where you’ll find an array of indulgent treats perfect for any occasion. And if you’re looking for the perfect vehicle to showcase your newly made hot fudge, you might want to consider baking one of our easy chocolate desserts. Imagine this luscious sauce drizzled generously over a warm brownie, a rich chocolate cake, or even a simple scoop of gourmet ice cream. It’s the perfect pairing, just a thought!
Thank you for joining us on this sweet journey. Happy cooking and even happier eating!
