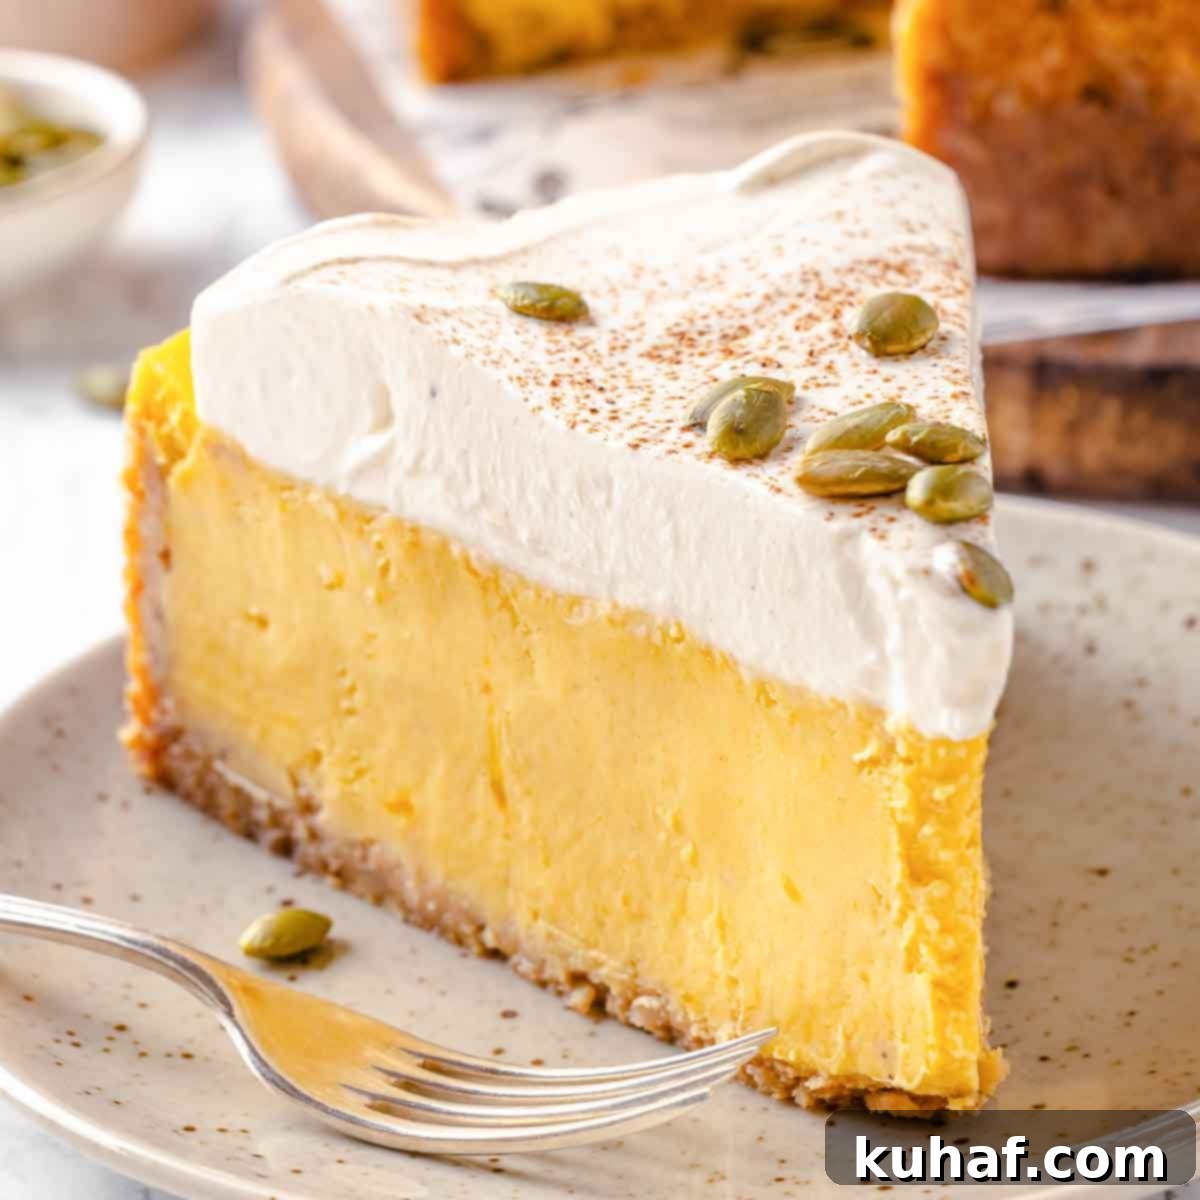
The Ultimate Creamy Pumpkin Cheesecake with Spiced Gingersnap Crust: Your Perfect Fall Dessert
Prepare to elevate your dessert game with this truly exceptional Pumpkin Cheesecake. Boasting a profoundly rich pumpkin flavor harmoniously blended with an aromatic medley of classic fall spices, this cheesecake promises an unforgettable culinary experience. Its luxuriously creamy filling, paired with a perfectly crisp and spicy gingersnap crust, makes it the ideal showstopper for your Thanksgiving feast or any cozy autumn day celebration.
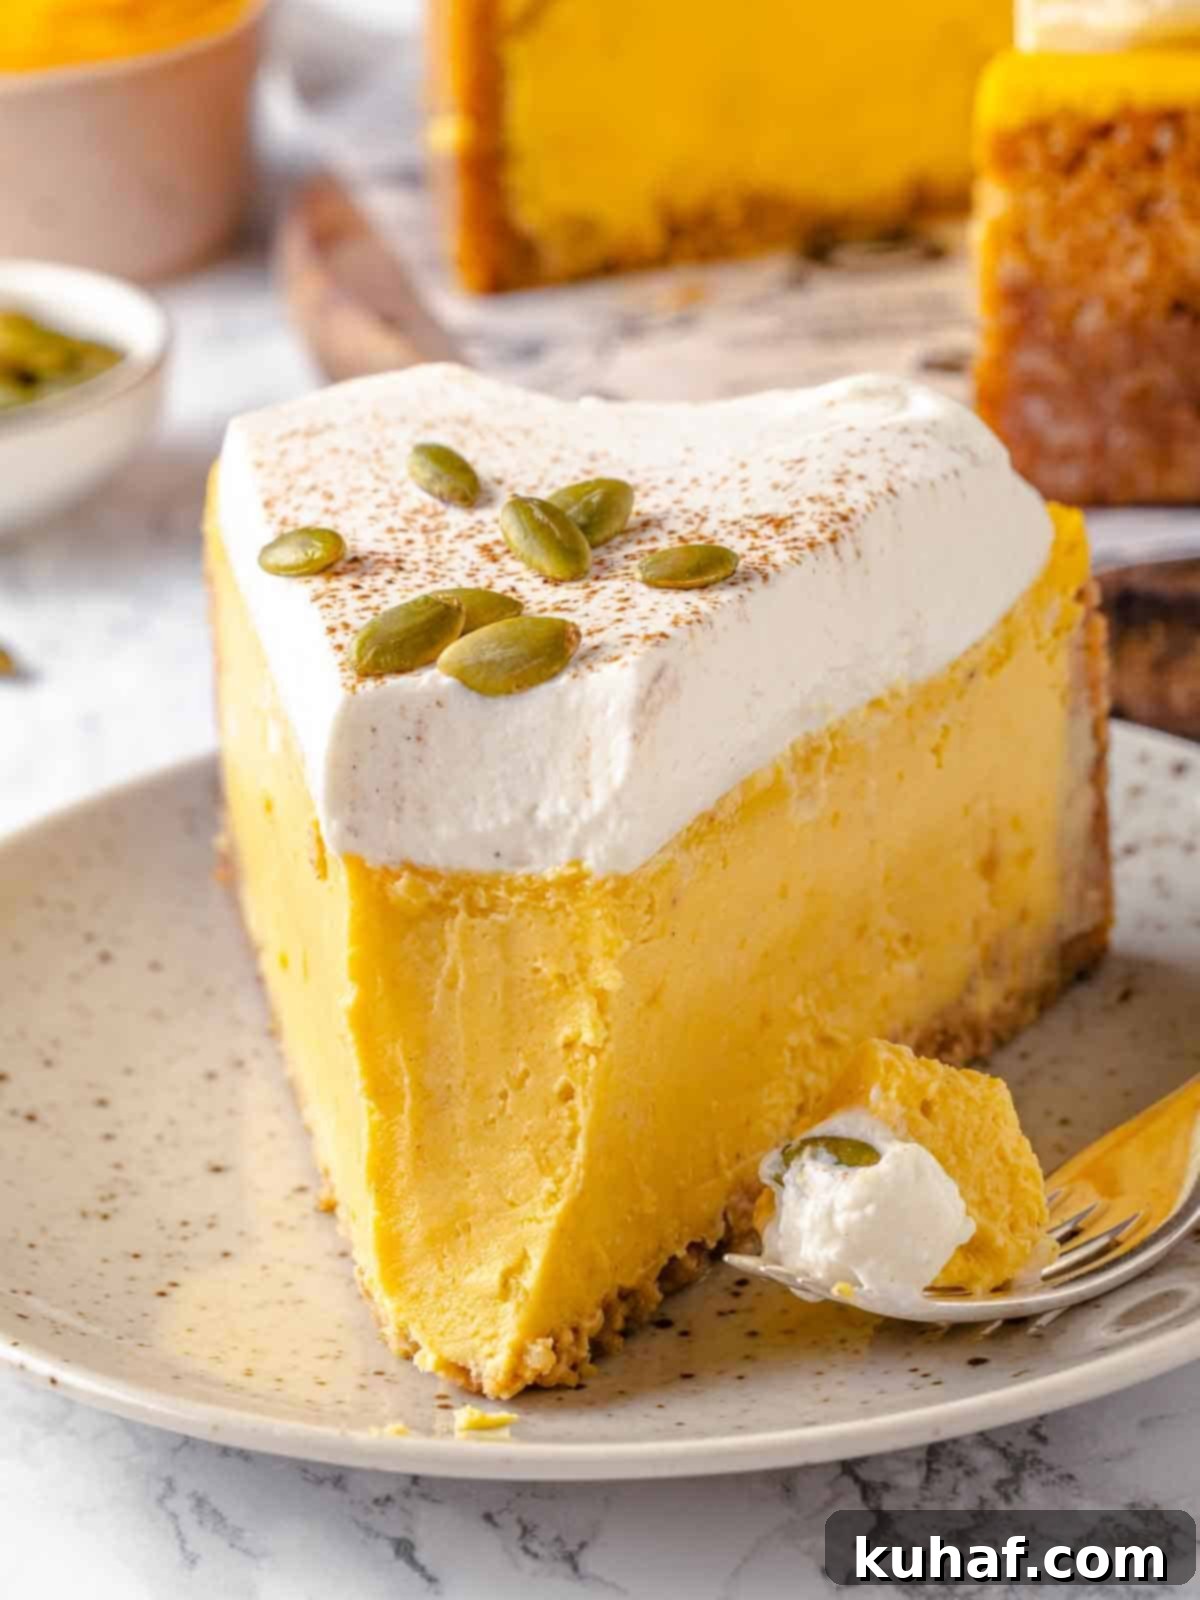
Are you ready for the ultimate fusion of classic pumpkin pie and decadent New York-style cheesecake? This pumpkin cheesecake recipe delivers a melt-in-your-mouth experience, combining the dense, smooth texture of a traditional New York cheesecake with all the comforting flavors and warm spices you adore in a classic pumpkin pie. It’s a match made in autumn heaven, designed to satisfy even the most discerning dessert connoisseurs.
Fully embrace the Season of Spice with some of our other favorite pumpkin desserts! Beyond this incredible cheesecake, you can explore delightful treats such as fried pumpkin donuts, a moist pumpkin layer cake, an elegant pumpkin bundt cake, or even the famously rich and tender best pumpkin roll recipe. And if you’re looking to venture outside the sweet realm, these savory pumpkin herb dinner rolls offer a unique and delicious twist to your seasonal meals.
Table of Contents
- Why You Will Love This Pumpkin Cheesecake Recipe
- Professional Tips for Making Pumpkin Cheesecake
- Ingredients & Substitutions for the Perfect Cheesecake
- Delicious Variations for Your Pumpkin Cheesecake
- How to Serve Pumpkin Cheesecake: Creative Ideas
- How to Make Pumpkin Cheesecake: Step-by-Step Guide
- Chef Lindsey’s Recipe Tip for No Cracks
- Frequently Asked Questions About Pumpkin Cheesecake
- Pumpkin Cheesecake Recipe Card
- Before You Go: More Delicious Recipes
Why You Will Love This Pumpkin Cheesecake Recipe
This isn’t just another pumpkin cheesecake recipe; it’s a carefully crafted dessert designed to impress. Here’s why this recipe will become your go-to for fall:
- The Best Gingersnap Crust You’ll Ever Taste! Forget plain graham cracker crusts. Our signature gingersnap crust, made with freshly crumbled gingersnap cookies and perfectly toasted walnuts, offers a spicy, crunchy counterpoint that perfectly complements the smooth, spiced pumpkin filling. The warmth of ginger and the nutty crunch of walnuts create an unparalleled foundation for this autumnal dessert. You can use your favorite homemade gingersnaps for an extra special touch, or high-quality store-bought ones for convenience.
- Achieve the Perfect New York Cheesecake Texture Every Time. I’ve dedicated years to mastering the dense, silky-smooth, and utterly creamy texture that defines a true New York-style cheesecake. Incorporating pumpkin can be challenging due to its inherent moisture content, but this recipe has been meticulously tested and perfected to deliver that iconic rich, non-grainy texture without any compromises. Each slice will be flawlessly smooth and luxurious.
- Pastry-Chef Instructions for a Foolproof Cheesecake. With extensive experience baking cheesecakes in professional restaurant settings, I’ve compiled all my expert tips and tricks to guide you through the process. These detailed, step-by-step instructions will ensure your pumpkin cheesecake bakes perfectly, preventing common issues like cracks and uneven textures, even if you’re new to cheesecake baking.
- Perfectly Balanced Pumpkin and Spice Flavor. This recipe strikes the ideal balance, incorporating a generous amount of real pumpkin puree without compromising the cheesecake’s delicate texture. Coupled with a precisely measured blend of my signature pumpkin spice mix, it delivers an authentic, cozy, and deeply satisfying fall flavor profile that is neither overwhelming nor subtle—it’s just right.
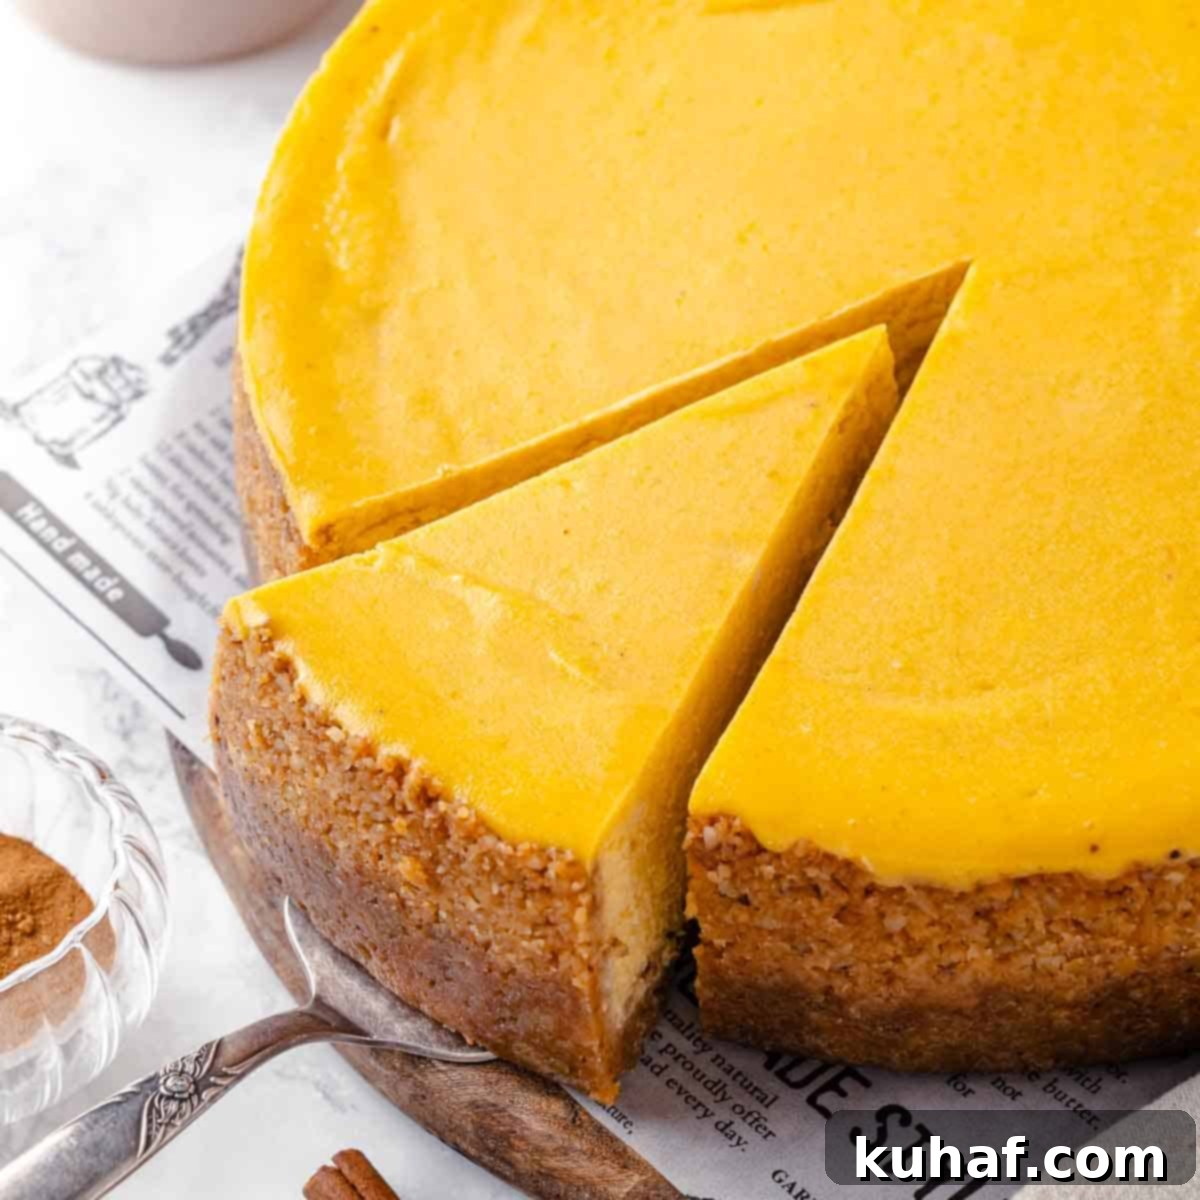
Professional Tips for Making Pumpkin Cheesecake
Achieving a bakery-quality pumpkin cheesecake at home is entirely possible with these professional insights:
- Always Use Two Pieces of Foil on the Springform Pan for the Water Bath. A water bath (bain-marie) is crucial for even baking and preventing cracks in cheesecake. To ensure absolutely no water seeps into your delicate crust, I highly recommend using two overlapping pieces of heavy-duty aluminum foil on the exterior of your springform pan. Overlap them securely and crimp the edges tightly around the bottom and sides. This double layer provides superior protection against water leakage, giving you peace of mind and a perfectly dry crust.
- Ensure All Your Ingredients Are at Room Temperature. This tip is paramount for a smooth, creamy cheesecake. Cold ingredients, especially cream cheese and eggs, will not emulsify properly, leading to a lumpy batter and a less desirable, potentially curdled texture in the final product. Plan ahead and allow your cream cheese, eggs, and heavy cream to sit out at room temperature for at least 1-2 hours before you begin mixing. This ensures a uniform, silky batter.
- For the Best Texture, Cool the Cheesecake Overnight. Patience is a virtue when it comes to cheesecake. Once your pumpkin cheesecake finishes baking and has cooled gradually in the oven (more on this later), remove it and let it come to room temperature on a wire rack. Crucially, then transfer it to the refrigerator and chill it overnight (at least 8-12 hours). This extended chilling time allows the cheesecake to fully set, firm up, and develop its ultimate creamy texture, making it incredibly easy to slice cleanly and beautifully without crumbling.
Ingredients & Substitutions for the Perfect Cheesecake
The quality of your ingredients directly impacts the deliciousness of your pumpkin cheesecake. Here’s a detailed look at what you’ll need and potential substitutions:
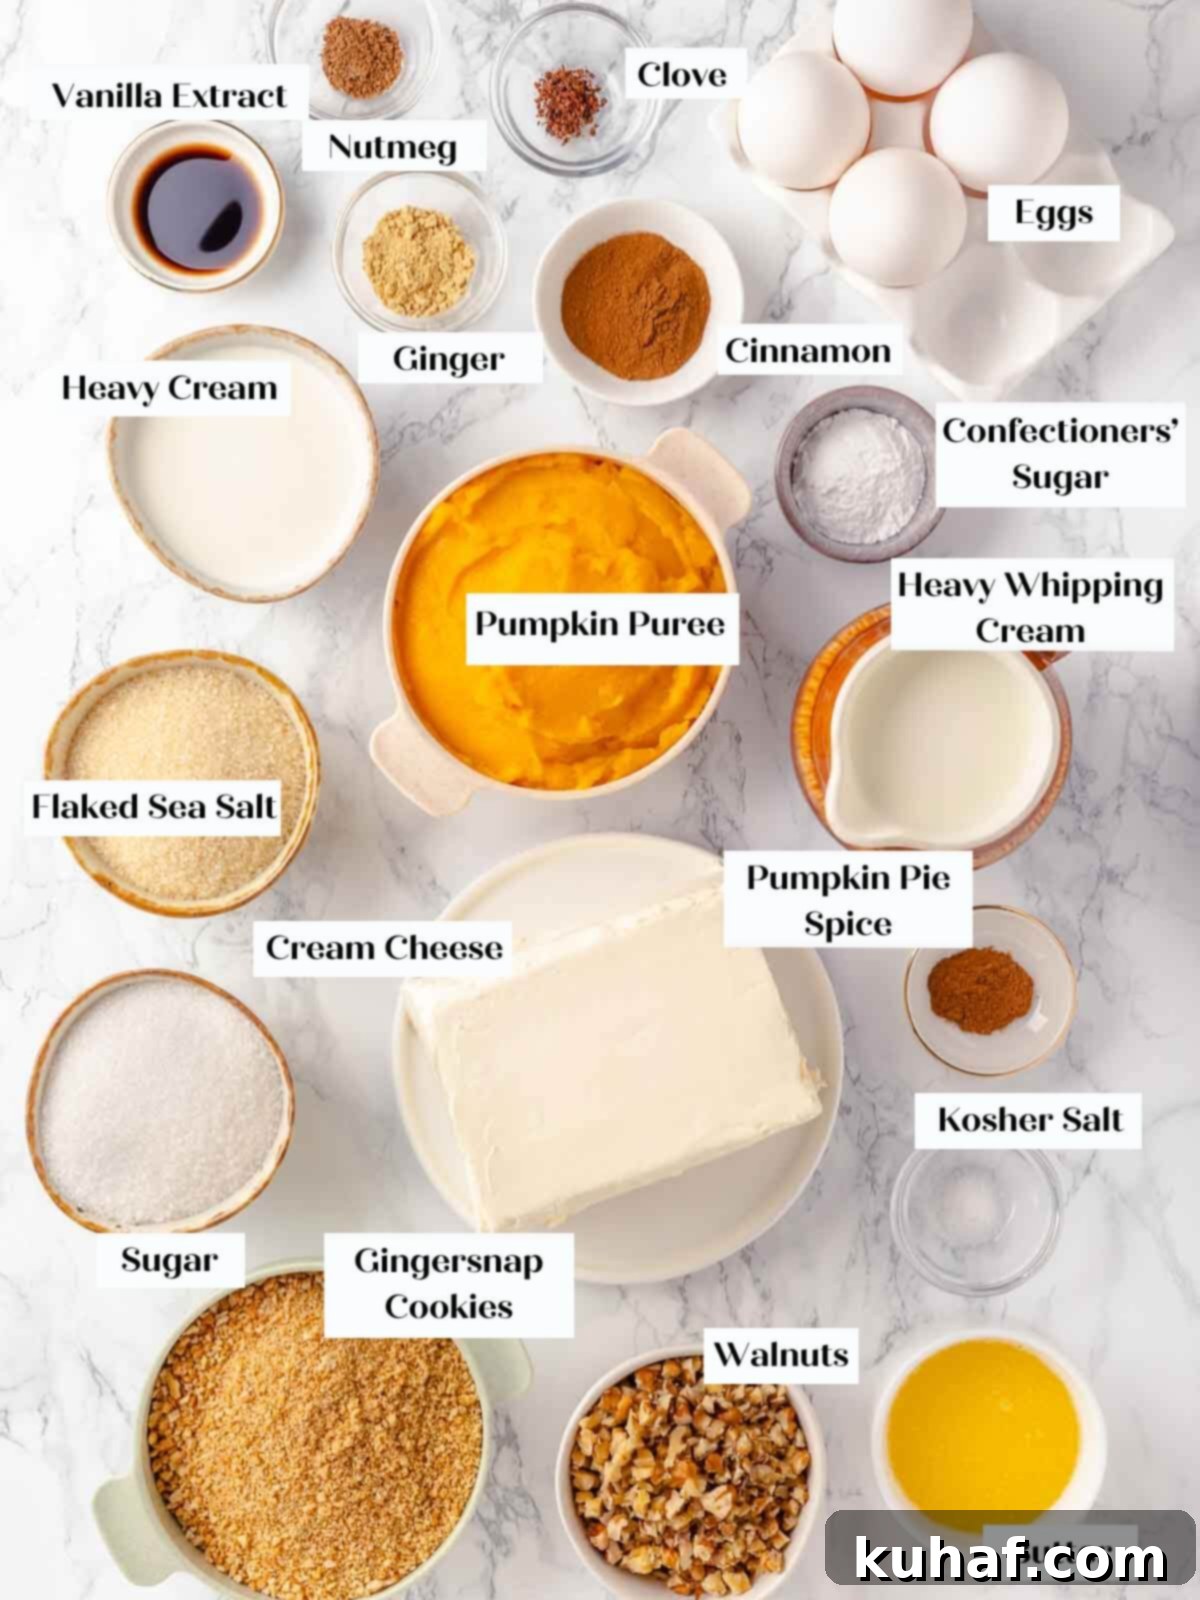
- Gingersnap Cookies: These spicy, old-fashioned cookies are the star of our crust, offering a fantastic depth of flavor that perfectly complements the pumpkin. Crush them finely in a large freezer bag using a rolling pin, or for a quicker method, use a food processor until you have uniform fine crumbs. If you’re using homemade gingersnaps, which tend to be richer, you may need to reduce the butter to ¼ cup to achieve the right consistency for the crust.
- Walnuts: Toasted and ground walnuts add a wonderful nutty flavor and texture to the crust. However, if you have a nut allergy or simply prefer a nut-free crust, they can be easily omitted. In this case, you’ll need to add an equal weight (or volume, roughly ¾ cup) of additional gingersnap crumbs to maintain sufficient crust volume and texture.
- Butter: Essential for binding the crust ingredients together, ensuring it’s firm and flavorful. Unsalted butter is preferred so you can control the salt content.
- Kosher Salt: A pinch of kosher salt enhances all the flavors in both the crust and the filling, balancing the sweetness and making the spices pop.
- Cream Cheese: For cheesecakes, quality matters! I exclusively recommend Philadelphia Cream Cheese (or a high-quality equivalent). Always opt for full-fat, brick-style cream cheese. Whipped cream cheese or cream cheese spread contains too much air and water, which will negatively affect the dense, creamy texture of your cheesecake. While reduced-fat brick cream cheese *can* be substituted, the resulting cheesecake will be slightly less rich.
- Granulated Sugar: Provides essential sweetness and contributes to the cheesecake’s smooth texture.
- Light Brown Sugar: Light brown sugar adds a complex sweetness with subtle molasses notes, which beautifully complements the autumnal spices of the pumpkin. Pack it firmly when measuring.
- Cinnamon, Clove, Ginger, and Nutmeg: These four quintessential fall spices come together to create a perfectly balanced and aromatic pumpkin spice blend. Using individual spices allows for more control over the flavor profile compared to pre-mixed pumpkin pie spice. For the freshest flavor, consider grating your nutmeg whole!
- Pumpkin Puree: I rely on Libby’s canned pumpkin puree for its consistent quality and texture, but feel free to use your preferred brand. The most important distinction is to ensure you grab pure pumpkin puree, not pumpkin pie filling, which already contains added sugars and spices that would throw off the recipe’s balance.
- Whole Eggs and Egg Yolks: Large eggs are crucial for providing structure, leavening, and richness to the cheesecake. The addition of extra egg yolks (without the whites) significantly increases the fat content, contributing to a truly thick, dense, and luxurious cheesecake, without introducing excess moisture that could thin the batter. Too many yolks can make the cheesecake taste “eggy,” so this recipe uses a precise balance.
- Heavy Cream: A touch of heavy cream is incorporated to create a velvety, silky-smooth cheesecake texture. While half-and-half can be substituted in a pinch, be aware that it will result in a slightly less dense cheesecake due to its lower fat content. Regular milk is not a suitable substitute as it lacks the necessary fat and richness for this recipe.
- Confectioners’ Sugar: Used for making the spiced whipped cream topping, giving it a smooth texture and subtle sweetness.
- Vanilla Extract: A dash of vanilla extract enhances all the sweet and spiced notes in the cheesecake filling, adding a layer of aromatic complexity.
Refer to the complete recipe card below for precise measurements and quantities for all ingredients.
Delicious Variations for Your Pumpkin Cheesecake
While this classic pumpkin cheesecake is perfect as is, it’s also incredibly versatile! Feel free to customize it with these delightful variations:
- Change the Crust. Experiment with different crusts to match your preference or occasion. A traditional graham cracker crust offers a sweet, buttery base, while the rich Oreo cookie crust from our chocolate chip cheesecake recipe would create a decadent, contrasting flavor. You could also try a shortbread or pecan crust for different nutty notes.
- Add a Different Topping! Elevate your pumpkin cheesecake with an alternative topping. A fluffy mound of Marshmallow fluff, gently toasted, would add a s’mores-like twist. Classic vanilla whipped cream is always a hit, or for an extra layer of indulgence, drizzle a generous amount of homemade salted caramel sauce over the top to complement the warm pumpkin and ginger flavors.
- Make Cheesecake Bars or Mini Cheesecakes. If you’re serving a crowd or prefer individual portions, convert this recipe into bars or mini cheesecakes. Simply pour the pumpkin cheesecake batter over a pre-baked crust in a 9×13-inch pan. Bake until the center is set but still has a slight jiggle, like Jell-O. Because it’s thinner and will bake faster, you won’t need to use a water bath for this variation. For mini cheesecakes, use a muffin tin lined with paper liners and reduce baking time significantly.
How to Serve Pumpkin Cheesecake: Creative Ideas
Serving your pumpkin cheesecake is an opportunity to add extra flair and flavor. Here are some ideas to make your dessert truly memorable:
- Add Some Crunch. Textural contrast is key! Toast some pecans, walnuts, or almonds until golden brown and lightly chopped, then sprinkle them generously over individual slices or the whole cheesecake. For an even more indulgent treat, consider candied nuts, a delicate pumpkin seed brittle, or a sprinkle of crunchy honey granola.
- Serve with a Complementary Sauce. A decadent sauce can take your pumpkin cheesecake to the next level. A rich drizzle of salted caramel sauce is always a winner, or try a warm butterscotch sauce for another layer of autumnal sweetness. For fruit lovers, an easy blueberry sauce or chocolate fudge sauce could offer a surprising and delightful contrast. You could even swirl some cherry preserves into the cheesecake batter before baking for a fruity burst.
- Create a Layered Cheesecake Dessert. For an impressive individual dessert, chop extra pieces of this amazing cheesecake into small squares. Layer these cubes in parfait glasses with fluffy spiced whipped cream, crunchy candied walnuts, and crumbled gingersnap cookies. Use our maple pumpkin trifle recipe as a fantastic source of inspiration for building this gorgeous layered treat!
How to Make Pumpkin Cheesecake: Step-by-Step Guide
Follow these detailed, chef-tested instructions to create a consistently perfect, creamy pumpkin cheesecake every single time. More precise measurements and ingredient quantities are available in the recipe card below.
Make the Crust and Prepare the Pan:
Step 1: Toast the Walnuts. Preheat your oven to 350°F (175°C) using the conventional setting (no fan/convection for this step). Spread the walnut pieces evenly onto a baking sheet lined with parchment paper. Toast them in the preheated oven for approximately 5-8 minutes, or until they turn a light golden brown and become fragrant. Keep a close eye on them, as nuts can burn quickly. Once toasted, remove them from the oven and set them aside to cool completely. This step intensifies their flavor and adds a deeper crunch to the crust.
Step 2: Prepare the Springform Pan for the Water Bath. This is a critical step for a crack-free cheesecake. Take two large pieces of heavy-duty aluminum foil. Overlap them slightly and then carefully wrap them around the entire outside of your springform pan, extending up the sides. The goal is to create a watertight seal to prevent any water from the water bath from seeping into the crust. Ensure you roll any excess foil outward and upward, creating a protective barrier; rolling it inward could accidentally direct water into your crust. This double layer of foil provides double insurance against a soggy crust.
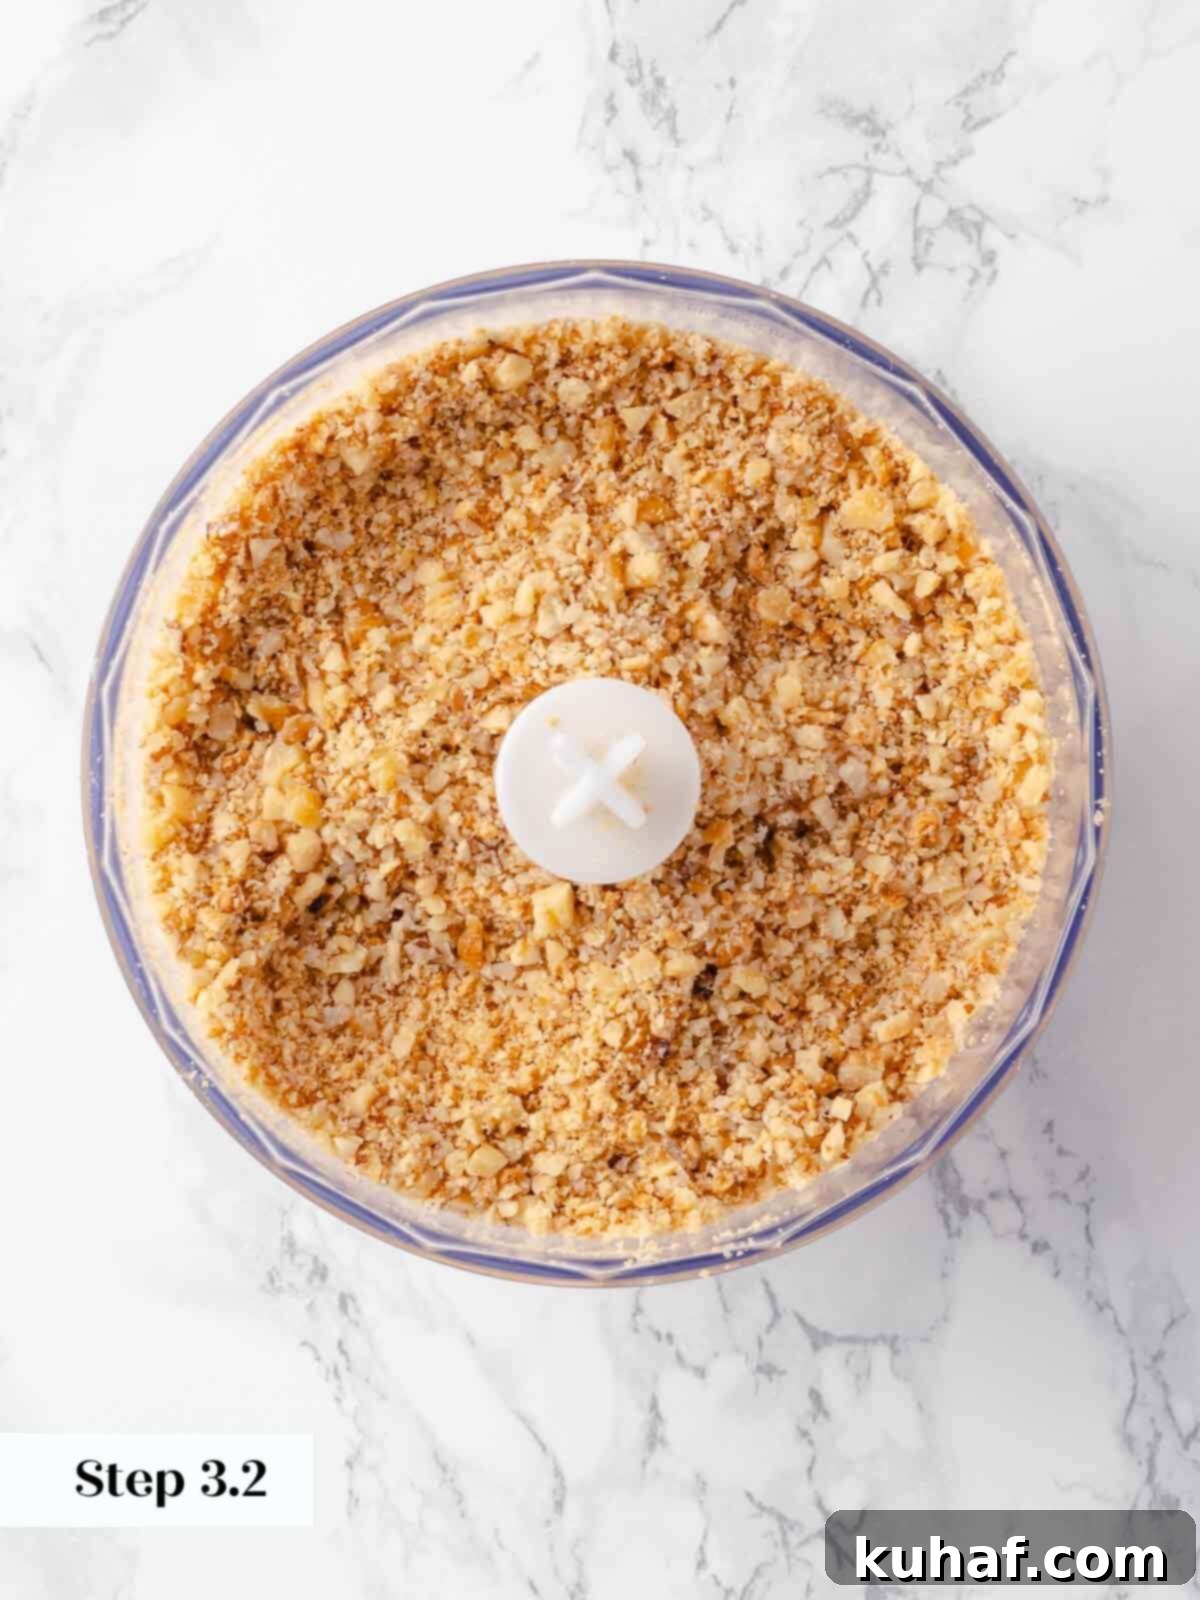
Step 3: Process Crust Ingredients. Once the walnuts have cooled completely, combine the gingersnap cookies in a food processor. Pulse until the cookies are finely ground into uniform crumbs. Then, add the cooled, toasted walnuts to the food processor and pulse again until they are also finely ground and well combined with the gingersnap crumbs. Separately, melt the unsalted butter either gently on the stovetop in a small saucepan over low heat or in a microwave-safe bowl in 30-second increments until fully liquid.
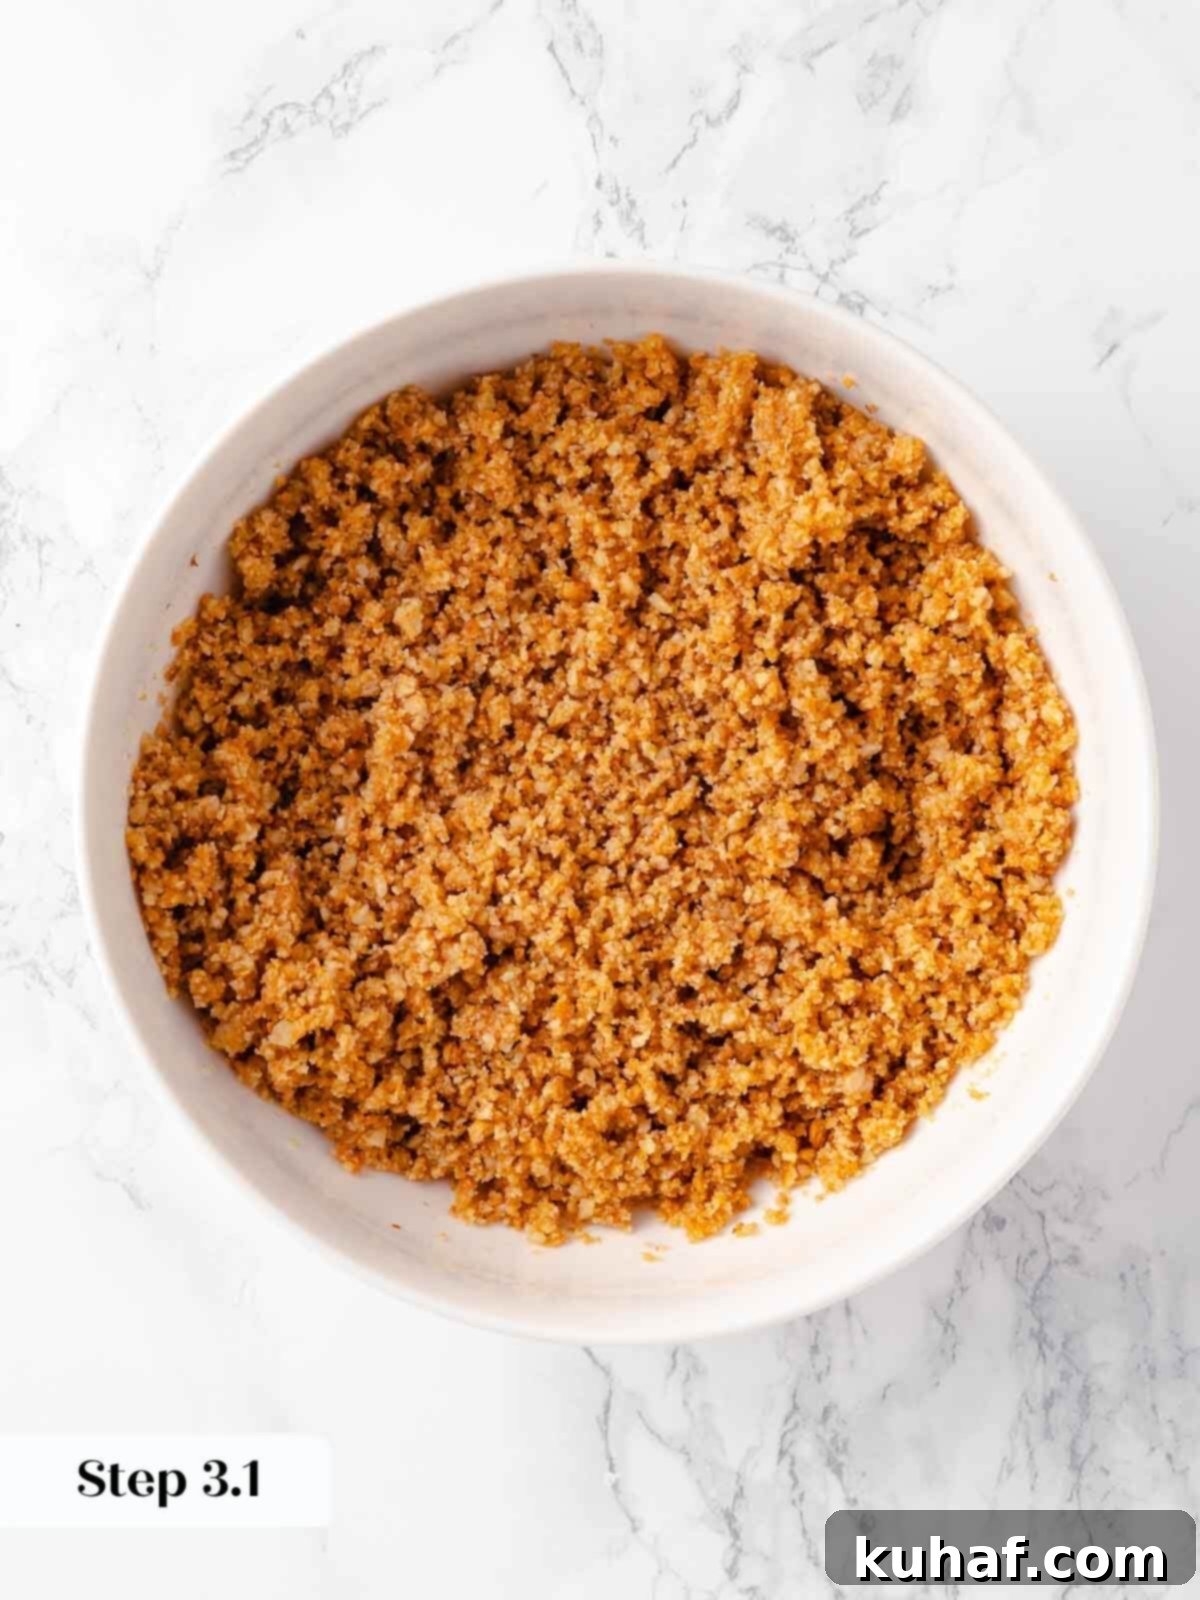
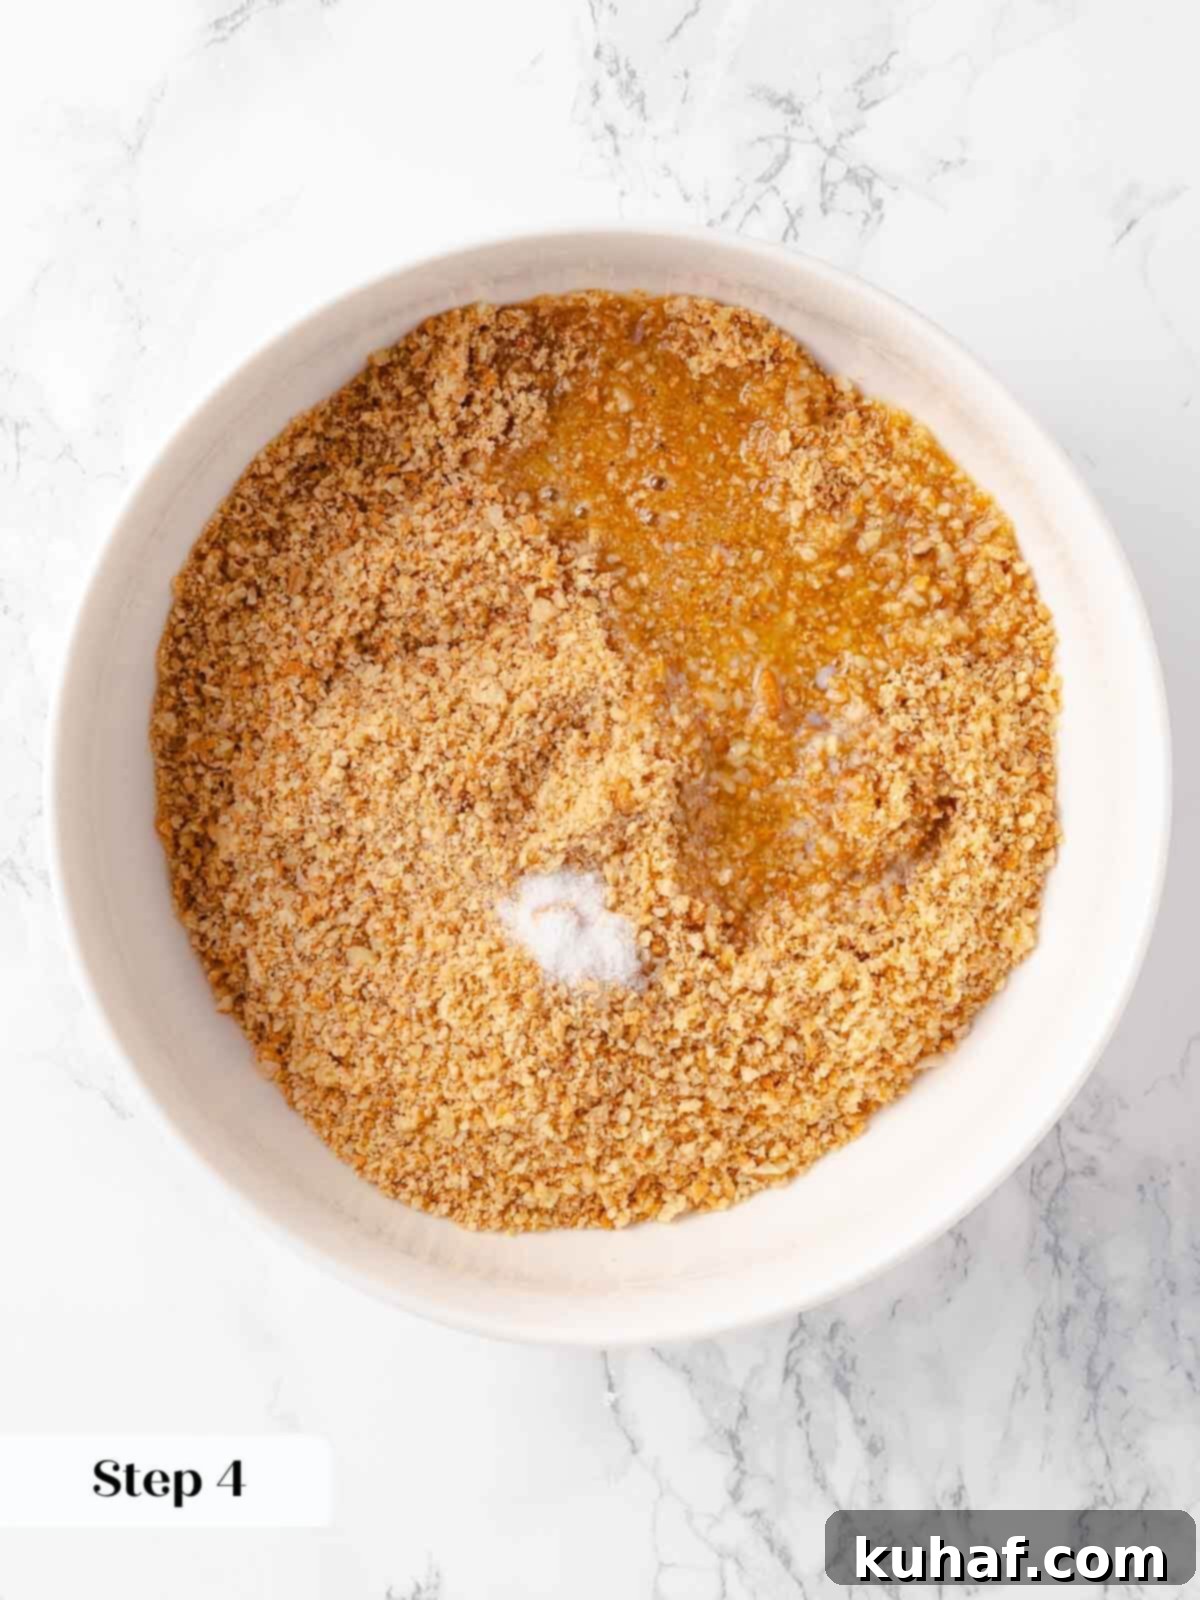
Step 4: Combine and Mix the Crust. In a medium-sized mixing bowl, combine the gingersnap and walnut crumb mixture, the melted butter, and the kosher salt. Mix these ingredients thoroughly, ideally using your hand, squeezing the mixture together. This technique helps distribute the butter evenly and creates small clumps, ensuring a cohesive and sturdy crust. It’s important that every crumb is coated.
Chef’s Tip for Mixing Crust: To help cool the melted butter slightly and prevent it from making the mixture too greasy, create a small well in the middle of your dry crumb mixture. Pour the melted butter into this well, then gradually use your hand to pull the crumbs from the sides into the butter, mixing as you go. This gentle approach helps incorporate the butter more evenly.
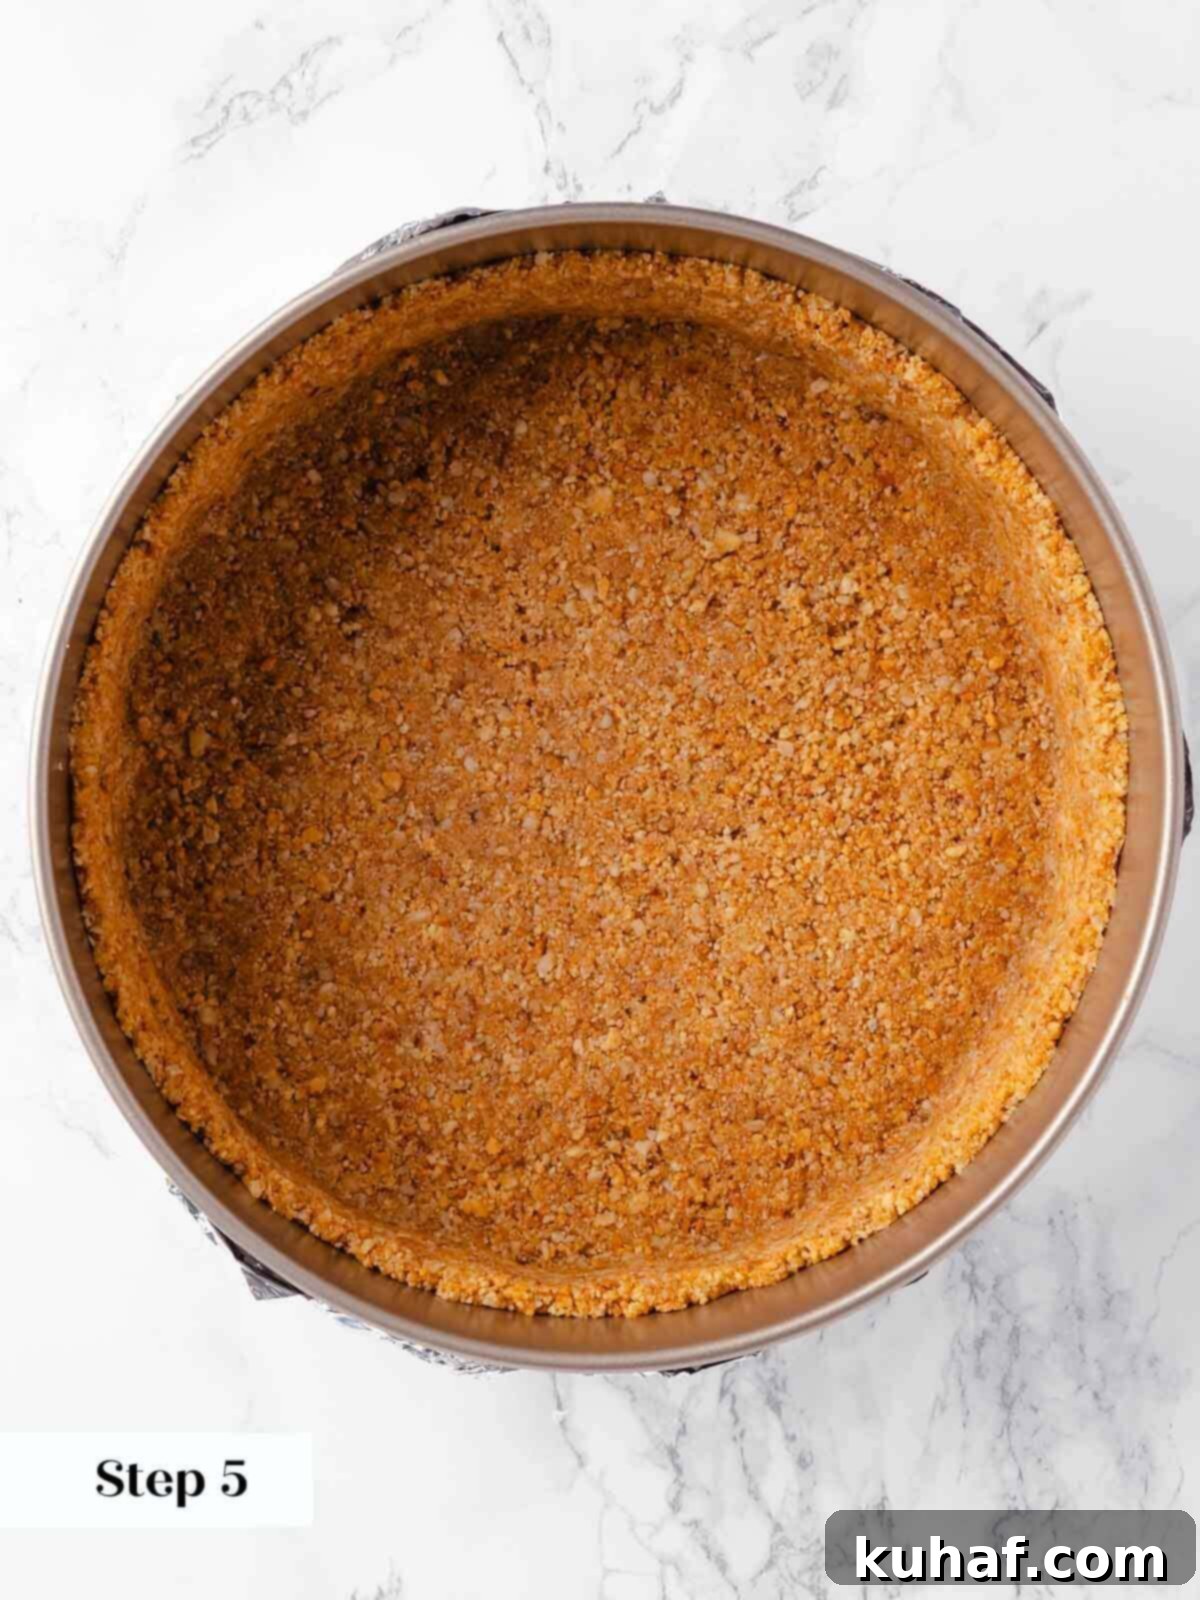
Step 5: Press and Bake the Crust. Transfer the well-mixed crumb mixture into the prepared springform pan. Use the bottom of a flat glass or your fingers to firmly and evenly press the crust mixture into the bottom of the pan and about 1 to 1.5 inches up the sides. Bake this pressed crust in the 350°F (175°C) oven for 10 minutes, or until the center appears matte and lightly golden. This pre-baking step helps create a crisp crust and prevents it from becoming soggy. Remove from the oven and allow to cool slightly while you prepare the filling.
Quick Tip: If you’re running short on time and forget to bake the crust ahead, you can pour the cheesecake batter directly into a warm, unbaked crust. While pre-baking is recommended for crispness, it’s not strictly mandatory.
Prepare and Bake the Cheesecake Filling:
Step 6: Preheat Oven. Lower the oven temperature to 325°F (160°C) conventional. This lower temperature is ideal for baking cheesecake gently and evenly in a water bath.
Mission-Critical Room Temperature Ingredients: This cannot be stressed enough – all your filling ingredients absolutely must be at room temperature! This is the single most important factor for achieving a silky, lump-free cheesecake texture. If you’ve forgotten to take them out ahead of time, don’t worry! Measure all your cold ingredients (cream cheese, eggs, heavy cream) into plastic or metal containers. Place these uncovered containers on a baking sheet on the top rack of your oven. On the bottom rack, place a large roasting pan and pour boiling water into it. Close the oven door. The gentle steam will quickly bring your ingredients to room temperature without cooking them. This quick hack will save your cheesecake!
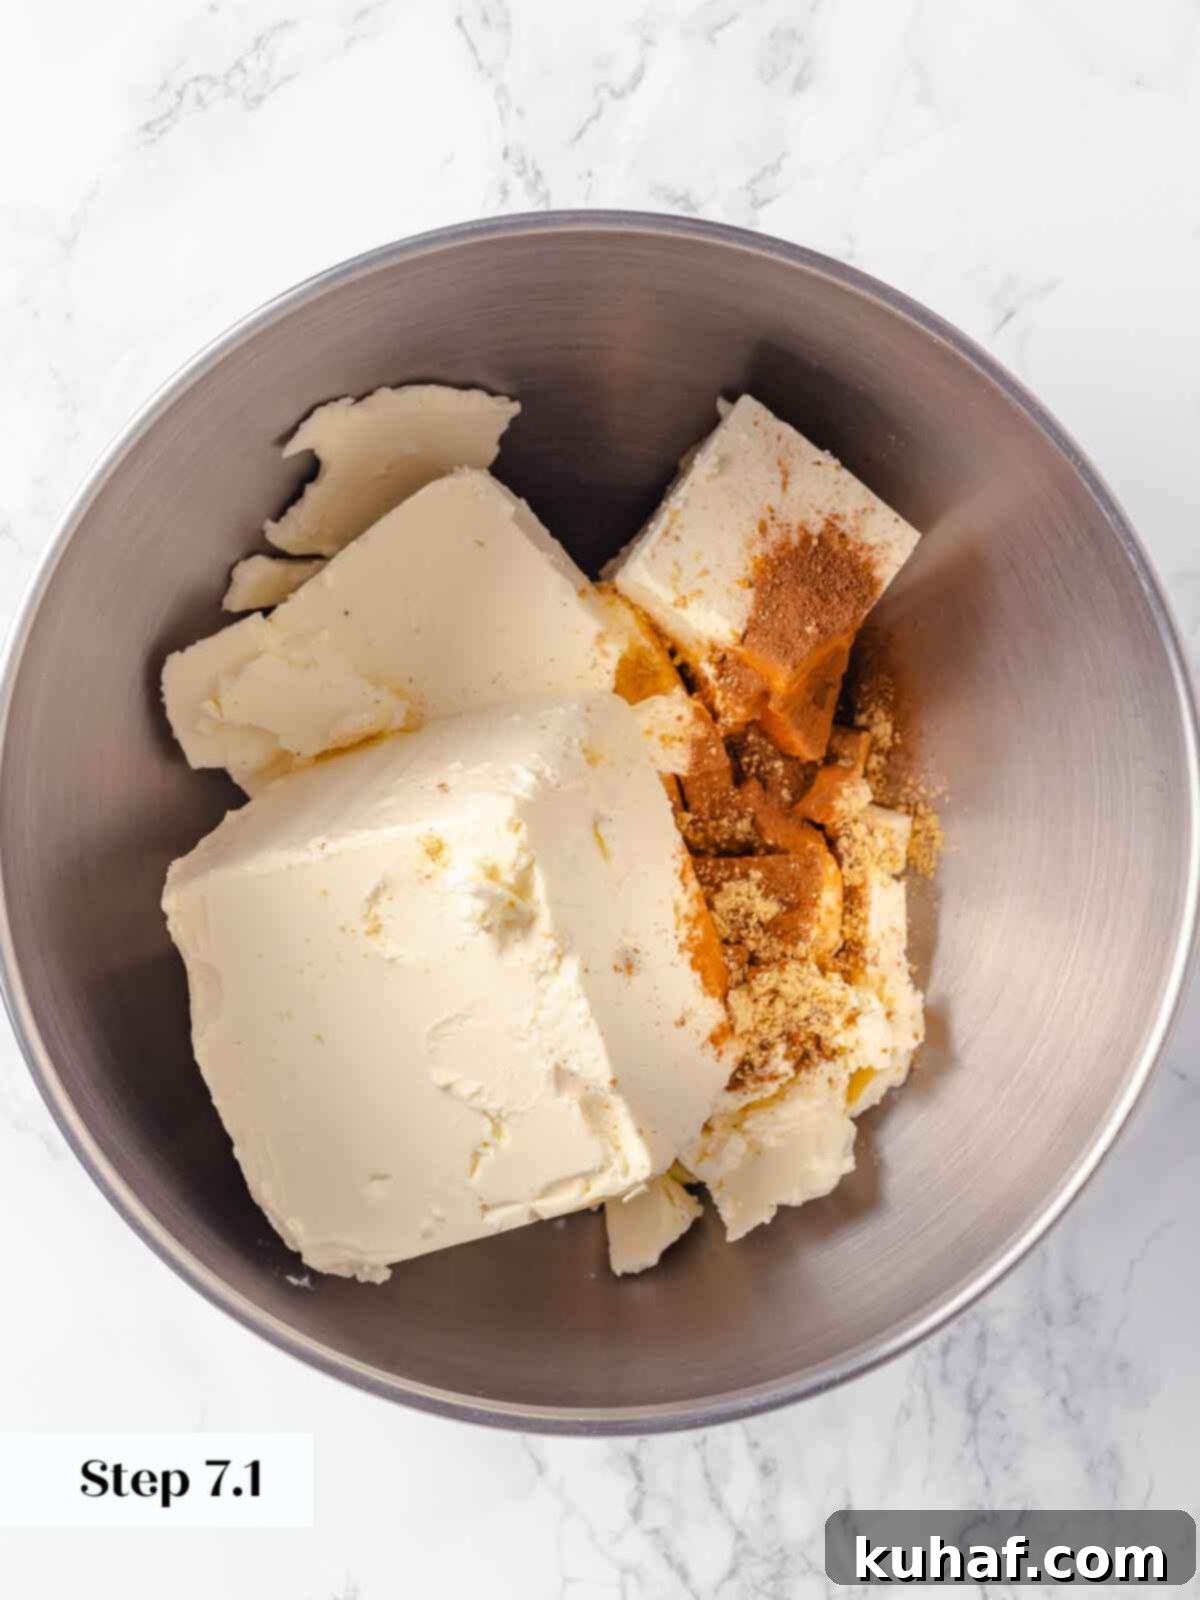
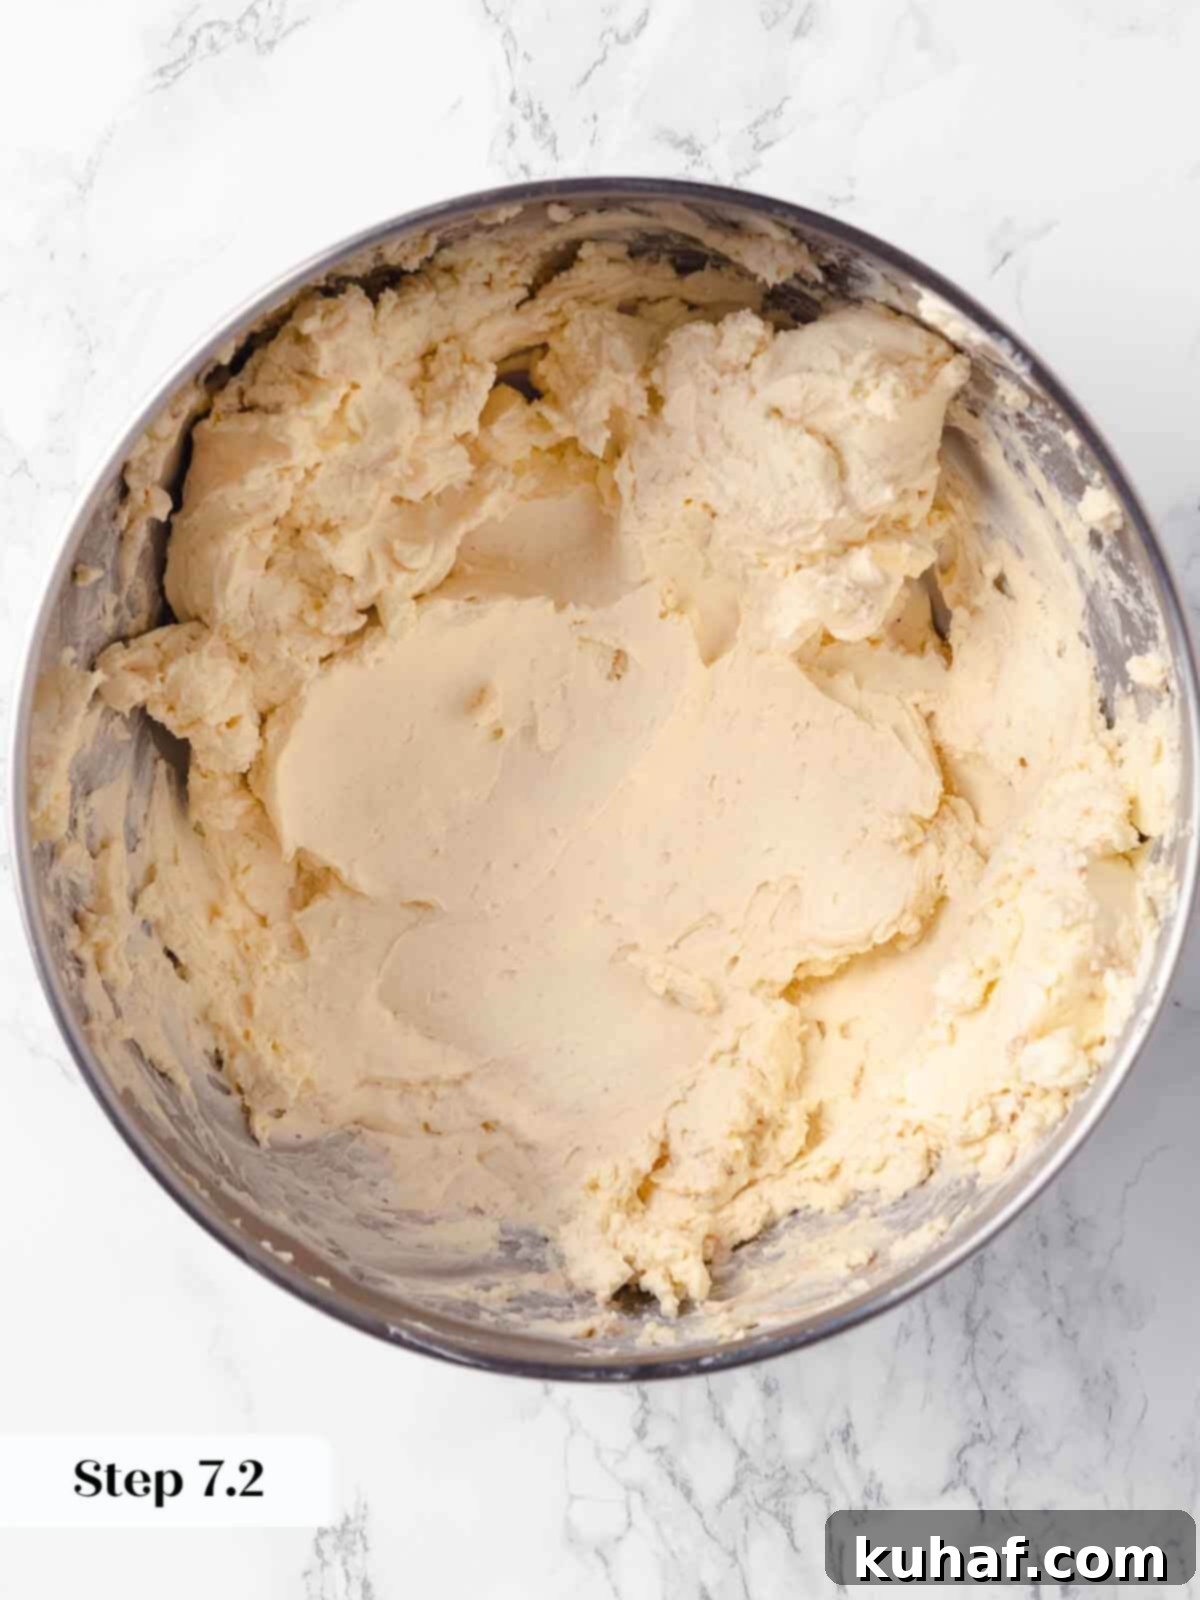
Step 7: Cream the Base. In the bowl of a stand mixer fitted with the paddle attachment, or a very large mixing bowl using an electric hand mixer, combine the softened cream cheese, vanilla extract, ground cinnamon, ginger, cloves, and nutmeg. Beat on medium speed for at least 2-3 minutes, or until the mixture is silky, creamy, and completely smooth. Scrape down the sides and bottom of the bowl frequently to ensure everything is thoroughly incorporated and no lumps remain. This step is crucial for the cheesecake’s overall texture.
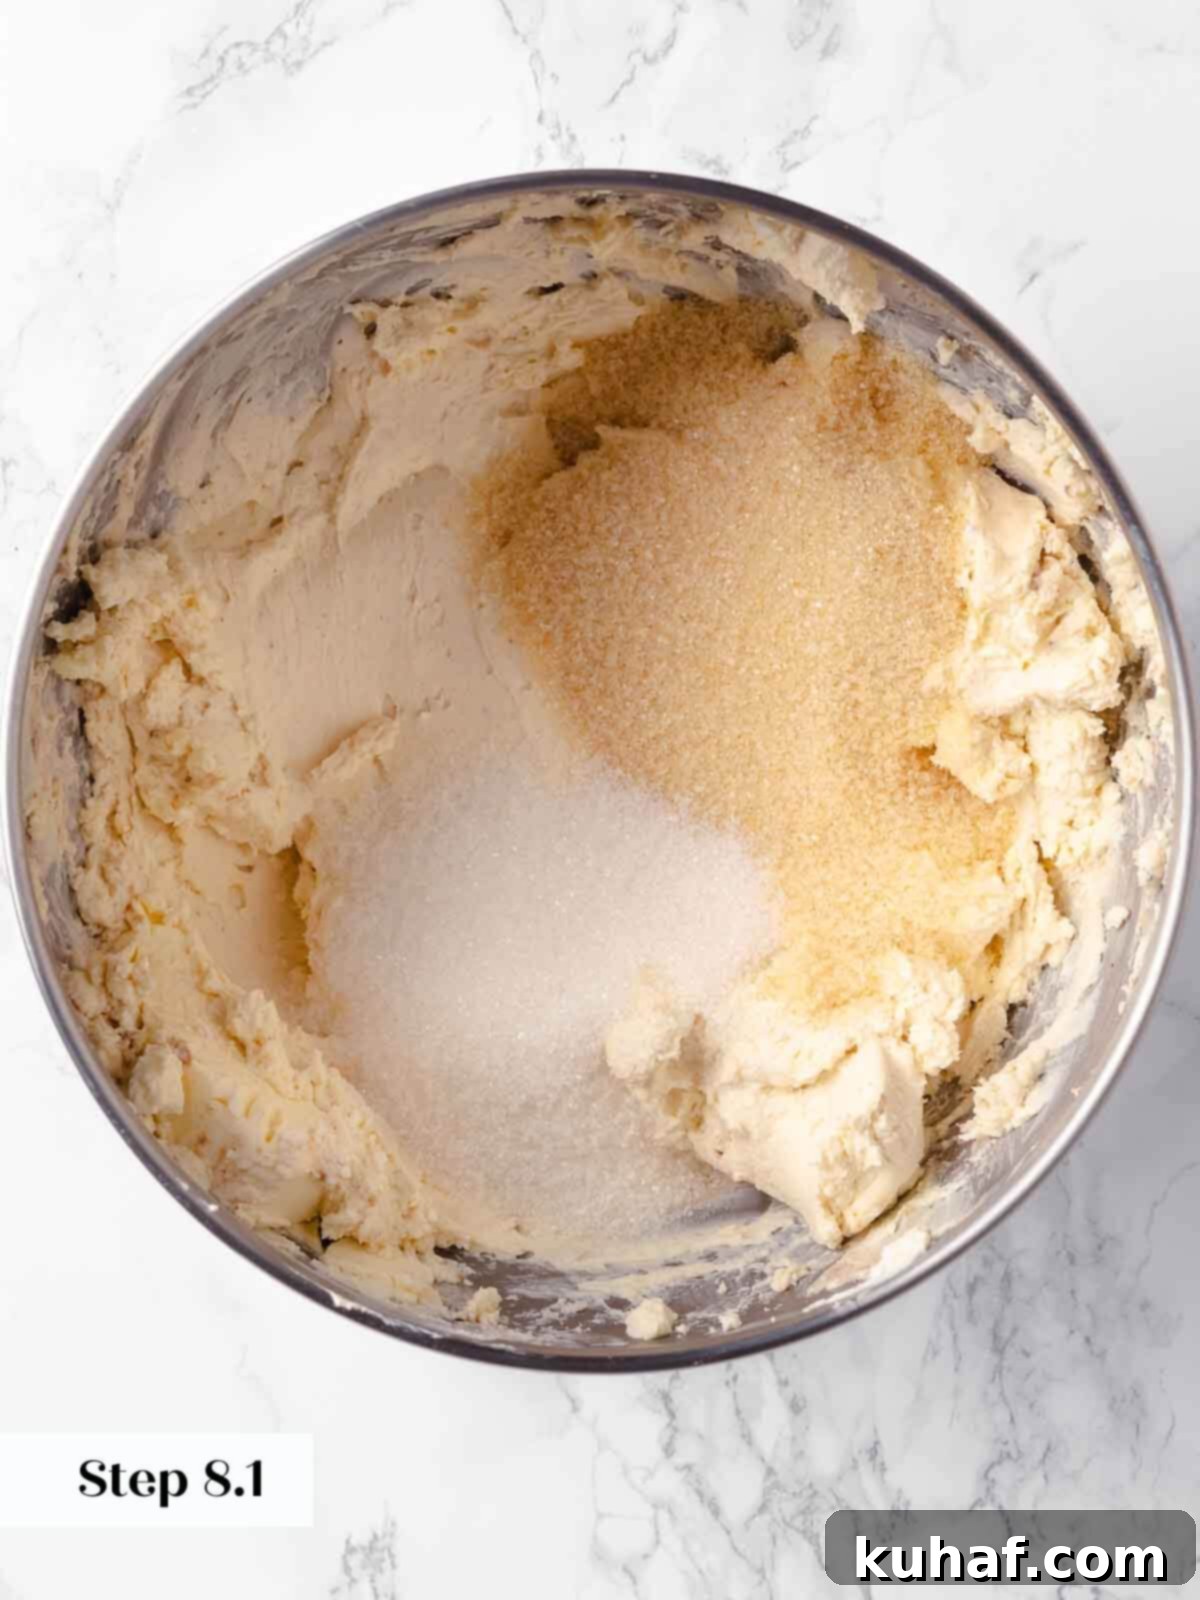
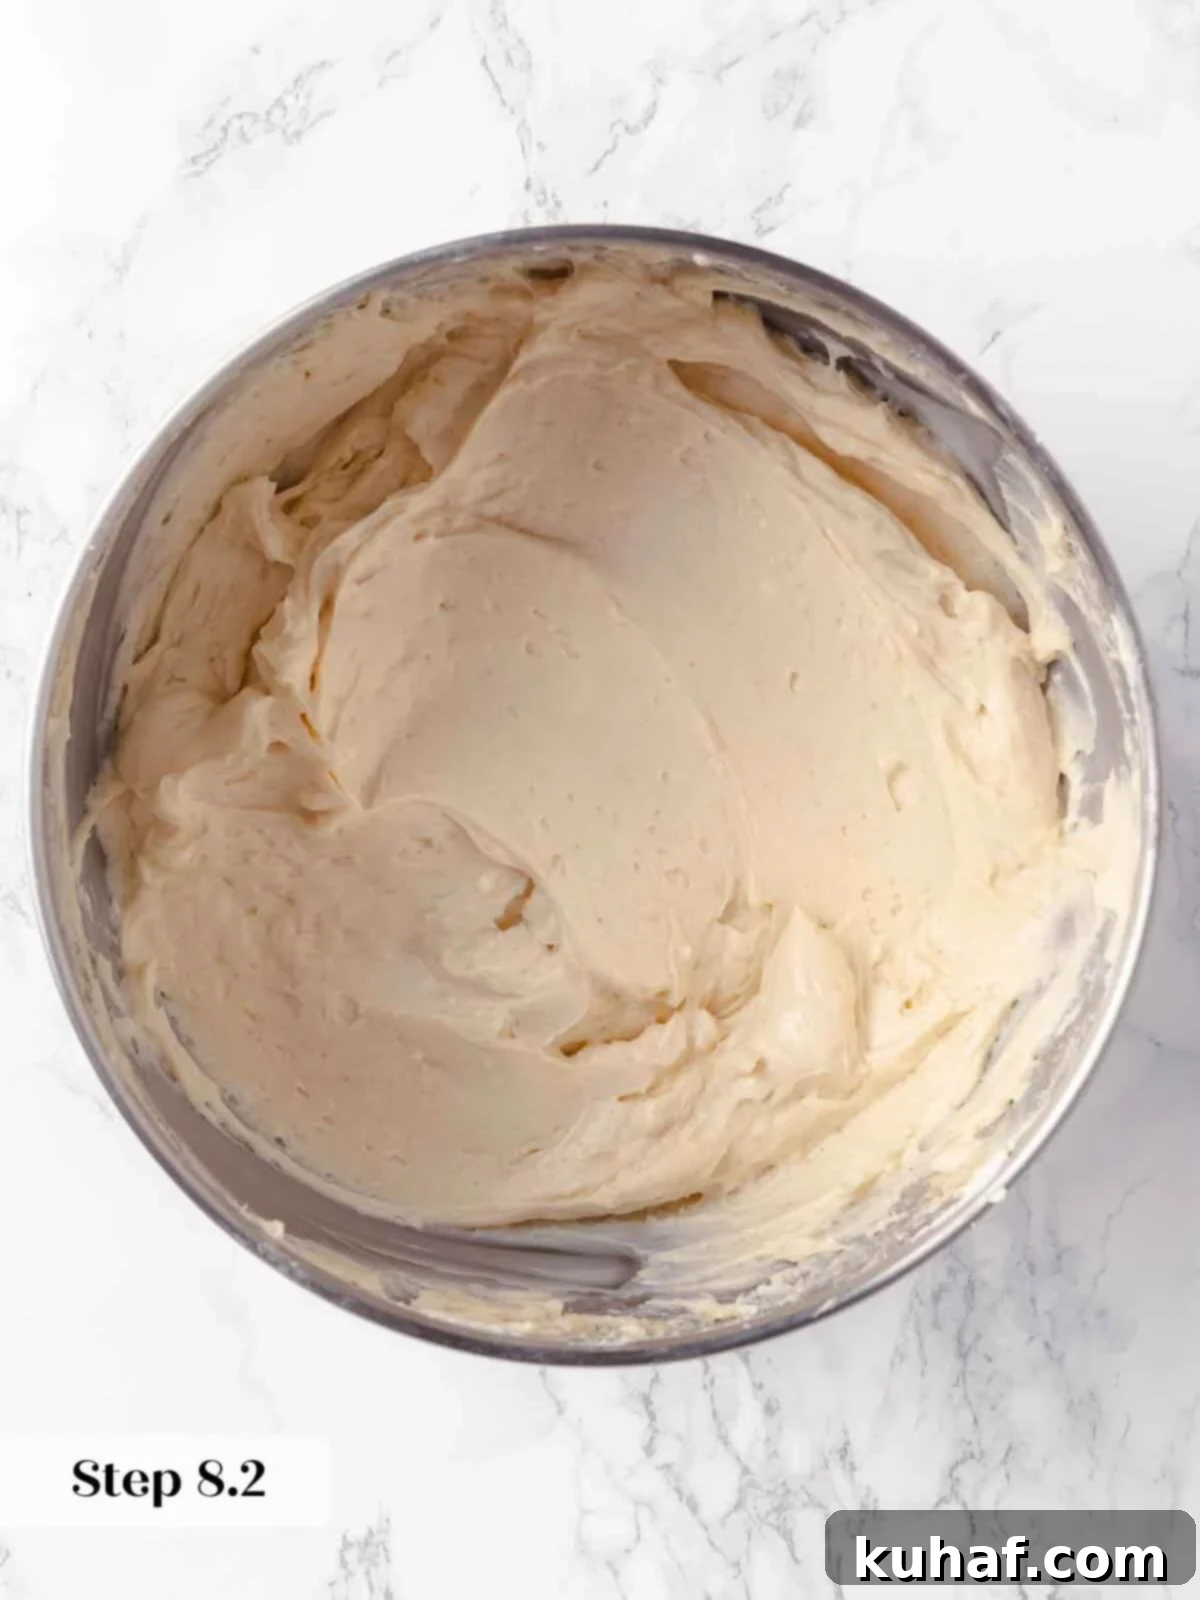
Step 8: Incorporate the Sugars. Add both the granulated sugar and the packed light brown sugar to the cream cheese mixture. Continue beating on medium speed for at least 3 full minutes. It’s important to beat until you can no longer feel any sugar granules when you rub a small amount of the mixture between your fingers. This ensures the sugars are fully dissolved and incorporated, contributing to a smooth, uniform texture and preventing a gritty cheesecake.
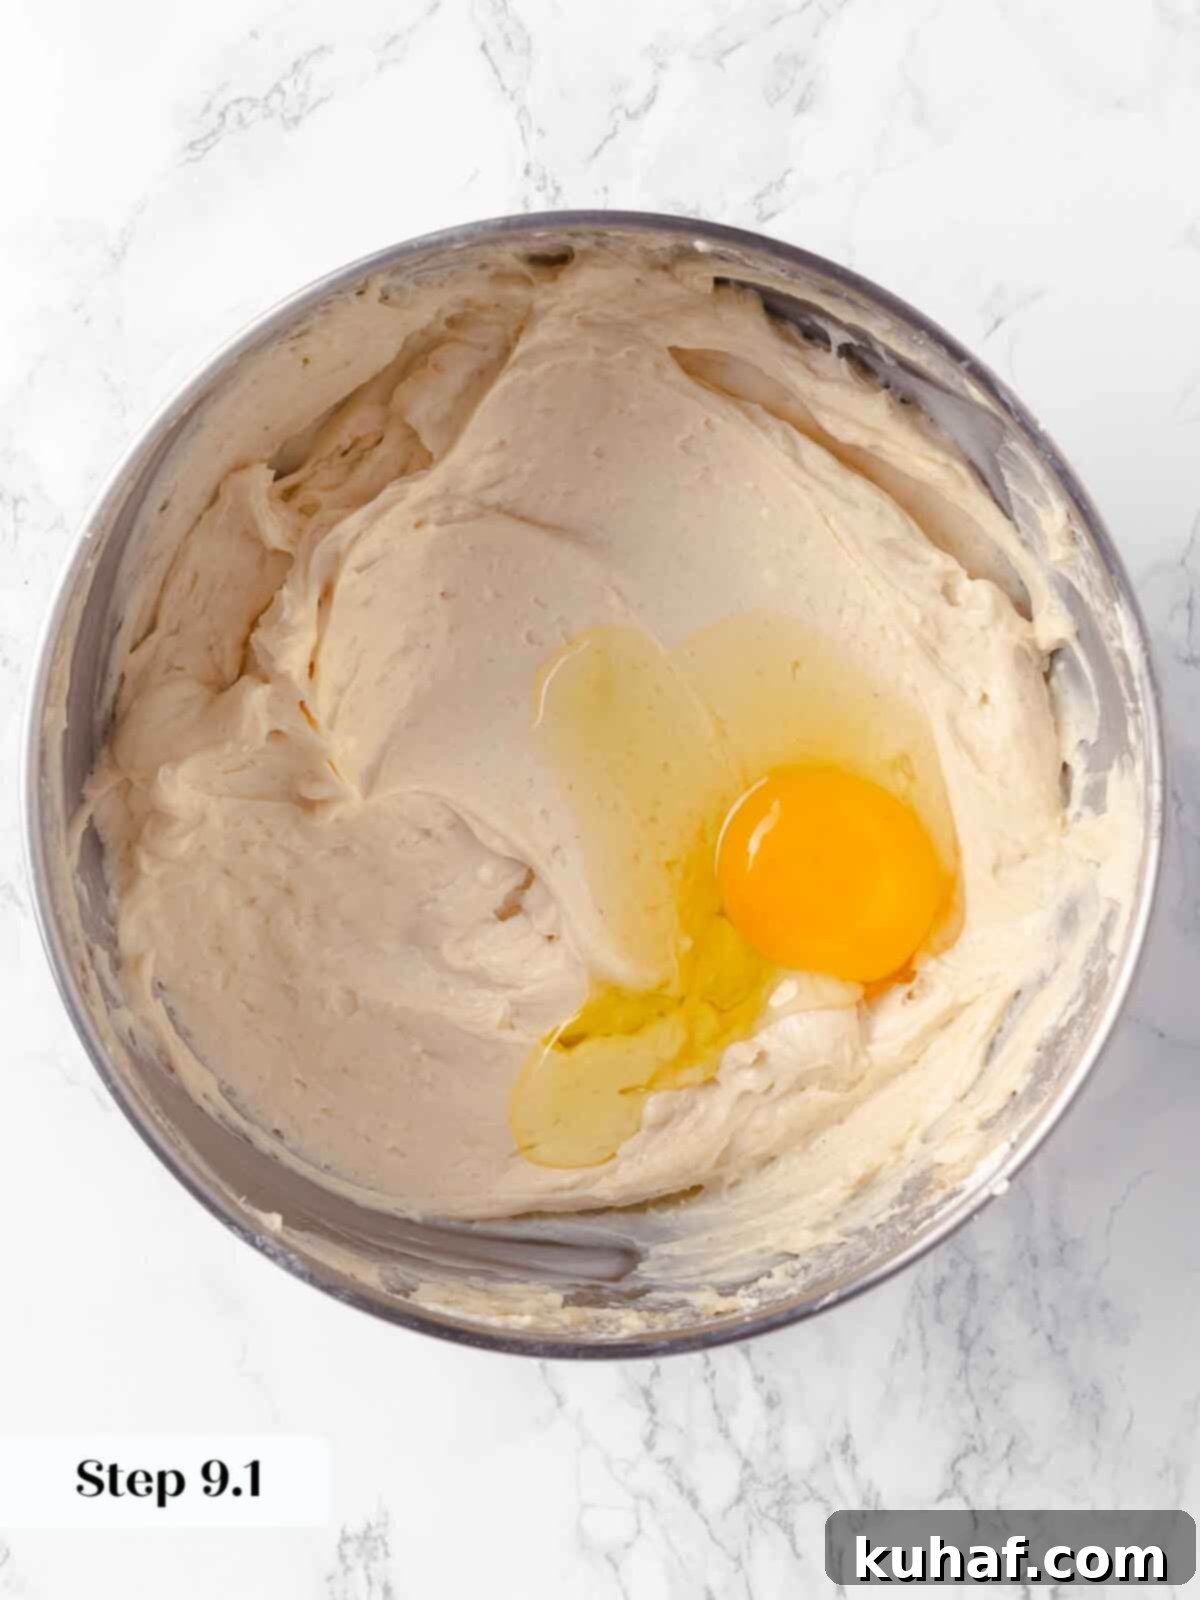
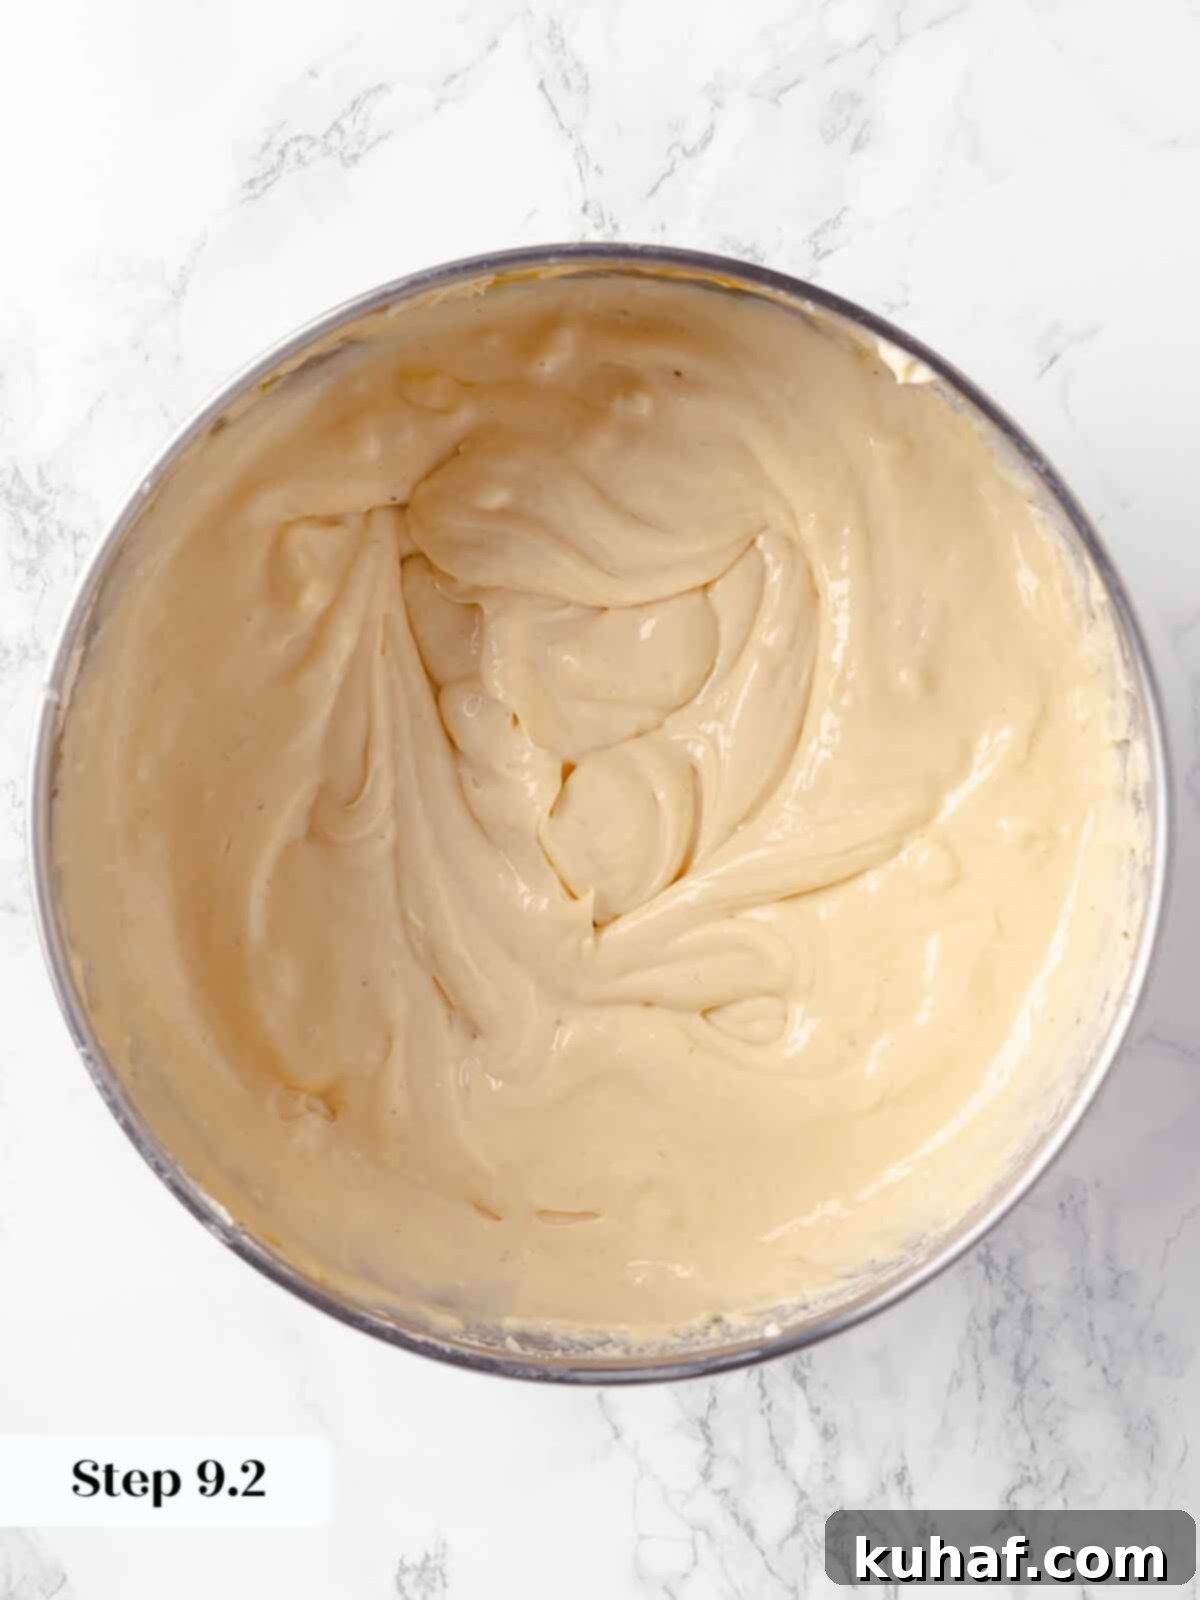
Step 9: Add Eggs Gradually. With the mixer on low speed, add the large eggs one at a time, beating just until each egg is fully incorporated before adding the next. This gentle approach prevents overmixing, which can introduce too much air into the batter and lead to cracks in the baked cheesecake. Add the single egg yolk along with the third whole egg. Scrape down the sides and bottom of the bowl after each addition to ensure all ingredients are evenly mixed into the smooth batter.
Crucial Mixing Tip: Throughout the mixing process, especially when adding eggs and sugars, it’s essential to frequently scrape down the edges and the bottom of your stand mixer bowl. Any unmixed bits of cream cheese, sugar, or egg clinging to the bowl can lead to an inconsistent texture in your finished cheesecake. A thorough scrape ensures a perfectly uniform batter.
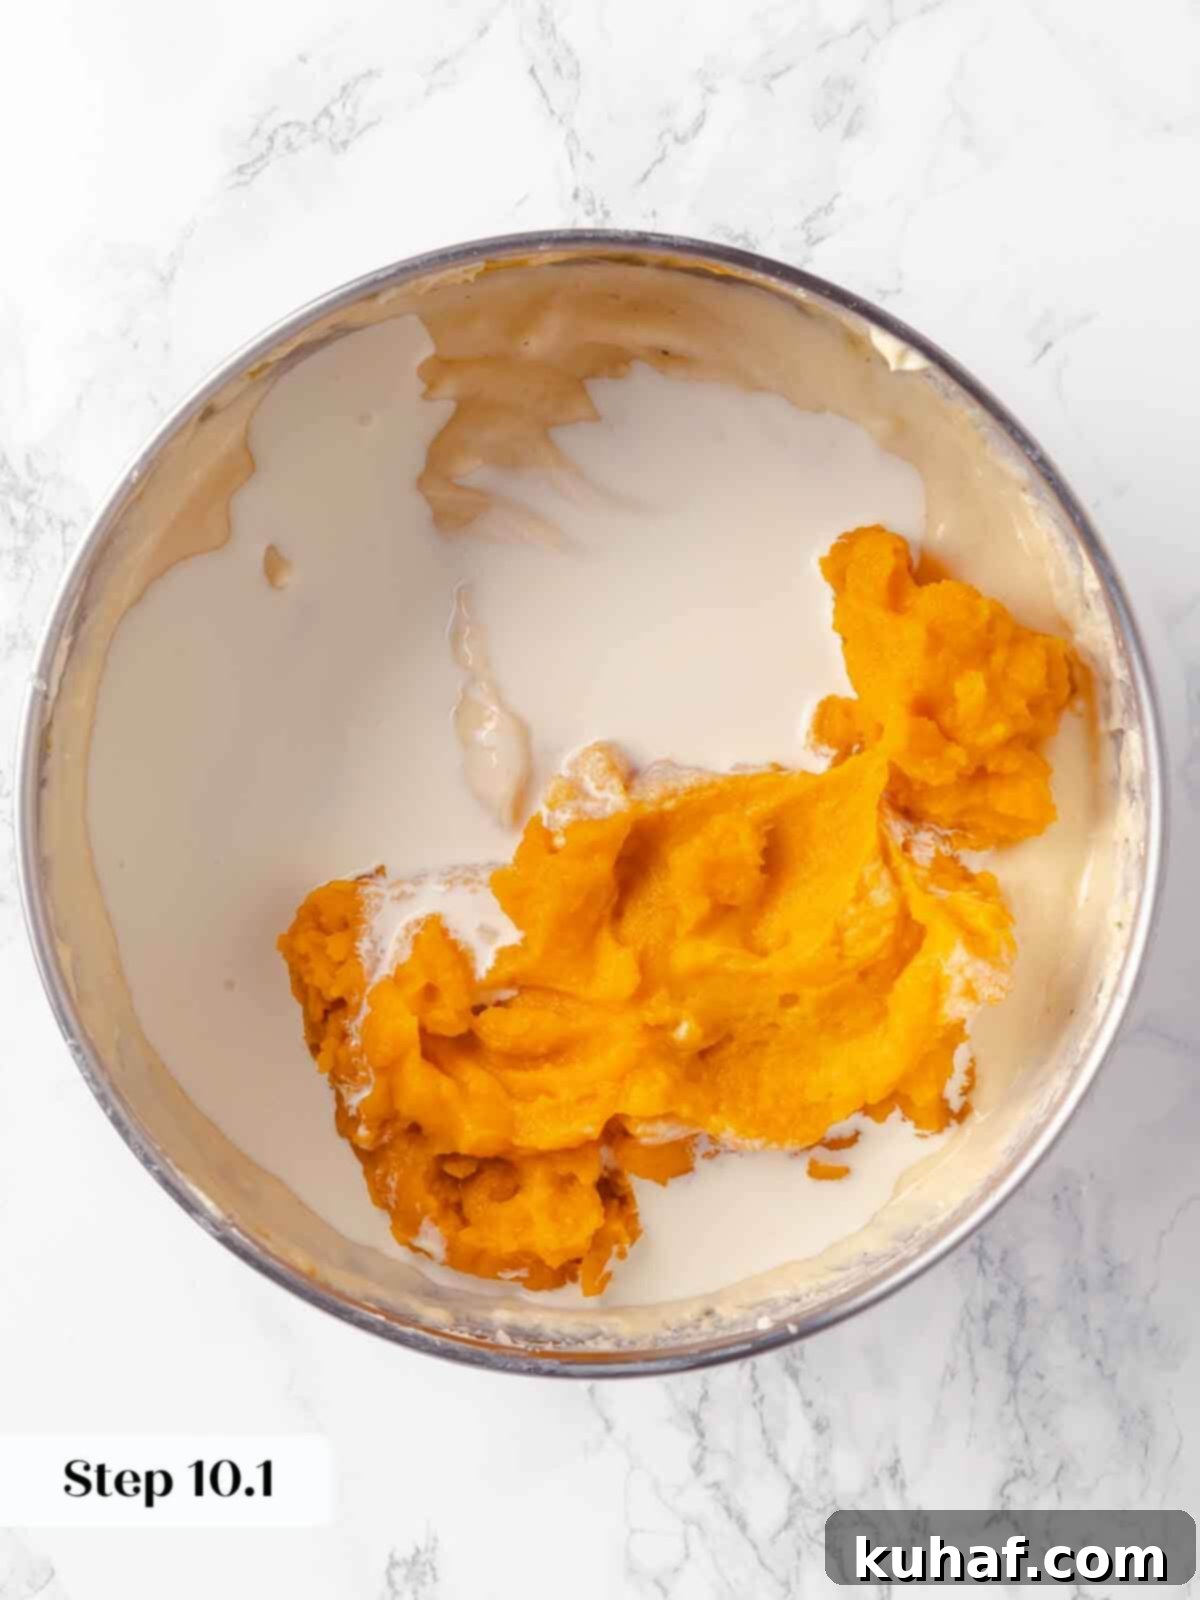
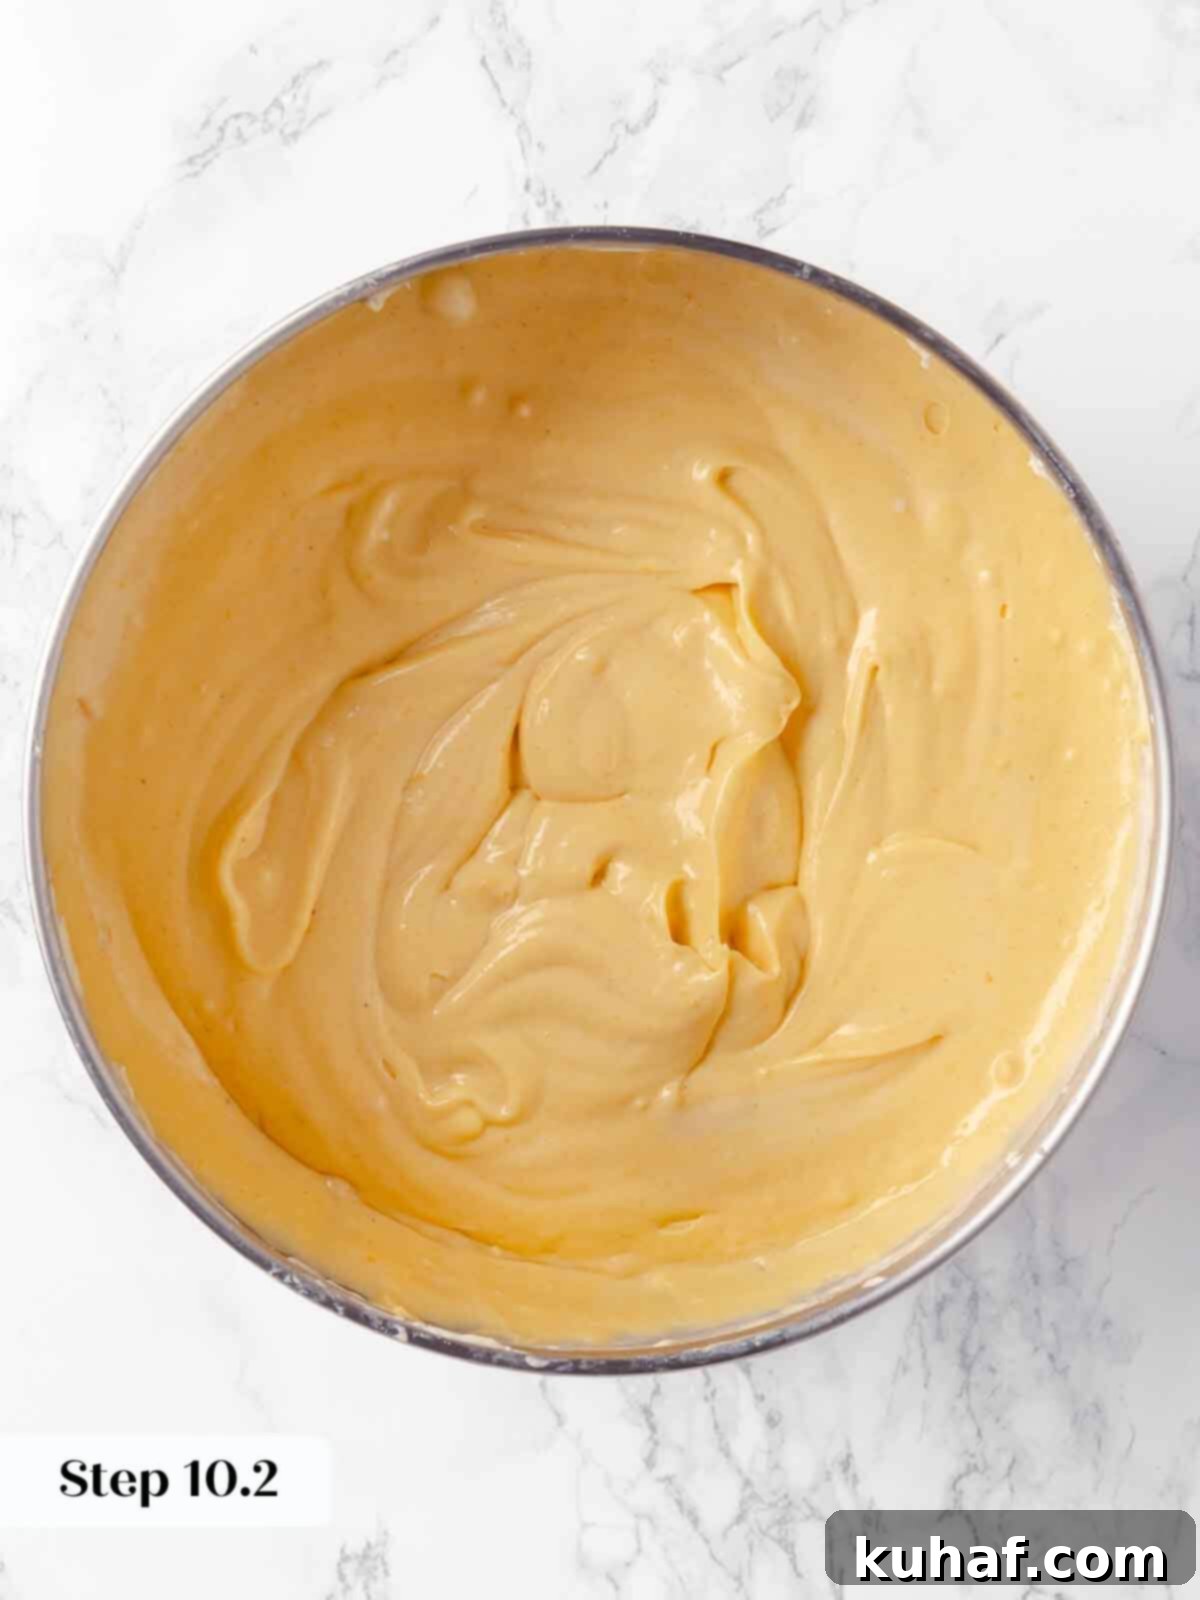
Step 10: Fold in Pumpkin Puree and Heavy Cream. Add the pumpkin puree and heavy cream to the cheesecake batter. Start the mixer on the lowest speed to gently combine, then increase the speed slightly to ensure full incorporation, but only mix until just combined. Be careful not to overmix at this stage.
Smooth Pumpkin Puree Tip: To ensure an even smoother cheesecake and prevent any pumpkin puree from clumping in the final product, consider immersion blending or vigorously whisking the pumpkin puree and heavy cream together in a separate bowl before adding them to the main cheesecake batter. This pre-blending step ensures a perfectly uniform and lump-free pumpkin mixture.
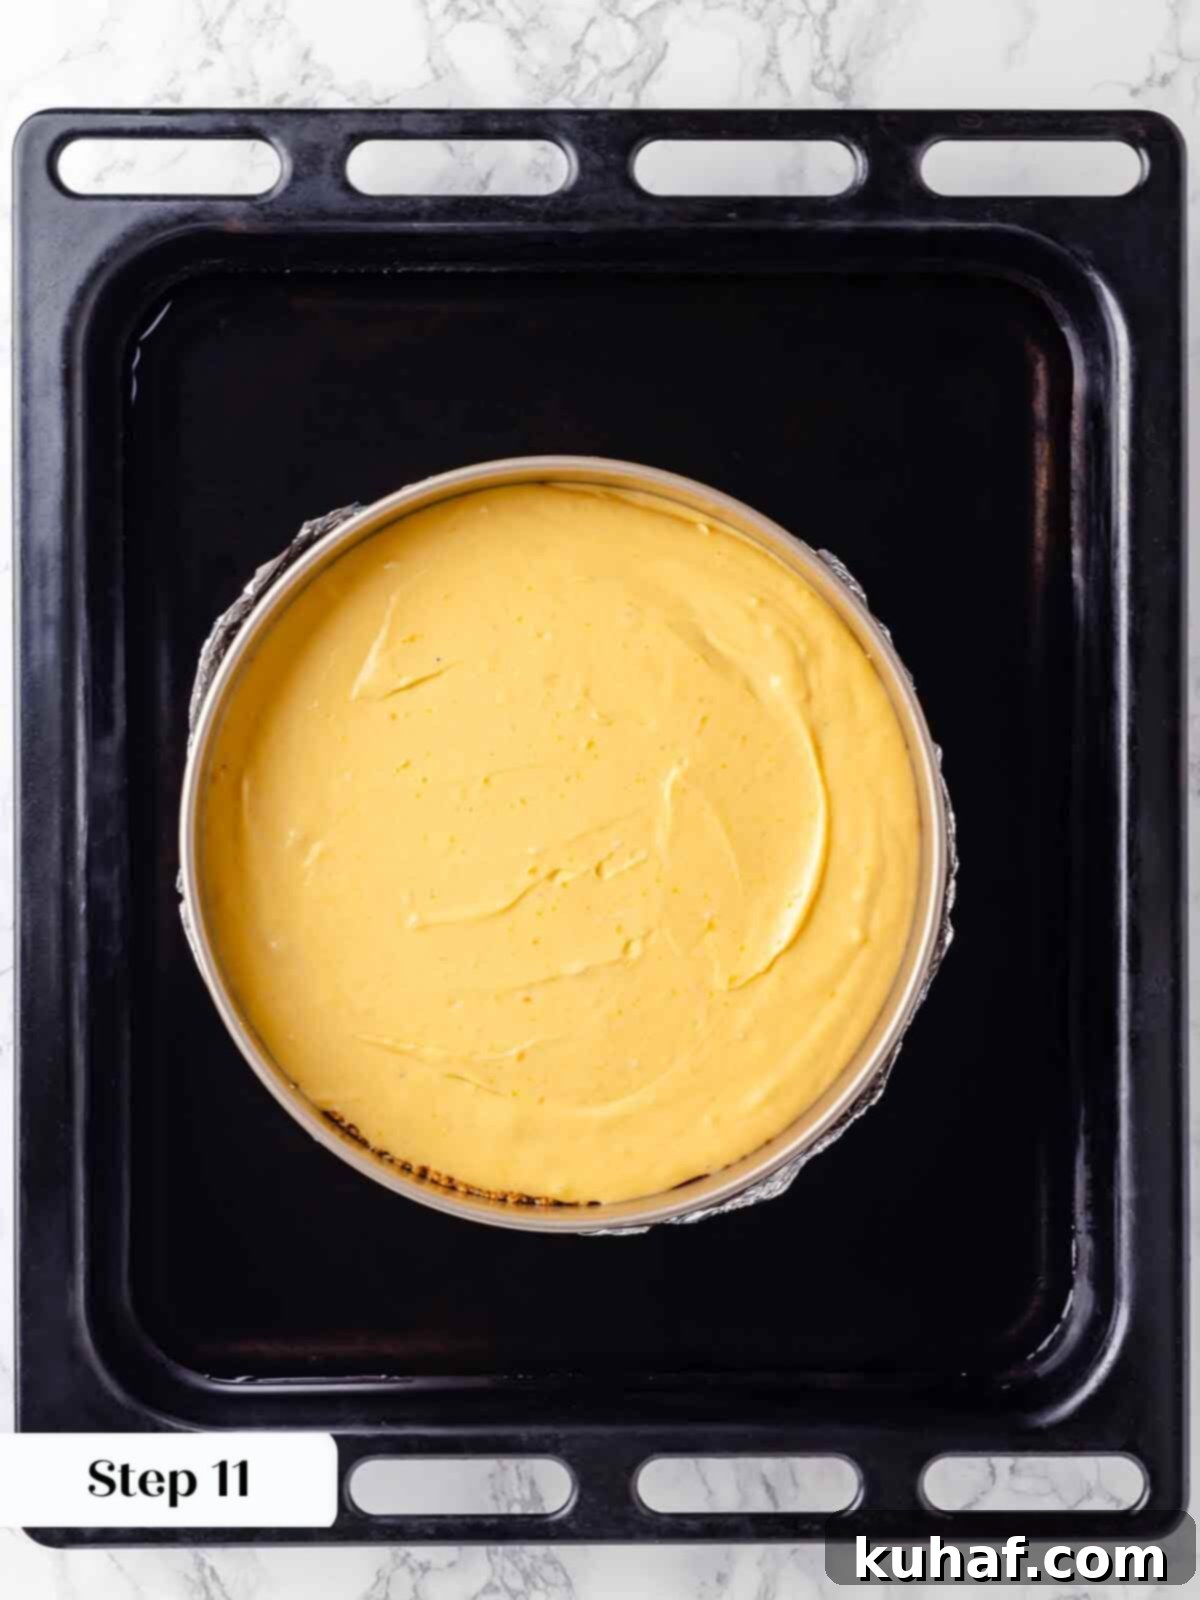
Step 11: Pour into Pan and Prepare Water Bath. Carefully pour the finished pumpkin cheesecake filling into your prepared springform pan with the pre-baked crust. To create the water bath, find a large roasting pan that is big enough to comfortably hold your springform pan. Place the springform pan (nested within its foil layers) inside the larger roasting pan in the oven. Once it’s in the oven, carefully pour hot (but not boiling) water into the roasting pan, ensuring the water level comes about halfway up the sides of the springform pan. Adding the water once the pan is already in the oven significantly reduces the risk of accidental spills and water getting into your cheesecake before it even starts baking!
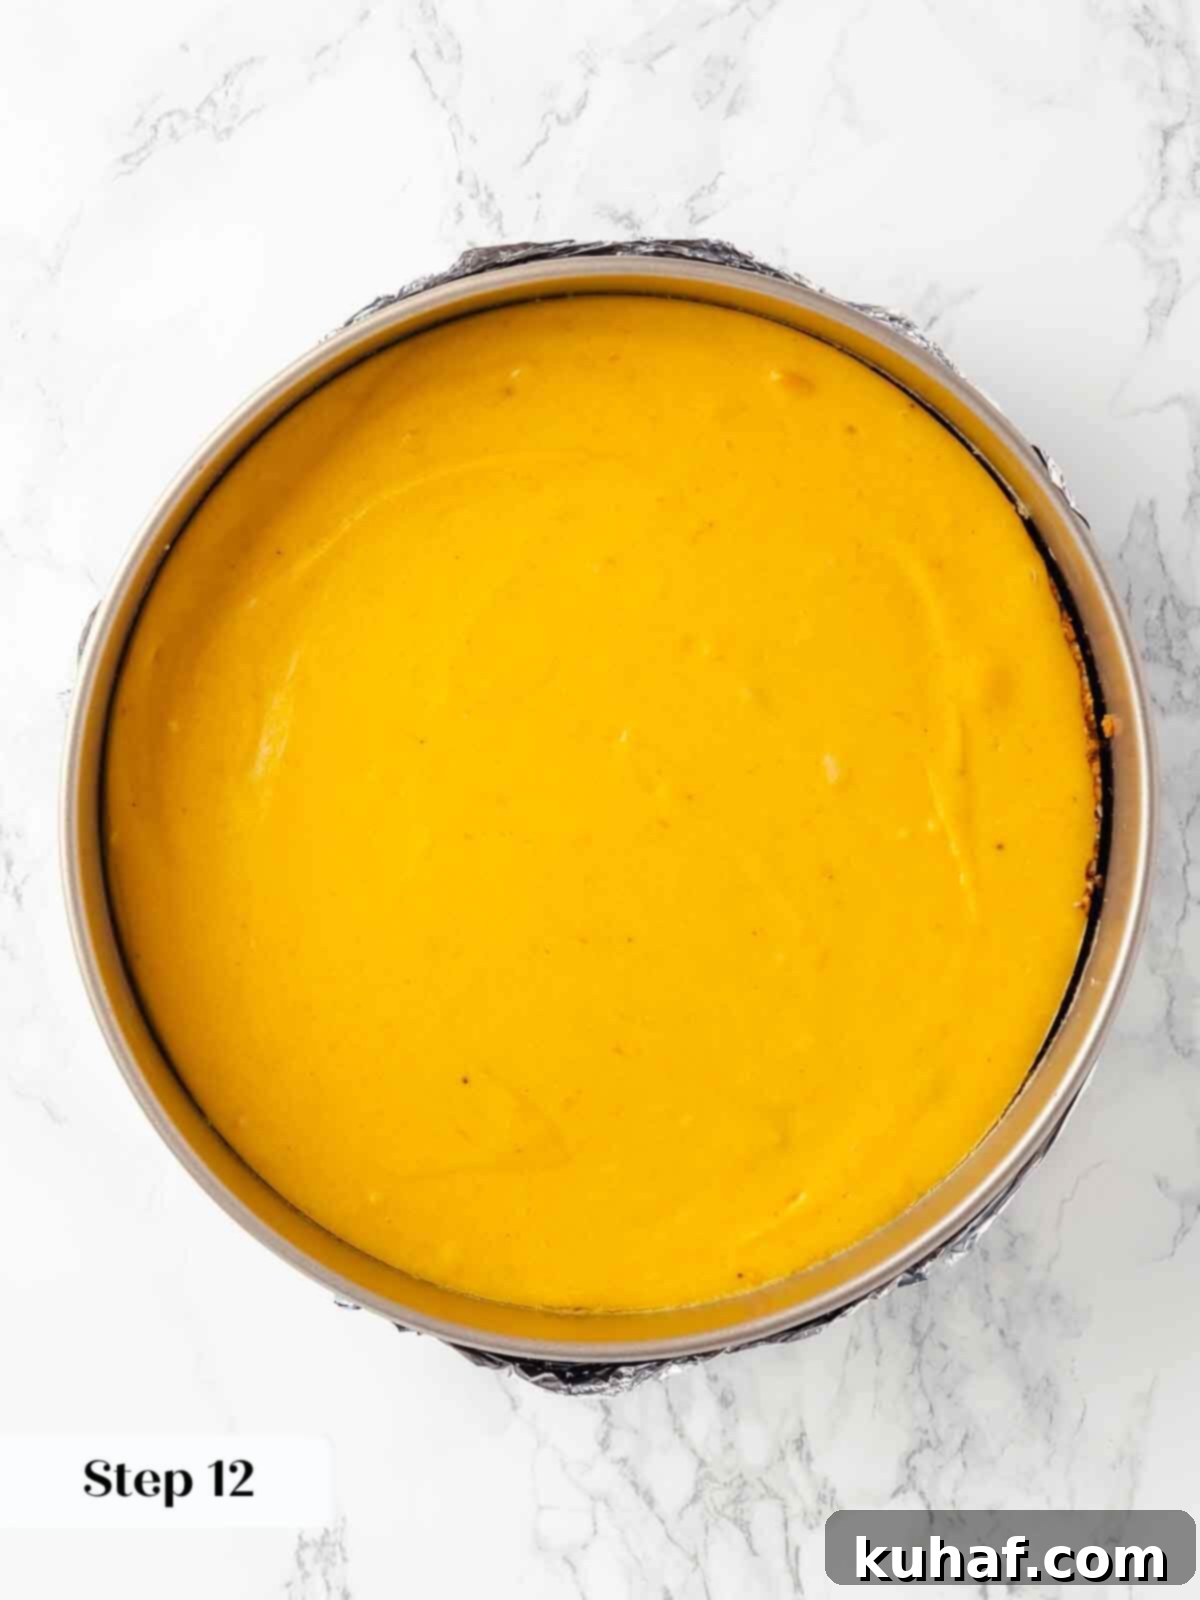
Step 12: Bake the Cheesecake. Bake in the preheated 325°F (160°C) oven for approximately 1 hour and 40 minutes. The cheesecake is done when the edges appear set, but the center still has a slight, cohesive wobble—it should jiggle like a firm Jell-O, not appear liquid or loose. The cake will puff slightly, but the jiggle should be in one unified motion, indicating it’s nearly set. Resist the urge to open the oven door too frequently, especially during the first hour.
Important Baking Precaution: Do not open the oven door for at least the first hour of baking! Opening the door too soon causes a sudden drop in temperature, which can lead to the cheesecake deflating, sinking in the center, or developing unsightly cracks. Patience is key for a perfect, unblemished surface.
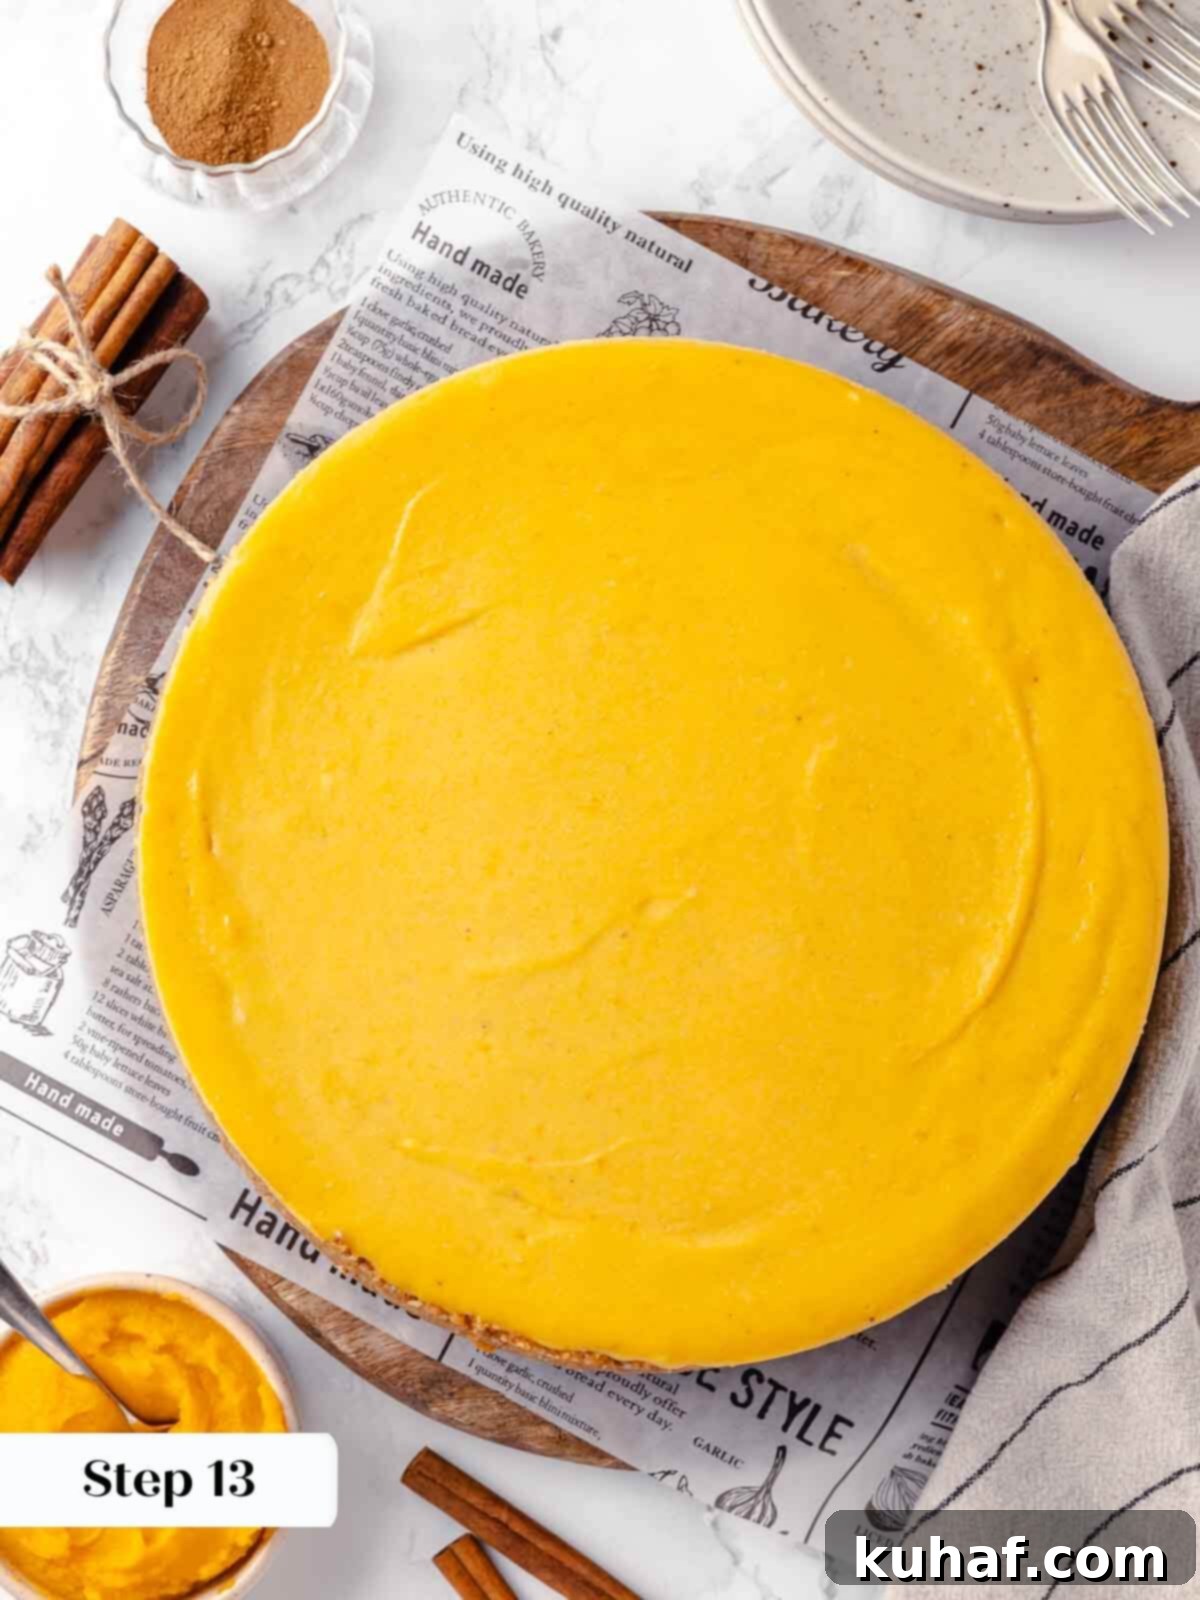
Step 13: Cool Gradually. Once baked, carefully remove the springform pan from the hot water bath (use oven mitts!) and place it on a wire rack to cool completely at room temperature. Simultaneously, carefully remove the roasting pan with the remaining water from the oven and pour out the water. Allowing the cheesecake to cool slowly on the wire rack helps prevent sudden temperature changes that can cause cracking.
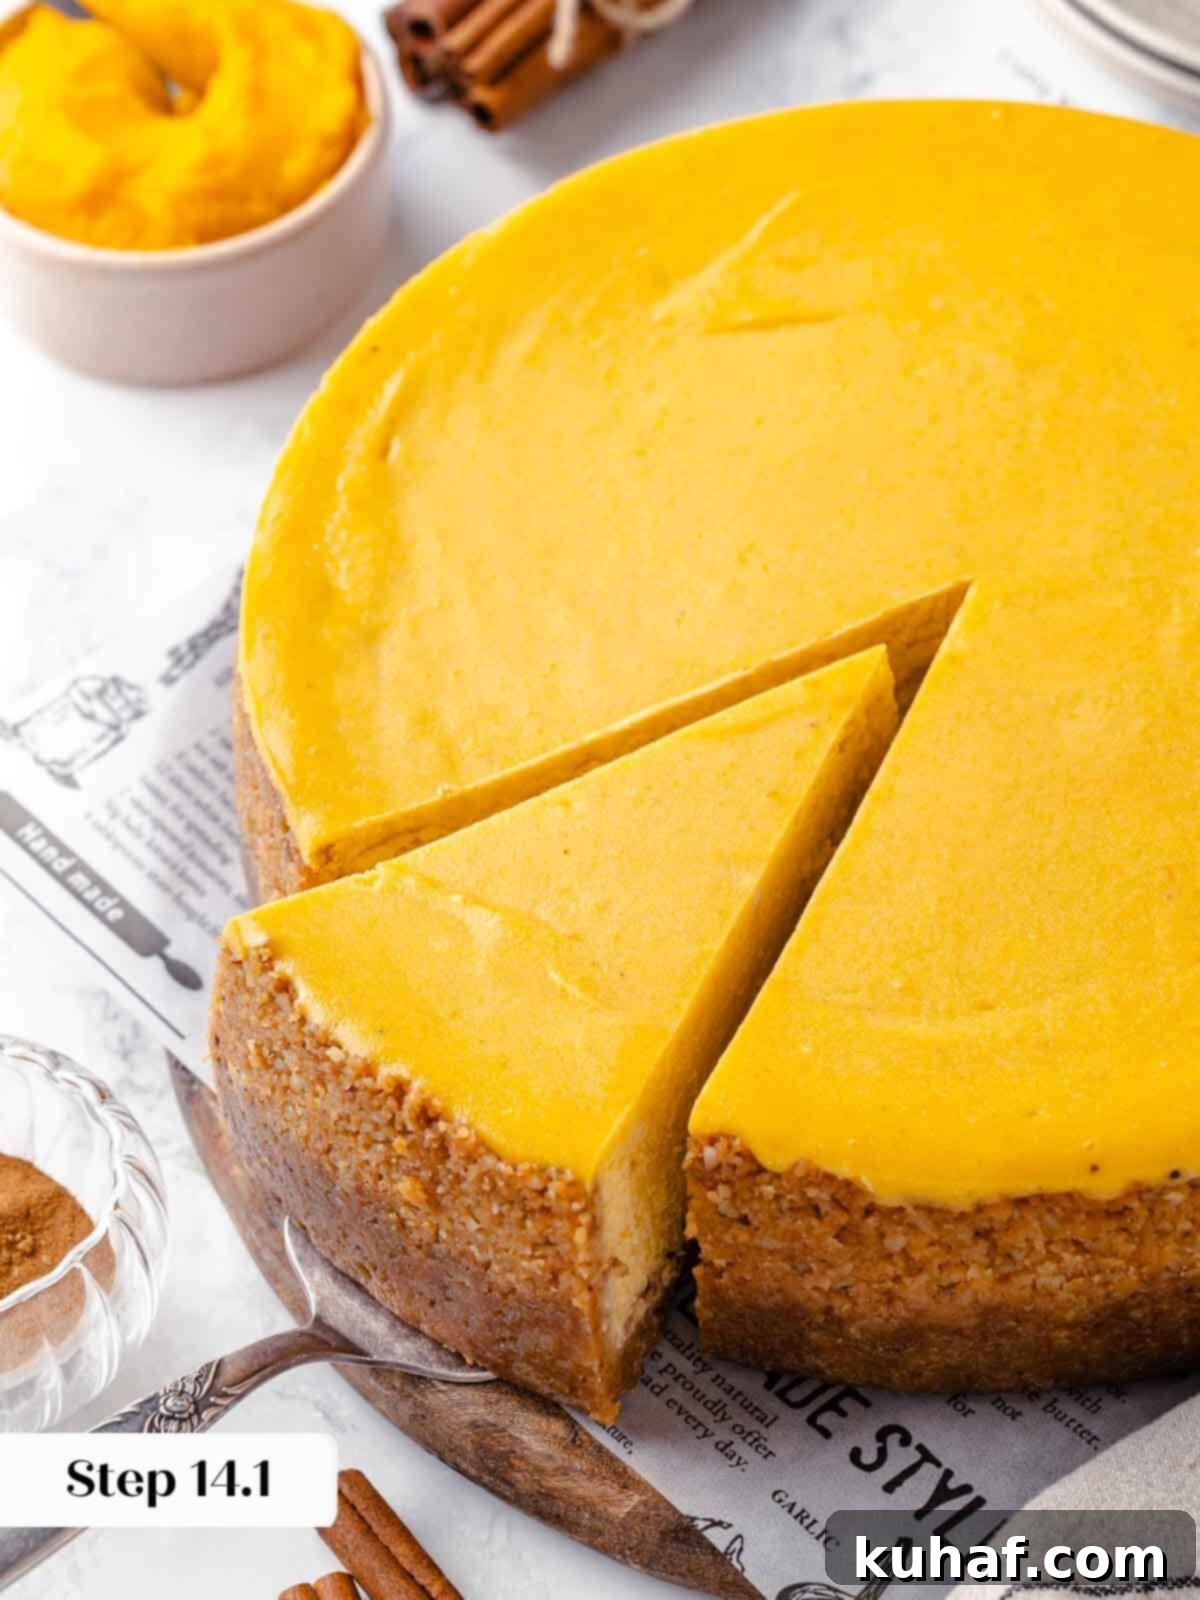
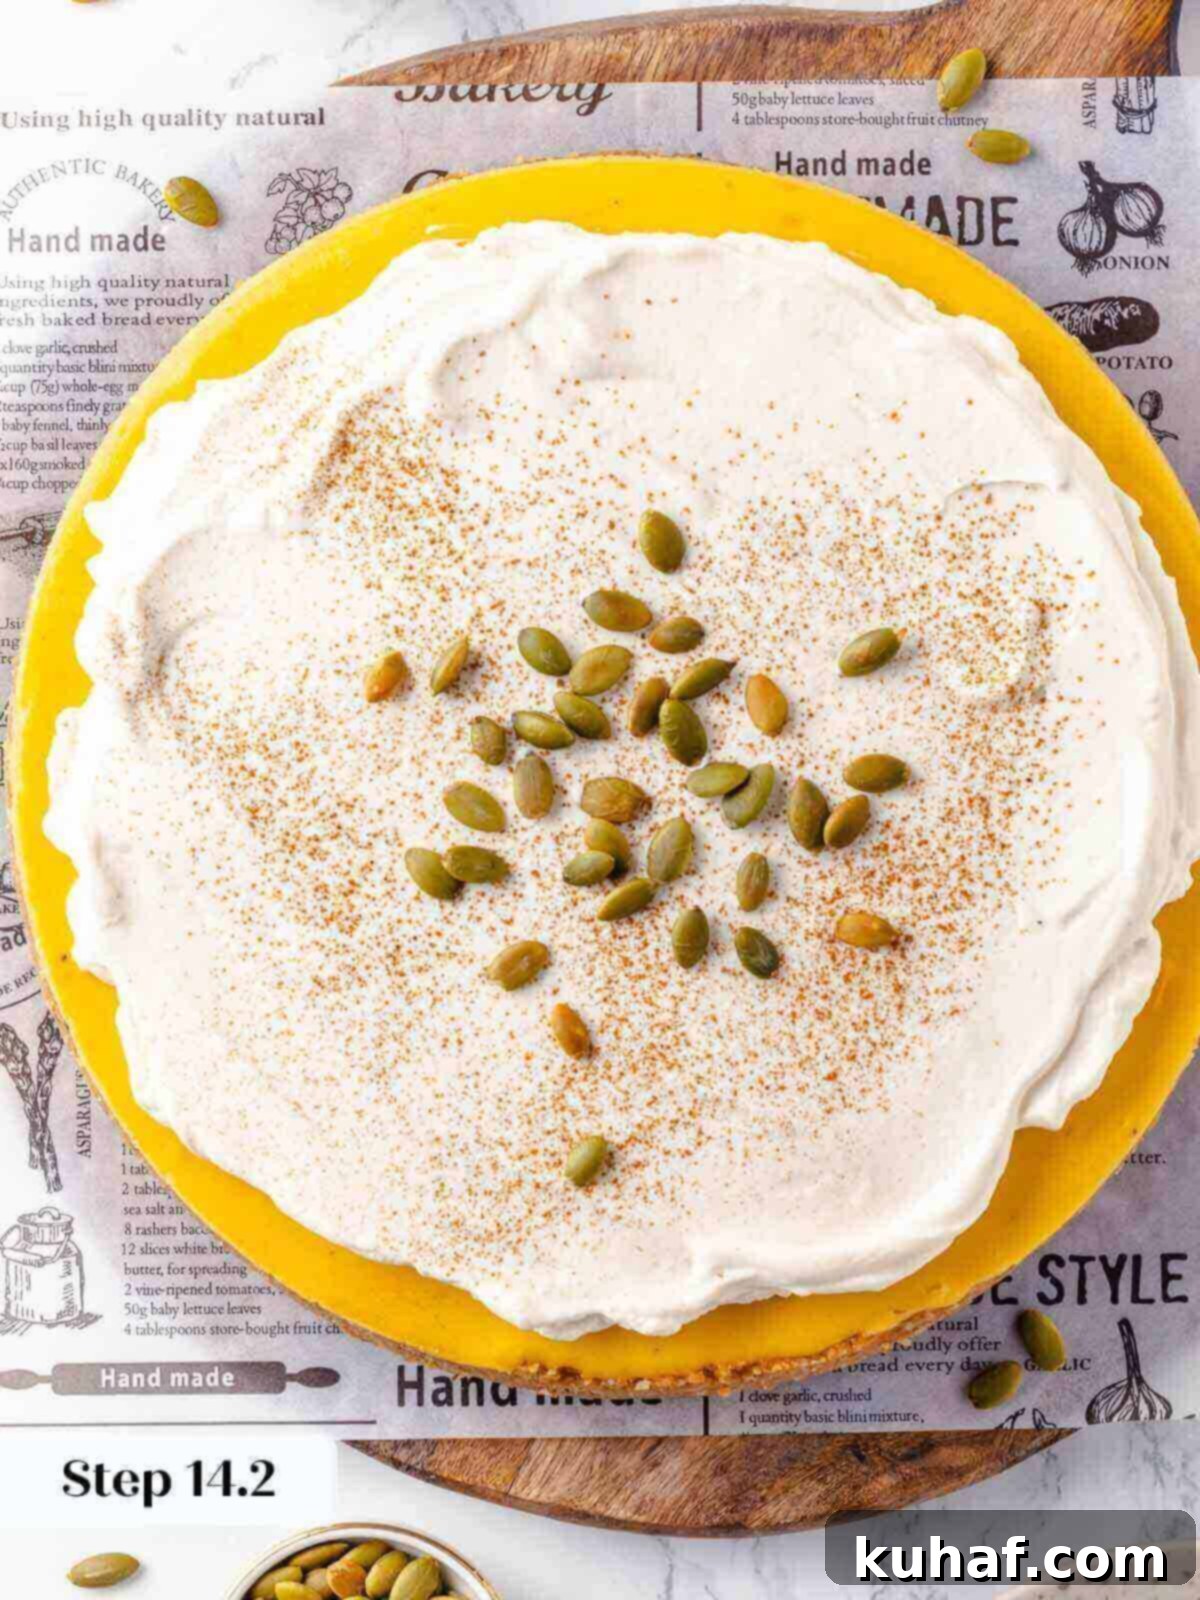
Step 14: Chill Thoroughly and Serve. Once the cheesecake has fully cooled to room temperature, transfer the entire springform pan (with the cheesecake still inside) to the refrigerator. Chill for at least 2 hours, but for the absolute best texture, cleanest slices, and fully developed flavor, I highly recommend chilling it overnight (8-12 hours). Once thoroughly chilled, carefully remove the sides of the springform pan. Serve your magnificent pumpkin cheesecake with a generous dollop of freshly made spiced whipped cream, perhaps with a dusting of extra cinnamon or pumpkin pie spice on top for an elegant finish!
Chef Lindsey’s Recipe Tip: Prevent Cracks with Gradual Cooling
One of the most common issues with cheesecakes is cracking. This often happens due to abrupt temperature changes. For the best chance at a perfectly smooth, uncracked surface, after the cheesecake has finished baking, turn off your oven but leave the cheesecake inside with the oven door slightly ajar (you can prop it open with a wooden spoon). Let it sit in the cooling oven for at least an hour, or even up to two hours. This gradual cooling process allows the cheesecake to adjust to room temperature slowly, significantly reducing the stress that causes cracks. Once cooled in the oven, proceed with cooling on a wire rack and then refrigerating as per the recipe instructions.
Frequently Asked Questions About Pumpkin Cheesecake
Once your pumpkin cheesecake is fully cooled and chilled, store it well wrapped in plastic wrap in the refrigerator for up to 10 days. For longer storage, cheesecake freezes exceptionally well. Wrap individual slices or the entire cheesecake tightly in multiple layers of plastic wrap, then an additional layer of aluminum foil. It can be frozen for up to 3 months. To thaw, simply unwrap the frozen cheesecake and let it slowly come to temperature in the refrigerator overnight, or at room temperature for a few hours. Never use a microwave or oven to thaw, as this will compromise its delicate texture.
While our homemade gingersnap crust is highly recommended for its unique flavor and texture, you can use a store-bought crust as a shortcut. However, most pre-made crusts come in a standard 9-inch pie tin, which is often too shallow for the full volume of this cheesecake recipe. If you opt for a store-bought crust, you might need to use only half of the pumpkin cheesecake filling, or purchase a deeper crust specifically designed for cheesecakes. If using a shallower pie crust, consider baking the remaining batter as mini cheesecakes or cheesecake bars.
For the absolute best results—meaning a perfectly set, dense, and sliceable cheesecake—chilling your pumpkin cheesecake overnight in the refrigerator (for at least 8-12 hours) is strongly recommended. While you can technically chill it for a minimum of 4-5 hours, the cheesecake won’t be as fully set, and slices might not be as clean. The longer chilling time allows the flavors to meld and the texture to firm up beautifully.
If you tried this incredible pumpkin cheesecake recipe and loved it, please take a moment to leave a 🌟 star rating and share your experience in the comments below. Your feedback truly brightens my day, and I love hearing how my recipes turn out for you!
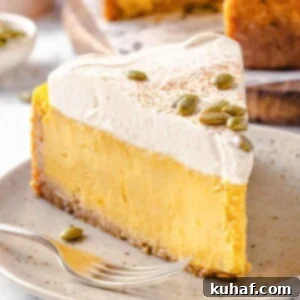
Pumpkin Cheesecake
Chef Lindsey
30 minutes
1 hour
40 minutes
2 hours
16
people
Saved
Pin Recipe
Comment
Print Recipe
Ingredients
Crust:
-
1½
cups
old fashioned gingersnap crumbs
-
¾
cups
walnut pieces
toasted, ground or finely chopped -
6
tablespoons
unsalted butter
melted -
¼
teaspoon
kosher salt
Pumpkin Filling:
-
32
ounces
cream cheese
room temperature, full fat, brick style -
1
teaspoon
vanilla extract
-
1
cup
granulated sugar
-
¾
cup
light brown sugar
packed -
2
teaspoons
ground cinnamon
-
1 ½
teaspoons
ground ginger
-
¼
teaspoon
ground cloves
-
½
teaspoon
nutmeg
freshly grated** -
15
ounces
pumpkin puree
1 can -
3
large eggs
-
1
egg yolk
-
½
cup
heavy cream
Spiced whipped cream
-
2
cups
heavy whipping cream
-
½
teaspoon
pumpkin pie spice
or cinnamon -
1
tablespoon
confectioners’ sugar
Instructions
Make the crust and pan:
-
Preheat the oven to 350°F conventional (no fan). Then, spread the walnuts onto a baking sheet lined with parchment paper. Toast them until they are golden brown; this should take about 5-8 minutes. Set aside to cool.
-
Line the outside of the springform pan with a layer of aluminum foil. The goal is to ensure no water gets in while the cheesecake is baking. Extra-large sheets of foil work best, but you can overlap 2 pieces of foil and roll them to create a seal. Be sure to roll any excess foil outward, or you will just direct the water into your crust.
-
Pulse gingersnaps in a food processor until the cookies form fine crumbs. Then, pulse in the cooled walnuts. Melt the butter either on the stovetop over a pot of water or in the microwave.
-
Combine the cookie crumb mixture, melted butter, and salt in a bowl. Mix very well with your hand, squeezing to create clumps.
-
Press the crust into the springform pan and up the sides. Bake 350°F for 10 minutes or until the center looks matte. Remove from the oven and allow to cool.
Prepare and Bake the Cheesecake:
-
Preheat the oven to 325°F conventional.
-
In the bowl of a stand mixer fitted with the paddle attachment or a very large bowl with an electric hand mixer, beat the cream cheese, spices, and vanilla extract on medium speed until silky, creamy, and smooth.
-
Add both sugars to the cream cheese and beat until no granules are visible. This will take at least 3 full minutes.
-
Add the eggs one at a time and beat well after each addition. Add the egg yolk with the third egg.
-
Add the pumpkin puree and heavy cream and mix to combine. Start the mixer on low, then increase the speed.
-
Pour pumpkin cheesecake filling into the prepared crust. I find a large roasting pan works best for the water bath. Place the baking pan with the springform nested inside in the oven, then pour hot (not boiling) water inside of the pan about halfway up the sides of the cake pan. This reduces the risk of getting water in your cheesecake before you even start!
-
Bake in the preheated oven for 1 hour and 40 minutes or until set but still wobbly. The cake will puff slightly and jiggle like jello but not look loose in the center. You know how Jello moves in one cohesive unit? It should look like that.
-
Carefully remove the springform pan from the water bath and place it on a wire rack to cool completely. Then, carefully remove the water bath from the oven and pour it out.
-
Refrigerate the cheesecake in the pan for at least 2 hours or overnight. Overnight is best because the texture will completely set. Serve with a dollop of spiced whipped cream—maybe with some additional spice dusted on top!
Notes
Yield – 9-inch springform pan.
Presentation – Dip a knife into hot water, wipe clean, and slice. Do this with every cut for the perfect slice every time.
Technique – The most important thing is that your ingredients are at room temperature for the best texture.
Storage – Store cooled cheesecake well wrapped in plastic wrap for up to 10 days or frozen for up to 3 months.
Nutrition
Calories:
559
kcal
|
Carbohydrates:
39
g
|
Protein:
8
g
|
Fat:
43
g
|
Saturated Fat:
24
g
|
Polyunsaturated Fat:
5
g
|
Monounsaturated Fat:
11
g
|
Trans Fat:
0.2
g
|
Cholesterol:
153
mg
|
Sodium:
301
mg
|
Potassium:
258
mg
|
Fiber:
2
g
|
Sugar:
29
g
|
Vitamin A:
5639
IU
|
Vitamin C:
1
mg
|
Calcium:
120
mg
|
Iron:
2
mg
Dessert
American
559
Like this? Leave a comment below!
Before You Go: Explore More Delicious Recipes
I genuinely hope you enjoyed baking and, most importantly, savoring this professional chef-tested pumpkin cheesecake recipe. This dessert is a true labor of love, designed to bring joy and comfort to your table. Don’t stop here! Be sure to explore our extensive collection of other delicious, chef-developed cake recipes, perfect for any occasion, from everyday treats to grand celebrations. Happy baking!
