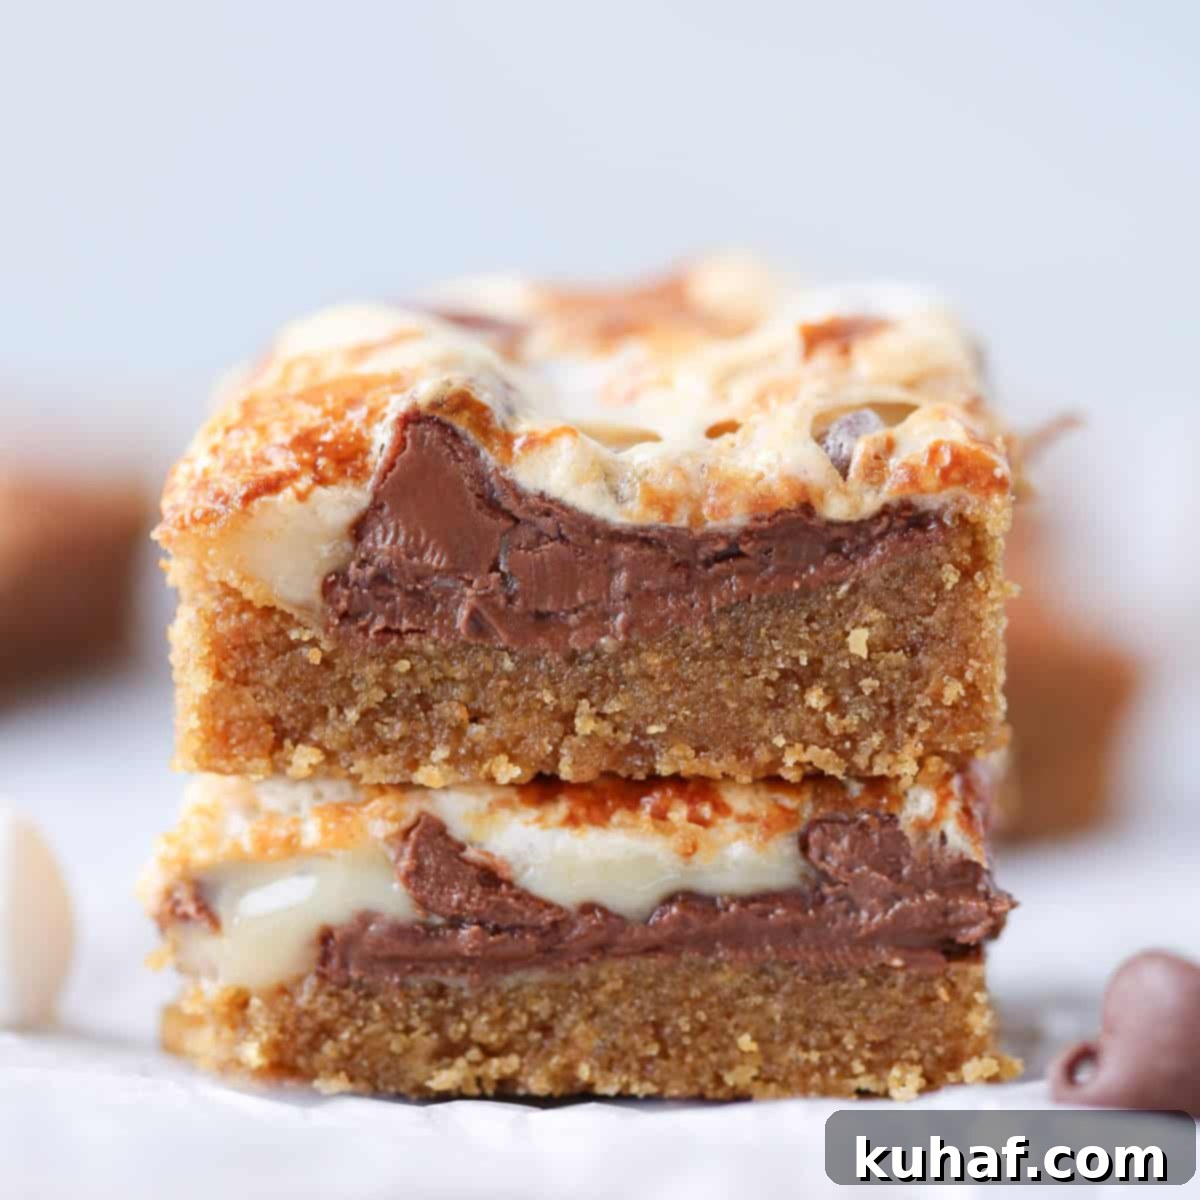
Irresistible Ooey Gooey S’mores Bars: Your Easiest No-Campfire Treat!
Prepare for an explosion of flavor and texture with these truly irresistible Ooey Gooey S’mores Bars! This recipe delivers all the beloved taste and comforting nostalgia of traditional campfire s’mores, but without the need for a roaring fire or a camping trip. They are incredibly easy to pull together, making them a perfect crowd-pleaser for any gathering, or simply a delightful treat to satisfy your sweet tooth right at home.
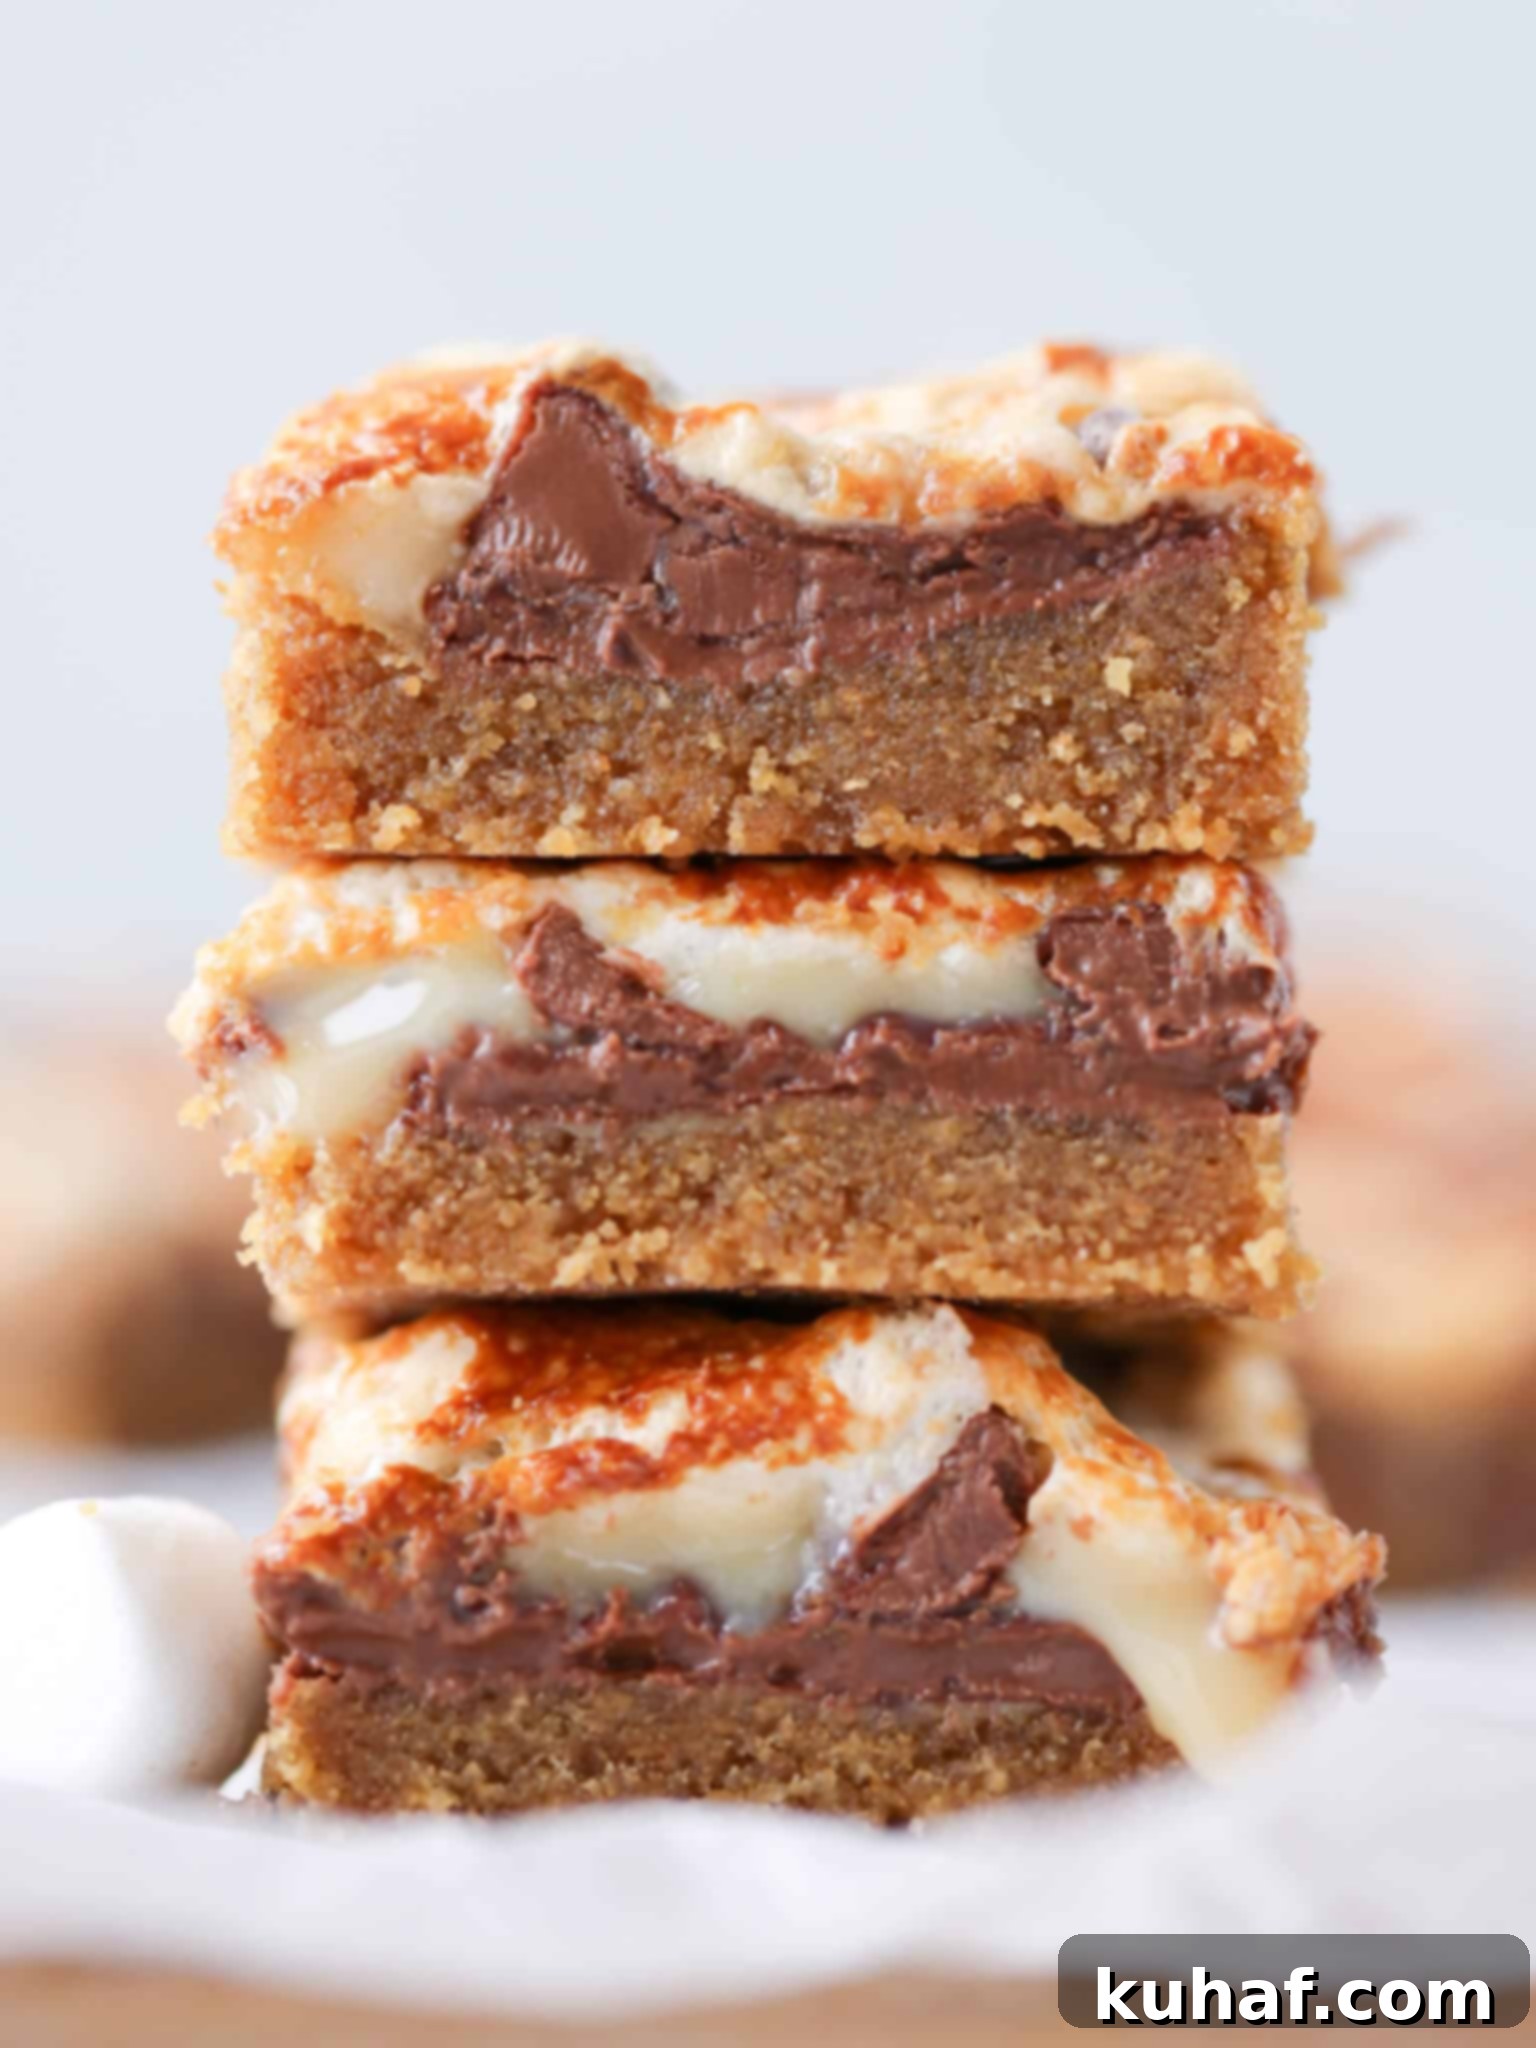
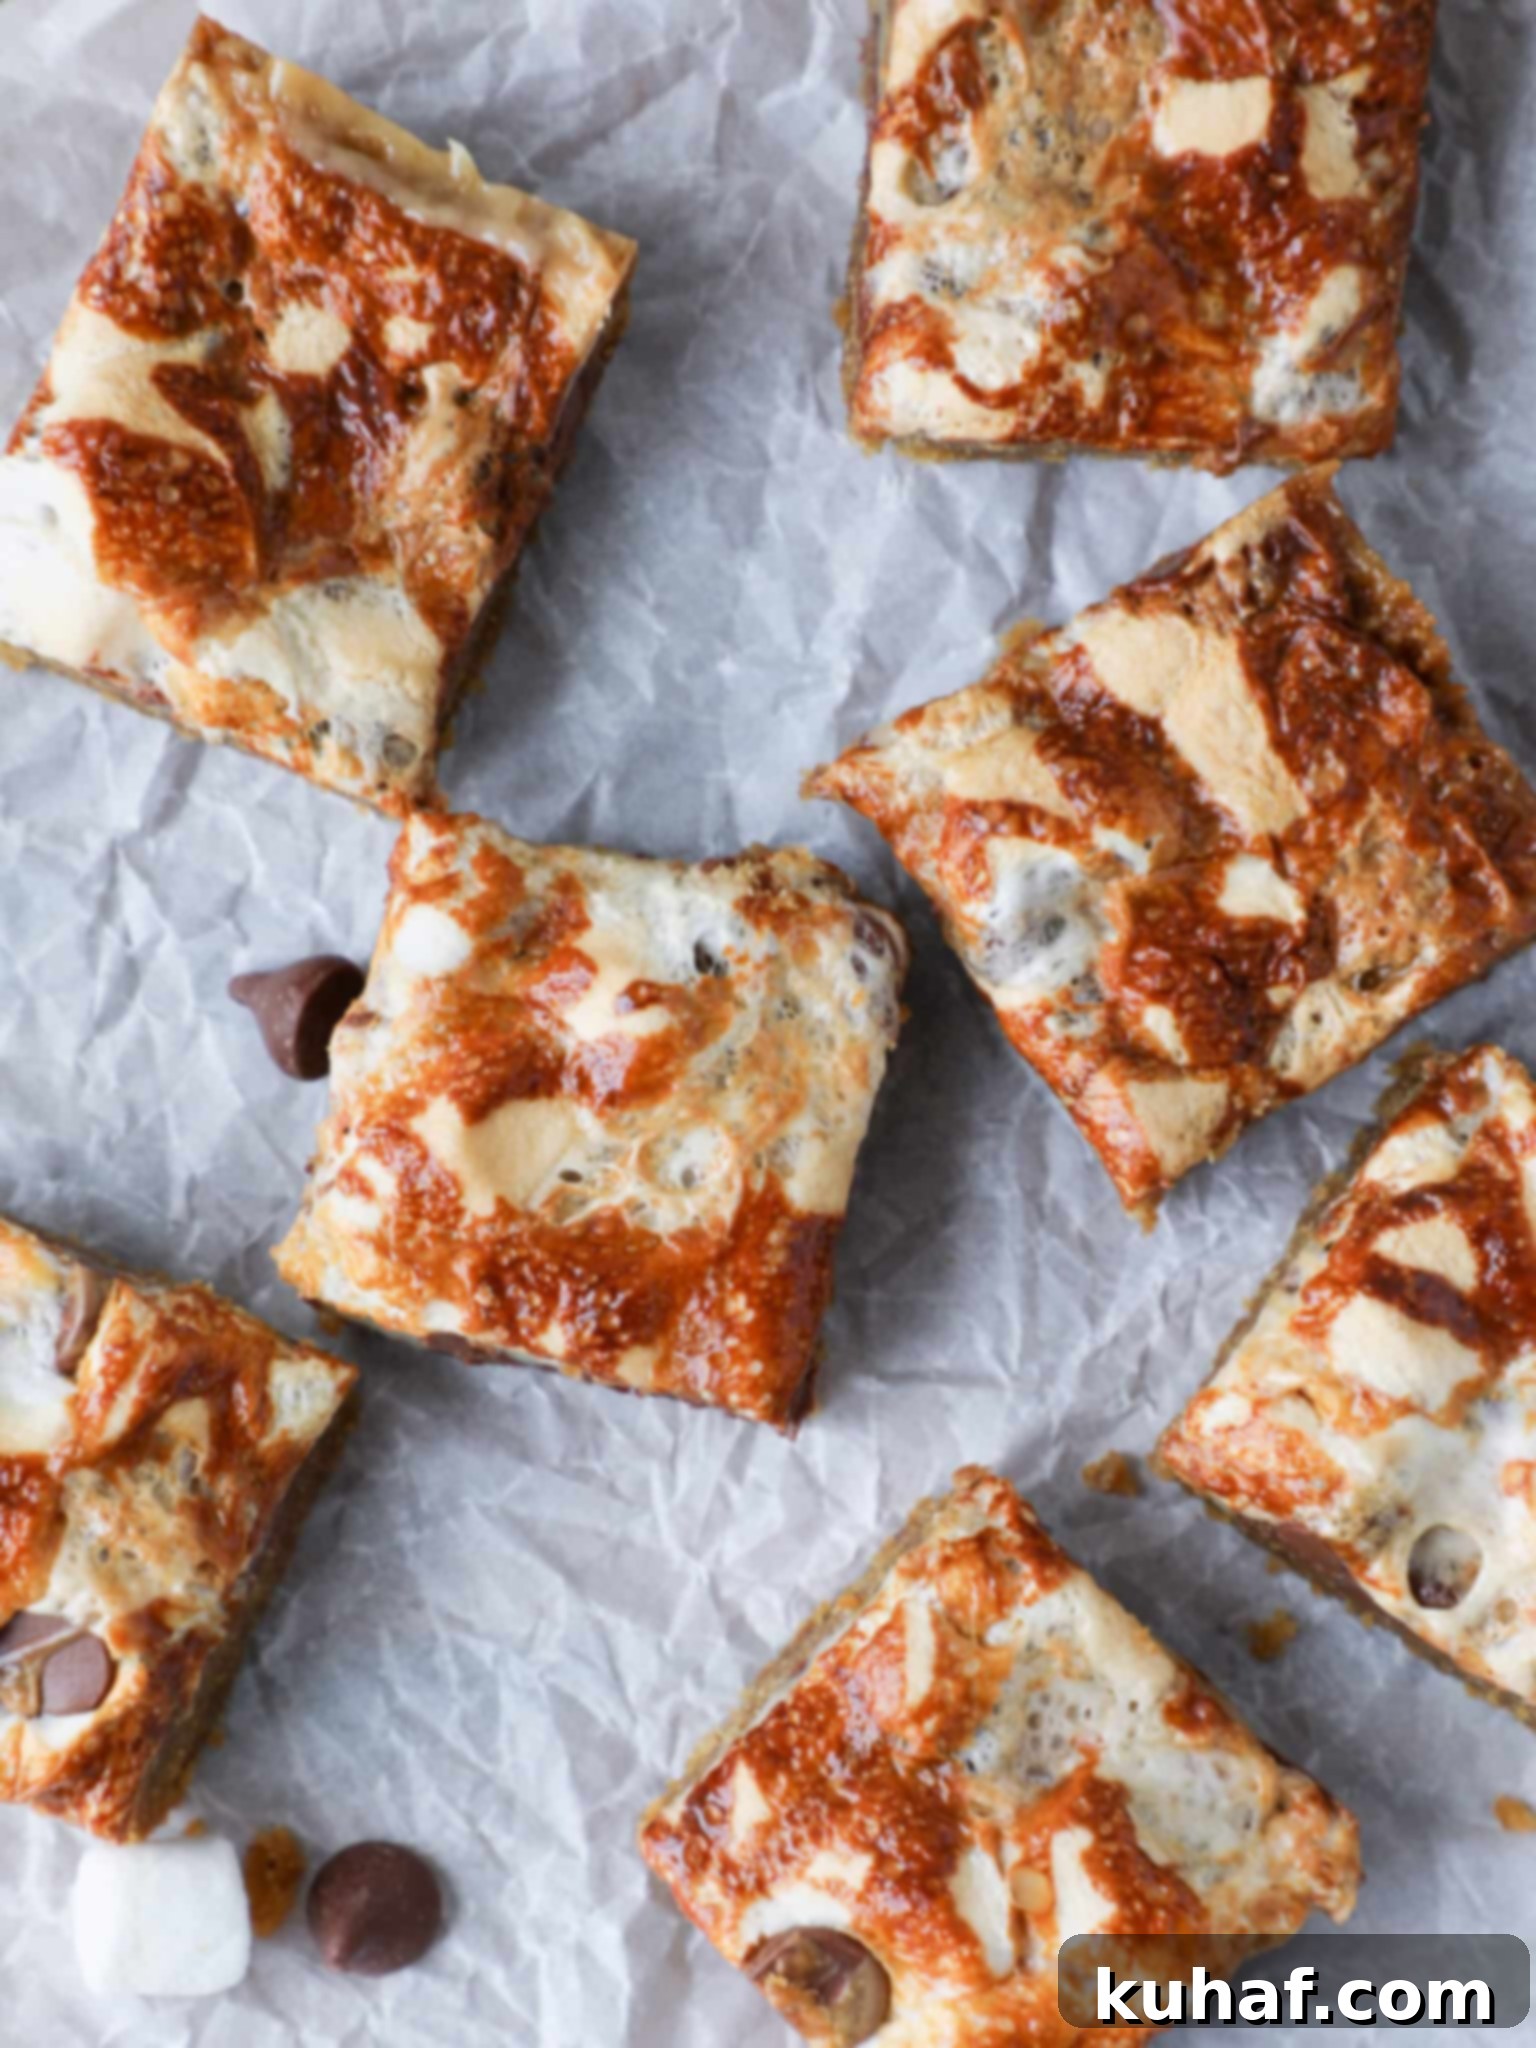
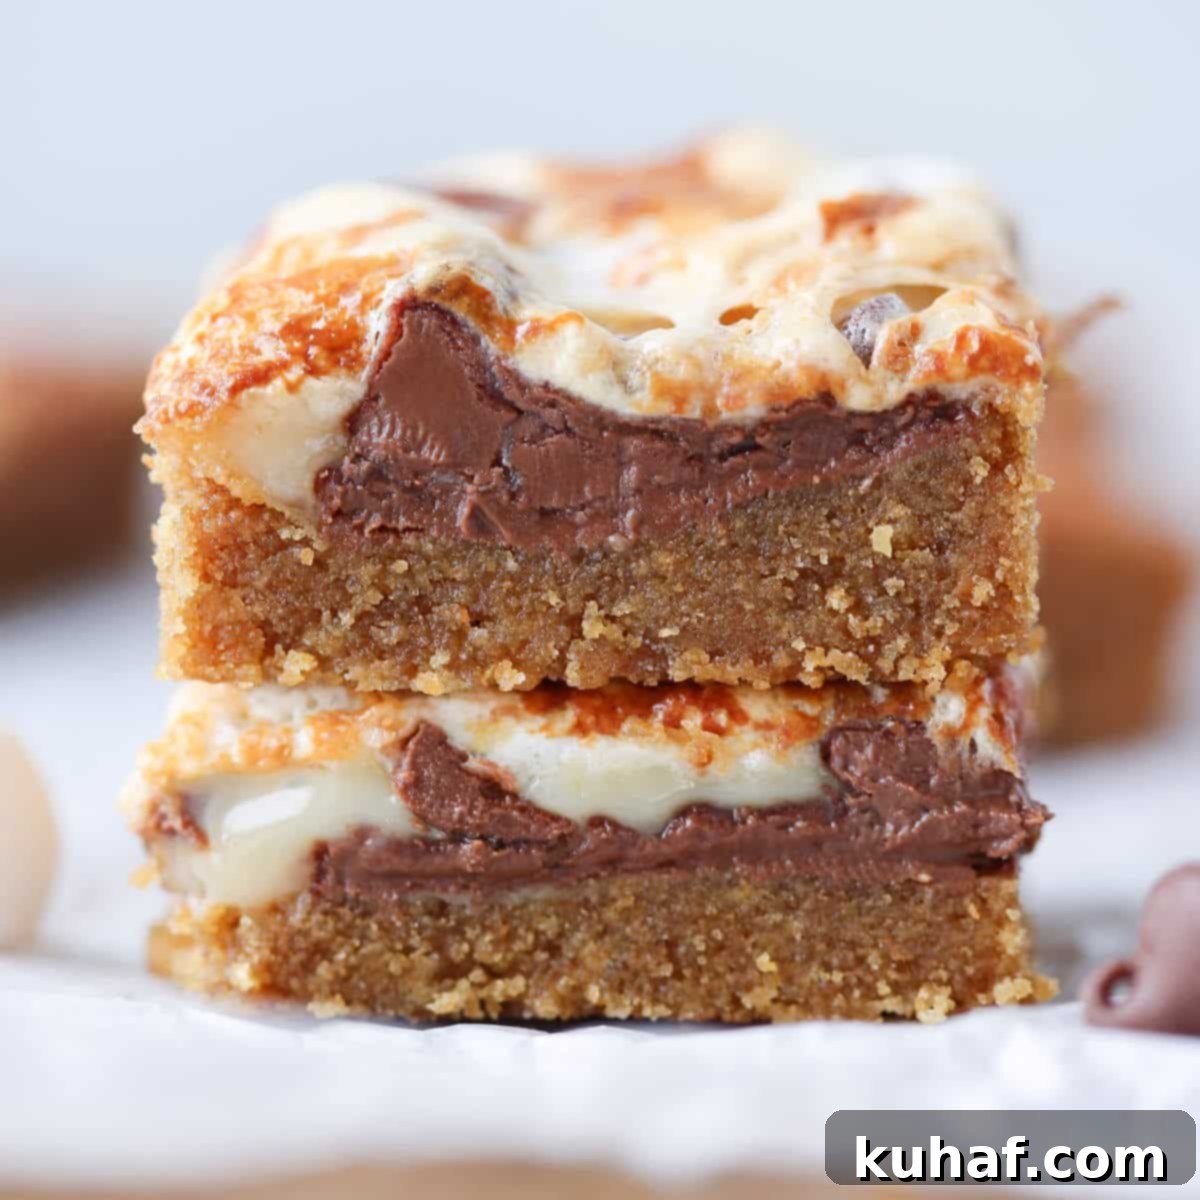
These Ooey Gooey S’mores Bars are delightfully chewy, incredibly soft, and utterly decadent in every bite. They masterfully capture all the classic s’mores flavors – the crisp graham cracker, the melt-in-your-mouth chocolate, and the toasted marshmallow – all perfectly contained in a convenient bar form. What truly elevates these bars to an unforgettable level is the combination of beautifully toasted marshmallows on top with a surprise ingredient: caramelized sweetened condensed milk. This magical drizzle bakes into a golden, chewy topping that mimics the smoky, sweet char of a campfire marshmallow, making these bars positively addicting. Trust me, I could not stop eating these; they are that good!
Why S’mores Bars Are a Dessert Revelation
S’mores remains one of my absolute favorite flavor combinations, a love affair fueled by nostalgia and my profound appreciation for a perfectly crafted graham cracker crust. While the classic campfire s’more holds a special place, these bars offer a refined, mess-free, and equally delightful experience. If you share my passion, you might also enjoy exploring other s’mores-inspired creations like my Soft & Chewy S’mores Crumble Bars, these No-Bake Golden Graham S’mores Bars, a scoop of Toasted Marshmallow S’mores Ice Cream, or these adorable Mini S’mores Cheesecakes. Even my renowned No-Bake Whiskey S’mores Pie earned its place in history as a signature s’mores dessert during my time as Executive Pastry Chef at Restaurant Marc Forgione. These Ooey Gooey S’mores Bars are another testament to the enduring magic of this flavor profile.
The Magic Behind Each Delicious Layer
You absolutely need to try these S’mores bars. I believe making them ranks right up there with brushing your teeth on the scale of basic necessities! Each component plays a crucial role in creating the ultimate “no-campfire” s’mores experience:
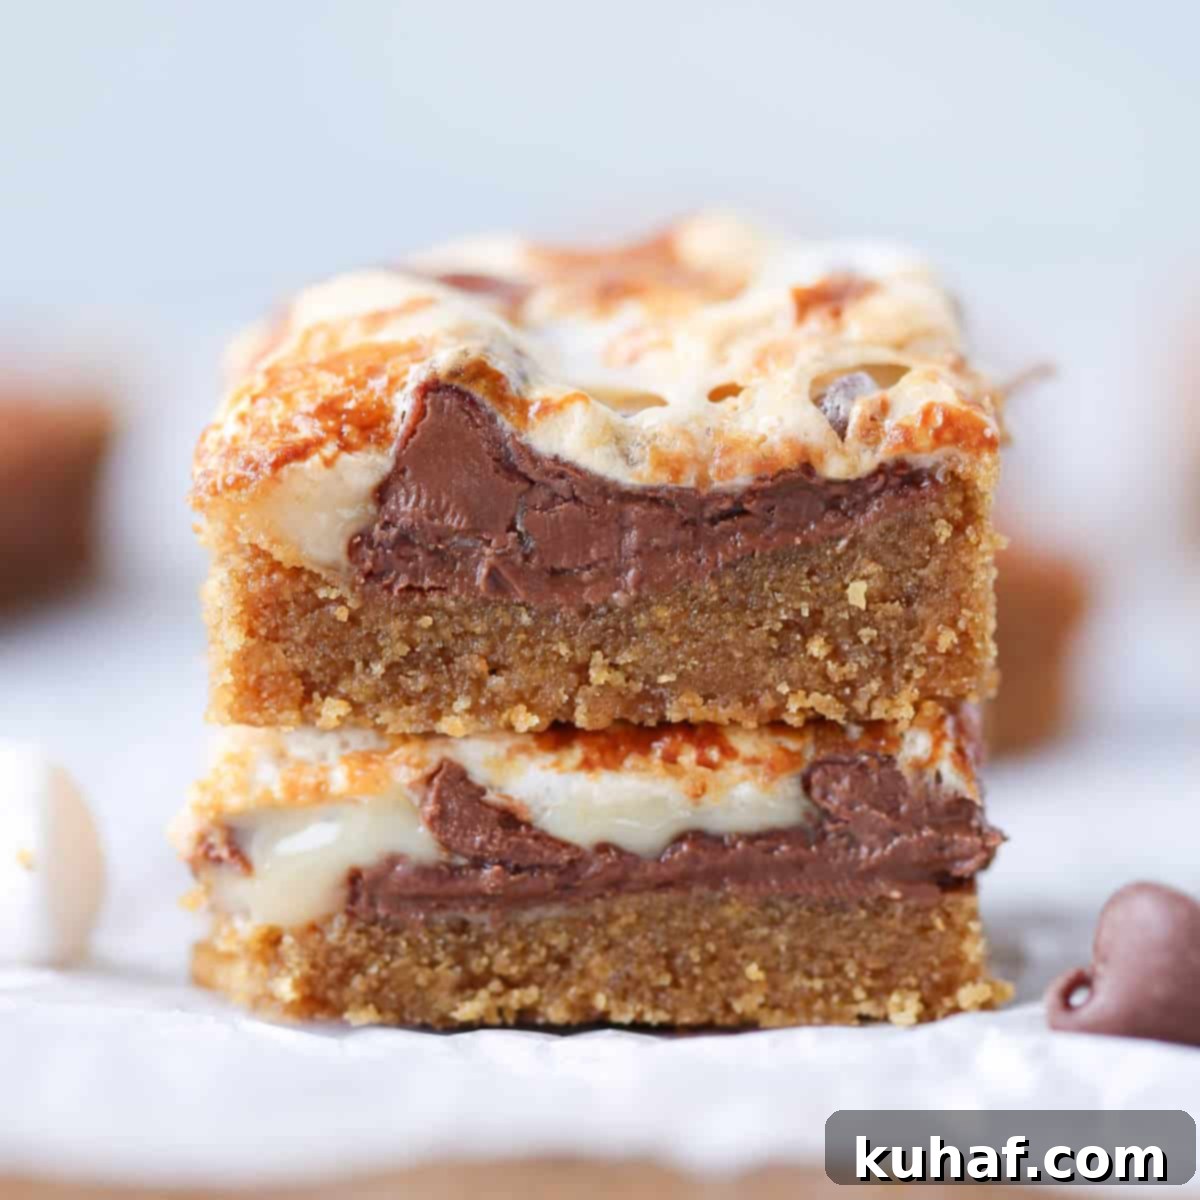
- The Graham Cracker Crust: The foundation of these bars is pure perfection. Inspired by the brilliant Averie Cooks’ recipe, this brown sugar graham cracker crust is buttery, subtly sweet, and wonderfully sturdy. It provides that essential crisp counterpoint to the gooey layers above. It’s truly the ideal base for capturing that classic s’mores essence.
- The Decadent Chocolate Layer: Nestled atop the crust is a layer of classic Hershey’s milk chocolate bars, creating a rich, melty surprise with every bite. You might be wondering why Hershey’s when I often gravitate towards higher-quality chocolates. It’s simple: would it truly be a s’more without Hershey’s? My palate has certainly matured, but for that authentic s’mores nostalgia, Hershey’s is irreplaceable. However, to enhance the chocolate experience, I also sprinkle generous mounds of Ghirardelli milk chocolate chips over the marshmallows. This combination gives you the best of both worlds – the classic taste and a touch of premium indulgence.
- The Ooey Gooey Marshmallow Topping: Piled high above the chocolate are soft, pillowy mini marshmallows. This layer is where the “ooey gooey” magic truly comes alive. When baked, they expand and toast to a golden perfection. If you have an unnatural obsession with mini marshmallows (and you know who you are!), feel absolutely free to dump even more onto that marshmallow layer. More is always more when it comes to marshmallows!
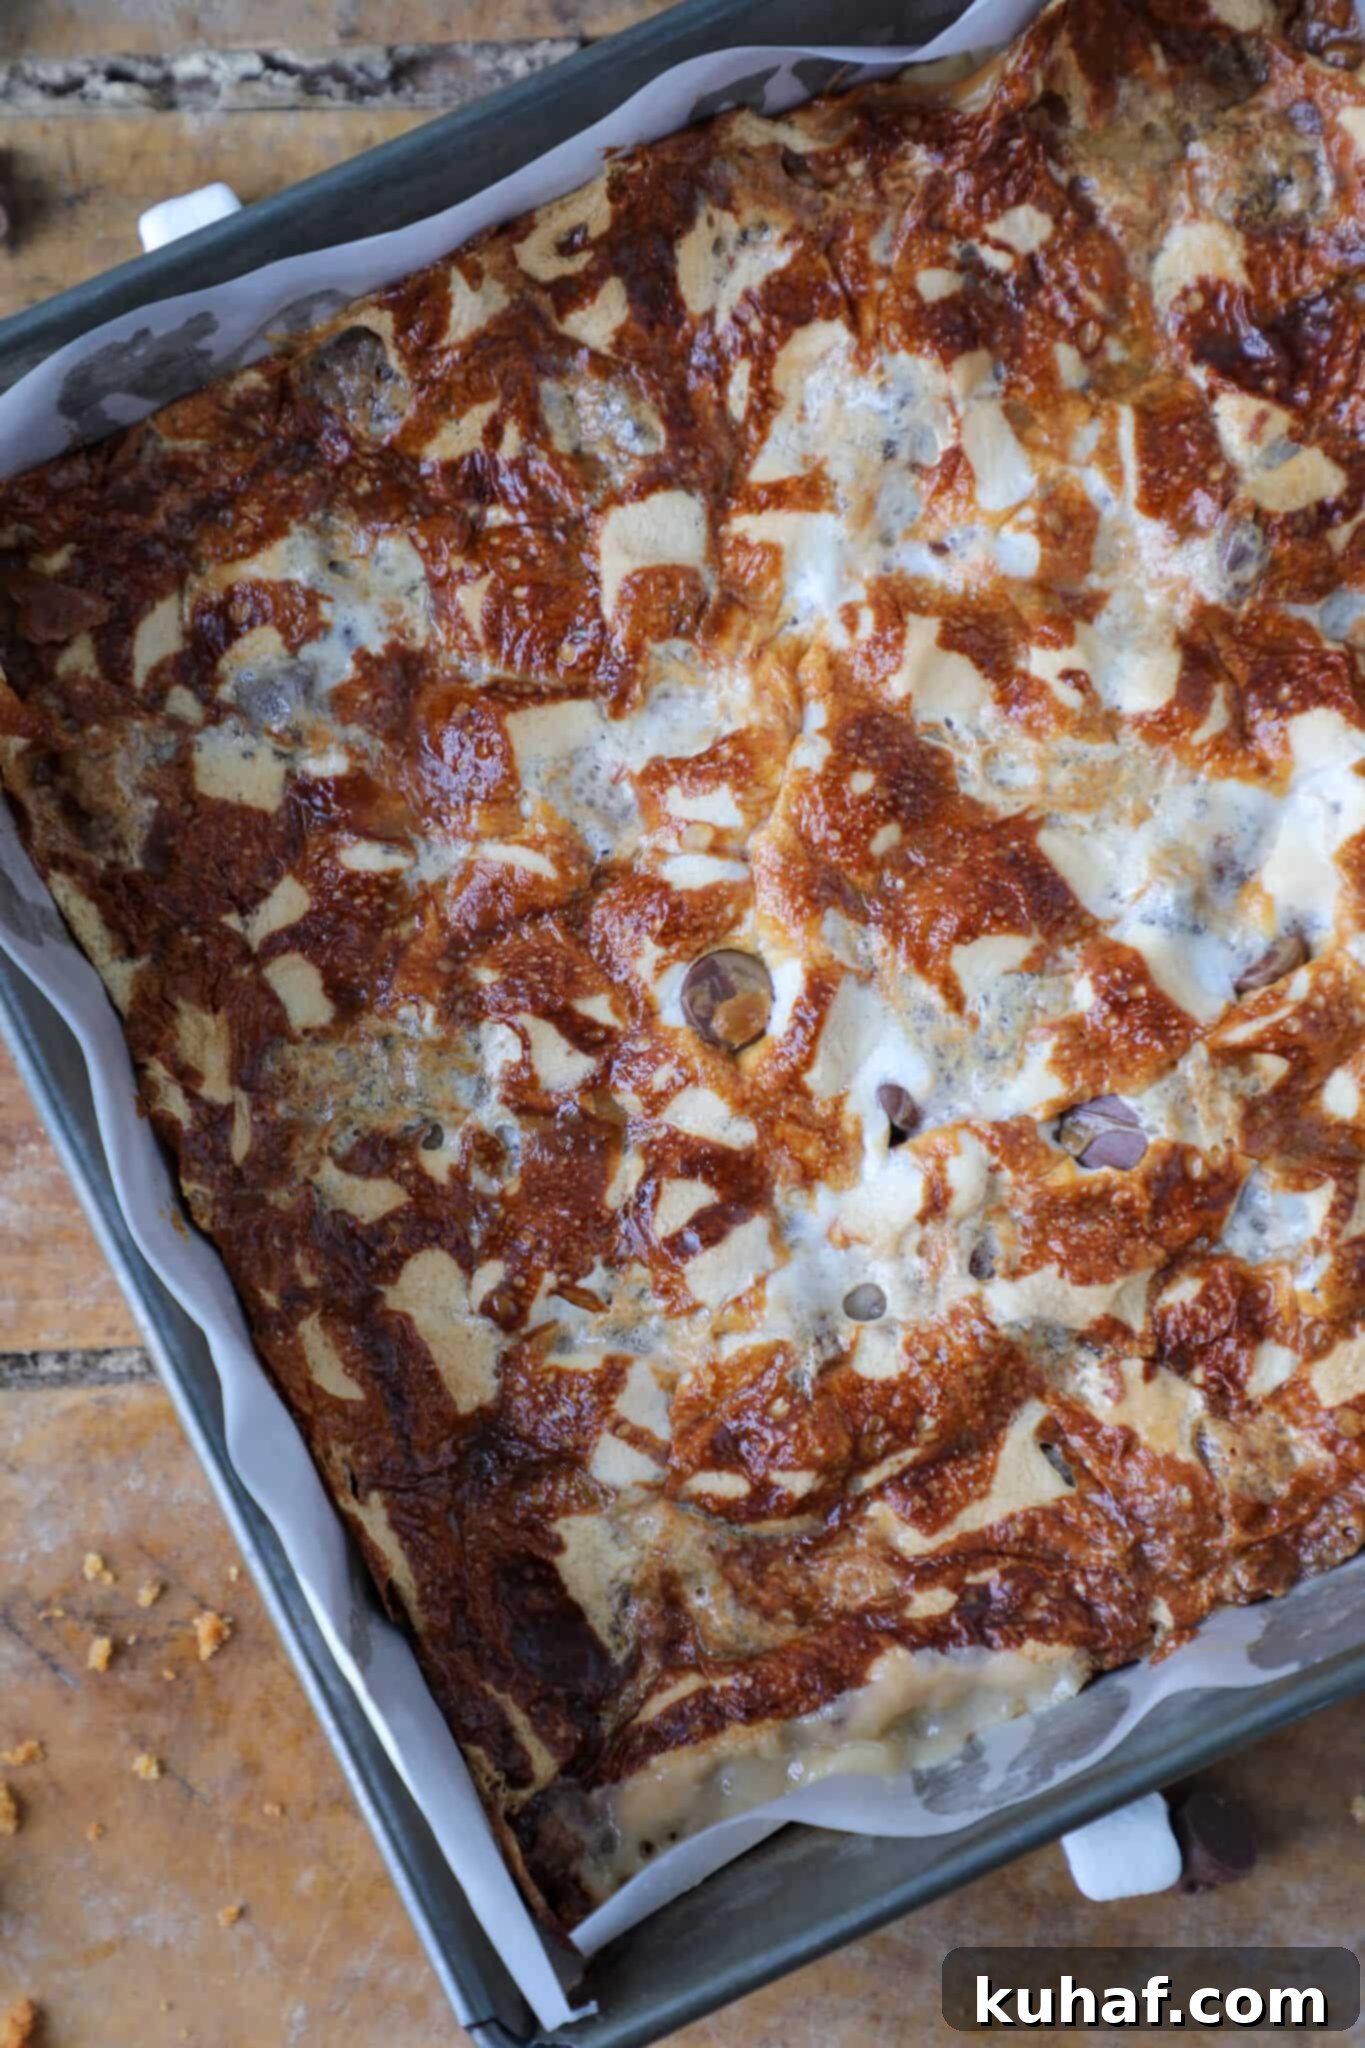
- The Secret Caramelized Drizzle: What truly sets these S’mores bars apart and elevates them beyond other recipes is the sweetened condensed milk drizzled on top. As it bakes in the oven, this luscious milk caramelizes beautifully over the marshmallows, creating a chewy, golden-brown crust that profoundly enhances the “campfire” feel. It adds an incredible depth of flavor and a touch of glorious caramelization that is simply unmatched. Do you see that caramelized goodness in the photos? That’s the secret ingredient working its magic!
Effortless Baking for Everyone
One of the most appealing aspects of these Ooey Gooey S’mores Bars is how incredibly fast they come together. Honestly, they were one of the fastest desserts I have ever made! The most laborious step is simply crushing the graham crackers, and even that can be simplified by buying pre-crushed crumbs. I often find myself done with the assembly before my oven has even finished preheating (which says something about my oven, but also about the recipe’s speed!). What’s even better is that they’re so easy, a child could make them. In fact, it’s the perfect dessert for a fun, hands-on baking session with the little ones! Not that I have any, but if I did, this would be our go-to activity.
I’m even considering bringing some of these to my next wedding dress fitting. If my dress happens to be a bit snug, one bite and I’m sure the seamstress will instantly understand, and perhaps even condone, my giddy obsession!
Tips for Perfect S’mores Bars Every Time
Achieving bakery-quality s’mores bars is simpler than you think with a few key considerations:
- Preparing Your Pan: Always butter your baking dish or, even better, line it with criss-crossed parchment paper. This simple step ensures easy removal of the bars once cooled, preventing any sticky situations. The parchment paper creates “handles” you can use to lift the entire batch out of the pan.
- Graham Cracker Crushing: While buying pre-crushed graham cracker crumbs is a fantastic shortcut, if you’re crushing your own, aim for a fine, even crumb. This creates a cohesive crust that won’t fall apart. My preferred method for whole crackers is to place them in a sturdy ziplock bag and use a rolling pin to gently, yet firmly, whack them. It’s surprisingly therapeutic!
- Don’t Skimp on Marshmallows (or chocolate!): The quantities listed in the recipe are merely guidelines. If you are a true marshmallow connoisseur, pile ’em on! Similarly, if you’re a chocolate fiend, feel free to add an extra sprinkle of chocolate chips. These bars are meant to be an indulgent treat, so embrace your inner sweet tooth.
- The Sweetened Condensed Milk Drizzle: No need to meticulously cover every nook and cranny with the condensed milk. A general drizzle across the top is perfect. It’s meant to caramelize and create pockets of chewy sweetness, not fully saturate the marshmallow layer. For any leftover condensed milk, you can easily store it. I recommend transferring it to a small ziplock baggie and freezing it. Just remember to label it clearly, as it can look a bit… unappetizing once frozen in a generic bag!
- Baking to Perfection: Keep a close eye on your bars as they bake. You’re looking for a beautiful golden-brown top on the marshmallows, indicating that they’ve toasted and the condensed milk has caramelized. If you like your s’mores with a slightly more “burnt” edge, similar to a campfire char, feel free to bake them a minute or two longer – but watch carefully to avoid actual burning!
- The Crucial Cooling Step: This is arguably the most important tip! While it’s tempting to dive into these warm, gooey delights, resisting the urge and allowing them to cool completely before cutting is essential. If you cut them while warm, you’ll end up with a delicious, messy pile rather than perfectly formed bars. Once cooled for about 10 minutes, use a metal spatula or knife to gently pull the marshmallows away from the sides of the dish before letting them finish cooling. This helps prevent sticking.
Variations & Customizations for Your S’mores Bars
While the classic recipe is divine, don’t hesitate to experiment and make these s’mores bars your own:
- Chocolate Choices: Instead of traditional Hershey’s, consider dark chocolate bars for a less sweet, more intense flavor, or even white chocolate for a creamy twist. You can also mix in different chocolate chips, such as dark chocolate, butterscotch, or peanut butter chips.
- Spices & Extracts: A pinch of cinnamon or a tiny splash of vanilla extract can be added to the graham cracker crust mixture for extra warmth.
- Nutty Additions: Sprinkle chopped nuts like pecans, walnuts, or even a layer of peanut butter (swirled into the chocolate or drizzled over the marshmallows) for added flavor and crunch.
- Different Crackers: While graham crackers are classic, try using other crushed cookies like Biscoff, digestive biscuits, or even chocolate cookies for the crust.
- Toppings: A sprinkle of sea salt after baking can wonderfully balance the sweetness. You could also drizzle with caramel sauce or chocolate syrup before serving for an extra layer of decadence.
Serving and Storage Suggestions
These Ooey Gooey S’mores Bars are best enjoyed at room temperature, allowing the layers to set properly for clean cuts, yet remain perfectly soft and chewy. They make an excellent dessert for potlucks, parties, or family gatherings. Pair them with a scoop of vanilla ice cream for an extra special treat!
Store leftover bars in an airtight container at room temperature for up to 3-4 days. While they are best fresh, they retain their deliciousness quite well. You can also freeze them for longer storage; wrap individual bars tightly in plastic wrap, then place them in a freezer-safe bag or container for up to 2-3 months. Thaw at room temperature before serving.
Recipe Card
Ooey Gooey Smores Bars
Pin Recipe
Comment
Print Recipe
Ingredients
For the Bars:Unit Conversion
- 3 oz Hershey’s Milk Chocolate Bars 2 bars
- 3 cups mini marshmallows
- ½ cup milk chocolate chips
- 7 oz sweetened condensed milk about ½ a can
For the Graham Cracker Crust:
- ½ cup unsalted butter melted
- 1 cup graham cracker crumbs ~10 sheets
- ¾ cups dark brown sugar packed
- 1 tablespoon cornstarch
- pinch of salt optional
Instructions
-
Preheat oven to 350. Butter 8×8 dish or line with criss-crossed parchment
-
Crush your graham crackers into crumbs or buy them this way! My preferred method is to throw them in a ziplock plastic bag and whack them with a rolling pin, can, or even your hand will do. It’s kind of therapeutic. As I was crumbling the graham crackers wondering, “Don’t they sell graham cracker crumbs!?” Why yes, yes they do! I highly suggest you go that route.
-
Melt butter in a medium bowl in the microwave. Dump the remaining crust ingredients in with the butter and mix. Press into prepared dish.
-
Arrange your Hershey’s bars in cute little rows.
-
If you want to get a little crazy with the Hershey’s and not leave as much space, you go on with your bad self! [Name that movie!] But I will warn you that these Smores Bars are SWEET!
-
Then dump your marshmallows on top. The quantities listed above are really more like guidelines. If you are a marshmallow person, pile ’em on!!!
-
The sprinkle some milk chocolate chips on top. You know how some days a few chips aren’t enough? Yeah, I was having one of those days. Why Ghirardelli chips and Hershey’s bars? Because, as crazy as this might sound, my chocolate palate has matured over the years and Hershey’s just doesn’t float my boat as much anymore, but would they be Smores without Hershey’s? I’ll field that one for you. No. No, they would not. Thus Hershey’s AND Ghriardelli it is.
-
Pour the sweetened condensed milk overtop. No need to cover every nook and cranny. Honestly it’s best if you don’t. 1/2 can, really? Yes really. You know what I do? I spatula that remaining sweetened condensed milk into a small ziptop plastic baggie and then throw it in the freezer. Just make sure you label it because have you seen sweetened condensed milk in a baggie? It’s gross looking. Someone will throw it out.
-
Anyways put those Smores Bars in the preheated oven and bake for 20-30 minutes or until the top is a perfect golden brown. Cook longer if you like your smores burnt. Here’s to that!
-
Let cool 10 minutes and then pull the marshmallows away from the sides of the dish with a metal spatula or knife. Let cool completely before cutting, or you will have one big messy (delicious) pile and not perfectly formed bars.
Nutrition
Frequently Asked Questions (FAQs)
Q: Can I use different types of chocolate?
A: Absolutely! While Hershey’s milk chocolate bars provide that classic s’mores flavor, you can certainly experiment with other chocolates. Dark chocolate can offer a richer, less sweet bar, or even white chocolate for a creamier profile. Feel free to use your favorite chocolate chips in place of, or in addition to, the Ghirardelli milk chocolate chips.
Q: Do I really need to use sweetened condensed milk?
A: The sweetened condensed milk is one of the “secret weapons” in this recipe! It caramelizes beautifully on top of the marshmallows, giving them a rich, toasty flavor and chewy texture that truly mimics a campfire s’more. While you could technically omit it, you would miss out on a significant part of what makes these bars so special and addictively good.
Q: How do I get clean cuts for my s’mores bars?
A: The key to clean cuts is patience! Ensure the bars are completely cooled before attempting to slice them. Once fully cooled, the chocolate and marshmallow layers will have set. For even cleaner cuts, you can chill the pan in the refrigerator for about 30 minutes before cutting. Use a sharp, hot knife (run it under hot water and wipe dry between cuts) for the best results.
Q: Can I make these ahead of time?
A: Yes, these s’mores bars are excellent for making ahead! They can be stored in an airtight container at room temperature for 3-4 days, or in the refrigerator for up to a week. For longer storage, they freeze beautifully for up to 2-3 months. Just be sure to wrap them individually or in layers separated by parchment paper.
Before You Go
I genuinely hope you enjoyed this professional chef-created recipe. These Ooey Gooey S’mores Bars are truly a treat that brings joy with every bite. Don’t forget to check out all our other delicious brownies & bars recipes for more inspiration, or perhaps keep that sheet pan out for my comforting Pumpkin Dump Cake Recipe instead!
