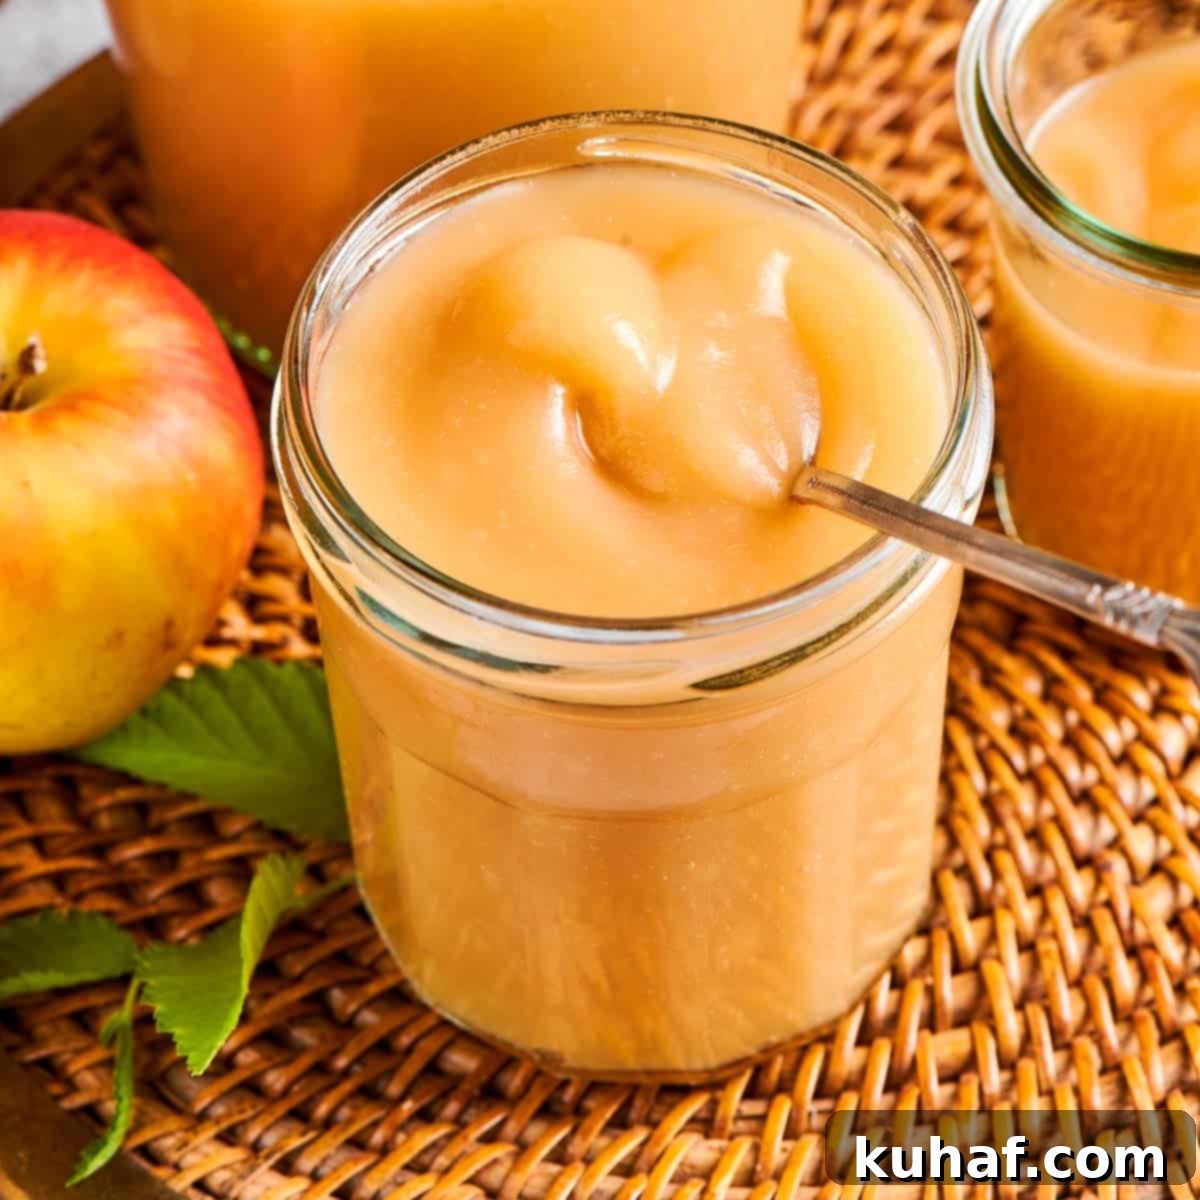
The Ultimate Guide to Homemade Applesauce: Simple, Healthy & Irresistibly Delicious
There’s nothing quite like the comforting aroma and naturally sweet taste of fresh homemade applesauce. Far superior to its store-bought counterparts, this simple recipe requires just two core ingredients – apples and water – and a little bit of patience. Whether you prefer your applesauce chunky or smooth, plain or spiced with warm cinnamon, this comprehensive guide will walk you through every step to create the most delicious and healthy apple puree right in your own kitchen.
Making applesauce from scratch is a rewarding experience, especially during the autumn season when apples are at their peak. It’s a fantastic way to utilize a bounty of fresh apples, transforming them into a versatile and wholesome treat. This recipe is designed to be incredibly flexible, allowing for small or large batches, and includes professional insights to ensure perfect results every time. Get ready to enjoy a naturally sweetened, flavorful, and incredibly easy homemade delight!
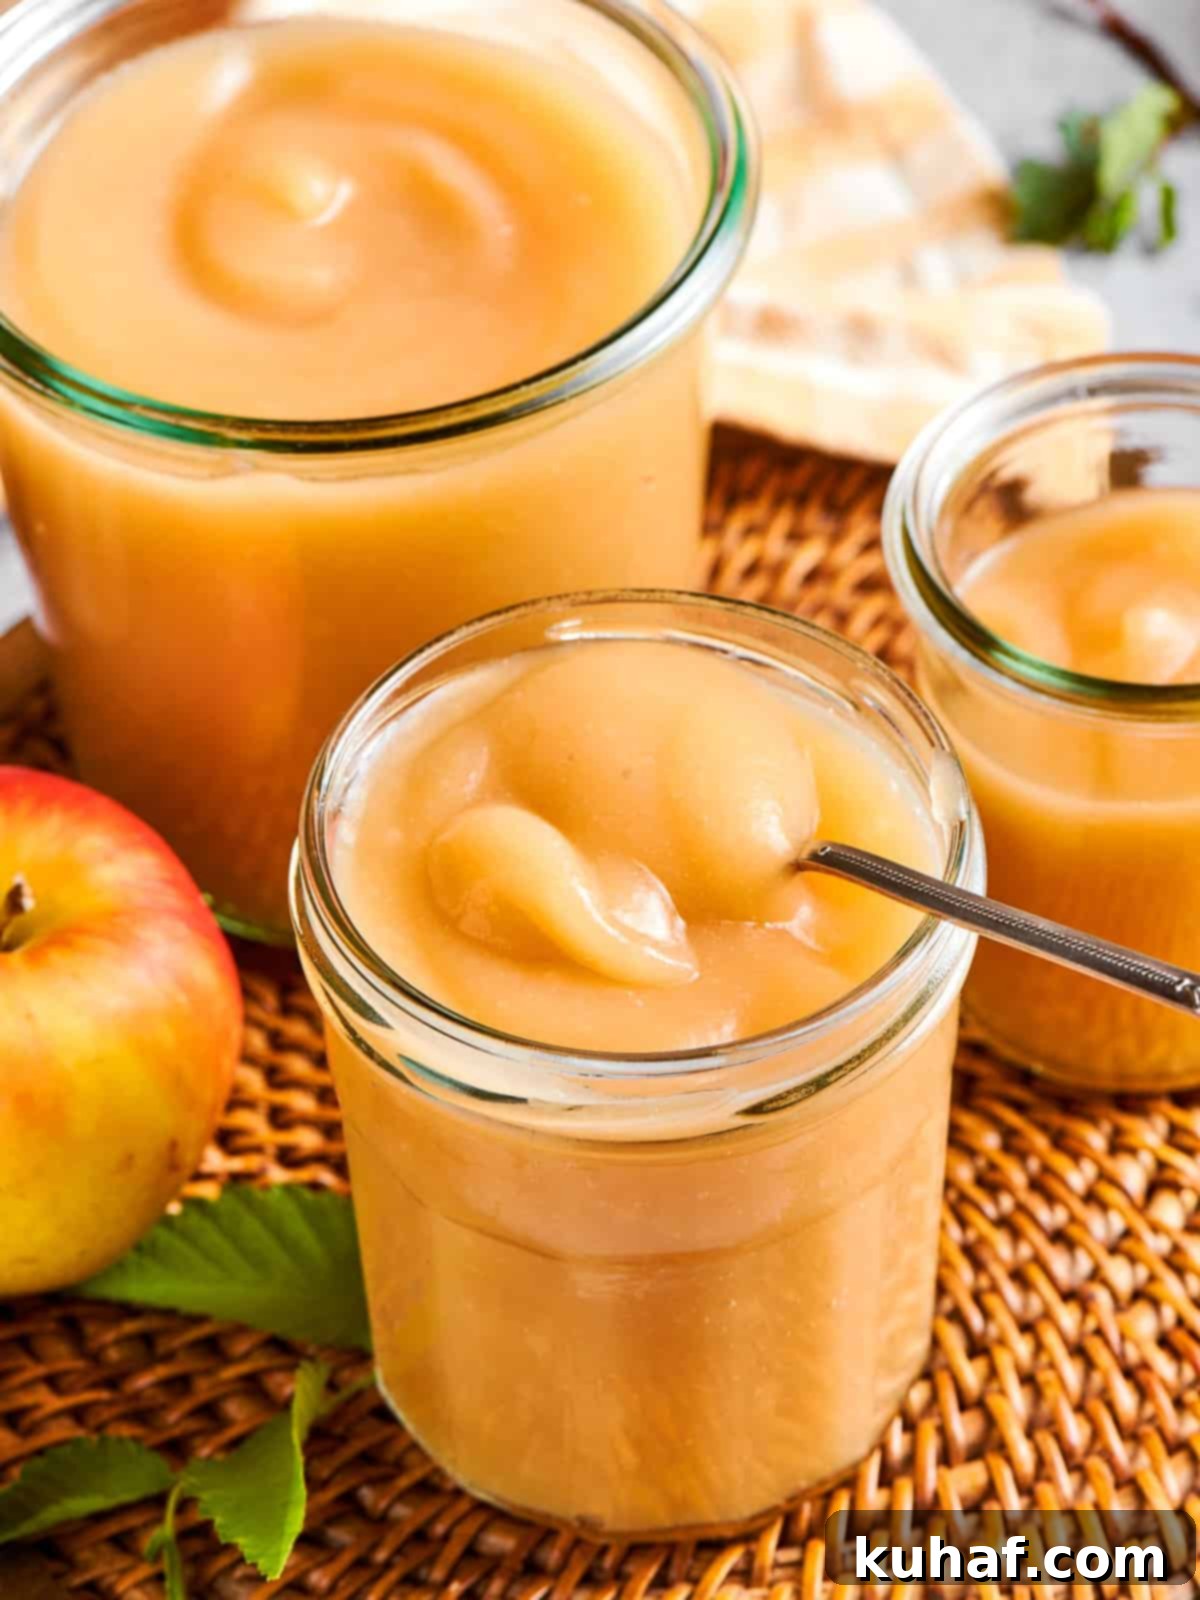
At its heart, homemade applesauce is so wonderfully straightforward that some might argue you barely need a recipe. However, the secret to truly exceptional applesauce lies in a few key decisions and techniques, primarily the selection of your apples. I often find myself making large batches of applesauce alongside my grandmother’s famous Jewish apple cake, particularly after our annual apple picking adventures. This ensures the most concentrated flavor, a beautifully thick sauce, and an exciting variety of tastes from different apple types!
Why This is the Best Homemade Applesauce Recipe
This isn’t just another applesauce recipe; it’s a guide to crafting an unparalleled homemade experience. Here’s why this method stands out:
- Naturally Sweetened, Bursting with Flavor: Unlike many store-bought options that are laden with added sugars and artificial flavors, our homemade applesauce relies entirely on the inherent sweetness and complexity of fresh apples. By carefully selecting and combining various apple types, you achieve a depth of flavor that is genuinely superior and incredibly satisfying. You control what goes into it, ensuring a wholesome and truly delicious product every time.
- Professional Tips for Perfect Results: Drawing on years of culinary experience, I’ve applied a professional methodology to perfect even this seemingly simple recipe. This guide provides you with insider tips and tricks, ensuring your applesauce reaches its full potential in terms of flavor, texture, and consistency. From apple selection to cooking techniques, these insights will elevate your homemade applesauce to gourmet status.
- Simple, Step-by-Step Instructions with Visual Aids: We understand that clear guidance is essential for successful cooking. This recipe is broken down into easy-to-follow steps, accompanied by helpful photos that illustrate each stage of the process. We also offer straightforward adaptations and troubleshooting tips for common issues, making it accessible for cooks of all skill levels. Precise measurements for ingredients can be found in the detailed recipe card below.
Table of Contents
- Why This is the Best Homemade Applesauce Recipe
- What are the Best Apples to Make Applesauce?
- How to Use Applesauce in Your Cooking and Baking
- Professional Tips for Making Perfect Homemade Applesauce
- How to Make Simple Homemade Applesauce: A Step-by-Step Guide
- How to Make Flavorful Cinnamon Applesauce
- Recipe FAQs: Your Applesauce Questions Answered
- More Delicious Apple Recipes to Try
- The Best Homemade Applesauce Recipe (Full Card)
- Before You Go: Explore More Apple Delights
What are the Best Apples to Make Applesauce?
Given that apples and water are the only two essential ingredients, the choice of apples is paramount to the final flavor and texture of your applesauce. The key to a truly balanced and delicious homemade applesauce is to use a thoughtful blend of varieties.
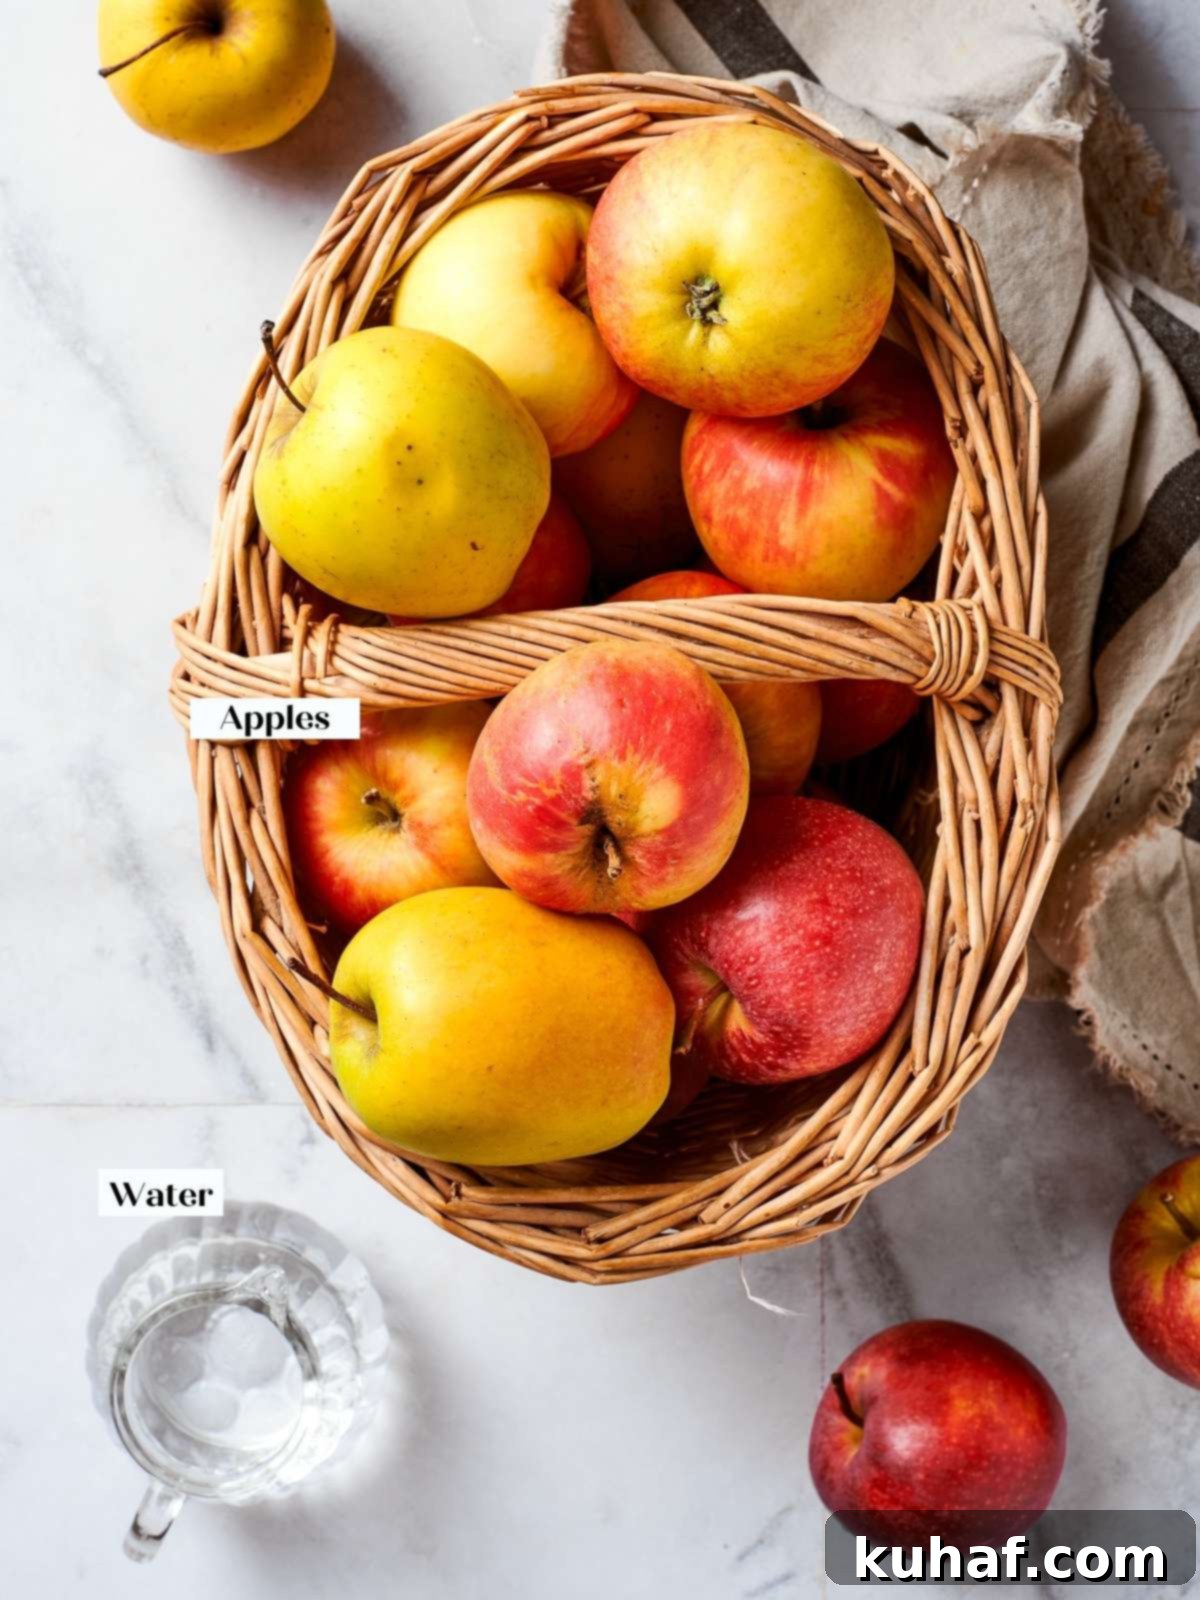
For an ideal flavor profile, aim to choose at least 5 varieties of crisp, naturally sweet apples. These provide the bulk of the sweetness and a tender texture when cooked. Excellent choices include Honeycrisp (known for its crispness and balanced sweetness), Macoun, Golden Delicious, Gala, Fuji, Cosmic Crisp, Mutsu, and Jonagold. These apples will break down beautifully and contribute a lovely natural sweetness.
To complement the sweetness and add a delightful zest, also select 2-3 varieties of crisp, tart apples. These tart notes prevent the applesauce from becoming overly sweet and add complexity. Great options include Pink Lady (Cripps Pink), Braeburn, Cortland, Envy, or Empire. A balanced blend ensures a dynamic flavor that keeps you coming back for more.
While some recipes might suggest them, I generally do not include Granny Smith apples in my mix because their tartness can be overwhelmingly strong and less nuanced compared to other tart varieties. Similarly, I tend to avoid Red Delicious and McIntosh apples. Red Delicious often have a mealy, floury texture when cooked that I find unappealing in applesauce, and McIntosh can become too mushy, losing structure and sometimes contributing a less desirable texture. By focusing on crisp, flavorful varieties, you guarantee a superior homemade applesauce every time.
How to Use Applesauce in Your Cooking and Baking
Beyond being a simple snack, homemade applesauce is an incredibly versatile ingredient. It can serve as a natural sweetener, a healthy oil substitute, and a fantastic flavor booster in a myriad of dishes. Unleash its full potential in your kitchen!
- As an Oil Substitute for Healthier Baking: Applesauce is a popular and effective substitute for oil in many quick bread recipes, muffins, and cakes. Replacing oil with applesauce significantly reduces fat content, making your baked goods healthier. For instance, try it in apple bread, healthy pumpkin muffins, or banana bran muffins. While the resulting pastry might be slightly denser and less moist (and therefore easier to overbake), the health benefits are substantial. Just be mindful of baking times and watch for dryness.
- Boost Apple Flavor in Desserts: Applesauce can intensify the apple flavor and add moisture to various apple-based desserts. My applesauce cake, for example, uses a generous 1 ½ cups for a wonderfully spiced apple essence. You can also stir a quarter cup or more into the fresh apple mixture for added moisture and flavor in easy apple crisp, apple cobbler, or even mini apple pies. It can even make your easy apple compote juicier for apple hand pies or contribute to super moist apple cinnamon rolls!
- A Quick Shortcut to Homemade Apple Butter: While I highly recommend my ultimate apple butter recipe (which starts with a rich caramelizing of sugar), homemade applesauce offers a fantastic shortcut. You can substitute applesauce for pumpkin puree and half the apple cider in a pumpkin butter recipe to create a delicious apple butter in as little as 15 minutes! It’s a great way to enjoy that rich, concentrated apple flavor without the longer cooking time of traditional apple butter.
- Natural Sweetener for Healthier Breakfasts & Snacks: As a busy cook and a mom, I’m constantly seeking ways to make healthy breakfasts and snacks for myself and my toddler. Applesauce is a brilliant natural sweetener. Stir it into plain yogurt for a quick breakfast, or freeze it into bars for a refreshing snack. Combine it with apple pie spice in your morning oatmeal or use it to make delicious apple pie overnight oats. It’s the sole sweetener in these wholesome apple crisp energy bites and can replace pumpkin puree in these flavorful gluten-free pumpkin bars, offering a burst of natural sweetness without refined sugars.
Professional Tips for Making Perfect Homemade Applesauce
Achieving truly outstanding homemade applesauce is simple when you know a few chef-inspired tricks. These professional tips will ensure your applesauce has the best flavor, texture, and consistency every time.
- Start with Minimal Water and Adjust Gradually: This is a crucial step for preventing watery applesauce. Different apple varietals possess varying water content, and apples picked later in the season or those that have been stored for a while tend to be more watery than freshly harvested early-fall apples. Begin with just the recommended amount of water, and only add more in small increments (about ¼ cup at a time) if the apples start to stick to the bottom of the pot. This precise control ensures a rich, concentrated flavor and avoids a thin, diluted consistency.
- Embrace a Blend of Sweet and Tart Apples: As mentioned, the magic is in the mix! I typically aim for about a 3:1 ratio of sweet apples to more tart varieties. This balance provides a naturally sweet applesauce with just enough tang to keep it interesting, without needing any added sugar. While you don’t need to be overly precise, understanding this ratio will guide your apple selection. You can delve into specific varietals in the section above for detailed recommendations.
- Don’t Obsess Over Precise Apple Weight After Preparation: It’s easy to get caught up in exact measurements, but for applesauce, a little flexibility is fine. Weigh your apples at the store, farmers market, or in your kitchen using a kitchen scale before peeling and coring. Once they are peeled, cored, and quartered, don’t worry about re-weighing them. The volume might change slightly, but your applesauce will still turn out perfectly. The key is to start with a good amount of raw apples and adjust water and cooking time as needed.
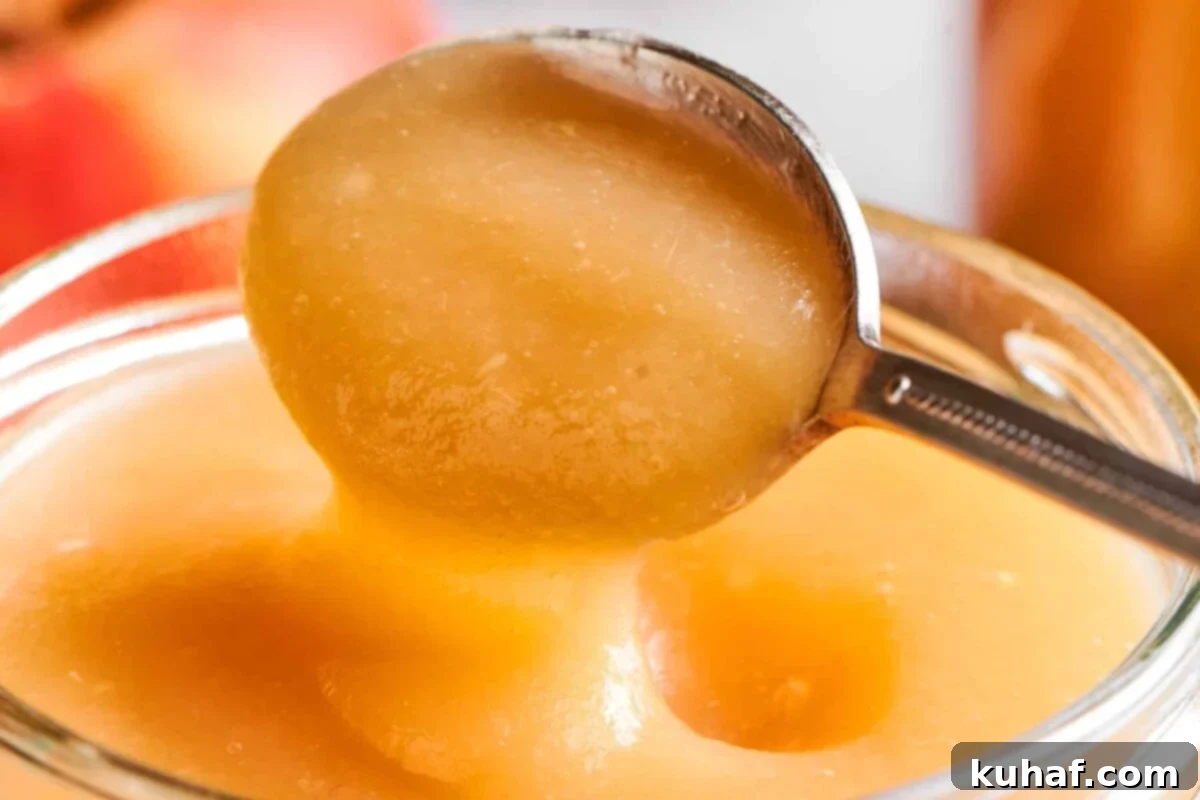
- Mash or Puree Apples While Hot for Optimal Texture and Flavor: The consistency of your applesauce is best achieved while the apples are still hot. Heat helps to break down the apple fibers and pectin, making them much easier to mash or blend into a silky smooth consistency. I often use a wooden spoon to break up the apples as they cook, even before mashing. For a smooth texture, I use an immersion blender directly in the hot pot. This not only makes the process easier but also helps to release and meld the flavors more effectively during cooking. If you prefer chunky applesauce, a potato masher works wonders to achieve your desired texture.
- Maintain Consistent Low Heat: Once the apples come to a boil, reduce the heat significantly. A gentle simmer ensures the apples cook evenly and slowly, allowing their natural sugars to develop without scorching the bottom of the pot. Stir occasionally, especially in the initial stages, to prevent sticking and promote uniform cooking.
How to Make Simple Homemade Applesauce: A Step-by-Step Guide
Creating delicious homemade applesauce is an incredibly rewarding process, and with these clear instructions, you’ll achieve perfect results using just two ingredients! For specific measurements and more details, please refer to the recipe card located further down this page.
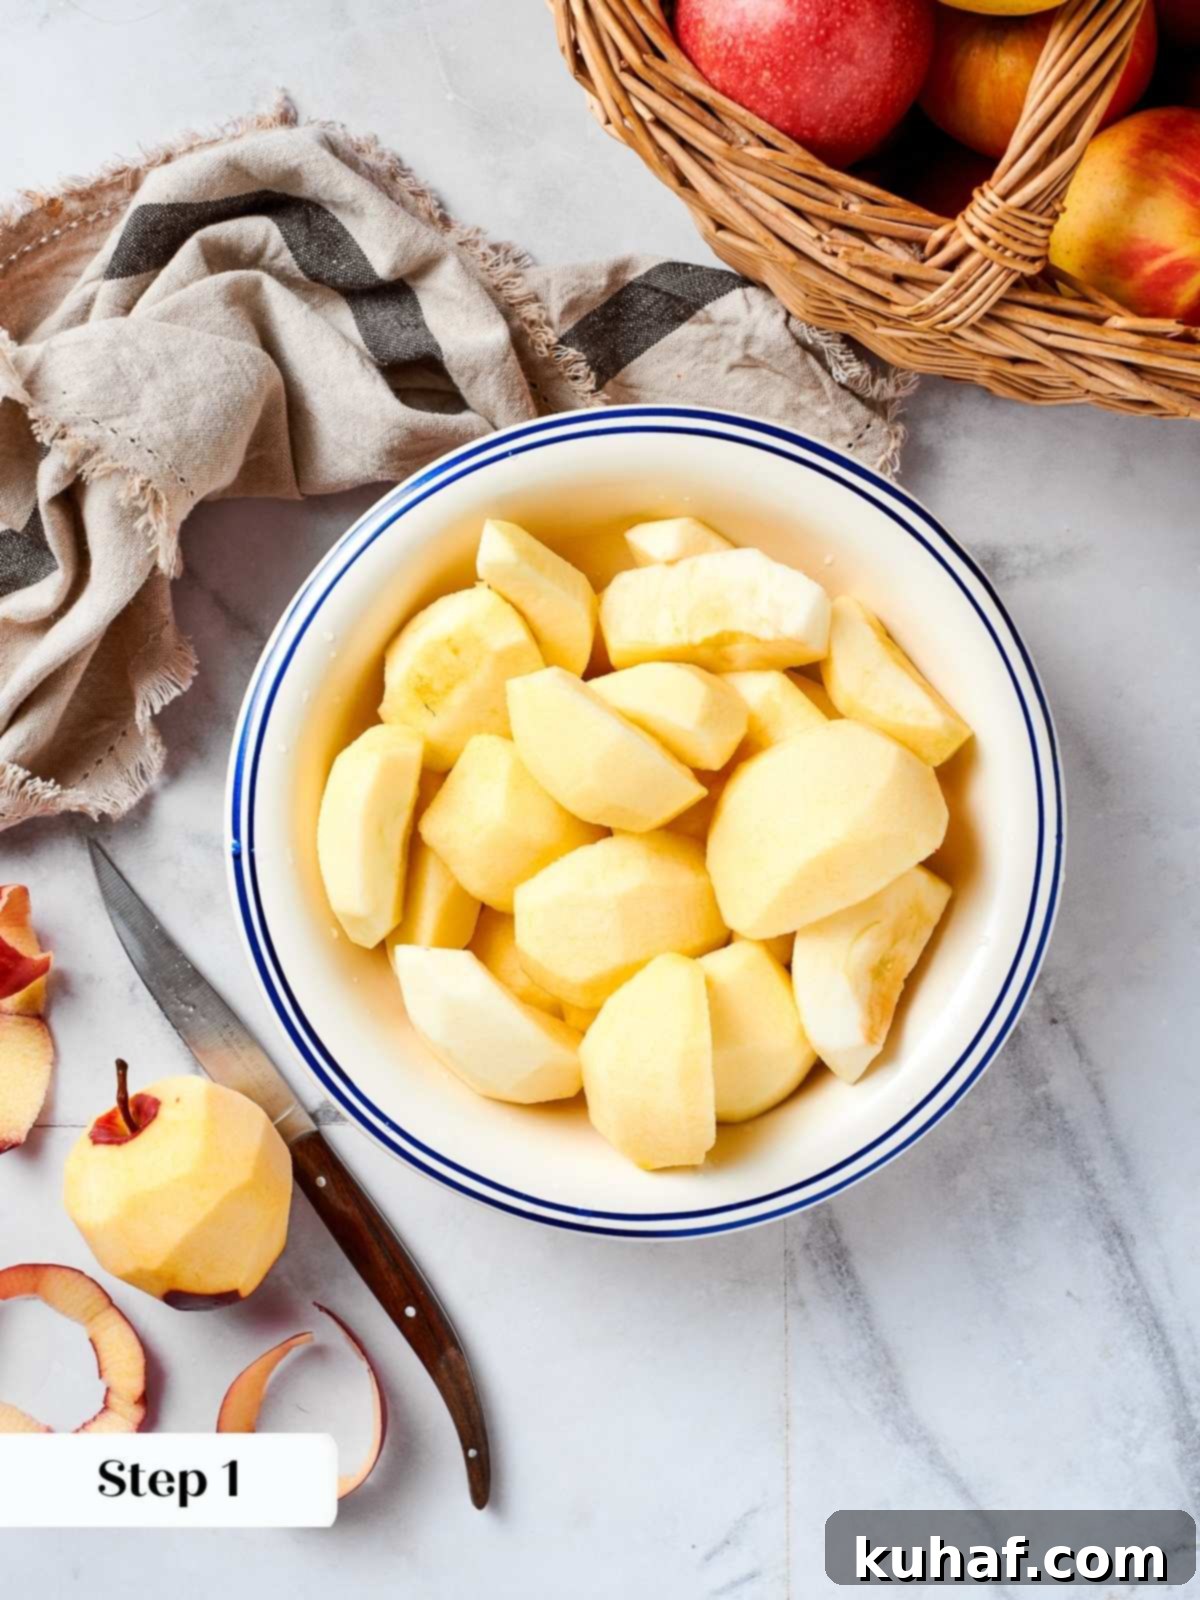
Step 1: Prepare Your Apples. Begin by thoroughly washing your apples. Then, peel, quarter, and core each apple. While I typically leave my apple quarters fairly large, you can certainly cut them into smaller pieces if you’re using a smaller pot or prefer a faster cooking time. Smaller pieces will break down more quickly, but larger pieces retain more structure if you’re aiming for a chunky texture (photo 1).
Step 2: Load the Pot. Carefully place all the prepared apples into a large saucepot or a Dutch oven. It’s important to use a pot with a capacity of at least 7 ¼ quarts and ensure it has a tight-fitting lid. This will allow for proper steaming and cooking. Don’t be surprised if the apples initially mound up slightly above the rim; they will cook down significantly. Simply press them down gently with the lid as you begin cooking. If the lid is very tight, a small initial mound is fine.
Chef’s Note: When I first start cooking, my apples often mound up slightly. I just place the lid firmly on top, and as they begin to soften, they’ll settle down into the pot.
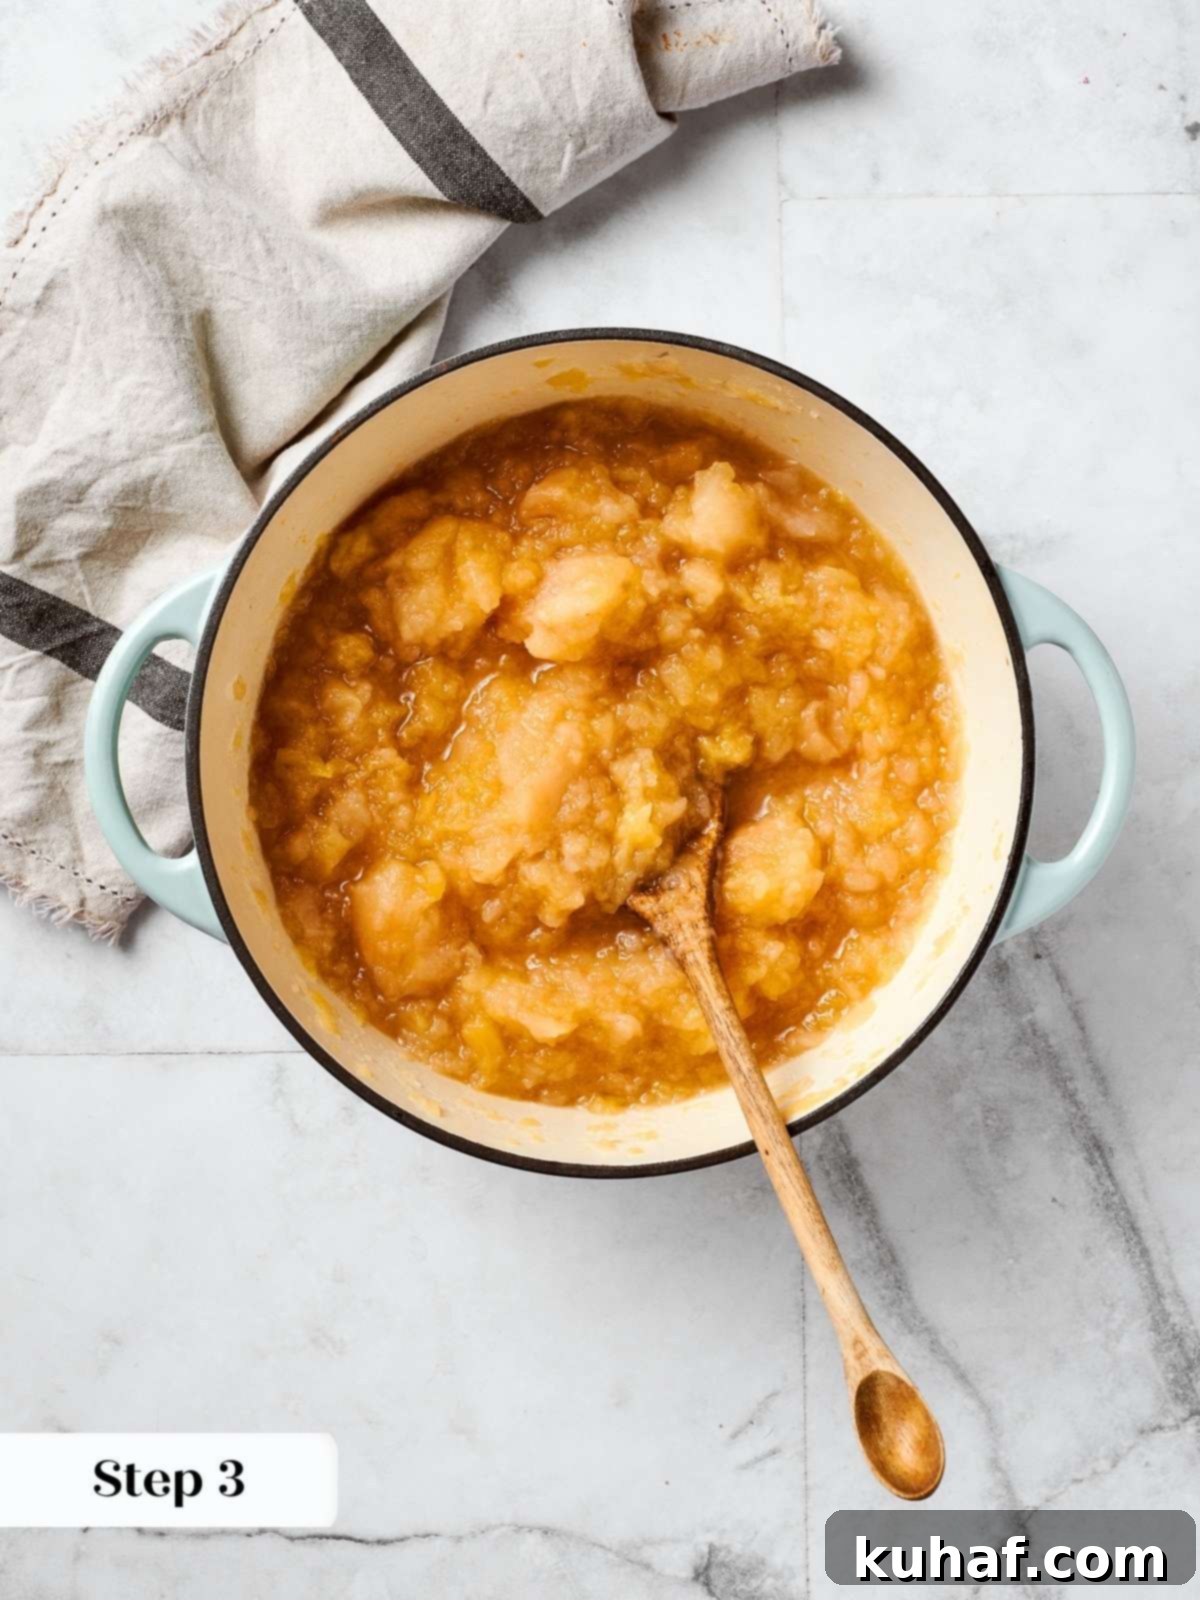
Step 3: Add Water and Begin Cooking. Pour 1 ½ cups of water into the pot with your apples. Place the pot on the stovetop and bring the mixture to a boil over medium-low heat. Once boiling, reduce the heat to low, cover the pot tightly with the lid, and continue cooking for approximately 2 to 2 ½ hours. During this long cooking process, remember to stir the apples occasionally to prevent them from sticking and burning at the bottom of the pot. This also helps to break them down more evenly (photo 2).
Chef’s Note: The apples will naturally begin to soften and break down as they cook. Regular stirring not only prevents scorching but also aids in this breakdown. For a head start on a chunky texture, you can use a potato masher to gently squish them during cooking.
Step 4: Reduce Heat and Monitor. After about 30 to 45 minutes, you’ll notice the apples have softened considerably. At this point, reduce the heat to its lowest setting. This gentle simmer is crucial for allowing the flavors to meld and the apples to become tender without overcooking or burning. During this longer simmering phase, it’s vital to monitor the water level. If you notice the apples are starting to stick to the bottom of the pot, your first action should be to ensure the burner is as low as possible. If sticking persists, add a little more water, about ¼ cup at a time, until the apples are cooking smoothly again. Different apple varieties release different amounts of liquid, so don’t be afraid to adjust.
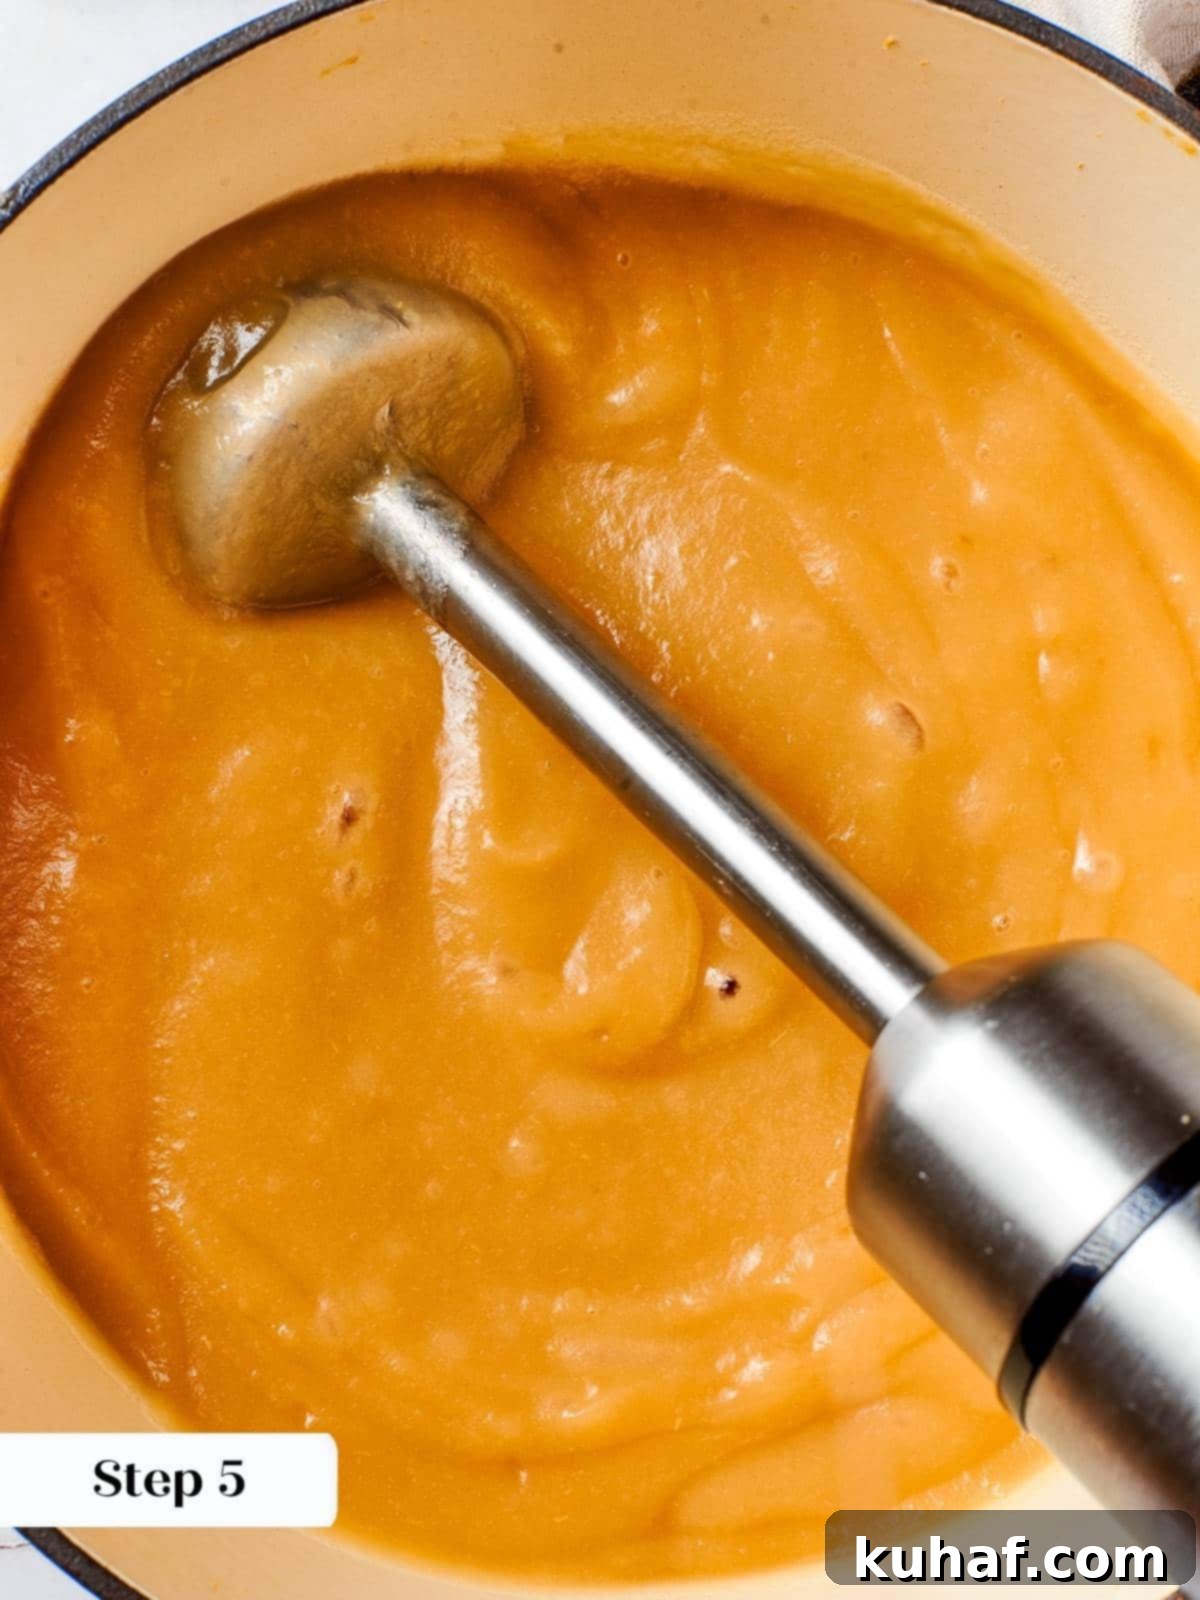
Step 5: Achieve Desired Texture. At this stage, your applesauce is technically done – the apples are soft and fully cooked. However, if you, like me, prefer a super smooth, velvety texture, it’s time to blend. Using an immersion blender directly in the hot cooking pot is the easiest method. Carefully blend until you reach your desired consistency, being mindful not to splash yourself with the hot mixture (photo 3).
Chef’s Note: For those without an immersion blender, you can transfer the cooked apples in batches to a standard blender or a food processor. When using a regular blender, always remove the feeder cover to allow steam to escape and prevent pressure buildup. Alternatively, if you love a rustic, chunky texture, simply skip the blending step entirely! A potato masher can also be used for a slightly less smooth, more textured applesauce.
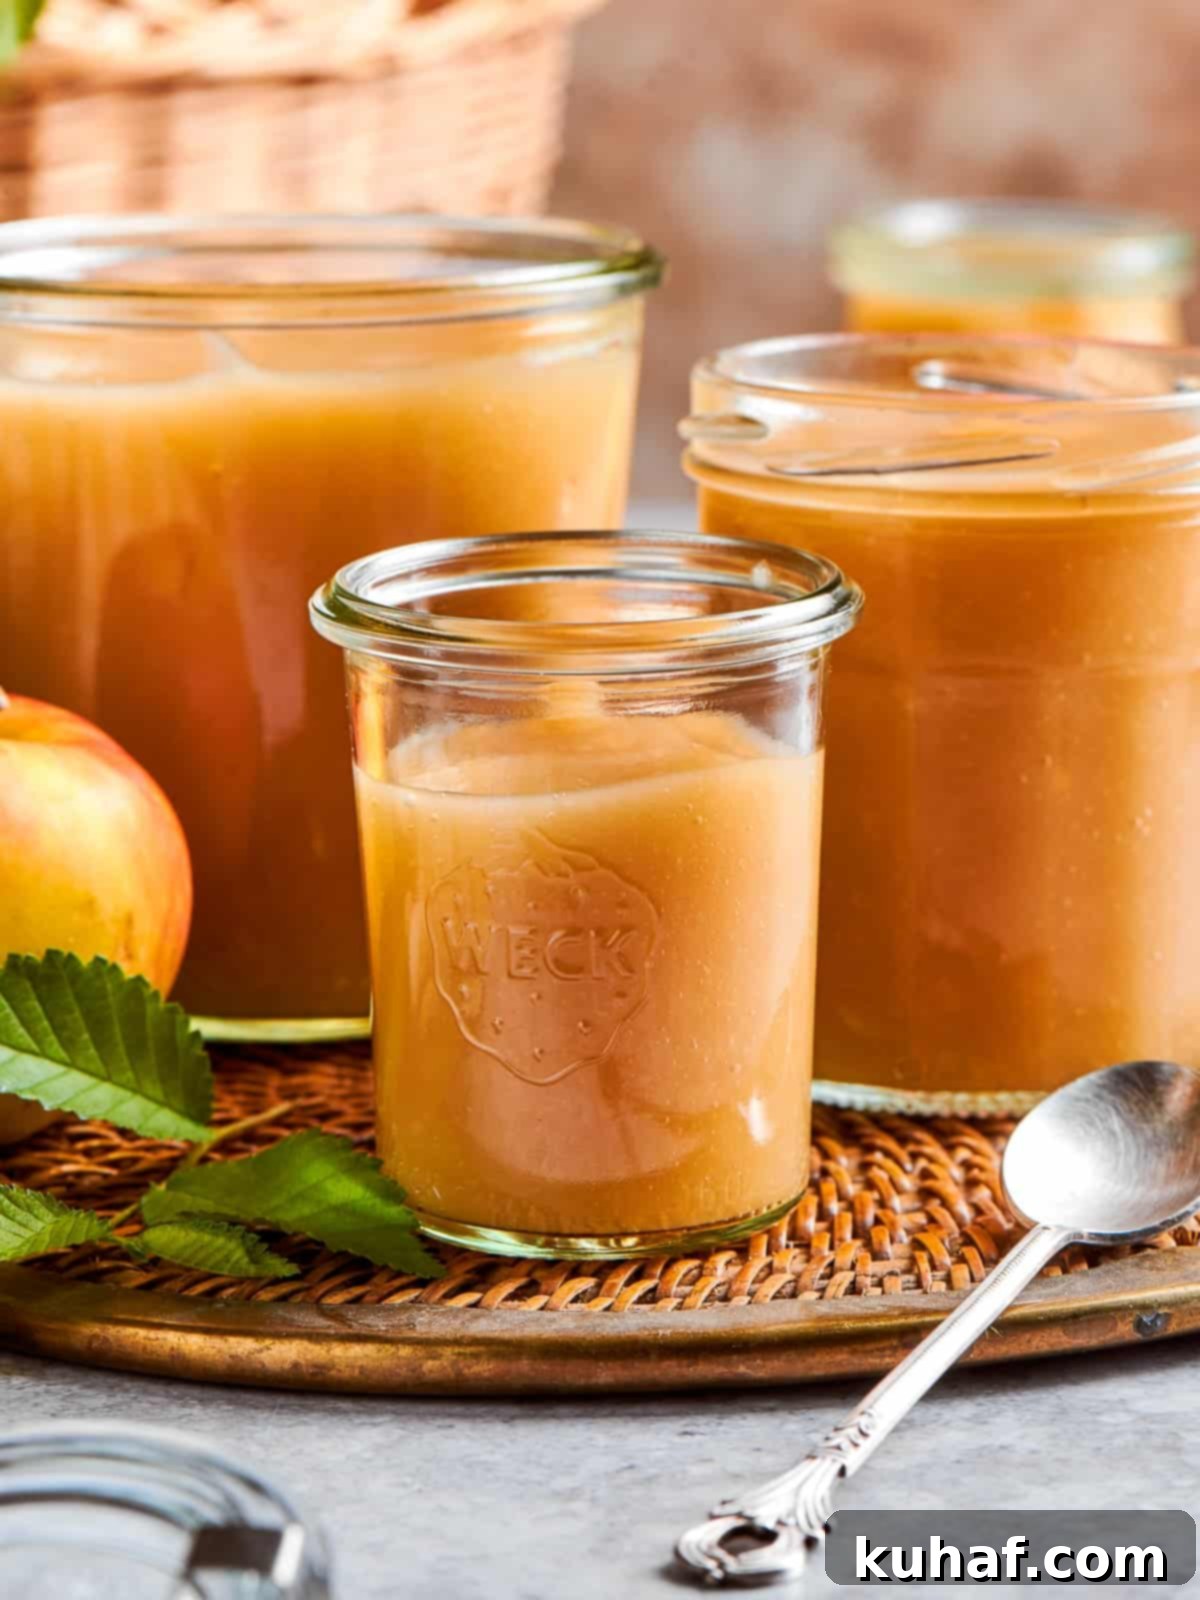
Step 6: Cool and Store. Once your applesauce has reached its perfect texture, allow it to cool completely to room temperature. This is a critical step for food safety and storage. Once cooled, transfer the applesauce into clean, sanitized, airtight containers such as glass jars (like Mason jars) or high-quality Tupperware. It will keep beautifully in the refrigerator for up to 1 month, or you can freeze it for up to a year, ensuring you always have delicious homemade applesauce on hand (photo 4).
How to Make Flavorful Cinnamon Applesauce
If you adore the warm, comforting spice of cinnamon, it’s incredibly easy to adapt this recipe to create cinnamon applesauce. Simply add 2 tablespoons of ground cinnamon to the pot along with the apples and an additional ½ cup of water during Step 3. Stir everything together to ensure the cinnamon is well distributed. Continue cooking as directed, allowing the flavors to meld. After about 15 minutes of simmering with the cinnamon, taste the applesauce to see if you’d like to add any more. Some prefer a stronger cinnamon kick, so don’t hesitate to adjust to your personal preference!
Recipe FAQs: Your Applesauce Questions Answered
Whether or not to peel apples before making applesauce is entirely a matter of personal preference. I personally choose to peel my apples because I prefer a super smooth, consistent texture without any tiny bits of apple skin in my applesauce. Peeling also results in a lighter, brighter color. However, many people, including my mother, never peel theirs! Leaving the skins on adds extra fiber and nutrients, and gives the applesauce a slightly rustic, darker appearance and a more complex flavor. If you choose to leave the skins on, ensure you wash your apples thoroughly and blend the applesauce extra well to minimize noticeable skin pieces.
Properly stored homemade applesauce has a good shelf life. It will last for up to 1 month when kept in an airtight container in the refrigerator. For longer storage, you can freeze it for up to a year. The most common reason for applesauce to spoil prematurely is contamination, often from using a spoon that has been in contact with other foods or fingers. Always use clean utensils and containers. Before consuming, always inspect your applesauce for any signs of spoilage, such as visible mold on the surface or around the edges, an off-smell, or an accumulation of air that pushes the lid outwards, which is a clear sign of fermentation.
Once your applesauce has finished cooking, it’s essential to let it cool completely to room temperature before storing. Transfer the cooled applesauce into clean, sanitized, airtight containers. Quart-sized containers, Mason jars with new lids, or quality Tupperware are all excellent options. For refrigeration, simply place the sealed containers in your fridge for up to a month. For freezing, leave about an inch of headspace in your containers (especially glass jars) to allow for expansion as the applesauce freezes. Frozen applesauce can last for up to a year. The consistency of your freezer’s temperature can affect longevity; a consistent deep freeze, like in a chest freezer in a garage, often preserves food better than a frequently opened kitchen freezer.
If, despite your best efforts, your homemade applesauce turns out runnier than desired, don’t despair! There are a few easy ways to thicken it. The simplest method is to return the applesauce to the pot and simmer it gently over low heat with the lid off. This allows some of the excess water to evaporate, concentrating the flavors and thickening the sauce. Stir occasionally to prevent sticking. Another fantastic option is to add cinnamon; it’s not just for flavor, as cinnamon acts as a natural thickener! Stir in a tablespoon or two and watch the thickening magic happen. Remember that applesauce will also naturally thicken further as it cools, so assess its final consistency after it has completely chilled.
The goal with varied apple selection is a perfectly balanced sweet-tart applesauce. However, sometimes adjustments are needed. If your applesauce is too sweet for your liking, you can easily balance it by adding a touch of acidity. A squeeze of lemon juice, a splash of apple cider vinegar, or even a tiny pinch of citric acid can cut through the sweetness. If, on the other hand, it’s too tart and needs more sweetness, you have several options: stir in a tablespoon or two of granulated sugar, brown sugar, honey, or maple syrup until it reaches your desired taste. You could also enhance the warmth and perceived sweetness with a dash of vanilla extract or a pinch of apple pie spice.
More Delicious Apple Recipes to Try
Loved making homemade applesauce? Here are more delightful apple-inspired recipes to explore and enjoy.
Cake Recipes
Applesauce Cake
A moist and flavorful cake, perfect for any occasion, bursting with the natural goodness of applesauce and warming spices.
Homemade Gift Ideas
Easy Apple Compote
A quick and simple apple compote that’s fantastic over pancakes, yogurt, or as a delightful homemade gift.
Fall Dessert Recipes
21 Best Apple Dessert Recipes
An extensive collection of the finest apple dessert recipes, perfect for fall gatherings or any time of year.
Easy Bake Sale Ideas
Apple Crisp Energy Bites
Healthy and delicious energy bites packed with apple crisp flavors, perfect for a quick snack or meal prep.
If you tried this recipe and loved it, please leave a 🌟 star rating and let me know how it goes in the comments below. I love hearing from you; your comments make my day!
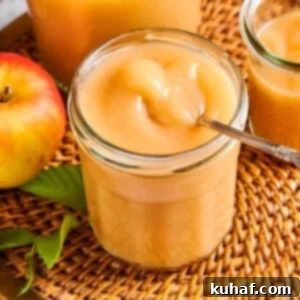
The Best Homemade Applesauce
Chef Lindsey
20 minutes
2 hours
15 minutes
2 hours
35 minutes
12
cups
Saved
Pin Recipe
Comment
Print Recipe
Ingredients
-
8
pounds
apples
will be about 4 lbs 9 oz peeled & cored -
1 ½
cups
water
Cinnamon Variation:
-
2
tablespoons
ground cinnamon
more to taste -
½
cup
water
Instructions
-
Peel, quarter and core apples. I typically leave my apples at this stage, but you can cut them smaller if you need them to fit into a smaller pot.
-
Place apples in a saucepot or Dutch oven that has a capacity of at least 7 ¼ quarts and has a tight fitting lid.
-
Pour 1 ½ cups water into the pot along with the apples and bring to a boil over medium-low heat. Cover with the lid and continue cooking for 2- 2 ½ hours, stirring occasionally to make sure they aren’t burning.
-
Once they start to soften, I reduce the heat to low. This is usually after about 30 – 45 minutes.
-
The applesauce is technically done at this point but I prefer a super smooth, silky texture, so I blend mine with an immersion blender while hot in the cooking pot. Do be careful not to splash yourself.
-
Cool and store in clean, sanitized, airtight containers in the refrigerator for up to 1 month or frozen for up to a year.
Notes
Yield – 3 Quarts
Flavor Tips – Use at least 5 different varieties of apples whether you pick your own or you buy them from the grocery store!
Technique – Weigh the apples at the store, farmers market or in your kitchen with a kitchen scale, then peel, core & quarter them and put them in the pot.
Cinnamon Variation – Add an additional ½ cup water and 2 tablespoons ground cinnamon towards the end of cooking.
Storage – Store for up to a month in the refrigerator or frozen for a year.
Nutrition
Calories:
161
kcal
|
Carbohydrates:
43
g
|
Protein:
1
g
|
Fat:
1
g
|
Saturated Fat:
0.1
g
|
Polyunsaturated Fat:
0.2
g
|
Monounsaturated Fat:
0.02
g
|
Sodium:
5
mg
|
Potassium:
329
mg
|
Fiber:
8
g
|
Sugar:
31
g
|
Vitamin A:
167
IU
|
Vitamin C:
14
mg
|
Calcium:
33
mg
|
Iron:
0.5
mg
Condiments, Side Dish, Snack
American
161
Like this? Leave a comment below!
Before You Go: Explore More Apple Delights
I genuinely hope you enjoyed this easy and comprehensive recipe for homemade applesauce. It’s a true staple, versatile, and incredibly satisfying to make. If you’re looking to dive deeper into the wonderful world of apples, I invite you to peruse all our apple recipes, which include both sweet and savory dishes that highlight this incredible fruit. Or, if your sweet tooth is calling, indulge in our curated list of the 21 Best Apple Dessert Recipes! Happy cooking, and enjoy the delicious flavors of fall all year round.
