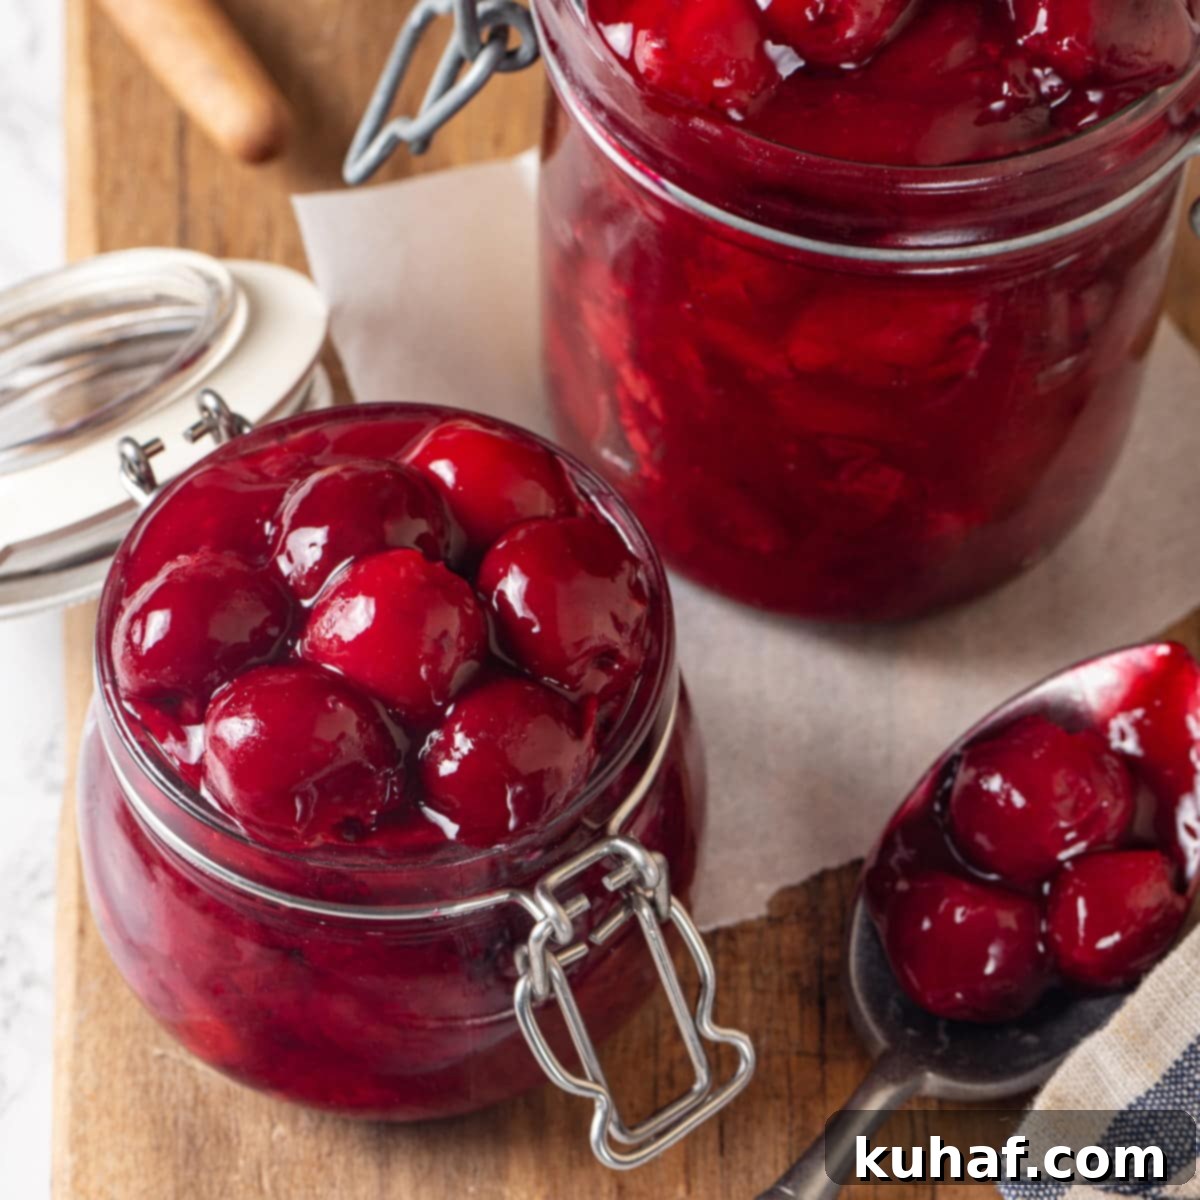
Homemade Cherry Pie Filling: The Ultimate Guide to Perfectly Sweet & Tart Desserts
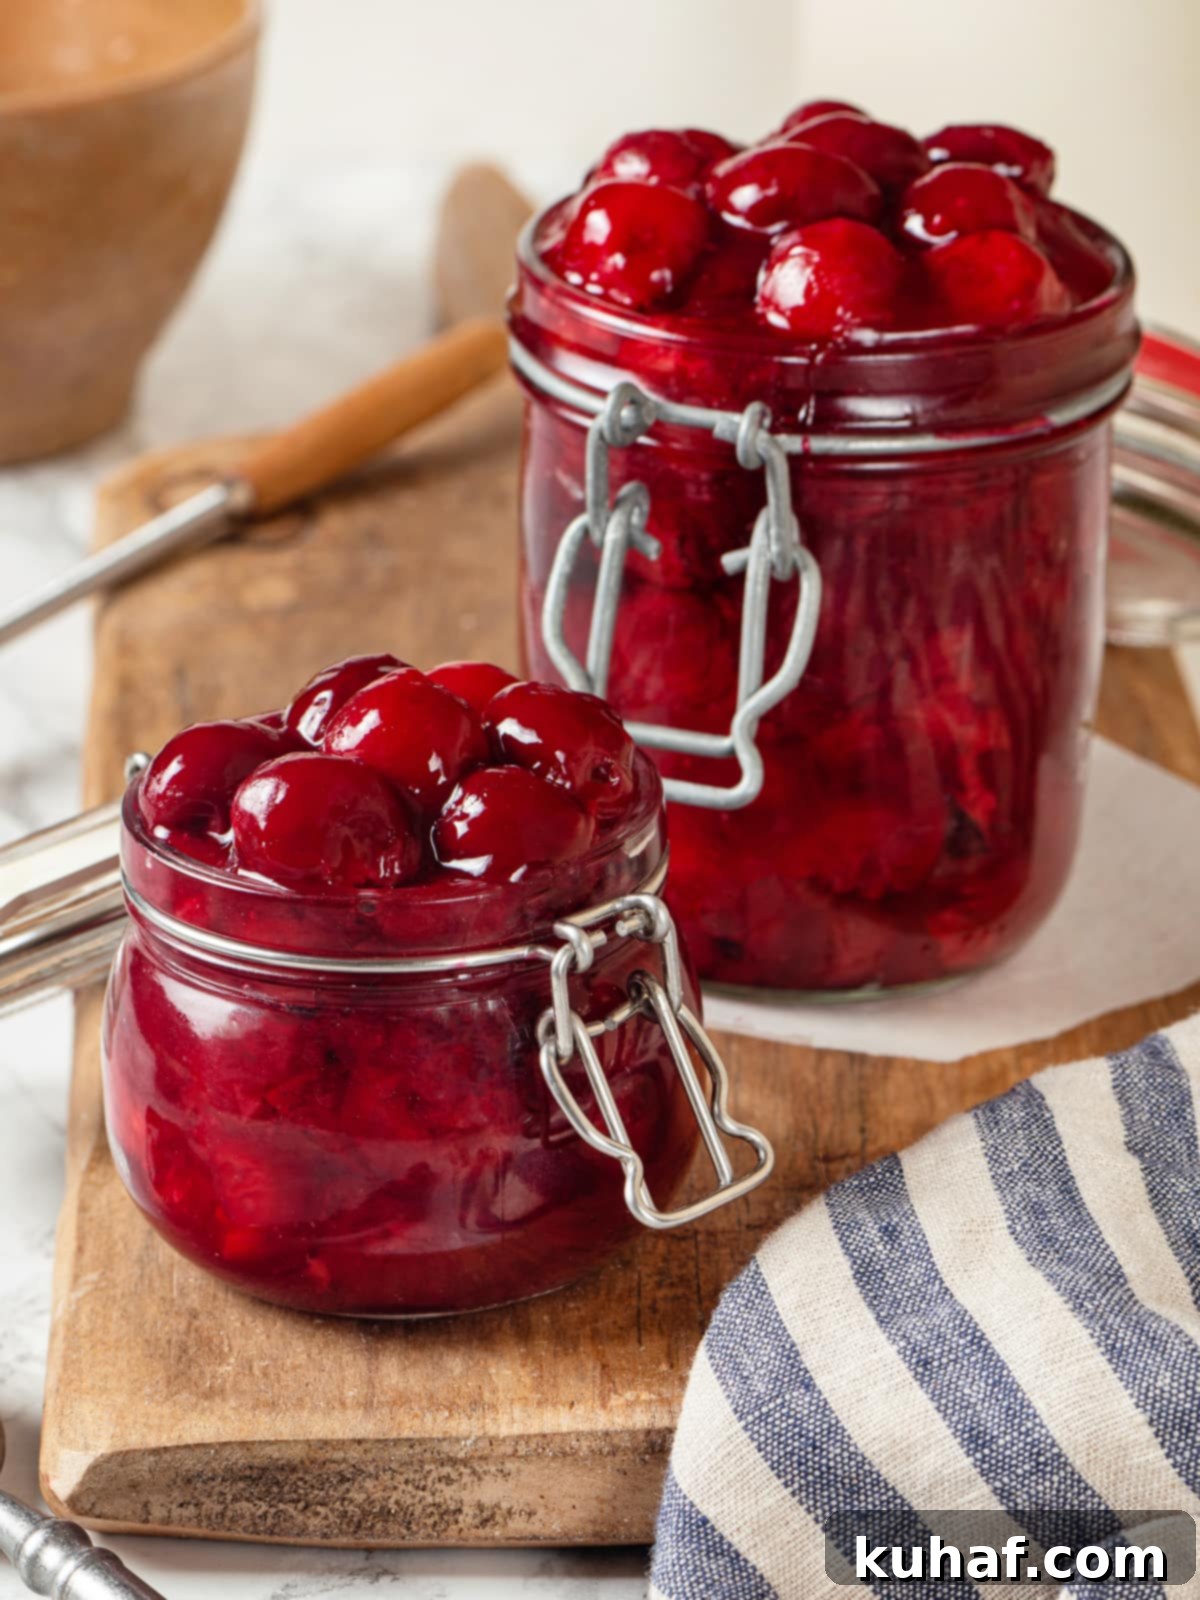
Discover the secret to the most vibrant and delicious Cherry Pie Filling Recipe you’ll ever make! This incredible recipe is crafted with just a handful of simple ingredients and comes together in a flash. It’s perfectly thickened, bursting with natural cherry flavor, and exceptionally versatile, making it the ideal choice for elevating your pies, cobblers, crisps, cakes, and so much more. Say goodbye to bland, canned fillings and embrace the rich, homemade taste that will transform all your cherry desserts.
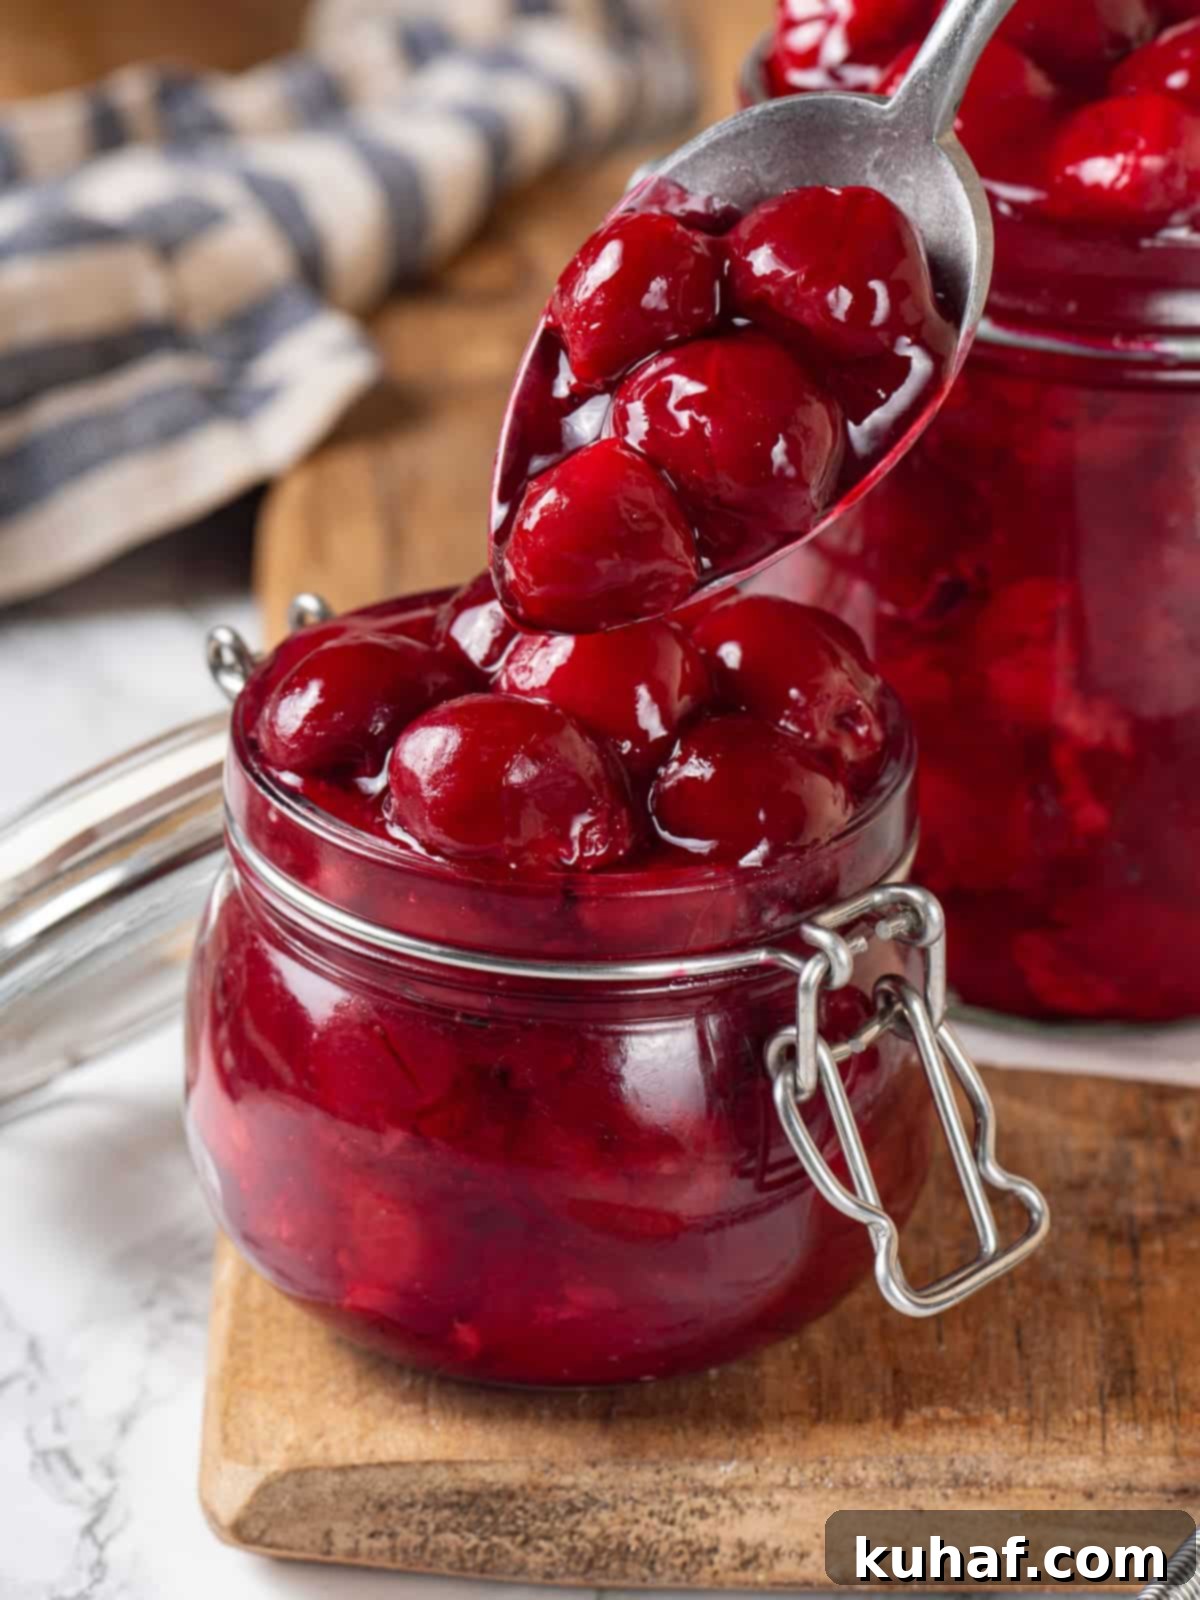
There’s truly nothing quite as satisfying as homemade pie filling. The carefully balanced sweetness, the burst of fresh fruit, and the elegant hint of almond extract elevate this cherry filling to an exceptional level. It’s this touch of almond that beautifully accentuates the natural tartness and sweetness of the cherries, creating a more sophisticated and memorable flavor profile.
I absolutely adore those moments at the farmer’s market when the stalls are overflowing with baskets of bright, ruby-red cherries. It’s impossible to resist, and I always end up buying as much as I can carry! Beyond this luscious pie filling, those seasonal cherries inspire a host of other delightful creations. I frequently whip up this cherry preserve recipe for a sweet spread and even these unique pickled cherries, which make a surprisingly perfect and tangy addition to my favorite summer panzanella salad! This homemade filling ensures you can enjoy that fresh cherry taste all year round, whether it’s summer, fall, winter, or spring.
Table of Contents
- Why You Will Love This Homemade Cherry Filling
- Ingredients & Smart Substitutions for Cherry Filling
- Creative Variations for Your Cherry Pie Filling
- Delicious Ways to Use Homemade Cherry Pie Filling
- Step-by-Step Guide: How to Make Homemade Cherry Pie Filling
- Chef Lindsey’s Expert Recipe Tip
- Cherry Pie Filling Recipe FAQs
- Recommended Cherry Recipes
- Cherry Pie Filling Recipe Card
- Before You Go: More Dessert Inspiration
Why You Will Love This Homemade Cherry Filling
- Achieve the Perfect Thick and Luscious Texture: This recipe guarantees a filling that’s cooked to absolute perfection! It’s wonderfully thick and glossy, ensuring that when you slice into your homemade cherry pie, the filling holds its shape beautifully without spilling out. The beauty of this recipe is its adaptability; you can fine-tune the cooking time to achieve the ideal consistency for whatever dessert you’re making – whether it’s a firmer filling for a pie or a slightly looser one for a cobbler or cake. Just be mindful not to overcook it on the stovetop if you plan to bake it further in a dessert.
- Incredibly Easy and Quick to Prepare: Forget about store-bought alternatives once you experience the ease and superior taste of this homemade filling. This perfectly sweet and tart cherry filling can be whipped up in under 20 minutes! The process is straightforward, requiring minimal fuss but delivering maximum flavor. You’ll be amazed at how simple it is to achieve such a gourmet result at home.
- Enjoy Fresh Cherry Flavor Year-Round: This versatile filling is perfect for any season. Imagine delightful cherry pie bars for your Fourth of July picnic, a comforting cherry cobbler for Thanksgiving dinner, or a festive cherry crisp to warm up your Christmas celebrations! The recipe works beautifully with fresh, frozen, or even canned cherries, making it accessible no matter the time of year. Plus, you can easily prepare large batches and freeze them, ensuring you always have this delightful filling on hand for future baking endeavors.
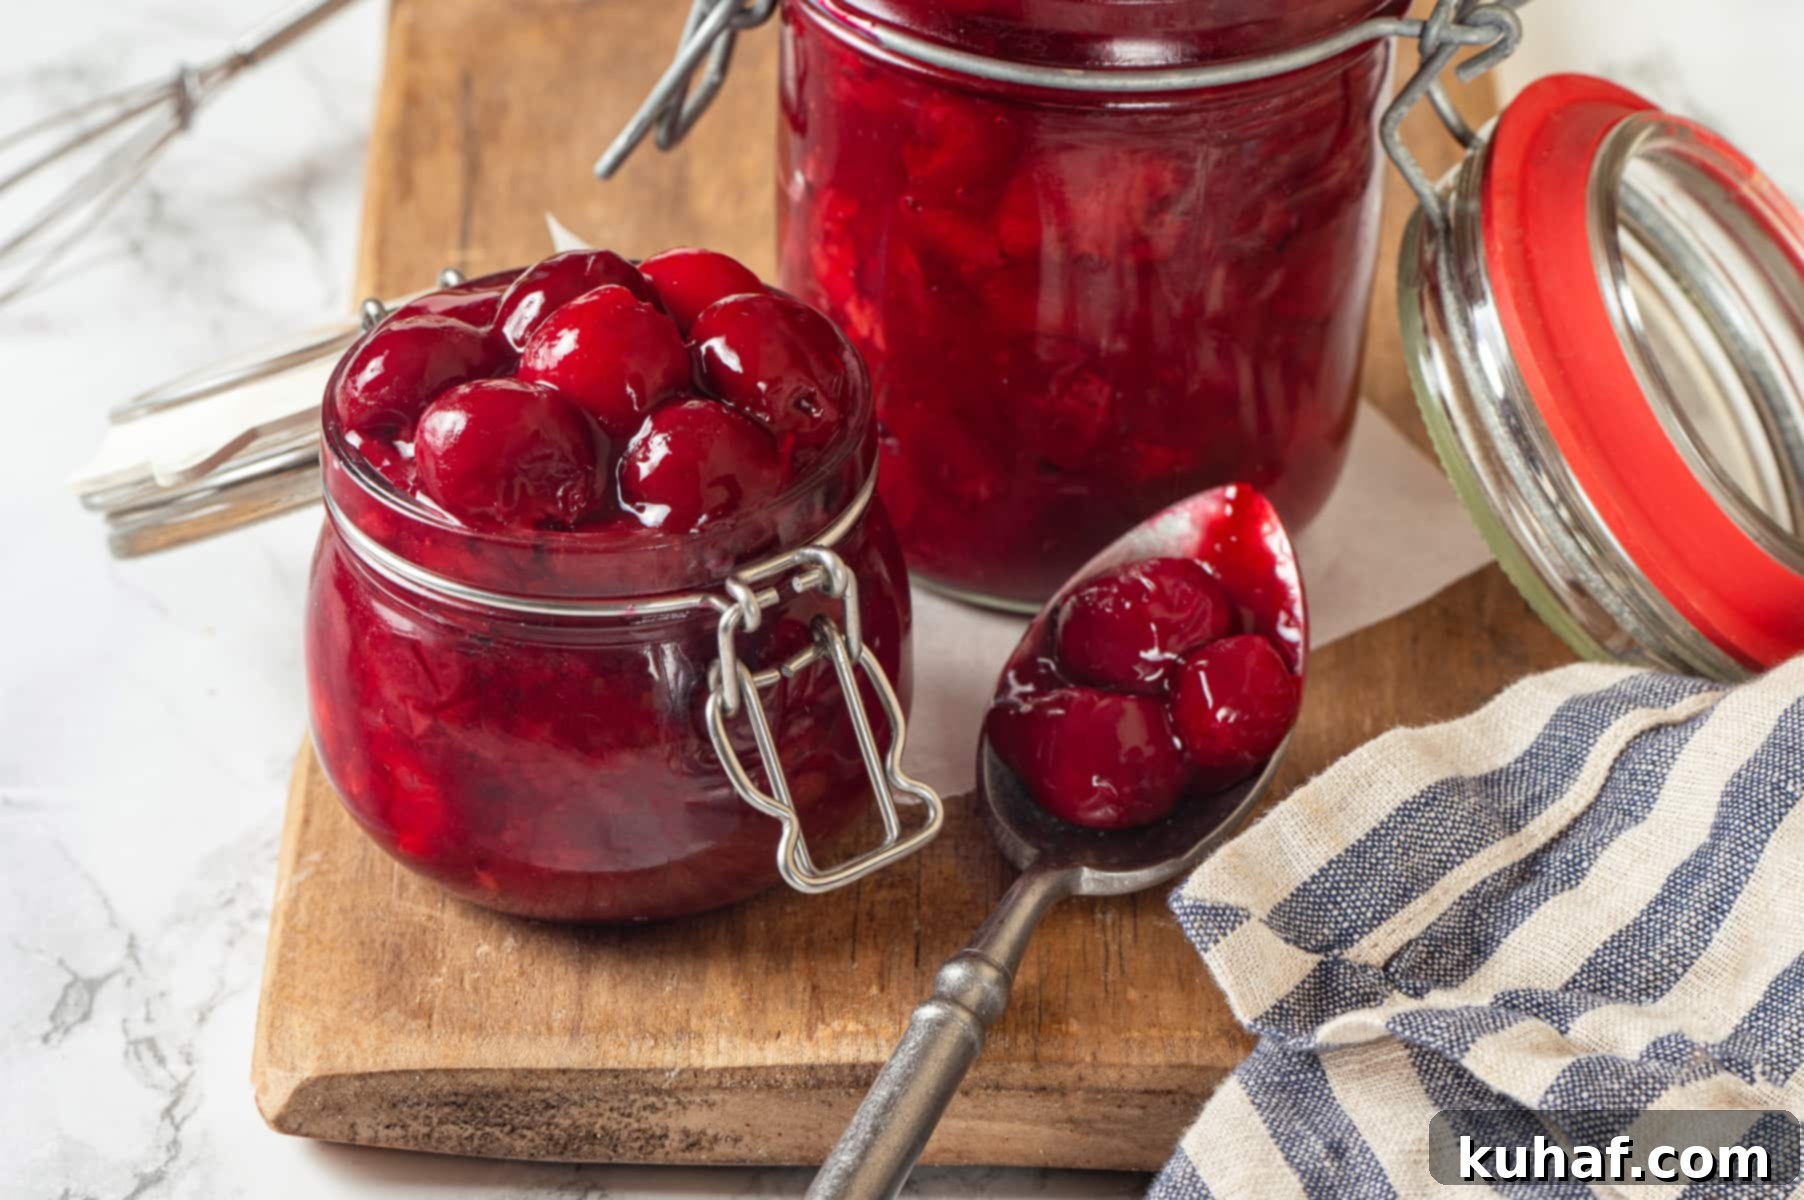
Ingredients & Smart Substitutions for Cherry Filling
Creating this spectacular cherry pie filling requires just a few key ingredients. Here’s a closer look at what you’ll need and how you can make smart substitutions to suit your preferences and what you have on hand:
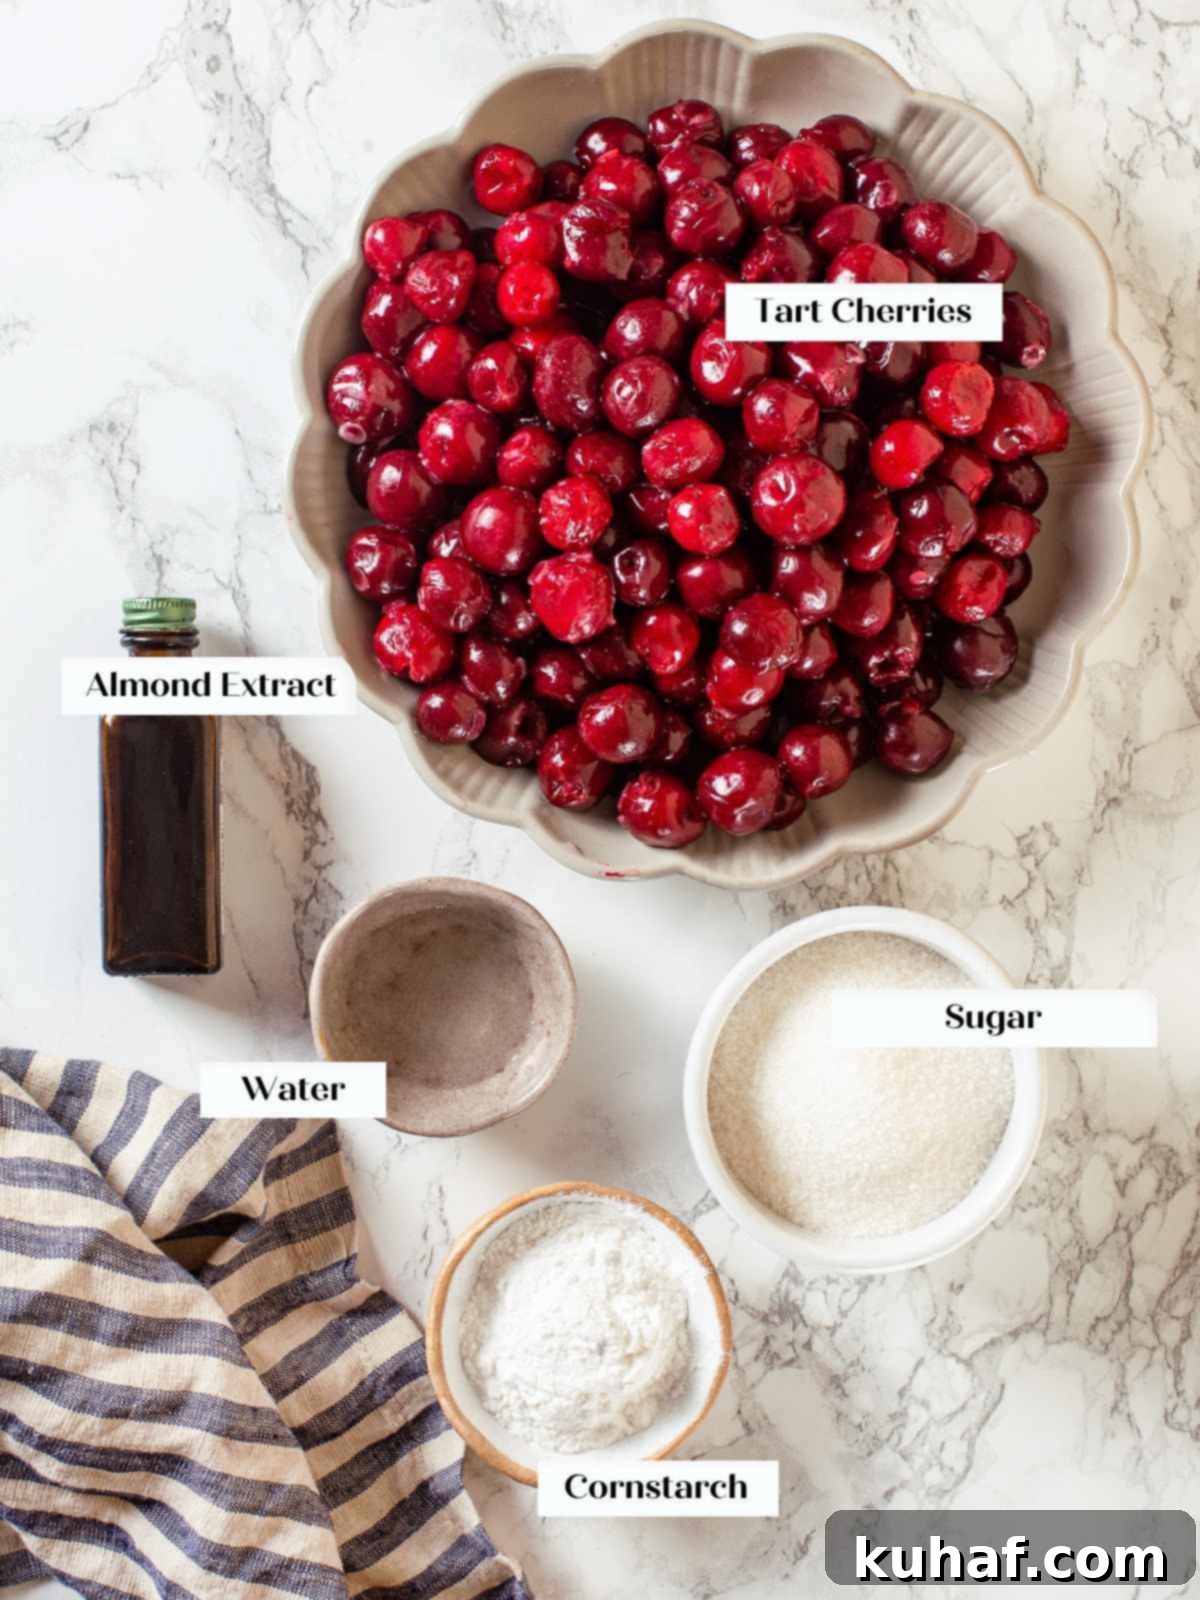
- Tart Cherries: The foundation of our filling! You have great flexibility here. You can use fresh, frozen, or canned cherries. While fresh sour cherries (like Montmorency) yield the most vibrant color and classic tart-sweet flavor, a mix of tart and sweet cherries works wonderfully too. If using frozen cherries, there’s no need to thaw them beforehand; simply add them to the saucepan as directed. If using canned tart cherries in water, be sure to drain them well and reduce the liquid a bit more during cooking to prevent a runny filling. For fresh cherries, a good cherry pitter is your best friend!
- Granulated Sugar: This provides the necessary sweetness to balance the tartness of the cherries. The amount can be adjusted to your preference and the type of cherries you use. Taste your cherries before adding sugar, and feel free to adjust the quantity to achieve your desired level of sweetness. For a deeper flavor, you could experiment with a mix of granulated sugar and a small amount of brown sugar or even a touch of maple syrup.
- Cornstarch or Tapioca Flour: These are our thickening agents. I personally prefer tapioca flour (specifically Bob’s Red Mill tapioca flour) for fruit pie fillings. It creates a beautifully clear, glossy, and stable gel that holds up exceptionally well and doesn’t impart any off-putting flavor. It’s also less prone to “weeping” (releasing liquid) over time compared to cornstarch. However, cornstarch is a perfectly viable alternative. Ensure it boils for at least a minute to properly activate its thickening power and eliminate any starchy taste, resulting in a clear and tasteless thickener.
- Almond Extract: This is the secret ingredient that truly makes this cherry filling shine! A small amount of almond extract profoundly enhances the natural cherry flavor, adding a layer of depth and sophistication that is absolutely divine. It’s a classic pairing for a reason. If you don’t have almond extract, pure vanilla extract can be a good substitute, though it will give a different flavor profile.
- Water: This is primarily needed if you’re using cornstarch to create a “slurry” (a mixture of cornstarch and cold water). A slurry ensures the cornstarch dissolves evenly and prevents lumps when added to the hot fruit mixture. If using tapioca flour, you might not need the separate water for a slurry as it can often be incorporated directly.
See the recipe card below for precise measurements and full information on all ingredients and quantities.
Creative Variations for Your Cherry Pie Filling
While this classic cherry pie filling is perfect as is, it also serves as an excellent base for a myriad of delicious variations. Don’t be afraid to experiment and personalize it to your taste!
- Infuse the Filling with Whole Spices: Add aromatic depth by infusing the filling while it cooks. Toss in whole cinnamon sticks, a few cloves, a knob of fresh ginger, or a pinch of freshly grated nutmeg. For an even more luxurious touch, slice a vanilla bean pod lengthwise and add it to the simmering cherries. Remember to remove the whole spices before using the finished filling to avoid an overpowering flavor.
- Add Different Fruits for a Berry Medley: Cherries pair beautifully with other fruits. For instance, you could add blueberries to the filling, creating a delightful blend reminiscent of this blueberry cherry cobbler. Blackberries or raspberries also make fantastic additions, offering an extra layer of tartness and complexity. Or, for a stone fruit celebration, combine cherries with diced peaches and apricots, which would be divine in my favorite peach cake!
- Stir in Some Decadent Chocolate: For a truly indulgent treat, once the filling is cooked and removed from the heat, stir in a handful of finely chopped dark chocolate or chocolate chips. The residual heat will melt the chocolate, thickening the filling further and creating a luxurious Black Forest-inspired flavor. This chocolate-infused filling is spectacular for tarts, cakes, or as a sophisticated ice cream topping. It’s important to add the chocolate *after* cooking and avoid reheating, as chocolate can seize and become grainy if cooked directly with the fruit mixture.
- Brighten It Up with Citrus Zest and Juice: Swap out or complement the almond extract with a burst of citrus. The zest and juice from lime, clementine, blood orange, or lemon would add a delightful tang and brightness that beautifully cuts through the sweetness of the cherries, creating a refreshing twist.
- Mix in a Hint of Booze: For an adult-friendly variation, once the filling has thickened and is removed from the heat, stir in a tablespoon or two of your favorite spirit. Cognac, brandy, bourbon, amaretto (which reinforces the almond note), or Frangelico (hazelnut liqueur) would all be excellent choices. You can either continue to cook the mixture for a few more minutes to evaporate the alcohol, leaving behind only the flavor, or leave it as is for a stronger spirited kick.
Delicious Ways to Use Homemade Cherry Pie Filling
The beauty of this homemade cherry pie filling lies not just in its exquisite taste but also in its incredible versatility. Once you’ve made a batch, the possibilities for delicious desserts are endless. Here are some of our favorite ways to enjoy it:
- Classic Pies, Rustic Tarts, Comforting Crisps, and Warm Cobblers: This filling is, of course, perfect for its namesake! Use it in a classic double-crust pie with my flaky vodka pie crust or this foolproof all-butter pie crust for a truly irresistible cherry pie. For a more rustic charm, bake a cherry galette using a Crisco pie crust recipe or simply dollop it into individual ramekins for a quick cherry cobbler or crisp topped with oats. For an elegant dessert, try it with a homemade pie crust or almond flour pie dough, layering it over frangipane to create a sophisticated almond cherry tart!
- Assemble a Stunning Seasonal Trifle: Create an impressive dessert that’s as beautiful as it is delicious. Start with layers of your favorite pound cake (or even angel food cake), generously spread with this luscious cherry filling, and topped with billowy whipped cream. For an extra touch of creamy decadence, elevate your whipped cream by folding it into a rich crème légère made with this vanilla bean pastry cream recipe! To further accentuate the almond notes in the filling, consider using my cherry almond pound cake as your cake base.
- An Ideal Filling for Cakes and Cheesecakes: This pie filling is a dream come true for cake lovers. Use it as a vibrant layer between rich chocolate fudge cake layers for a luxurious treat, or replace the blueberries in these delightful no-bake cheesecake bars for a cherry twist. You can even gently swirl it into this creamy chocolate cheesecake recipe before baking to create a stunning chocolate cherry cheesecake, or simply use it as a generous topping for my personal favorite cherry cheesecake!
- Serve it Over Ice Cream, Puddings, or Elegant Pavlova: This filling isn’t just for baked goods! It’s the perfect spoonable topping to elevate simple desserts. Drizzle it generously over a scoop of homemade chocolate ice cream or creamy vanilla pudding. It would also make a stunning and delicious variation on this light and airy lemon berry pavlova cake, adding a beautiful contrast of texture and flavor.
- Brighten Up Your Brunch Spread: Don’t limit this delicious filling to just dessert! It’s an amazing addition to your brunch menu. Spoon it warm over fluffy sourdough pancakes or crispy sourdough waffles. For an extra special treat, incorporate it into the filling for the best cinnamon rolls you’ll ever bake, creating a delightful cherry-cinnamon fusion. It’s also fantastic layered with yogurt and granola for a refreshing and satisfying parfait.
Step-by-Step Guide: How to Make Homemade Cherry Pie Filling
Follow these easy instructions to create a perfectly tart and sweet cherry filling that will impress everyone. More precise details and exact measurements can be found in the comprehensive recipe card further down the page.
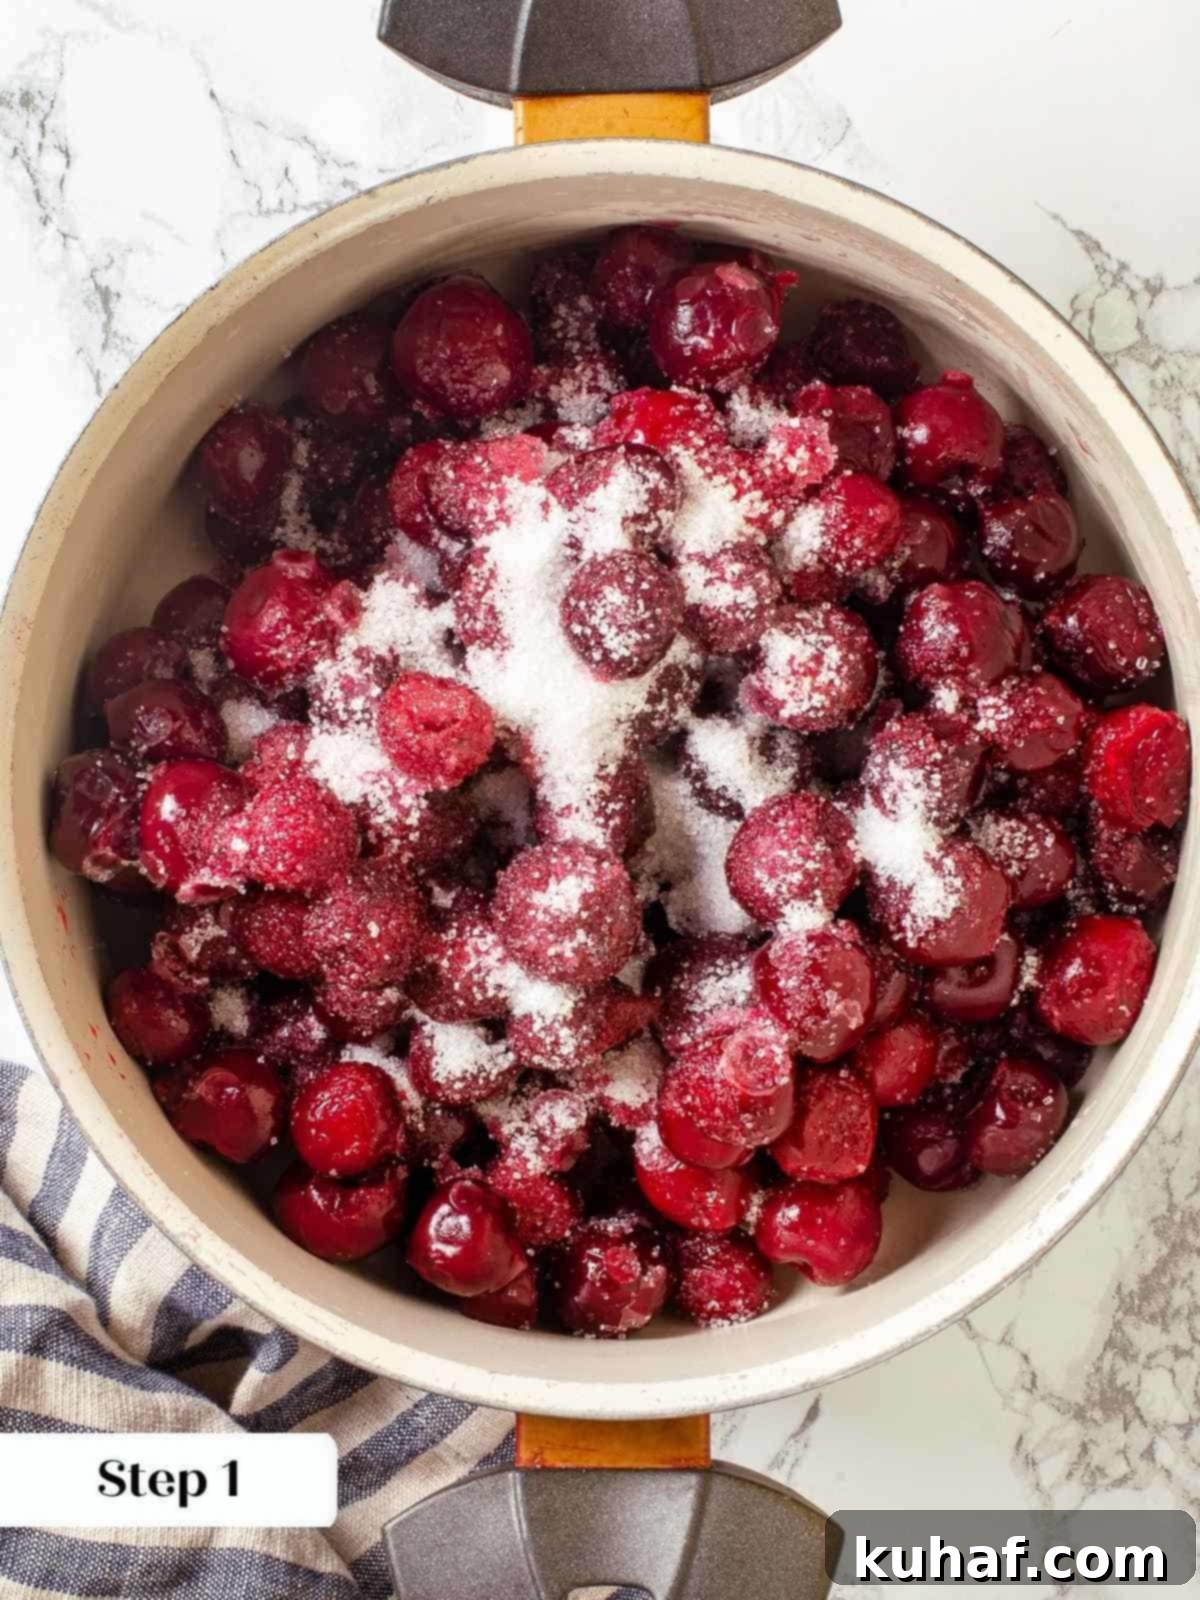
Step 1: Combine Ingredients and Start the Juice Release. In a medium-sized saucepan, combine the tart cherries (along with any accumulated liquid if using frozen or canned), almond extract, and granulated sugar. If you are using fresh cherries, make sure to remove the pits thoroughly using a cherry pitter beforehand. If you opt for tapioca flour as your thickener, you can add it directly to all the other ingredients at this stage and begin cooking the mixture over low heat. This gentle heat allows the cherries to slowly release their natural juices, forming the delicious base of our filling.
If you are using tapioca flour, add it to all the other ingredients and cook the mixture over low heat until the cherries release their juices.
Step 2: Simmer and Reduce (Especially for Canned Cherries). Continue to cook the mixture slowly over low heat, stirring occasionally, until the cherries have fully released all their juices. This process typically takes about 5-10 minutes, depending on the cherries. If you are using canned cherries (which often come packed in water or a light syrup), I highly recommend gently boiling the mixture for 5-10 minutes at this stage. This step helps evaporate some of the excess water, preventing your filling from becoming too runny. Just be attentive and stir frequently to ensure it doesn’t burn or stick to the bottom of the pan.
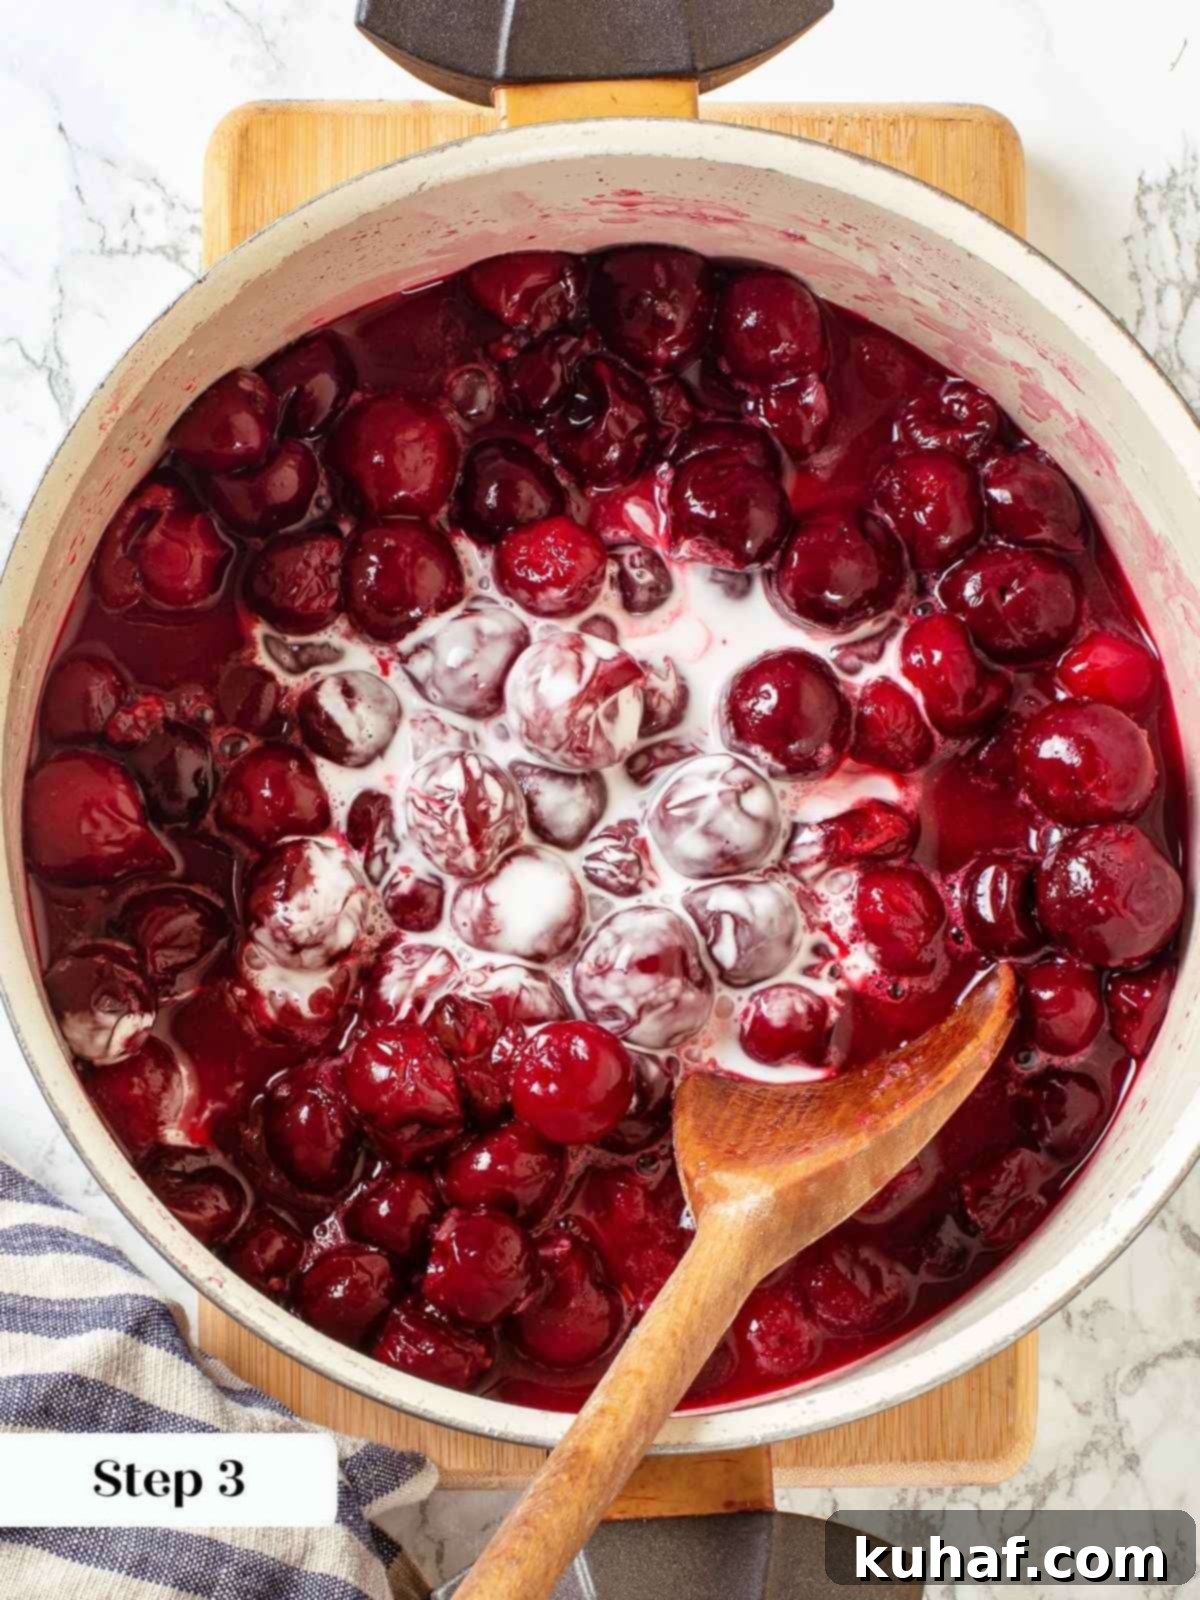
Step 3: Prepare and Add the Thickener Slurry. In a small separate bowl, whisk together the cornstarch and cold water until a smooth, lump-free slurry forms. Once your cherries have simmered and released their juices, reduce the heat to low. Slowly pour the cornstarch slurry into the cherry mixture in the saucepan, stirring constantly with a whisk. This continuous stirring is crucial to prevent the thickener from clumping and to ensure an even consistency.
Step 4: Activate the Thickener. After incorporating the slurry, increase the heat to medium. Bring the mixture to a gentle boil and allow it to simmer for at least one minute, stirring continuously. This boiling period is essential to fully activate the tapioca or cornstarch. Initially, the filling will appear opaque after adding the slurry, but as the starch activates and cooks, it will gradually become translucent, indicating it’s properly thickened and any starchy taste has cooked out.
The filling will turn opaque once the slurry is added and translucent when the starch is fully activated. This visual cue confirms your filling is perfectly thickened.
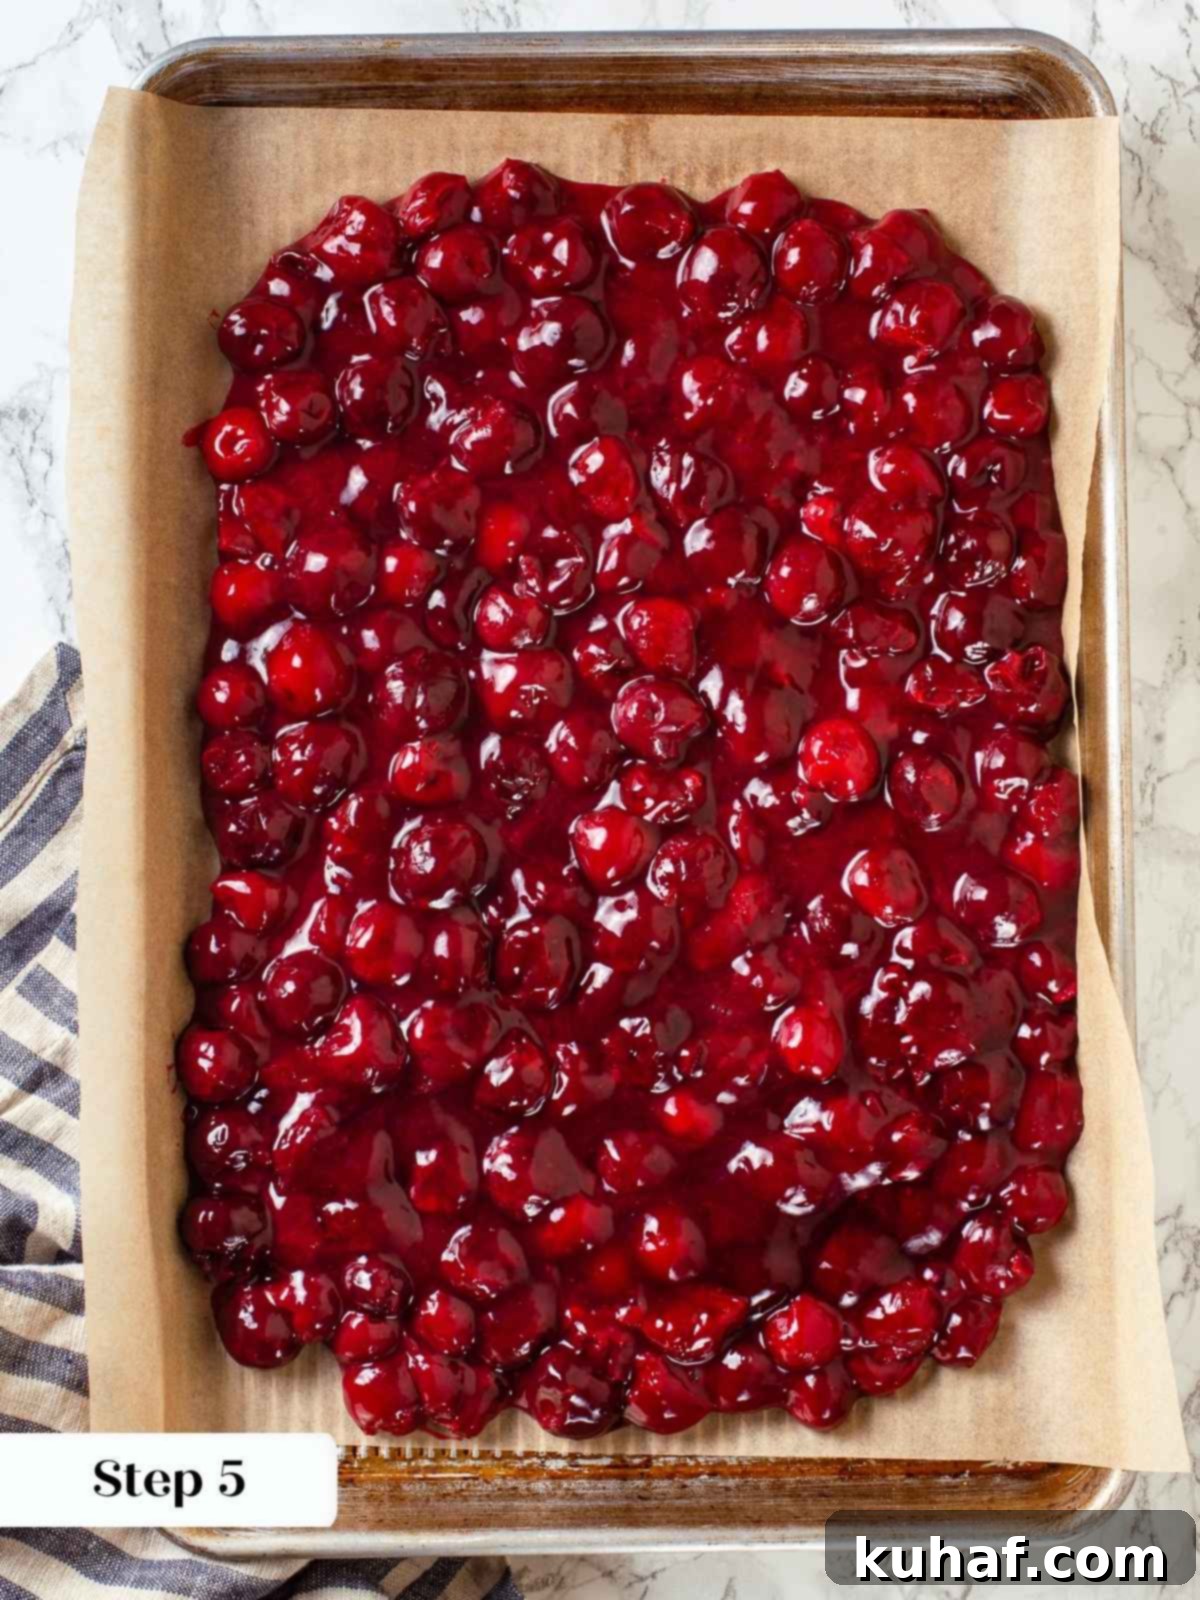
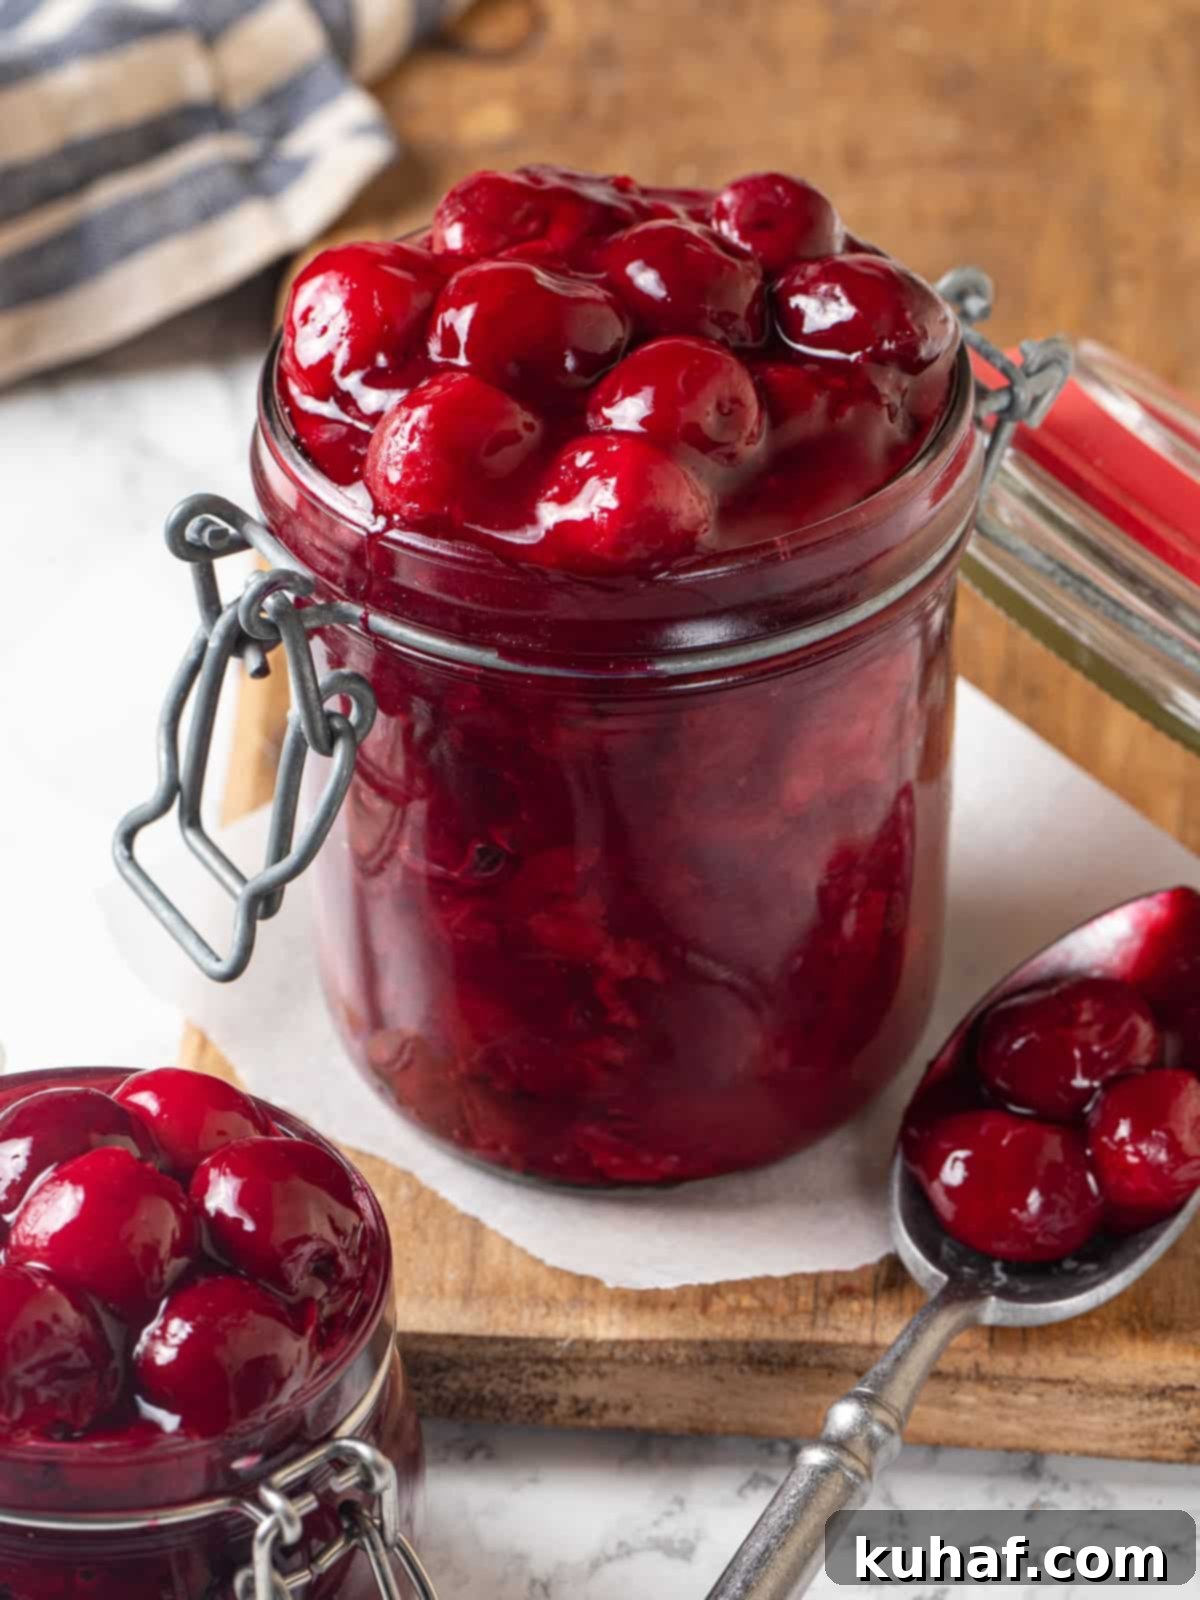
Step 5: Cool and Store Your Perfect Filling. Once the filling has reached your desired thickness and translucency, remove it from the heat. Carefully pour the hot mixture onto a parchment-lined rimmed baking sheet or into a wide, shallow pan. Spreading it out allows it to cool completely and quickly at room temperature. Once cooled, your homemade cherry pie filling is ready to use immediately! Alternatively, you can spoon it into a clean, airtight container and refrigerate it for up to 2 weeks or freeze it for up to 3 months for future use. For freezing, make sure the container is freezer-safe and leave a little headspace for expansion.
Chef Lindsey’s Expert Recipe Tip
If you have tapioca flour, use it! From my experience, tapioca creates a much more stable and aesthetically pleasing filling compared to cornstarch. While cornstarch thickens effectively, sauces, puddings, pastry creams, or fruit fillings thickened solely with cornstarch tend to gradually “weep” or leach moisture over time. Fillings with a higher concentration of cornstarch are also more prone to breaking down faster, especially after freezing and thawing. Tapioca, on the other hand, provides a firmer, clearer, and more resilient hold, maintaining its luscious consistency and preventing sogginess in your baked goods for a longer period. It’s truly a superior thickener for fruit-based fillings.
Cherry Pie Filling Recipe FAQs
Got questions about making or using your homemade cherry pie filling? We’ve got answers!
Once your cherry pie filling is cooked and completely cooled to room temperature, transfer it to an airtight container. It can be safely stored in the refrigerator for up to 2 weeks. For longer storage, you can freeze it for up to 3 months. To use frozen filling, simply allow it to defrost slowly in the refrigerator overnight, or at room temperature for a few hours. Stir well before using.
Several factors can contribute to a runny cherry filling. If you used canned cherries, it’s possible you didn’t allow enough of the excess water to boil off during the initial cooking stage. Another common reason is improper activation of the thickener: cornstarch, in particular, requires at least one full minute of boiling to fully activate its thickening power. If it doesn’t boil long enough, it won’t thicken properly. Also, freezing and then defrosting a cornstarch-thickened filling can sometimes cause the starch molecules to break down, leading to a thinner consistency. If your filling is still too runny after cooling, you can gently reheat it and add a small slurry of extra cornstarch (1 teaspoon cornstarch mixed with 1 tablespoon cold water) and bring it back to a boil for another minute.
For the most vibrant red color and a perfectly balanced sweet-tart flavor, fresh sour cherries (like Montmorency) or high-quality frozen, pitted tart cherries are undeniably the best choice. These cherries yield a brilliant, jewel-toned filling that looks as good as it tastes. Using sweet cherries (such as Bing or Rainier) will result in a darker, duller-colored filling and a much sweeter flavor profile, which might require adjusting the sugar content. If fresh or frozen tart cherries are unavailable, canned tart cherries packed in water are a better option than sweet cherries, as they generally retain excellent flavor and a decent color, provided you drain them well and reduce any excess liquid.
This versatile cherry pie filling can be served in countless delicious ways! Beyond traditional pies and tarts, it’s absolutely divine spooned warm over a scoop of creamy vanilla bean ice cream, or as a rich topping for this decadent chocolate pudding recipe. For a wholesome breakfast or dessert, try layering it with yogurt and granola for a parfait, or mixing it into overnight oats like Bircher Muesli. It also makes a fantastic accompaniment to French toast, crepes, or even plain Greek yogurt for a simple yet satisfying treat.
Recommended Cherry Recipes
If you’re anything like me, once you master this cherry pie filling, you’ll be eager to explore even more delicious ways to incorporate the delightful flavor of cherries into your baking. Here are a few hand-picked cherry recipes from my kitchen that I know you’ll love:
Pies and Tart Recipes
Cherry Pie with Almond Crust
Date Night
Cherry Galette with Almond Buttermilk Crust
Summer Dessert Recipes
Cherry Almond Tart
Jams & Jelly Recipes
Easy Cherry Preserves
If you tried this recipe and absolutely loved it, please take a moment to leave a 🌟 star rating and share your thoughts in the comments section below. Your feedback truly brightens my day and helps other home bakers discover this fantastic recipe!
Cherry Pie Filling
Pin Recipe
Comment
Print Recipe
Ingredients
- 29 ounces tart cherries pitted (2 cans, or fresh/frozen equivalent)
- ¼ teaspoon almond extract
- ¾ cup granulated sugar or more, adjusted to cherry sweetness
- 3 tablespoons cornstarch or tapioca flour (tapioca recommended)
- 1 tablespoon cold water (only if using cornstarch for slurry)
Instructions
-
1. Combine and Start Cooking: In a medium saucepan, combine the pitted cherries (along with any accumulated juices), almond extract, and granulated sugar. If using fresh cherries, ensure they are pitted. If you are using tapioca flour as your thickener, you can add it directly to all the other ingredients at this stage and cook the mixture over low heat until the cherries begin to release their juices.
-
2. Simmer and Reduce: Cook the cherry mixture slowly over low heat, stirring occasionally, until the cherries have released all their juices. This typically takes about 5-10 minutes. If you are using canned cherries (which often have more liquid), I recommend boiling the mixture for an additional 5-10 minutes to help evaporate some of the excess water, preventing a runny filling. Be careful not to let it burn by stirring frequently.
-
3. Thicken the Filling: If using cornstarch, prepare a slurry by whisking it with 1 tablespoon of cold water in a small bowl until smooth. Reduce the heat of the cherry mixture to low. Slowly pour the cornstarch slurry (or directly add tapioca flour if not added earlier) into the cherry filling while stirring constantly with a whisk to prevent lumps. Increase the heat to medium and bring the mixture to a gentle boil for one full minute, stirring continually. This step is crucial to activate the thickener and ensure your filling becomes glossy and thick. The filling will become translucent once fully activated.
-
4. Cool and Store: Once thickened to your desired consistency, remove the saucepan from the heat. Pour the hot cherry filling onto a parchment-lined rimmed baking sheet or into a shallow pan. Spreading it out helps it cool more quickly and evenly at room temperature. Once completely cooled, the pie filling is ready to use. For storage, transfer it to a clean, airtight container and refrigerate for up to 2 weeks or freeze for up to 3 months.
Notes
Flavor Tips – The flavor of cherries can vary significantly depending on their ripeness and type. Always taste your cherries after adding the sugar and almond extract but before incorporating the tapioca starch or cornstarch. This allows you to adjust the sweetness to your preference. You can also make minor adjustments to sweetness after the thickener has boiled and the filling is cooked.
Storage – For optimal freshness, store cooked and cooled cherry pie filling in an airtight container. It will keep well in the refrigerator for up to two weeks. For longer preservation, freeze the filling for up to three months. To use, simply allow it to defrost in the refrigerator overnight or at room temperature for several hours. Stir gently before incorporating into your favorite desserts.
Nutrition
Before You Go: More Dessert Inspiration
I genuinely hope you enjoyed this sweet and utterly versatile homemade cherry pie filling recipe. It’s a true game-changer for any dessert enthusiast, allowing you to enjoy the taste of fresh cherries throughout the year. Don’t stop your culinary journey here! I invite you to explore more of my delicious pie and tart recipes that are perfect for any occasion. Whether you’re craving a refreshing tang like in this perfect and easy key lime pie, or perhaps something rich and decadent like these mini salted chocolate tarts, there’s always a new recipe to discover and savor!
