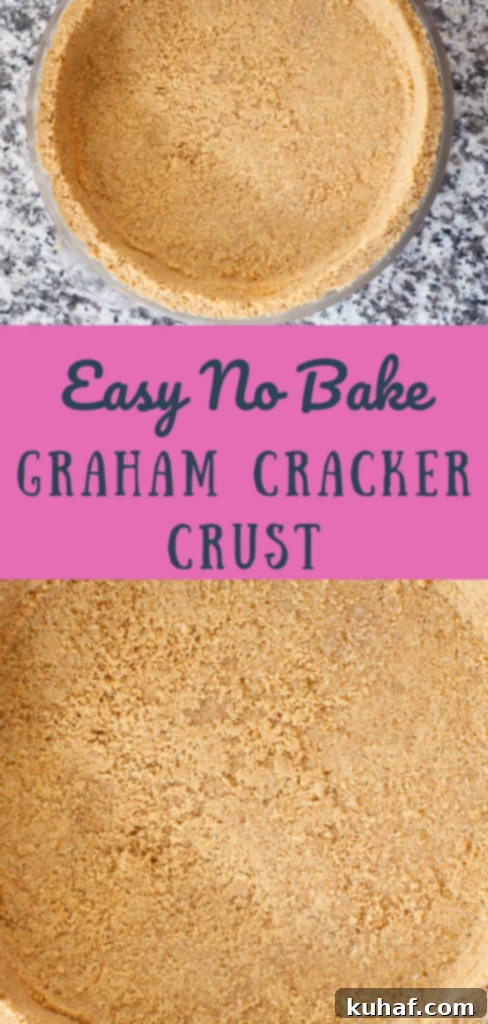
The Ultimate Easy 3-Ingredient No Bake Graham Cracker Crust: Your Perfect Pie Base!
Craving a delicious pie or cheesecake but dread turning on the oven, especially on a warm day? Look no further! This incredibly simple **No Bake Graham Cracker Crust** is your answer. With just three staple ingredients and minimal effort, you can create a perfectly crisp, sweet, and flavorful foundation for any of your favorite no-bake desserts. It’s so easy, it feels like magic, transforming simple ingredients into a stunning, sturdy crust with beautiful, even edges.
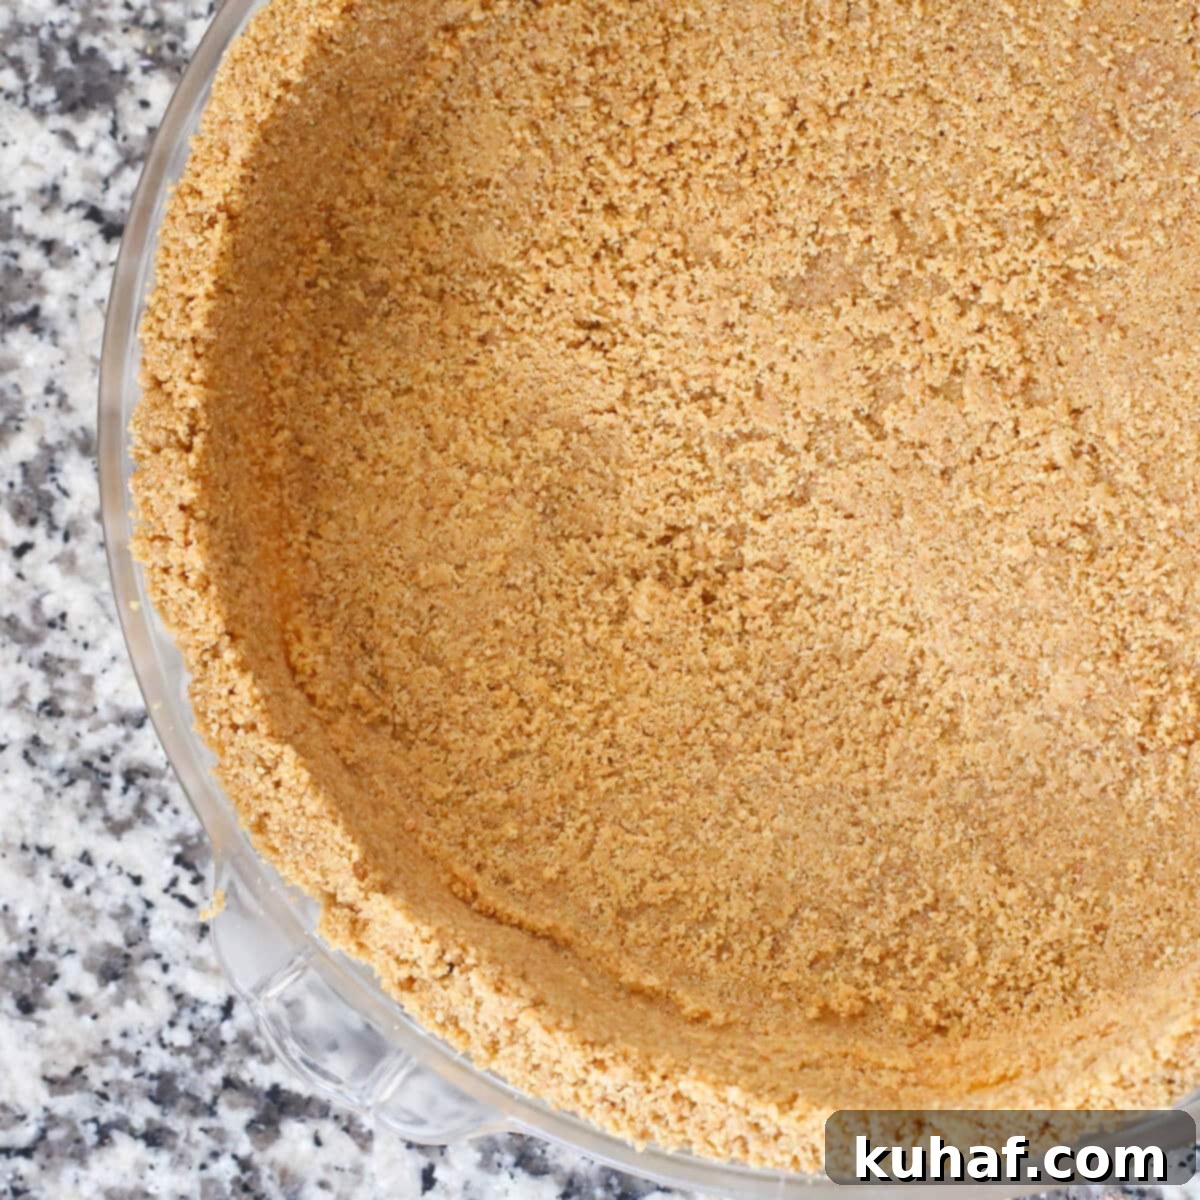
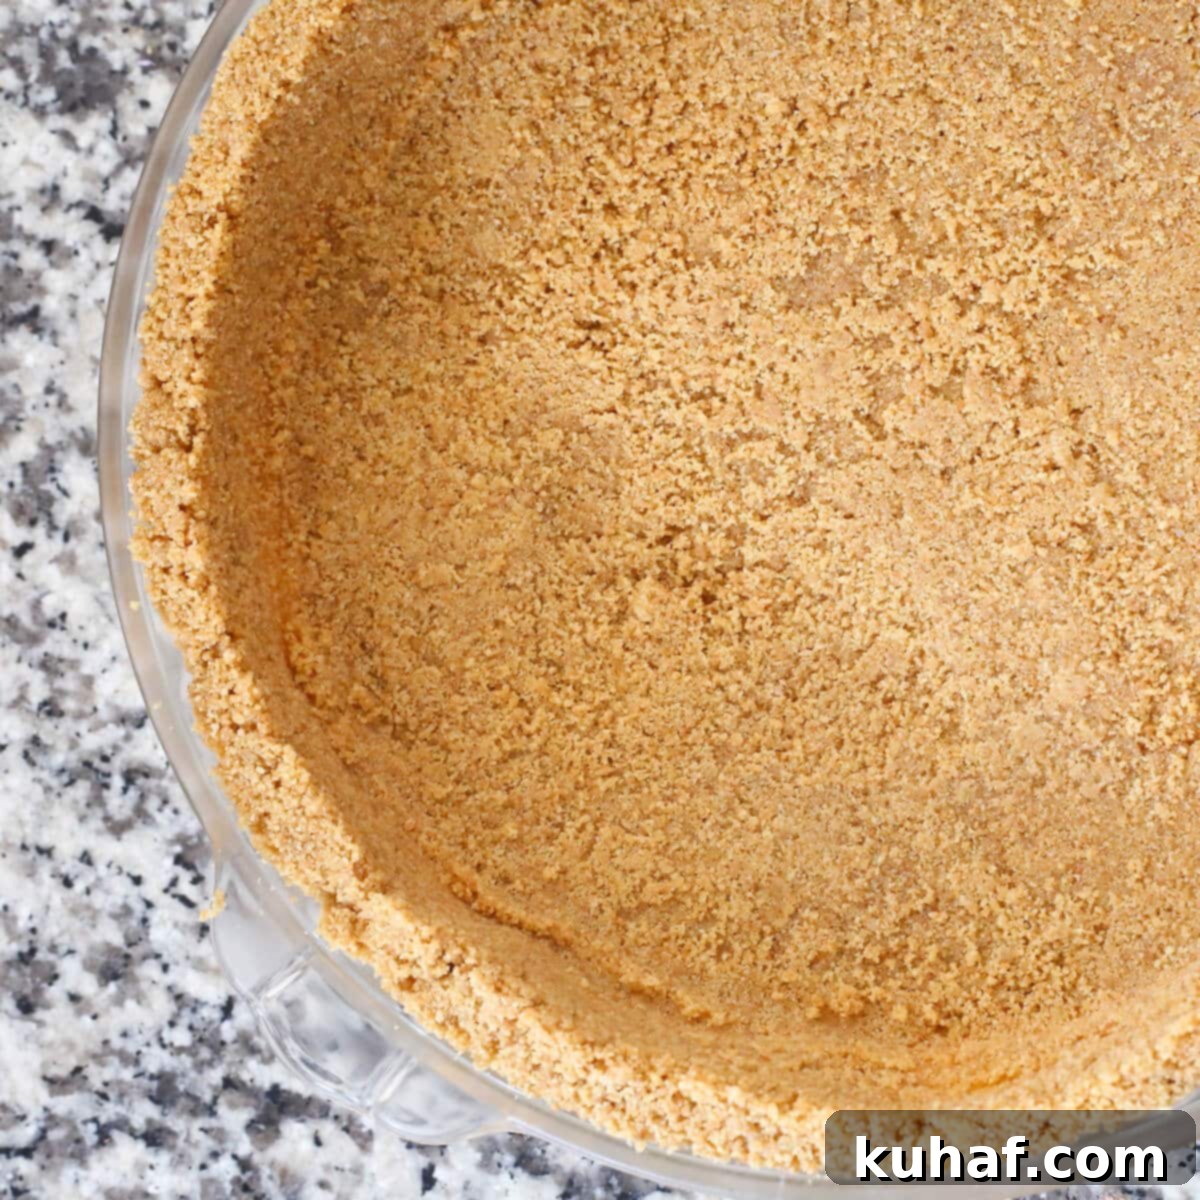
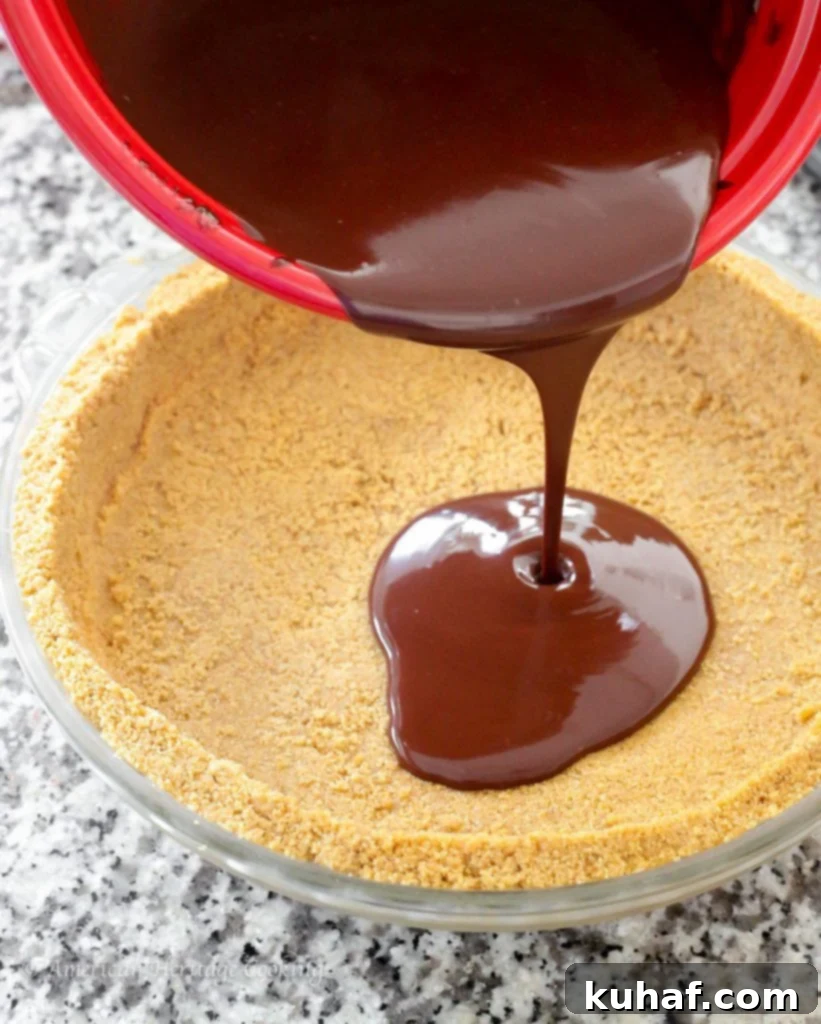
If the mere thought of heating your kitchen makes you break a sweat, then this easy no bake graham cracker crust recipe is precisely what you need. It’s effortlessly simple: just melt butter, combine it with graham cracker crumbs and a touch of salt, then press it into your favorite pie dish. This foolproof method consistently delivers a reliable and delicious crust, making it a go-to recipe in my kitchen for any season. While I often use this versatile base for my no-bake s’mores pie, its potential is truly limitless. Imagine it as the perfect foundation for a tangy Key Lime Pie, a fluffy Lemon Meringue Pie, or even a rich chocolate chip cheesecake (though for cheesecakes, I usually recommend a baked crust for extra sturdiness, this no-bake version can certainly hold its own!).
Why Choose an Easy No-Bake Graham Cracker Crust?
There are countless reasons to fall in love with a no-bake pie crust. First and foremost, the name says it all: **no baking required!** This is a lifesaver during hot summer months when turning on the oven is the last thing you want to do. Beyond keeping your kitchen cool, this recipe is incredibly time-efficient. It comes together in about 10 minutes of active prep time, with the rest being hands-off chilling in the refrigerator. This makes it perfect for busy weeknights, spontaneous dessert cravings, or when you need a quick yet impressive dessert for guests. It’s also a fantastic option for beginner bakers or anyone looking for a stress-free dessert component. The simplicity means less room for error and more time to enjoy your culinary creation, making it the best graham cracker crust recipe for ease and convenience.
The Three Magic Ingredients for Your Perfect Graham Cracker Base
The beauty of this easy graham cracker crust lies in its minimalism. You truly only need three ingredients, each playing a crucial role in creating that signature crisp texture and delightful flavor profile:
- Graham Cracker Crumbs: These form the bulk of your crust, providing its characteristic texture and honey-sweet, slightly spiced flavor. The finer the crumbs, the more cohesive and uniform your crust will be, ensuring a solid pie crust no bake base.
- Melted Butter: This acts as the essential binding agent, holding the graham cracker crumbs together. When chilled, the butter solidifies, creating a firm and stable crust. Using good quality butter makes a noticeable difference in flavor and texture for your homemade graham cracker crust.
- A Pinch of Kosher Salt: Often overlooked, salt is vital in dessert recipes. It balances the sweetness of the graham crackers and butter, enhancing all the flavors without making the crust taste salty. This tiny addition elevates the overall taste profile, making your pie crust truly stand out.
Store-Bought vs. Homemade Graham Cracker Crumbs: A Time-Saving Secret
Let’s be honest, sometimes convenience is key in the kitchen. I am a huge proponent of using store-bought graham cracker crumbs! I’m not entirely sure when they started gracing our supermarket shelves, but what a blessing they are. Skipping the step of crushing whole crackers not only saves precious time but also eliminates extra cleanup – and who doesn’t appreciate less washing up after baking (or in this case, no-baking)? If you can find them pre-ground, I highly recommend going that route for an even quicker prep for your dessert crust recipe.
However, if you’re a purist, prefer to make things from scratch, or simply can’t find pre-ground crumbs, don’t worry! Making your own graham cracker crumbs is straightforward and can even be quite therapeutic. Here’s how to do it effectively:
- Using a Food Processor: This is the quickest and most efficient method for creating fine crumbs. Simply break about 12 full graham crackers (equivalent to two packages) into rough pieces and pulse them in your food processor until they form fine, even crumbs. Be careful not to over-process, or you might end up with a pasty graham cracker butter instead of light crumbs!
- The Bag and Rolling Pin Method: For a more hands-on, stress-relieving approach, place the graham crackers in a sturdy plastic bag (like a freezer-safe Ziploc). Seal the bag, removing as much air as possible. Then, use a rolling pin or the bottom of a heavy pan to crush them into fine crumbs. This can be surprisingly cathartic and ensures you get the right consistency for your no bake graham cracker crust.
Regardless of your chosen method, aim for consistent, fine crumbs for the best crust texture. You will typically need about 12 full graham cracker sheets to yield the 1 ¾ cups of crumbs required for this easy no bake graham cracker crust recipe.
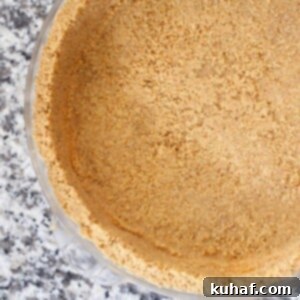
Easy 3-Ingredient No Bake Graham Cracker Crust
Pin Recipe
Comment
Print Recipe
Ingredients
- 1 ¾ cups graham cracker crumbs 2 packages of full crackers
- ¼ teaspoon kosher salt
- ½ cup melted butter 1 stick
Instructions
-
In a food processor (or you can buy them pre-ground, which is AMAZING!), finely grind the crackers until there are no more discernable pieces of cracker. Pour into a medium bowl.
-
Add the salt and melted butter and mix until all the crumbs are moist and homogenous.
-
Press into your 9-10 inch pie dish (the one pictured is 9 ½ inches) using a tart tamper or the back of a ½ cup measuring cup, which is what I did.
-
Refrigerate.
Video
Nutrition
How to Make Your No Bake Graham Cracker Crust: Step-by-Step Perfection
Creating this easy 3-ingredient no bake graham cracker crust is incredibly straightforward. Follow these steps for a perfect, firm base every time, ensuring your dessert is built on a solid foundation:
- Prepare Your Crumbs: Whether you’re using convenient store-bought crumbs or making your own from whole graham crackers, ensure they are finely ground. If using whole crackers, crush them in a food processor or a sealed plastic bag with a rolling pin until no large pieces remain. Aim for a sandy texture, similar to fine breadcrumbs. Pour the finely ground crumbs into a medium-sized mixing bowl.
- Add the Salt and Melted Butter: To the graham cracker crumbs, add the quarter teaspoon of kosher salt. This tiny addition makes a huge difference in flavor balance, preventing the crust from being overly sweet. Next, pour in the half cup of melted butter. Ensure the butter is fully melted but not sizzling hot, as this can affect the texture of the crumbs.
- Combine Thoroughly: Using a spoon or spatula, mix all the ingredients together until every single crumb is thoroughly moistened. The mixture should resemble wet sand and hold its shape when squeezed. This even distribution of butter is key to a cohesive and firm crust that won’t crumble when sliced.
- Press into Your Pie Dish: Transfer the moist graham cracker mixture into your chosen 9-10 inch pie dish (a 9.5-inch dish is ideal, like the one often pictured). Now comes the important part: pressing it firmly into place. You can use your clean hands, a flat-bottomed measuring cup (a ½ cup measure works wonderfully for this!), or a tart tamper. Start by pressing the mixture evenly across the bottom of the dish, then work your way up the sides, creating a defined and sturdy edge. The firmer and more evenly you press, the more stable your finished crust will be. Pay special attention to the corners and where the sides meet the bottom to prevent weak spots.
- Chill to Perfection: Once pressed, refrigerate your crust for at least 30 minutes, or ideally for an hour, before adding your filling. This chilling time is crucial as it allows the butter to solidify and set the crust, making it firm, easy to slice, and preventing it from falling apart. For the best results and ultimate stability, you can even chill it overnight.
That’s it! Your perfect, easy no bake graham cracker crust is ready to be filled with your favorite pie or dessert creation. This simple process ensures you spend less time in the kitchen and more time enjoying your delicious results.
Tips for a Flawless Graham Cracker Pie Crust Every Time
Achieving a consistently excellent no bake graham cracker crust is easy with a few simple tricks. Keep these expert tips in mind for the best results:
- Fine Crumbs are Key: The finer your graham cracker crumbs, the more uniform and stable your crust will be. Coarse crumbs might result in a looser, more crumbly crust that doesn’t hold together well. Aim for a texture like fine sand.
- Don’t Skimp on the Butter (or Overdo It): The butter is what binds everything together. Using slightly less butter than recommended might make your crust too dry and fragile. Conversely, too much butter can make it greasy and overly rich. Stick to the ½ cup measurement for optimal binding and flavor.
- Press Firmly and Evenly: This is arguably the most critical step. Apply firm, consistent pressure across the bottom and up the sides of your pie dish. A tart tamper, the back of a measuring cup, or even the flat bottom of a glass can help you achieve a compact, sturdy crust that won’t fall apart when sliced.
- Chill, Chill, Chill: Resist the urge to skip or shorten the chilling time. Refrigeration is essential for the butter to firm up and set the crust properly. A well-chilled crust is a stable crust, and it makes all the difference when slicing and serving.
- Preventing a Soggy Crust: If your filling is particularly wet (like a no-bake cheesecake, a creamy pudding pie, or a fresh fruit filling), you can brush a thin layer of melted white chocolate or a very thin coating of tempered chocolate onto the chilled crust before adding the filling. This creates a barrier that helps prevent the crust from absorbing moisture and becoming soggy.
Delicious Variations to Elevate Your Graham Cracker Crust
While the classic 3-ingredient no bake graham cracker crust is perfect as is, you can easily customize it to complement your dessert even further. Get creative with these flavor variations for your homemade graham cracker crust:
- Spice It Up: Add ½ teaspoon of ground cinnamon, nutmeg, pumpkin pie spice, or even a dash of ginger to the graham cracker crumbs for a warmer, more aromatic flavor profile. This is fantastic for fall-inspired desserts like pumpkin pie or apple cheesecake.
- Chocolate Lover’s Dream: For a rich, chocolatey base, substitute plain graham crackers with chocolate graham crackers. Alternatively, you can mix in a tablespoon or two of unsweetened cocoa powder with regular graham cracker crumbs for a deeper chocolate flavor.
- A Hint of Citrus: For a bright, zesty crust that pairs wonderfully with lemon or lime fillings, add 1-2 teaspoons of finely grated lemon or lime zest to the crumb mixture before adding the butter. The oils in the zest will infuse the crust with a lovely aroma.
- Nutty Crunch: Incorporate finely chopped nuts (like pecans, walnuts, almonds, or even pistachios) into the crumb mixture for added texture and a delicious nutty flavor. About ¼ cup should be enough to add a delightful crunch without overpowering the graham crackers.
- Alternative Cookie Crusts: Don’t limit yourself to graham crackers! This same no-bake method works beautifully with other crushed cookies like vanilla wafers, shortbread cookies, ginger snaps, or even Oreos (for a classic “Oreo crust”). Just be mindful of the sugar content in the cookies; you might need to adjust or omit any additional sugar if using very sweet varieties.
Beyond Pie: Creative Uses for Your Versatile No Bake Graham Cracker Base
This versatile 3-ingredient no bake graham cracker crust isn’t just for traditional pies. Its ease of preparation and delicious flavor make it an excellent base for a myriad of other delightful desserts. Think outside the pie dish with these creative ideas:
- Cheesecakes: Most no-bake cheesecakes rely on a sturdy graham cracker base, and this recipe is absolutely perfect for them. It provides the ideal contrast to the creamy filling.
- Dessert Bars: Press the mixture into a square or rectangular baking pan to create a crust for no-bake bars, such as lemon bars, chocolate peanut butter bars, or layered dessert squares. Cut into individual servings once chilled.
- Parfaits and Trifles: Instead of pressing into a solid crust, crumble some of the mixture over layers of fruit, cream, pudding, and other dessert components in glasses or a trifle bowl for added texture and graham cracker flavor.
- Individual Servings: For perfectly portioned desserts, press the crust mixture into muffin tins (lined with paper liners for easy removal), small ramekins, or mini tart pans. These are great for parties or portion control.
- Pie Pops or Tartlets: Use cookie cutters to create small crust shapes, then gently press them into mini muffin tins or tartlet molds. Fill them with your favorite no-bake fillings for fun, handheld treats.
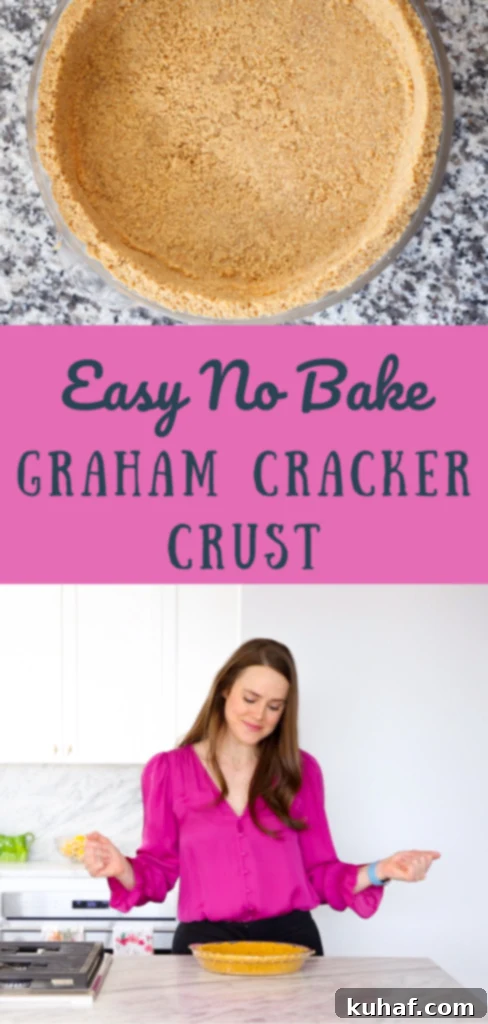
Frequently Asked Questions About No Bake Graham Cracker Crust
- Can I make this no bake graham cracker crust ahead of time?
- Absolutely! This crust is an excellent make-ahead component. You can prepare it up to 3-4 days in advance and store it, covered tightly with plastic wrap, in the refrigerator. This makes it perfect for party prep or when you want to get a head start on your dessert.
- Why is my graham cracker crust crumbly and not holding together?
- The most common reasons for a crumbly crust are insufficient melted butter or not pressing the crumbs firmly enough into the dish. Ensure your crumbs are evenly coated with the butter and then apply firm, consistent pressure across the entire surface. Also, ensure adequate chilling time, as refrigeration is crucial for the butter to set and bind the crust properly.
- Can I freeze a no-bake graham cracker crust?
- Yes, you can! Once pressed into the pie dish and thoroughly chilled, you can wrap the crust (still in its pie dish) tightly with plastic wrap and then foil. It can be frozen for up to 1-2 months. When ready to use, thaw it in the refrigerator for several hours or overnight before adding your filling.
- Do I need to add extra sugar to my graham cracker crust recipe?
- Graham crackers already contain a fair amount of sugar, and with the rich addition of butter, most recipes find additional sugar unnecessary for a perfectly balanced taste, especially if the dessert filling itself is sweet. This particular easy 3-ingredient no bake graham cracker crust recipe does not call for added sugar. However, if you prefer a noticeably sweeter crust, you can add 1-2 tablespoons of granulated sugar to the crumbs before mixing in the melted butter.
- What kind of pie dish works best for a no bake graham cracker crust?
- A standard 9 or 9.5-inch pie dish (made of glass, ceramic, or metal) works perfectly well. For easier serving and cleaner slices, especially if you plan to remove the pie from the dish before cutting, a springform pan or a tart pan with a removable bottom is an excellent choice. This allows you to easily release the entire dessert.
This simple, three-ingredient no bake graham cracker crust truly is a game-changer for anyone who loves easy, delicious desserts. It’s quick to prepare, incredibly versatile, and always yields fantastic results, making it the perfect quick pie crust for all your no-bake needs. So, next time you’re planning a pie or a delightful no-bake treat, skip the oven and embrace the effortless charm and deliciousness of this classic, perfected base!
