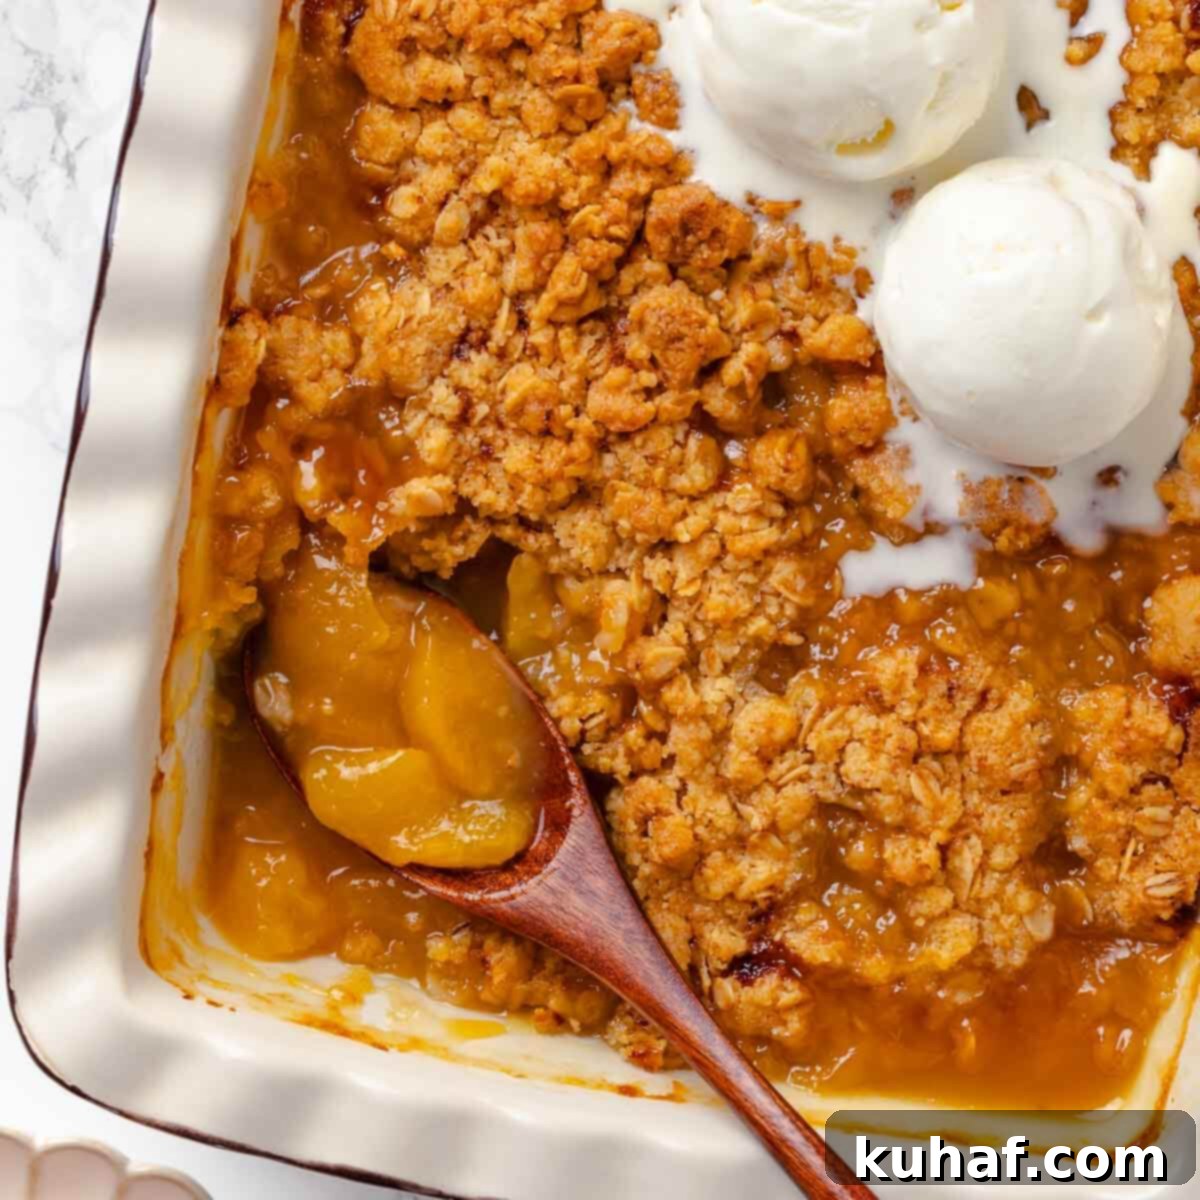
Easy Homemade Peach Crisp Recipe: Your Ultimate Summer Dessert Guide
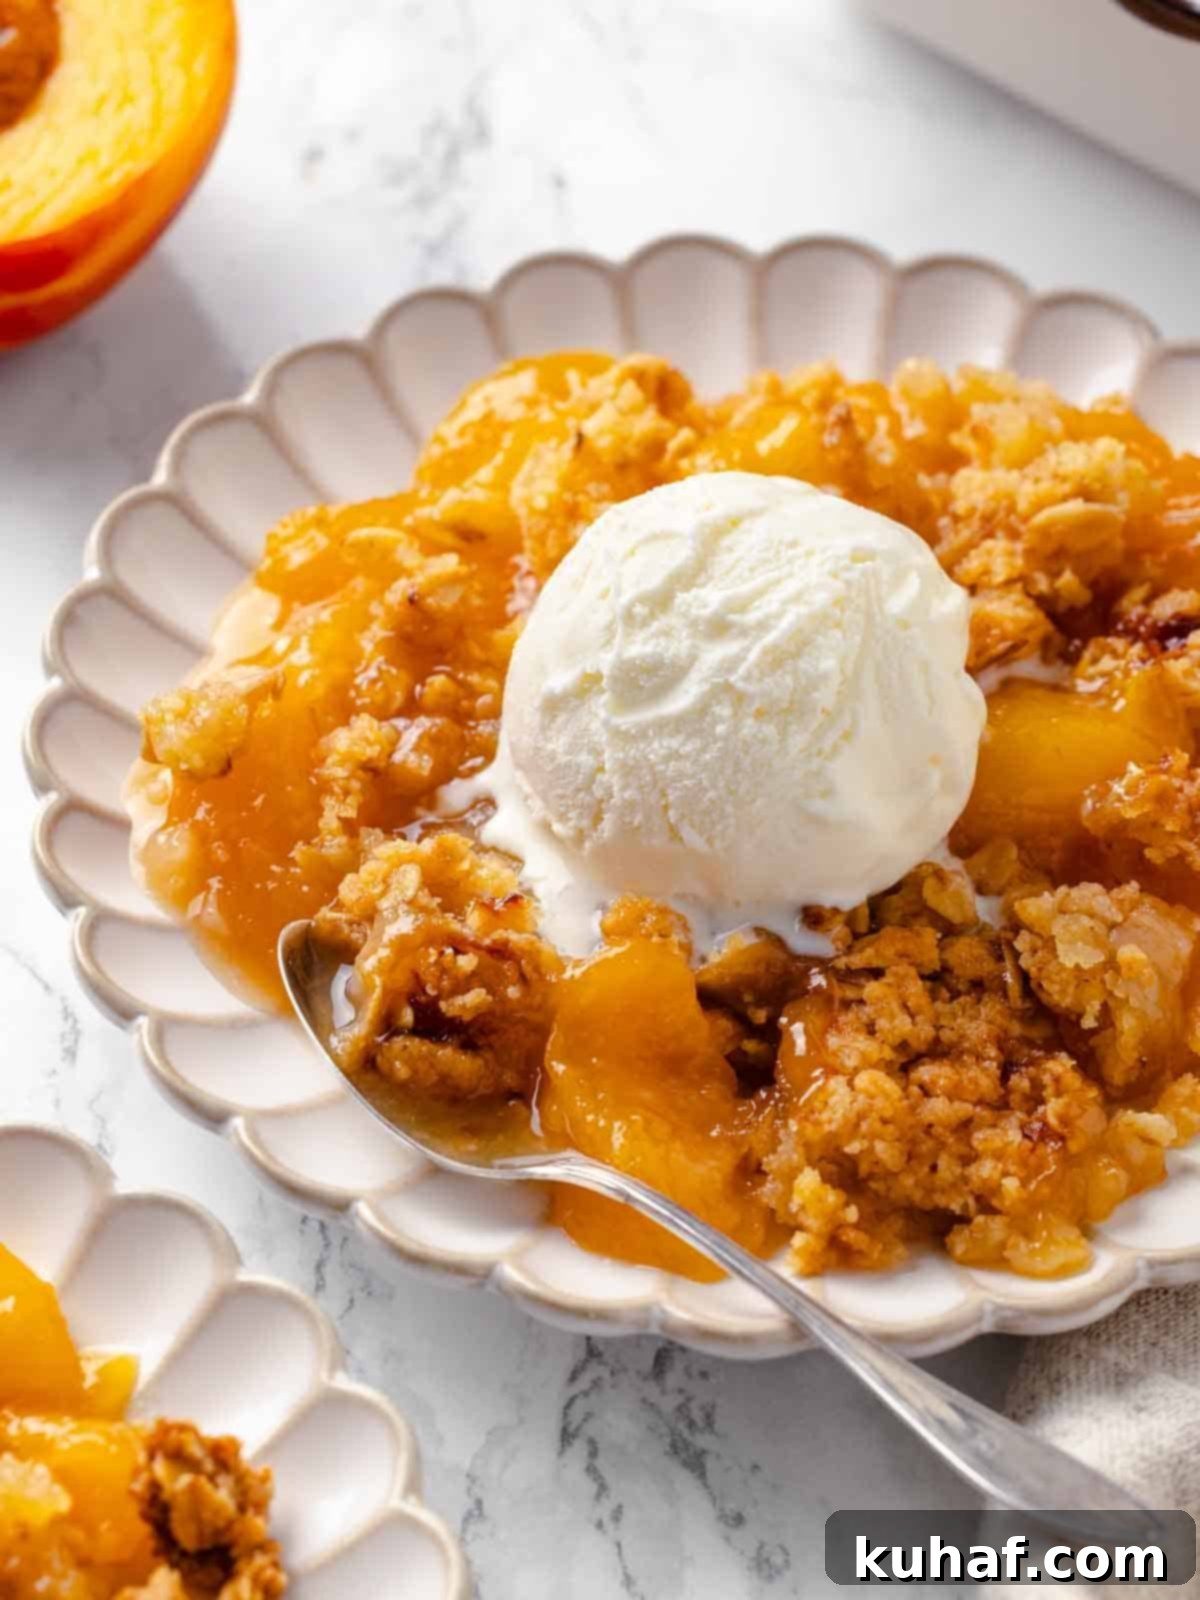
This irresistible peach crisp recipe is a true celebration of summer, featuring layers of ripe, unbelievably juicy peaches crowned with a golden, delightfully crunchy oat topping. Infused with a hint of bright lemon and a secret kick of ginger, it creates the perfect symphony of flavors and textures for an unforgettable dessert! What’s even better? This delightful treat is ready for the oven in just 15 minutes, making it an ideal choice for last-minute gatherings or a spontaneous sweet craving. Serve it warm straight from the oven, ideally with a generous scoop of cold, melting vanilla ice cream, and prepare for pure bliss. This recipe isn’t just a dessert; it’s a staple in my kitchen every single peach season, and once you try it, it will be in yours too!
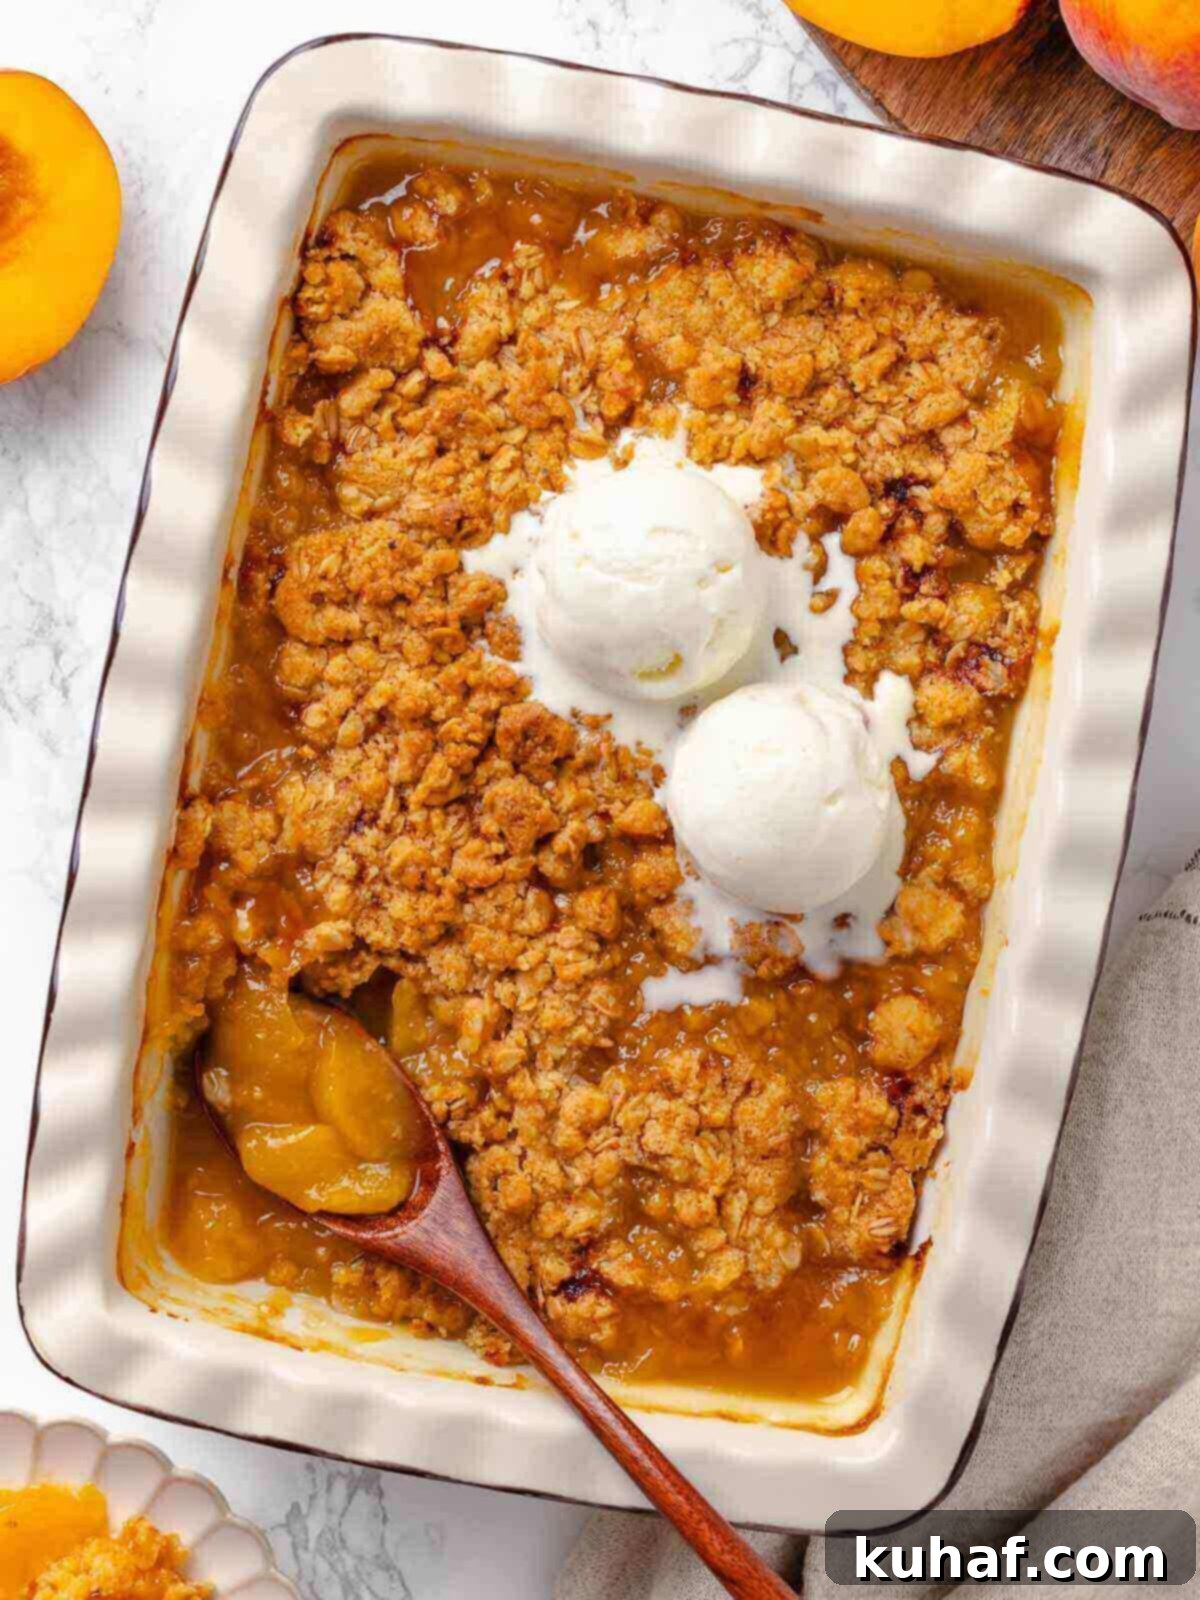
This isn’t just any peach crisp you’ll find. This is the peach crisp – effortlessly simple, yet packed with a depth of flavor thanks to my signature ginger kick, a technique I’ve honed in professional kitchens. The process is as easy as one, two, three! One: Begin by slicing your luscious peaches and giving them a vibrant boost. Let them macerate in a delightful lemon-sugar mixture, which not only enhances their natural sweetness but also adds a beautiful brightness. Two: While the peaches work their magic, whip up your incredible granola-like topping. It’s a blend of oats, flour, and light brown sugar, which imparts a subtle, irresistible note of molasses. Three: Generously sprinkle this magical topping over your prepared peaches, and voilà, it’s ready to bake! I confess, I rarely have the patience to let it cool completely. There’s nothing quite like serving it warm with a dollop of creamy vanilla bean ice cream, experiencing that perfect melty, crisp, and creamy goodness in every single bite!
As soon as summer makes its glorious appearance (and, let’s be honest, often all year round with frozen fruit), my mind drifts to the comforting thought of peach crisp and other fresh peach favorites. I believe in making the absolute most of peach season! Beyond this fantastic crisp, my repertoire includes classic peach pie, comforting old-fashioned peach cobbler, and even savory dishes like spicy peach pork chops. For lighter fare, my marinated tomato stone fruit salad offers a refreshing twist. Do I go as far as making easy peach preserves (without pectin) so I can savor the taste of summer peaches long after the season ends? Absolutely! And yes, I even use them to top my homemade fresh peach ice cream – a delightful combination that’s truly delicious. Peaches truly are versatile, and this crisp stands as a testament to their incredible potential.
Table of Contents
- Why You Will Love This Easy Peach Crisp Recipe
- Professional Tips for the Perfect Peach Crisp
- Key Ingredients for Peach Crisp
- Delicious Peach Crisp Variations
- How to Serve Your Homemade Peach Crisp
- How to Make Peach Crisp: Step-by-Step Guide
- Chef Lindsey’s Recipe Tip for Perfect Peaches
- Frequently Asked Questions About Peach Crisp
- Printable Peach Crisp Recipe Card
- Before You Go: Explore More Delicious Desserts
Why You Will Love This Easy Peach Crisp Recipe
This isn’t just another dessert recipe; it’s a game-changer for anyone who loves simple, delicious, and versatile baking. Here’s why this particular peach crisp will become your go-to:
- A Custom-Fit Recipe for Any Season or Batch-Size: Whether you’re feeding a hungry crowd at a summer BBQ or craving a cozy dessert for a quiet evening, this peach crisp recipe is incredibly flexible. While peak-season fresh peaches are undeniably wonderful, you can truly enjoy this all year round! Don’t hesitate to use frozen peaches when fresh ones are out of season. Just ensure they are thawed completely before baking to prevent a watery filling. This adaptability means you can always have a taste of summer, no matter the calendar date. You can also easily adjust the quantity for smaller or larger baking dishes, making it perfect for any occasion.
- No Fancy Equipment Required, No Stressful Timing: Forget about complex techniques or specialized kitchen gadgets. This entire recipe can be made entirely by hand, from mixing the fruit filling to crumbling the oat topping. It’s designed for simplicity and efficiency, getting you from prep to oven in a remarkable 15 minutes! There’s no need for deep breathing exercises or the meticulous task of bringing ingredients to room temperature. It’s a wonderfully straightforward dessert that delivers maximum flavor with minimal fuss, perfect for both novice bakers and seasoned pros looking for an easy win.
- Balanced Textures and Fresh, Irresistible Flavors: The magic of this crisp lies in its perfect harmony. The luscious, tender peaches melt in your mouth, providing a sweet and slightly tart base. This contrasts beautifully with the incredibly crunchy, golden oat topping, offering a delightful textural play in every spoonful. The combination of sweet sugar and bright lemon perfectly highlights the natural peach flavor, while a subtle but impactful ginger kick elevates this crisp to an extraordinary level, making it truly unlike any other you’ve tasted. It’s a symphony of sweet, tart, and spicy notes that will leave everyone asking for the recipe!
Professional Tips for the Perfect Peach Crisp
Achieving a truly outstanding peach crisp goes beyond just following the steps. As a chef, I’ve discovered a few key techniques that elevate this simple dessert to gourmet status. Keep these in mind for a crisp that truly shines:
- Embrace Freshly Grated Ginger for a Flavorful Boost: While ground ginger is convenient, taking the extra step to use freshly grated ginger makes an incredible difference. As a professional chef, I’m a strong advocate for using the freshest ingredients possible – fresh lemon juice, fresh peaches, and, if you’re feeling adventurous, freshly grated ginger. Its pungent, spicy, and zesty notes will infuse the peaches with a bright, warm flavor that powdered ginger simply can’t replicate. It’s a small effort for a significant flavor payoff.
- Press Some Crisp Topping Down into the Peaches: This might seem counterintuitive, but gently pressing some of the oat crisp topping directly into the peach filling before baking creates those magical, chewy pockets of flavor. These bits of topping not only bake to a beautiful golden brown but also absorb some of those delicious, bubbling peach juices. This results in a wonderful texture contrast: crunchy on top, and deliciously soft, almost gooey, within the filling. Don’t press too hard, just enough to ensure good contact.
- Patience is Key for a Thicker, Luscious Filling: This recipe deliberately avoids using added thickeners like cornstarch, which can sometimes mute the natural fruit flavor. This means the richness and thickness of your filling depend entirely on sufficient baking time. Don’t rush it! The key is to wait until you see the peach filling actively bubbling up around the sides and even in the center of the crisp, and the topping has achieved a deep, inviting golden brown. This bubbling indicates that the fruit juices are reducing and caramelizing, resulting in a naturally thick, intensely flavorful filling that’s far superior to one relying on artificial thickeners. Trust your eyes and the oven, not just the timer.
- Peeling Your Peaches Makes All the Difference: While it might seem like an extra step, peeling your peaches before slicing them will greatly enhance the texture of your crisp. Unpeeled peach skins can become tough and chewy during baking, detracting from the otherwise smooth and tender fruit filling. A quick blanching method (as shown in my video on peeling peaches) makes this task incredibly easy and ensures a silky-smooth, melt-in-your-mouth peach experience.
Key Ingredients for Peach Crisp
Creating an exceptional peach crisp starts with understanding the role each ingredient plays. Here’s a detailed look at what you’ll need and why it matters:
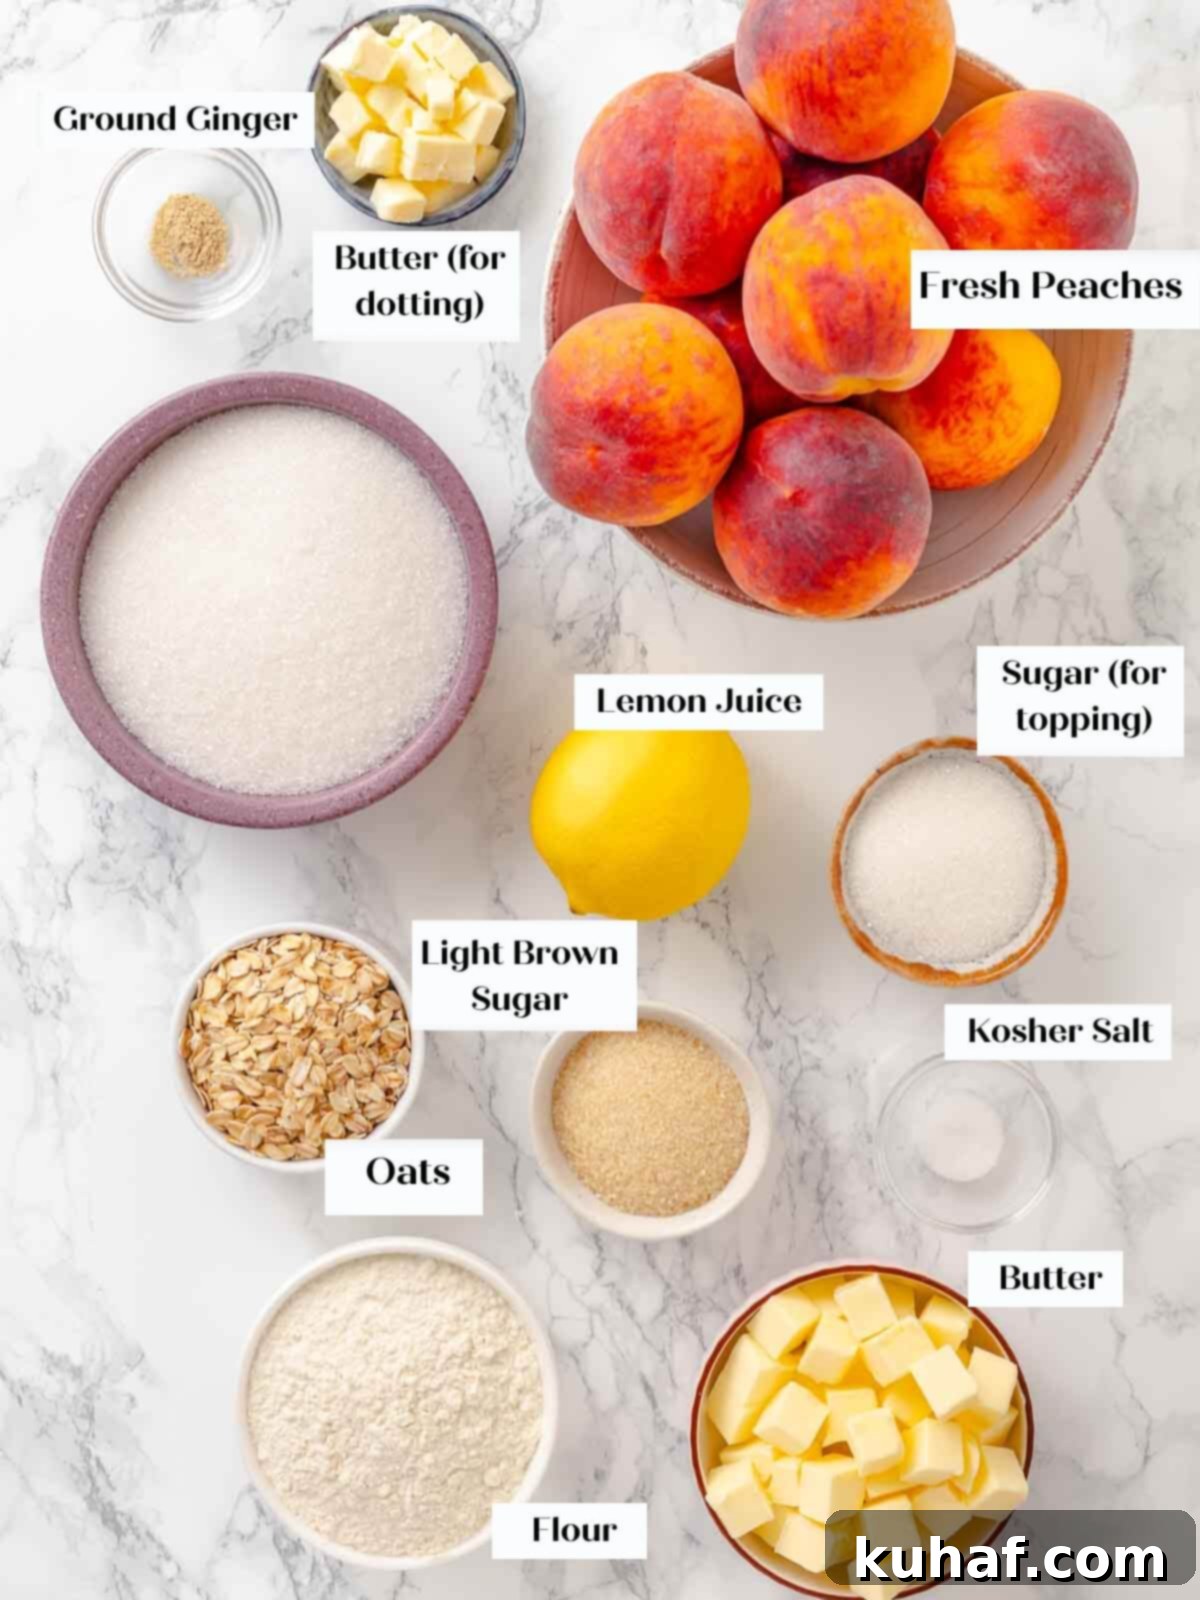
- Fresh Peaches: The star of the show! For the best results, use ripe but relatively firm peaches. Overly ripe, very soft peaches will break down too much during baking, resulting in a mushy texture. Firmer, ripe peaches will better retain their shape and delightful moisture, providing distinct pieces of fruit in your crisp. Look for peaches with a vibrant color and a sweet aroma. If fresh peaches aren’t available, thawed frozen peaches can be a good substitute (see my Chef’s Tip for more details!).
- Granulated Sugar: This provides the primary sweetness for the peach filling, balancing the fruit’s natural tartness and helping to create a luscious, syrupy consistency as it bakes. It also contributes to the crispness of the oat topping.
- Lemon Juice: Crucial for brightness and balance! Always try to use freshly squeezed lemon juice. It adds a much-needed zesty counterpoint to the sweetness of the peaches and sugar, preventing the dessert from being cloyingly sweet. If fresh isn’t an option, seek out a high-quality store-bought lemon juice, preferably one that is frozen fresh juice or found in the refrigerated section, as these tend to have a fresher flavor profile than shelf-stable varieties.
- Ground Ginger: This is my secret ingredient for adding a warm, subtle spice that beautifully complements the peaches without overpowering them. It adds depth and a unique aromatic quality. For an extra vibrant flavor, consider using freshly grated ginger as highlighted in my professional tips.
- All-Purpose Flour: Essential for the crisp topping, all-purpose flour provides the structure and binding necessary for a perfectly crumbly yet cohesive streusel. It has just the right amount of gluten to create a tender crisp topping that bakes to a golden perfection.
- Oats: I specifically recommend old-fashioned rolled oats for my crisp toppings. Unlike instant or quick oats, rolled oats retain their shape and structure beautifully after baking, providing a wonderful chewy texture and rustic appeal to the topping. They are key to that signature “crisp” characteristic.
- Light Brown Sugar: In addition to granulated sugar, light brown sugar adds a distinctive richness and a lovely hint of molasses to the oat topping. Its higher moisture content also helps create a softer, chewier crumble compared to using only granulated sugar. Be sure to pack it when measuring!
- Kosher Salt: A small amount of kosher salt is vital in both the filling and the topping. It enhances and balances all the other flavors, making the peaches taste fruitier and the topping taste richer. Don’t skip it!
- Unsalted Butter: I prefer using unsalted butter for both the filling (dotting it over the peaches) and the topping. This allows me to precisely control the amount of salt in the recipe. For those seeking a vegan or gluten-free alternative, you can explore recipes like this dairy-free fruit crisp that often utilize coconut oil or plant-based butters to achieve similar results. Remember, cold butter is key for the topping!
Refer to the comprehensive recipe card below for precise measurements and detailed quantities of each ingredient.
Delicious Peach Crisp Variations
One of the best things about a peach crisp is its versatility. Once you’ve mastered the basic recipe, you can easily adapt it to suit your preferences or what you have on hand. Here are some fantastic variations to inspire your culinary creativity:
- Dare to Try a Different Fruit, or Even a Combination: While peaches are glorious, this crisp recipe is incredibly forgiving and works wonderfully with other fruits! Experiment with seasonal favorites like crisp apples (my easy apple crisp is a great starting point), sweet pears (like in my cardamom pear crisp), or a vibrant mix. A berry crumble recipe offers inspiration for a blend of raspberries, blueberries, and blackberries. Or, for a classic pairing, try a peach blueberry combo – the blueberries add a tart burst and beautiful color, similar to my blueberry cobbler. My peach blackberry pie is another excellent example of how stone fruits and berries perfectly complement each other for added fruit sophistication.
- Infuse Your Crisp with Other Spices or Citrus: Beyond ginger and lemon, the spice cabinet holds a treasure trove of possibilities! Elevate your crisp with warm autumnal flavors like pumpkin spice, apple pie spice, a pinch of nutmeg, or even the exotic notes of cardamom, as I do in my cardamom pear crisp. For a luxurious twist, pour a layer of homemade salted caramel sauce over the peaches before adding the topping. Small nuances can also make a big impact: a few drops of almond extract, vanilla extract, or even orange extract in the filling will add a new dimension of flavor.
- The Topping: Crisp, Cobbler, or Streusel? It’s important to note that the topping is what truly differentiates a fruit crisp from a cobbler or crumble. If you’re looking for a change from the oat-based crisp topping, you can easily transform this into a cobbler by using a biscuit-style topping instead of oats. I have a killer old-fashioned peach cobbler recipe that features a fluffy, tender biscuit topping. Alternatively, you could top this fruit base with my favorite versatile streusel topping, which is what I use for my delightful peach crisp cupcakes! This streusel recipe can also be customized with various additions like chopped pecans, walnuts, or macadamia nuts for extra crunch and richness. It’s also delightful with seeds, much like my popular honey granola recipe! The possibilities for custom toppings are truly endless.
How to Serve Your Homemade Peach Crisp
A warm, bubbling peach crisp is already a dessert masterpiece, but what you serve it with can elevate the experience even further. The contrast of warm crisp with a cold, creamy accompaniment is simply divine. Here are some of my favorite ways to serve this irresistible dessert:
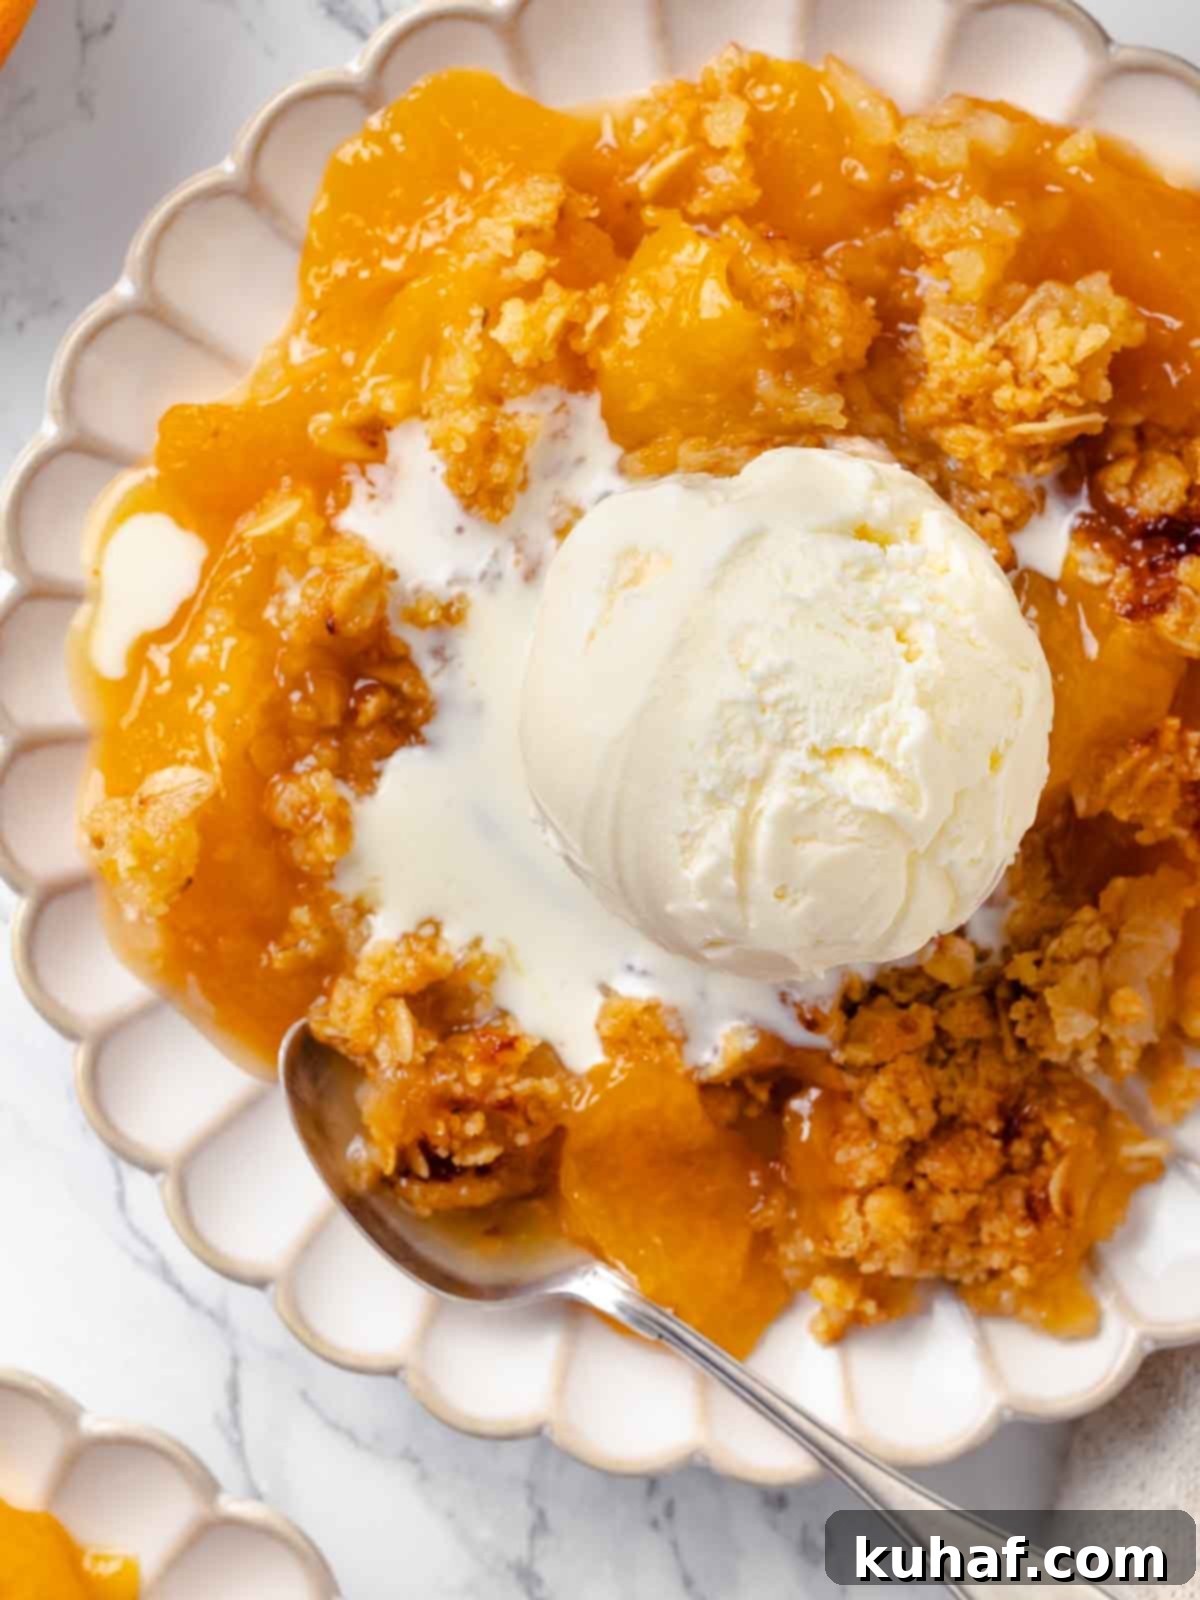
The classic choice, and for good reason, is a generous scoop of rich vanilla bean ice cream. The way it slowly melts into the warm peaches and crunchy topping creates a symphony of textures and temperatures that is utterly satisfying. For a touch of French elegance, a drizzle of silky crème anglaise (vanilla custard sauce) adds a sophisticated creaminess and a subtle richness. If you’re leaning towards a deeper, more decadent flavor profile, a pour of luxurious butterscotch sauce or even a high-quality Vermont maple syrup can introduce incredible buttery depth and a hint of caramel. For those who love a bright, zesty counterpoint, a dollop of homemade lemon curd or even some light and airy lemon curd whipped cream can beautifully round out the sweet and spicy flavors of the crisp. To add an extra layer of richness and crunch, try crumbling some homemade pecan pralines over the top just before serving. With so many delicious options, it’s truly hard to go wrong when serving this versatile dessert!
How to Make Peach Crisp: Step-by-Step Guide
Creating this delicious peach crisp is straightforward and rewarding. Follow these simple steps for a perfect outcome. Further details, including exact measurements and quantities, can be found in the comprehensive recipe card below!
Make the Filling and Topping:
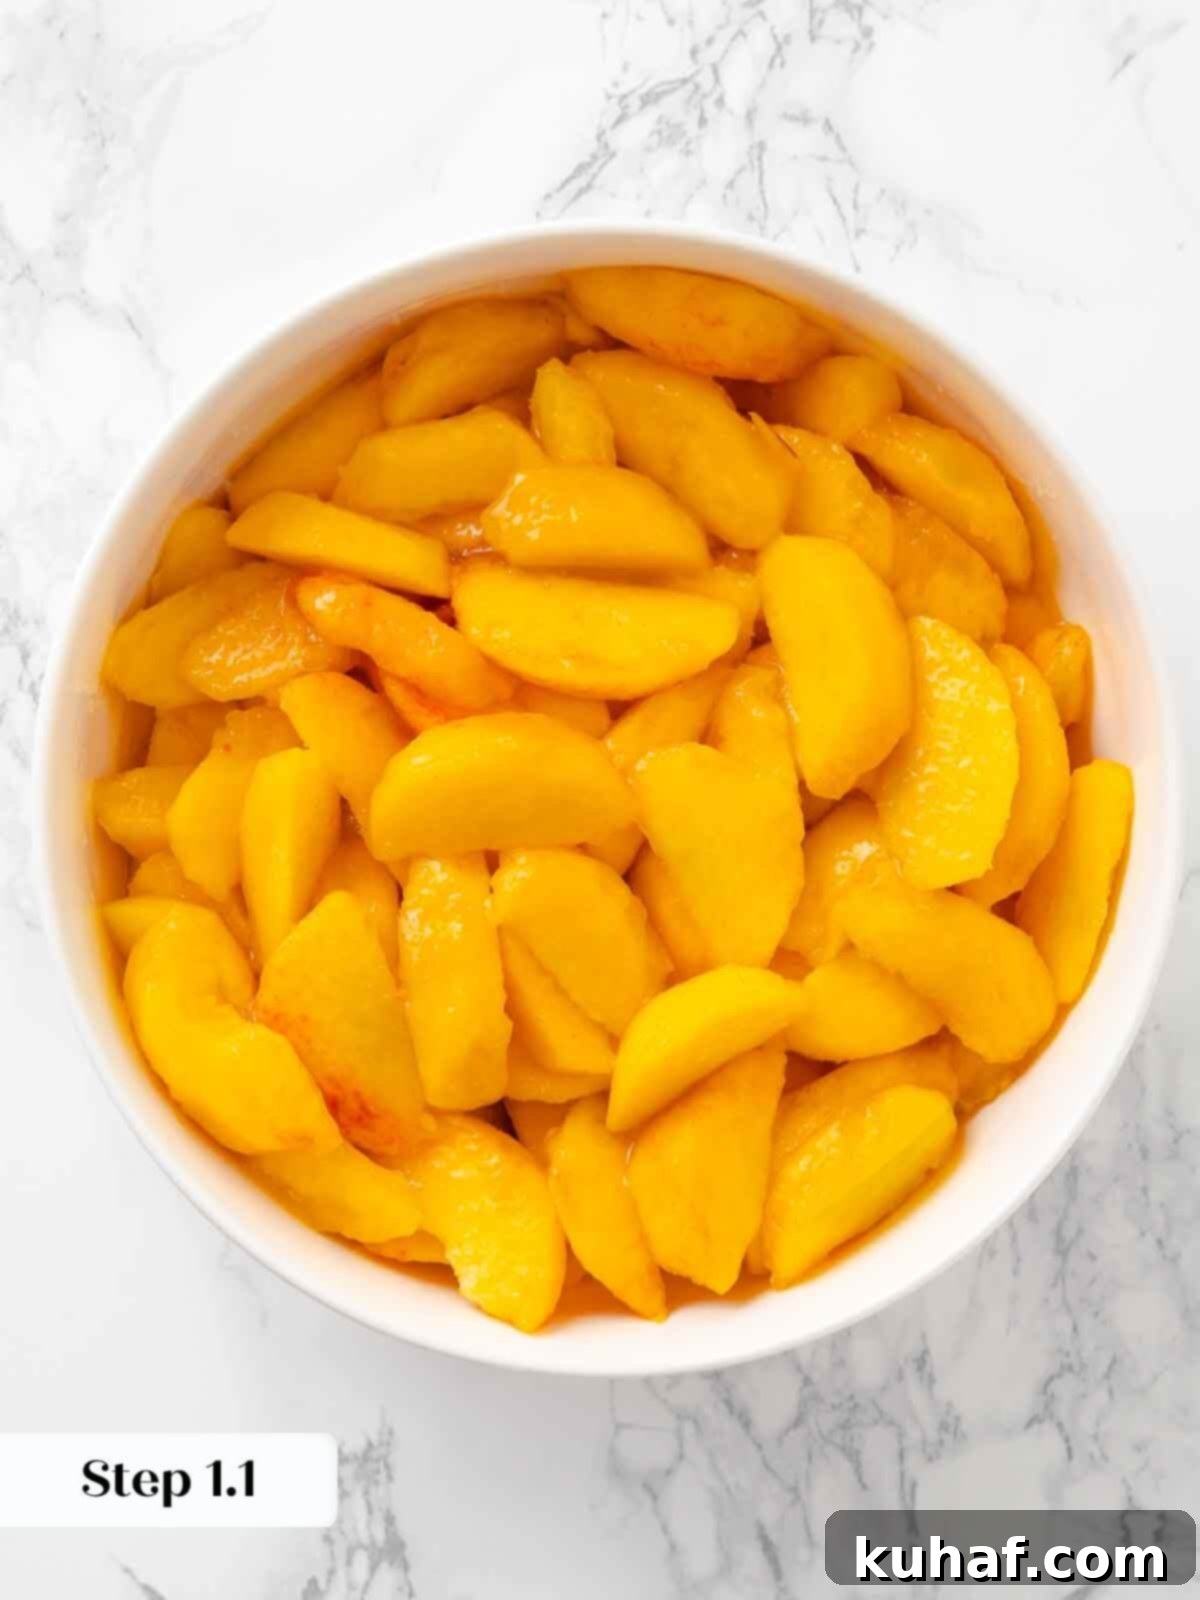
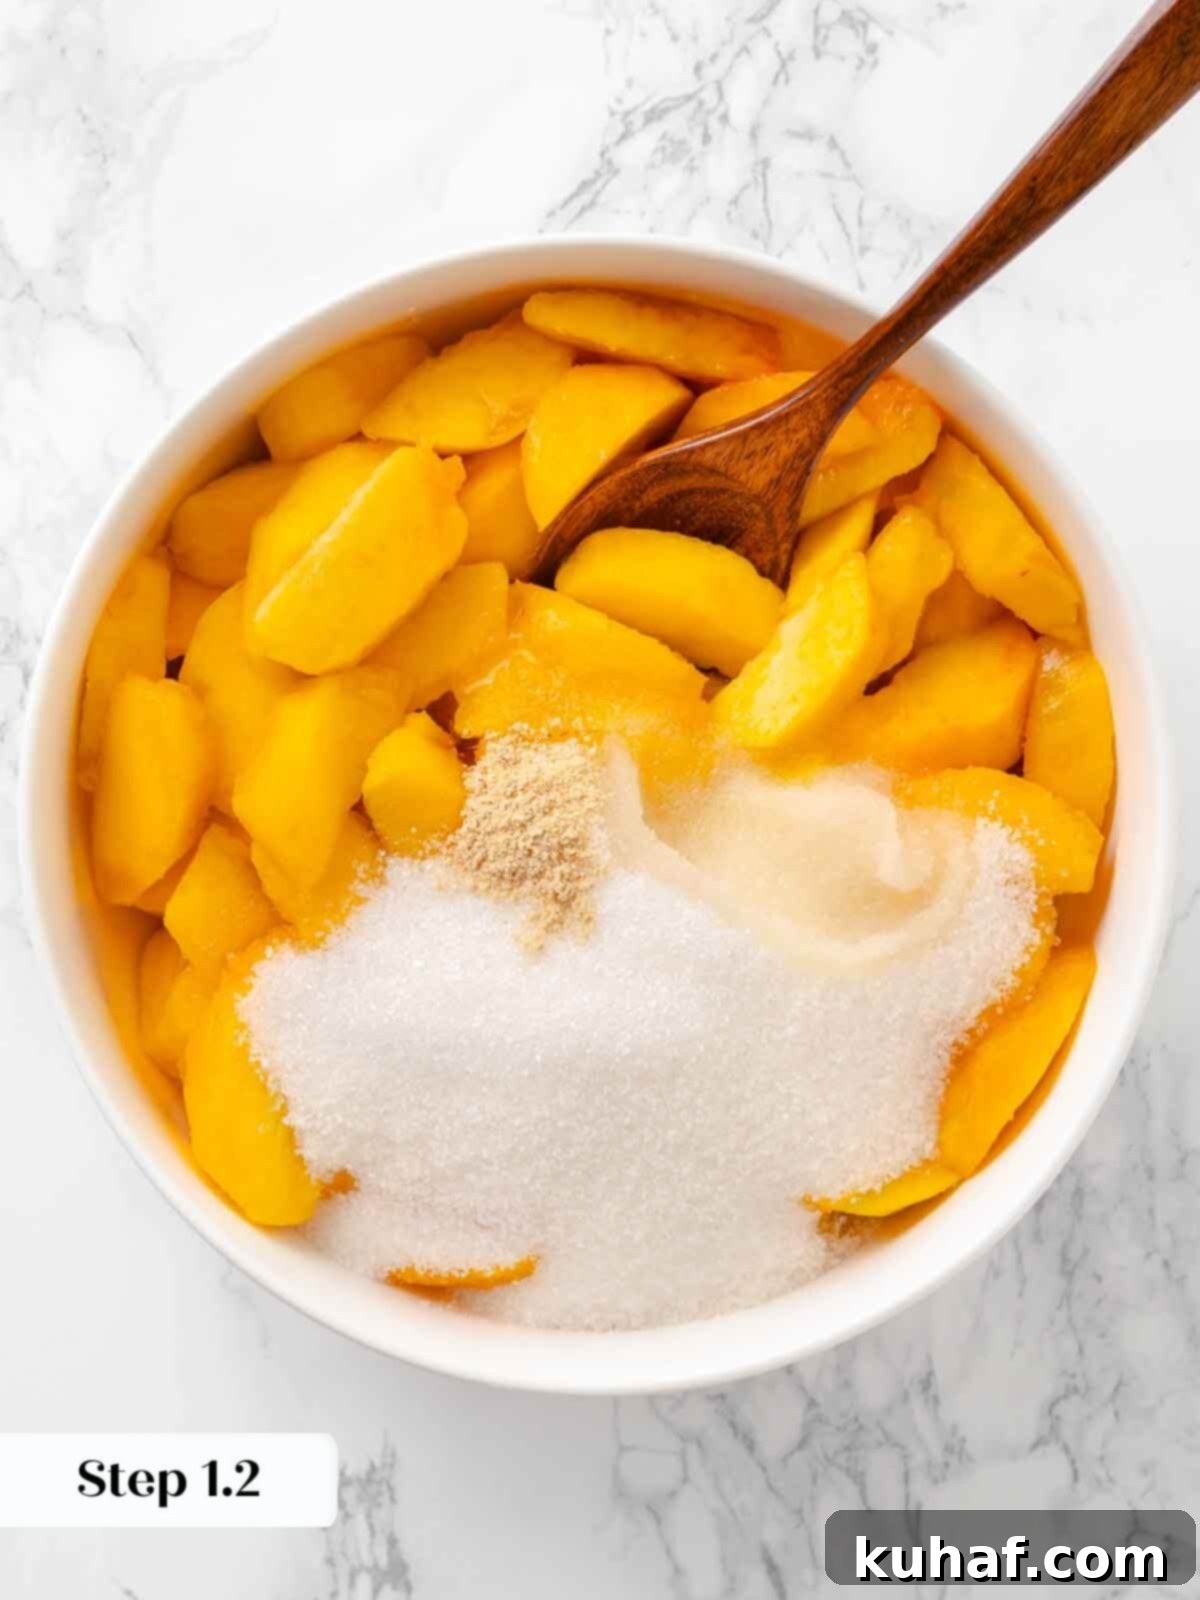
Step 1: Prepare the Peach Filling. In a medium-sized bowl, combine your peeled and sliced peaches with granulated sugar, fresh lemon juice, and a touch of ground ginger. Stir gently but thoroughly to ensure all the peach slices are evenly coated. This allows the flavors to meld beautifully and the sugar to begin drawing out the peach juices, creating a rich filling.
Chef’s Pro Tip: Peel Those Peaches! I promise you, taking the time to peel the peaches is absolutely worth the effort for a superior texture. Peach skins can become tough and stringy after baking. You can watch my detailed video on how to peel peaches three ways to find the method that works best for you – whether it’s blanching, a sharp peeler, or careful knife work. A smooth filling elevates the entire crisp experience!
Step 2: Preheat Your Oven. Get your oven ready by preheating it to 350°F (175°C). Ensure you’re using a conventional setting (no fan) and place the oven rack in the middle position. This will ensure even baking and a perfectly golden crisp topping without burning.
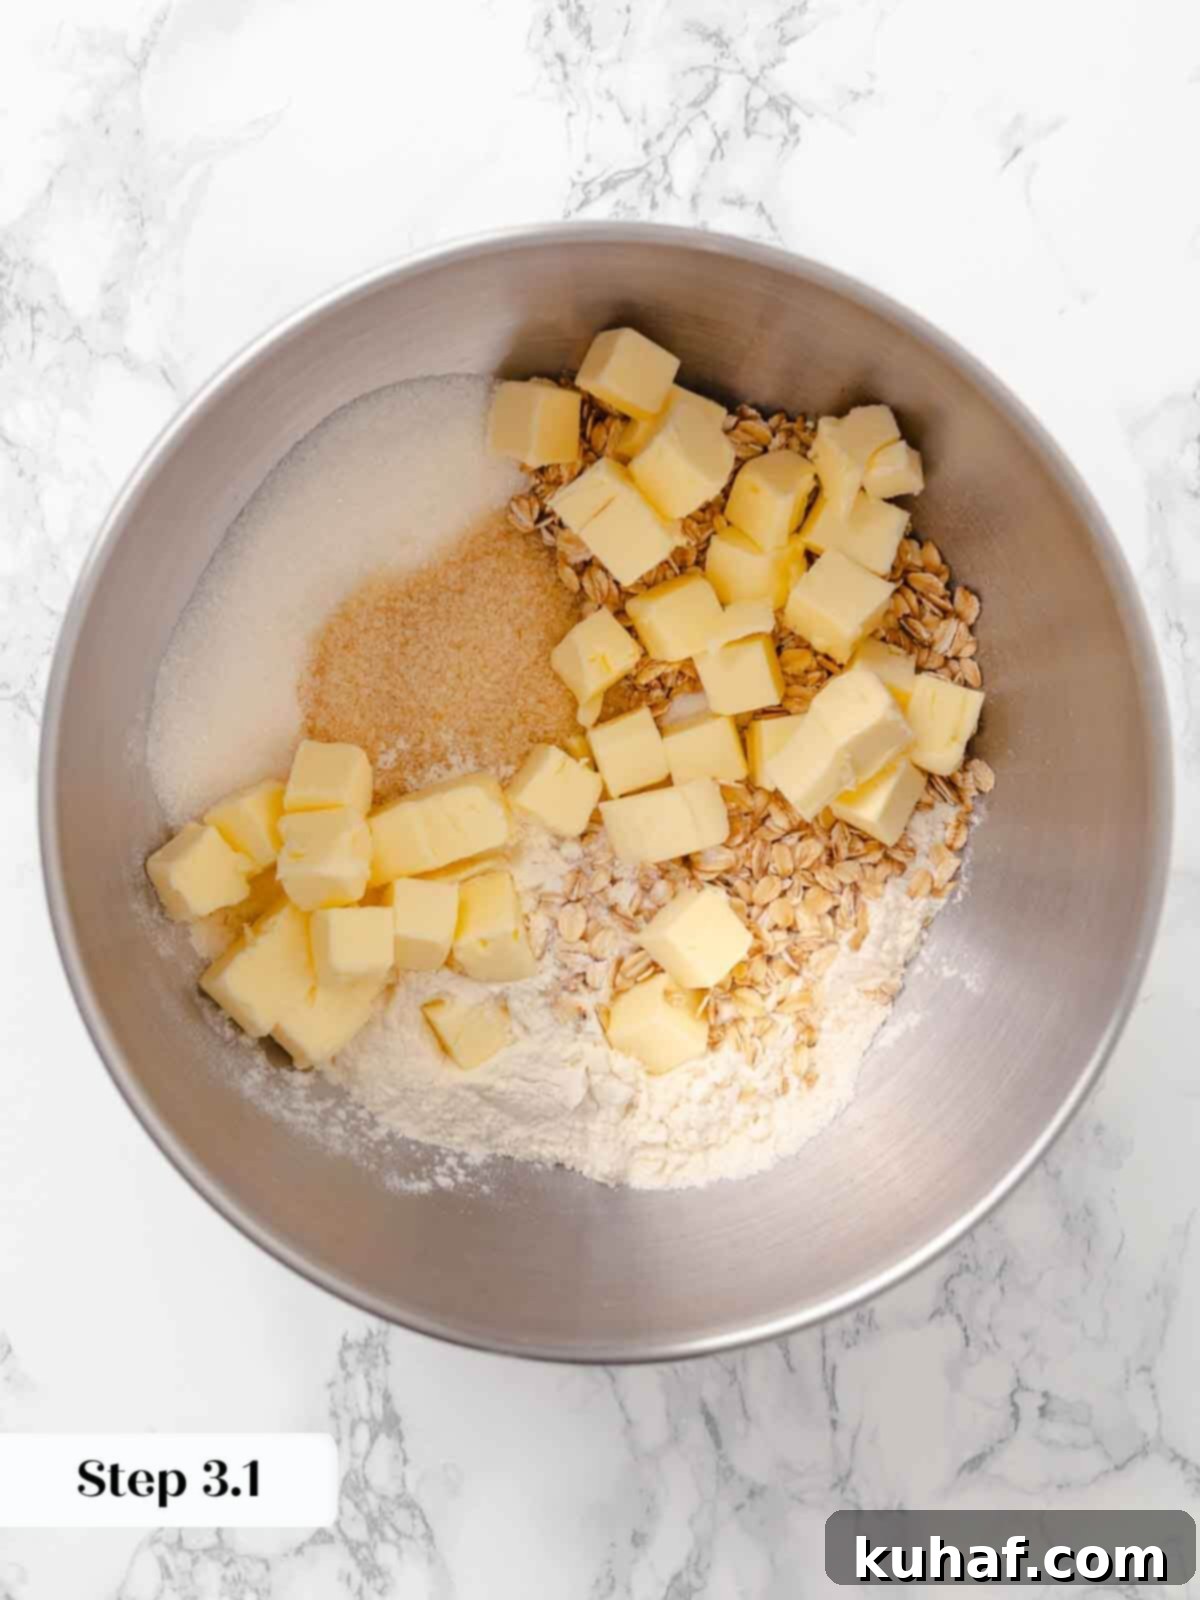
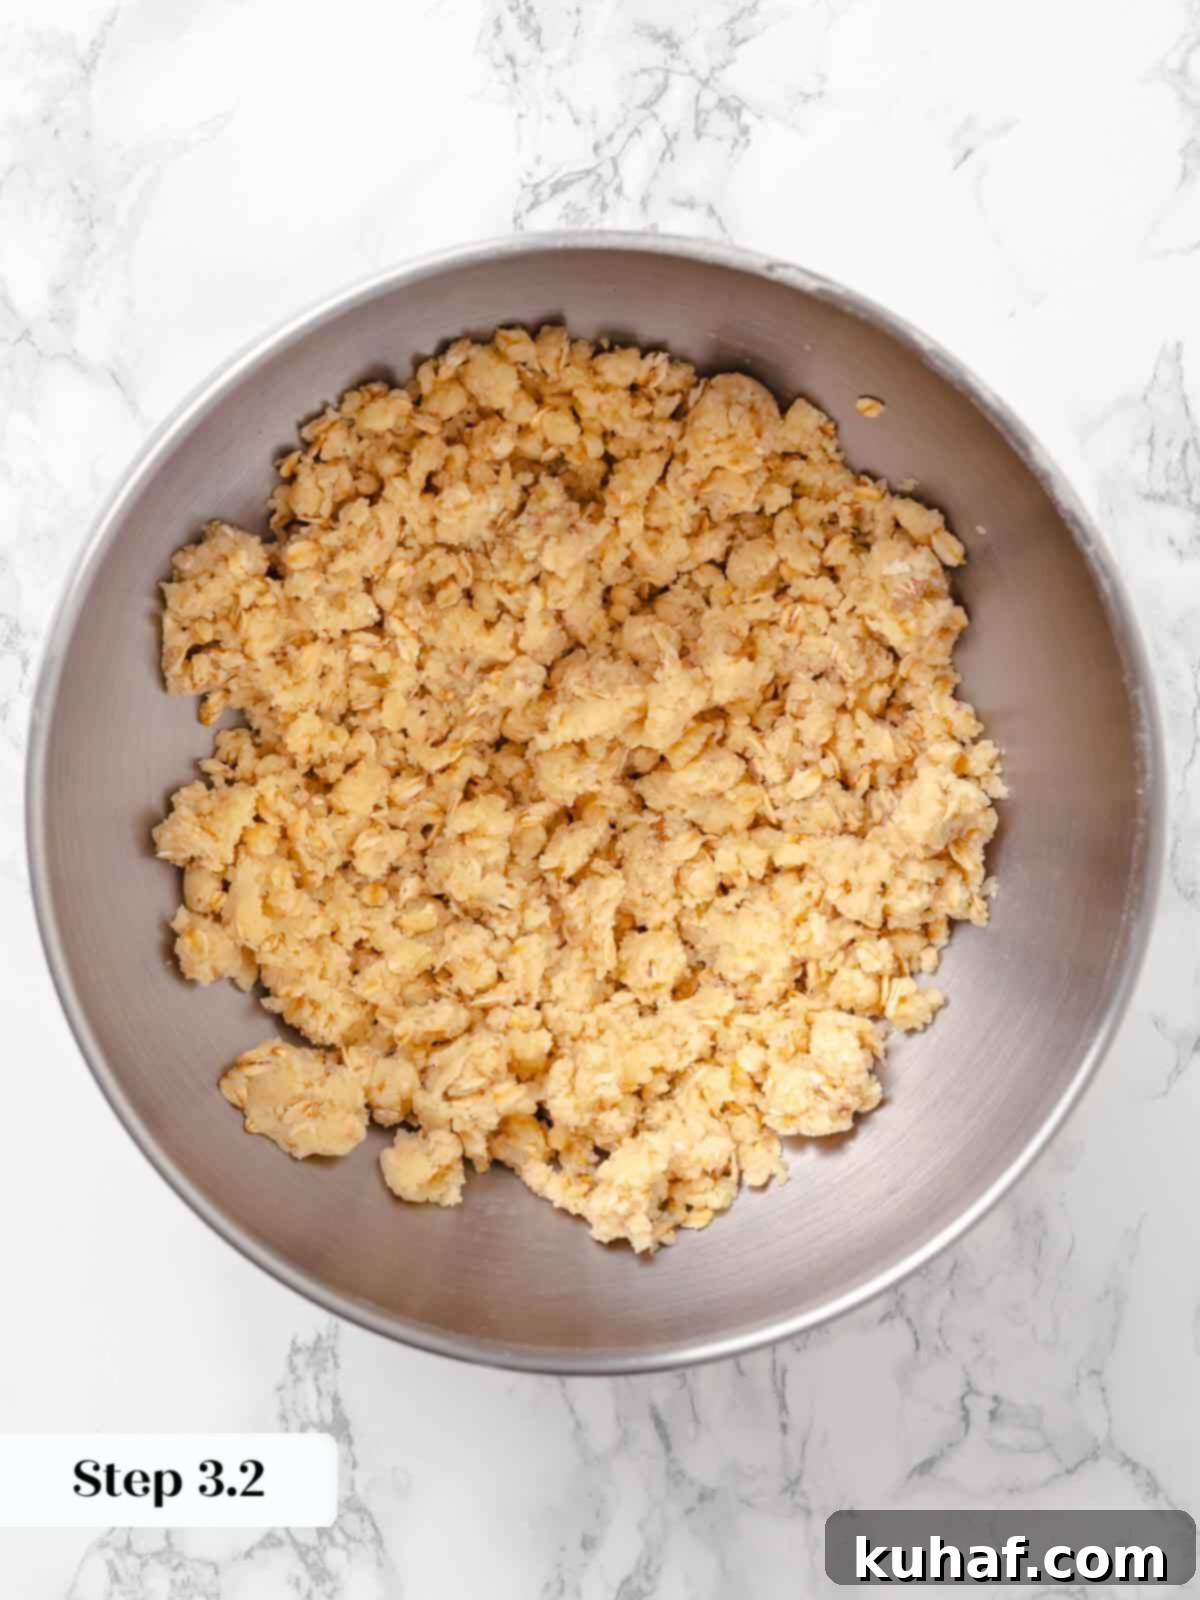
Step 3: Prepare the Oat Streusel Topping. In a large mixing bowl, or the bowl of a stand mixer fitted with the paddle attachment, combine all your topping ingredients: granulated sugar, light brown sugar, all-purpose flour, rolled oats, and kosher salt. Add the cold, cubed unsalted butter. Mix on low speed until a cohesive, crumbly dough forms. Alternatively, you can use your hands: grab handfuls of the mixture, squeezing and mashing the butter into the flour with your fingers. Repeat this process until the mixture comes together in chunks, with only a few pea-sized lumps of butter remaining. Work as quickly as possible to prevent the butter from melting, as cold butter is essential for a crumbly, tender topping.
Butter Wisdom: Keep It Cold! This is one of those delightful (and rare!) circumstances where using cold butter works entirely to your advantage. The cold butter creates steam pockets as it bakes, which contributes to the crisp and flaky texture of the topping. So, resist the urge to take it out of the fridge until you’re truly ready to combine it with the dry ingredients for your topping.
Assemble & Bake the Crisp:
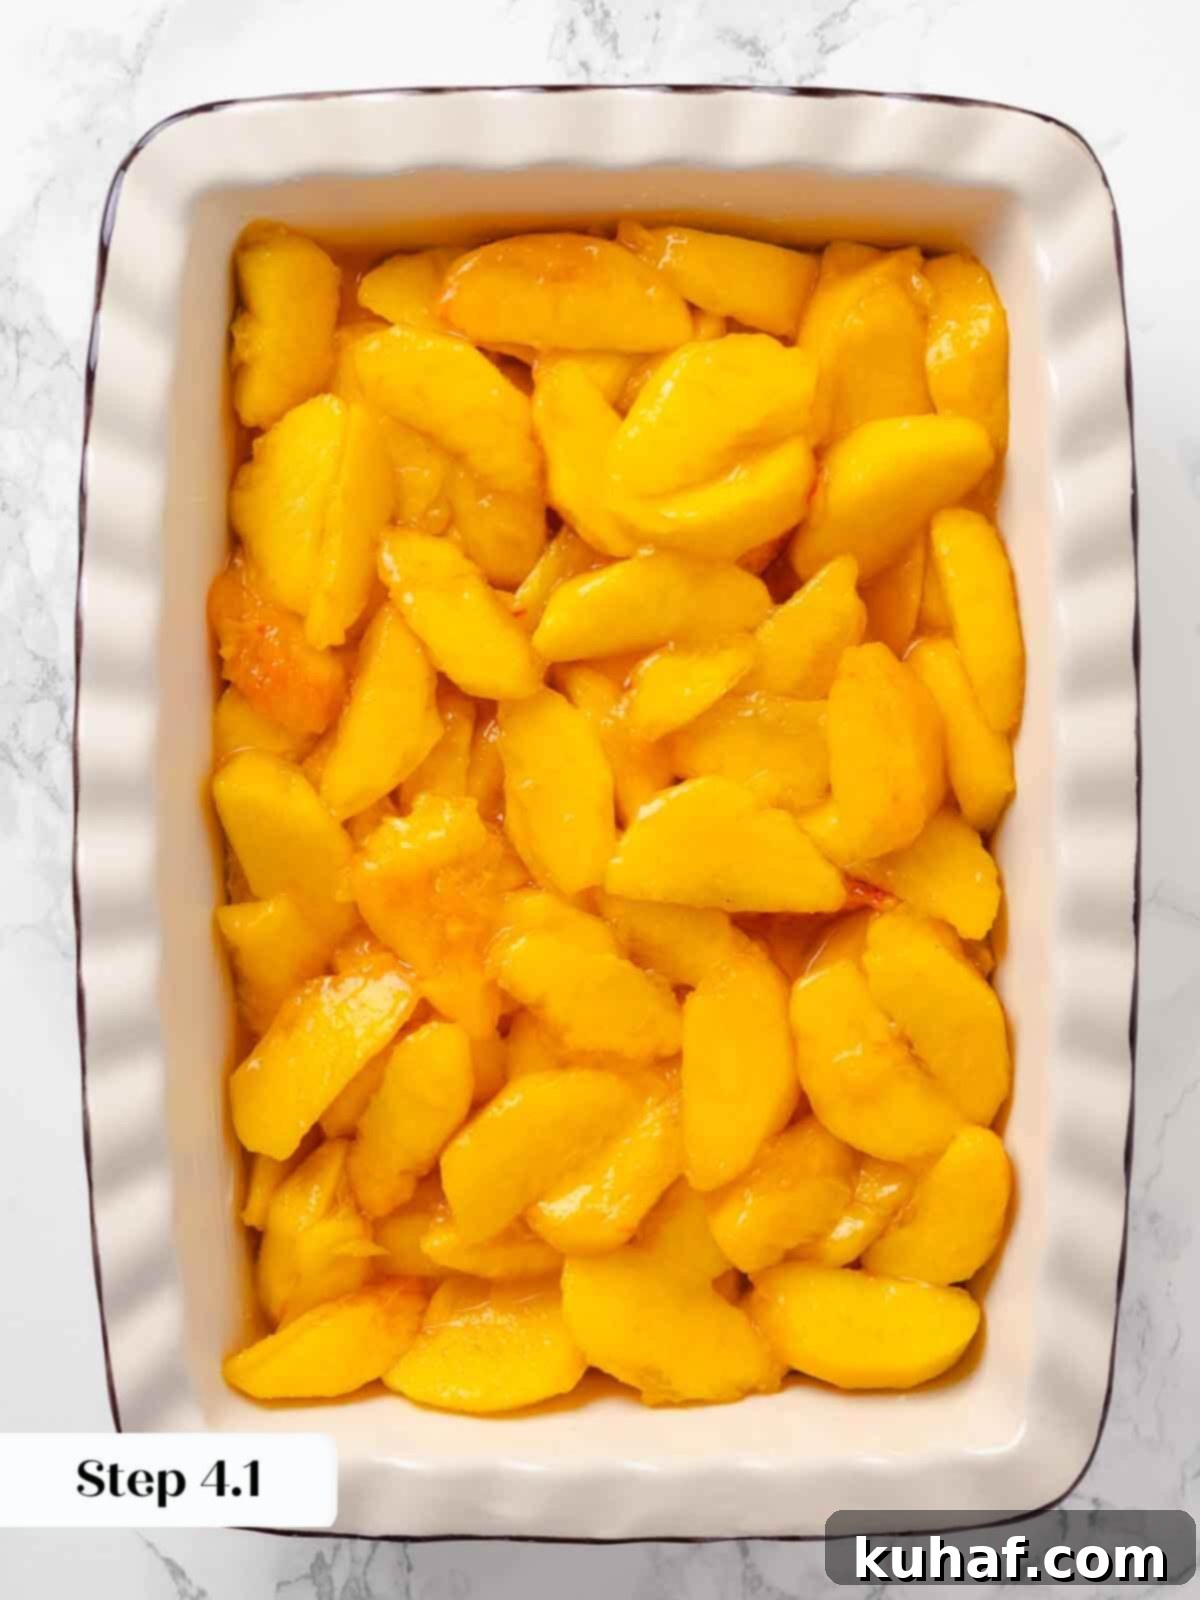
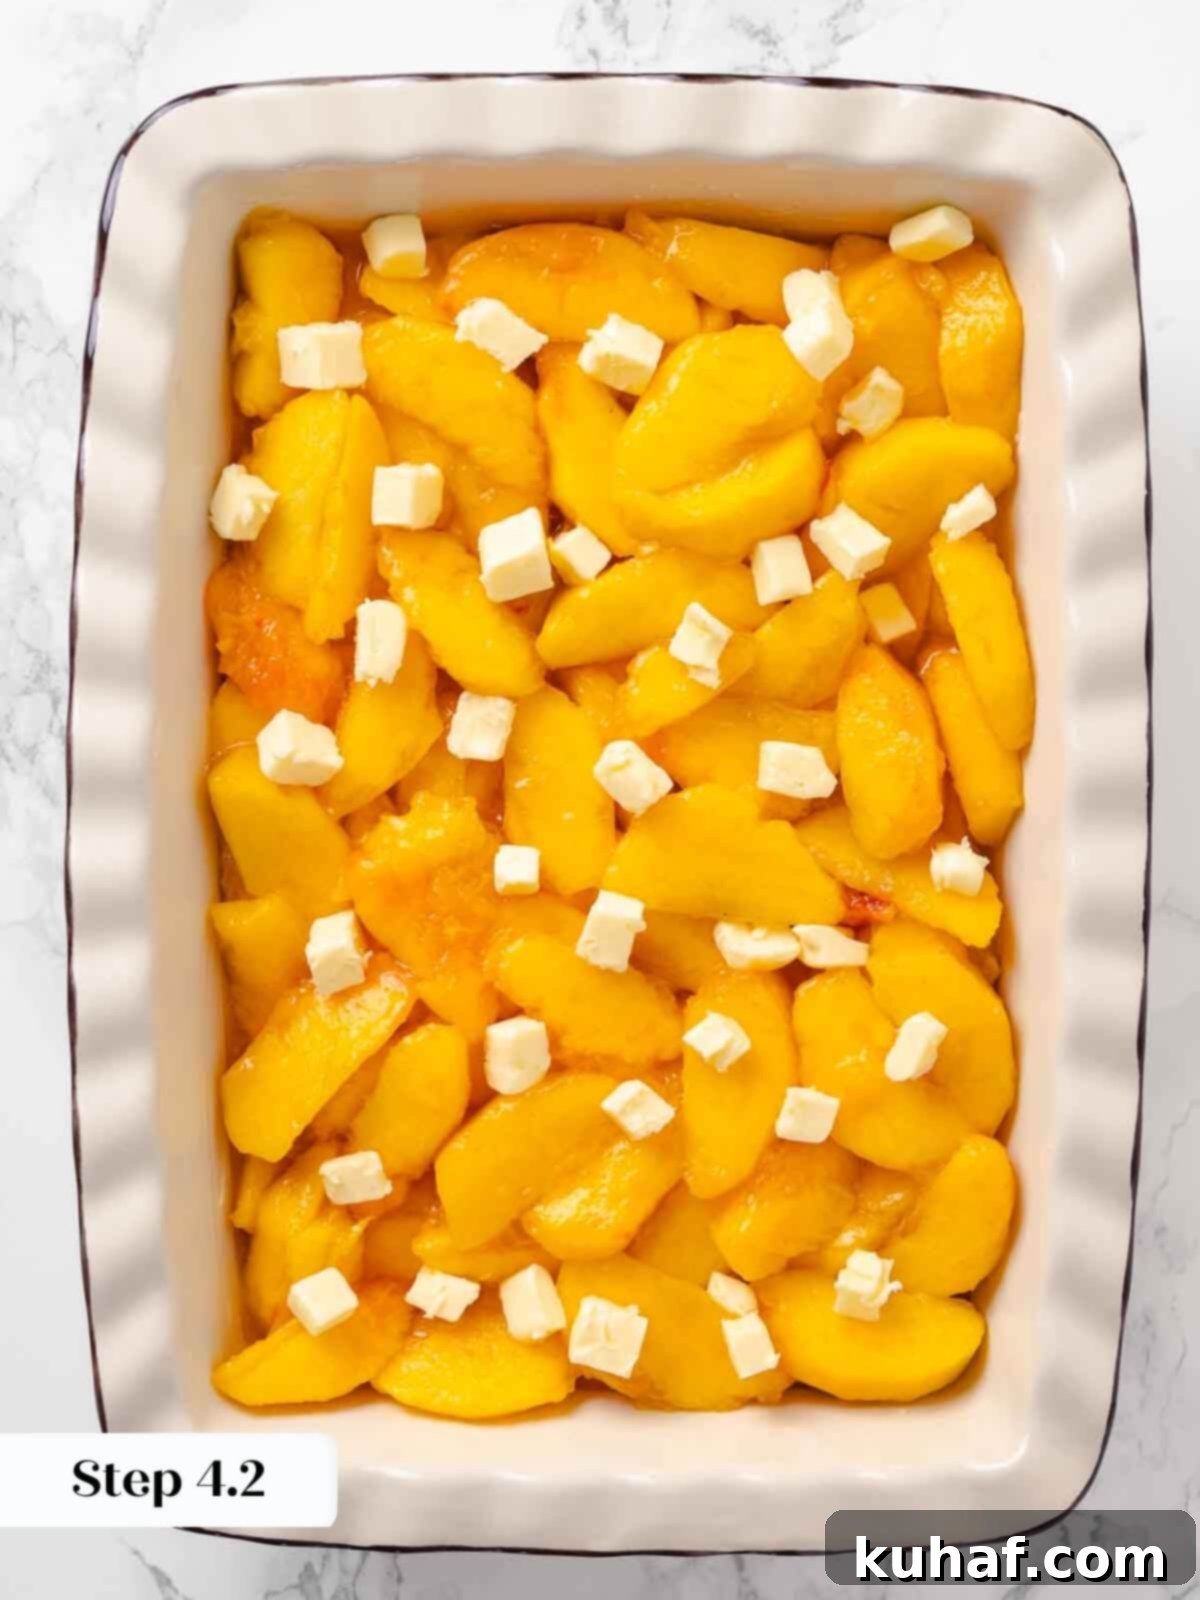
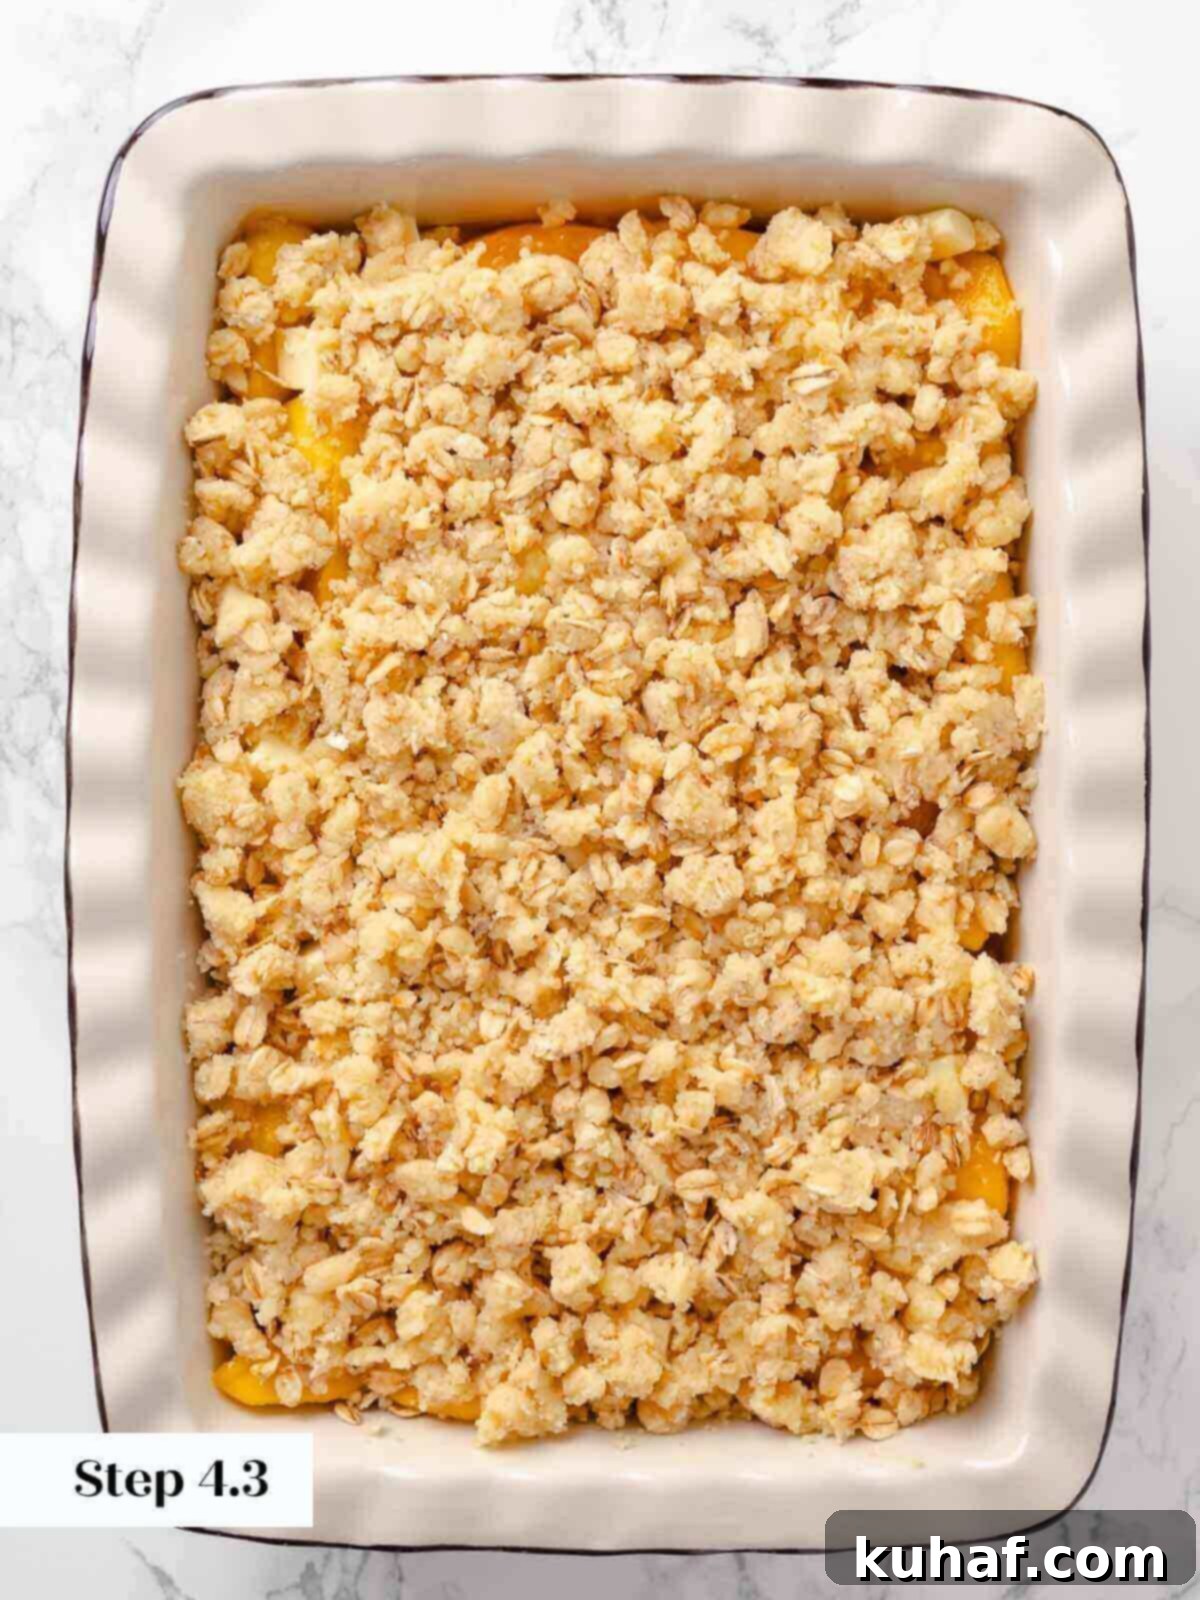
Step 4: Assemble Your Crisp. Lightly butter a 9×13-inch baking dish. Give the peach filling one last stir to ensure the liquids and spices are evenly redistributed, then pour it into the prepared dish, spreading it into an even layer. Next, dot the small pieces of butter over the peaches and gently press some of the crisp topping down into the peaches for those flavorful, chewy bites. Finally, generously cover the entire surface with your oat topping, using as much or as little as you desire for your preferred level of crunch. Don’t be shy with that delicious crumble!
I always recommend giving the peaches one last stir before placing them into the baking dish. This ensures all those delicious juices and spices are well-distributed, guaranteeing a flavorful bite every time!
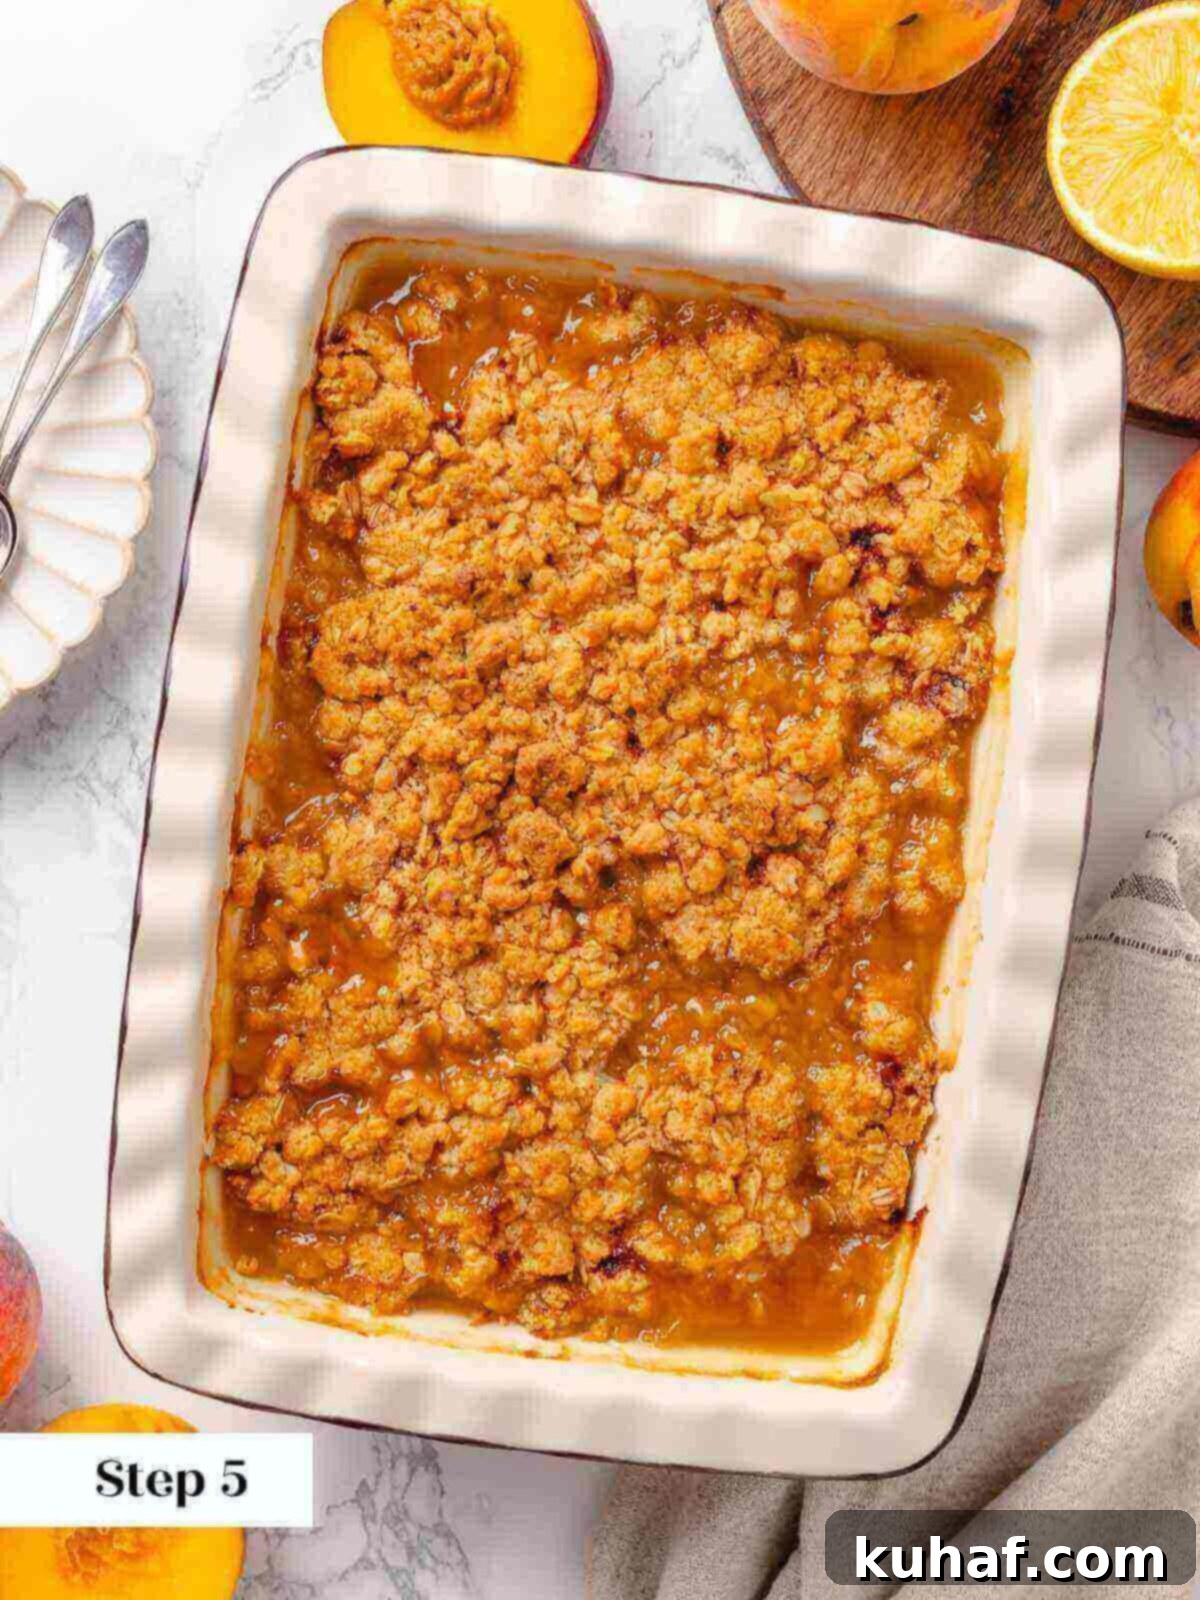
Step 5: Bake to Golden Perfection. Place your assembled peach crisp into the preheated oven and bake for approximately 50 minutes. The crisp is done when the top is a beautiful golden brown, and, most importantly, the filling is visibly bubbling enthusiastically around the edges and even in the center. This bubbling indicates that the peach juices have thickened properly, ensuring a luscious and flavorful fruit base. If the topping browns too quickly, you can loosely tent it with aluminum foil.
Step 6: Cool and Serve Warm. Once baked, remove the crisp from the oven and let it cool on a wire rack in the pan for at least 20 minutes. This cooling time is crucial, as it allows the filling to set and thicken further. Serving it too hot might result in a slightly runny filling. After cooling slightly, serve your warm peach crisp with a generous scoop of creamy vanilla bean ice cream or, for an elegant touch, prepare this easy crème anglaise recipe while the crisp cools. The contrast of warm, tender peaches and crisp topping with cold, melting ice cream or custard is simply heavenly!
Chef Lindsey’s Recipe Tip for Perfect Peaches
In simple recipes like this peach crisp, where the core ingredient shines, the quality of your peaches truly makes all the difference. You simply cannot overstate the impact of ripe, peak-season peaches on the final flavor. Flavorless peaches will inevitably lead to a sad, underwhelming crisp. Seek out peaches that are fragrant and have a slight give when gently squeezed. Don’t overlook peaches with minor bruises; often, these are the ripest and most flavorful, making them absolutely incredible for crisps and other baked goods. There’s nothing quite like the unparalleled taste of peaches ripened on the tree.
If your peaches aren’t quite ready, you can easily ripen them at home: simply place them in a brown paper bag for a few days, or even quicker, put them near bananas, which release ethylene gas that speeds up ripening. When fresh, local peaches are out of season, you can still enjoy this crisp using frozen or even canned peaches. If using frozen peaches, be sure to thaw them completely before mixing with the sugar and lemon juice to prevent excess moisture in your filling. For canned peaches, always choose those packed in water, not heavy syrup, and drain them very well to avoid an overly sweet and watery crisp. With these tips, you can enjoy a delicious peach crisp any time of year!
Frequently Asked Questions About Peach Crisp
To store leftover peach crisp, first allow it to cool completely to room temperature. Then, wrap it well in plastic wrap or transfer it to an airtight container and refrigerate for up to a week. For longer storage, you can freeze peach crisp for up to two months. To reheat, place it in a 350°F (175°C) oven until warmed through. I do not suggest using convection bake when reheating, as the topping tends to burn before the center is fully warm.
In my professional experience, peach crisps are significantly more enjoyable with peeled peaches. While it adds a small amount of prep time, it is well worth the effort for two crucial reasons. Firstly, the crisp itself will bake more evenly, allowing the fruit to soften uniformly. Secondly, and perhaps most importantly, the texture will be far more appealing and smooth without the slightly tough and chewy skins interfering with each delicious bite.
Absolutely! If you’re not a fan of oats or simply want to try something different, you can certainly make this recipe without them. A fantastic alternative is to use the topping from my mini apple pecan crumble pies. This topping features a delightful crunch from pecans, offering a different but equally delicious texture to complement the soft peach filling. You can also experiment with other nut-based or purely flour-and-butter streusel toppings.
The best way to tell if your peach crisp is done is by observing two key indicators. First, the oat topping should be beautifully golden brown and appear crisp. Second, and most importantly, the peach filling should be visibly bubbling vigorously around the edges and even in the center of the baking dish. This bubbling signifies that the fruit juices have thickened to a perfect consistency. If it’s not bubbling, it needs more time, even if the topping looks ready.
Yes, with a few simple substitutions! For a gluten-free version, simply swap the all-purpose flour for a 1:1 gluten-free baking flour blend that contains xanthan gum. Ensure your oats are certified gluten-free. To make it vegan, replace the unsalted butter with a high-quality, plant-based butter substitute (like a vegan butter stick) or use solid coconut oil. You might also want to check out specific dairy-free fruit crisp recipes for more tailored guidance.
If you tried this wonderful recipe and loved it, please take a moment to leave a 🌟 star rating and let me know how it goes in the comments below! I genuinely love hearing from you; your feedback and comments truly make my day!

Peach Crisp
Pin Recipe
Comment
Print Recipe
Ingredients
Filling:
- 9 ½ cups peaches peeled, pitted & sliced into similar sizes
- 1 ½ cups granulated sugar
- 1 lemon juiced
- ¼ teaspoon ground ginger or some freshly grated ginger if you’re feeling frisky
- ¼ cup butter cut into small pieces
Oat Streusel Topping:
- ¼ cup granulated sugar
- ¼ cup light brown sugar packed
- 1 ¼ cups all-purpose flour
- ⅔ cups rolled oats
- ¼ teaspoon kosher salt
- 11 tablespoons unsalted butter cold, cubed
Instructions
Make the filling and topping:
-
In a medium bowl, combine sliced peaches, granulated sugar, lemon juice, and ground ginger. Stir to evenly coat all the peaches.
-
Preheat your oven to 350°F conventional (no fan) with the rack in the middle.
-
In a large bowl, or the bowl of a stand mixer, combine your topping ingredients and mix on low until a cohesive dough forms. You can also use your hands to work the butter into the flour mixture by grabbing a handful, squeezing and mashing it against your palm with your fingers. Repeat until your hand is exhausted and the mixture sticks together in chunks but there are only a few remaining lumps of butter. Work as quickly as possible so that the butter doesn’t actually melt.
Assemble & bake the crisp:
-
Pour into a buttered 9×13-inch baking dish. Dot the butter around and press into the filling. Cover with the oat topping using as much or as little as you wish.
-
Bake in a preheated oven for 50 minutes or until the top is golden brown and the filling is bubbling out the sides. You should be able to see that the filling has thickened.
-
Let cool on a wire rack in the pan for at least 20 minutes. Serve warm with vanilla bean ice cream or make this easy crème anglaise recipe while it cools!
Notes
Variations – Swap the peaches called for in the recipe for an equal amount of blueberries, plums, strawberries or apples, if desired.
Storage – Bake ahead, cool to room temperature, wrap and then freeze for two months. Alternatively, refrigerate leftovers for up to seven days. The topping can be made in advance and refrigerated for 7 days or frozen for up to two months.
Nutrition
Before You Go: Explore More Delicious Desserts
I sincerely hope you enjoyed creating and savoring this professional chef-tested peach crisp recipe. It’s a testament to the joy of simple, flavorful home baking! If you loved this taste of summer, I invite you to explore more of our expertly developed and easy-to-follow dessert recipes. Dive into our collection of other delightful easy crisps and crumbles recipes, perfect for any fruit or season. And for more inspiration to sweeten your warm weather days, be sure to check out our hand-picked selection of 20 Easy Summer Desserts. Happy baking, and enjoy every sweet moment!
