Mastering Easy Lemon Curd: A Chef’s Guide to Silky, Tart Perfection
This incredibly smooth, easy lemon curd is a true culinary delight, offering a refreshingly tart flavor perfectly balanced with just a hint of sweetness. Crafted with only 5 essential ingredients and prepared directly on the stovetop, it’s finished with a touch of butter for that irresistibly rich, silky texture that melts in your mouth. Imagine using this vibrant lemon curd to generously fill delicate cupcakes, serving it alongside a slice of elegant cake, or infusing its bright flavor into everything from fluffy buttercream to creamy puddings!
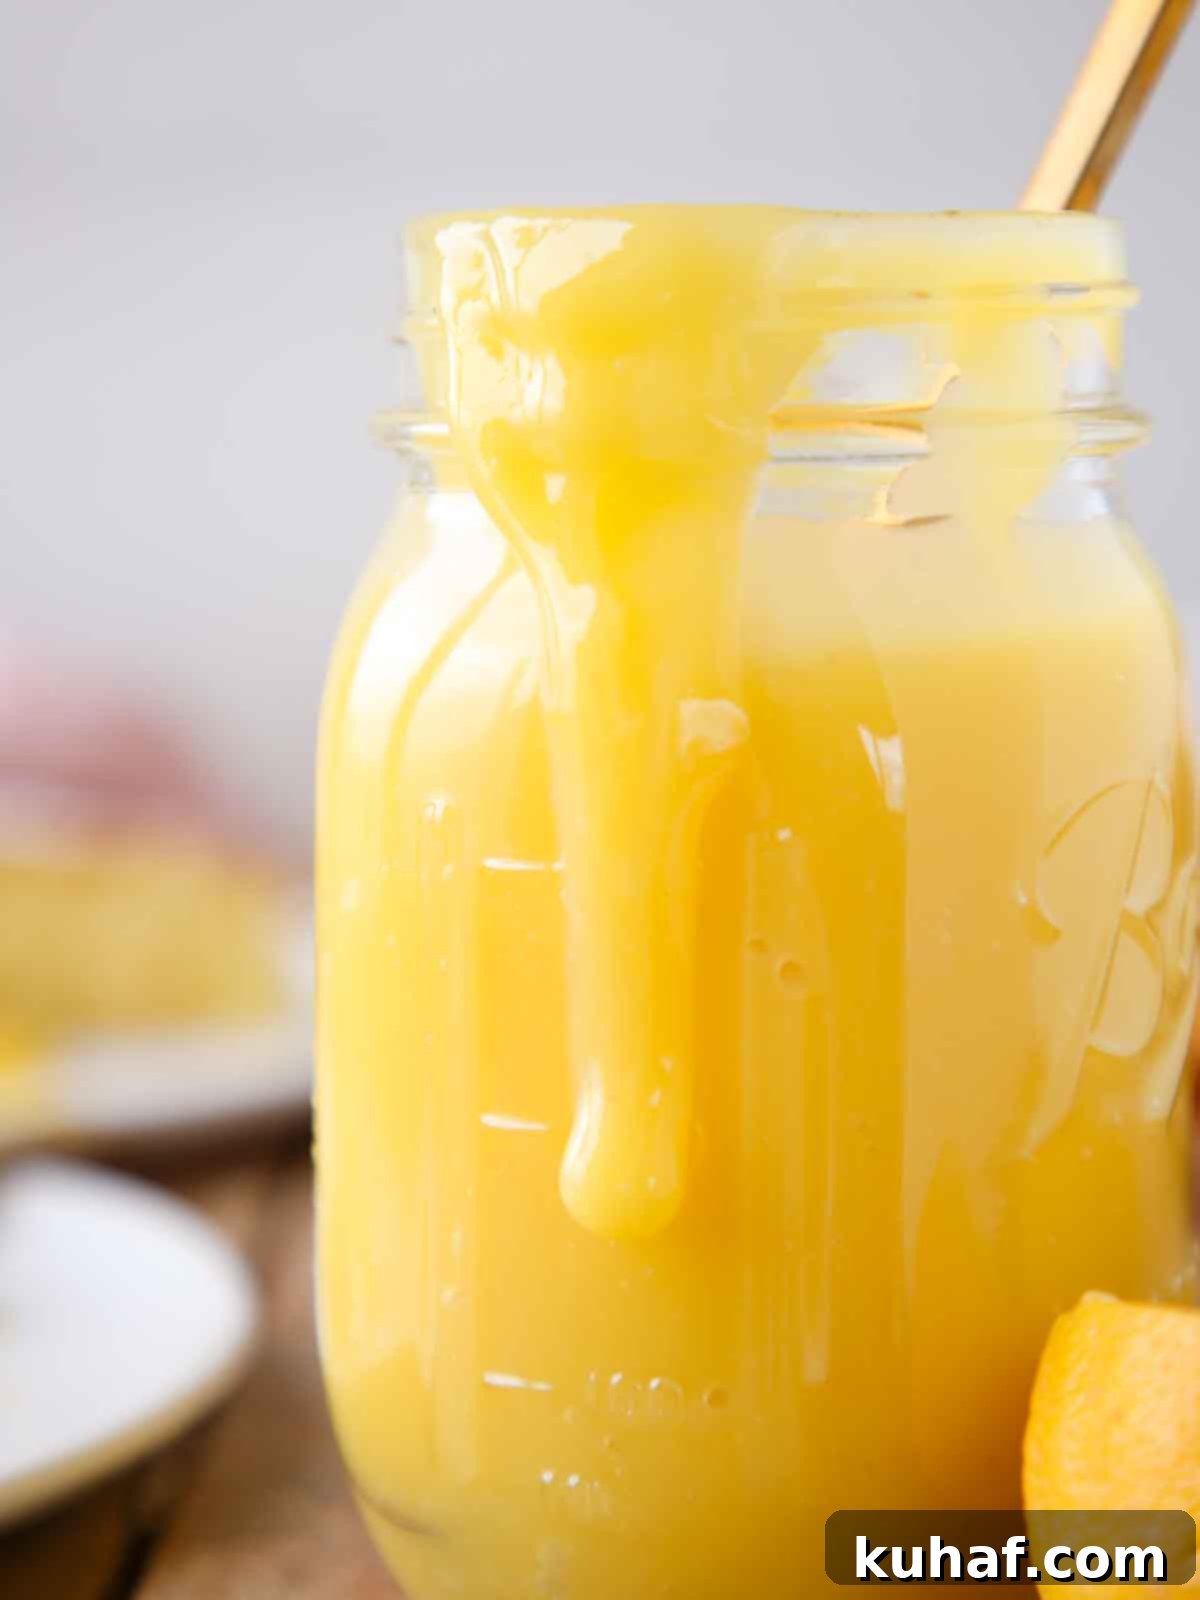
The secret to unlocking the absolute perfect lemon curd lies in striking an exquisite balance. It’s all about the ideal ratio between intensely tart, freshly squeezed lemons, a measured amount of sugar, and that crucial hint of butter. My meticulously developed lemon curd recipe contains just enough sugar to temper the lemons’ puckering tartness, allowing their bright, natural flavor to shine without becoming cloyingly sweet. You want your lemon curd to burst with the essence of, you guessed it, fresh lemons!
While lemon curd might not always steal the spotlight as the “sexiest” member of the pastry world, its incredible versatility makes it an indispensable ingredient for any home baker or professional chef. Its vibrant flavor and luxurious texture allow it to transform countless desserts and treats. You can use it as a luscious filling for delightful lemon coconut cupcakes, or as a natural flavoring agent in Italian Meringue buttercream, offering a more authentic citrus burst than mere extract. It serves as an exquisite sauce for a decadent easy chocolate cake or a delicate fruit tart. For a lighter, summery dessert, serve it with fresh berries and billowy whipped cream atop a stunning pavlova cake. Or, for a quick and satisfying treat, simply stir a spoonful into your favorite yogurt for a sweet, semi-healthy indulgence. For more structured applications, adding a touch of gelatin transforms it into a delightful, stable filling for elaborate layer cakes or classic lemon bars. Keep reading for even more creative ideas to incorporate this amazing ingredient into your culinary repertoire!
Table of Contents
- Why This is the Best Lemon Curd Recipe
- Professional Tips for Making Perfect Lemon Curd
- Essential Ingredients & Smart Substitutions
- Creative Ways to Use Your Homemade Lemon Curd
- Step-by-Step: How to Make Silky Homemade Lemon Curd
- Chef Lindsey’s Recipe Tip: Achieving a Stable Curd
- Frequently Asked Questions About Lemon Curd
- Easy Lemon Curd Recipe Card
- Before You Go: Explore More Delicious Recipes
Why This is the Best Lemon Curd Recipe You’ll Ever Make
- A Refreshingly Tart Flavor that Tastes Like Fresh Squeezed Lemonade: Many lemon curd recipes err on the side of excessive sweetness, resulting in a cloying, one-note flavor profile. While sugar is undeniably essential for both thickening the curd and balancing the lemon’s acidity, this recipe carefully calibrates the sugar level. The result is a vibrant, bright, and intensely lemony taste that captures the essence of fresh-squeezed lemonade, without being overwhelming. It truly celebrates the lemon, rather than burying it under sugar.
- The Perfect Satiny Texture, Enhanced by a Pinch of Salt and Finished with Butter: Beyond flavor, texture is paramount for an exceptional lemon curd. A subtle pinch of kosher salt plays a crucial role here, enhancing and magnifying the natural lemon flavor without adding any sweetness. This little secret ingredient makes a big difference. Furthermore, finishing the cooked curd with a generous swirl of unsalted butter is the key to achieving that luxurious, satiny smooth consistency and a delightful richness that lingers on the palate. It’s the same professional technique used to finish my acclaimed butterscotch pudding, proving that a little butter can elevate a dessert from good to absolutely sublime.
- Perfected by a Professional Pastry Chef in a High-Volume Kitchen: This isn’t just another home kitchen recipe; it’s a meticulously developed and rigorously tested formula. This lemon curd recipe has stood the test of time and countless service demands in a professional restaurant setting. It is just as exquisitely delicious and reliable today as it was when I first featured it on the pastry menu at the prestigious Restaurant Marc Forgione in 2016. You can trust that this recipe delivers consistent, chef-quality results every single time.
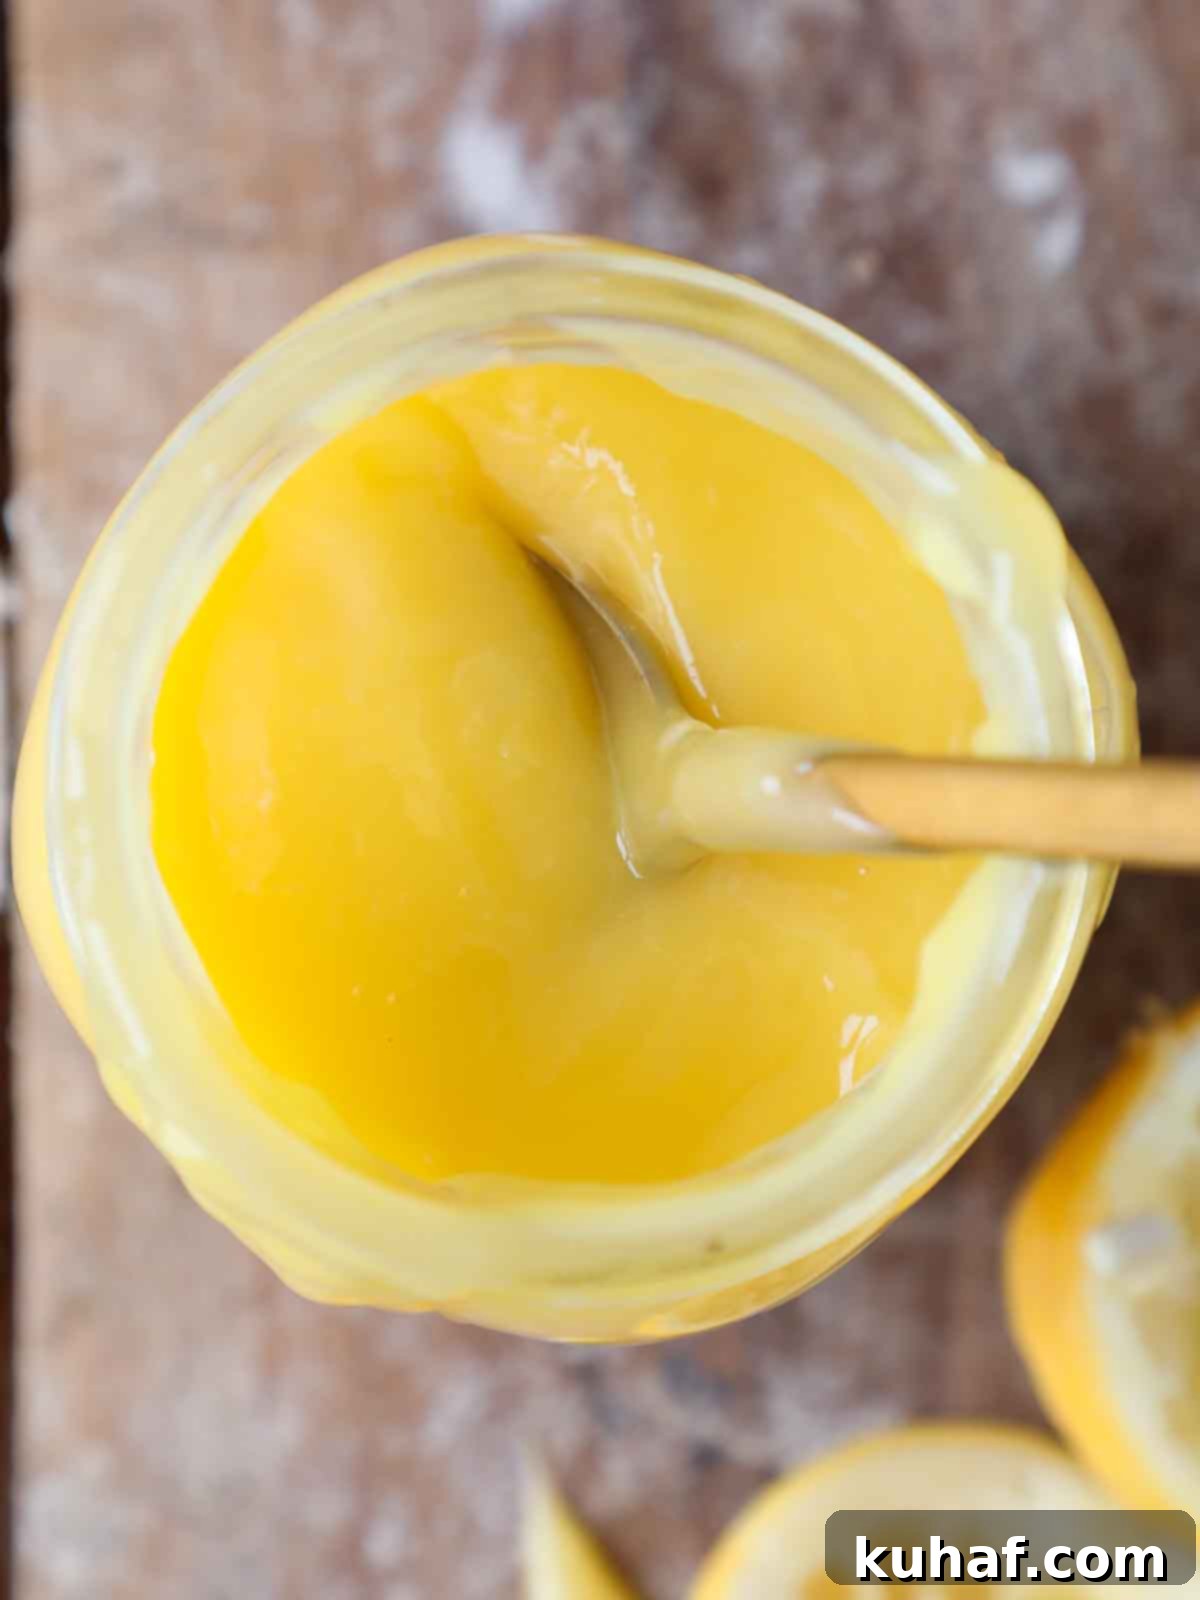
Professional Tips for Making Flawless Lemon Curd Every Time
- Whisk the Eggs and Egg Yolks Thoroughly Before Adding Other Ingredients: This initial step is critical for a smooth lemon curd. Vigorously whisking the whole eggs and egg yolks together until they are completely homogenous and streak-free helps to break apart the egg proteins. This separation is vital because the egg whites, when well incorporated, help protect the more delicate egg yolks from denaturing or “scrambling” when they come into contact with the sugar or the highly acidic lemon juice. Following this, whisk in the sugar, which further acts as a protective agent for the eggs against the intensity of the lemon juice. This careful order of incorporation is your first line of defense against a lumpy curd.
- Don’t Stop Stirring and Pay Attention to the Corners! When cooking any stirred custard like lemon curd (or my dark chocolate pudding), constant attention is key. My specific stirring technique ensures even cooking and prevents lumps from forming at the bottom or edges of the pot, where heat is most concentrated. Use a silicone spatula or wooden spoon to make a zigzag pattern across the entire bottom of the pot, ensuring you scrape every inch. Then, do one complete circle around the outside edge of the pot. Repeat this motion continuously. It’s surprisingly meditative and incredibly effective for achieving a perfectly smooth consistency.
- Switch to a Whisk as the Curd Begins to Thicken: It’s natural for the mixture to start forming small curds or thicken unevenly as it heats up. Don’t panic – this is exactly what you want! Once you notice this thickening process begin, switch from your spatula to a wire whisk. The whisk is more efficient at breaking up these initial clumps and will help maintain a smooth, uniform consistency as the custard continues to thicken. Remember to still reach into those corners, as lumps love to hide there!
- Consider the Water Bath Method for a More Hands-Off Approach: If you’re multitasking or prefer a gentler cooking process, making lemon curd over a double boiler (bain-marie or water bath) is an excellent option. While it will take approximately three times longer to thicken, it requires significantly less strenuous stirring and reduces the risk of accidentally scrambling the eggs. Simply set your saucepan over a pot of simmering water, ensuring the bottom of the curd pot doesn’t touch the water. Stir occasionally, then switch to a whisk once it starts to curd. This method was a lifesaver in the restaurant when I had numerous other hands-on preparations going on simultaneously.
Essential Ingredients & Smart Substitutions for Lemon Curd
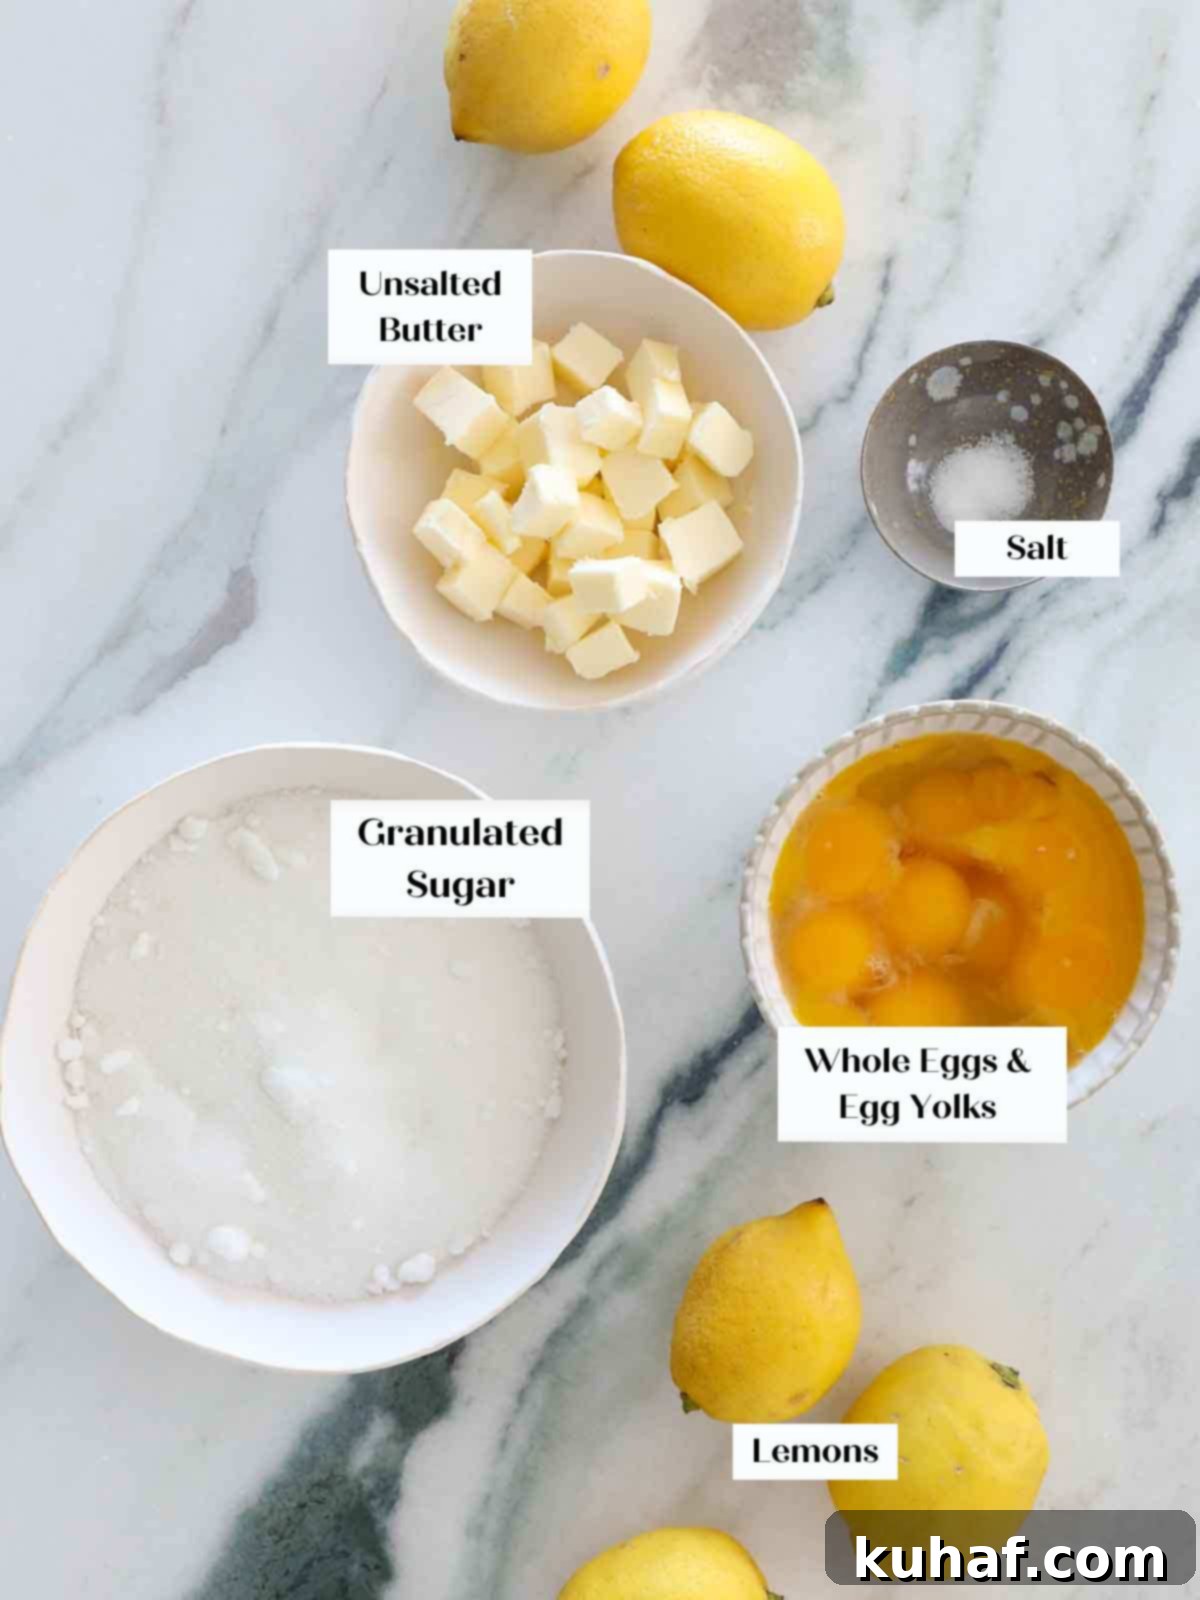
- Large Eggs & Egg Yolks: The combination of whole eggs and additional egg yolks is what gives lemon curd its rich flavor, vibrant color, and luscious, thick texture. When these are heated with sugar and an acid like lemon juice, the proteins in the eggs coagulate and thicken, forming a stirred custard. Think of it like a luxurious vanilla pudding, classic vanilla pastry cream, a silky crème anglaise, or even the base for homemade chocolate ice cream! Always use large eggs for consistent results, and note that extra-large eggs often yield slightly larger yolks, which can subtly alter the final consistency.
- Granulated Sugar: Sugar is far more than just a sweetener in this recipe; it’s a crucial structural component. It plays a vital role in the “curding” process of the eggs when combined with the acidic lemon juice, contributing to the curd’s final thick consistency. While I’ve meticulously balanced the flavor with this functional requirement, you can generally reduce the sugar content safely to about ¾ cup if you prefer a significantly more tart curd without compromising the texture too much.
- Fresh Lemon Juice: This is the star of the show, and for truly superior flavor, it is absolutely worth the effort to squeeze fresh lemons for this recipe. Fresh lemon juice boasts a bright, complex acidity and delicate floral notes that bottled lemon juice simply cannot replicate. Bottled versions tend to be dull, flat, and often have an off-putting cooked taste. The acidity of the fresh juice is also essential for the proper thickening of the eggs. For variations, you can substitute an equally acidic fruit puree, such as passionfruit puree for a tropical passionfruit curd, or a combination of orange juice and lemon juice for a delightful orange curd. Grapefruit juice also works beautifully, though you might want to avoid ruby red grapefruits as they can sometimes yield an unappealing color once cooked. I intentionally omit lemon zest from this specific recipe to avoid the need for straining the curd later, ensuring a perfectly smooth finish without extra steps.
- Kosher Salt: A small but mighty ingredient! The kosher salt in this recipe doesn’t make the curd salty; instead, it acts as a flavor enhancer. It brightens and intensifies the lemon flavor, making it taste even more vibrant without adding any unwanted sweetness, creating a more complex and satisfying taste experience.
- Unsalted Butter: The final touch! Adding unsalted butter at the end is a professional secret for achieving a truly luxurious texture. It adds a beautiful richness, a silky smooth mouthfeel, and a subtle sheen to the finished curd. If you need a dairy-free option, you can certainly omit the butter, and your lemon curd will still be wonderfully delicious and smooth, just with a slightly lighter body.
See the recipe card below for full information on precise ingredient quantities and detailed instructions.
Creative Ways to Use Your Homemade Lemon Curd
Once you’ve tasted the sheer brilliance of homemade lemon curd, you’ll want to incorporate it into everything! Its bright, zesty flavor and smooth texture make it incredibly versatile. Here are some of my favorite ways to use it:
- As a Flavoring Powerhouse: Lemon curd can instantly elevate the flavor profile of countless creamy desserts. Stir it into rich vanilla pudding, elegant crème brûlée, classic vanilla ice cream, or delicate pastry cream for a vibrant lemon twist. It’s also fantastic for flavoring buttercreams; use it to infuse a silky Swiss meringue buttercream, as I did for this patriotic American Flag Cake, or an airy Italian meringue buttercream. You can even heighten the lemony goodness of this easy lemon American buttercream. For a lighter touch, gently fold it into whipped cream to create a delightful lemon curd whipped cream!
- The Ultimate Filling: Lemon curd excels as a filling, adding a burst of flavor and a luxurious texture. Use it between layers of a celebration cake (creating a sturdy dam of frosting to keep it in place). It’s a fantastic surprise filling for cupcakes, like these unexpectedly delicious lemon chocolate cupcakes or my classic lemon cupcakes. It’s also a key component in a refreshing berry trifle! Don’t forget how it transforms simple thumbprint cookies or chocolate thumbprints into something truly special.
- Spoon It On for an Easy Dessert or Breakfast: Sometimes, the simplest pleasures are the best. Lemon curd is utterly delightful swirled into creamy Greek yogurt or served alongside a delicate lemon posset. I admit, I often enjoy a generous spoonful straight from the jar while I’m photographing my creations! For breakfast or brunch, serve it with warm, flaky strawberry scones, tender blueberry scones, muffins, English muffins, light buttermilk biscuits, buttered toast, or slices of moist banana bread. It also makes an exceptional topping for pancakes or waffles!
- An Elegant Dessert Sauce: During my time as an Executive Pastry Chef in Manhattan, lemon curd was one of my go-to dessert garnishes. Its bright color and complementary tart flavor beautifully balance and enhance a myriad of desserts. It can offer a smooth, creamy contrast to crunchy elements like a delicate brown sugar streusel! Try it drizzled over ethereal angel food cake, a sweet strawberry cake, a simple classic white cake, a creamy buttermilk panna cotta, or a sophisticated lemon olive oil cake. Surprise and delight your guests by serving it with this easy one-bowl carrot cake or any of my other cake recipes.
- Stable Curd with Gelatin: For applications requiring a firmer, more stable set, such as classic lemon bars, a stabilized lemon curd whipped cream that holds its shape, lemon meringue pie filling, or a robust filling for multi-layered cakes, you can easily add gelatin. Simply bloom the gelatin (either sheets or powdered) in cold water before incorporating it into the hot lemon curd immediately after you’ve stirred in the butter. This will ensure your curd sets beautifully firm and sliceable.
- Fill a Tart Shell for a Showstopping Dessert: A pre-baked tart shell filled with homemade lemon curd is a truly elegant and delicious dessert. You can use the curd with or without gelatin, depending on your desired firmness. If you choose not to stabilize it, the curd will be softer and more spoonable, rather than holding a crisp slice like a traditional lemon meringue pie. Blind bake a tart shell using my reliable pâte sucrée recipe or my versatile all-butter pie crust recipe, then fill it generously with your chilled lemon curd. Garnish with fresh berries, a dusting of powdered sugar, or a dollop of homemade whipped cream for an impressive finish.
- Want the Official List? For even more inspiration, be sure to check out my curated collection of specific Recipes with Lemon Curd!
Step-by-Step: How to Make Silky Homemade Lemon Curd
Follow these detailed instructions to create consistently silky, smooth, and intensely flavorful lemon curd every single time. For precise measurements and a condensed overview, refer to the full recipe card located at the bottom of this page.
Step 1: Prepare the Eggs. In a large, heavy-bottomed saucepan, begin by vigorously whisking together the whole eggs and additional egg yolks until the mixture is completely smooth and homogenous. There should be no visible streaks of egg whites remaining. This thorough whisking is key to preventing lumps later on.
Step 2: Incorporate Sugar and Salt. Next, add the granulated sugar and kosher salt to the egg mixture. Whisk these ingredients in very thoroughly until the sugar appears mostly dissolved and the mixture is well combined. This step further protects the egg proteins before the introduction of acid.
Step 3: Gradually Add Lemon Juice. Slowly, in a thin stream, whisk in the fresh lemon juice. Continue whisking constantly as you add it to ensure it is fully incorporated into the egg and sugar mixture.
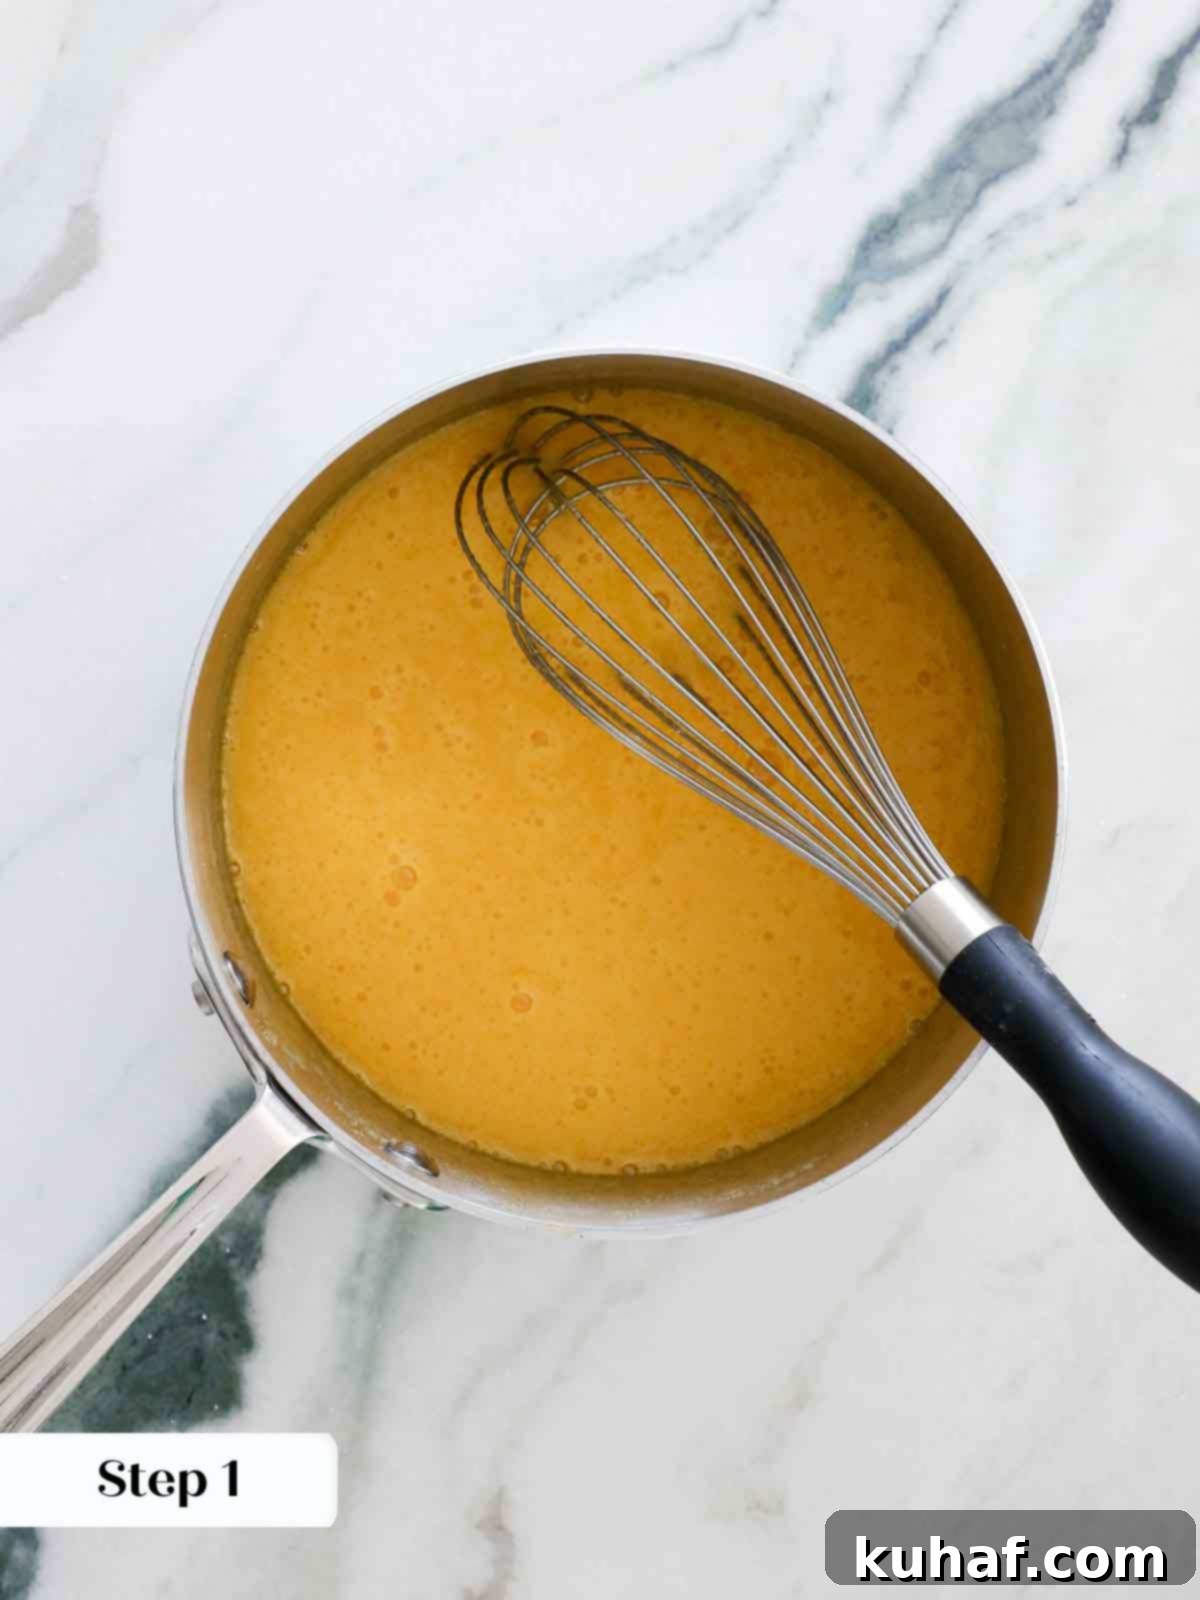
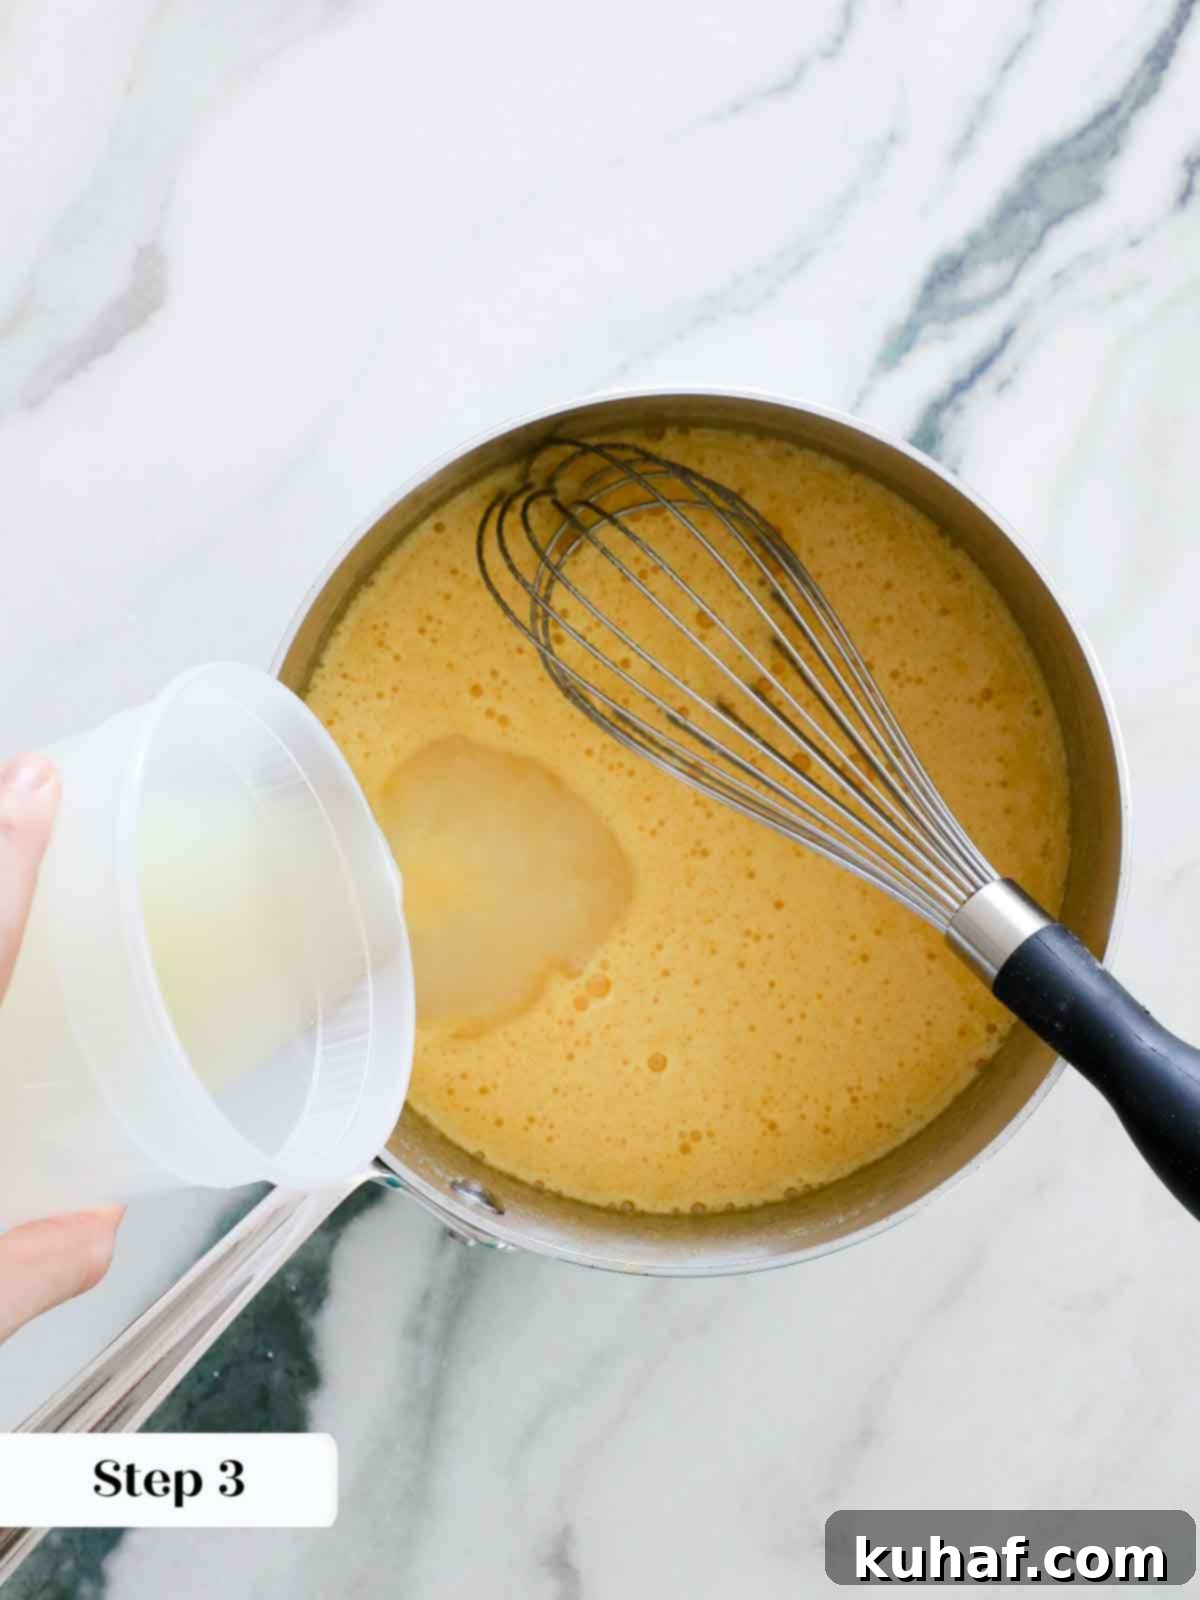
The precise order of ingredient incorporation is incredibly important for success. Whisking the eggs thoroughly first helps to break apart and evenly distribute the proteins, particularly safeguarding the delicate egg yolks. This prevents them from denaturing (cooking too quickly and clumping) when exposed to the sugar and, especially, the acidic lemon juice. The sugar acts as an additional buffer, further protecting the egg proteins before the full acidity of the lemon juice is introduced. If egg proteins denature prematurely, they can create tiny, undesirable lumps that are very difficult to remove, often requiring a very fine mesh sieve, which can be avoided with proper technique.
Step 4: Cook Until Nappant. Place the saucepan over medium-low heat. Stir constantly and diligently with your spatula or wooden spoon, ensuring you scrape the bottom and corners of the pot to prevent sticking and uneven cooking. Initially, any tiny bubbles on the surface will disappear. The mixture will then gradually begin to thicken. The lemon curd is ready when it reaches the “nappant” stage – this is when the custard coats the back of a spoon (or spatula) and, if you draw a line through it with your finger, the line holds cleanly without the custard running back into it. This typically happens when the curd reaches about 175-180°F (79-82°C), though a thermometer isn’t strictly necessary if you rely on the visual nappant test. The consistency at this point will be similar to a thick pudding or pastry cream. When the lemon curd begins to visibly thicken and “curd,” you can switch to a whisk briefly to break up any initial clumps and encourage the custard to remain perfectly smooth. However, don’t neglect those corners even with the whisk!
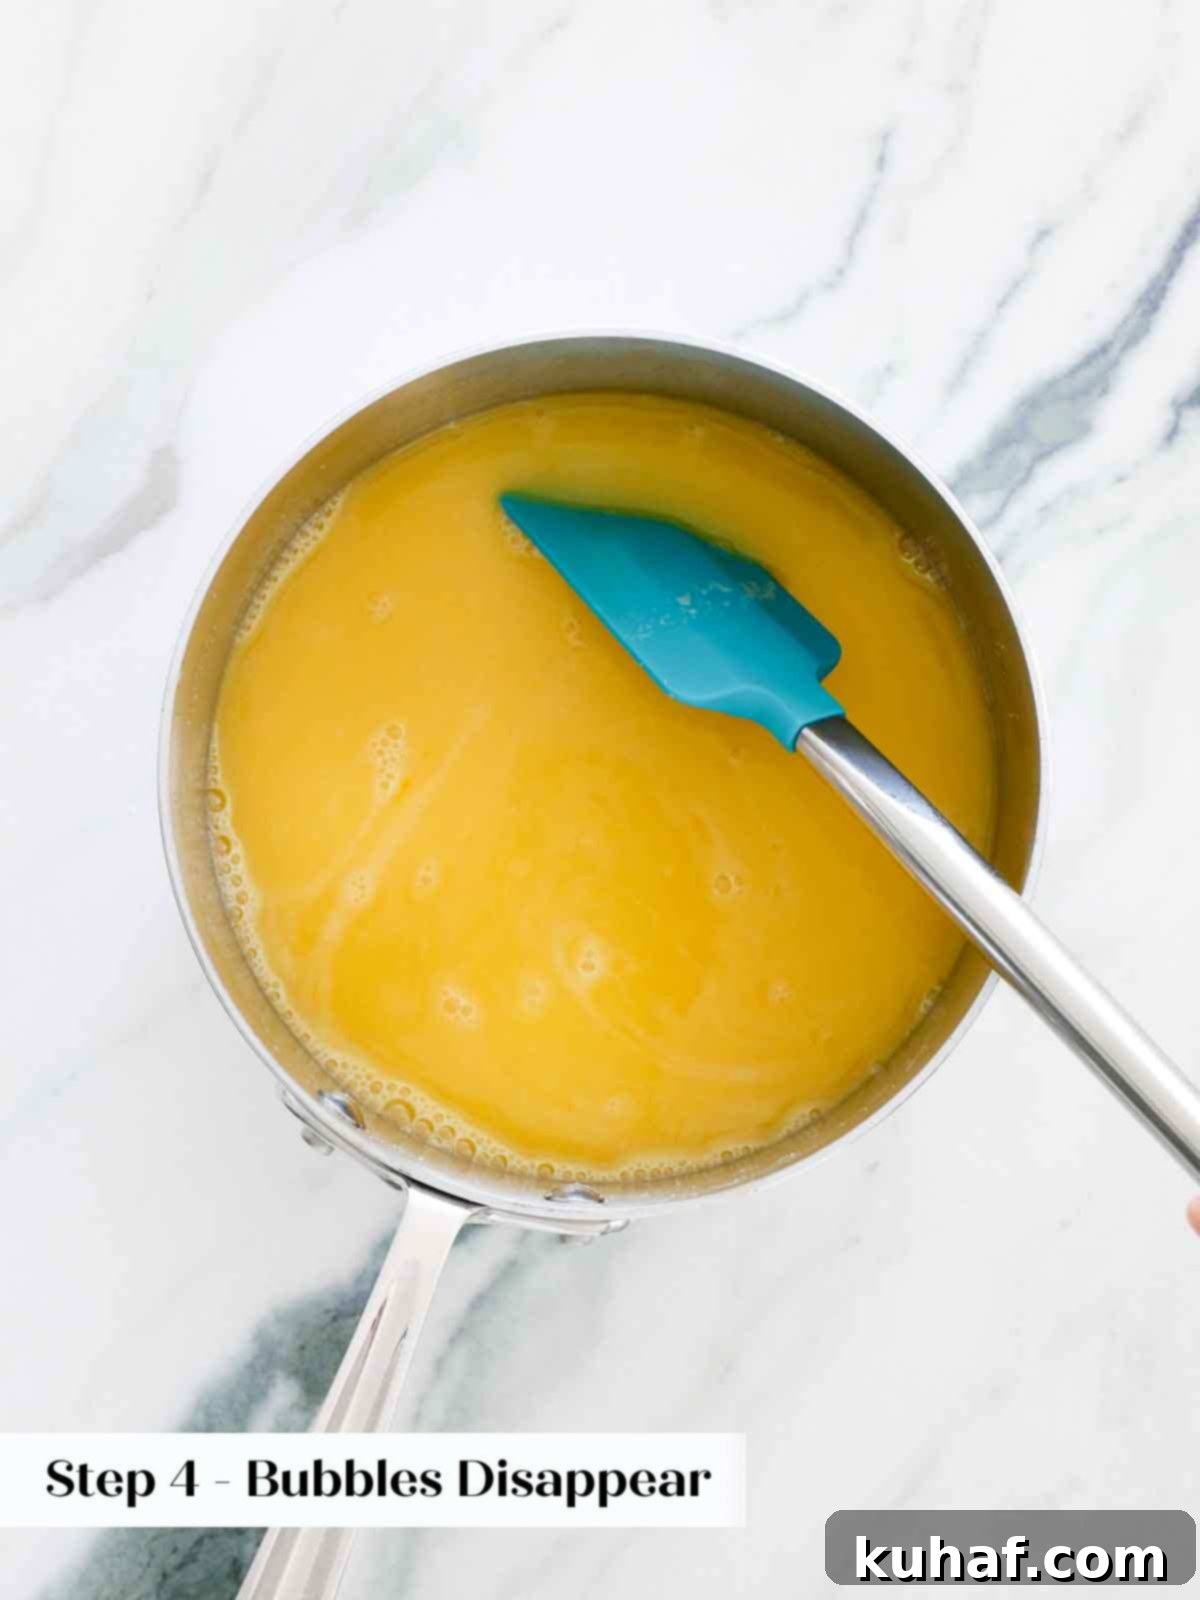
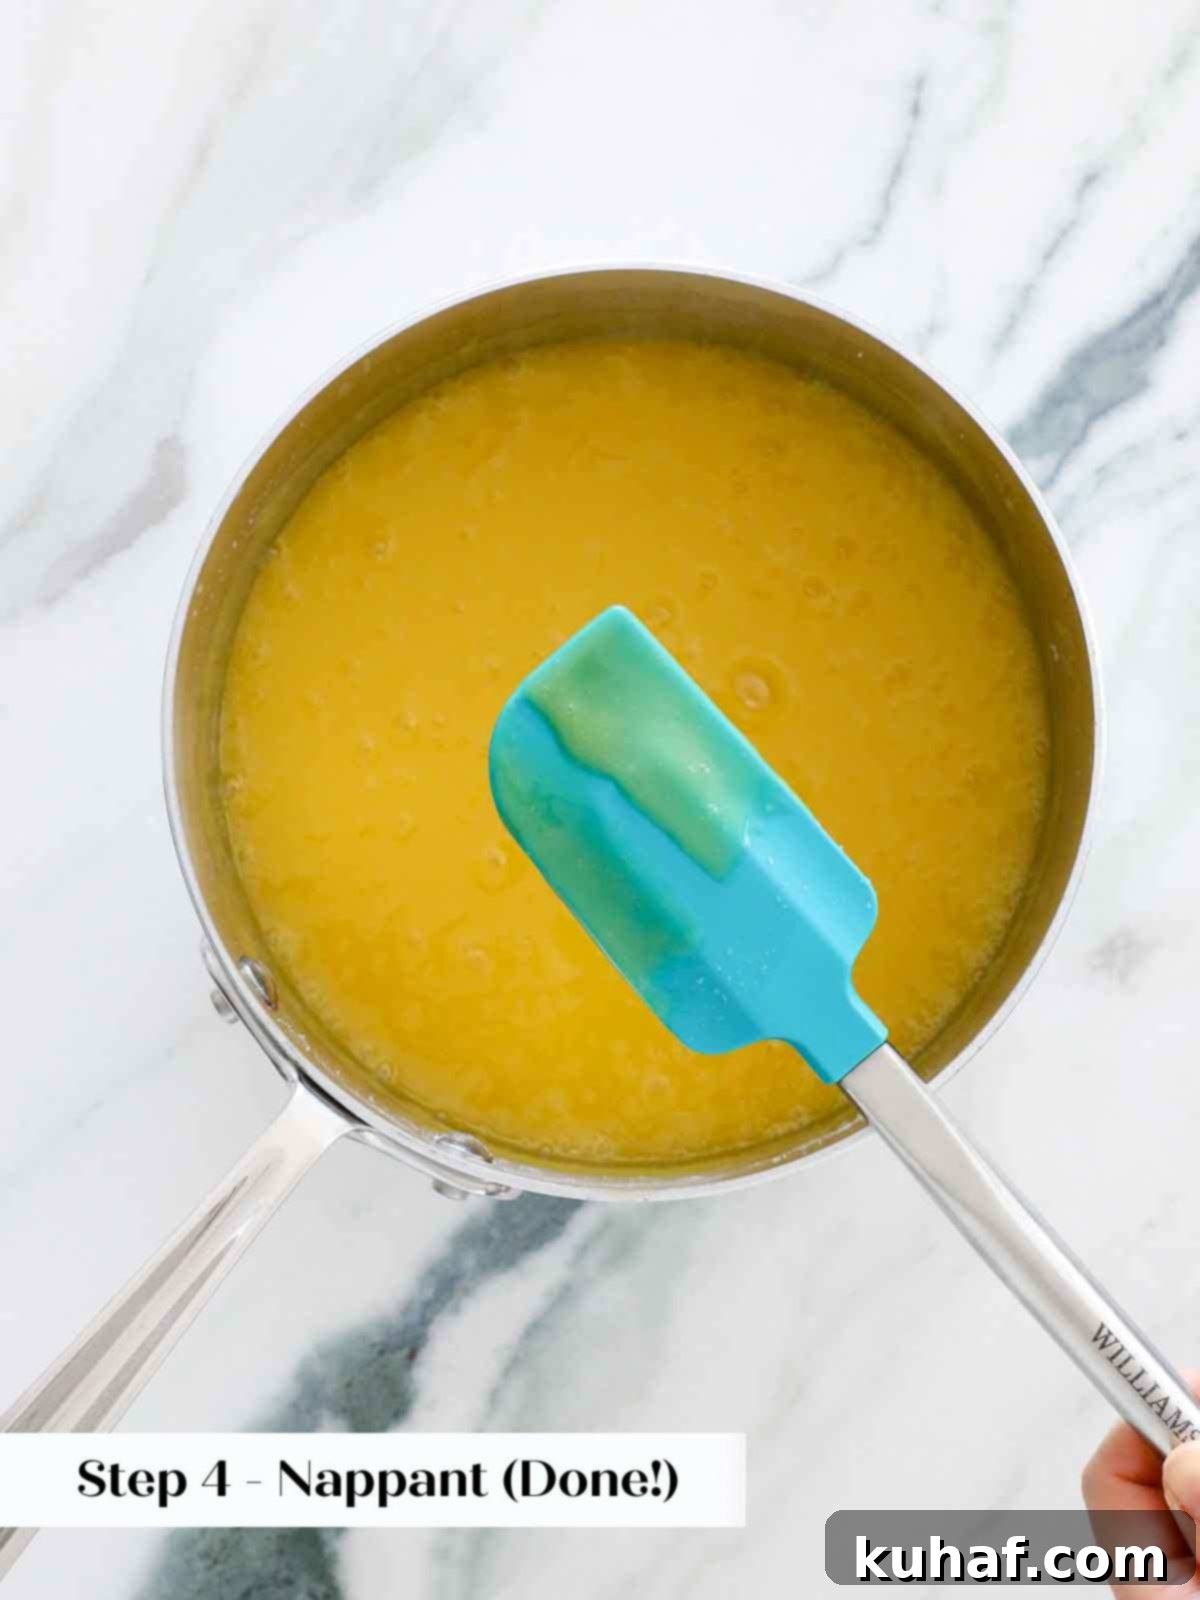
Nappant is a classic French pastry term. It describes the precise stage of a stirred custard when it has thickened sufficiently to coat the back of a spoon or spatula. When you draw a distinct line across the coated surface with your finger, the custard should hold that line cleanly, without running or merging back together. This indicates perfect consistency and doneness.
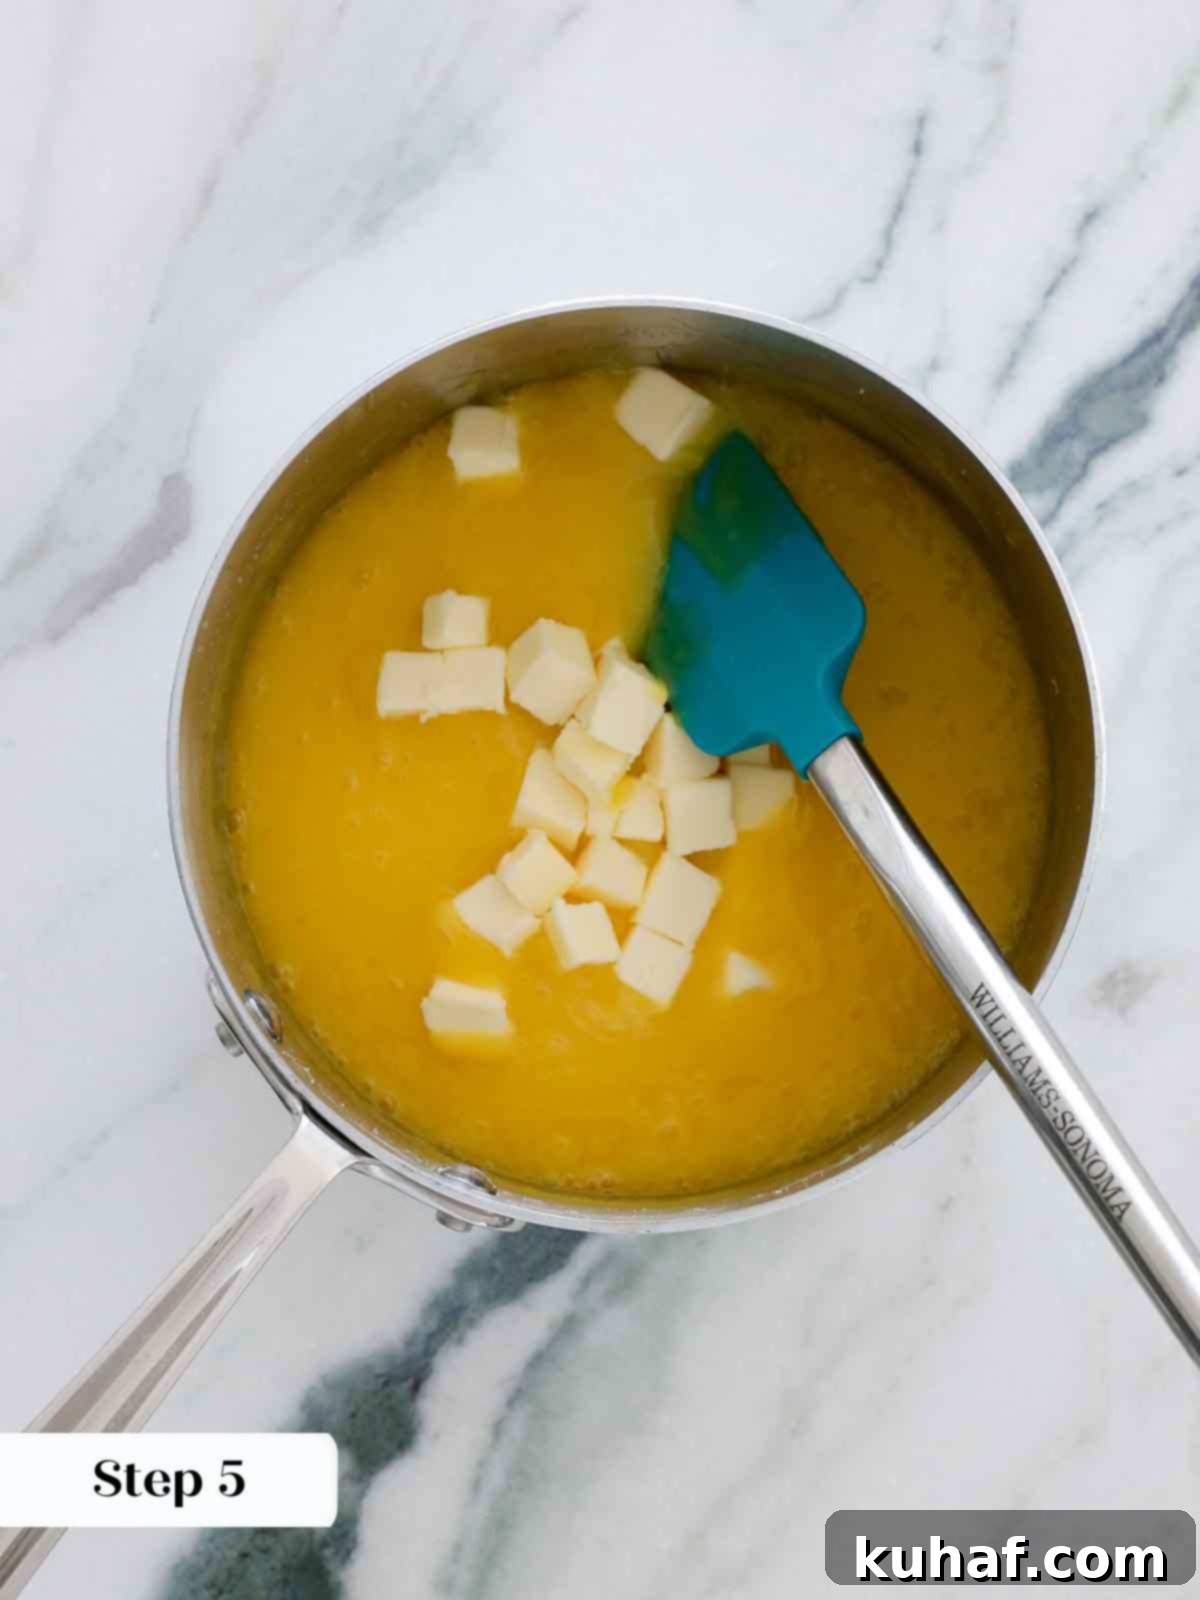
Step 5: Finish with Butter. Immediately remove the saucepan from the heat. Add the cubed unsalted butter and stir or whisk vigorously until the butter is completely melted and smoothly incorporated into the hot lemon curd. This step adds richness, a beautiful sheen, and that desirable silky mouthfeel.
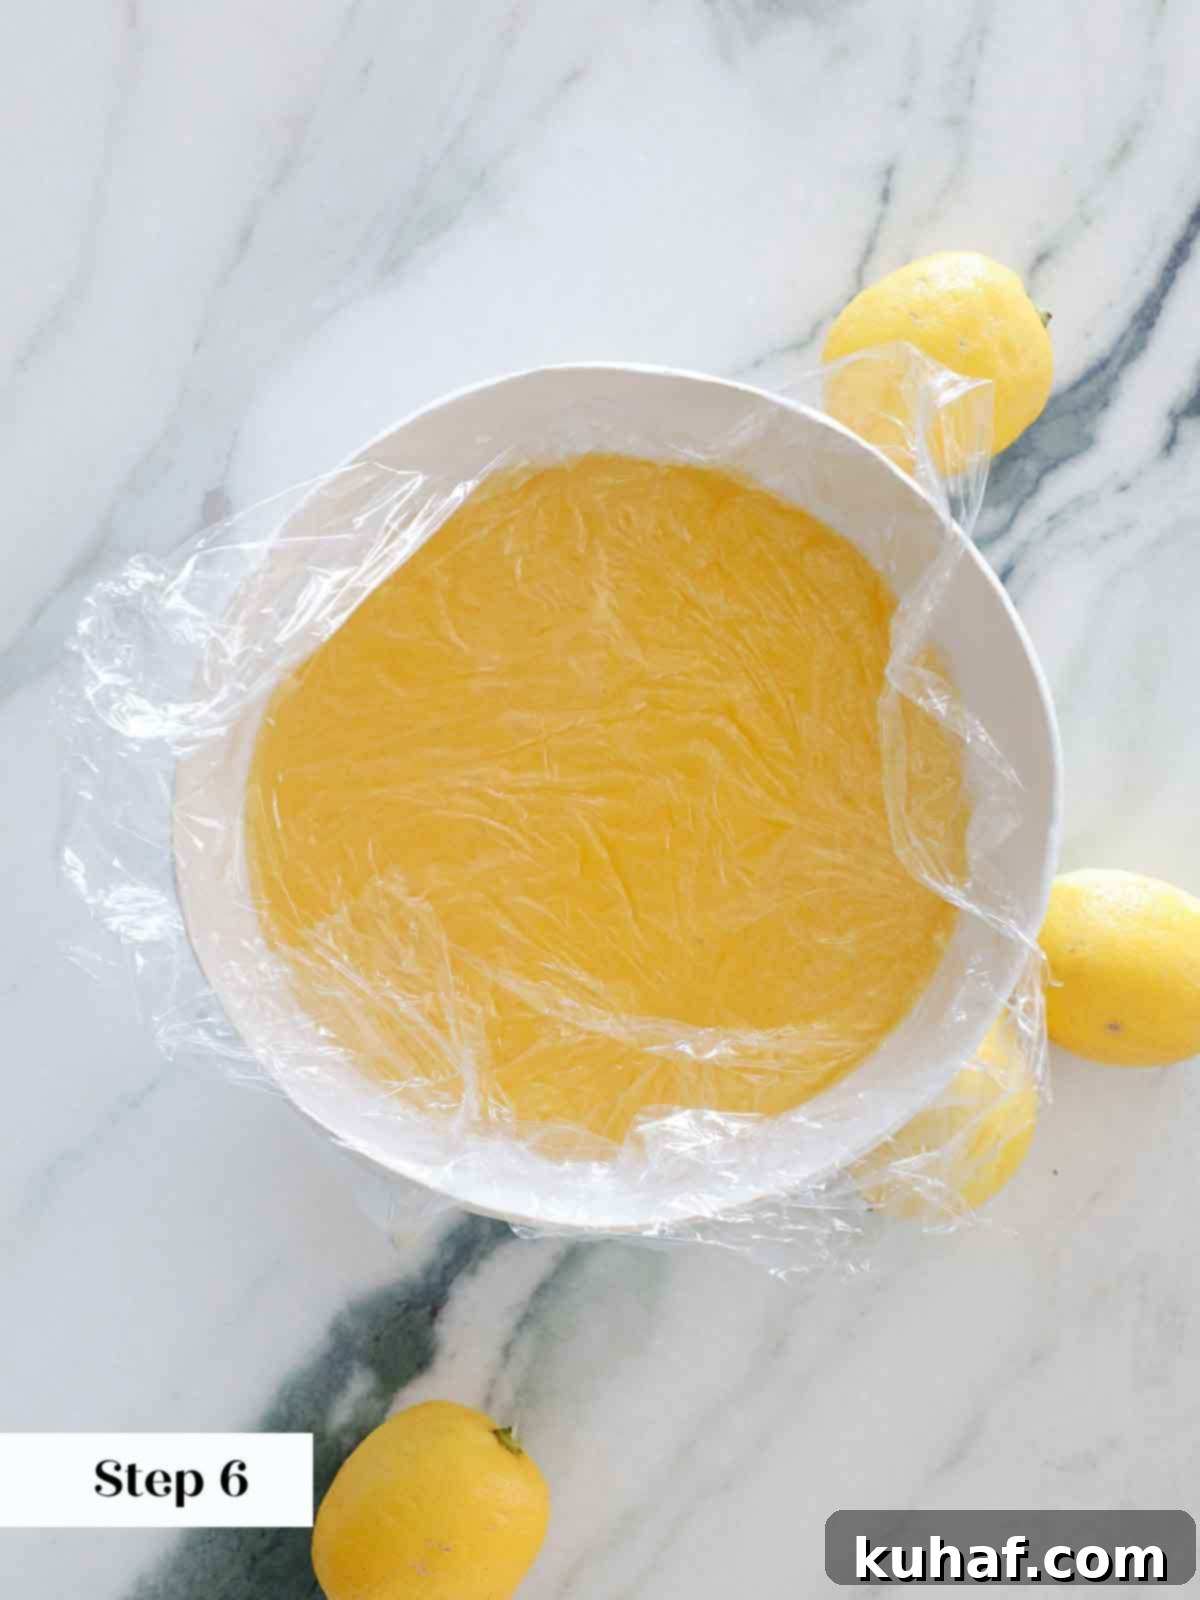
Step 6: Chill Properly. Pour the hot lemon curd into a large, clean bowl or spread it onto a plastic wrap-lined baking sheet for faster cooling. Immediately cover the surface of the curd directly with a piece of plastic wrap, pressing it down so it touches the entire surface. This prevents a “skin” from forming. Poke a few small holes in the plastic wrap to allow steam to escape. Refrigerate the lemon curd until it is thoroughly cold and set, which will take at least 30 minutes, but ideally a few hours for the best texture.
You truly don’t need to strain your lemon curd unless you unfortunately encounter some lumps. If lumps do form despite your best efforts, don’t fret! Simply pass the hot lemon curd through a fine-mesh sieve before chilling. It’s much easier to strain while it’s still warm and fluid. Trying to strain cold, thickened curd is a significantly more challenging task!
Step 7: Store for Enjoyment. Once the lemon curd is thoroughly cooled and set, transfer it to a clean mason jar or any other airtight container. It’s now ready to be stored and enjoyed!
Chef Lindsey’s Recipe Tip: Achieving a Stable Curd with Gelatin
For a lemon curd that sets beautifully soft yet firm enough to slice cleanly when cold – perfect for tart fillings, cake layers, or lemon bars – consider adding gelatin to this recipe. You can use two sheets of silver gelatin or one tablespoon (equivalent to one standard packet) of powdered gelatin. Both types of gelatin require a process called “blooming” before they can be used. To bloom, place the gelatin sheets in a bowl of cold water until softened, or sprinkle powdered gelatin over a small amount of cold water and let it sit for 5-10 minutes until it hydrates and swells. Once bloomed, gently squeeze excess water from the gelatin sheets, or simply add the hydrated powdered gelatin directly to the hot lemon curd immediately after you’ve stirred in the butter (Step 5). Stir until the gelatin is completely dissolved. This will give your lemon curd extra structure and stability.
Frequently Asked Questions About Homemade Lemon Curd
Once your homemade lemon curd has cooled completely, transfer it to a clean glass mason jar or any other airtight container. It can be safely stored in the refrigerator for up to one month, maintaining its fresh flavor and smooth texture. For longer storage, lemon curd freezes beautifully for up to three months.
Yes, lemon curd is quite freezer-friendly! For optimal results after freezing, lemon curd that has been stabilized with gelatin (as described in Chef Lindsey’s tip) tends to thaw with a better, more consistent texture, as the gelatin helps it maintain its structure. To thaw frozen lemon curd, transfer it to the refrigerator overnight. If you need to rewarm it, or if it separates slightly after thawing, place the curd in a heatproof bowl set over a pot of simmering water (a double boiler). Stir frequently until it’s evenly melted and smooth. For curd made without gelatin, be cautious not to overheat it; warm it just enough to melt and then whisk gently until it recombines into a smooth consistency.
Absolutely! This recipe scales up very well. I have personally made this lemon curd in considerable 12-quart batches in a professional kitchen setting. Your only limiting factors will be the size of your pot and, of course, your patience during the stirring process! Ensure you have a wide, heavy-bottomed pot for even heating when making larger quantities.
If your lemon curd isn’t thickening, it’s likely due to not reaching a high enough temperature. Eggs need to reach a certain heat to coagulate and thicken the custard. Continue cooking and stirring constantly over medium-low heat. Ensure you are scraping the bottom and sides of the pot. Remember to look for the “nappant” stage – where it coats the back of a spoon and holds a line drawn with your finger. If after an extended time it’s still too thin, you can try adding a small amount of cornstarch or arrowroot powder (mixed with a tablespoon of cold water) to the hot curd and cook for another minute, whisking continuously, to help it thicken.
Yes, you absolutely can use Meyer lemons! Meyer lemons are a hybrid fruit, typically sweeter and less acidic than regular lemons, with a distinctly floral aroma. Using them will result in a slightly milder, sweeter curd with a delicate fragrance. You might find you need to adjust the sugar downwards slightly depending on your preference for tartness, but otherwise, the process remains the same and the result will be wonderfully unique.
If you tried this recipe and loved it, please leave a 🌟 star rating and let me know how it goes in the comments below. I love hearing from you; your comments make my day!

Easy Lemon Curd Recipe
Chef Lindsey
20
20
30
1 10
15 people
Comment
Print Recipe
Ingredients
- 4 large eggs
- 5 egg yolks
- 1 ⅓ cups granulated sugar
- 1 ¼ cup fresh lemon juice from about 6 large lemons
- ¼ teaspoon kosher salt
- 7 tablespoons unsalted butter cubed
Instructions
-
In a large, heavy-bottomed saucepan, whisk together the whole eggs and extra egg yolks until completely smooth and homogenous.
-
Whisk in the granulated sugar and kosher salt very well until combined.
-
Slowly, and while continuously whisking, pour in the fresh lemon juice.
-
Cook the mixture over medium-low heat, stirring constantly with a spatula, making sure to scrape the bottom and corners of the pot. Continue until the curd thickens to the “nappant” stage. This is when the custard coats the back of a spoon (or spatula) and holds a clean line drawn across it with your finger. If lumps begin to form, switch to a whisk briefly to smooth them out, then revert to the spatula.
-
Remove the saucepan from the heat immediately. Add the cubed unsalted butter and stir it in until it’s completely melted and fully incorporated, creating a silky smooth curd.
-
Pour the hot lemon curd into a clean bowl or a plastic wrap-lined baking sheet. Cover the surface of the curd directly with plastic wrap (to prevent a skin from forming), poke a few small holes, and refrigerate until thoroughly cold and set.
Video
Notes
Yield – Approximately 3 cups of lemon curd.
Flavor Tips – Always use fresh lemon juice for the most vibrant and authentic lemon flavor. Avoid bottled juice if possible.
Variations – Feel free to experiment with other citrus juices like lime, key lime, or grapefruit juice. Keep in mind that these might result in a less appealing color once cooked, so you might consider adding a tiny drop of food coloring if presentation is key. Passionfruit puree is another excellent substitution and yields a beautiful, vibrant yellow color naturally.
Storage – Store cooled lemon curd in a glass mason jar or another airtight container in the refrigerator for up to 1 month, or freeze for up to 3 months.
Nutrition
Carbohydrates: 40g |
Protein: 5g |
Fat: 15g |
Saturated Fat: 8g |
Polyunsaturated Fat: 1g |
Monounsaturated Fat: 5g |
Trans Fat: 1g |
Cholesterol: 230mg |
Sodium: 190mg |
Potassium: 76mg |
Fiber: 1g |
Sugar: 38g |
Vitamin A: 595IU |
Vitamin C: 11mg |
Calcium: 32mg |
Iron: 1mg
Condiments, Dessert Component
British, European
308
Before You Go: Explore More Delicious Recipes
I sincerely hope you’ve enjoyed mastering this professional chef-tested recipe for perfect homemade lemon curd. Its vibrant flavor and silky texture are truly a delight! Don’t stop your culinary journey here. You will also love exploring our other custard recipes for more creamy indulgences, or diving deeper into my collection of lemon recipes for even more citrus-infused inspiration. For a truly unforgettable experience, try serving your freshly made lemon curd with a slice of my exquisite lemon pound cake, perhaps topped with a delicate strawberry icing. Happy baking!
