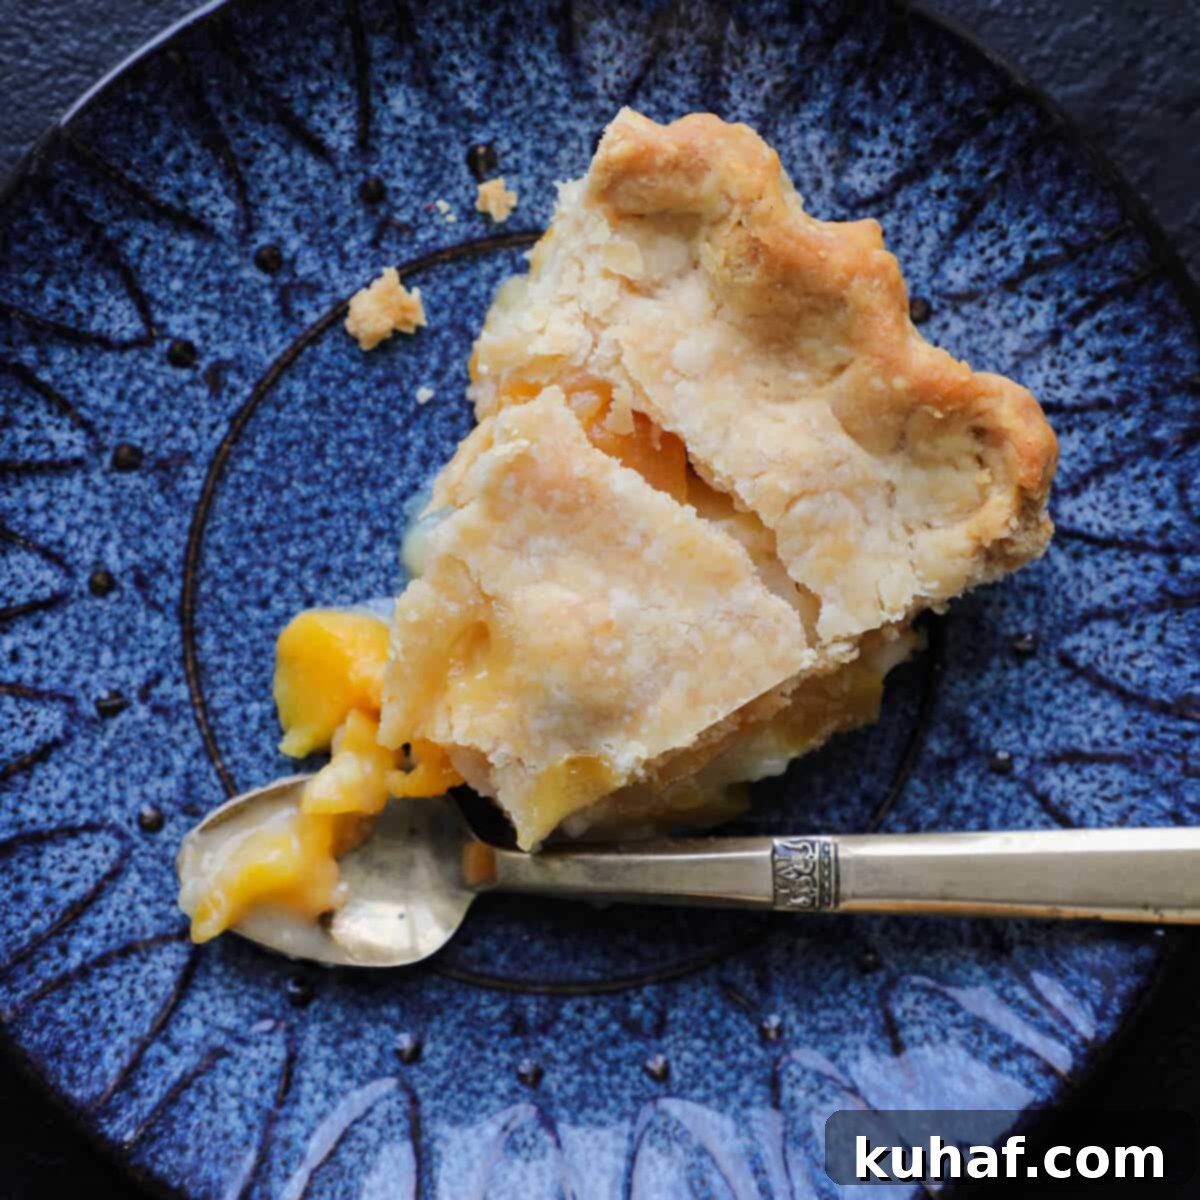
Classic Old-Fashioned Peach Pie: A Simple 5-Ingredient Recipe for Summer Perfection
Embrace the warmth of summer with this vibrant and utterly delicious peach pie recipe. Crafted for simplicity, it features just five core ingredients, allowing the bright, natural sweetness of ripe peaches to truly shine. The luscious peach filling is lovingly baked within an easy-to-make, incredibly tender Crisco pie crust, promising a slice of pure comfort with every bite. This isn’t just a dessert; it’s a celebration of seasonal fruit, made accessible for every home baker.
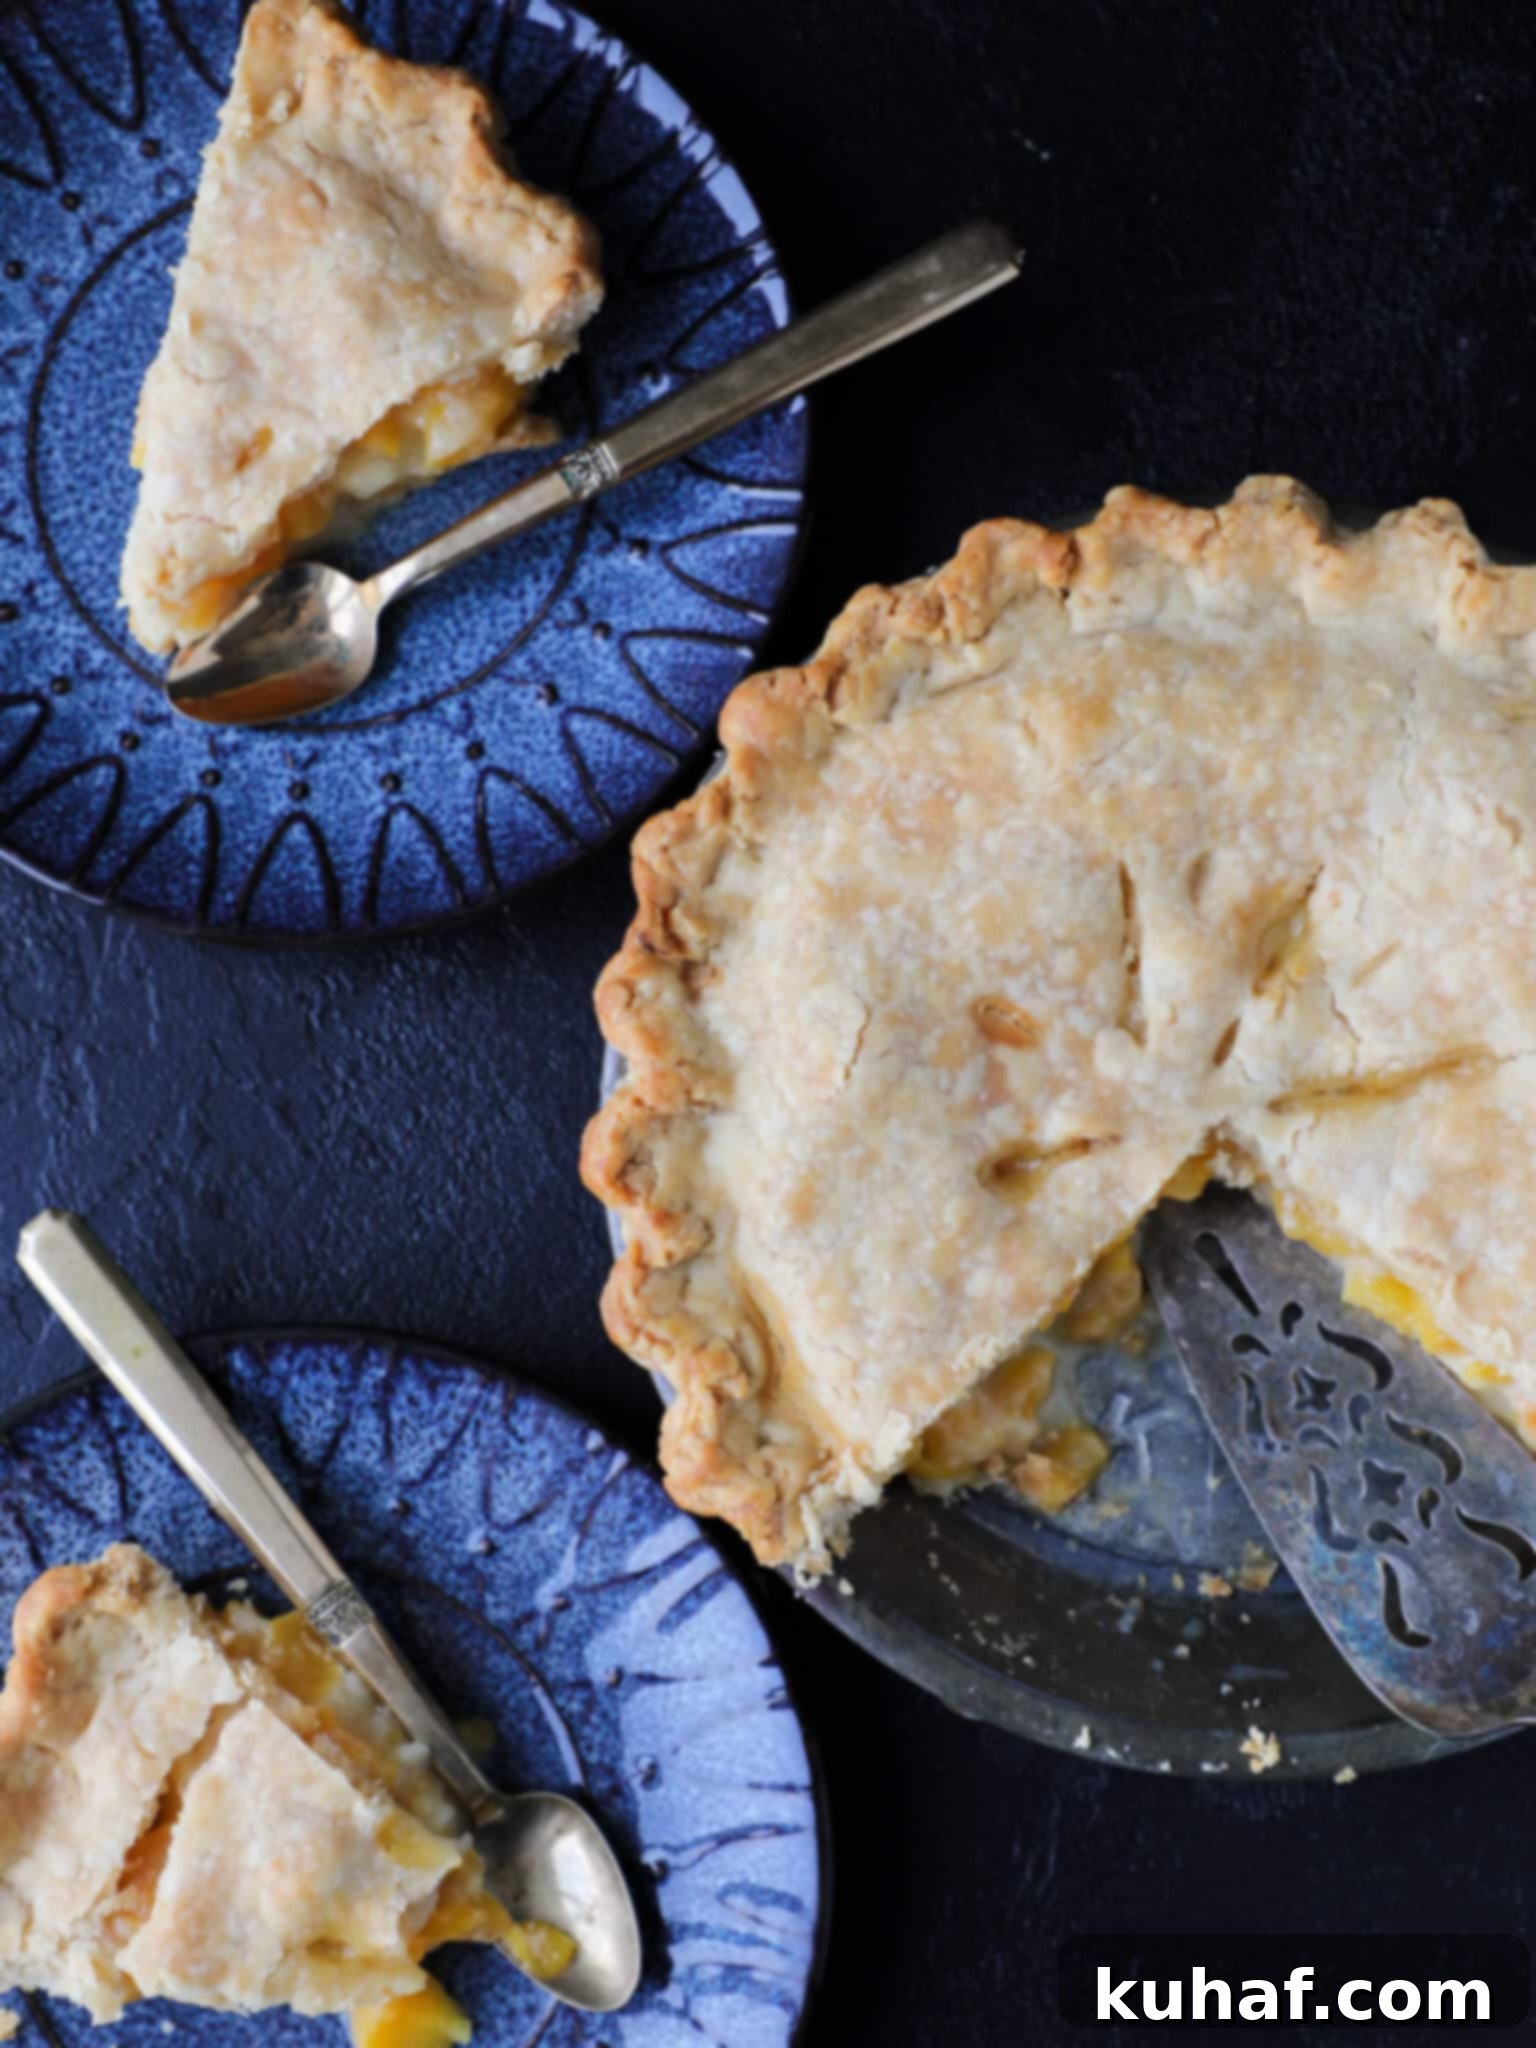
The beauty of this old-fashioned peach pie lies in its straightforward preparation. With only five essential ingredients, you can whip up a comforting classic that tastes like it came straight from your grandma’s kitchen. An authentic, simple peach filling paired with a wonderfully flaky all-shortening crust creates a dessert that’s both nostalgic and incredibly satisfying. For the ultimate summer indulgence, complete your slice with a generous scoop of creamy Vanilla Ice Cream, a refreshing scoop of peach ice cream, or a delicate drizzle of Vanilla Bean Anglaise.
While this classic peach pie traditionally features an all-shortening crust, known for its unparalleled tenderness and flakiness, the recipe is also adaptable to your preferences. Should you desire a different texture or flavor profile, consider this fool-proof vodka crust for an extra flaky result, my rich all-butter crust for a richer flavor, or an Old Fashioned Almond Pie Crust for a unique nutty essence. Each option offers a sensational base for the vibrant peach filling.
Table of Contents
- Why You’ll Adore This Homemade Peach Pie Recipe
- Professional Tips for Baking the Best Peach Pie
- Choosing the Best Peaches for Your Pie
- Key Ingredients for Your Peach Pie
- Delicious Variations & Substitutions
- How to Effortlessly Peel Peaches for Pie
- Step-by-Step Guide: How to Make Peach Pie
- Chef Lindsey’s Recipe Tip
- Frequently Asked Questions About Peach Pie
- Peach Pie Recipe Card
- Before You Go
Why You’ll Adore This Homemade Peach Pie Recipe:
There are countless reasons to fall in love with this homemade peach pie, beyond its delightful flavor. This recipe stands out for its unique approach and consistently satisfying results:
- Achieve a Perfectly Thick Filling with an Unconventional Method. Unlike many recipes that rely solely on cornstarch or tapioca, this peach pie employs an old-fashioned technique. Eggs, flour, and sugar are whisked together and then gently poured over the diced peaches, creating a rich, velvety thick filling. This method ensures your pie isn’t watery, delivering a consistently luxurious texture, much like our beloved strawberry rhubarb pie!
- Remarkably Simple to Prepare, Using Only 5 Ingredients. Forget complicated steps and long ingredient lists. This recipe truly is super simple, requiring just five fundamental ingredients. You’ll layer your perfectly prepared peaches into a pie dish lined with crust, pour the unique egg-sugar-flour mixture over them – no extra mixing needed for the filling – and then bake. It’s an effortless path to a stunning dessert.
- Experience the Unrivaled Tenderness of a Shortening Crust. The use of a Crisco pie crust is what elevates this traditional peach pie to an extraordinary level. Shortening creates a wonderfully tender, flaky crust that practically melts in your mouth, offering a texture that many believe surpasses any other pie crust you’ve tasted before.
- Versatile for Both Fresh and Frozen Fruit. Whether you have a bounty of summer’s freshest peaches or rely on frozen fruit during the off-season, this recipe adapts beautifully. If using frozen peaches, I recommend thawing them completely before baking to ensure optimal texture and prevent excess moisture in your pie. This flexibility makes it a year-round favorite.
Professional Tips for Baking the Best Peach Pie:
Even simple recipes benefit from a few expert insights to ensure perfect results every time. Here are some professional tips to help you achieve the best peach pie:
- Ensure the Filling Boils Vigorously in the Center. For that ideal thick filling, it’s crucial to give the pie enough time in the oven for the center to reach a rolling boil. This visible bubbling signifies that the flour has properly cooked out, eliminating any raw flour taste, and most importantly, ensures the eggs in the unique filling method are thoroughly cooked, providing a stable, rich texture.
- Tent the Crust to Prevent Over-Browning. Pie crusts often bake faster than the filling needs to cook through, leading to overly dark or burnt edges. To avoid this, “tent” the crust by loosely wrapping three pieces of aluminum foil around the edges of the pie dish. This simple yet effective method shields the crust, allowing the filling ample time to boil and thicken without the edges over-browning. You can apply this partway through baking once the crust is golden to your liking.
- Choose the Right Baking Dish: Metal or Glass for a Crispy Bottom. The material of your pie dish significantly impacts the crust. For a truly crisp bottom crust that holds its shape beautifully when sliced, a metal baking dish is your best friend. Metal distributes heat more efficiently and evenly than ceramic. While ceramic dishes are undeniably beautiful, they often don’t conduct heat as well, which can result in a slightly less crispy bottom. Using metal ensures the filling and crust cook at a more consistent rate.
Choosing the Best Peaches for Your Pie:
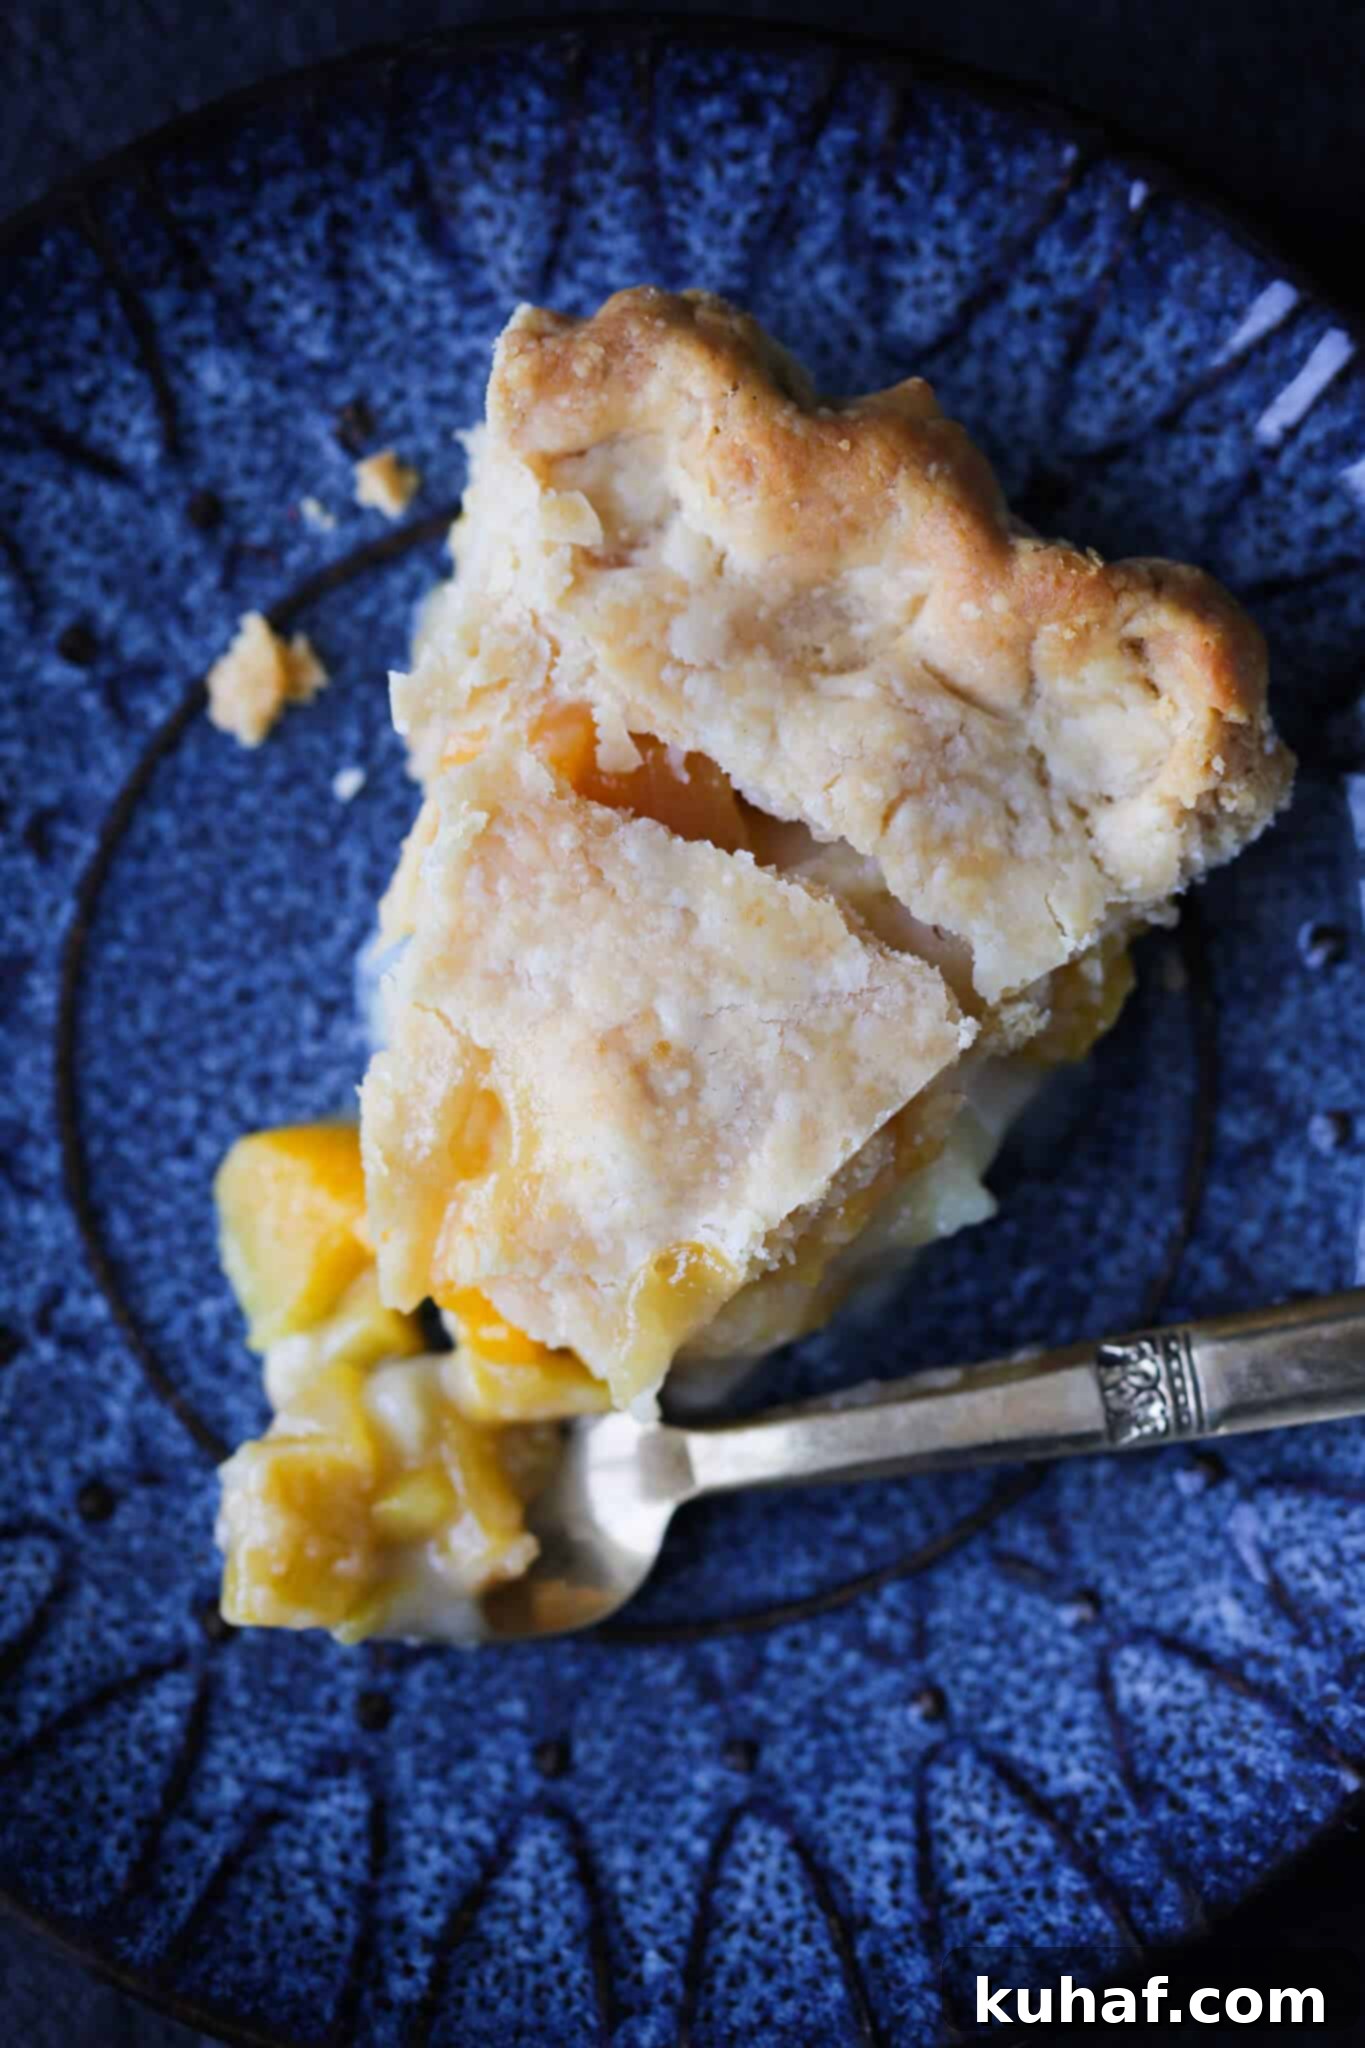
The secret to an unforgettable fresh peach pie lies almost entirely in the quality of your peaches. Truly ripe summer peaches will infuse your pie with incredible flavor, whereas bland peaches will yield a disappointing result. Don’t shy away from slightly bruised, ripe peaches; these are often the most flavorful and make for exceptional pies. Nothing quite compares to peaches ripened directly on the tree, but if you need to accelerate the ripening process at home, simply place them in a brown paper bag for a few days, or store them near bananas, which release ethylene gas that aids ripening.
When fresh peaches are out of season, you can still enjoy this delicious pie by opting for frozen or canned peaches. If using frozen peaches, always thaw them thoroughly before incorporating them into the recipe. For canned peaches, it is crucial to select those packed in water, not syrup, to avoid an overly sweet pie and to maintain control over the sugar content of your filling. Drain them well before use.
**Freestone vs. Clingstone:** For ease of preparation, freestone peaches are generally preferred for baking, as their flesh easily separates from the pit. Clingstone peaches, where the flesh clings tightly to the pit, can be more challenging to work with, but are often the first to appear early in the season and can be just as flavorful.
Key Ingredients for Your Peach Pie:
Each ingredient in this five-ingredient peach pie plays a vital role in achieving its comforting, classic flavor and perfect texture. Here’s a closer look at what you’ll need and why:
- Fresh Peaches: The star of the show! Source the highest quality, ripest peaches you can find. Their flavor will make all the difference in this simple recipe. As mentioned, if fresh peaches are unavailable, water-packed canned or thawed frozen peaches are excellent alternatives. Save those dried peaches for other treats, like decorating a homemade peach cake.
- Sugar: Granulated sugar provides essential sweetness to balance the tartness of the peaches and enhances their natural flavor. Beyond taste, sugar is crucial for the filling’s texture as it absorbs moisture during baking, contributing to a thicker, more cohesive fruit filling.
- Unsalted Butter: I always recommend using unsalted butter for baking. This allows you to precisely control the amount of salt in your recipe, as salt content varies between butter brands. A few tablespoons of melted butter add a lovely richness and depth to the peach filling, making it even more decadent.
- Egg: This recipe utilizes a unique, old-fashioned technique, similar to our strawberry rhubarb pie. The egg is beaten with sugar and flour and poured over the fruit, acting as a binding and thickening agent that results in an exceptionally thick, custard-like filling.
- All-Purpose Flour: All-purpose flour serves as the primary thickener for the pie filling, working in conjunction with the egg and sugar. While effective, it can make the filling appear slightly cloudy compared to cornstarch or tapioca. For those interested in exploring alternatives, check out my blueberry pie recipe for insights on using tapioca for a clearer, brighter fruit filling.
- Cold Water: Absolutely essential for the pie crust! All the classic rules for making a tender, flaky pie crust apply here. The water must be ice cold to prevent the shortening from melting too early, ensuring pockets of fat remain to create flakiness. The exact amount of water can vary slightly, making it one of the trickiest but most crucial parts of perfect pie crust.
- Frozen Shortening: For an exceptionally flaky and tender crust, I always recommend freezing your vegetable shortening before using it. Even when frozen, shortening remains pliable, making it incredibly easy to cut into the flour mixture, which is key to a superior crust texture.
- Kosher Salt: A pinch of kosher salt in both the crust and the filling enhances all the flavors, balancing the sweetness and adding depth.
For precise measurements and detailed quantities, please refer to the comprehensive recipe card below.
Delicious Variations & Substitutions:
While this old-fashioned peach pie recipe is perfect as is, it’s also wonderfully versatile, allowing you to customize it to your taste or dietary needs. Here are some exciting variations and substitutions to try:
- Elevate with a Streusel Topping: For an even easier and deliciously crumbly peach pie, forgo the top crust and instead use my delightful brown sugar streusel topping. Simply crumble it generously over the peach filling before baking as per the instructions. The buttery, sweet streusel adds a fantastic textural contrast.
- Make it Vegetarian & Vegan-Friendly: Adapting this pie for vegetarian and vegan diets is simple. You can easily omit the egg from the filling and replace the butter with additional shortening. When making this adjustment, mix the sugar directly with the flour and shortening for the filling before pouring it over the peaches in the pie crust. This ensures the filling still thickens appropriately.
- Achieve an Extra Thick Fruit Pie: If you prefer your fruit pies to be incredibly dense and thick, pre-cooking your filling is the way to go. This involves an extra step and adds time to the preparation, as the pre-cooked filling also needs to cool completely before being added to the pastry. While 100% necessary for recipes like mile-high apple pie filling, I personally enjoy a touch of natural peach juice in my pie, so it’s optional for this recipe.
- Explore Cobbler or Crumble Styles: If you’re in the mood for a different presentation, the delicious peach filling lends itself beautifully to other forms. Try making an old-fashioned peach cobbler, or draw inspiration from a combination of my mixed berry crumble and blackberry peach pie for a delightful crumble dessert.
- Add a Citrus or Spice Kick: A squeeze of fresh lemon juice in the filling can brighten the peach flavor and add a lovely citrus note. For a warm, spiced pie, consider adding a pinch of cinnamon, nutmeg, a dash of apple pie spice, or even a hint of Chinese 5 Spice for an unexpected twist. I’m currently developing an exciting ginger peach version for my bakery, Les Filles Bakery, so stay tuned for that unique flavor!
How to Effortlessly Peel Peaches for Pie:
For many, the most challenging step in making an old-fashioned peach pie is peeling the peaches. While some prefer to leave the skin on, the fuzzy texture can be unpleasant for others, especially in a baked pie. Fortunately, there are several effective methods for peeling peaches, depending on their ripeness and your preference. Here are three tried-and-true techniques:
- The Blanching Method (Best for Ripe, Firm Peaches): This is arguably the most common and effective method. Start by bringing a pot of water to a rolling boil and prepare an ice bath (a bowl of ice water) nearby. Carefully make a small “X” incision at the bottom of each peach. Gently lower the peaches into the boiling water for 30-60 seconds, or until you see the skin start to wrinkle or loosen around the “X.” Immediately transfer them to the ice bath to stop the cooking process. Once cooled, the skin should slip off effortlessly with your fingers or a small paring knife.
- The Peeler Method (Best for Slightly Firmer Peaches): If your peaches are a bit firmer and don’t quite yield to the blanching method as easily, a vegetable peeler can be your best friend. First, thoroughly wash your peaches and gently rub off any excess fuzz. Then, using a sharp peeler (I find a Y-peeler particularly efficient), carefully peel the skin, working from top to bottom. This method requires a steady hand but avoids any cooking.
- The By Hand Method (Best for Almost Overripe Peaches): This method works beautifully for very ripe, almost overripe peaches. Similar to blanching, make a small “X” incision on the peach skin. For exceptionally ripe peaches, the skin might already be somewhat loose, allowing you to simply peel it away by hand, starting from the “X” and working your way around. If the peaches are only slightly firmer, you might need a little assistance from your Y-peeler to get started.
For a visual guide and more detailed instructions on each of these techniques, you can watch my video on how to peel peaches three ways. Mastering this step ensures a smooth, delightful texture in your finished peach pie.
Step-by-Step Guide: How to Make Peach Pie
Follow these detailed instructions to create a perfect old-fashioned peach pie every single time. For precise measurements of all ingredients, please refer to the full recipe card located below this section.
Part 1: Preparing and Rolling the Pie Dough
Step 1: On a lightly floured surface, carefully roll out both the top and bottom pie crusts to an even thickness of approximately ¼ inch. If you notice the dough cracking excessively, it’s likely a little too cold. Allow it to sit at room temperature for 5-8 minutes to soften slightly, then try rolling again. If you opt for an all-butter pie crust or a vodka pie crust, you can roll them a bit thinner, to about 1/8th inch, for a more delicate result.
When working with any homemade pie dough, remember that speed and gentleness are key. The goal is to keep your pie crust as cold as possible and to avoid over-handling it, which can develop the gluten too much and result in a tough crust rather than a tender, flaky one.
Part 2: Crafting the Filling & Assembling the Pie
Step 2: Begin by preheating your oven to 350°F (175°C). This ensures the oven is at the correct temperature when the pie is ready to bake, leading to even cooking.
Step 3: Prepare your peaches by peeling and chopping them into bite-sized pieces. Once prepared, arrange the chopped peaches evenly into the bottom pie crust, which should already be lining your 9-inch pie plate. Distribute them gently to form an even layer.
Unlike apple pie, where you might mound the fruit high, it’s important not to over-mound the peach pie filling. Peaches won’t cook down as much as apples, and you want to ensure all the fruit is fully submerged and cooks evenly within the unique sugar and egg mixture for a consistently thick filling.
Step 4: In a separate bowl, whisk together the granulated sugar, melted butter, all-purpose flour, and the egg until the mixture is completely smooth and lump-free. Once combined, carefully pour this prepared mixture evenly over the top of the peaches in the pie crust. **It’s crucial not to stir the peaches once the filling is poured over them,** as the flavors and textures will naturally meld and develop beautifully during the baking process.
Step 5: Gently place the second rolled-out pie crust over the filling. Using a sharp knife, cut several vents into the top crust to allow steam to escape during baking, preventing a soggy crust and ensuring even cooking. Alternatively, for a more decorative touch, you can create a beautiful lattice top crust using strips of dough. For detailed instructions on this technique, refer to my how to make a lattice top crust tutorial. Once the top crust is in place, firmly crimp the edges of both the top and bottom crusts together around the rim of the pie pan to seal the pie.
For an even more appealing presentation and a gorgeously golden-brown crust, consider brushing the top crust with a little heavy cream or an egg wash (a beaten egg mixed with a tablespoon of water or milk). Then, sprinkle generously with turbinado sugar or coarse sugar for a delightful sparkle and added crunch.
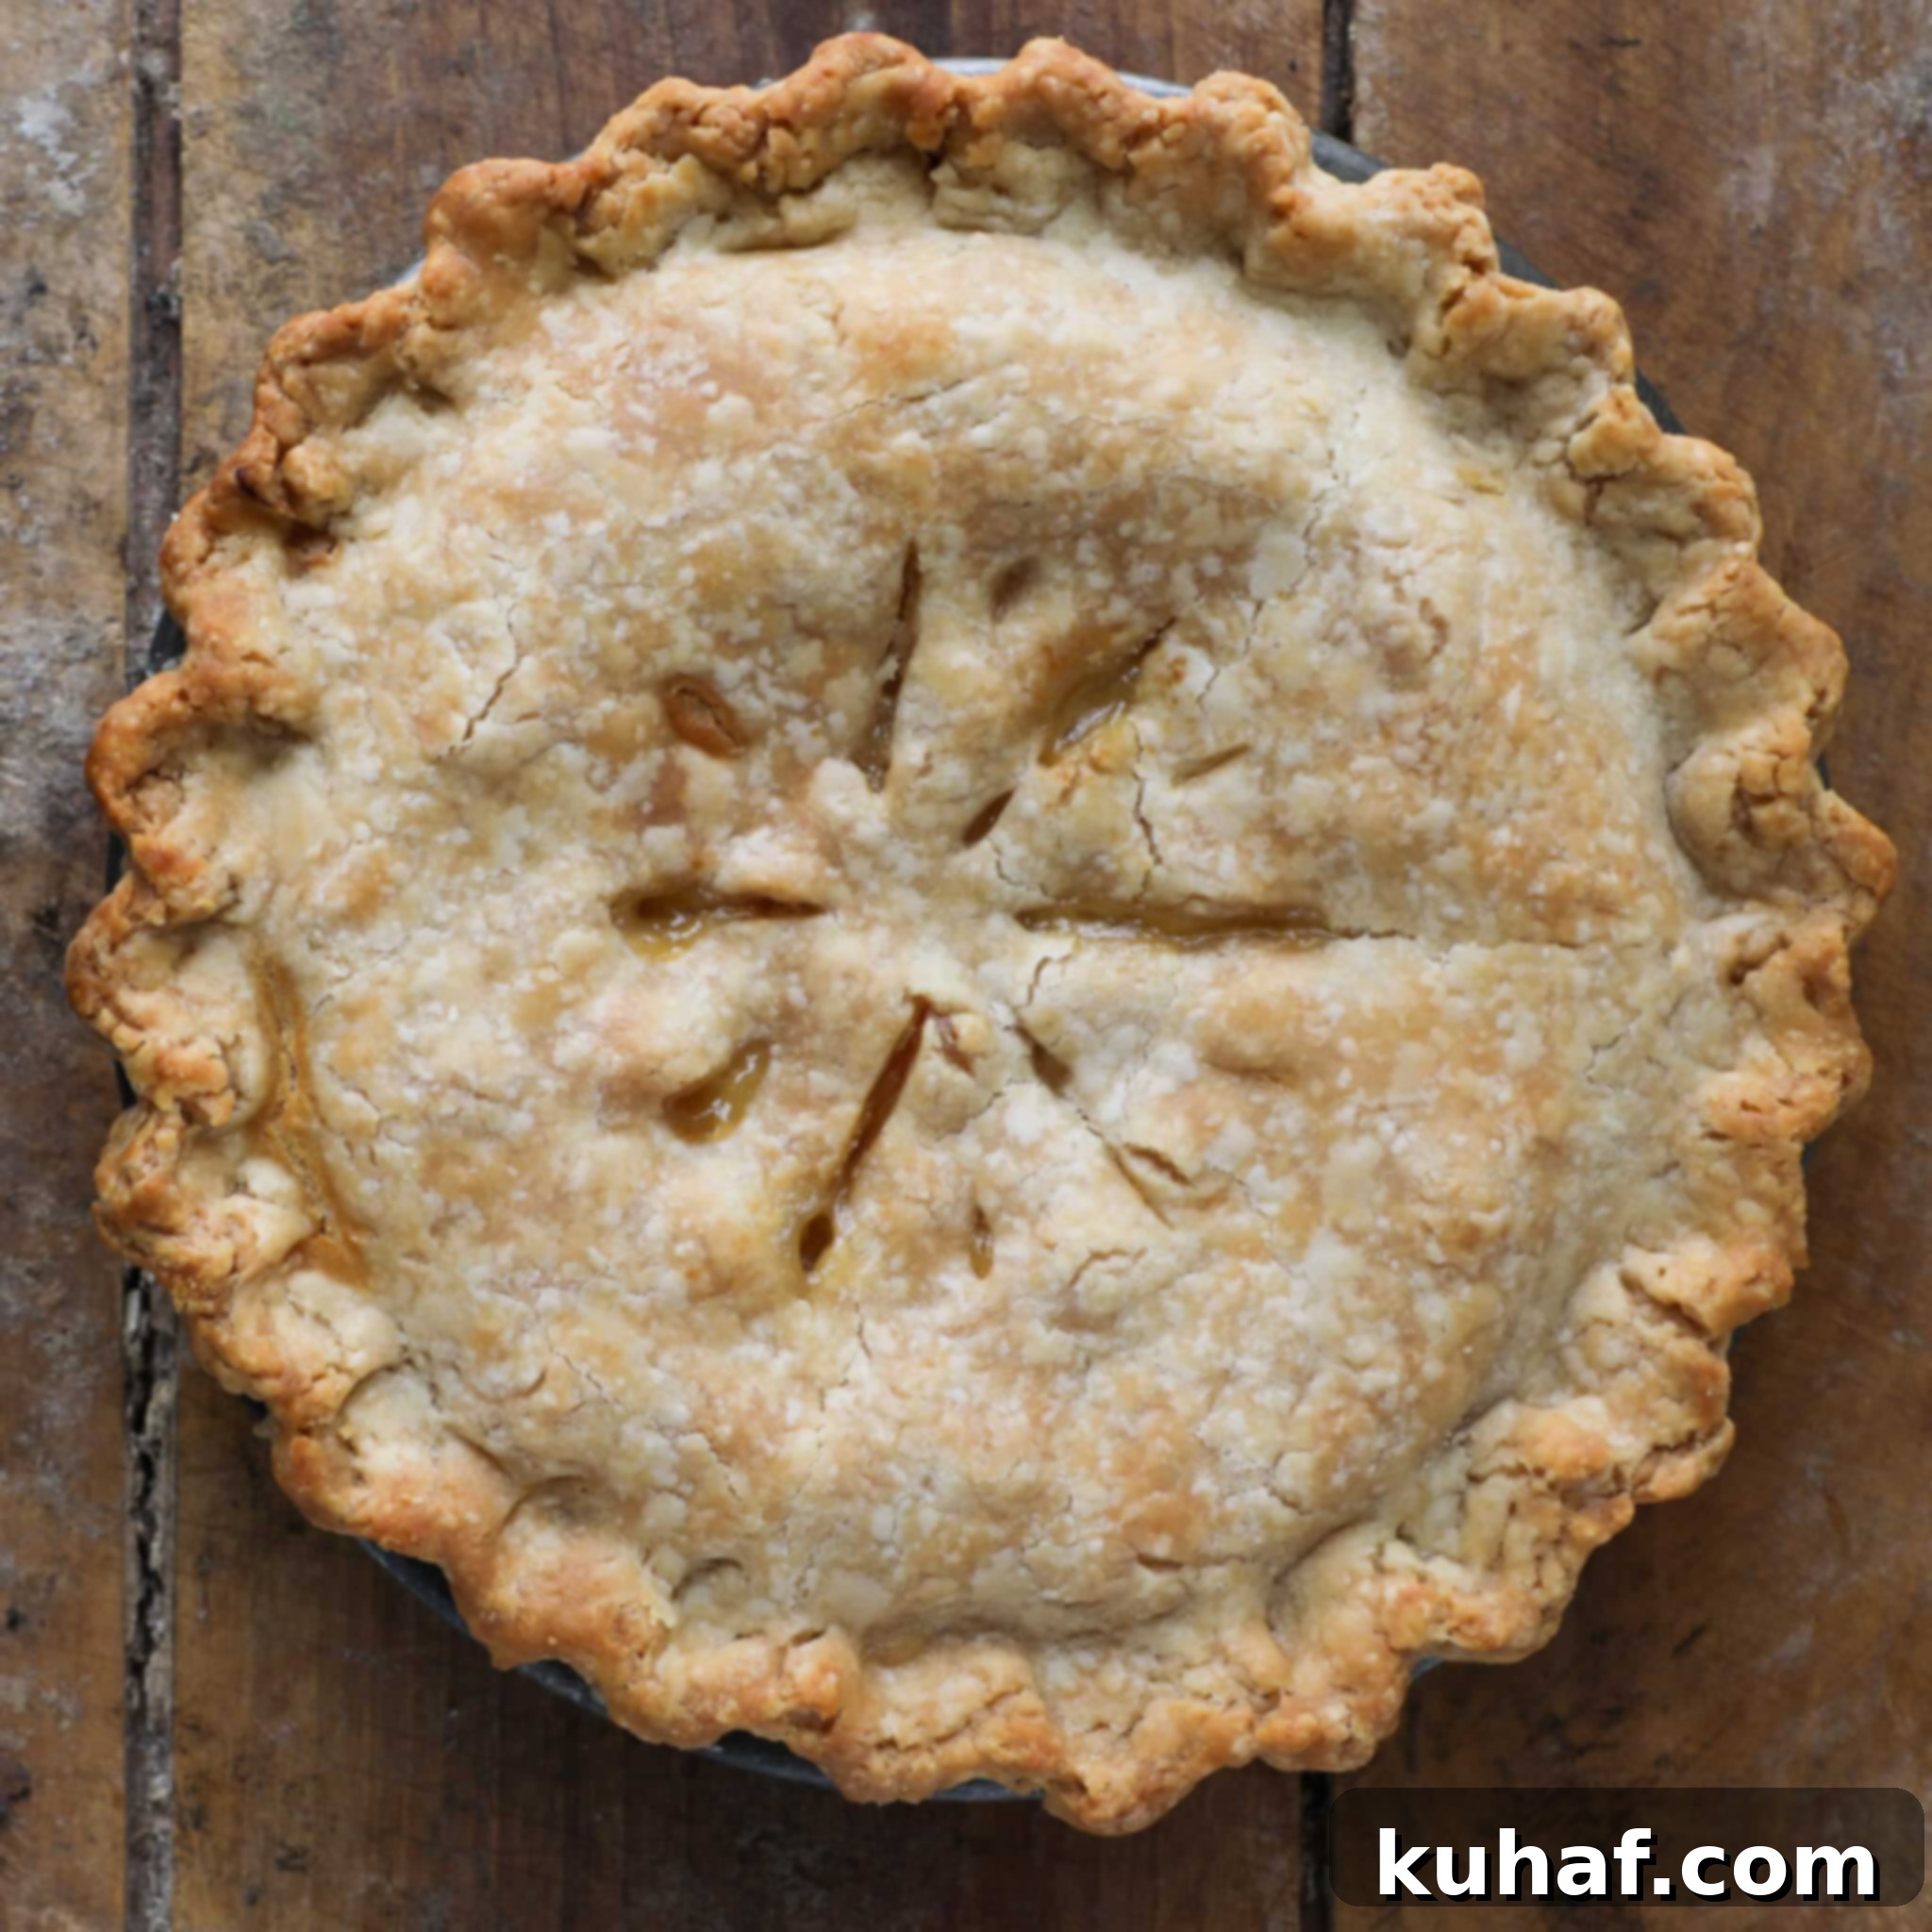
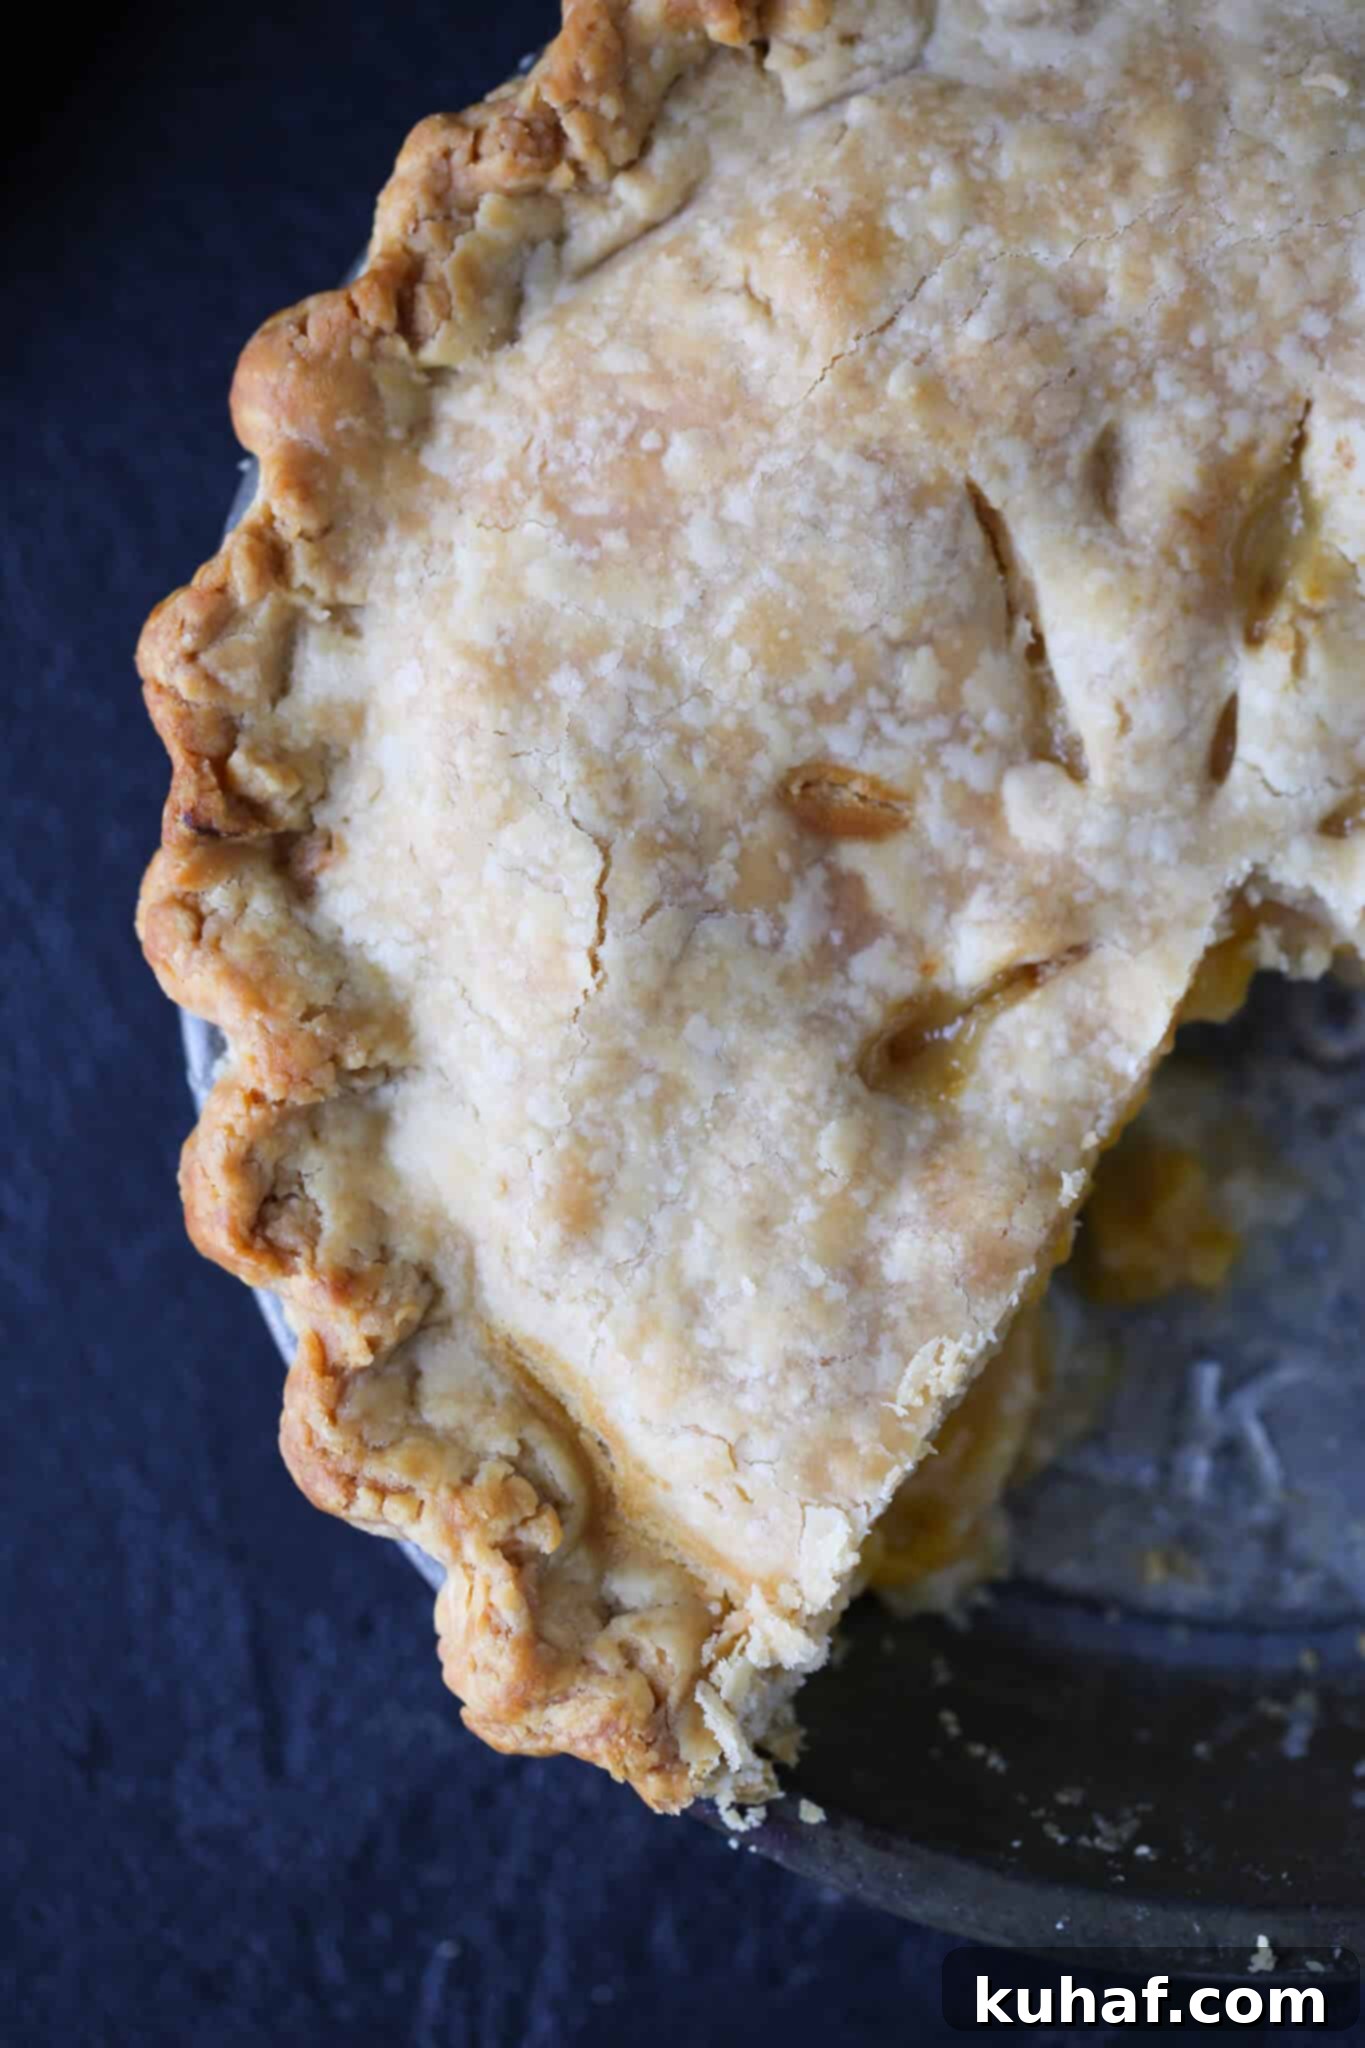
Step 6: Place the assembled pie dish onto a rimmed baking sheet (to catch any potential drips) and transfer it to your preheated oven. Bake for approximately 1 hour and 10 minutes, or until you observe the filling vigorously bubbling in the very center of the pie, and the crust has achieved a beautiful, rich golden-brown color. The bubbling is your key indicator that the filling is properly cooked and thickened. Once baked, allow the pie to cool completely on a wire rack before attempting to slice and serve. This cooling time is crucial for the filling to fully set, ensuring clean, perfect slices.
Chef Lindsey’s Recipe Tip
For a deeper golden-brown and extra crispy crust, you can start the baking process at a higher temperature. Preheat your oven to 425°F (220°C). Bake the pie at this temperature for the first 20-30 minutes, keeping a close eye on the crust. After this initial blast, reduce the oven heat to 325°F (160°C) and continue baking until the filling is bubbling enthusiastically in the center. To prevent the edges of the crust from over-browning or burning during this extended bake, you may need to cover them with a simple pie crust shield made from aluminum foil, or a store-bought pie shield. This ensures a beautifully cooked crust and perfectly set filling.
Frequently Asked Questions About Peach Pie
Here are answers to some common questions about making and enjoying your homemade peach pie:
To maintain its delightful flavor and texture, store your baked peach pie covered at room temperature for up to 3 days. If you need to keep it longer, it can be refrigerated for up to a week. Peach pie also freezes beautifully for longer-term storage, lasting up to 2 months. When ready to enjoy a frozen pie, thaw it at room temperature and then refresh it by warming it gently in a moderate oven until heated through.
Peaches naturally release a significant amount of moisture, especially when they come into contact with sugar during baking. To prevent a runny or soupy pie, it’s essential to use the correct amount of thickener, which in this recipe is all-purpose flour. Additionally, ensure you bake the pie for the full recommended time, allowing the filling to reach a vigorous boil in the center. This boiling action cooks the thickener thoroughly and helps set the filling, ensuring a perfectly firm, yet juicy, slice.
No, please do not dock (prick with a fork) the bottom pie crust for this peach pie. Since the filling is quite liquid before it sets, docking the crust would create small holes through which the liquid filling could leak out. This would not only cause a mess in your pie dish but could also result in a soggy bottom crust where the filling adheres to the pan.
I firmly believe this peach pie is best served warm, allowing its aromatic flavors to truly blossom. A generous scoop of creamy vanilla ice cream or a drizzle of delicate anglaise sauce are the perfect accompaniments. The cool, creamy vanilla notes beautifully heighten the natural sweetness of the peaches and provide a wonderful contrast, making for a truly well-rounded and delightful dessert experience.
If you tried this recipe and loved it please leave a 🌟 star rating and let me know how it goes in the comments below. I love hearing from you; your comments make my day!

Peach Pie
Pin Recipe
Comment
Print Recipe
Ingredients
For the Pie Crust:
- 2 ¼ cup all-purpose flour
- 1 teaspoon kosher salt
- 14 tablespoons shortening frozen or very cold
- ⅓ cup water ice cold
For the filling:
- 5 cups peaches peeled and chopped (~7 peaches)
- 1 cup sugar
- 5 tablespoons unsalted butter melted
- ⅓ cup all-purpose flour
- 1 egg
Instructions
Make homemade pie crust:
-
For the most tender and flaky base, follow the detailed instructions in my homemade Crisco pie crust post. Alternatively, if time is short, a good quality store-bought crust works perfectly; just ensure you have two crusts, as this is a double-crusted pie.
Rolling the dough:
-
Carefully roll out both the top and bottom pie crusts to approximately ¼ inch thick. If the dough begins to crack, it’s a sign it’s too cold; let it rest at room temperature for 5-8 minutes to become more pliable. If you’re using an all-butter pie crust or a vodka pie crust, you can roll it thinner, to about 1/8th inch.
Make filling & assemble:
-
Preheat your oven to 350°F (175°C).
-
Peel and chop your fresh peaches. Arrange these peaches evenly into the bottom pie shell, which should already be placed in your 9-inch pie plate.
-
In a separate bowl, whisk together the sugar, melted butter, flour, and egg until you achieve a smooth mixture. Gently pour this mixture directly over the peaches in the pie crust. Remember: do not stir the filling once it’s poured over the fruit, as the flavors will meld during baking.
-
Cover the pie with the top crust. Cut several vents into the crust using a sharp knife to allow steam to escape, or create a decorative lattice pattern. For detailed guidance on creating a lattice top, refer to this how-to lattice pie crust tutorial. Once the top crust is in place, firmly crimp the edges of both crusts together around the pie pan to seal.
-
Place the pie dish on a rimmed baking sheet and bake in the preheated oven for 1 hour and 10 minutes, or until the pie’s filling is visibly bubbling in the center and the crust has turned a beautiful golden brown. After baking, it’s crucial to let the pie cool completely before slicing and serving; this allows the filling to properly set.
Video
Notes
Technique – To ensure a perfectly set filling and no raw flour taste, be sure to allow the filling to boil vigorously in the center of the pie during baking. This also confirms the eggs are fully cooked.
Variations – Enhance the flavor profile by adding a hint of spice like cinnamon, apple pie spice, or even a touch of Chinese 5 Spice. For an aromatic twist, try incorporating fresh ginger or unexpected herbs for a subtle savory note.
Storage – Store the baked pie covered at room temperature for up to 3 days, or refrigerate for up to a week. For longer preservation, peach pie freezes beautifully for up to 2 months.
The unique pie filling method used in this recipe is adapted from One Big Table by Molly O’Neill, providing a truly exceptional texture.
Nutrition
Before You Go
I sincerely hope you enjoyed creating and tasting this professional chef-tested recipe. It’s a true classic that celebrates the best of summer. Don’t stop your baking adventure here! Be sure to explore our other delicious, chef-developed pie recipes, like my incredibly popular lemon meringue pie, which offers a delightful citrusy contrast. Or, if you’re still on a peach-inspired journey, learn how to make some easy peach preserves without pectin – a fantastic way to enjoy the flavor of peaches all year round!
