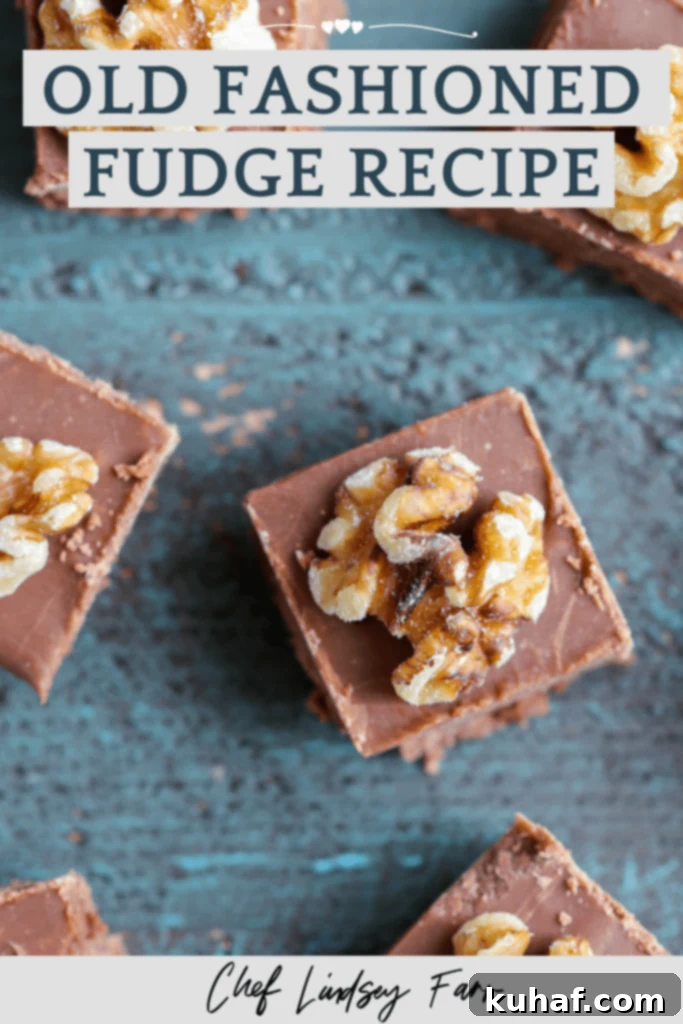
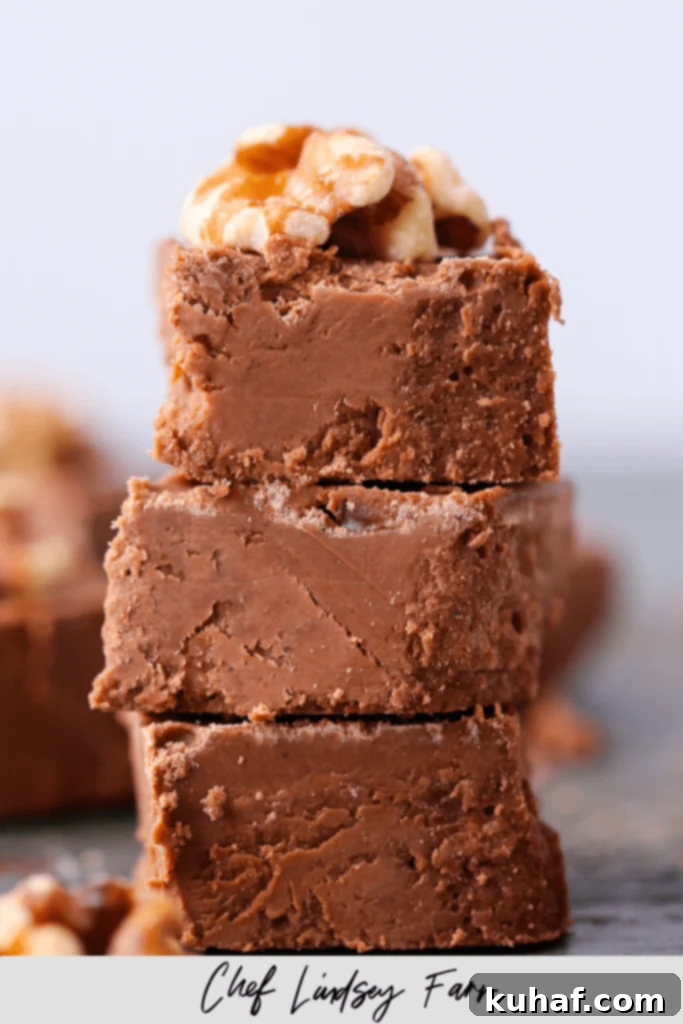
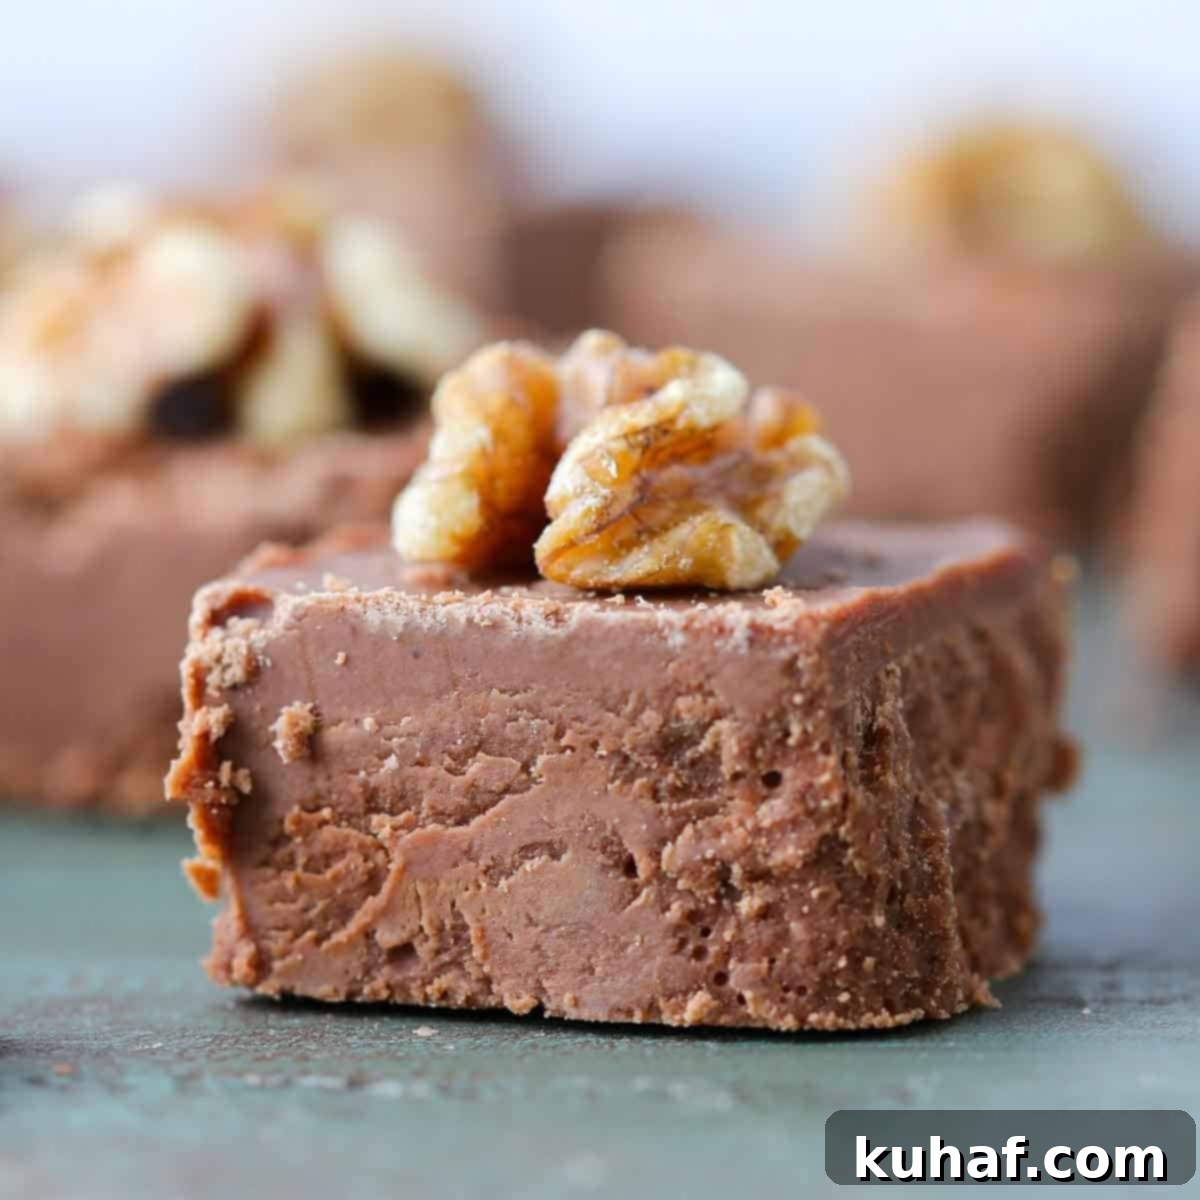
Classic Old-Fashioned Chocolate Fudge: A Chewy, Creamy Recipe for Perfect Homemade Candy
Dive into the rich, nostalgic world of truly old-fashioned chocolate fudge. This isn’t just any fudge recipe; it’s a meticulously crafted guide to creating the chewiest, creamiest, and most intensely chocolatey fudge you’ve ever tasted. Forget the grainy, crumbly disappointments of the past. Our recipe, featuring unsweetened chocolate for unparalleled depth of flavor (rather than cocoa powder), provides comprehensive, step-by-step instructions and invaluable tips, ensuring your success every single time.
For years, I attempted to recreate my grandmother’s legendary fudge, often meeting with frustrating results—some batches wouldn’t set, others turned into rock-hard crystals. The secret, I discovered, wasn’t a magic touch, but precise instructions. Many recipes are simply too vague, leading to common candy-making failures. My quest led me through countless vintage and modern cookbooks, and deep internet dives, until I found enlightenment in an unexpected place: the Better Homes & Gardens Cookies and Candies 1966 Cookbook. This classic resource generously dedicated an entire page to step-by-step photos and detailed guidance, truly understanding the struggles of home cooks.
Now, with these refined techniques and professional insights, you can confidently prepare this timeless treat, alongside other cherished family favorites like pecan praline, homemade toffee, and bourbon chocolate truffles. Get ready to impress with perfect, smooth, and delightfully chewy homemade chocolate fudge.
Why You Will Love This Old-Fashioned Fudge Recipe
- Unrivaled Rich Chocolate Flavor. Unlike many modern recipes that rely on cocoa powder, our traditional method uses high-quality unsweetened chocolate. This delivers a profoundly richer, more intense chocolate taste and contributes to that signature chewy texture that defines classic fudge.
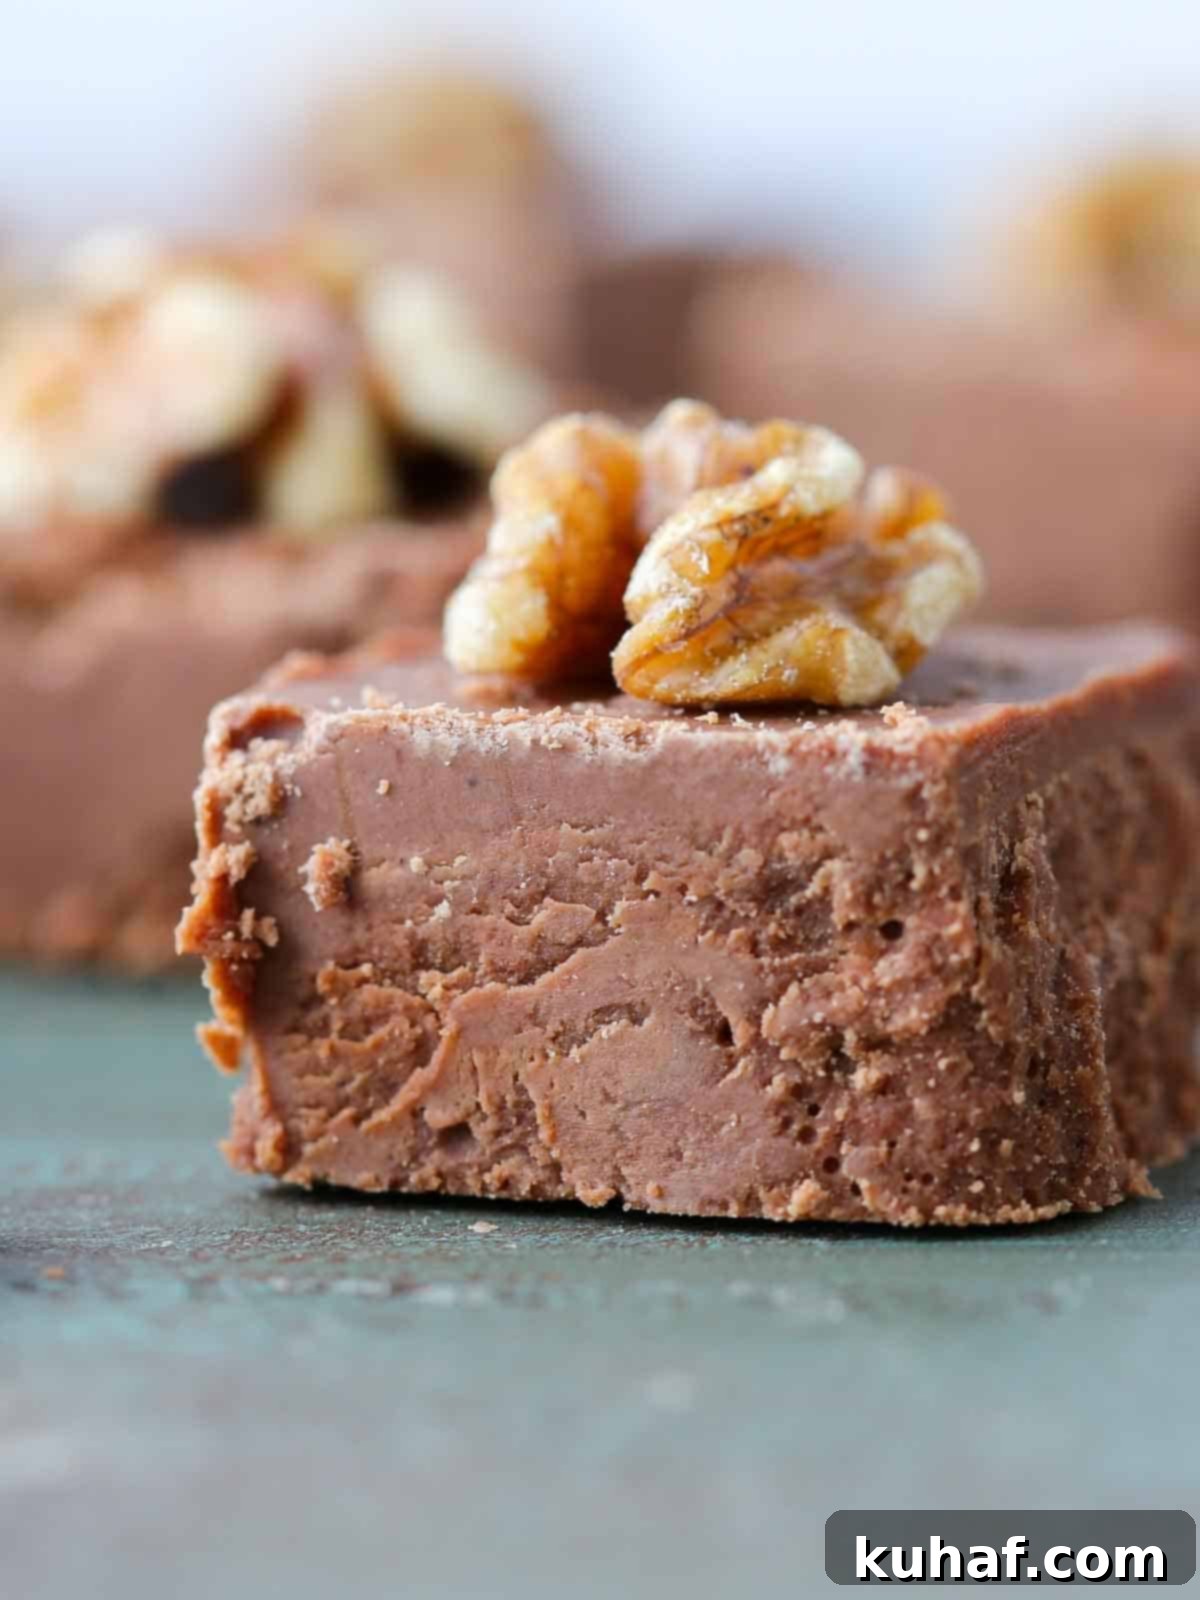
- Perfect Chewy Fudge Texture. If you crave fudge that’s smooth, silky, and offers a satisfying chew without being overly soft or crumbly, this is the recipe for you. It’s a true stirred fudge candy, a testament to old-school candy-making techniques that result in an irresistible mouthfeel.
- Vintage Recipe, Modern Expertise. We’ve taken the trusted foundation of the Better Homes & Gardens Cookies and Candies 1966 Cookbook and infused it with professional chef tips and detailed explanations. This blend of classic wisdom and contemporary insight empowers you to achieve flawless results, even if you’re new to candy making. Every step is designed for success.
Table of Contents
- Why You Will Love this
- Ingredients Needed
- Variations & Substitutions
- Why did my chocolate fudge crystallize?
- Professional Tips for Making Old Fashioned Fudge
- How to Make Old Fashioned Chocolate Fudge
- Chef Lindsey’s Recipe Tip
- Recipe FAQs
- Recommended Chocolate Fudge Recipes
- Old Fashioned Chocolate Fudge Recipe
- Before You Go
Essential Ingredients for Perfect Fudge
Crafting exceptional fudge starts with understanding your ingredients. While this recipe is straightforward, each component plays a vital role in achieving that perfect chewy and creamy consistency.
- Granulated Sugar: The foundation of most candies, sugar here is not just for sweetness but for structure. Using extra-fine granulated sugar can aid in quicker, more even dissolving, reducing the risk of crystallization. However, any standard granulated sugar will work beautifully; don’t let sugar choice be a source of stress!
- Whole Milk: Opt for whole milk over lower-fat alternatives. The higher fat content in whole milk acts as a natural deterrent against sugar crystallization, contributing to a smoother fudge. Furthermore, it adds a luxurious richness to both the flavor and the final texture, while its lower moisture content compared to skim milk helps the fudge set properly.
- Unsweetened Chocolate: This is the star ingredient for a truly old-fashioned flavor. Using 100% cocoa solids, like Baker’s unsweetened chocolate, allows you to perfectly control the sweetness of your fudge. It also provides crucial fat and deep cocoa notes, enhancing both texture and taste far beyond what cocoa powder alone can offer.
- Kosher Salt: A pinch of salt is transformative in sweet recipes. Kosher salt, being less dense than table salt, is preferred here for its ability to heighten and balance the rich chocolate flavor, preventing the fudge from tasting bland or one-dimensional.
- Light Corn Syrup: This ingredient acts as an interfering agent, specifically designed to prevent sugar crystallization. It ensures a smoother, more stable sugar syrup. While you can substitute it with glucose or even omit it, doing so increases the likelihood of a grainy or crystallized fudge. For first-timers, or for guaranteed smoothness, it’s highly recommended.
- Unsalted Butter: Butter is essential for the smooth, melt-in-your-mouth richness of fudge, pralines, and other confections. Its fat content further assists in preventing crystallization and contributes significantly to the luxurious texture. Always use unsalted butter to control the overall saltiness of the recipe.
- Vanilla Extract: A classic flavor enhancer, vanilla extract adds a warm, aromatic depth that complements the chocolate beautifully.
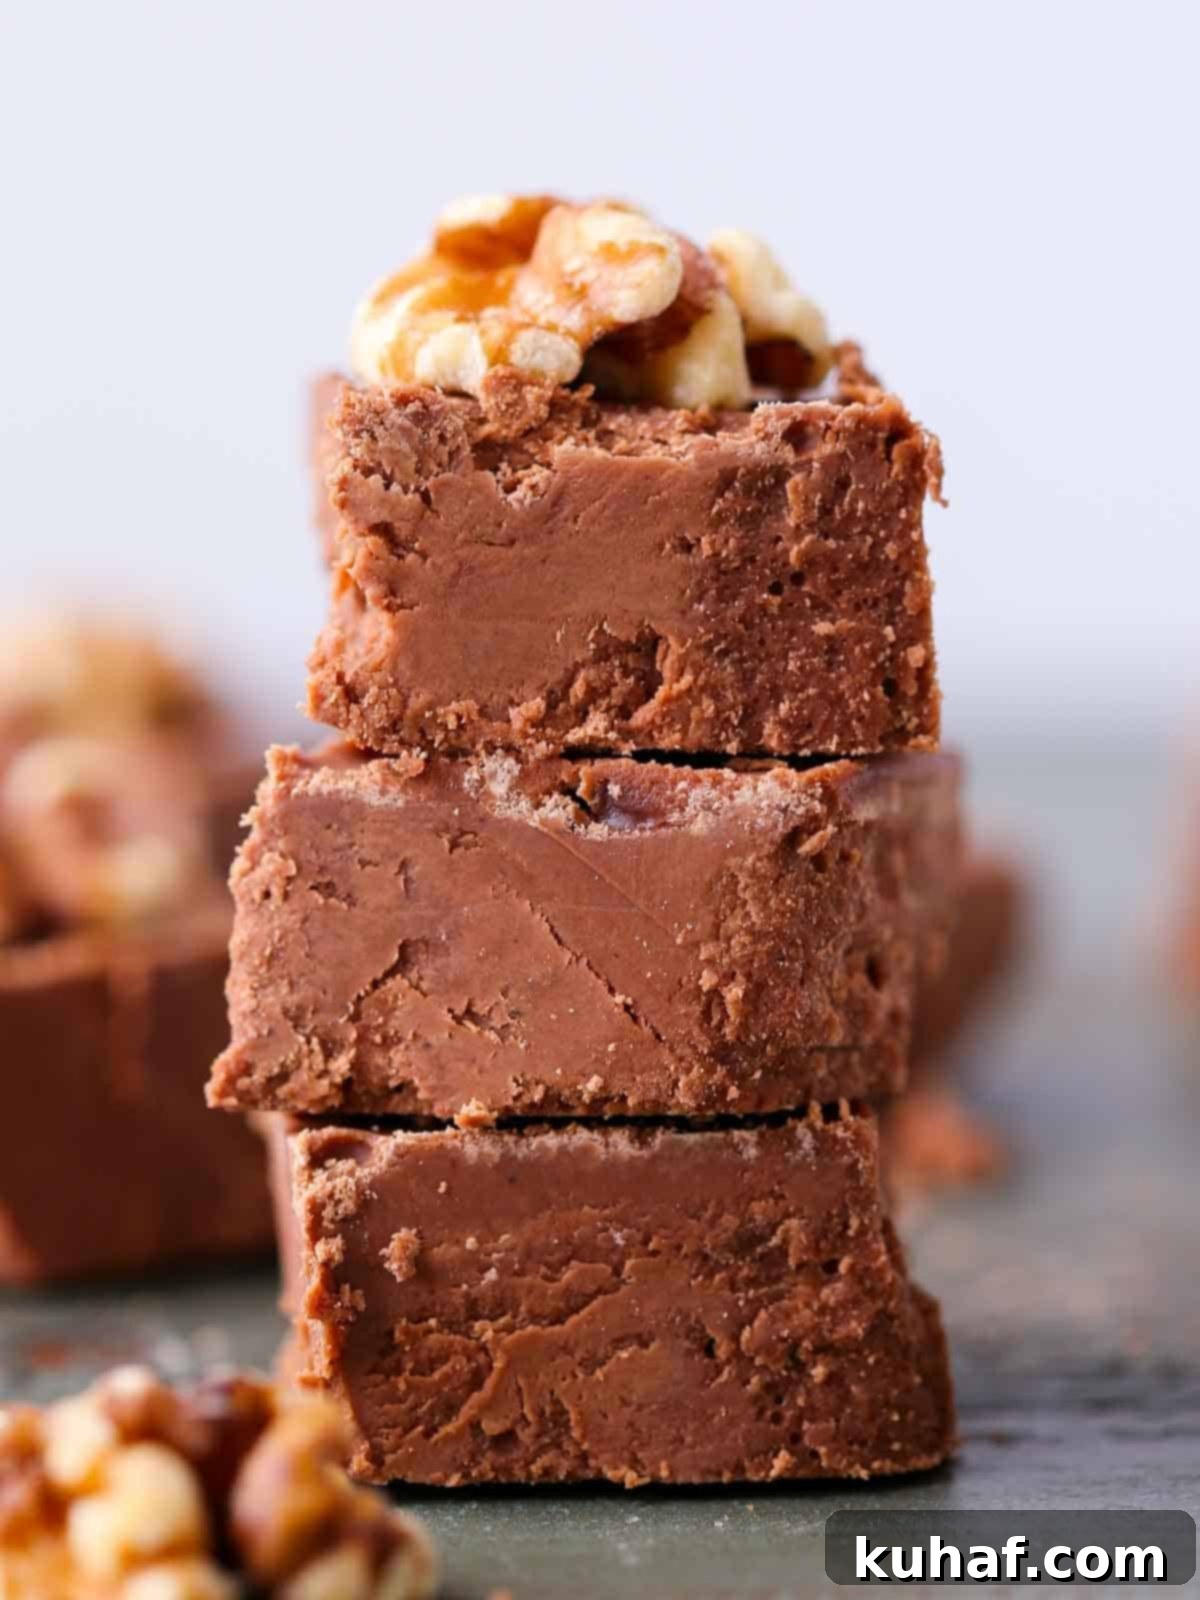
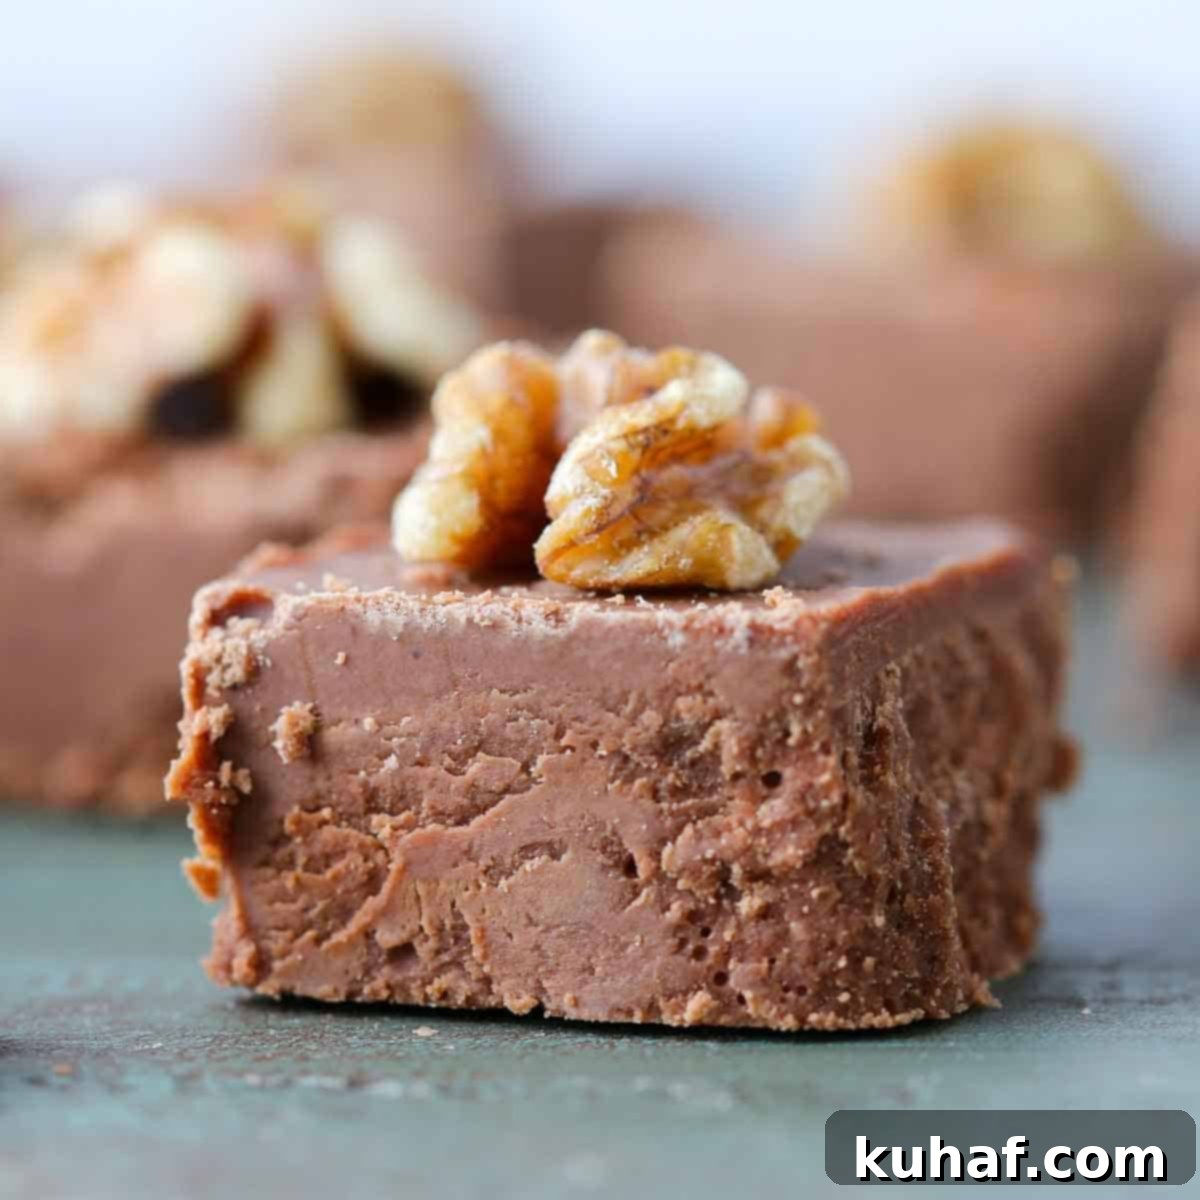
- Walnuts (Optional): Walnuts provide a delightful textural contrast. You can chop them and stir them directly into the fudge just before pouring, or for a more elegant presentation, press a perfect half-walnut onto the top of each individual fudge piece before it fully sets.
See the recipe card for full information on ingredients and quantities.
Variations & Substitutions for Your Fudge
While this Old-Fashioned Chocolate Fudge recipe is perfect as is, you might be tempted to experiment. Here’s a guide to variations and important notes on substitutions:
- Substitutions: For optimal results with this traditional fudge, I strongly advise against making substitutions for the core ingredients. Fudge making is a science of precision, where each ingredient serves multiple, critical functions. Altering them can significantly impact the final texture and set. If you’re looking for a recipe with a bit more flexibility, you might enjoy my Chocolate Fudge Cake, which is more forgiving!
- Stir in Nuts: Enhance the chewiness with a satisfying crunch by adding toasted nuts. Roughly chop your favorite nuts—pecans, almonds, or hazelnuts are excellent choices—and gently fold them into the fudge mixture just before pouring it into your prepared dish. As you know from my nutella truffles recipe, a hazelnut-chocolate combination is truly divine!
- Try a Different Extract: While vanilla is classic, a different extract can introduce an exciting flavor twist. Consider a touch of peppermint extract for a festive treat, or a hint of coffee extract to intensify the chocolate notes and add sophisticated depth.
Why Did My Chocolate Fudge Crystallize? Avoiding Grainy Fudge
Crystallization is the bane of many fudge makers, turning smooth fudge into a grainy mess. Understanding the causes can help you prevent it:
- Beating Too Early: Patience is a virtue in fudge making! Stirring or beating the fudge before it has adequately cooled is a primary cause of crystallization. Allowing the sugar syrup to cool undisturbed prevents the formation of large sugar crystals. I recommend cooling it to precisely 110°F (about 15-20 minutes, depending on your room’s temperature), where it’s comfortably warm to the touch but no longer hot.
- Cooling Too Slowly (or too quickly without proper technique): While rapid cooling can sometimes limit crystal size, a controlled, gradual cooling at room temperature (ideally 60-70°F) often produces the best, most consistent smooth texture for this particular recipe. Avoid rushing the cooling process by placing it in a refrigerator or freezer before it’s ready, as this can shock the mixture and promote crystallization in undesirable ways for a traditional stirred fudge.
- Scraping the Sides of the Pot: This is a subtle but critical mistake. As the fudge cooks and cools, small sugar crystals can form and cling to the sides of the pot above the liquid line. When you begin to stir, scraping these crystals back into the main batch can act as “seed crystals,” triggering a chain reaction of unwanted crystallization throughout your fudge. Just like with other delicate stirred candies such as pralines, avoid scraping the sides when stirring or pouring.
Professional Tips for Making Old Fashioned Fudge
Achieving perfect old-fashioned fudge requires a bit of precision and a few insider tricks. Here are my professional tips to ensure your success:
- Don’t Wing It – Read the Recipe Thoroughly: Unlike some forgiving dishes, fudge making is a science. Method and timing are paramount. Before you even gather your ingredients, read the entire recipe at least twice. Familiarize yourself with each step, the required temperatures, and what the mixture should look and feel like at different stages. Have all your ingredients prepped and ready (mise en place) and keep the recipe, along with reference photos, handy as you work.
- Enlist the Help of a Friend (or a Stand Mixer!): Beating this fudge by hand to achieve its signature chewy texture is a vigorous task that can truly tire out even the strongest arm. Don’t hesitate to ask a friend for help, or if you have a heavy-duty stand mixer with a paddle attachment, consider using it on a low-medium speed for a less strenuous process. Put on some upbeat music and make it a fun event!
- Consider the Weather – Humidity is the Enemy: Candy making, especially fudge, is sensitive to atmospheric conditions. High humidity can introduce excess moisture into your mixture, preventing the fudge from setting correctly or resulting in a softer, stickier consistency. Try to make fudge on a dry day. Also, avoid storing fudge in humid environments like the refrigerator, as it can absorb moisture and soften. Room temperature storage is usually best.
- Calibrate Your Candy Thermometer: An inaccurate thermometer is a leading cause of fudge failures. Before you start, test your candy thermometer in boiling water; it should read 212°F (100°C). If it doesn’t, adjust your target fudge temperature accordingly (e.g., if it reads 210°F, aim for 234°F instead of 236°F). These thermometers can be fragile, so a quick check saves a lot of heartache.
- Don’t Skimp on Buttering: A generous coating of butter on your pot and baking dish isn’t just for easy release; it creates a barrier. When the sugar syrup bubbles, butter prevents sugar crystals from clinging to the sides of the pot above the boiling line. These rogue crystals are notorious for initiating crystallization in the entire batch, so butter thoroughly!
- Patience During Cooling: As detailed in the crystallization section, do not stir the fudge as it cools to 110°F. This undisturbed cooling period is absolutely critical for smooth, non-grainy fudge. Resist the urge to poke or stir it!
- Vigorous Beating is Key: Once the fudge reaches the correct cooling temperature and vanilla is added, the beating process is where the magic happens. Beat *vigorously* and *continuously* with a wooden spoon. This encourages the formation of many tiny sugar crystals, which is what gives fudge its smooth, creamy, yet chewy texture. The longer you beat, the more air incorporates, leading to a slightly firmer or even crumbly texture, but one that is magically fudgy. Look for it to thicken and lose most of its glossy shine.
How to Make Old Fashioned Chocolate Fudge (Step-by-Step Guide)
Follow these detailed instructions to achieve perfect, delicious fudge every time! Remember, precision and patience are your best tools. Further details and measurements can be found in the recipe card below.
Step 1: Prepare Your Equipment
Begin by generously buttering the sides of a heavy, high-sided sauce pot. This thick layer of butter is crucial; it prevents sugar crystals from clinging to the pot’s walls as the fudge boils, which can cause unwanted crystallization. Next, butter a 4×6-inch baking dish or loaf pan. For even easier removal, consider lining your dish with parchment paper first, then buttering the parchment. I’ve learned from experience that a well-prepared pan makes a huge difference!
Apply a thick coating of butter on the pot because when the fudge is bubbling, sugar can’t cling to the side and create unwanted crystals. This initial step is vital for a smooth texture!
Step 2: Combine and Dissolve
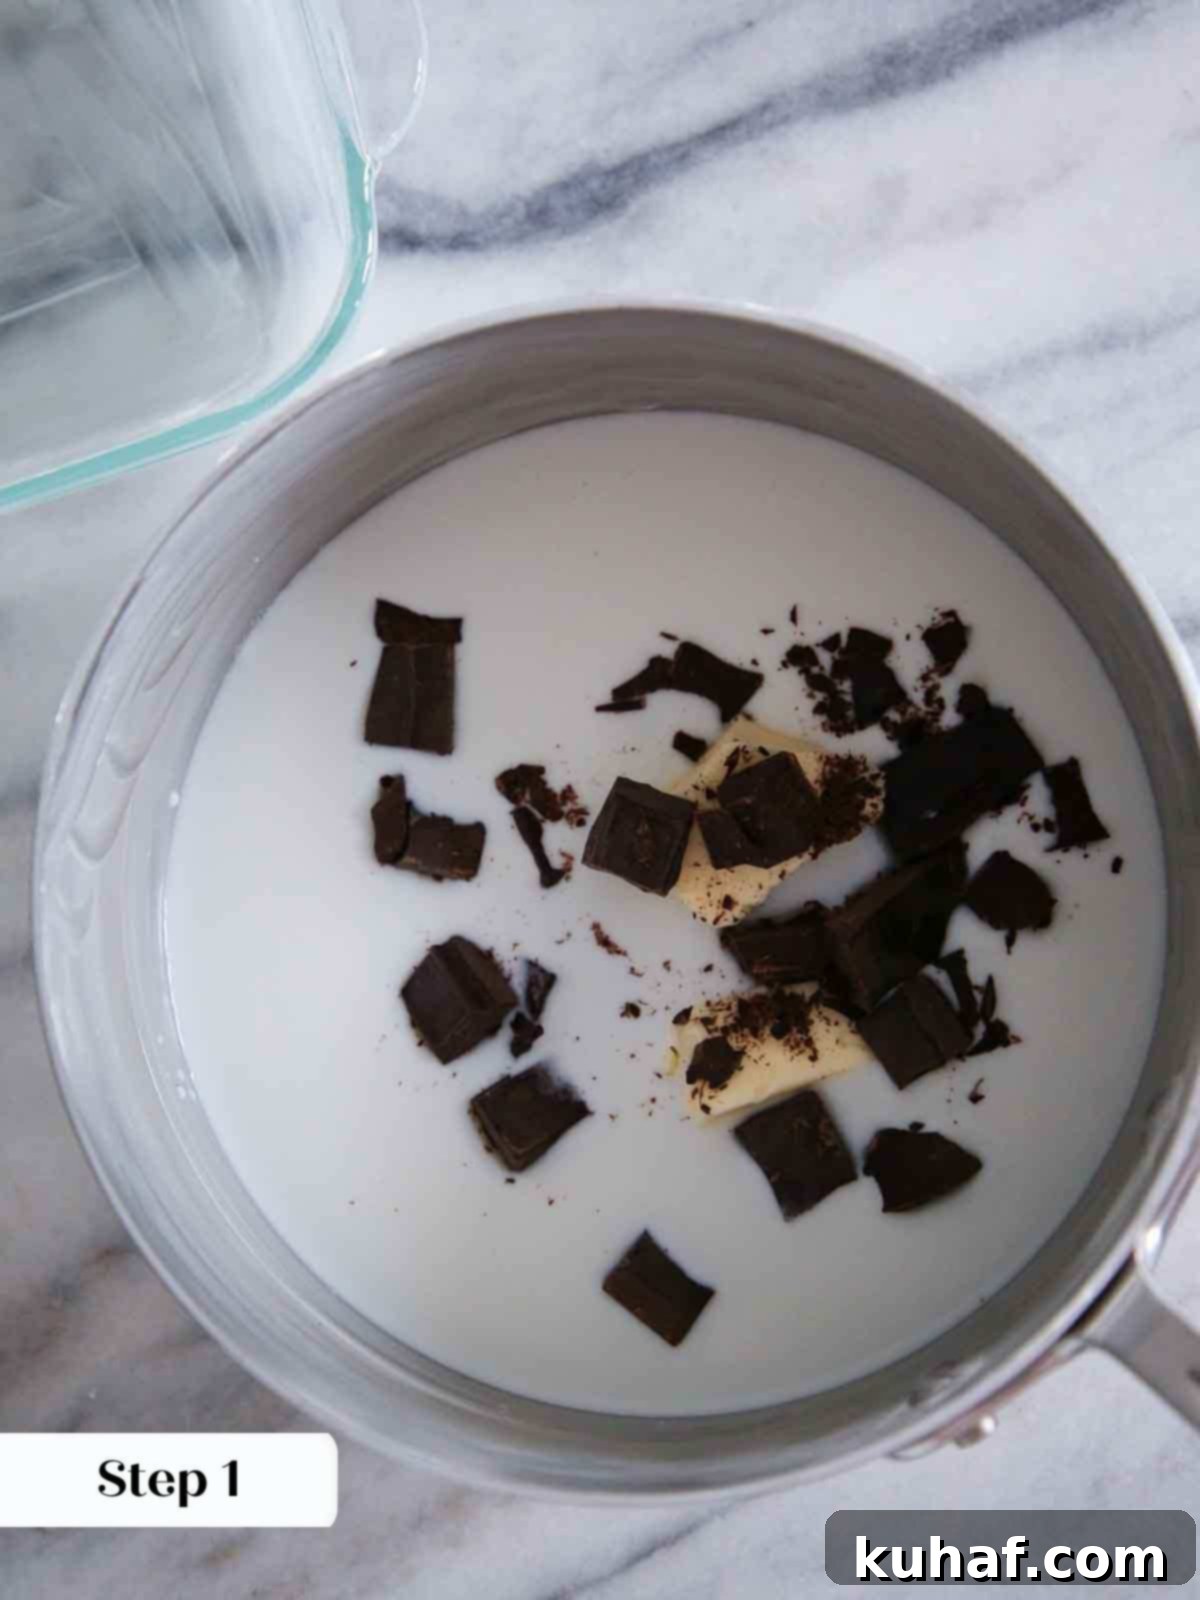
In your buttered sauce pot, combine the sugar, milk, chopped unsweetened chocolate, kosher salt, light corn syrup, and butter. Stir these ingredients carefully to ensure no sugar crystals stick to the sides of the pot. Cook the mixture over medium-high heat, stirring occasionally, until the sugar completely dissolves and the mixture comes to a full boil.
Try to ensure the sugar has dissolved before the mixture comes to a boil. This will help keep it from crystallizing and lead to a smoother finished product.
Step 3: Reach Soft-Ball Stage
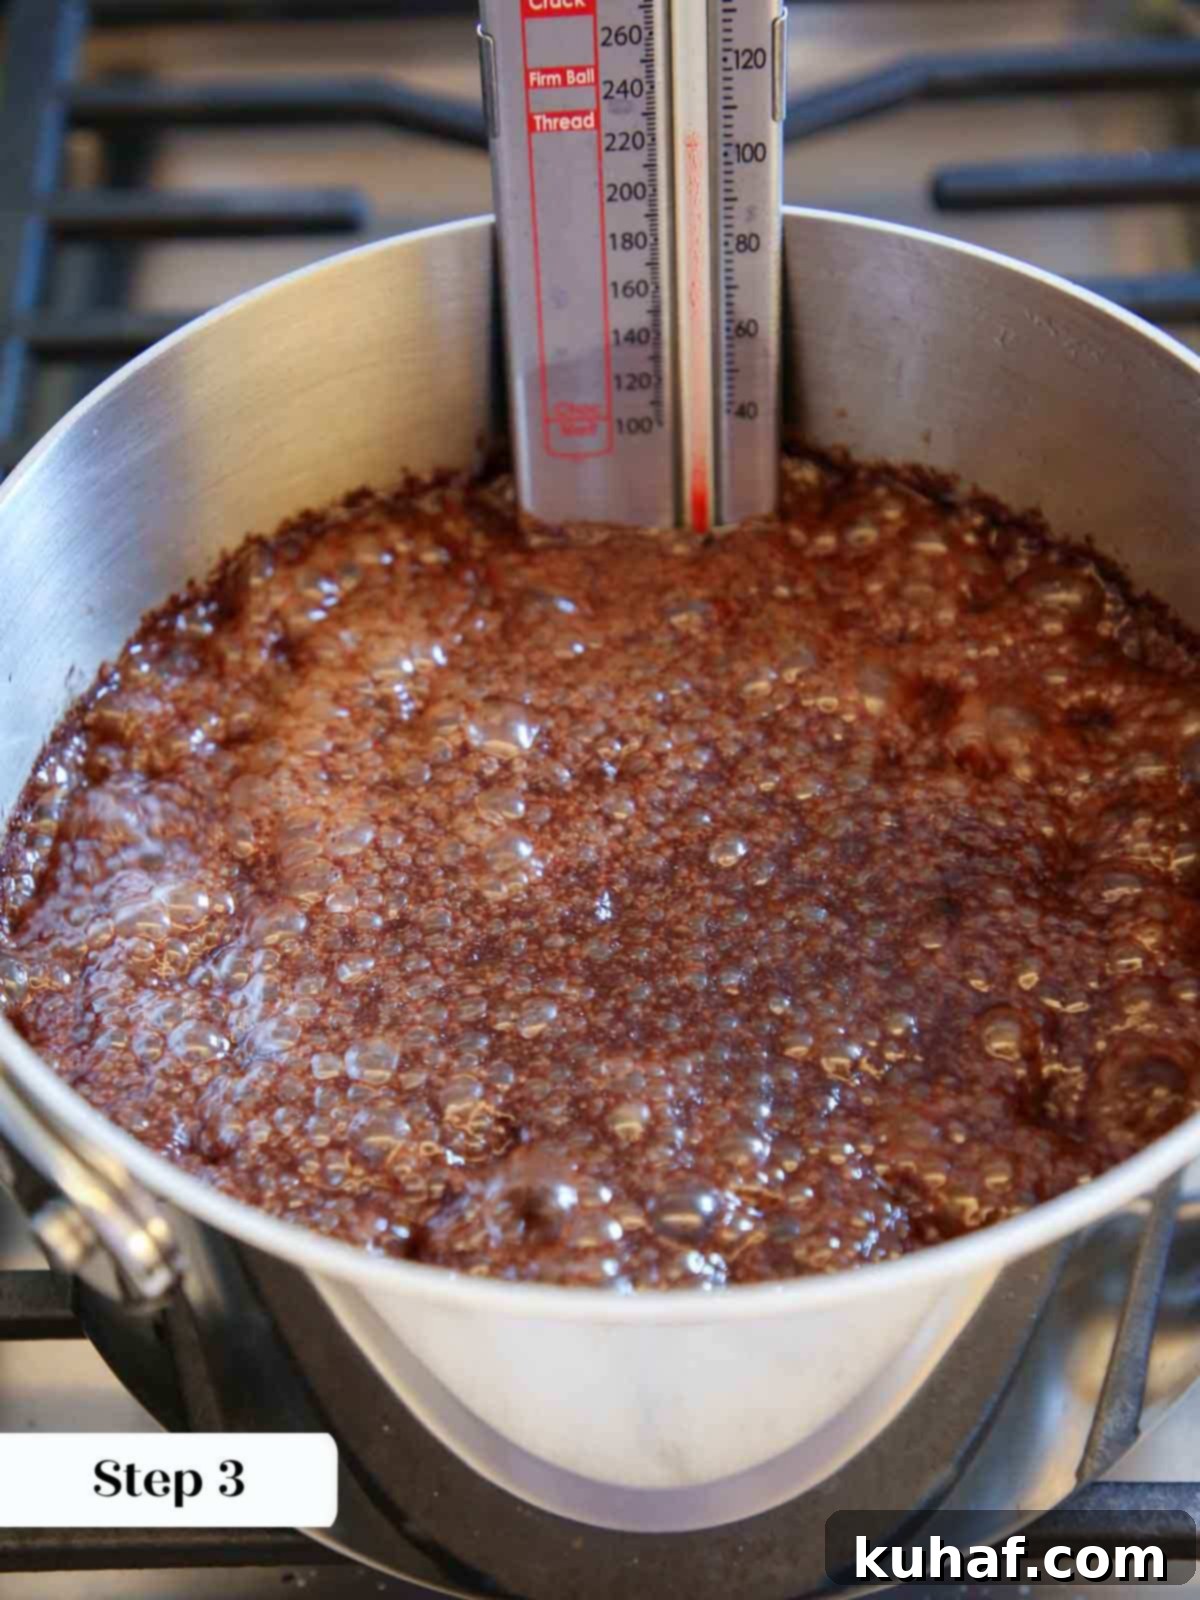
Once boiling, attach a reliable candy thermometer to the side of the pot, ensuring the tip is submerged but not touching the bottom. Continue to cook the mixture *without stirring or swirling* until it reaches the soft-ball stage, which is precisely 236°F (113°C). To double-check, or if you’re making fudge without a thermometer, drop a small spoonful of the hot syrup into a cup of ice water. It should immediately form a soft, pliable ball that can be easily squashed between your fingers.
Step 4: Cool Undisturbed
Immediately remove the pot from the heat. This is a critical moment for smooth fudge: allow the mixture to cool completely *undisturbed* until it reaches 110°F (43°C). The bottom of the pan should feel comfortably warm, not hot, when touched.
This cooling without stirring is critical to getting a smooth, uncrystallized fudge. Stirring will encourage sugar to crystallize, leading to a grainy texture.
Step 5: The Vigorous Beating Begins
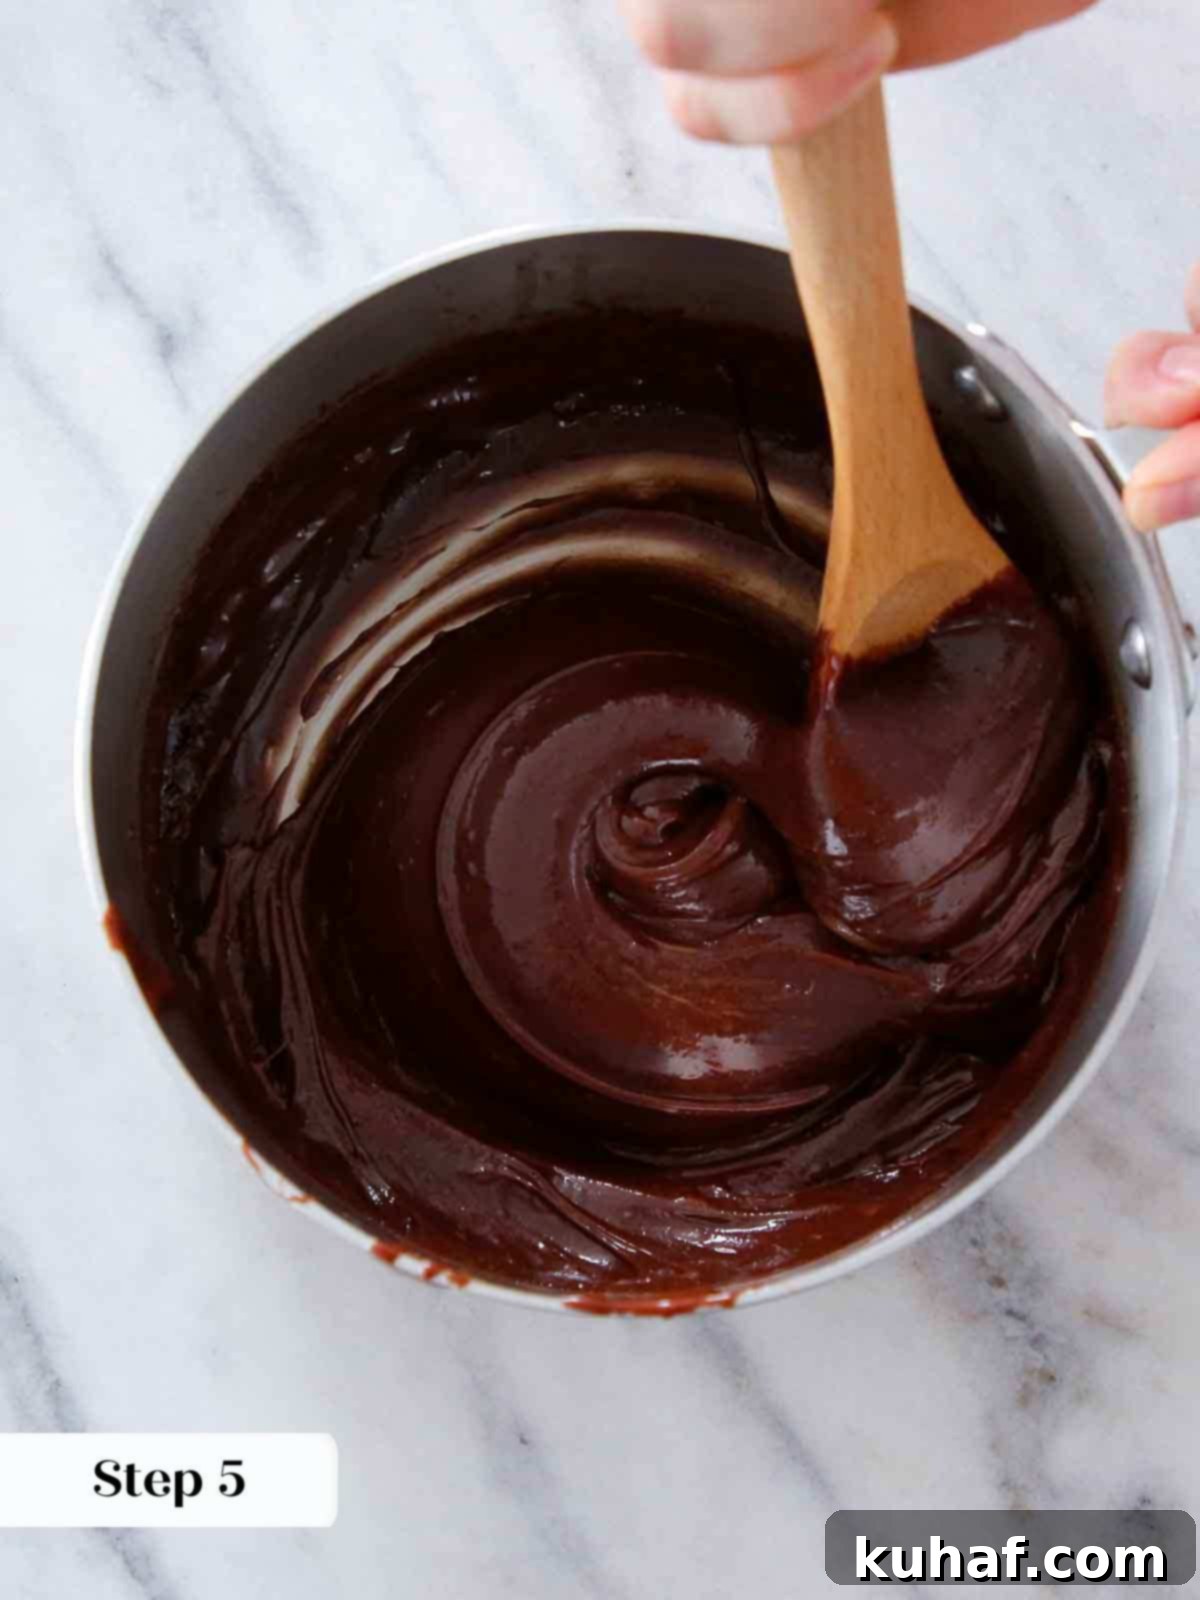
Once the fudge reaches 110°F, add the vanilla extract. Now, the real arm workout begins! Start beating the fudge mixture vigorously and continuously with a sturdy wooden spoon. Do not stop beating, and try to avoid scraping the sides of the pot where potential crystals might be lurking. You’ll notice the fudge beginning to thicken and lose some of its initial brilliant gloss. In the accompanying photo for Step 5, you can observe the mixture is noticeably thicker but still quite shiny.
Step 6: Achieve the Perfect Fudge Texture
Continue beating tirelessly. As you beat, the fudge will progressively stiffen and gradually lose its glossy appearance, becoming more matte. This beating process incorporates tiny air bubbles and encourages the formation of numerous small sugar crystals, which are responsible for the smooth, creamy, yet wonderfully chewy texture of old-fashioned fudge. The longer you beat, the more air is incorporated, resulting in a slightly firmer or even crumbly texture, but one that is magically fudgy.
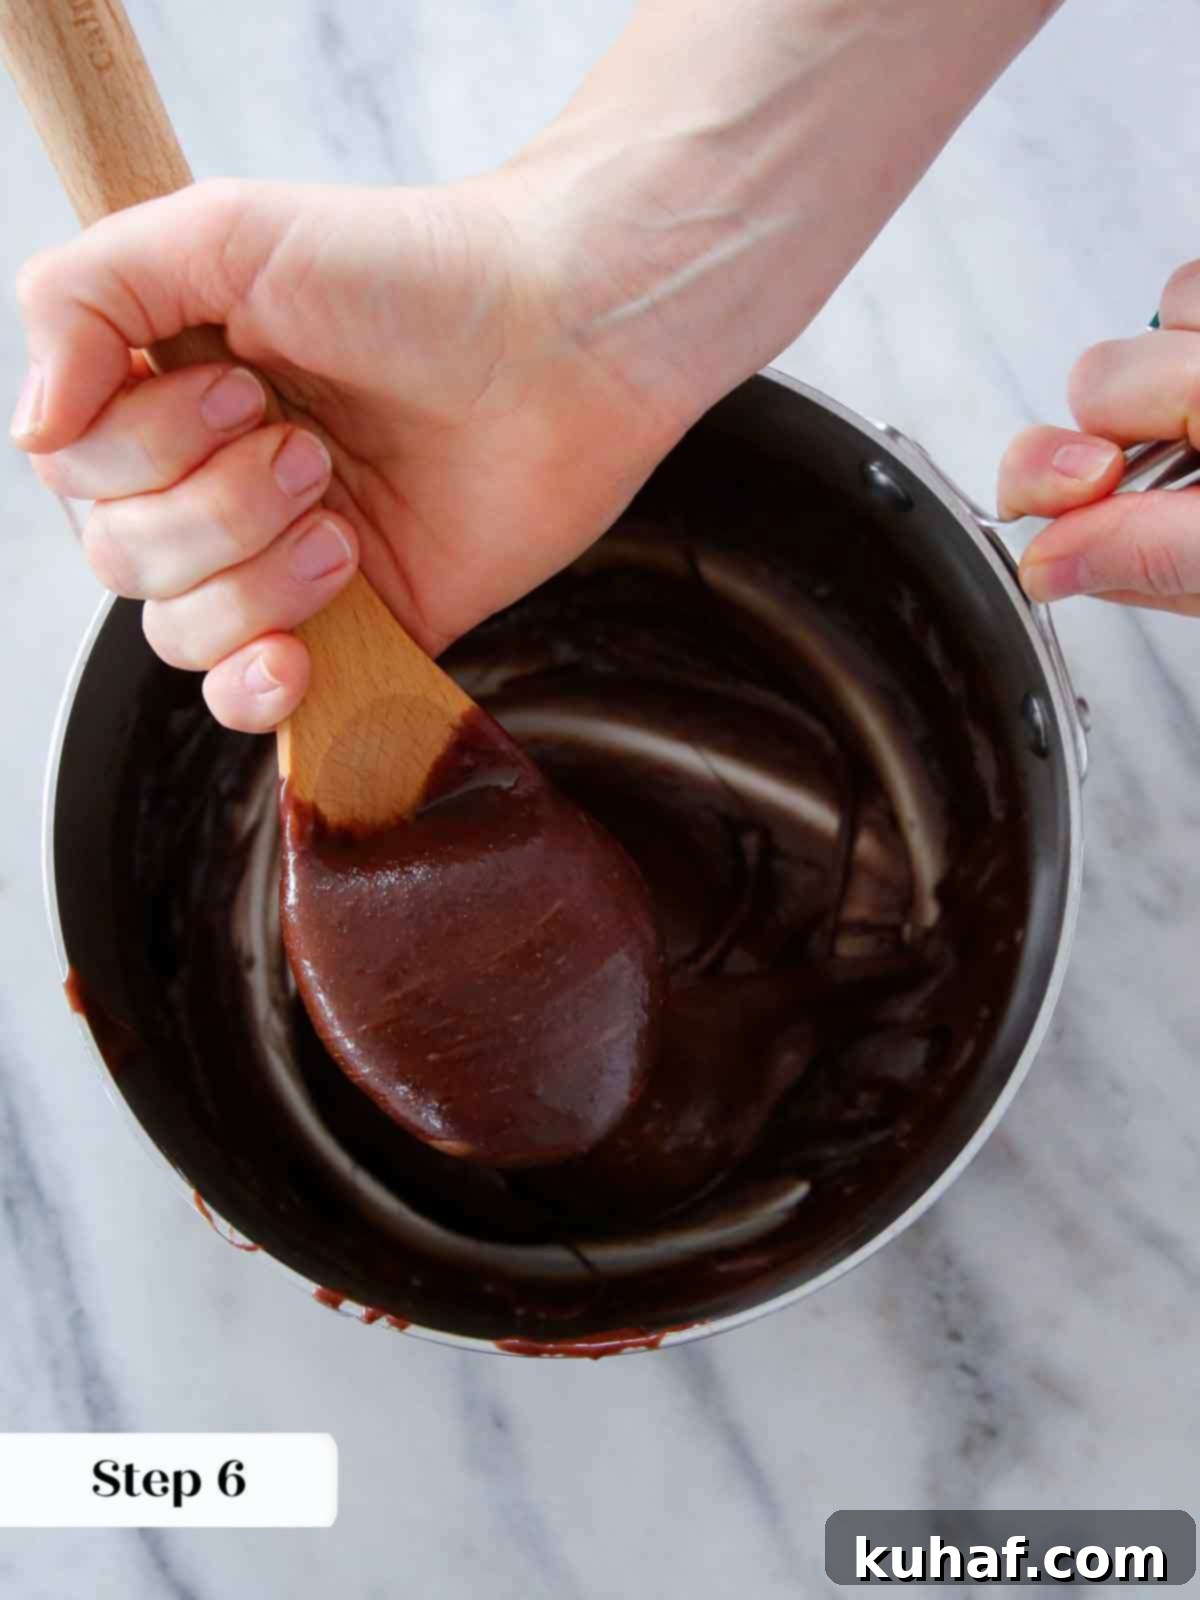
You can see in the Step 6 photo that the fudge is very thick (it doesn’t run back into itself), has visible tiny air bubbles, and is mostly matte. There is a little shine to it still but much less than the previous photo, indicating it’s ready.
Step 7: Transfer to Dish
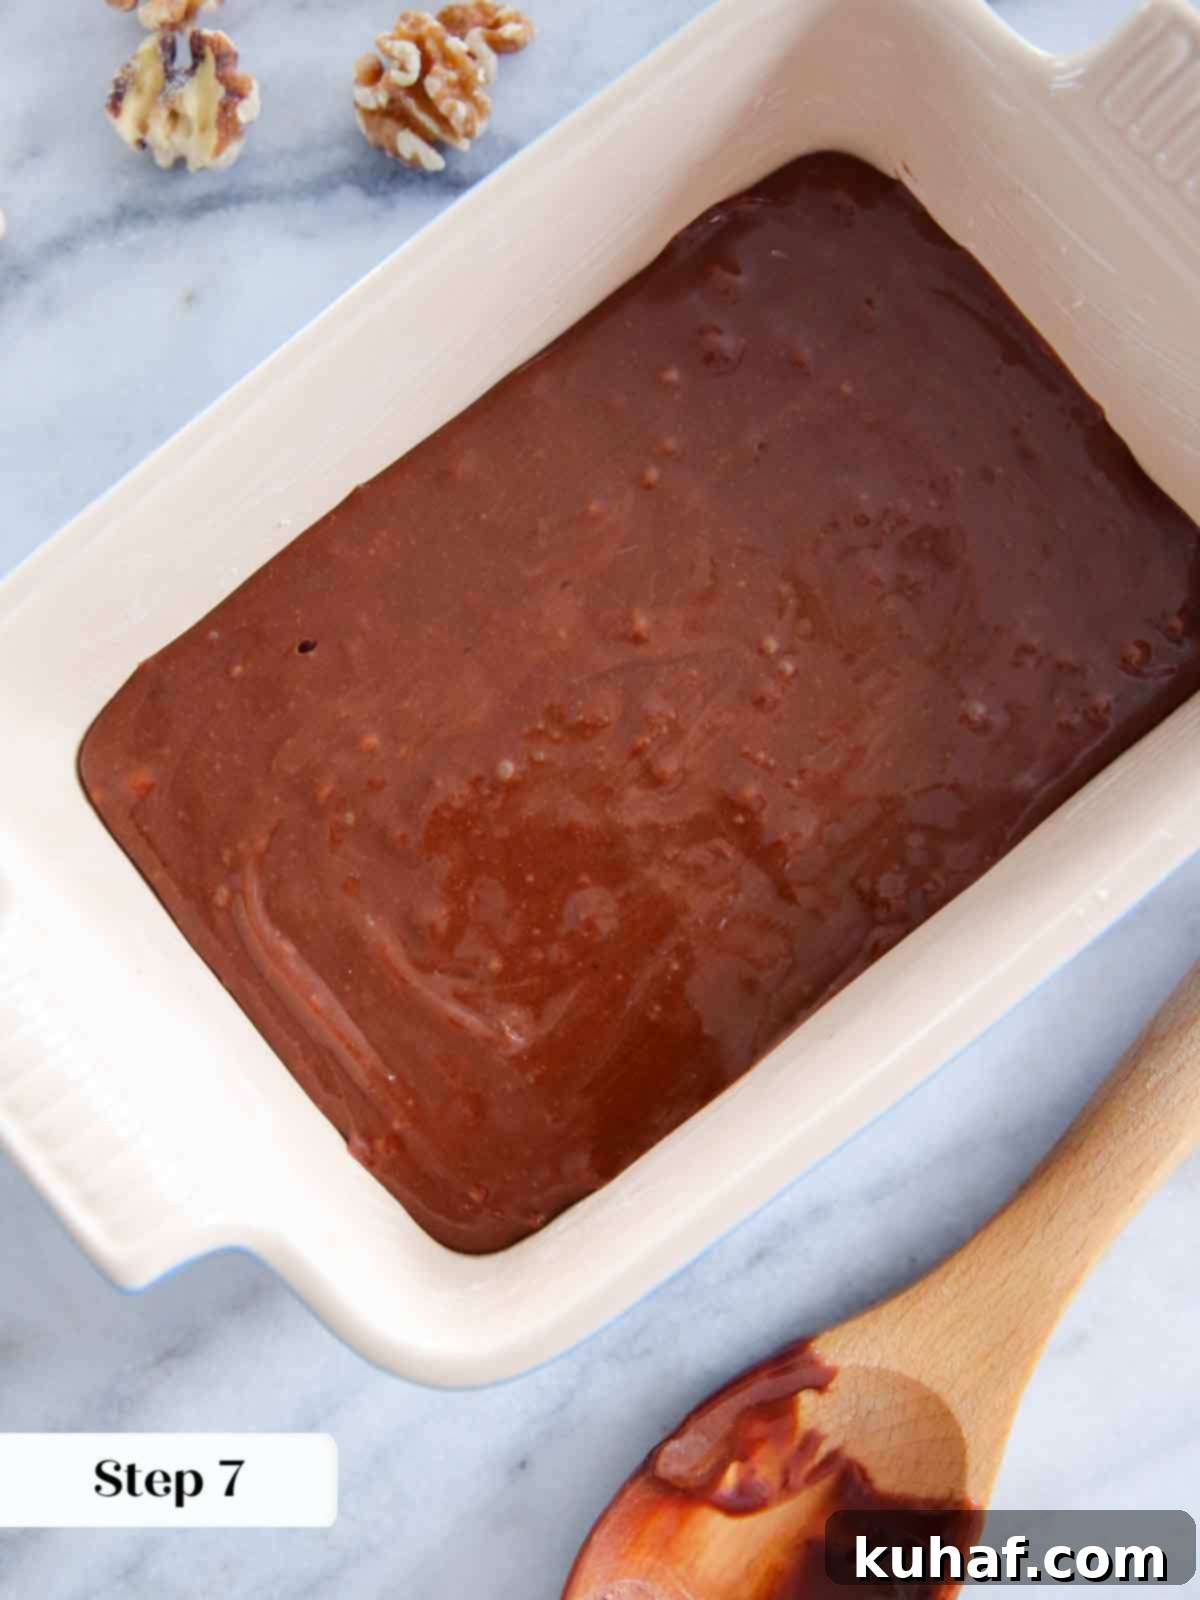
When the fudge has achieved the desired consistency (thick, mostly matte, and holding its shape), swiftly pour or push the mixture from the pot into your prepared baking dish. Again, resist the urge to scrape the sides of the pot, as these lingering sugar crystals can introduce graininess. Gently smooth out the surface of the fudge with a spatula.
Step 8: Score and Decorate (Optional)
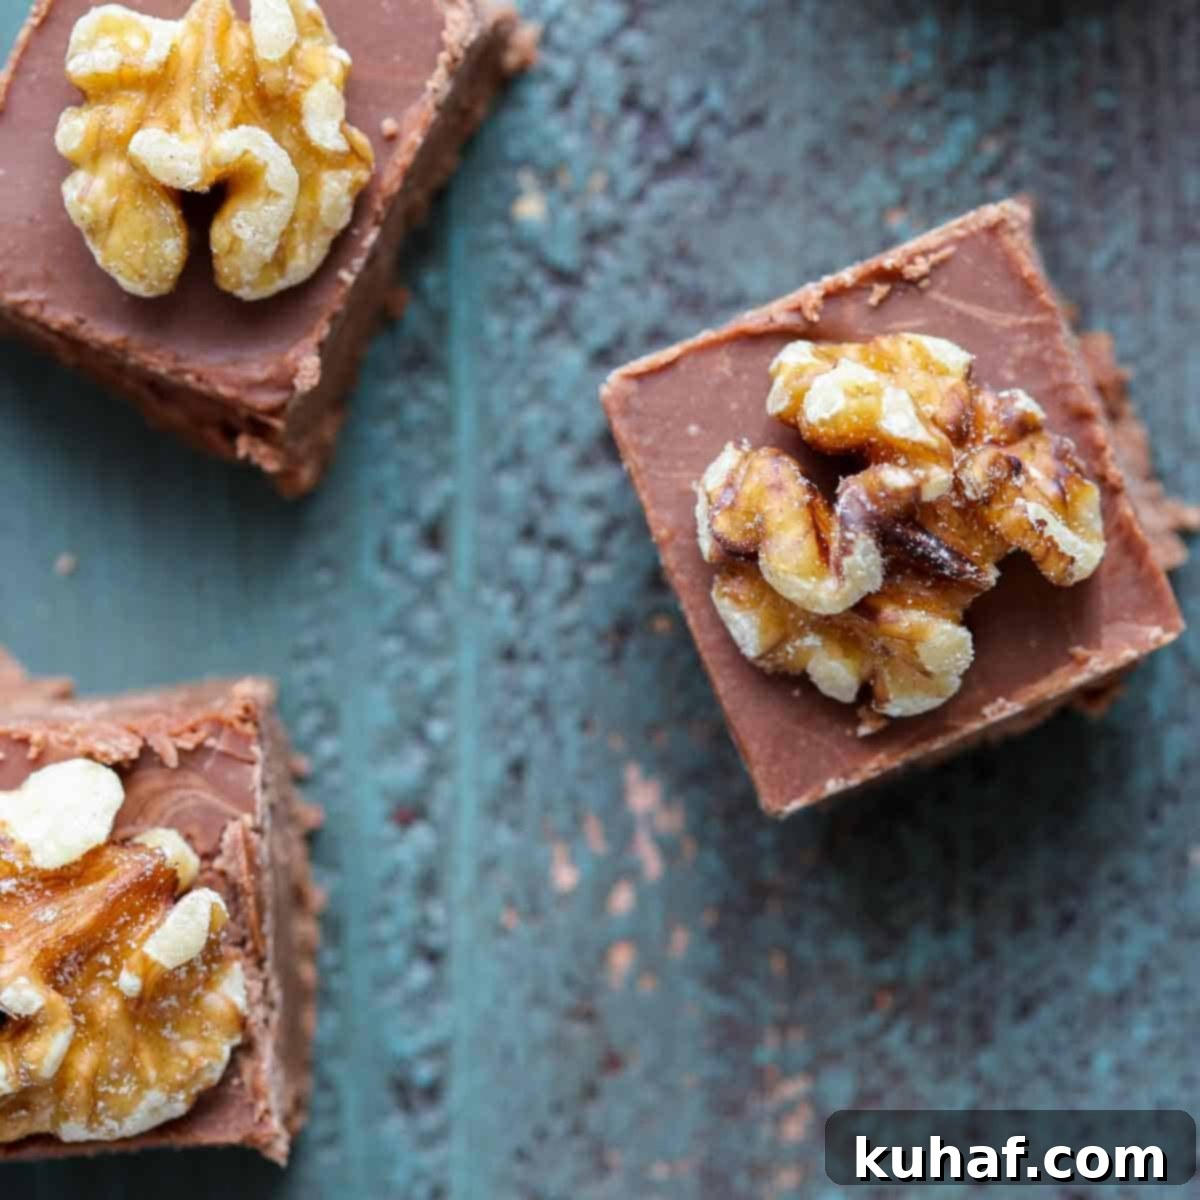
Before the fudge completely sets, use the tip of a knife to lightly score the surface, marking out your desired square sizes for neater slicing later. If you’re adding walnuts, gently press a perfect half-walnut onto the top of each scored square. Don’t stress over perfection; the homemade touch is part of the charm!
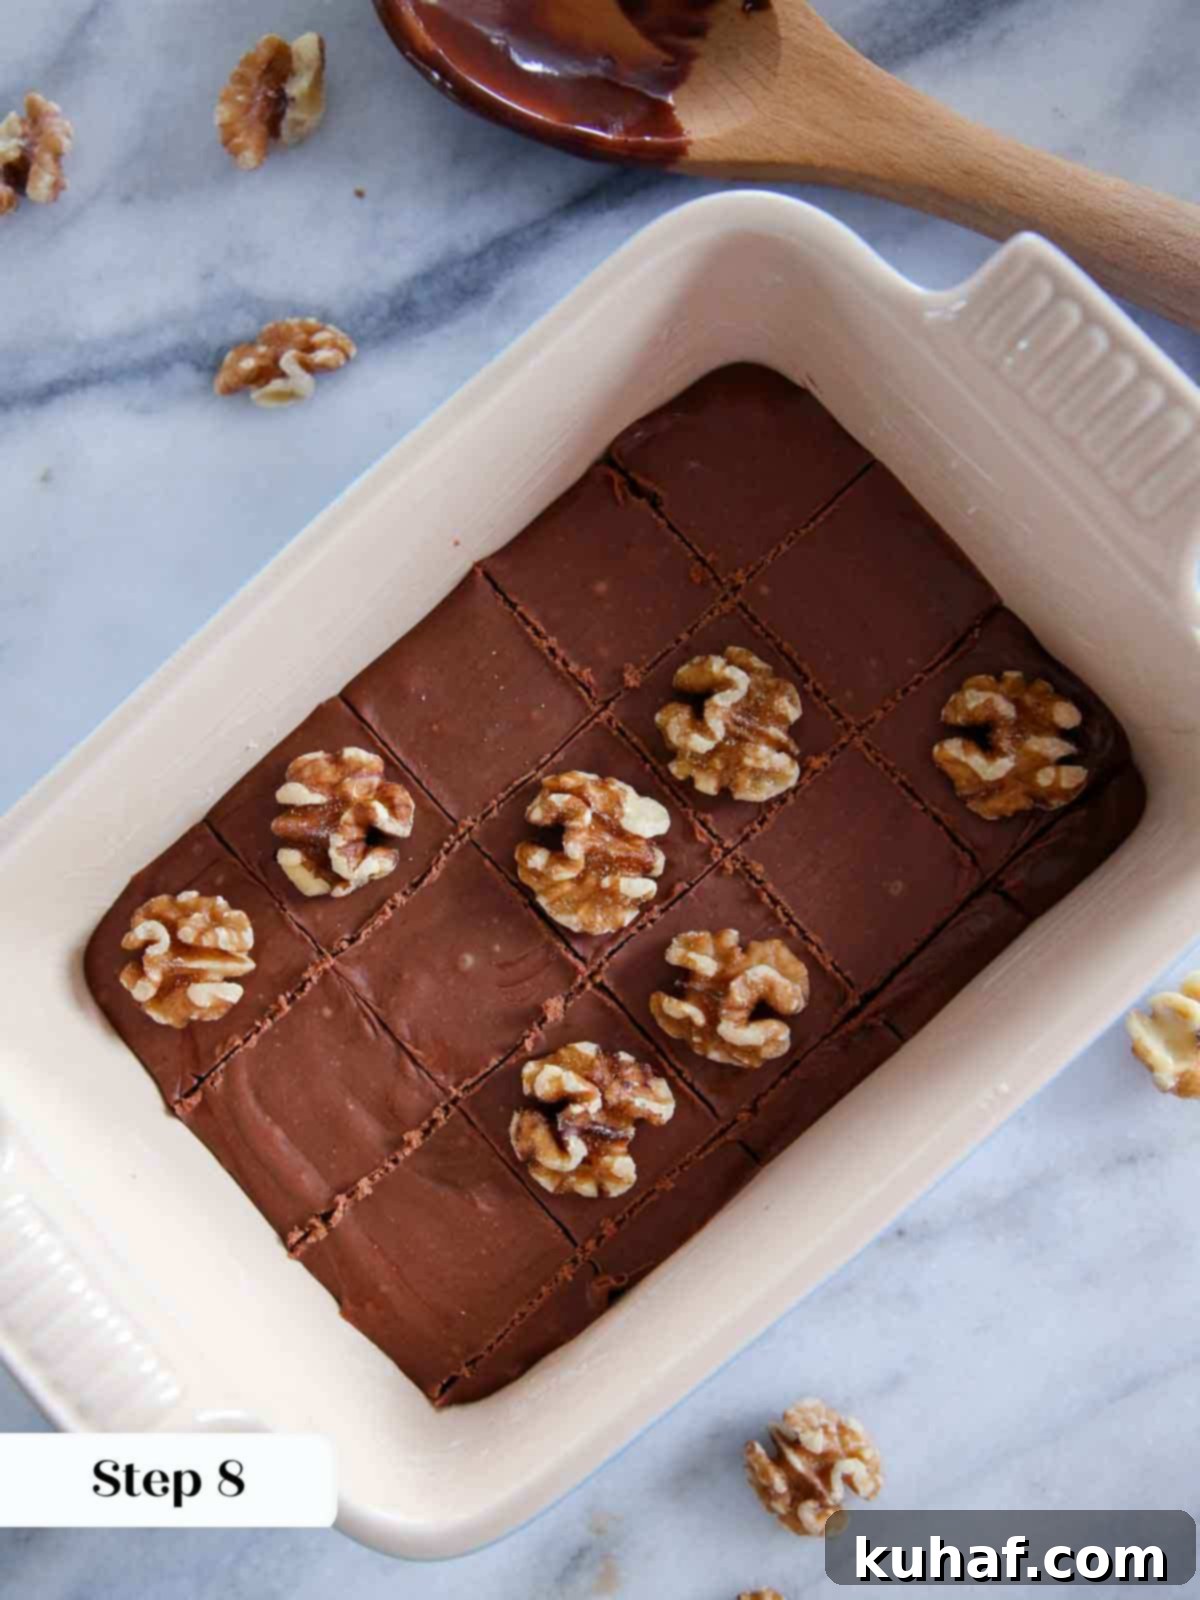
Step 9: Cool and Enjoy!
Allow the fudge to cool completely at room temperature until firm. Once fully set, cut along your score marks. Admire your beautiful handiwork – you’ve successfully made incredible homemade old-fashioned chocolate fudge! Bravo!
Chef Lindsey’s Recipe Tip: Calibrate Your Candy Thermometer!
Before beginning your fudge-making adventure, always check the calibration of your candy thermometer. Place it in actively boiling water; it should consistently read 212°F (100°C). Candy thermometers can be prone to inaccuracies over time or with drops, so a quick check can prevent recipe failures and save you a lot of effort!
Recipe FAQs: Your Fudge Questions Answered
Store your delicious fudge at room temperature in an airtight container. It will remain fresh and delightful for up to a month, though it tastes best within the first two weeks. For longer storage, fudge freezes exceptionally well. Wrap individual pieces tightly in plastic wrap, then place them in a freezer-safe bag or container. It can be frozen for up to 3 months; simply thaw at room temperature before serving.
Several factors can prevent fudge from setting. The most common culprits include an inaccurate candy thermometer (always calibrate it first!), not beating the fudge vigorously or long enough, high humidity on the day of preparation, or using low-fat ingredients (especially milk or butter), which alter the crucial fat-to-moisture balance. Patience and adherence to temperature guidelines are key.
Don’t despair if your fudge doesn’t achieve the ideal firm, chewy set! All is not lost. Even if it’s too soft or a bit grainy, you can transform it into a delicious fudge sauce to spoon generously over ice cream, pancakes, or waffles. It also makes a fantastic topping for cake, offering a rich, gooey delight despite its texture.
Recommended Chocolate Fudge Recipes & More
Cake Recipes
Chocolate Fudge Cake
Date Night
Chocolate Fudge Pie
Dessert Toppings & Sauces
Hot Fudge Sauce Recipe
Christmas Cookie Recipes
Easy Dark Chocolate Peppermint Fudge
If you tried this recipe and loved it, please leave a 🌟 star rating and let me know how it goes in the comments below. I love hearing from you; your comments make my day!
Old Fashioned Chocolate Fudge
Chef Lindsey
10 minutes
25 minutes
1 hour
35 minutes
15
Pieces
Saved
Pin Recipe
Comment
Print Recipe
Ingredients
-
2
tablespoons
unsalted butter
plus additional for the dish & pot -
2
cups
sugar -
¾
cups
milk -
2
oz
unsweetened chocolate
2, 1 oz squares, chopped -
½
teaspoon
kosher salt -
1
tablespoon
light corn syrup -
1
teaspoon
vanilla extract -
walnut halves
for finishing; optional
0
inch
4
x
6
inch
rectangle
Instructions
-
Butter the sides of a heavy, high-sided sauce pot generously. This is crucial because it creates a barrier preventing sugar from clinging to the sides as the fudge bubbles, which can cause unwanted crystals.
-
Also butter a 4×6-inch baking dish or loaf pan. For best results and easy removal, you might try lining it with parchment paper first and then buttering the parchment.
-
Combine sugar, milk, chopped chocolate, salt, corn syrup, and butter in the pot. Stir the mixture carefully until the sugar dissolves completely and it comes to a rolling boil over medium-high heat.
-
Attach a candy thermometer to the side of the pot, ensuring it doesn’t touch the bottom. Cook, without stirring or swirling, until the mixture reaches the soft-ball stage (236°F / 113°C). You can test by dropping a small spoonful in ice water; it should form a soft, pliable ball.
-
Remove from heat and let it cool undisturbed to 110°F (43°C). The bottom of the pan should feel comfortably warm to your hand. This undisturbed cooling is vital for smooth fudge.
-
Add the vanilla extract and begin beating vigorously with a wooden spoon. Maintain continuous beating without resting. Avoid scraping the sides of the pot to prevent crystallization.
-
Continue beating until the fudge begins to stiffen and gradually loses its gloss, becoming mostly matte. This process incorporates air and creates the characteristic chewy, fudgy texture.
-
Swiftly push the mixture from the pan into your prepared baking dish. Do not scrape the sides of the pot, as crystals there can ruin the texture. Smooth out the surface gently.
-
Lightly score the squares with the tip of a knife for neater slices later. Press a perfect walnut half into the top of each square before the fudge sets completely.
-
Once completely cool and firm, cut along the score marks. Admire your delicious homemade fudge!
Notes
Technique – Common mistakes that lead to soft or grainy fudge include an inaccurate candy thermometer (always test in boiling water first), not beating long or vigorously enough, high humidity, or using low-fat ingredients. Precision is key!
Variations – For added texture, stir in chopped nuts or mini marshmallows at the end of Step 6. You can also experiment with different flavor extracts like peppermint or coffee for unique twists.
Storage – Store your fudge at room temperature in an airtight container for up to a month. It’s freshest within the first 2 weeks. Fudge can also be frozen for up to 3 months; wrap tightly and thaw at room temperature.
Nutrition
Calories:
147
kcal
|
Carbohydrates:
29
g
|
Protein:
1
g
|
Fat:
4
g
|
Saturated Fat:
2
g
|
Polyunsaturated Fat:
1
g
|
Monounsaturated Fat:
1
g
|
Trans Fat:
1
g
|
Cholesterol:
5
mg
|
Sodium:
96
mg
|
Potassium:
51
mg
|
Fiber:
1
g
|
Sugar:
28
g
|
Vitamin A:
66
IU
|
Calcium:
20
mg
|
Iron:
1
mg
Candy & Chocolate
American
147
Like this? Leave a comment below!
Before You Go: Explore More Delicious Recipes
I hope you enjoyed this professional chef-tested recipe for old-fashioned chocolate fudge. Mastering homemade candy can be incredibly rewarding, and this recipe provides all the guidance you need. Don’t stop here! Be sure to check out our other delicious candy recipes for more sweet treats. You might also enjoy these 20 traditional Christmas cookies or discover creative homemade gift ideas perfect for any occasion.
