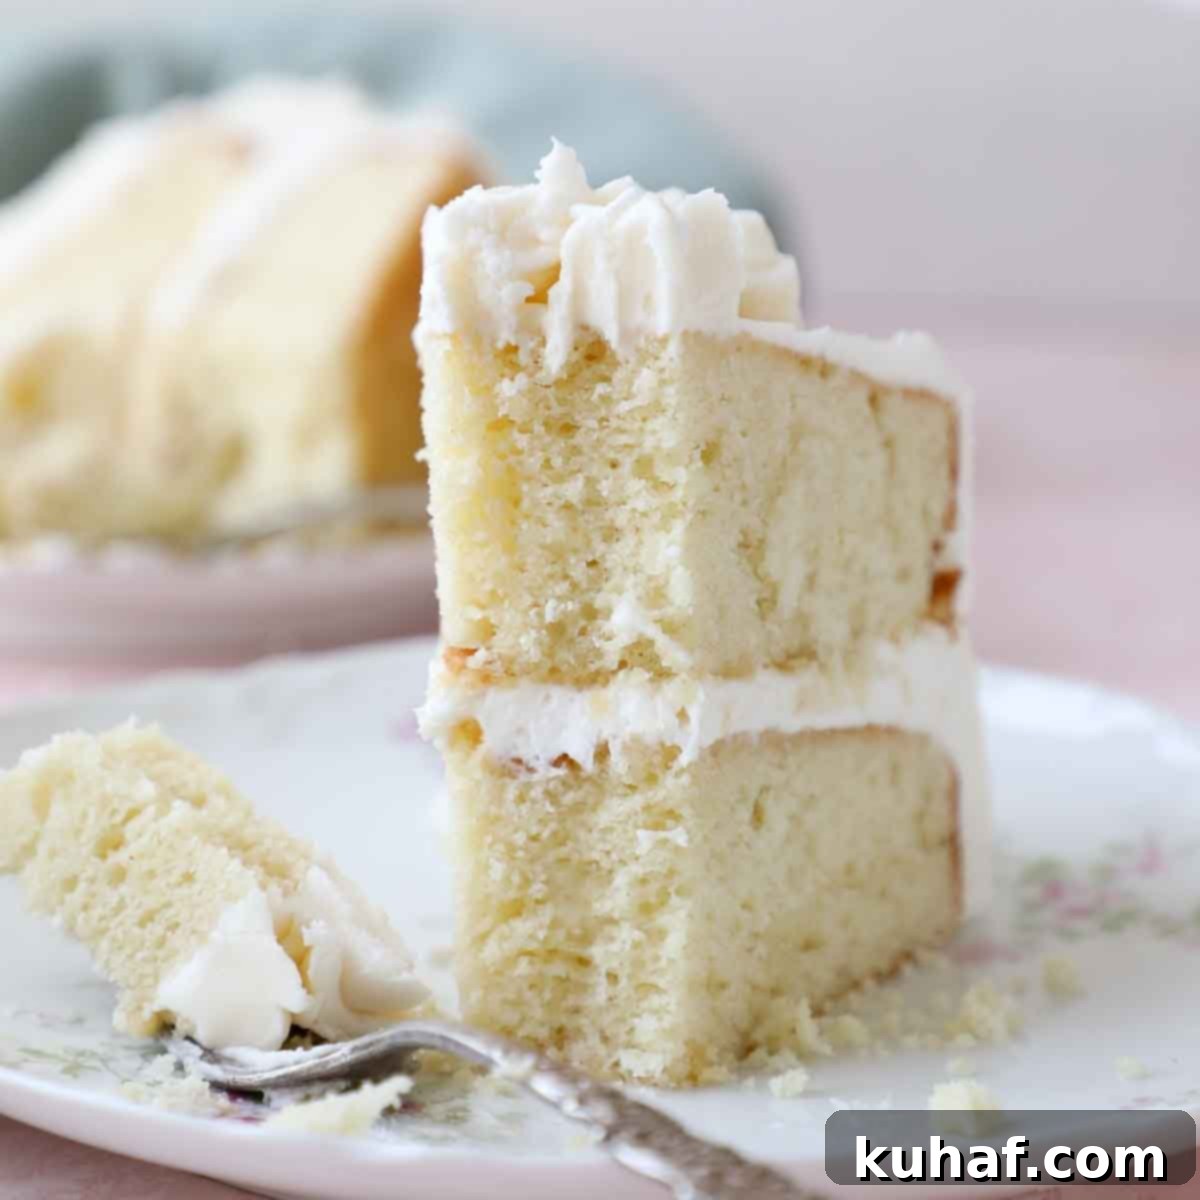
The Ultimate Moist Vanilla Cake Recipe: A Pastry Chef’s Secret for Perfect Layers and Silky Frosting
Unleash the secret to a truly exceptional moist vanilla cake recipe, meticulously perfected by a pastry chef over a decade. This recipe delivers a delicate, tender layer cake with an incredibly silky vanilla frosting, all thanks to the magic of sour cream. Designed for home bakers, this easy-to-follow guide ensures your cake remains wonderfully moist for days, boasting an unparalleled rich vanilla flavor.
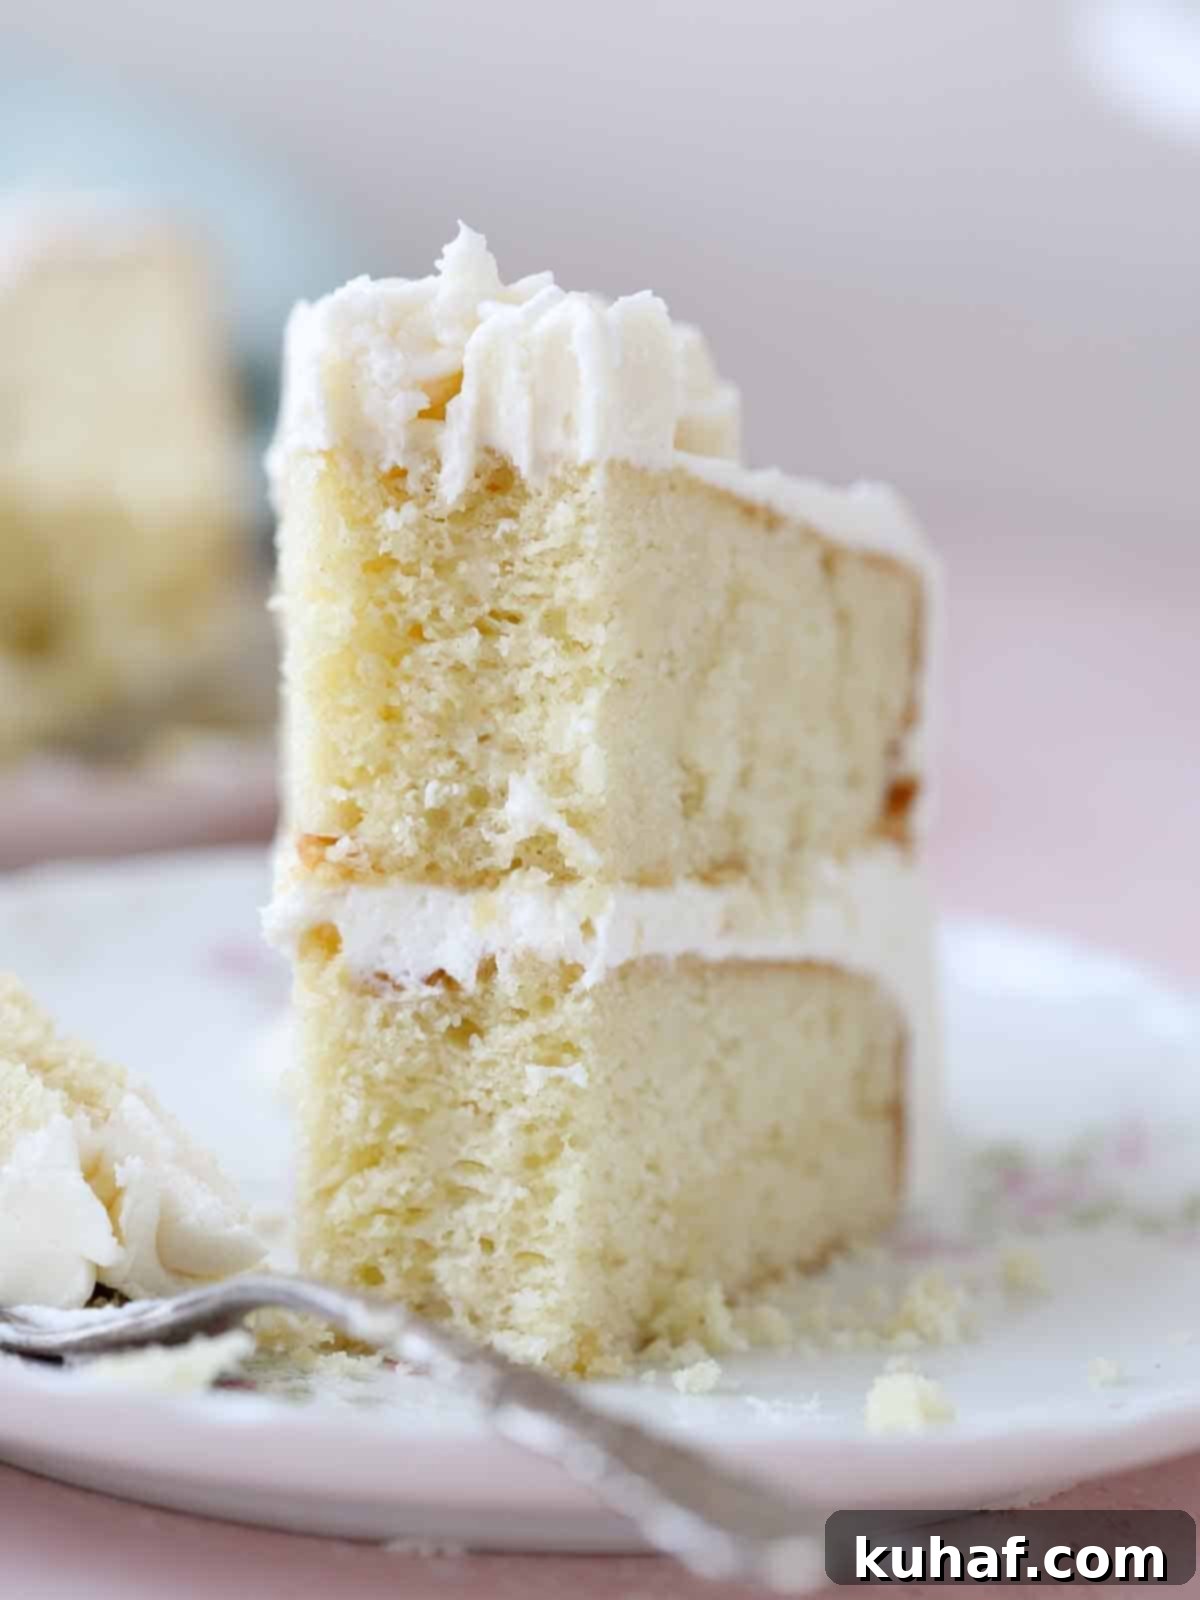
For those familiar with my professional journey, you know my unwavering commitment to perfecting recipes. This particular moist vanilla cake recipe has been a labor of love, undergoing refinement for over ten years. Its foundational principles were first shared in my American flag cake and served as the delicious base for my popular funfetti cake recipe. What sets it apart is its consistently light, fluffy texture and an irresistibly moist crumb that makes every bite a pure delight.
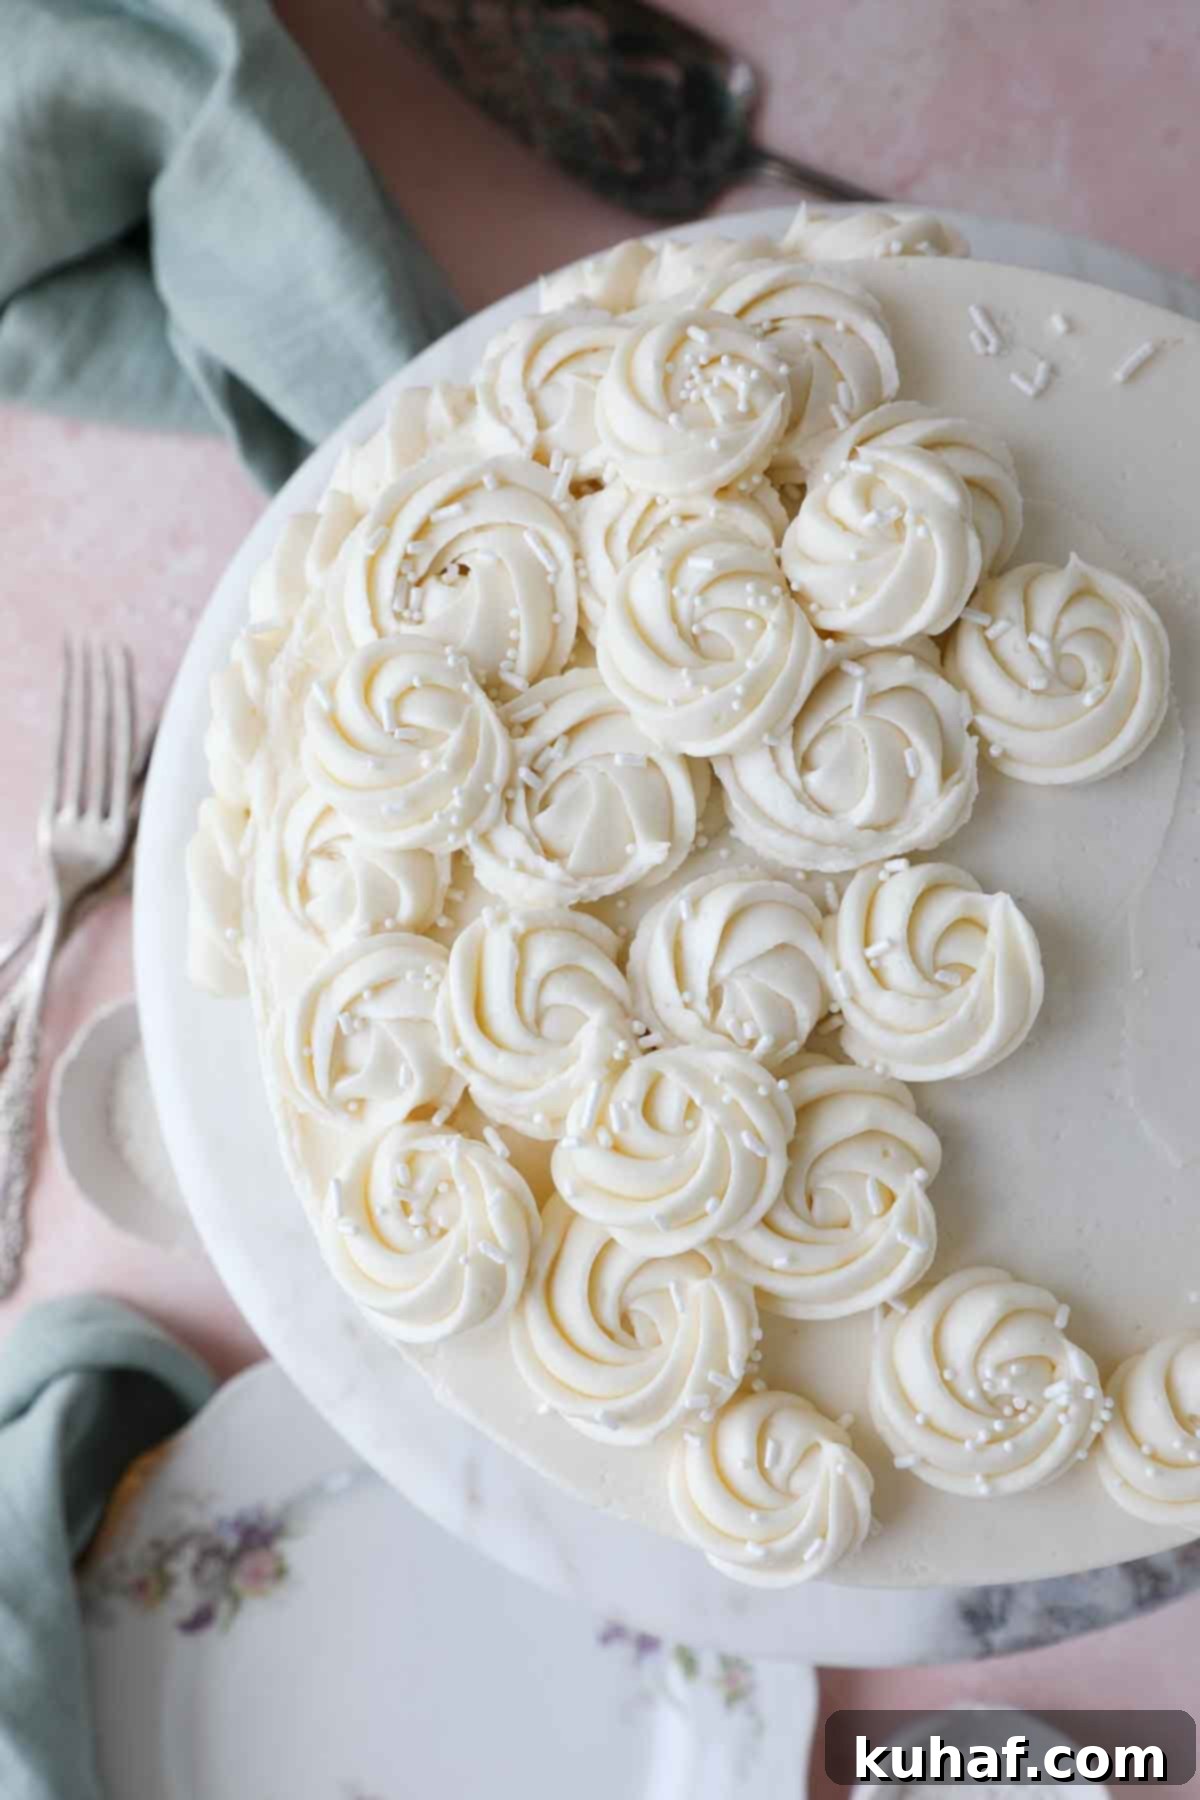
Today, this exceptional vanilla cake finally takes center stage as a classic layer cake, elegantly paired with my signature vanilla American buttercream frosting recipe. Adorned with delicate swirls and a touch of sprinkles, this cake is a celebration in itself. It stands proudly alongside other beloved cake creations, such as my moist yellow cake, the effortlessly delicious one-bowl chocolate cake, and the surprisingly zesty lemon olive oil cake.
Table of Contents
- Why This is the Best Vanilla Cake Recipe
- Professional Tips for Making Perfect Vanilla Cake
- Ingredients & Substitutions for a Perfect Vanilla Cake
- Inspiring Flavor Variation Ideas for Your Vanilla Cake
- How to Make Moist Vanilla Cake with Vanilla Buttercream Frosting
- Mastering Vanilla Cake Decoration
- Frequently Asked Questions About Vanilla Cake
- Moist Vanilla Cake Recipe Card
- Before You Go: Explore More Delicious Recipes
Why This is the Best Vanilla Cake Recipe You’ll Ever Make
This isn’t just another vanilla cake recipe; it’s a culmination of years of professional baking expertise, thoughtfully adapted for your home kitchen. Here’s what makes it truly outstanding:
- A Professional Recipe, Perfected for Home Baking. My goal was to take a truly exceptional, chef-level recipe and simplify it without compromising on quality or flavor. I’ve adjusted techniques and measurements to make it accessible for any home cook, using common pantry staples and straightforward steps. You get the benefit of professional-grade results with the ease of home baking.
- Incredibly Moist, Richly Flavorful Cake with a Simple Mixing Method. The result is a consistently light, airy, and moist crumb that practically melts in your mouth, infused with a deep, authentic vanilla flavor. Despite its delicate texture, this recipe uses the classic creaming method, proving that you don’t need complex techniques for a superior cake. Whether you bake it as a grand 9×13 inch sheet cake, elegant 9-inch round layers, or adorable vanilla cupcakes, the outcome is always magnificent.
- A Truly Versatile Vanilla Cake Recipe. This vanilla cake is a blank canvas for your creativity. Its robust structure and adaptable flavor profile allow for endless variations. Beyond baking it in various pan sizes, you can transform its character with any buttercream recipe you desire. Imagine it with a rich chocolate buttercream frosting, a sophisticated Italian meringue buttercream, or a decadent caramel Swiss meringue buttercream. For an extra layer of delight, consider adding fillings like homemade berry jam, sweet strawberry jam, or luxurious salted caramel sauce between your layers.
Professional Tips for Making Perfect Moist Vanilla Cake Every Time
Achieving a bakery-quality vanilla cake at home is entirely possible with these essential tips from a pastry chef. These small details make a significant difference in the final texture and flavor of your cake.
- Room Temperature Ingredients are Non-Negotiable. Let’s reiterate this crucial point: always use room temperature ingredients! This isn’t just a suggestion; it’s fundamental to creating an emulsified, smooth batter. When butter, eggs, milk, and sour cream are at room temperature, they combine seamlessly, trapping air more efficiently and resulting in a cake with a consistently moist, tender, and evenly textured crumb. Cold ingredients will cause the batter to curdle and bake unevenly, leading to a denser, less desirable cake.
- Cool Yet Pliable Butter is Your Best Friend. The ideal butter temperature is “cool to the touch but still pliable” – think around 68°F (20°C). If your butter is too cold, it won’t cream properly with the sugar. If it’s too soft or melted, it won’t be able to hold enough air, leading to a dense cake. In a warm kitchen, you’ll need to decrease your creaming time to prevent over-creaming, which can also incorporate too much air initially, leading to a cake that rises quickly and then falls, or has a dry texture. Aim for butter that holds an indent when pressed but doesn’t feel greasy.
- Utilize a Simple Syrup Soak for Unbeatable Moisture. For an extraordinary boost in moisture and an extended shelf life, don’t skip the simple syrup soak. To make it, simply bring ½ cup sugar and ½ cup water to a boil, then cool completely to room temperature. Lightly brush this syrup onto the top of each cooled cake layer before assembling. This not only keeps the cake incredibly moist but also prevents it from drying out over several days. For an extra flavor dimension, infuse the simple syrup with a splash of lemon juice, orange juice, a hint of rosewater, or your favorite alcohol like bourbon, rum, or Grand Marnier.
- Do Not Overmix the Batter. Once you’ve added the dry ingredients to the wet, mix just until combined. Overmixing develops the gluten in the flour, which can lead to a tough, chewy cake rather than the desired delicate, tender crumb. A few lumps are perfectly fine and will disappear during baking. I often finish the last few folds by hand with a spatula to ensure gentle incorporation.
- Know Your Oven. Ovens can vary significantly in temperature. Investing in an oven thermometer is a small step that can make a huge difference. Preheat your oven fully before placing the cake inside, and avoid opening the oven door unnecessarily during the first two-thirds of the baking time, as this can cause the cake to collapse.
Key Ingredients & Smart Substitutions for Your Vanilla Cake
Each ingredient in this moist vanilla cake recipe plays a vital role in achieving its perfect texture and rich flavor. Understanding their purpose will help you make the best choices and smart substitutions if needed.
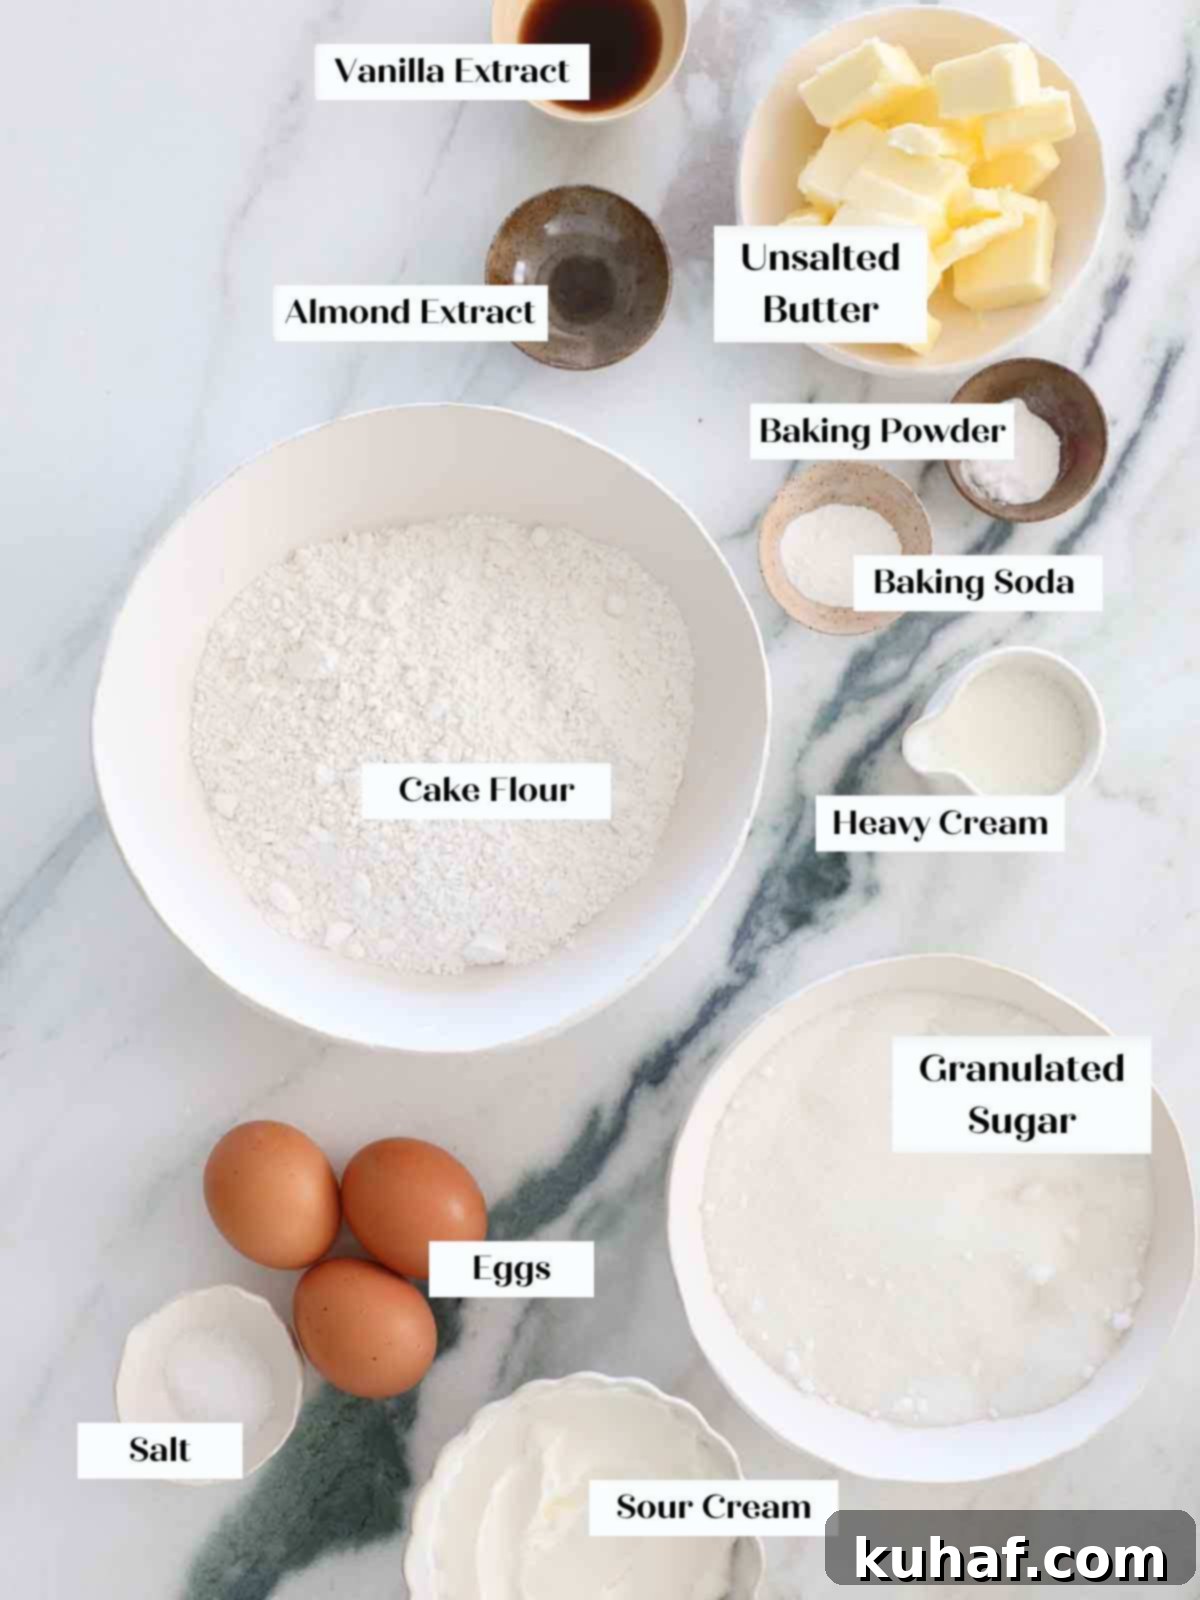
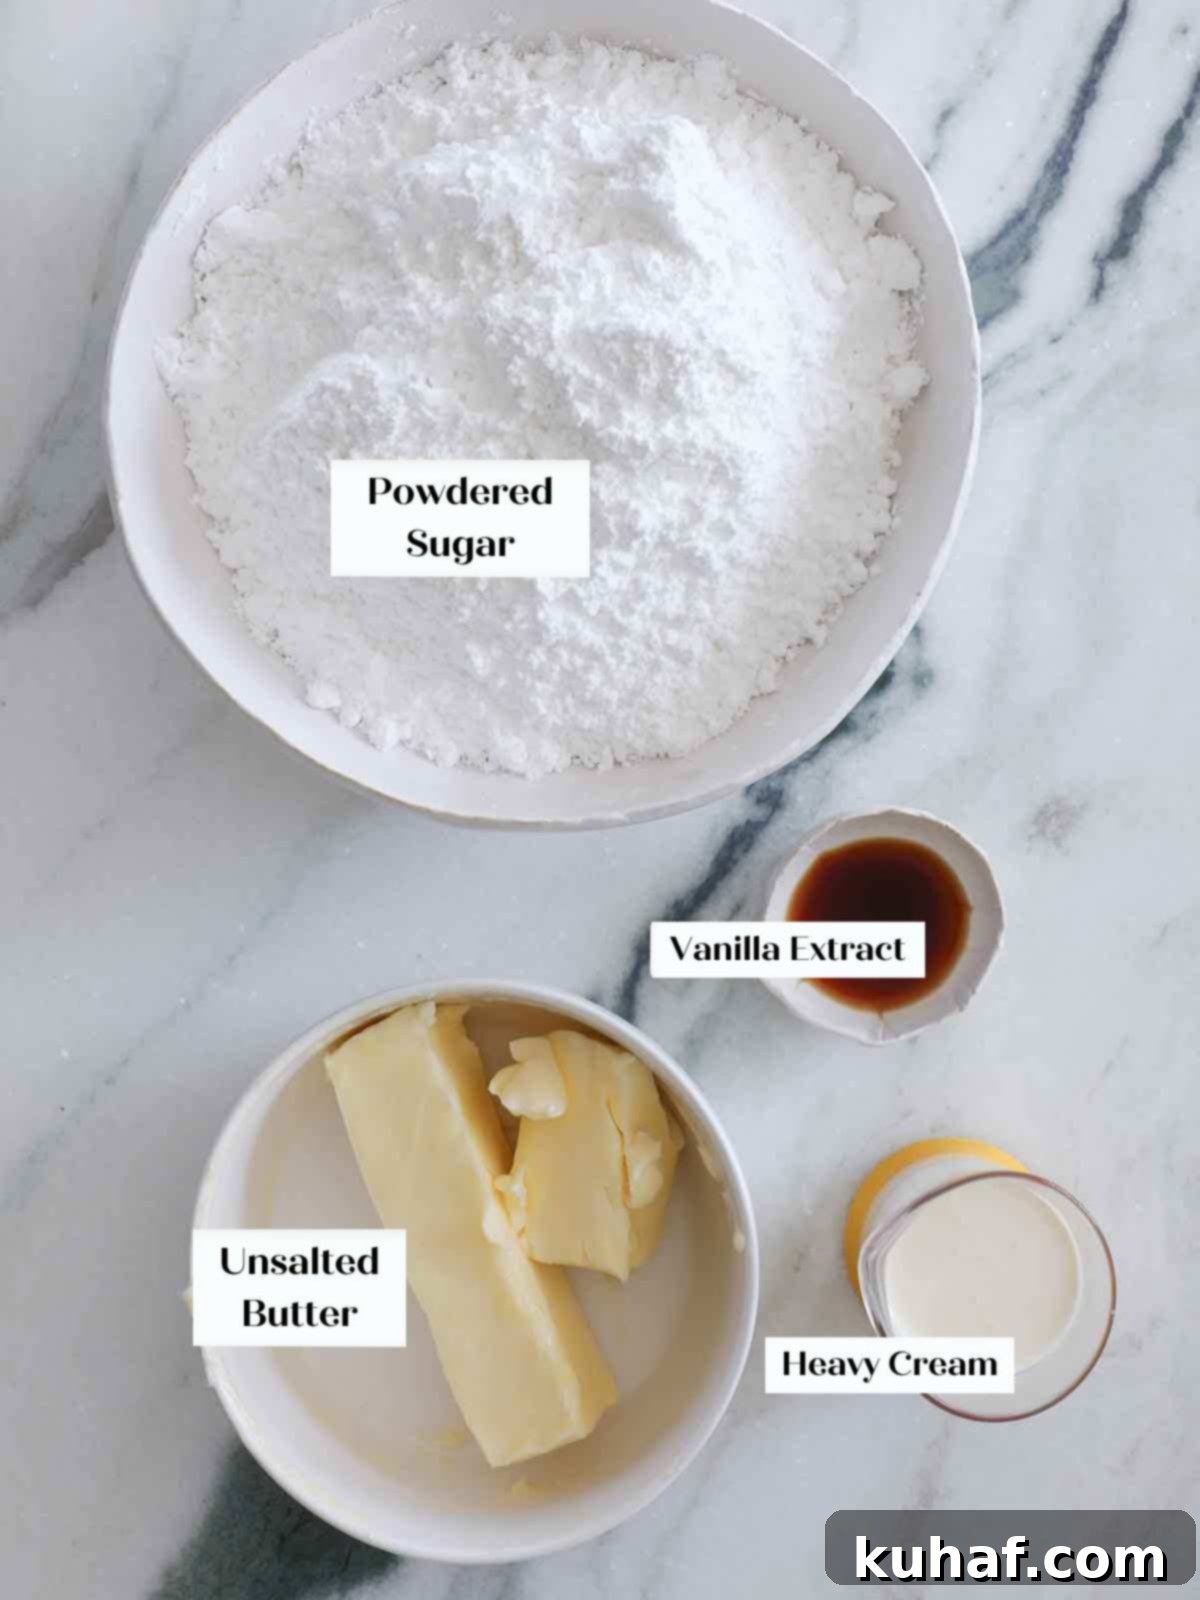
- Unsalted Butter: The cornerstone of a rich, flavorful cake. Using cool yet pliable butter (as discussed in the tips) is essential. It incorporates beautifully into the batter, allowing for maximum air trapping during the creaming process with sugar, which is critical for the cake’s light volume and tender texture. Avoid using salted butter unless you adjust the added salt content in the recipe.
- Granulated Sugar: Beyond sweetness, sugar plays a vital role in moisture retention and contributes to the golden crust of the cake. When creamed with butter, its crystalline structure helps aerate the mixture.
- Large Eggs: I specifically use whole large eggs for this recipe because they provide crucial moisture and fat, essential for a rich, tender crumb. They also contribute to the cake’s structure and aid in leavening. Since this is a butter-based cake, the richness from the whole eggs is desired, differentiating it from lighter cakes that might use whipped egg whites, such as my white cake recipe.
- Vanilla Extract: As the primary flavor, the quality of your vanilla extract is paramount. Choose a high-quality pure vanilla extract that you genuinely enjoy. I’m particularly fond of Nielson Massey’s vanilla extract for its depth and authenticity.
- Almond Extract: Just a hint of almond extract elevates this cake from “great” to truly “WOW!” It enhances the vanilla, adding a subtle complexity without overpowering the main flavor. If you’re not a fan of almond, you can certainly omit it.
- Sour Cream: This is one of the magic ingredients for ultimate moisture and tenderness! Full-fat sour cream adds a pleasant tang and a luxurious, soft texture to the cake. The fat content contributes to richness, while the acidity helps activate the baking soda for a better rise. Substitution: Full-fat Greek yogurt can be used as a direct substitute for a similar effect. If you don’t have sour cream, you might consider following my vanilla cupcake recipe, which achieves incredible moisture using only whole milk.
- Whole Milk: The fat in whole milk is key for contributing to the cake’s flavor, richness, and maintaining that moist, tender crumb. Skim or low-fat milk will yield a less flavorful and potentially drier cake.
- Cake Flour: Cake flour is an essential component for this recipe’s signature delicate and fluffy texture. It has a lower protein content than all-purpose flour, which means less gluten development and a more tender crumb. Substitution: If you don’t have cake flour, you can create a reasonable substitute: for every 1 cup of cake flour, measure out 1 cup of all-purpose flour, remove 2 tablespoons, and replace them with 2 tablespoons of cornstarch. Sift this mixture together twice before using. This helps to reduce the overall protein content.
- Baking Powder & Baking Soda: This recipe employs a strategic combination of both baking powder and baking soda. Baking soda reacts immediately with the acidity of the sour cream, providing an initial burst of volume. The double-acting baking powder then provides a more sustained, even rise as the cake bakes, ensuring a beautifully domed and light structure.
- Kosher Salt: Kosher salt is crucial for balancing the sweetness and enhancing all the flavors in the cake. Be mindful of the type of salt you use; kosher salt has larger granules and is less salty by volume than table salt or sea salt. If using fine sea salt or table salt, reduce the amount by half to prevent your cake from becoming overly salty.
For precise quantities and a complete list, please refer to the comprehensive recipe card below.
Inspiring Flavor Variation Ideas for Your Vanilla Cake
This moist vanilla cake recipe is a foundation for endless culinary creativity! Feel free to mix and match these ideas to create your signature dessert.
- Customize the Cake’s Base Flavor:
- Citrus Zest: For a bright, subtle lemon or orange flavor, add finely grated lemon or orange zest directly to the granulated sugar before creaming it with the butter. The sugar helps to release the oils from the zest, intensifying the citrus aroma.
- Other Extracts: Swap out or add a different extract. A touch of lemon, orange, or even a floral rosewater extract can introduce exciting new dimensions.
- Funfetti Fun: Transform it into a celebration cake by gently folding in colorful sprinkles, just as I did with my popular Funfetti cake! Add them at the very end of mixing to prevent the colors from bleeding.
- Elevate with a Flavored Simple Syrup:
- Citrus Burst: Infuse your simple syrup (½ cup sugar, ½ cup water, boiled and cooled) with fresh lemon, lime, or orange juice for an invigorating citrus kick.
- Adult Indulgence: For a sophisticated twist, add a splash of your favorite liquor to the cooled simple syrup. Options like Bourbon for warmth, Chambord for raspberry notes, Frangelico for a nutty essence, or Grand Marnier for an orange liqueur touch work beautifully.
- Herbal or Floral Notes: Simmer a sprig of fresh rosemary, thyme, or a few dried lavender buds in the simple syrup while it boils, then strain before cooling for a unique aromatic experience.
- Layer in Decadent Fillings:
- Fruit Jams: A thin layer of vibrant jam such as easy strawberry jam, luscious mixed berry jam, or tangy raspberry jam adds a delightful burst of fruitiness between your buttercream layers.
- Curds and Sauces: For a richer or looser filling like bright lemon curd, rich ganache, or gooey salted caramel sauce, pipe a sturdy ring of buttercream around the edge of each cake layer before spooning in the filling. This “dam” acts as a barrier, preventing the filling from seeping out when the next layer is added.
- Unexpected Delights: Consider other fillings like smooth chocolate ganache, a rich pastry cream, or even fluffy marshmallow fluff for a unique texture and flavor experience.
- Transform the Frosting Flavor:
- Cream Cheese Classic: A tangy cream cheese buttercream offers a delightful contrast to the sweet vanilla cake.
- Fruity Freshness: Brighten your cake with a zesty lemon buttercream or infuse your vanilla buttercream with an easy strawberry sauce.
- Old-Fashioned Charm: For a nostalgic touch, try a fluffy ermine frosting.
- Chocolate Lover’s Dream: A rich chocolate buttercream frosting creates a classic and beloved pairing.
- Meringue Buttercreams: As a personal favorite, especially for my husband, I often opt for a luxurious Italian meringue buttercream or a silky Swiss meringue buttercream, flavored generously with vanilla extract and real vanilla bean specks. These can also be flavored with other additions like melted chocolate, luscious lemon curd, or creamy caramel sauce.
How to Make Moist Vanilla Cake with Vanilla Buttercream Frosting: A Step-by-Step Guide
Follow these detailed instructions to achieve a perfectly moist vanilla cake with luscious vanilla buttercream every time. For exact measurements and additional notes, please refer to the recipe card below.
Make the Cake Layers:
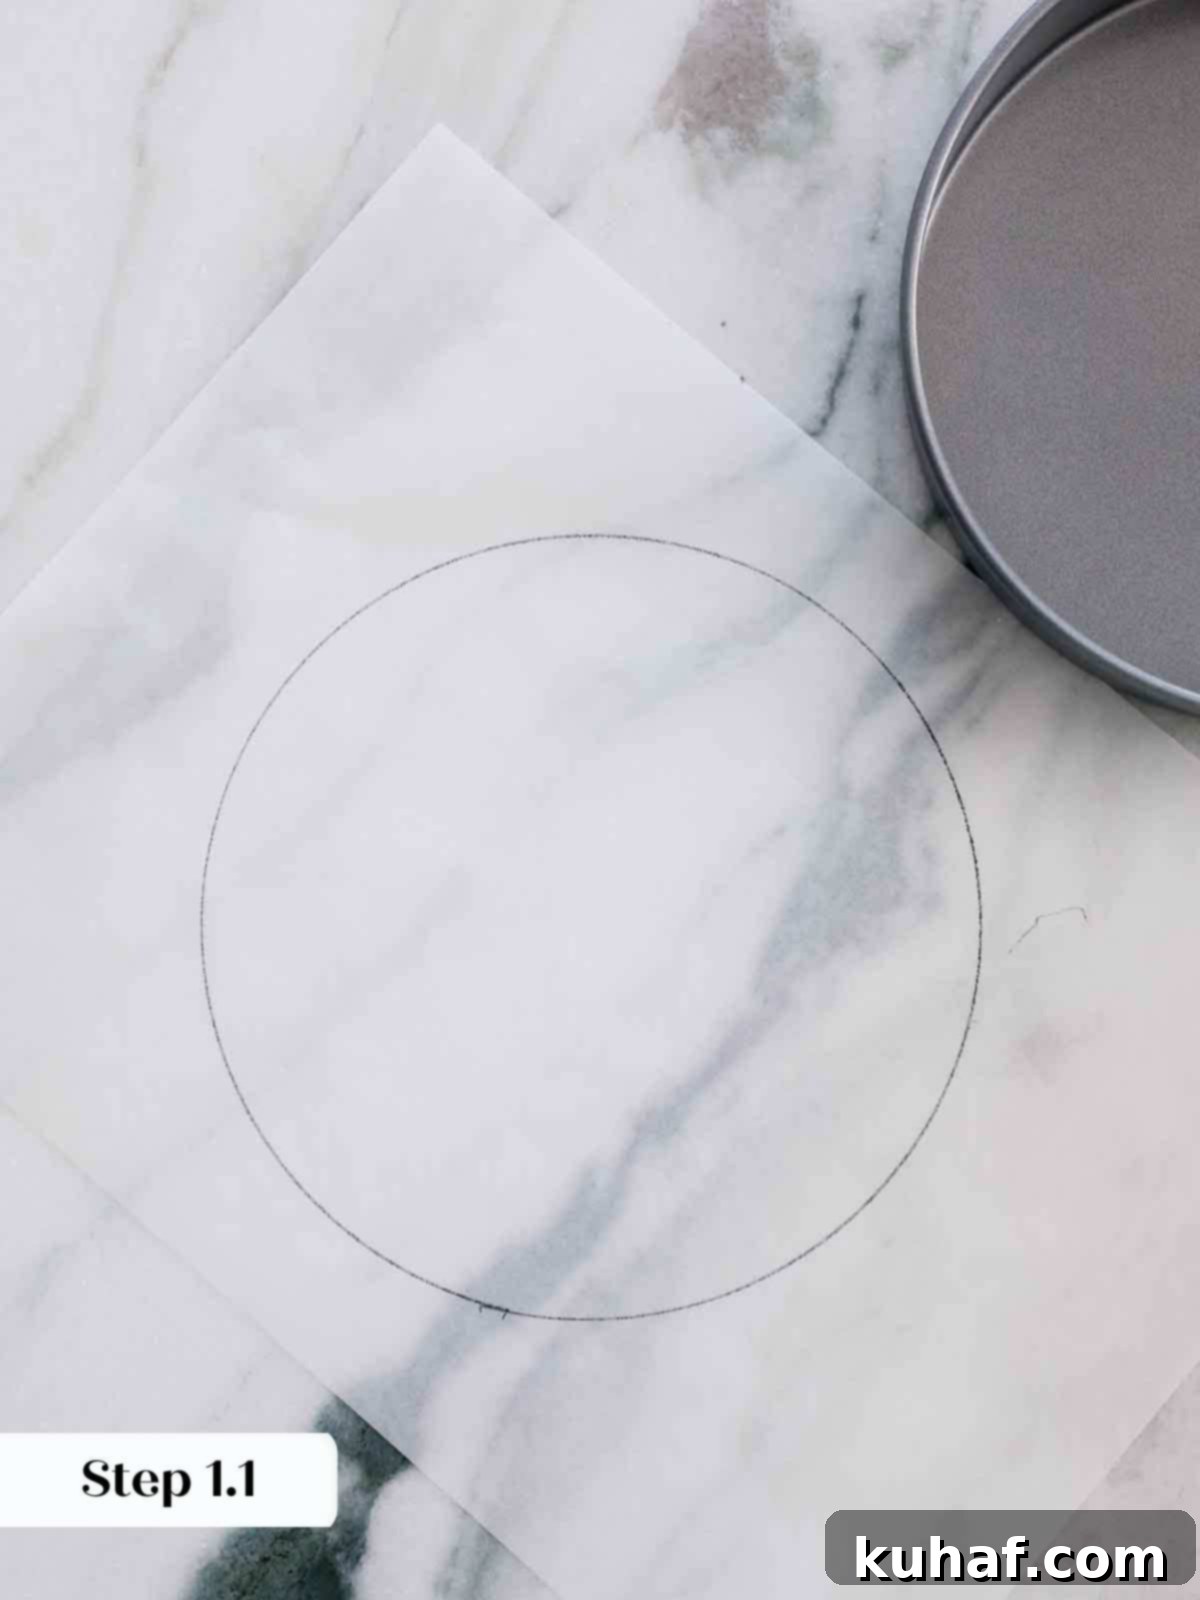
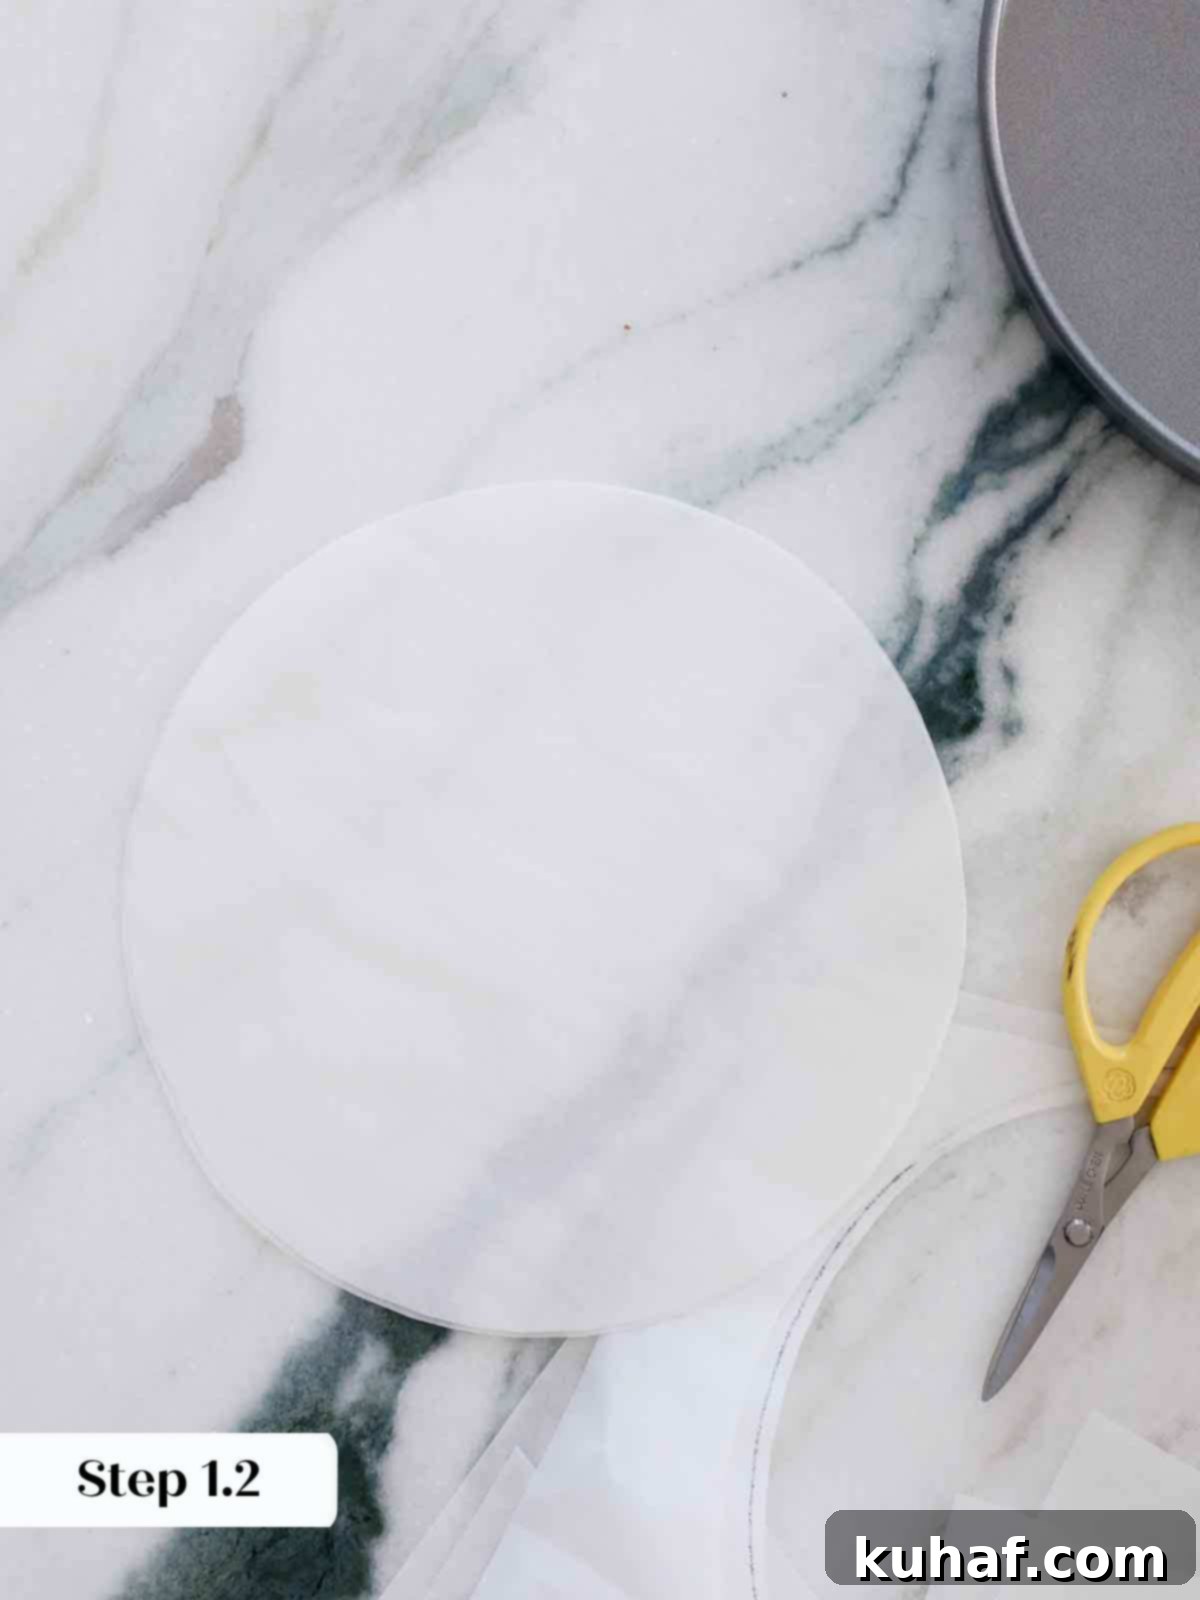
Step 1: Prepare Your Pans. Preheat your oven to 350°F (175°C), whether you’re using a convection or regular oven. Generously spray two 9-inch round cake pans with non-stick cooking spray. For easy release and to prevent sticking, line the bottom of each pan with a parchment paper circle. To do this, trace the outline of your cake pan onto parchment paper, then cut just inside your marks. This ensures the parchment doesn’t extend up the sides and interfere with the cake’s rise.
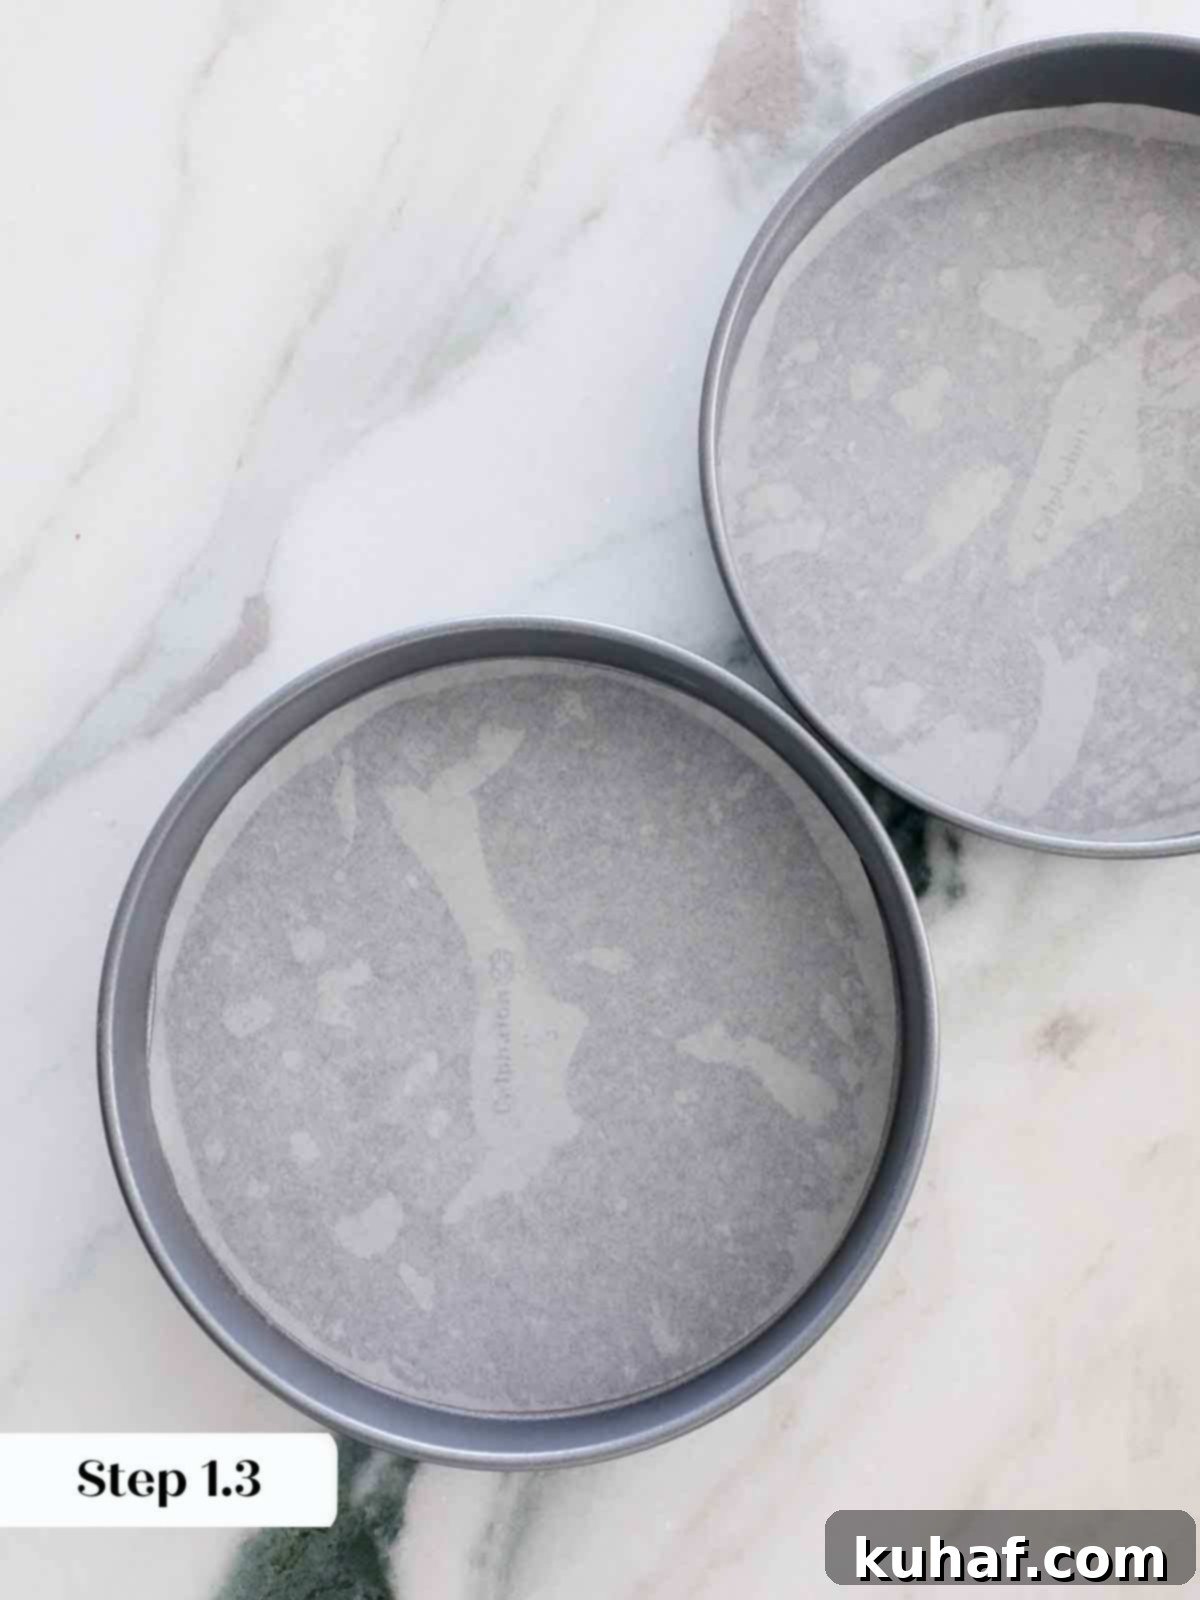
Remember: All ingredients should be at room temperature for optimal emulsification and cake texture.
Step 2: Dry and Wet Preparations. In a medium bowl, sift together the cake flour, baking powder, baking soda, and kosher salt. Sifting removes lumps and aerates the flour, resulting in a lighter cake. In a separate, smaller bowl, whisk together the sour cream and whole milk until fully combined. Set both mixtures aside.
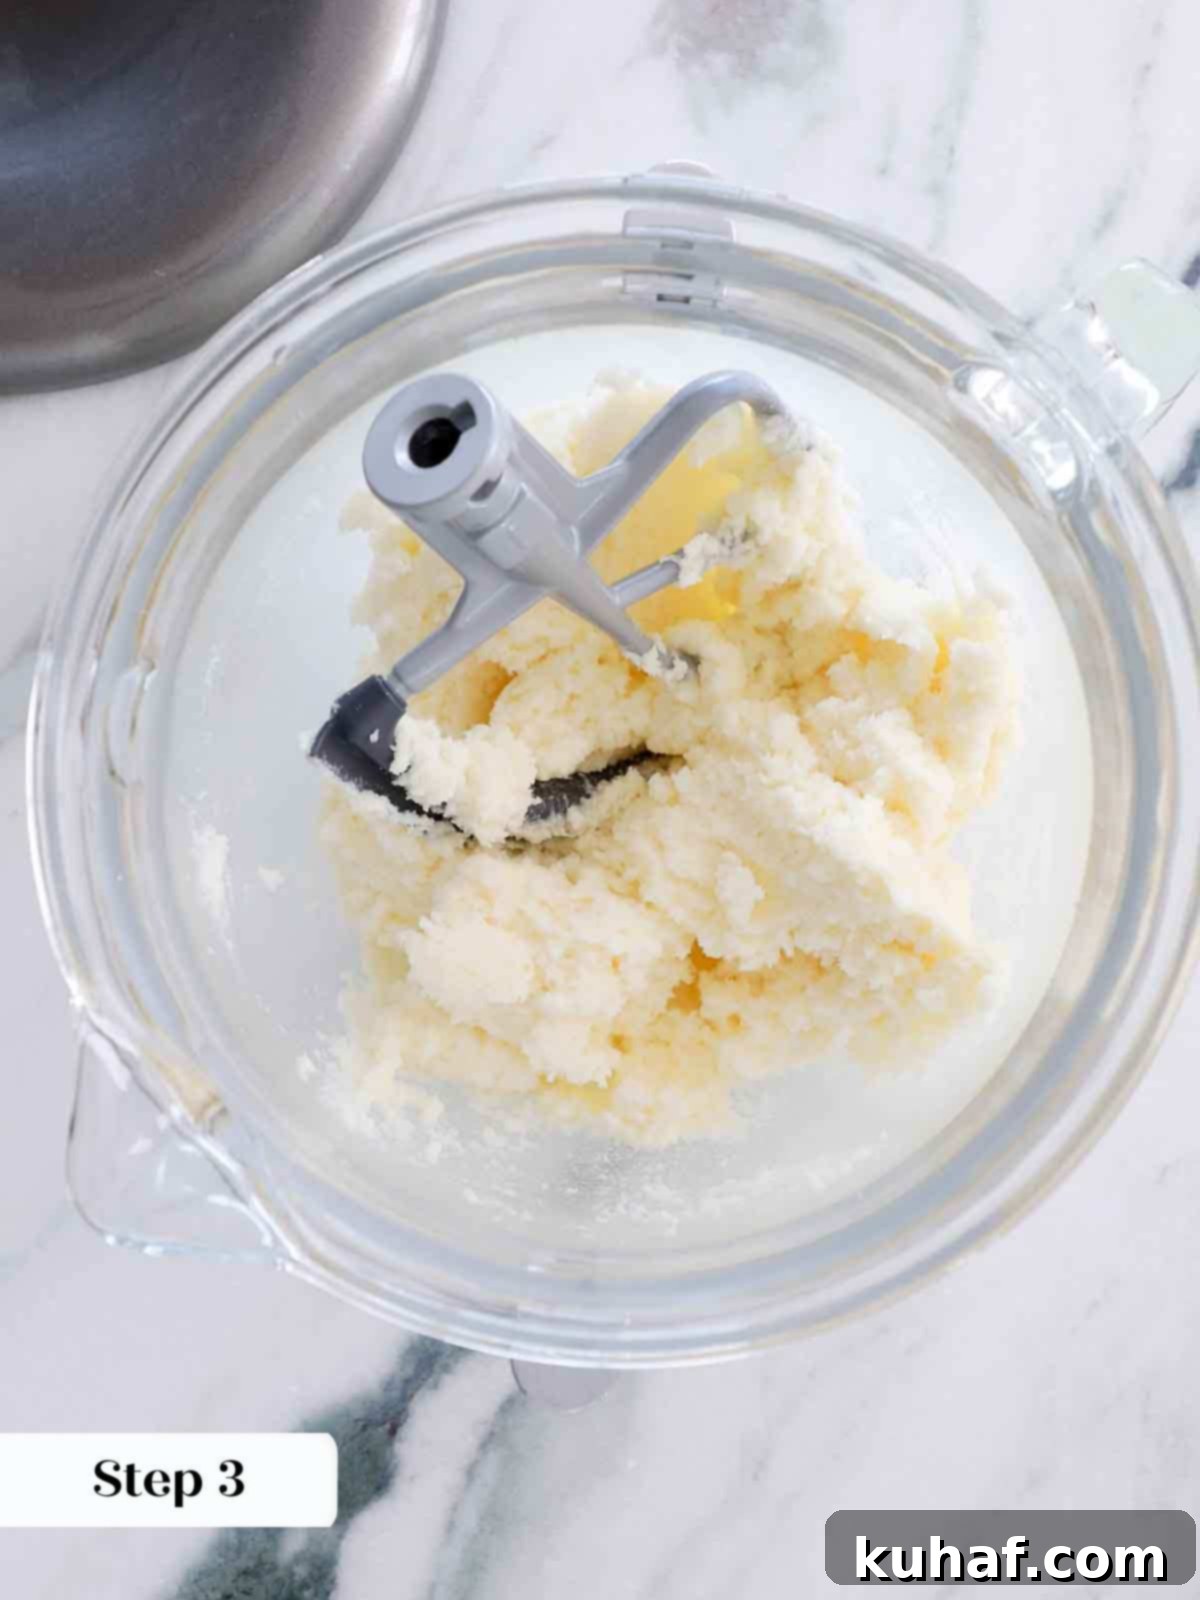
Step 3: Cream Butter and Sugar. In the bowl of a stand mixer fitted with the paddle attachment (or using a hand mixer and a large bowl), cream the room temperature unsalted butter and granulated sugar together. Beat on medium-high speed until the mixture is visibly lightened in color and fluffy, typically 3-5 minutes. This step incorporates air, which is crucial for the cake’s rise and tender crumb.
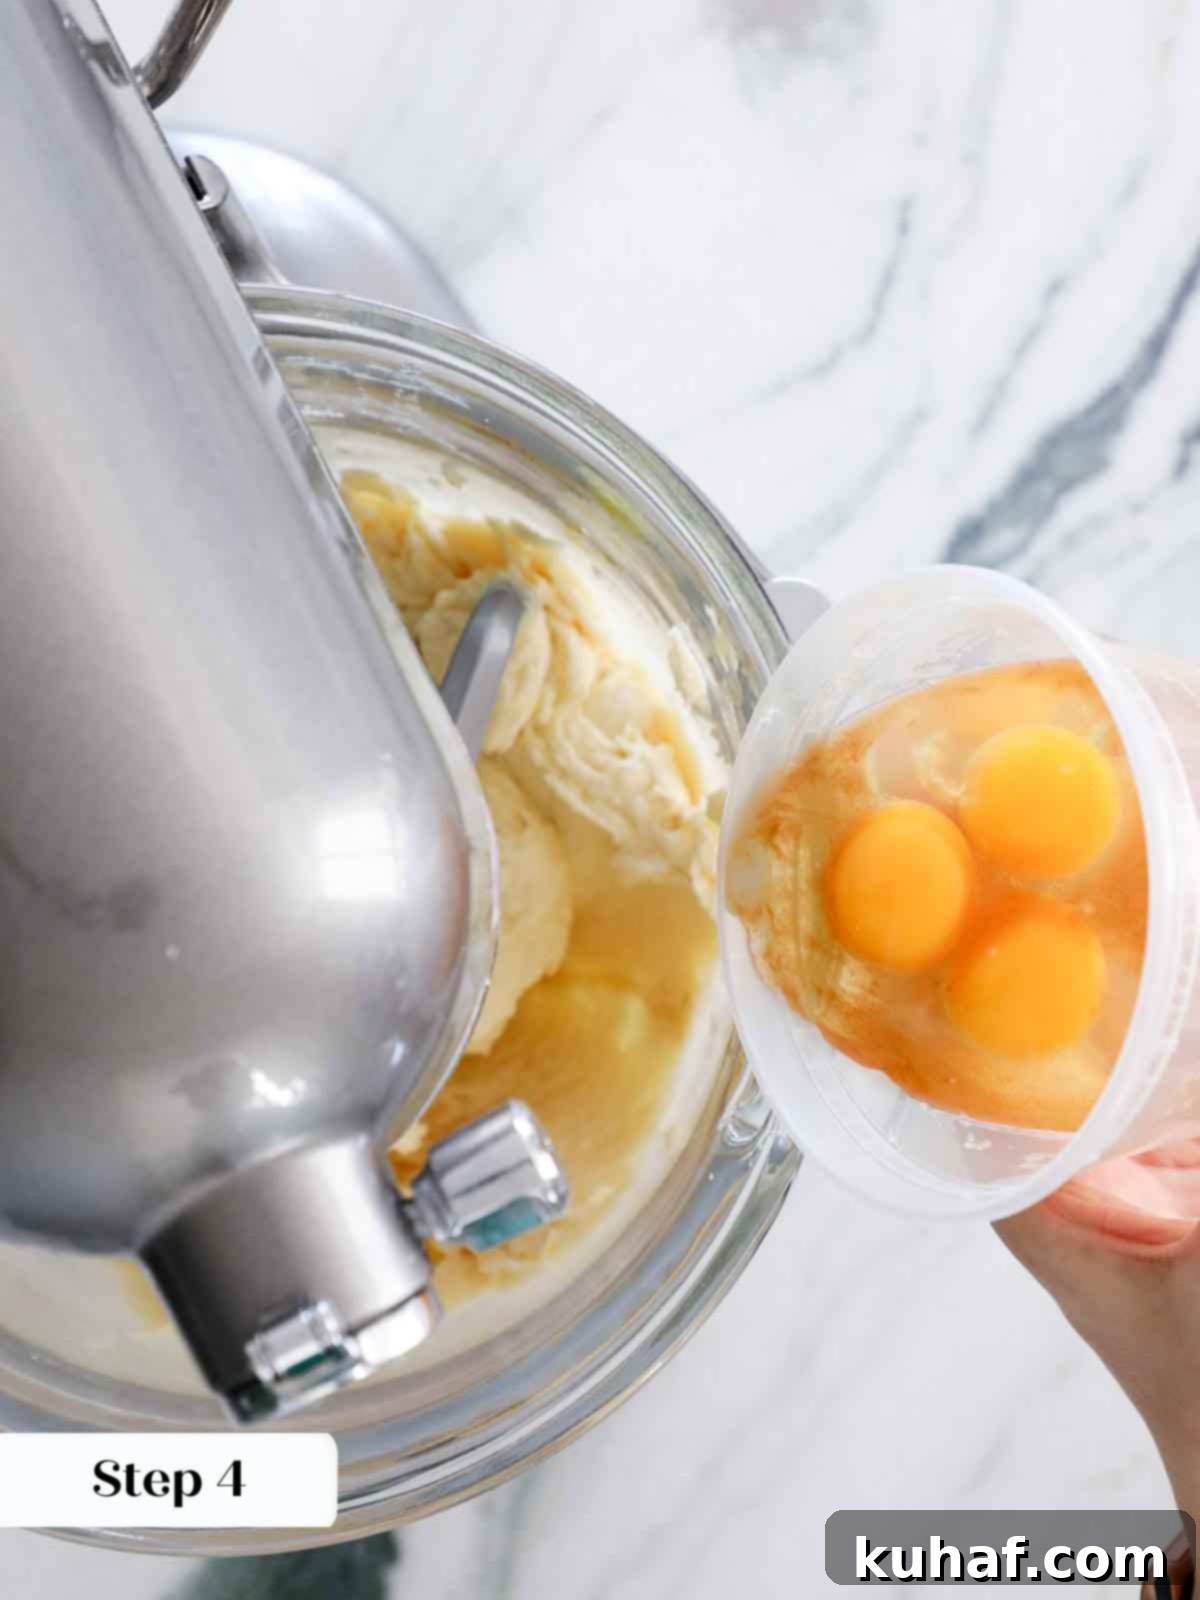
Step 4: Incorporate Eggs and Extracts. Add the large eggs one at a time, beating well after each addition until fully incorporated. Scrape down the sides of the bowl between additions to ensure everything is evenly mixed. With the final egg, add the vanilla extract and almond extract, mixing until just combined. Overmixing at this stage can develop gluten, leading to a tougher cake.
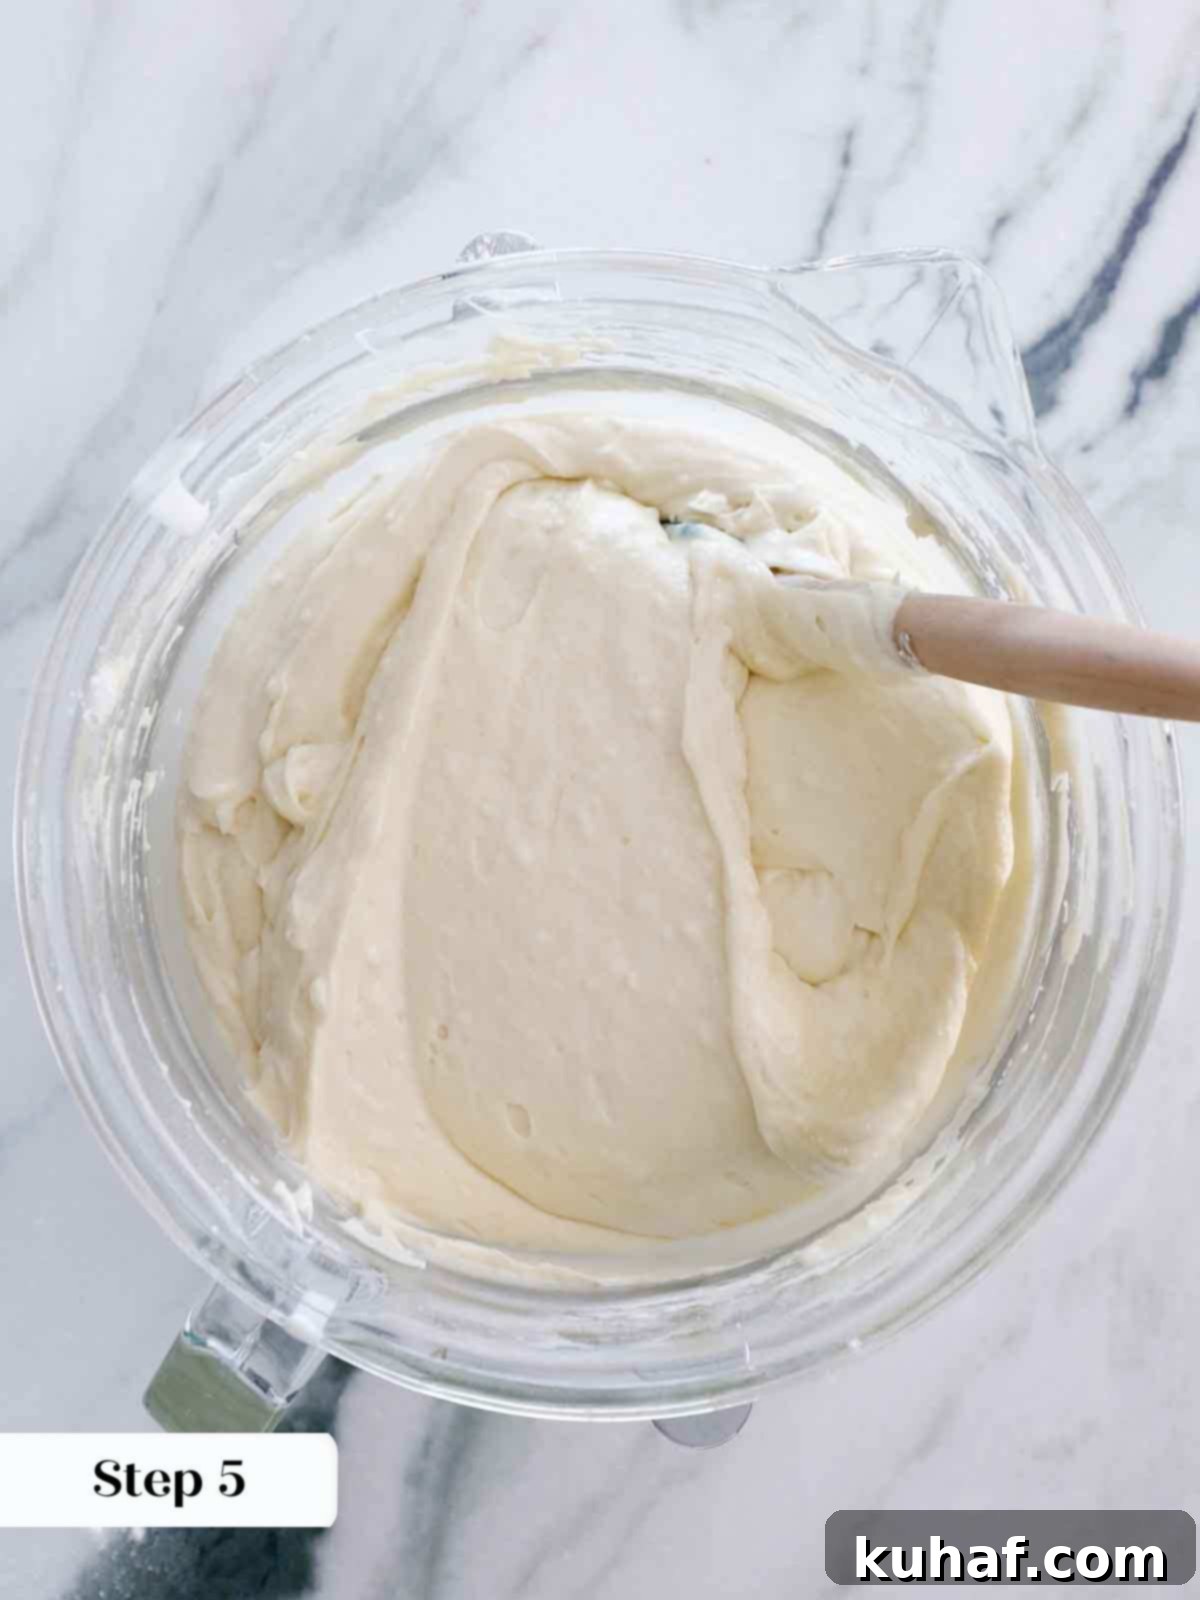
Step 5: Alternate Dry and Wet Ingredients. With the mixer on low speed, alternately add the dry ingredients and the sour cream-milk mixture, beginning and ending with the dry ingredients. Start with about one-third of the dry ingredients, mix until just combined, then add half of the wet mixture, mix, and repeat, finishing with the last third of the dry. Be careful not to overmix; stop once the last streaks of flour disappear. I often finish folding by hand with a spatula to ensure a gentle final mix and to prevent over-developing the gluten.
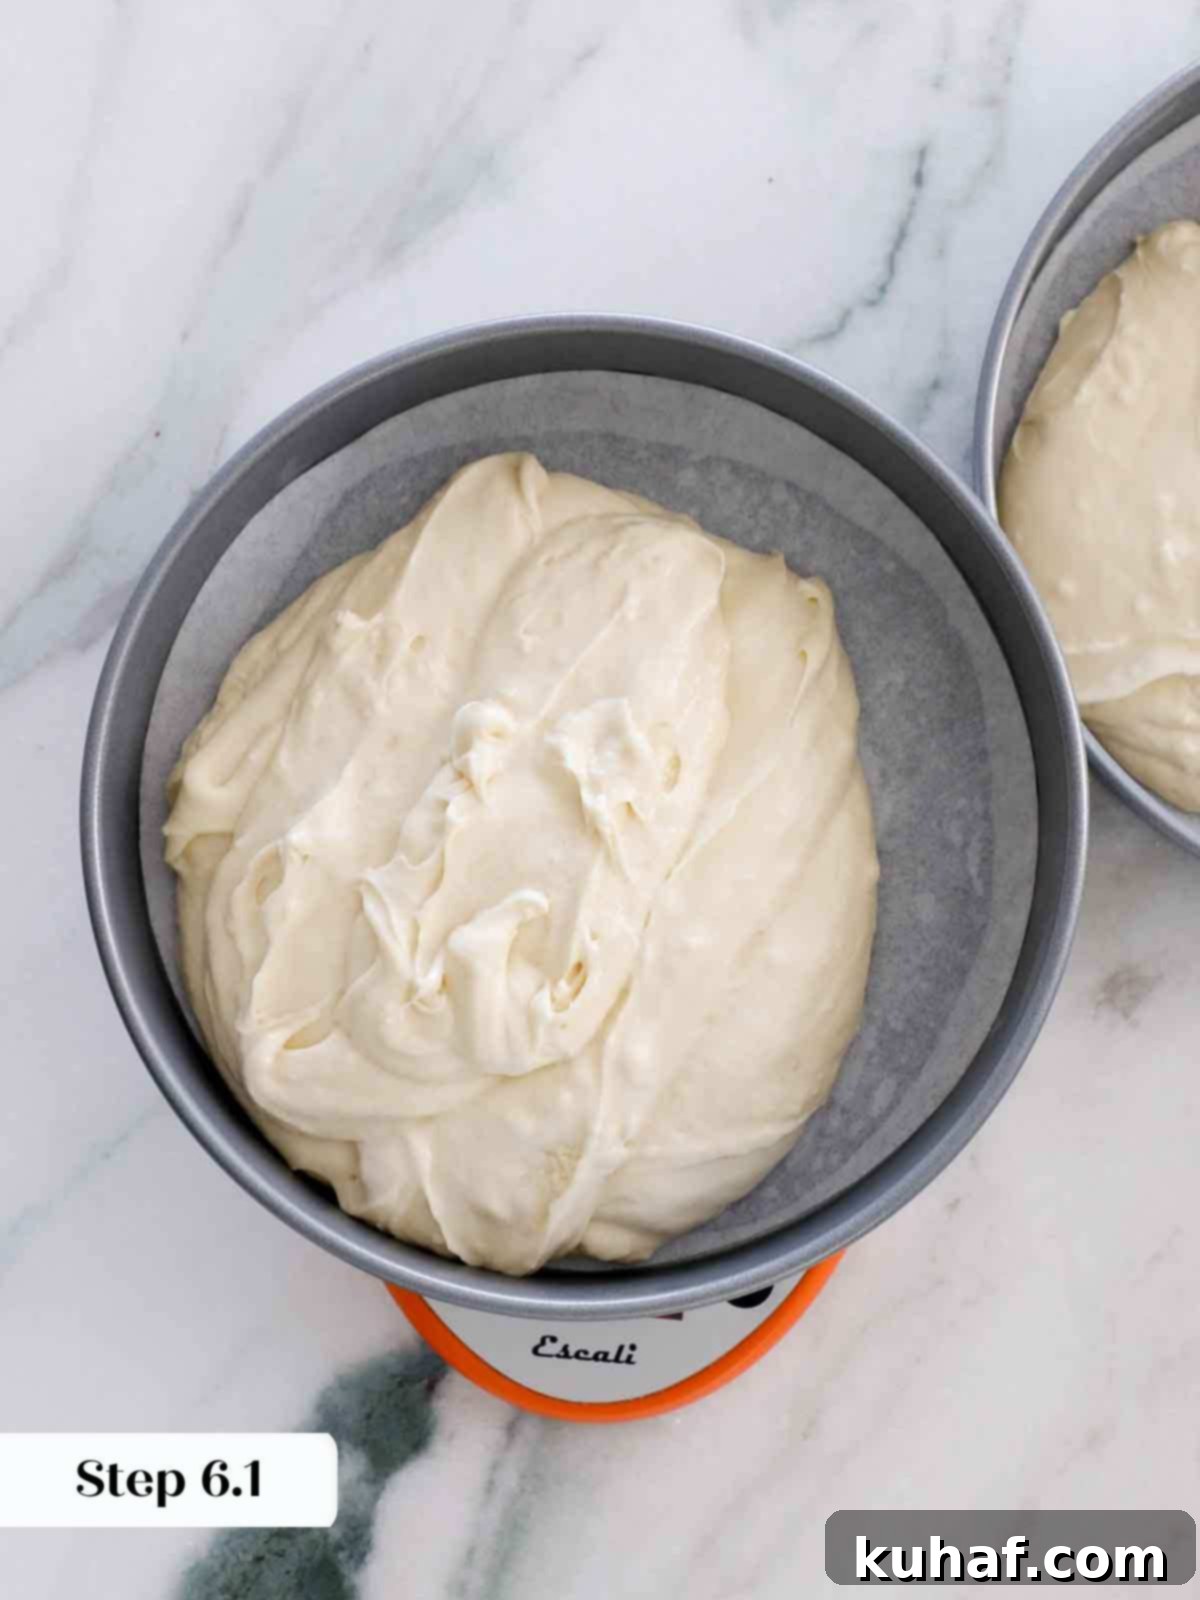
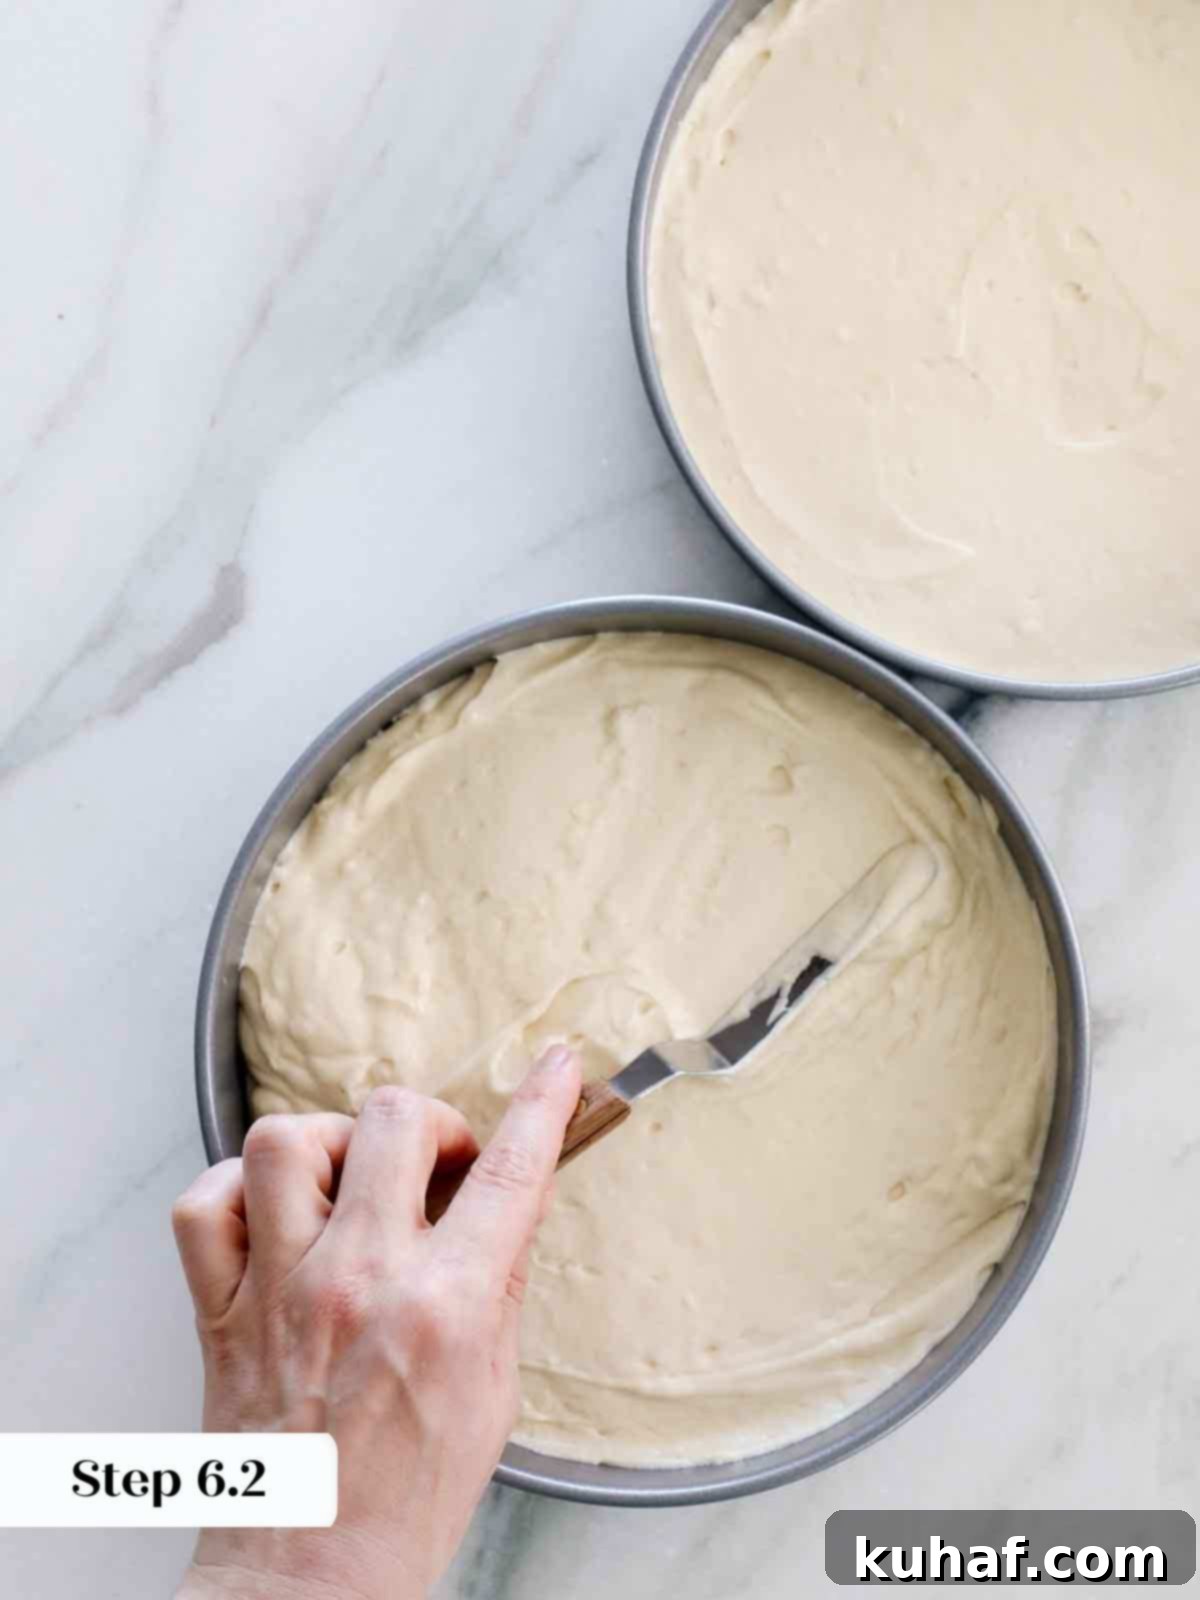
Step 6: Fill and Bake. Divide the batter evenly between your two prepared 9-inch cake pans. For precise, level layers, I highly recommend using a kitchen scale; each pan should contain approximately 670g of batter. Use an offset spatula to gently spread the batter out to the edges of the pans, creating a smooth, even surface. Bake immediately in the preheated oven. Avoid letting the batter sit for too long before baking, as this can affect the leavening.
Step 7: Check for Doneness. Bake for approximately 20-25 minutes. The exact baking time can vary depending on your oven, so start checking at 20 minutes. The cake is done when a cake tester or a wooden toothpick inserted into the center comes out with a few moist crumbs attached, but not wet batter. The edges should be lightly golden, and the cake should spring back when gently pressed. Be vigilant not to overbake, as this is the primary cause of dry cake!
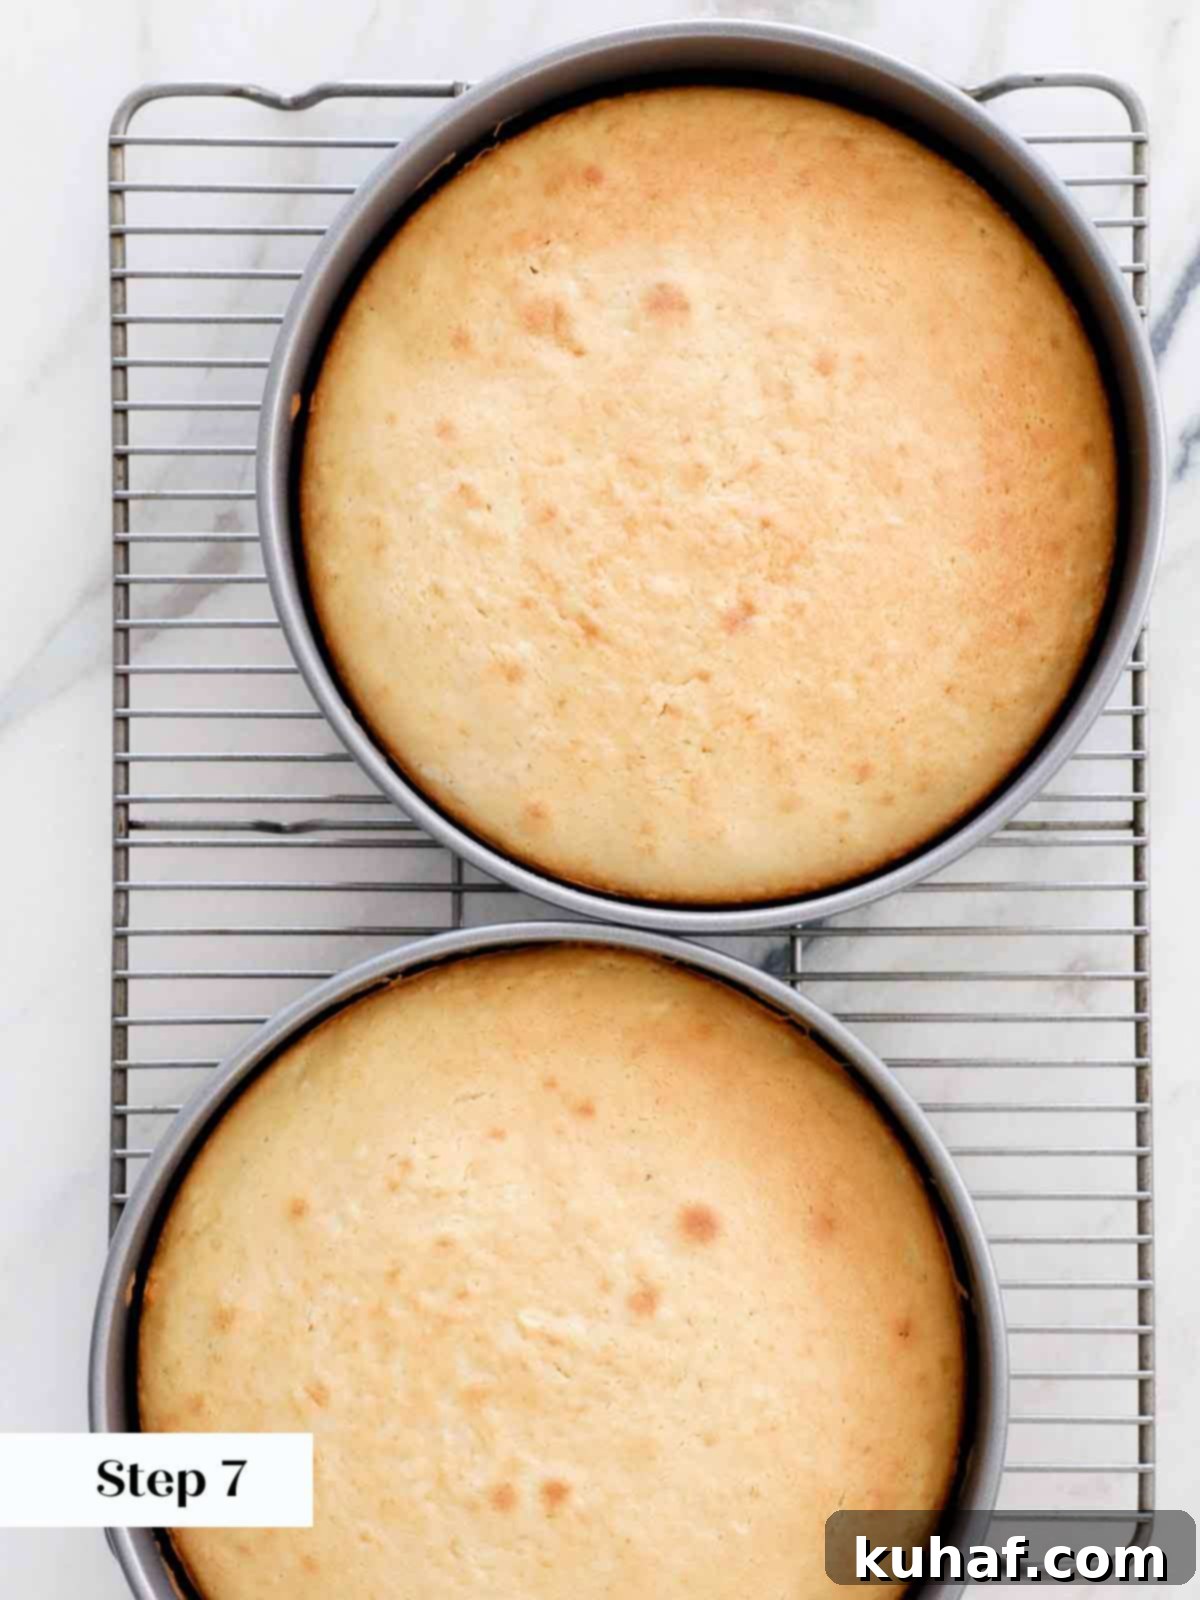
Step 8: Cool the Cake Layers. Allow the baked cakes to cool in their pans on a wire rack for precisely 10 minutes. This crucial resting period allows the cake to firm up and prevents it from breaking. After 10 minutes, invert the cakes onto the wire rack, gently peel off the parchment paper from the bottoms, and let them cool completely. It’s essential that the cake layers are entirely cool before frosting to prevent the buttercream from melting.
To Make the Silky Vanilla Buttercream:
Step 1: Beat the Butter. In the clean bowl of a stand mixer fitted with the paddle attachment, beat the softened unsalted butter on medium-high speed until it becomes smooth, creamy, and slightly lighter in color. This usually takes 2-3 minutes. This aeration step is vital for a light and fluffy buttercream.
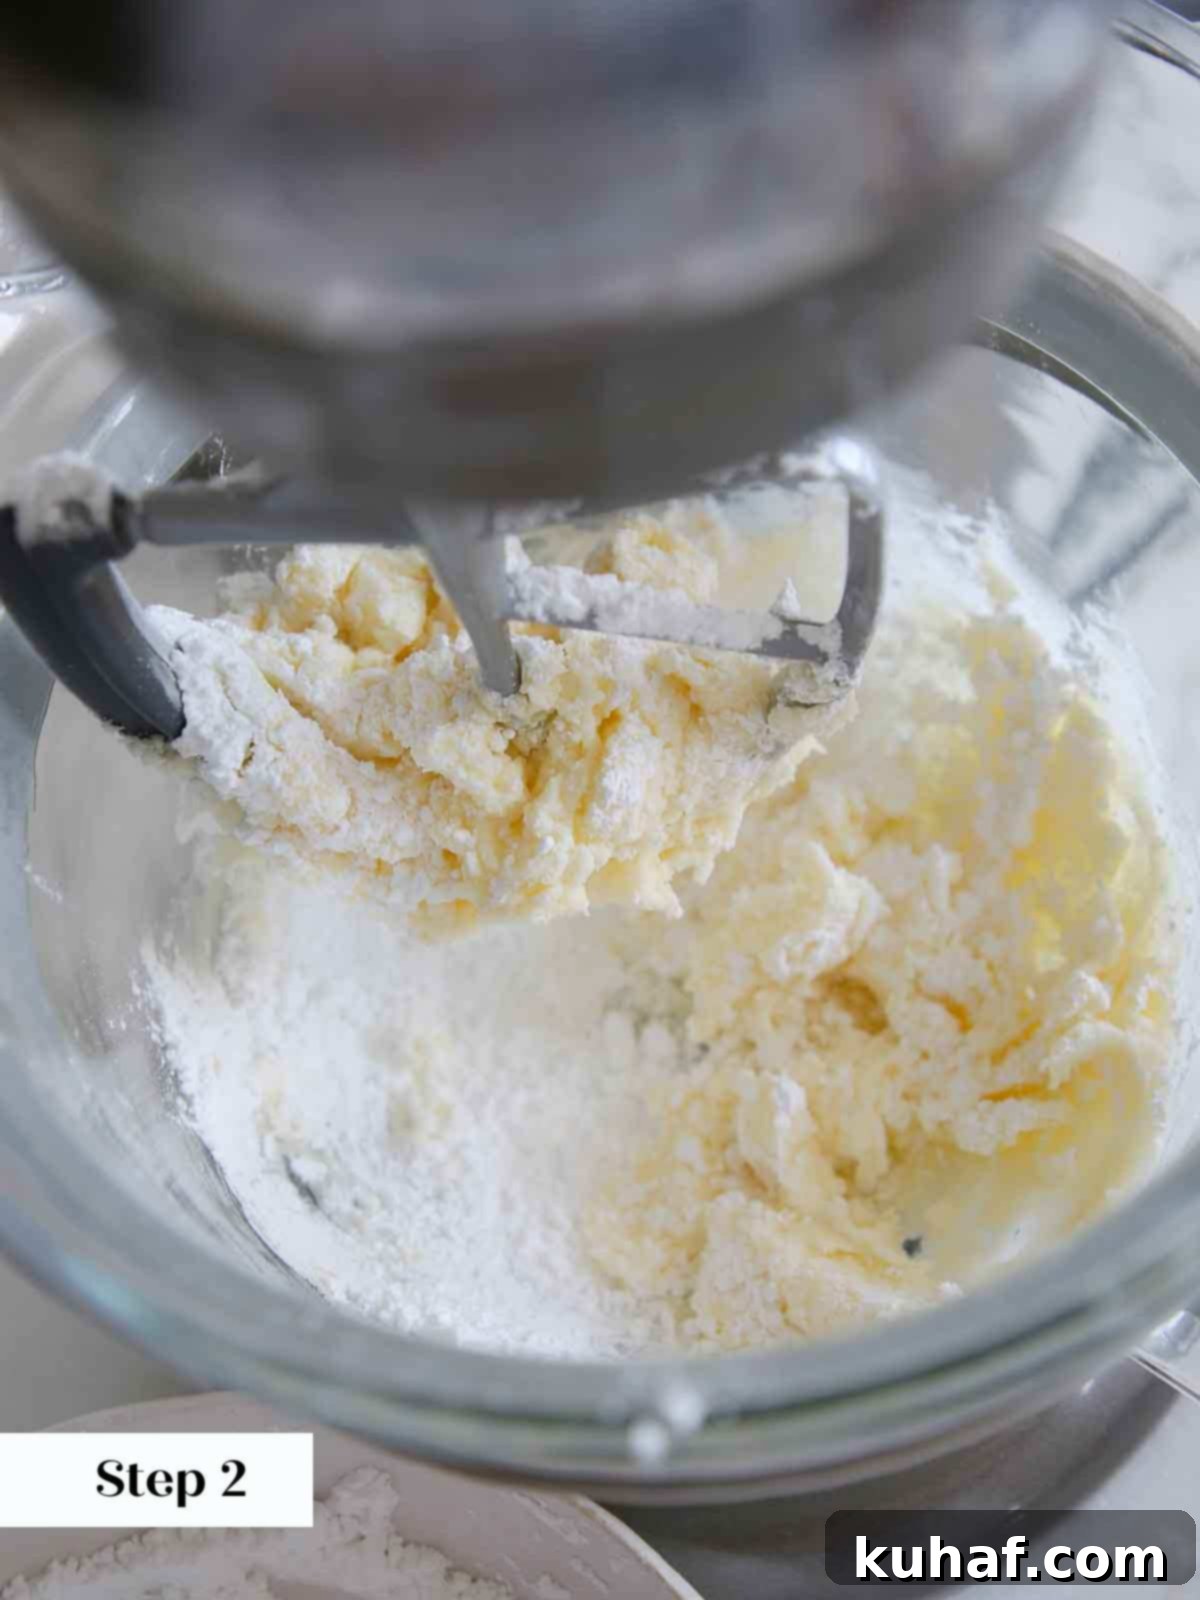
Step 2: Gradually Add Powdered Sugar. Reduce the mixer speed to low. Add the powdered sugar, approximately ½ cup at a time, allowing each addition to fully incorporate into the butter before adding the next batch. This prevents a cloud of sugar from engulfing your kitchen and ensures a smooth consistency.
Step 3: Add Vanilla and Mix. Once all the powdered sugar has been incorporated and the mixture is smooth, add the vanilla extract (and optional vanilla bean seeds for an extra gourmet touch). Mix on medium speed until the buttercream is light, fluffy, and perfectly smooth, usually another 2-3 minutes.
Step 4: Whisk for Fluffiness. Switch from the paddle attachment to the whisk attachment. With the mixer on medium-low speed, gradually pour in the cold heavy cream. Once added, increase the speed to high and whisk for 3-5 minutes until the buttercream is exceptionally light, fluffy, and visibly white. This whipping incorporates more air, creating that desirable airy texture.
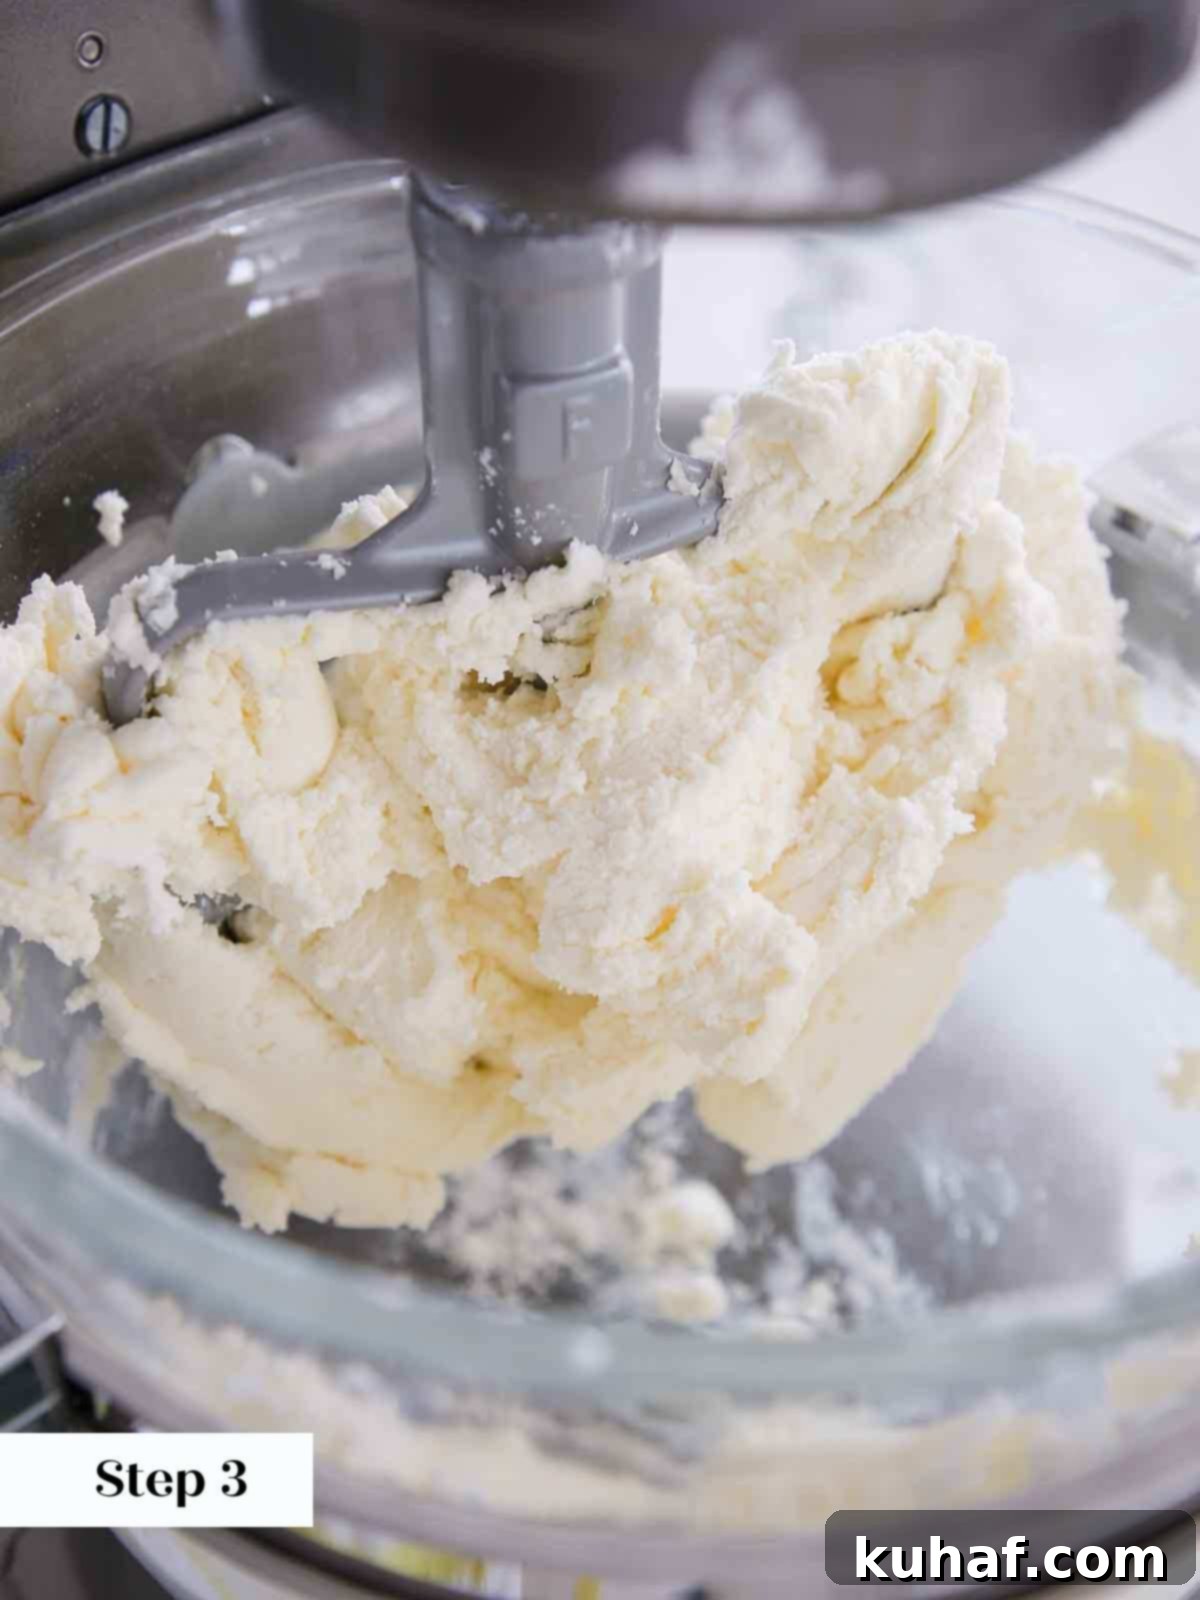
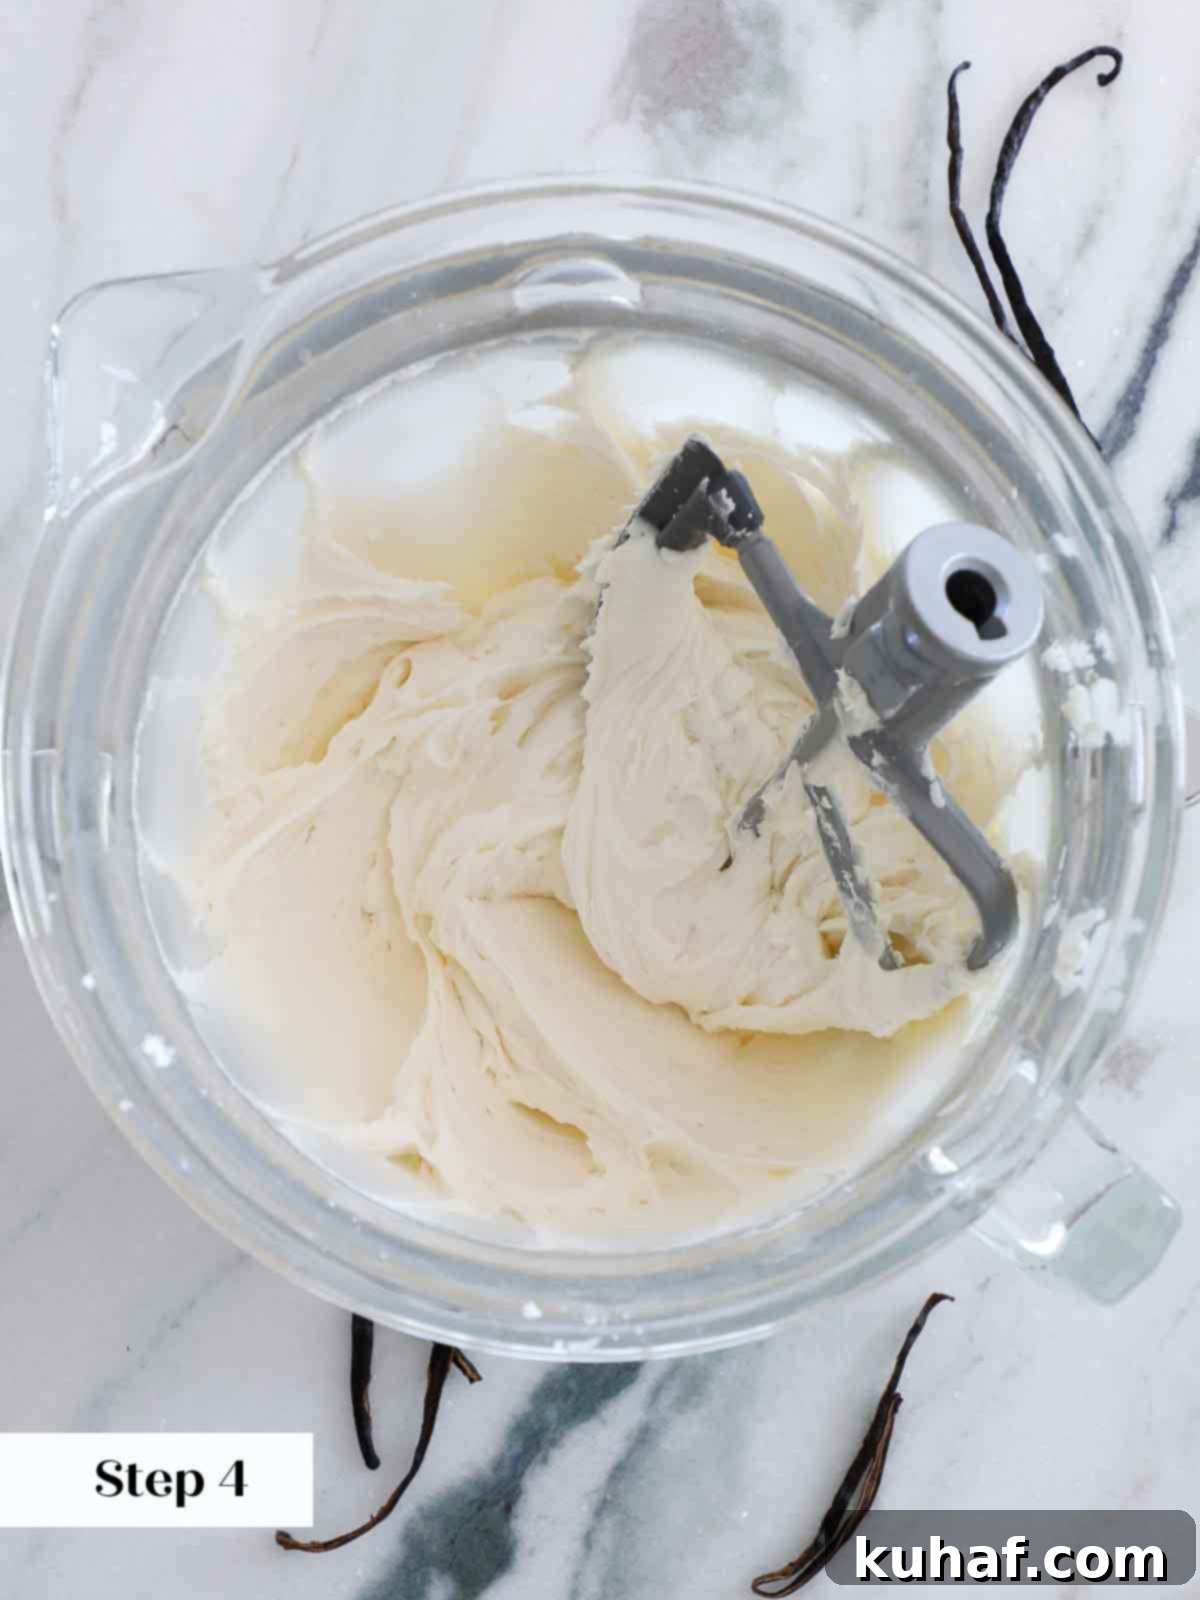
Pro Tip for Silky Smooth Buttercream: To achieve an ultra-smooth, bubble-free finish, switch back to the paddle attachment after whisking and mix on the lowest speed for an additional 2-3 minutes. This “de-aerates” the buttercream, removing any trapped air bubbles. While this process may make the buttercream slightly denser and yield a little less volume, the incredibly smooth finish it provides for frosted cakes is well worth it.
Mastering Vanilla Cake Decoration: A Simple Guide
Once your cake layers are completely cool and your buttercream is ready, it’s time to assemble and decorate your stunning vanilla cake.
Step 1: Place the First Layer. Position your first cooled cake layer onto a cake plate, cake stand, or a cake board placed on a turntable. A turntable will make the frosting process significantly easier. To secure the cake and prevent it from sliding, apply a small dab of frosting to the center of your cake plate or board before placing the cake layer.
Handy Tip: A small amount of buttercream can act as “glue” to secure your cake to the board and the board to your turntable.
Step 2: Frost and Stack Layers. Spread about 1 cup of vanilla buttercream evenly over the top of the first cake layer using an offset spatula. Then, carefully place the second cake layer on top. I find it beneficial to stack the second layer upside down. This method utilizes the perfectly flat bottom of the cake as the new top surface, eliminating the need to level the cake with a knife and minimizing waste, unless you plan to use cake scraps for vanilla cake pops!
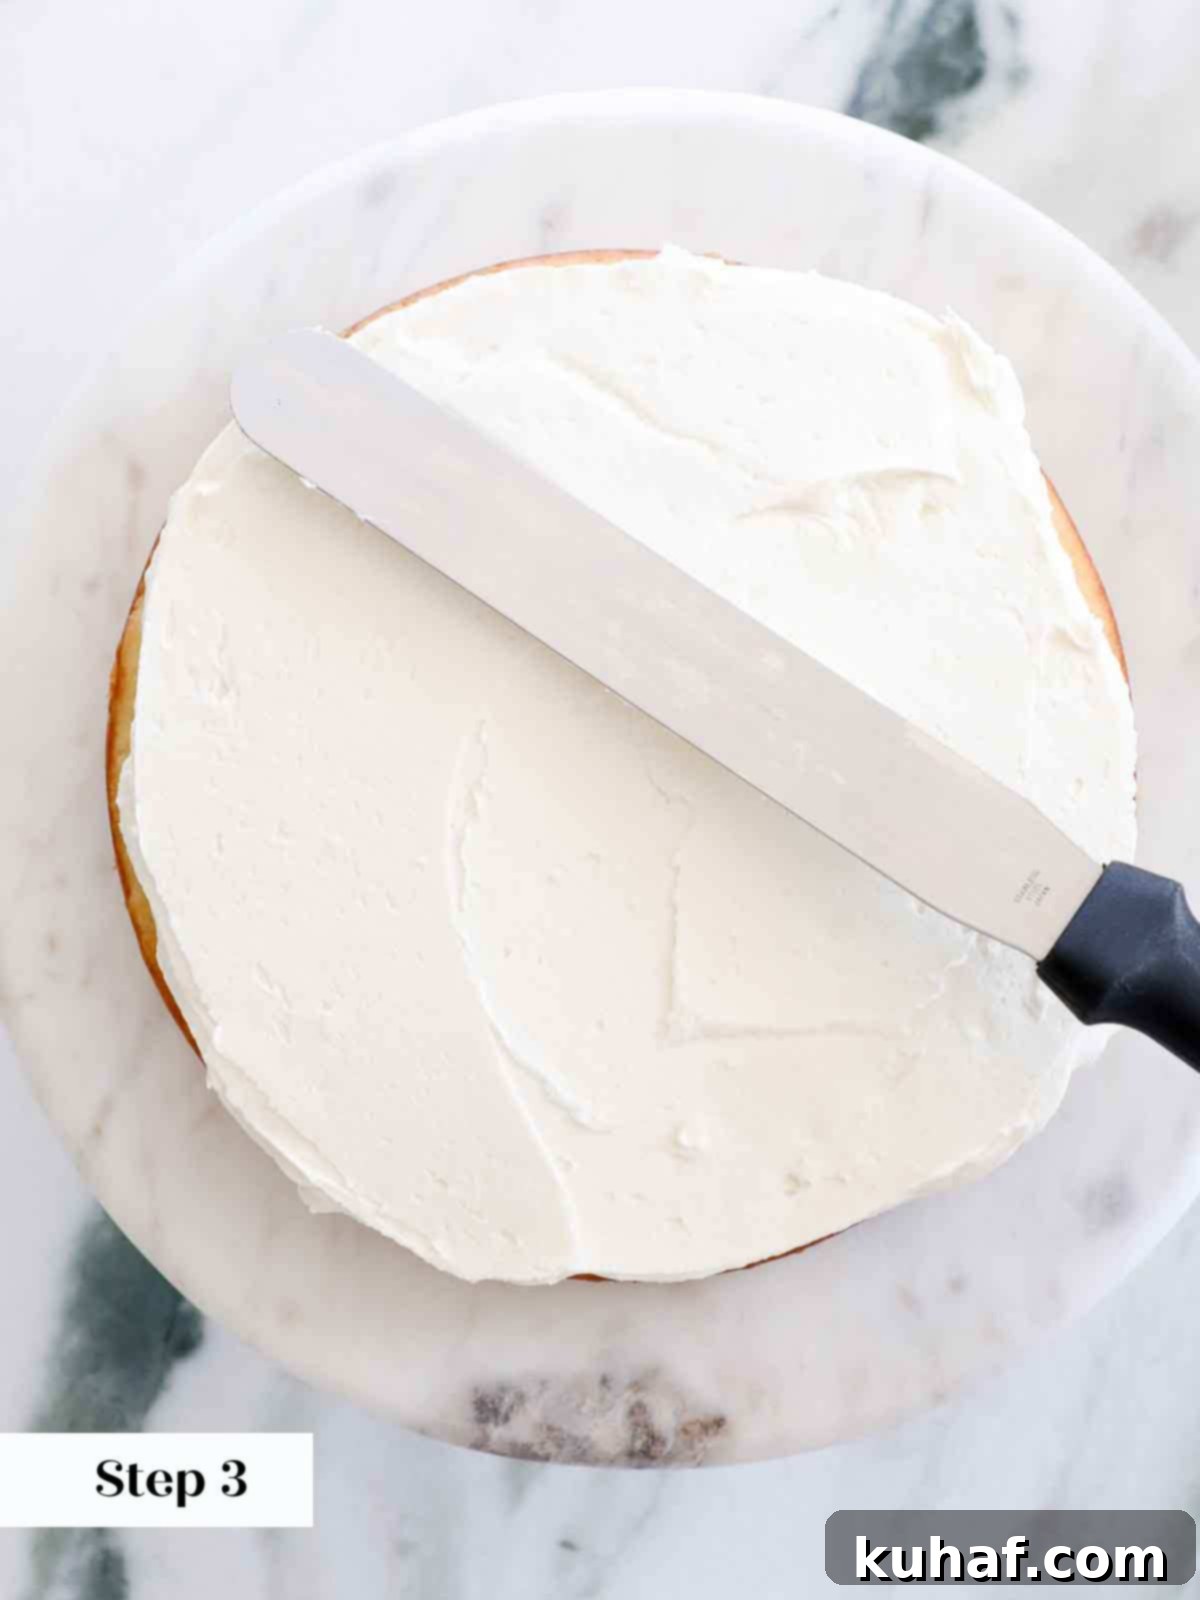
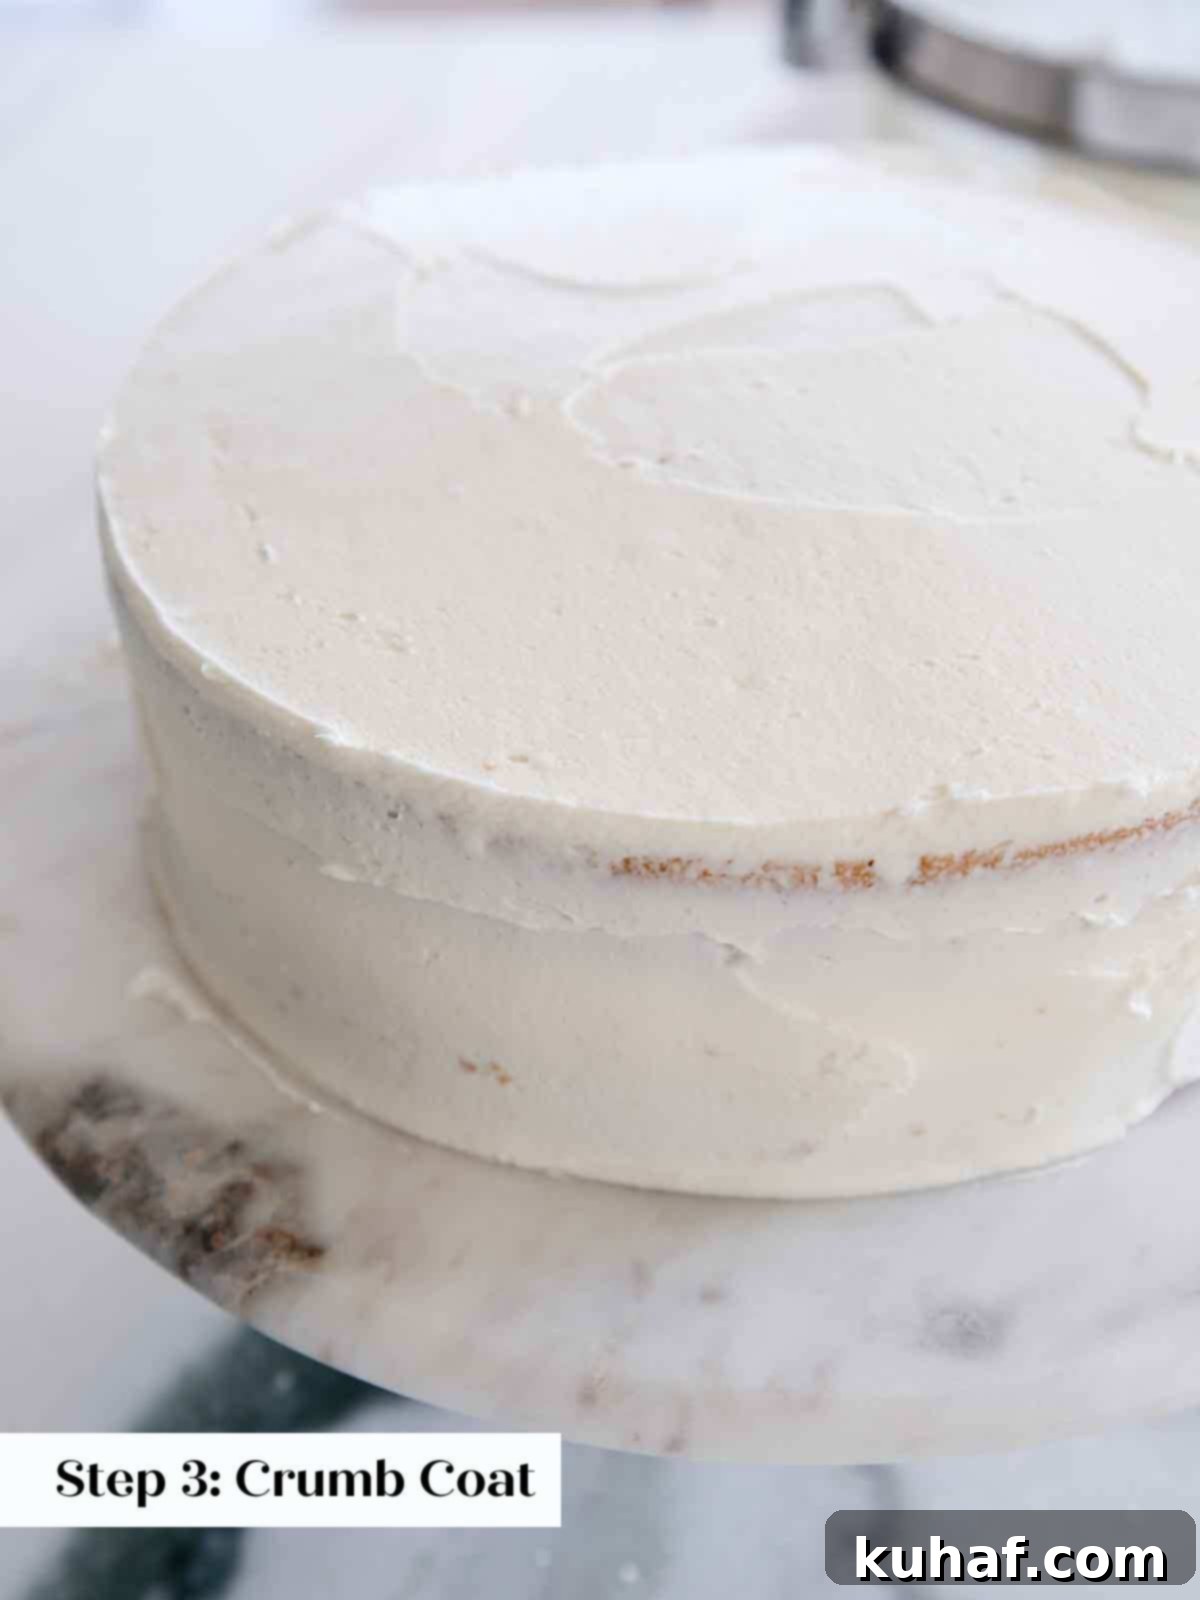
Step 3: Apply Crumb Coat. Place another 1 cup of frosting on top of the second layer and spread it smoothly across the top. Now, apply a very thin layer of buttercream around the sides of the entire cake, pressing gently to fill any gaps between the layers. This thin layer is called a “crumb coat,” and its purpose is to trap any loose crumbs, preventing them from mixing into your final decorative frosting layer. Don’t worry about perfection at this stage! Once the crumb coat is applied, chill the cake in the refrigerator for at least 30 minutes to firm up the frosting. This makes the final frosting much easier.
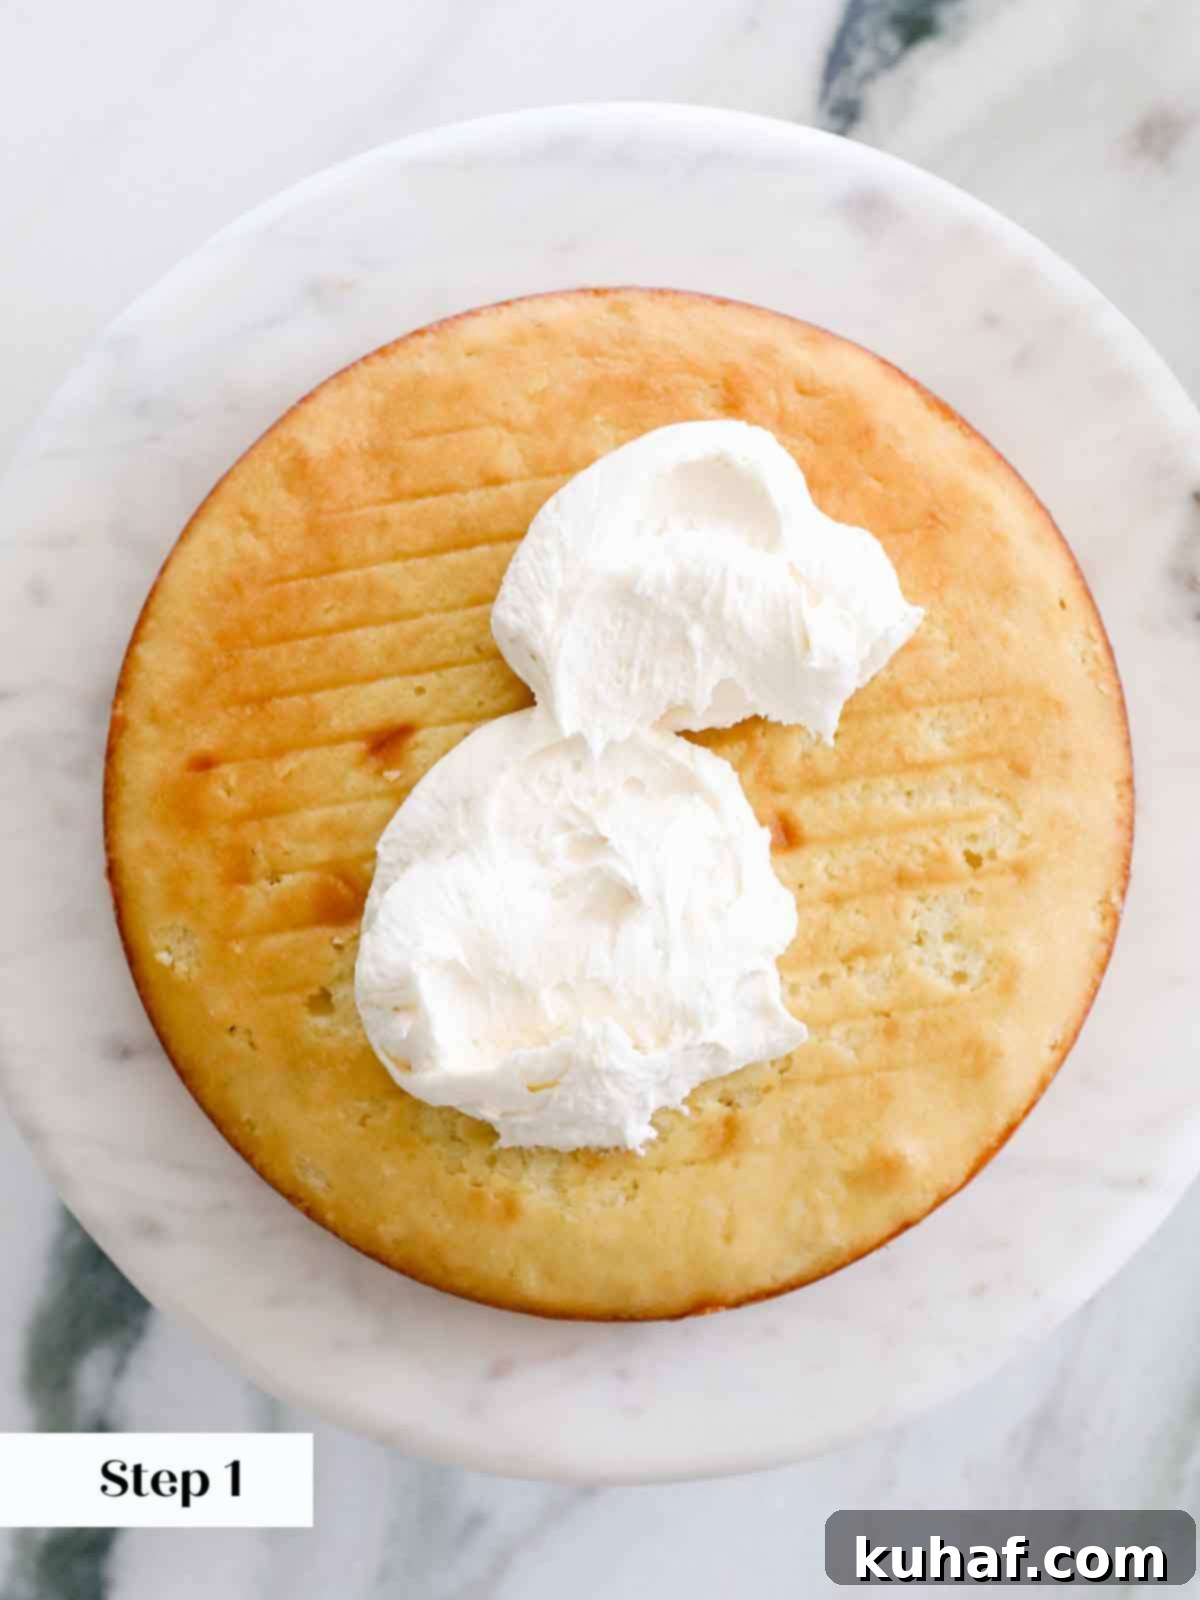
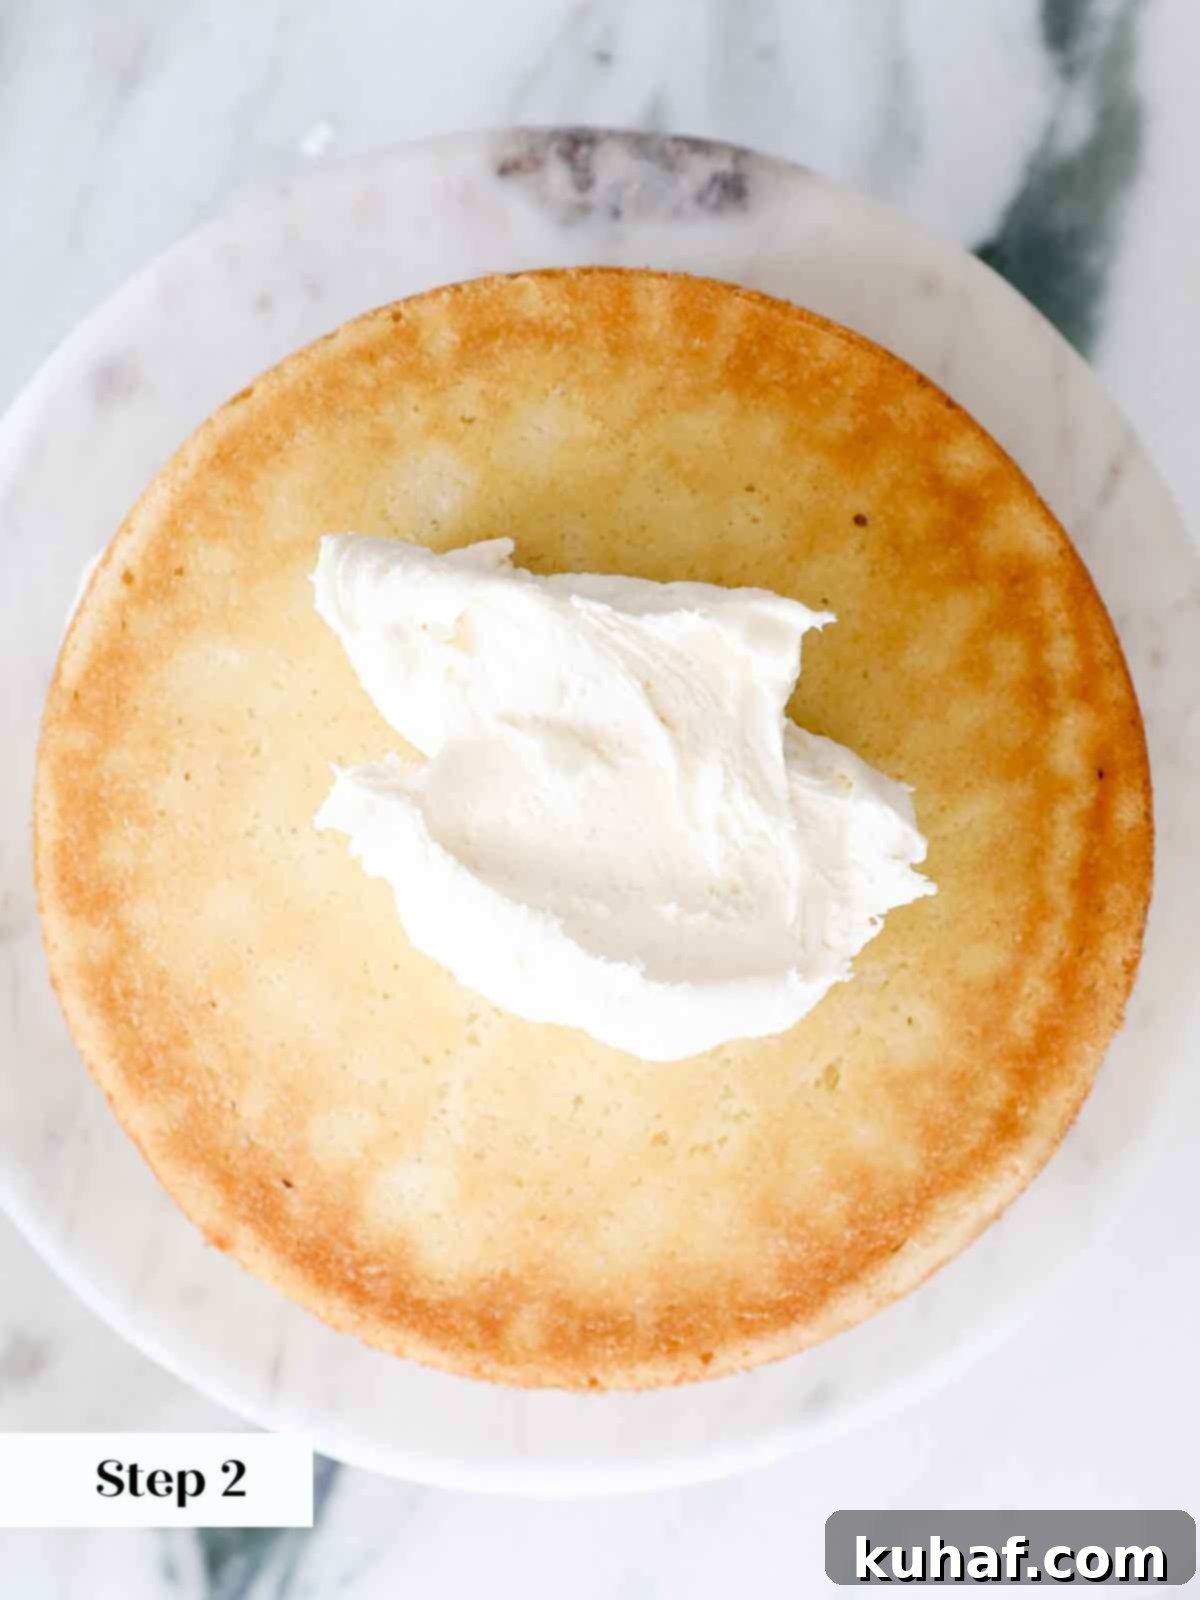
Important Note for Fillings: If you’re incorporating a looser filling (like curd or ganache), chill the cake immediately after stacking the second layer and piping your buttercream “dam” to allow it to set firmly before applying the crumb coat. This prevents the filling from escaping.
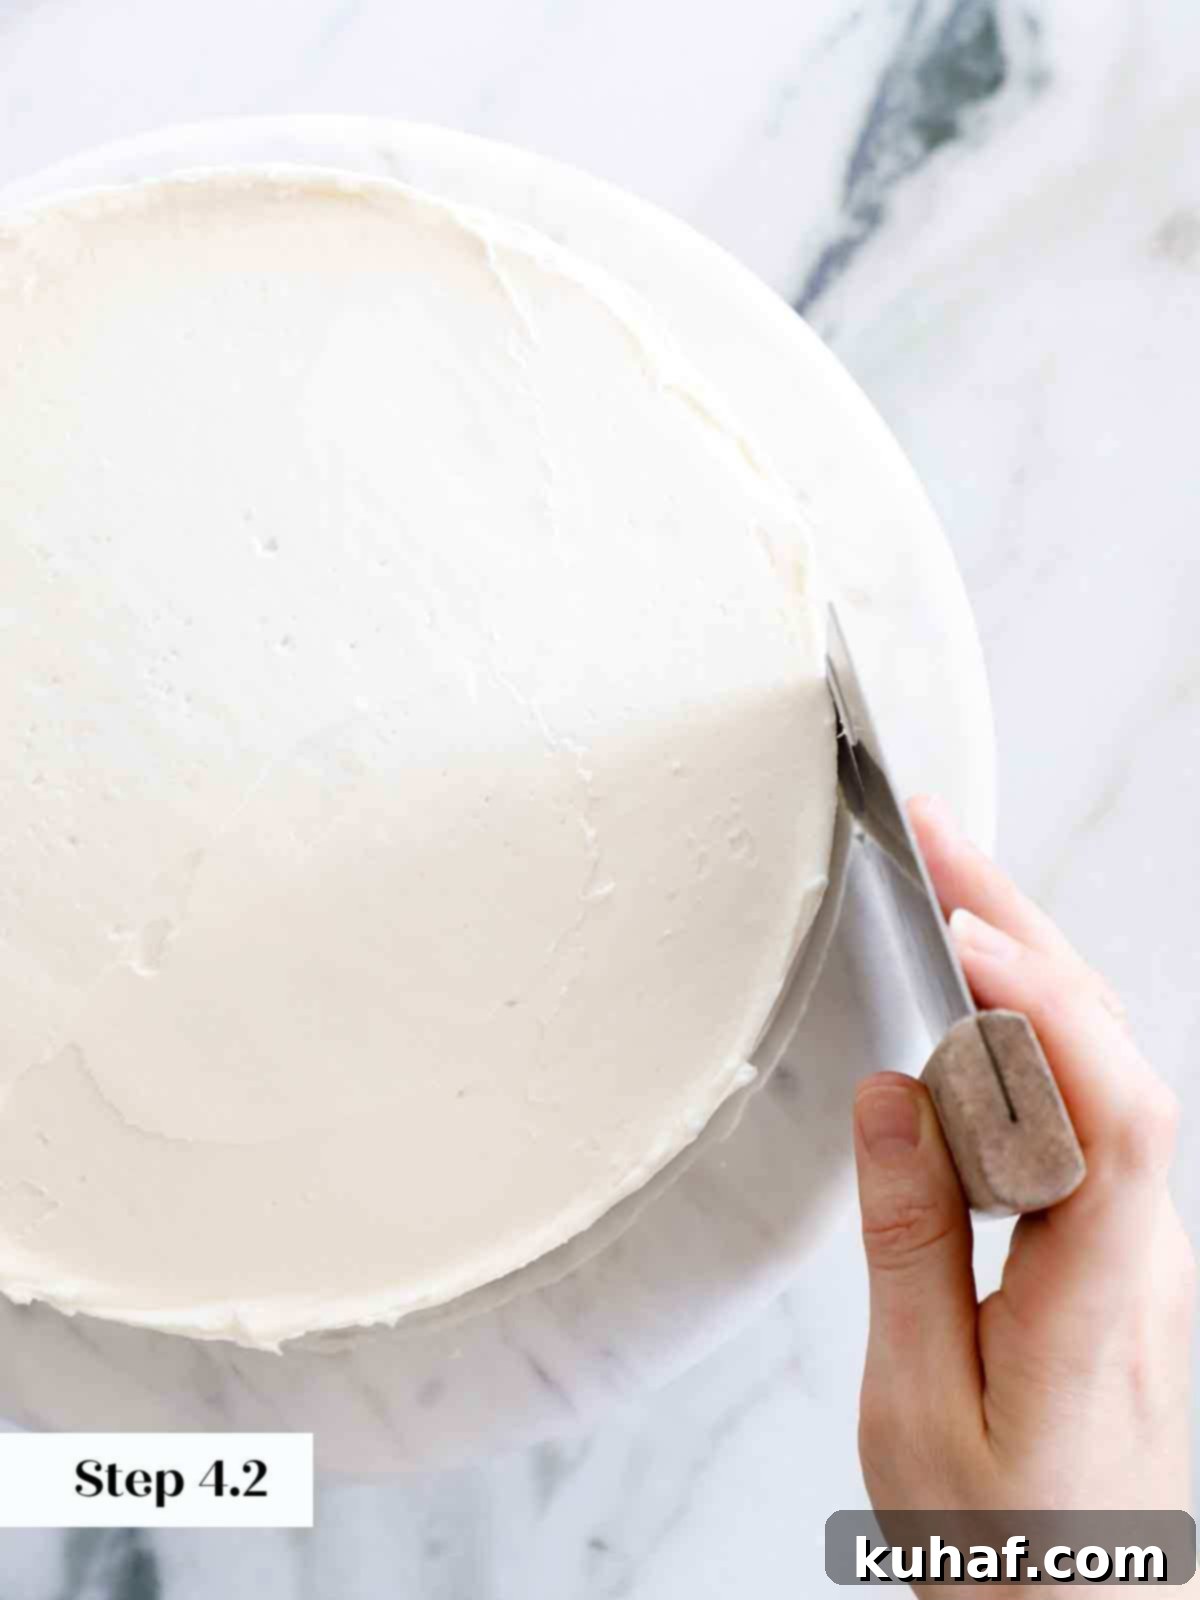
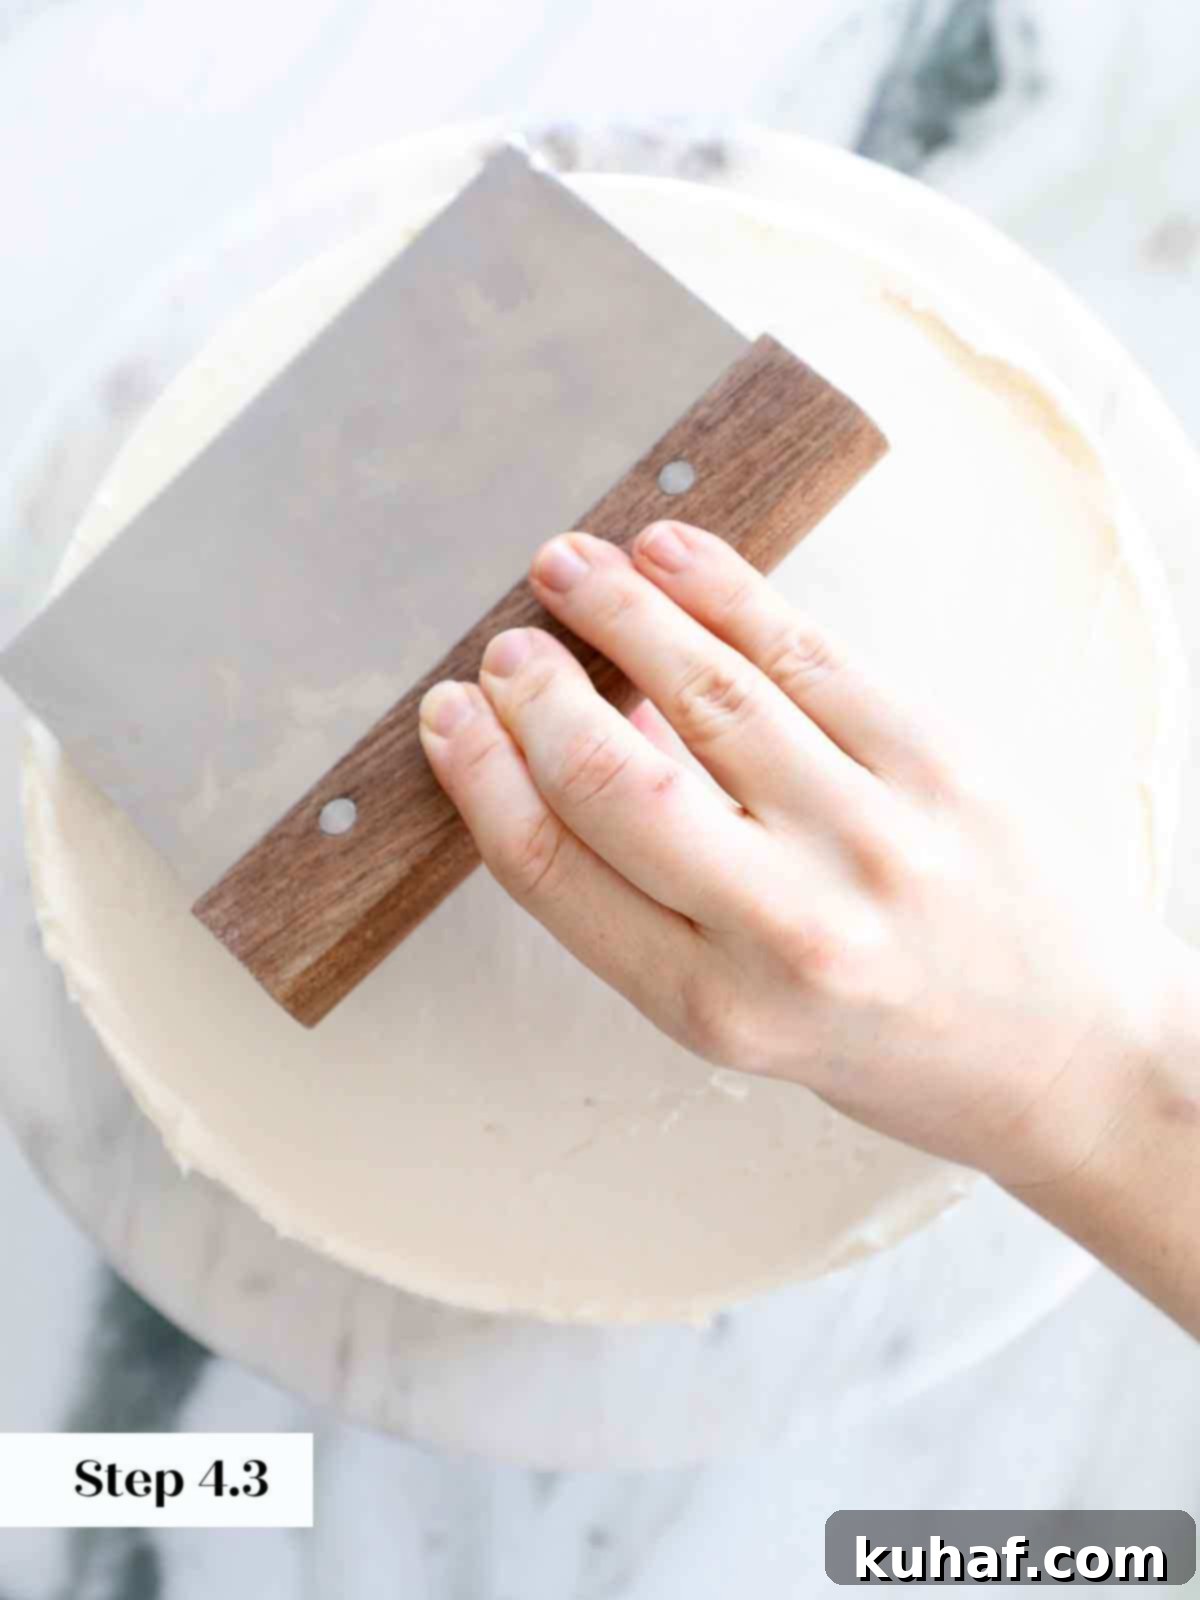
Step 4: The Final Frosting Layer. Once your crumb-coated cake is chilled and firm, spread the remaining buttercream generously on top. Work it outwards towards the edges, allowing it to slightly cascade over the sides. Then, use your offset spatula to smooth the frosting evenly over the sides of the cake. For decorative swirls, you can use the back of your spatula to create soft patterns. For super smooth sides and sharp edges, utilize a bench scraper held vertically against the cake while rotating the turntable, then smooth the top with a large offset spatula, pulling it inward from the edges.
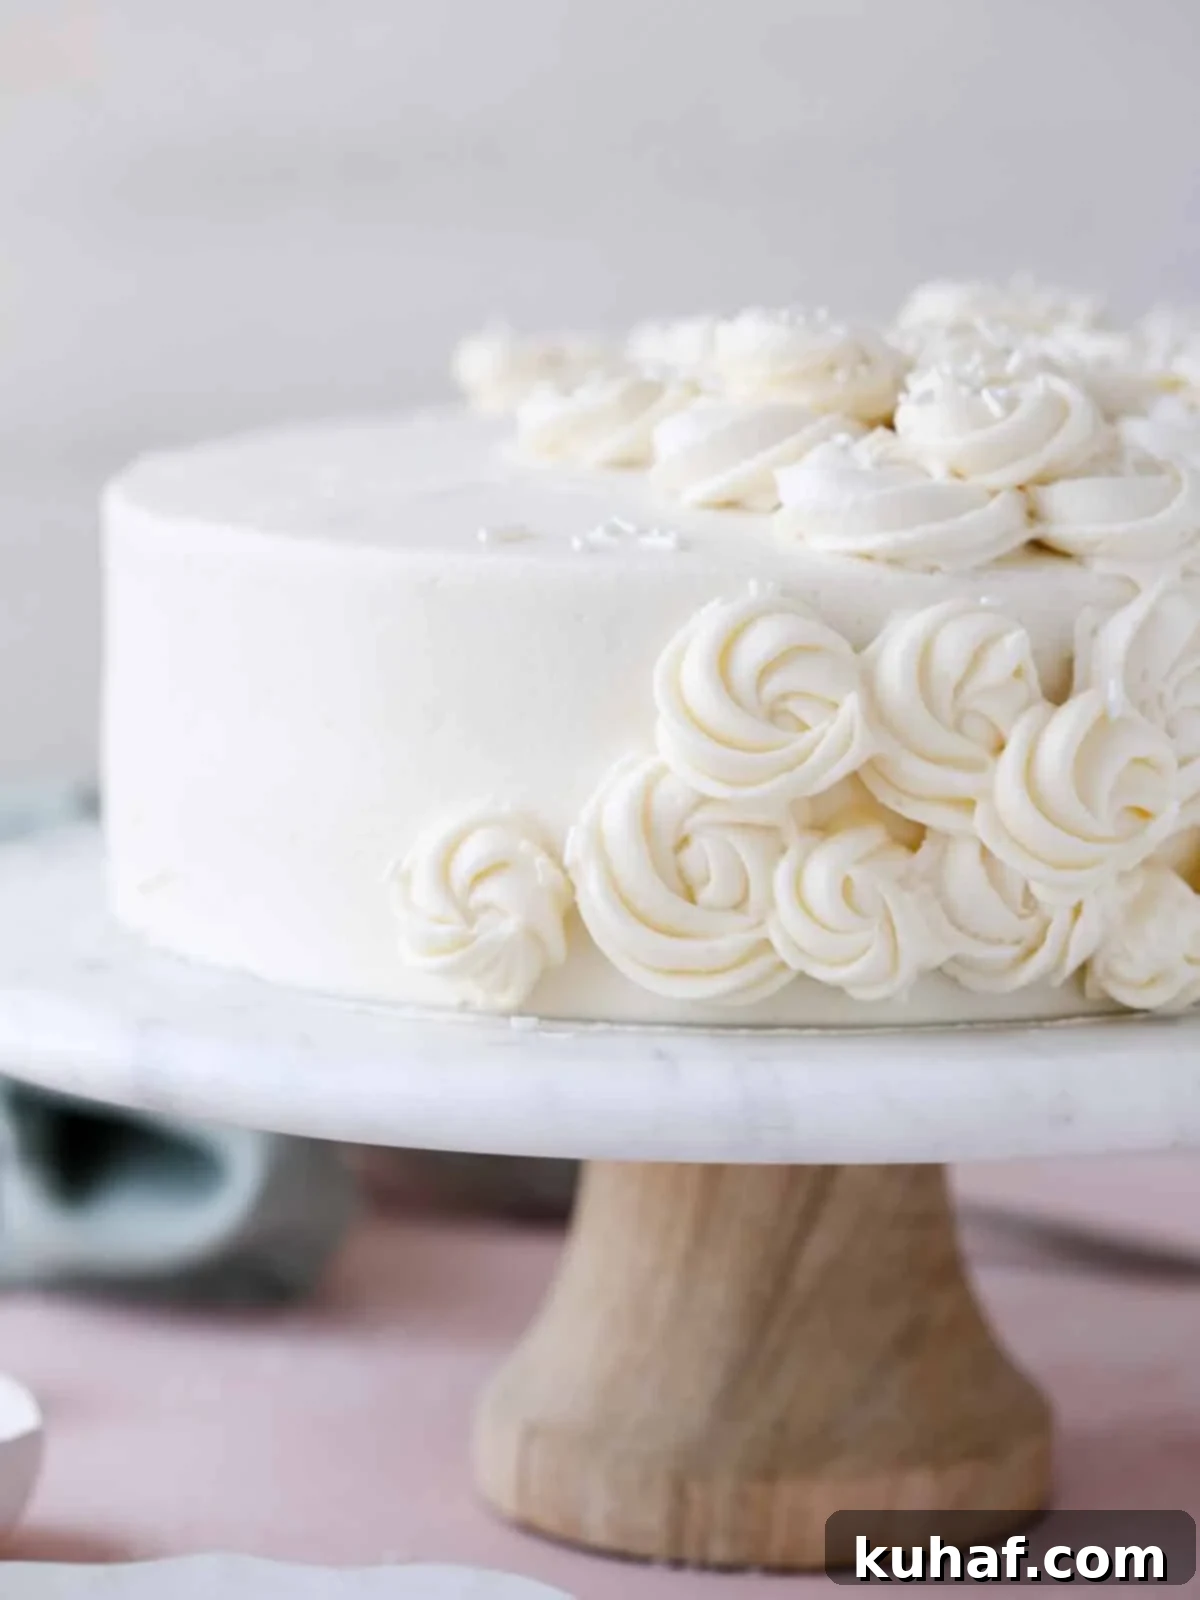
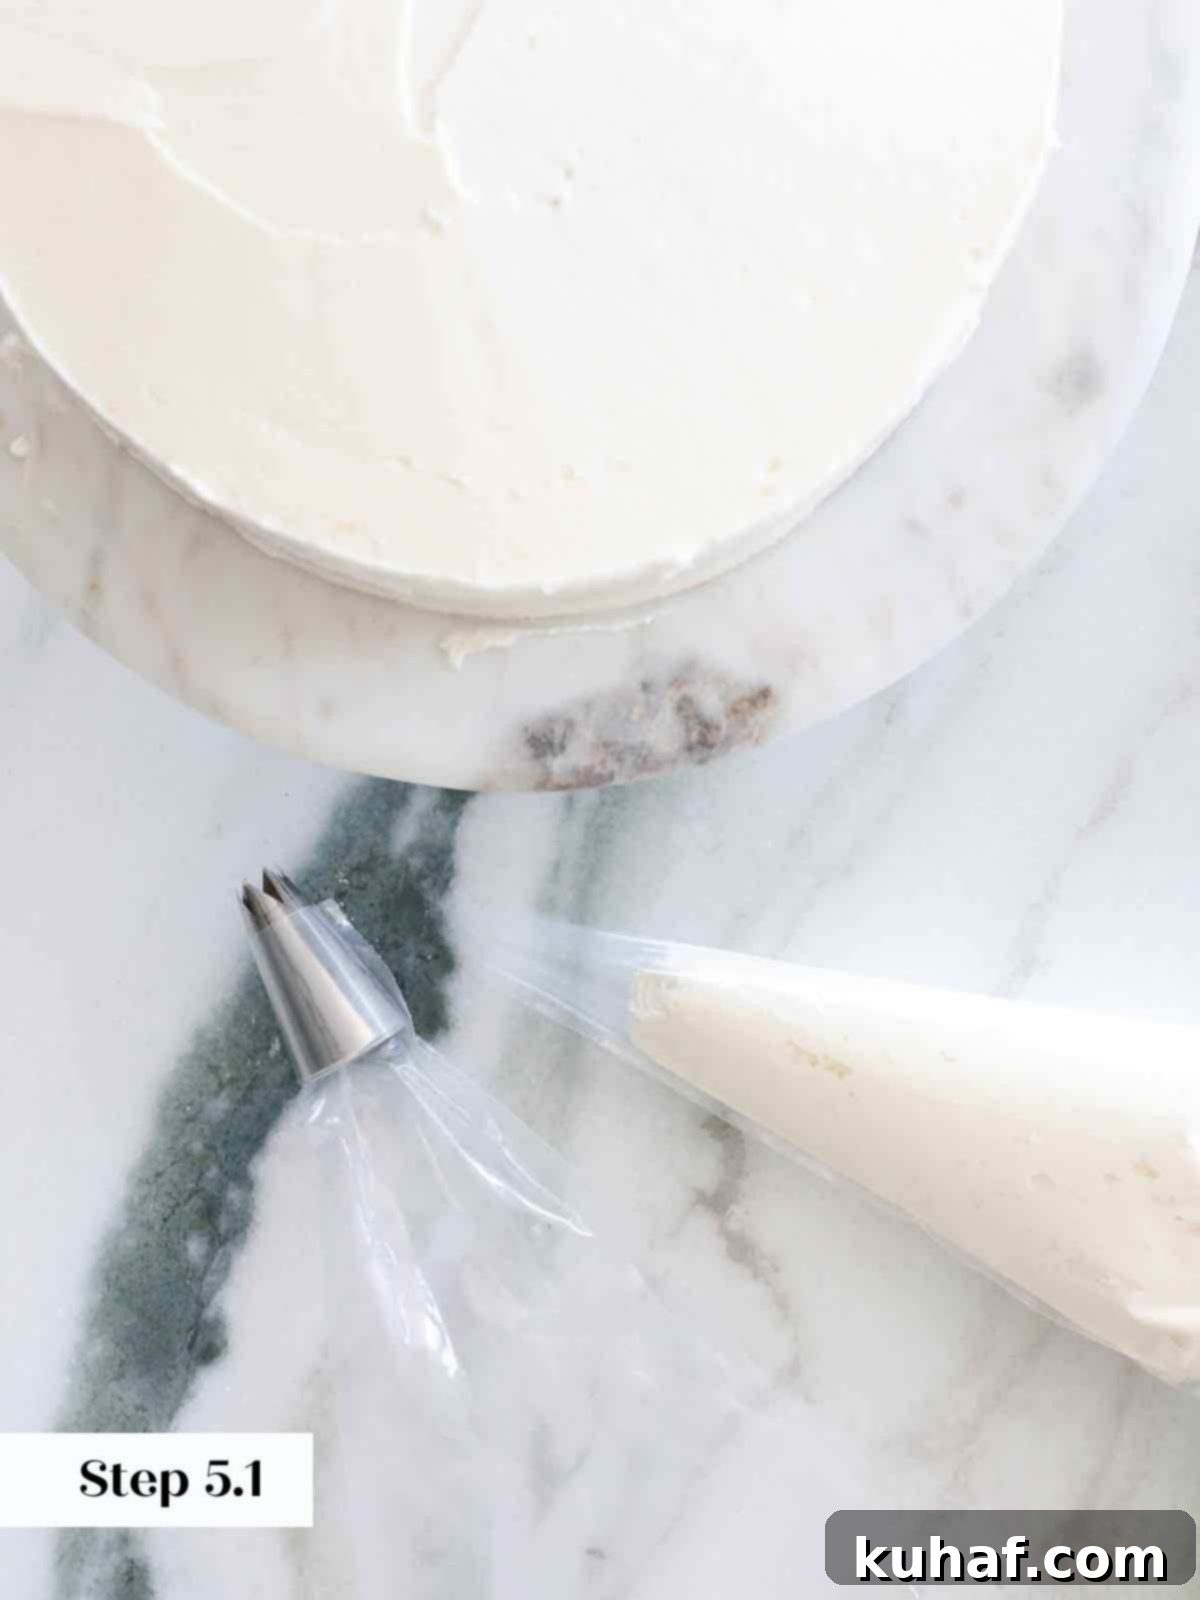
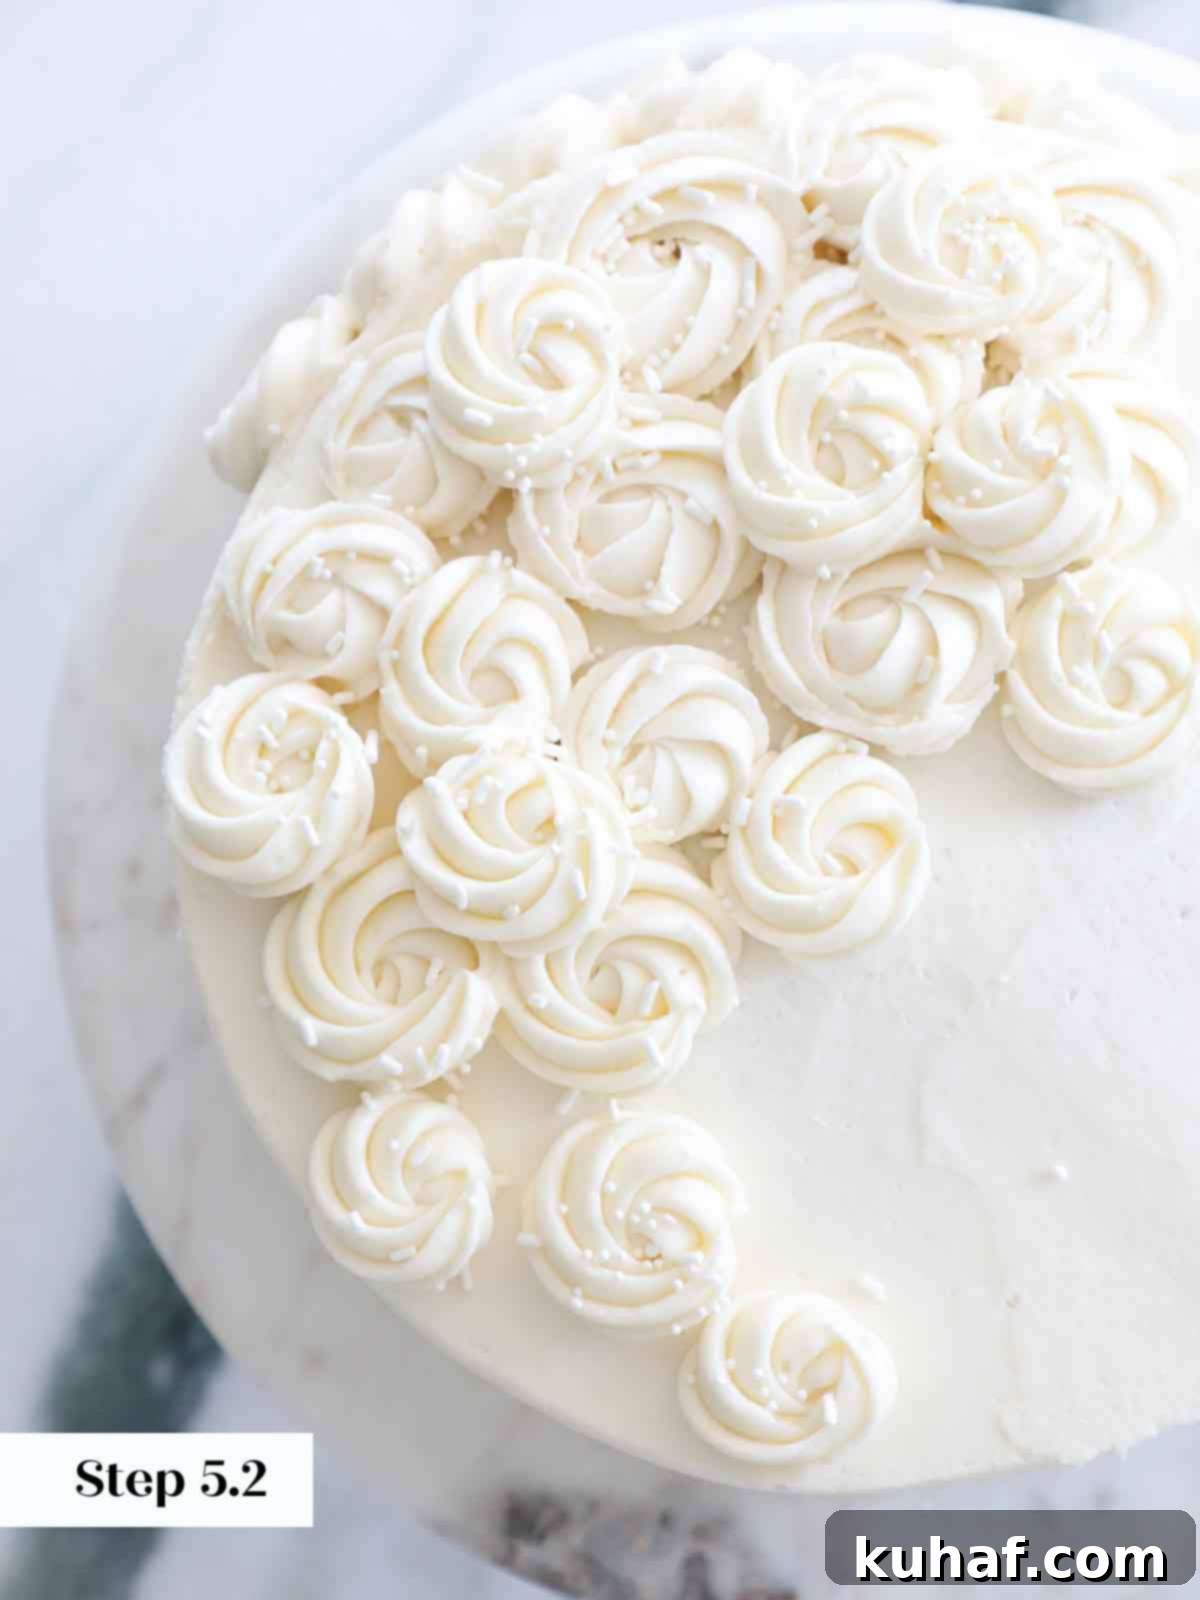
Step 5: Final Decorative Touches. For the beautiful rosettes seen in the photos, I used a closed star tip (Ateco 845) with a piping bag. Once piped, a generous scattering of festive sprinkles and neutral jimmies adds a playful and elegant finish. Feel free to experiment with different piping tips, fresh berries, edible flowers, or chocolate shavings to personalize your cake!
Frequently Asked Questions About This Moist Vanilla Cake
To maintain optimal moisture, it’s best to assemble your cake within the same day it’s baked. Once assembled, wrap the entire cake tightly in several layers of plastic wrap or place it in an airtight cake container. Store it in the refrigerator for up to 5 days. For the best taste and texture, consume it within 3 days. If you’ve used the simple syrup soak as recommended, you can extend its freshness to the full 5 days. For longer storage, you can wrap the chilled, frosted cake in plastic wrap, then foil, and freeze it for up to a year. This is a fantastic method for preparing cakes in advance, like for my son’s first birthday! If preparing further in advance, I recommend freezing the cooled cake layers separately from the buttercream, then assembling the day before serving.
Absolutely! When I plan to make cakes in advance, I typically prepare each component separately. Bake and cool your cake layers completely, then wrap them tightly in plastic wrap and freeze them. The American buttercream recipe can be made up to a week in advance and stored in an airtight container in the refrigerator or freezer. On the day of assembly or the day before, thaw the cake layers and buttercream. Before frosting, refresh the buttercream in your stand mixer by beating it on medium speed until smooth and fluffy again. This approach ensures maximum freshness and convenience.
Both oil and butter can produce a delicious and moist cake when used correctly, but they contribute different qualities. Oil-based cakes tend to be incredibly moist and have a slightly denser, more uniform crumb. Butter-based cakes, especially those made with the creaming method like this recipe, generally offer a richer flavor, a more complex structure, and a softer, fluffier texture. This recipe specifically utilizes creamed butter and sugar for that desirable soft, airy crumb, while the addition of sour cream ensures it remains exceptionally moist. It’s truly the best of both worlds.
To make a taller, three-layer cake in 9-inch pans, I highly recommend using metric measurements and a kitchen scale for accuracy. For three layers, you will need to scale this recipe up by 1.5 times. Alternatively, you could double the recipe and make three thicker layers, but this will significantly increase the baking time. Remember that adjusting the batter volume will necessitate adjusting the bake times; keep a close eye on your cakes and use the toothpick test for doneness.
Vanilla cake is wonderfully versatile and pairs well with many accompaniments! My husband’s favorite way to enjoy it is with a gigantic scoop of rich vanilla bean ice cream. You can also elevate it with a drizzle of warm hot fudge, a swirl of salted caramel sauce, or a vibrant easy strawberry jam loosened with a touch of lemon juice. This easy blueberry sauce also makes a fantastic topping. For a delightful tart contrast, serve it with a dollop of bright lemon curd. Personally, I love a slice of vanilla cake with creamy chocolate ice cream or, when I have it on hand, my decadent salted caramel chocolate ice cream.
Yes, this recipe is incredibly versatile and works wonderfully for cupcakes! The yield will be approximately 24 standard-sized cupcakes. To bake as cupcakes, line muffin tins with paper liners and fill each about two-thirds full with batter. Bake at 350°F (175°C) for a shorter duration, typically 18-22 minutes, or until a toothpick inserted into the center comes out clean. Keep a close eye on them to prevent overbaking.
While a stand mixer with a paddle and whisk attachment is highly recommended for ease and efficiency, you can certainly make this cake with a good quality hand mixer and a large mixing bowl. Other essential tools include two 9-inch round cake pans, parchment paper, measuring cups and spoons, a rubber spatula, a whisk, a sifter, an offset spatula for spreading frosting, and a wire rack for cooling. A kitchen scale is also very helpful for precise measurements and even cake layers.
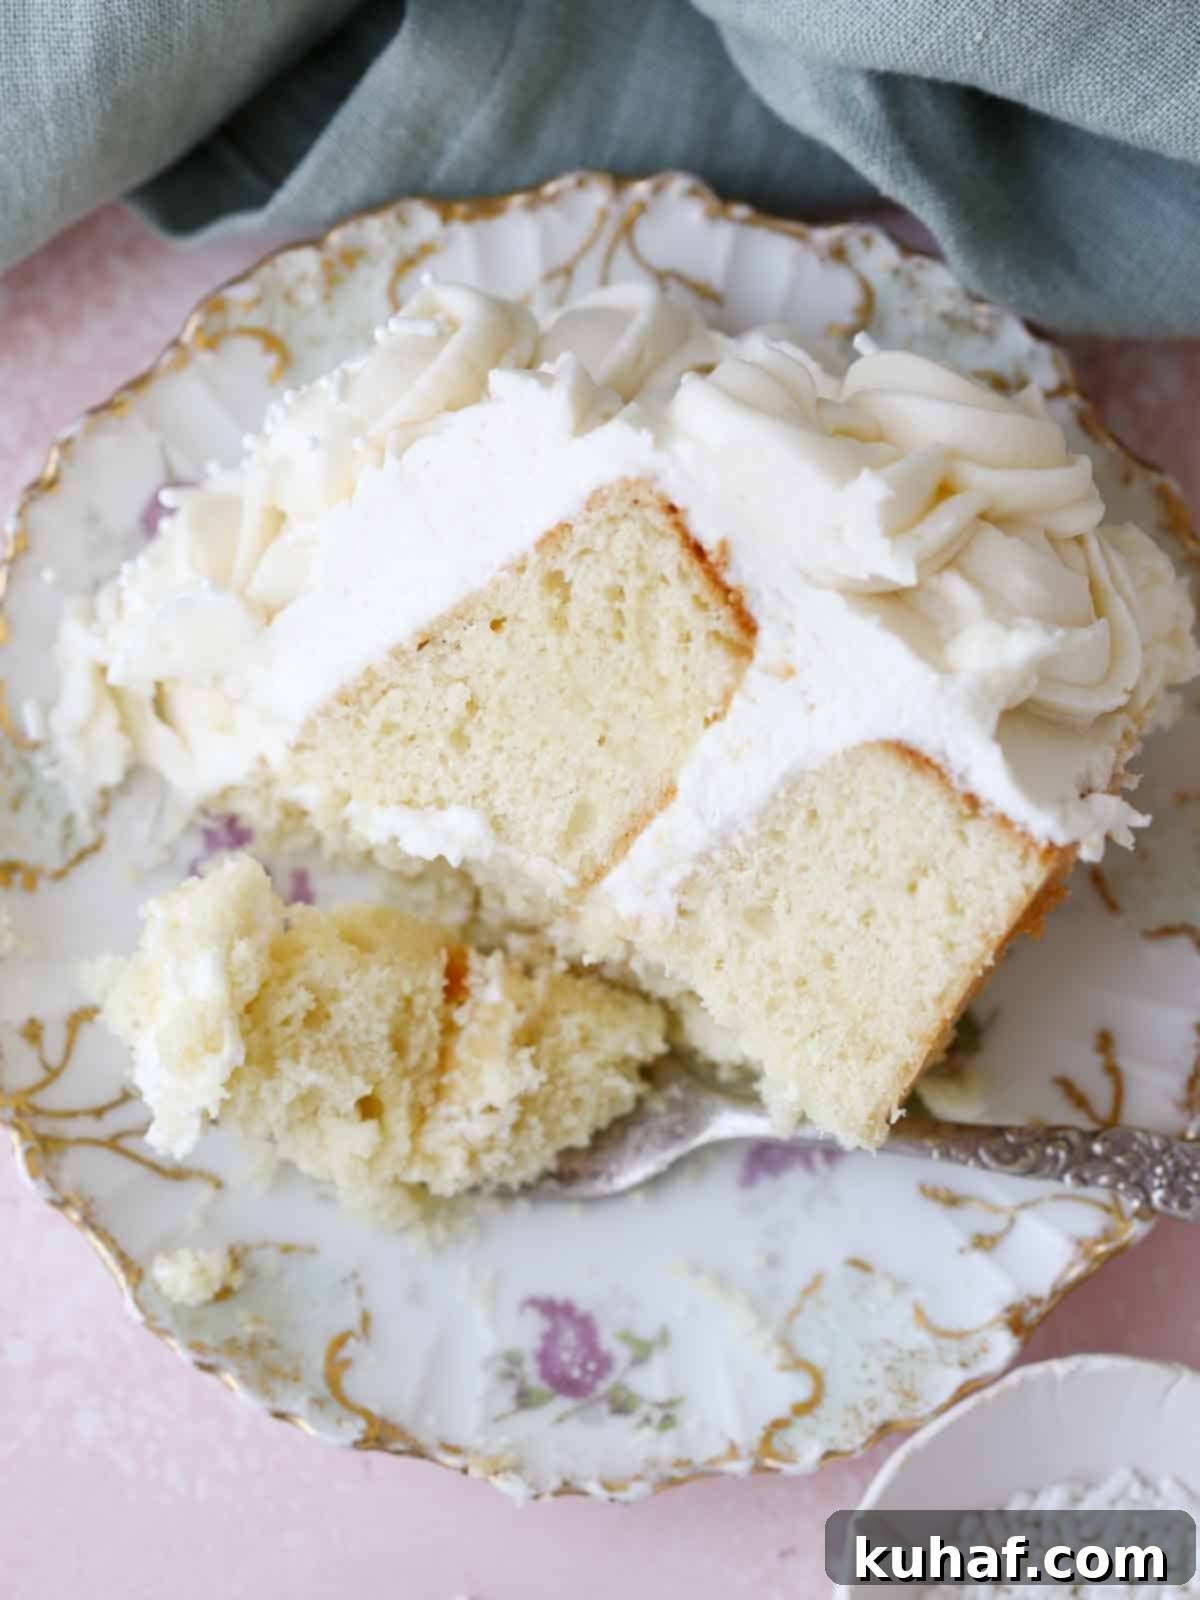
If you tried this recipe and loved it, please leave a 🌟 star rating and let me know how it goes in the comments below. I love hearing from you; your comments make my day!
Moist Vanilla Cake
Saved
Pin Recipe
Comment
Print Recipe
Ingredients
For the cake:
- ¾ cup unsalted butter soft and pliable, at room temperature
- 1 ½ cup granulated sugar
- 3 large eggs at room temperature
- 1 tablespoon pure vanilla extract
- ½ teaspoons almond extract optional, for enhanced flavor
- 1 cup full-fat sour cream at room temperature (or Greek yogurt)
- ½ cup whole milk at room temperature
- 2 ½ cups cake flour *see note on fluffing and sifting
- 1 teaspoons baking powder
- ½ teaspoons baking soda
- 1 ½ teaspoons kosher salt or half if using table/fine sea salt
For the vanilla buttercream:
- 1 ½ cups unsalted butter softened, at room temperature
- 6 ¼ cups powdered sugar sifted
- 2 teaspoons pure vanilla extract
- 1/3 cup heavy cream cold
Instructions
For the Cake:
-
Preheat oven to 350°F (175°C) (either convection or regular). Prepare two 9-inch round cake pans by spraying with non-stick cooking spray and lining the bottom with a parchment paper circle.
-
Ensure all cake ingredients are at room temperature. In a medium bowl, sift the cake flour, baking powder, baking soda, and kosher salt. In another small bowl, whisk together the sour cream and whole milk. Set both aside.
-
In the bowl of a stand mixer (or with a hand mixer) fitted with the paddle attachment, cream the room temperature unsalted butter and granulated sugar until light and fluffy (3-5 minutes). Add the eggs one at a time, beating well after each addition and scraping down the bowl. Add the vanilla and almond extracts with the last egg.
-
Alternately add the sifted dry ingredients and the sour cream-milk mixture to the butter mixture, beginning and ending with the dry ingredients. Mix on low speed until just combined, being careful not to overmix. Finish folding by hand if needed.
-
Divide the batter evenly between the prepared pans (approx. 670g each using a kitchen scale) and smooth with an offset spatula. Bake immediately in the preheated oven for approximately 20-25 minutes, or until a cake tester inserted into the center comes out with a few moist crumbs. Do not overbake.
-
Allow cakes to cool in their pans on a wire rack for 10 minutes, then invert onto the rack, remove parchment, and cool completely before frosting. (Optional: Brush cooled cake layers with simple syrup soak for extra moisture.)
To make the buttercream:
-
In the bowl of a stand mixer fitted with the paddle attachment, beat the softened unsalted butter until smooth and slightly lightened on medium-high speed.
-
Reduce mixer speed to low and add the sifted powdered sugar ½ cup at a time, allowing each batch to mix in completely before adding the next.
-
Once all sugar is incorporated, add the vanilla extract (and optional vanilla bean seeds) and mix on medium speed until light and smooth.
-
Switch to the whisk attachment. On medium-low speed, gradually add the cold heavy cream. Increase speed to high and whisk until light, fluffy, and white (3-5 minutes).
-
TIP for Smoother Buttercream: To remove air bubbles, switch back to the paddle attachment and mix on low speed for 2-3 minutes. This creates a denser, smoother buttercream ideal for a pristine finish.
Assemble the cake:
-
Place the first cooled cake layer on a cake plate or stand, securing it with a dab of frosting.
-
Spread about 1 cup of buttercream evenly over the top of the first layer.
-
Place the second cake layer on top, ideally upside down for a flat top. (If adding a filling, pipe a buttercream dam around the edge of the first layer, fill, then chill before adding the second layer.)
-
Spread another 1 cup of buttercream on the top of the second layer. Apply a thin layer of buttercream around the sides, pressing into gaps (crumb coat). Smooth it out. Chill the cake for 30 minutes to set the crumb coat.
-
Spread the remaining buttercream over the top and sides of the chilled cake. Smooth it with an offset spatula or bench scraper for a clean finish, or create decorative swirls.
-
Decorate as desired. For rosettes, use a closed star tip (Ateco 845) and add sprinkles.
Notes
Yield – This recipe yields a beautiful 2-layer, 9-inch round cake, a generous 9×13 inch sheet cake, or approximately 24 delightful cupcakes. For a 3-layer 9-inch cake, scale the recipe by 1.5x.
Presentation – If you plan to pipe intricate swirls, rosettes, or extensive decorations on your cake, you may want to make 1.5 to 2 times the American buttercream recipe. Piping consumes more frosting than simply spreading it.
Variations – Don’t hesitate to customize! Experiment with different extracts for the cake, infuse your simple syrup with unique flavors, or change up the filling and buttercream flavors for endless possibilities.
Storage – For the freshest taste and texture, assemble the cake on the same day it’s baked. Wrap the finished cake tightly in plastic wrap or store it in an airtight cake container. It will keep well in the refrigerator for up to 5 days, tasting best within the first 3 days. Applying a simple syrup soak can help extend its moistness. For long-term storage, the chilled cake can be wrapped tightly and frozen for up to one year. If preparing components ahead, freeze cake layers and buttercream separately, then assemble when ready to serve.
Nutrition
|
Carbohydrates: 108g
|
Protein: 6g
|
Fat: 43g
|
Saturated Fat: 26g
|
Polyunsaturated Fat: 2g
|
Monounsaturated Fat: 11g
|
Trans Fat: 1g
|
Cholesterol: 152mg
|
Sodium: 406mg
|
Potassium: 102mg
|
Fiber: 1g
|
Sugar: 88g
|
Vitamin A: 1357IU
|
Vitamin C: 0.2mg
|
Calcium: 77mg
|
Iron: 1mg
Like this? Leave a comment below!
Before You Go: Explore More Delicious Recipes from Our Chef’s Kitchen
I genuinely hope you enjoyed perfecting this moist vanilla cake recipe, born from years of professional chef development. This cake is truly a testament to quality ingredients and refined techniques. If you’re eager to explore more exceptional baking, I invite you to delve into our collection of other delicious, classic cake recipes, perfect for any occasion. For smaller indulgences, discover our delightful cupcake recipes. Or, if you simply can’t get enough of that exquisite vanilla flavor, dive deeper into some of my other favorite vanilla-centric creations, including this crave-worthy copycat Sprinkles vanilla cupcake recipe, the incredibly rich vanilla bean ice cream, or the luxurious crème anglaise. Happy baking!
