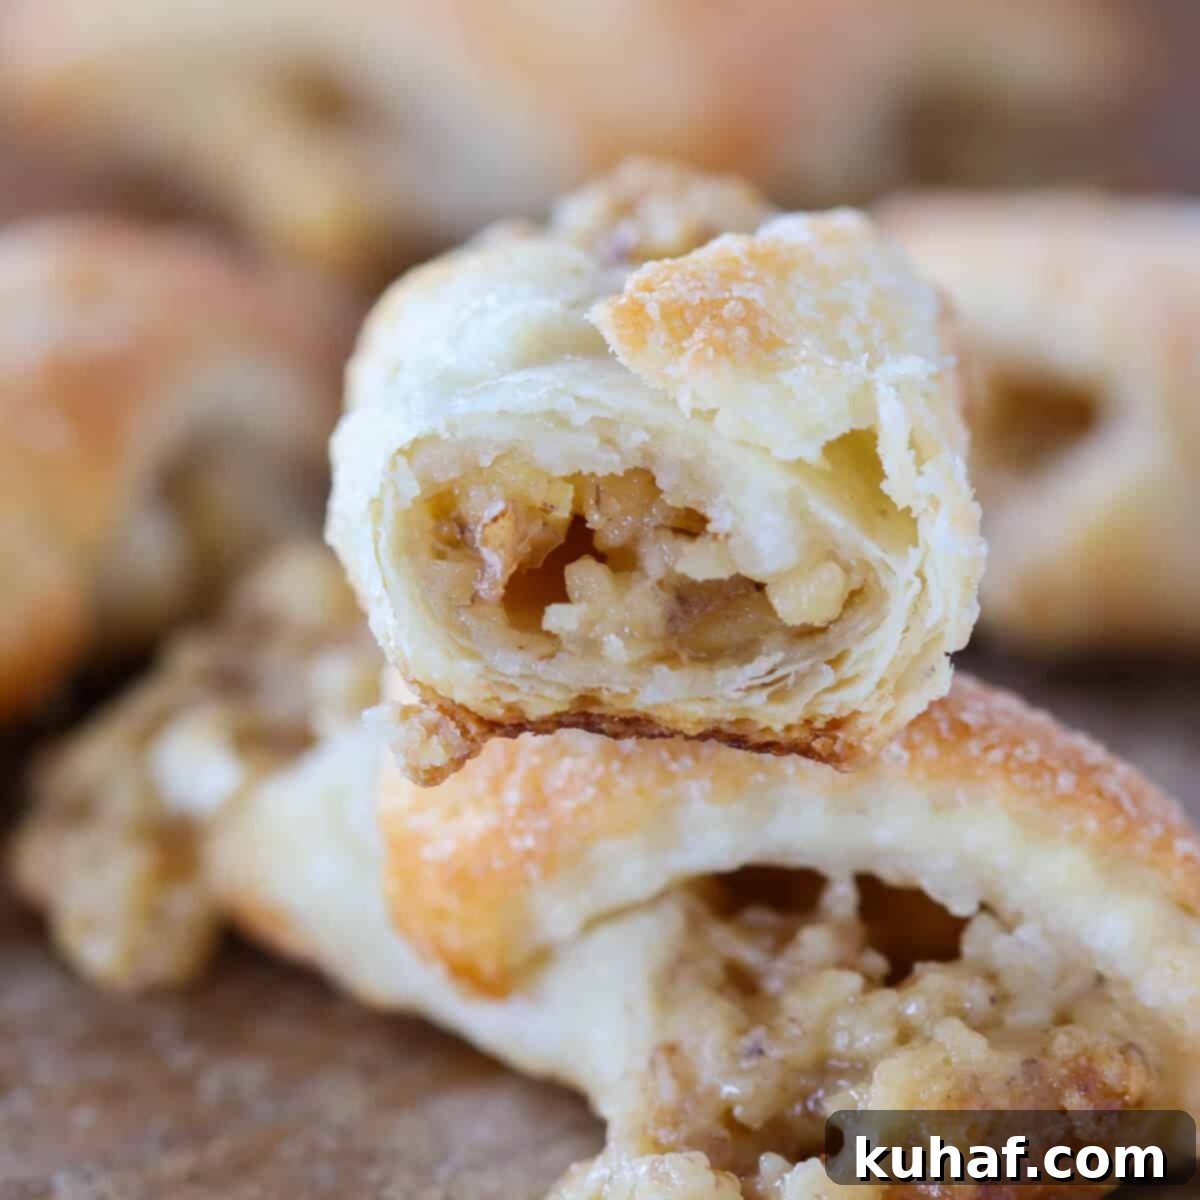
Authentic Hungarian Nut Roll Cookies: Flaky Cream Cheese Pastry with Rich Walnut Filling
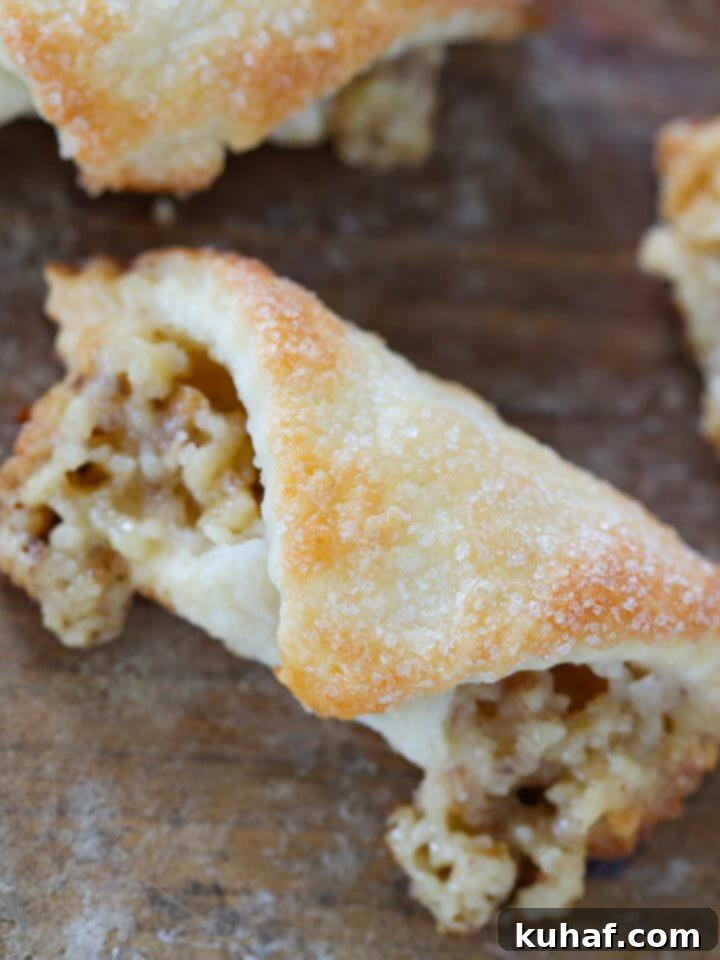
Prepare to fall in love with these delightful Hungarian Nut Roll Cookies, also lovingly known as Hungarian Nut Horns or Kifli. These exquisite treats feature a tender, flaky cream cheese pastry expertly wrapped around a generous, homemade walnut filling. Each bite reveals a perfect harmony of sweet, crunchy, and caramelized notes, making them utterly irresistible.
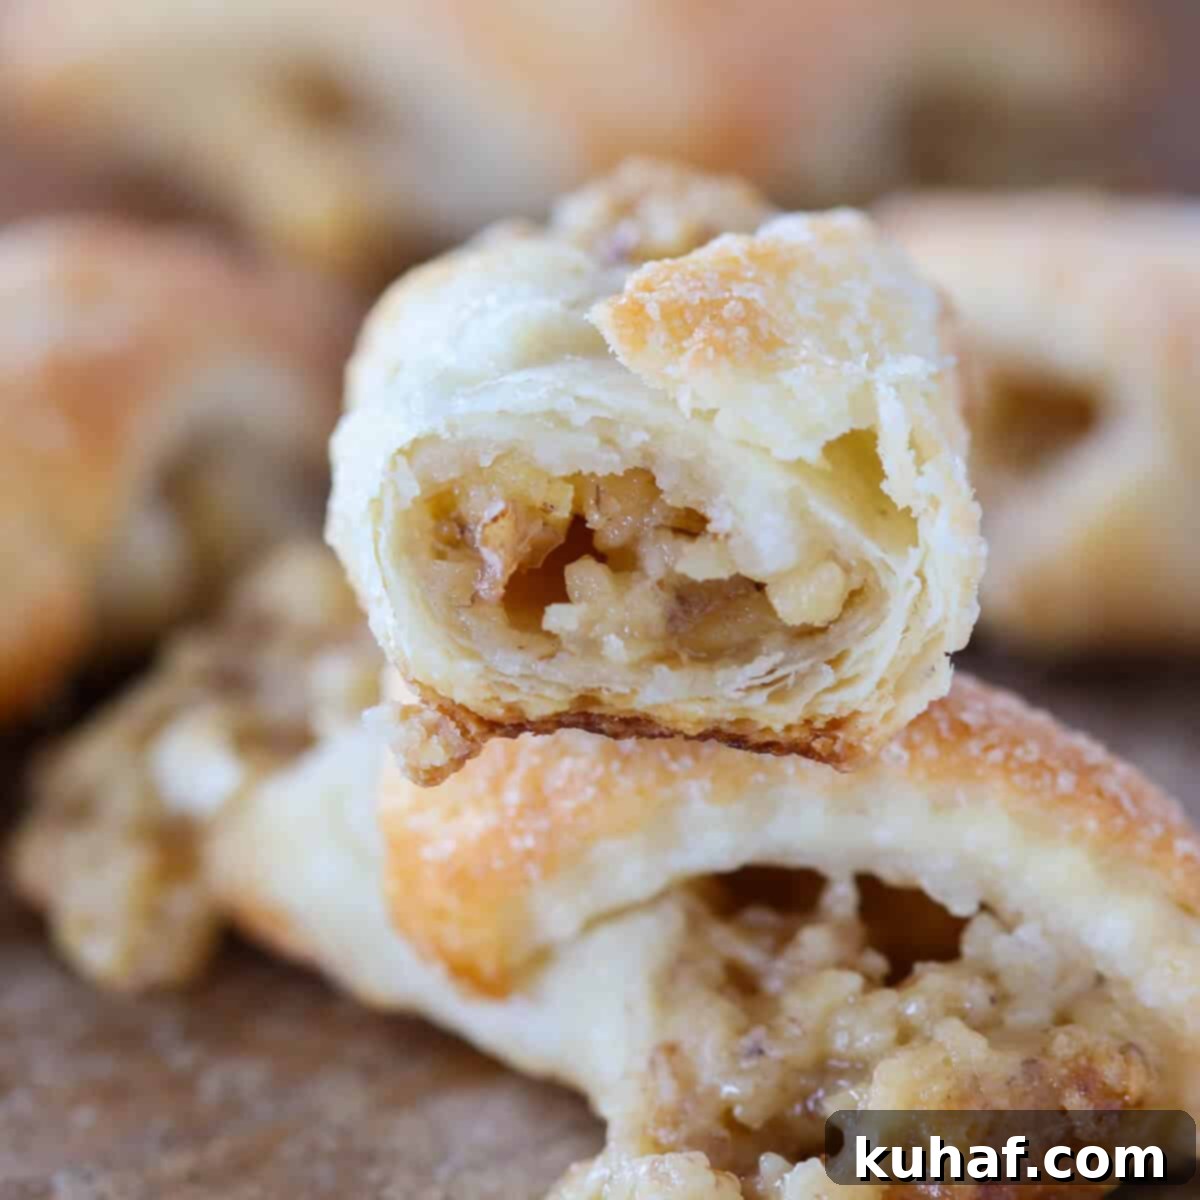
While these beautiful Hungarian nut rolls are a cherished staple during the Christmas season in Hungarian, Slovak, and Polish traditions, their delicate flavor and satisfying texture make them a delightful treat to enjoy all year round. Whether for a holiday platter or an everyday indulgence, these cookies are truly special.
The secret to their incredible texture lies in the simple yet rich cream cheese pastry crust. It’s surprisingly easy to make and creates a unique flakiness that sets these cookies apart. This same versatile dough forms the base of our delicious apricot kolacky recipe, yet the different fillings transform them into distinct culinary experiences. Both would be a wonderful addition to any cookie assortment, perfectly complementing classics like these pecan snowball cookies, soft chewy gingerbread boys, and festive double chocolate peppermint kiss cookies!
Table of Contents
- Why You’ll Adore These Walnut Roll Cookies
- Essential Ingredients for Hungarian Nut Rolls
- Step-by-Step Guide: How to Make Nut Rolls
- Crafting the Perfect Walnut Filling
- Preparing the Cream Cheese Dough
- Assembling and Baking Your Nut Roll Cookies
- Chef Lindsey’s Expert Baking Tip
- Video Tutorial
- Creative Variations & Substitutions
- How to Properly Store Your Nut Roll Cookies
- Frequently Asked Questions About Nut Rolls
- Nut Roll Cookies (Walnut Filling) Recipe Card
- Explore More Delicious Cookie Recipes!

Why You’ll Adore These Walnut Roll Cookies:
- Effortless Cream Cheese Crust: This pastry dough is incredibly simple to prepare. You can mix it in a single bowl using just a hand mixer, making cleanup a breeze. The cream cheese contributes to a rich, exceptionally tender, and delightfully flaky pastry without requiring any additional moisture. It’s a true baking marvel!
- Irresistible Homemade Walnut Filling: The heart of these nut rolls is their sweet, nutty, and wonderfully crunchy walnut filling. It’s bursting with flavor and perfectly complements the delicate pastry. A fantastic bonus? This filling can be made ahead of time and conveniently stored in the freezer, ready for your next baking adventure.
- Signature Caramelized Exterior: One of the unique aspects of this recipe is rolling the dough in granulated sugar before baking. This simple step creates a sumptuously caramelized and crunchy crust on the bottom, while also forming a sweet, glistening coating on top. Since there’s no sugar directly in the dough, this exterior layer is a welcome and delicious addition that enhances both flavor and texture.
Essential Ingredients for Hungarian Nut Rolls
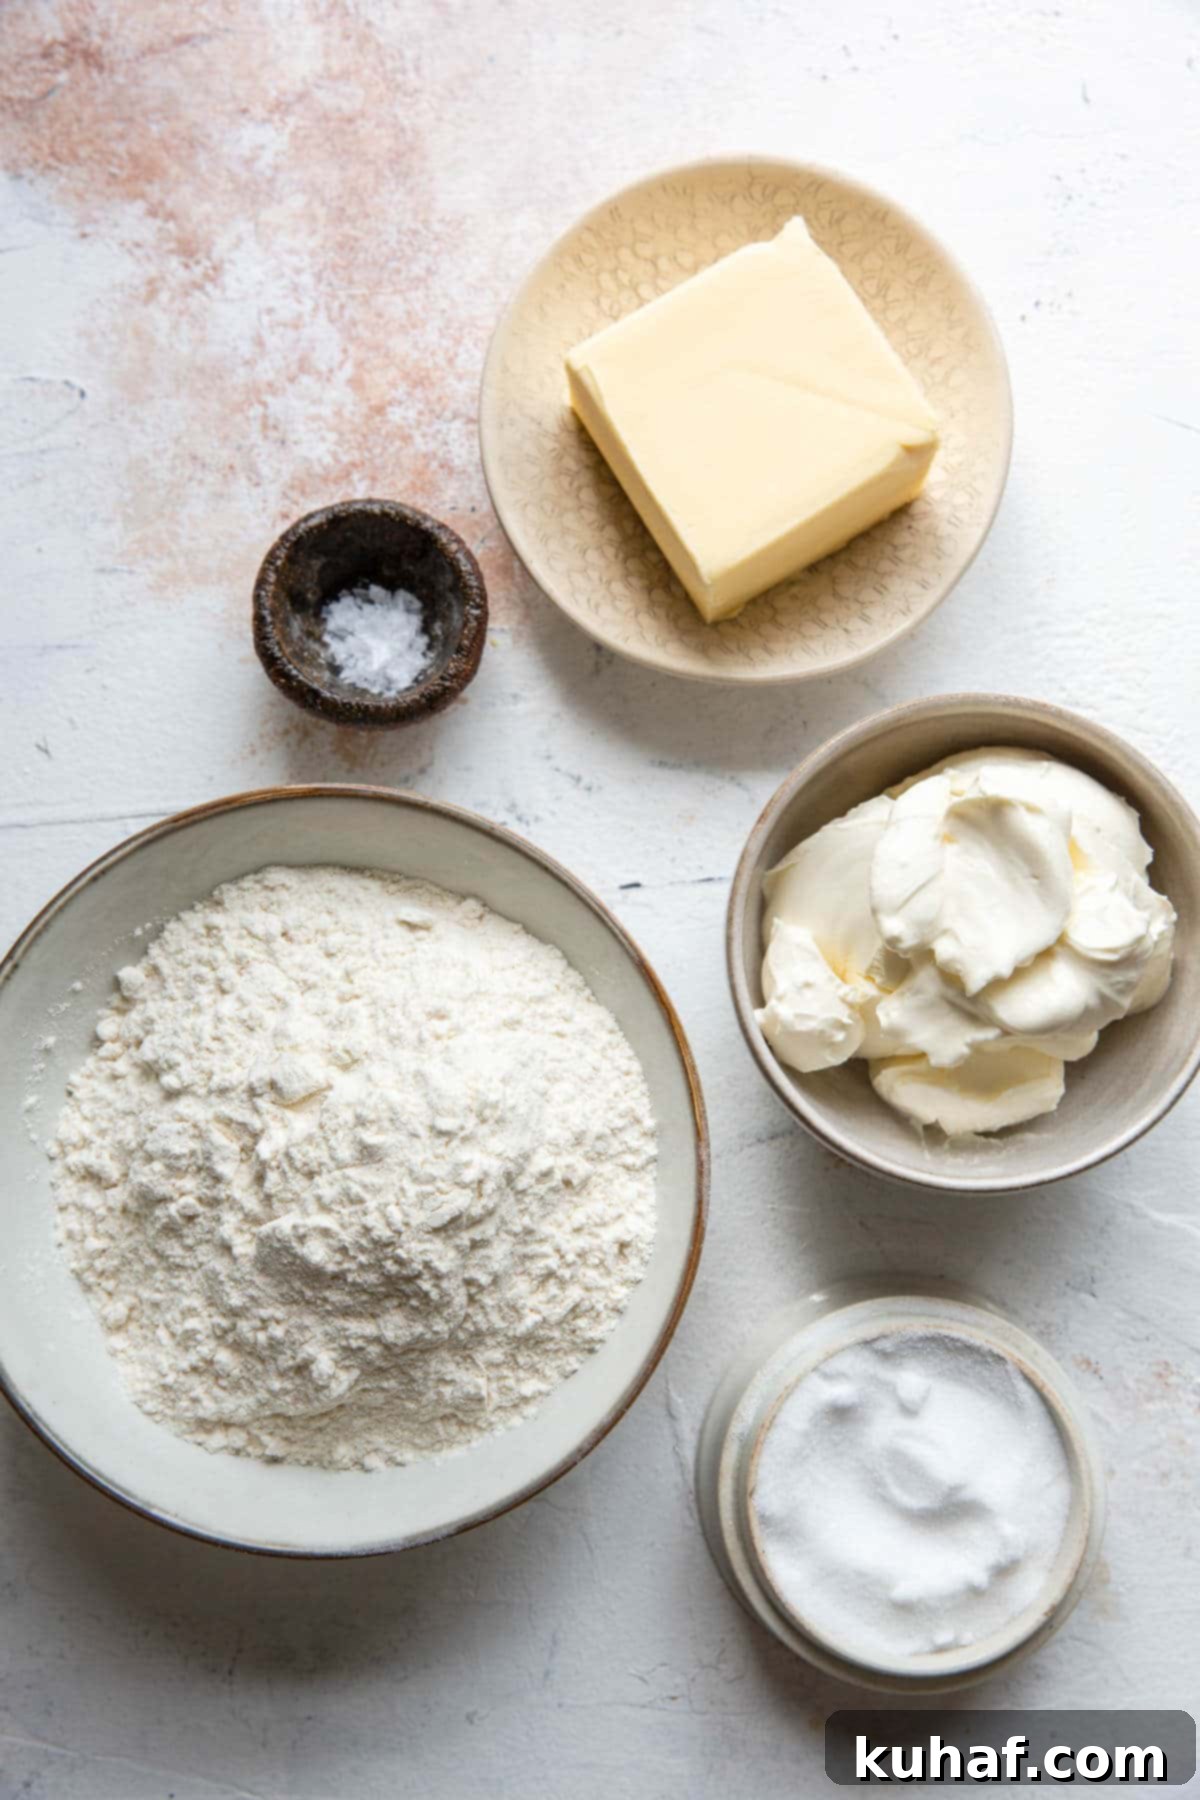
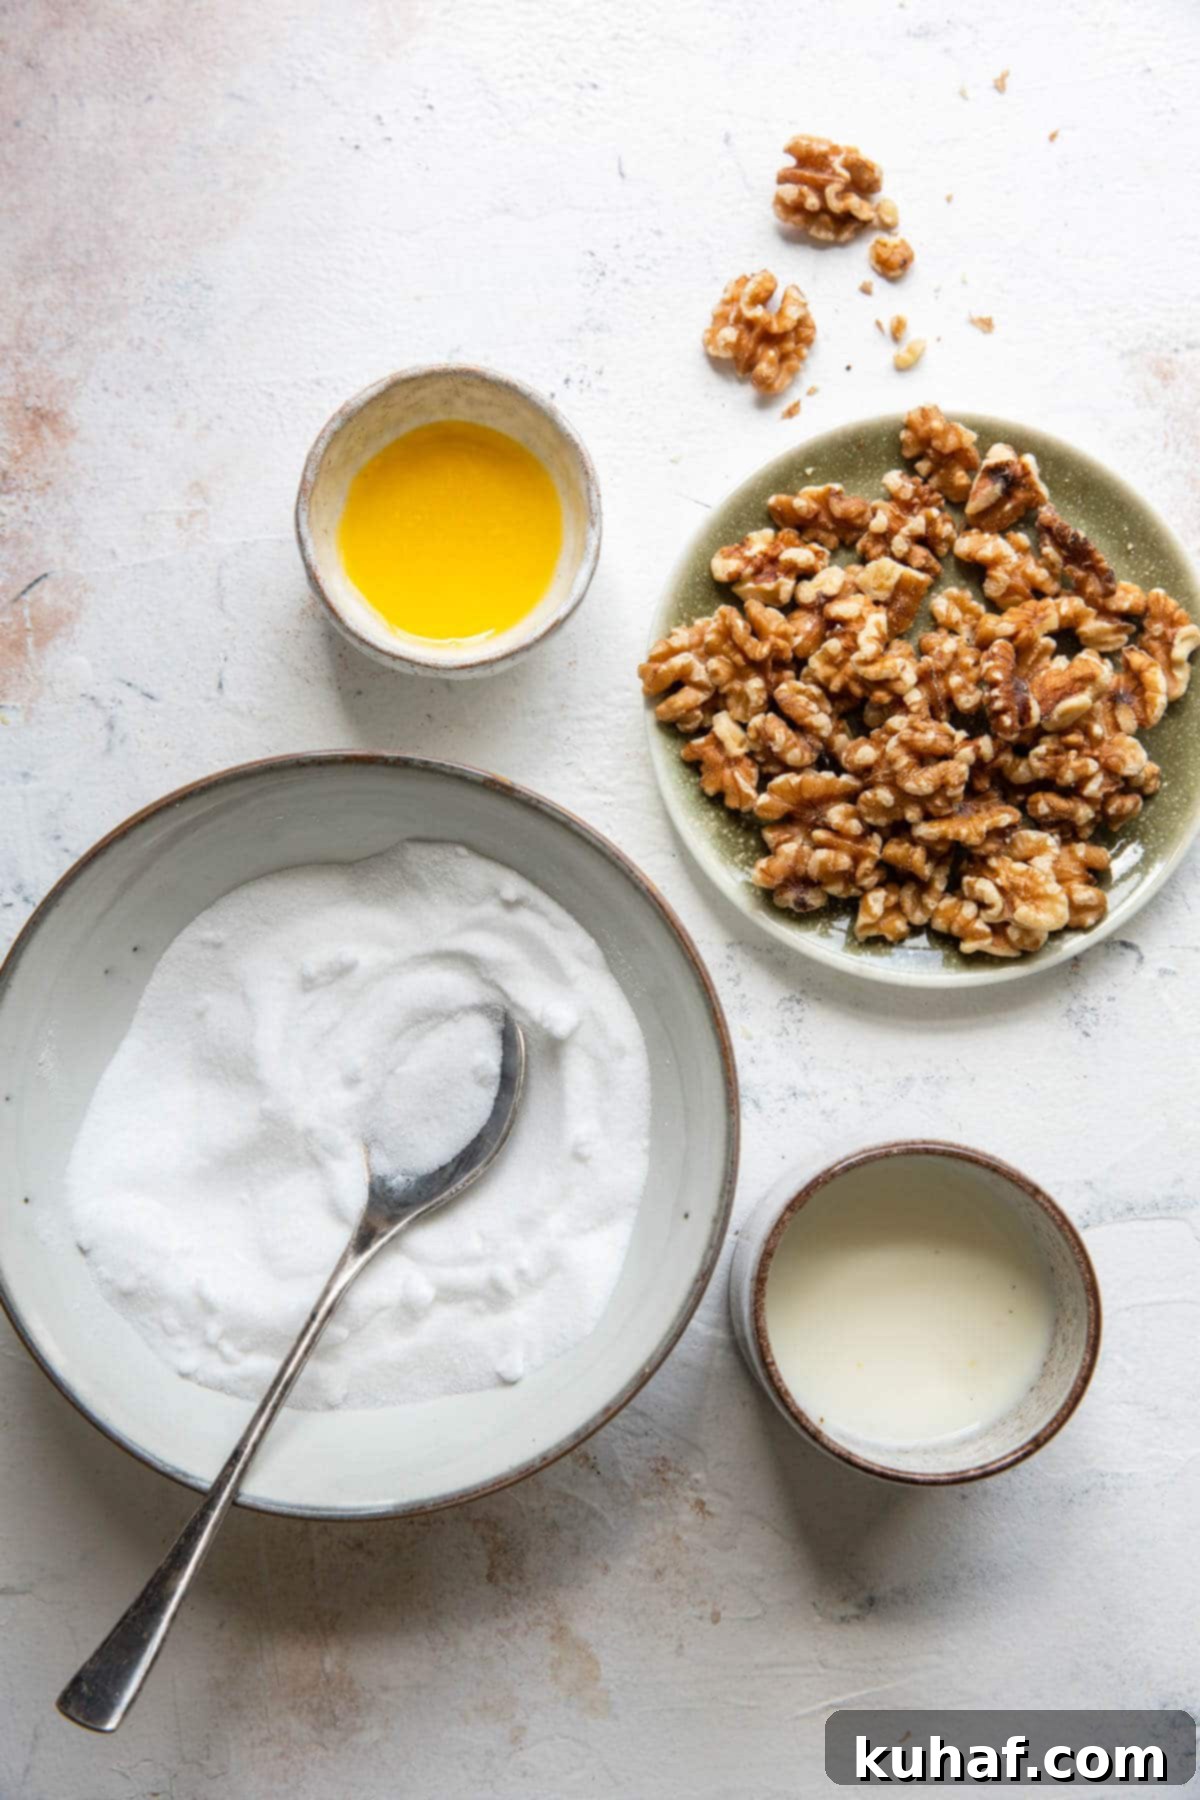
Understanding the role of each ingredient is key to achieving perfect Hungarian Nut Rolls. Here’s what you’ll need:
All-purpose flour: Proper flour measurement is crucial for the tender texture of these cookies. Always fluff up the flour in its bag, then spoon it gently into your measuring cup. Level it off with a straight edge or knife, being careful not to pack or compress it. Incorrect measurement, particularly adding too much flour, can lead to dry, tough cookies.
Kosher Salt: Kosher salt is preferred in baking because its larger flakes provide a less concentrated saltiness compared to finer table salt. A teaspoon of kosher salt also weighs less than other varieties. Its inclusion here is essential for heightening the overall flavor profile, preventing your pastries from tasting dull or flat. It brings out the sweetness of the filling beautifully.
Cream Cheese: For consistently delicious results, I highly recommend using original, full-fat Philadelphia Cream Cheese in all my baked goods. Incorporating cream cheese into the dough adds a significant amount of fat, contributing to a wonderfully rich flavor, while also imparting a subtle, pleasant tang. Crucially, cream cheese behaves differently than butter when baked, resulting in the signature flaky and tender texture that defines these cookies.
Unsalted Butter: When baking, it’s best to use unsalted butter. This allows you complete control over the total amount of salt in your recipe. Different brands of salted butter contain varying amounts of sodium, which can make adjusting a recipe a challenge. Ensure your butter is softened to room temperature for optimal creaming with the cream cheese.
Granulated Sugar: The granulated sugar in the walnut filling provides essential sweetness and, as it bakes, caramelizes around the edges, adding a delightful depth of flavor and texture. Beyond the filling, additional granulated sugar is used for rolling out the pastry dough. While optional, this step is highly recommended as it contributes significantly to the unique caramelized crust and crunchy exterior.
Walnuts: The star of the filling! For the best texture, you can finely chop walnuts by hand with a sharp knife or achieve a fine grind by pulsing them in a food processor. There’s no need to toast the walnuts beforehand for this recipe; they will toast perfectly as the nut roll cookies bake in the oven, infusing the entire pastry with a warm, nutty aroma.
Whole Milk: I always opt for whole milk in my baking recipes. Its higher fat content adds a discernible richness to the final flavor and significantly improves the overall texture of the walnut filling, making it wonderfully creamy and spreadable.
Step-by-Step Guide: How to Make Nut Rolls
Making these traditional Hungarian Nut Roll Cookies is a rewarding experience. Follow these detailed instructions and photos to ensure perfectly baked, delicious treats every time. You’ll find additional precise measurements and specific instructions in the full recipe card below.
Crafting the Perfect Walnut Filling:
Step 1: Begin by preparing your walnuts. Finely chop them using a sharp knife, or for a quicker method, pulse them in a food processor until they reach a finely ground consistency. The finer the chop, the more smoothly the filling will spread.
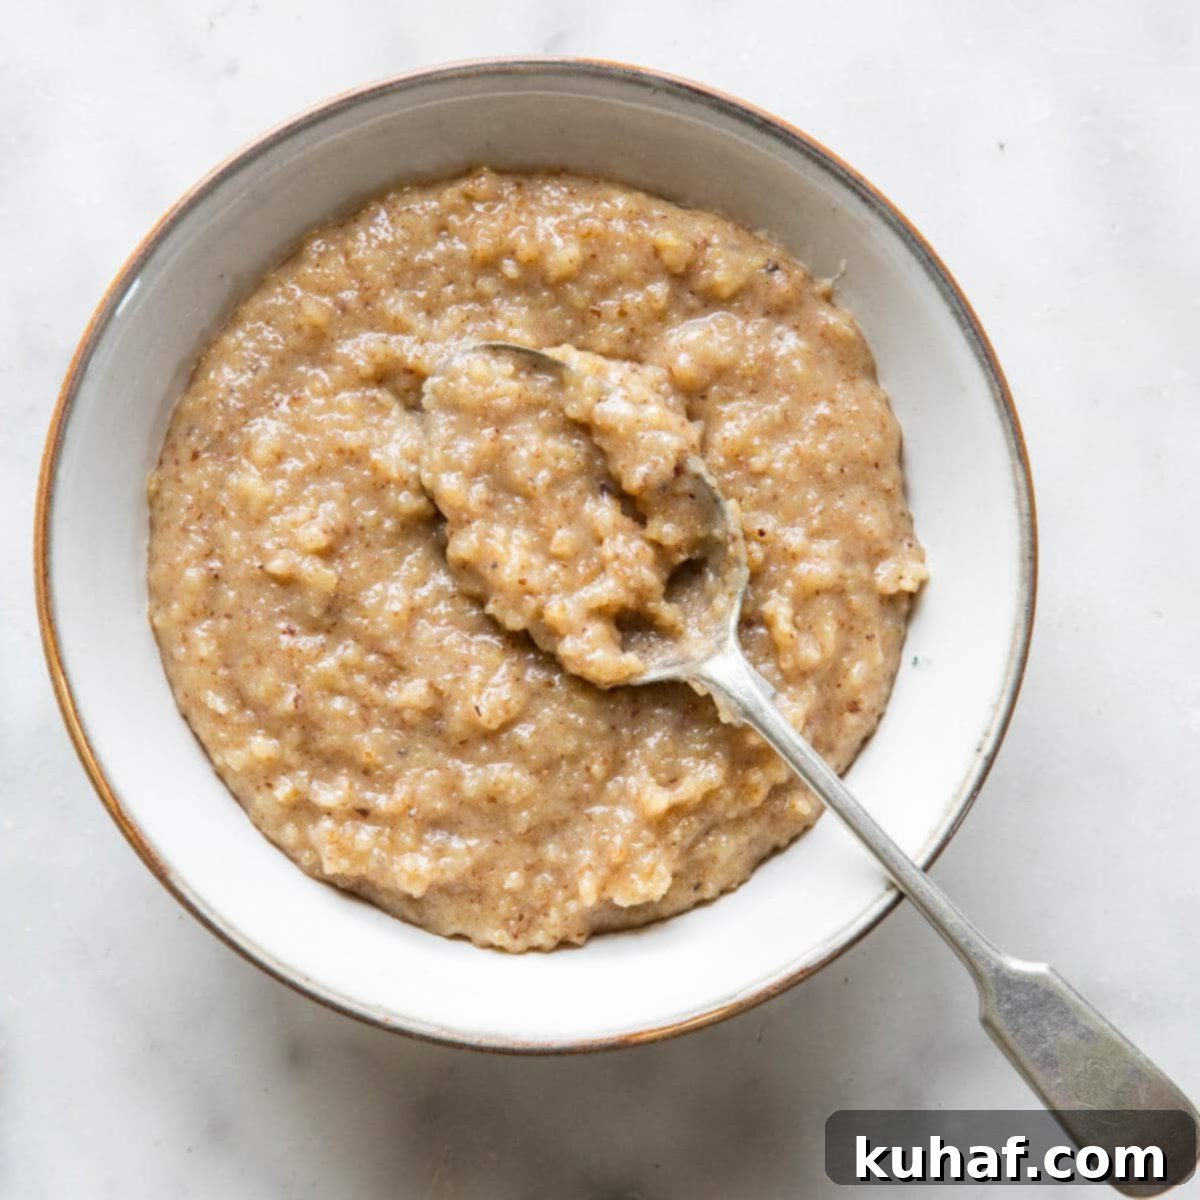
Step 2: In a medium-sized bowl, combine the finely chopped walnuts, granulated sugar, melted butter, and ¼ cup of hot milk. Stir these ingredients together thoroughly until they are well incorporated. At this stage, the mixture should be quite thick and cohesive.
Step 3: Allow the walnut mixture to sit for approximately 10 minutes. This resting period allows the walnuts to absorb the liquids and swell slightly. After resting, check the consistency; if it’s not easily spreadable, gradually add more milk, a tablespoon at a time, until you achieve a smooth, spreadable paste. The exact amount of milk needed can vary based on how finely your walnuts are chopped – finer nuts tend to absorb more liquid. For the cookies pictured, all of the milk was used. This filling is fantastic for making ahead; simply freeze it and thaw before assembling your cookies.
Preparing the Cream Cheese Dough:
Step 4: In a large mixing bowl, or the bowl of a stand mixer fitted with the paddle attachment, combine the softened cream cheese and butter. Beat them together on medium speed until the mixture is completely incorporated, smooth, and wonderfully creamy. This process typically takes about 3-5 minutes, ensuring a light and airy base for your dough.
Step 5: Reduce the mixer speed to low. Gradually add the kosher salt, followed by small additions of the all-purpose flour. It’s crucial to add the flour slowly and incorporate each addition fully before adding more. Adding too much flour at once can overwhelm the dough, requiring longer mixing times. Overworking the dough can develop gluten, resulting in tough, less tender, and shrinking cookies. The goal is a soft, pliable dough that is not sticky to the touch.
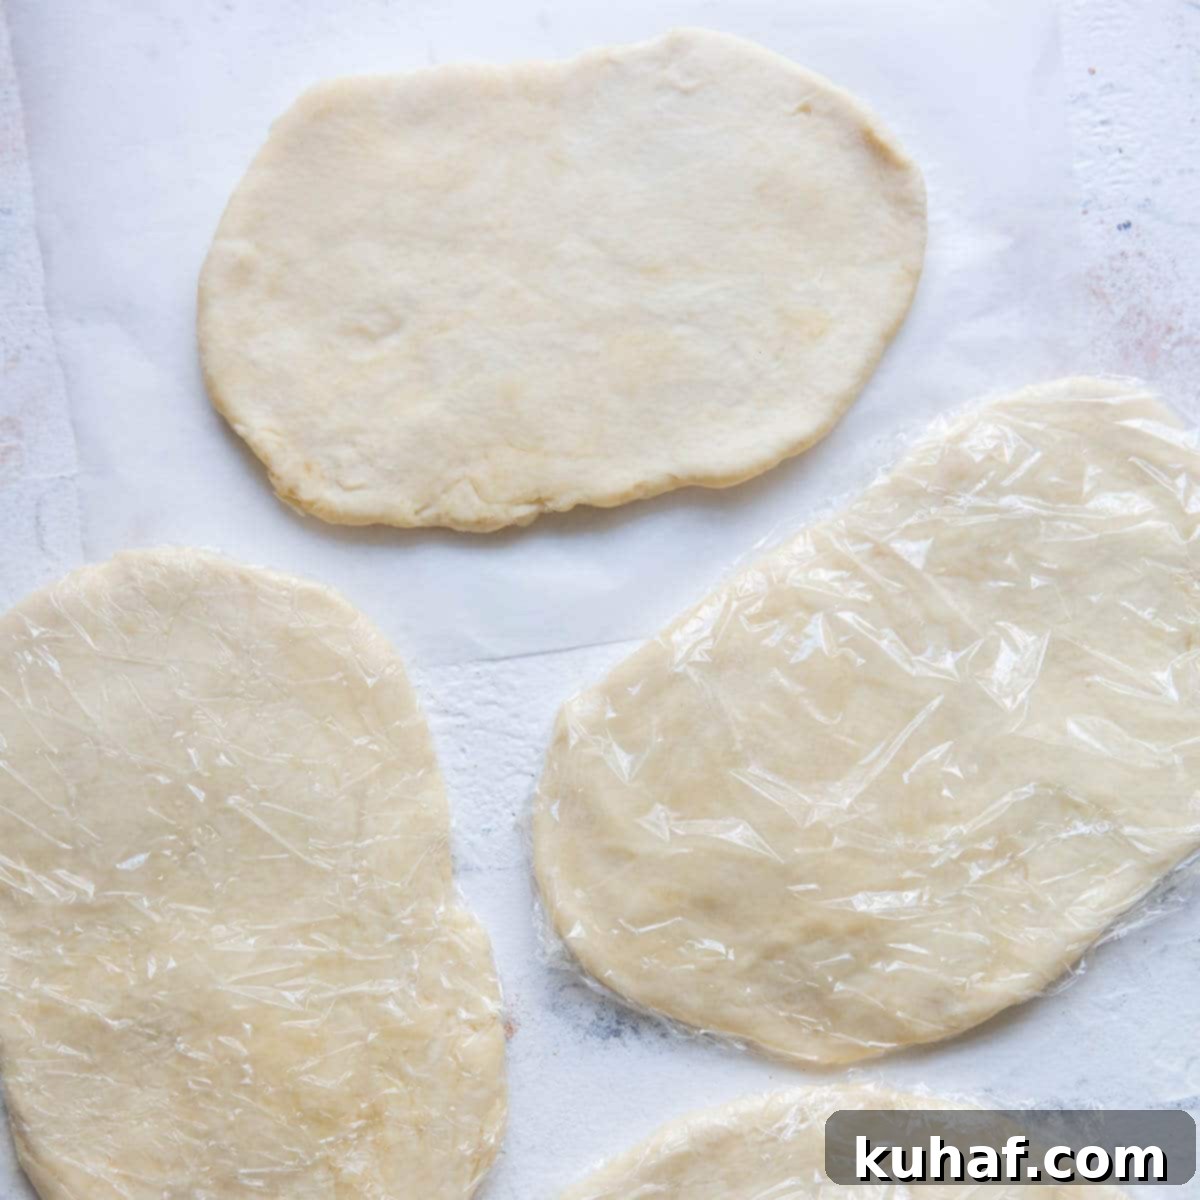
Step 6: Once the dough is formed, divide it into 4 equal portions. Gently flatten each portion into a disc, approximately ¾ inch thick. Wrap each disc tightly in plastic wrap and refrigerate for at least 2 hours, or until the dough is firm. Chilling is essential for ease of rolling and creating that signature flaky texture.
Even though this dough contains no added liquid, overworking it can still develop gluten, leading to a tough pastry. To avoid this, divide the dough carefully with a knife or bench scraper rather than tearing it. When flattening the portions, use a gentle hand; excessive pressing will be corrected during the rolling stage. Allowing the dough to rest and chill properly is critical for a perfectly tender and flaky final product!
Assembling and Baking Your Nut Roll Cookies:
Step 7: Preheat your oven to 375°F (190°C). Position an oven rack one setting higher than the center to ensure even baking. Line two baking sheets with parchment paper; this prevents sticking and aids in easy cleanup.
Step 8: Take one chilled dough disc from the refrigerator. Lightly flour both sides of the dough. Spread a generous layer of granulated sugar directly onto your pastry board or clean work surface. Place the dough on top of the sugar and begin to roll it out. Roll the pastry as thinly as possible, aiming for approximately 1/16 inch thick. The thinner the dough, the more delicate and flaky your finished cookies will be. If the dough is rolled too thick, the bottom may burn before the inside has a chance to fully cook and puff up.
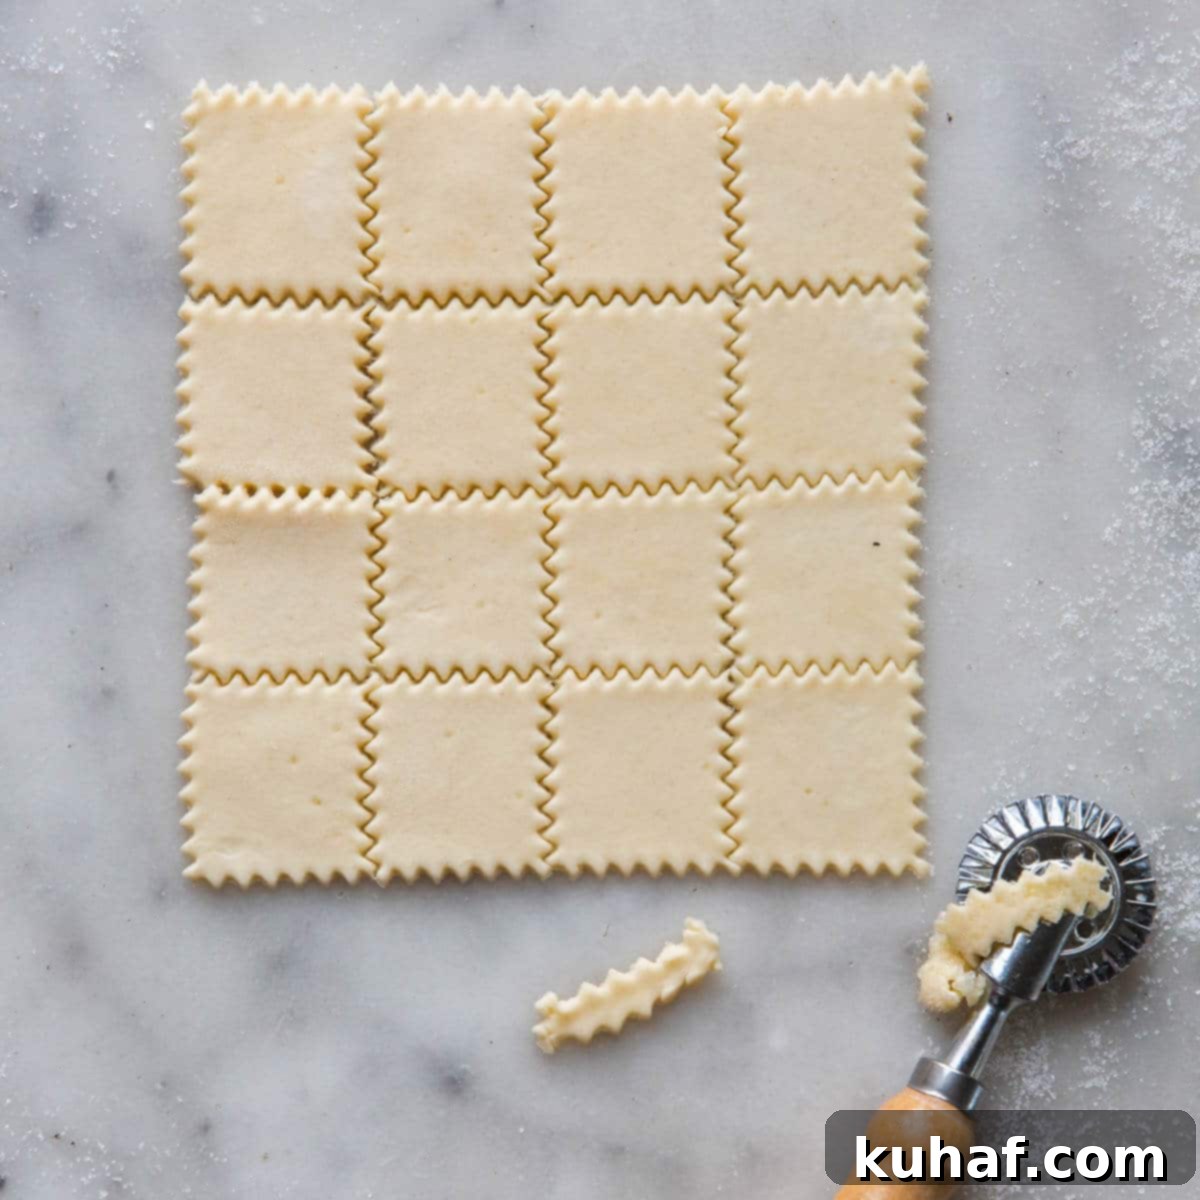
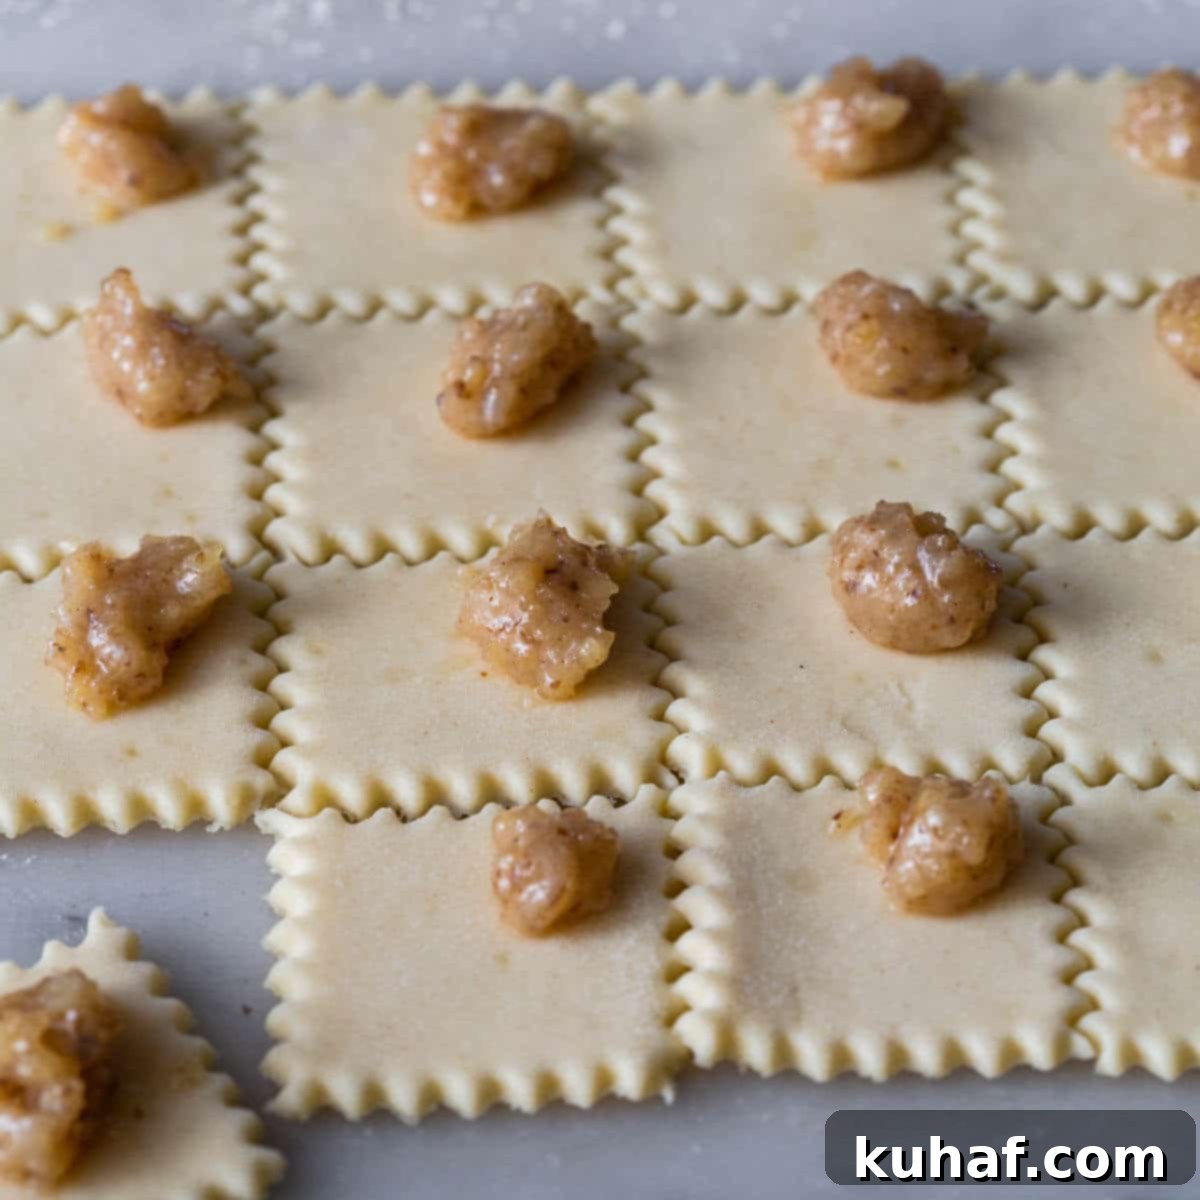
Step 9: Using a pastry wheel or a sharp knife, carefully trim the rolled dough into a neat square. Then, cut this larger square into 16 smaller squares. Don’t worry if your initial dough doesn’t roll into a perfect circle; simply cut as many 1½-inch squares as you can, setting aside any scraps for later re-rolling.
Step 10: Place a small dollop of the delicious walnut filling into one corner of each dough square. A ½ teaspoon amount is usually perfect. Starting from the corner with the filling, gently roll the dough around the filling, moving from corner to corner. As you roll, gently press down to seal the filling. Once rolled, pick up the pastry by both sides and gently bend it to create a classic crescent shape, pinching the ends to secure. Carefully transfer each shaped nut roll to your parchment-lined baking sheet, ensuring they are spaced no closer than 1 inch apart. You can arrange them diagonally to maximize space on the tray. Repeat this process with all the remaining squares.
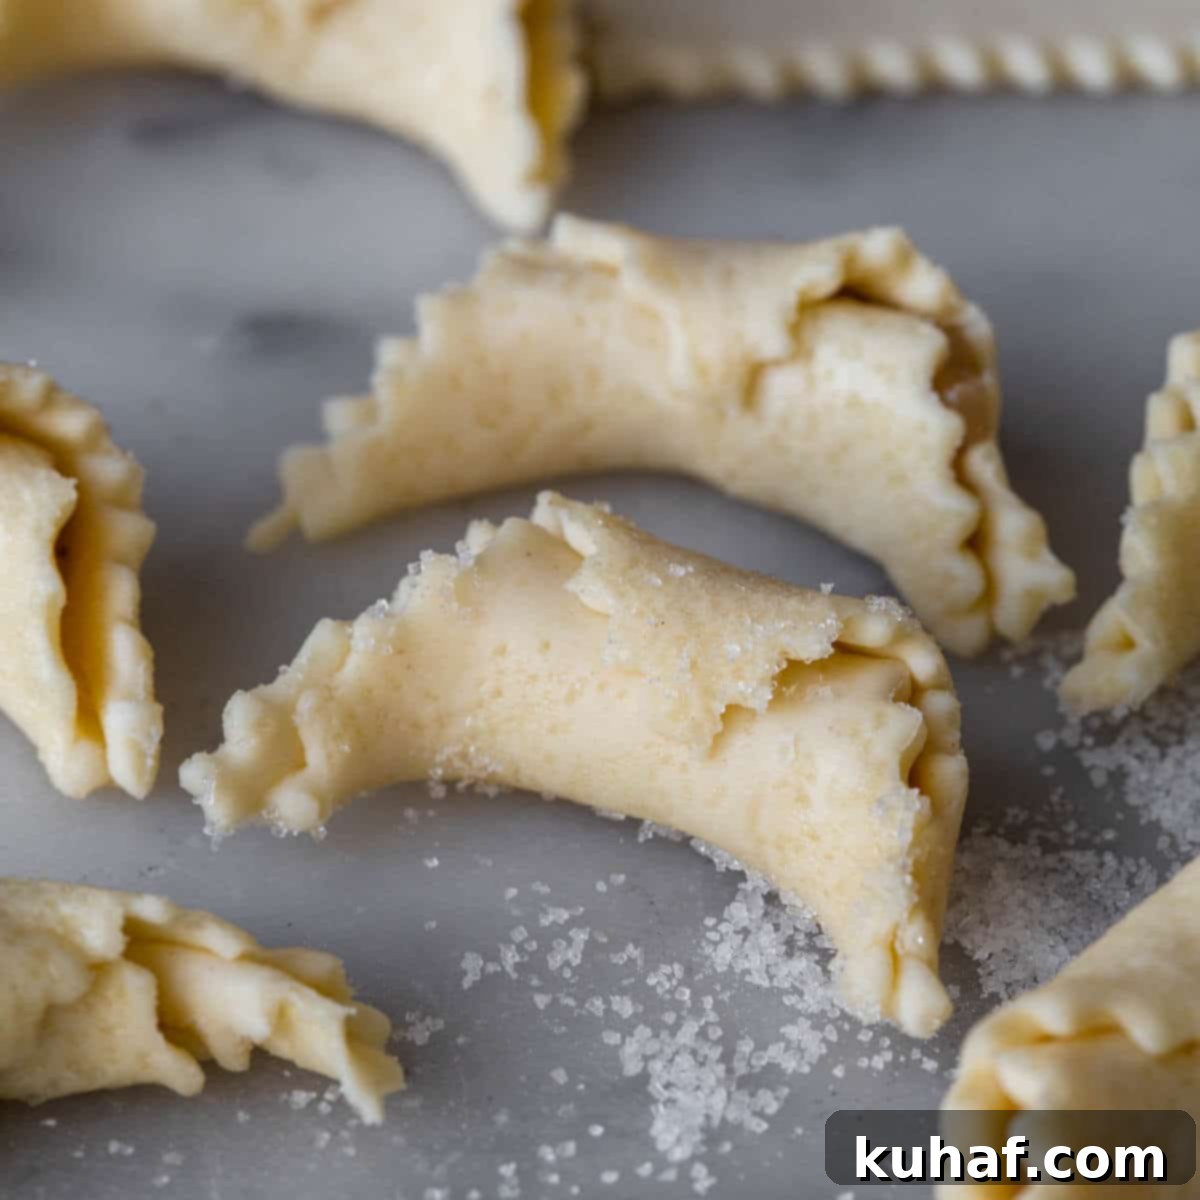
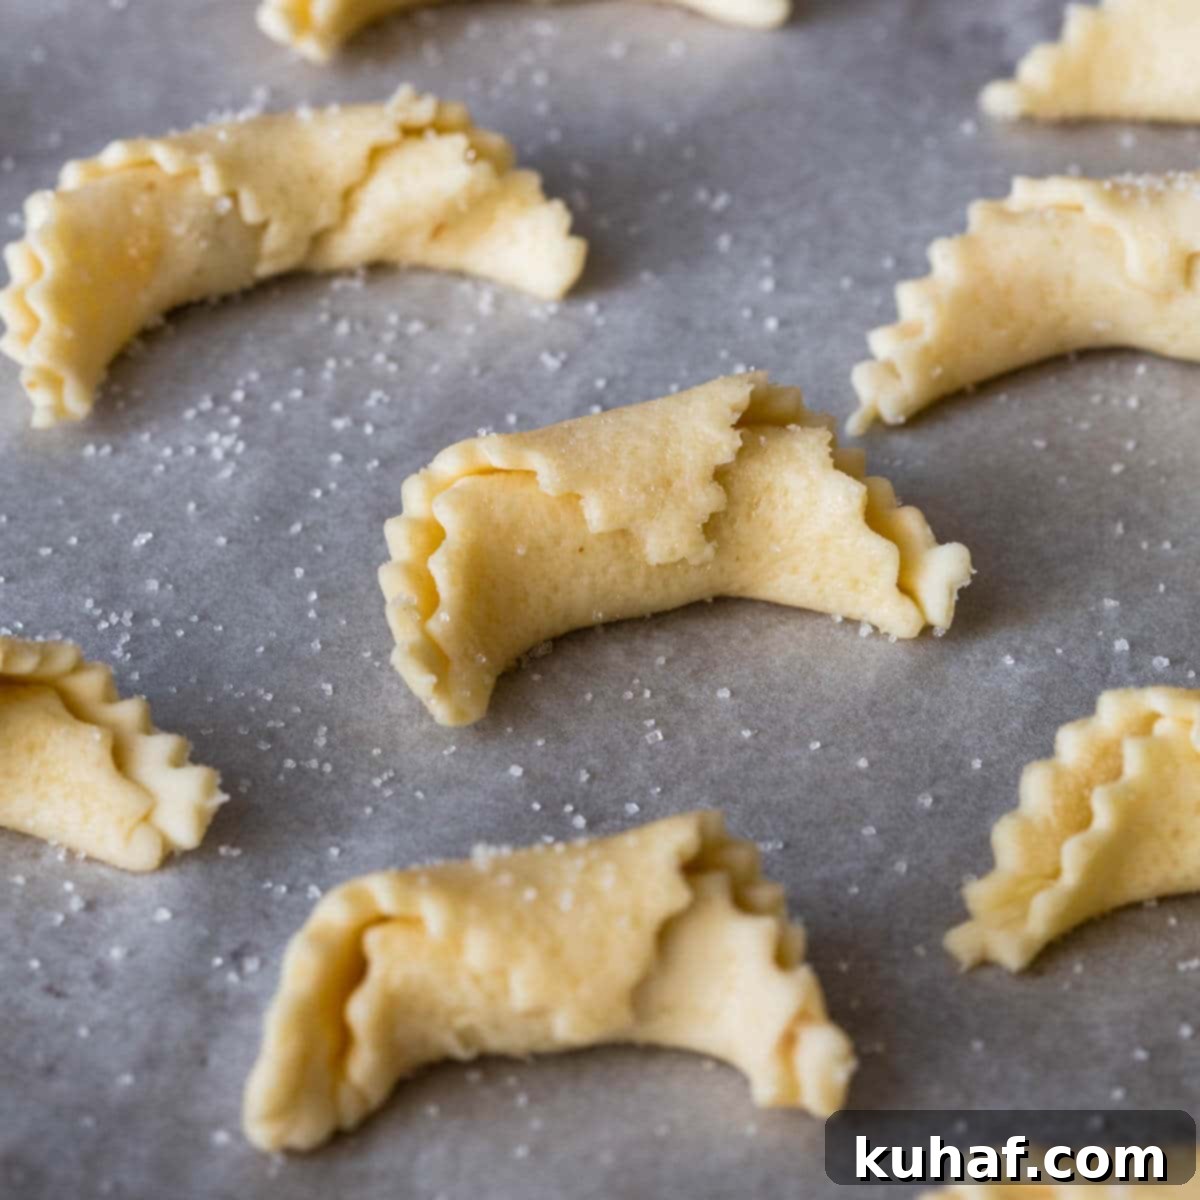
Step 11: Before baking, delicately sprinkle a touch of granulated sugar over the middles of the assembled nut rolls. Bake for 12-14 minutes, or until the bottom edges turn a lovely golden brown and your kitchen is filled with their enticing aroma. You’ll notice they puff up slightly in the middle, indicating they’re cooking through. With practice, you’ll intuitively know when they’re perfectly baked. Allow them to cool slightly on the baking pan before very gently transferring them to a wire rack to cool completely. This careful handling prevents them from breaking while still warm and delicate.
Chef Lindsey’s Expert Baking Tip
Resist the urge to chill the assembled nut roll cookies before baking them! When the butter in the dough re-solidifies, it causes the cookies to puff up excessively in the oven. This extra puff can actually cause your beautifully rolled nut horns to unroll during baking, spoiling their classic crescent shape and flaky layers. Bake them immediately after assembly for the best results!
This cherished recipe is adapted from June Meyer’s Authentic Hungarian Heirloom Recipes Cookbook, enhanced with my personal technique tips to ensure baking success.
Video Tutorial
Watch this helpful video tutorial to see each step of making these delicious Hungarian Nut Roll Cookies. Visual guidance can make all the difference!
Creative Variations & Substitutions
While classic walnut filling is undeniably delicious, these versatile nut roll cookies lend themselves beautifully to other fillings and adaptations:
Alternative Fillings: Experiment with different traditional European fillings. These nut roll cookies are also incredibly delightful with a tangy apricot filling, which offers a lovely contrast to the rich pastry. Another popular and authentic option is a traditional poppyseed filling, known for its unique texture and subtle nutty flavor. Each brings its own charm to these elegant pastries.
Nut Substitutions: If walnuts aren’t your preference or readily available, pecans can be a wonderful substitute. Their buttery flavor and similar texture work perfectly in the filling, offering a slightly different but equally delicious experience.
Adjusting Size: These cookies can be made in various sizes to suit your preference. They are absolutely adorable when crafted into bite-sized mini rolls, perfect for a delicate presentation. However, be aware that smaller cookies can be a bit more challenging and time-consuming to assemble due to their intricate size. Larger rolls are generally easier to handle.
How to Properly Store Your Nut Roll Cookies
Proper storage is key to maintaining the freshness and delicate texture of your Hungarian Nut Roll Cookies:
Storing Baked Cookies: Once your cookies have completely cooled to room temperature, you can store them to keep them as crisp as possible. Arrange them in an airtight container, layering them between sheets of wax paper to prevent sticking. Then, wrap the entire stack loosely in foil. Stored this way at room temperature, they will remain fresh for several days. For longer enjoyment, these baked cookies freeze beautifully for up to three months. Simply thaw them at room temperature before serving.
Freezing Unbaked Cookies: For ultimate convenience, you can prepare the raw, assembled cookies and freeze them before baking. Lay them in a single layer on a baking sheet to freeze solid, then transfer them to a freezer-safe ziptop bag or container. When you’re ready to bake, simply bring them to room temperature before popping them into the oven as per the recipe instructions. This ensures they bake up perfectly flaky and prevents them from unrolling.
Freezing Components Separately: If you prefer, you can also freeze the prepared dough packets and the walnut filling separately. This allows for flexible assembly at a later date. Thaw both components in the refrigerator before proceeding with the rolling and assembly steps.
Frequently Asked Questions About Nut Rolls
I strongly advise against baking these nut roll cookies directly from frozen, or even straight from the refrigerator. Chilling the assembled cookies causes the butter in the dough to re-solidify. When baked in this state, the butter melts too quickly, leading to an excessive puffing of the dough. This over-puffing will disrupt the delicate layers and unfortunately cause your carefully shaped rolls to unroll, losing their classic crescent form. For the best flaky texture and appearance, always allow assembled cookies to come to room temperature before baking.
Absolutely! This recipe is quite forgiving and can be easily scaled up to make a larger batch, perfect for holiday baking or sharing with a crowd. Feel free to multiply the ingredients to match the capacity of your mixer. For larger batches, using a stand mixer is highly recommended as it makes the dough preparation much easier and more efficient, ensuring consistent results without overworking the dough.
Yes, you can and should re-roll any dough scraps! Gather the leftover pieces, gently press them together into a disc, wrap them, and chill them for about 30 minutes to an hour. When re-rolled, the dough may shrink a little more than the initial batch, but don’t discard them. The beautiful benefit of re-rolling the scraps is that the dough will have absorbed some of the granulated sugar from the first rolling process, making these secondary cookies even more deliciously crisp and caramelized. It’s a wonderful way to minimize waste and enjoy every last bit of this delightful pastry!
Nut Roll Cookies (Walnut Filling)
Pin Recipe
Comment
Print Recipe
Ingredients
For the Pastry:
- 2 ¼ cups all purpose flour
- ½ tsp kosher salt
- 8 oz cream cheese room temperature
- 1 cup unsalted butter softened
- ½ cup granulated sugar for rolling
For the Walnut Filling:
- ½ pound walnuts finely ground
- 1 cup granulated sugar
- ½ cup whole milk boiled
- 2 tbsp unsalted butter melted
Instructions
To make the Walnut Filling:
-
Combine the ground walnuts, sugar, melted butter, and just ¼ cup of the boiled milk in a medium bowl. Stir well until the mixture is thick and evenly combined.
-
Allow the filling to sit for 10 minutes. If, after resting, the filling is not a smooth, spreadable consistency, gradually incorporate the remaining milk, one tablespoon at a time, until it reaches the desired texture. For the cookies shown, all the milk was used. Note that the filling will thicken further as it cools.
-
Advance Prep Tip: You can prepare the walnut filling ahead of time and freeze it in an airtight container for future use. Simply thaw it at room temperature before you are ready to assemble your cookies.
For the Pastry Dough:
-
In a separate medium bowl, sift together the all-purpose flour and kosher salt. Set this dry mixture aside.
-
In a large bowl, using either a stand mixer with a paddle attachment or a hand mixer, beat the room temperature cream cheese and softened unsalted butter until the mixture is completely smooth, light, and creamy. This typically takes 3-5 minutes, ensuring optimal incorporation.
-
Reduce the mixer speed to low. Gradually add the flour mixture in small additions (I used 5 additions), ensuring each batch is fully incorporated before adding the next. This prevents overworking the dough. The resulting dough should be soft and pliable, but not sticky.
-
Divide the finished dough into 4 equal portions. Gently flatten each portion into a disc about ¾ inch thick. Wrap each disc tightly in plastic wrap and refrigerate for a minimum of 2 hours, or until the dough is firm and well-chilled. This chilling step is essential for easy handling and a flaky crust.
Assembling the Walnut Rolls:
-
Preheat your oven to 375°F (190°C). Adjust an oven rack to be one position higher than the center. Prepare two baking sheets by lining them with parchment paper.
-
Take one chilled dough disc from the refrigerator. Lightly dust both sides of the dough with flour. Generously sprinkle granulated sugar over a clean, flat work surface (like a countertop or marble board). Place the dough disc on top of the sugar and gently press it down to embed some sugar crystals into the dough. This sugar layer will help prevent sticking during rolling and contribute to the caramelized crust. Lightly dust your rolling pin with flour as needed, using the minimal amount possible. Roll the dough out as thinly as you can manage, aiming for about 1/16 inch thick.
-
Using a pastry wheel or a sharp knife, trim the rolled dough into a square shape. Then, cut this large square into 16 smaller, roughly 1½-inch squares. Don’t worry if your dough isn’t perfectly round; simply cut as many consistent squares as possible, setting aside any irregular scraps.
-
Place a small dollop of the prepared walnut filling into one corner of each dough square. A ½ teaspoon amount is typically ideal.
-
Starting from the corner with the filling, carefully roll the dough around the filling, moving from corner to corner. As you roll, gently press down to seal the edges and secure the filling. Once rolled, pick up the pastry by both ends and gently bend it to form a crescent shape, pinching the ends to keep them sealed. Carefully transfer the shaped nut roll to your parchment-lined baking sheet, ensuring each cookie is spaced no closer than 1 inch apart.
-
Continue this process with all the remaining dough squares and filling until your baking sheets are full.
-
For an extra touch of sweetness and sparkle, lightly sprinkle a small amount of granulated sugar over the middles of the assembled rolls before baking.
-
Bake for 12-14 minutes, or until the bottom edges of the cookies are a beautiful golden brown and a delightful aroma fills your kitchen. The centers should puff up slightly. Trust your senses and experience to tell you when they are perfectly done. Allow the baked cookies to cool slightly on the baking pan on a wire rack for a few minutes before very gently transferring them to a wire rack to cool completely.
-
Repeat the assembly and baking process with the remaining chilled dough discs. Remember to refrigerate and re-roll any dough scraps; they often bake up even more deliciously due to the sugar incorporated during the first rolling.
-
For a variation closer to some traditional recipes, you can omit the granulated sugar topping and instead dust the final, cooled cookies with powdered sugar. However, be warned: the caramelized crunch from rolling in sugar is a divine addition that is hard to beat!
Video
Notes
Maximizing Flavor – Do not be shy with the filling! Generously dolloping the walnut mixture ensures a wonderfully rich taste in every bite. Any excess filling that escapes will simply caramelize on the parchment paper, creating intensely delicious, crunchy bits around the cookies.
Grandmother’s Technique Tip – Rolling the delicate cream cheese dough out on a bed of granulated sugar is a time-honored baking secret. This brilliant technique not only adds a lovely depth of flavor to the unsweetened dough but also allows the bottoms of the cookies to caramelize beautifully in the oven, imparting an irresistible golden crispness.
Helpful Tools – While a simple butter knife can work for cutting the dough squares, investing in a pastry wheel (or pie cutter) will make the process much quicker and yield cleaner, more uniform cuts. For an extra decorative touch, use the fluted side of the pastry wheel!
Flavorful Variations – Beyond the classic walnut, these cookies are also absolutely delicious with other traditional fillings such as a sweet and tangy apricot filling or a rich, earthy poppyseed filling. For a different nutty profile, feel free to substitute pecans for the walnuts in the filling.
Optimal Storage – For the best crispness, store cooled, baked nut rolls in an airtight container, layered between sheets of wax paper, and then loosely wrapped in foil. They will stay fresh at room temperature for several days and can also be frozen for up to three months, making them perfect for advance preparation.
Nutrition
Explore More Delicious Cookie Recipes!
If you’ve enjoyed baking these traditional Hungarian Nut Roll Cookies, we invite you to discover a world of other mouth-watering, chef-developed treats! From classic comfort cookies to innovative new flavors, our collection of cookie recipes has something for everyone. Happy baking!
