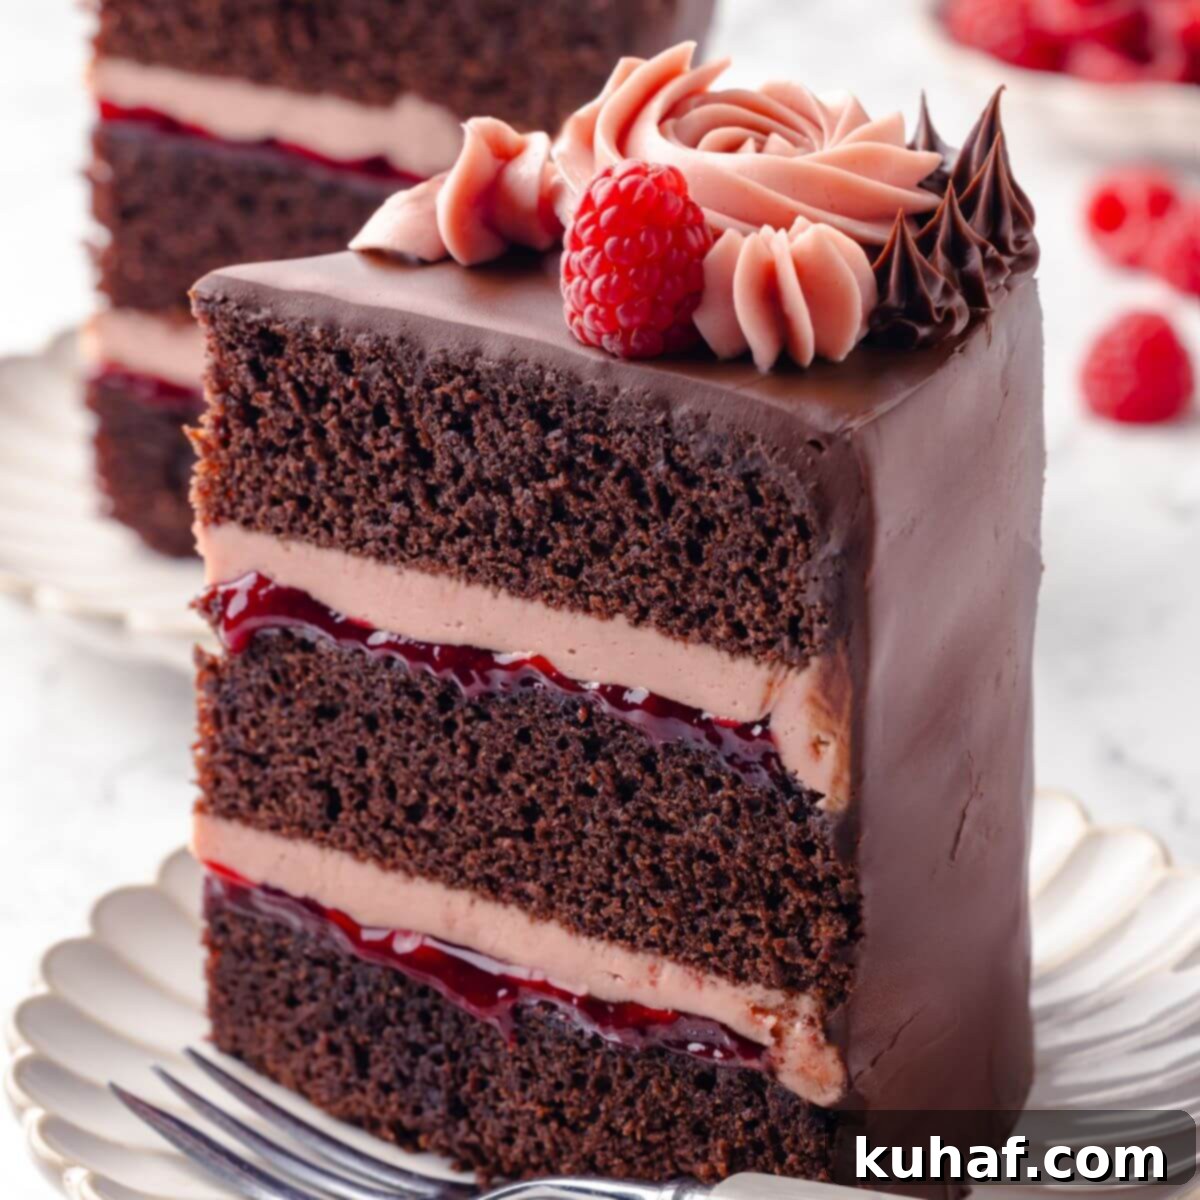
Decadent Chocolate Raspberry Cake: The Ultimate Layered Dessert Recipe
Indulge in the sublime harmony of rich chocolate and bright, tangy raspberries with this sensational chocolate raspberry cake recipe. This show-stopping dessert features three tender, moist chocolate cake layers, generously filled with a vibrant homemade raspberry buttercream crafted from fresh raspberries, and elegantly enrobed in a luscious chocolate fudge frosting. What makes this recipe truly special is its surprising ease: the chocolate cake batter comes together effortlessly in a single bowl with just a whisk, making it almost as simple as a box mix, yet delivering a flavor and texture that is infinitely more profound and satisfying.
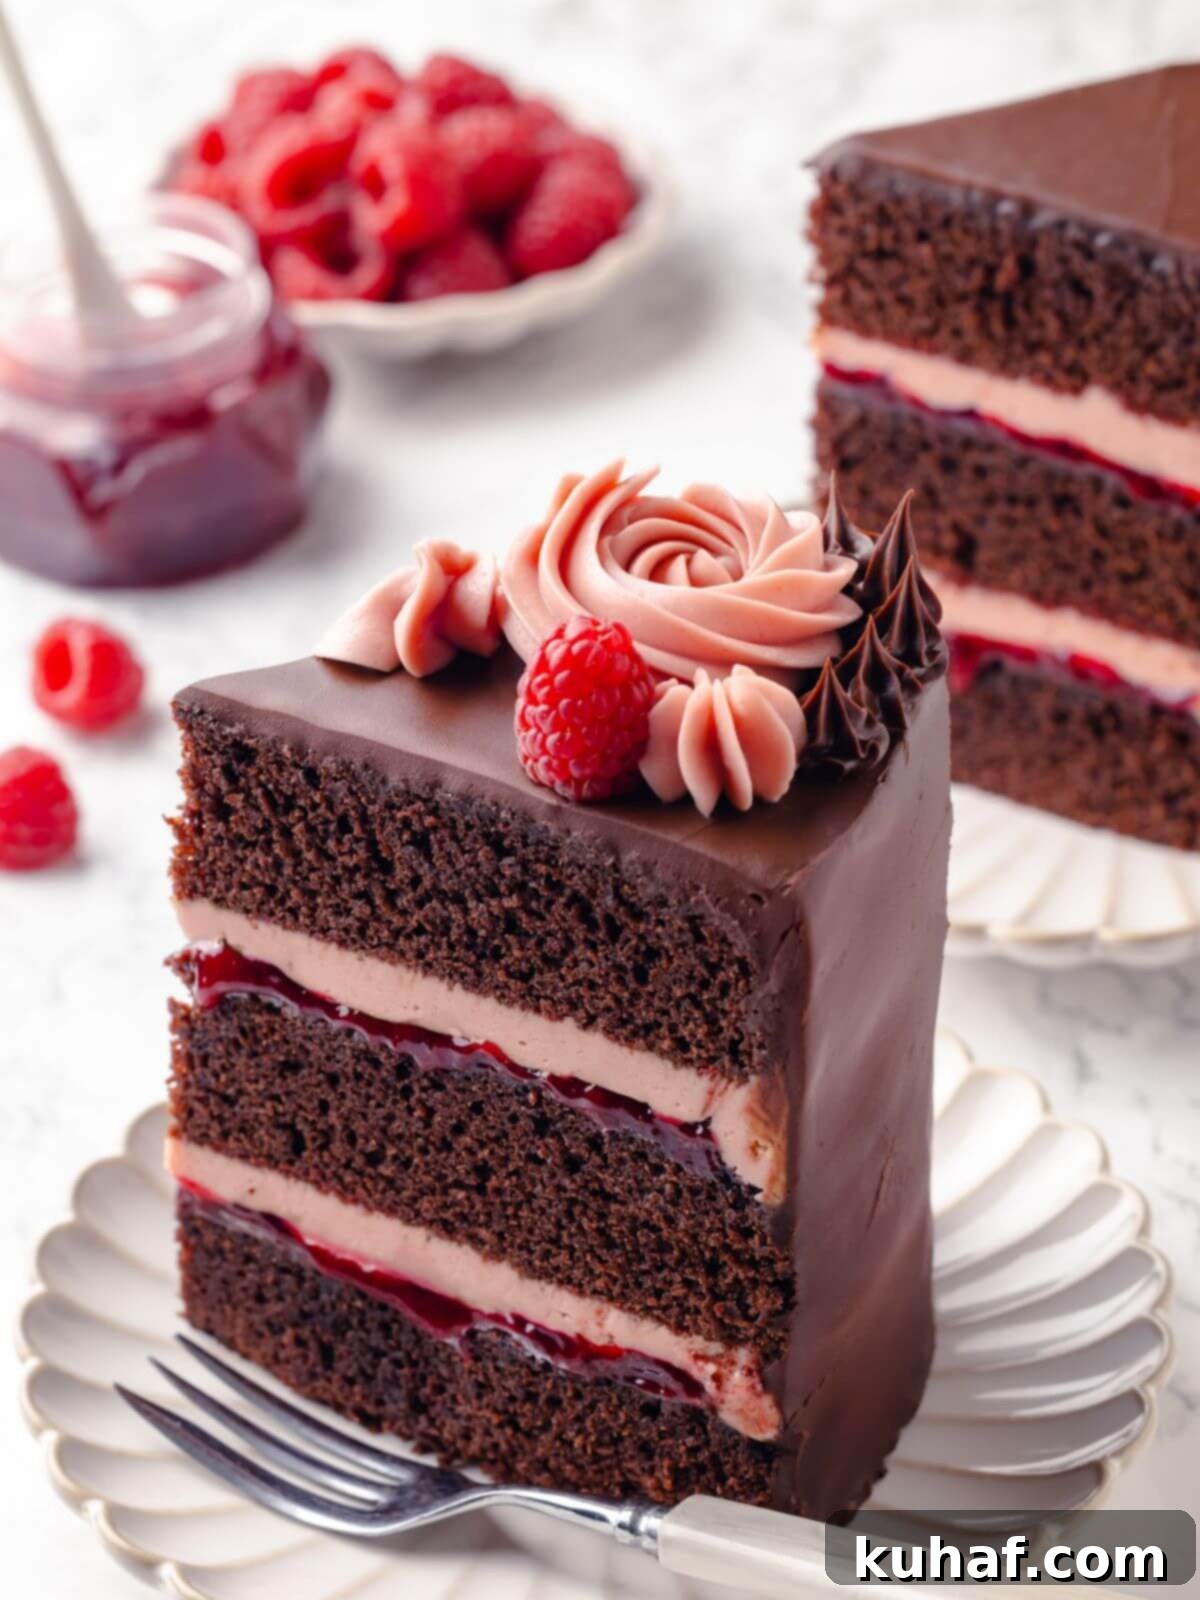
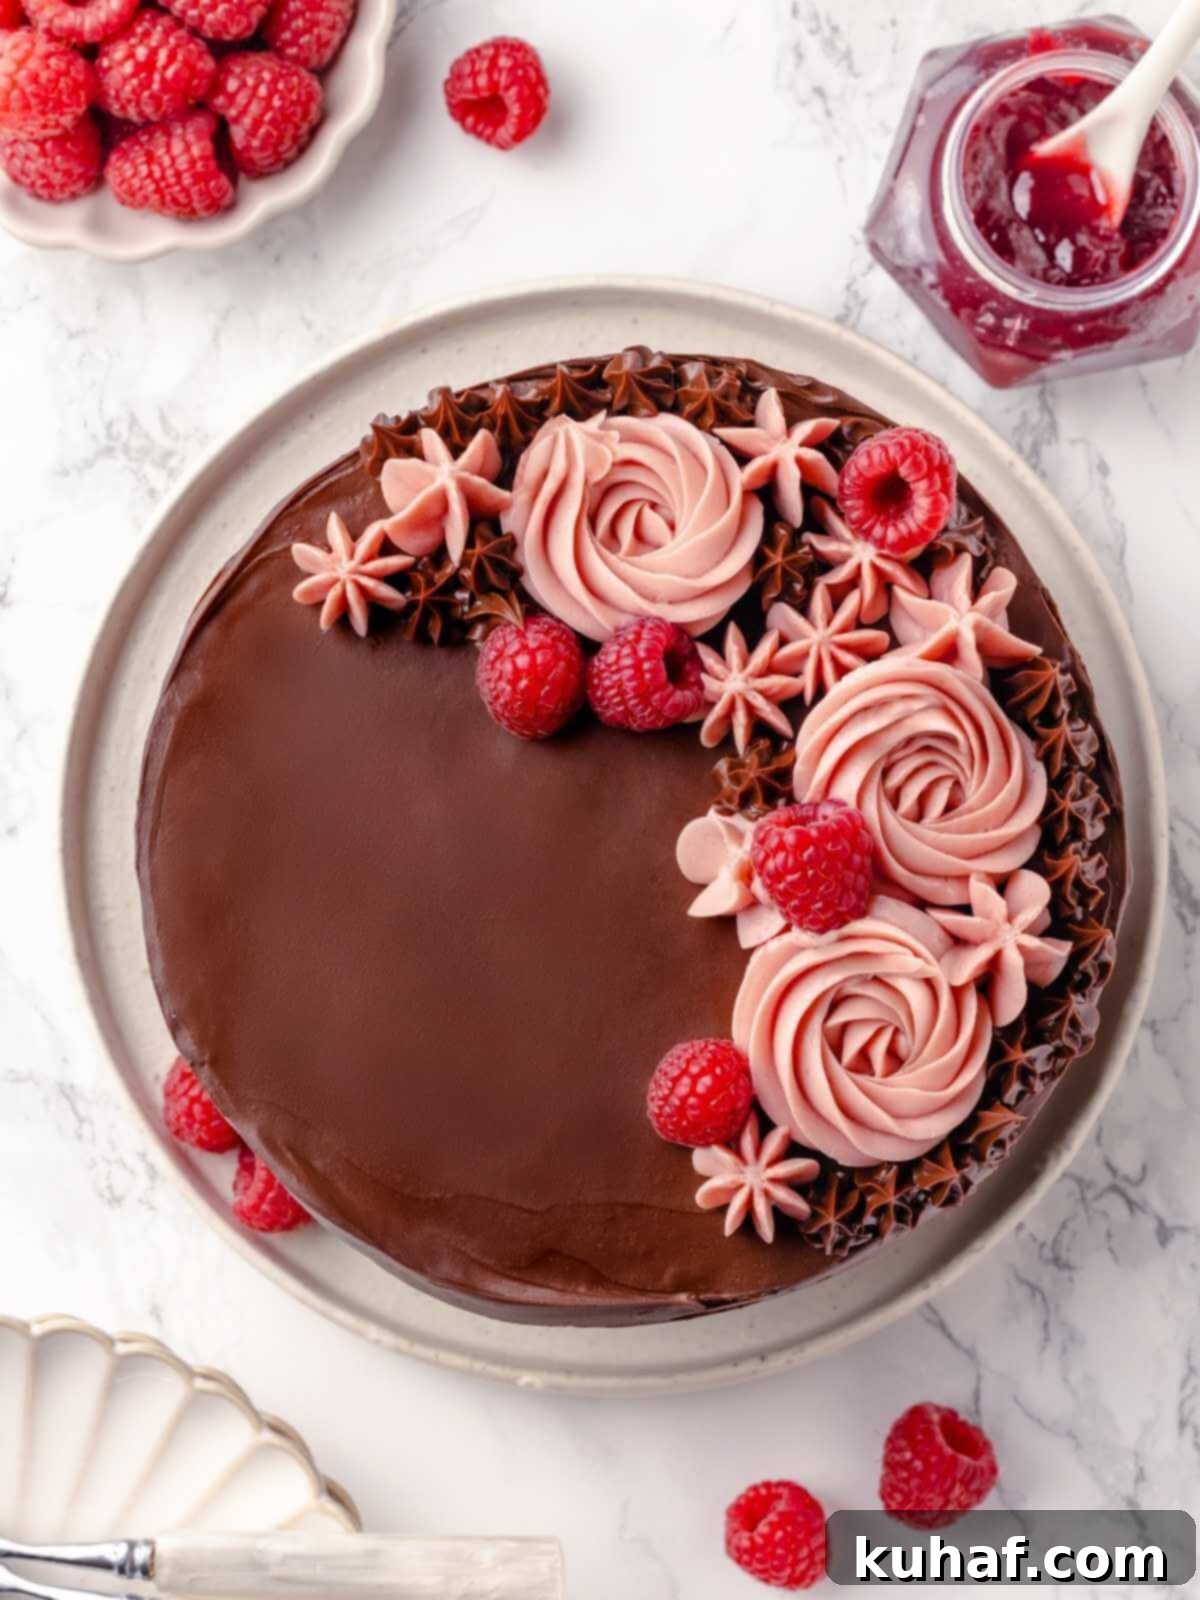
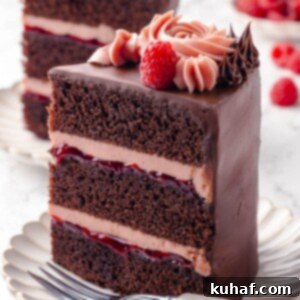
This meticulously balanced, three-layered chocolate raspberry cake is designed to impress, both visually and gastronomically. Each bite offers a delightful interplay of textures and tastes: the deep, earthy notes of moist chocolate cake, the sweet-tart burst of quick raspberry jam, the creamy smoothness of raspberry buttercream, all crowned with a velvety, rich chocolate fudge frosting. Every component is thoughtfully crafted to complement the others, culminating in an indulgent and breathtakingly beautiful dessert that’s perfect for any occasion, from casual family gatherings to elegant celebrations.
Once you discover the joy and satisfaction of creating a homemade layered cake, it’s a journey you’ll want to continue! For those eager to explore more easy yet impressive layered cake recipes, perfect for birthdays, holidays, or simply a delightful end to a family dinner, consider starting with classics like the best red velvet cake, an easy moist chocolate cake, or a classic yellow cake for a touch of nostalgic comfort. If you’re ready to elevate your baking skills to pastry chef levels and construct truly spectacular cakes, delve into my devil’s food cake recipe and be sure to watch my comprehensive video on how to assemble a four-layered cake for expert guidance.
Table of Contents
- Why You Will Love This Decadent Chocolate Raspberry Cake
- Expert Tips for Crafting Perfect Chocolate Raspberry Cakes
- Essential Ingredients & Smart Substitutions
- Creative Variations for Your Layered Cake
- Step-by-Step: How to Bake and Assemble Your Chocolate Raspberry Cake
- Chef Lindsey’s Expert Tip for Layered Cakes
- Frequently Asked Questions About Chocolate Raspberry Cake
- Chocolate Raspberry Cake Recipe Card
- Explore More Delicious Cake Recipes
Why You Will Love This Decadent Chocolate Raspberry Cake
- Beautifully Balanced & Harmonious Layers! This chocolate raspberry cake achieves a perfect equilibrium of flavors and textures. Each component, from the deep, rich and moist chocolate cake to the bright, quick raspberry jam, the creamy raspberry buttercream, and the luxurious fudgy chocolate frosting, plays a vital role. The result is a truly cohesive and delicious layered cake where no single flavor overpowers another, ensuring a delightful experience with every forkful. It’s an elegant dessert that looks as good as it tastes.
- Effortlessly Rich and Exceptionally Moist. Despite its luxurious taste and appearance, this chocolate cake is incredibly easy to make. The entire cake batter comes together in just one bowl, simplifying the process and making cleanup a breeze. This technique yields a cake that is wonderfully rich, with a fudge-like density and an unparalleled moistness, setting it far apart from any store-bought or box-mix alternative. You’ll be amazed at the professional quality you can achieve with minimal fuss.
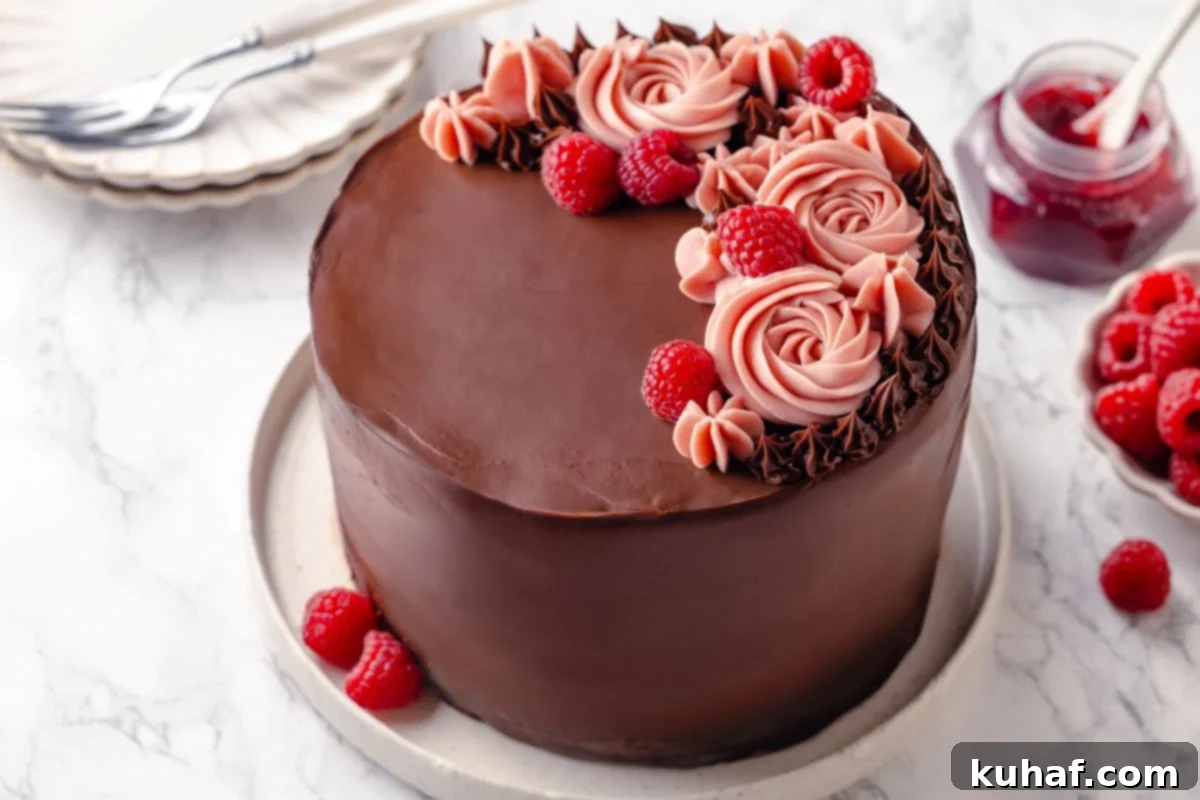
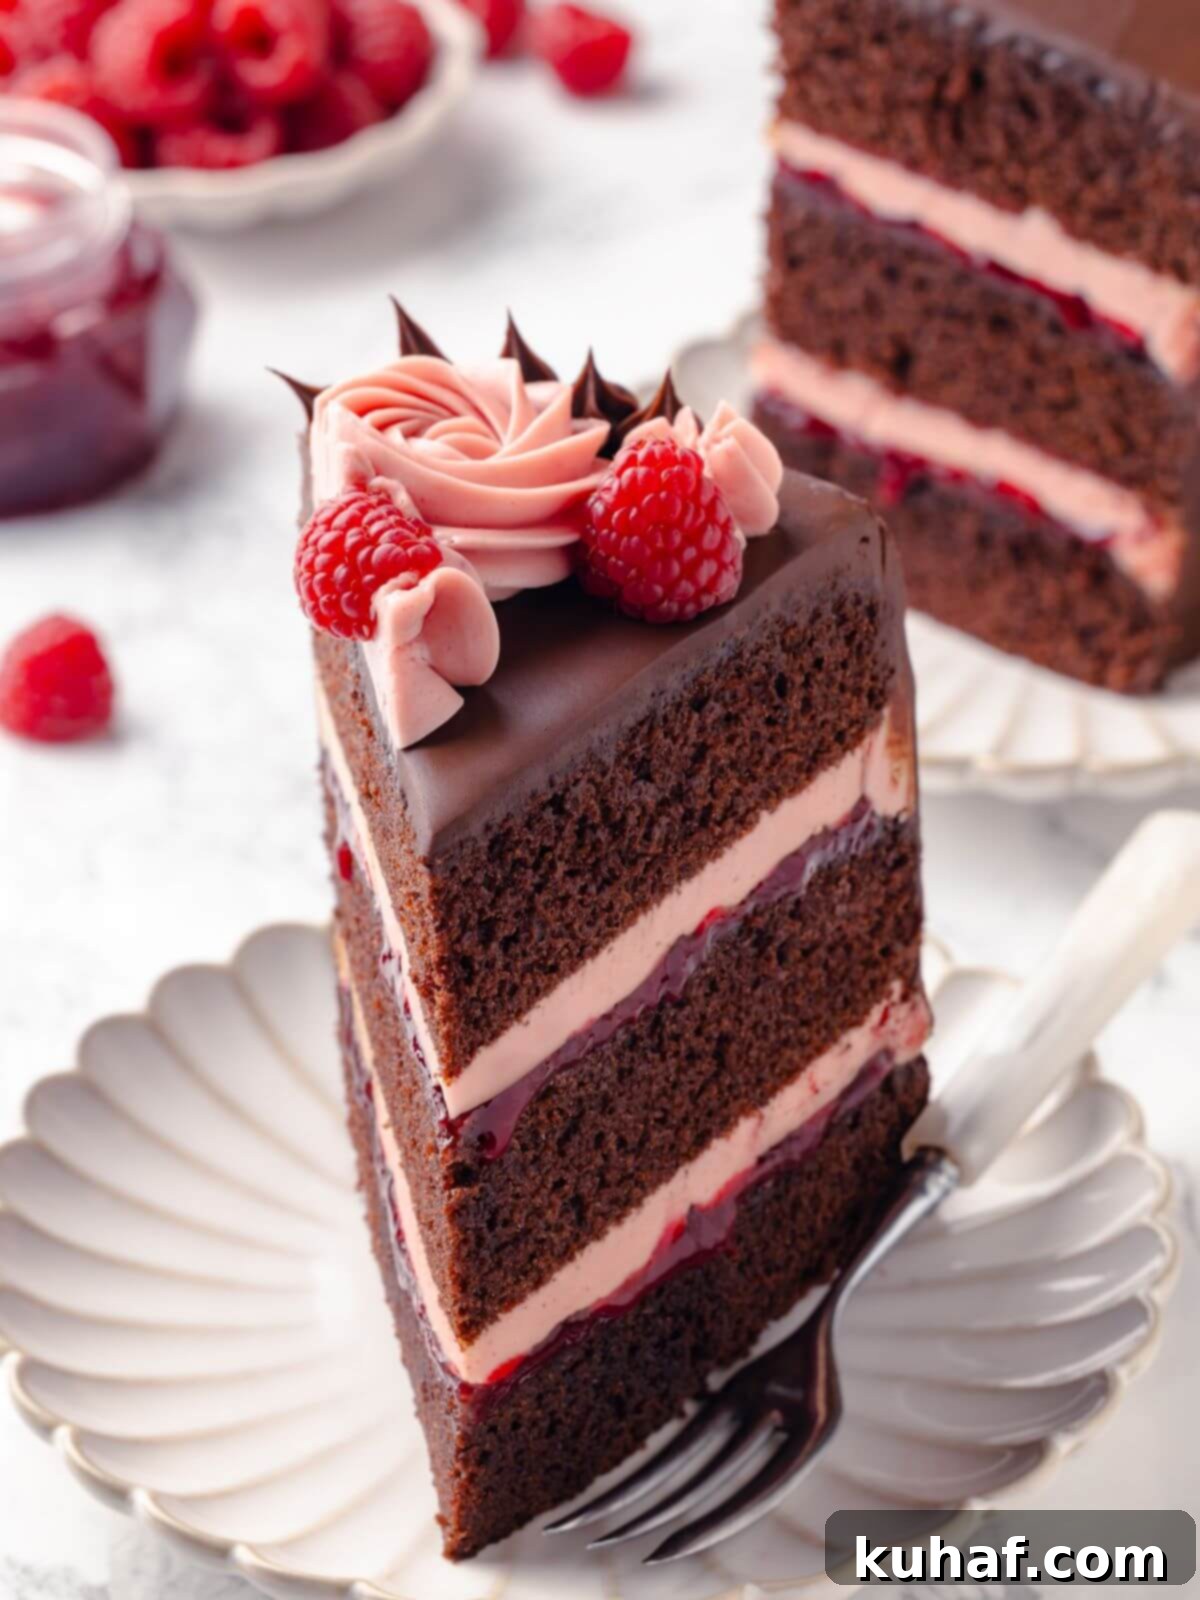
- A Unique Fusion of Buttercream and Frosting for an Awe-Inspiring Cake. What truly elevates this cake is the thoughtful combination of a vibrant raspberry buttercream filling and a rich chocolate fudge frosting finish. Slicing into this masterpiece reveals a stunning visual symphony of layers and colors—deep brown chocolate cake, bright pink raspberry buttercream, and the glossy dark chocolate exterior. It’s a cake that not only tastes incredible but also captures everyone’s attention with its beautiful, artful presentation. This dual frosting approach creates a complex flavor profile and an unforgettable dessert experience.
Expert Tips for Crafting Perfect Chocolate Raspberry Cakes
- Strategic Component Preparation (Make Ahead for Ease). Layered cakes can seem intimidating, but breaking down the process makes it manageable. If you’re planning this chocolate raspberry cake for a birthday, holiday, or special event, prepare its individual components in advance. The chocolate cake layers can be baked a few days ahead and stored. Similarly, the raspberry jam and raspberry buttercream can be made days in advance and refrigerated. This thoughtful planning will transform the final assembly day into a relaxed and enjoyable experience, making the layering process feel like a breeze.
- Optimize Baking with Baking Sheets for Even Layers. For consistently even cake layers and faster baking times, consider baking your chocolate cake batter in baking sheets rather than traditional round cake pans. Once baked, you can use a cake ring to effortlessly cut out perfect, uniform circular layers from the sheet cake. This method not only ensures beautifully symmetrical layers but also leaves you with delicious cake scraps – perfect for snacking or making delightful cake pops!
- Customize Quick Jam Sweetness to Berry Flavor. Raspberries, whether fresh or frozen, can vary significantly in sweetness depending on the season and ripeness. When preparing the quick raspberry jam, always taste your berries first. Adjust the amount of lemon juice and granulated sugar according to your preference and the natural sweetness of the fruit. This ensures your jam provides the perfect bright, sweet-tart contrast to the rich chocolate cake and buttercream. A perfectly balanced jam is key to the overall flavor profile of your chocolate raspberry cake.
- Ensure Room Temperature Ingredients for Best Emulsion. For the cake and buttercream, using room temperature ingredients (especially eggs and butter) is crucial. Room temperature ingredients emulsify more effectively, creating a smoother, more homogenous batter and buttercream. This leads to a finer crumb in your cake and a silkier texture in your frosting, preventing separation and ensuring everything comes together beautifully.
- Don’t Overmix the Cake Batter. Once you add the flour to the wet ingredients, mix only until just combined. Overmixing develops the gluten in the flour too much, which can result in a tough, dense cake with tunnels. A light hand and a whisk are your best friends here, ensuring a tender and soft chocolate cake.
Essential Ingredients & Smart Substitutions
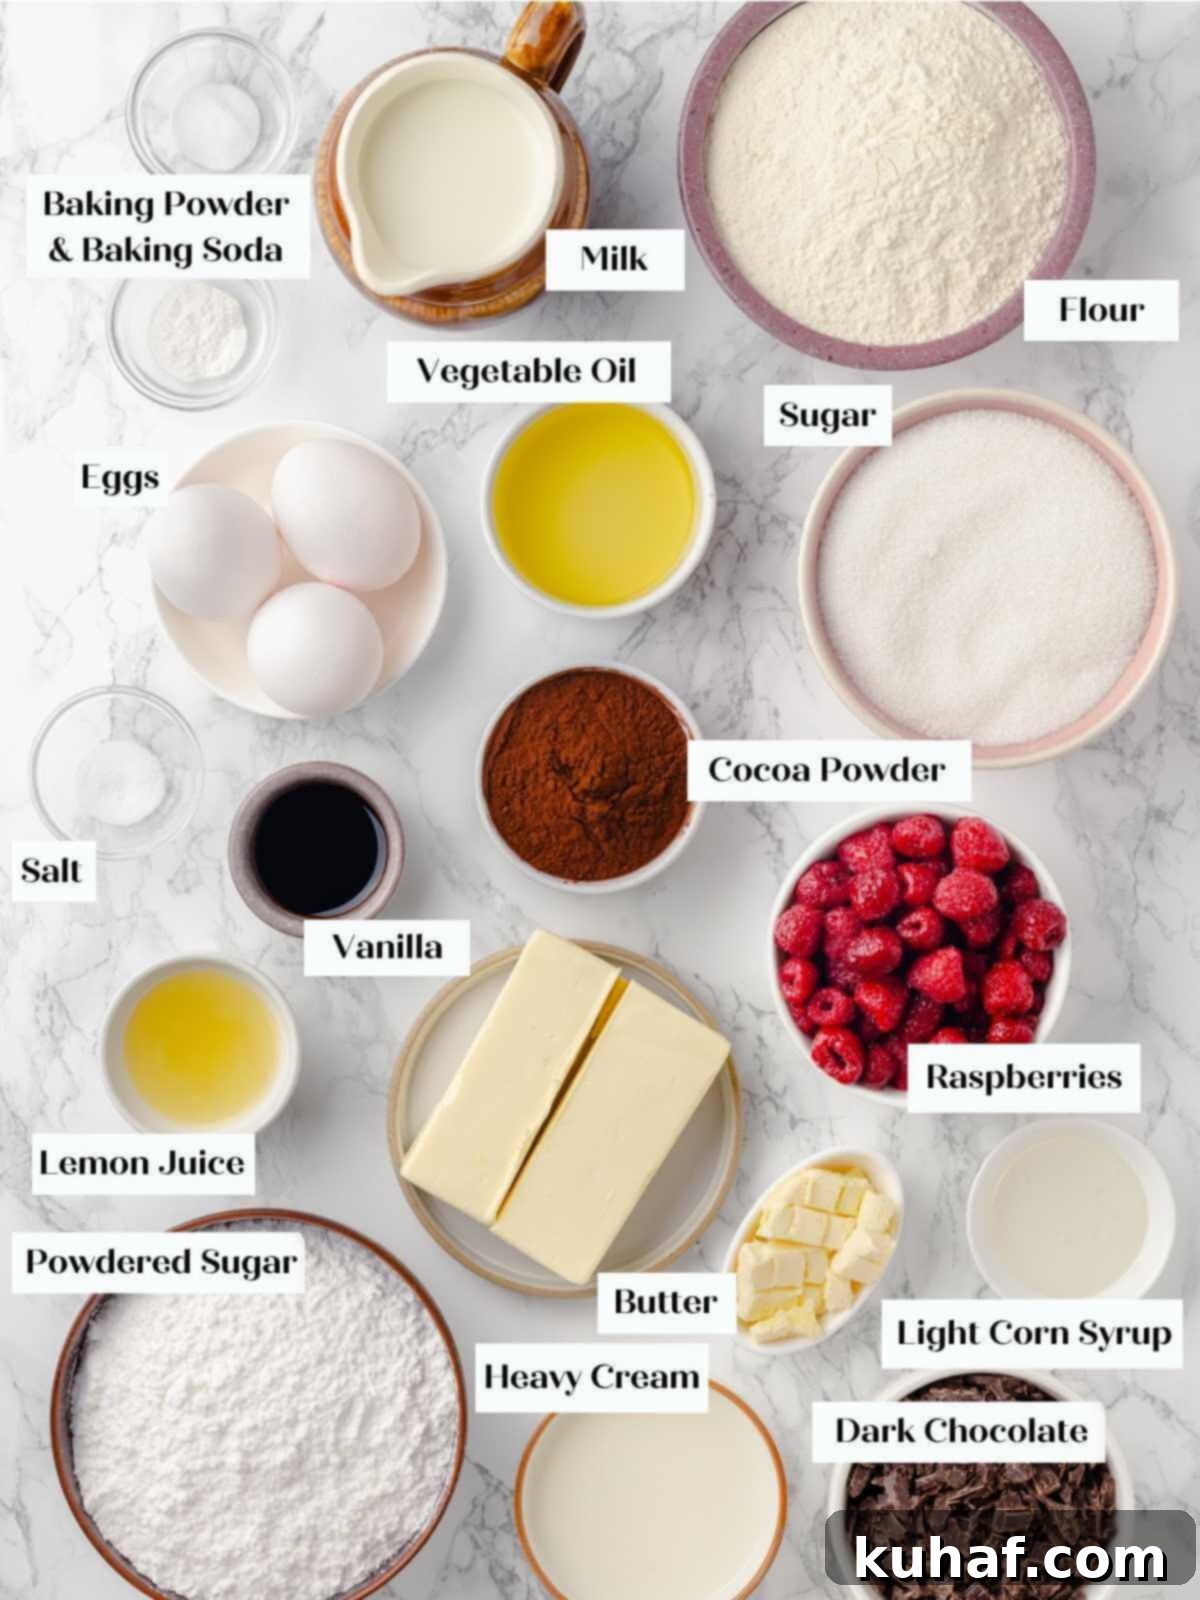
For the Moist Chocolate Cake Layers:
- Dutch-processed Cocoa Powder: I highly recommend using Dutch-processed cocoa powder. This type of cocoa has been treated with an alkaline solution, neutralizing its acidity. This is important because it won’t react with baking soda or baking powder in the same way natural cocoa does. The result is a richer, deeper chocolate flavor and a noticeably darker, more appealing color for your chocolate raspberry cake.
- All-purpose Flour: All-purpose flour provides the ideal balance of gluten, ensuring a wonderfully tender and soft chocolate cake crumb. To prevent undesirable holes and “tunnels” in your cake, it is crucial not to overmix the batter once the flour is added. For an even more delicate cake, cake flour can be substituted with excellent results.
- Kosher Salt: A essential ingredient for baking, kosher salt not only enhances the overall flavor profile of the chocolate but also balances the sweetness, making the cake more complex and enjoyable.
- Baking Soda & Baking Powder: The combination of both baking powder and baking soda is key to achieving a superior and more consistent rise in the oven. Baking soda reacts with acidic ingredients, while baking powder provides a steady lift, ensuring a light and airy texture.
- Large Eggs: Using whole large eggs is vital for emulsifying the oil into the batter effectively. This process creates a stable mixture that results in an incredibly moist cake without any greasy residue, contributing to the rich texture of the chocolate raspberry cake.
- Vanilla Extract: A foundational flavor enhancer, vanilla extract complements the chocolate beautifully, adding depth and warmth to the cake’s profile.
- Vegetable Oil: Neutral vegetable oil is the secret to making this chocolate cake, and my easy carrot cake recipe, exceptionally moist. I emulsify it with the sugar and eggs to create a super moist batter that remains light and never greasy. It’s important to choose a neutral-flavored oil; stronger oils like olive oil will be detectable in the final product.
- Granulated Sugar: Granulated sugar is not just for sweetness; it plays multiple roles in this chocolate raspberry cake, aiding in leavening, retaining moisture, influencing texture, and providing structural stability to the cake.
- Whole Milk: I consistently bake with whole milk due to its higher fat content and rich flavor. The extra fat helps to keep the cake wonderfully tender and moist, contributing to its luxurious mouthfeel.
For the Bright Raspberry Jam and Creamy Raspberry Buttercream:
- Fresh or Frozen Raspberries: Both fresh and frozen raspberries work perfectly for this recipe. If baking during the winter months, I highly recommend opting for frozen raspberries, as they often have a more concentrated flavor and lower water content compared to out-of-season fresh berries. These are also my go-to for my delicious white chocolate raspberry cookies!
- Lemon Juice: A squeeze of fresh lemon juice is essential. It brightens the raspberry jam, cutting through the sweetness and adding a well-rounded, tangy dimension that perfectly complements the chocolate. While store-bought works, fresh-squeezed or high-quality frozen juice offers the best flavor.
- Granulated Sugar: The granulated sugar in the jam serves to both thicken the raspberry cake filling to the right consistency and add the necessary sweetness.
- Unsalted Butter: For the most stable and deliciously smooth buttercream, always use a high-quality unsalted butter. Using salted butter can result in a noticeably salty buttercream, which would detract from the delicate raspberry flavor.
- Confectioner’s Sugar (Powdered Sugar): Confectioner’s sugar, finely ground into a powder, is a staple for American buttercreams. Its fine texture allows it to dissolve easily into the butter, creating a wonderfully smooth, silky buttercream without the need for heating.
- Vanilla Extract: A small amount of vanilla extract enhances the flavor of the buttercream, providing a warm background note that balances the tartness of the raspberry.
- Kosher Salt: Just a pinch of kosher salt helps to highlight the flavors in the buttercream, preventing it from tasting overly sweet and bringing out the natural fruitiness of the raspberries.
For the Luxurious Chocolate Fudge Frosting:
- Heavy Cream (40% Fat): I strongly advise using a full-fat (40%) heavy whipping cream. It is less prone to breaking than lighter whipping creams and its higher fat content is crucial for achieving a truly rich, smooth, and stable chocolate fudge frosting that drapes beautifully over your chocolate raspberry cake.
- Light Corn Syrup: Light corn syrup functions as a thickening agent, similar to sugar, but without adding excessive sweetness. It contributes to a wonderfully thick, smooth, and glossy texture in the frosting. Honey can also be used as a suitable substitute if preferred.
- Quality Dark Chocolate (54%-65% Cocoa Solids): For the best balance of sweetness and deep chocolate flavor, I prefer using a dark chocolate with at least 54% cocoa solids, up to 65%. This range ensures a sophisticated chocolate taste that truly gives the impression of a decadent dark chocolate cake. Always chop bar chocolate; it melts and incorporates far better than chocolate chips, which often contain stabilizers that prevent smooth melting.
- Vanilla Extract: Vanilla extract works synergistically with the chocolate, deepening its flavor and adding a comforting aroma to the fudge frosting.
- Kosher Salt: A small amount of kosher salt is essential in the frosting to enhance the chocolate flavor and balance the overall sweetness, preventing it from being cloying.
- Dutch-processed Cocoa Powder: Adding Dutch-processed cocoa powder to the fudge frosting intensifies the chocolate flavor and contributes to a darker, richer color. It also helps to keep the frosting from becoming overly sweet, providing a more complex and satisfying finish. Regular cocoa powder can be used, but expect a sweeter, lighter-colored frosting.
- Unsalted Butter: A small amount of unsalted butter is incorporated into the warm ganache to add a luxurious sheen, a silky smooth texture, and an extra layer of richness to the fudge frosting, making it utterly irresistible.
See the recipe card below for full information on ingredients and quantities for this incredible chocolate raspberry cake.
Creative Variations for Your Layered Cake
- Experiment with Different Fruits for the Jam: The quick jam layer is incredibly versatile. Instead of raspberries, easily swap in blueberries, strawberries, or blackberries. Remember to taste the new berries first and adjust the sugar and lemon juice content to complement their specific sweetness and tartness, ensuring a perfectly balanced filling for your layered cake.
- Infuse a Boozy Twist into the Buttercream: For an adult-friendly variation, incorporate a tablespoon of raspberry liqueur, brandy, or bourbon into your raspberry buttercream. This subtle addition will add a sophisticated depth of flavor and a delightful boozy kick. Alternatively, you could substitute the raspberry buttercream entirely with a classic chocolate buttercream or a tangy cream cheese buttercream frosting for a different flavor profile.
- Pair with an Alternative Cake Flavor: While divine with chocolate, the raspberry jam and buttercream combination can also be beautifully paired with other cake bases. Consider my moist vanilla cake for a lighter contrast, a fragrant lemon olive oil cake for an elegant twist, or another indulgent devil’s food cake for an extra chocolatey punch. If you wish to amplify the chocolate factor even further, an additional layer of my rich chocolate ganache within the cake would be absolutely divine!
Step-by-Step: How to Bake and Assemble Your Chocolate Raspberry Cake
Follow these detailed instructions to create a perfect, show-stopping layered chocolate raspberry cake every single time. More precise measurements and comprehensive details can be found in the recipe card at the end of this article.
Part 1: Preparing the Tender Chocolate Cake Layers
Step 1: Begin by preheating your oven to 325°F (160°C) if using the convection setting (with the fan), or 350°F (175°C) for a conventional oven (without the fan). Prepare three 8 or 9-inch cake pans by lightly spraying them with baking spray, then lining the bottoms with parchment paper. This crucial step prevents sticking and ensures easy release of your delicate chocolate cake layers.
Step 2: In a large mixing bowl, sift together the dry ingredients: cocoa powder, all-purpose flour, kosher salt, baking powder, and baking soda. Sifting helps to eliminate lumps and ensures these leavening agents are evenly distributed throughout the batter, leading to a consistently light and tender crumb. Set this dry mixture aside.
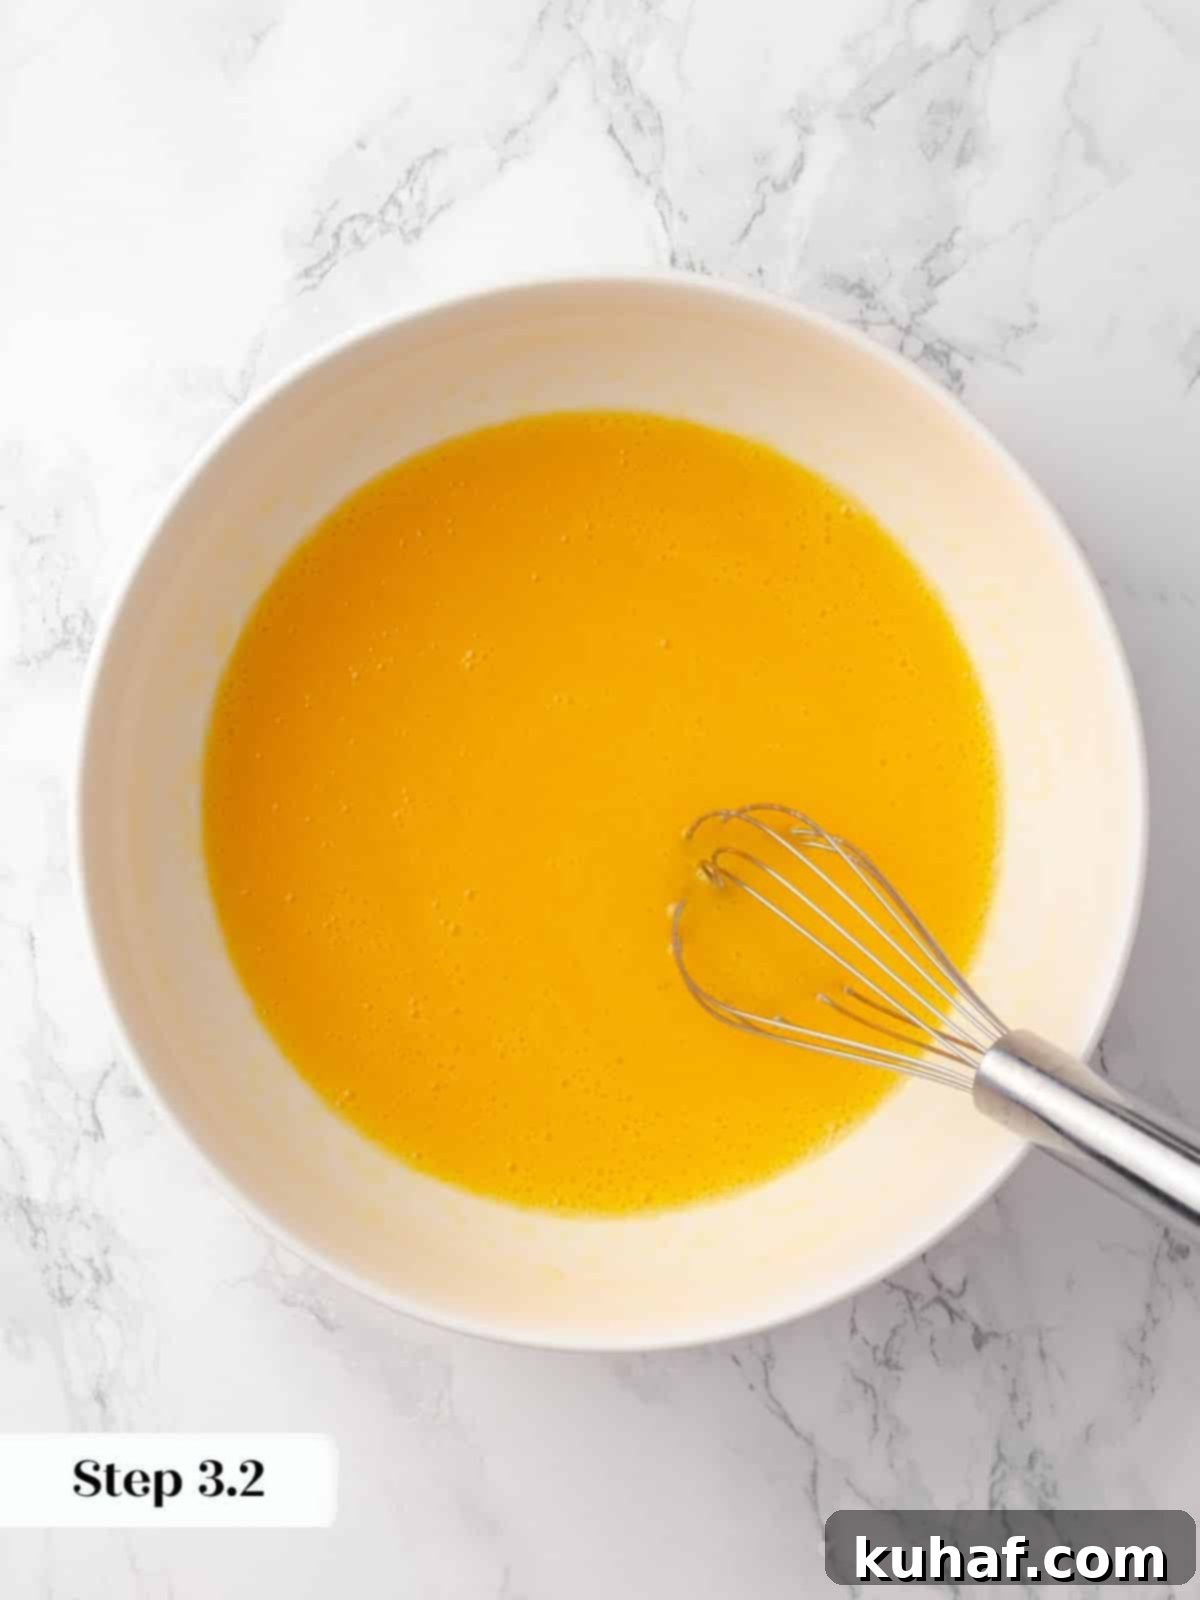
Step 3: In a separate large bowl, whisk the large eggs vigorously with the vanilla extract until the mixture is smooth and completely homogenous. Then, slowly and steadily pour the vegetable oil into the egg mixture while continuously whisking. This creates a stable emulsion, where the fat from the oil is evenly distributed, contributing significantly to the moist, non-greasy texture of the finished chocolate cake.
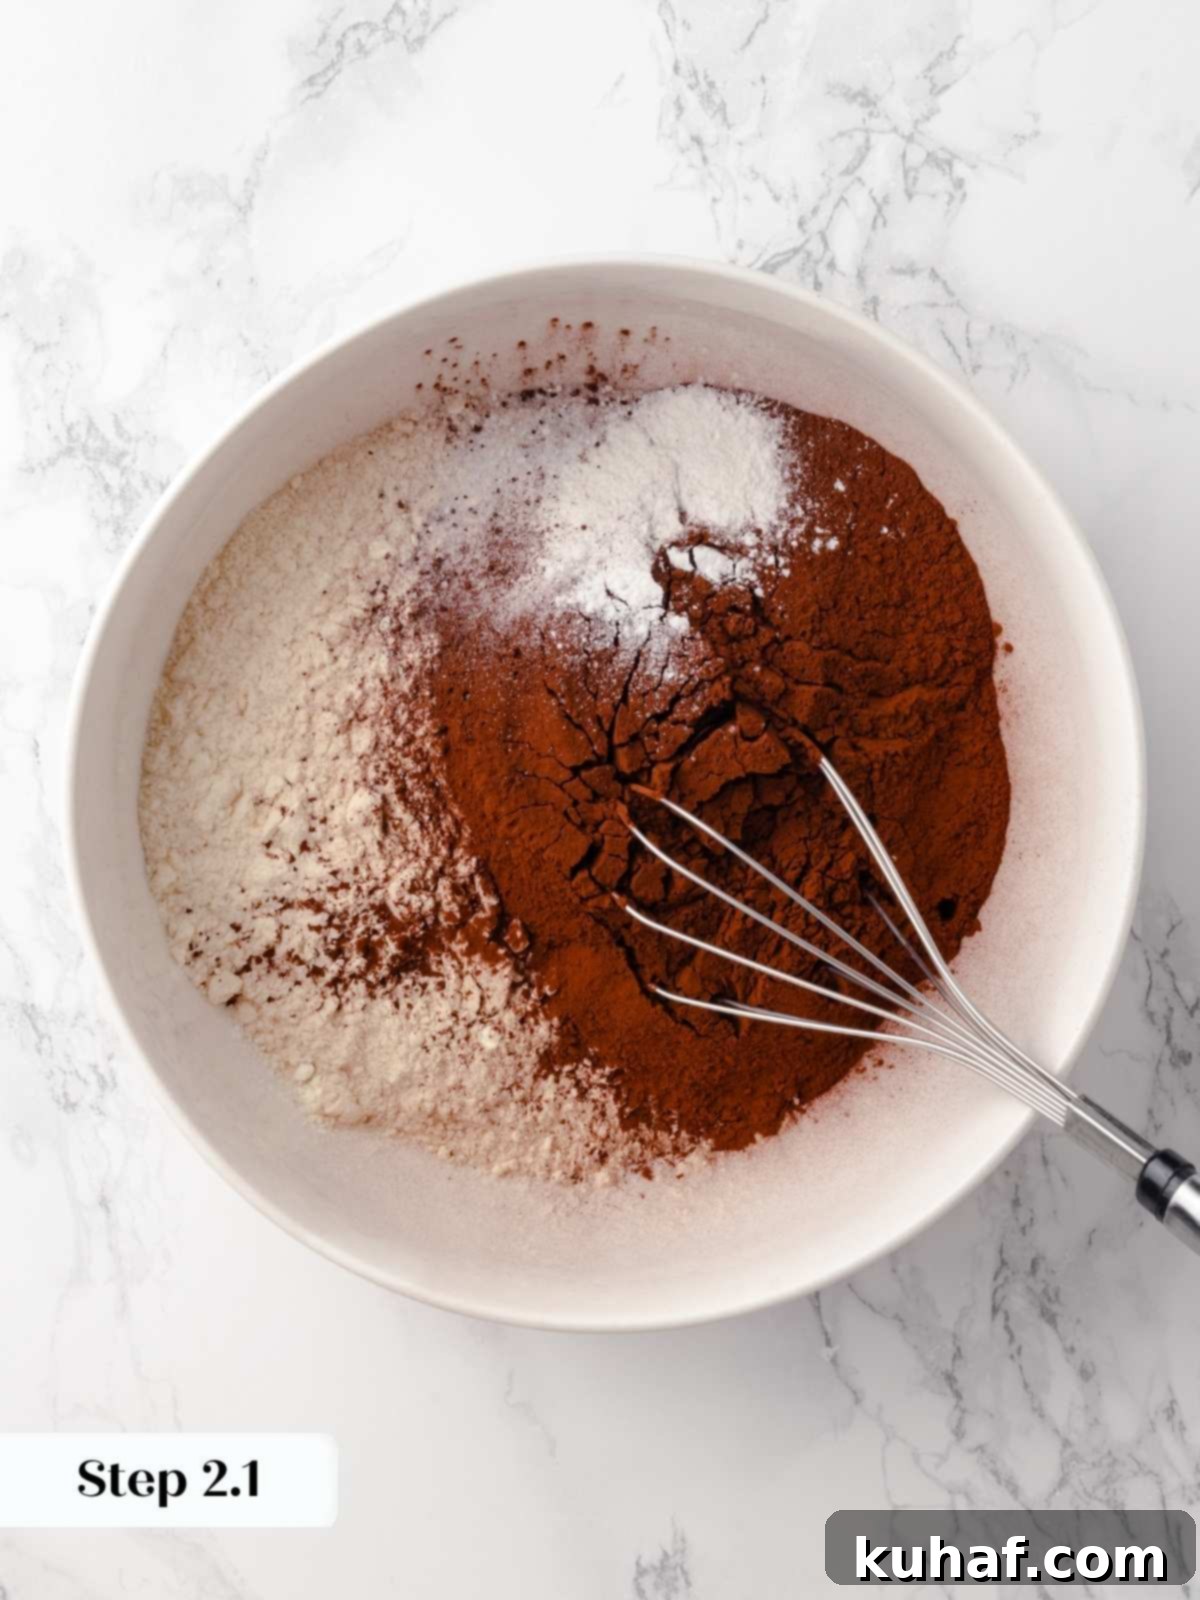
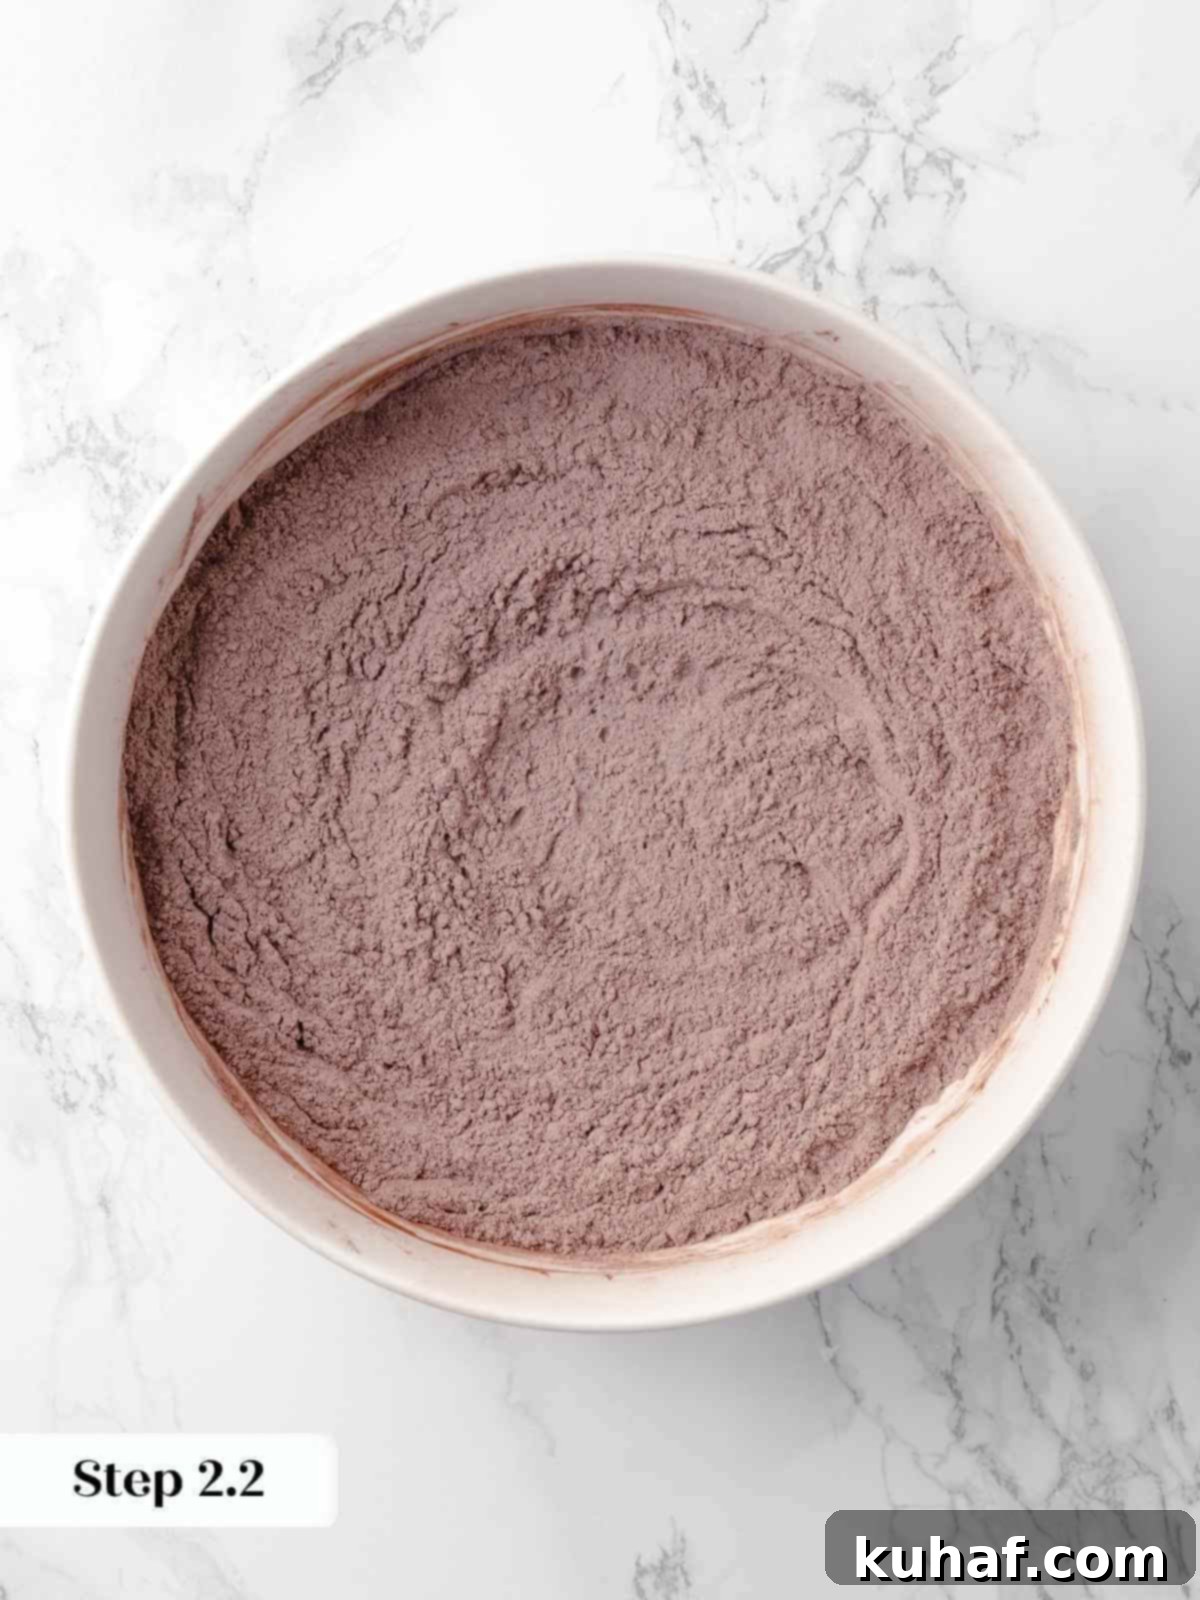
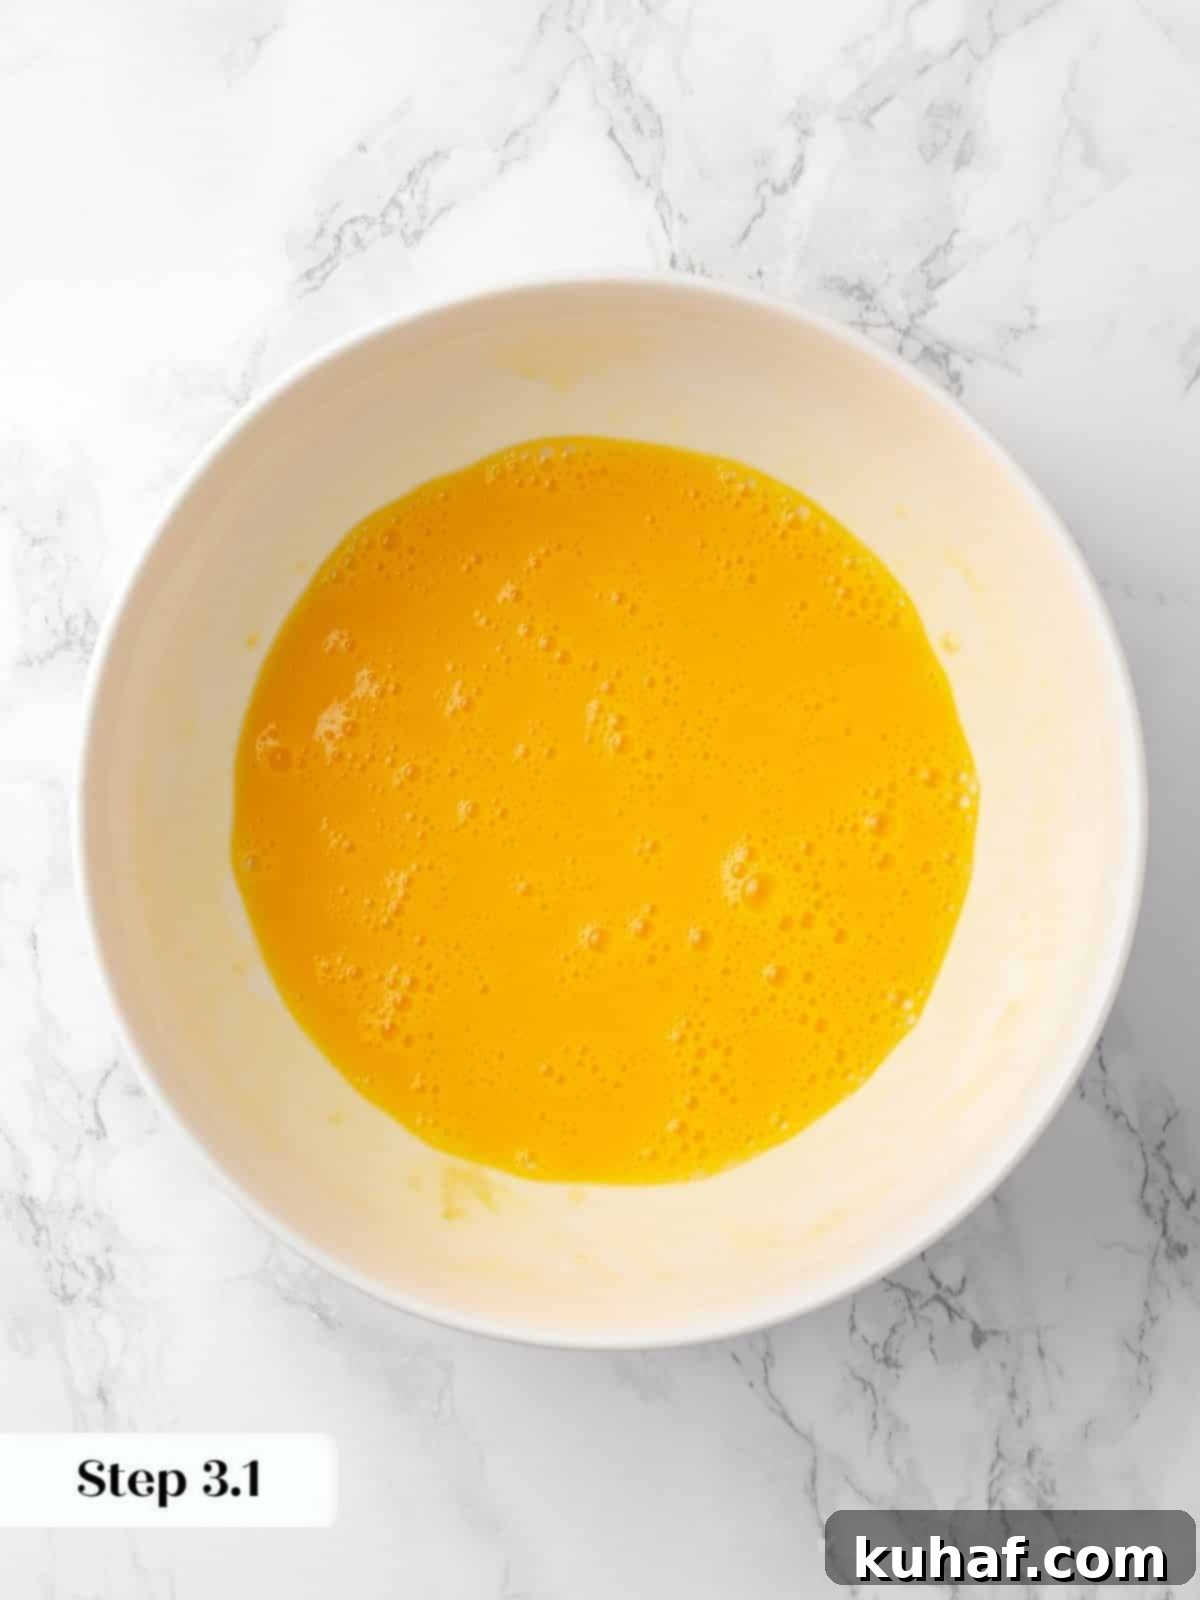
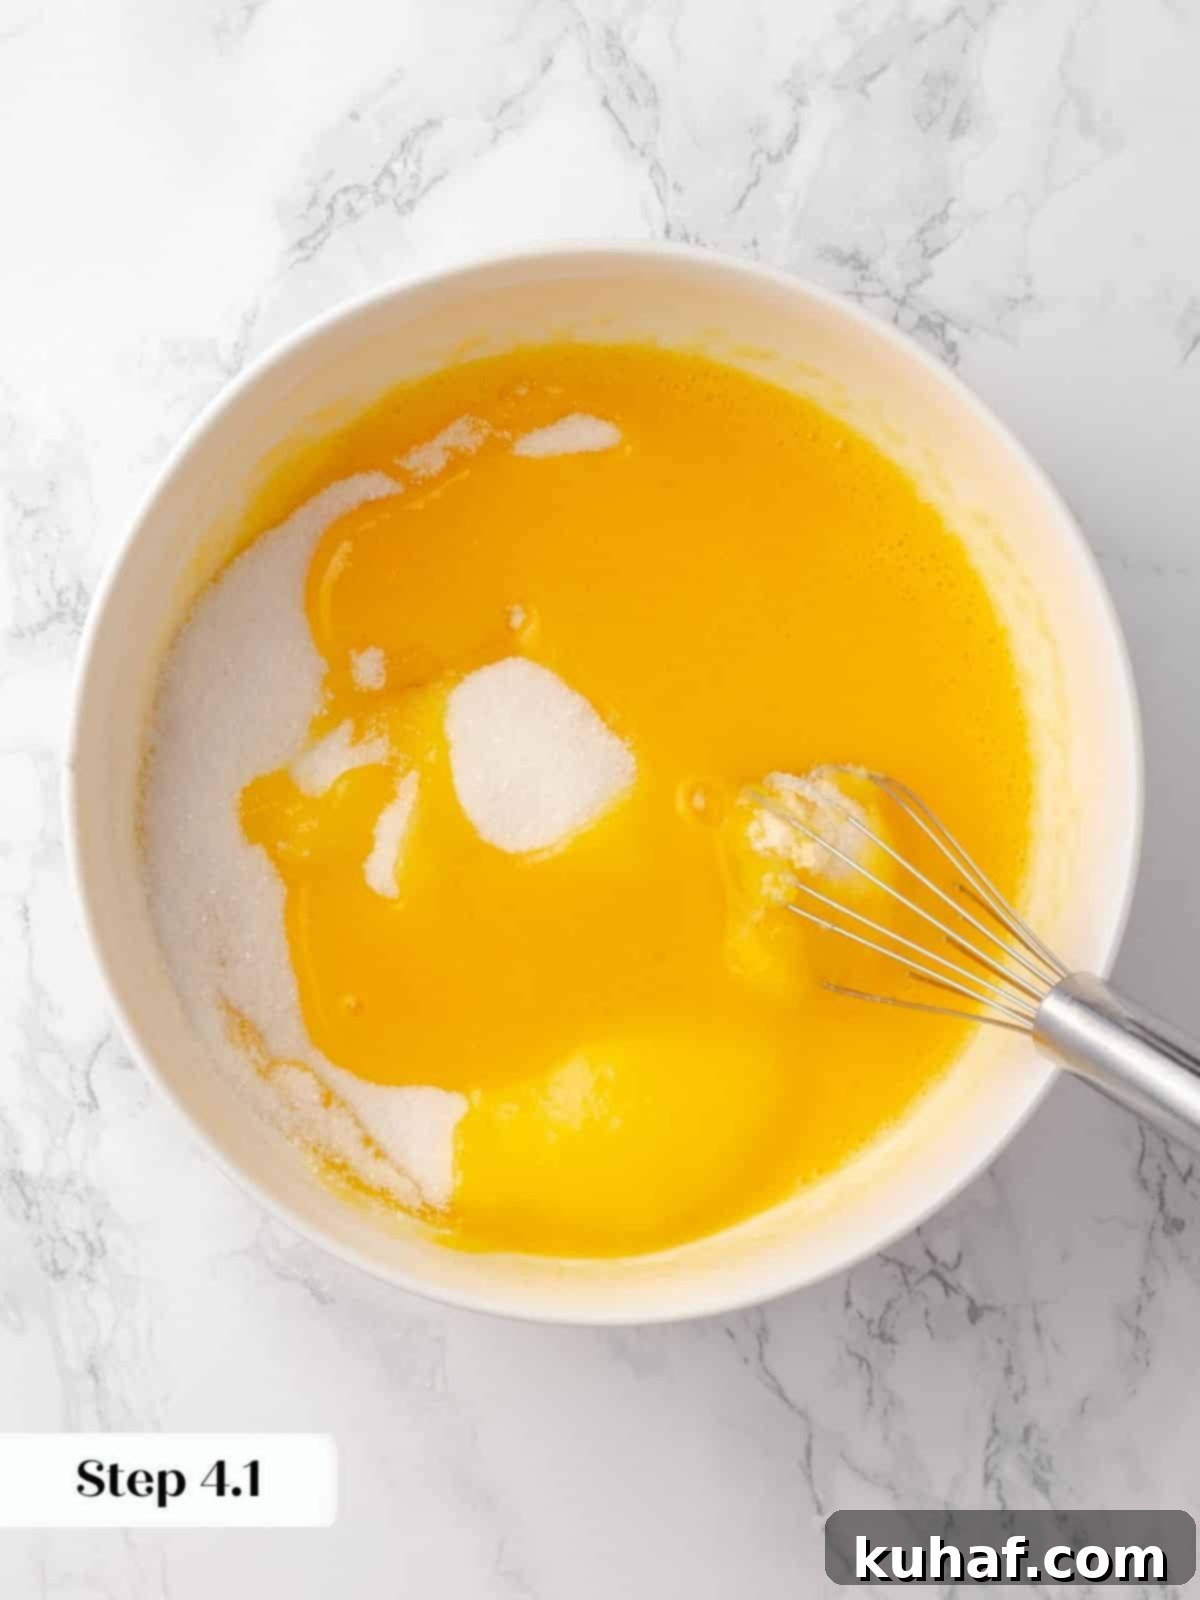
Step 4: In the bowl containing the emulsified egg and oil mixture, add the granulated sugar. Whisk thoroughly until the sugar is fully dissolved and the mixture is completely smooth and well-incorporated. This step helps to create a tender crumb by preventing the sugar from crystalizing later.
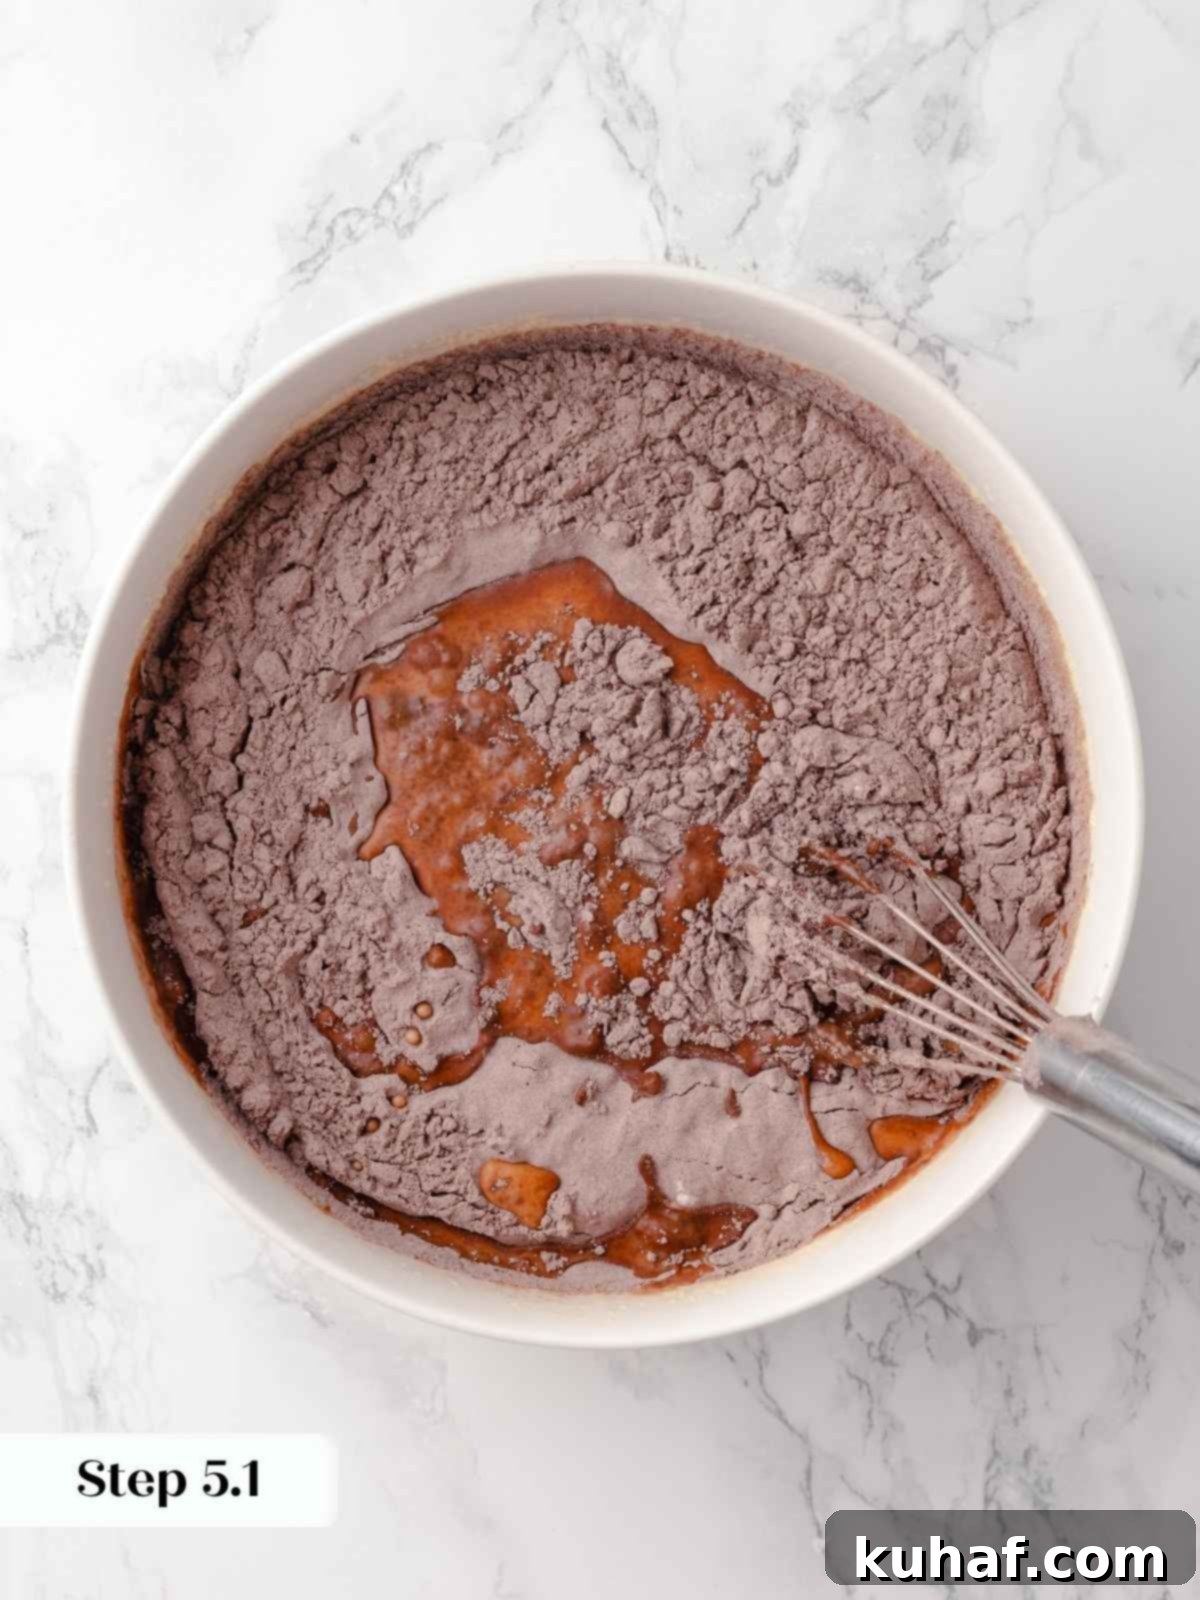
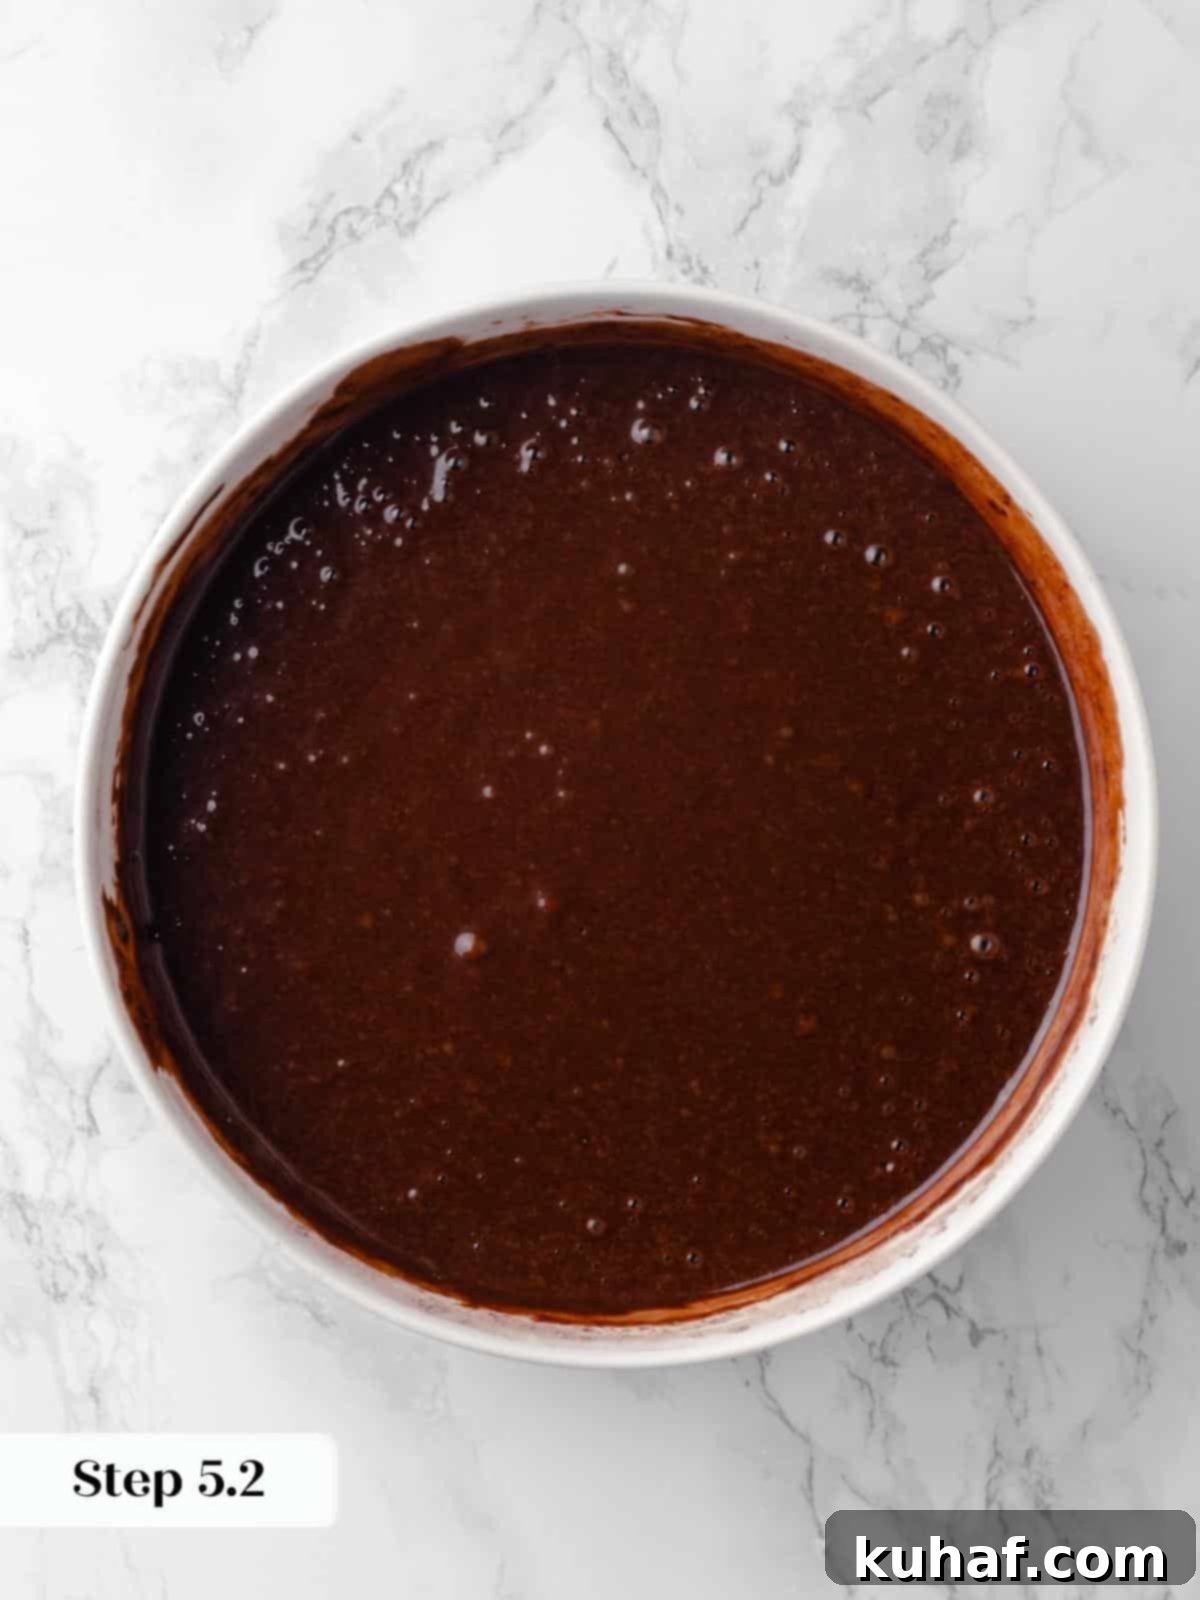
Step 5: Now, it’s time to incorporate the dry ingredients and milk. Add these in three alternating additions, starting and ending with the dry mixture. For each addition, add approximately one-third of the dry ingredients and one-third of the milk at the same time. Whisk gently after each addition, just until no lumps of flour remain. This technique helps prevent overmixing, which can lead to a tough cake, and ensures a wonderfully tender crumb for your chocolate raspberry cake.
Pro Tip for Tender Cake: Adding the flour and milk in three stages helps to prevent the gluten from over-developing. This is a critical step for achieving a more tender cake that avoids those undesirable “tunnels” or tough spots, resulting in a perfectly soft chocolate cake.
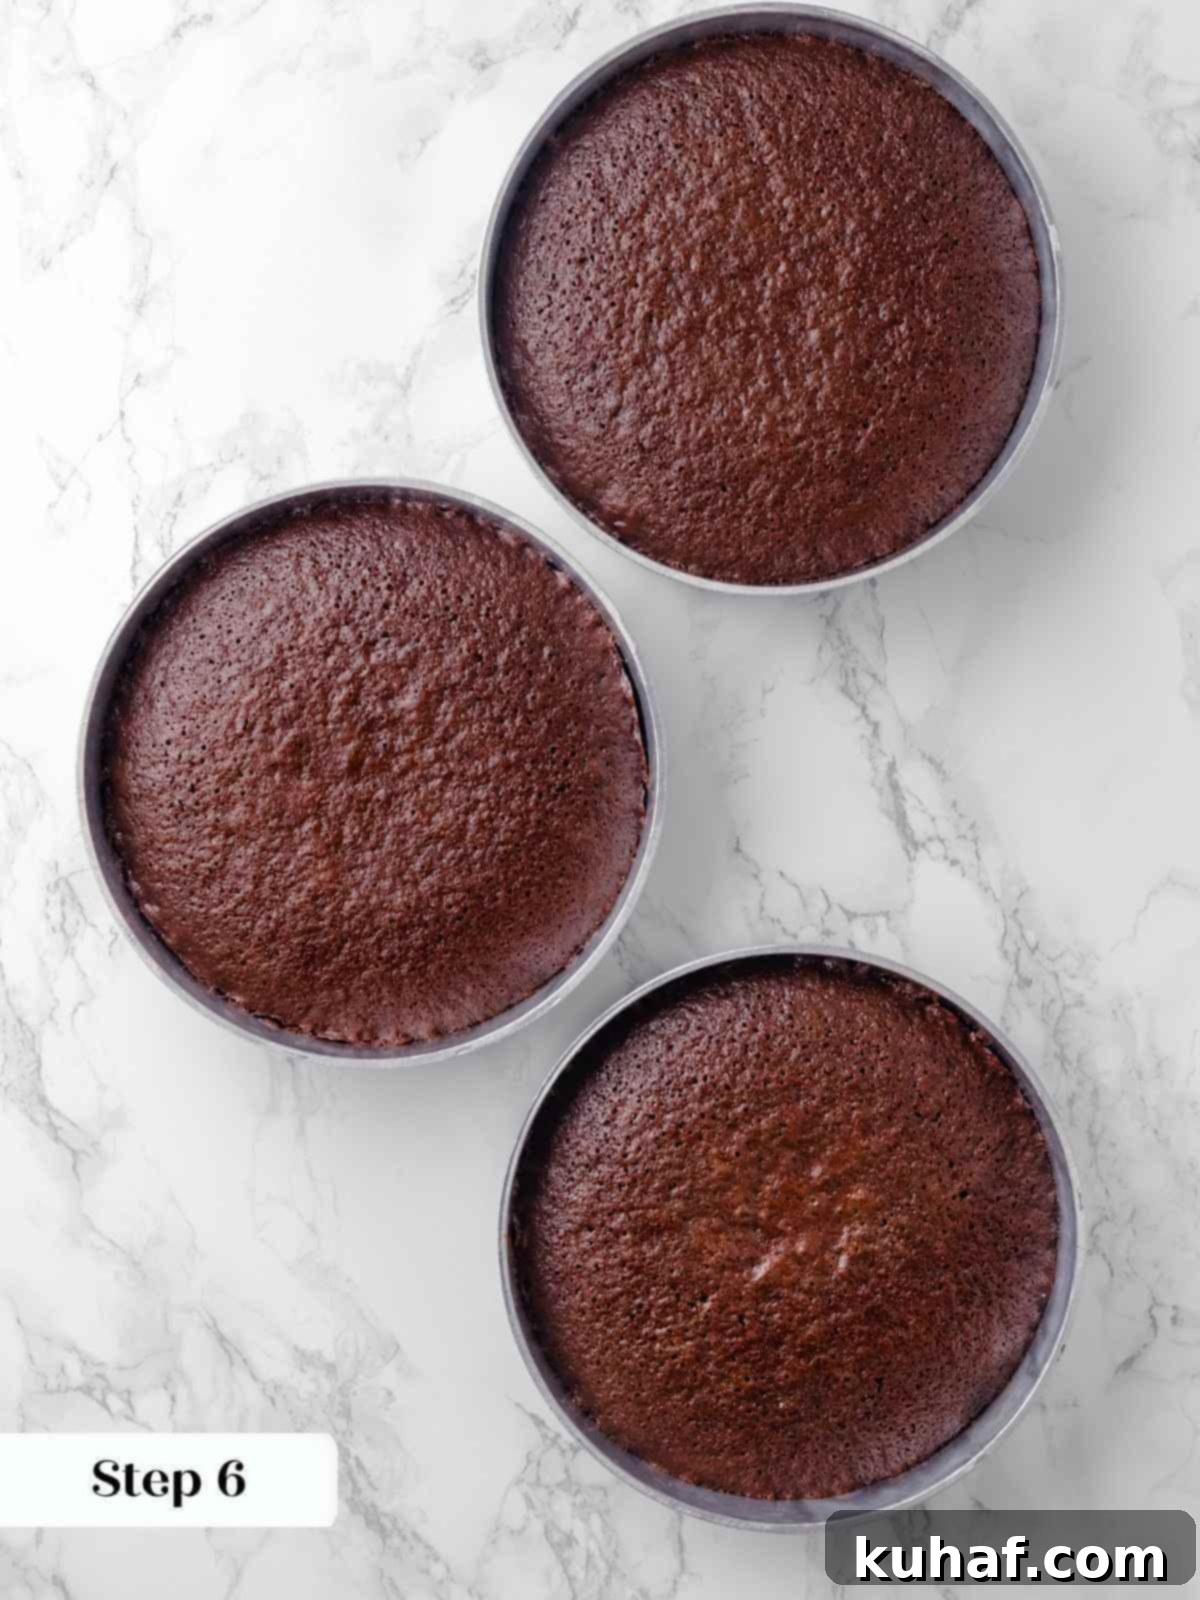
Step 6: Carefully divide the rich chocolate cake batter evenly among your prepared cake pans. Place the pans into the preheated oven. Bake until a cake tester or toothpick inserted into the center of a cake layer comes out clean, or with just a few moist crumbs clinging to it. If you are baking three thinner layers, they will bake faster, so begin checking for doneness around 20 minutes. With a convection oven, they typically bake for 25-28 minutes.
Layer Weight Guidance: For two layers, each cake layer would be approximately 920g and typically bake for about 32 minutes. When making three layers, each will be around 615g, resulting in quicker baking times as noted above.
Step 7: Once baked, allow the cake layers to cool in their pans on a wire rack for about 10 minutes. This resting period allows the cakes to firm up slightly. Then, carefully run a thin paring knife around the edge of each pan to loosen the cake, and invert them onto the wire rack. You can choose to cool them completely upside down for flatter tops, or use a second wire rack to flip them back over.
Step 8: It is absolutely essential that the cake layers cool completely to room temperature before you attempt to frost them. Attempting to frost warm cakes will cause your beautiful raspberry buttercream and chocolate fudge frosting to melt and slide off, ruining your layered masterpiece.
Part 2: Preparing the Vibrant Quick Raspberry Jam
Step 9: In a small, heavy-bottomed saucepan, combine the fresh or frozen raspberries, lemon juice, and granulated sugar. The lemon juice is key to brightening the raspberry flavor and adding a pleasant tartness that cuts through the sweetness.
Sweetness Adjustment: My raspberries were exceptionally sweet, requiring only a minimal amount of sugar. Always taste your berries first and adjust the sugar to achieve your desired sweet-tart balance.
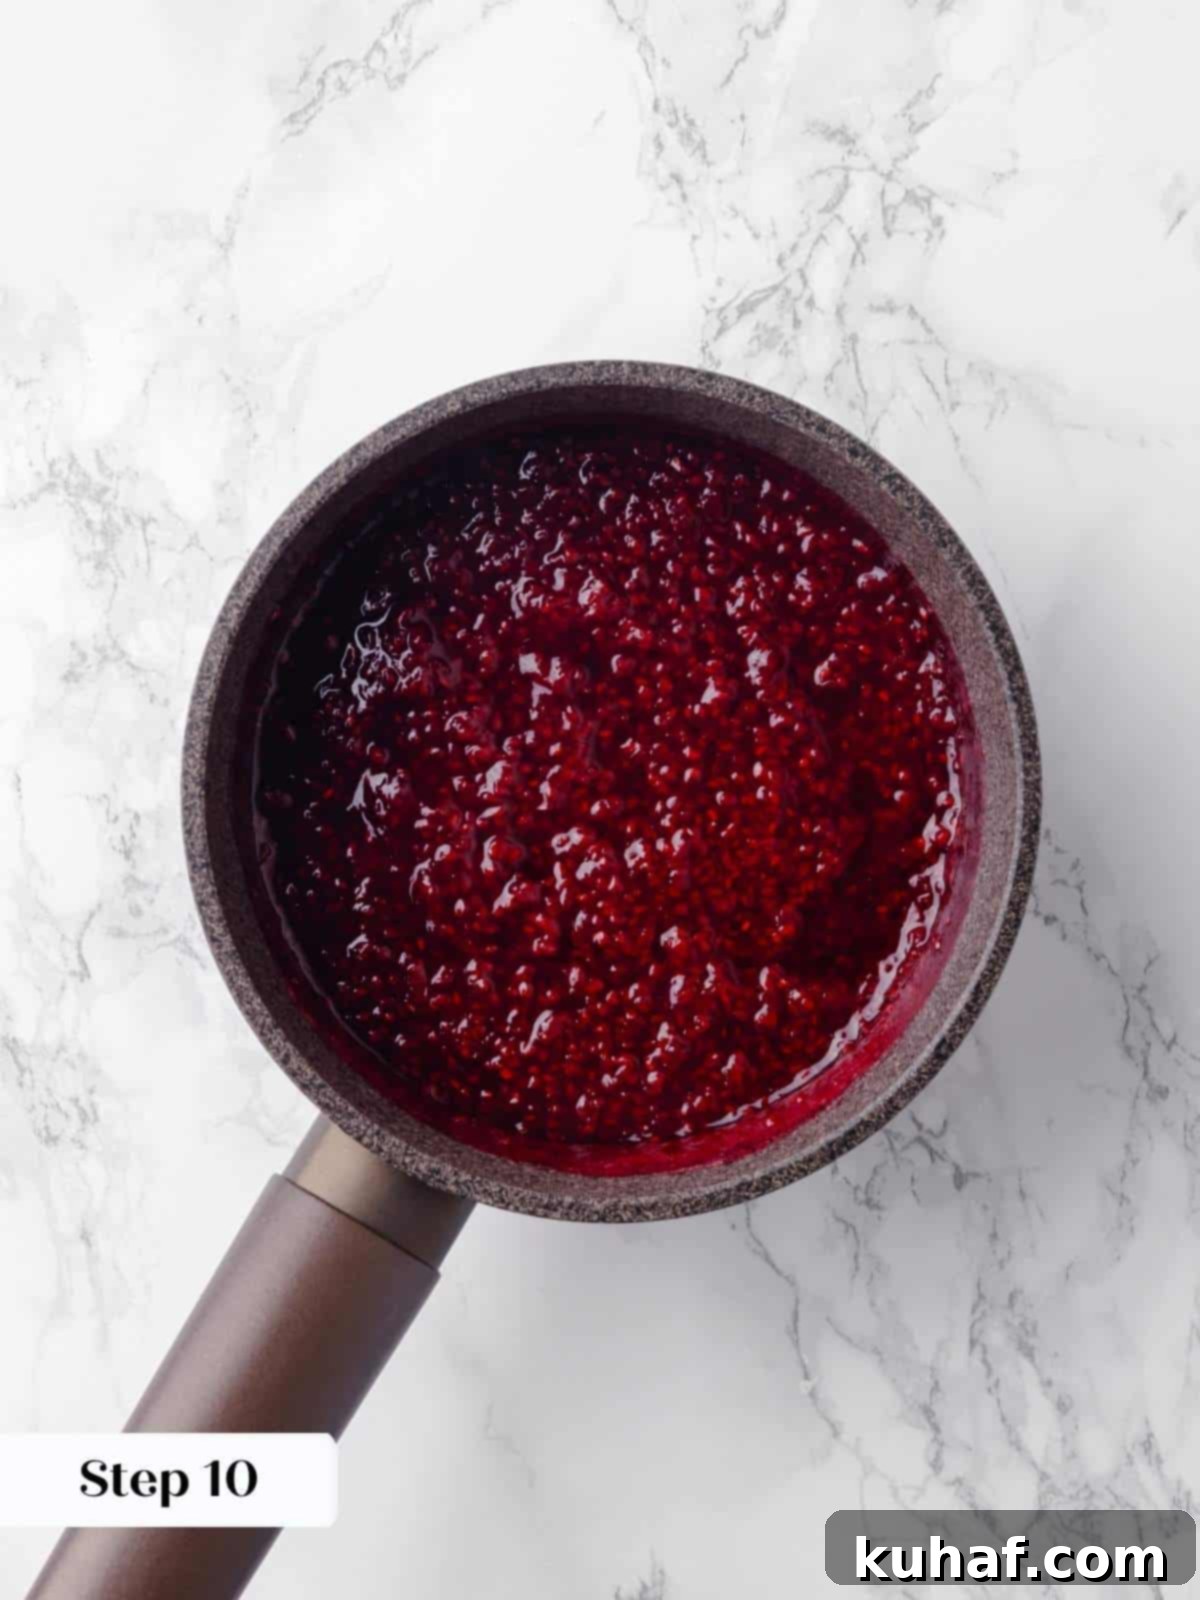
Step 10: Heat the mixture over low heat, stirring and gently smashing the raspberries occasionally, until they soften and release their vibrant juices. Once juicy, increase the heat to medium or medium-low and continue to simmer. Stir frequently to prevent sticking. The jam is ready when the juices have largely evaporated, and a spoonful of jam will hold a distinct line when drawn across the back of a spoon. As the jam thickens towards the end, reduce the heat back to low to prevent it from scorching at the bottom of the pan.
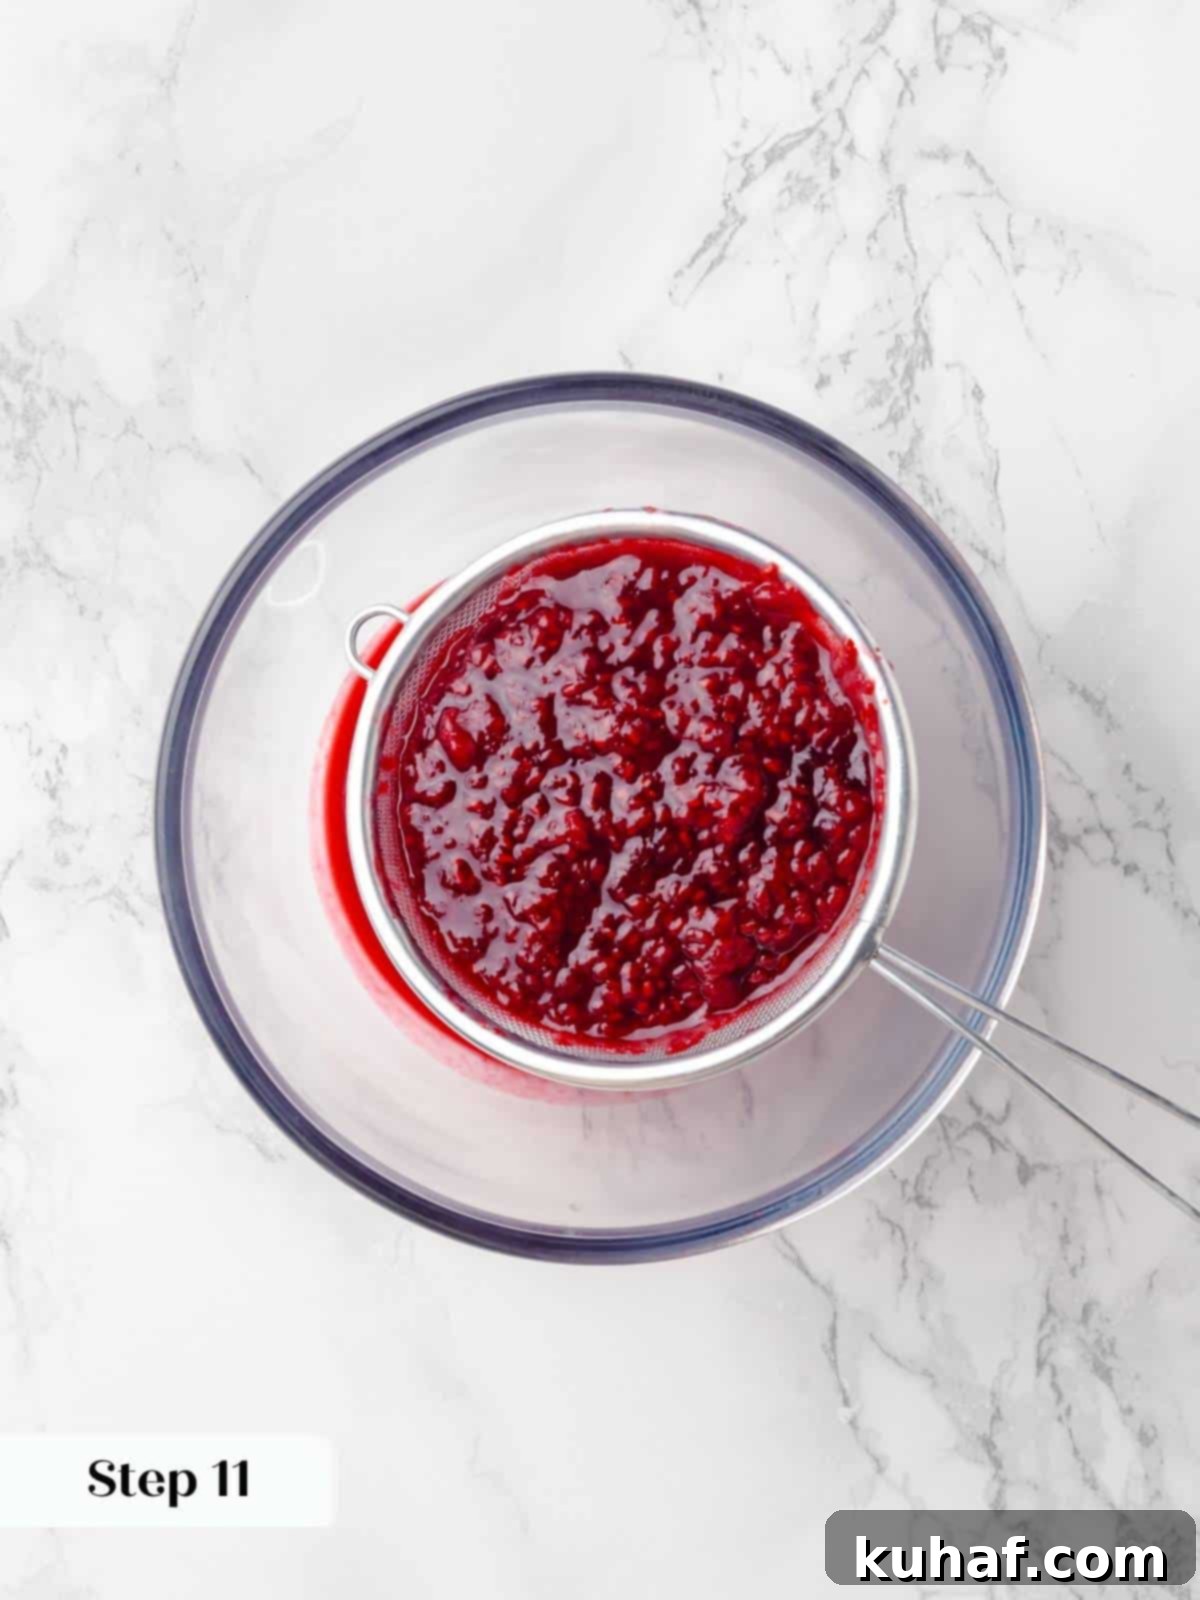
Step 11: For a smooth, seedless raspberry jam, a critical step for a pleasant buttercream texture, strain the cooked jam through a fine-mesh metal sieve into a bowl that has been pre-chilled in the freezer. Trust me, no one appreciates the crunch of raspberry seeds in their otherwise silky smooth buttercream – it’s an unwelcome distraction!
Step 12: To extract every bit of deliciousness, press the jam firmly through the sieve using a sturdy spoon or a silicone spatula. After pressing, run the spatula along the bottom of the sieve to release the thicker, more concentrated part of the jam that tends to cling. This technique ensures maximum yield and flavor.
Maximize Yield: For the most flavorful and abundant jam, I typically repeat the process of pressing and scraping the sieve three times to ensure I’ve extracted every last drop of raspberry goodness from the seeds.
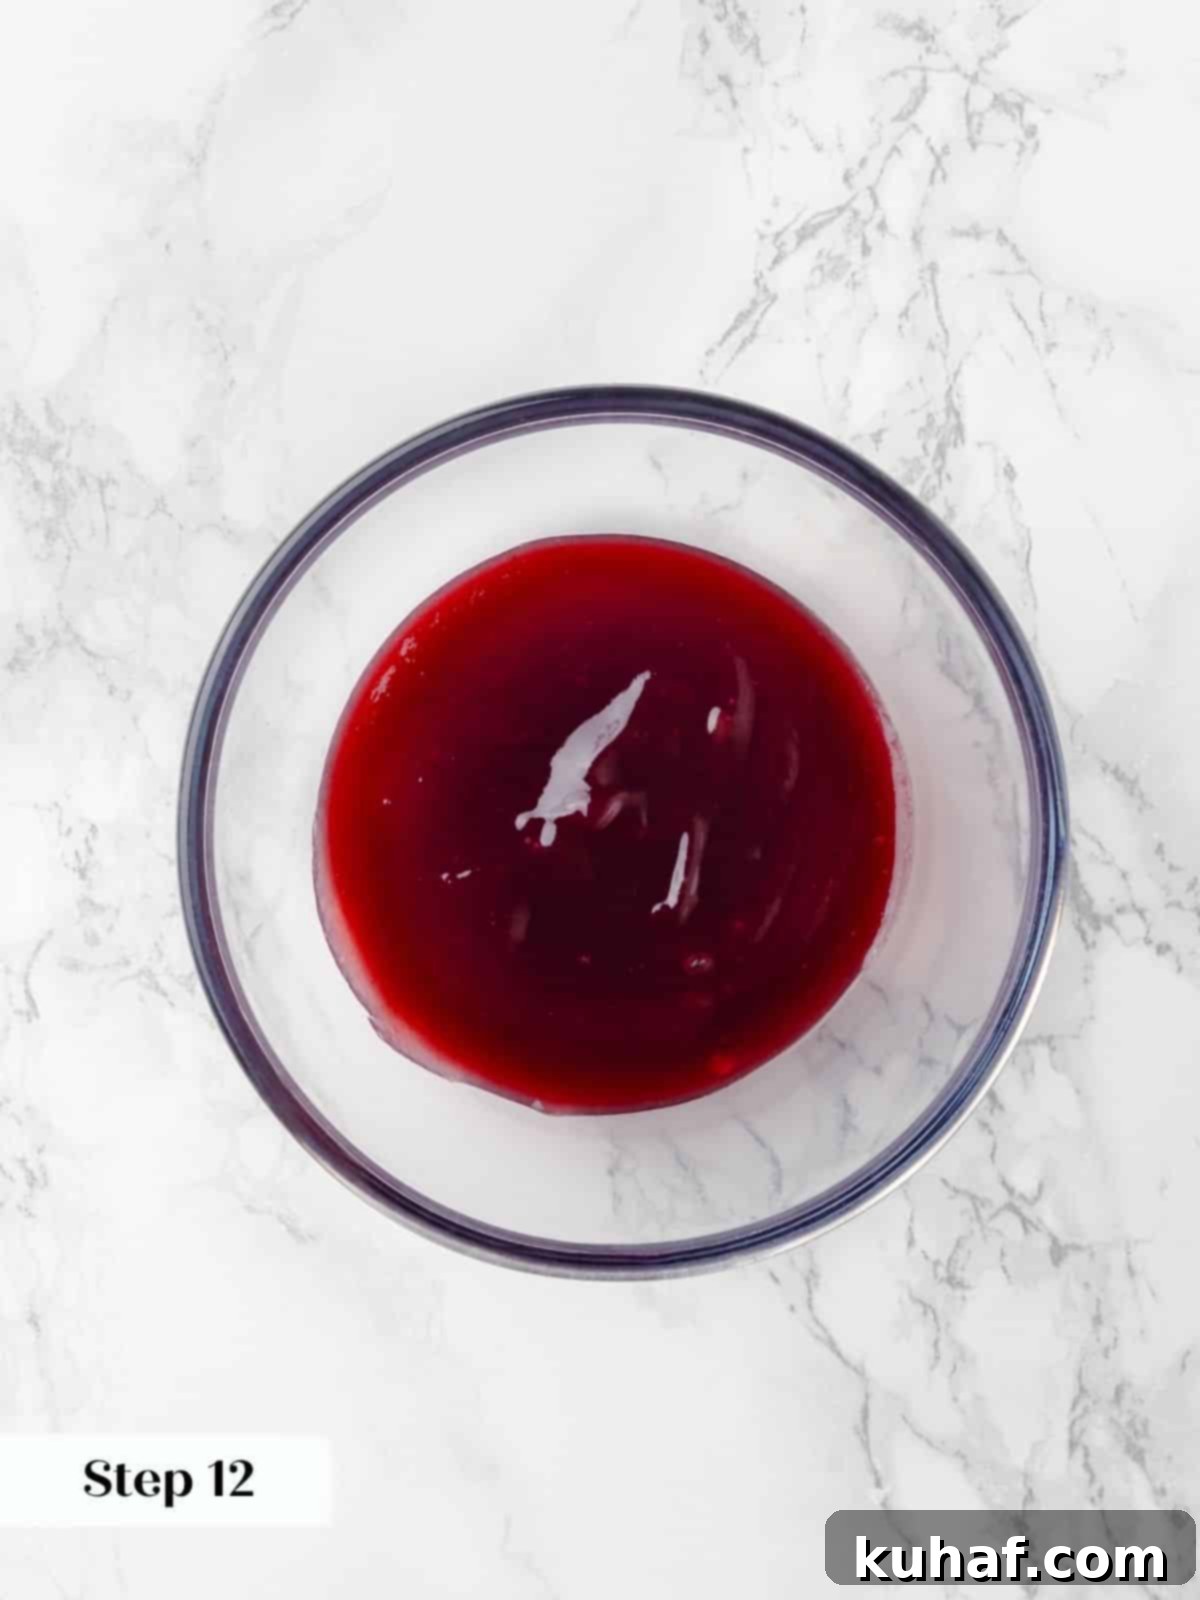
Step 13: Pour the strained raspberry jam into a cold or frozen glass or Pyrex bowl. Refrigerate the jam until it is completely chilled. This is a crucial step: adding cold jam to the buttercream will help maintain the frosting’s thick, stable consistency, preventing it from becoming too loose.
Part 3: Crafting the Luxurious Chocolate Fudge Frosting
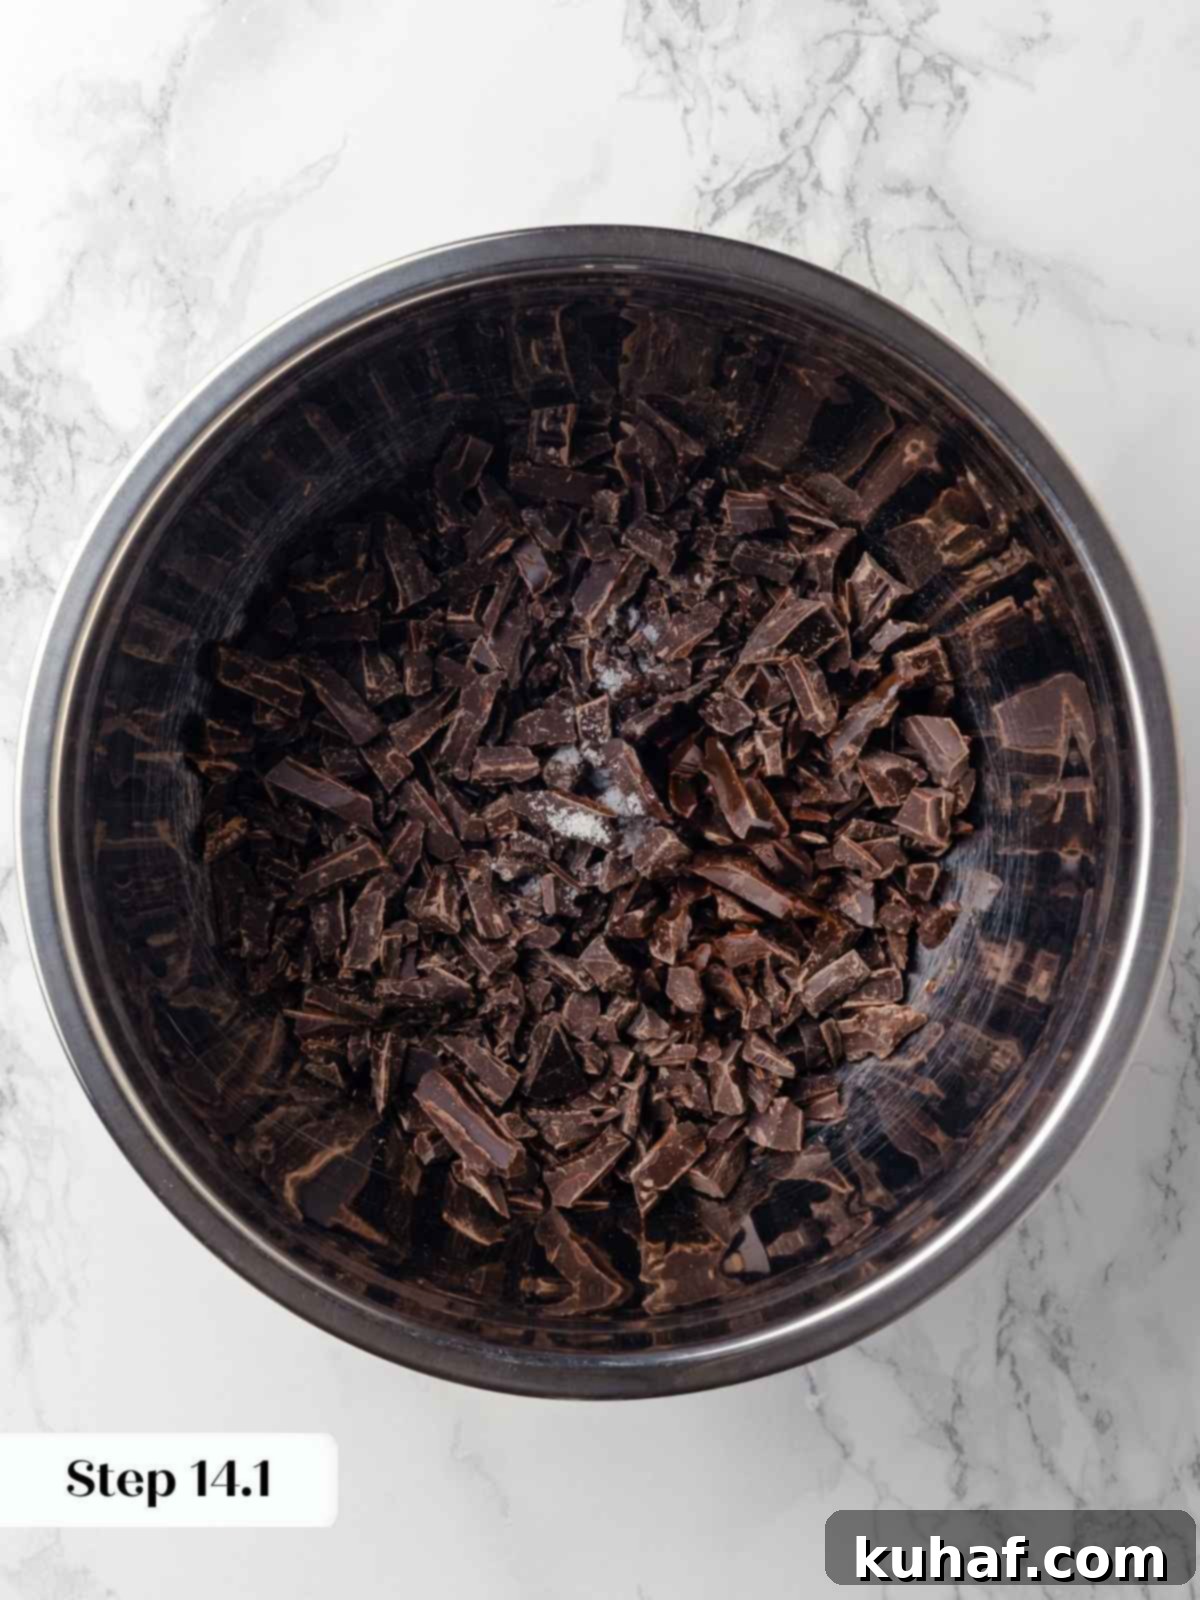
Step 14: In a large, heat-proof bowl, combine the finely chopped dark chocolate, vanilla extract, light corn syrup, and kosher salt. Having all these ingredients ready ensures a smooth and efficient process once the hot cream is added.
Chopping Chocolate is Key: Even if you’re using chocolate chips, I strongly recommend chopping the chocolate into smaller pieces. Given the total amount of heavy cream, smaller pieces will melt more efficiently and evenly, preventing the cream from cooling too quickly before all the chocolate has fully incorporated, ensuring a silky-smooth fudge frosting.
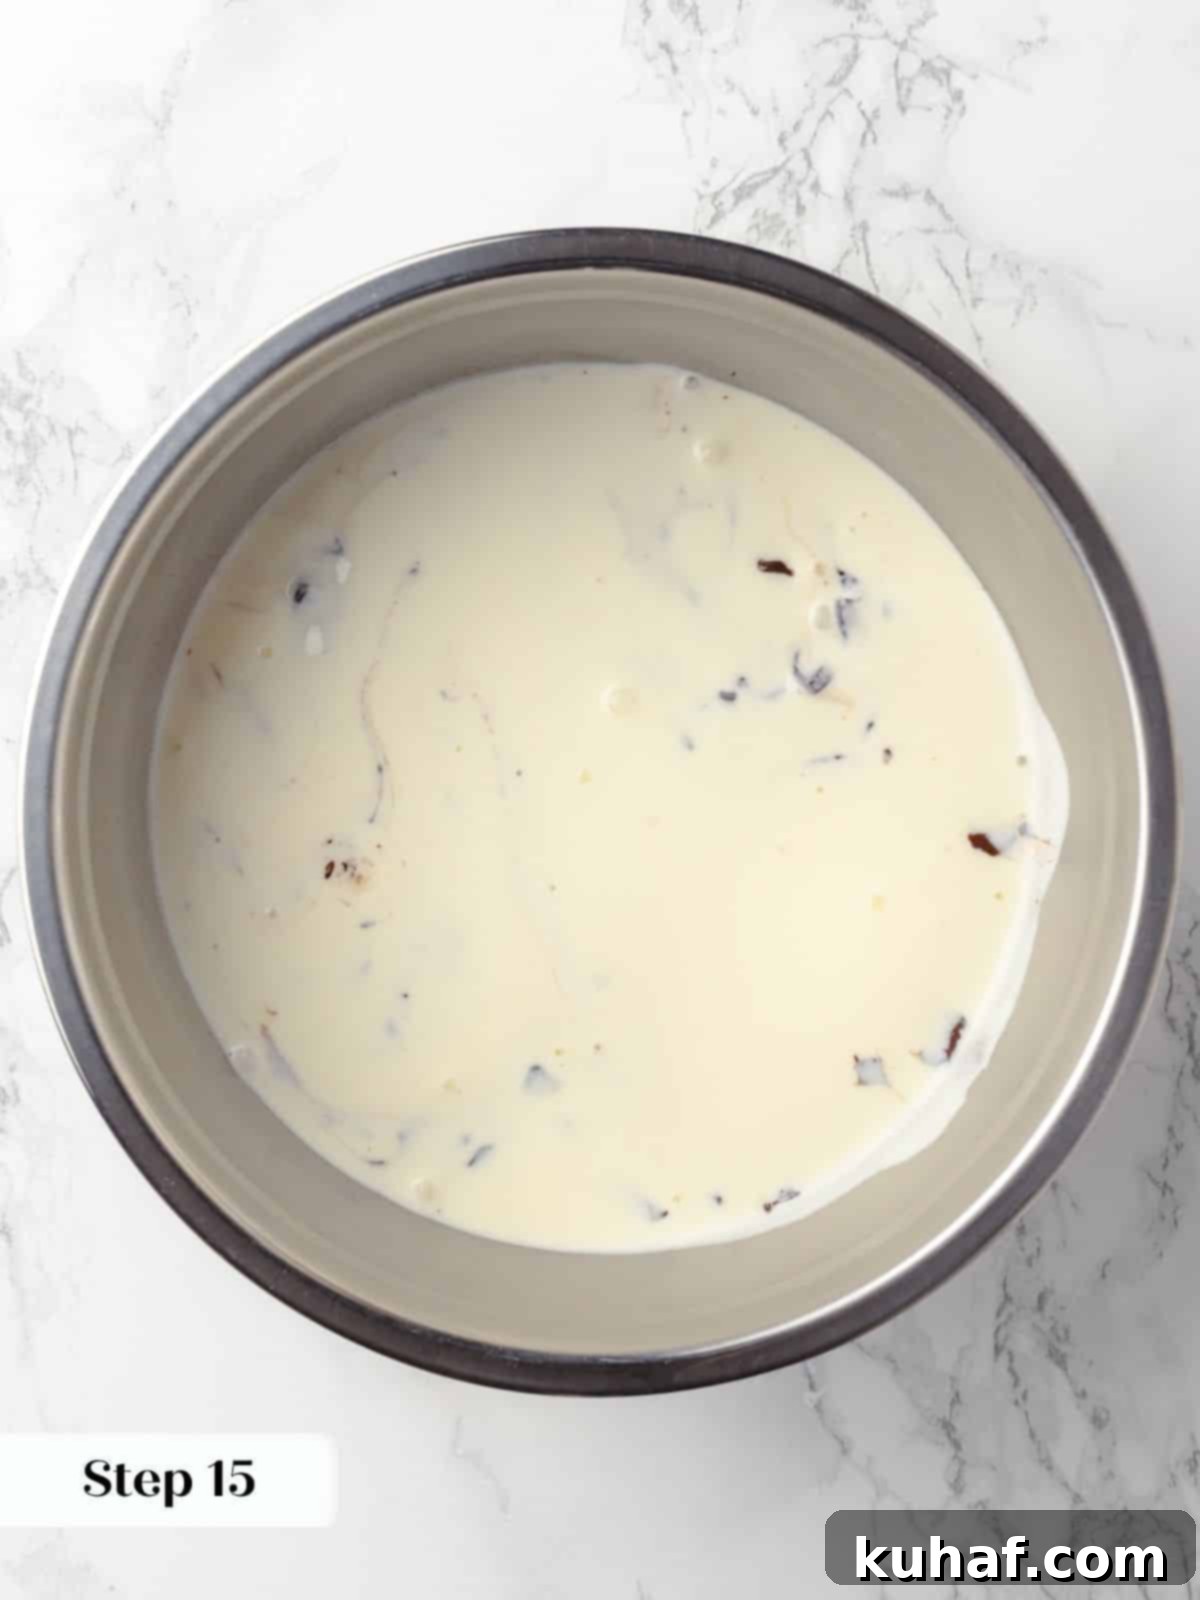
Step 15: In a small saucepan, bring the heavy whipping cream just to a gentle boil. As soon as it boils, remove it from the heat and immediately pour it over the chocolate mixture in the heat-proof bowl. Give the bowl a gentle shake to ensure the hot cream fully submerges and distributes over all the chocolate. Cover the bowl with a lid or plastic wrap and allow it to sit undisturbed for 2 minutes. This allows the residual heat from the cream to melt the chocolate evenly.
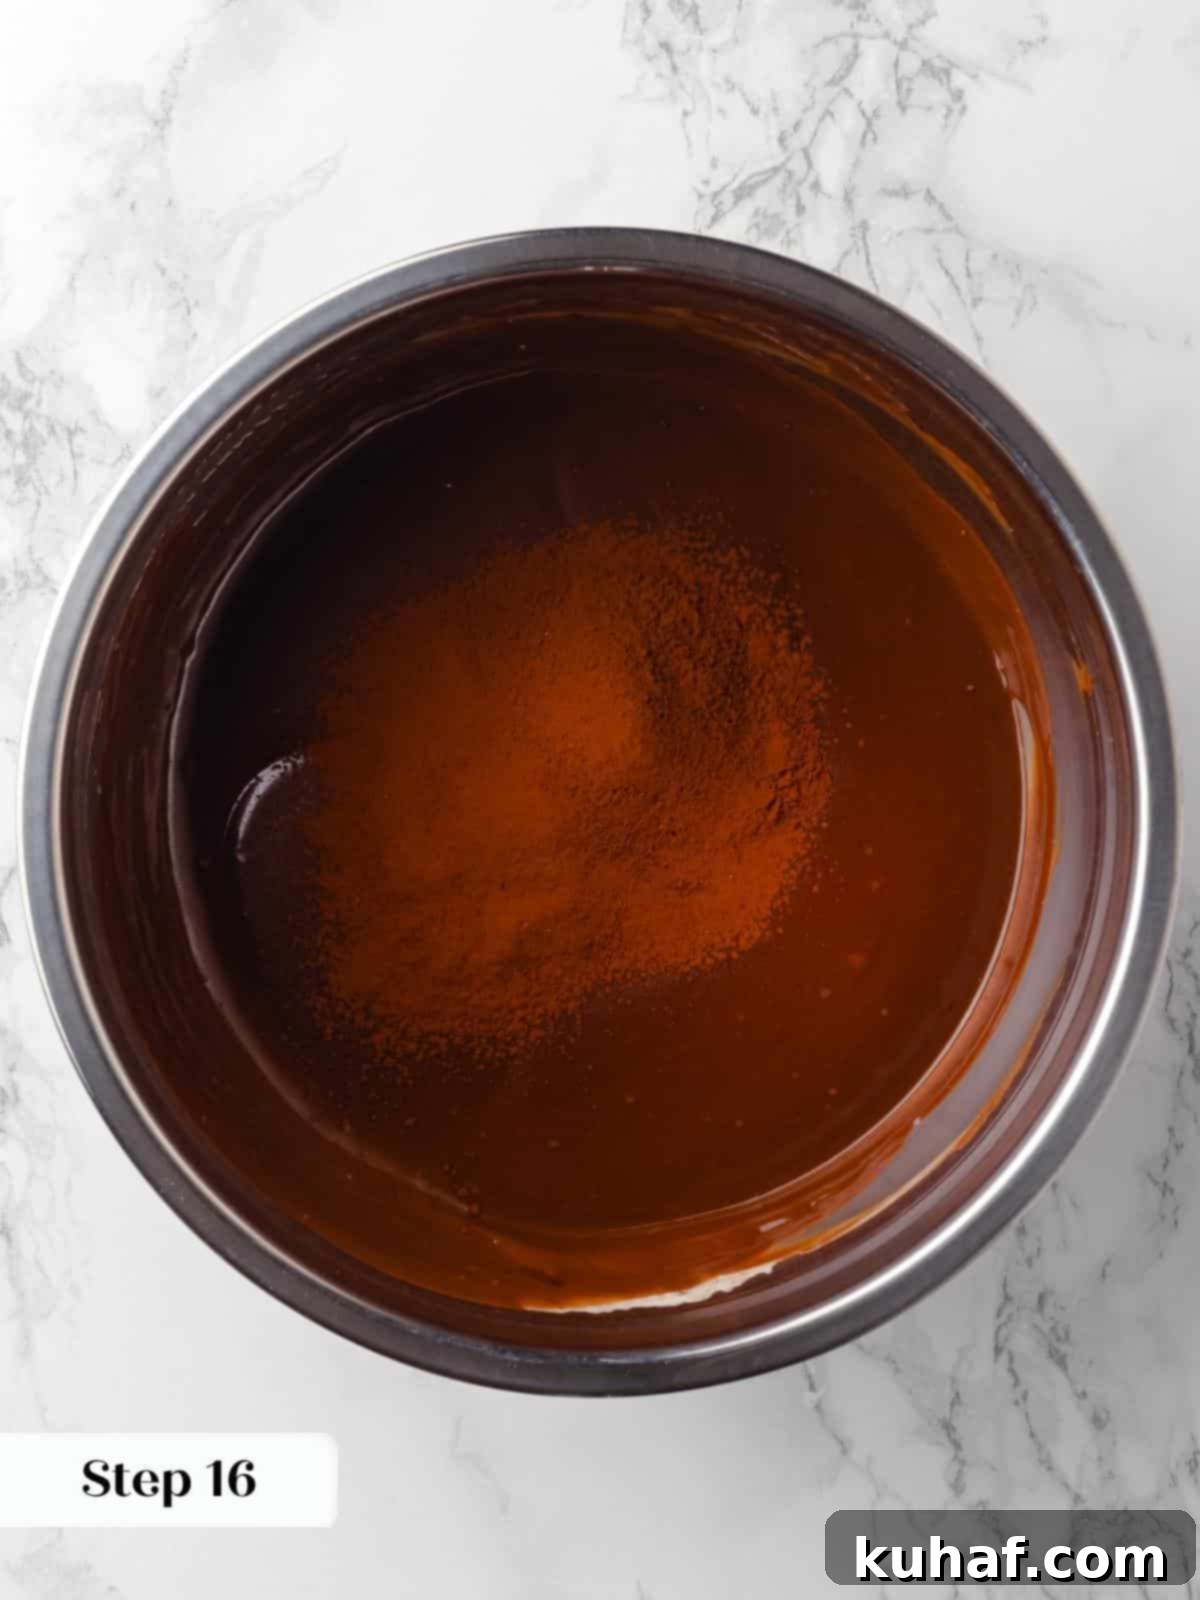
Step 16: After 2 minutes, uncover the bowl. Starting from the very center of the mixture, slowly begin to whisk in small circles, gradually expanding your whisking motion outwards. This technique helps to create a stable emulsion, resulting in a perfectly smooth and glossy ganache base for your chocolate fudge frosting. Next, sift the cocoa powder directly into the ganache and whisk until it is thoroughly incorporated and lump-free. While you could add the cocoa powder before the cream, it often clumps and can be difficult to fully smooth out later.
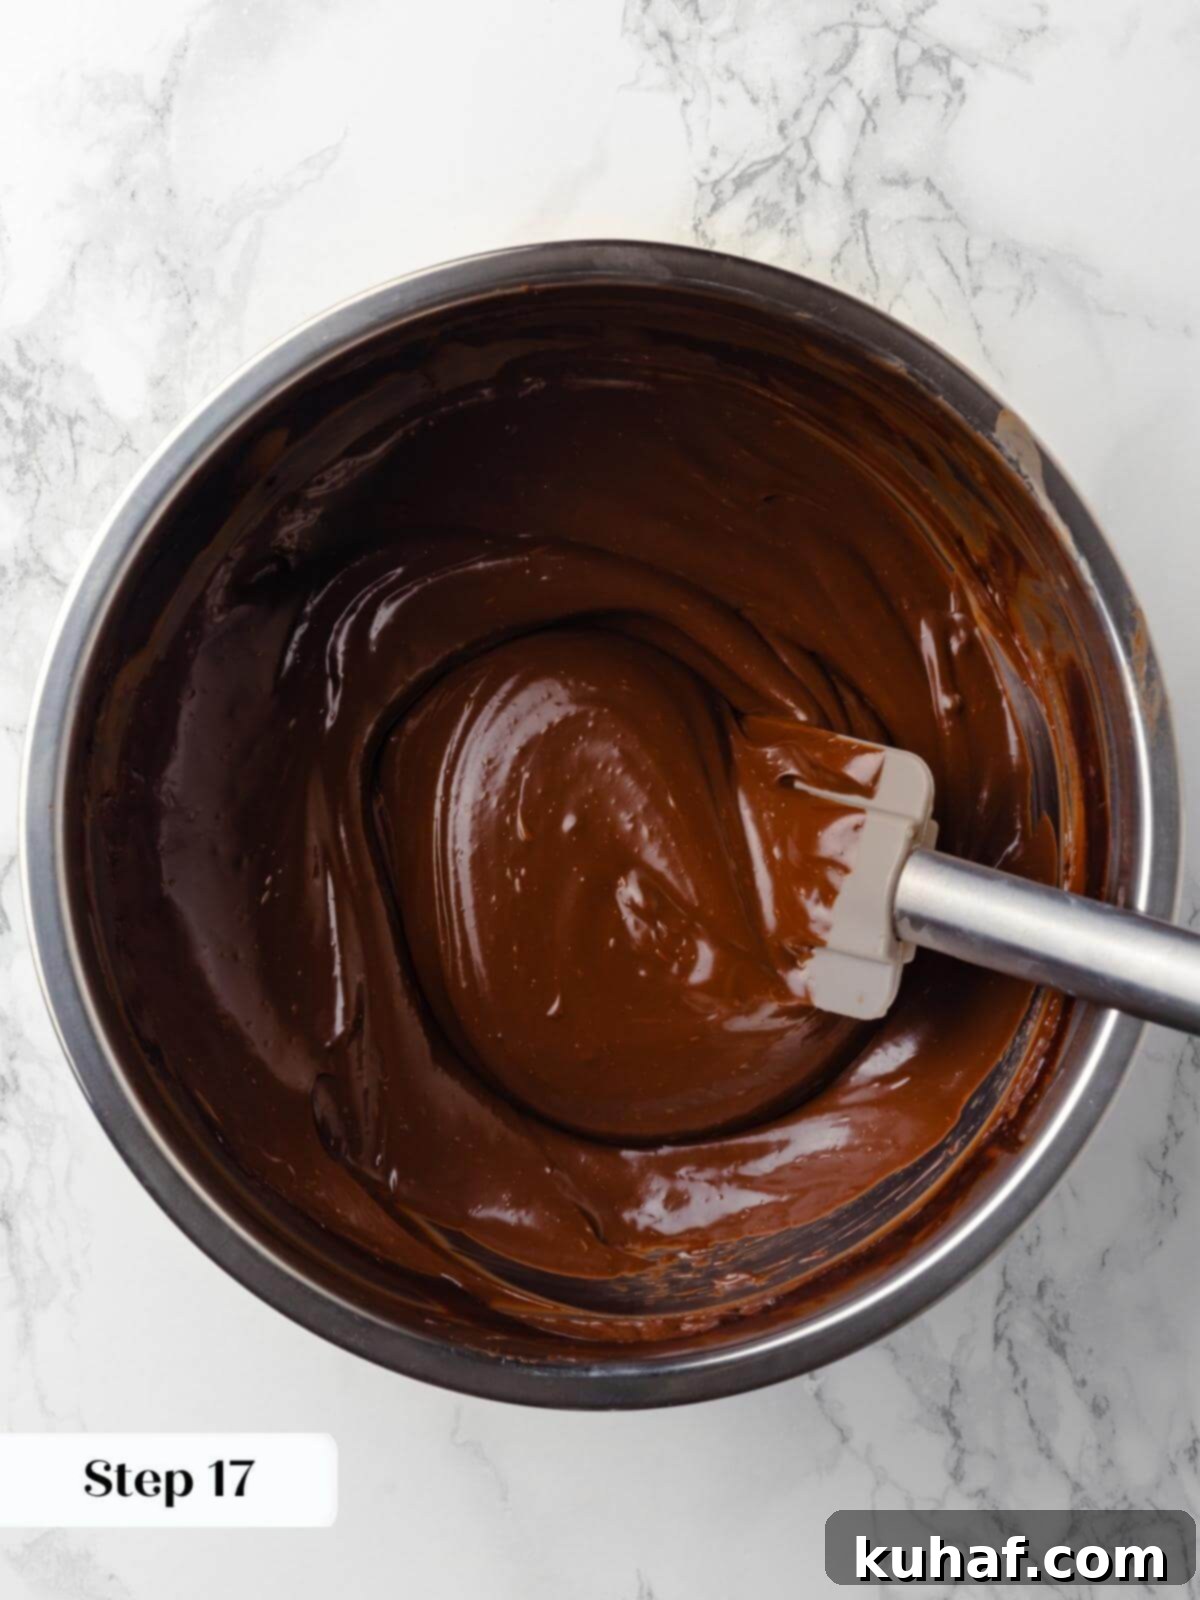
Step 17: Add the softened, cubed butter to the still-warm ganache. Switch from a whisk to a silicone spatula and gently stir in one direction. Continue stirring until all the butter has completely melted and is fully incorporated into the ganache, resulting in a beautifully smooth and glossy chocolate fudge frosting.
Step 18: Place a piece of plastic wrap directly onto the surface of the fudge frosting, ensuring it touches the entire surface to prevent a skin from forming. Allow it to cool completely to room temperature. If you’re short on time, you can speed up the cooling process by placing the bowl in the refrigerator, stirring it thoroughly every 10 minutes to maintain consistency and prevent hardening at the edges.
Cooling Considerations: Cooling speed largely depends on your room temperature. In a comfortable 70°F (21°C) environment, my fudge frosting cooled to the perfect consistency in just under 2 hours. This timing generally works well, allowing ample time for the chocolate cake layers to cool and for the other cake components to be prepared.
Part 4: Preparing the Silky Raspberry Buttercream
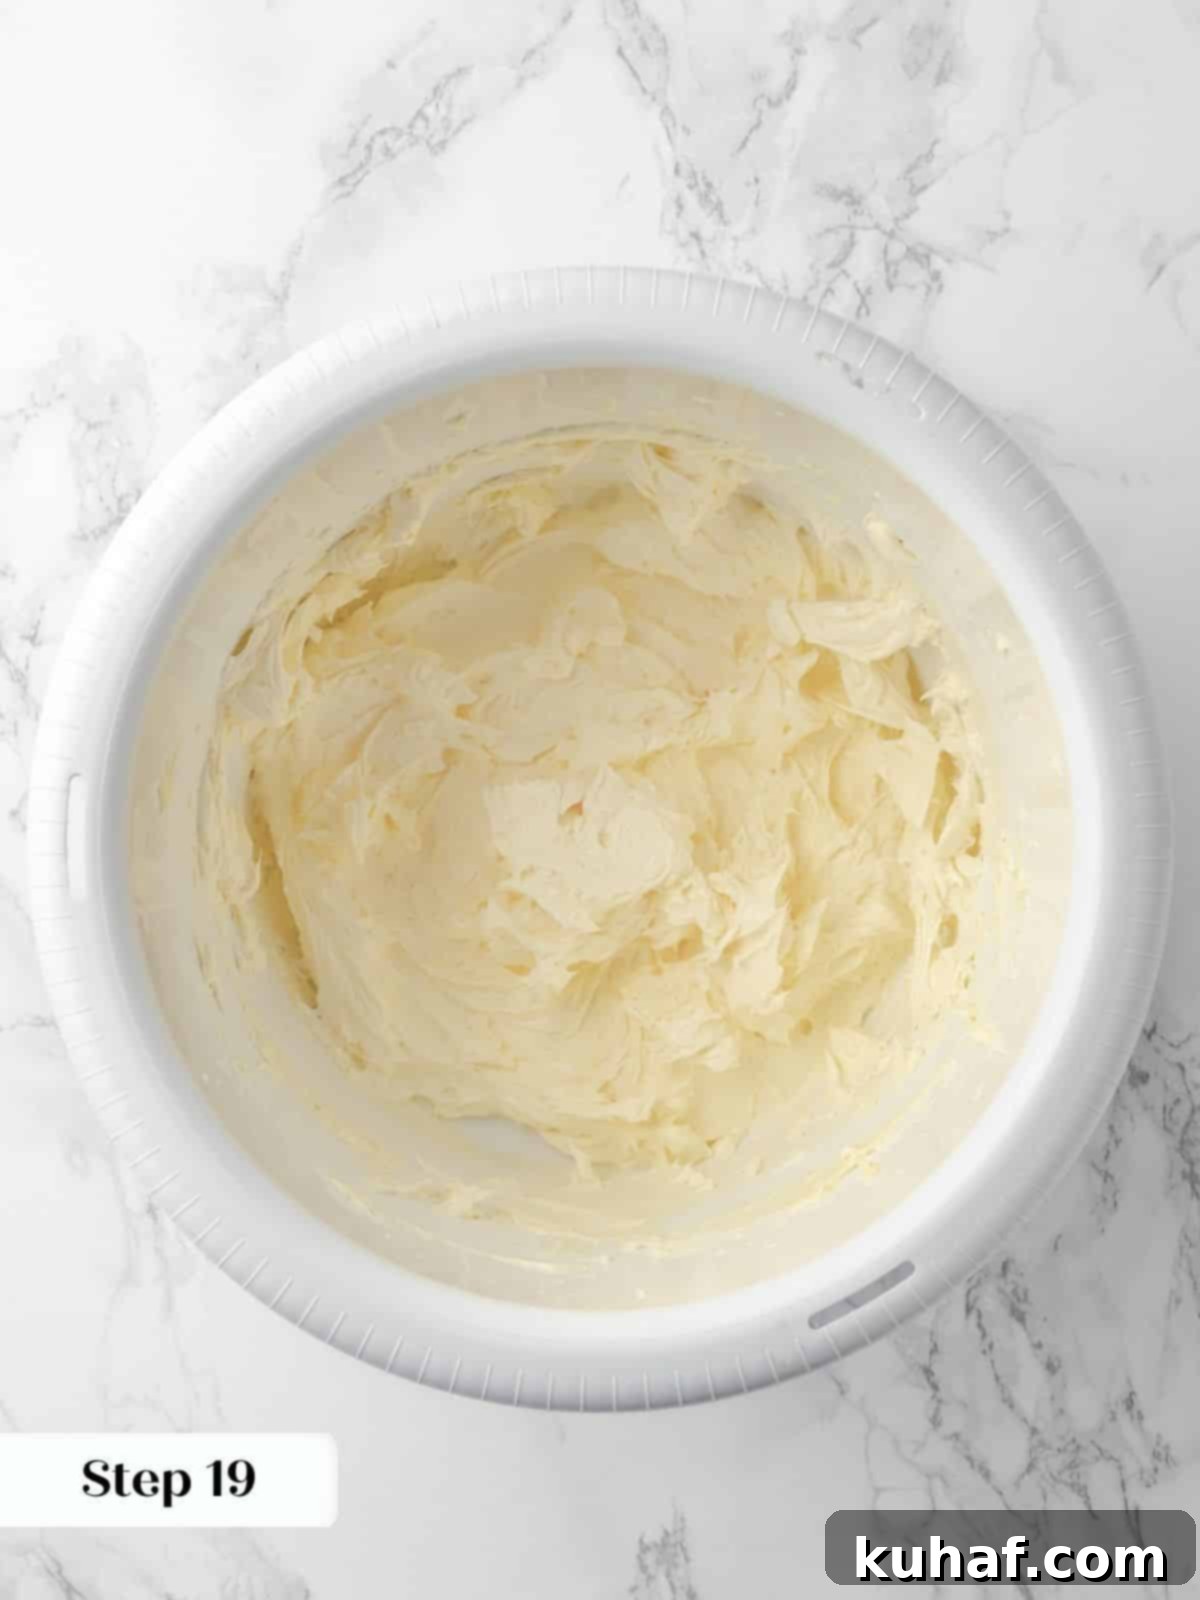
Step 19: In the bowl of a stand mixer fitted with the paddle attachment, beat the unsalted butter on medium-high speed until it becomes lightened in color, fluffy, and very soft. This process, known as creaming, incorporates air, which is essential for a light and airy buttercream.
Step 20: With the mixer on low speed, slowly add the confectioner’s sugar, one cup at a time, until fully incorporated. Once all the sugar is added, mix in the vanilla extract and a pinch of kosher salt. Gradually increase the speed to medium-high and beat for another 3-5 minutes until the buttercream is smooth, creamy, and visibly lighter.
Avoid Lumps: If your powdered sugar is particularly clumpy, I highly recommend sifting it before adding it to the butter. Any large clumps may not fully dissolve during the creaming process, resulting in a less smooth buttercream.
Step 21: Once the buttercream has achieved a smooth consistency, gradually add the chilled raspberry puree, 2 tablespoons at a time, incorporating up to ⅓ cup (which is half of the jam you prepared earlier). Mix well after each addition until the puree is fully combined. You can add additional fresh lemon juice or a small amount of heavy cream as desired to reach your preferred consistency and flavor balance. The lemon juice is fantastic for adding a bright contrast to the sweetness of the buttercream!
Flavor Balance: I often prefer to add a touch more lemon juice to my raspberry buttercream to create a delightful contrast to its sweetness. I found I didn’t need to add extra lemon juice to achieve the perfect consistency for this recipe, but depending on how you measure your powdered sugar and the consistency of your jam, you might find a little more liquid helps.
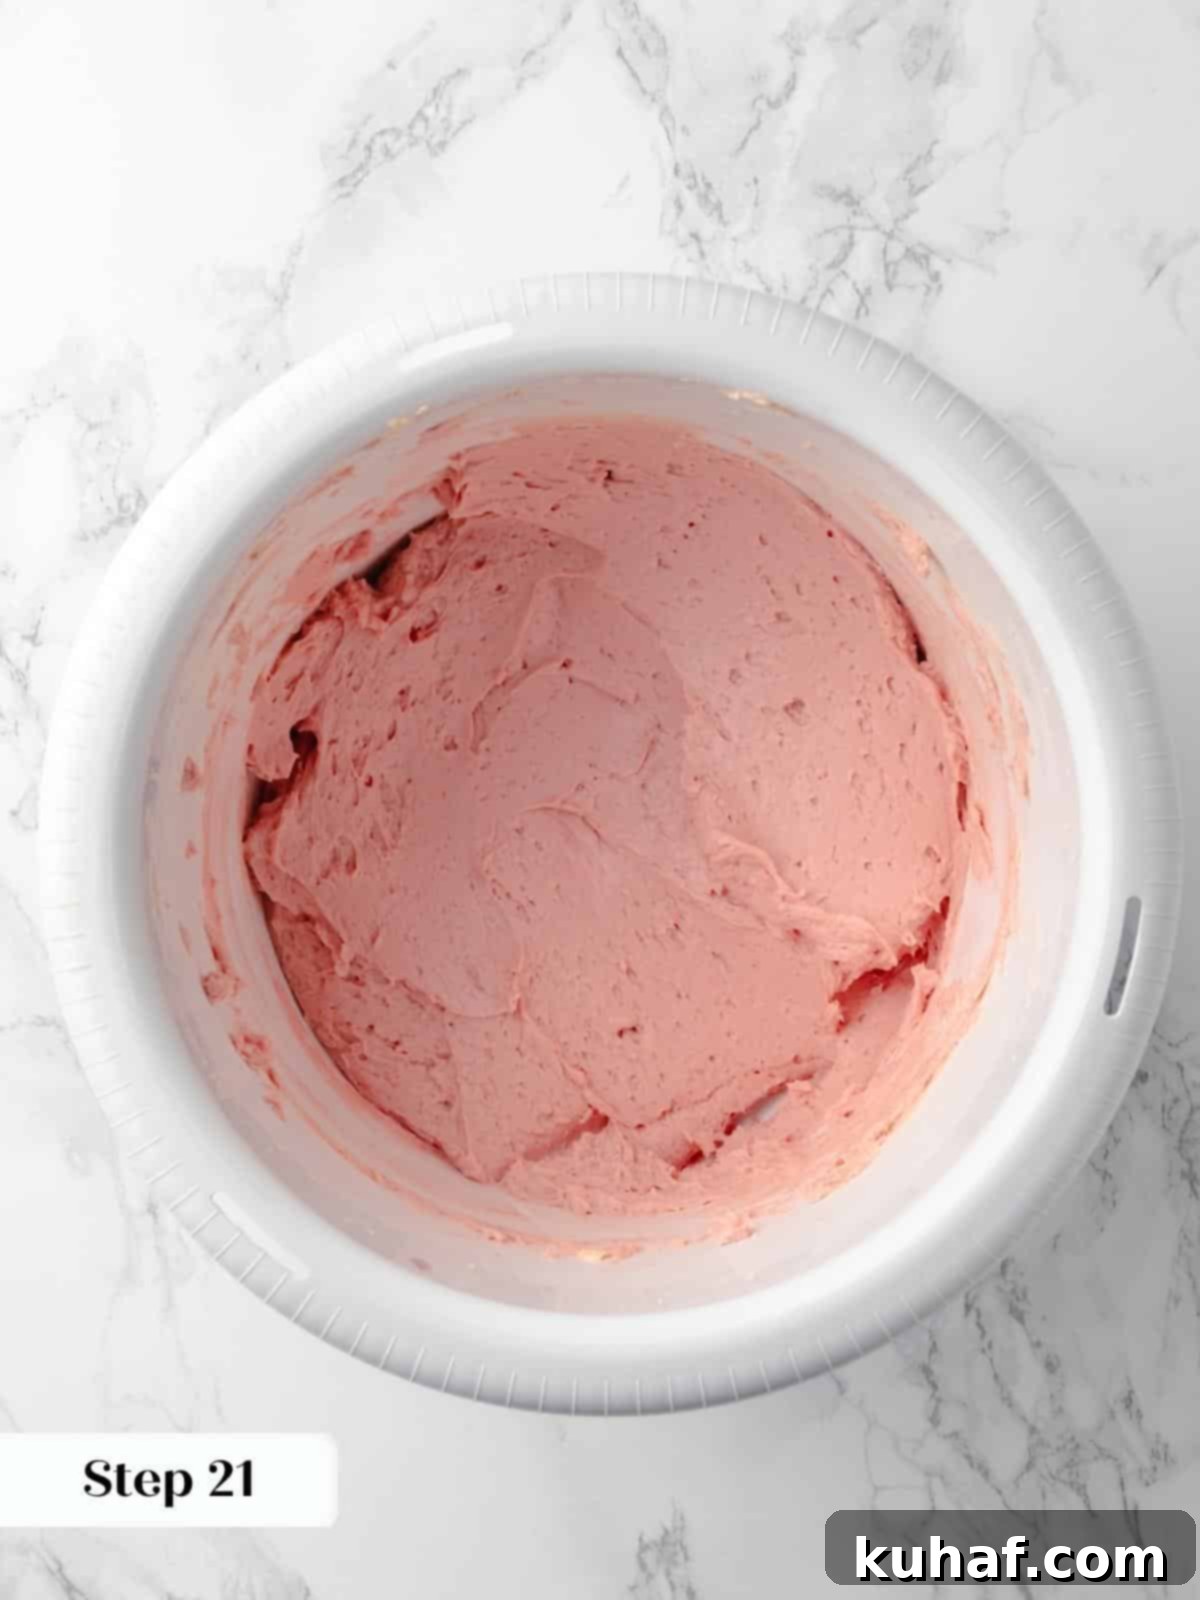
Step 22: Transfer about 1 cup of the prepared raspberry buttercream into a piping bag fitted with a round tip. If you don’t have a specific tip, simply cut off the very end of the piping bag. This buttercream will be used to create a “dam” around the edges of the cake layers, which will securely hold the raspberry jam filling in place.
Part 5: Time to Assemble Your Magnificent Chocolate Raspberry Cake
Step 23: Place your first cooled chocolate cake layer onto your favorite serving plate or cake stand. Using the piping bag, pipe a neat ring of the raspberry buttercream around the very outer edge of the cake layer. This creates the “dam” that will contain the jam filling.
Step 24: Carefully scoop about half of the remaining quick raspberry jam into the center of the piped buttercream ring. Gently spread the jam outwards with the back of a spoon, filling the space within the dam. Then, spread a thin layer of raspberry buttercream on top of the jam to level out the layer, ensuring a smooth surface for the next cake layer. You might find using the piping bag to apply the buttercream here offers more control over the jam.
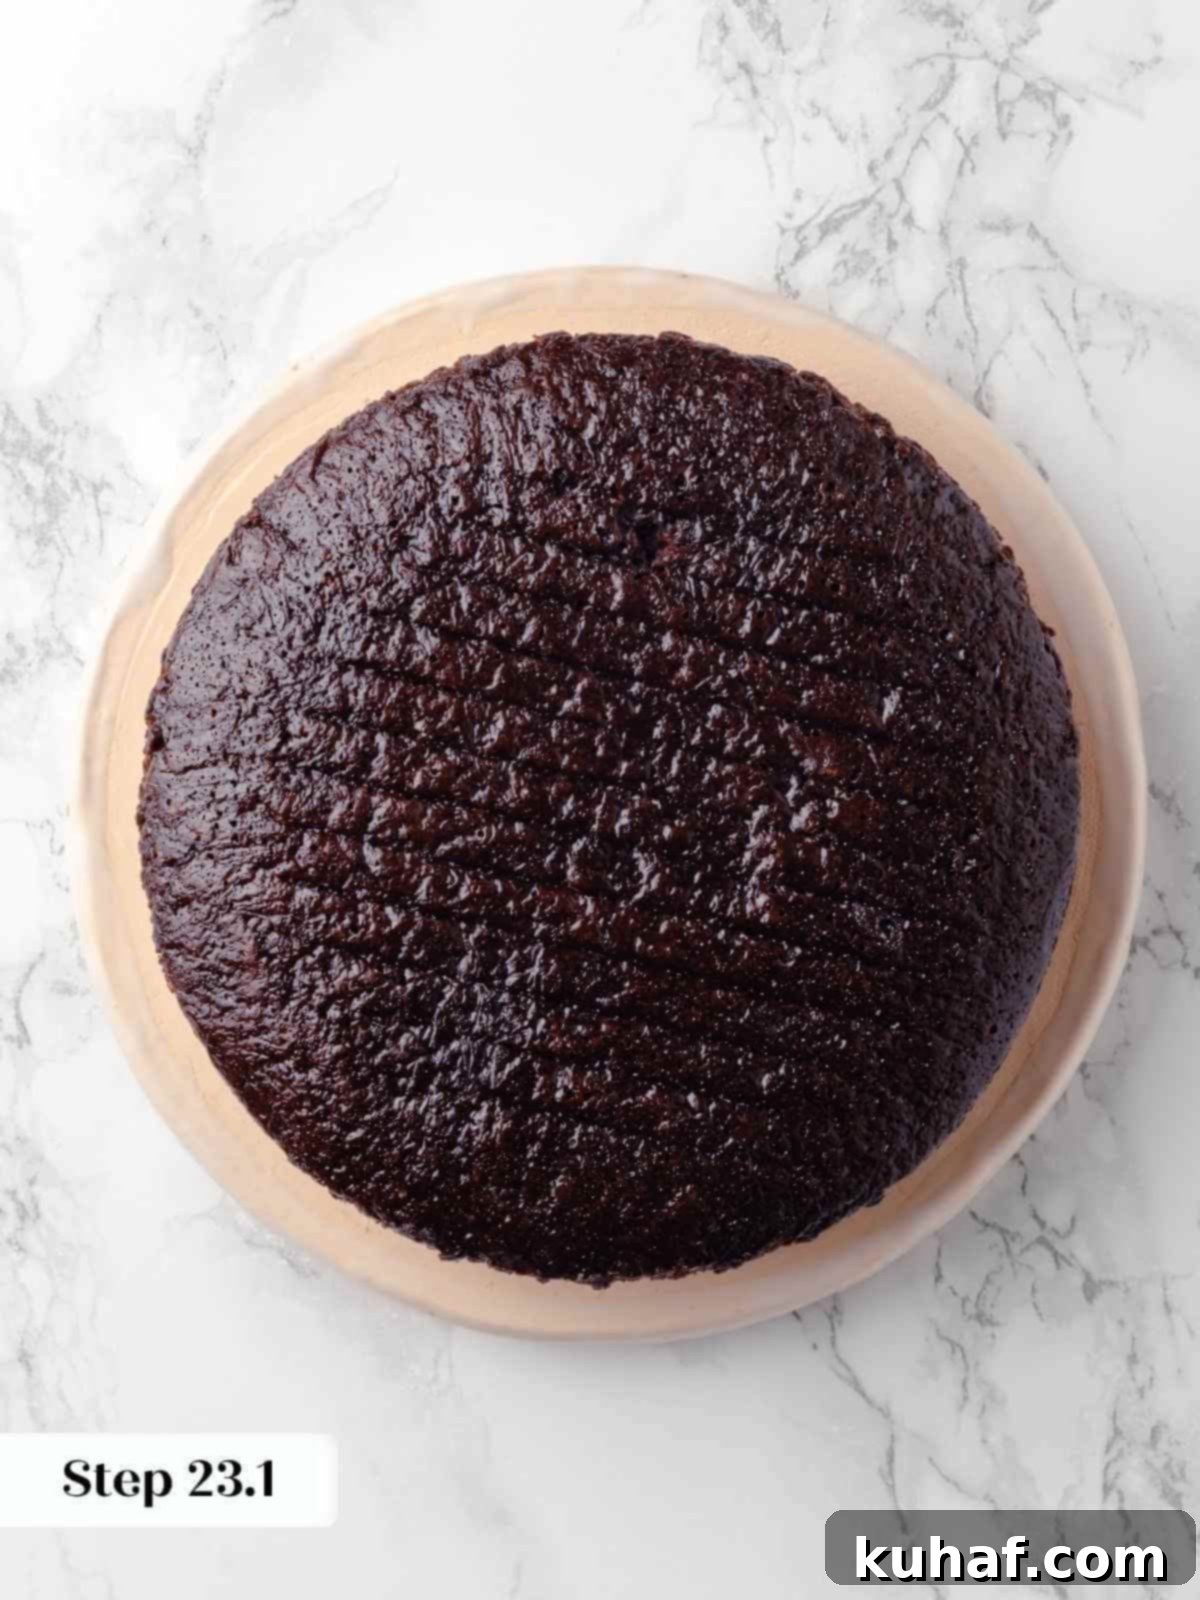
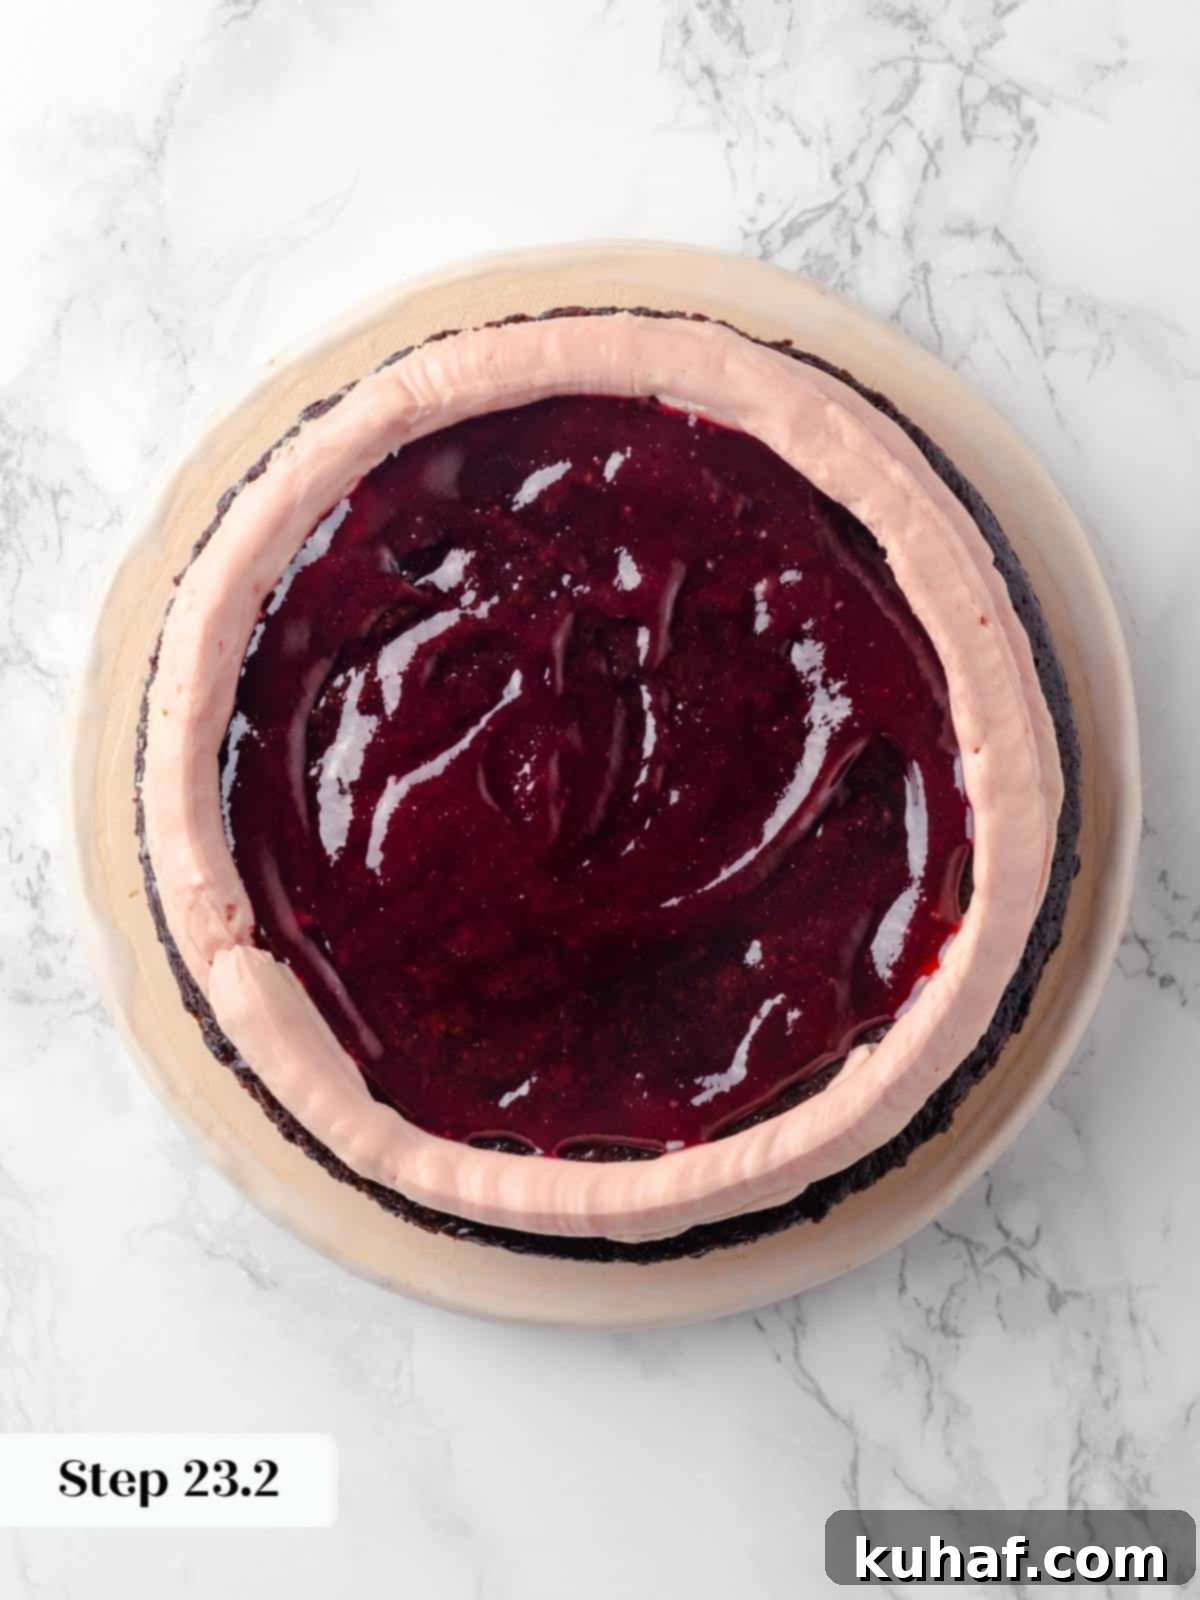
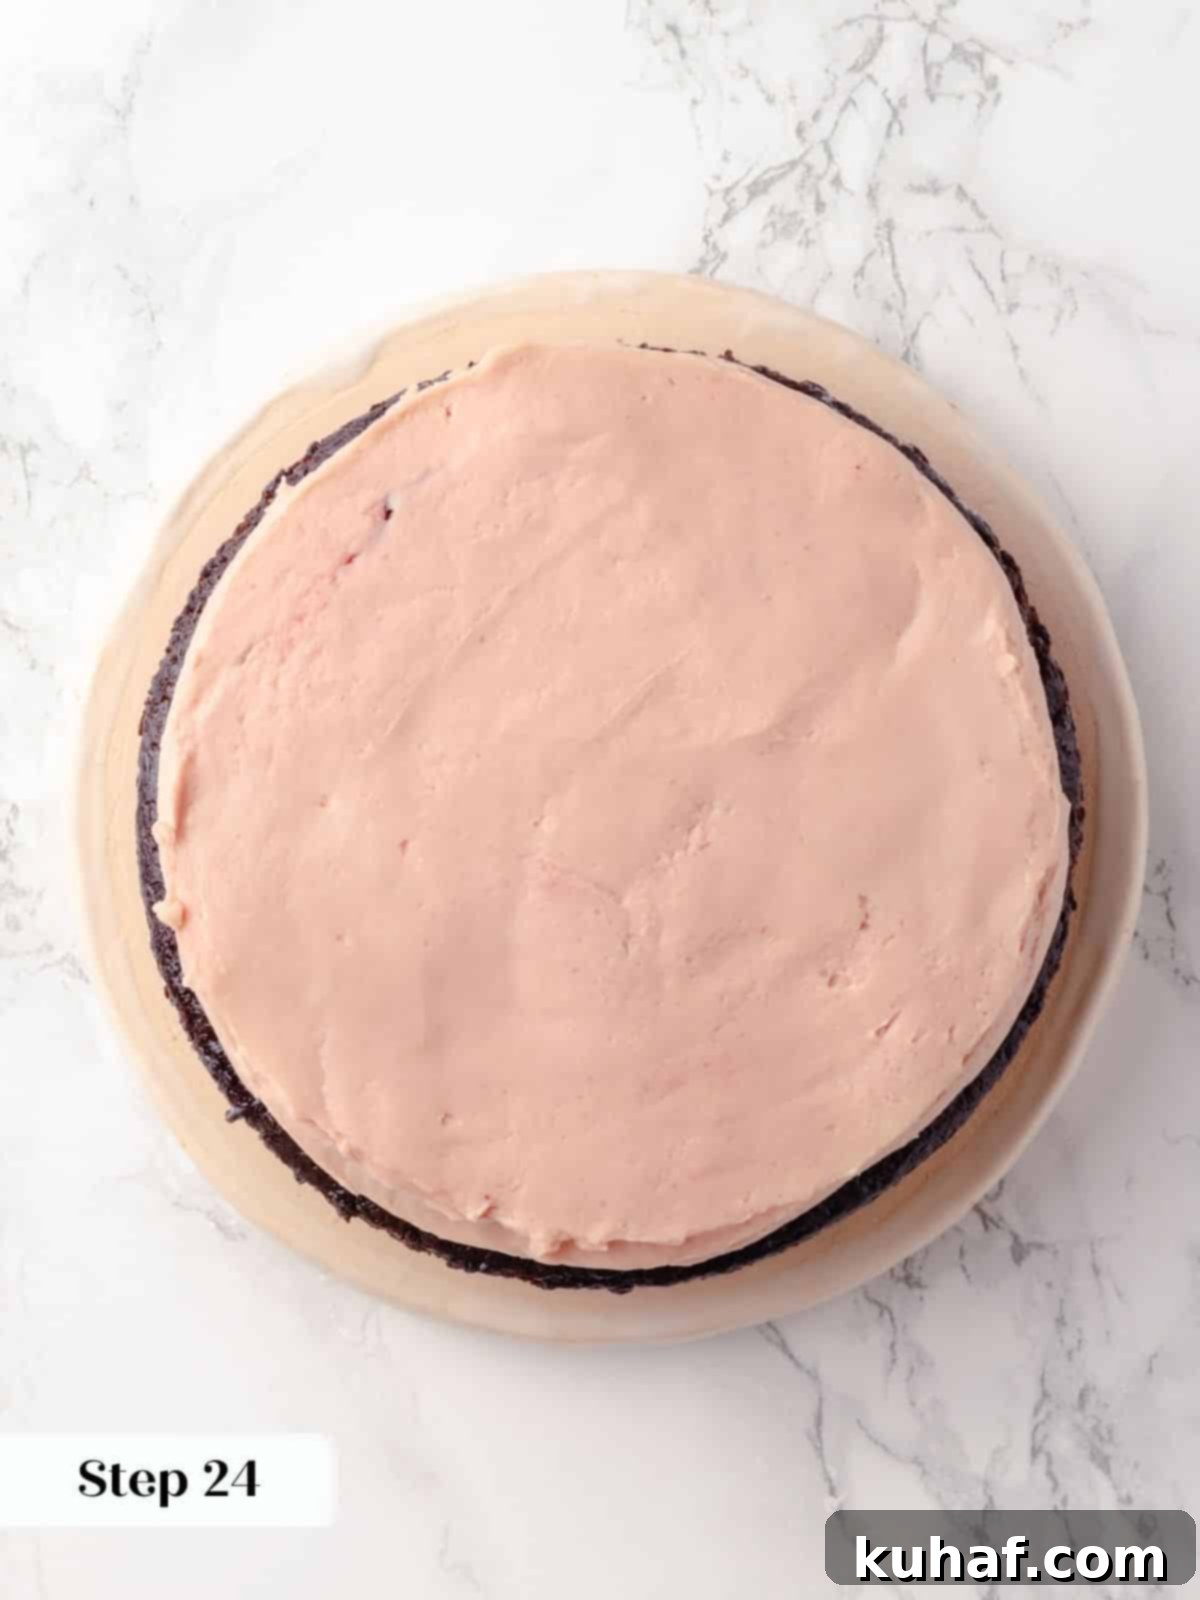
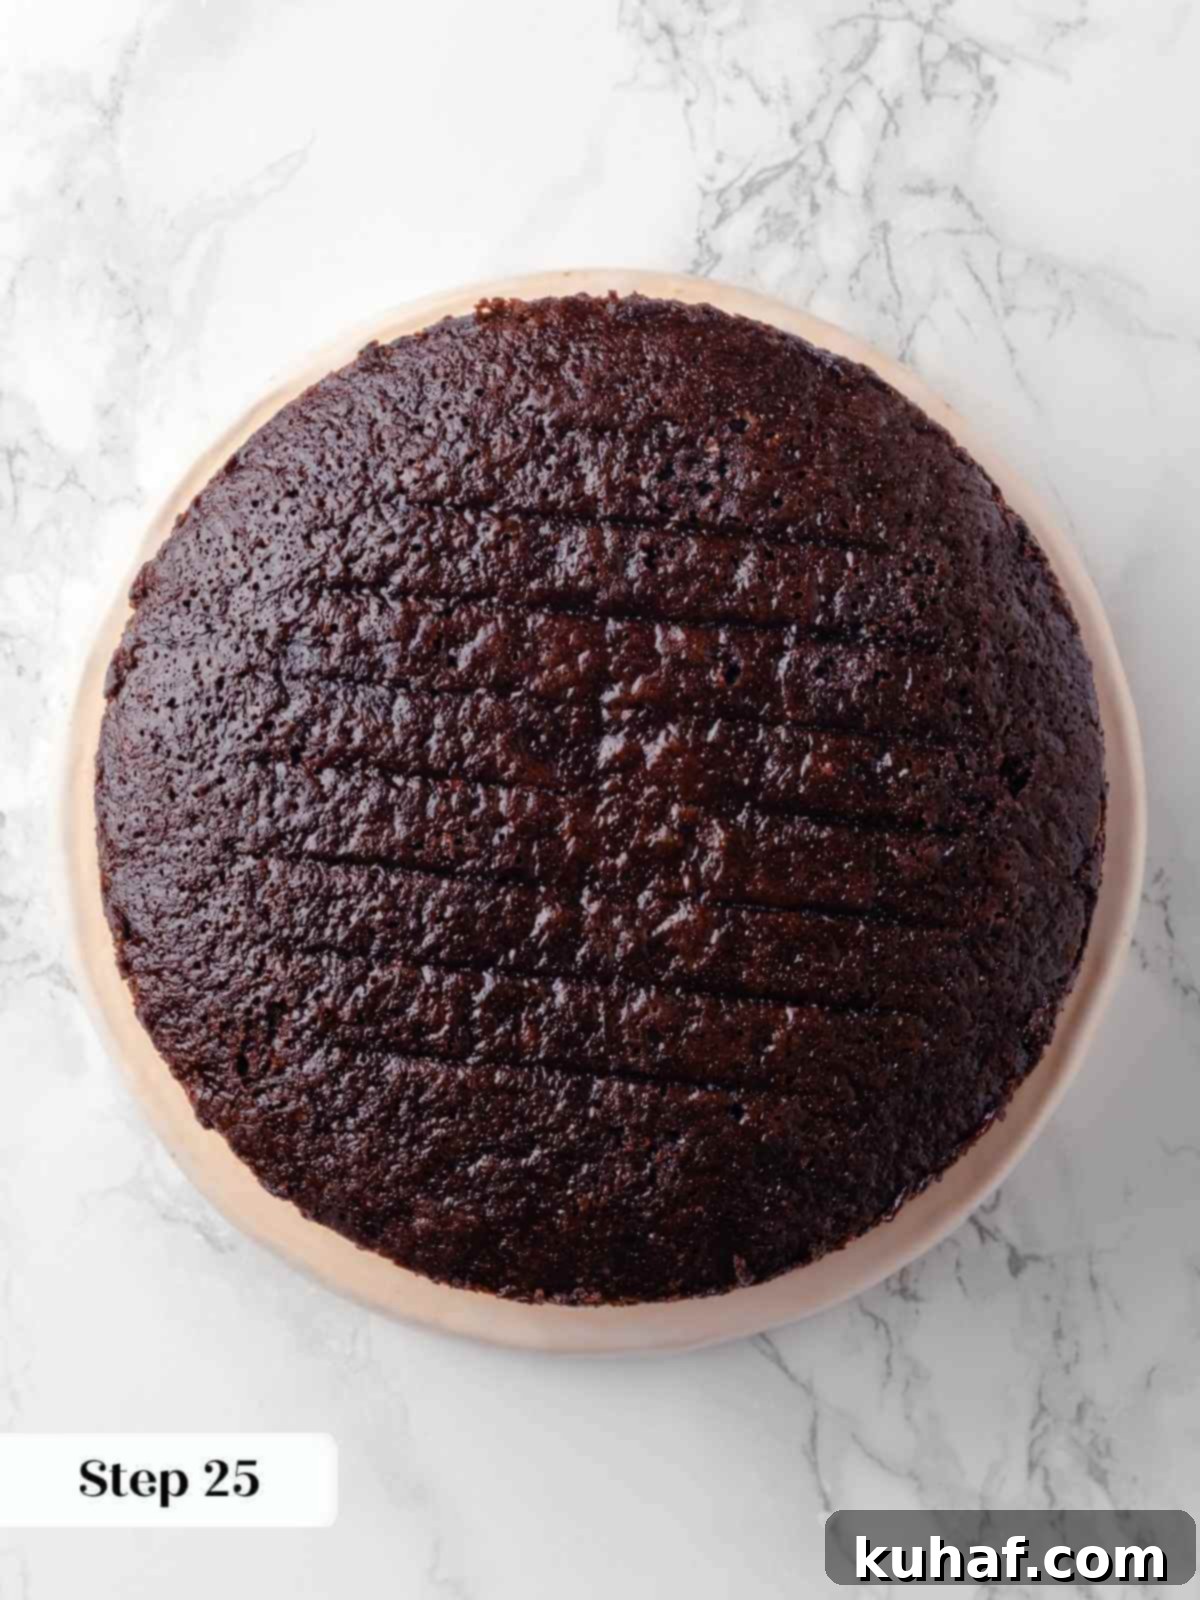
Step 25: Gently smooth out the surface of the raspberry buttercream layer. Carefully place the second chocolate cake layer directly on top. For added stability and easier assembly, I highly recommend chilling the partially assembled cake in the refrigerator for about 20-30 minutes before adding the next layer. While optional, this step significantly helps to firm up the buttercream and prevent any shifting.
Step 26: Repeat the process of piping a buttercream dam, spreading the remaining raspberry jam, and leveling with raspberry buttercream on the second cake layer. Once complete, carefully position the third and final chocolate cake layer on top. Chill the entire cake in the refrigerator for a minimum of 30 minutes (or an hour if you skipped the chilling step between the first and second layers). This crucial chilling period ensures the cake is firm and stable, making the final frosting stage much easier and more precise.
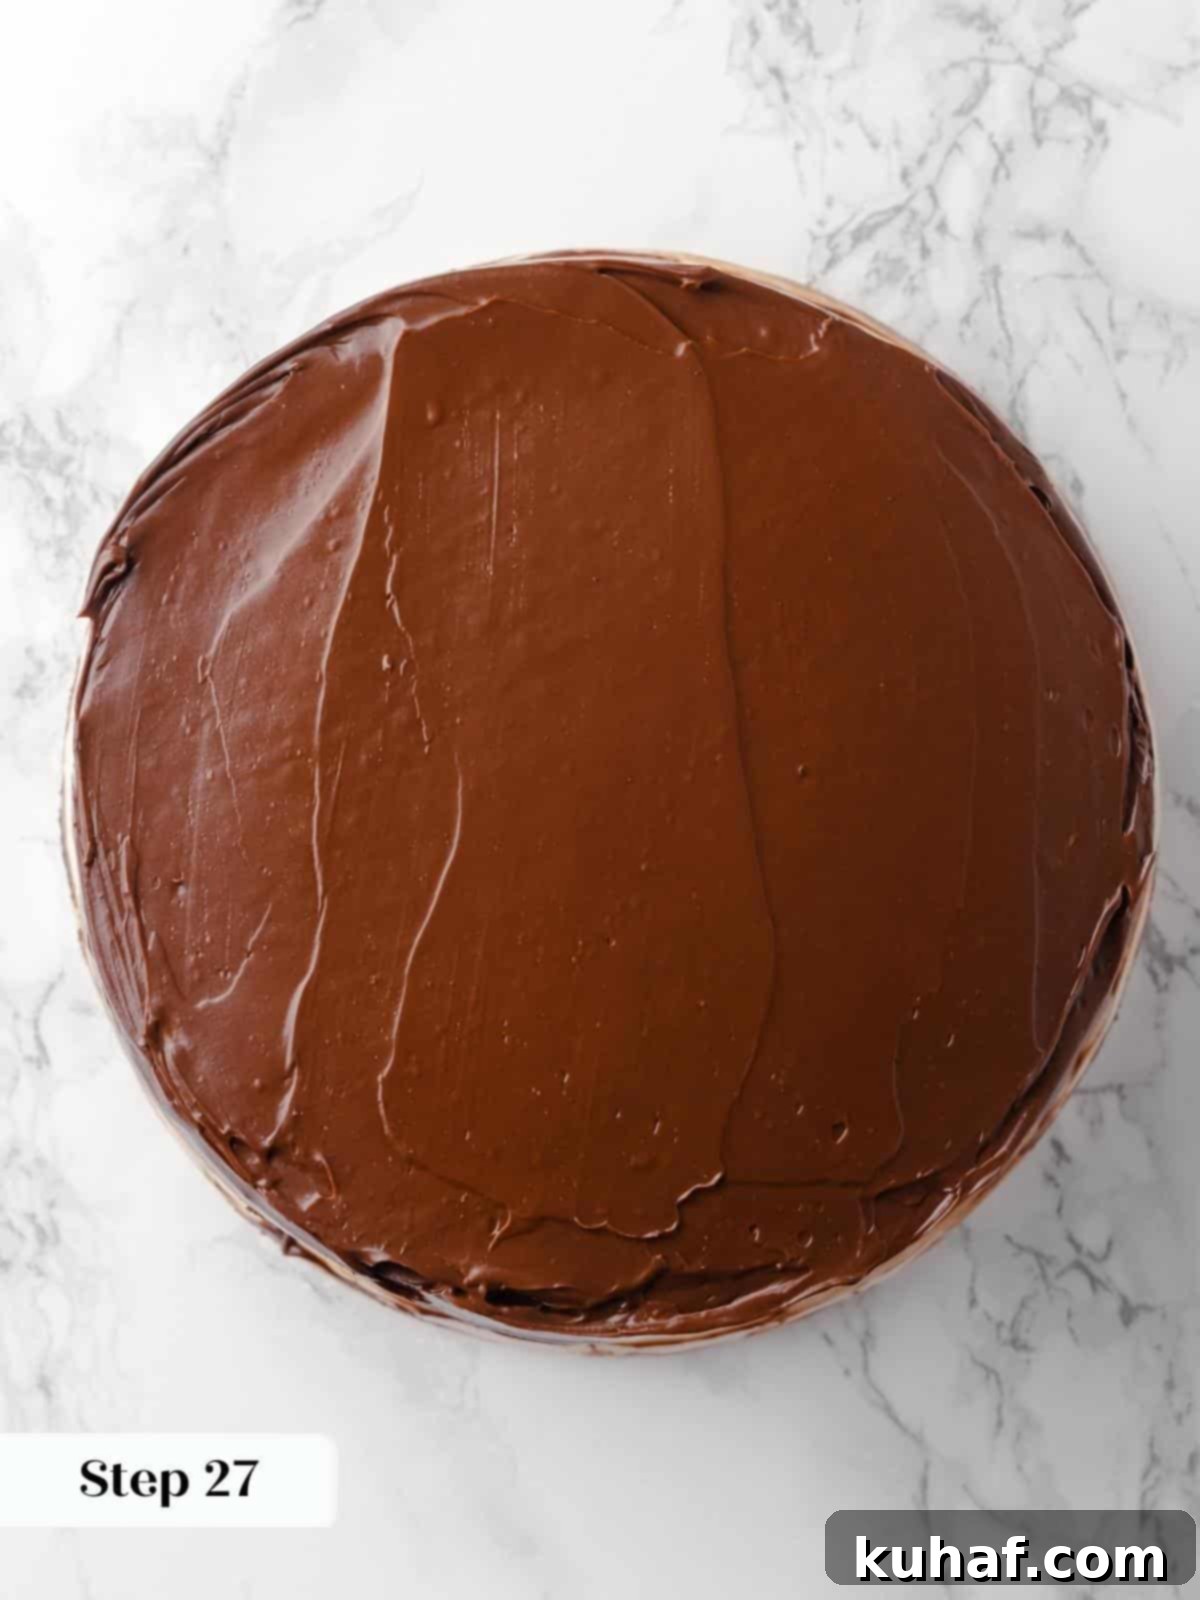
Step 27: Once the cake is thoroughly chilled, it’s time for the grand finale: the chocolate fudge frosting. Generously spread the luscious fudge frosting over the top and sides of the entire cake. Use a bench scraper or a large offset spatula – or a combination of both – to smooth out the frosting. Aim for a clean, even surface. Don’t be afraid to take your time; practice makes perfect when it comes to achieving that beautifully polished finish for your chocolate raspberry cake!
Chef Lindsey’s Expert Tip for Layered Cakes
Baking a layered cake, especially one as magnificent as this chocolate raspberry cake, can seem a little daunting at first. But remember, confidence and patience are your best tools in the kitchen! Trust your process, and most importantly, give yourself grace. Break down the task by making each component one at a time, or even spread the preparation over several days. The chocolate fudge frosting, for instance, should ideally be made on the day you plan to assemble the cake to ensure perfect consistency. You absolutely got this! 💪 The reward of a homemade layered cake is truly worth every step.
Frequently Asked Questions About Chocolate Raspberry Cake
To ensure your chocolate raspberry cake stays fresh and delicious, proper storage is key. If the cake is unfrosted, wrap the layers tightly in plastic wrap and store them at room temperature for up to three days, in the refrigerator for up to a week, or freeze them for up to two months. Any unused frosting or buttercream can be kept in airtight containers in the refrigerator for up to two weeks. Once the cake is fully frosted and assembled, it can be kept at room temperature for up to three days. For longer storage, refrigerate the frosted cake, covered, for up to 5-7 days.
Absolutely! This chocolate raspberry cake freezes beautifully even after being frosted. To freeze, first place the whole frosted cake in the freezer uncovered for 1-2 hours, or until the frosting is firm to the touch (this is called “flash-freezing”). Once firm, wrap the entire cake tightly in several layers of plastic wrap, then an additional layer of aluminum foil. You can freeze the cake whole, or pre-slice it and wrap individual slices for convenient grab-and-go portions. Frozen frosted cake can last for up to 1-2 months. Thaw in the refrigerator overnight before bringing to room temperature to serve.
While you certainly *can* use store-bought jam as a convenience, I highly recommend making the quick raspberry jam recipe provided. Homemade jam will offer a much brighter, fresher, and less overly sweet flavor that truly elevates the chocolate raspberry cake. Store-bought jams tend to be sweeter and can lack the vibrant, tangy punch that makes this specific layered cake so special. The quick jam is surprisingly easy to prepare and truly makes all the difference in the depth of flavor of both the filling and the buttercream.
For the most beautiful, clean slices of your layered chocolate raspberry cake every time, here’s a professional chef’s trick: dip your knife into a tall glass of very hot water, wipe the blade clean with a cloth, and then make your cut. Repeat this process for every slice. This cake is truly perfect on its own, a complete dessert in itself. However, for an extra touch of indulgence, serving it with a scoop of creamy vanilla bean ice cream or a dollop of homemade whipped cream would certainly not be amiss!
Sifting dry ingredients like cocoa powder, flour, baking powder, and baking soda together is a crucial step for a light and tender chocolate cake. It helps to break up any lumps, which ensures a smooth, uniform batter free of dry pockets. More importantly, sifting aerates the ingredients, making them lighter and easier to combine, and ensures that the leavening agents are evenly distributed, leading to a consistent and even rise throughout your chocolate cake layers.
While you can substitute natural cocoa powder, it’s important to understand the difference. Natural cocoa powder is acidic and reacts with baking soda to produce lift. Dutch-processed cocoa powder, on the other hand, is neutral. If you use natural cocoa powder, you might need to adjust the amount of baking soda or baking powder in the recipe to maintain the proper chemical reaction for leavening. Using natural cocoa will also result in a lighter-colored and slightly different flavored chocolate cake, as Dutch-processed cocoa typically provides a deeper, milder chocolate flavor.
If you tried this incredible chocolate raspberry cake recipe and absolutely loved it, please take a moment to leave a 🌟 star rating and share your experience in the comments below. I truly love hearing from you; your comments brighten my day!
Chocolate Raspberry Cake
Pin Recipe
Comment
Print Recipe
Ingredients
For the Chocolate Cake:
- ¾ cup Dutch processed cocoa powder
- 2 ¾ cups all-purpose flour
- 1 ½ teaspoons kosher salt
- 1 teaspoon baking powder
- ½ teaspoon baking soda
- 3 large eggs
- 1 tablespoon vanilla extract
- 1 cup vegetable oil or another neutral oil
- 2 ½ cups granulated sugar
- 1¾ cups milk
For the Quick Raspberry Jam
- 12 ounces raspberries fresh or frozen
- ¼ cup lemon juice
- ¼ cup granulated sugar
For the Raspberry Buttercream
- 1 cup unsalted butter
- 4 cups powdered sugar
- ½ teaspoon vanilla extract
- 1 pinch kosher salt
- ⅓ cup quick raspberry jam from above
For the Chocolate Fudge Frosting
- ½ cup heavy whipping cream
- 1 ½ tablespoons light corn syrup or honey
- 5 ounces dark chocolate 50%-70% cocoa solids, chopped
- ¼ teaspoon vanilla extract
- ⅛ teaspoon kosher salt
- 2 tablespoons Dutch processed cocoa powder
- 2 tablespoons unsalted butter softened and cubed
Instructions
Prepare the cake:
-
Preheat the oven to 325°F convection (with the fan) or 350°F conventional (without the fan). Spray and line 3, 8, or 9-inch cake pans with parchment paper.
-
Into a large bowl, sift together cocoa powder, all-purpose flour, salt, baking powder and baking soda. Set Aside.
-
Whisk the eggs with the vanilla extract until smooth and homogenous in a separate large bowl. Slowly pour the oil into the eggs while whisking to create an emulsion.
-
Add the sugar to the bowl and whisk until smooth and incorporated.
-
Alternately add the dry ingredients and milk in 3 additions. I add about 1/3 of each at the same time, then whisk until no lumps remain. Repeat with the remaining flour mixture and milk.
-
Divide the cake batter between the cake pans and bake in a preheated oven. Bake until a cake tester or toothpick comes out clean or with just a few clinging crumbs. Three layers will bake faster, so begin checking around 20 minutes. They will bake for 25-28 minutes with convection.
-
Cool for 10 minutes on a wire rack, then run a paring knife around the edge and flip out onto the rack. You can cool them upside down or use a second wire rack to flip them back over.
-
Cool completely before frosting.
Prepare the raspberry jam:
-
In a small saucepan, add raspberries, lemon juice, and granulated sugar.
-
Heat over low heat until the raspberries soften and release their juices, stirring and smashing occasionally. Increase heat to medium or medium-low and simmer until the juices evaporate and you are left with a jam that will hold a line on the back of a spoon. Reduce the heat back to low as the jam thickens to keep it from sticking to the bottom and burning.
-
Strain through a metal sieve to remove seeds into a frozen bowl. No one wants the crunch of raspberry seeds in their buttercream. It is unwelcome, bordering on offensive.
-
Press through the sieve, then run the silicone spatula over the bottom to release the thick part of the jam. This jam will actually keep more jam from pressing through.
-
Pour the mixture into a cold or frozen glass or Pyrex bowl and refrigerate until cold. Adding cold jam to the buttercream will keep the frosting nice and thick.
Prepare the chocolate fudge frosting:
-
In a large heat-proof bowl, add chopped chocolate, vanilla extract, corn syrup, and salt.
-
In a small saucepan, bring whipping cream just to a boil. Pour over the chocolate, shake to distribute, and cover the chocolate. Allow to sit for 2 minutes.
-
Slowly whisk, starting from the center and working your way out to create an emulsion. Sift in the cocoa powder and whisk to incorporate. You can also put it in before the cream, but it has a tendency to clump and create lumps that will not come out.
-
Add butter to the still-hot ganache. Switch to a silicone spatula and gently stir in one direction until all the butter has melted and incorporated into the ganache.
-
Place a piece of plastic wrap directly on the surface and allow it to cool to room temperature. You can speed it up by putting it in the fridge and stirring every 10 minutes.
Prepare the raspberry buttercream:
-
Beat the butter in the bowl of a stand mixer fitted with the paddle attachment until lightened and soft.
-
Slowly add the powdered sugar, followed by the vanilla and salt.
-
Once the buttercream has come together, add the raspberry puree 2 tablespoons at a time, up to 1/3 cup, which is half what you made above. You can add additional lemon juice or heavy cream as desired.
-
Place about 1 cup in a piping bag fitted with a round tip. You can also just cut the piping bag because this is for creating a dam between the layers.
Time to assemble the cake:
-
Place the first cake layer on your favorite serving plate or cake stand. Pipe a ring of the raspberry buttercream around the outer edge of the cake layer.
-
Scoop about half the remaining raspberry jam into the center and spread out with the back of a spoon. Spread raspberry buttercream on top of the jam to level out the layer. You can use the piping bag to apply the buttercream, but you find that easier to control with the jam.
-
Smooth out the surface of the raspberry buttercream and add the second layer on top. I recommend chilling it for about 20-30 minutes before adding the next layer, but that is up to you!
-
Repeat the jam and raspberry buttercream with the second layer, placing the third and final layer on top. Chill the cake for 30 minutes (or an hour if you did not chill between the first and second layer.
-
Spread the chocolate fudge frosting over the top of the cake and its sides, smoothing out with a bench scraper or a large offset spatula, or a combination of both. However, you achieve a smooth surface!
Notes
Presentation Perfection—For the best flavor and texture, layered cakes are optimally served at room temperature. Allow your assembled chocolate raspberry cake to sit out for about an hour before slicing and serving. To achieve the most stunning, clean slices, always dip your knife into hot water and wipe it clean before each cut. This simple technique ensures every piece is picture-perfect.
Optimal Flavor Tips—The quality of your raspberries significantly impacts the jam and buttercream. Depending on the season, frozen raspberries can often provide a more intense and consistent flavor for the jam and buttercream compared to fresh berries bought out of season, which can sometimes have a more watery taste. Opt for the best-tasting berries available.
Layering Technique for Stability—To ensure the integrity and evenness of your layered cake, allow your first filled layer to set in the refrigerator before adding the subsequent cake layers. This critical chilling step allows the buttercream and jam to firm up, providing a stable foundation and preventing any bulging or shifting of the layers once more weight is added.
Storage Guidance—Unfrosted chocolate cake layers, when well-wrapped, can be stored at room temperature for up to three days, in the refrigerator for a week, or frozen for up to two months. Store any leftover frosting or buttercream in airtight containers in the refrigerator for up to two weeks. Once fully frosted and assembled, the chocolate raspberry cake will keep beautifully at room temperature for up to three days, or in the refrigerator for up to 5-7 days.
Nutrition
Explore More Delicious Cake Recipes from Chef Lindsey
Thank you for embarking on this culinary journey with our professional chef-tested chocolate raspberry cake recipe! We trust you’ve enjoyed the detailed steps and expert tips for creating this stunning layered dessert. Before you go, we invite you to further explore our collection of other delicious, chef-developed cake recipes. Discover a world of exciting flavors and unique combinations, including but not limited to the incredibly moist best fig cake, the comforting and unique hummingbird cake, and the surprisingly rich chocolate mayonnaise cake! Happy baking, and may your kitchen always be filled with sweet aromas!
