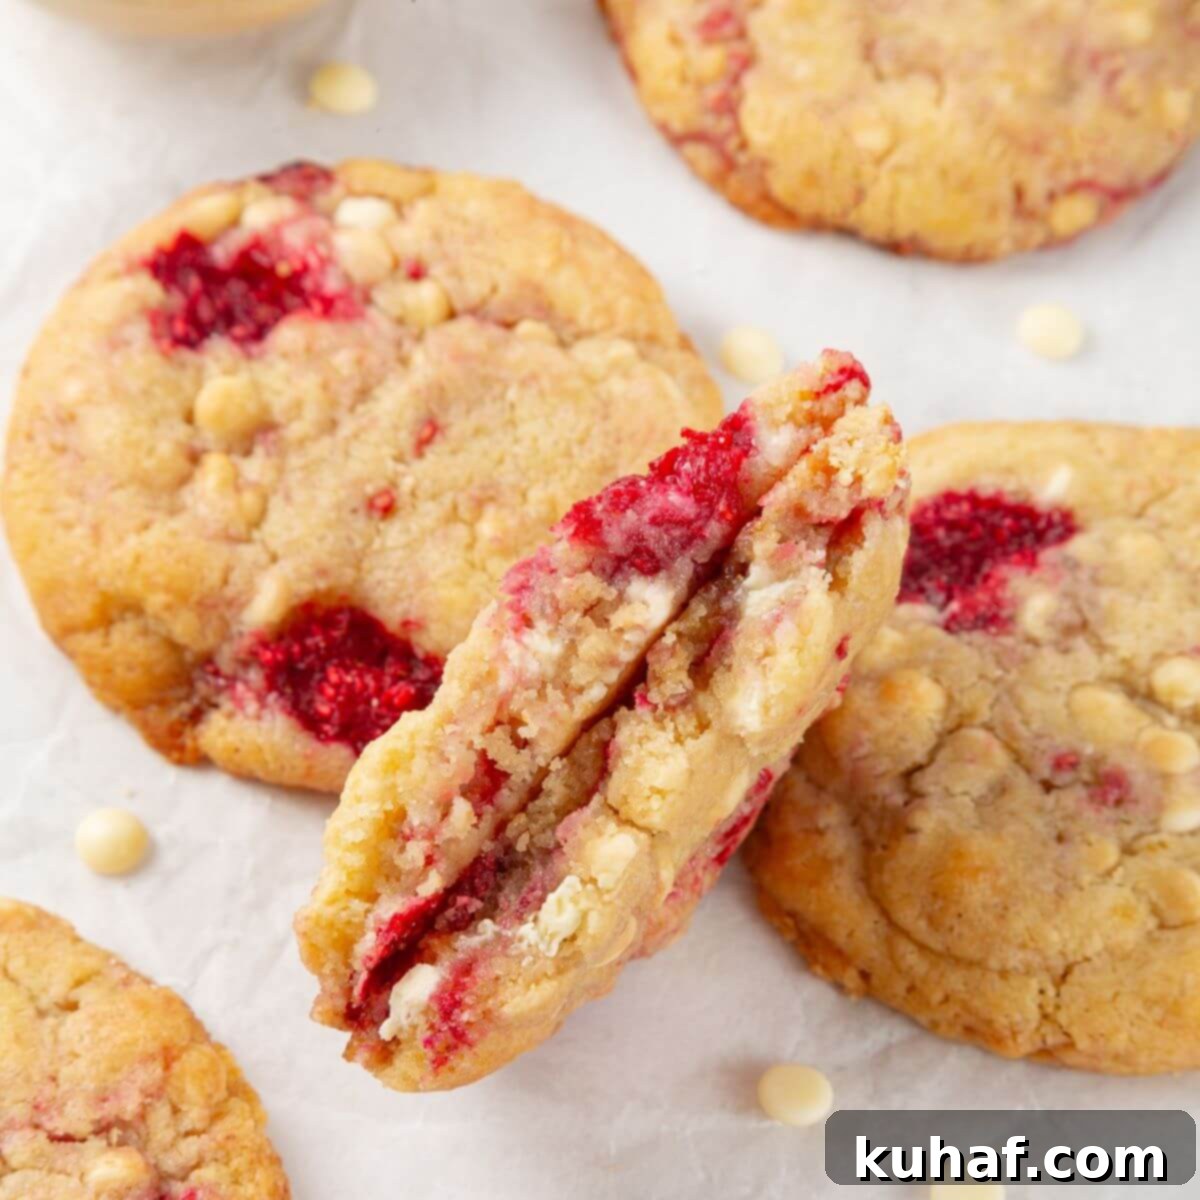
Ultimate White Chocolate Raspberry Cookies: Soft, Chewy & No-Chill Recipe
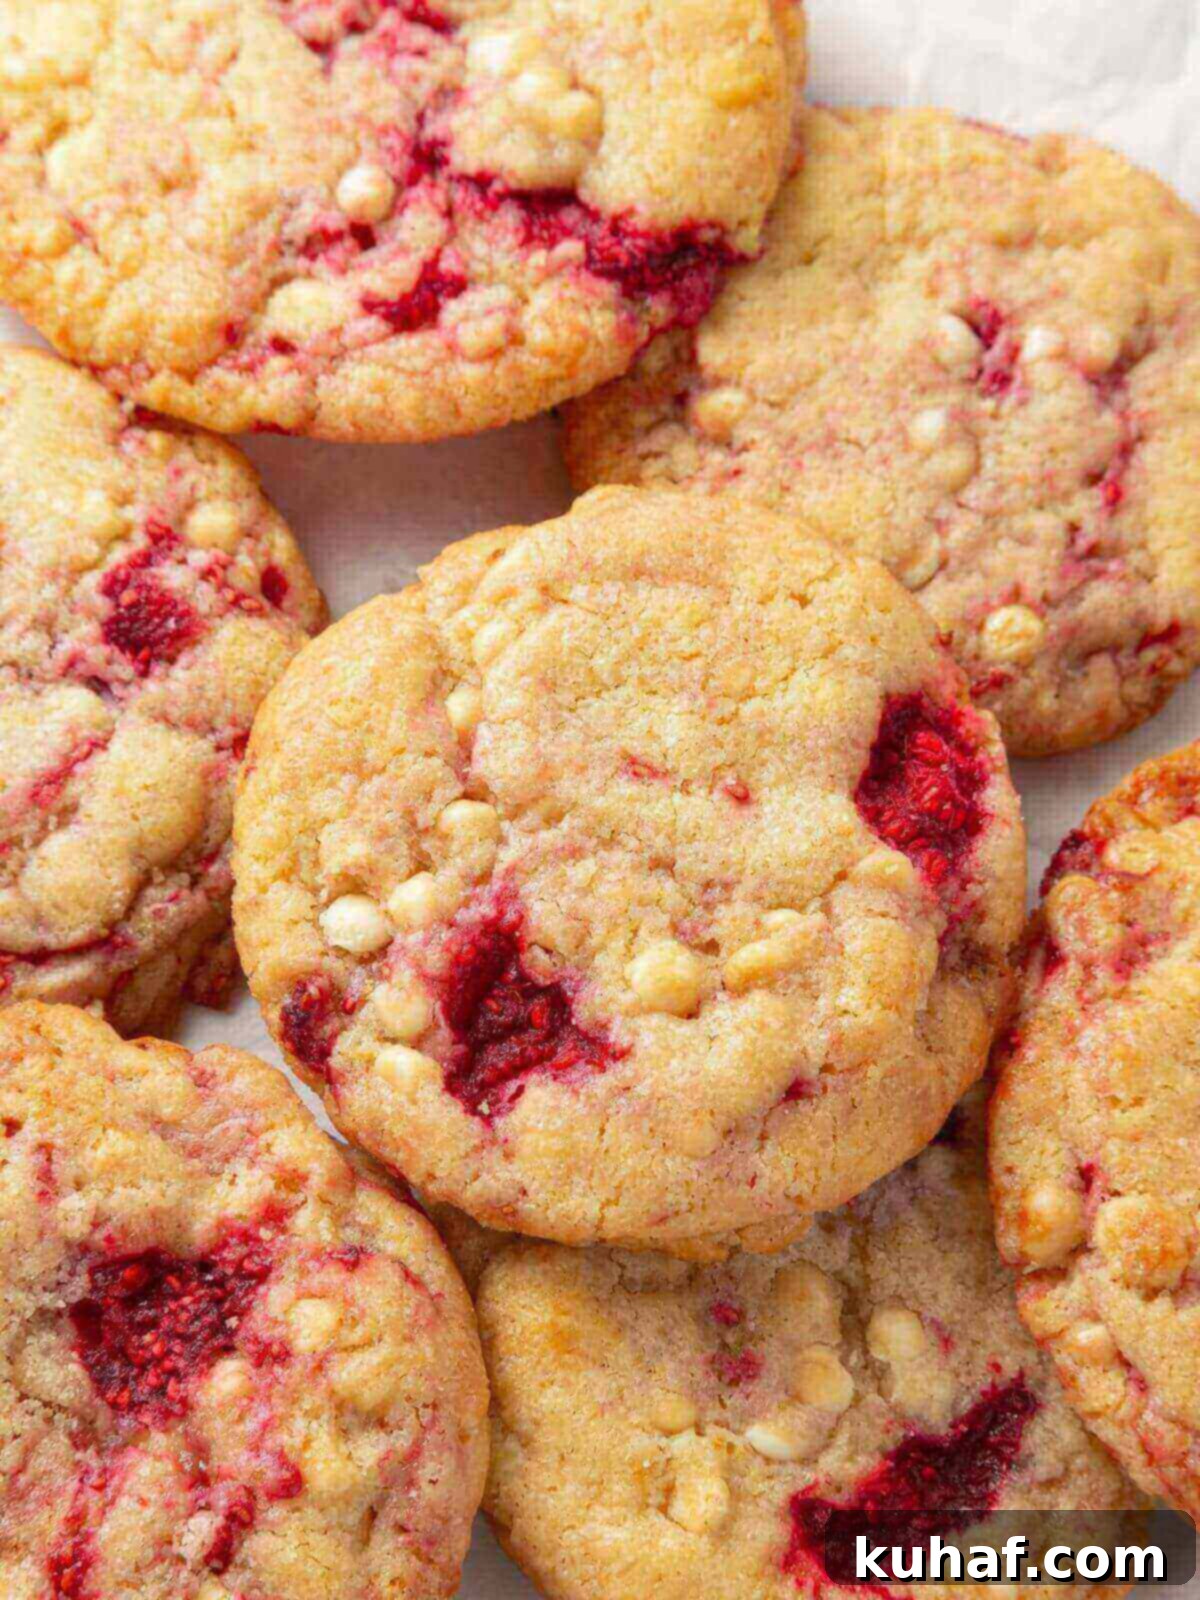
Indulge in the perfect harmony of sweet and tart with these exquisite white chocolate raspberry cookies. Each bite offers a blissful combination of soft, buttery cookie dough, generous chunks of creamy white chocolate, and vibrant, tangy raspberries. Designed for convenience, this recipe features an easy, no-chill cookie dough that bakes into wonderfully thick, soft, and satisfyingly chewy cookies every single time. Get ready to bake a batch of pure joy that’s ideal for any occasion, from casual treats to elegant gatherings!
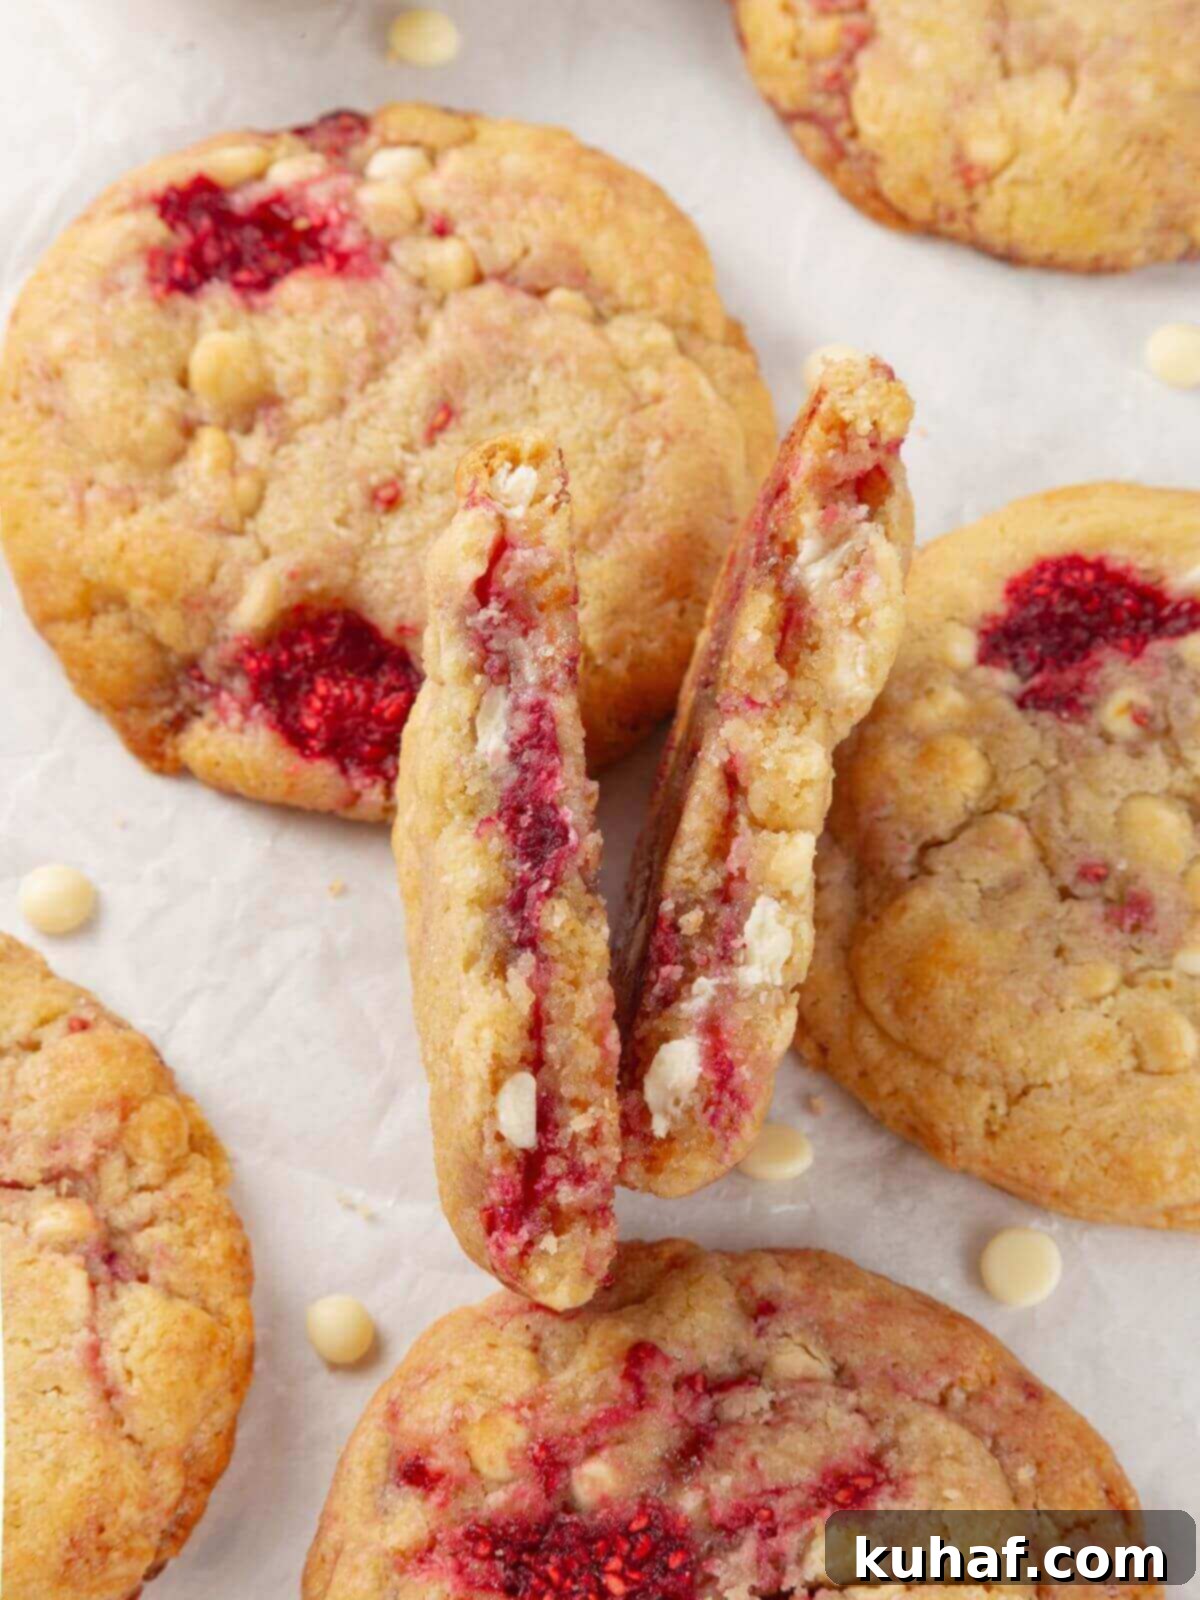
While dark chocolate often takes center stage in my heart, the classic pairing of white chocolate and raspberry is an undeniable crowd-pleaser that always leaves me craving more. These cookies start with a rich, soft, and buttery base, generously studded with luscious white chocolate and bursts of fresh, tart raspberries. Their exquisite appearance makes them ideal for various occasions—from a casual afternoon snack, a thoughtful gift, to a standout addition at bake sales, festive holiday parties, or a romantic Valentine’s Day treat. Their vibrant colors and irresistible flavor profile truly set them apart.
Raspberries are incredibly versatile, lending their bright and tart notes to countless delightful flavor combinations. Their unique profile beautifully complements a wide array of ingredients. If you appreciate the refreshing zest that raspberries bring, you might also enjoy my easy lemon raspberry bread pudding, the decadent chocolate raspberry cake, the comforting raspberry rhubarb crumble, or the absolutely show-stopping red velvet raspberry trifle. These recipes showcase just how wonderfully raspberries can elevate a dessert.
Table of Contents
- Why You Will Love These White Chocolate Raspberry Cookies
- Expert Tips for Perfect White Chocolate Raspberry Cookies
- Essential Ingredients & Smart Substitutions
- Exciting Flavor Variations
- How to Bake Chewy White Chocolate Raspberry Cookies
- Chef Lindsey’s Recipe Tip
- Frequently Asked Questions
- White Chocolate Raspberry Cookies Recipe Card
- Before You Go
Why You Will Love These White Chocolate Raspberry Cookies
- The Ultimate Flavor Combination! There’s a reason white chocolate and raspberry is a classic pairing—it’s a truly fantastic blend that delights the palate. The creamy, rich sweetness of the white chocolate is perfectly balanced by the bright, tangy burst of fresh or frozen raspberries. This creates a dynamic flavor profile that is both comforting and exciting. If you find yourself captivated by this delicious duo, be sure to try the white chocolate raspberry mousse next for another decadent treat!
- No Chilling Required. Forget the tedious waiting game! This recipe ingeniously uses cold butter and frozen raspberries to create a dough that maintains its structure without needing to be chilled. This means you can whip up a batch of these indulgent, bakery-quality cookies and have them ready to enjoy in under 30 minutes from start to finish. It’s the perfect solution for sudden cravings or last-minute dessert needs.
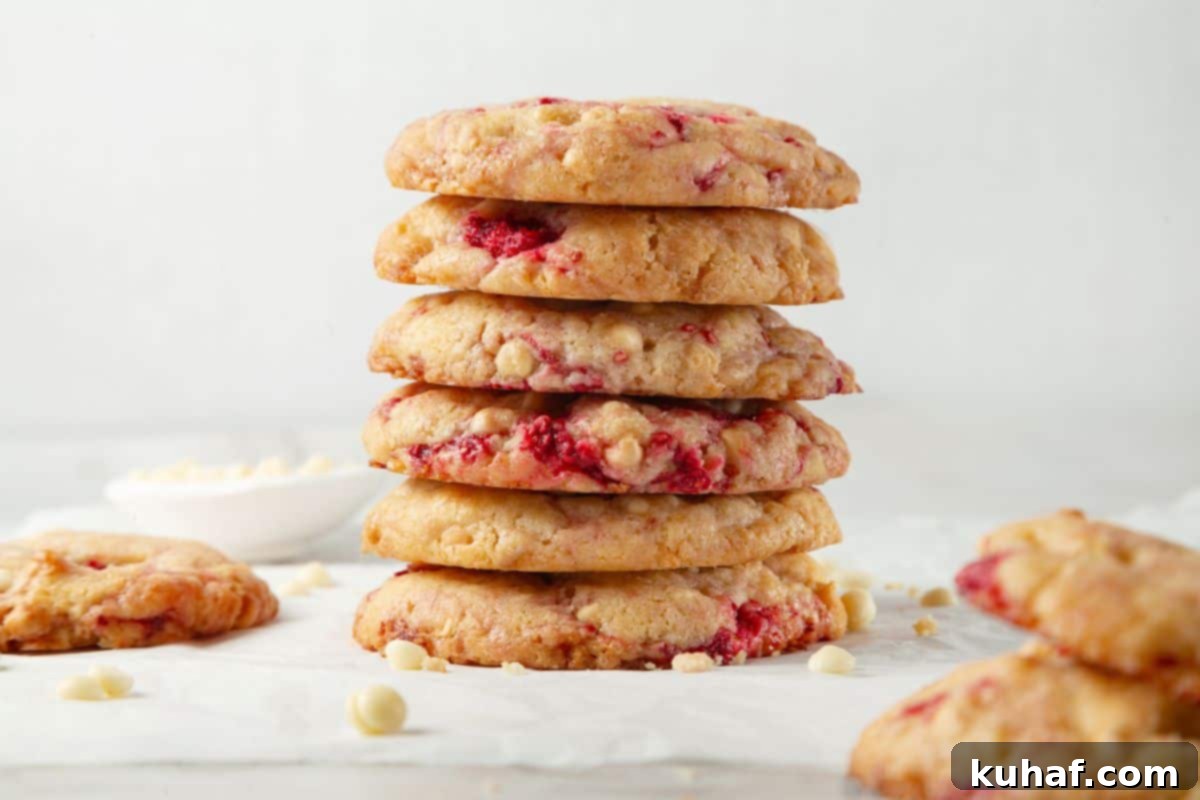
- Soft, Chewy, and Perfectly Thick. Achieving the ideal cookie texture is an art, and this recipe delivers every time. These cookies boast a luscious soft interior, a delightful chewiness, and an impressive thickness that makes them feel truly substantial. The precise ratio of ingredients has been carefully calibrated to ensure you get that coveted perfect texture, making them irresistibly delectable with every bite.
Expert Tips for Perfect White Chocolate Raspberry Cookies
Achieving bakery-quality white chocolate raspberry cookies is easier than you think with these professional tips:
- Use Cold But Pliable Butter: This is a critical secret to thick, chewy cookies that don’t spread excessively. Your butter should be firm enough to resist your finger slightly but still soft enough to leave an indentation. I often cut my butter into pieces, weigh it, and then allow it to soften slightly at room temperature while I prepare other ingredients. A quick whip in the stand mixer with the paddle attachment can help finish the softening process. You can even cup your hands around the mixer bowl to gently warm it faster. If your butter becomes too soft or greasy, your cookies will likely spread too thin and lose their signature chewiness.
- Keep Raspberries Frozen Until Mixing: To prevent your dough from becoming a pink, mushy mess, it’s essential to keep your raspberries frozen solid until the very last moment of mixing. Softened or thawed raspberries release moisture and break down too easily, altering the dough’s texture and color. Since this recipe uses cold butter for a thicker dough, the frozen raspberries are less likely to squish and bleed their color throughout. You can use either fresh raspberries that you’ve frozen yourself or high-quality store-bought frozen raspberries. When using store-bought, take a moment to pick out any freezer-burned or heavily ice-crystallized pieces for the best results, as I found this extra minute makes a phenomenal difference.
- Scoop with a Cookie Scoop and Avoid Rolling: The warmth from your hands can quickly thaw frozen raspberries, causing them to squish and bleed into the dough, leading to a less appealing appearance and potentially a flat cookie. Instead of rolling the dough into balls, use a standard ¼ cup cookie scoop to portion the dough directly onto your prepared baking sheets. This method keeps the raspberries intact, preserves the dough’s temperature, and ensures uniformly sized cookies that bake evenly.
- Don’t Overmix the Dough: Once you add the dry ingredients, mix just until combined. Overmixing develops the gluten in the flour, which can lead to tough, dry cookies rather than soft and chewy ones. Similarly, when adding the white chocolate chips and especially the frozen raspberries, mix only until they are evenly distributed. Excessive mixing can break the raspberries and stain your beautiful dough pink.
Essential Ingredients & Smart Substitutions
Crafting these delicious white chocolate raspberry cookies requires a few key ingredients. Here’s what you’ll need and some helpful notes on each:
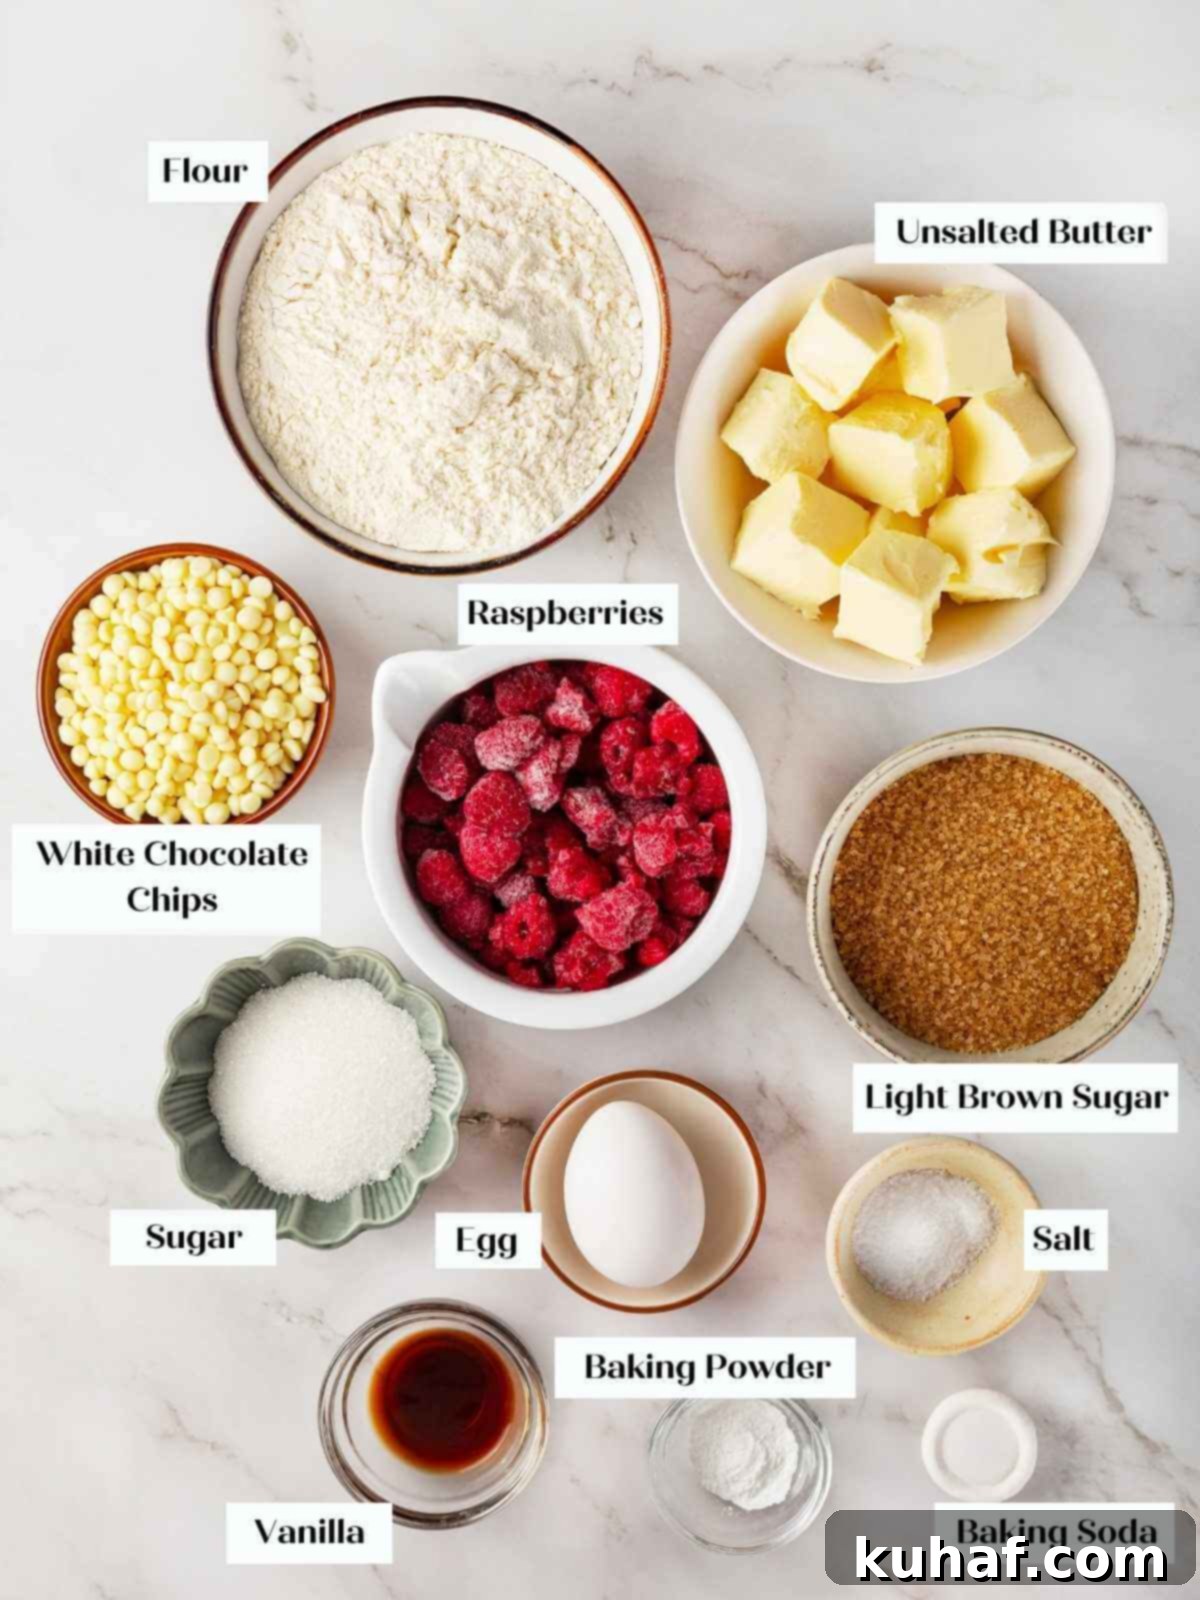
- All-purpose flour: All-purpose flour is the backbone of these cookies, providing just the right amount of gluten to create that desirable soft, chewy, and thick texture without being overly dense. Ensure it’s fluffed, scooped, and leveled for accurate measurement.
- Baking powder: A leavening agent that helps the cookies rise and contribute to their tender crumb.
- Baking soda: Works with the brown sugar’s acidity to create lift and promotes browning, resulting in that golden exterior.
- Kosher salt: Essential for balancing the sweetness and enhancing all the other flavors in the cookie. Don’t skip it!
- Granulated sugar: Provides crispness around the edges and contributes to the overall sweetness.
- Light brown sugar: Light brown sugar is key for adding moisture, which keeps the cookies wonderfully soft and chewy. It also imparts a subtle molasses flavor, adding depth to the cookie’s profile. You can substitute with dark brown sugar for a slightly more robust and intense molasses flavor.
- Unsalted Butter: The butter should be cold but pliable, not room temperature and certainly not melted. This colder temperature helps prevent the cookies from spreading too much in the oven, ensuring they bake up thick and chewy.
- Egg: The whole large egg acts as a binder, adds crucial fat for richness, contributes moisture, and aids in leavening. The fat from the egg yolk is particularly important for achieving that signature chewy texture.
- Vanilla extract: A staple in baking, vanilla extract enhances all the sweet flavors and adds a warm, aromatic note to the cookies.
- White chocolate chips: Just as with white chocolate macadamia nut cookies, the quality of your white chocolate significantly impacts the overall flavor of your cookie. I highly recommend Ghirardelli Classic White Chocolate Chips for their superior melt and flavor. If you’re looking to splurge, Guittard is an excellent choice. Even reliable brands like Tollhouse offer good quality white chocolate chips that work well.
- Frozen raspberries: These are non-negotiable for this recipe! Using frozen raspberries straight from the freezer is crucial to prevent them from breaking apart and discoloring the dough. Their tartness cuts beautifully through the sweetness of the white chocolate.
For precise quantities and a complete list, please refer to the detailed recipe card provided below.
Exciting Flavor Variations
While the classic white chocolate raspberry combination is truly divine, don’t hesitate to get creative and customize these cookies to your liking. Here are some delicious variations to inspire you:
- Experiment with Different Berries or Fruits: Feel free to swap out the frozen raspberries for other frozen berries like blackberries, blueberries, sliced strawberries, or even tart cherries. Frozen cranberries would also offer a wonderful festive twist, especially around the holidays.
- Change Up the Chocolate: If white chocolate isn’t your only love, mix things up! Incorporate dark chocolate chunks for a more intense cocoa flavor, use milk chocolate chips for a sweeter profile, or opt for semi-sweet chocolate chips for a balanced approach. You could also chop up your favorite white chocolate bar for varied textures. A blend of white and dark chocolate chips would be absolutely divine!
- Add a Citrus Zest: Brighten the flavors by zesting some fresh lemon, orange, or lime directly into your granulated sugar. Let it sit for a few minutes while you gather the remaining ingredients; this allows the citrus oils to infuse the sugar, creating a wonderfully aromatic and zesty cookie. Lemon zest, in particular, pairs beautifully with both raspberries and white chocolate.
- Introduce Nuts for Crunch: For an added layer of texture and flavor, consider folding in a handful of chopped nuts such as macadamia nuts, almonds, or pecans. Toasting them lightly beforehand will enhance their flavor even further.
- Spice It Up: A pinch of ground cardamom or a tiny bit of almond extract (in addition to or instead of vanilla) can add a sophisticated and warm note that complements the berries beautifully.
How to Bake Chewy White Chocolate Raspberry Cookies
Follow these step-by-step instructions to effortlessly create perfect, thick, and chewy white chocolate raspberry cookies every time. You’ll find more detailed measurements and specific instructions in the full recipe card below.
Step 1: Preheat Your Oven. Begin by preheating your oven to 325°F (160°C) if using a convection oven (with a fan) or 350°F (175°C) for a conventional oven (without a fan). I personally find that convection baking yields superior results for these cookies and their delicious cousins, thick chocolate chip cookies, ensuring even baking and a lovely exterior.
Step 2: Prepare Baking Sheets. Line two standard baking sheets with parchment paper. This prevents sticking, promotes even browning, and makes for easy cleanup. Set them aside, ready for scooping your dough.
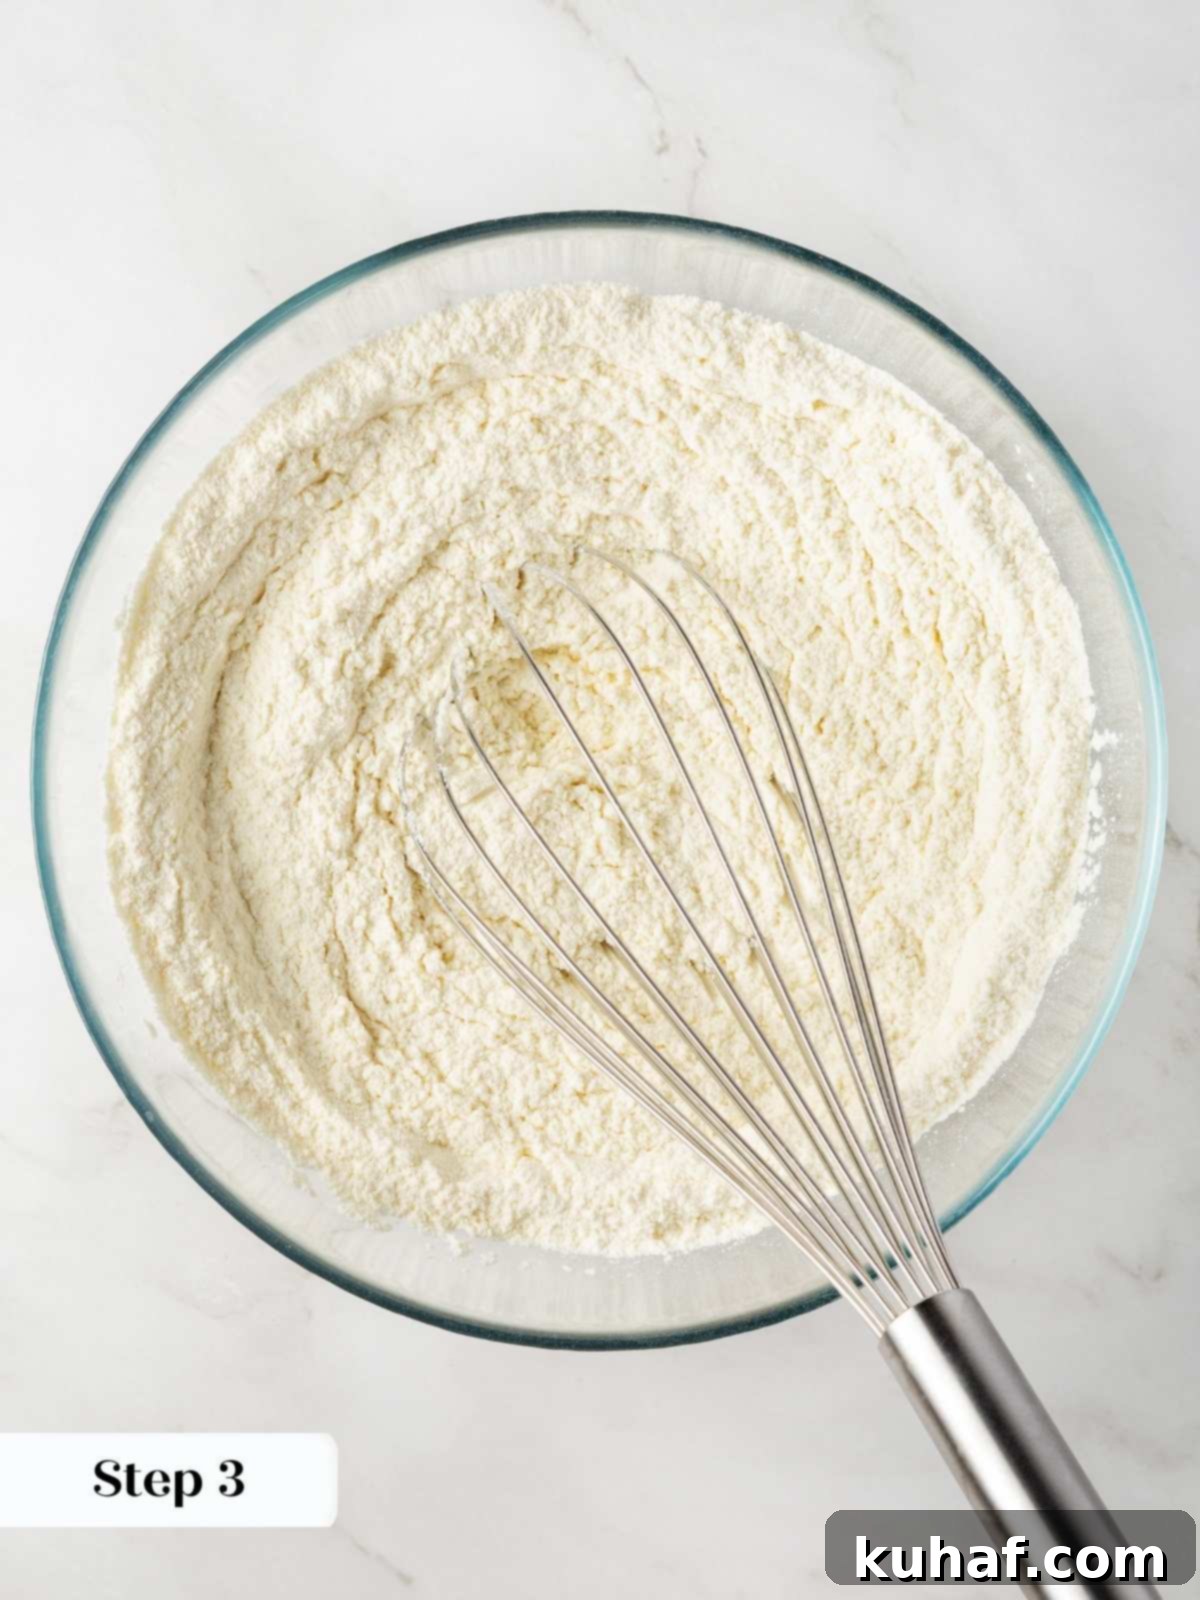
Step 3: Whisk Dry Ingredients. In a medium-sized bowl, combine your all-purpose flour, baking powder, baking soda, and kosher salt. Whisk these dry ingredients together thoroughly for about 30 seconds to ensure they are well-distributed. Proper distribution of leavening agents is crucial for the cookies to rise correctly. Set this bowl aside for later.
Step 4: Soften Butter. In the bowl of a stand mixer fitted with the paddle attachment, give your cold but pliable butter a quick whip. This helps to further soften it to the perfect consistency for creaming, ensuring it’s ready to incorporate with the sugars effectively.
For butter that’s cold but needs a final touch of pliability, I often find that the gentle warmth from my hands cupping the outside of the mixer bowl, combined with the friction of the paddle, is just enough to achieve the ideal texture.
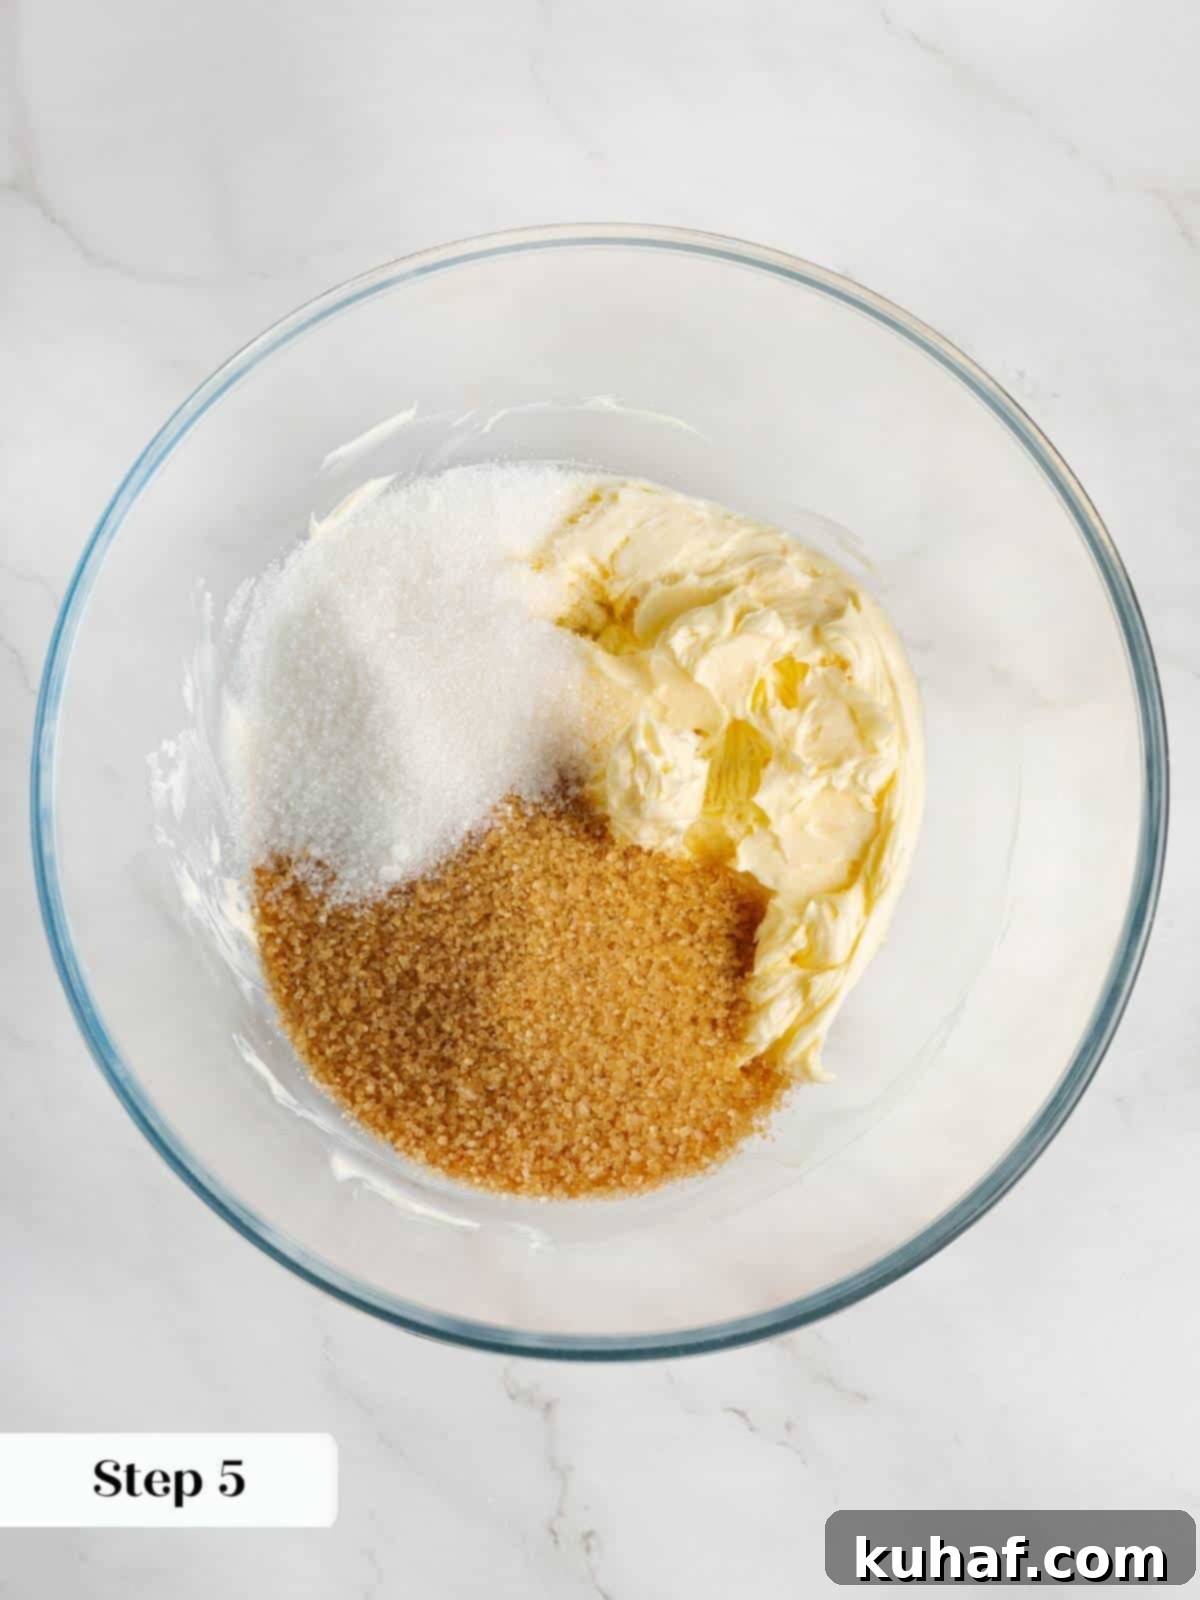
Step 5: Cream Butter and Sugars. Add both the granulated sugar and light brown sugar to the butter in the stand mixer. Mix on medium-low speed until a smooth, uniform paste forms. This process creams the butter and sugars together, creating air pockets that contribute to the cookie’s light texture. Remember to scrape down the sides of the bowl and the paddle attachment periodically to ensure everything is thoroughly combined, then mix again briefly.
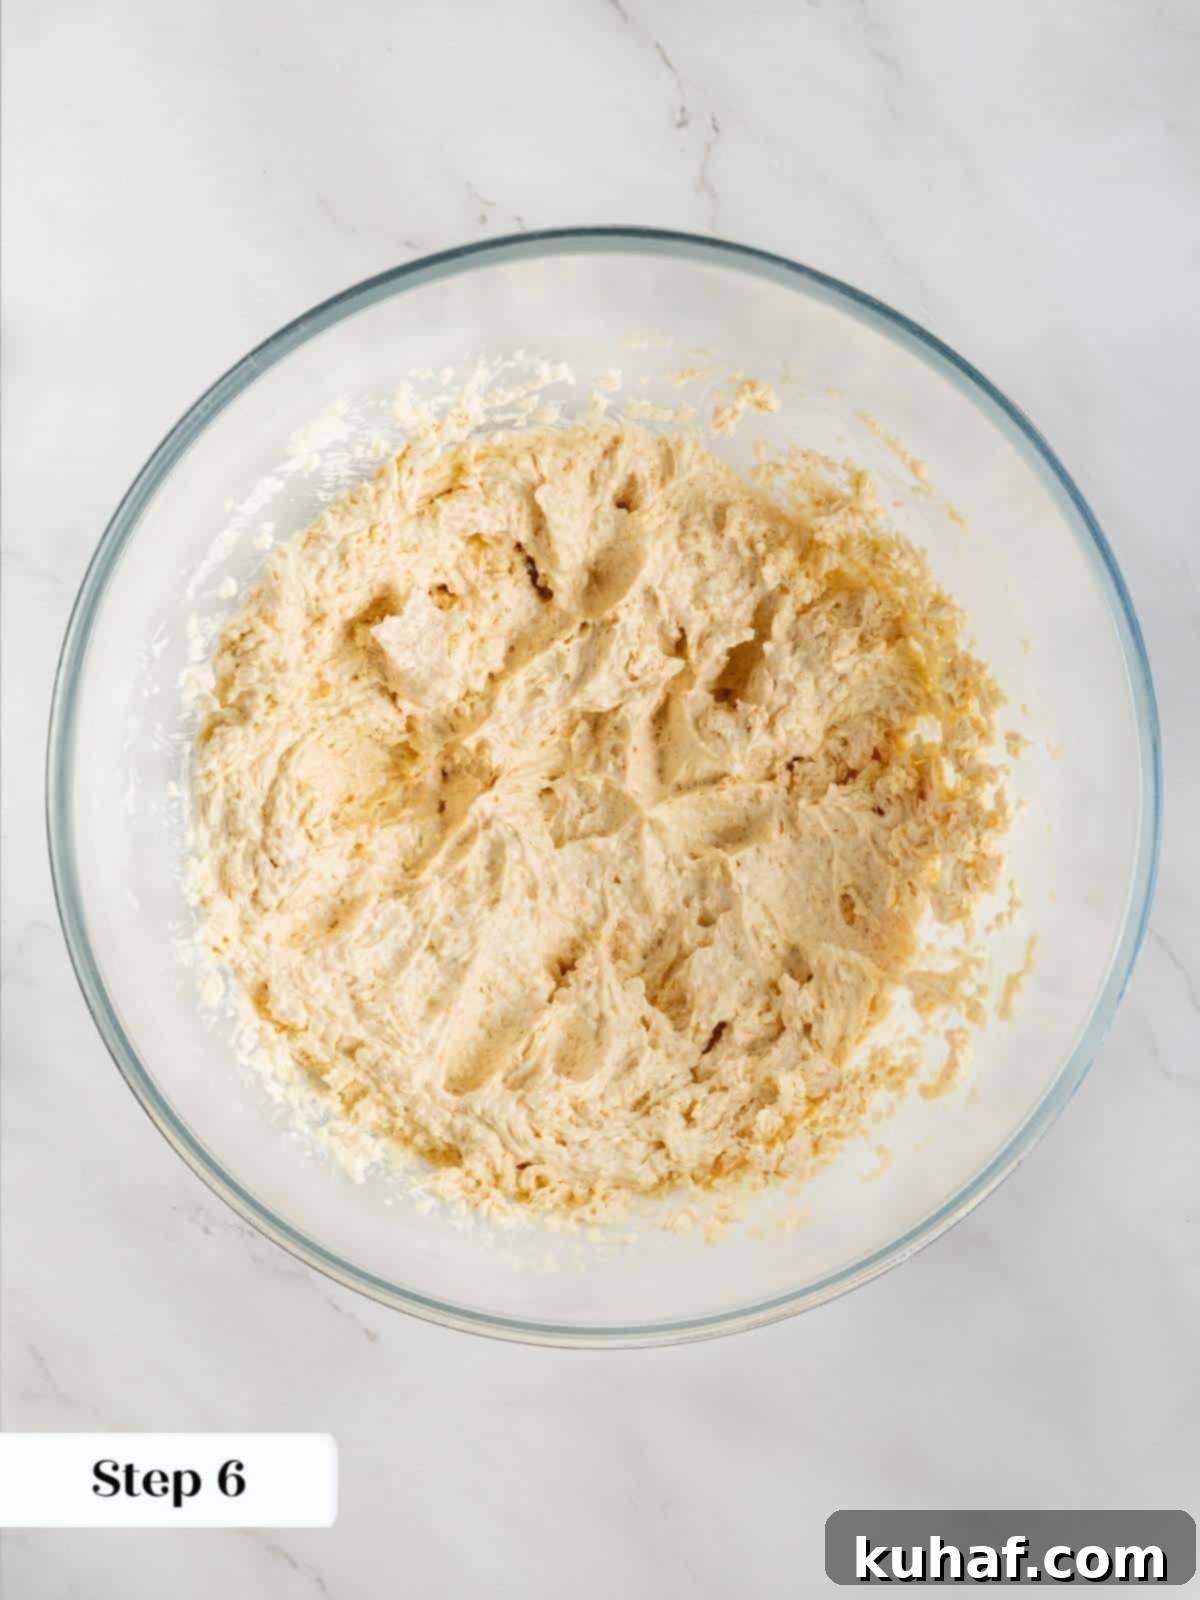
Step 6: Incorporate Egg and Vanilla. Next, add the large egg and vanilla extract to the creamed butter and sugar mixture. Mix on medium speed until the mixture lightens in color and becomes fluffy. Due to the initial cold temperature of the butter and often the egg, the mixture can be a bit stiff. It’s highly recommended to scrape down the bowl several times during this step. This ensures an even and complete incorporation of the egg and vanilla, crucial for a consistent dough texture.
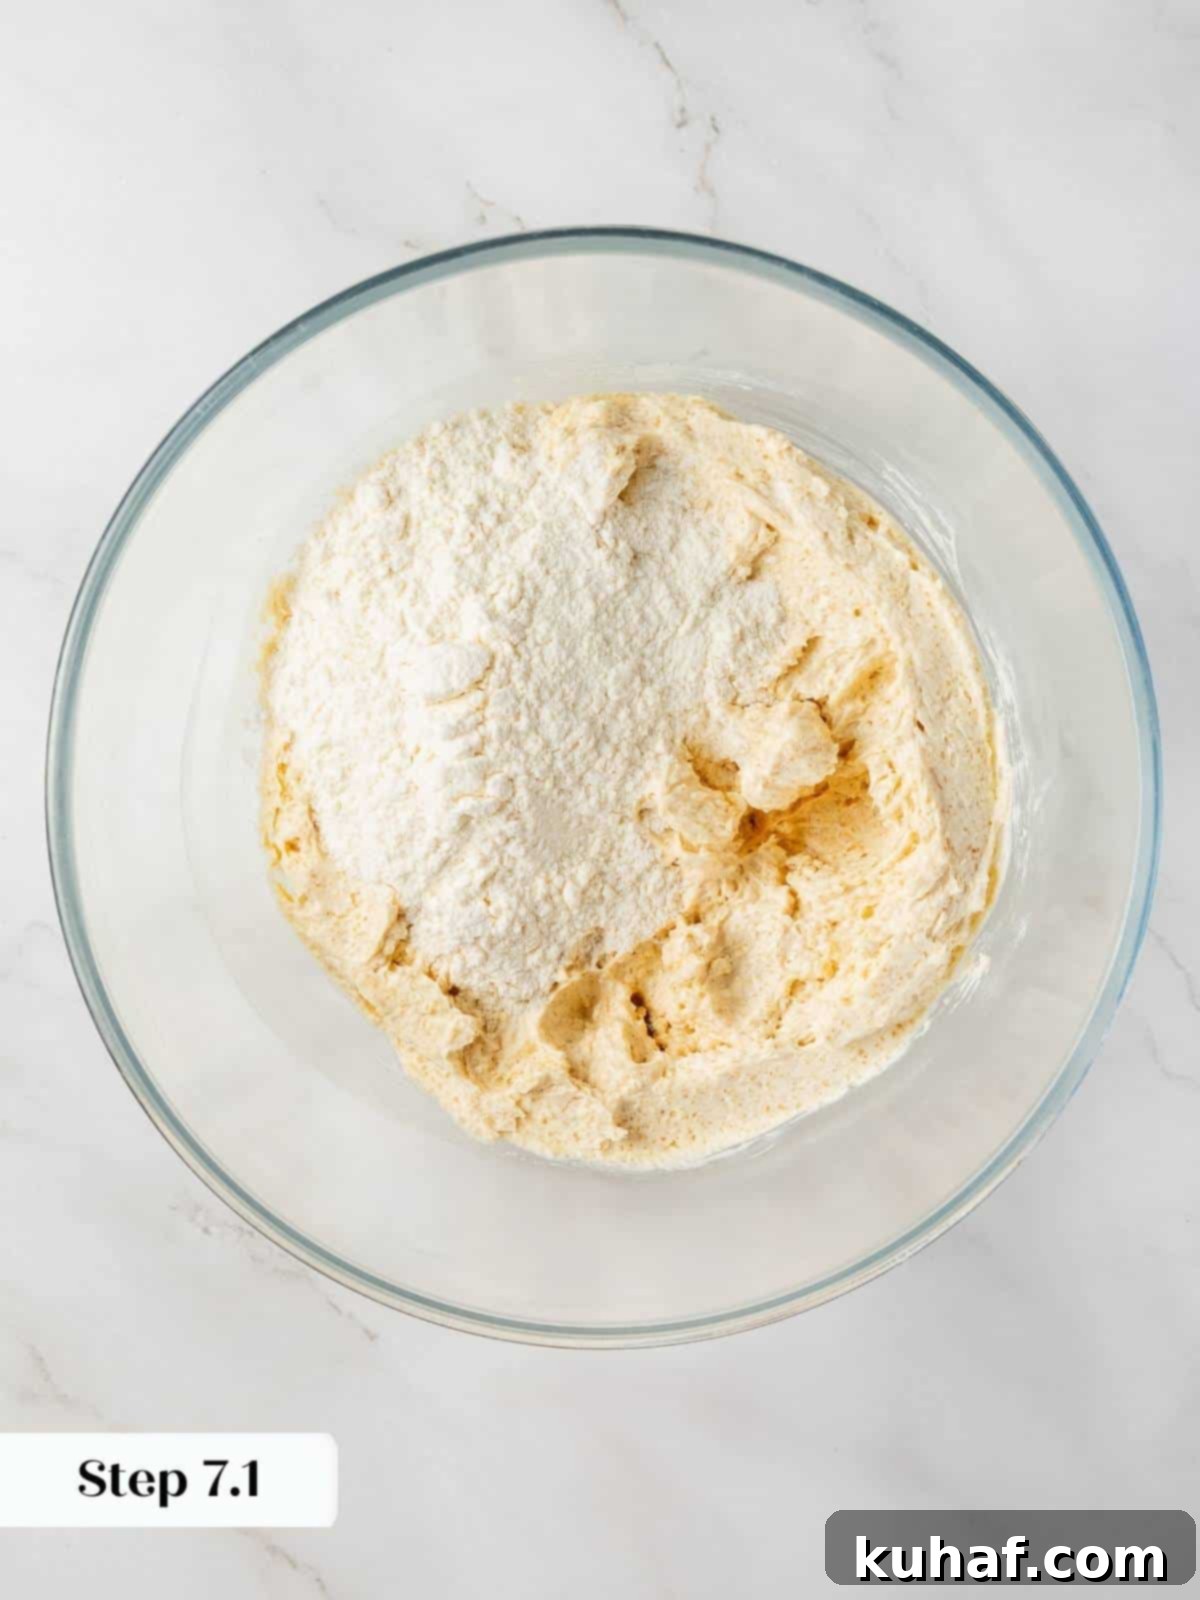
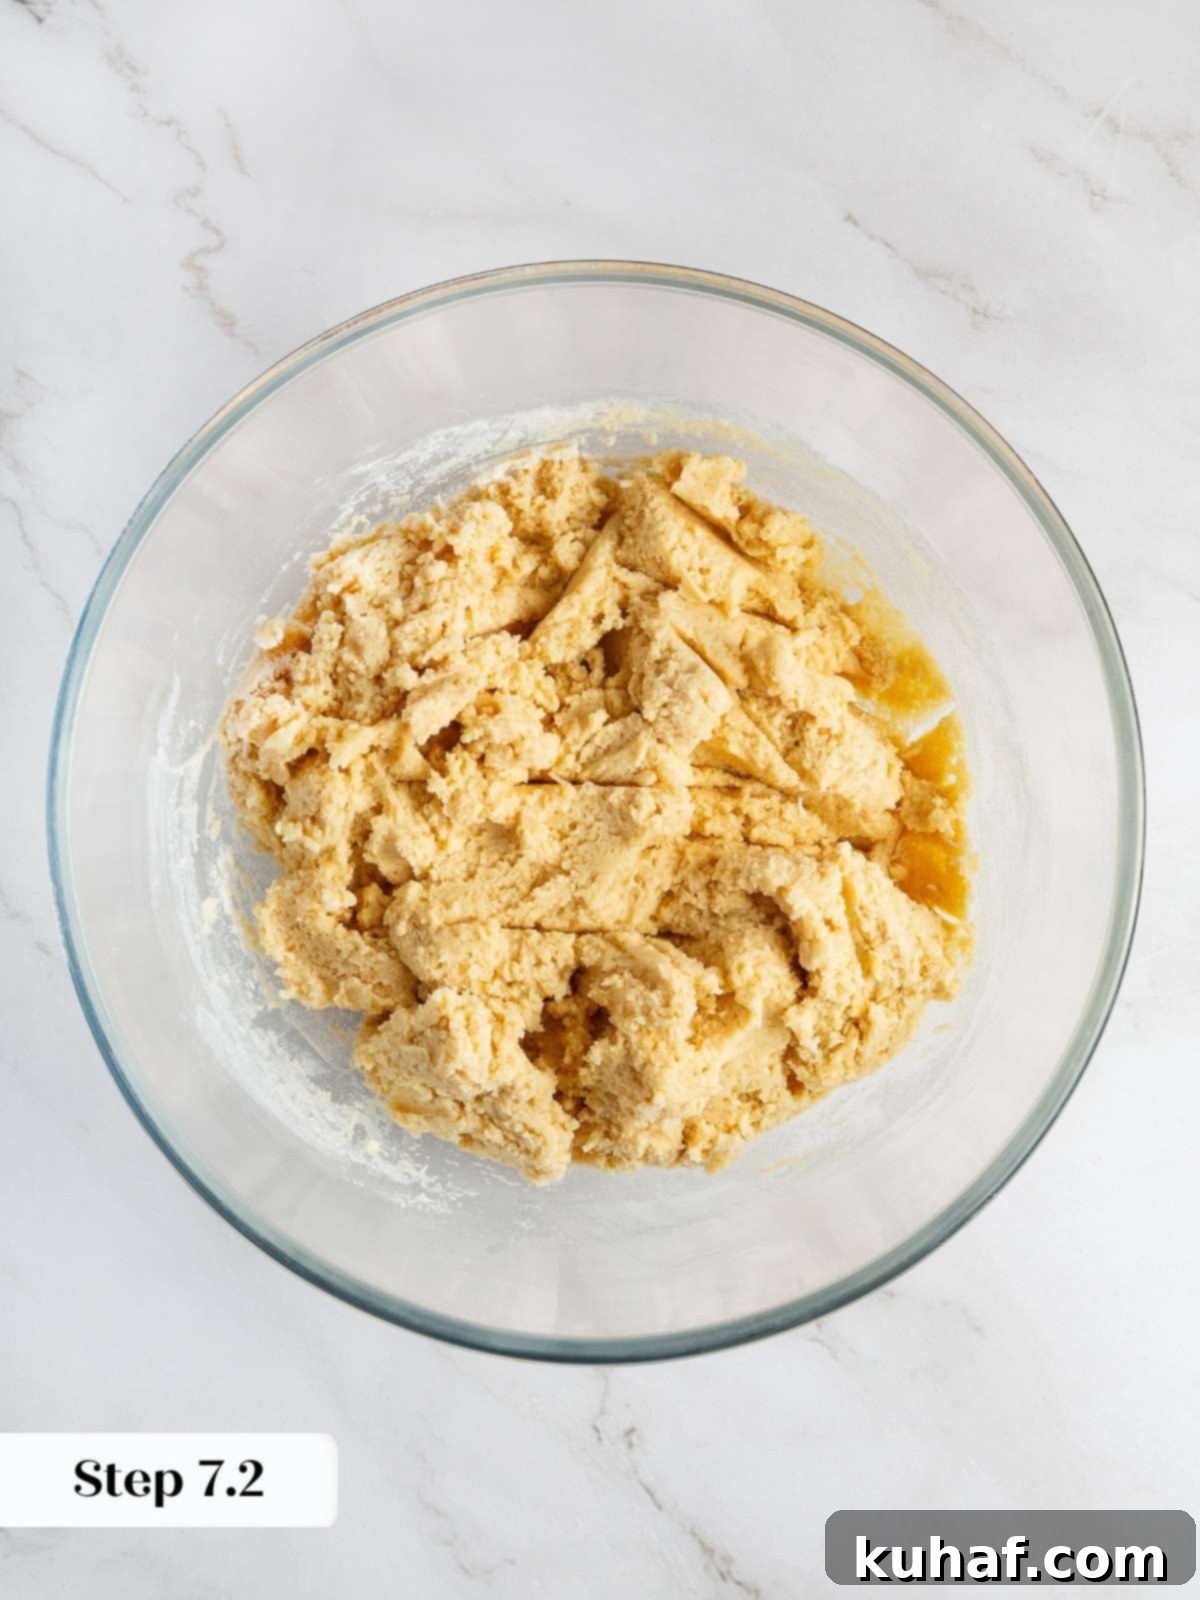
Step 7: Gradually Add Dry Ingredients. Reduce your mixer speed to low. Slowly add the whisked flour mixture, one large scoop at a time, to the wet ingredients. This gradual addition helps to incorporate the flour evenly without overworking the dough. It’s crucial not to overwhelm the batter, especially since doughs made with cold butter absorb flour less readily than those with softened butter. Mix only until the flour streaks have just disappeared to avoid developing too much gluten, which can lead to tough cookies.
I find it helpful to use my spatula to add the flour mixture. I introduce the next scoop as soon as the previous one has been almost fully incorporated. This careful process prevents a flour cloud and ensures a smooth, consistent dough without overmixing.
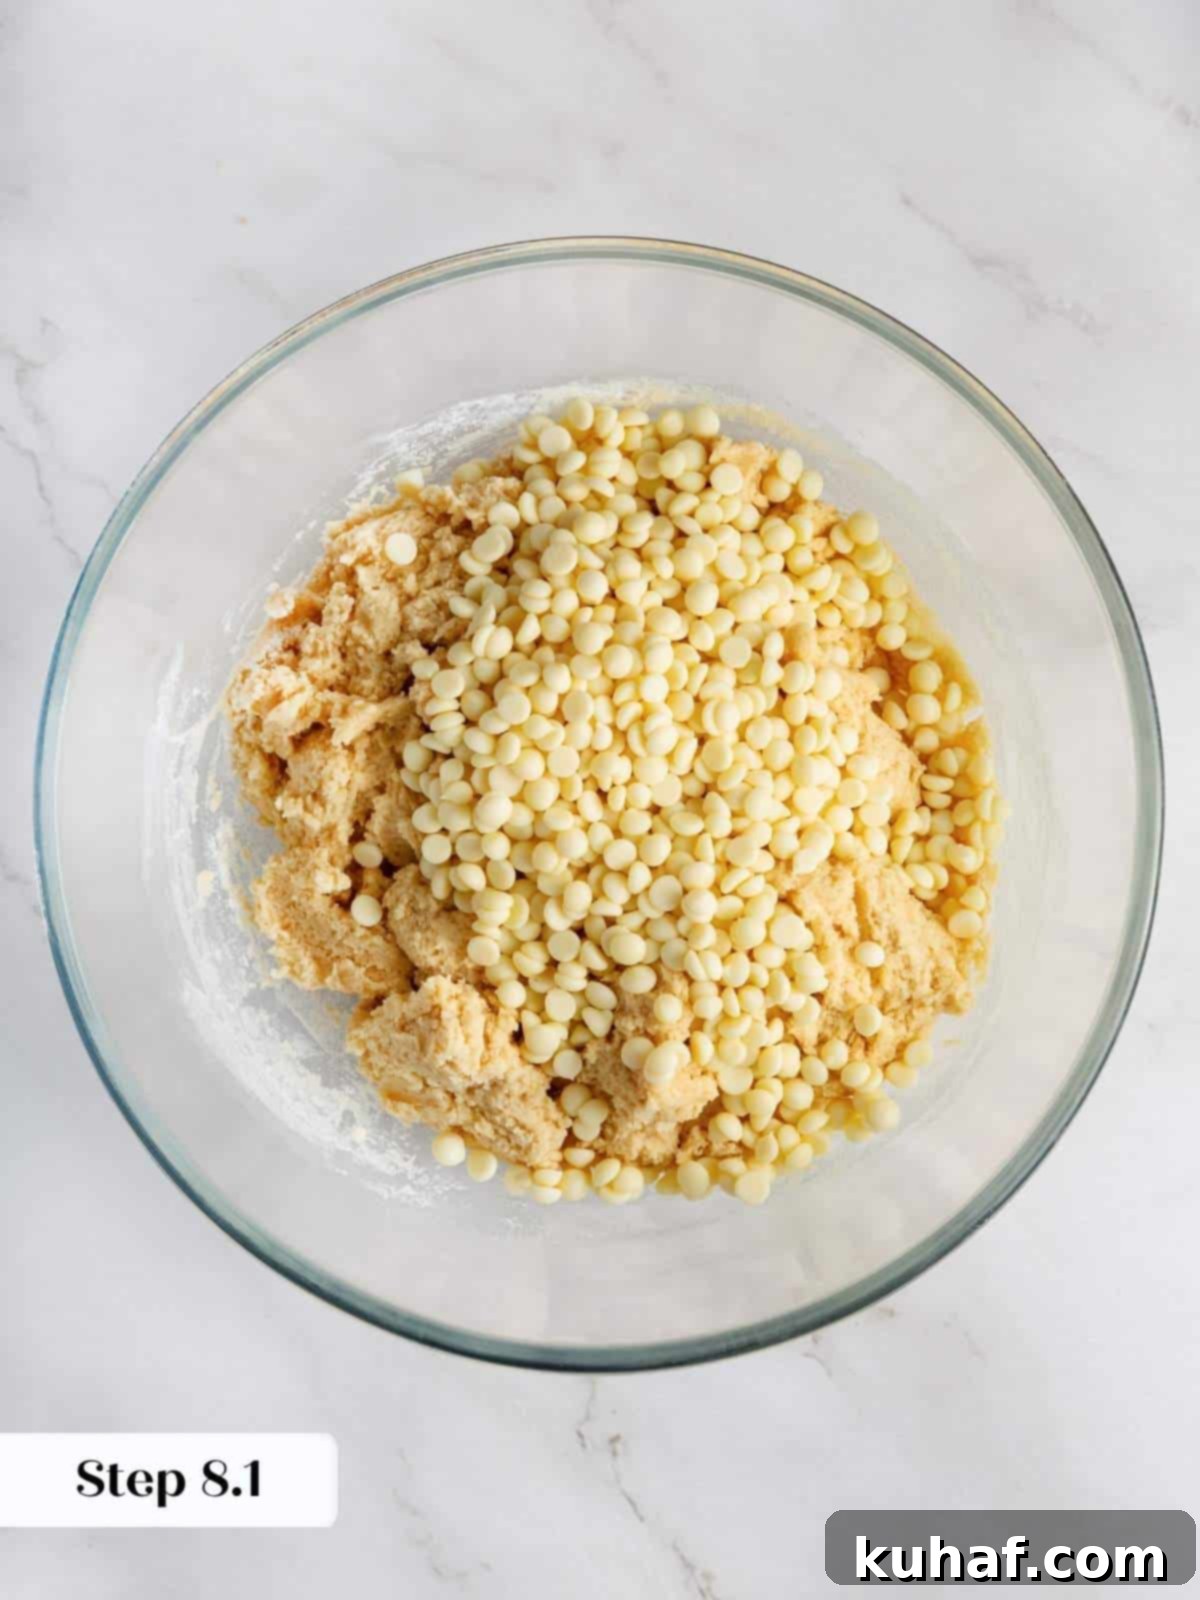
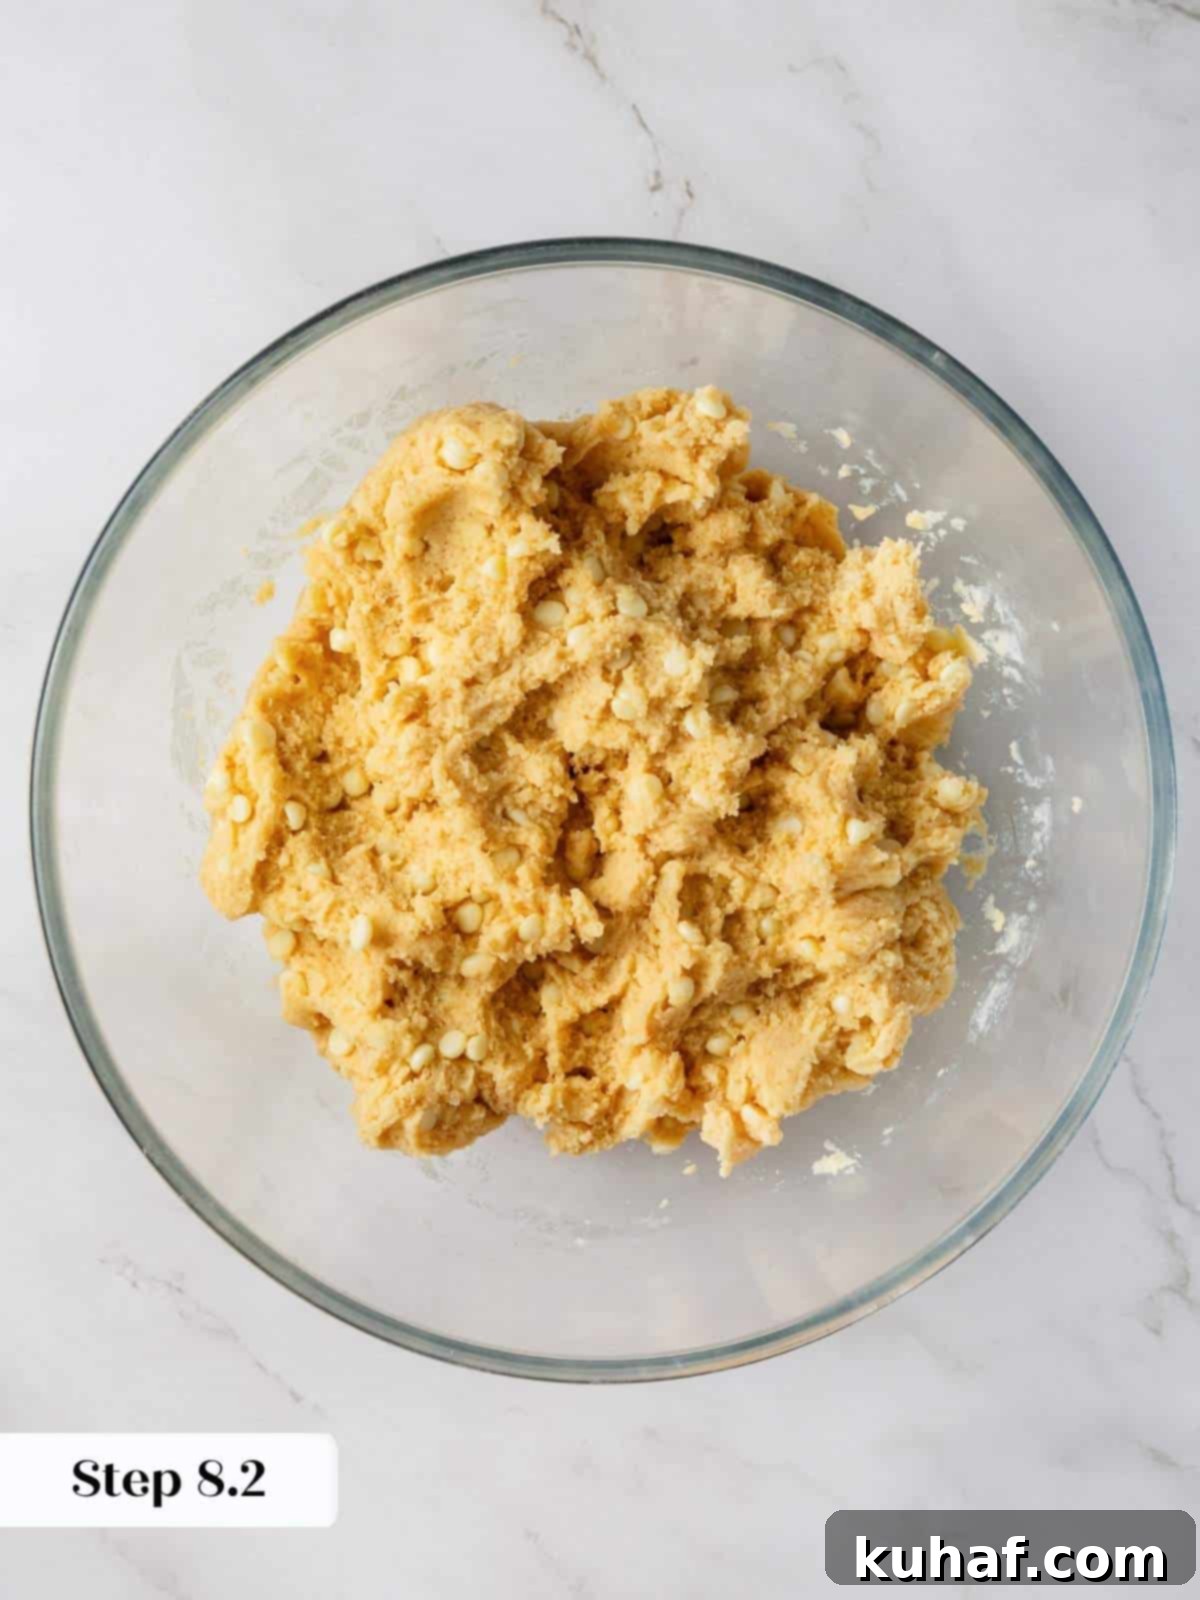
Step 8: Mix in White Chocolate Chips. Once your dough comes together and the dry ingredients are just incorporated, add the white chocolate chips. Mix on low speed for only a short period, just enough to evenly distribute the chips throughout the dough. Avoid overmixing to keep the dough tender.
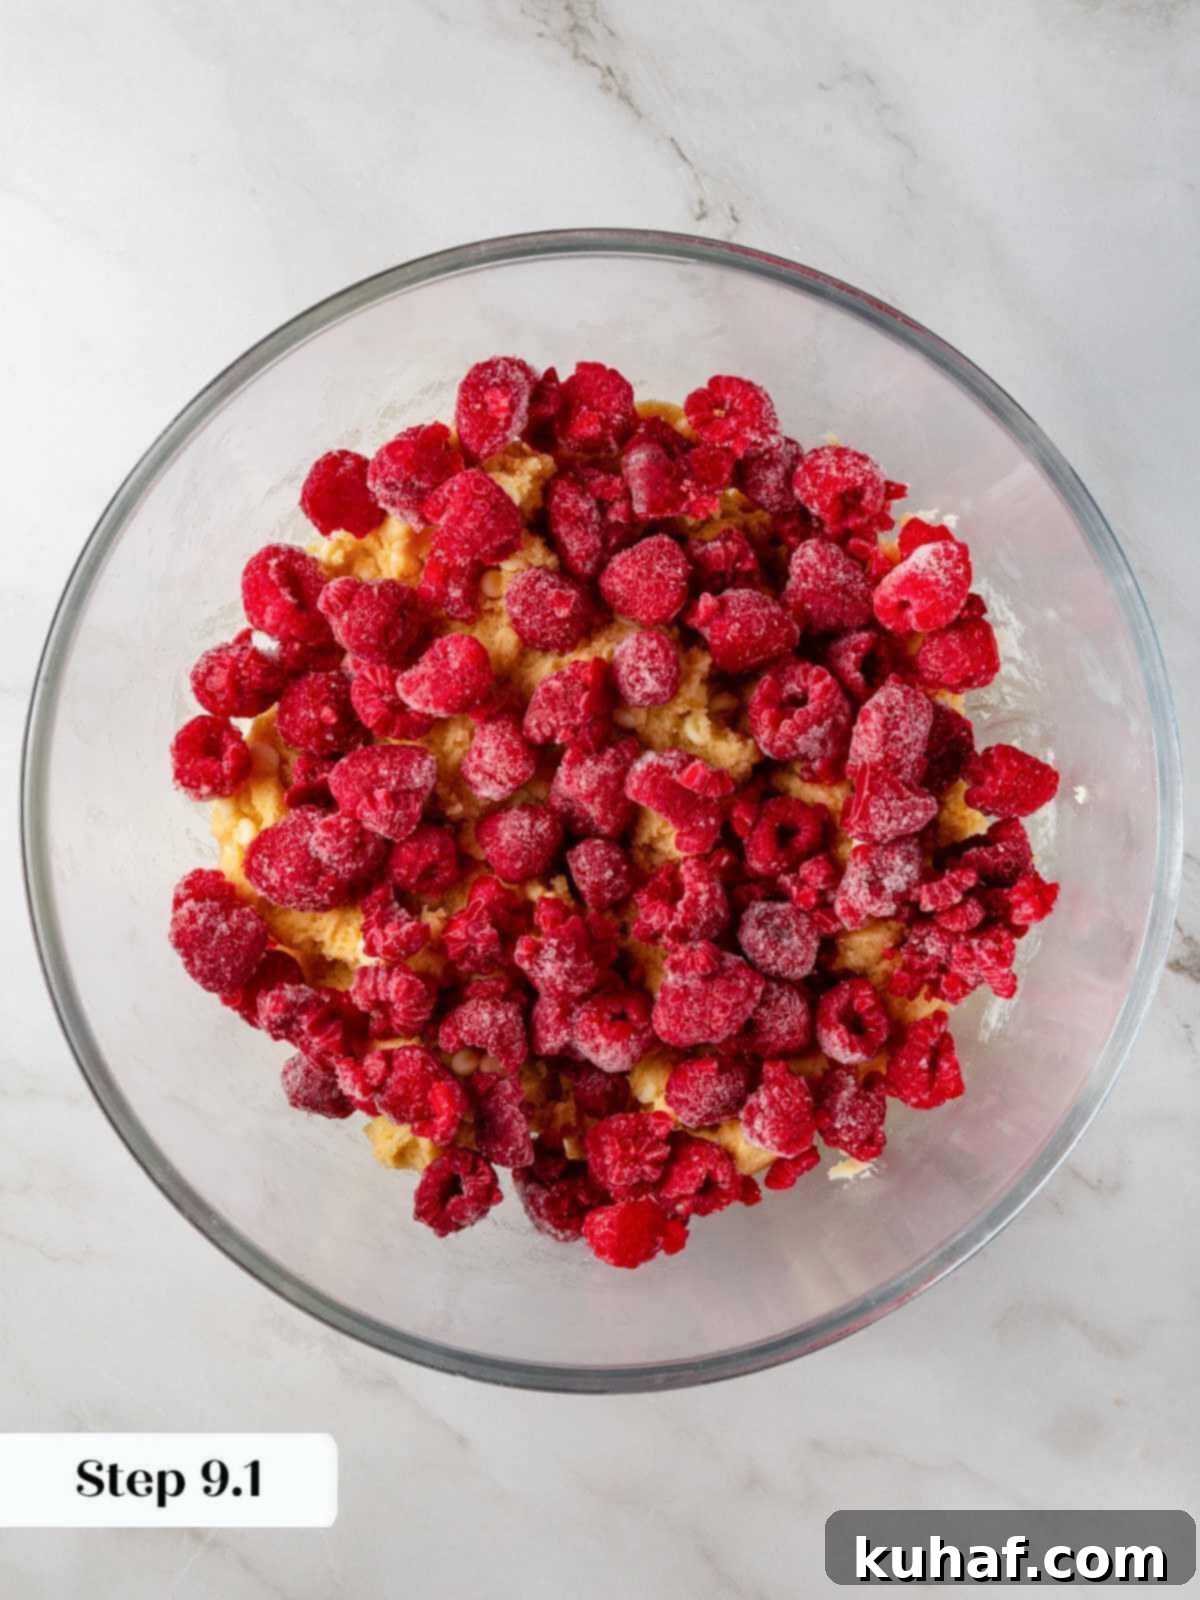
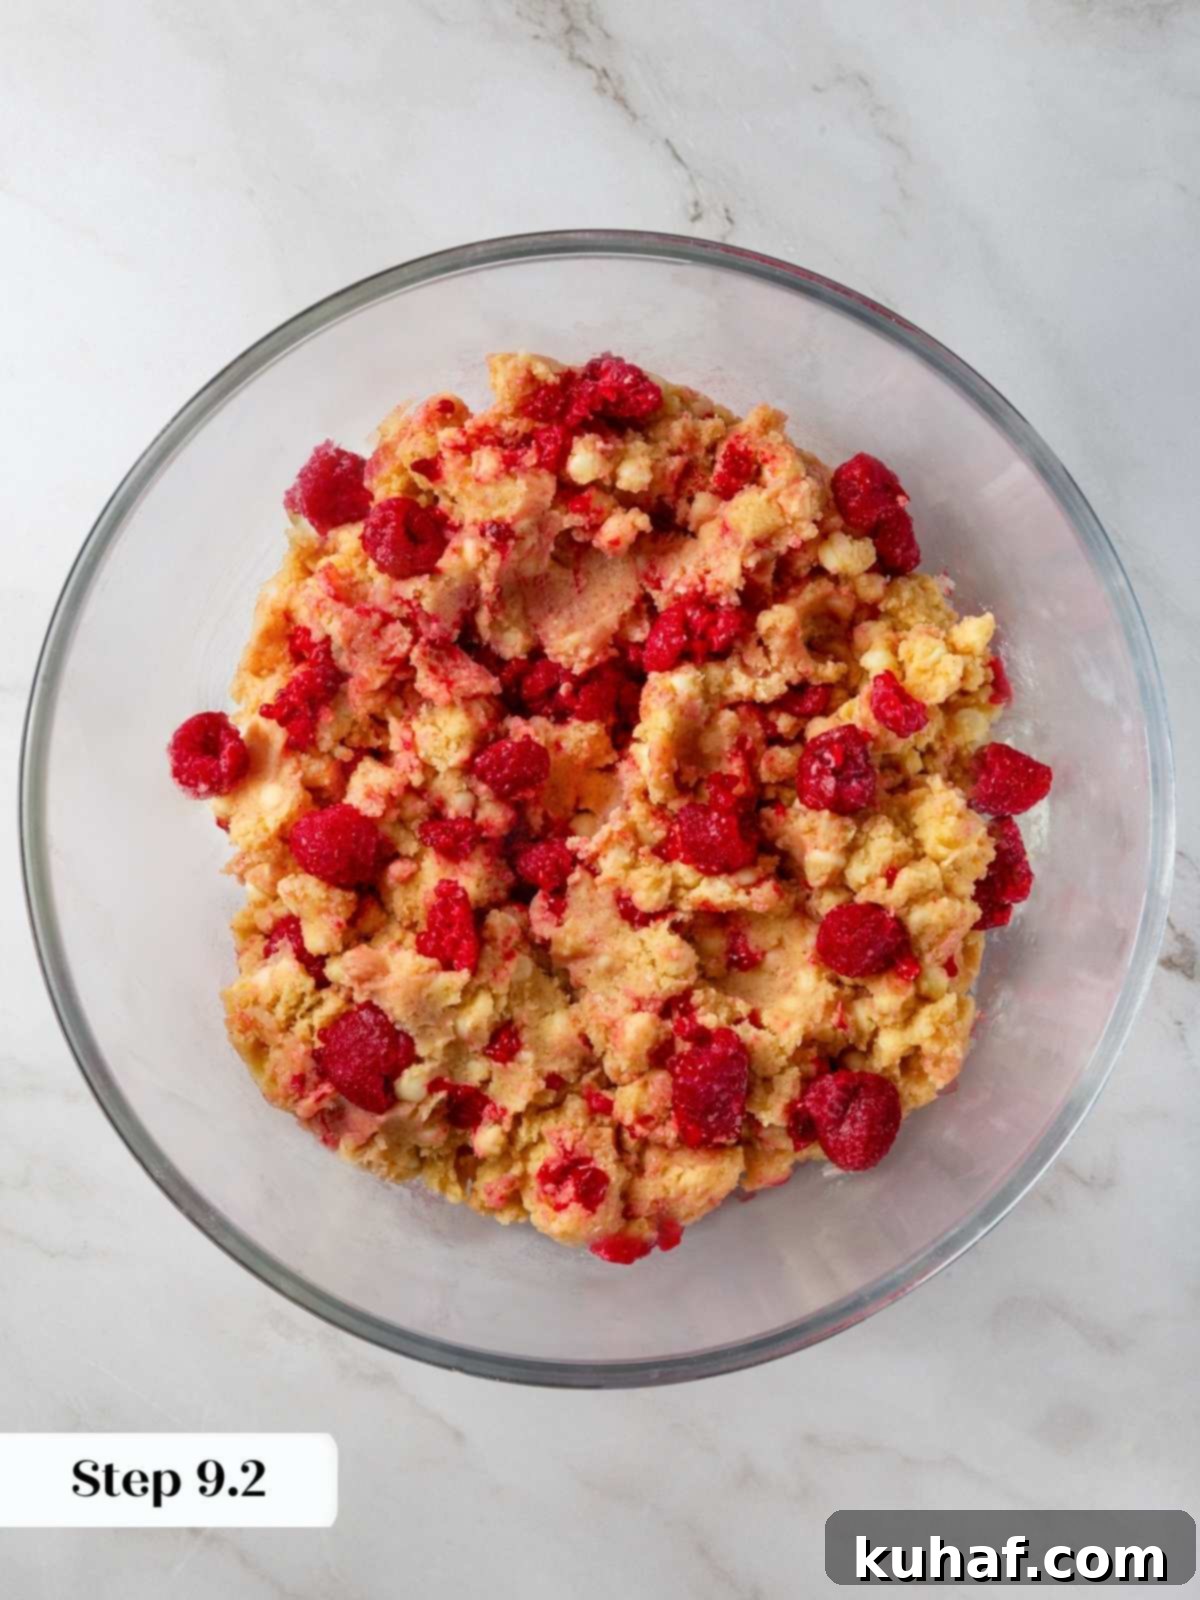
Step 9: Gently Fold in Frozen Raspberries. This is the most delicate step! Add the frozen raspberries straight from the freezer to the dough. Using a spatula, gently fold them in until they are just distributed. This is a careful balancing act: you want the raspberries dispersed, but without letting them soften too much or break apart, which would discolor the dough. While there’s nothing wrong with a pink dough, if you want your cookies to look like mine with distinct white and red elements, quick and gentle folding is key. The colder the raspberries, the less likely they are to bleed.
Before adding the frozen raspberries, I always double-check my oven to ensure it’s fully preheated. If it’s not quite ready, I hold off on mixing in the raspberries, as every moment out of the freezer counts to keep them firm.
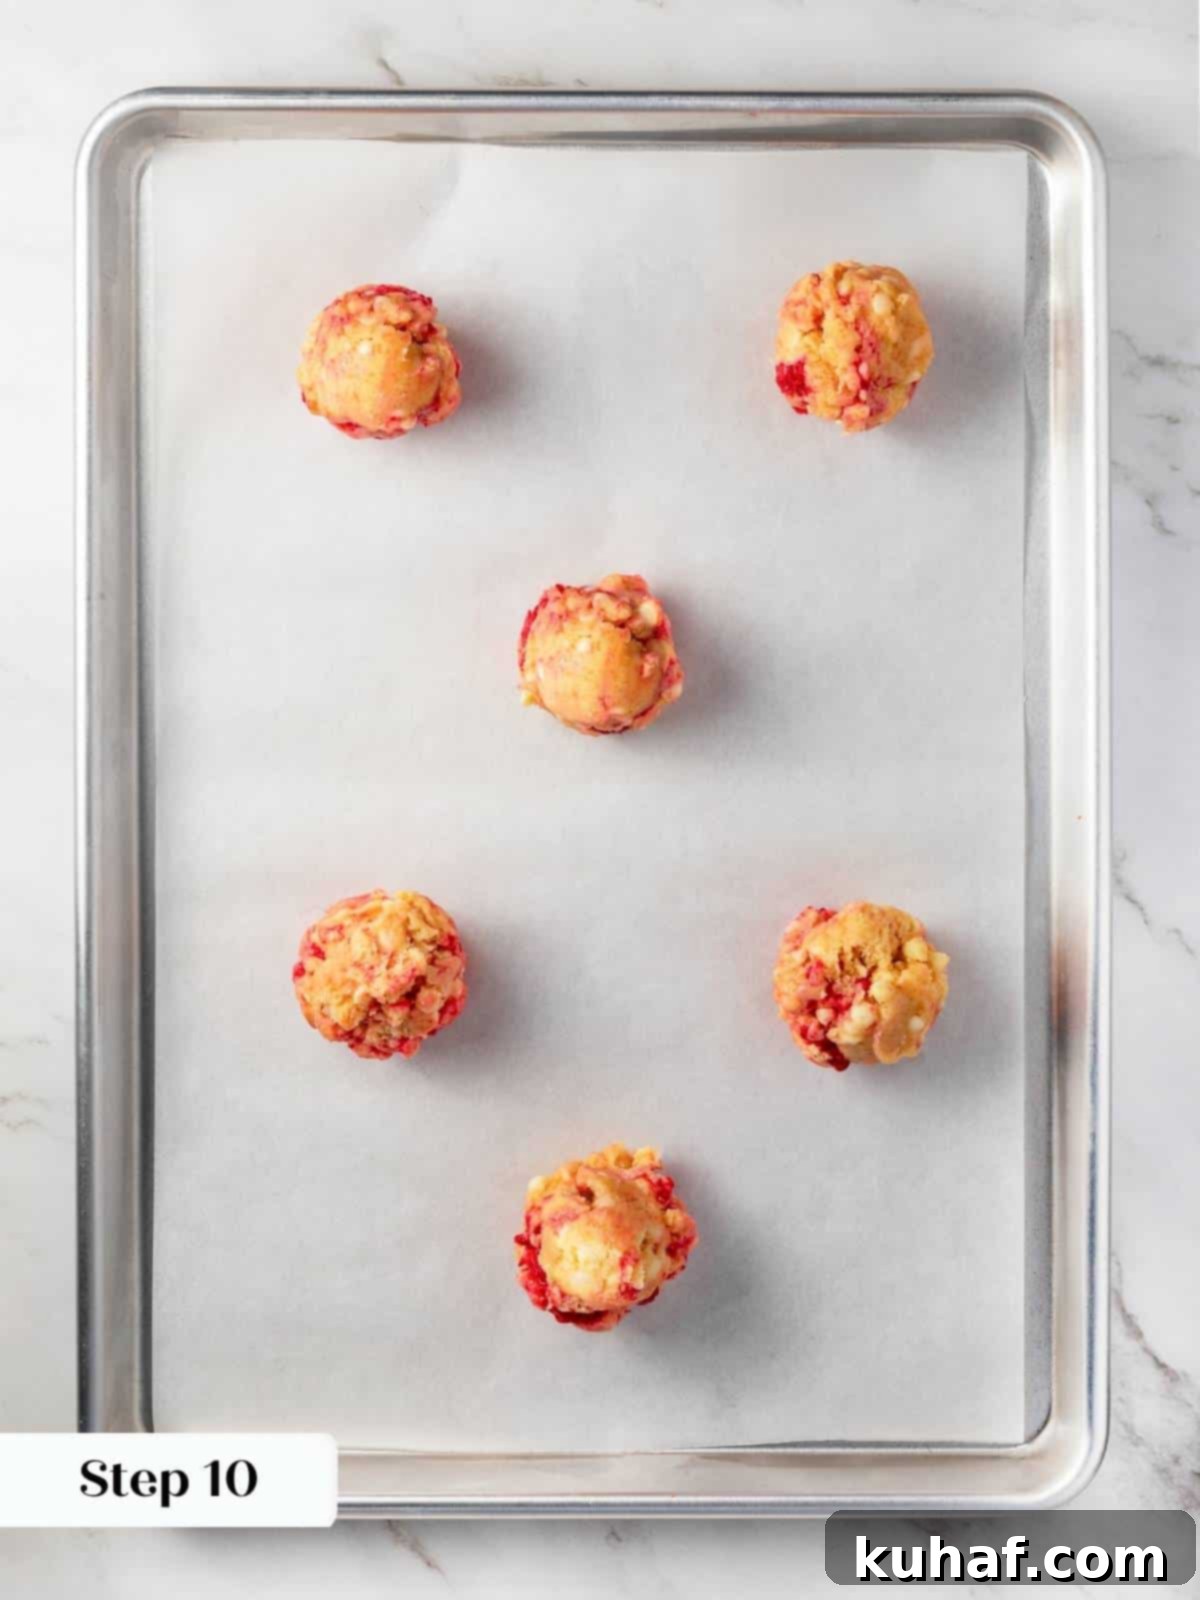
Step 10: Scoop and Space Cookies. Using a ¼ cup cookie scoop (each of my cookies typically weighs between 61-65g), scoop uniform portions of dough directly onto your parchment-lined baking sheets. Arrange them about 2 inches apart to allow for proper spreading during baking. This careful spacing ensures each cookie bakes evenly without merging with its neighbors.
For future enjoyment, you can also freeze the scooped cookie dough. Simply place the scooped portions on a baking sheet and freeze until solid, then transfer them to a zip-top plastic bag. As long as the raspberries remain frozen, these cookie dough balls will bake beautifully directly from frozen for up to 2 months!
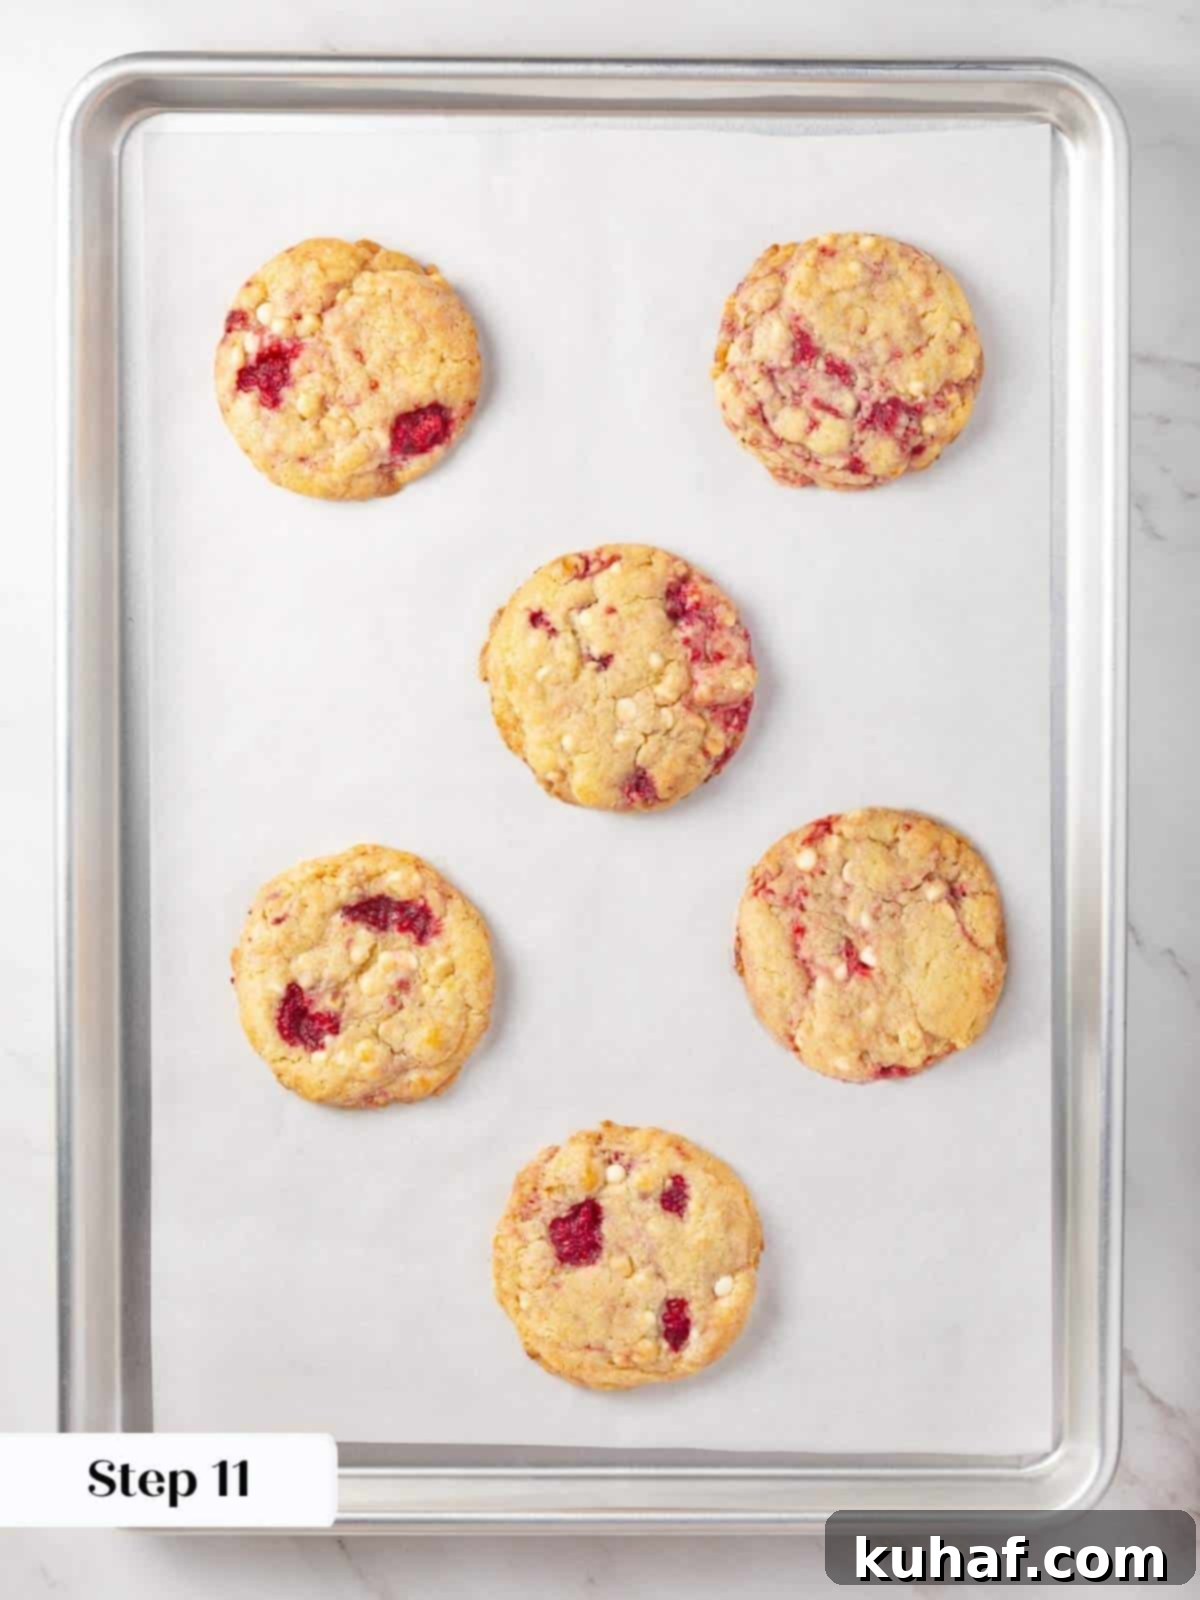
Step 11: Bake Immediately. Place the baking sheets into your preheated oven immediately after scooping. Bake for 16-18 minutes. In my oven, 18 minutes yielded cookies with a satisfyingly crisp bottom and a wonderfully soft, chewy center. However, feel free to adjust by a minute or two based on your oven and desired texture. Keep an eye on them, as ovens can vary!
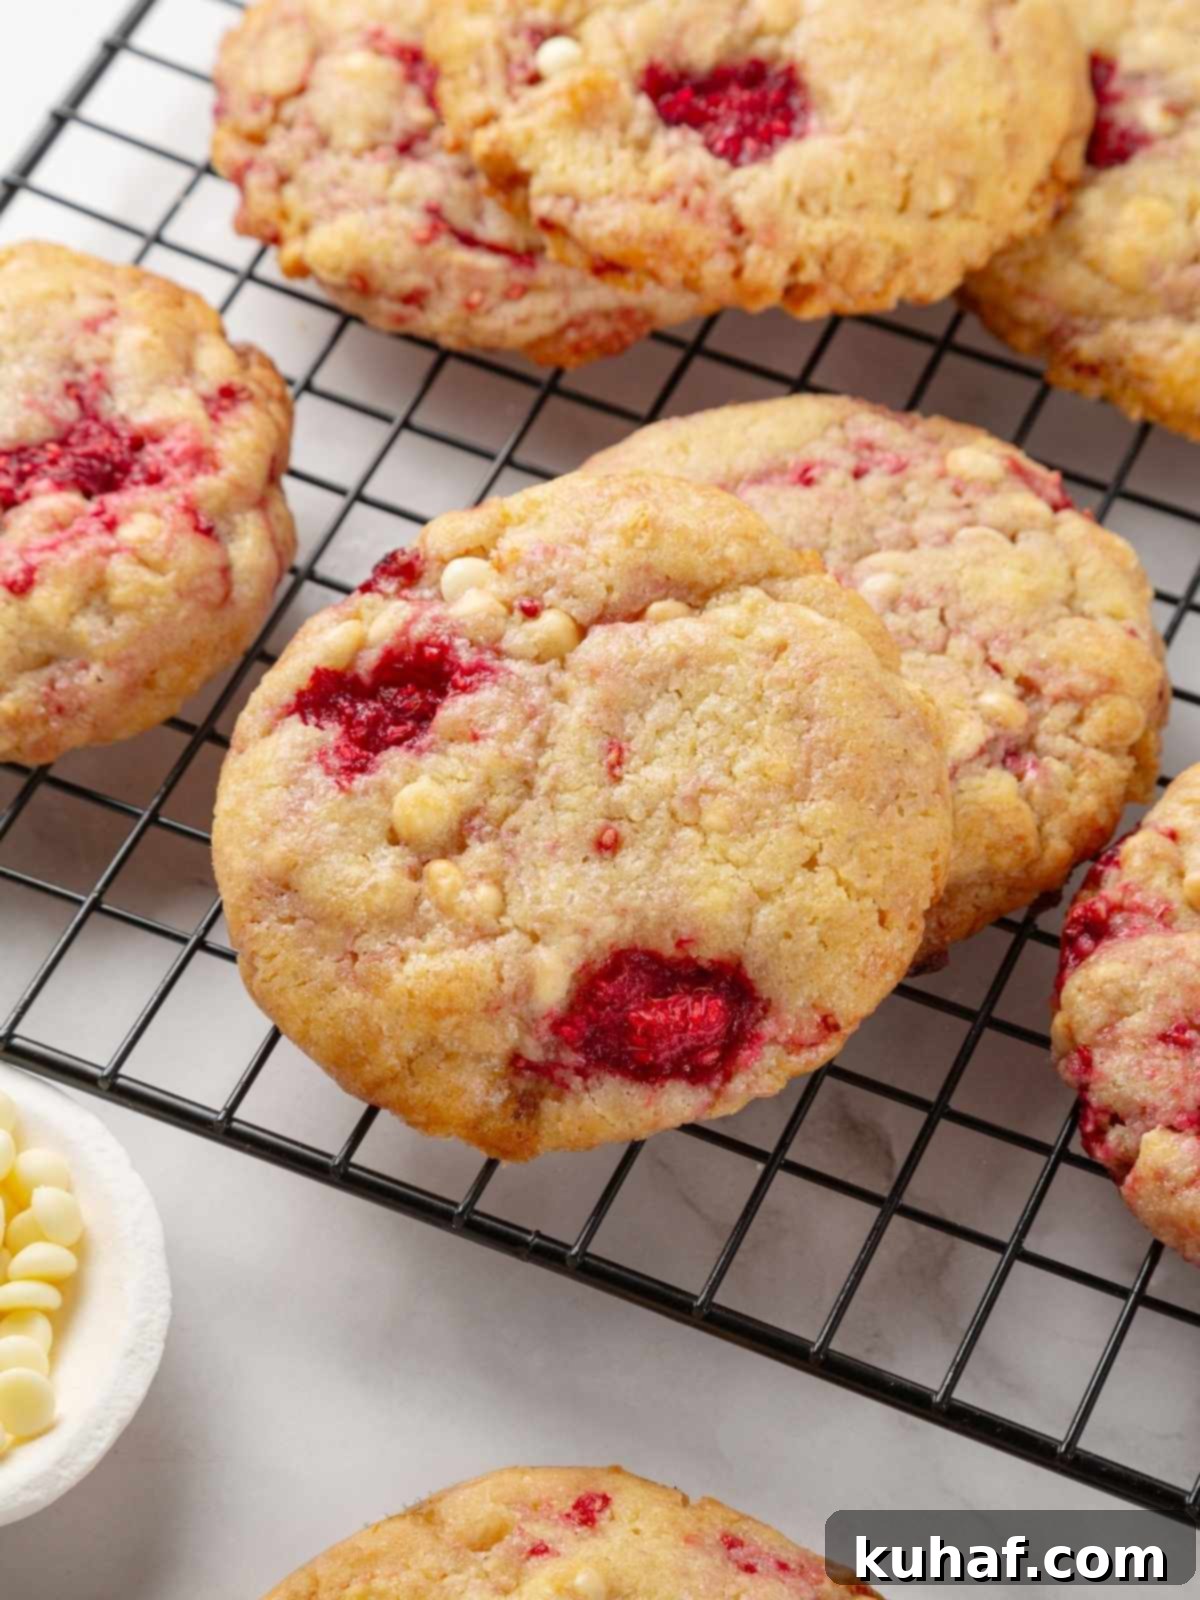
Step 12: Cool and Enjoy! Once baked, transfer the cookies to a wire cooling rack to cool completely. Or, if you can’t resist, enjoy them gooey and warm straight from the oven! The melted white chocolate and warm raspberries are incredibly delicious.
To Bake from Frozen: If baking from frozen dough, do so at 350°F (175°C) in a conventional oven (without the fan) for 18-20 minutes. I found that with the fan (convection), they tended to brown too quickly on the outside before the centers were fully baked. Baking conventionally from frozen achieved the best results for me.
Chef Lindsey’s Recipe Tip
For the most visually stunning and irresistibly delicious cookies, don’t forget to press a few extra white chocolate chips and perhaps half a frozen raspberry onto the tops of your scooped cookie dough before they go into the oven. This ensures beautiful pools of melted chocolate and vibrant bursts of fruit on the surface, making each cookie truly photo-worthy!
Frequently Asked Questions
Once baked, store your white chocolate raspberry cookies in an airtight container at room temperature for up to 3 days to maintain their freshness and soft texture. For longer storage, these cookies freeze beautifully! Once completely cooled, place them in a single layer in a zip-top plastic bag or an airtight freezer-safe container. They will keep fresh in the freezer for up to 2 months. You can enjoy them thawed at room temperature, or if you’re like me, a delightful bite straight from the freezer can be surprisingly delicious! Note that while the baked cookies freeze well, I learned the hard way that the raw dough (due to the fresh berries) doesn’t freeze as long as chewy sugar cookies or thick chocolate chip cookies; it can start to discolor and even mold after about 6 weeks.
For the best results, you must use frozen raspberries, added directly from the freezer. This is crucial because fresh raspberries contain more moisture, which would cause them to become mushy and bleed their color into the dough during mixing and baking, resulting in discolored, potentially flat cookies. Furthermore, using freeze-dried raspberries is not recommended; their lack of moisture means any exposed pieces will burn in the oven, leading to a bitter taste. Stick to frozen for vibrant color and perfect texture.
Flat cookies are usually a sign that something went awry with the fat or moisture content. There are two primary culprits for flat white chocolate raspberry cookies. Firstly, if your butter was over-creamed or became too soft (no longer cold and pliable), it will melt too quickly in the oven, causing the cookies to spread excessively. Secondly, if your raspberries were not completely frozen when added to the dough, they would release too much moisture. This excess liquid creates a wet dough, which in turn leads to a flatter, more spread-out cookie. Always ensure your butter is cold-but-pliable and your raspberries are straight from the freezer!
While it is possible to prepare this cookie dough using an electric hand mixer in a large bowl, please be aware that the dough is quite thick, especially since it’s made with cold butter. Even a powerful stand mixer can find it challenging to fully incorporate all the mix-ins. If you plan to use a hand mixer or mix the dough by hand, I highly recommend allowing the butter to soften slightly more (closer to room temperature) before you begin. After mixing, scoop the dough into portions and freeze them for at least 30 minutes (or longer) prior to baking. This chilling step will help firm up the dough and prevent excessive spreading, compensating for the softer butter. Be extra gentle when folding in the frozen raspberries to avoid crushing them.
No, it is strongly recommended to use frozen raspberries for this recipe. Fresh raspberries contain more water and are much softer, meaning they will easily break down and release their juices into the dough during mixing and baking. This can lead to a messy, pink-tinted dough and cookies that are flatter and more prone to becoming mushy. Frozen raspberries maintain their shape and integrity better, ensuring distinct bursts of fruit and preventing discoloration of your cookie dough.
If you tried this delightful recipe and loved it, please take a moment to leave a 🌟 star rating and let me know how your cookies turned out in the comments below. Your feedback truly makes my day and helps other bakers discover this wonderful treat!
White Chocolate Raspberry Cookies
Pin Recipe
Comment
Print Recipe
Ingredients
- 2 ½ cups all-purpose flour fluffed, scooped & leveled*
- ¾ teaspoon baking powder
- ¼ teaspoon baking soda
- 1 teaspoon kosher salt
- ¼ cup granulated sugar
- ¾ cup light brown sugar
- ¾ cup unsalted butter cold but pliable
- 1 large egg
- 1 teaspoon vanilla extract
- 1 cup white chocolate chips
- 1 cup frozen raspberries still frozen
Instructions
-
Preheat the oven to 325°F convection (with the fan) or 350°F conventional (without the fan). I do prefer convection for these cookies and their cousins, thick chocolate chip cookies!
-
Line two baking sheets with parchment paper and set aside.
-
In a medium bowl, whisk together all-purpose flour, baking powder, baking soda, and kosher salt. Set dry ingredients aside.
-
In the bowl of a stand mixer fitted with the paddle attachment, finish softening the butter, if needed.
-
Add the granulated and light brown sugar to the butter in the stand mixer and mix on medium-low until a smooth paste forms. Scrape down the sides and the paddle, then stir again.
-
Add the egg and vanilla extract and mix on medium until lightened. Due to the cold butter and (typically) a cold egg, I recommend scraping down the bowl several times during this step to encourage an even incorporation.
-
Reduce the mixer to low speed and slowly add the flour mixture, one large scoop at a time.
-
Once the dough comes together, add the chocolate chips and mix on low to distribute.
-
Add the frozen raspberries straight from the freezer and fold them in. This is a balancing act between perfectly distributed raspberries and softening and discoloring the dough! If you mix too long, the raspberries will break apart, soften, and squish. There isn’t anything wrong with that, but they won’t look like mine!
-
Scoop using ¼ cup cookie scoop (each of my cookies weighed between 61-65g) directly onto parchment lined baking sheets about 2 inches apart.
-
Bake immediately in the preheated oven for 16-18 minutes. Mine were baked for 18 minutes. They had a nice crunch to the bottom but were soft and chewy in the center. I think they could have done with a minute less.
-
Cool on a cooling rack or eat them gooey and warm!
-
To Bake from Frozen: Bake 18-20 minutes at 350°F conventional (without the fan). With the fan, they get a little too brown before the centers are baked fully. I preferred them baked at 350°F without the fan from frozen.
Notes
Yield – 15 cookies
Technique – For thick, chewy cookies, work with cold but pliable butter.
Variation– Add or use almond extract in the cookie dough for a subtle nutty flavor.
Storage –Store your baked cookies well-wrapped or in an airtight container for 3 days at room temperature or in the freezer for up to 2 months.
Nutrition
Before You Go
Thank you for exploring this professional chef-tested recipe for white chocolate raspberry cookies. I hope you found it inspiring and delicious! These cookies are a true delight, combining classic flavors with a perfect chewy texture that’s hard to beat. If you’re a fan of thick, chewy cookies and love experimenting with new flavors, be sure to check out our other popular chef-developed cookie recipes. You might fall in love with the best oatmeal raisin cookies, the rich red velvet cookies with cream cheese frosting, the fun and flavorful peanut butter M&M cookies (Monster Cookies), or the intensely satisfying triple chocolate chip cookies! Happy baking!
