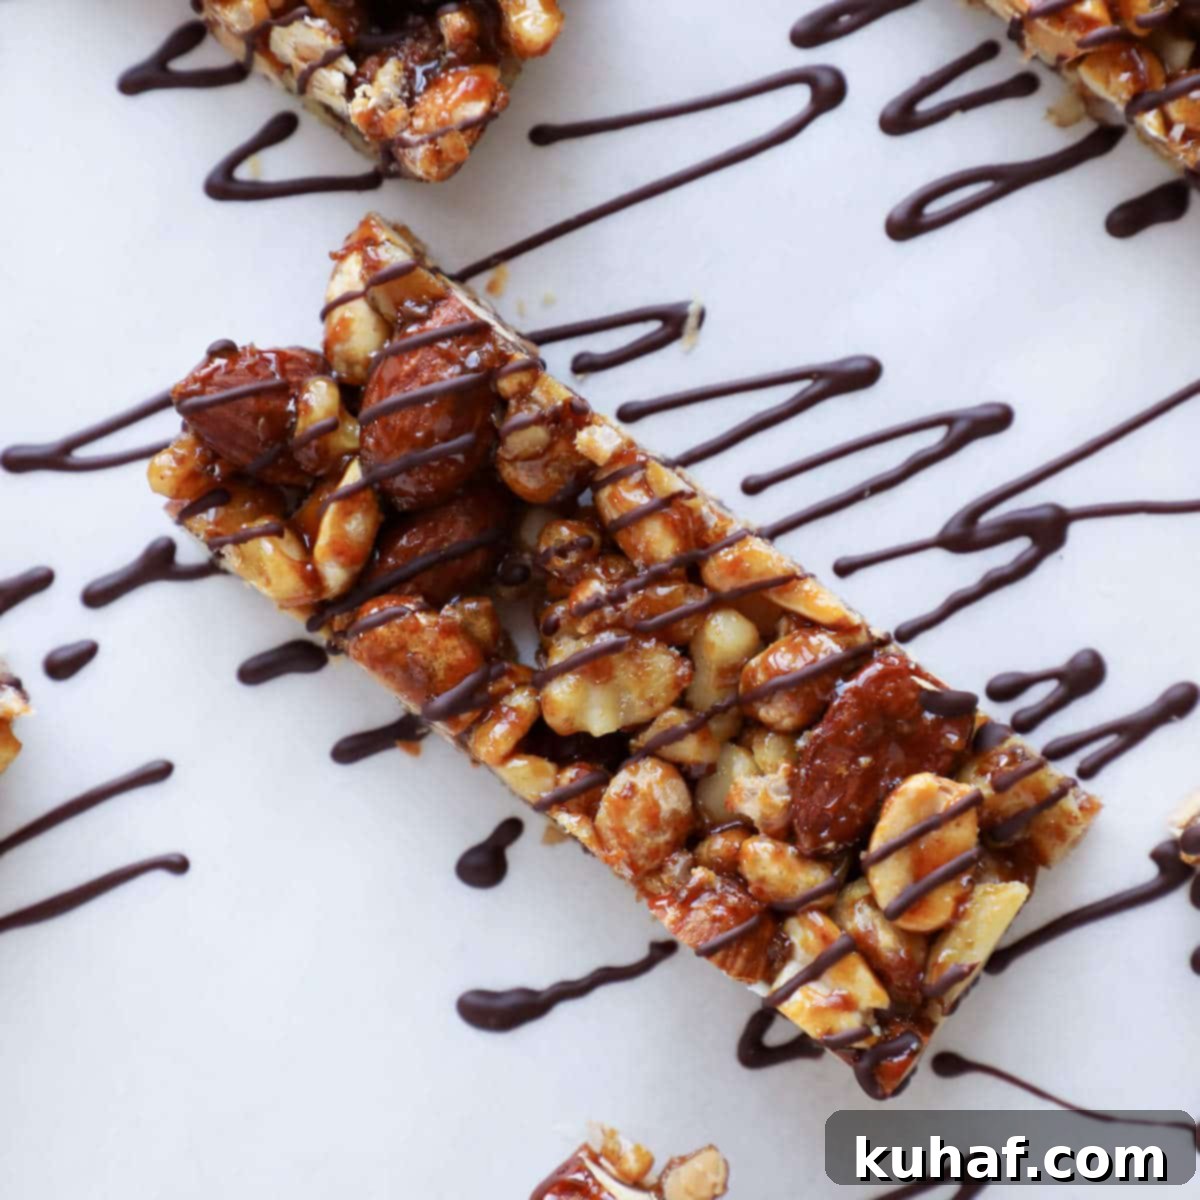
Homemade KIND Bars: The Best Healthy Copycat Recipe for Salty-Sweet Nut Bars
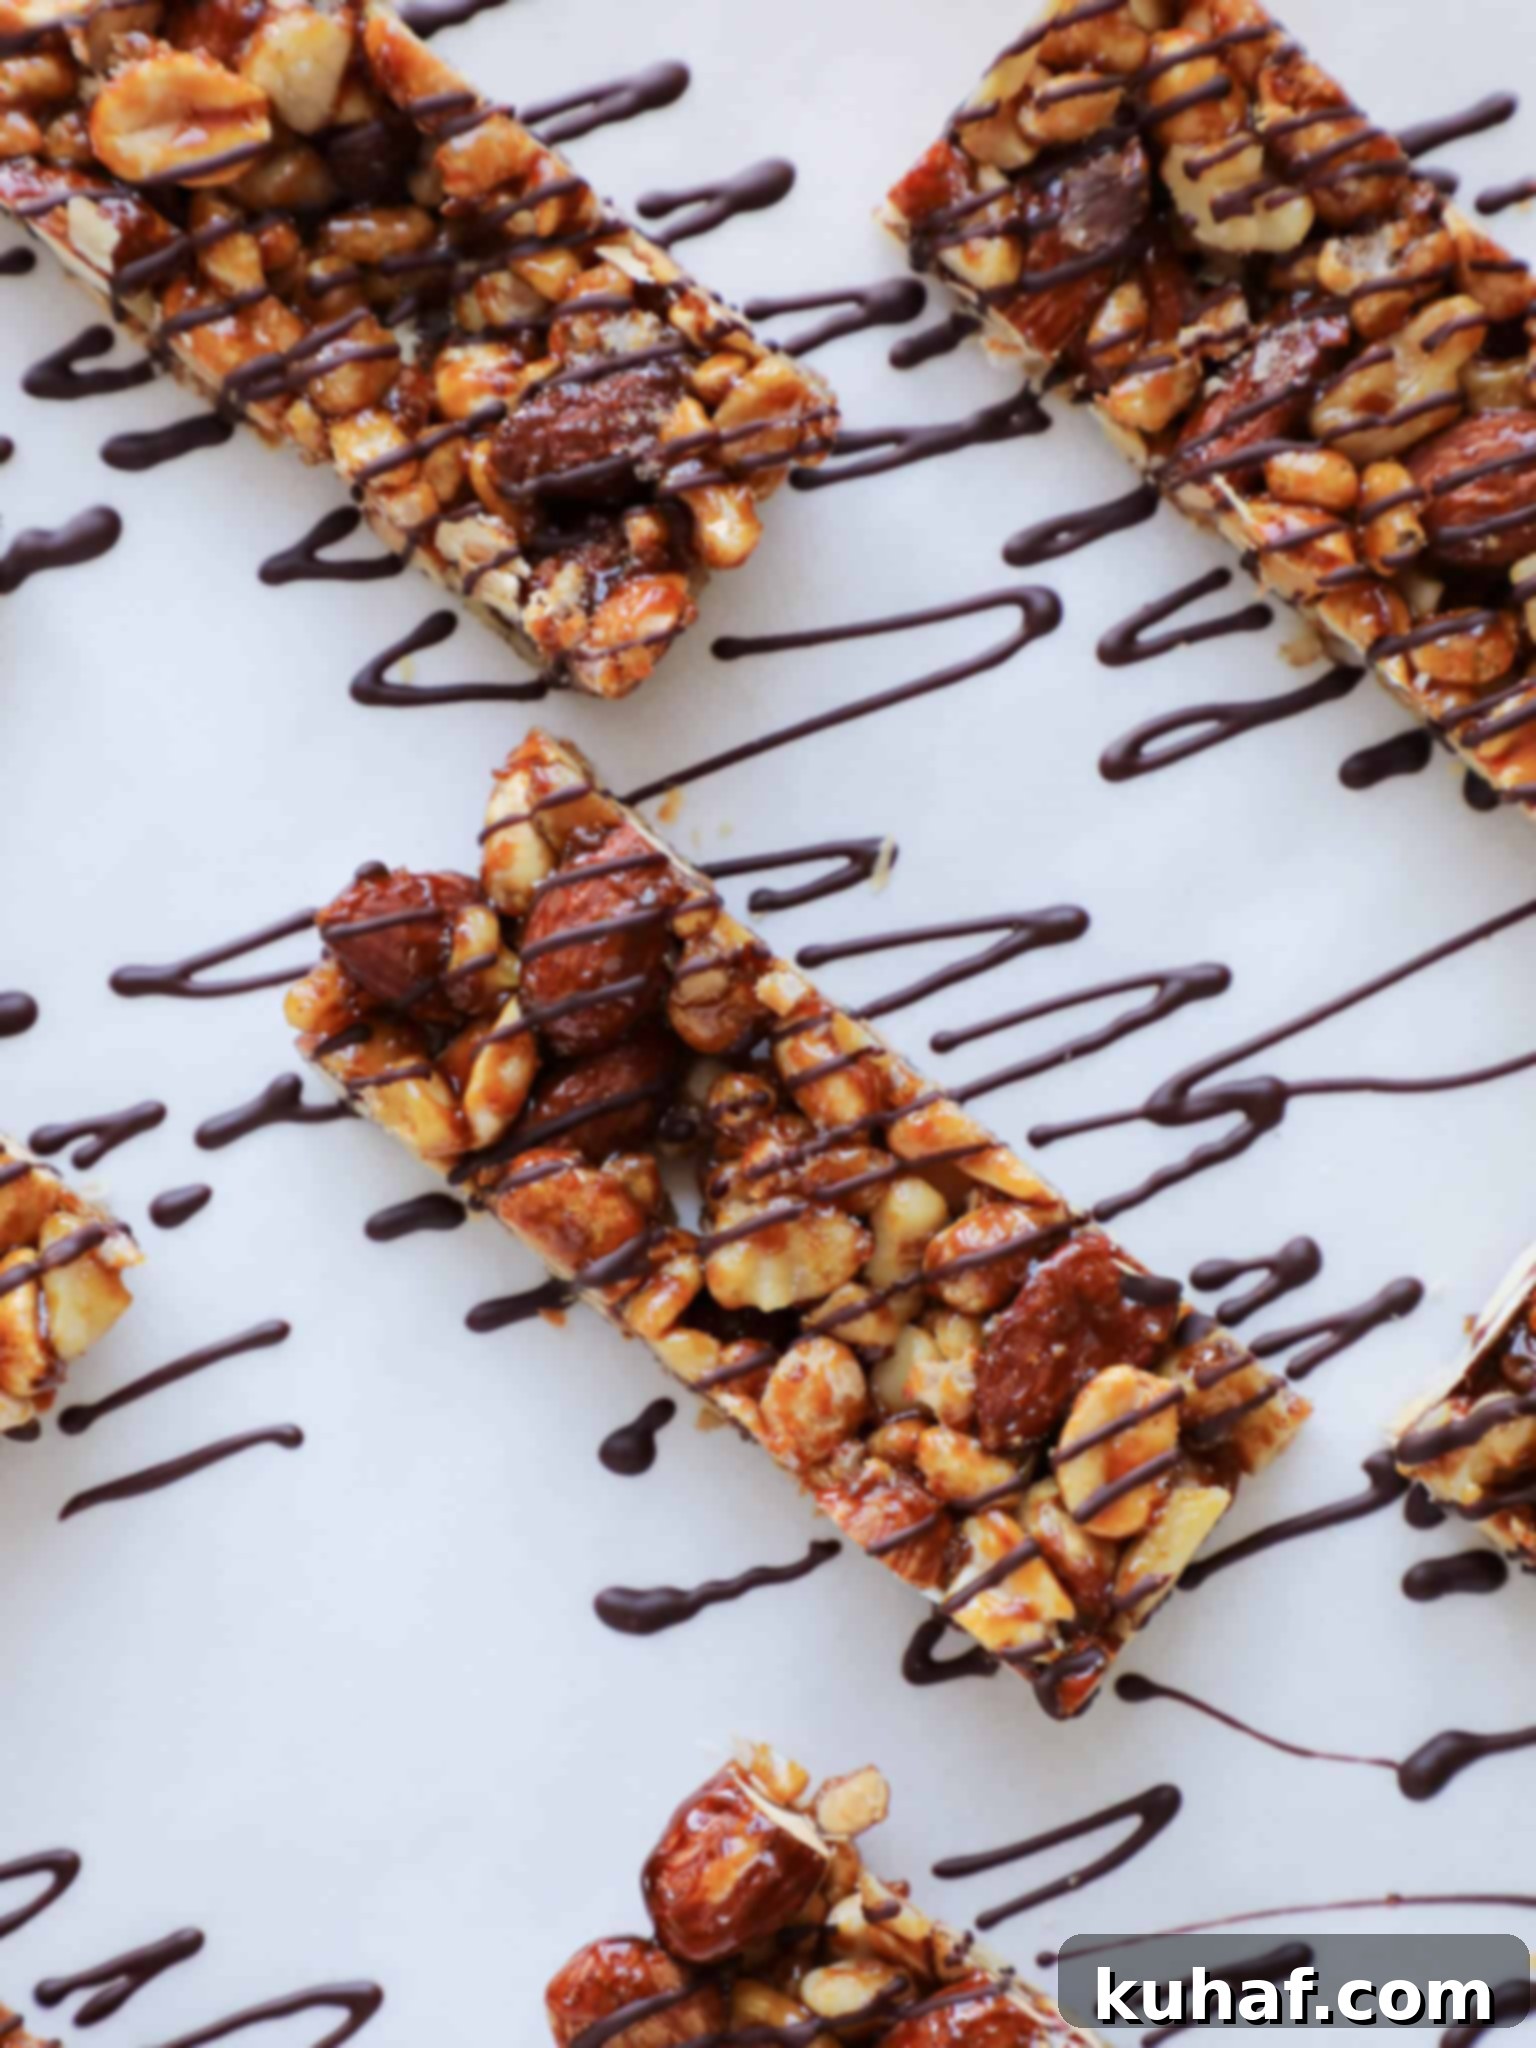
Craving that perfect balance of salty, sweet, and satisfying crunch without the added sugar guilt? Look no further! These Homemade KIND Bars are a healthier, more economical, and incredibly delicious copycat KIND bar recipe. With fewer than 175 calories per bar, they are the ideal wholesome snack to keep you energized throughout your day. Imagine: crunchy nuts, a delightful salty-sweet flavor profile, and a luscious dark chocolate drizzle – all made fresh in your own kitchen!
As a huge fan of tasty, healthy snacks, I can confidently say these Homemade KIND Bars hit all the right notes. They’re perfect as a sweet afternoon pick-me-up, a convenient grab-and-go breakfast, or even a guilt-free after-dinner treat. One of the best aspects of this copycat recipe is that it’s significantly less sweet than many store-bought versions, allowing you to enjoy a satisfying bite without the excessive sugar content. This means you can indulge in their rich flavor and wholesome ingredients without any sugary remorse!
My kitchen is always stocked with an array of healthy snack options, with many more stashed away in the freezer for easy access. These KIND Bar Copycats are a staple in my refrigerator, especially because my husband loves to grab one for a quick energy boost before his workouts. They often share shelf space with other favorites like my apple crisp energy bites or peanut butter banana energy bites. Personally, for my mid-afternoon snack, I often gravitate towards the comforting flavors of my Pumpkin Bran Muffins and Banana Bran Muffins that I keep in the freezer. (And for those moments when I’m leaning towards something a little less healthy but equally delightful, my favorite is the Kind Bar’s decadent cousin, 7 Layer Bars.)
Table of Contents
- Why Make Homemade KIND Bars?
- Essential Equipment for Your Homemade Bars
- Key Ingredients for Our Copycat KIND Bars
- Delicious Variations for Your Homemade KIND Bars
- Expert Tips for Perfect Homemade KIND Bars
- How to Store Your KIND Bar Copycats for Freshness
- Homemade KIND Bars Copycat Recipe
- Before You Go!
Why Make Homemade KIND Bars?
There are numerous compelling reasons to choose this homemade KIND bars copycat recipe over the store-bought alternatives. Beyond the sheer satisfaction of creating something delicious from scratch, these homemade bars offer significant advantages in terms of health, cost, and customization. This recipe boasts fewer calories and, crucially, much less added sugar than the commercially available versions, allowing you to enjoy a guilt-free treat and a truly wholesome snack.
- Significant Cost Savings: Regularly purchasing snack bars can quickly add up, especially if you’re buying them for a family or for daily consumption. Making your own from scratch is far more economical in the long run. By buying ingredients like nuts and grains in bulk, you can significantly reduce the per-bar cost, making healthy snacking more affordable and sustainable for the whole family.
- Complete Ingredient Control: When you craft your own KIND bars at home, you’re in complete control of every single ingredient that goes into them. This means you can actively avoid undesirable additives, artificial flavors, preservatives, and high-fructose corn syrup often found in packaged foods. You can opt for organic nuts, non-GMO puffed rice, or allergen-free ingredients to perfectly suit your dietary needs and preferences, ensuring pure, wholesome goodness in every single bite. This level of transparency is invaluable for health-conscious individuals.
- Reduced and Controlled Sugar Content: Many commercial snack bars, including some popular KIND bar varieties, can be surprisingly high in added sugars, which can lead to energy crashes and contribute to unhealthy eating habits. Our copycat recipe is intentionally designed to be less sweet, relying on natural sweeteners like molasses and honey in moderation. This thoughtful balance allows the natural, rich flavors of the nuts and grains to truly shine through, providing a genuinely satisfying taste without the unnecessary sugar overload.
- Unmatched Customization Options: The ability to customize is perhaps the most exciting and rewarding benefit of making your own healthy snack bars. From swapping out your favorite nuts and adding complementary dried fruits to incorporating different types of chocolate or a variety of seeds, the possibilities are virtually endless. This flexibility ensures that your homemade KIND bars are always tailored to your exact taste preferences and nutritional requirements, making each batch truly unique and perfect for you.
- Superior Nutritional Boost: Our carefully crafted recipe packs a powerful punch with healthy fats, lean protein, and abundant fiber derived from a diverse blend of nuts and flaxseed meal. These essential components contribute significantly to satiety, helping you feel full and satisfied for longer, while also providing sustained energy release to power your day. Furthermore, they support overall digestive health and contribute to a balanced diet. Knowing exactly what’s in your snack allows you to optimize its nutritional value for your specific lifestyle and wellness goals.
Essential Equipment for Your Homemade Bars
Before you dive into making these delightful Homemade KIND Bars, ensure you have the following basic kitchen tools on hand. Having everything ready and organized will make the preparation process smooth, efficient, and enjoyable:
- 8×8 or 9×9 Inch Baking Pan: A sturdy square baking pan is essential for shaping and allowing your nut bars to set properly. Either an 8×8 or 9×9 inch pan will work perfectly, with the larger size yielding slightly thinner bars.
- Parchment Paper: Crucial for effortless removal of the set bars from the pan. Lining the pan with criss-crossed strips of parchment creates convenient “handles” that allow you to lift the entire slab of bars out with ease, preventing sticking and making cutting much simpler.
- Nonstick Cooking Spray: A light application of nonstick cooking spray is recommended to further prevent any sticking, especially in the mixing bowl and on the parchment paper. It ensures a clean release of your delicious homemade KIND bars.
- Large Mixing Bowl: You’ll need a spacious mixing bowl to comfortably combine all your dry ingredients – the nuts, puffed rice cereal, and flaxseed meal – before adding the binding wet mixture.
- Small Pot or Saucepan: A small pot or saucepan is necessary for gently heating and caramelizing the wet ingredient mixture (molasses, honey, vanilla, and salt). Its size is perfect for achieving the right consistency without overheating.
- Sturdy Spatula or Wooden Spoon: A durable spatula or wooden spoon is ideal for stirring the wet mixture as it thickens and, critically, for combining it quickly and thoroughly with the dry ingredients. It’s also useful for pressing the mixture into the pan.
- Sharp Kitchen Knife: Once your homemade KIND bars are completely cooled and set, a sharp, heavy kitchen knife will ensure clean, precise cuts, giving you perfectly portioned and attractive individual bars.
- Piping Bag or Cornet (Optional): For a neat and professional-looking chocolate drizzle, a piping bag with a small tip or a homemade parchment paper cornet is highly recommended. However, don’t worry if you don’t have one – a simple spoon works just as effectively for an artful drizzle!
Key Ingredients for Our Copycat KIND Bars
Crafting the perfect Homemade KIND Bar relies on a thoughtful combination of nuts, grains, and natural binders. Each ingredient plays a vital role in achieving that signature crunchy, chewy, and irresistibly flavorful texture that makes these healthy snack bars so popular. Here’s a closer look at what makes these bars so special and the purpose each ingredient serves:
- Almonds: I typically use whole natural almonds for these homemade nut bars. They provide a satisfying crunch and a rich, slightly buttery flavor that forms a cornerstone of the KIND bar experience. While blanched almonds would also work, I prefer the texture and additional fiber that comes with keeping the skin on. Almonds are also a fantastic source of Vitamin E, healthy monounsaturated fats, and magnesium, contributing significantly to the bars’ nutritional value.
- Dry Roasted Peanuts: For that essential salty kick and a deeper, more pronounced roasted flavor, I highly recommend using salted dry roasted peanuts. The dry roasting process intensifies their natural sweetness and nuttiness, making them taste even better and more familiar in these copycat KIND bars. If you only have raw peanuts on hand, a quick toast in a pan or oven before adding them to the mix will bring out their best flavor. Peanuts are packed with protein and healthy fats, boosting the bar’s satiety factor.
- Walnuts: Lightly chopped, untoasted walnuts introduce a subtler, earthy nut flavor and a wonderful soft crunch to the overall texture. Walnuts are renowned for being one of the best plant-based sources of omega-3 fatty acids, making them a powerful brain-boosting ingredient. Their irregular shape also helps create an interesting and varied texture throughout the bar.
- Puffed Rice Cereal: To add structure, volume, and an extra layer of delightful crunch, puffed rice cereal (such as Rice Krispies) is an essential component. It prevents the bars from being overly dense and contributes significantly to that light, airy, yet crispy element often found in commercial KIND bars, making them more enjoyable to eat.
- Flaxseed Meal: This superfood is not just rich in heart-healthy omega-3 fatty acids and beneficial dietary fiber; it’s also an excellent natural binder for healthy snacks. Flaxseed meal absorbs moisture effectively, helping to hold all the nut and grain components firmly together while simultaneously boosting their nutritional profile with a laundry list of health benefits, including supporting heart health and aiding digestion.
- Molasses: A truly delicious and complex natural sweetener, molasses adds more than just sweetness to these healthy snack bars. It brings a robust, slightly smoky, and deeply caramel-like flavor that honey alone cannot provide, adding depth to the overall taste profile. Crucially, it also thickens nicely when heated, which is vital for creating a firm, perfectly bound, and non-sticky texture for the finished bars.
- Honey: Complementing the molasses, a good quality honey adds a touch of pure, natural sweetness and plays a key role in the binding process, contributing to the bars’ chewiness. If you can find local honey, it’s often said to offer additional benefits, such as potentially helping with seasonal allergies, though its primary role here is flavor and texture.
- Vanilla Extract: Just a hint of vanilla extract elevates all the other flavors, adding a beautiful aromatic depth that makes these bars truly irresistible. It works harmoniously to round out the sweetness and nuttiness perfectly, enhancing the overall gourmet feel.
- Kosher Salt: Kosher salt is absolutely vital for balancing the sweetness of the honey and molasses and for heightening the natural flavors of all the nuts and grains. Its coarser texture and less intense salinity compared to fine table salt make it ideal for this recipe, delivering that perfect salty-sweet contrast that defines a great KIND bar.
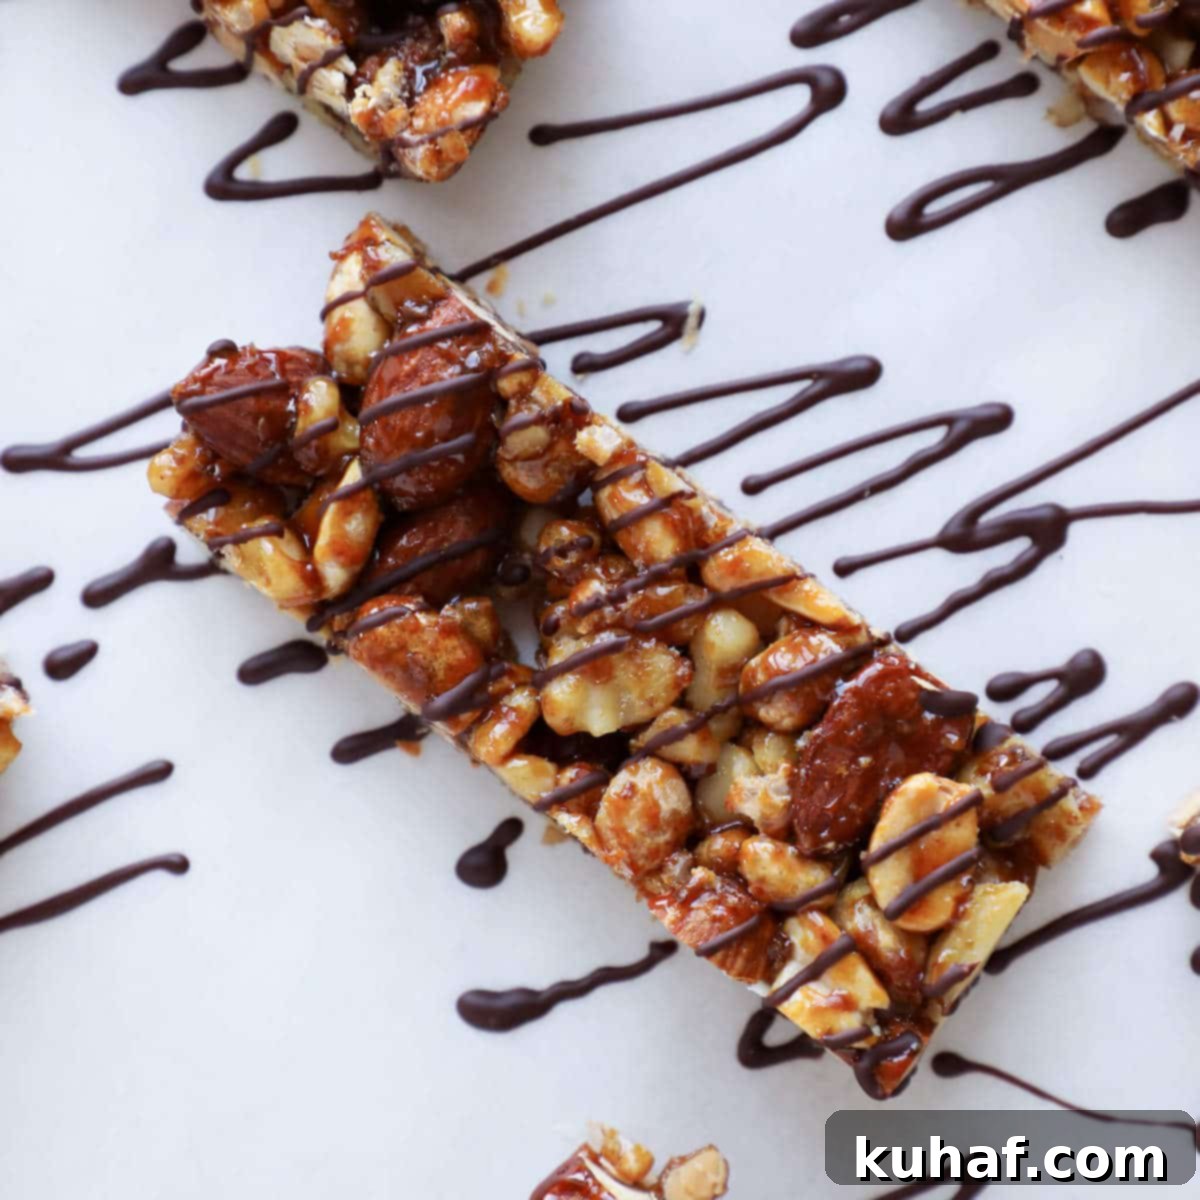
- Dark Chocolate: The finishing touch that transforms these from good to great! While dark chocolate chips are convenient, you can also chop up a good quality semi-sweet chocolate bar for an even richer and more luxurious experience. That signature chocolate drizzle on top not only adds a touch of elegance but also makes these healthy nut bars utterly irresistible, providing a delightful textural and flavor contrast with every bite.
Delicious Variations for Your Homemade KIND Bars
One of the greatest joys of making these KIND bar copycats at home is the endless possibility for customization. Don’t be afraid to experiment and create a signature bar that perfectly suits your taste buds, dietary needs, or whatever ingredients you have on hand!
- Nut Mix Up: The beauty of these homemade nut bars lies in their incredible adaptability. Don’t like walnuts, or perhaps you have a peanut allergy? No problem at all! Feel free to substitute any combination of nuts that you and your family enjoy. Excellent alternatives include pistachios (which I personally love as a vibrant alternative to peanuts), cashews for a creamier texture, pecans for a buttery note, or even macadamia nuts for a truly rich and indulgent flavor. You can also vary the ratio, using more of your absolute favorite nut to create your ultimate personalized blend.
- Add Dried Fruit: For a delightful twist that’s reminiscent of a gourmet granola bar, consider incorporating your favorite dried fruits. This addition will not only introduce a lovely chewiness and natural sweetness but can also help reduce the fat content for a lighter version of the copycat KIND bar recipe. Popular choices include dried cranberries, tart cherries, sweet blueberries, finely chopped apricots, or even soft, diced dates. Just be sure to chop larger fruits into smaller, uniform pieces to ensure they distribute evenly throughout the mix and don’t clump. Start with about ¼ to ½ cup of dried fruit, adjusting the amount to maintain the bar’s structural integrity.
- Chocolate Enhancements: Did I hear you say you want more chocolate *in* the homemade kind bars, not just elegantly drizzled on top?! We definitely think alike! You can easily enhance the chocolate flavor and texture by tossing the dry nuts and grains with up to 1 tablespoon of cocoa powder before adding the wet mixture. This creates a deep, rich chocolate base. Alternatively, you could gently fold in mini chocolate chips or finely chopped chocolate directly into the nut mixture just before pressing it into the pan. For the drizzle, explore different types of chocolate – milk chocolate for a sweeter touch, white chocolate for a creamy contrast, or even a blend of dark and milk for a beautiful marbled effect!
- Seed Power Boost: Amp up the nutrition and introduce even more crunch by adding a variety of super seeds to your mix. Chia seeds, hemp seeds, sunflower seeds, or pumpkin seeds (often called pepitas) are all fantastic choices. They contribute healthy fats, additional protein, and valuable fiber, making your bars even more satisfying and nutrient-dense. Add 1-2 tablespoons of your chosen seeds to the dry mixture along with the nuts and puffed rice.
- Spice It Up: A pinch of warm spice can truly transform the flavor profile of your homemade nut bars, especially during the colder months. Consider adding ½ teaspoon of ground cinnamon, a ¼ teaspoon of nutmeg, or even a tiny pinch of aromatic cardamom to the wet mixture for a warm, comforting, and aromatic touch that will elevate the entire bar.
- Protein Packed: For those looking for a significant protein boost, you can stir in 1-2 tablespoons of unflavored or vanilla-flavored protein powder into the dry mix. Be aware that some protein powders can alter the texture and absorb moisture, so you might need to add a tiny bit more liquid binder (molasses/honey) to compensate and ensure the bars hold together well.
- Flavorful Extracts: Beyond classic vanilla, a few drops of other extracts can create entirely new and exciting flavor experiences. Try almond extract for an extra nutty depth, peppermint extract (especially when paired with chocolate!) for a refreshing minty twist, or even a hint of orange zest for a bright, citrusy note. Add these to the wet mixture along with the vanilla.
Expert Tips for Perfect Homemade KIND Bars
Achieving that ideal crunchy, chewy, and perfectly set texture for your homemade KIND bars is simpler than you might think. Follow these expert tips for success every time, ensuring your healthy snack bars are nothing short of perfection:
- Master the Pan Preparation: Never skip the criss-crossed parchment paper lining! This is your absolute secret weapon for easily removing the entire slab of bars from the pan without any sticking or crumbling. A light spray of nonstick cooking spray beneath the parchment also helps secure it and provides extra insurance against any errant sticky spots. Taking this small step will save you a lot of frustration later.
- Enhance Flavor by Toasting Nuts: While some peanuts come dry roasted, ensuring all your nuts (almonds, walnuts, and any other additions) are lightly toasted beforehand can significantly enhance their flavor and contribute to a more pronounced crunch. You can achieve this quickly in a dry pan over medium heat for 5-7 minutes, stirring frequently until fragrant, or by spreading them on a baking sheet and roasting in a 350°F (175°C) oven for 8-10 minutes. Always let them cool completely before adding them to the mixture.
- Do Not Overcook the Wet Mixture: The key to a perfectly non-sticky, yet perfectly binding caramel-like syrup is to cook the molasses and honey mixture just until it thickens and starts to smell subtly caramelized. This usually takes about 2-3 minutes over medium-low heat. You’ll notice it coats the back of a spoon and doesn’t immediately thin out. Be vigilant: overcooking can lead to hard, brittle bars that are difficult to chew, while undercooking will result in crumbly, loose bars that won’t hold their shape.
- Work with Speed and Precision: Once the wet mixture is ready and has reached the ideal consistency, pour it immediately over the dry ingredients in your large mixing bowl. The mixture will begin to cool and thicken very quickly, so stir vigorously and swiftly to ensure all the nuts, seeds, and cereal are evenly coated before it becomes too stiff and difficult to work with. Time is of the essence in this step!
- Press Down Firmly and Evenly: This step is absolutely crucial for creating well-formed, cohesive bars that don’t fall apart. Once the combined mixture is transferred to the prepared pan, use an additional piece of parchment paper or the back of a spoon (lightly sprayed with nonstick spray) to press the mixture down very firmly and evenly across the entire bottom of the pan. The more compacted and level the mixture is, the more likely your bars will hold together beautifully when cut.
- Allow for Complete Cooling: Patience is truly a virtue when making homemade KIND bars! Do not attempt to cut the bars before they are completely cool and fully set. This process ideally takes at least 2-3 hours at room temperature, or you can expedite it by placing the pan in the refrigerator for about an hour. Rushing this critical step will almost certainly result in messy, crumbly bars rather than neat, firm ones.
- Ensure Clean Cuts: For neat, professional-looking bars, always use a sharp, heavy knife. If you find the mixture is sticking to the knife during cutting, simply run the blade under hot water and wipe it clean between each slice. For very firm bars (especially if they have been refrigerated), you might find it helpful to let them sit at room temperature for 5-10 minutes before attempting to cut them, allowing them to soften just enough.
- Chocolate Tempering (Optional, for Professional Finish): If you desire your chocolate drizzle to have a beautiful glossy finish, a satisfying snap when broken, and to avoid melting easily at room temperature, proper tempering is key. While tempering can be a bit advanced for home bakers, simply melting your chocolate gently (using a microwave in short 30-second bursts, stirring in between, or a double boiler method) and being careful not to overheat it will usually suffice for a delicious homemade result. If it does happen to lose its temper and appears dull or soft, don’t worry – it will still taste absolutely fantastic, especially when stored in the fridge!
How to Store Your KIND Bar Copycats for Freshness
Proper storage is essential to maintain the delicious texture, crunch, and overall freshness of your homemade KIND bars. The ideal storage method can vary depending on your personal preference for texture and how long you intend to keep them.
- Refrigeration for Optimal Crunch: I personally find that storing these homemade snack bars in an airtight plastic zip-top bag or container in the refrigerator yields the best results. This method consistently delivers an extra crunchy texture that I absolutely love, mimicking the satisfying snap of commercial bars. The coolness helps the bars firm up beautifully, and the chocolate drizzle sets perfectly, preventing any stickiness. When stored in the refrigerator, your KIND bar copycats will remain fresh and delightful for up to 3 months, making them an excellent and convenient option for healthy meal prepping.
- Room Temperature Storage: If you prefer a slightly softer, chewier bar, you can opt to store them at room temperature in an airtight container for up to a month. However, it’s important to note that depending on the ambient temperature of your room, especially during warmer months or in humid climates, the chocolate drizzle might get a little soft or even melt. While this won’t affect the taste, it can make them a bit messier to handle. Ensure they are kept in a cool, dry place, away from direct sunlight or heat sources, to preserve their quality.
- Freezing for Long-Term Freshness: For extended storage, these homemade nut bars freeze exceptionally well, making them perfect for batch cooking. To freeze, first allow the bars to set completely. Then, wrap individual bars tightly in plastic wrap (to prevent freezer burn), and place them in a freezer-safe zip-top bag or an airtight container. They will maintain their quality and flavor for up to 6 months in the freezer. When you’re ready to enjoy one, simply grab a bar and let it thaw at room temperature for about 10-15 minutes. Alternatively, many people enjoy them straight from the freezer for an extra-cold, refreshing, and surprisingly chewy treat!
- Preventing Sticking When Stacking: Regardless of your chosen storage method, if you’re stacking multiple bars in a container, it’s a good idea to place small squares of parchment paper or wax paper between them. This simple step helps prevent them from sticking together, especially if the chocolate drizzle isn’t completely firm or if there’s any moisture.
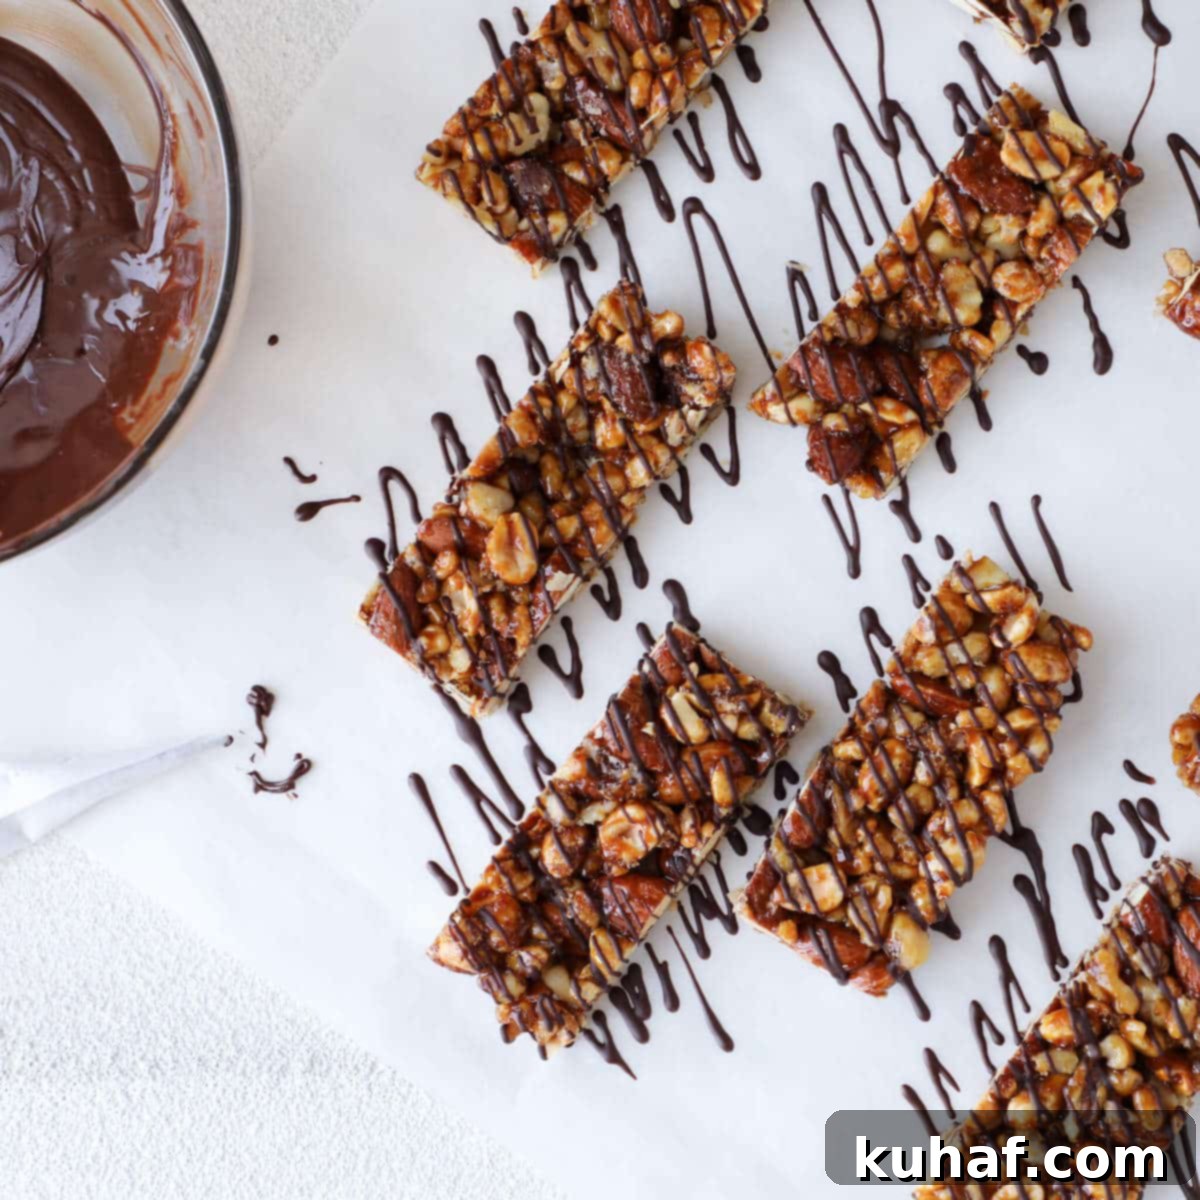
This post was originally a heartfelt guest contribution from Kayle at The Cooking Actress. Her generosity shone through as she stepped in to help me out while I was moving to New York City for culinary school. Kayle and I have had the pleasure of meeting several times over the years, both in the bustling city of NYC and in charming Cleveland! Kayle is an absolute beam of sunshine – a truly inspiring mom, a talented blogger, and a wonderful friend. I have since updated and photographed her adaptation of this incredible recipe, which was originally inspired by Kelly from Eat Yourself Skinny. So, the vibrant and inviting photos you see here are my own, reflecting the joy and deliciousness of these improved Homemade KIND Bars, a testament to culinary collaboration and friendship.
Homemade KIND Bars Copycat Recipe
Pin Recipe
Comment
Print Recipe
Ingredients
- ½ cup whole almonds roasted for enhanced flavor and crunch
- ½ cup dry roasted peanuts salted for that perfect salty-sweet balance
- ½ cup walnuts lightly chopped, untoasted for subtle earthiness
- ⅓ cup puffed rice cereal such as Rice Krispies, for body and extra crunch
- 1 tablespoon flaxseed meal a fantastic natural binder and fiber source
- 2 tablespoons molasses for rich flavor and a non-sticky, firm texture
- 2 tablespoons honey adds sweetness and assists in binding all ingredients
- ½ teaspoon vanilla extract enhances and complements all the sweet and nutty flavors
- ½ teaspoon kosher salt balances the sweetness and heightens natural flavors perfectly
- 2 tablespoons dark chocolate chips or chopped semi-sweet chocolate bar, for a decadent drizzle
Instructions
-
1. Prepare Your Pan: Begin by lining an 8×8 inch or 9×9 inch baking pan with criss-crossed parchment paper. Cut two strips of parchment paper the width of the pan sides, ensuring each strip is long enough to create a slight overhang. These overhangs will act as convenient handles, allowing you to effortlessly lift the cooled bars from the pan later. For extra nonstick insurance, spray a little nonstick cooking spray on the bottom of the pan before laying down the first piece of parchment, then repeat for the second piece going in the opposite direction. If you’re a visual learner, my video tutorial above provides a clear demonstration of this important first step.
-
2. Combine Dry Ingredients: Lightly spray a large mixing bowl with nonstick cooking spray. This crucial step helps prevent the sticky bar mixture from adhering to the bowl as it cools and sets. In this prepared bowl, combine the whole almonds, dry roasted peanuts, chopped walnuts, puffed rice cereal, and flaxseed meal. Toss gently with a spoon or your hands to ensure all the dry ingredients are thoroughly mixed and evenly distributed. Set this bowl aside for a moment while you prepare the wet binder.
-
3. Create the Wet Binding Mixture: In a small saucepan, combine the molasses, honey, vanilla extract, and kosher salt. Stir these ingredients together until they are well blended and appear uniform. Place the pot over medium-low heat and cook, stirring frequently and continuously, until the mixture visibly thickens and you begin to smell a subtle caramelized aroma. The goal is for the honey to start caramelizing, which can be a bit tricky to detect through the strong, rich scent of molasses, but trust your nose – this process typically takes about 2-3 minutes. The mixture should lightly coat the back of a spoon and not immediately run off. This consistency is key for binding the bars effectively.
-
4. Combine and Press: Once the wet mixture has reached the desired thickened and slightly caramelized consistency, immediately and carefully pour it over the dry nut and cereal mixture in the large mixing bowl. Working quickly, use a sturdy spatula or wooden spoon to stir the nuts and wet ingredients together until all the dry components are thoroughly coated and well integrated. This step requires swift action as the mixture will begin to cool and stiffen rapidly. Scrape the entire mixture into your prepared baking pan. Use another piece of parchment paper or the back of a lightly greased spoon to press the mixture down very firmly and evenly across the bottom of the pan. The firmer and more consistently you press, the more cohesive and well-formed your homemade KIND bars will be, ensuring they hold together perfectly when cut.
-
5. Cool Completely: This is a critical step for proper setting and clean cutting, so patience is key! Allow the bars to cool completely at room temperature. Depending on the ambient temperature and humidity, this can take several hours (typically 2-3 hours). For faster setting, especially if you’re in a hurry, you can place the pan in the refrigerator for about an hour. Do not attempt to cut the bars before they are fully firm and cool, as rushing this step will result in messy, crumbly bars rather than neat, solid ones.
-
6. Cut into Bars: Once the bars are fully cooled and firm, use the parchment paper overhangs to carefully lift the entire block of bars out of the baking pan and transfer it onto a clean cutting board. Using a sharp, heavy kitchen knife, carefully cut the block into 10 uniform bars. For the neatest, most professional-looking cuts, you can wipe the knife clean with a damp cloth between each slice to prevent sticking and dragging.
-
7. Drizzle with Chocolate: Melt your dark chocolate chips (or chopped chocolate bar) partially in the microwave using 30-second intervals, stirring thoroughly after each interval to prevent burning, or in a heatproof bowl set over a pot of simmering water (the double boiler method). Stir until the chocolate is completely smooth and melted. Transfer the melted chocolate to a piping bag with a small tip or create a makeshift cornet from parchment paper for precise and elegant drizzling. Alternatively, for a more rustic look, simply drizzle the chocolate artfully from a spoon over the tops of your bars. Allow the chocolate to set completely. If your chocolate was not tempered (heated to a specific temperature for stability) and the room is warm, you might need to place the bars back in the refrigerator for 10-15 minutes to help the chocolate firm up quickly and prevent stickiness.
-
8. Enjoy Your Homemade KIND Bars! Your delicious, healthy, and satisfying Homemade KIND Bars are now ready to be enjoyed! As mentioned, I particularly love them cold, straight from the fridge, for an extra firm and delightfully crunchy texture. These make fantastic grab-and-go snacks or healthy desserts.
Video Tutorial
Nutrition Information (Per Bar)
Before You Go! Discover More Delicious Recipes
If you loved making these healthy Homemade KIND Bars, be sure to explore all our other delightful, pastry chef-created Breakfast Recipes and healthy snack ideas. You’re sure to find your next favorite treat and expand your repertoire of wholesome, homemade goodness!
