Mastering Dark Chocolate Tempering: The Ultimate Ice Bath Method for Perfect Results
Welcome to your comprehensive guide on tempering dark chocolate using the simple yet highly effective ice bath method! As a pastry chef, I’m thrilled to share this technique that requires no specialized equipment or elaborate setups. Whether you’re a home baker or an aspiring chocolatier, this method will empower you to achieve perfectly tempered chocolate with a beautiful shine and satisfying snap, every single time. Forget the marble slabs and seeding methods for a moment; all you need is some chocolate, ice, a little patience, and this detailed instruction.
Consider this your go-to, anytime, anyplace dark chocolate tempering recipe. This approach demystifies the process, proving that achieving professional-quality chocolate at home is entirely within reach. You won’t need fancy tools like a marble slab for spreading or pre-tempered “seed” chocolate. With just a few basic kitchen items, you’ll learn how to manipulate the chocolate’s crystalline structure to achieve that coveted glossy finish and firm snap, transforming your homemade treats into culinary masterpieces. This guide is designed to make you confident in handling one of baking’s most rewarding, yet often intimidating, techniques.
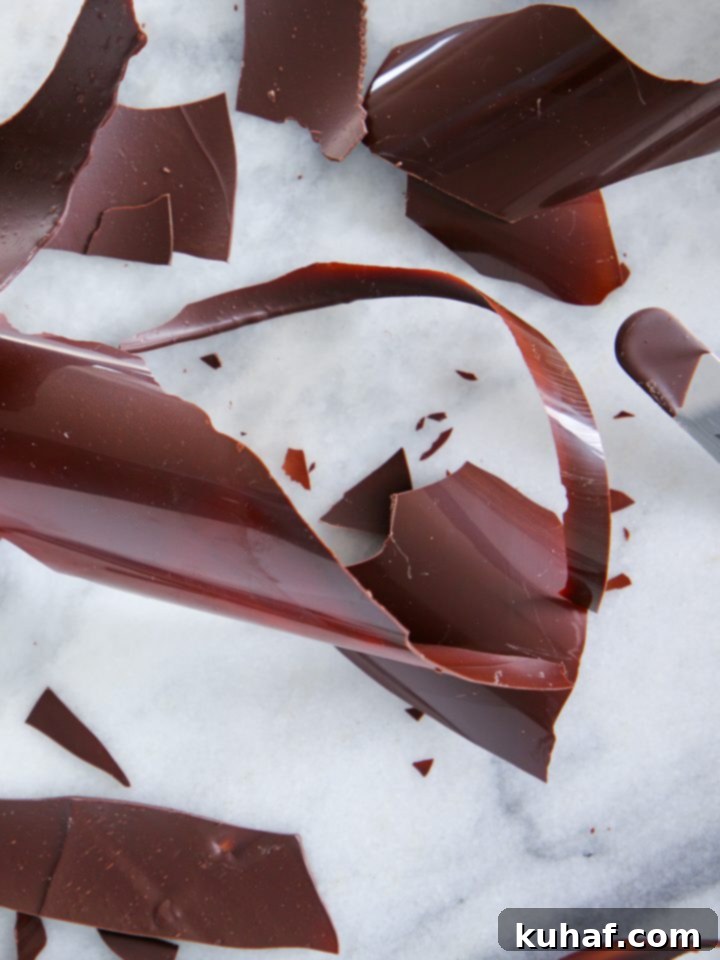
Table of contents
- What is tempering chocolate?
- How do I know when dark chocolate is in temper?
- Essential Tips for Tempering Dark Chocolate:
- Troubleshooting Common Dark Chocolate Tempering Issues:
- Key Facts for Tempering Dark Chocolate with the Ice Bath Method:
What is Tempering Chocolate? Understanding the Science Behind the Shine
In essence, tempering chocolate is a precise process of heating and cooling chocolate to control the crystallization of cocoa butter. Cocoa butter naturally forms six different types of crystals (Forms I through VI), but only one, the Beta (Form V) crystal, provides the desirable characteristics we associate with high-quality chocolate: a beautiful glossy finish, a firm snap when broken, and a smooth, melt-in-your-mouth texture. Untempered chocolate, on the other hand, will appear dull, crumbly, and melt too easily.
The tempering process involves three critical stages for dark chocolate. First, you heat the chocolate to a specific temperature, typically around 120°F (49°C). At this temperature, all existing cocoa butter crystal structures, both “good” and “bad,” are completely melted and destroyed. Think of this as hitting the “reset button” for your chocolate. Next, you cool the chocolate down to a precise temperature range, usually 81°F (27°C) for dark chocolate, while constantly stirring. This controlled cooling allows the desirable Beta crystals to form and stabilize without allowing the larger, less stable “bad” crystals to develop. If the chocolate cools below 80°F (26.7°C), those undesirable crystals can begin to reform. Finally, you gently reheat the chocolate to its “Working Range,” which for dark chocolate is between 88°F and 91°F (31-33°C). This final gentle warming ensures the chocolate is fluid enough to work with while maintaining the stable Beta crystal structure. Mastering these temperature points is the key to achieving perfectly tempered chocolate.
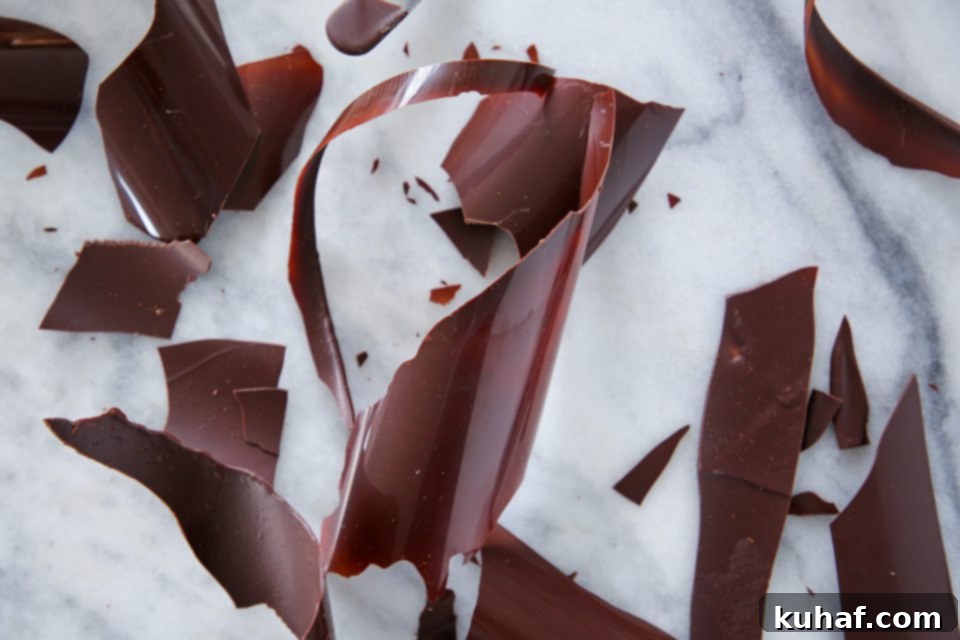
How Do I Know When Dark Chocolate Is In Temper? The Three Tell-Tale Signs
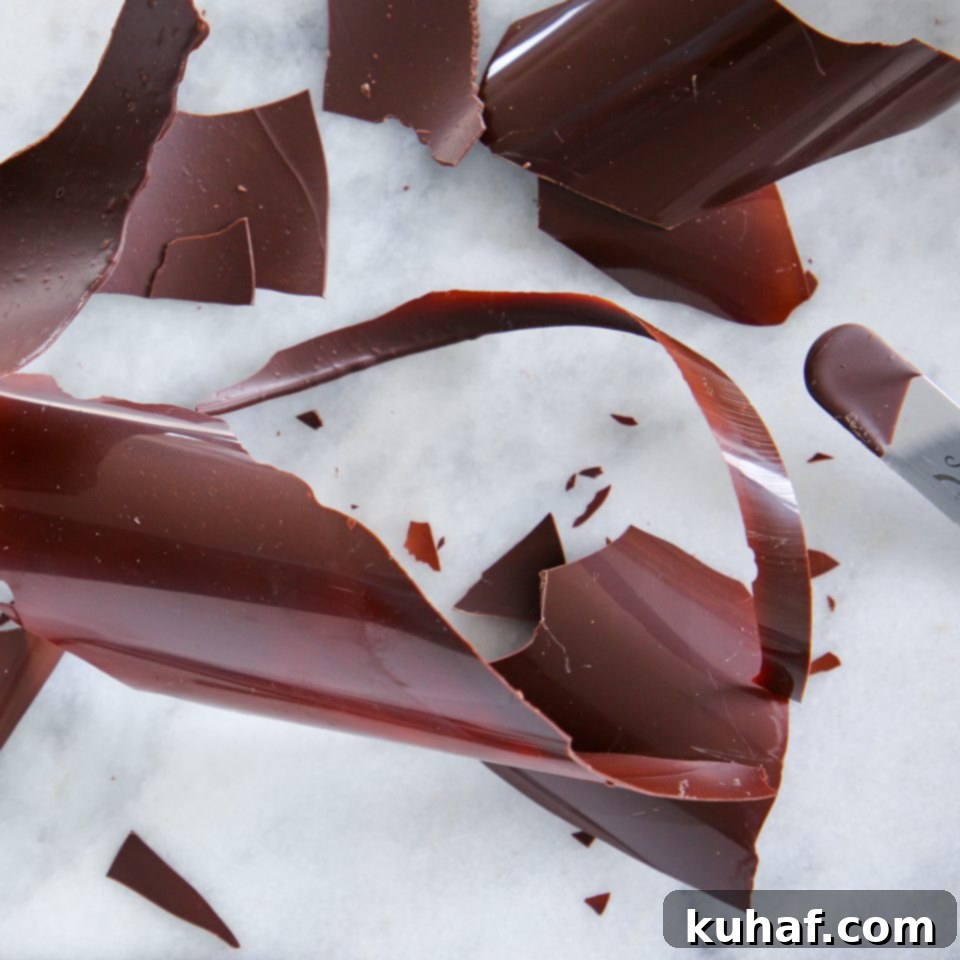
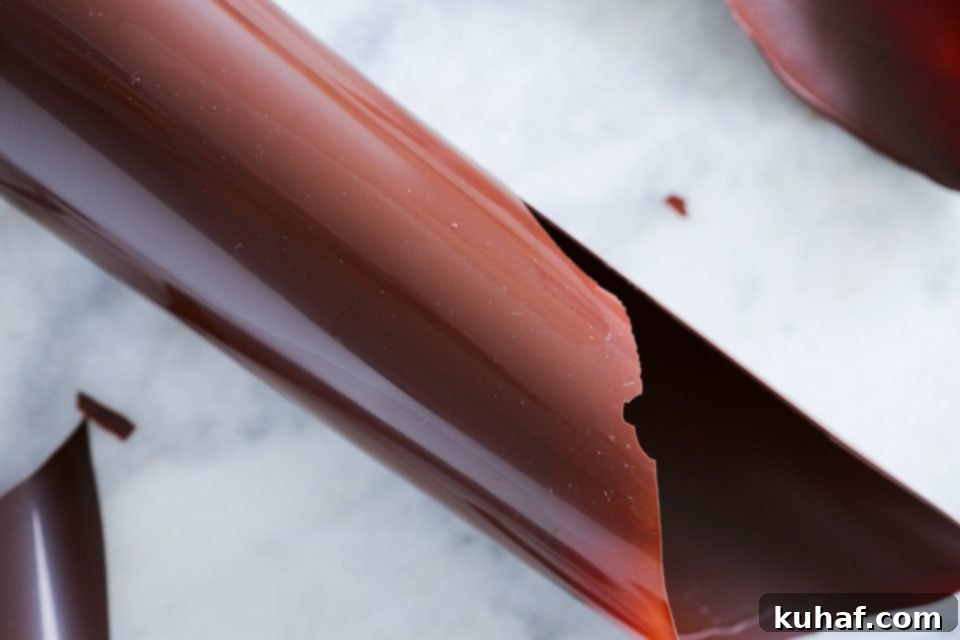
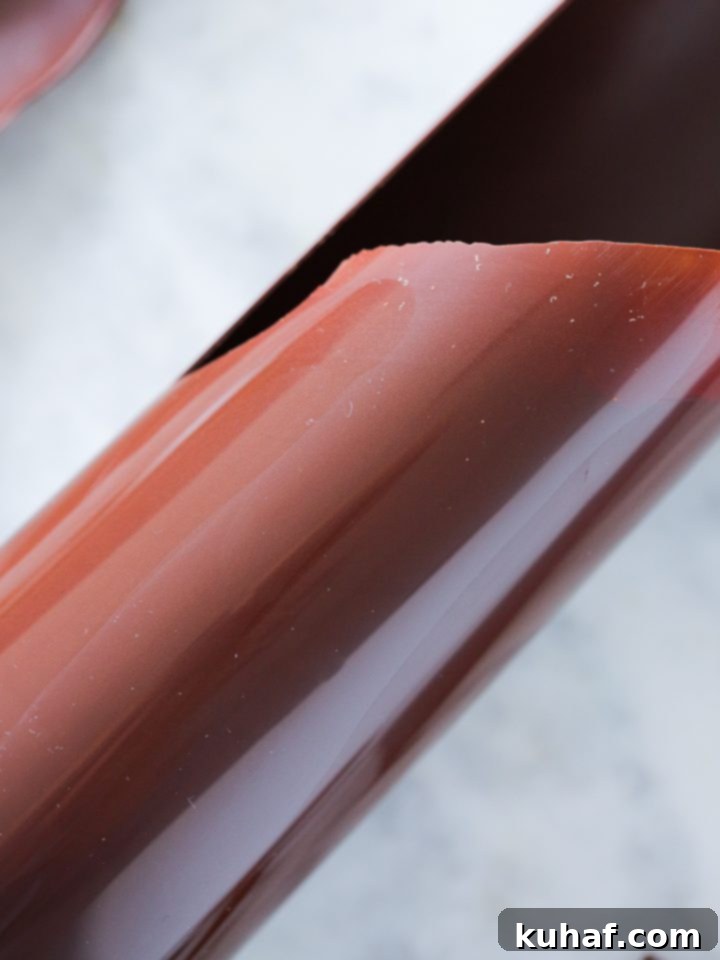
Knowing if your chocolate is properly tempered is crucial before you begin your dipping or molding projects. When dark chocolate is truly in temper, it exhibits a combination of distinct characteristics. Firstly, it will be beautifully **shiny and glossy** on its surface, reflecting light evenly. Secondly, it will **set at room temperature** (or slightly below) relatively quickly, typically within a minute or two, forming a solid, stable piece. Thirdly, and most satisfyingly, when broken, it will produce a crisp, distinct **”snap”** and reveal a smooth, even texture inside. Lastly, a perfectly tempered chocolate will offer a smooth, luxurious **mouthfeel** as it melts evenly on your tongue.
It’s important to note that environmental factors play a role. Even perfectly tempered chocolate might struggle to set properly if your room is excessively humid or too hot. A cool, dry environment is always ideal for working with chocolate. If the conditions aren’t right, the chocolate might remain soft or take an unusually long time to harden, regardless of its temper.
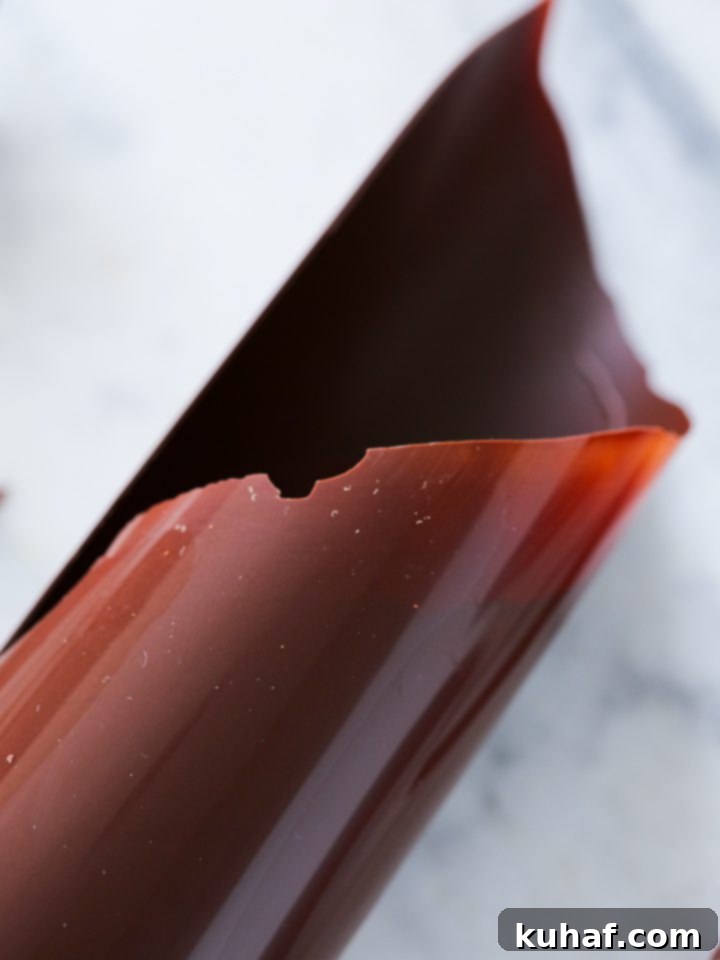
There can be varying degrees of temper. While all tempered chocolate will eventually set at room temperature, chocolate that is less than perfectly tempered will lack that brilliant shine, produce a weaker snap, and may even show unattractive streaks or “bloom” on its surface. These imperfections, while not affecting the taste significantly, can detract from the visual appeal of your finished confections. Aiming for perfection in tempering ensures your creations are as delightful to look at as they are to eat.
Essential Tips for Tempering Dark Chocolate: A Pastry Chef’s Wisdom
- Water is Enemy #1: This cannot be stressed enough – even a single drop of water can ruin your chocolate’s temper. Water causes chocolate to “seize,” turning it from a smooth, fluid mass into a thick, gritty, unworkable paste. When water gets in, it prevents the cocoa solids from dispersing properly and the good crystal structure from forming. If a little water does get in, your chocolate might still technically temper, but it won’t be shiny, and you’ll likely experience “water bloom”—a dull, unattractive streaky or whitish film on the surface. Unfortunately, once chocolate has seized or developed water bloom, you cannot recover its temper for dipping or molding. Don’t despair, though! Instead of throwing it out, melt it down and use it in recipes where its texture isn’t critical, like a moist flourless chocolate cake, a rich chocolate ice cream, creamy chocolate buttercream, or decadent fudgy brownies!
- Keep it Moving!: Tempering chocolate is an active process. Prepare yourself for consistent stirring, sometimes for up to an hour. Agitation is absolutely essential for the formation and even distribution of stable Beta crystals. It ensures that the chocolate heats and cools uniformly, preventing localized hot or cold spots that can disrupt the delicate crystal structure. Without continuous stirring, you risk the chocolate setting unevenly, resulting in those undesirable streaks and an overall poor temper. Think of it as gently massaging the chocolate into its perfect state, both on and off the ice bath.
- Proper Ice Bath Setup: When preparing your ice bath, remember that it’s not just about the ice; it’s about the cold water surrounding it. Ensure there’s enough water mixed with the ice to create a truly “cold bath” for your bowl. This allows the bowl to cool evenly and efficiently, ensuring the entire mass of chocolate cools at a consistent rate. Make sure the ice bath bowl is larger than your chocolate bowl, and the water level in the ice bath should be low enough that there’s absolutely no risk of ice water splashing into your chocolate as you stir and move the bowl.
- Always Test Your Temper: This step is non-negotiable, even for experienced pastry chefs. Unless you’re using a fancy tempering machine (lucky you!), always test your chocolate before proceeding with your work. There’s nothing more frustrating than carefully dipping a batch of bonbons or meticulously pouring chocolate for delicate décor, only to discover it hasn’t set properly because it wasn’t in temper. To test, simply dip the tip of a clean paring knife or offset spatula into the chocolate, tap off any excess, and let it sit at room temperature for a minute or two. If it begins to set and looks glossy within that time, you’re good to go. If it remains liquid or dull, your chocolate isn’t in temper, likely due to overheating, undercooling, or a combination of both.
- Use Metal Bowls for Optimal Control: You might notice in some videos, including mine, that Pyrex or ceramic bowls are sometimes used. However, these are far from ideal for tempering. Glass and ceramic bowls retain heat or cold for too long, making it incredibly difficult to precisely control the chocolate’s temperature as it transitions between heating and cooling stages. I’ve personally experienced the frustration of trying to guess how long a Pyrex bowl would continue to cool after being removed from the ice bath, leading to inconsistent results. Save yourself the headache and invest in good quality metal bowls. Metal conducts temperature much more efficiently, allowing for quick and accurate temperature adjustments, which is vital for successful tempering.
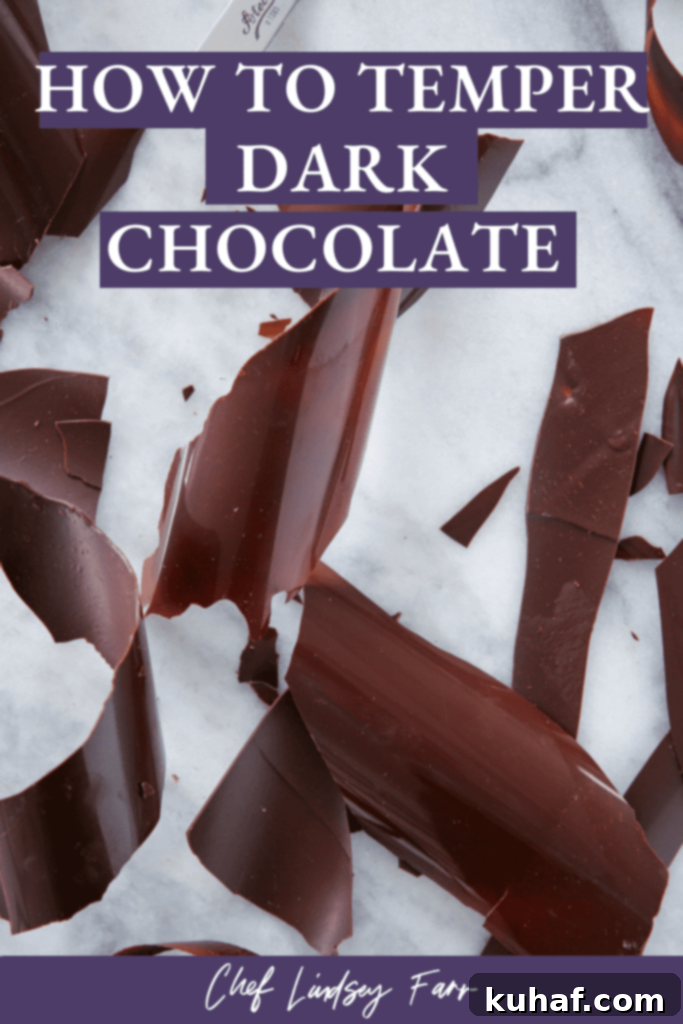
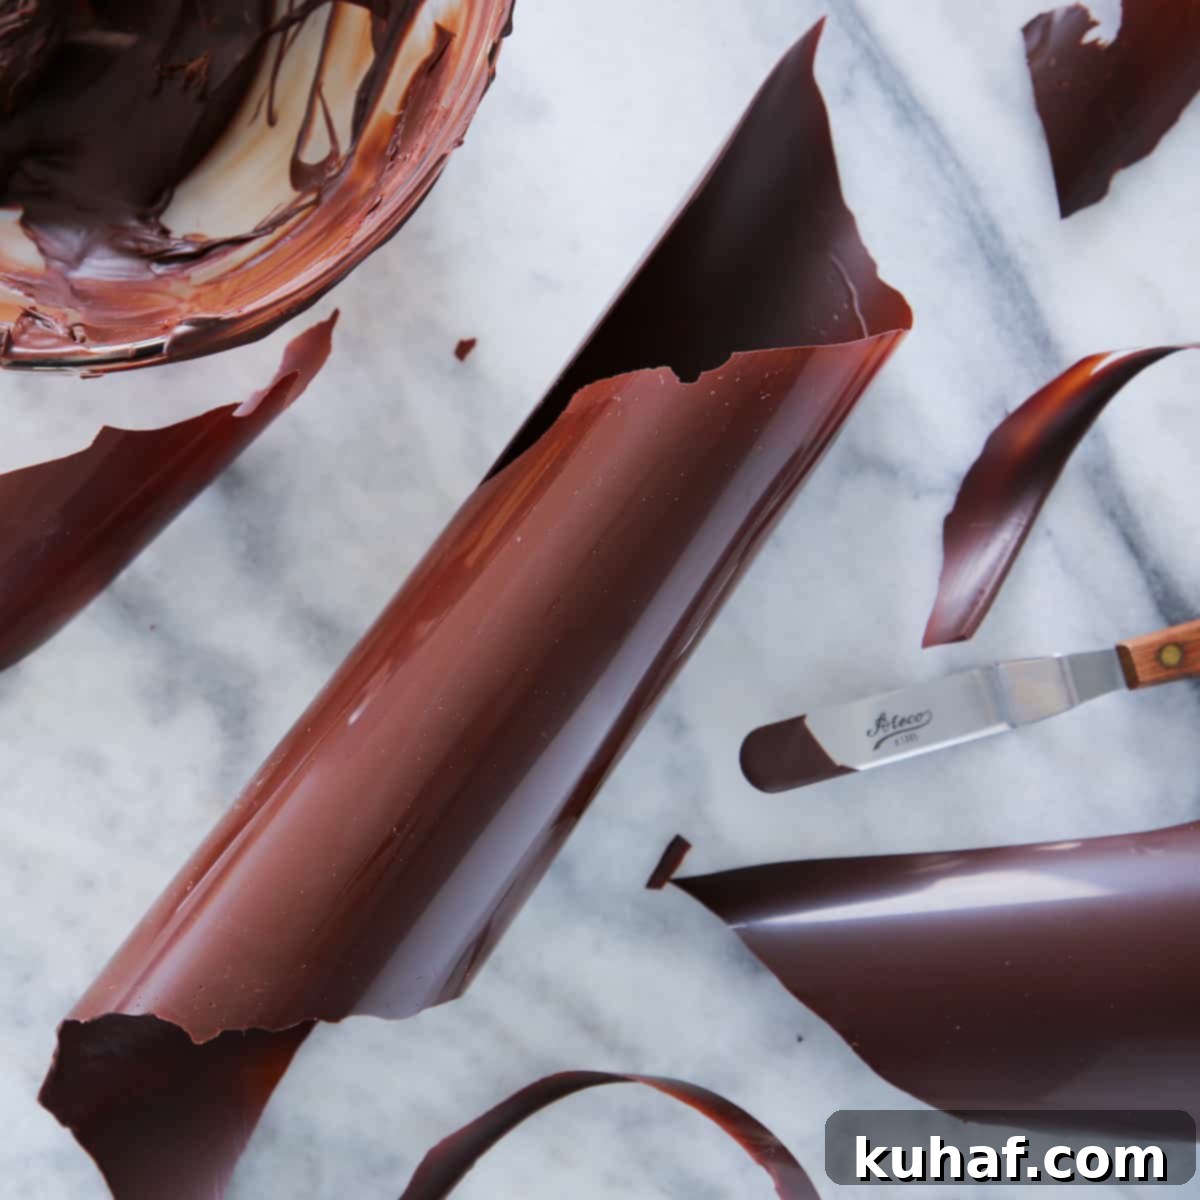
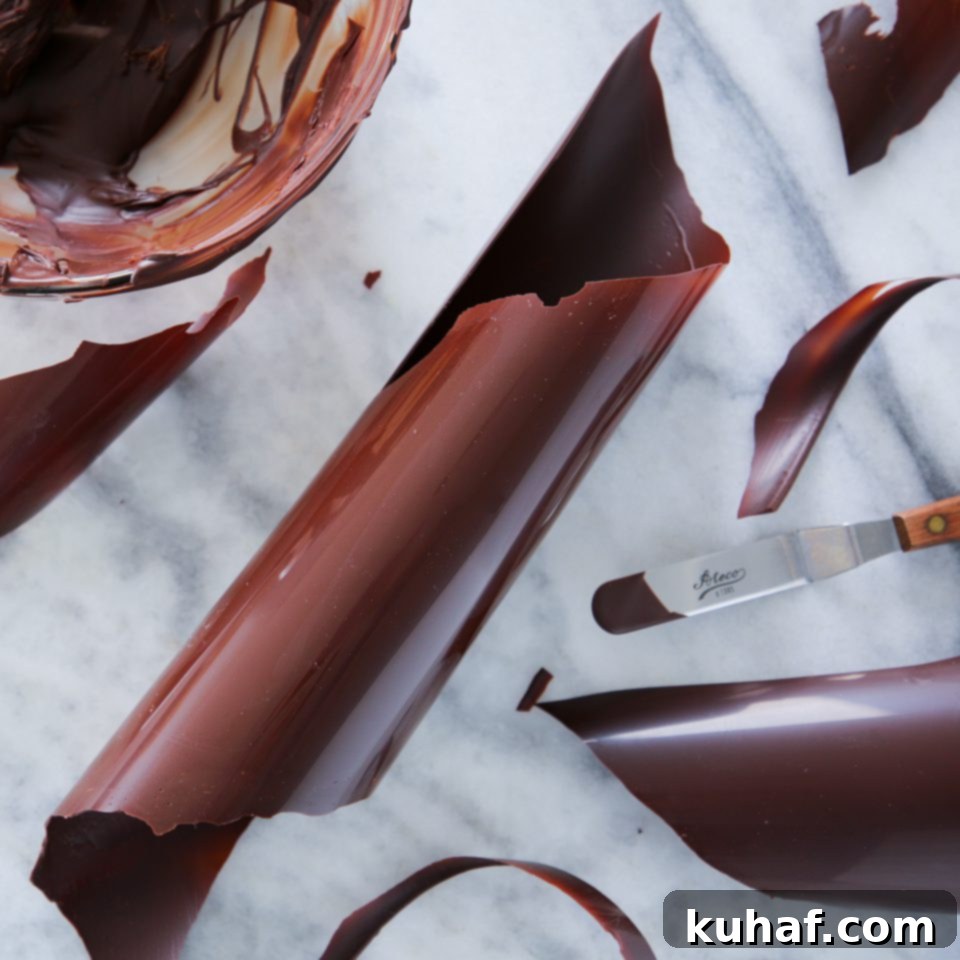
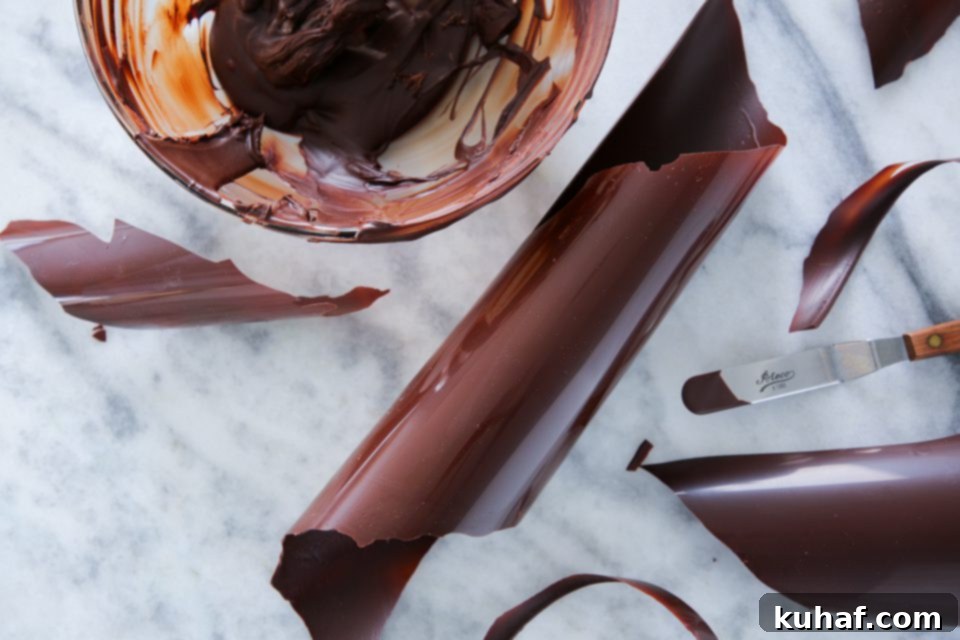
- Acetate: Your Best Friend for Brilliant Shine: While tempered dark chocolate will set on almost any surface (which can sometimes feel like a mixed blessing!), you’ll achieve unparalleled brilliance and a professional-grade shine for your décor or cutouts by spreading it on acetate sheets. Acetate provides a perfectly smooth, non-porous surface that allows the chocolate to set with maximum gloss. You can easily purchase acetate sheets online or at baking supply stores; those used for cake collars work beautifully. For larger projects, wider sheets offer more surface area to unleash your creativity.
- Work with a Critical Mass of Chocolate: Attempting to temper a very small amount of chocolate with the ice bath method is nearly impossible. A small quantity will heat and cool too rapidly, rushing through the critical temperature ranges before you have sufficient time to monitor and adjust. For consistent and manageable results, I recommend working with at least one pound (approximately 450-500 grams) of chocolate. This larger volume provides thermal stability, allowing you more control over the heating and cooling process. Don’t worry about waste; any leftover tempered chocolate can be allowed to set, then re-melted and re-tempered for future use, or simply chopped and used as chocolate chips in other recipes.
Troubleshooting Common Dark Chocolate Tempering Issues: Solutions from a Pro
- “I can’t get my chocolate to stay in range!”: This is a common frustration, and I truly feel it! The most probable culprits are using the wrong type of bowl and an inaccurate thermometer. As discussed, non-metal bowls retain heat or cold too long, making precise temperature control difficult. Always use a metal bowl for its superior thermal conductivity. Secondly, invest in a reliable instant-read thermometer. While temperature guns are convenient for surface readings, remember to stir continuously while checking to ensure you’re measuring the internal temperature of the entire mass, not just the top layer. Continuous monitoring and swift adjustments are key to staying within those narrow temperature windows.
- “Why are there streaks in my set chocolate?!”: Streaks or a dull, mottled appearance in your set chocolate are a clear indication of insufficient agitation during the cooling and reheating phases. The cocoa butter crystals need constant movement to align properly and form the stable Beta V structure. I know it’s tempting to multitask, but tempering demands your full attention and consistent stirring. Without adequate agitation, crystals form haphazardly and unevenly, leading to a splotchy, unattractive finish. So, resist the urge to step away and keep that chocolate moving!
- “Why won’t it set? I swear I did everything right!”: Ah, the classic tempering heartbreak! Your chocolate seems to have other plans. The most common reasons for chocolate not setting are either incorrect temperatures during the tempering process (it got too hot or too cold at some point, or you didn’t hold it long enough at the cooling temperature) or environmental factors like a very warm or humid room. Don’t get discouraged – chocolate tempering is a skill that improves with practice. If it’s not setting, you likely need to start over by completely re-melting the chocolate to 120°F (49°C) and repeating the entire process. Sometimes, using higher quality chocolate can also make a difference, as it often has a more stable fat composition. If all else fails, consider it a happy accident! You now have perfectly melted chocolate, ready to be incorporated into a delicious chocolate cake or other melted chocolate desserts.
- “Why isn’t it shiny?”: My dear chocolate enthusiast, a lack of shine, while disappointing, indicates that your chocolate isn’t in a *perfect* temper, even if it managed to set. While it’s technically “tempered” if it’s solid, the quality of the temper (and thus the shine, snap, and mouthfeel) is a direct result of meticulously following the temperature curves and ensuring proper crystal alignment. Room temperature and humidity can also play a significant role. Don’t beat yourself up about it; chocolate tempering is a learned art. The good news is that even slightly dull chocolate tastes absolutely delightful, especially on a homemade bonbon or chocolate bar! It’s still delicious, just not picture-perfect.
- “She thick!”: If your dark chocolate is excessively thick, even when within the correct working temperature range (88-91°F), you’ll struggle to achieve delicate, thin shells for bonbons or fine chocolate décor. This issue usually points to the type of chocolate you’re using. For applications requiring high fluidity, you need a chocolate couverture. Couverture chocolates are specifically formulated with a higher percentage of cocoa butter, which naturally increases their fluidity, makes them easier to work with, and contributes to a superior shine when properly tempered. If you’re working with standard chocolate and find it too thick, you can emulate couverture properties by adding a small amount of pure cocoa butter (either in powdered form or as small chips, often called “mycryo” or “cocoa butter drops”). Start with 1-2% of the chocolate’s weight and mix thoroughly to achieve the desired consistency. Most higher-quality chocolates, even if not explicitly labeled “couverture,” often have enough fluidity for general tempering needs.
Woah, Lindsey! That was a lot of information. Can I get a concise summary, please?! I hear you. I feel that to my core. Here are the absolute essentials for successful dark chocolate tempering with the ice bath method:
Key Facts for Tempering Dark Chocolate with the Ice Bath Method:
- Critical Temperatures: Start by completely melting your dark chocolate to 120°F (49°C) to eliminate all existing crystal structures. Then, swiftly cool it down to 81°F (27°C) using an ice bath while continuously stirring to promote the formation of desirable Beta crystals. Finally, gently reheat the chocolate to its ideal working temperature range of 88-91°F (31-33°C).
- Optimal Working Range: The ideal temperature range for working with dark chocolate is 88-91°F (31-33°C). If you’re planning to create delicate chocolate décor or dip bonbons, aim for the higher end of this range (around 91°F). This provides slightly more working time and helps ensure a thin, even coating and a beautifully glossy finish on your confections.
- Cutting Point Significance: The “cutting point” refers to that brief, perfect moment during the setting process when tempered chocolate reaches an ideal firmness for precise cutting or shaping. At this stage, it’s firm enough to hold its shape but still pliable enough to be manipulated with a paring knife or cookie cutters. When fully set, the chocolate will exhibit clean, crisp edges and a perfectly smooth, stable form.
- The Essential Test: Always, always test your tempered chocolate before you start your main project. Dip a clean knife or spatula tip into the chocolate, tap off the excess, and let it sit. If it doesn’t begin to set and achieve a glossy appearance within one to two minutes, your chocolate is not in temper, and you must restart the entire process by re-melting it. This simple test saves you a lot of wasted effort and ingredients.
- Use Sufficient Chocolate: For successful tempering with the ice bath method, always work with a “critical mass” of chocolate. A minimum of one pound (approximately 454 grams) is recommended. Using too little chocolate will cause it to heat and cool too rapidly, making it extremely difficult to control the precise temperature shifts required for proper crystal formation. A larger volume provides more thermal stability and control.
Tempering Dark Chocolate with the Ice Bath Method:
Pin Recipe
Comment
Print Recipe
Ingredients
- 454 g Dark Chocolate or at least one pound for optimal control
- Ice and enough water to create a bath
Instructions
-
To begin, set up a bain-marie, also known as a double boiler. Select a pot large enough to hold about 1-2 inches of simmering water without touching the bottom of your chocolate bowl. Crucially, the bowl should rest securely on the rim of the pot, suspended above the water, ensuring no direct contact between the bowl and the water. This prevents the chocolate from overheating and scorching. Also, ensure the bowl is wide enough to prevent steam from escaping the pot and condensing directly into your chocolate. While you’ll need to lift the bowl occasionally to release steam, proper setup minimizes the risk of water contamination.
-
Next, prepare your ice bath. This isn’t just a bowl of ice; it needs to be a proper cold water bath. Fill a bowl (larger than your chocolate bowl) with ice and add enough cold water to create a slushy mixture. The water ensures even, consistent cooling around the entire surface of your chocolate bowl. Crucially, the ice and water level should be low enough that there’s absolutely no chance of water splashing into your chocolate as you move and stir. Even a single drop of water can ruin your temper, so exercise extreme caution here.
-
Melt a significant “critical mass” of dark chocolate over your prepared bain-marie. For optimal control and consistent results with this method, I highly recommend using at least one pound (approximately 454 grams) of chocolate; if you plan on dipping bonbons or making extensive décor, two pounds is even better. Stir the chocolate frequently as it melts to ensure even heating and prevent scorching. Heat the chocolate until it reaches a temperature of 120°F (49°C). Once it hits this temperature, immediately remove the bowl from the bain-marie.
-
Carefully place the bowl of melted chocolate into the ice bath. Now, this is where continuous agitation becomes critical. Stir the chocolate constantly and vigorously. This constant motion helps distribute the cocoa butter crystals evenly and ensures the chocolate cools uniformly. Periodically, lift the bowl out of the ice bath for a few seconds to “normalize” the temperature and prevent the chocolate from cooling too rapidly or dropping suddenly below 81°F (27°C). Continue stirring and monitoring until the chocolate reaches precisely 81°F (27°C). At this point, it is technically “in temper,” but still too cool to work with effectively.
-
Once the chocolate reaches 81°F, remove it from the ice bath and place it back over the bain-marie (which should still have simmering water, but ideally off the direct heat or on very low heat). Gently and gradually reheat the chocolate, stirring constantly, to bring it up to its “Working Range” of 88°F – 91°F (31-33°C). I generally prefer to aim for the higher end of this range, around 90-91°F, as this provides a little more working time before the chocolate begins to cool and thicken too much, requiring reheating.
-
Crucial Step: Test Your Chocolate! Before you commit to your main project, perform a temper test. Dip the tip of a clean paring knife or a metal offset spatula into the chocolate, allowing a thin layer to adhere. Tap off any excess chocolate and set the knife/spatula aside at room temperature. Observe it closely. If your chocolate is perfectly tempered, it should begin to set, turning opaque and glossy, within one to two minutes. If it remains liquid, appears dull, or takes longer to set, it means your chocolate is not in temper. I know, the injustice! But you’ll need to start over by completely re-melting it to 120°F and repeating the entire tempering process.
-
Congratulations! If your chocolate passed the temper test with flying colors, you are ready for the exciting part! Now is the time to mold chocolate, dip delectable bonbons, enrobe your favorite treats, or pour it out onto acetate sheets to create stunning chocolate décor. The door to The World of Chocolate has officially opened for you. Walk boldly through and create something truly magnificent!
Video
Nutrition
