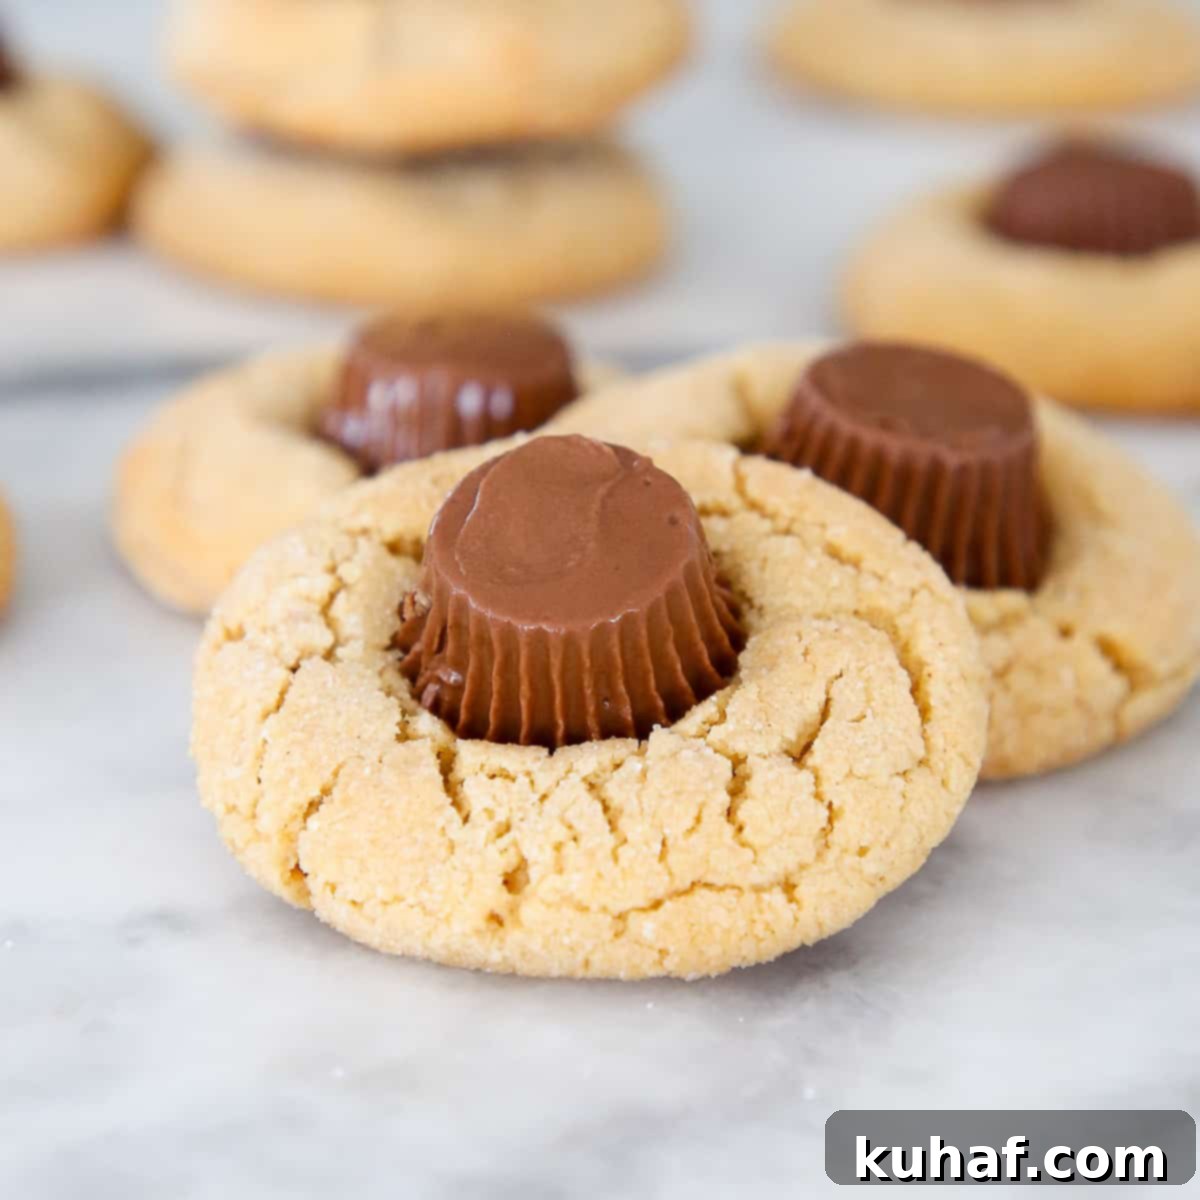
Irresistible Peanut Butter Cup Blossoms: A Chewy, Chocolaty Twist on a Classic Cookie
Get ready to fall in love with a cookie that’s both wonderfully familiar and excitingly new! These **Peanut Butter Cup Blossoms** take everything you adore about the classic peanut butter blossom cookies – that delightful chewiness, the sugary crunch, the rich peanut butter flavor – and elevate it with a smooth, melt-in-your-mouth Reese’s Mini Peanut Butter Cup pressed right into the center of each one. Forget the hard chocolate kiss; these are a revelation in texture and taste.
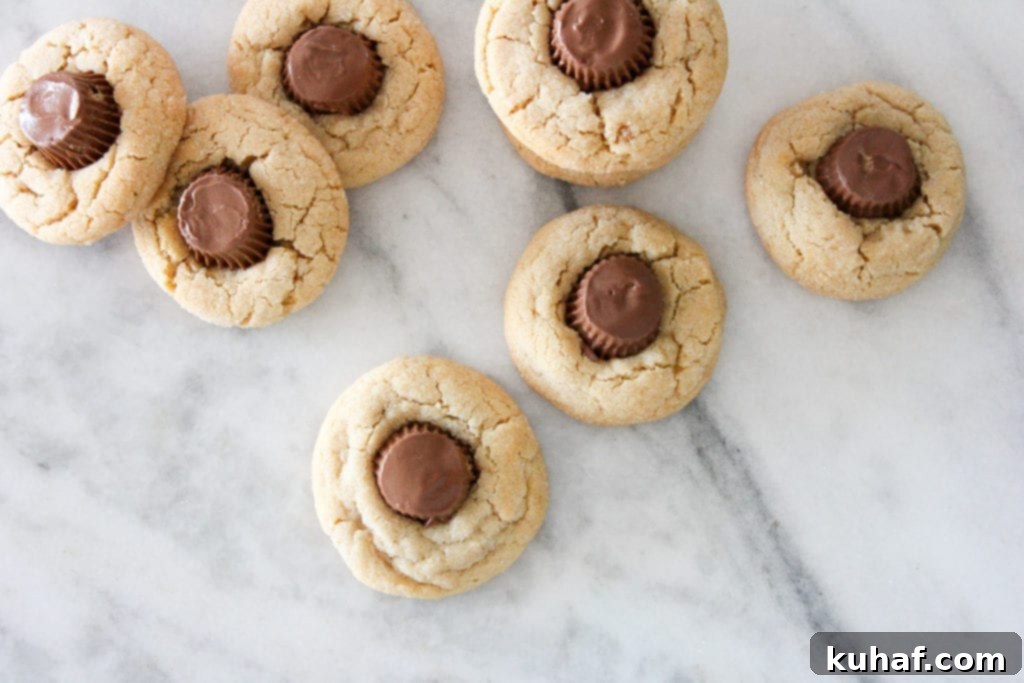
Is there truly a more iconic combination than peanut butter and chocolate? We think not! This recipe delivers a perfectly chewy peanut butter cookie, coated in glistening sugar, with the added bonus of a creamy Reese’s cup. It’s a match made in dessert heaven, offering a taste and texture experience that might just surpass the original.
The Genesis of a Sweet Idea: Upgrading a Classic
This delightful twist on an old favorite didn’t just happen by chance; it was born out of a creative necessity. My talented sous chef, Mara, and I were deep in the process of curating our much-anticipated holiday Cookie Tins. I had a very specific vision for how I wanted these tins to look – neat, perfectly stackable rows of cookies that fit together like a delicious jigsaw puzzle. We both agreed that traditional Peanut Butter Blossoms were a non-negotiable inclusion; their nostalgic charm and irresistible flavor make them a staple.
However, we quickly ran into a logistical challenge. The iconic, pointed tip of the Hershey’s Kisses, while charming, completely prevented the cookies from stacking neatly. My vision of perfectly arranged cookie layers was, quite literally, crumbling. We tried various arrangements, but the pointy obstacle remained. Frustration began to set in, but so did the spark of innovation.
And then, it struck us! A brilliant idea that would not only solve our stacking dilemma but also potentially elevate the cookie to new heights. Reese’s Mini Peanut Butter Cups are flat-topped, making them ideal for stacking. Furthermore, what self-respecting chocolate and peanut butter enthusiast would ever complain about *more* peanut butter? It seemed like a win-win scenario. We quickly put the theory to the test in the kitchen, baking a batch with Reese’s cups instead of kisses.
The results were immediate and conclusive. We promptly made two crucial observations:
- They were dangerously addictive! We simply couldn’t stop reaching for another, and another.
- They might just be superior to the original classic! A bold claim, perhaps, but one we stood by after the first delicious bite.
Why Reese’s Cups Reign Supreme: A Texture Transformation
To be perfectly honest, I’d always had a slight grievance with the traditional Hershey’s Kiss version of these cookies. The chocolate kiss, once cooled, becomes quite hard, creating a jarring textural contrast with the soft, chewy peanut butter cookie. It was a minor detail, but one that always kept the classic from reaching its full potential in my eyes.
Enter the Reese’s Mini Peanut Butter Cup – problem solved! Reese’s cups retain their soft, creamy texture indefinitely, even after being pressed into a warm cookie and cooling down. This ensures that every bite offers a harmonious blend of textures: the chewy cookie, the slightly crisp sugary coating, and the smooth, yielding peanut butter and chocolate center. This seamless integration of flavors and textures truly makes these Peanut Butter Cup Blossoms a perfect 10/10 in my book!
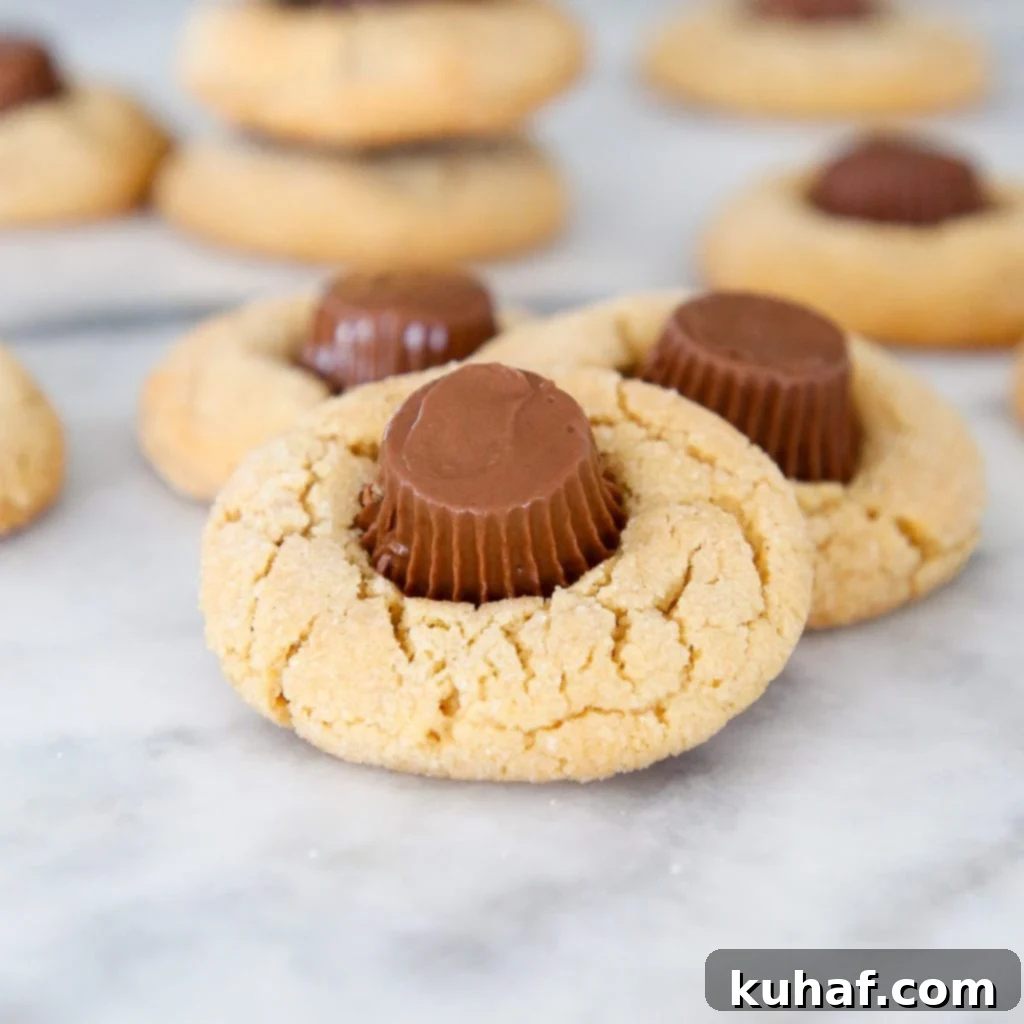
Mastering the Chewy Peanut Butter Cookie Base
The secret to these exceptional cookies lies not just in the Reese’s cup, but in the foundation: a perfectly chewy peanut butter cookie. Achieving this ideal texture requires attention to detail, starting with the ingredients and mixing technique.
- Butter and Sugars: The combination of softened butter, granulated sugar, and packed light brown sugar is crucial. Granulated sugar contributes to the slight crispness of the edges and the beautiful sugar coating, while brown sugar adds moisture, depth of flavor, and that irresistible chewiness. Creaming these together until “light and fluffy” incorporates air, making the cookies tender.
- Peanut Butter Choice: I wholeheartedly recommend creamy peanut butter, specifically Jif, for its consistent texture and reliable flavor. Natural peanut butter can sometimes separate and alter the cookie’s consistency.
- Eggs and Vanilla: These bind the dough and add essential moisture and flavor. Don’t skip the pure vanilla extract; it truly enhances the overall taste profile.
- Flour and Leavening: All-purpose flour provides the structure, while baking soda and baking powder work in tandem to give the cookies their perfect rise and soft texture. Baking soda reacts with the acidic brown sugar, and baking powder provides additional lift, ensuring a well-rounded and chewy cookie.
- Mixing: When adding the dry ingredients, mix on low speed in additions. Overmixing flour can develop too much gluten, resulting in a tough cookie. We want soft and chewy!
Baking Your Blossoms: Tips for Perfect Results
Even with the best recipe, a few key tips can elevate your baking experience and ensure your Peanut Butter Cup Blossoms turn out flawlessly every time.
- Preheat Accurately: Always preheat your oven to the specified temperature (350°F / 175°C) before putting cookies in. A properly preheated oven ensures even baking from the start.
- Measure with Precision: Baking is a science! Use proper measuring cups and spoons, and for best results with flour, weigh it using a kitchen scale.
- Forming the Dough Balls: Aim for consistent 2-inch dough balls. This ensures uniform baking. Rolling them in granulated sugar before baking adds a beautiful sparkle and a delightful textural crunch.
- Don’t Overbake: This is perhaps the most critical tip for chewy cookies! Bake for exactly 8 minutes, or until the edges just begin to set and crack, but the centers still look soft and slightly underdone. There should be no deep crevices yet. The cookies will continue to cook slightly on the hot baking sheet once removed from the oven.
- Unwrap Reese’s Ahead of Time: This step, while a bit tedious, is crucial. Have all 36 Reese’s Mini Peanut Butter Cups unwrapped and ready to go before your cookies come out of the oven. You need to press them into the cookies IMMEDIATELY.
- Immediate Pressing: As soon as the cookies are out of the oven, gently press a Reese’s cup into the center of each one. The warmth of the cookie will slightly melt the chocolate, helping it adhere and creating that perfect, soft center.
- Cooling: Transfer the cookies to a wire rack to cool completely. This prevents the bottoms from becoming soggy and allows the chocolate to fully set.
Holiday Traditions and Gifting Ideas
Speaking of holiday preparations, these Peanut Butter Cup Blossoms quickly became a star in our seasonal offerings. I haven’t talked about it much here because I’ve been juggling so many projects, but I recently launched a real online shop! It started with selling holiday pies, which were an absolute runaway success. Following that, we decided to add Christmas Cookie Tins to our festive lineup, and these blossoms were a must-have.
Consider these cookie tins, or even a homemade batch of these cookies, the perfect gift for almost anyone on your list (unless, of course, they have a nut allergy – in that case, a cozy sweater might be a safer bet #freetip). They’re a thoughtful, delicious present that requires no effort on the recipient’s part, and they bring so much joy during the festive season.
Or, you can simply dive into the joy of holiday baking yourself! You know I’m always here to provide you with all the best recipes and holiday baking tips. Start your baking adventure with these incredible Peanut Butter Cup Blossoms. While you’re at it, I also strongly suggest trying my recipe for the best Soft and Chewy Gingerbread Cookies and my all-time favorite cookie, these delightful Cherry Pecan Cookies. Happy baking!
Variations and Customizations for Your Blossoms
While the classic Reese’s Mini Cup is divine, don’t hesitate to get creative with your Peanut Butter Cup Blossoms! Here are a few ideas to customize your batch:
- Different Chocolates: Instead of Reese’s, try pressing in other small chocolates like Rolos (for a caramel twist), mini chocolate bars (milk, dark, or white chocolate), or even different flavored chocolate truffles.
- Nutty Additions: Fold in a quarter cup of finely chopped peanuts, pecans, or walnuts into the cookie dough for extra crunch and nutty flavor.
- Flavored Peanut Butter: Experiment with flavored peanut butters if you can find them, such as honey roasted or chocolate swirl, for a subtle difference in the cookie base.
- Salted Caramel Drizzle: Once the Reese’s cups are set, a light drizzle of homemade or store-bought salted caramel sauce can add another layer of decadence.
Storage and Enjoyment: Keeping Your Cookies Fresh
To keep your Peanut Butter Cup Blossoms fresh and delicious, store them in an airtight container at room temperature. They are generally best enjoyed within 4 days of baking, though they rarely last that long in most households! For a delightful treat, try gently warming them in the microwave for 10-15 seconds before serving – the peanut butter cup becomes extra melty and gooey.
Peanut Butter Cup Blossoms
Chef Lindsey
20 minutes
8 minutes
28 minutes
36
Cookies
Saved
Pin Recipe
Comment
Print Recipe
Ingredients
-
¼
cup
granulated sugar
plus more for rolling -
½
cup
packed light brown sugar
-
½
cup
butter
softened -
½
cup
creamy peanut butter
I use Jiff forever and always -
1
egg
-
½
teaspoon
pure vanilla extract
-
1 ½
cups
all-purpose flour
-
¾
teaspoon
baking soda
-
½
teaspoon
baking powder
-
¼
teaspoon
kosher salt
-
36
Reese’s Mini Peanut Butter Cups
Instructions
-
Preheat oven to 350° F.
-
In a medium bowl, whisk together flour, soda, powder, and salt. Set aside.
-
In a large bowl cream together butter, granulated sugar and brown sugar until light and fluffy; add peanut butter, beat until incorporated; add egg and vanilla, beat until incorporated. You can beat with a hand mixer on medium or a wooden spoon.
-
Add the flour in 3 additions, mixing on low speed between each one.
-
Shape dough into 2-inch balls and roll in granulated sugar. Place 2 inches apart on an ungreased, unlined baking sheet. Bake 8 minutes or until the edges just begin to crack but there are no deep crevices in the center. While the cookies bake, unwrap your Reese’s. It’s tedious but worth it.
-
Immediately press a Reese’s in the center of each cookie and remove to a wire rack to cool.
-
Store in an airtight container. They are best eaten within 4 days if they last that long!
Video
Nutrition
Calories:
118
kcal
|
Carbohydrates:
13
g
|
Protein:
2
g
|
Fat:
7
g
|
Saturated Fat:
3
g
|
Polyunsaturated Fat:
1
g
|
Monounsaturated Fat:
3
g
|
Trans Fat:
1
g
|
Cholesterol:
12
mg
|
Sodium:
108
mg
|
Potassium:
56
mg
|
Fiber:
1
g
|
Sugar:
8
g
|
Vitamin A:
89
IU
|
Vitamin C:
1
mg
|
Calcium:
15
mg
|
Iron:
1
mg
Dessert
American
118
Like this? Leave a comment below!
