The Ultimate Guide to Making a Tender & Buttery Almond Flour Tart Crust (Pâte Sucrée)
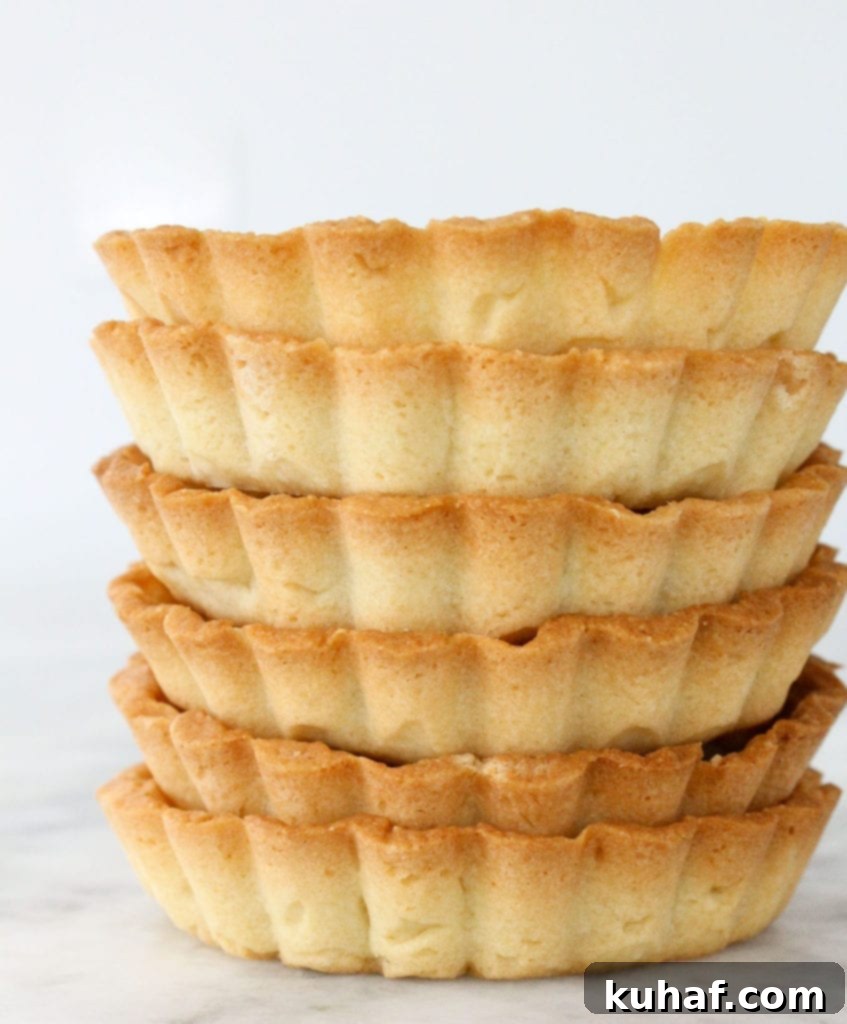
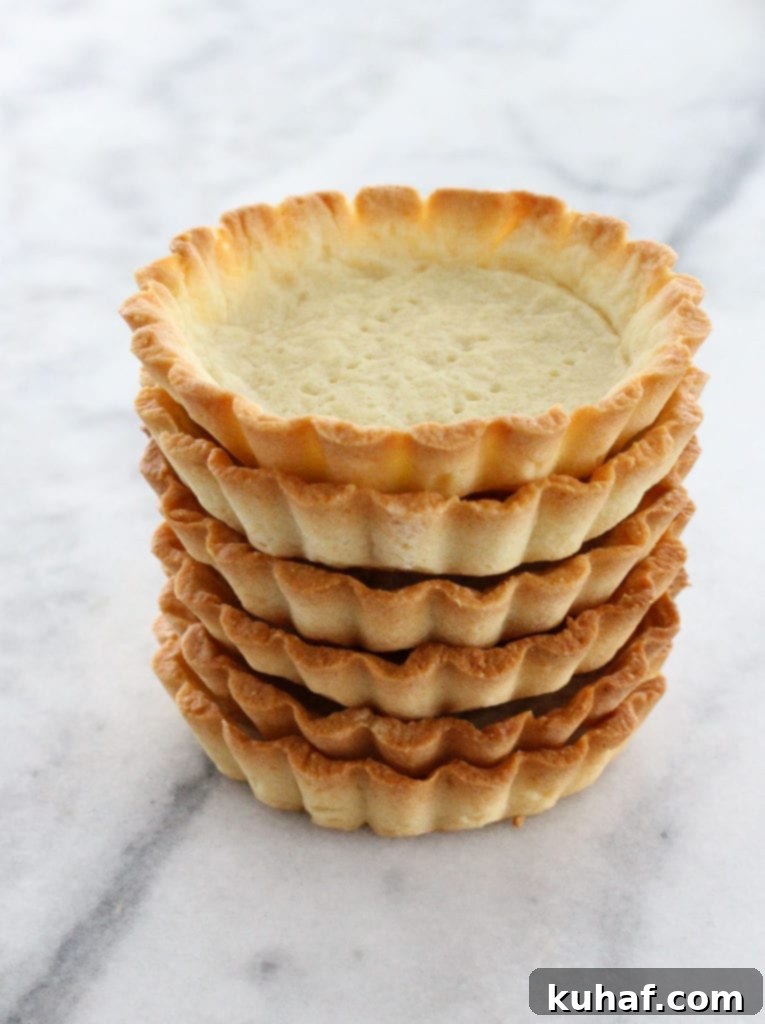
Discover the secret to a perfect tart with this incredible Almond Flour Tart Crust, also known as almond pâte sucrée. This recipe yields a dough that is exquisitely tender, rich, and undeniably buttery, providing the ideal foundation for an endless variety of sweet treats. Whether you’re planning charming mini tarts, a classic frangipane fruit tart, or any other delicious creation, this versatile almond tart dough is your go-to.

This almond tart dough stands out as one of the most adaptable and delightful tart bases you’ll ever encounter. It’s a bold claim, but one born from years of baking experience and a deep appreciation for truly exceptional pastry. This isn’t just a crust; it’s an experience, a canvas for your culinary imagination. The addition of almond flour elevates a traditional pâte sucrée, imparting a nuanced nutty flavor and a uniquely delicate crumb that melts in your mouth. This makes it particularly suited for elegant desserts where the crust needs to complement, not overpower, the filling.
During challenging times, many of us turn to the comforting ritual of baking. It’s a wonderful form of stress relief, a creative outlet that allows us to focus on the present moment, transforming simple ingredients into something truly special. Remember that time my AC broke, and my kitchen hovered around 95°F with the oven blazing? My dough was getting soft almost immediately! It was a true test of pastry knowledge and persistence. Without some core techniques, that day could have ended in tears rather than perfectly baked tart shells. Let’s delve into those essential insights to ensure your baking journey is always a success.
Essential Tips for Perfect Almond Tart Dough
Mastering almond pâte sucrée is simpler than you might think with these expert tips. By understanding the science behind the steps, you’ll consistently achieve a flawless, tender, and flavorful tart crust.
- Understand the Mixing Method for Tenderness: This dough uniquely combines elements of both the creaming method (for butter and sugar) and the cut-in method (for incorporating dry ingredients into fat). The goal is to moisten the mixture primarily with eggs. This approach minimizes gluten development, resulting in an incredibly tender crust that’s less prone to toughness. Ensure your eggs are fully incorporated into the mixture. If you notice any stubborn pockets of dry ingredients, gently work them in by hand, using a light squeezing motion between your fingers. Overworking the dough with a mixer at this stage can develop gluten, so a gentle hand is key.
- Efficient Chilling for Easier Rolling: After mixing, press your dough into a flat disk or rectangle before wrapping it tightly in plastic wrap. This crucial step dramatically speeds up the chilling process, allowing the butter to solidify evenly and the gluten to relax. A flat disk also makes it significantly easier to roll out later, as you won’t be fighting a thick, dense block of cold dough. For convenience, these dough packets can be frozen for up to a month, meaning you can have delicious tart crusts ready on demand whenever a craving strikes!
- Combatting Warm Kitchens: If your kitchen is warm – a common challenge, especially in summer – rolling out dough on parchment paper is a game-changer. I often switch to this method mid-video when I realize the heat is winning! Rolling between two sheets of parchment prevents the dough from sticking to your counter, reduces the need for excessive additional flour, and helps keep the dough cool. Using too much extra flour can alter the dough’s delicate balance, making the crust tough and compromising its rich flavor and tender texture.
- Seamless Transfer with Parchment: To make transferring your rolled dough to tart pans effortless, chill the dough directly between two layers of parchment paper. Once firm, you can easily lift the parchment, invert the dough into your pan, and peel back the top layer without stretching or tearing the delicate crust. This technique is particularly helpful for intricate tart shapes or larger pans.
- The Golden Rule: Keep it Cold: Just like with many other pastry doughs, maintaining a cold temperature is paramount for a flaky, tender texture. Baking warm dough or dough that hasn’t had sufficient time for the gluten to relax will inevitably result in a tougher, less desirable crust. The good news is that almond pâte sucrée is more forgiving than a finicky pâte brisée, so don’t stress excessively. However, a well-chilled dough is the foundation for success. Repeated chilling throughout the process, especially before baking, helps to prevent shrinkage and maintain the tart’s crisp structure.
- Lining Tart Shells with Ease (Watch the Video!): While I could explain it here, sometimes a visual demonstration is best. My video tutorial includes a specific trick for perfectly lining tart shells with parchment paper for blind baking. It’s one of those little secrets that makes a big difference in achieving beautifully shaped, evenly baked shells. Don’t miss it!


Almond Flour Tart Crust (Pâte Sucrée)
Chef Lindsey
20 minutes
10 minutes
30 minutes
1 hour
10
Individual Tarts
Saved
Pin Recipe
Comment
Print Recipe
Ingredients
-
150 g Butter Room temperature, unsalted and cut into cubes for easier creaming. -
120 g Confectioner’s Sugar Also known as powdered sugar, for a smoother dough. -
300 g Pastry Flour or all purpose *see note, for a delicate texture. -
¼ t Baking powder A small amount helps with tenderness. -
45 g Almond Flour Fine-ground blanched almond flour for the best texture and flavor. -
75 g Eggs lightly beaten, ensure they are at room temperature.
Instructions
-
1. Cream Butter and Sugar: In the bowl of a stand mixer fitted with the paddle attachment, or using a hand mixer, cream together the room temperature butter and confectioner’s sugar on medium speed until the mixture is light, fluffy, and smooth. This typically takes about 2-3 minutes. Ensure there are no lumps of butter remaining.
-
2. Add Dry Ingredients: Reduce the mixer speed to low. Add the pastry flour (or all-purpose flour), baking powder, and almond flour to the creamed mixture. Mix on low speed just until the ingredients are combined and the mixture resembles coarse crumbs, with the butter fully incorporated into the dry ingredients. Be careful not to overmix at this stage.
-
3. Incorporate Eggs: In a separate small bowl, lightly beat the eggs. With the mixer still on low, add all the beaten eggs at once to the dough mixture. Mix just until the eggs are fully incorporated and the dough comes together. Scrape down the sides of the bowl as needed to ensure everything is evenly mixed. If there are a few dry spots, a quick knead by hand can help.
-
4. Chill the Dough: Turn the dough out onto a piece of plastic wrap. Gently press it into a flat, even disk or rectangle, about 1-inch thick. Wrap it tightly in the plastic wrap and chill thoroughly in the refrigerator for at least 1 to 2 hours, or even overnight. Proper chilling is crucial for the butter to firm up and the gluten to relax, making the dough easier to roll and preventing shrinkage during baking.
-
5. Ready for Use (No Pre-baking): If your tart recipe does not require pre-baking (e.g., for certain custard tarts or savory tarts where the filling bakes simultaneously), your dough is now ready for rolling and filling. Simply follow the instructions for your specific tart recipe from this point.
To Par Bake (or Blind Bake) for a Crispy Crust
-
1. Preheat Oven: Preheat your oven to 350°F (175°C). Ensure it reaches the correct temperature before placing the tart in.
-
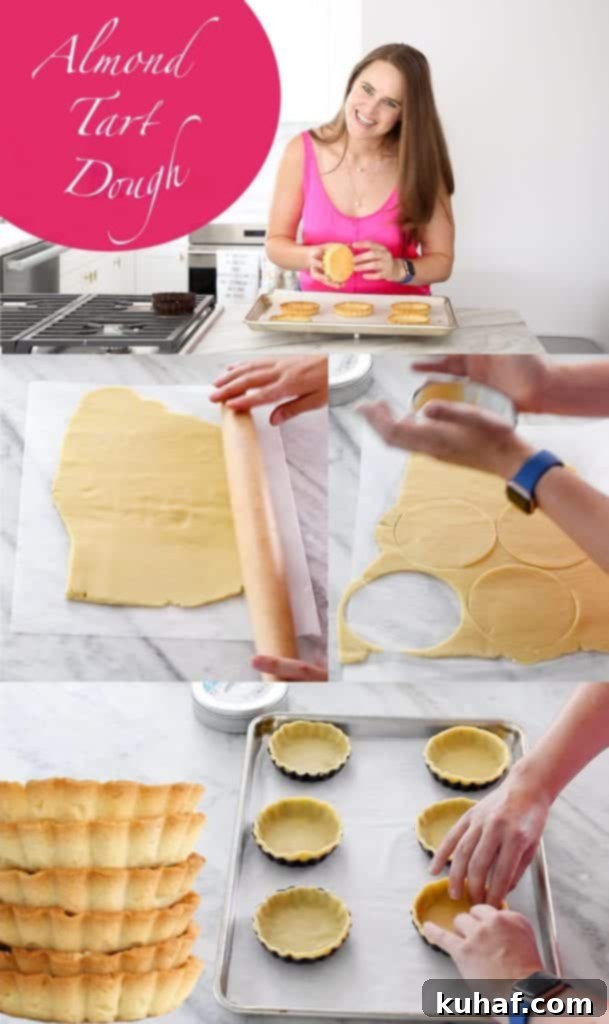
2. Roll and Chill Again: On a lightly floured surface or, preferably, between two sheets of parchment paper, roll the chilled dough to a consistent thickness of about 3mm (⅛ inch). If rolling on a counter, keep the dough moving to prevent sticking and add minimal flour. Once rolled, chill the dough again for at least 30 minutes. This helps the dough maintain its shape during baking.
-
3. Line Tart Pans: Carefully transfer the chilled dough to line your tart pan(s). For a large tart (up to 12 inches in diameter), gently fit the dough into the pan, pressing it into the fluted edges without stretching. For mini tarts, use a round cutter slightly larger than your tart molds to cut out circles. Place each dough circle over a mold and gently press it into the crease and up the sides to line it evenly. Chill the lined tart shells for another 15-20 minutes.
-
4. Prepare Parchment and Weights: Cut pieces of parchment paper that will fit inside your tart molds. Crumple them up into balls, then smooth them out – this makes them more pliable and easier to fit snugly into the contours of the dough. Place one piece of crumpled parchment inside each chilled, lined tart shell. Fill the parchment-lined shells with pie weights, dried beans, or rice. I’ve found that medium-sized dried beans work better than rice, which can sometimes be too fine. Chill the weighted tart shells again for at least 15 minutes if they have warmed up. This double chilling helps prevent the sides from slumping.
-
5. Blind Bake (First Stage): Carefully trim off any excess dough from the top edges of the chilled, lined tart shells. Place the tart shells on a baking sheet and bake in the preheated oven for 8-11 minutes with the beans (or until the parchment lifts out easily and the edges of the crust have just begun to set and slightly brown). The goal here is to partially cook the crust and evaporate some moisture.
-
6. Remove Weights and Continue Baking: Gently remove the parchment paper and baking weights (beans/rice) from the tart shells. Set them aside – both the parchment and weights can be reused multiple times! Return the tart shells to the oven.
-
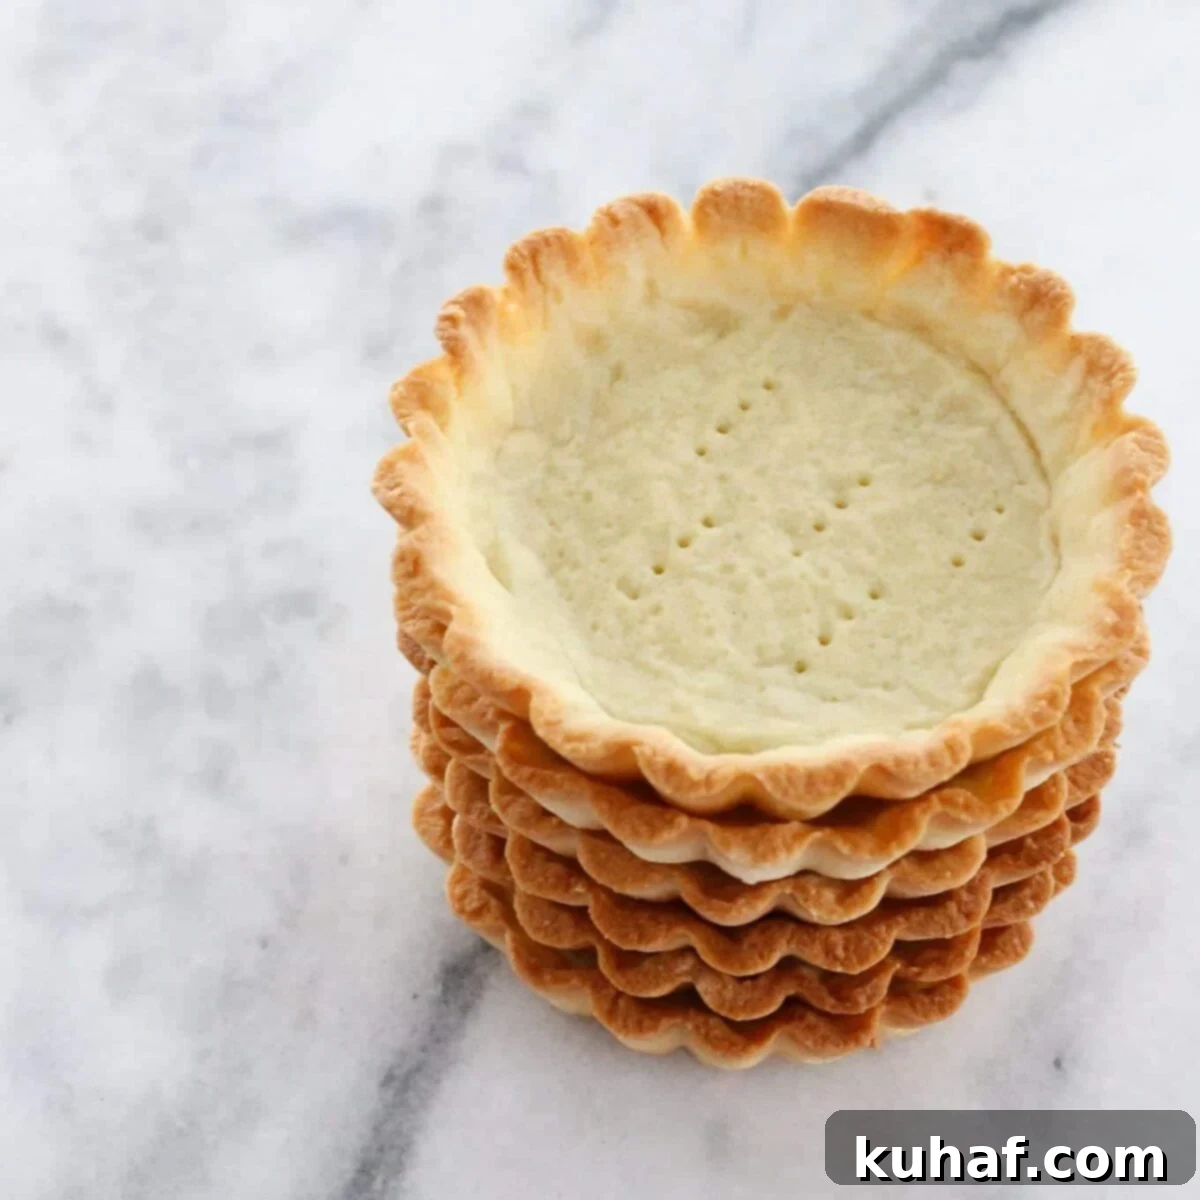
7. Bake Until Golden: Continue baking the tart shells for another 5-10 minutes, or until they achieve a beautiful golden-brown color all over. This ensures a fully cooked and crisp crust.
-
8. Cool Completely: Once baked, remove the tart shells from the oven and allow them to cool completely in their pans on a wire rack before attempting to remove them. Cooling completely prevents breakage and ensures they are firm enough for filling. You can store these cooled, par-baked shells at room temperature for up to 5 days, or use them immediately.
Video Tutorial
Watch Chef Lindsey demonstrate each step to achieve the perfect almond tart crust, including her clever trick for blind baking!
Chef’s Notes & Pro Tips
Batch Size: In the video, I prepared a double batch of this dough, which I then divided. For this specific recipe as written, you will not need to divide the dough.
Yield: This recipe typically yields 6-10 individual 2 ½-inch mini tarts. To achieve the full 10 tarts, you may need to re-roll the dough scraps, ensuring you work them minimally to maintain tenderness. Alternatively, this recipe is perfectly suited for making one large tart up to 12 inches in diameter.
Why Almond Flour? The addition of almond flour in this pâte sucrée doesn’t just add a lovely nutty flavor; it also contributes to the crust’s incredible tenderness and delicate crumb structure. Almond flour has no gluten, so it helps to soften the overall texture of the dough, making it less prone to becoming tough, even if slightly overmixed. It also imparts a beautiful golden hue and subtle sweetness.
Troubleshooting Common Issues:
- Shrinking Crust: Most often caused by insufficient chilling. Ensure your dough is thoroughly chilled at every stage, especially after rolling and before baking. Overworking the dough can also develop gluten, leading to shrinkage.
- Cracked Dough: If your dough is too cold or dry, it can crack when rolling. Let it sit at room temperature for a few minutes to soften slightly, or if it’s dry, a tiny bit of water can be worked in gently (but this is rare with this recipe).
- Soggy Bottom: Proper blind baking is key. Make sure to bake until the crust is genuinely golden brown and feels dry. Allowing it to cool completely before filling is also vital, especially for liquid-heavy fillings.
Storage of Baked Shells: Once completely cooled, par-baked tart shells can be stored in an airtight container at room temperature for up to 5 days, or frozen for up to 2-3 weeks. Thaw frozen shells at room temperature before filling.
Nutrition Information (per serving)
Calories:
144
kcal
|
Carbohydrates:
1
g
|
Protein:
2
g
|
Fat:
15
g
|
Saturated Fat:
8
g
|
Polyunsaturated Fat:
1
g
|
Monounsaturated Fat:
3
g
|
Trans Fat:
1
g
|
Cholesterol:
60
mg
|
Sodium:
118
mg
|
Potassium:
14
mg
|
Fiber:
1
g
|
Sugar:
1
g
|
Vitamin A:
415
IU
|
Calcium:
23
mg
|
Iron:
1
mg
Dessert
French
144
Like this recipe? Leave a comment below!
Your feedback helps other bakers!

Creative Uses for Your Almond Tart Crust
The versatility of this almond flour pâte sucrée extends far beyond just one type of tart. Its tender, buttery profile and subtle almond flavor make it an excellent base for a myriad of fillings and occasions. Here are some ideas to inspire your next baking adventure:
- Classic Fruit Tarts: Fill with pastry cream and arrange a colorful assortment of fresh seasonal fruits, glazed with apricot jam for a stunning presentation. The almond crust beautifully complements the brightness of berries, kiwis, and peaches.
- Elegant Frangipane Tarts: A natural pairing! Fill with a rich almond frangipane cream and top with sliced pears, apples, or plums before baking. The double almond goodness is simply irresistible.
- Rich Chocolate Tarts: A dark chocolate ganache or a creamy chocolate custard finds a perfect partner in this subtly sweet crust. Consider adding a sprinkle of sea salt to enhance the flavors.
- Lemon Meringue or Lemon Curd Tarts: The sweetness and crispness of the almond crust provide a wonderful contrast to the tangy, silky texture of lemon curd or the cloud-like peaks of meringue.
- Nut Tarts: Think pecan pie filling or a mixed nut caramel tart. The almond in the crust adds another layer of nutty complexity.
- Savory Adventures: While typically used for sweet applications, a well-seasoned almond pâte sucrée can also be adapted for savory tarts. Reduce the sugar slightly and add a pinch of salt and herbs to the dough. It would make a fantastic base for a goat cheese and caramelized onion tart or a delicate quiche.
Baking with Confidence: The Joy of Homemade Pastry
Crafting your own tart crust from scratch, especially one as delightful as this almond flour pâte sucrée, is one of the most rewarding experiences in baking. It might seem daunting at first, but with the detailed instructions and tips provided here, you’ll be able to create bakery-quality tarts right in your own kitchen. The tender texture, rich butteriness, and delicate almond notes of this crust truly elevate any tart, transforming a simple dessert into something truly memorable.
Don’t be afraid to experiment with different fillings and decorations. Baking is an art, and this almond tart crust is your perfect canvas. Enjoy the process, savor the aromas, and delight in the incredible results. Happy baking!
