The Ultimate Guide to Making Irresistible Homemade Toffee: Chef’s Secrets for Perfect Crunch and Flavor
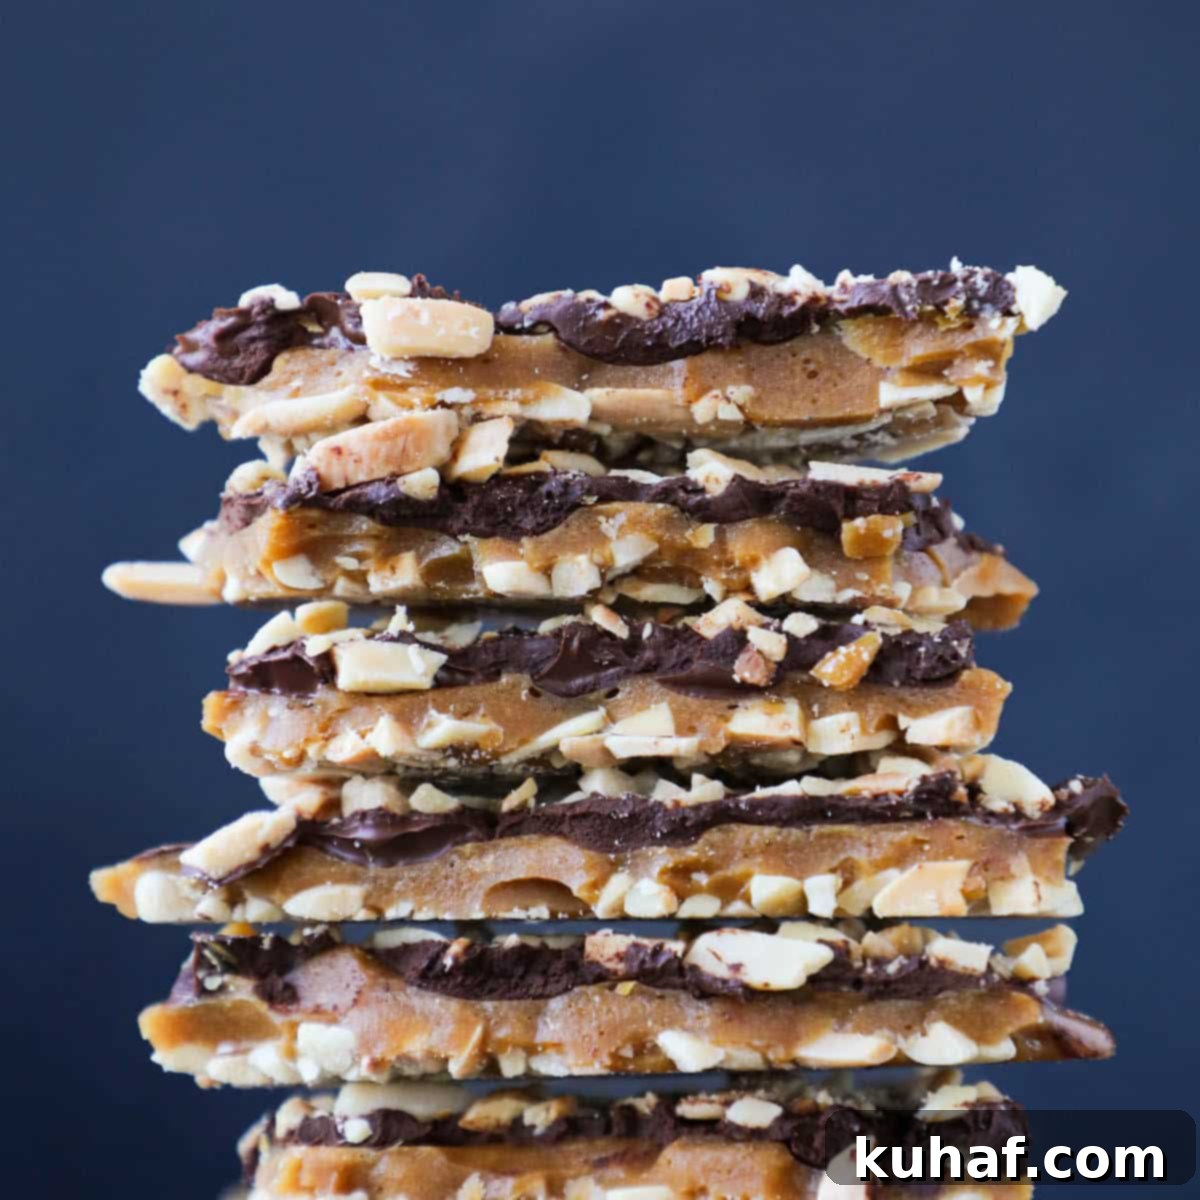
Uncover the secrets to creating incredible homemade toffee in less than 30 minutes of active cooking time! This exquisite confection, crafted by a professional pastry chef, promises a thin, incredibly crunchy, and deeply flavorful experience. Each bite reveals delightful layers of perfectly toasted almonds, brittle toffee, and rich bittersweet chocolate. It’s not just a treat; it’s the perfect elegant gift or a show-stopping addition to any Holiday table, guaranteed to impress with its gourmet taste and texture.
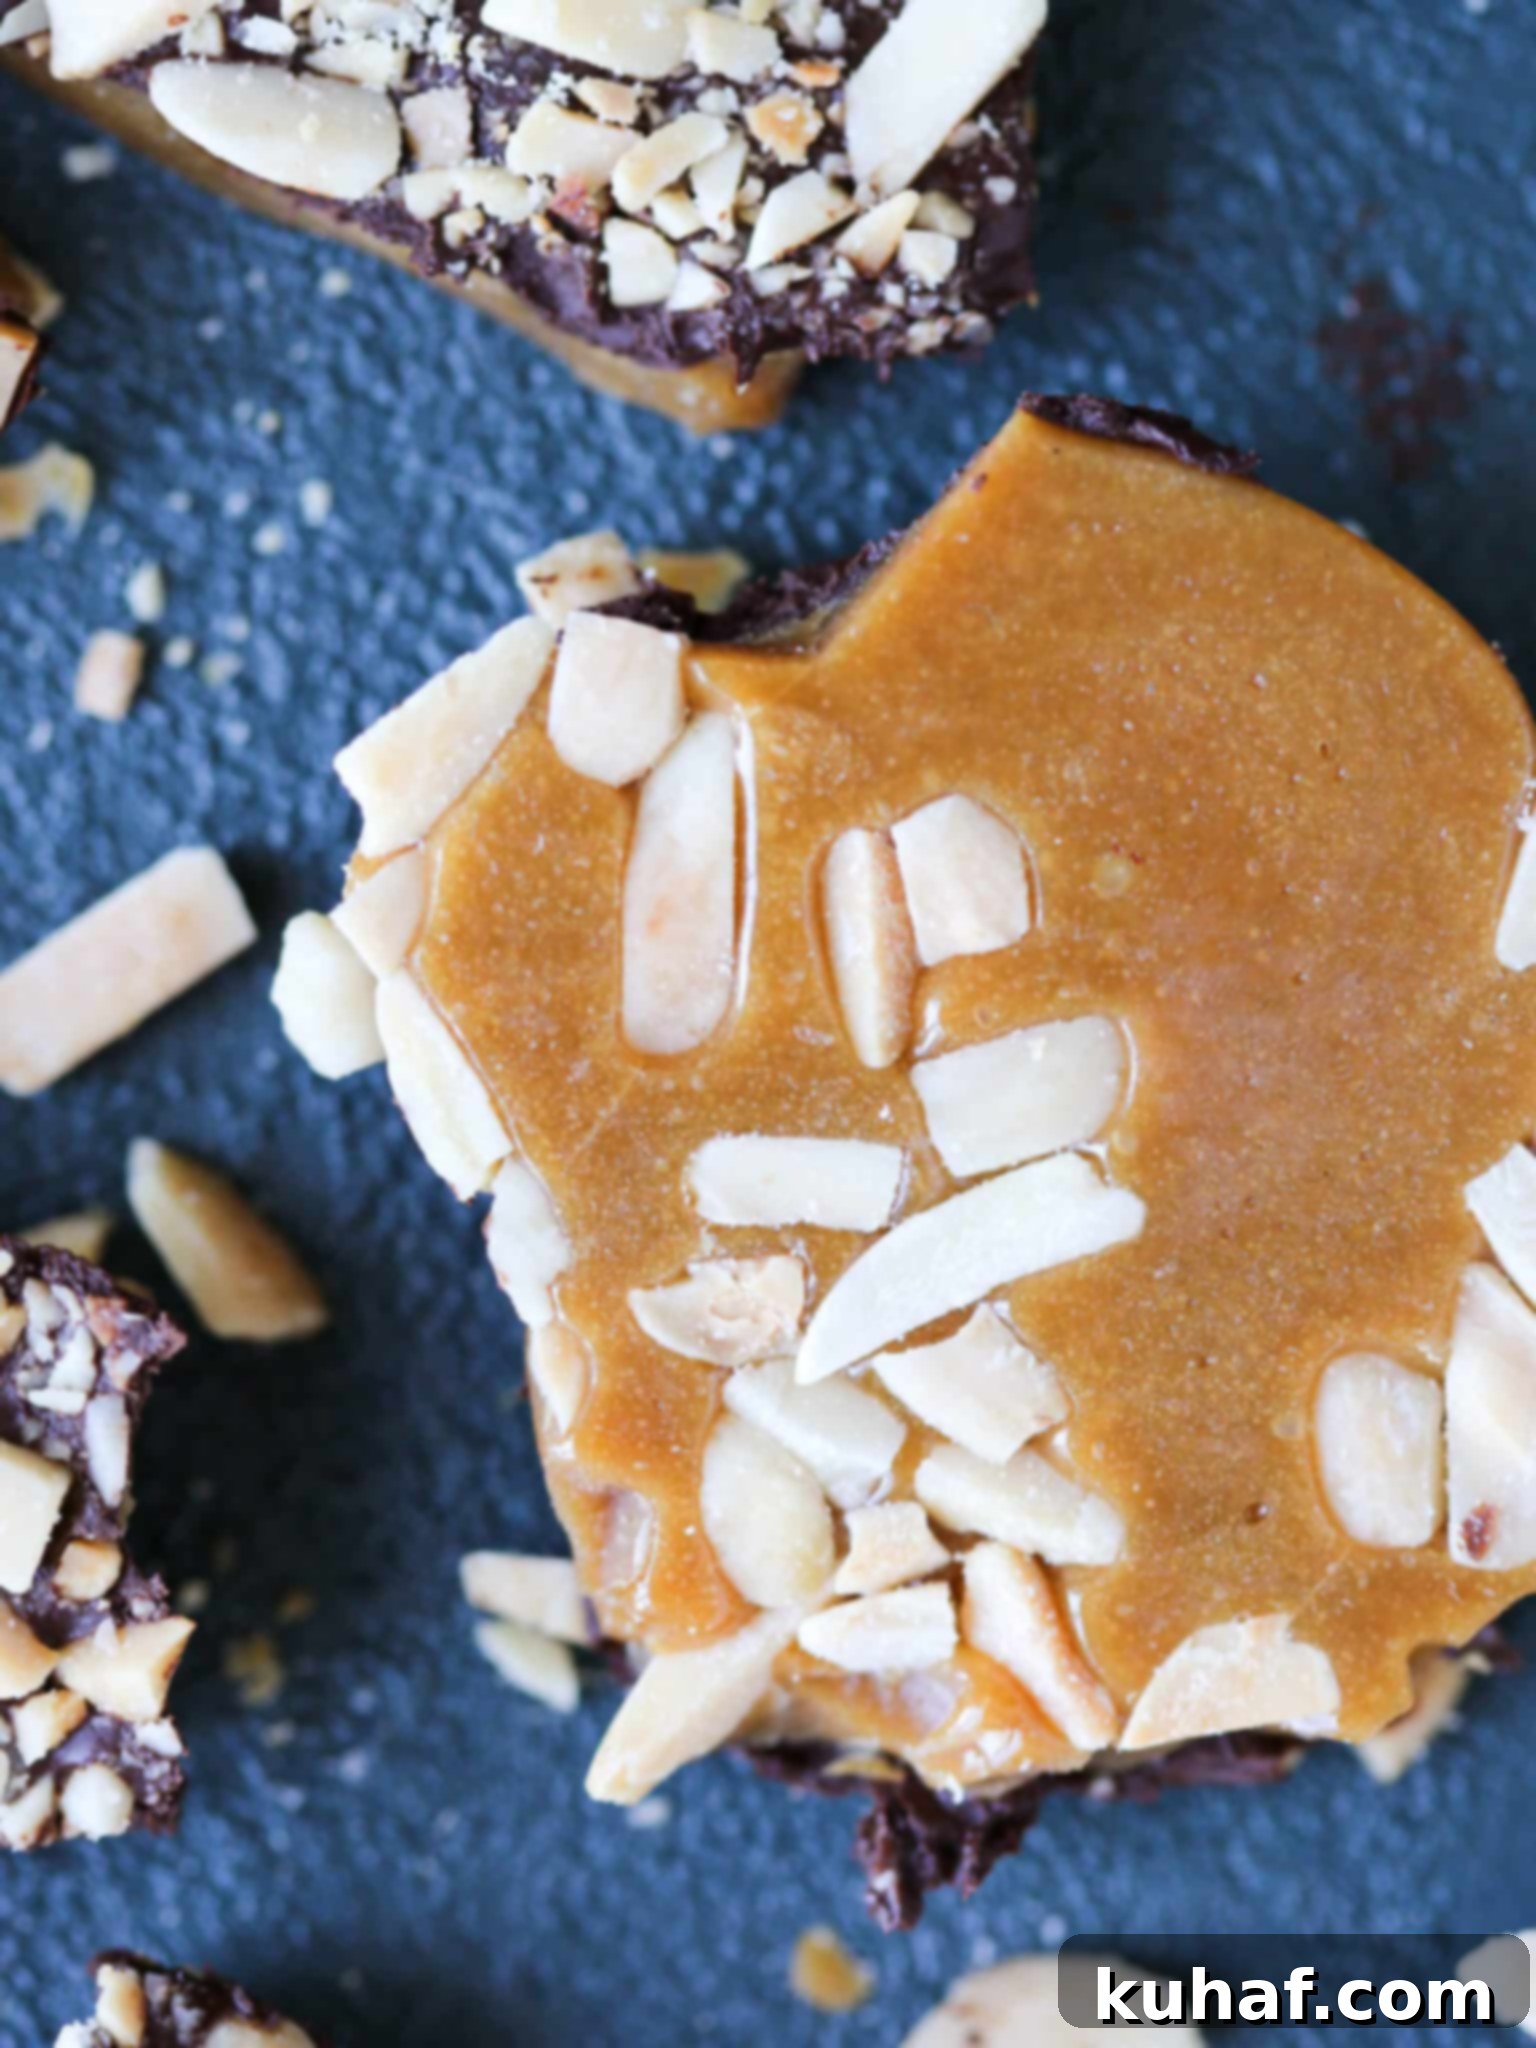
Toffee often carries a reputation for being a complex and intimidating candy to make at home. However, I assure you that this comprehensive tutorial will demystify the process and make creating your own batch of delightful homemade toffee surprisingly simple. Unlike more time-consuming confections like homemade Chocolate Bourbon Truffles, this recipe demands under 30 minutes of active preparation. The golden rule for successful candy-making, whether it’s this brittle toffee, an Old Fashioned Chocolate Fudge, or classic Pecan Pralines, hinges on meticulous mise en place – having all your ingredients precisely measured, prepared, and conveniently located near your stovetop. And, without a doubt, a reliable candy thermometer is your indispensable ally.
A touch of baking soda is the secret ingredient that transforms ordinary sugar into lighter, crispier, and significantly less sticky toffee. This delightful nutty, crunchy toffee pairs exceptionally well with other festive treats. Imagine it alongside fragrant cardamom crescents, buttery pecan snowball cookies, traditional Moravian Christmas Cookies, or decadent fudgy brownie cookies to create the ultimate Holiday cookie tray that will dazzle your guests.
The Allure of Homemade Toffee: Why It’s Worth Every Minute
There’s an undeniable charm and superior quality to homemade confections, and toffee is no exception. While store-bought toffee can be pleasant, it rarely captures the fresh, buttery depth, the nuanced bitterness of quality chocolate, or the satisfying snap of perfectly caramelized sugar that a homemade batch offers. Crafting your own toffee allows for complete control over the ingredients, ensuring you use only the finest butter, premium nuts, and your preferred chocolate, resulting in a product that simply cannot be replicated by mass production. Beyond the unparalleled taste, the process itself is a rewarding experience, transforming simple ingredients into a gourmet delight right in your kitchen. This thin, crunchy, and richly flavored homemade toffee isn’t just a dessert; it’s a testament to culinary passion, making it an exceptional centerpiece for holiday gatherings or a truly thoughtful, personalized gift that speaks volumes.
Table of Contents
- Mastering Toffee: Why Does It Get Sticky?
- Crafting Perfection: Essential Ingredients for Your Toffee
- Creative Twists: Inspiring Substitutions for Your Toffee
- Toffee Troubleshooting & Frequently Asked Questions
- Homemade Toffee Recipe
- Beyond Toffee: Exploring More Sweet Delights
Mastering Toffee: Why Does It Get Sticky?
Encountering sticky toffee can be disheartening after all your efforts, but understanding the science behind it can help you achieve that coveted crispness every time. Toffee typically becomes sticky if the sugar mixture isn’t cooked to the precise 285°F (the soft crack stage), if an insufficient amount of baking soda is used, or crucially, if the candy is made on a humid day. Let’s delve into each factor:
Temperature Precision: The Soft Crack Stage. Candy-making is as much a science as it is an art, and sugar’s transformation through various stages is critical. For toffee, reaching the 285°F soft crack stage is absolutely essential. At this temperature, the sugar syrup loses almost all of its water content, resulting in a firm, yet still pliable, texture when cooled. If the temperature is too low, residual moisture will remain, leading to a chewy, sticky, or even gummy texture instead of a crisp, breakable one. A reliable candy thermometer, accurately calibrated, is your most vital tool for achieving this precision.
The Magic of Baking Soda. The baking soda in chocolate buttercrunch toffee plays a fascinating role. When added to the hot sugar mixture, it reacts with the natural acids present in the brown sugar. This reaction produces tiny carbon dioxide bubbles, which are then trapped within the rapidly cooling toffee. These minuscule air pockets are what give the toffee its characteristic lightness, contributing to a less dense, less sticky, and wonderfully crunchy texture. Using too little baking soda means fewer bubbles, and thus, a heavier, stickier end product.
Humidity: The Invisible Foe. Lastly, the ambient humidity in your kitchen is a often-overlooked but significant factor. Sugar is inherently hygroscopic, meaning it readily absorbs moisture from the air. Even if you meticulously follow every step and hit the perfect temperature, making toffee on a humid day will almost invariably result in a stickier candy. The sugar crystals will draw moisture from the atmosphere, causing them to soften and clump. If possible, choose a dry day for your candy-making endeavors, or consider using a dehumidifier in your kitchen.
Crafting Perfection: Essential Ingredients for Your Toffee
Every exceptional recipe begins with high-quality ingredients. Here’s a breakdown of what you’ll need for this homemade toffee and why each component is crucial:
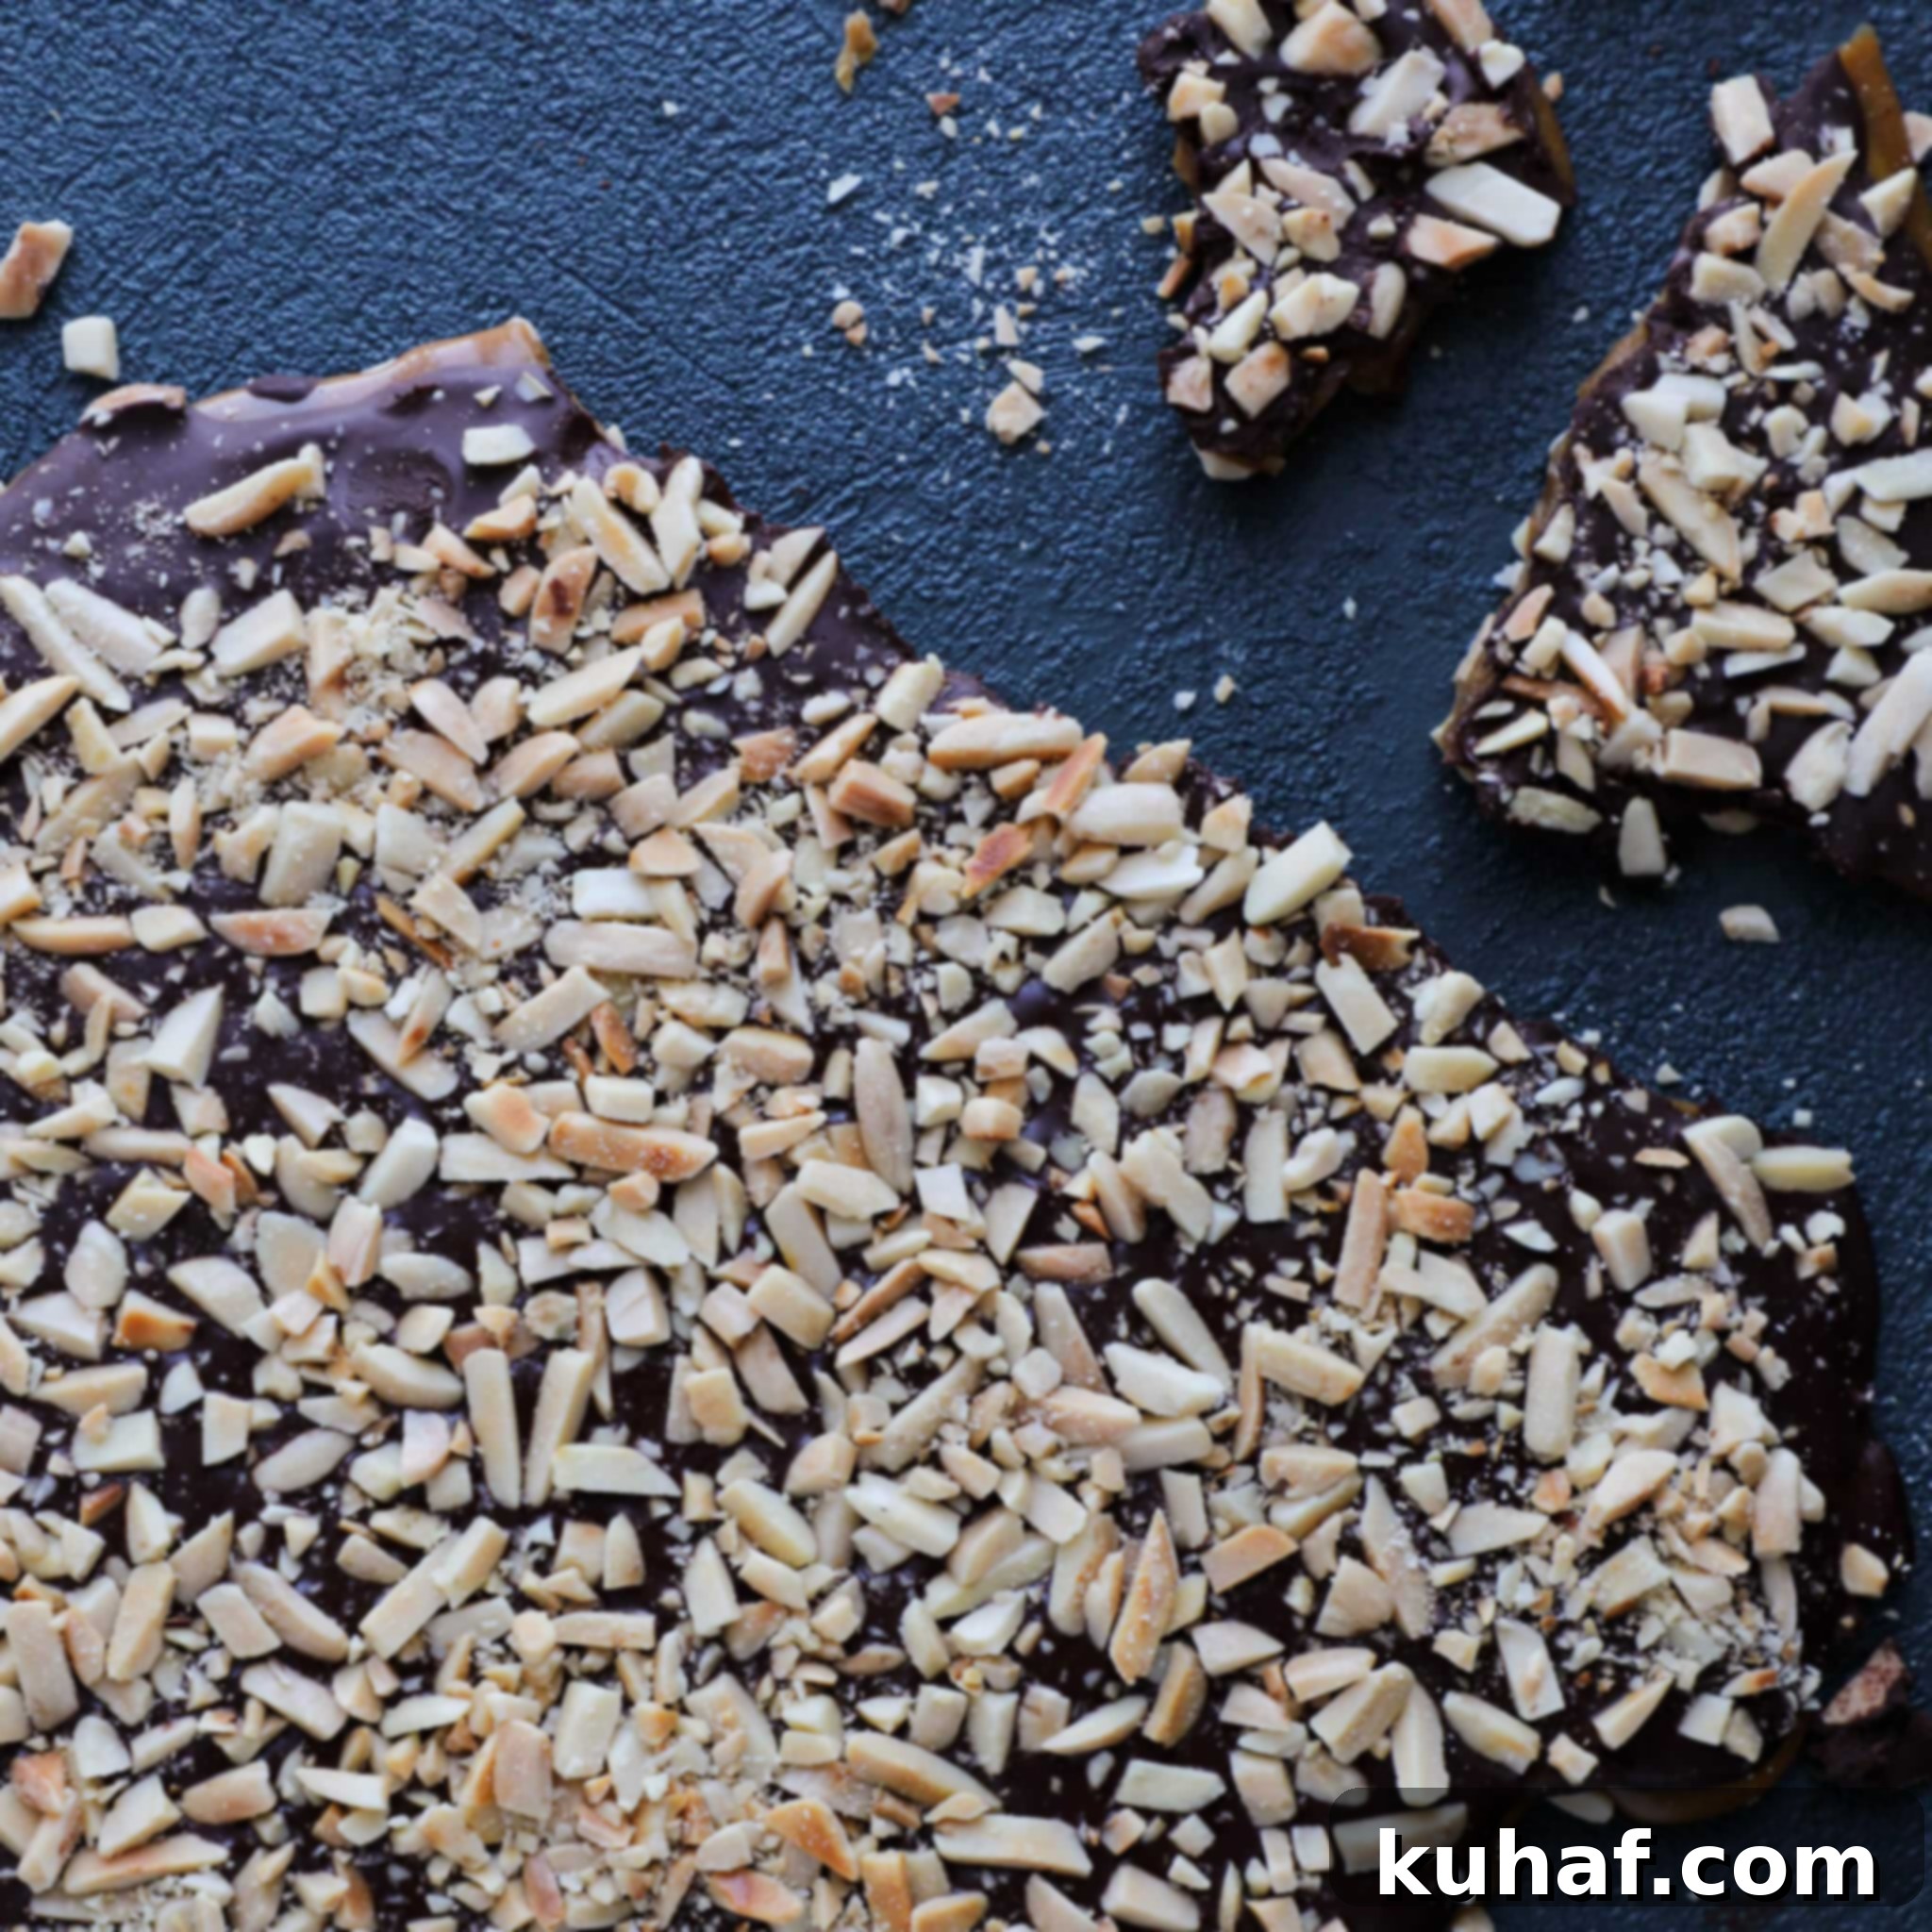
- Almonds: For this exquisite toffee, I specifically recommend using blanched, slivered almonds. Blanching removes the skin, providing a cleaner look and preventing any bitterness from the almond skins. Toasting these almonds is a non-negotiable step when learning how to make homemade toffee, as it profoundly enhances their nutty flavor, balancing the inherent sweetness of the toffee and the chocolate, while also adding a delightful, extra layer of crunch. This simple step elevates the overall depth of flavor significantly.
- Light Brown Sugar: The choice of light brown sugar is fundamental to this toffee’s signature flavor and texture. Its fine granules dissolve smoothly, and the molasses content contributes a subtle caramel note that deepens as it cooks. While light brown sugar is preferred for its balanced flavor, dark brown sugar, with its richer molasses content, can be substituted if you desire a more robust, almost treacle-like flavor profile. The caramelization of this sugar forms the very backbone of your toffee.
- Water: In the intricate world of candy making, water serves a crucial purpose: it helps dissolve the sugar crystals, preventing premature crystallization and ensuring a smooth, uniform sugar syrup. Tap water is perfectly fine for this application. I often opt for cold water because it facilitates a slower, more controlled heating process for the sugar syrup, which is beneficial for consistent results and less risk of burning.
- Butter: I exclusively use unsalted butter for all my baking and candy-making. This allows for precise control over the overall salt content in the recipe. In confections like caramels, pralines, toffee, and brittles, butter is indispensable. It imparts a luxurious, smooth richness and contributes significantly to the tender, melt-in-your-mouth quality of the final product, complementing the sweetness beautifully.
- Kosher Salt: Kosher salt is my salt of choice. It is less salty by volume than table salt due to its larger crystal size, and a teaspoon of kosher salt weighs less than finer ground varieties. Here, it acts as a powerful flavor heightener, preventing your toffee from tasting one-dimensionally sweet or “flat.” It brings out the subtle complexities of the brown sugar and chocolate.
- Vanilla Extract: High-quality vanilla extract does more than just add its own beautiful aroma and flavor; it acts as a flavor booster. It harmonizes with and amplifies the inherent deliciousness of other ingredients like chocolate and brown sugar, adding a layer of sophisticated warmth and depth that truly defines gourmet toffee.
- Baking Soda: Before you begin, always check the freshness of your baking soda! Its potency diminishes over time. If it’s not fresh, it won’t react effectively to create the airy texture needed for a perfectly crunchy, non-sticky toffee. A simple test: mix a little with vinegar; if it fizzes vigorously, it’s good to go. Otherwise, repurpose it for cleaning or odor absorption in the refrigerator.
- Bittersweet Chocolate: I have a strong preference for bittersweet chocolate in this recipe because its delightful bitterness beautifully contrasts and balances the intense sweetness of the toffee. As you gain confidence in how to make homemade toffee, feel free to experiment with different types of chocolate to discover your personal favorite combination. Customizing the chocolate layer is a fantastic way to personalize this treat, making it one of my favorite gifts for home cooks to create.
Creative Twists: Inspiring Substitutions for Your Toffee
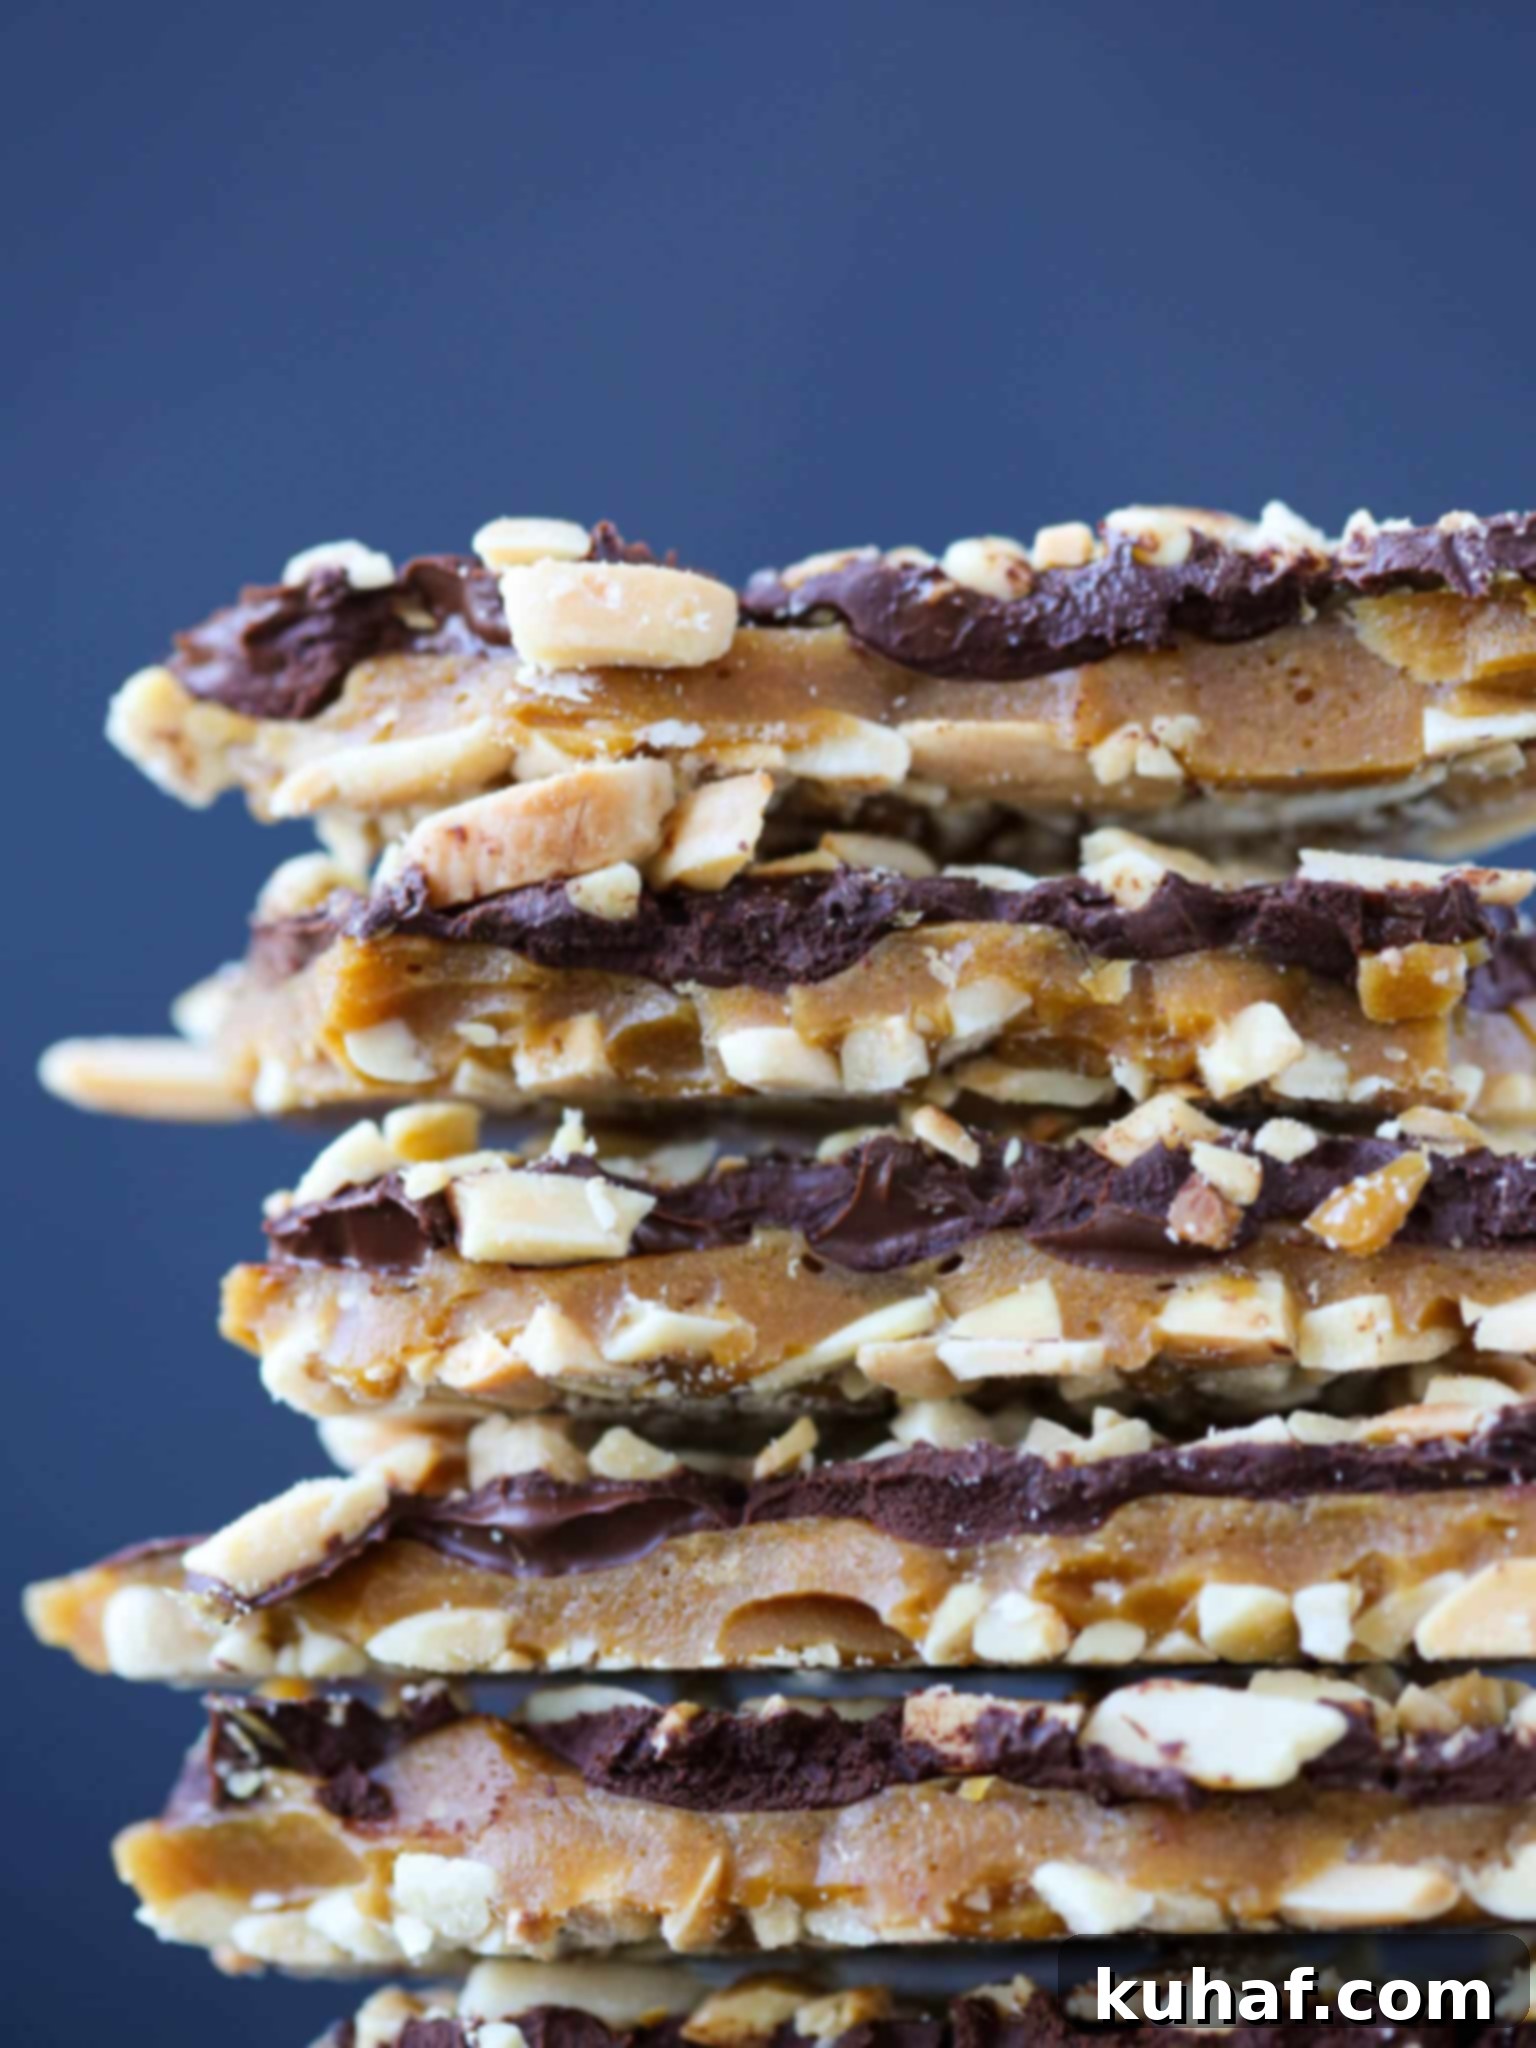
While the classic almond and bittersweet chocolate combination is undeniably delicious, don’t hesitate to personalize your homemade toffee with these exciting substitutions and variations. Experimentation is part of the fun of being a home chef!
- Nuts: The choice of nuts can dramatically alter the flavor profile of your toffee. While almonds are classic, you can confidently substitute them with any nut you prefer. For instance, hazelnuts offer a phenomenal flavor pairing, especially when toasted, lending a rich, almost praline-like quality that pairs beautifully with chocolate. Toasted walnuts would also be a fantastic choice, providing a slightly more earthy and robust flavor that contrasts wonderfully with the sweet toffee. Pecans would bring a buttery, mellow note, while pistachios could introduce a vibrant color and distinct flavor, particularly lovely with white chocolate. Remember to always toast your chosen nuts for maximum flavor!
- Chocolate: My personal preference leans towards bittersweet chocolate for its ability to cut through the sweetness of the toffee, creating a perfectly balanced flavor. However, your chocolate choice is entirely yours to customize! Semi-sweet chocolate would yield an even sweeter treat, a popular choice for those who prefer a classic, less intense chocolate flavor. For a truly decadent and sweet experience, milk chocolate could be used, though be mindful that it melts faster and might create a softer topping. I personally advise against unsweetened chocolate as I found it too bitter, even when paired with the sweet toffee, resulting in an unbalanced flavor profile.
- Dark Brown Sugar: This recipe calls for light brown sugar, which provides a gentle caramel flavor. However, if you desire a deeper, more pronounced molasses note, you could certainly substitute with dark brown sugar, much like the rich flavor it imparts in my sticky toffee pudding. Dark brown sugar will give your toffee a richer color and a more intense, robust caramel taste.
- Dried Fruits: Introducing dried fruits can add a wonderful chewiness and complementary tartness to your toffee. If you’re exploring how to make homemade toffee with dried fruits, here’s a pro tip: instead of sprinkling them on top of the chocolate, sprinkle about ½ to 1 cup of finely chopped dried fruit (like cherries, cranberries, apricots, or even finely diced dates) onto the baking sheet along with the almonds *before* pouring the hot toffee mixture over them. This technique allows the heat from the toffee to gently soften the fruit, incorporating it more smoothly into the candy and preventing it from becoming overly dry or detaching from the top layer.
Toffee Troubleshooting & Frequently Asked Questions
Even with a clear recipe, questions can arise. Here are some common queries and expert answers to help you achieve toffee perfection:
To preserve its optimal texture and flavor, homemade toffee should be stored in an air-tight container at room temperature. Ensure it’s kept away from direct sunlight or heat sources, which can cause the chocolate to melt and the toffee to soften.
When stored correctly in an air-tight container at room temperature, your delicious homemade toffee will maintain its quality for up to a month. Beyond that timeframe, the toffee may begin to crystallize, which means it might become slightly grainy or chewier, but it will still be perfectly safe and taste good, just with a different texture.
While it is technically possible to freeze toffee, I would generally advise against it if you’re aiming for that signature crisp texture. When frozen and then thawed, toffee tends to absorb moisture from the air, which will cause it to lose its delightful crunchy texture and potentially become chewy or sticky. It’s best enjoyed fresh or within its recommended room-temperature storage period.
Yes, you can absolutely make a larger batch of toffee, which is fantastic for gifting or feeding a crowd! However, it’s crucial to ensure your pot is large enough to safely contain the increased volume of ingredients, preventing boil-overs. A larger batch will naturally take a bit longer to cook and reach the target temperature, so patience is key. Once cooked, it can easily be divided and poured onto multiple parchment-lined baking sheets to cool.
If your toffee turns out too soft or chewy, it’s almost always an indication that the sugar mixture did not reach the full 285°F (soft crack stage). The residual moisture keeps it from becoming brittle. Unfortunately, once it’s cooled, it’s difficult to salvage. Next time, double-check your candy thermometer’s calibration and ensure you cook it to the precise temperature.
For neat, even pieces, allow the toffee to cool completely, ideally for at least 2-3 hours or until fully hardened. Then, you can gently tap it with the back of a sturdy knife or a small mallet. For more rustic, organic shards, simply use your hands to break it apart. Using a sharp chef’s knife to score it before it fully hardens can also help create cleaner breaks once cooled.
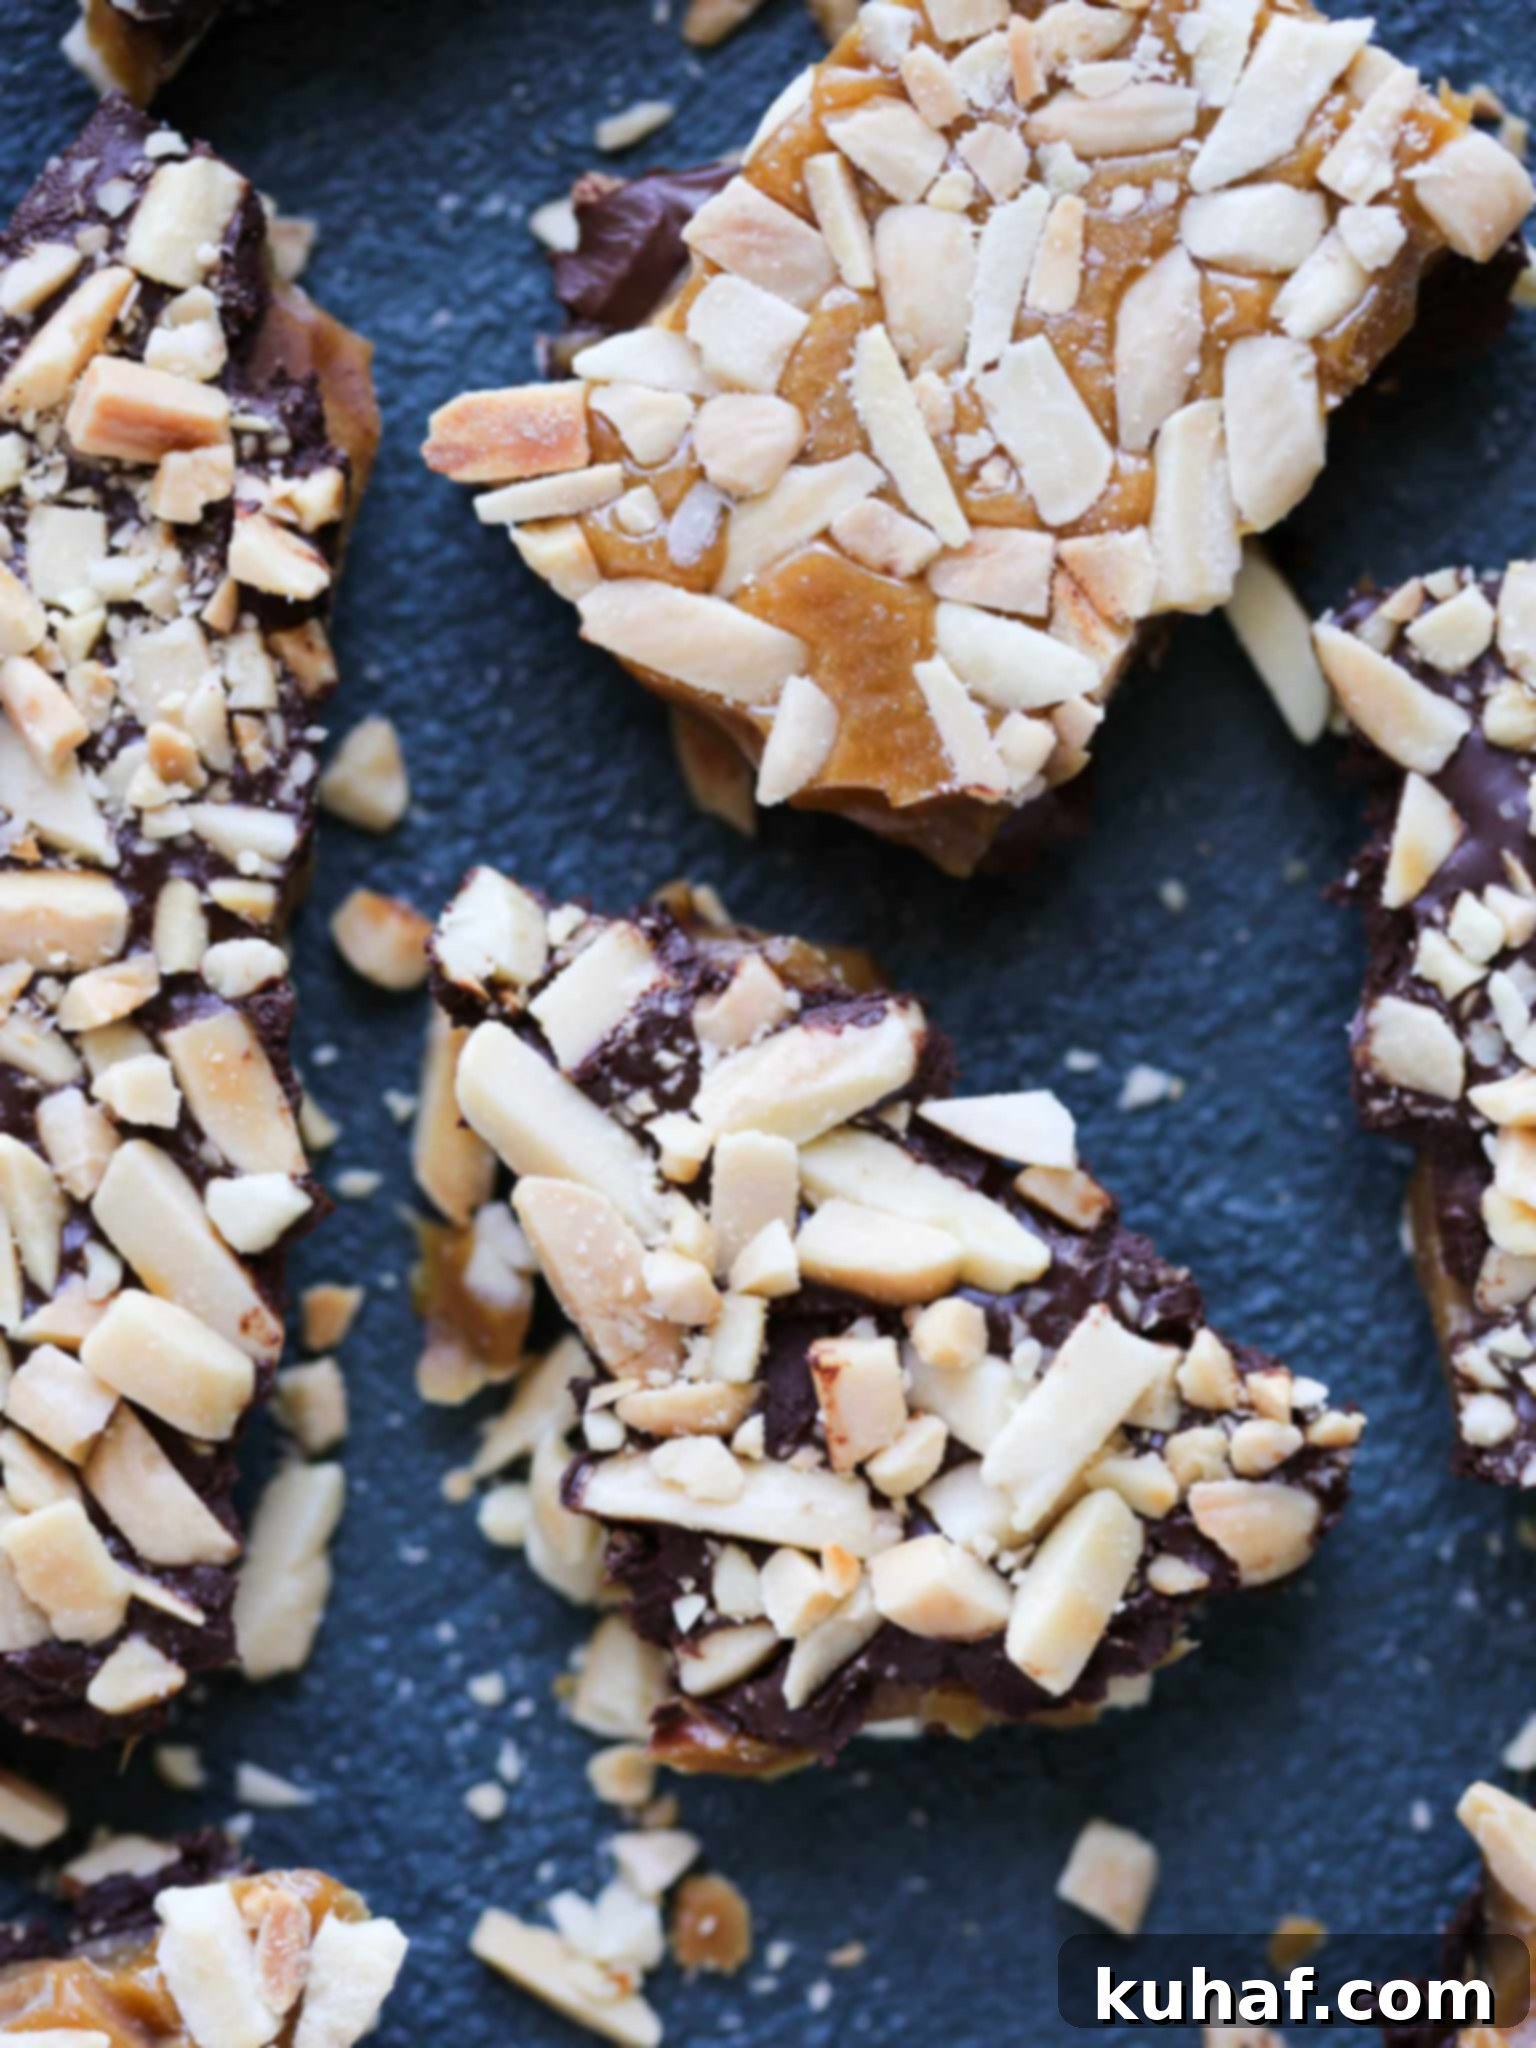
If you tried this recipe and loved it, please leave a 🌟 star rating and let me know how it goes in the comments below. I love hearing from you; your comments make my day!
Homemade Toffee
Saved
Pin Recipe
Comment
Print Recipe
Ingredients
- 2 cups blanched sliced almonds
- 1 ¼ cups light brown sugar firmly packed
- 2 tablespoons water
- ½ cup unsalted butter
- ¼ teaspoon kosher salt
- 1 teaspoon vanilla extract
- ¼ teaspoon baking soda
- 6 oz bittersweet chocolate chopped
Instructions
-
Preheat your oven to 350°F (175°C). Spread the blanched, slivered almonds evenly on a baking sheet. Toast them in the preheated oven, stirring occasionally, until they achieve a light golden brown color and release a fragrant, nutty aroma. This usually takes about 5-7 minutes. Remove from oven and cool completely.
-
Once cooled, chop the toasted almonds either by hand or pulse them briefly in a food processor until they are finely chopped but still retain some texture, avoiding turning them into a powder.
-
Line a clean cookie sheet (approximately 10×15 inches or similar) with parchment paper or waxed paper, ensuring it extends beyond the edges for easy handling. Sprinkle half of the chopped almonds evenly over the prepared cookie sheet. Try to confine them to a roughly 7-inch by 10-inch rectangle, which will be the approximate size of your toffee slab. Set this aside.
-
This is crucial for candy making: ensure all your ingredients (brown sugar, water, butter, salt, vanilla, baking soda, chocolate) are measured out and ready to go, placed conveniently near your stovetop. Once the toffee reaches temperature, the process moves very quickly.
-
In a medium-sized, heavy-bottomed saucepot, combine the light brown sugar, water, unsalted butter, and kosher salt. Stir these ingredients thoroughly until they are well combined. Place the pot over medium heat and bring the mixture to a rolling boil, stirring constantly to ensure the sugar dissolves and prevents scorching.
-
Once boiling, reduce stirring to occasional stirs as needed to prevent sticking. Continue to boil the mixture, using your candy thermometer to monitor the temperature precisely, until it reaches 285°F (the soft crack stage). This stage is critical for the toffee’s texture. Immediately remove the saucepot from the heat. Carefully remove the thermometer. Working quickly, add the vanilla extract and baking soda, stirring vigorously for about 10-15 seconds until combined and the mixture becomes lighter and slightly foamy.
-
Immediately and carefully pour the hot toffee candy mixture evenly over the almonds scattered on the baking sheet. Quickly scatter the chopped bittersweet chocolate over the hot toffee. Let it sit undisturbed for about 5 minutes; the residual heat from the toffee will melt the chocolate. After 5 minutes, use an offset metal spatula or the back of a spoon to gently and evenly spread the melted chocolate over the entire surface of the toffee. Sprinkle the remaining half of the chopped almonds over the warm chocolate layer. Allow the toffee to cool completely and harden at room temperature, which can take several hours. Do not put it in the refrigerator unless your kitchen is excessively warm, as it can absorb moisture.
-
Once fully cooled and hardened, gently lift the parchment paper and toffee from the baking sheet. Place it on a clean, sturdy surface and break it into irregular, delicious pieces using your hands or by gently tapping with a heavy object like a rolling pin.
Notes
Presentation – To get delightful uneven bits of almond in your toffee be sure to not grind your toasted almonds too small, and also try to keep them relegated to the size your toffee will be when you spread out half of your almonds on a baking sheet. For a truly elegant look, you can also finely chop a portion of the almonds to sprinkle over the chocolate for a more refined finish.
Flavor Tips – I love bittersweet chocolate in this homemade toffee, butsemi-sweet chocolate would make an even sweeter treat. For an extra layer of complexity, consider adding a pinch of high-quality flaky sea salt (like Maldon) over the melted chocolate before sprinkling the final almonds. This amplifies the sweetness and chocolate notes beautifully. You could also infuse the vanilla with a pinch of espresso powder for a mocha-toffee twist!
Technique – Candy-making is a science, and sugar needs to be taken to the soft crack stage to get that perfect crunch. The baking soda in chocolate buttercrunch toffee reacts with the acid in the brown sugar to make a lighter, less sticky toffee. You can’t forget that sugar is hygroscopic and will absorb moisture from the air. Even if you do everything right, making toffee on a humid day will always result in sticky toffee. It’s also vital to avoid scraping the sides of the pot once the sugar mixture starts boiling, as this can introduce undissolved sugar crystals and lead to premature crystallization, resulting in grainy toffee.
Helpful Tools – A candy thermometer is mission-critical here! I prefer one that clips on the side of the pot for constant temperature regulation, allowing you to keep both hands free for stirring. Test your thermometer calibration before you begin by placing it in a pot of boiling water. The temperature should read 212°F (100°C) at sea level. If it doesn’t, note the difference and adjust your target temperature accordingly. A sturdy, heavy-bottomed pot is also essential for even heat distribution, preventing hot spots and scorching.
Variations – You can use any nut that you choose in place of the almonds. Hazelnuts would be a phenomenal flavor pairing as would toastedwalnuts. Dried fruits would also be a delightful combination. If you’re considering how to make homemade toffee with dried fruits, sprinkle ½ -1 cup dried fruit with the almonds on the baking sheet before pouring the toffee mixture over the top. This will soften and incorporate the fruit into the candy better than sprinkling on top. For a unique twist, consider a sprinkle of finely crushed pretzels or potato chips for a sweet and salty crunch!
Storage – Store in an airtight container at room temperature for about a month. After that time, it will begin to crystallize, altering the texture but not the safety. You could freeze toffee but I would advise against it. When thawed it will absorb moisture and will lose its crunchy texture. If humidity is a concern, consider individually wrapping pieces in wax paper before placing them in the airtight container to provide an extra layer of protection.
Recipe from Rose’s Christmas Cookies, by Rose Levy Beranbaum. 1990 Edition.
Yield: About 1 pound of toffee
Nutrition
Carbohydrates: 400g |
Protein: 58g |
Fat: 271g |
Saturated Fat: 104g |
Polyunsaturated Fat: 32g |
Monounsaturated Fat: 116g |
Trans Fat: 4g |
Cholesterol: 254mg |
Sodium: 1004mg |
Potassium: 2787mg |
Fiber: 35g |
Sugar: 340g |
Vitamin A: 2937IU |
Calcium: 872mg |
Iron: 20mg
Like this? Leave a comment below!
Professional Chef’s Tips for Toffee Mastery
Elevate your toffee-making from good to extraordinary with these expert insights from a professional pastry chef. These tips go beyond the basic recipe, helping you understand the nuances for consistent, perfect results every time.
Achieving Perfect Toffee Texture: The Science of Sugar
- Thermometer Calibration is Non-Negotiable: As mentioned, a candy thermometer is your best friend. Before every use, test its accuracy by placing it in vigorously boiling water. At sea level, it should read 212°F (100°C). If it reads differently, note the variance and adjust your target temperature (285°F) accordingly. An uncalibrated thermometer is the leading cause of sticky or burnt toffee.
- The Art of Stirring: During the initial stages, continuous stirring ensures that the sugar dissolves evenly and prevents scorching. However, once the mixture comes to a boil, reduce stirring to only occasional gentle swirls, if needed, to prevent the bottom from sticking. Over-stirring during the boiling stage can introduce air bubbles and encourage premature crystallization, leading to grainy toffee.
- Humidity Control: This cannot be stressed enough. Sugar is hygroscopic, meaning it loves to absorb moisture. If your kitchen feels damp or humid, consider postponing your toffee-making or running a dehumidifier. High humidity is a silent saboteur of crispy toffee.
- Don’t Rush Cooling: Patience is a virtue when cooling toffee. Allow it to set completely at room temperature. Rushing the process by placing it in the refrigerator can cause it to absorb moisture, making it sticky or less crisp once brought back to room temperature.
Flavor Harmony and Quality Ingredients
- The Right Chocolate: While bittersweet is recommended for balance, don’t shy away from experimenting. A high-quality milk chocolate can create a richer, sweeter, and more approachable toffee. If using a milder chocolate, consider a slightly larger pinch of salt in the toffee base to enhance complexity.
- Nut Selection: Toasting is key for any nut. Consider the flavor profile – pecans for buttery notes, hazelnuts for a deep, earthy sweetness (perfect with dark chocolate), or macadamia nuts for a richer, tropical crunch.
- Flavor Boosters: A tiny splash of good quality liqueur (like Grand Marnier or a coffee liqueur) added with the vanilla can introduce a sophisticated flavor dimension. Spices like a pinch of cinnamon or a dash of cardamom can also be folded in with the vanilla for a warm, aromatic twist.
Presentation & Gifting Ideas
- Uniform vs. Rustic: For elegant, uniform squares, score the toffee lightly with a knife shortly after spreading the chocolate, before it fully hardens. Once completely cool, it will break along these lines. For a more charming, rustic look, simply break it into irregular shards.
- Packaging for Gifts: Homemade toffee makes a phenomenal gift. Layer pieces between sheets of wax paper in an airtight tin or decorative box. This not only looks professional but also helps preserve its crispness.
Essential Equipment Beyond the Thermometer
- Heavy-Bottomed Pot: A thick-bottomed saucepan distributes heat more evenly, significantly reducing the risk of scorching your sugar, which can happen very quickly with thin-bottomed pots.
- Parchment Paper: Crucial for easy removal and cleanup. Avoid aluminum foil directly, as the toffee can stick.
- Offset Spatula: This tool is incredibly useful for smoothly spreading the melted chocolate over the hot toffee without disturbing the almond layer. Its angled blade makes the job effortless.
Common Pitfalls and How to Avoid Them
- Burnt Sugar: The moment sugar turns from perfectly golden to burnt happens in an instant. Use a heavy-bottomed pot and maintain medium heat. If you suspect even a hint of burning, start over; burnt sugar will impart an acrid taste that will ruin the entire batch.
- Grainy Toffee: This is usually a sign of undissolved sugar crystals acting as a “seed” for new crystallization. Ensure all sugar is fully dissolved at the beginning by stirring constantly until it boils, and avoid scraping the sides of the pot once boiling begins.
- Uneven Setting: Make sure your baking sheet is perfectly level. An uneven surface will result in toffee that is thicker in some areas and thinner in others, leading to inconsistent crunch.
Beyond Toffee: Exploring More Sweet Delights
Now that you’ve mastered the art of homemade toffee, don’t let your culinary journey end here! The world of confections is vast and rewarding. I encourage you to check out our other delicious, chef-developed candy recipes to further expand your repertoire. From rich fudges to delicate pralines, there’s always something new to create. You might also want to explore some easy Christmas cookies that pair wonderfully with this toffee for a festive spread, or pick a few traditional Christmas cookies to round out your holiday baking. Happy baking and sweet endeavors!
