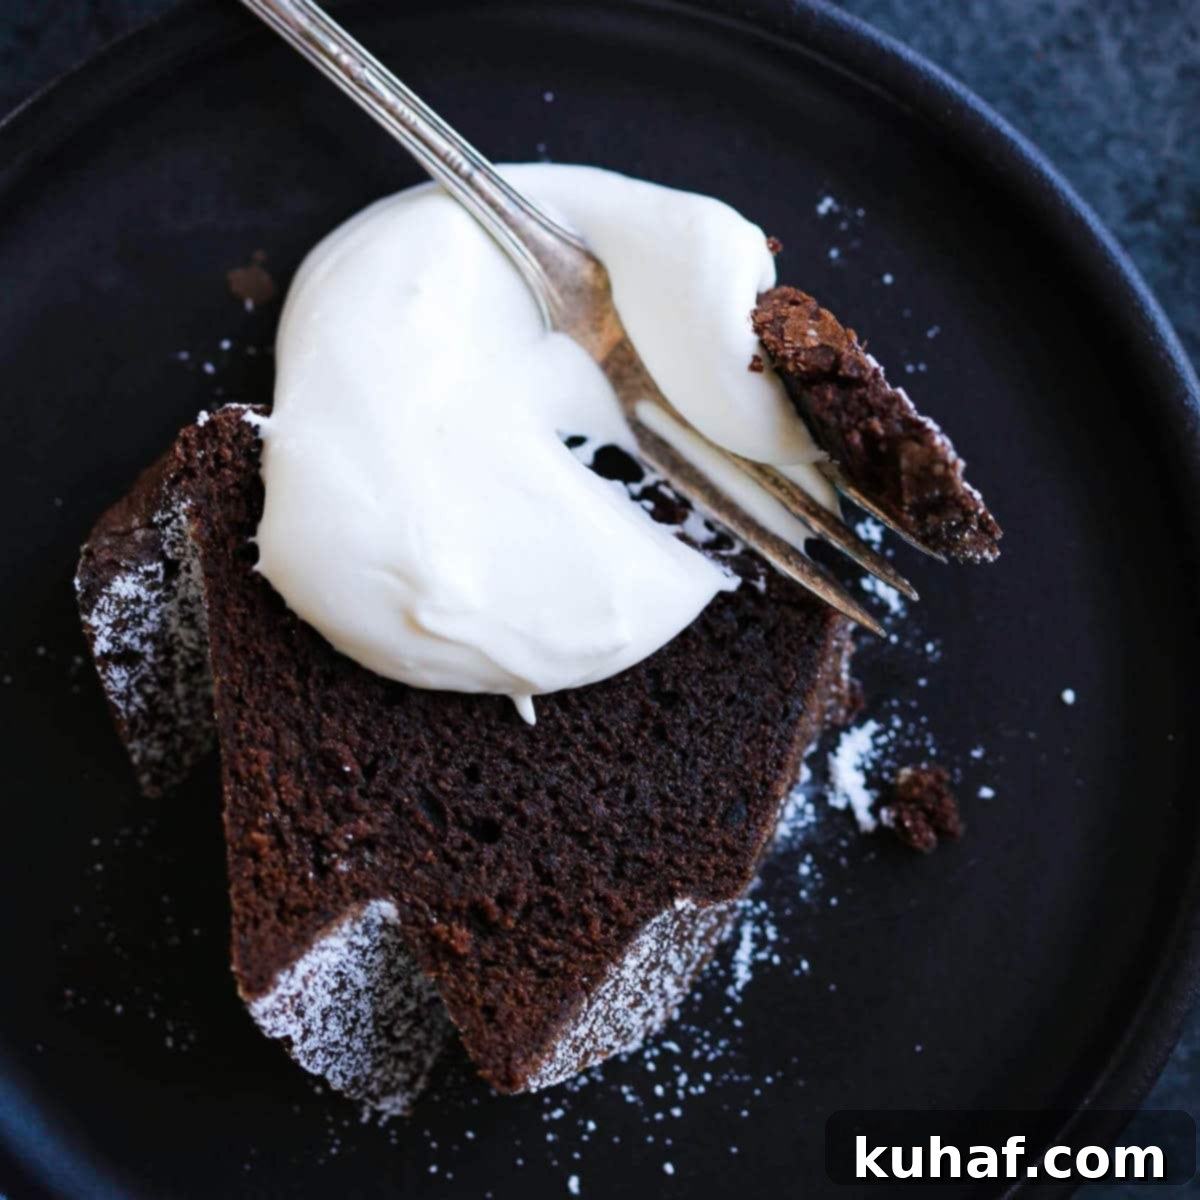
The Best Chocolate Pound Cake Recipe: Rich, Moist, and Perfectly Dense
Indulge in a truly extraordinary dessert with this recipe for the **Best Chocolate Pound Cake** you’ll ever taste. This cake boasts a profoundly rich and decadent chocolate flavor, perfectly complemented by a dense, tender, and incredibly moist crumb that simply melts in your mouth. Forget dry, crumbly cakes; this is a chocolate experience that sets a new standard for homemade baking.
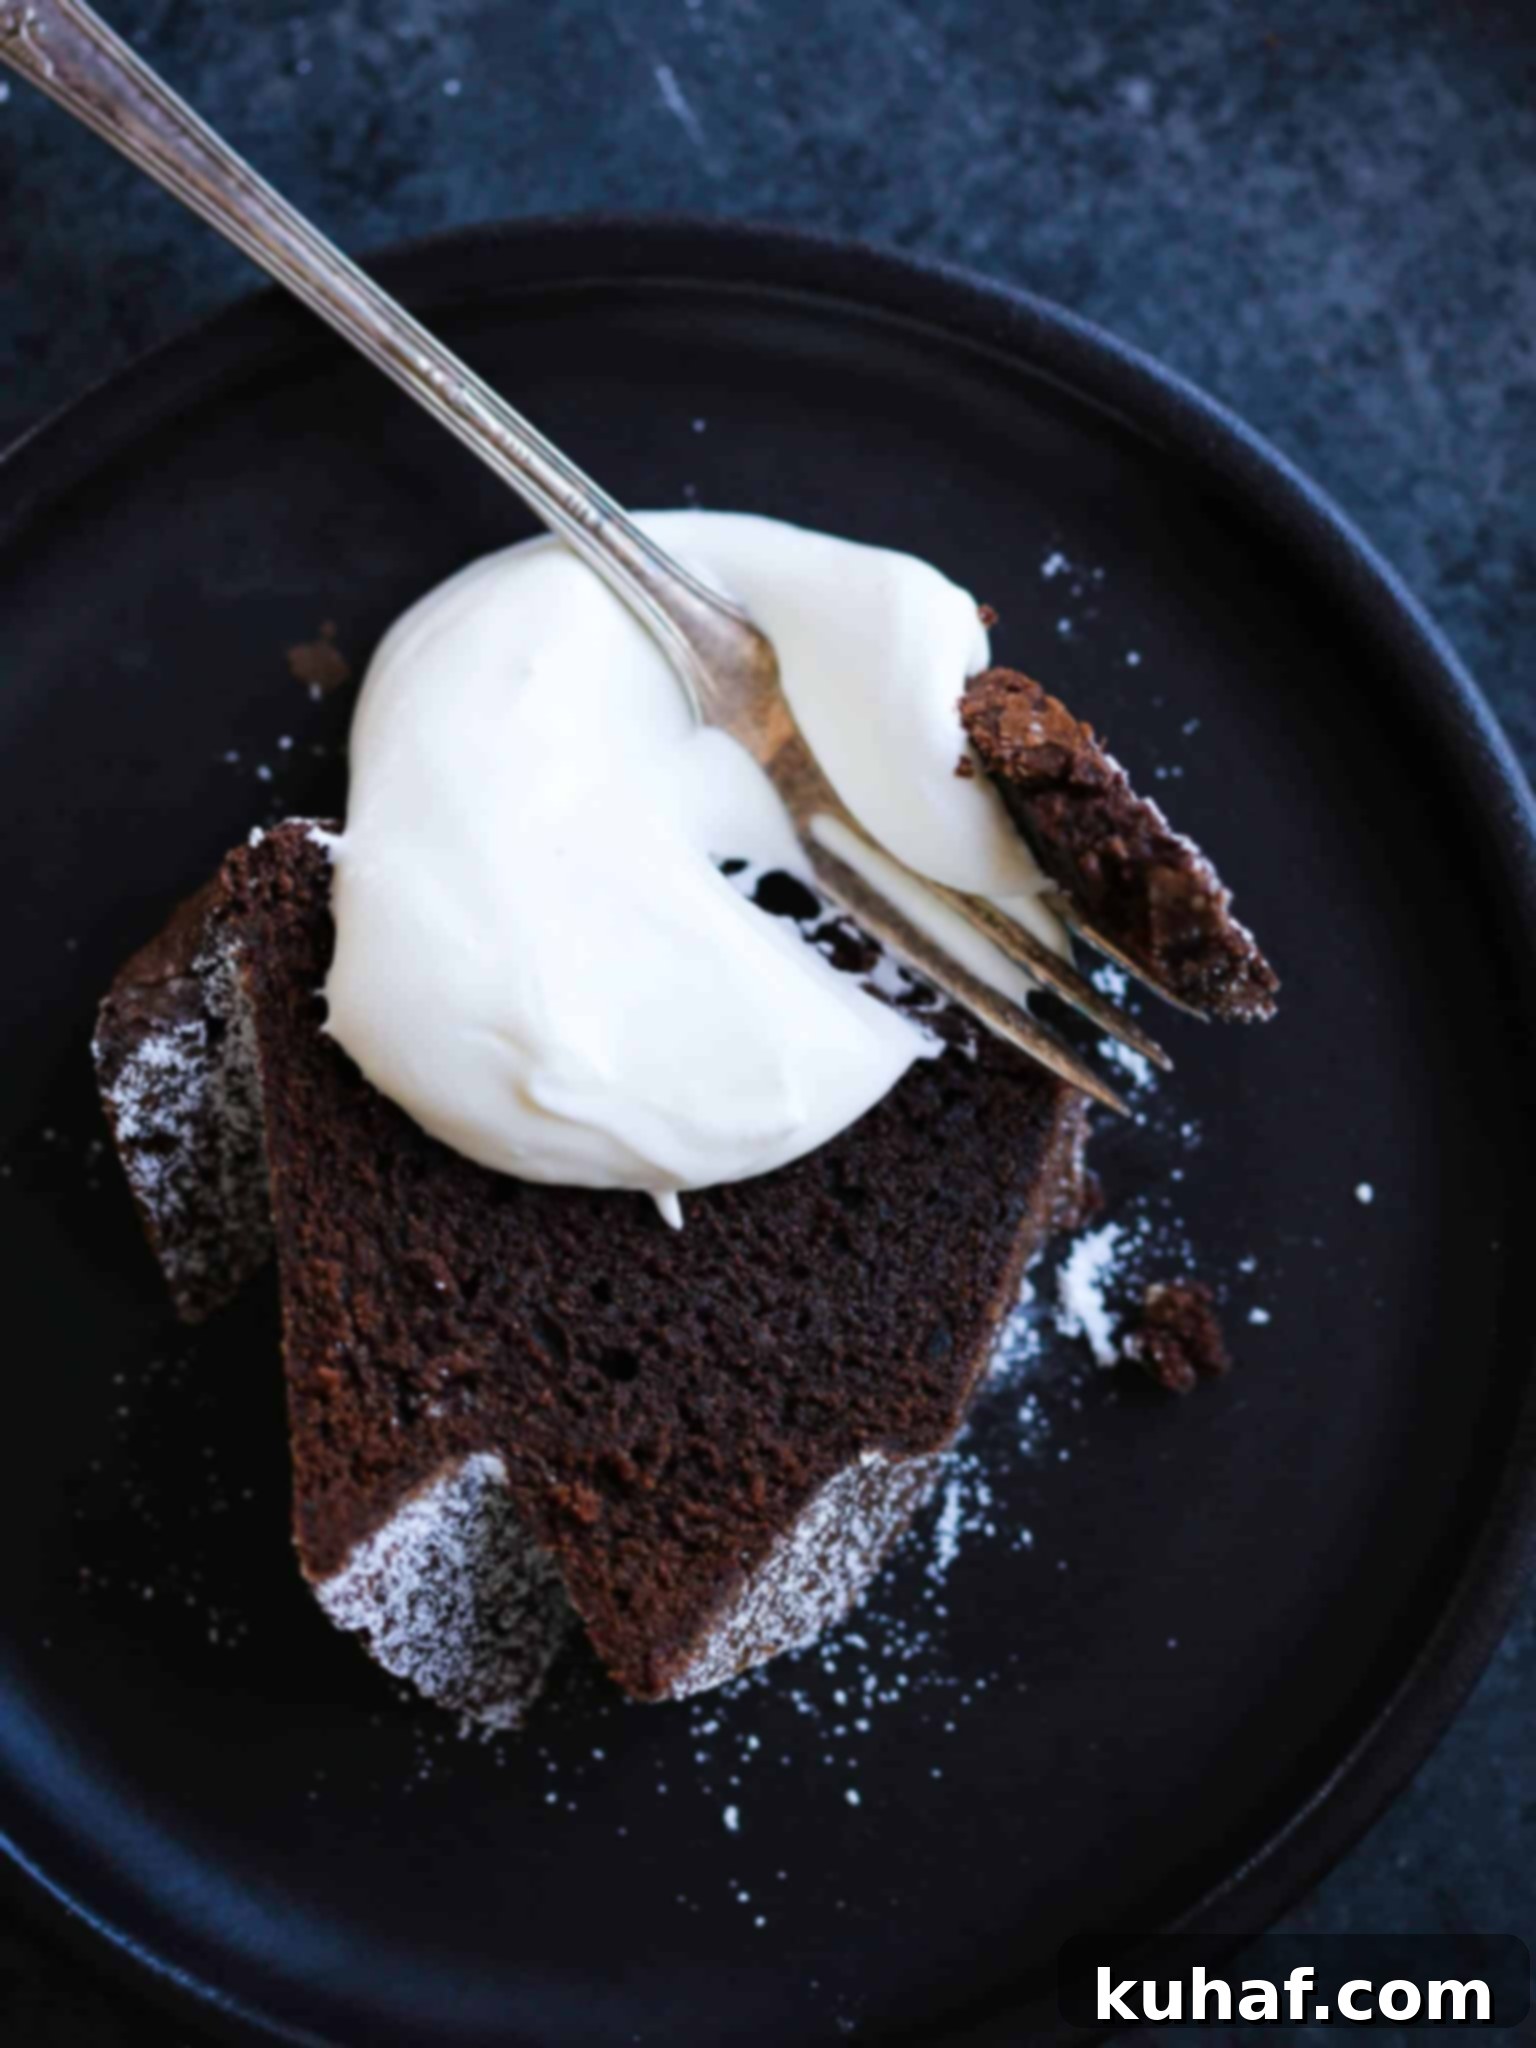
Every single slice of this cake delivers the quintessential pound cake texture alongside an intensely deep chocolate flavor, thanks to a generous and expertly balanced amount of premium cocoa powder. This isn’t just a chocolate cake; it’s a profound declaration of chocolate love, guaranteed to satiate even your most intense chocolate cravings. As a pastry chef, I’ve crafted numerous chocolate recipes, from my light and airy French Silk Pie to a classic Old Fashioned Chocolate Fudge and the rich, thick Easy Chocolate Pie. Yet, I can confidently say that this particular chocolate pound cake possesses an unparalleled depth of flavor and an irresistible charm.
Once you’ve retrieved your Bundt pans for this masterpiece, why not make it a full-fledged baking celebration? Explore other beloved pound cake recipes like my delightful Cherry Almond Pound Cake, the comforting Maple Pound Cake with Maple Glaze, the vibrant Red Velvet Pound Cake, or the bright and zesty Lemon Pound Cake with Strawberry Icing. Each offers a unique flavor profile, perfect for any occasion.
Table of Contents
- Why This is the Best Chocolate Pound Cake Recipe
- Professional Tips for Baking Pound Cake
- What Makes a Pound Cake Different from a Regular Cake?
- Key Ingredients for the Perfect Chocolate Pound Cake
- Loaf Pan and Other Delicious Variations
- Dutch-Processed Cocoa and Other Ingredient Substitutions
- How to Make Chocolate Pound Cake: A Step-by-Step Guide
- Chef Lindsey’s Recipe Tip
- How to Ensure Your Pound Cake Releases Perfectly from a Bundt Pan
- Frequently Asked Questions
- Chocolate Pound Cake Recipe Card
- Before You Go
Why This is the Best Chocolate Pound Cake Recipe:
- Sinfully Intense Chocolate Flavor: This recipe is a meticulously crafted symphony of sweetness and rich cocoa. The ingredients are flawlessly balanced, ensuring that every forkful delivers an irresistible burst of deep chocolate, without being overly sweet. It’s designed to satisfy the most discerning chocolate lovers, showcasing the true essence of high-quality cocoa.
- Tight Crumb That Still Melts in Your Mouth: Unlike some dense cakes that can feel heavy, this professional recipe achieves a perfectly dense yet incredibly tender crumb. It subtly deviates from the traditional 1:1:1:1 pound cake ratio (pound of butter, pound of sugar, pound of eggs, pound of flour) by carefully adjusting the sugar content. This precise balance, combined with the low liquid content and high fat of sour cream, prevents excessive gluten development, resulting in a luscious, smooth batter and a final cake that’s substantial but melts away on your palate.
- Perfected by a Pastry Chef: This isn’t just another recipe; it’s the culmination of extensive testing and refinement by a professional pastry chef. I’ve personally tested and re-tested every aspect, from ingredient ratios (both by weight and volume) to baking times, to ensure you have a foolproof, no-fuss step-by-step process. You can trust that this recipe will consistently deliver spectacular results, making you feel like a baking pro.
Professional Tips for Baking Pound Cake
Achieving pound cake perfection involves a few key techniques. These professional tips will help you create a chocolate pound cake that’s consistently moist, dense, and utterly delicious:
- I Highly Suggest Weighing Your Ingredients: Precision is paramount in baking, especially for a cake with such a specific texture. I advocate for weighing ingredients even for seemingly simple recipes like my Easy Moist Chocolate Cake. To make this easier, toggle to ‘Metric’ in the recipe card below to view all ingredients by weight. The reason for this precision is simple: egg sizes vary, and a cup of flour, when measured by volume, can differ by as much as 50 grams depending on how it’s scooped or packed. If you must measure by volume, always fluff your flour in the bag first. Then, spoon it gently into the measuring cup, mounding it on top, and use a flat edge (like a knife) to level off the excess. Never tap or compress the flour into the cup, as this can lead to an excess of flour and a dry, tough cake.
- Avoid Over-Creaming Your Butter and Sugar: This is a crucial step for achieving the signature dense texture of a pound cake. The goal here is to cream the softened butter and sugars just until they form a thick, cohesive paste. Unlike light, airy cakes where you might whip a lot of air into the mixture for volume, for pound cake, we want to minimize the incorporation of excess air. Over-creaming will introduce too much air, which can result in a cake with a looser crumb, straying from that desirable dense, rich pound cake characteristic. Stop mixing as soon as the mixture is light in color and fluffy, but still compact.
- Keep a Close Eye on Your Cake While It’s Baking: Baking times are always approximate, as ovens can vary significantly. Over-baking is the quickest way to end up with a dry pound cake, which would be a tragedy for such a rich dessert. Begin checking your cake around the 60-minute mark. It’s done baking when a cake tester or a wooden toothpick inserted into the center comes out with just a few moist, clinging crumbs, but no wet batter. If the tester comes out completely clean, it might already be slightly over-baked. Trust your instincts and the visual cues – a gentle spring back when lightly touched in the center also indicates doneness.
What Makes a Pound Cake Different from a Regular Cake?
The defining characteristic of a pound cake, historically, lies in its foundational recipe ratio: one pound each of butter, sugar, eggs, and flour. This iconic 1:1:1:1 ratio is what gave the cake its name and typically resulted in a hefty cake weighing around four pounds total. This precise, generous proportion of ingredients is responsible for the pound cake’s renowned dense, moist, and rich texture. In contrast, “regular” cakes encompass a much broader category with a wider array of ingredients, ratios, and leavening agents (like baking powder). Often, the primary goal of a regular cake is to achieve a light, fluffy, and airy texture, which is a stark departure from the pound cake’s inherent richness and structure. While its origins trace back to Europe, the pound cake has firmly established itself as a beloved American culinary tradition, cherished for its comforting simplicity and profound flavor, a testament to its enduring classic ingredient proportions that have remained largely unchanged for centuries.
Key Ingredients for the Perfect Chocolate Pound Cake
Crafting an exceptional chocolate pound cake starts with understanding the role of each high-quality ingredient. Here’s what makes this recipe sing:
- Unsalted Butter: I always use unsalted butter in baking because it allows me to control the exact amount of salt in the recipe. Butter is the cornerstone of pound cake, contributing immensely to its rich flavor, tender crumb, and moist texture. Ensure it’s softened but still cool to the touch for optimal creaming.
- Granulated Sugar: Granulated sugar is essential for sweetness and also plays a vital role in achieving the pound cake’s characteristic tight crumb. It interacts with the butter during creaming to create a smooth, dense batter.
- Light Brown Sugar: The addition of light brown sugar is a secret weapon for enhanced flavor and moisture. Beyond its sweetness, brown sugar’s molasses content keeps the cake softer and adds a beautiful, complex caramel-like note that perfectly complements the chocolate.
- Whole Eggs: Eggs are multi-taskers in this recipe, providing fat, moisture, and essential structure. The fat from the yolks contributes to the cake’s richness and helps maintain its moistness, while the proteins aid in emulsifying the batter, ensuring a perfectly stable and cohesive texture.
- Vanilla Extract: High-quality vanilla extract doesn’t just add its own wonderful aroma and flavor; it’s a powerful flavor enhancer. In chocolate desserts, vanilla boosts and brightens the chocolate notes, creating a more complex and satisfying taste experience.
- All-Purpose Flour: All-purpose flour provides just the right amount of gluten to create a dense, yet incredibly tender crumb, which is the hallmark of a traditional pound cake. Its moderate protein content is ideal for this sturdy cake structure.
- Dutch-Processed Cocoa Powder: I exclusively use Dutch-processed cocoa powder in this recipe, as well as in my popular Glazed Chocolate Donuts. Dutch-processed cocoa has been treated with an alkaline solution, which neutralizes its natural acidity. This results in a less bitter, richer, deeper chocolate flavor and a noticeably darker color compared to natural cocoa. Crucially, because it’s neutral, it doesn’t react with baking soda or baking powder in the same way, contributing to a controlled rise and dense texture.
- Sour Cream: Sour cream is a hero ingredient for achieving the exquisite dense and moist texture of this chocolate pound cake, just as it is in my classic Sour Cream Pound Cake. It contains just enough moisture to properly hydrate the flour and cocoa powder without making the batter runny, and its high fat content helps inhibit excessive gluten formation, ensuring a tender and rich result. Its slight acidity also plays a subtle role in flavor balance.
- Kosher Salt: A pinch of Kosher salt is vital for balancing the sweetness and enhancing all the other flavors, especially the deep chocolate.
- Baking Soda: A small amount of baking soda, activated by the acidity in the sour cream, provides just enough leavening to give the cake a slight lift while maintaining its dense structure.
- Water: A small amount of water helps to achieve the perfect batter consistency, ensuring all dry ingredients are fully hydrated without over-mixing.
Refer to the recipe card below for the precise quantities and full ingredient details.
Loaf Pan and Other Delicious Variations:
While this chocolate pound cake is perfect as is, it’s also wonderfully versatile! Here are some exciting ways to customize your creation:
- Death By Chocolate: For the ultimate chocolate indulgence, transform this into a “Death By Chocolate” experience. Fold up to a cup of your favorite chocolate chips (dark, semi-sweet, or milk) into the batter just before baking. Once cooled, lavishly drench the cake in my phenomenal Chocolate Fudge Glaze. You might also love my dedicated Chocolate Bundt Cake recipe, which incorporates both cocoa powder and melted chocolate, often crowned with a glossy Chocolate Ganache for an extra layer of decadence.
- Experiment with Glaze: Don’t limit yourself to just powdered sugar! This rich chocolate pound cake serves as a superb canvas for various glazes. It would be absolutely delightful with my bright vanilla Donut Glaze, a luscious Salted Caramel Sauce drizzled generously, or a decadent Cream Cheese Buttercream spread over the top. For a tangier twist, consider using the cream cheese glaze from my Cinnamon Chip Scones. Each option adds a unique layer of flavor and texture.
- Use a Loaf Pan: Absolutely, you can bake this delicious chocolate pound cake in a loaf pan instead of a Bundt pan! However, please be aware that a standard loaf pan typically holds only about 6 cups of batter, whereas this recipe is designed for a 10-12 cup Bundt pan. To prevent overflow and ensure proper baking, it would be best to halve this recipe if using a single standard loaf pan. You can follow all other instructions as detailed, but your bake time will be slightly different. Since a loaf pan lacks the central cone of a Bundt pan that helps distribute heat, expect a slightly longer bake time overall for the same amount of batter, but a halved recipe will bake faster than a full Bundt. Keep an eye on it and use the cake tester method.
- Make a Trifle: Transform any leftover chocolate pound cake (if such a thing exists!) into an entirely new, show-stopping dessert. Follow the concept of my Red Velvet Raspberry Trifle, substituting the red velvet cake with slices or cubes of your chocolate pound cake. Layer it with whipped cream, fresh berries, and perhaps a chocolate sauce or custard for an elegant and impressive dessert.
Dutch-Processed Cocoa and Other Ingredient Substitutions:
While this recipe is optimized with specific ingredients for the best results, sometimes substitutions are necessary. Here’s how common swaps might affect your chocolate pound cake:
- Cocoa Powder: As detailed in my Chocolate Raspberry Cake recipe, you can substitute natural unsweetened cocoa powder for Dutch-processed cocoa powder in this recipe. However, be prepared for some differences. Natural cocoa is acidic, which can result in a slightly more acidic, sharper chocolate flavor in the final cake. It also typically produces a lighter colored cake with a reddish tint, rather than the deep, dark brown of Dutch-processed cocoa. The overall leavening might also be slightly different, but for a pound cake, this difference is usually minor.
- Sour Cream: I almost always bake with full-fat dairy products because the fat content significantly contributes to the cake’s luxurious texture and intensifies its flavor. If you need to, low-fat sour cream or even plain Greek yogurt (full-fat for best results) can be substituted in most cases. However, be aware that these substitutions may result in a slightly different texture – perhaps a little less rich or moist – due to variations in fat and moisture content. The cake might also have a slightly tangier note if using plain yogurt.
- Cake Flour: While all-purpose flour works beautifully for this recipe, you could certainly substitute cake flour for a subtly lighter crumb. Cake flour has a lower protein content than all-purpose flour, which means less gluten development. If you do opt for cake flour, ensure you sift it thoroughly before measuring and incorporating it into the batter. This will prevent lumps and ensure an even, delicate texture. The difference in the final product will be minimal, but it can be noticeable to discerning palates.
How to Make Chocolate Pound Cake: A Step-by-Step Guide
Creating this irresistible chocolate pound cake is a straightforward process when you follow these steps. For precise measurements, please refer to the comprehensive recipe card provided below!
Make Cake Batter:
Step 1: Pan Preparation and Oven Preheat. Begin by preheating your oven to 325°F. This temperature works well for both convection and standard ovens. While the oven preheats, meticulously prepare your Bundt pan. Spray the entire interior generously with a non-stick cooking spray, ensuring every crevice is covered. Then, lightly dust the pan with all-purpose flour, tapping and rotating the pan until the flour evenly coats all surfaces. Invert the pan and tap out any excess flour. This crucial step prevents sticking and ensures a clean release.
Step 2: Combine Dry and Wet Ingredients (Separately). In a medium-sized bowl, whisk together all the dry ingredients: all-purpose flour, Dutch-processed cocoa powder, baking soda, and kosher salt. Whisk thoroughly to ensure they are well combined and there are no lumps of cocoa. In a separate, smaller bowl, whisk together the sour cream and water until smooth. This prepares your wet and dry additions.
The small amount of baking soda in this recipe is specifically chosen to react with the natural acidity present in the sour cream. This reaction provides just the right touch of leavening, contributing to the cake’s tender crumb without making it overly airy.
Step 3: Cream Butter and Sugars. In the large bowl of a stand mixer fitted with the paddle attachment, cream together the softened unsalted butter and both granulated and light brown sugars. Beat them on medium speed until a thick, light, and fluffy paste forms. This should take about 3-5 minutes. Next, beat in the eggs one at a time, allowing each egg to fully incorporate into the mixture before adding the next. Remember to scrape down the sides of the bowl frequently with a rubber spatula to ensure everything is evenly mixed.
Step 4: Alternately Add Flour and Sour Cream Mixtures. Reduce the mixer speed to low. Begin by adding about one-third of the dry flour mixture to the butter-sugar-egg mixture, mixing just until barely combined. Then, add half of the sour cream mixture, mixing again until just combined. Repeat this process, adding another third of the flour mixture, then the remaining sour cream, and finally the last of the flour mixture. It’s important not to overmix at this stage; stop as soon as the last streaks of flour disappear. Overmixing develops gluten, which can lead to a tough cake.
For efficiency and a truly ‘pro-style’ approach, I often don’t wait until all the flour has completely incorporated before adding the next batch of wet ingredients. I continuously add with both hands. However, I always pause the mixer and use a rubber spatula to scrape every last bit of the sour cream mixture from its bowl into the batter, ensuring no precious moisture is left behind.
Step 5: Incorporate Vanilla and Achieve Silky Batter. Finally, add the vanilla extract to the batter. Increase the mixer speed to medium-low and mix just until the vanilla is fully incorporated and the batter appears silky and smooth. Give it one final scrape down to ensure uniformity.
Bake:
Step 6: Bake Until Perfectly Done. Pour the beautifully smooth batter into your meticulously prepared Bundt pan. Use an offset spatula or the back of a spoon to gently smooth the top of the batter. Place the pan in the preheated oven and bake until a cake tester or toothpick inserted into the thickest part comes out with only a few moist, clinging crumbs. For my oven, this typically takes around 70 minutes, but your baking time could range anywhere from 60 to 85 minutes, depending on your specific oven’s calibration and the pan material. Avoid opening the oven door frequently, especially in the first 45 minutes.
Step 7: Cool in Two Stages. Once baked, remove the cake from the oven and allow it to cool in the pan on a wire rack for exactly 20 minutes. This initial cooling period allows the cake’s structure to set. After 20 minutes, gently loosen the edges of the cake from the pan with a small paring knife, then carefully invert the pan onto the wire rack to fully release the cake. Allow the cake to cool completely on the wire rack before proceeding. Rushing this step can lead to breakage.
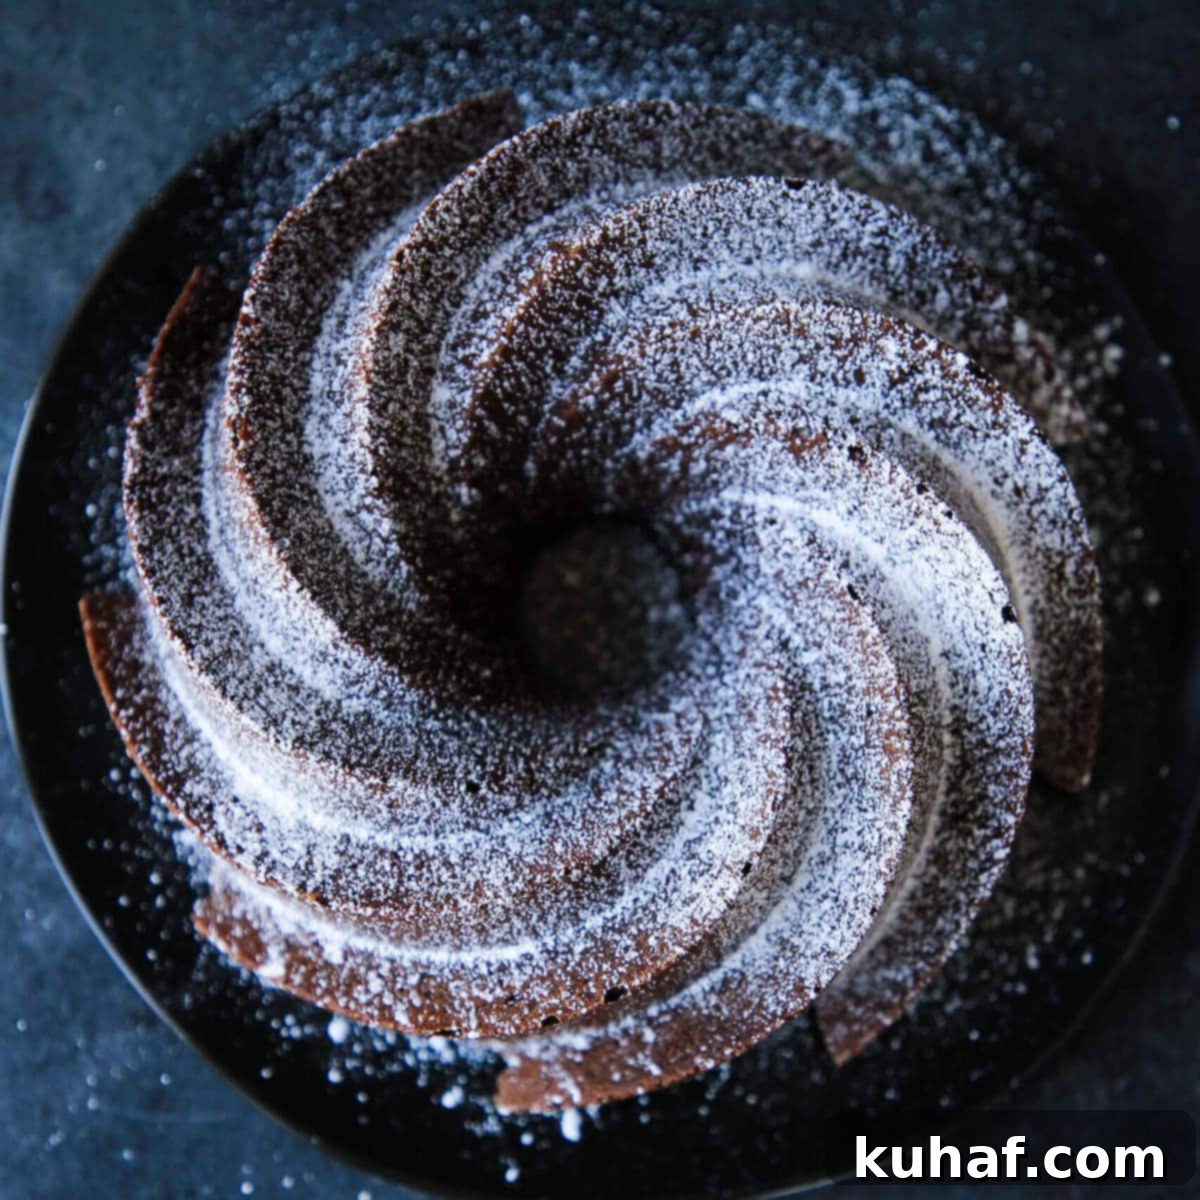
Step 8: Garnish and Enjoy. Once the chocolate pound cake has cooled entirely, it’s ready for its finishing touches. You can simply dust it with a generous layer of powdered sugar for a classic, elegant look. Alternatively, drizzle a complementary glaze over the top for added flavor and visual appeal. After any glaze has set, slice your magnificent chocolate pound cake and savor every rich, moist bite!
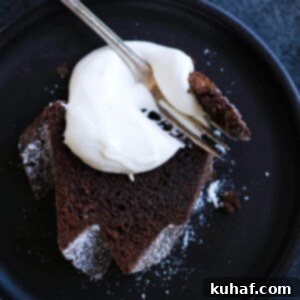
While a simple dusting of confectioner’s sugar is always elegant, consider elevating your chocolate pound cake experience with luxurious accompaniments. A scoop of homemade Vanilla Ice Cream, a drizzle of silken Crème Anglaise, or a generous dollop of crème fraîche whipped cream will truly enhance the deep chocolate notes and add an extra layer of indulgence!
Chef Lindsey’s Recipe Tip
It’s important to let your cake cool in two crucial stages. This two-stage cooling method is critical for any Bundt cake, especially pound cakes. First, allow your cake to cool for exactly 20 minutes in its pan on a wire rack. This initial cooling allows the cake’s delicate structure to firm up and pull away slightly from the sides of the pan. After this period, carefully invert the pan and turn the cake out onto the wire rack to cool completely. If you attempt to cut your cake when it is still too warm, its crumb will not have fully set, making it prone to crumbling and compromising its perfect texture.
How to Ensure Your Pound Cake Releases Perfectly from a Bundt Pan
A beautifully baked Bundt cake can quickly become a baker’s nightmare if it sticks to the pan. Don’t let this happen to your perfect chocolate pound cake! Here are my foolproof strategies for a flawless release:
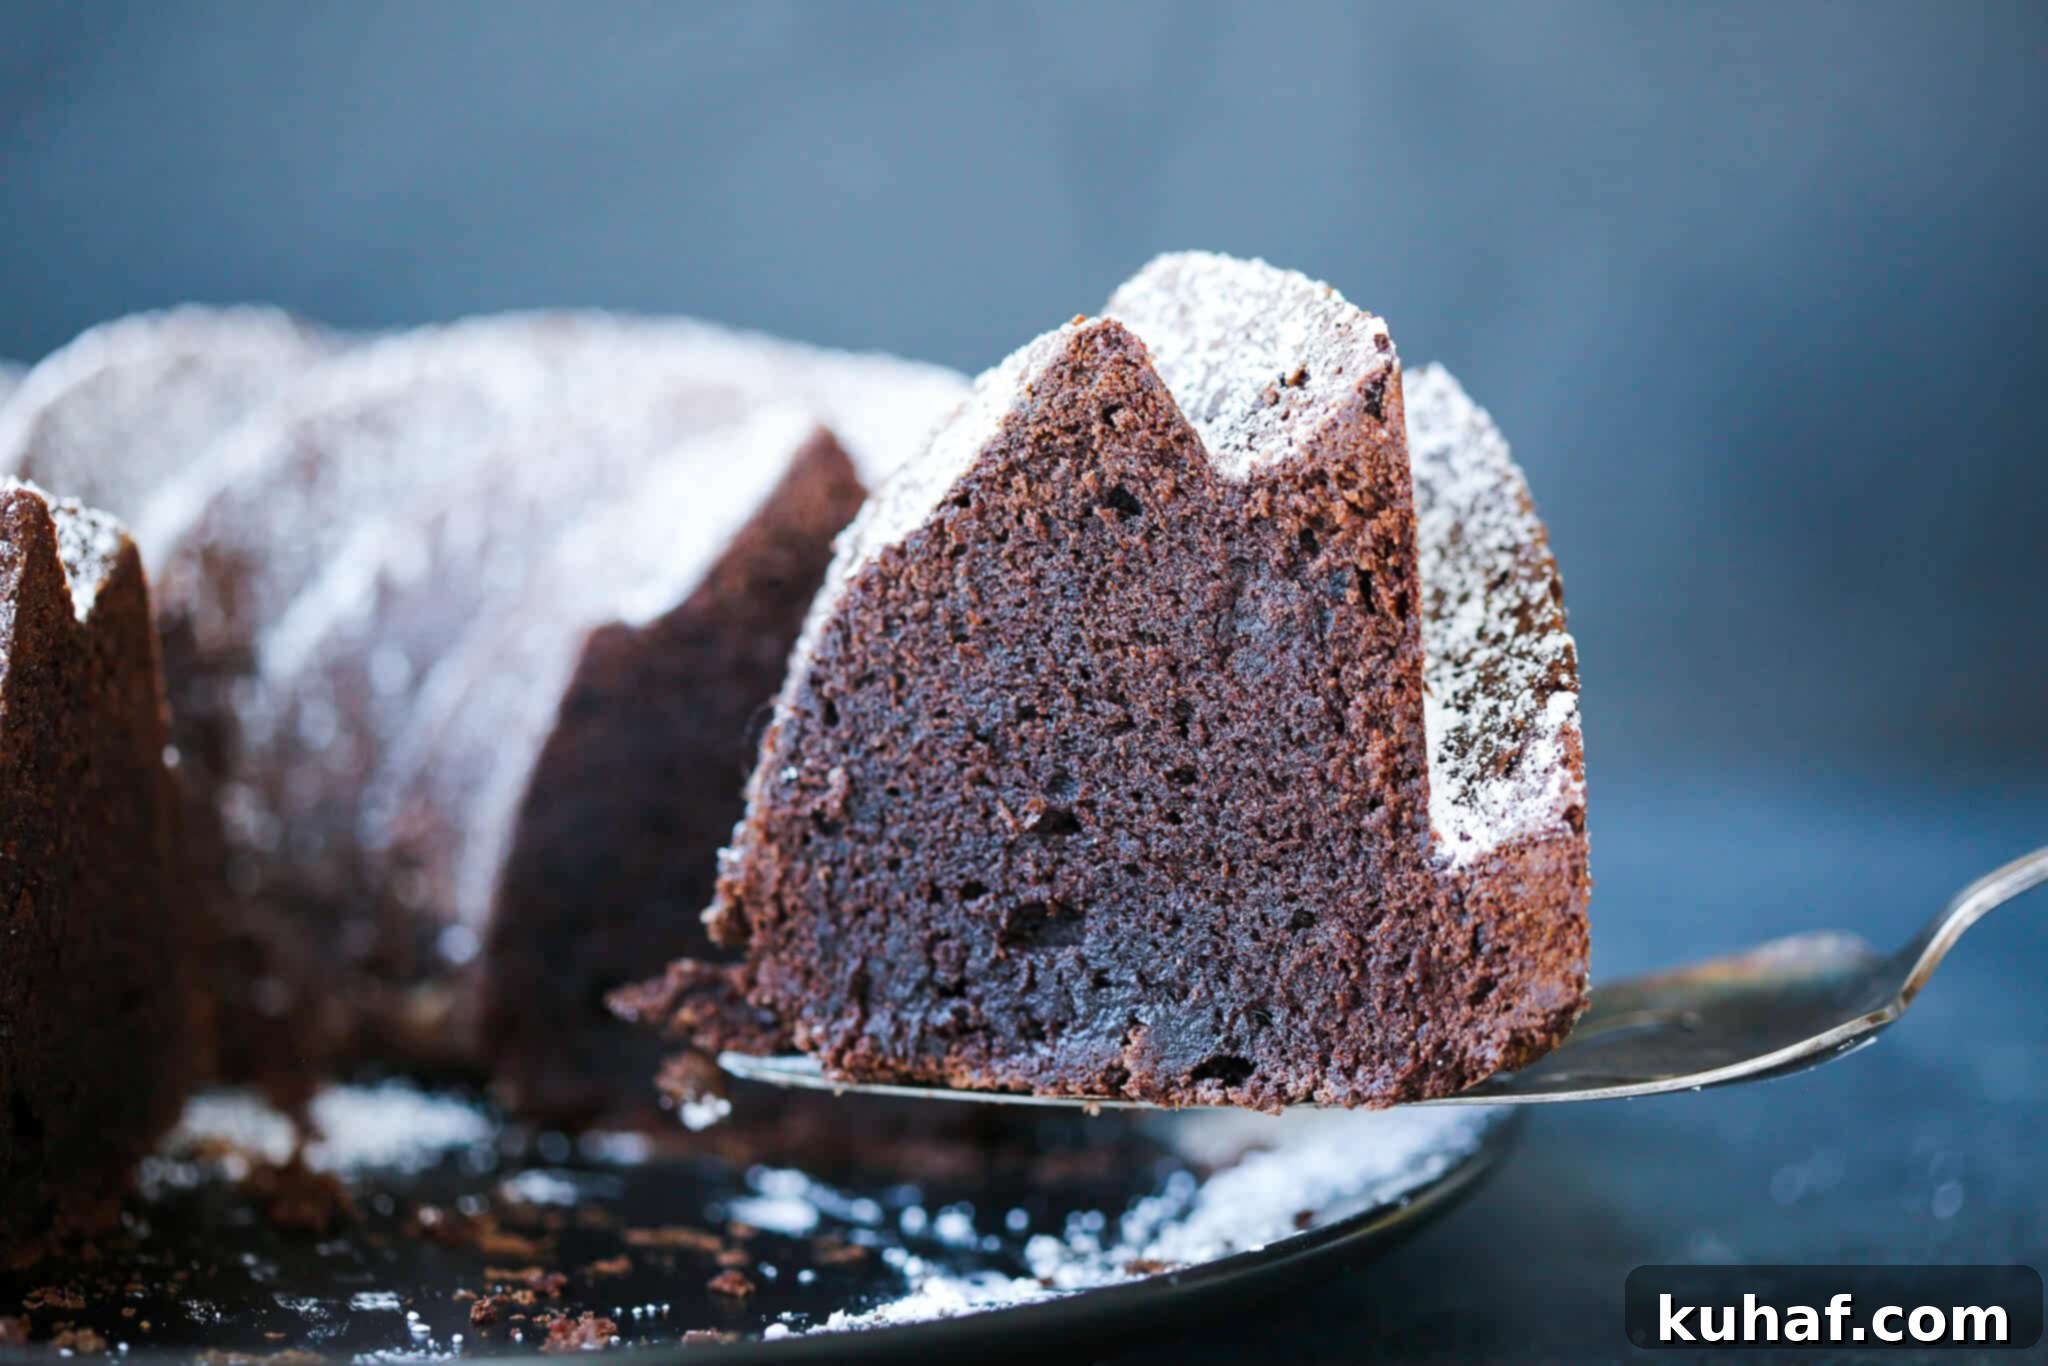
- Grease and Flour Your Pan Meticulously: Do not, under any circumstances, underestimate the power and necessity of a perfectly greased and floured Bundt pan. This step is absolutely key, especially when using a detailed fluted Bundt pan like the one featured in these pictures. My technique involves spraying the pan generously with a good quality non-stick cooking spray, ensuring every nook and cranny is coated. Then, I dust it thoroughly with flour, tapping and rotating the pan to ensure an even, thin layer over all surfaces. For extra assurance, particularly with intricate designs, I sometimes collect the excess flour on a piece of parchment paper, add it back to the pan, and tap it around a second time in the opposite direction. Always tap out all excess flour at the end to prevent unsightly flour patches on your finished cake.
- Adhere to the Two-Stage Cooling Process: Impatience is the enemy of a clean Bundt cake release. When you try to remove a cake that is still too warm, its structure is weakened because the crumb hasn’t had sufficient time to set and firm up. Allow the cake to cool in the pan for the recommended 20 minutes, then invert it onto a wire rack to cool completely. This two-stage cooling is vital. If, even after complete cooling, your cake still stubbornly clings to the pan, a small, thin offset spatula or a sharp paring knife can be your best friend. Carefully run it along any edges that seem to be stuck, getting a good angle to gently coax the cake away from the mold. Sometimes a gentle jiggle or a light tap on the bottom of the pan can also help dislodge it.
Frequently Asked Questions
Proper storage is key to maintaining the moistness and flavor of your chocolate pound cake. Store it well-wrapped in plastic wrap or in an airtight container at room temperature for up to 5 days. For longer storage, you can refrigerate it for up to two weeks, or freeze it for up to 3 months. For the absolute best flavor and texture, I recommend enjoying the cake within 2 days of baking or freezing it immediately for future enjoyment.
Yes, this chocolate pound cake is an excellent make-ahead dessert! You can prepare the cake batter up to one day in advance and store it, covered, in the refrigerator. Just bring it back to room temperature slightly before baking. Alternatively, you can bake the cake completely, allow it to cool, and then freeze it. Thaw at room temperature when ready to serve. This makes it perfect for entertaining or when you need a delicious dessert ready at a moment’s notice.
Knowing exactly when your pound cake is done is crucial for perfect results. Begin checking the cake around halfway through the bake time; checking too early can cause the delicate crumb structure to collapse, leading to a sunken cake. I gently press on the center-most part of the cake with my finger; when it offers a slight resistance and springs back, I then double-check with a cake tester or a wooden toothpick. The tester should emerge with only a few moist, clinging crumbs, but absolutely no streaks of wet batter. Ensure the tester penetrates into the very center of the cake, as the edges often cook faster than the middle.
If you tried this recipe and loved it, please take a moment to leave a 🌟 star rating and share your experience in the comments below. Your feedback truly brightens my day and helps other bakers!
Chocolate Pound Cake
Pin Recipe
Comment
Print Recipe
Equipment
-
1 Spiral Nordic Ware Bundt Pan (10-12 cup capacity)
Ingredients
- 1 ½ cups unsalted butter, softened
- 2 ¼ cups granulated sugar
- ¾ cup light brown sugar, packed
- 6 eggs, large
- 1 ½ teaspoons vanilla extract
- 2 ¼ cups all-purpose flour
- ¾ cup Dutch processed cocoa powder
- 1 ½ teaspoons kosher salt
- ¼ teaspoon baking soda
- 1 cup sour cream, full-fat
- 2 tablespoons water
- confectioner’s sugar for dusting or a glaze of choice
Instructions
Make cake batter:
-
Preheat the oven to 325°F (convection or standard) and prepare your Bundt pan. Spray it generously with cooking spray and then dust it meticulously with flour, tapping the flour around until every inch is covered. Invert and tap out any excess flour.
-
In a medium bowl, whisk together the dry ingredients: all-purpose flour, Dutch-processed cocoa powder, baking soda, and kosher salt. In a separate, different bowl, whisk together the sour cream and water until smooth.
-
In the large bowl of a stand mixer fitted with the paddle attachment, cream together the softened unsalted butter, granulated sugar, and light brown sugar until a thick, light-colored paste forms (about 3-5 minutes). Beat in the eggs one at a time, ensuring each is fully incorporated before adding the next, and scraping down the sides of the bowl as you go.
-
Switch the mixer speed to low. Alternately add the flour mixture and sour cream mixture to the butter-egg mixture, starting and ending with the flour. Add about one-third of the flour, mix until just combined, then half of the sour cream, mix, then another third of the flour, mix, the remaining sour cream, mix, and finally the last of the flour. Mix only until just combined after each addition to avoid overdeveloping gluten.
-
Add in the vanilla extract. Turn the mixer speed up to medium-low and mix just until everything is fully incorporated and the batter appears silky and smooth. Scrape down the bowl one last time.
Bake:
-
Pour the batter evenly into the prepared Bundt pan and smooth the top with an offset spatula. Bake in the preheated oven until a cake tester or toothpick inserted into the center comes out with only a few moist, clinging crumbs. This typically takes between 60-85 minutes; my oven took 70 minutes.
-
Let the cake cool in the pan on a wire rack for 20 minutes. After 20 minutes, carefully loosen the edges with a paring knife and invert the cake onto the wire rack to cool completely.
-
Once the cake is completely cooled, dust generously with confectioner’s sugar or drizzle your chosen glaze over the top. Allow any glaze to set before slicing and enjoying this magnificent chocolate pound cake!
Notes
Flavor Tips – I use Dutch-processed cocoa powder, which has been treated with an alkaline solution. This process neutralizes its acidity, resulting in a richer, deeper chocolate flavor and a darker, more appealing color compared to natural cocoa powders.
Technique – Do not over-cream the butter and sugar. For the ideal dense pound cake texture, use butter that is softened but still cool to the touch. Cream the butter and sugars just until a thick, light-colored paste forms, rather than whipping excessive air into the mixture.
Storage – To maintain freshness, store chocolate pound cake well-wrapped in plastic wrap or in an airtight container at room temperature for up to 5 days. It can be refrigerated for up to two weeks, or frozen for up to 3 months. For optimal taste and texture, serve within 2 days of baking or freeze immediately for longer-term storage.
Nutrition
Before You Go
Thank you for exploring this professionally tested and chef-developed recipe for the ultimate chocolate pound cake. I’m confident it will become a cherished favorite in your baking repertoire. Don’t stop your culinary journey here! I invite you to delve into our other delicious, chef-developed cake recipes or discover more irresistible Easy Chocolate Desserts that are perfect for any occasion. Happy baking!
