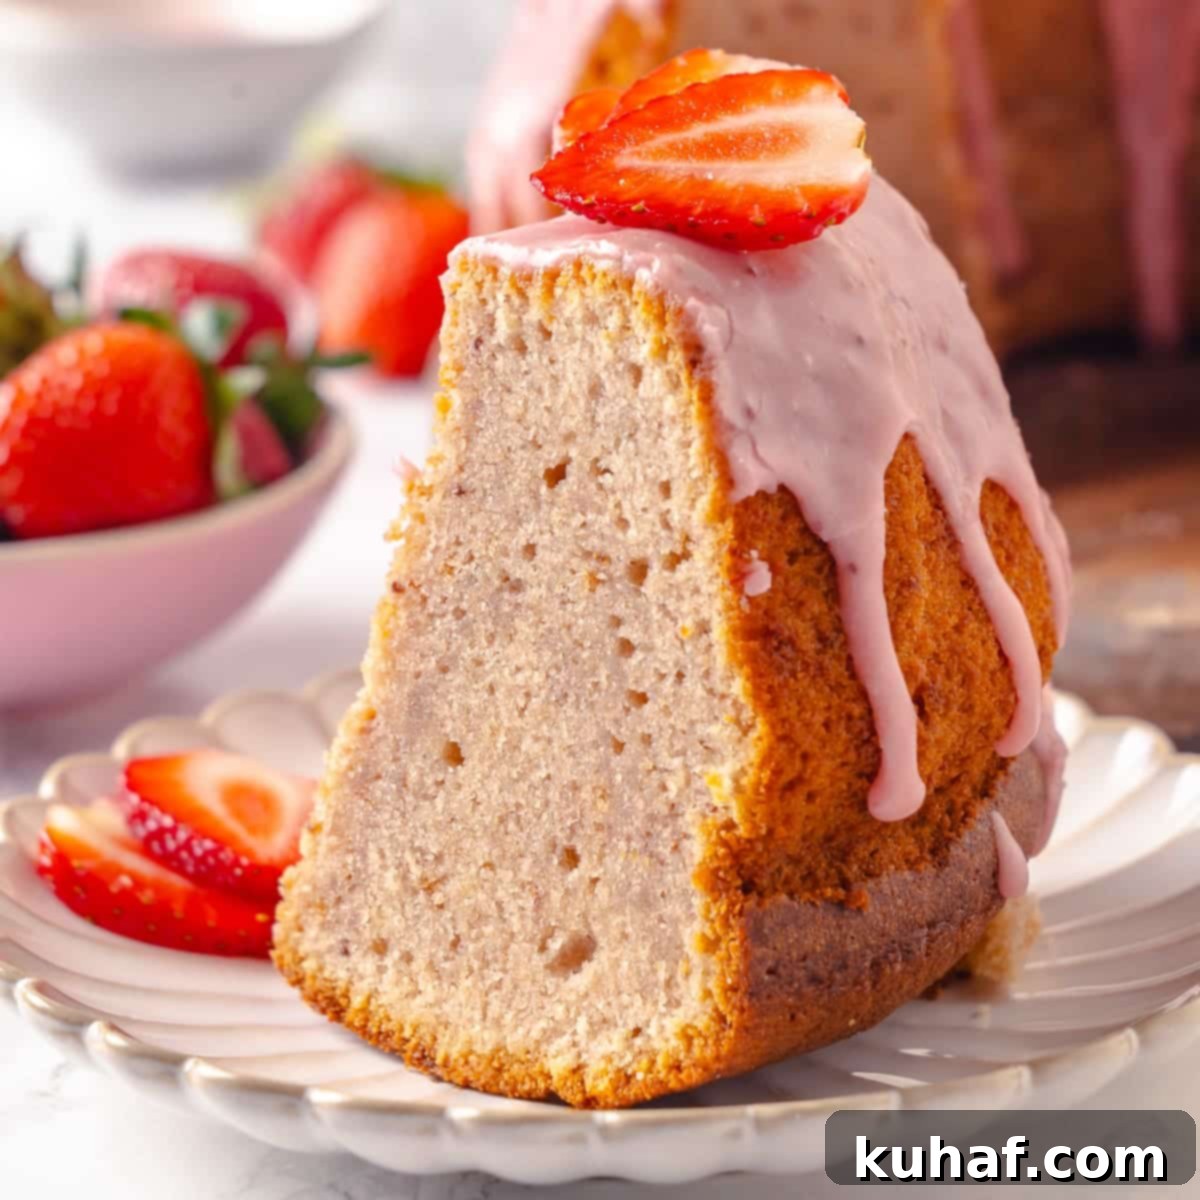
The Ultimate Moist Homemade Strawberry Pound Cake: A Taste of Summer
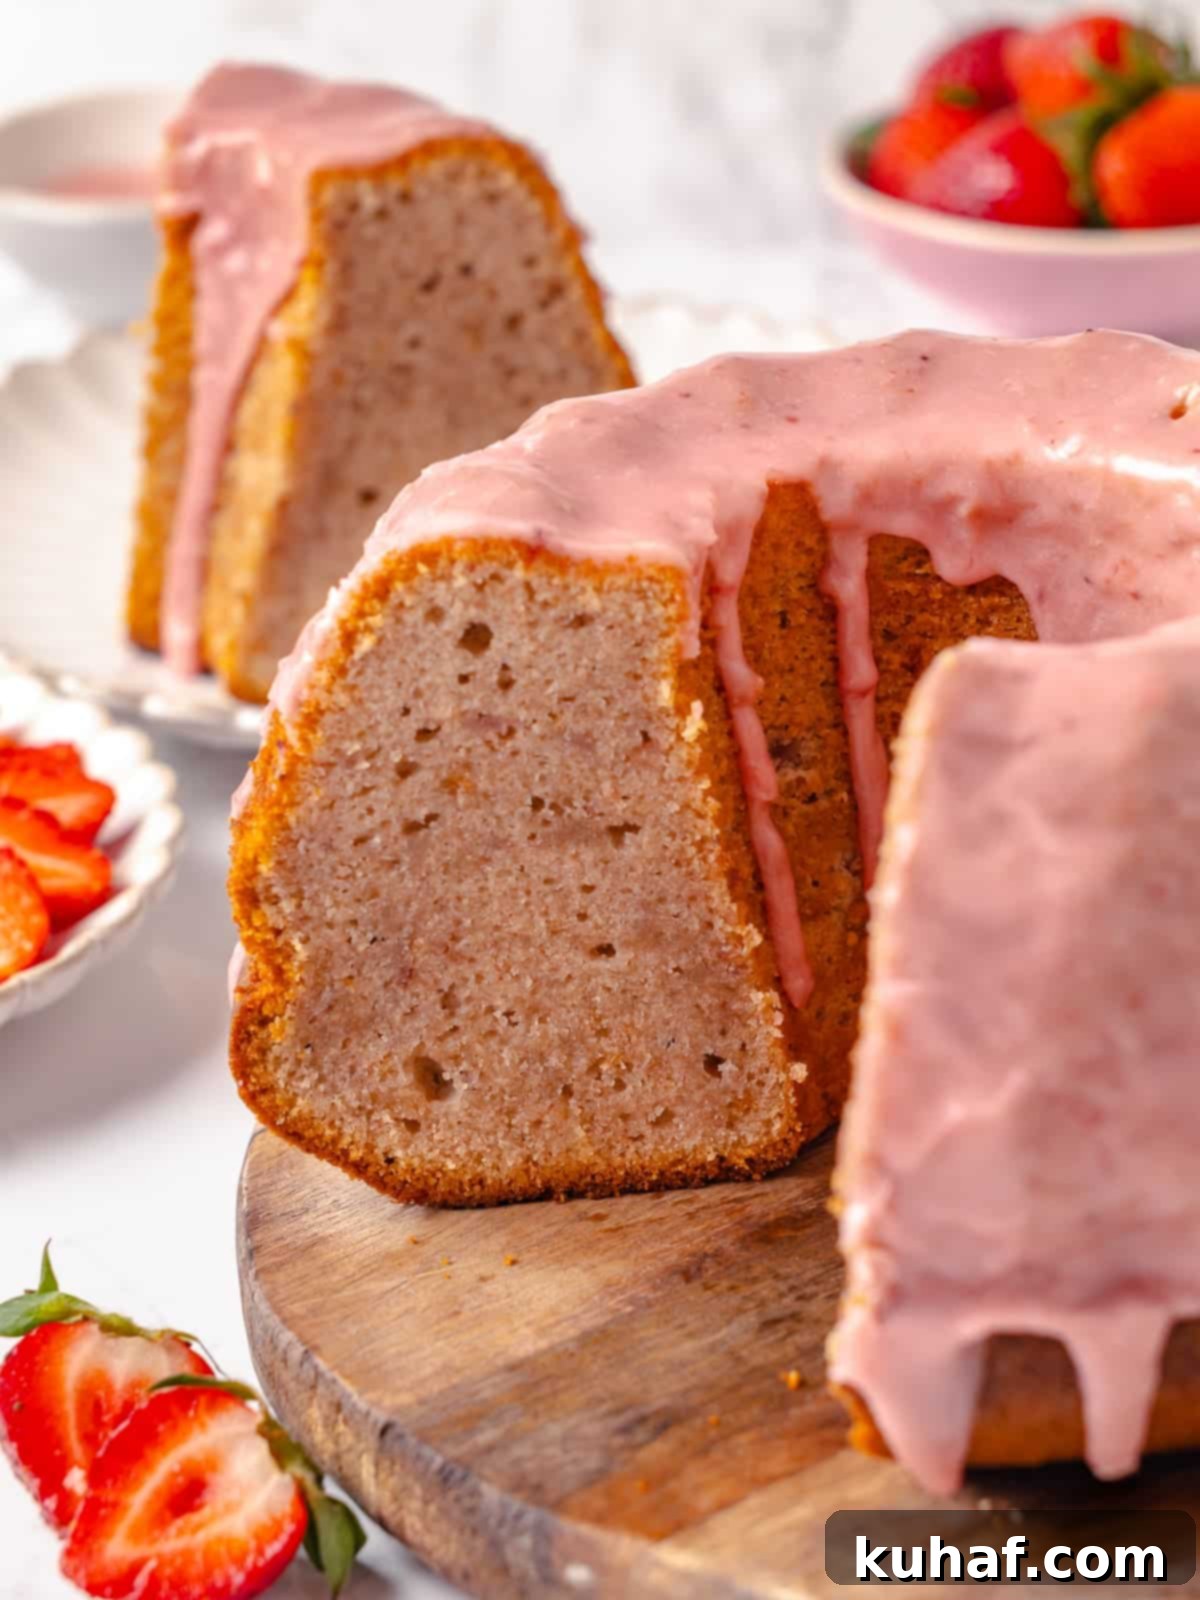
Indulge in the perfect blend of rich, buttery goodness and vibrant fruit flavor with this exquisite **strawberry pound cake**. Crafted from scratch using an abundance of fresh, juicy strawberries, this recipe promises a dessert that is both dense and incredibly moist. The secret lies in incorporating a homemade, quick strawberry jam directly into the cake batter, ensuring every bite is bursting with pure, natural strawberry essence and a delightfully tender crumb.
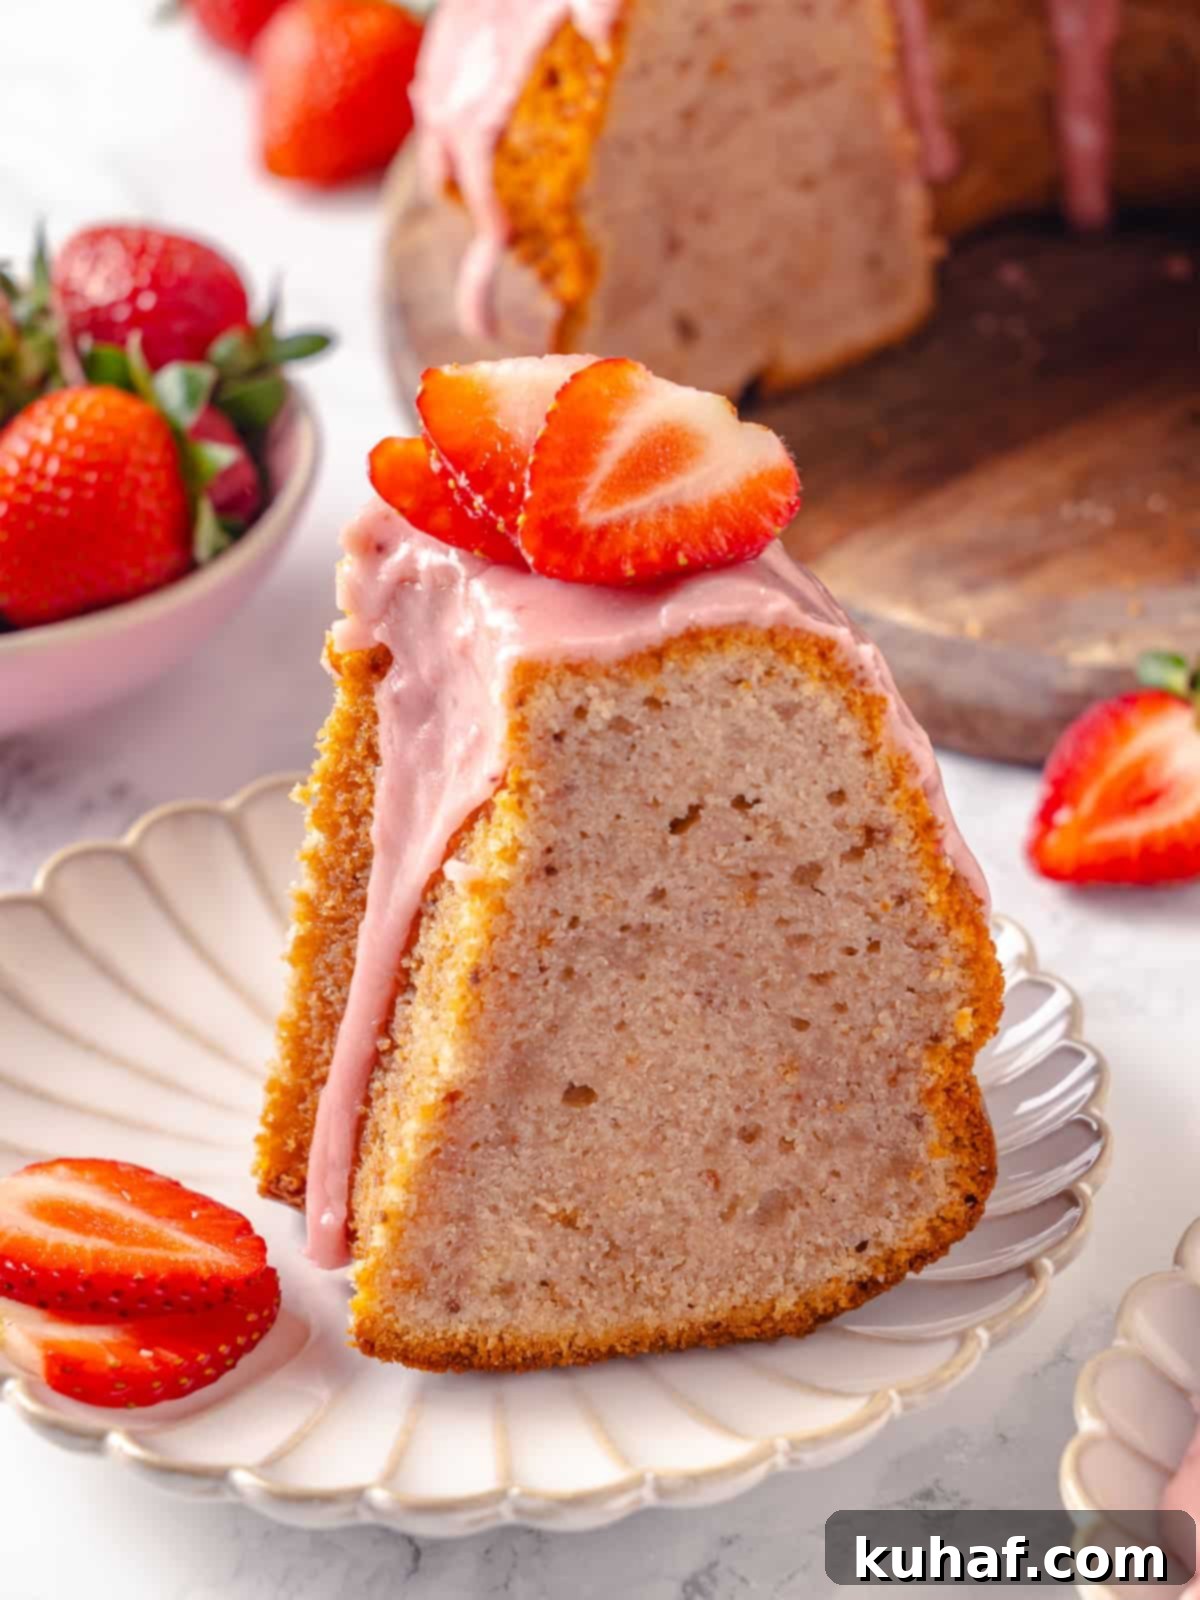
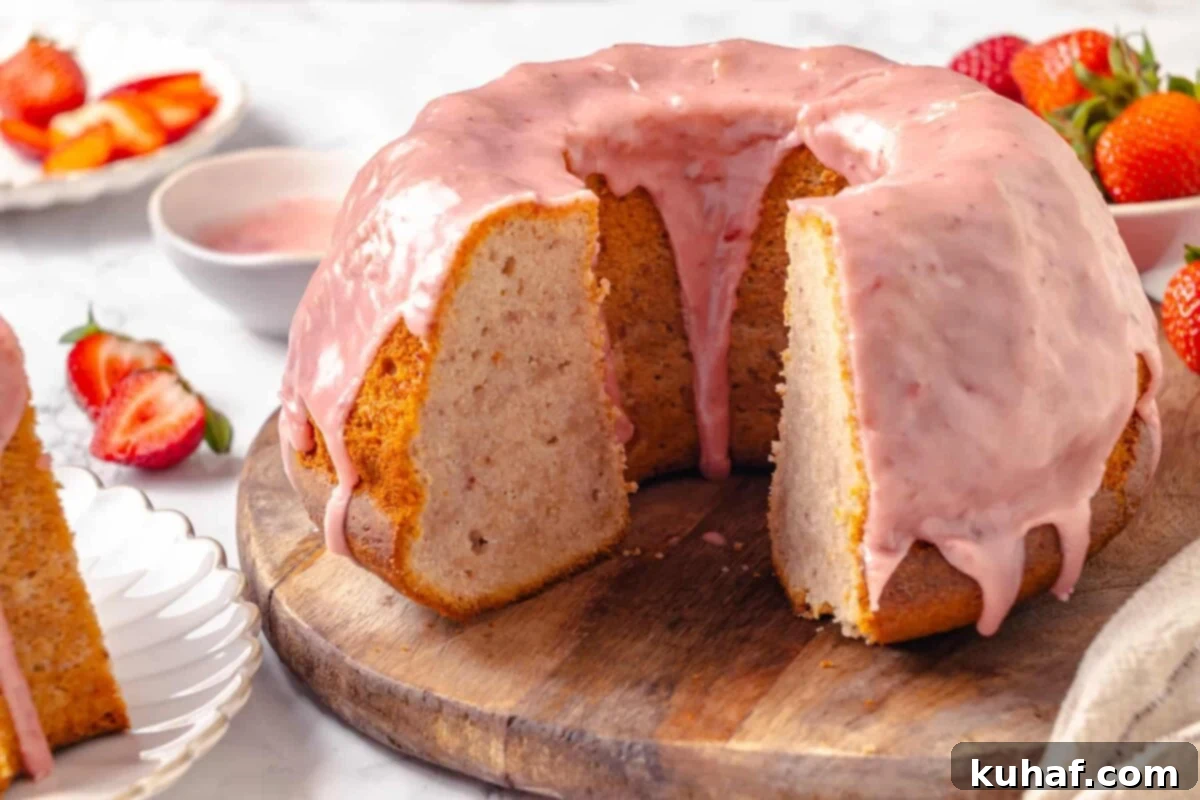
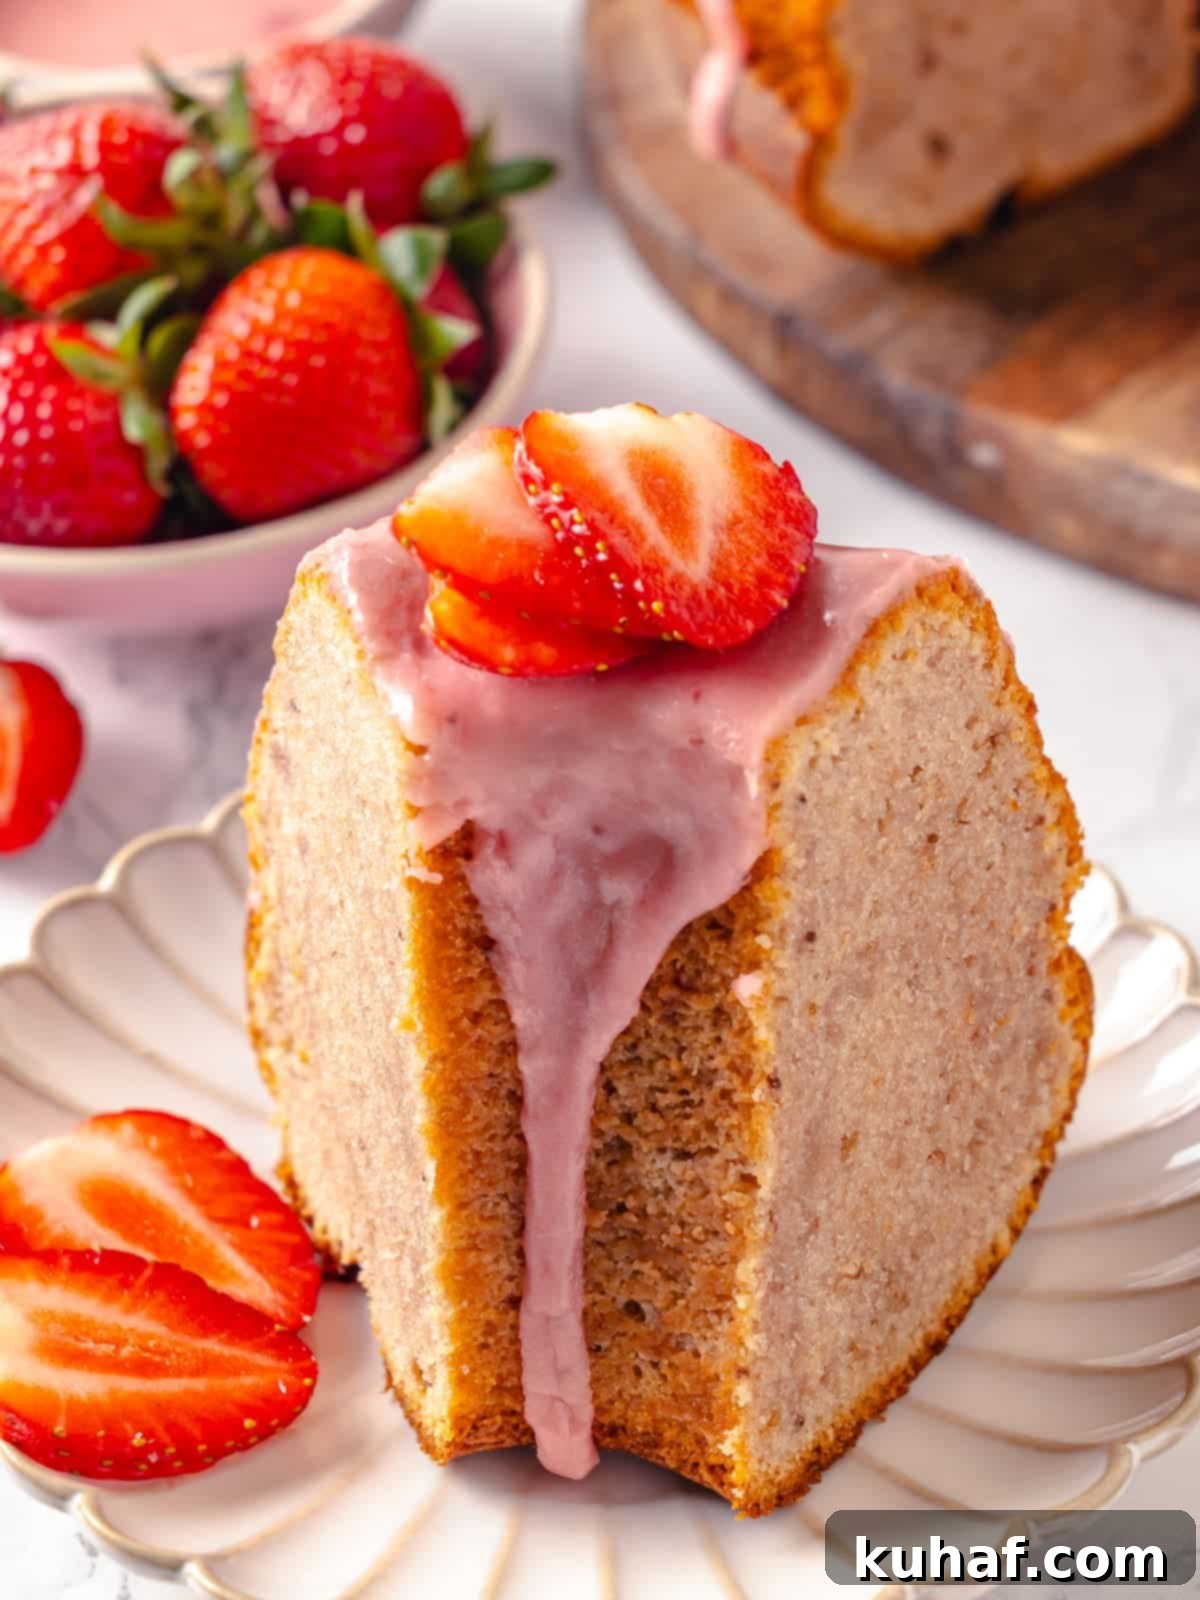
This dense, incredibly moist, and surprisingly easy-to-make strawberry pound cake is an absolute must-have for any spring or summer gathering. Its beautifully tight crumb, combined with the authentic, fresh strawberry flavor, creates an unforgettable culinary experience. The cake’s charming pale pink hue, enhanced by a matching pink icing, makes it a visually stunning centerpiece perfect for various celebrations – from elegant baby showers and lively birthday parties to casual potlucks and outdoor cookouts. It’s a dessert that not only tastes incredible but also adds a touch of natural beauty to your table.
If you’re a fan of fresh fruit desserts, especially those highlighting the sweet essence of strawberries, you’ll love exploring some of our other delightful recipes! Be sure to try these luscious strawberry cupcakes and this equally delicious homemade strawberry cake, both expertly crafted with our signature quick strawberry jam. And for those who simply can’t get enough of spring strawberries, we highly recommend these zesty strawberry lemon cake donuts or our classic lemon pound cake, elevated with a vibrant strawberry glaze! Each recipe offers a unique way to enjoy the delightful flavor of fresh strawberries.
Table of Contents
- Why You Will Love This Strawberry Pound Cake
- Essential Ingredients & Smart Substitutions
- Creative Variations for Your Pound Cake
- Pastry Chef Tips for Perfect Pound Cake
- Step-by-Step Guide: How to Make Strawberry Pound Cake
- Chef Lindsey’s Pro Tip
- Frequently Asked Questions: Strawberry Pound Cake Edition
- More Delicious Recommended Recipes
- Strawberry Pound Cake Recipe Card
- Before You Go
Why You Will Love This Strawberry Pound Cake
- Unforgettable Natural Strawberry Flavor: Unlike cakes that rely on artificial extracts, this pound cake achieves its phenomenal taste by using fresh, in-season strawberries to create a homemade quick jam. This jam is then folded into both the cake batter and the glaze, delivering a pure, authentic, and unmatched strawberry flavor that truly sings of summer. You’ll taste the difference that real fruit makes!
- Perfectly Moist, Tender, and Dense Texture: Achieving the ideal pound cake texture is an art, and this recipe masters it. With a meticulously balanced ratio of sour cream, rich butter, sugar, eggs, and our special strawberry jam, the cake boasts a wonderfully dense yet incredibly tender crumb that practically melts in your mouth. It’s the quintessential pound cake experience.
- Naturally Beautiful Pale Pink Color: Say goodbye to artificial food dyes! The gorgeous pale pink hue of both the cake and its luscious glaze comes entirely from the natural pigments of the strawberry jam. This creates an elegant and inviting presentation that is perfect for any occasion, showcasing the wholesome goodness of the ingredients.
- Easy-to-Follow Recipe for Stunning Results: Pound cakes are renowned for their simplicity and deliciousness when prepared correctly. This recipe, complete with expert tips and tricks from a pastry chef, guides you through each step, ensuring that even novice bakers can achieve a perfectly baked, show-stopping strawberry pound cake every single time. Get ready to impress with minimal fuss!
Essential Ingredients & Smart Substitutions
Crafting the perfect strawberry pound cake begins with high-quality ingredients. Here’s a detailed look at what you’ll need and some helpful substitution notes to ensure your cake is always a success:
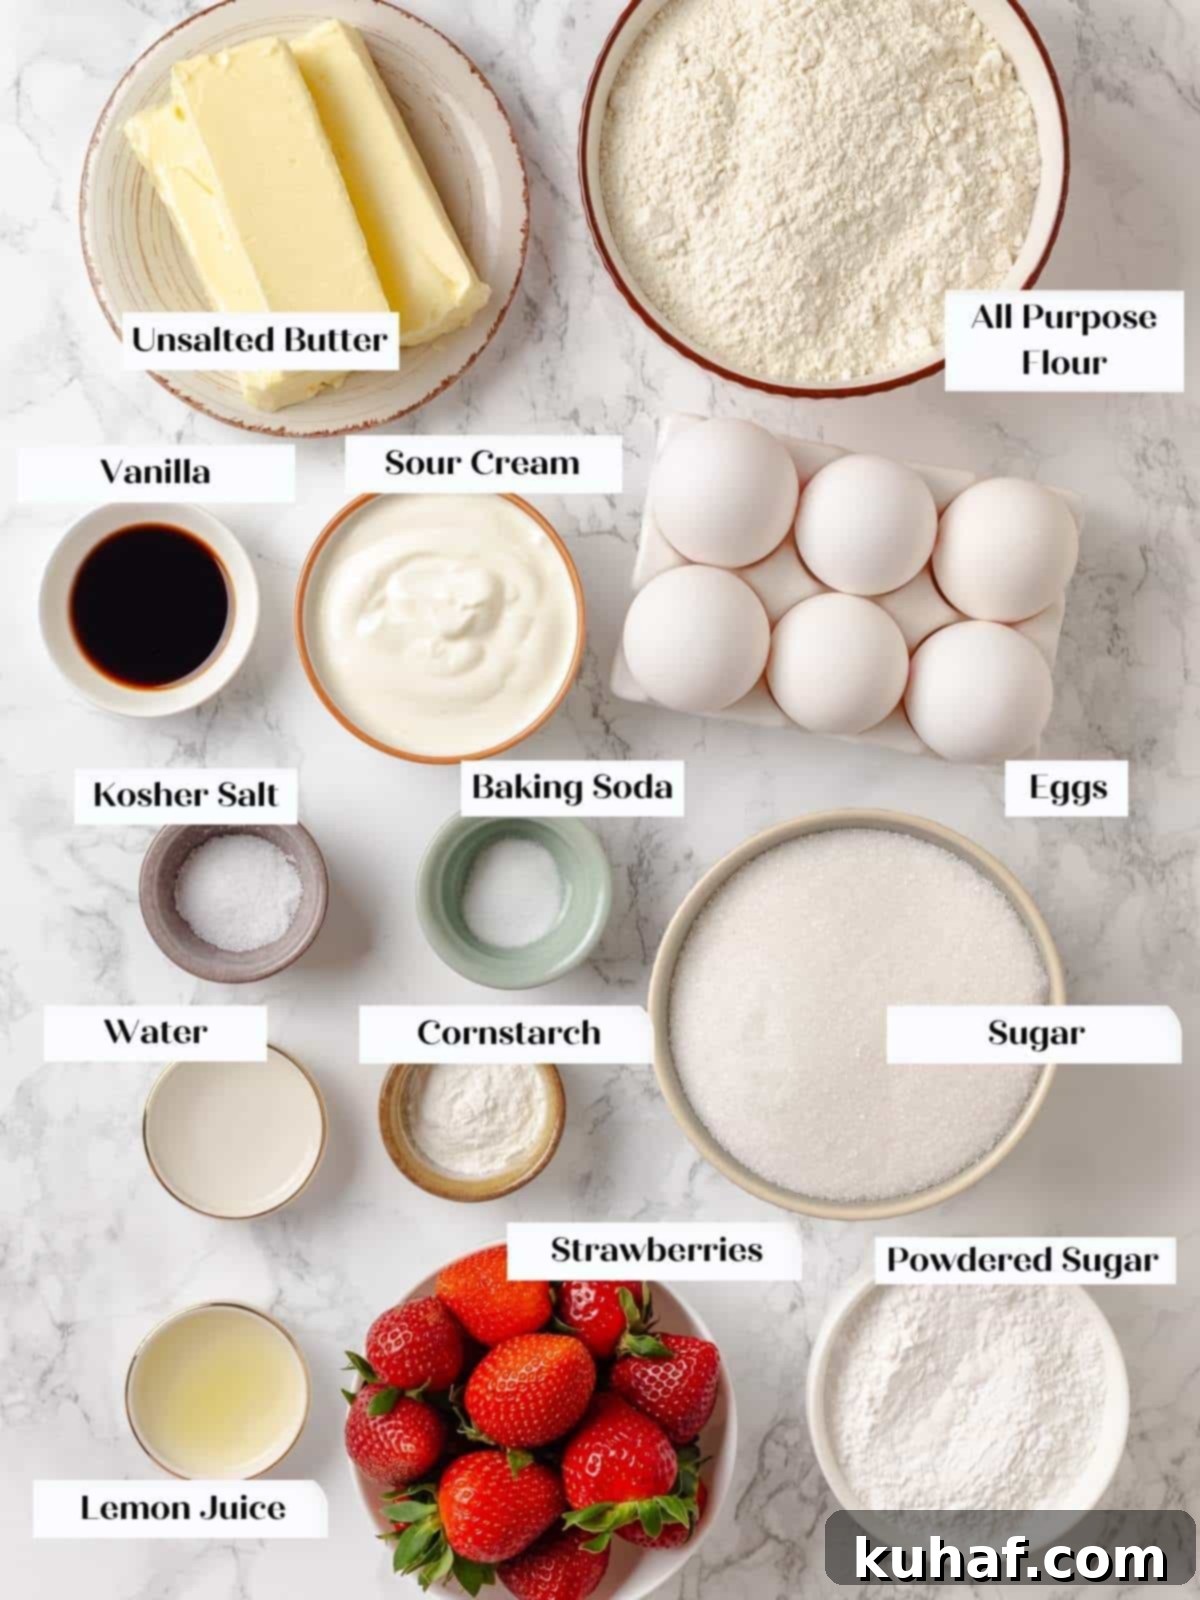
- Fresh or Frozen Strawberries: The star of our show! While fresh, fragrant, and vibrant red in-season strawberries are ideal for the best flavor, high-quality frozen strawberries can also be used, especially when fresh ones are out of season. Be mindful that frozen berries might have a higher water content, so be prepared to simmer your jam slightly longer if needed to achieve the desired thickness.
- Granulated Sugar: Beyond just sweetness, granulated sugar plays a crucial role in developing that essential slightly crisp crust on your pound cake. This crust is vital for helping the cake release cleanly from the bundt pan, ensuring a beautiful presentation every time.
- Fresh Lemon Juice: For the jam, freshly squeezed lemon juice is paramount. Its bright, zesty, and subtly floral notes elevate the strawberry flavor beautifully, creating a more complex and vibrant taste profile than bottled lemon juice can offer.
- Cornstarch & Water (Slurry): This dynamic duo forms a slurry, which is essential for thickening the strawberry jam without introducing any lumps. Mixing cornstarch with cold water first ensures a smooth, consistent thickening agent that integrates seamlessly into your jam.
- Unsalted Butter: As a pound cake, butter is a primary component, contributing to its rich flavor, tender crumb, and moist texture. Always use unsalted butter to control the overall salt content of your recipe. Ensure it’s at room temperature for optimal creaming.
- Whole Eggs: Eggs are indispensable, providing structure, moisture, richness, and a touch of leavening. The fat from the yolks contributes significantly to the pound cake’s signature moistness and luxurious texture. Make sure they are at room temperature for proper emulsification with the butter and sugar.
- All-purpose Flour: The structural backbone of the cake. All-purpose flour provides the right amount of gluten development for a pound cake’s dense yet tender crumb. Measure it correctly using the spoon-and-level method to avoid a dry cake.
- Kosher Salt: A pinch of kosher salt is crucial for balancing the sweetness and enhancing all the other flavors in the cake and jam. It brings out the best in the strawberries and makes the cake taste more rounded.
- Baking Soda: This leavening agent works with the acidic sour cream to create a slight lift in the dense pound cake, contributing to its tender texture.
- Sour Cream: A cornerstone for a truly moist and dense pound cake, much like in a classic sour cream pound cake. The high fat content of full-fat sour cream adds incredible richness and ensures that signature dense, tender crumb. For a similar effect, you may substitute with full-fat Greek yogurt, which offers comparable fat and acidity.
- Vanilla Extract: A universal flavor enhancer, vanilla extract complements the strawberry notes beautifully, adding warmth and depth to the overall taste profile of the cake.
- Confectioners’ Sugar (Powdered Sugar): Used to create our smooth, pourable strawberry glaze. Its fine texture dissolves easily, creating a silky finish.
For precise quantities and a complete breakdown, please refer to the comprehensive recipe card provided below.
Creative Variations for Your Pound Cake
While this strawberry pound cake is phenomenal on its own, feel free to get creative with these delicious variations to customize it to your taste or for different occasions:
- Elevate with Additional Extracts: Infuse new aromatic dimensions by adding different extracts. Taking inspiration from our cherry almond bundt cake, a touch of almond extract pairs wonderfully with strawberries, adding a sophisticated nutty undertone. For an even more intense strawberry experience, a few drops of high-quality strawberry extract can amplify the fruit flavor beautifully.
- Experiment with Glazes or Frostings: The possibilities for topping your pound cake are endless! For a richer, more indulgent flavor, consider a bourbon glaze, similar to the one on our Mardi Gras bundt cake. Craving a decadent pairing? A luscious chocolate fudge glaze would transform this into a delightful strawberry chocolate cake. If you prefer a creamy finish, opt for a silky cream cheese buttercream frosting or a bright and zesty lemon buttercream frosting for a different flavor profile.
- Swap Out the Berries or Fruits: Don’t limit yourself to strawberries! This recipe’s quick jam base is incredibly versatile. Experiment by using blueberries, blackberries, or raspberries to create different berry pound cakes, much like these delightful raspberry cupcakes. You could also blend homemade peach preserves, our easy cherry preserves, or even strain a vibrant mixed berry jam to substitute for the strawberry jam, opening up a world of fruity possibilities.
Pastry Chef Tips for Perfect Pound Cake
Achieving a truly exceptional pound cake, with its signature dense yet tender crumb, relies on a few key techniques. Here are some professional tips to guide you to baking perfection:
- Always Use Room Temperature Ingredients: This is perhaps the most crucial tip for any successful baking project, especially pound cake. Ensuring your eggs, sour cream, butter, and even the jam are at room temperature (around 68-72°F / 20-22°C) is vital. Room temperature ingredients emulsify much more easily, creating a smooth, cohesive batter that holds air better. If your ingredients are cold straight from the fridge, your batter is likely to curdle or separate, resulting in a less uniform texture. While the cake might still taste good, it won’t have that perfect, uniform crumb that makes a pound cake so delightful. Plan ahead and take your ingredients out at least 30-60 minutes before you start mixing.
- Adjust the Quick Jam Flavor to Your Strawberries: Strawberries vary significantly in sweetness and tartness depending on the variety and ripeness. Before adding the cornstarch slurry to your jam, taste it! If your strawberries are particularly sweet, you might want to add an extra squeeze of lemon juice for balance. If they’re a bit tart, a touch more sugar might be needed. This simple adjustment ensures your homemade jam, and by extension your cake, has the absolute best strawberry flavor.
- Allow for Proper Cooling in the Bundt Pan: Patience is a virtue, especially when working with bundt pans. After baking, it’s incredibly important to let your pound cake cool in the pan for a solid 20-30 minutes before attempting to invert it. This crucial cooling period allows the cake’s structure, particularly its crust and crumb, to set properly and firm up. Rushing this step can lead to the cake sticking to the pan, breaking, or leaving precious pieces behind, ruining that beautiful bundt shape you worked so hard to achieve. Once inverted, let it cool completely on a wire rack to prevent condensation and ensure a perfect texture.
- Do Not Overmix the Batter: Once the dry ingredients are added, mix just until combined. Overmixing develops the gluten in the flour too much, leading to a tough, dry pound cake rather than the desired tender, dense crumb. A silky-smooth batter is what you’re aiming for, not an overworked one.
- Grease and Flour Your Pan Thoroughly: A well-prepared pan is key to a clean release. Even with non-stick pans, greasing with butter or shortening and then flouring every nook and cranny is essential. For detailed bundt pans, consider a second flouring to ensure no sticky spots.
Step-by-Step Guide: How to Make Strawberry Pound Cake
Follow these detailed instructions to create your incredibly moist and flavorful strawberry pound cake. For exact measurements and a quick reference, please consult the full recipe card below.
Part 1: Crafting the Easy Strawberry Jam
Step 1: Prepare the Strawberries. Begin by thoroughly washing your fresh strawberries under cool running water. Pat them completely dry with paper towels to remove any excess moisture, which can affect the jam’s consistency. Once dry, carefully hull and dice the strawberries into small, uniform pieces. Smaller pieces will break down more easily and evenly during cooking.
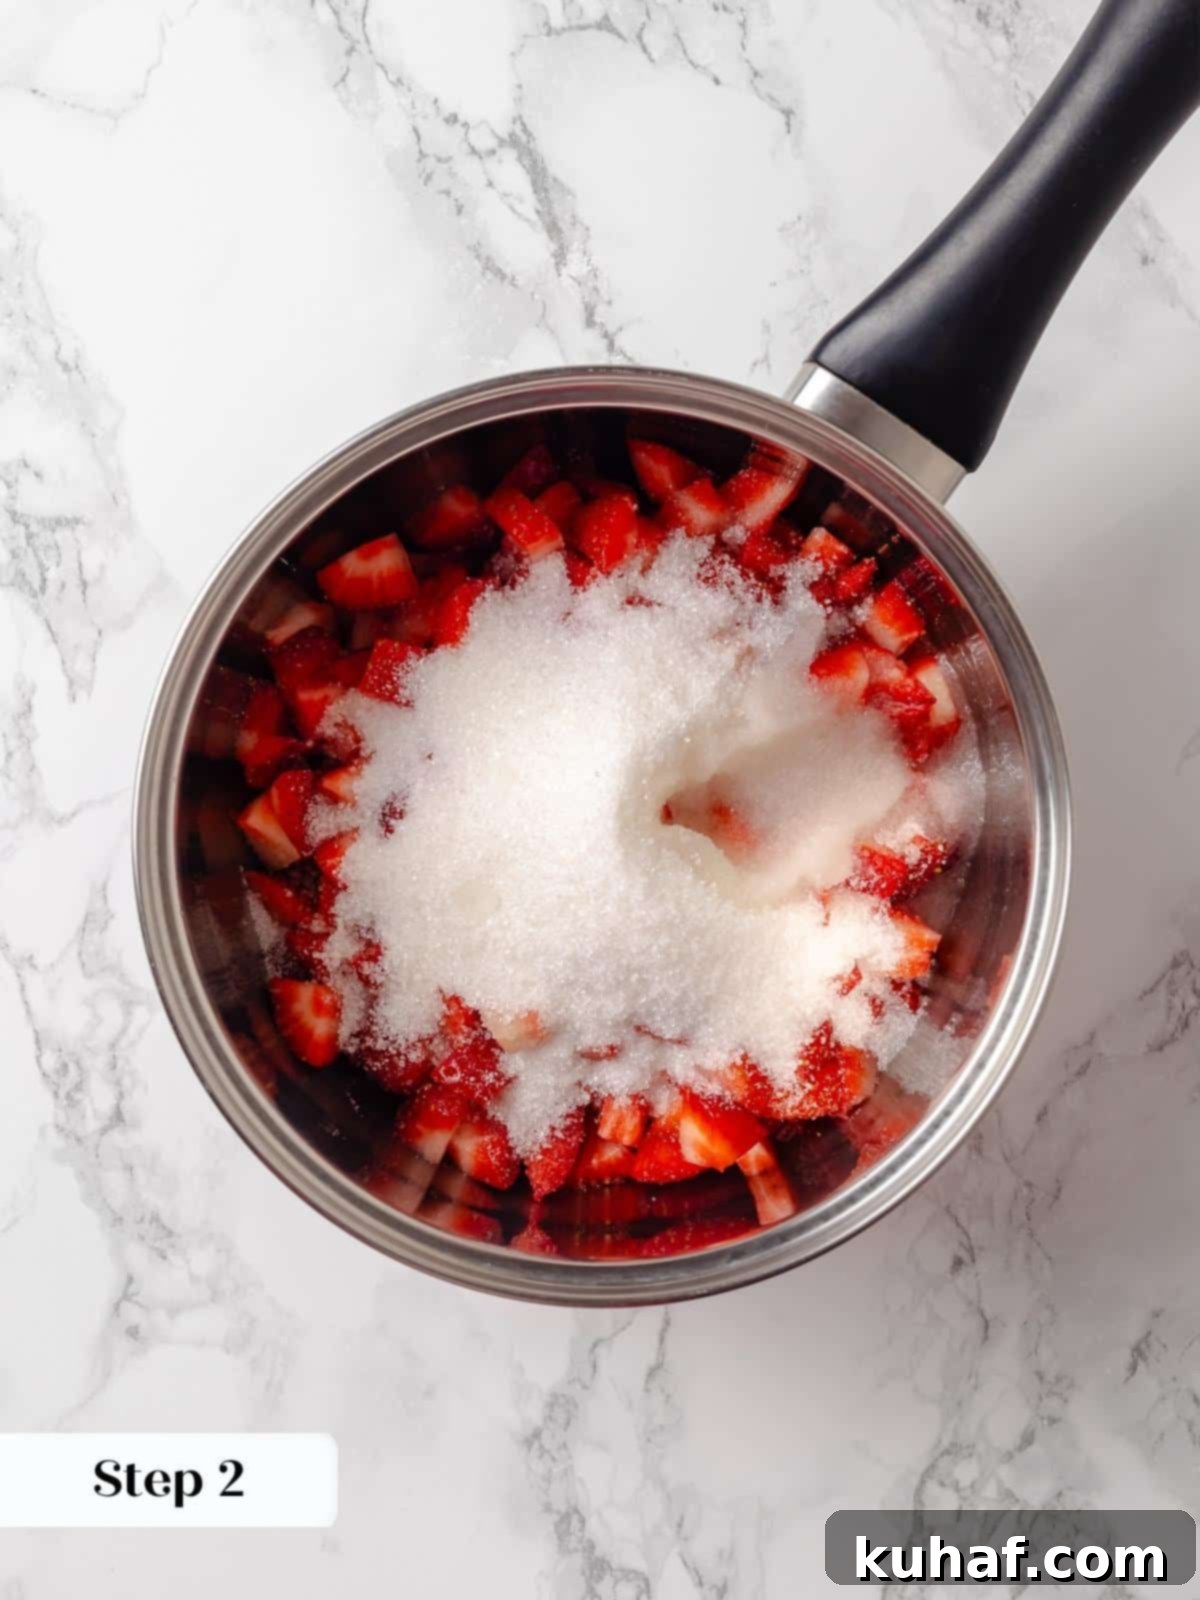
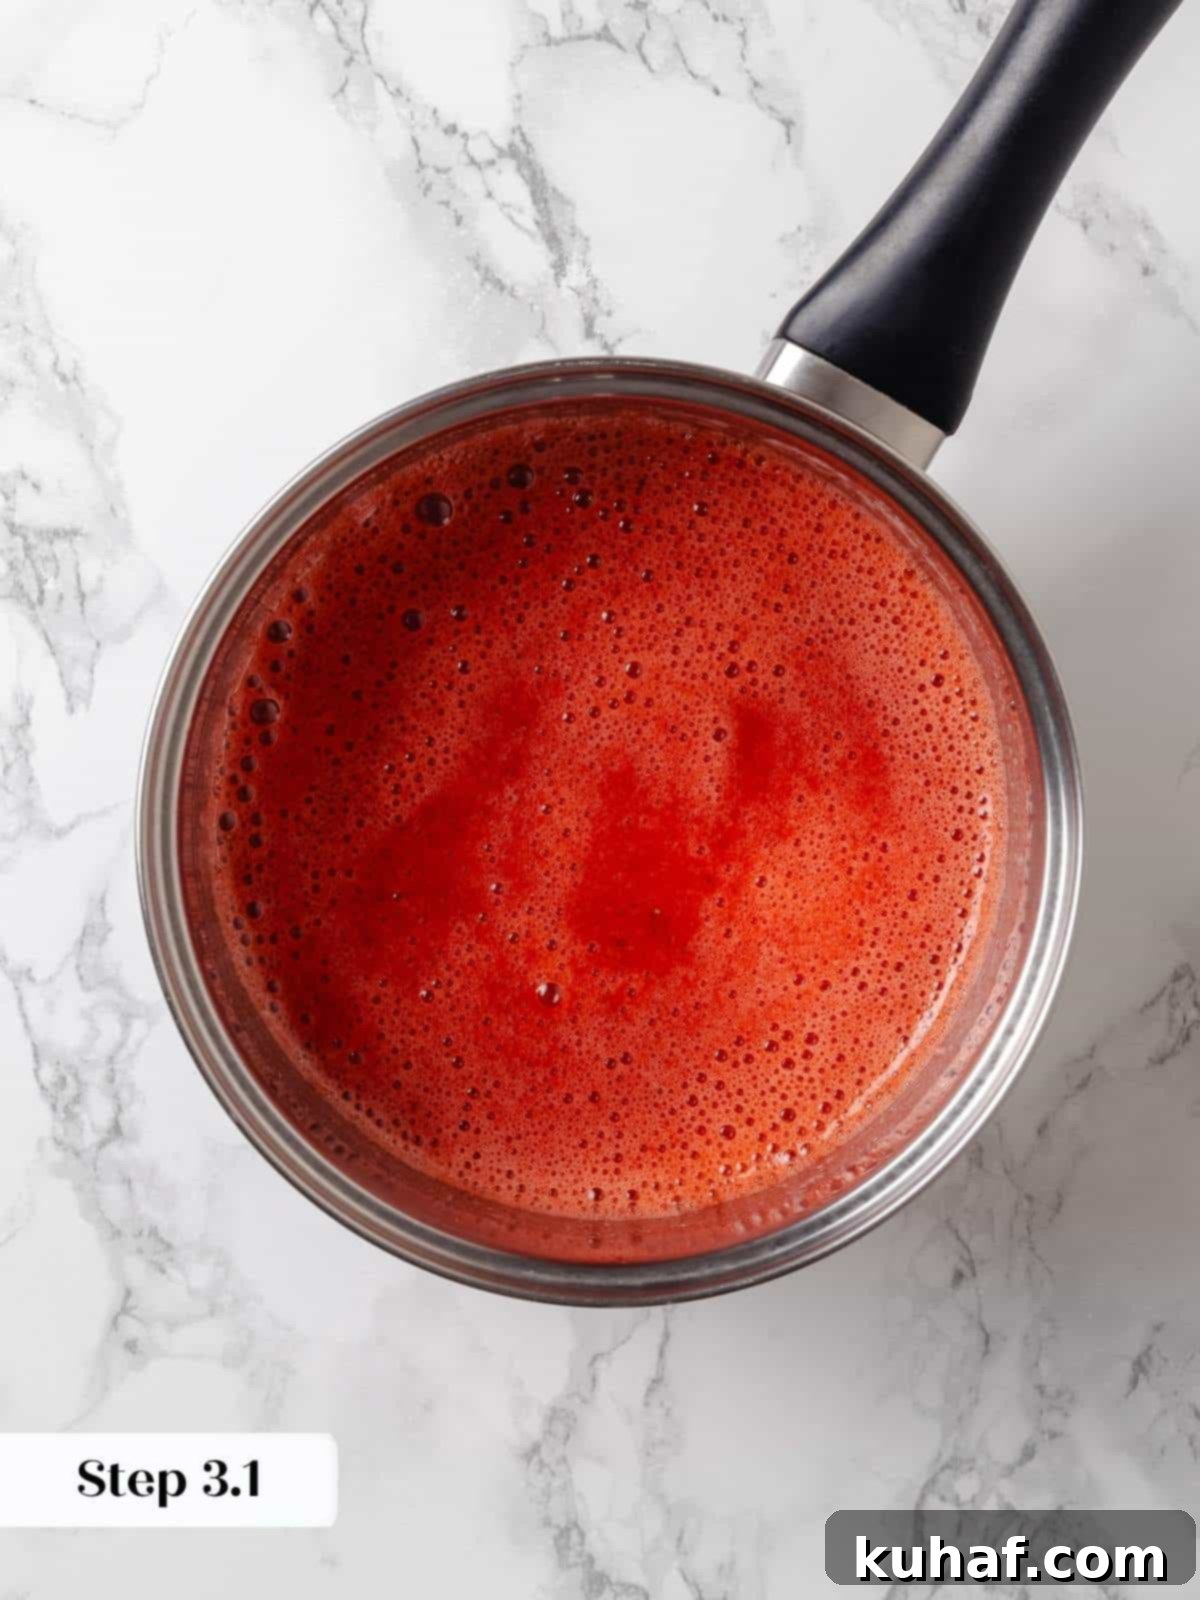
Step 2: Simmer the Jam Base. In a medium saucepan, combine your diced strawberries, granulated sugar, and freshly squeezed lemon juice. Place the saucepan over medium heat and bring the mixture to a gentle boil, stirring occasionally to prevent sticking. Once boiling, reduce the heat to low and allow it to simmer for approximately 10 minutes. During this time, the strawberries will soften, release their natural juices, and begin to break down, forming a rustic fruit base.
Chef’s Tip for Jam Consistency: If your strawberries didn’t break down sufficiently, or if you prefer a smoother jam, don’t hesitate to use a potato masher directly in the saucepan to achieve your desired consistency. For an even silkier texture, a couple of quick pulses with an immersion blender will do the trick. You can leave it slightly chunky for a more rustic feel or make it completely smooth for a refined finish – both work beautifully in this cake. Remember to taste and adjust sweetness/tartness as needed before proceeding.
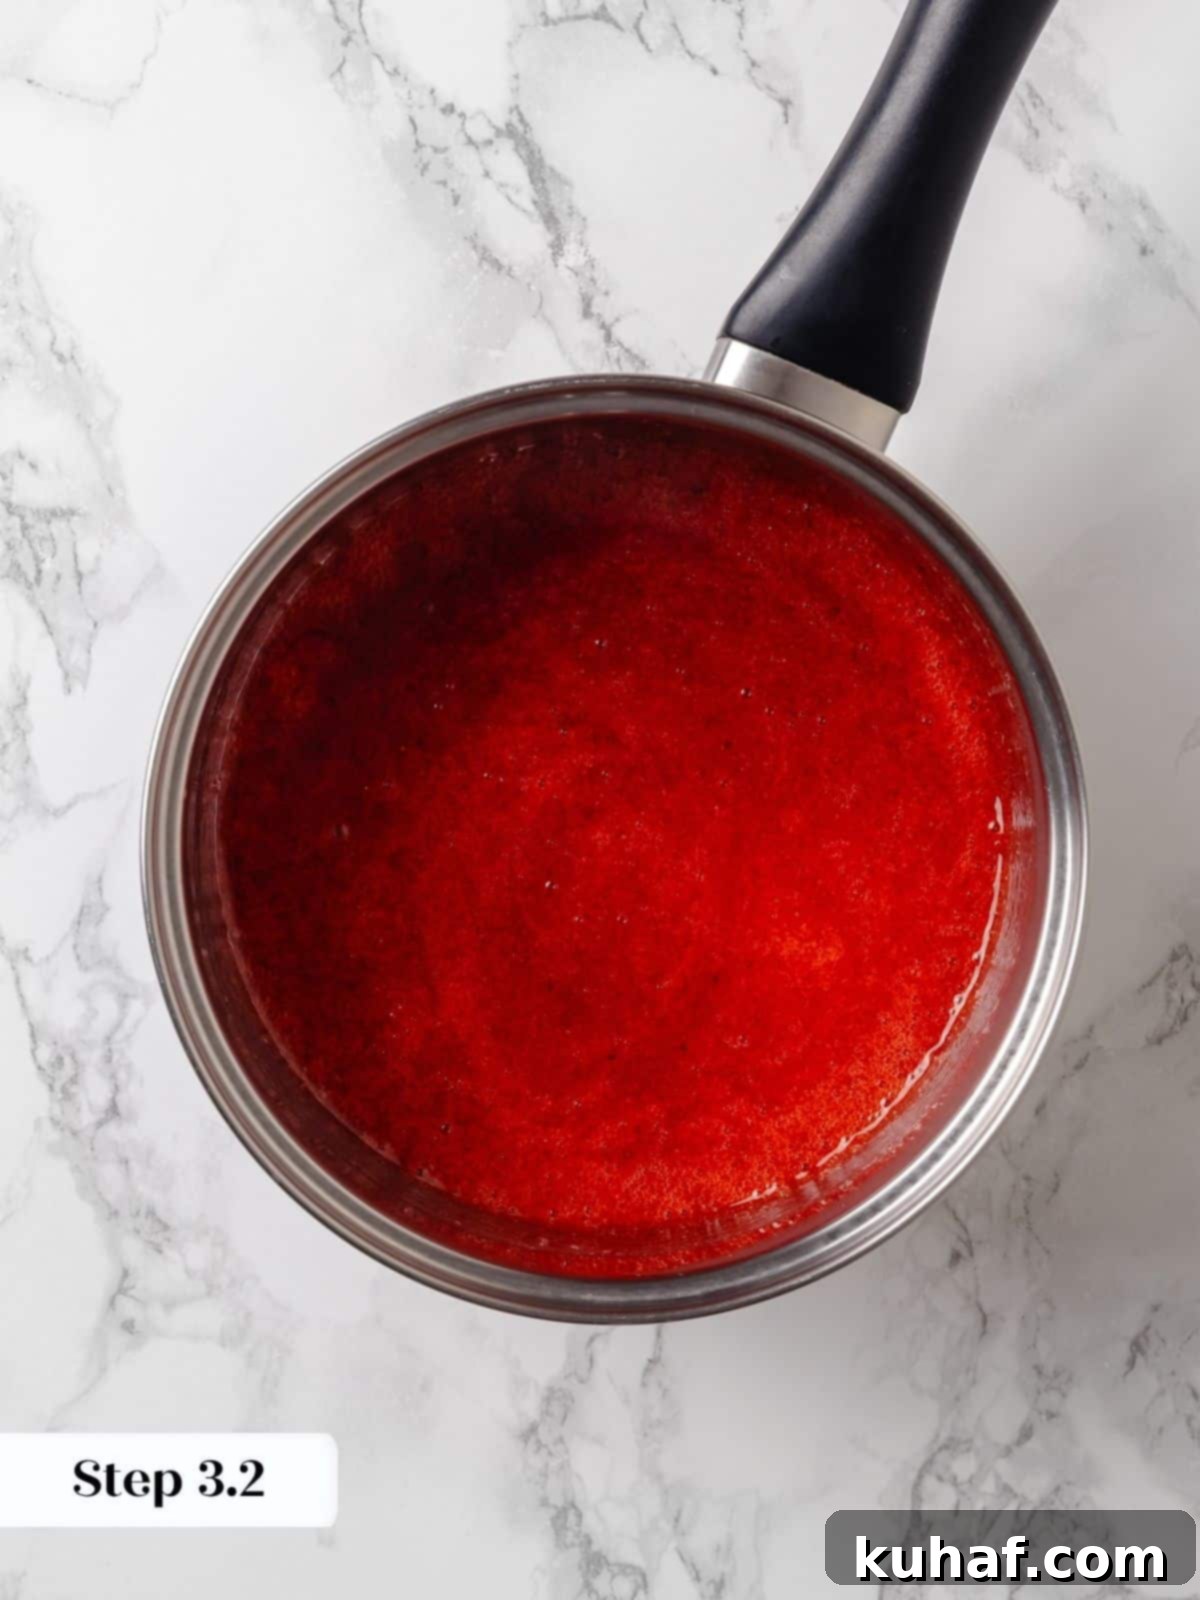
Step 3: Thicken and Cool the Jam. In a small separate bowl, whisk together the cornstarch and water until you have a completely smooth slurry with no lumps. Gradually pour this cornstarch mixture into the simmering strawberry jam while continuously whisking to prevent any clumping. Continue to boil the jam for another full minute, allowing the cornstarch to fully activate and thicken the mixture. Once thickened, immediately pour the hot jam into a clean, shallow dish or bowl. For faster cooling, spread it out in a larger surface area like a Pyrex baking dish and stir it occasionally. Refrigerate the jam for at least 1 hour, or preferably overnight, until it is completely chilled and set. This cooling period is crucial for the jam’s texture and prevents it from melting the butter in your cake batter.
Pro Tip for Cooling Jam: The more surface area the jam has, the faster it will cool down. I typically pour it into a wide, shallow baking dish and give it a stir every now and then to help it cool evenly and quickly.
Prep Your Bundt Pan: Proper pan preparation is paramount for a beautiful bundt cake. Lightly but thoroughly spray a 12-cup bundt pan with a high-quality non-stick cooking spray, ensuring every crevice is coated. Next, add a tablespoon or two of all-purpose flour to the pan. Rotate and tap the pan vigorously until every inch of the greased surface is covered with a thin layer of flour. Invert the pan and gently tap out any excess flour onto a piece of parchment paper or over a sink. You should be left with a perfectly floured pan, ready to release your cake without a hitch. This step is non-negotiable for intricate bundt designs!
Part 2: Preparing the Pound Cake Batter
Step 4: Preheat Your Oven. Preheat your oven to 325°F (160°C) using the convection setting if available. Convection helps bake more evenly, but a standard oven works fine; just monitor baking time closely.
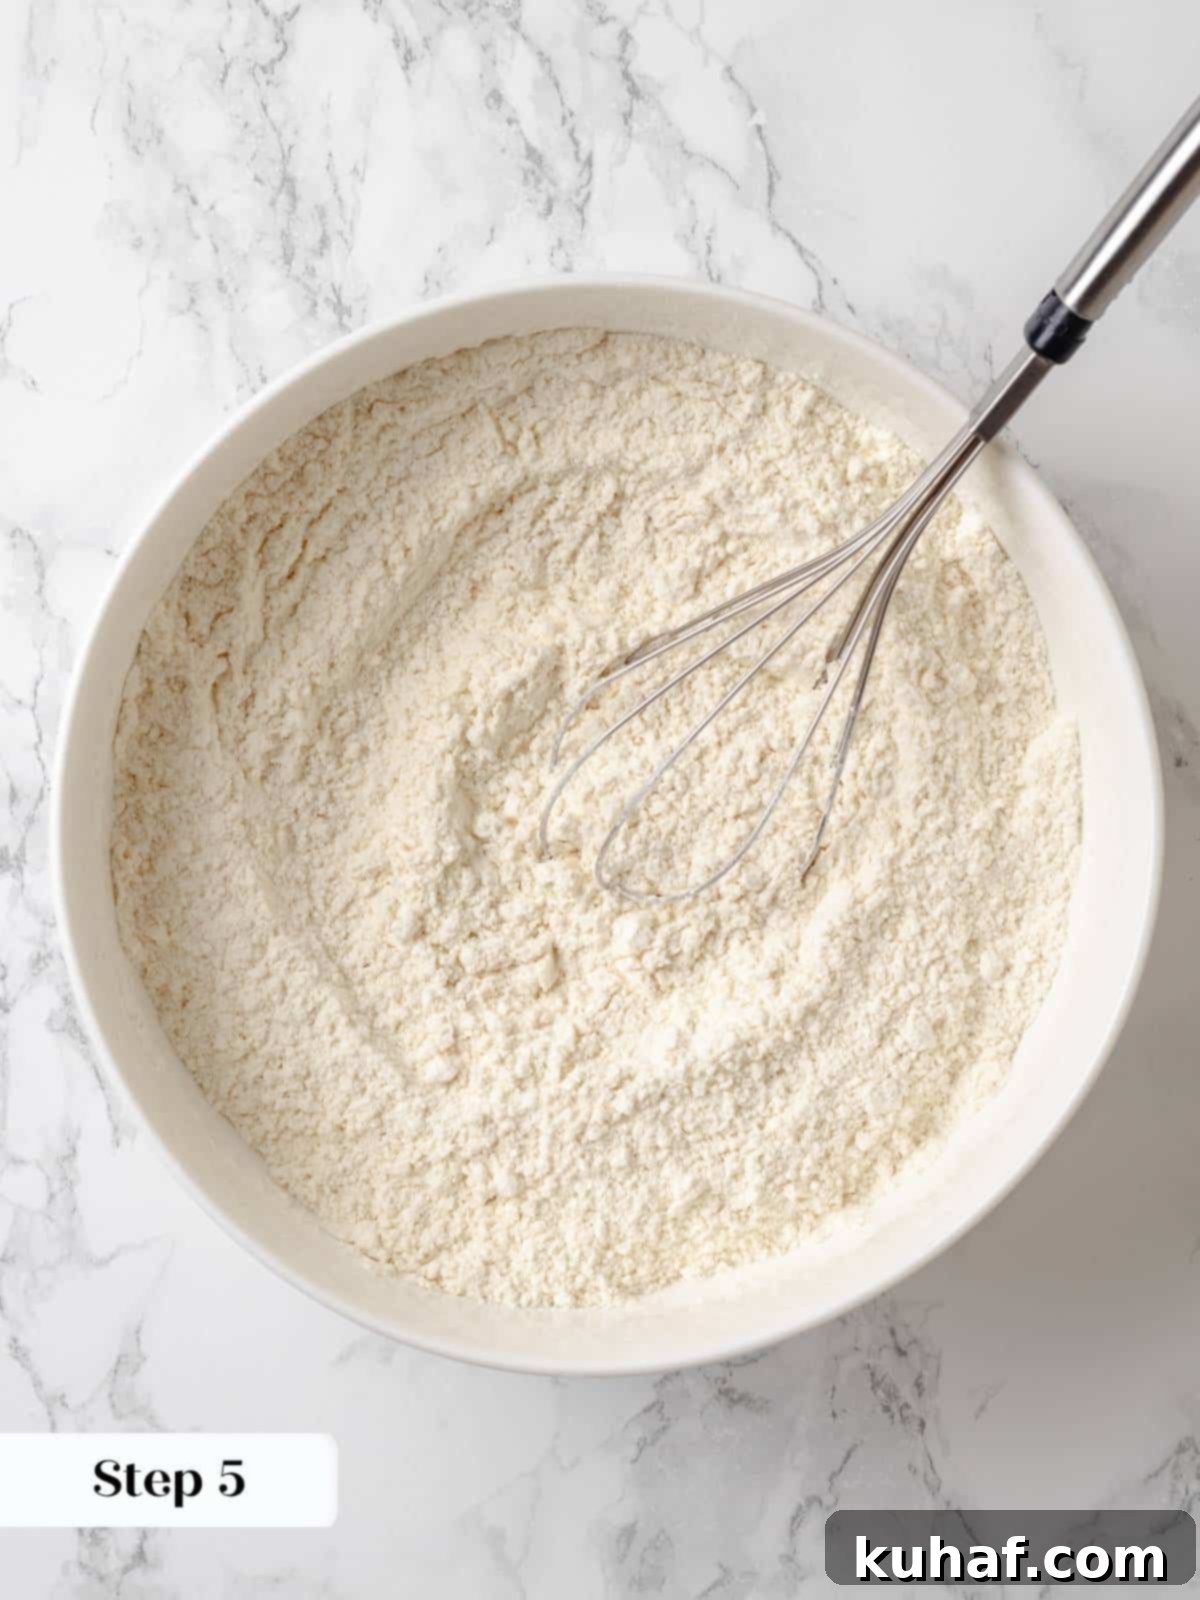
Step 5: Combine Dry Ingredients. In a large mixing bowl, whisk together the all-purpose flour, kosher salt, and baking soda. Whisking ensures these dry ingredients are thoroughly combined and evenly distributed, which is essential for uniform leavening and flavor throughout the cake. Set this mixture aside.
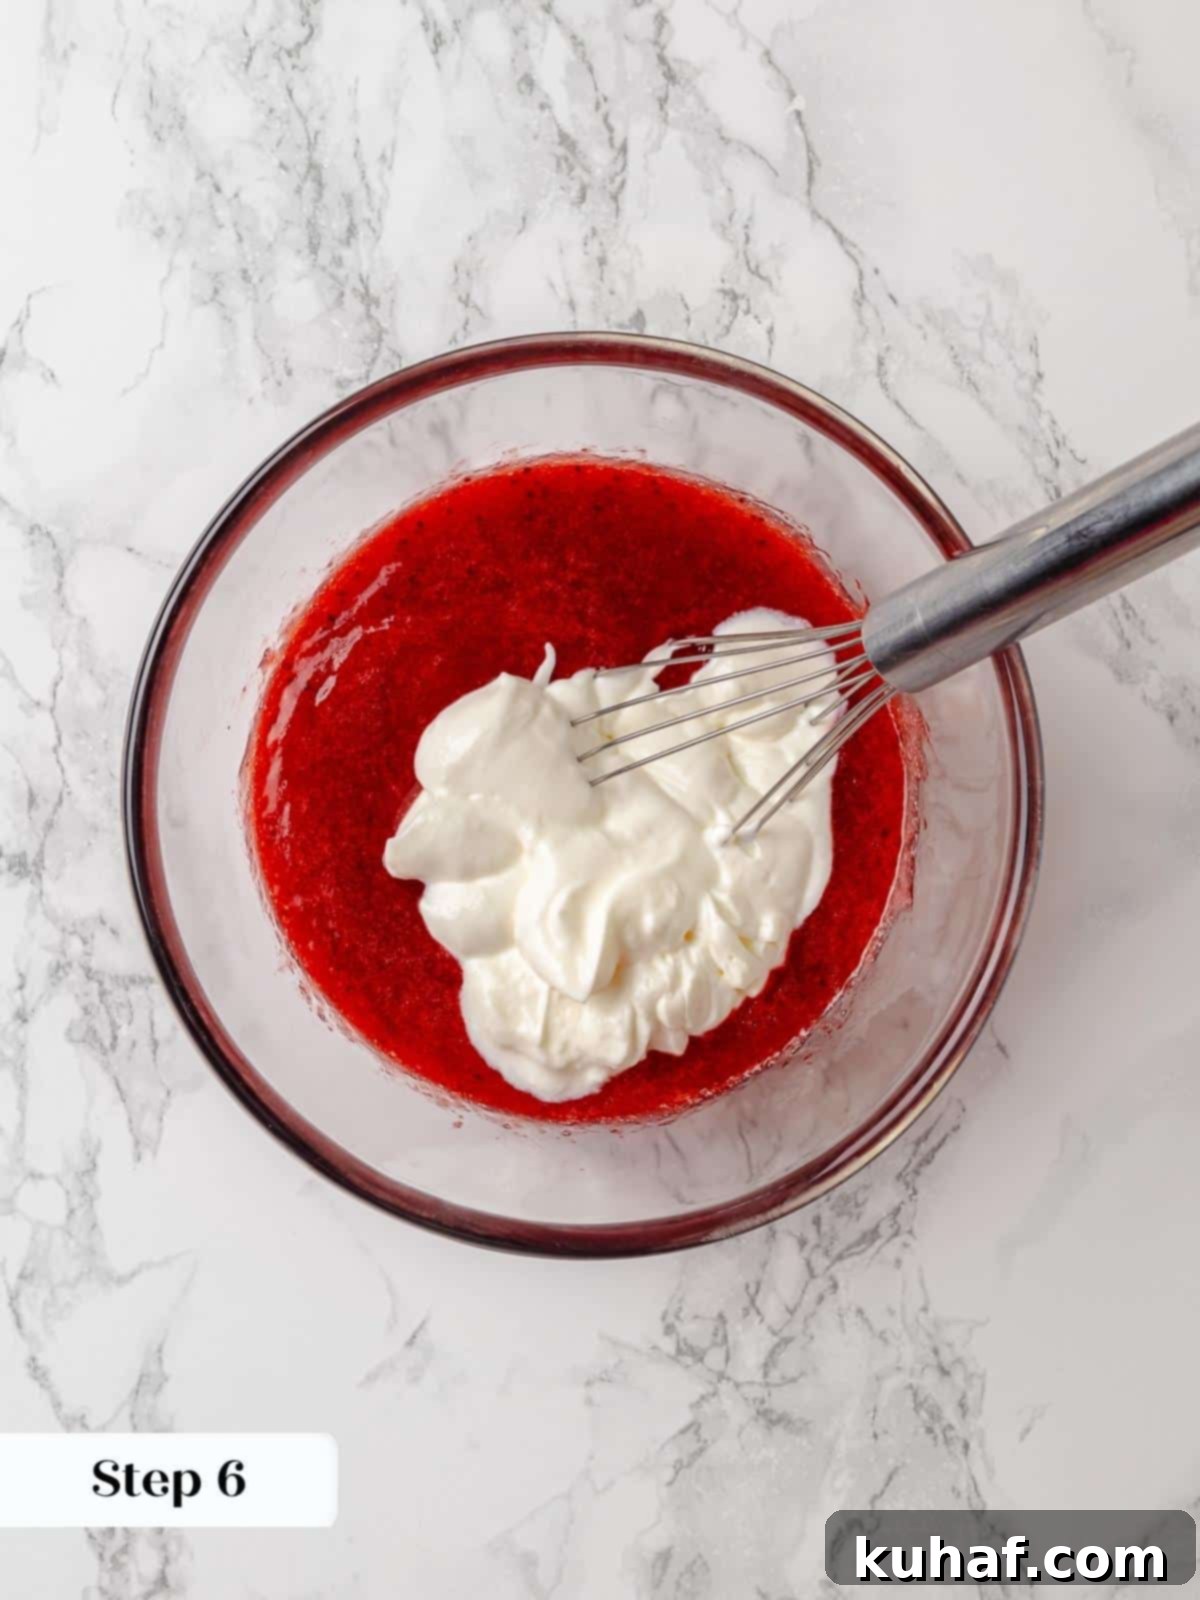
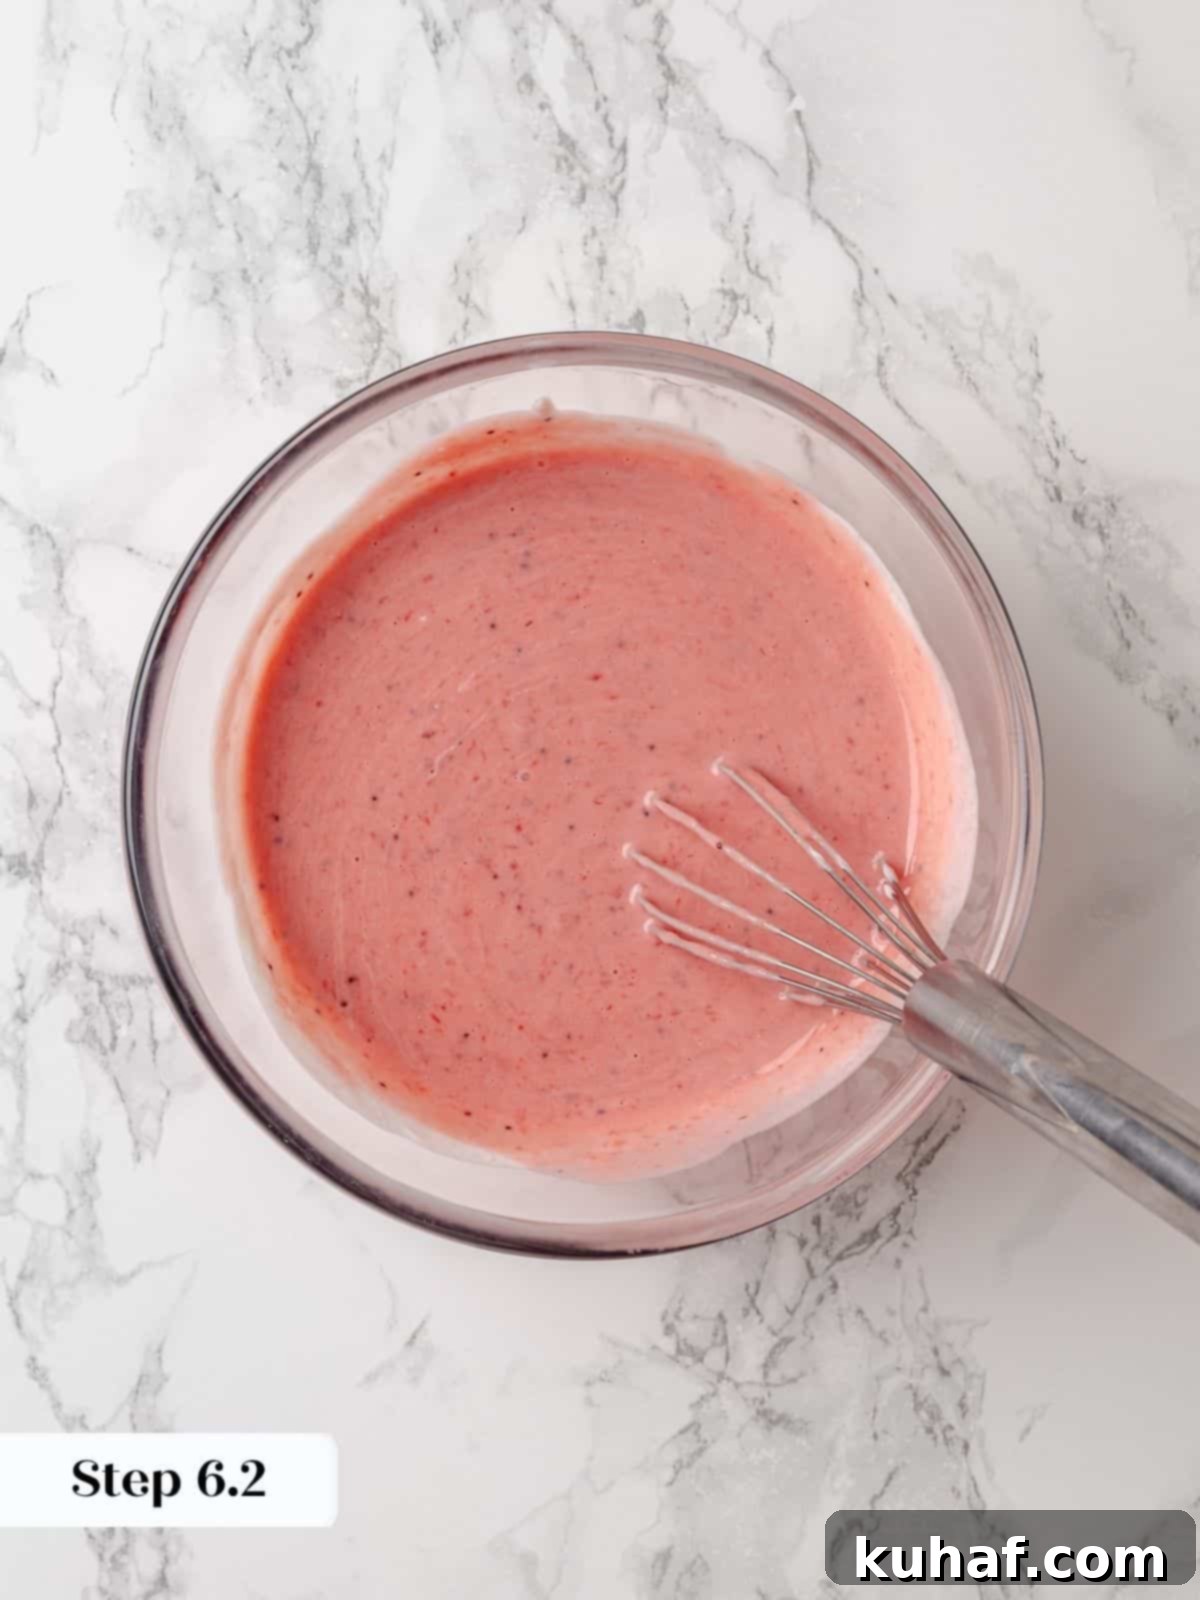
Step 6: Prepare the Wet Ingredient Mixture. In a separate medium bowl, whisk together the room-temperature sour cream, the chilled quick strawberry jam you prepared earlier, and the vanilla extract until thoroughly combined and smooth. This creates a beautifully flavorful and moist mixture that will be integrated into the batter. The jam should be fully incorporated, creating a pale pink, creamy base.
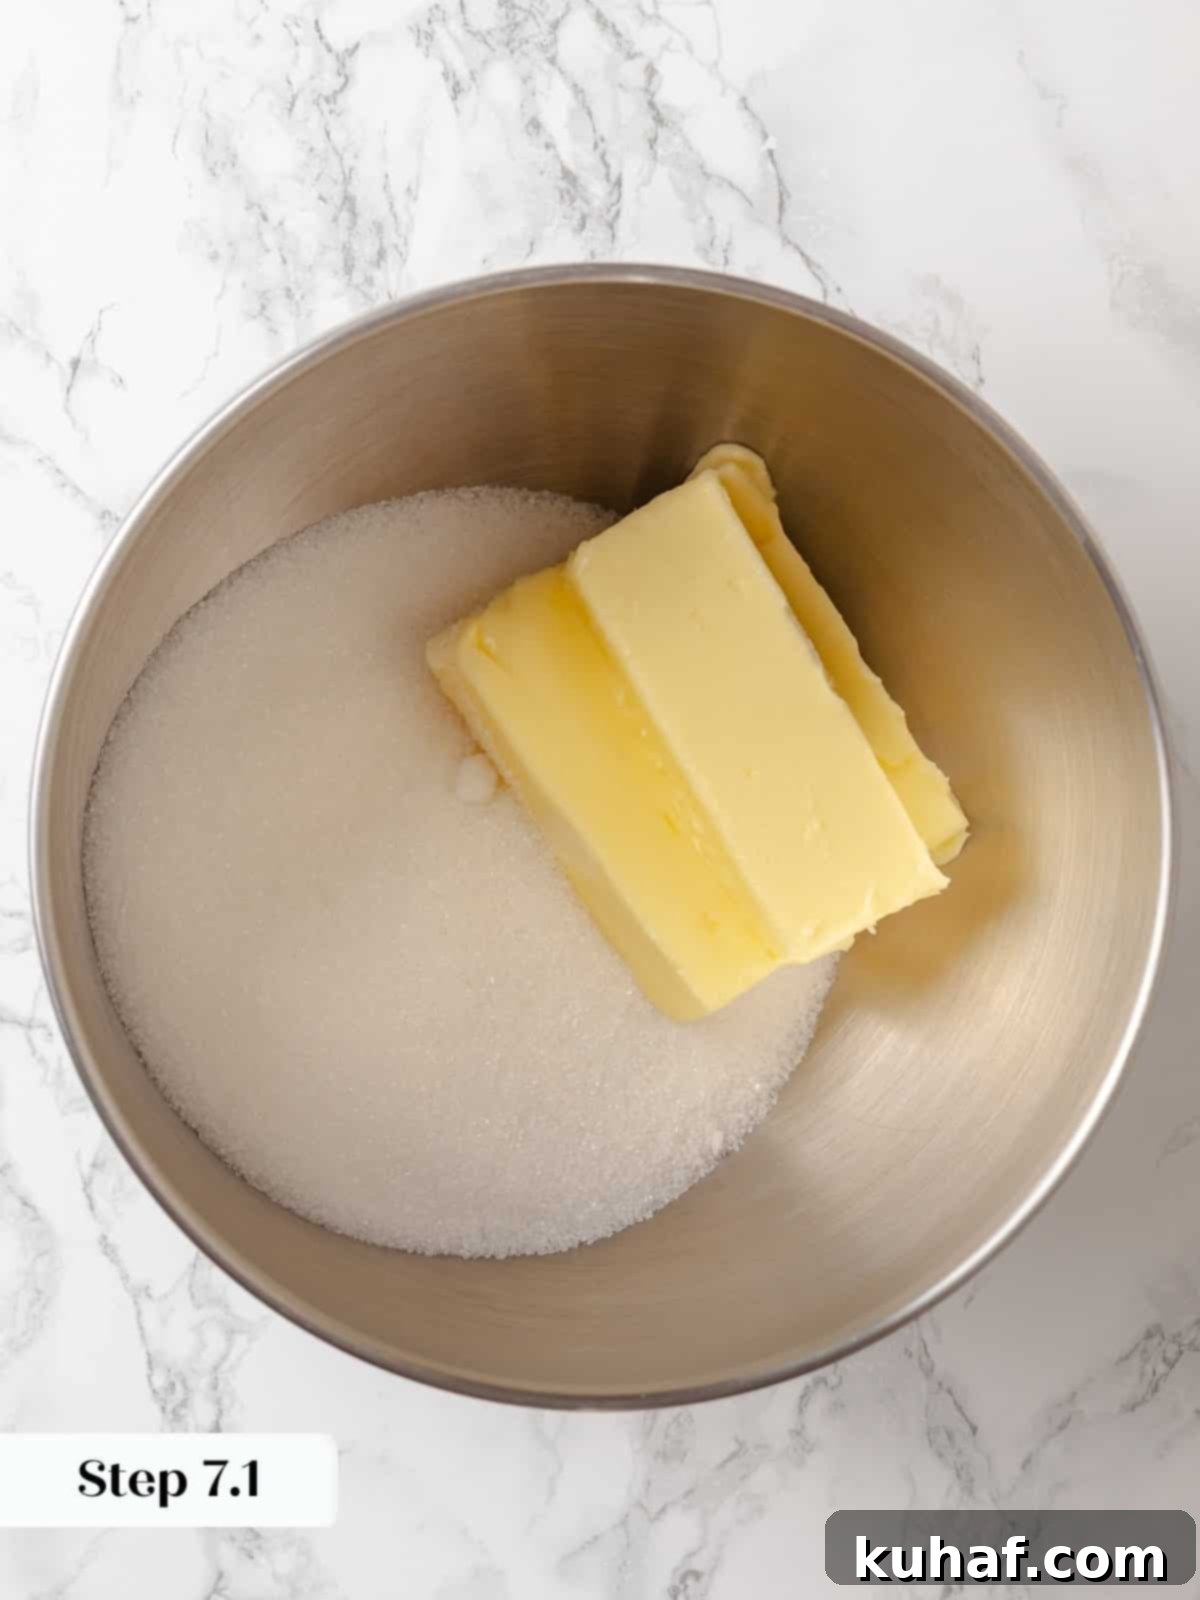
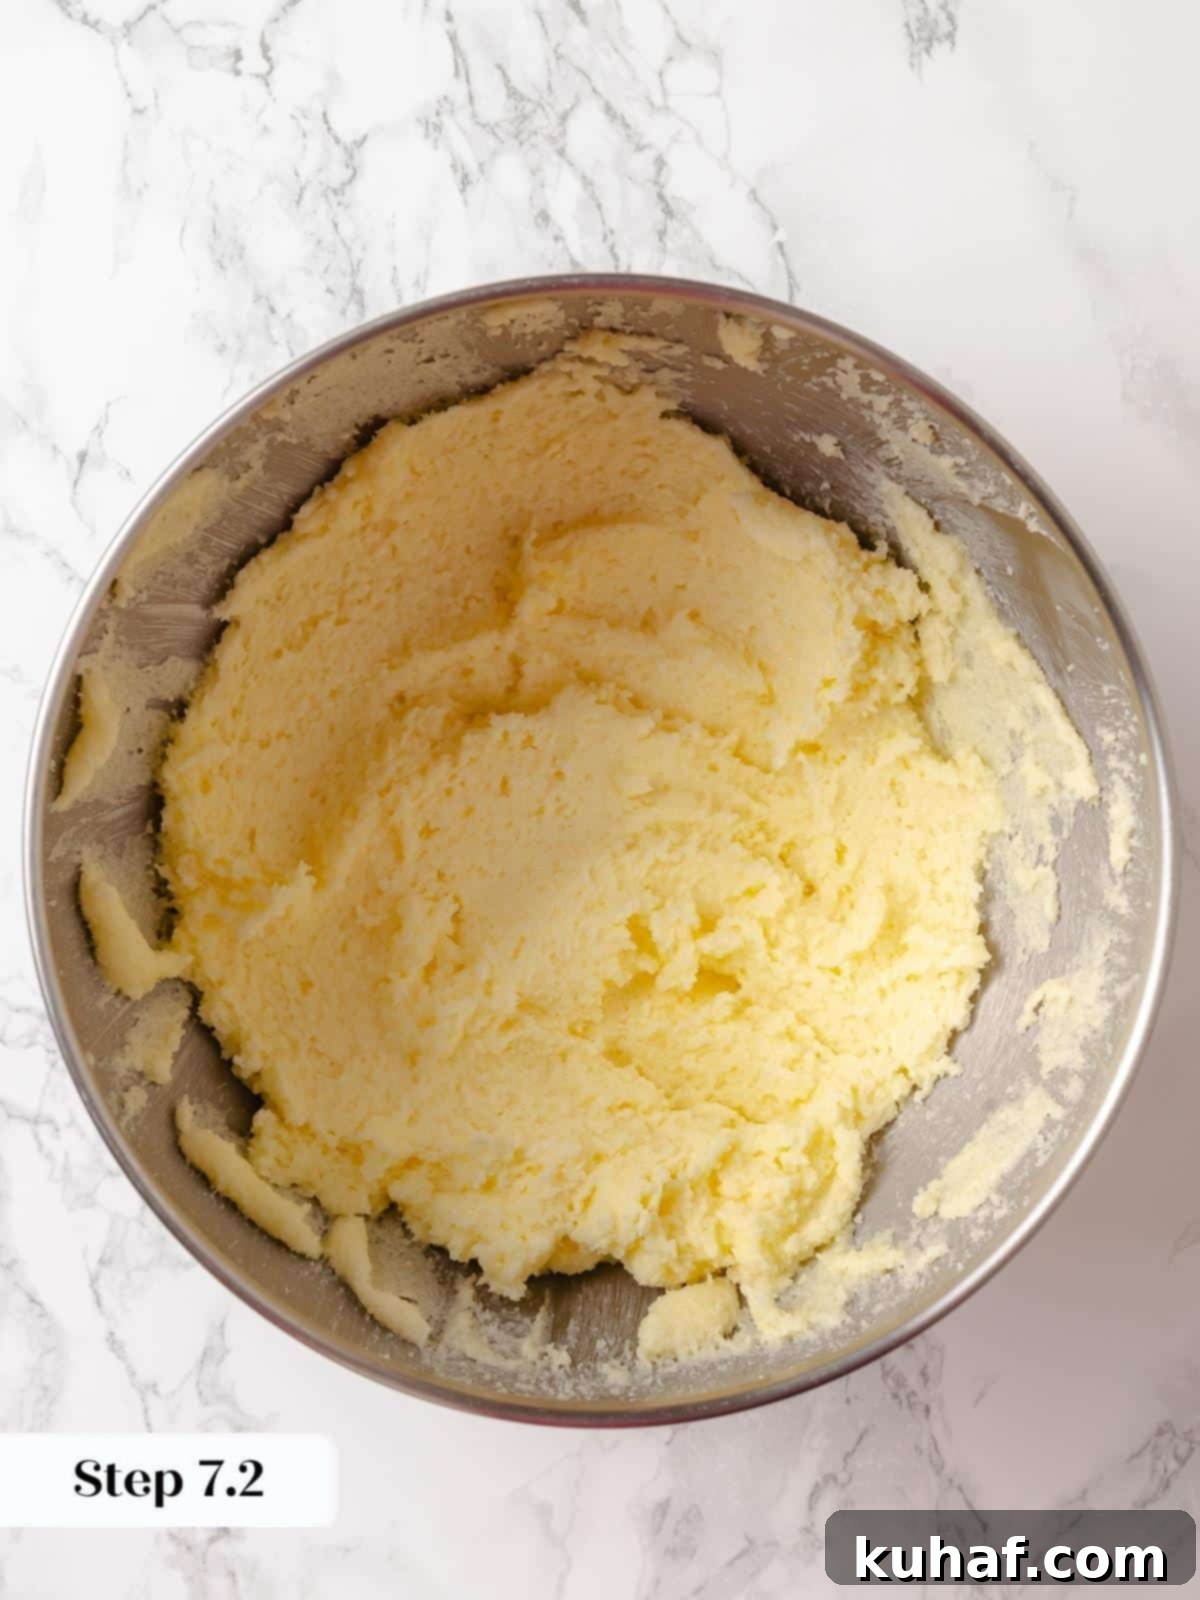
Step 7: Cream Butter and Sugar. In the bowl of a stand mixer fitted with the paddle attachment, or using a large bowl with a hand mixer, beat the room-temperature unsalted butter and granulated sugar together. Start on low speed, then increase to medium-high. Continue beating for several minutes until the mixture is light in color, significantly increased in volume, and has a thick, creamy, and fluffy paste-like consistency. This creaming process incorporates air, which is vital for the pound cake’s texture.
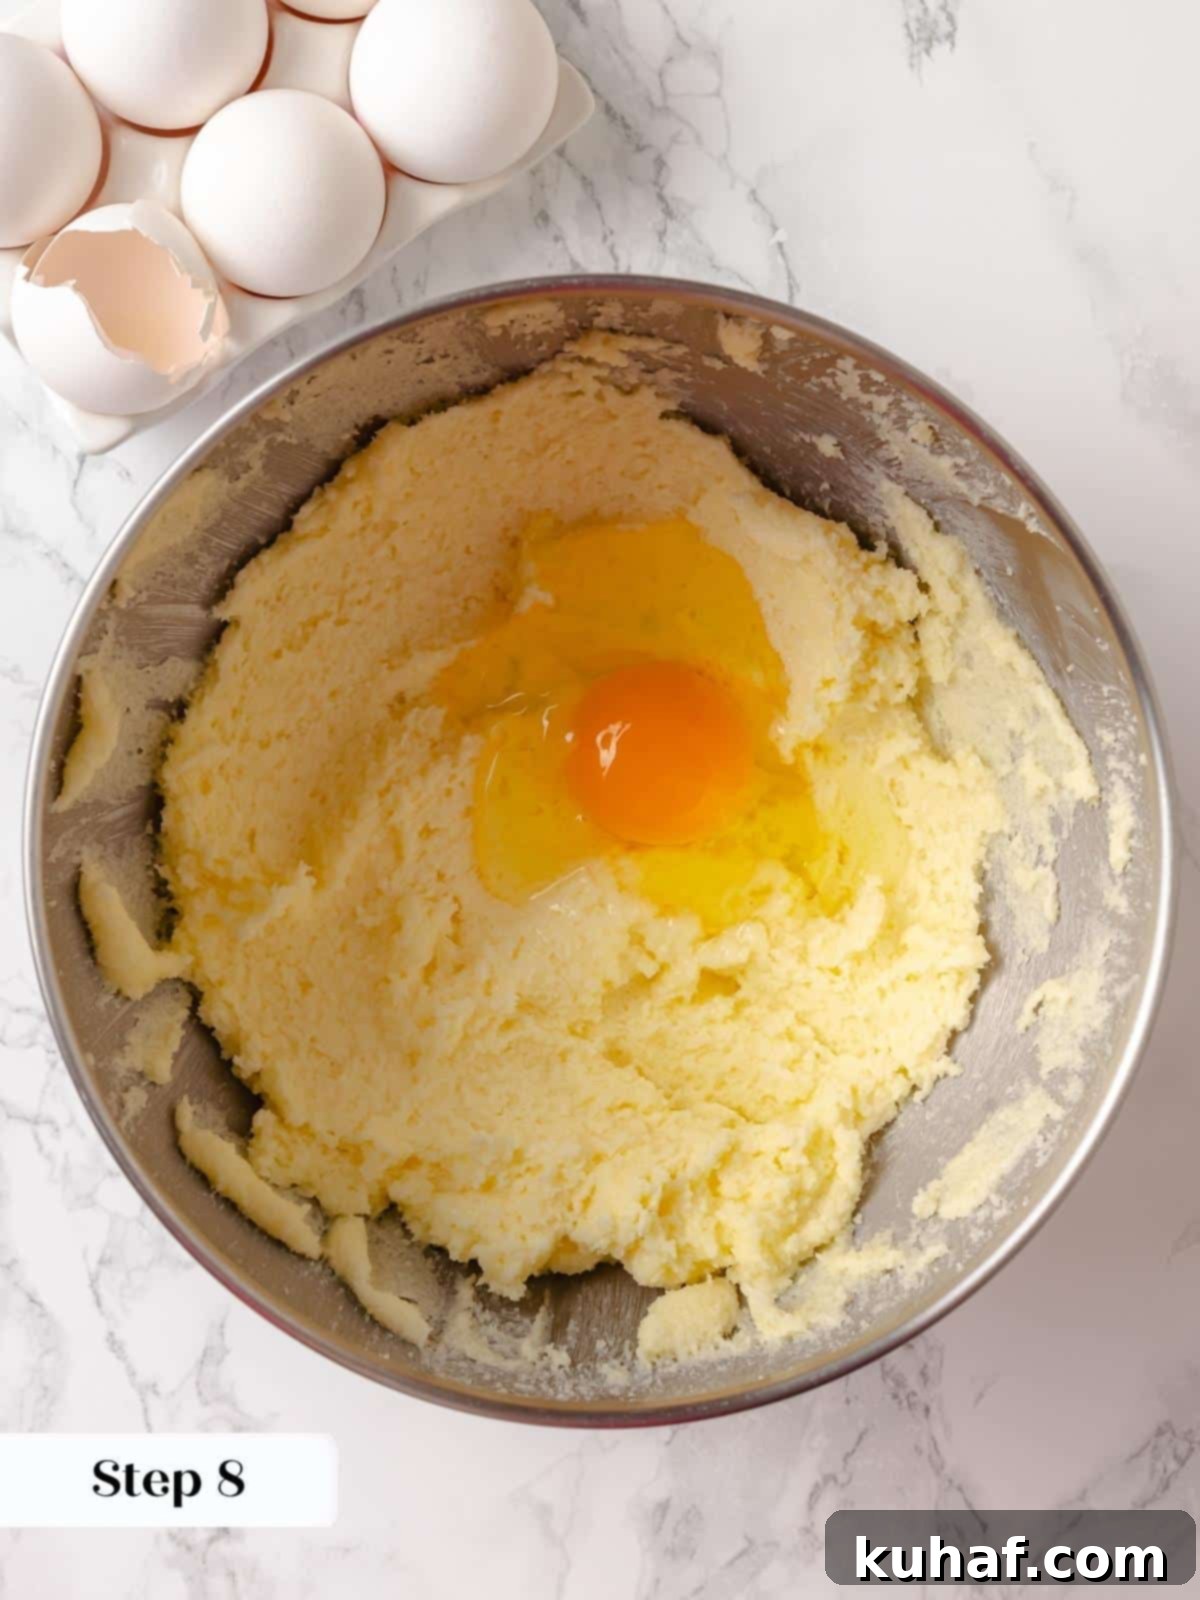
Step 8: Incorporate Eggs. With the mixer on medium-low speed, add the room-temperature eggs one at a time. After every two eggs, stop the mixer and thoroughly scrape down the sides and bottom of the bowl with a rubber spatula. Butter and sugar often settle at the bottom, and scraping ensures all ingredients are fully incorporated into the batter, preventing a greasy or uneven cake texture.
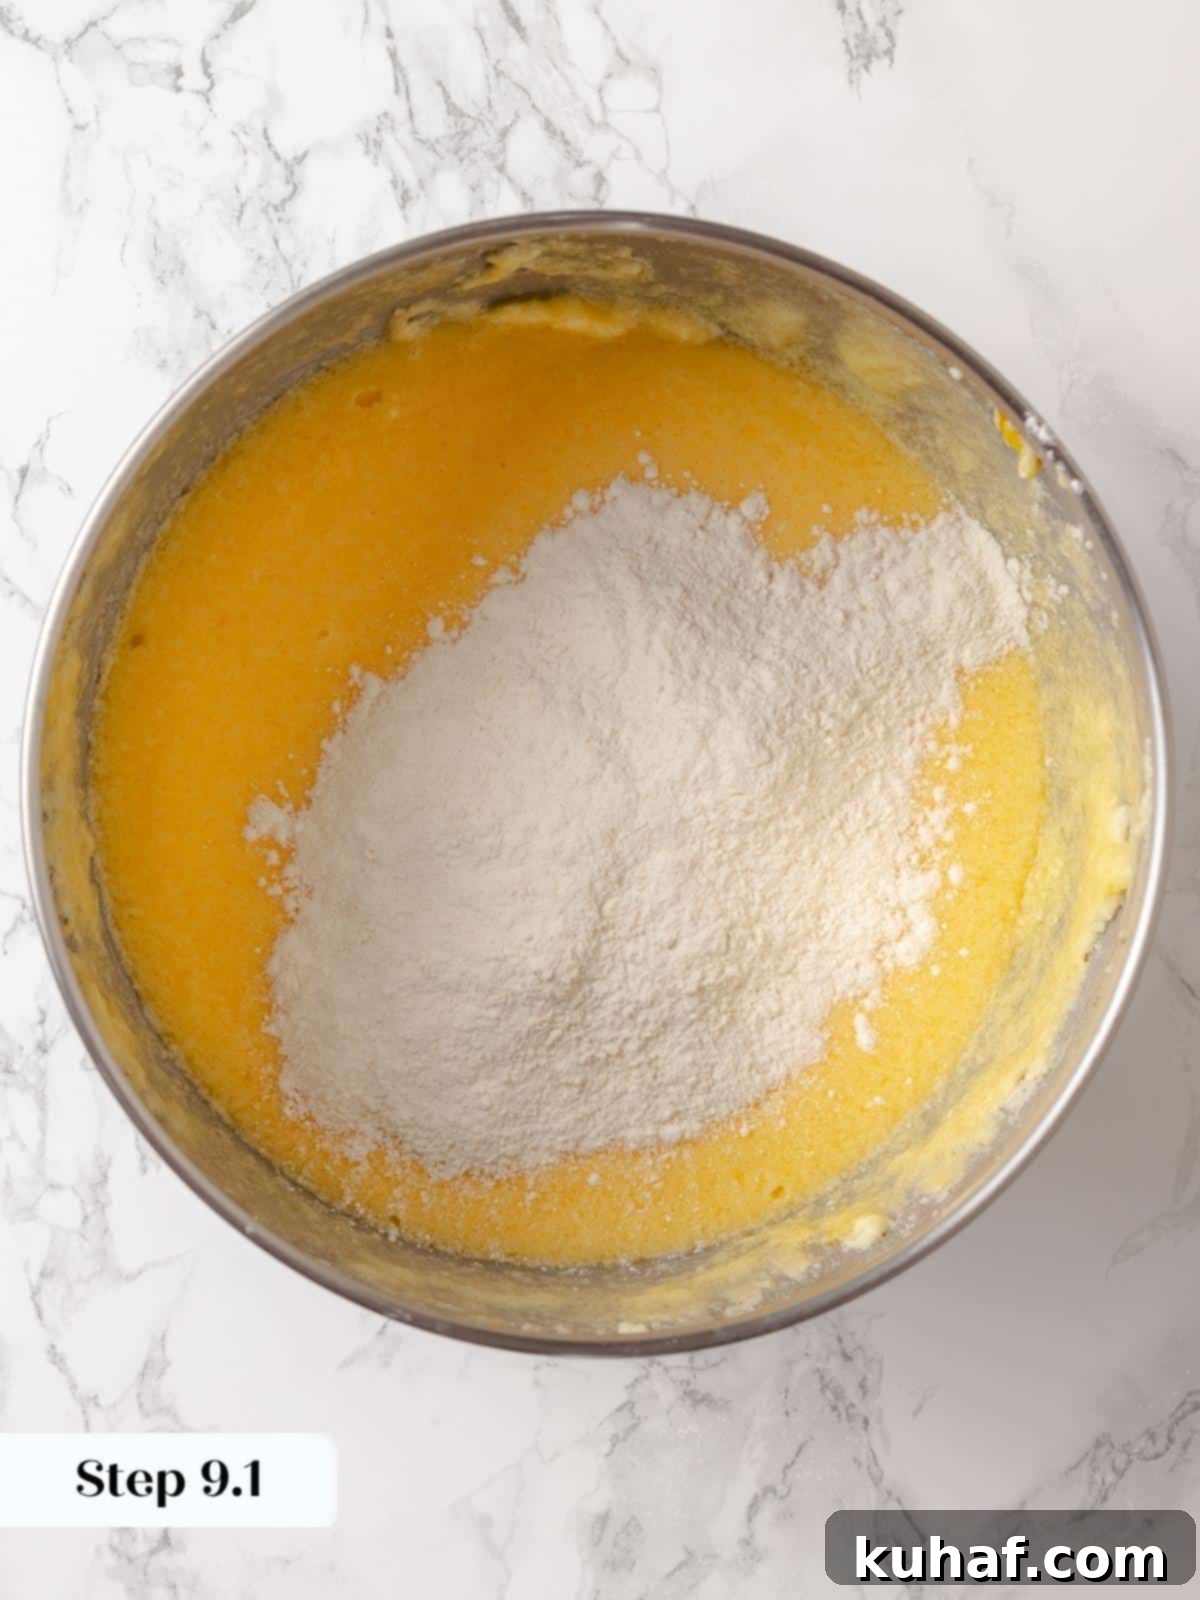
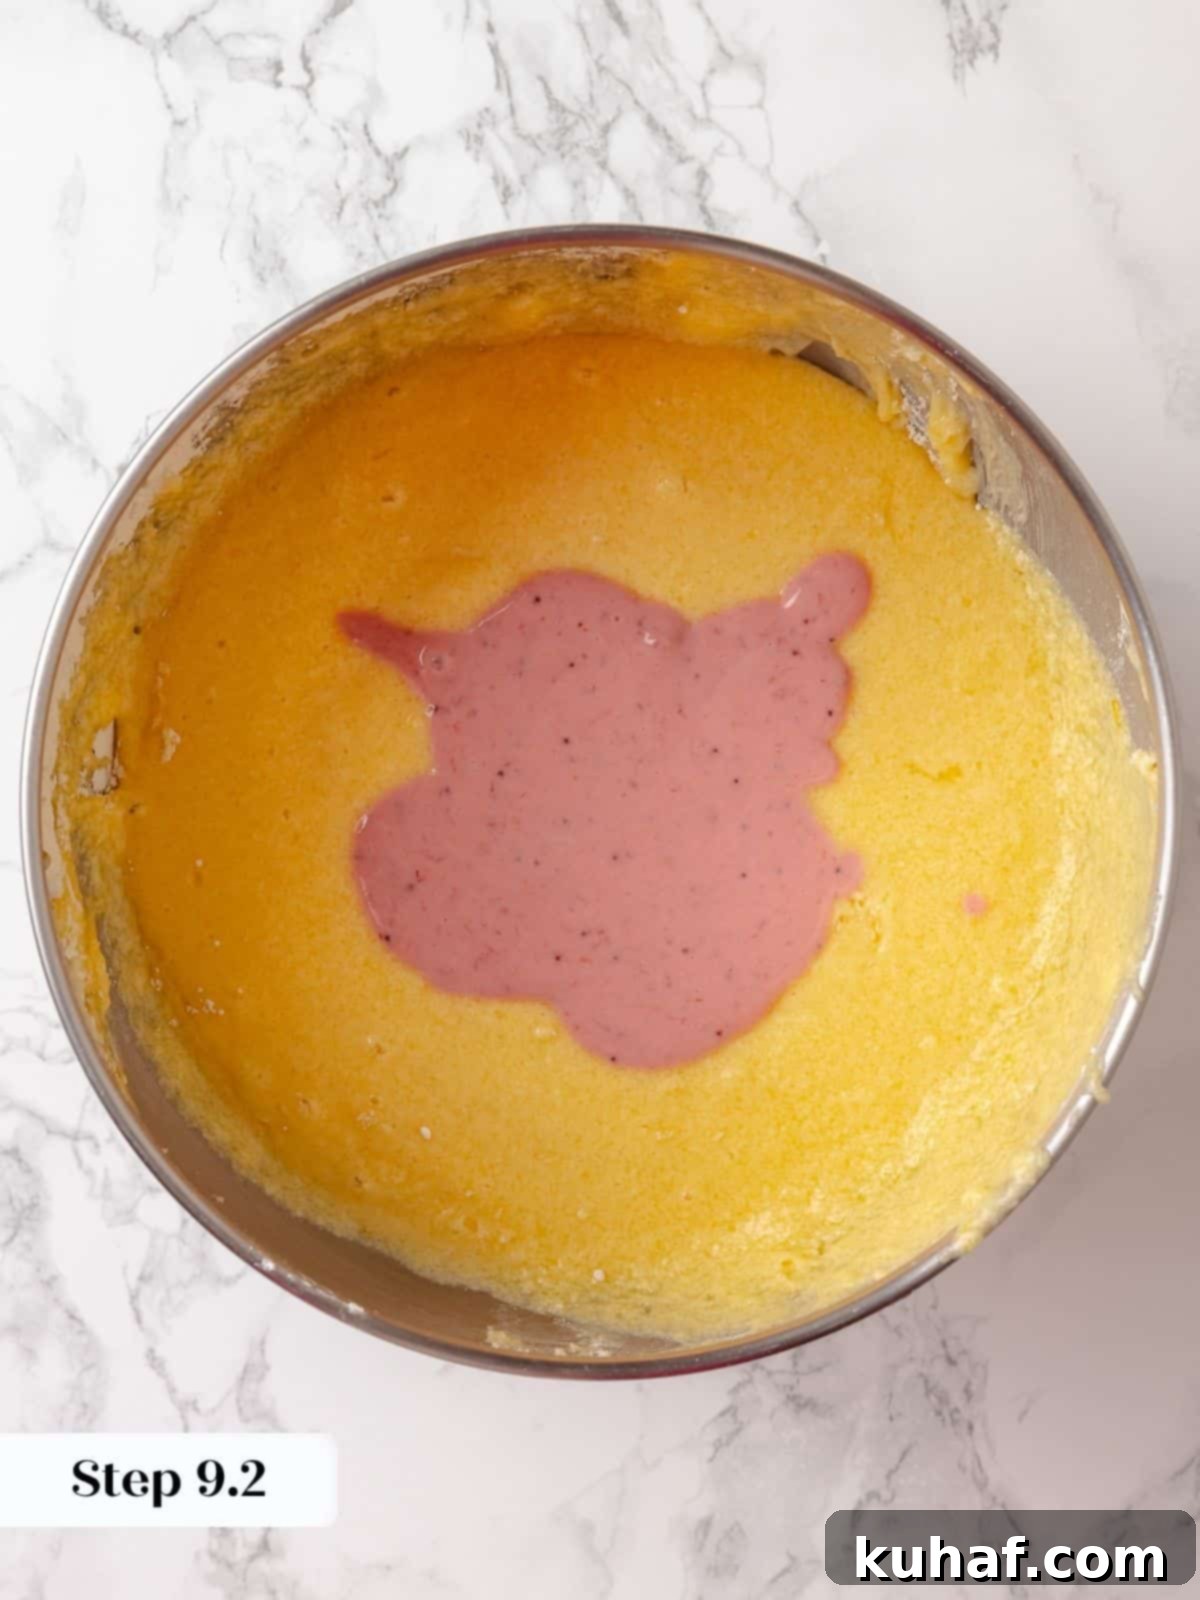
Step 9: Alternate Dry and Wet Mixtures. Reduce the mixer speed to its lowest setting. Begin by adding about one-third of the dry flour mixture to the butter-egg mixture, mixing just until almost combined. Then, add half of the sour cream-jam mixture, mixing briefly. Repeat this process, alternating between the dry and wet ingredients, ending with the final addition of the dry mixture.
Professional Mixing Technique: For a streamlined process, I don’t typically wait for the flour to be completely incorporated before adding the next batch of liquid ingredients. I add them continuously, using two hands for efficiency. I do, however, pause the mixer to add the last of the sour cream mixture, ensuring I scrape every bit out with a rubber spatula to avoid waste and ensure maximum moisture.
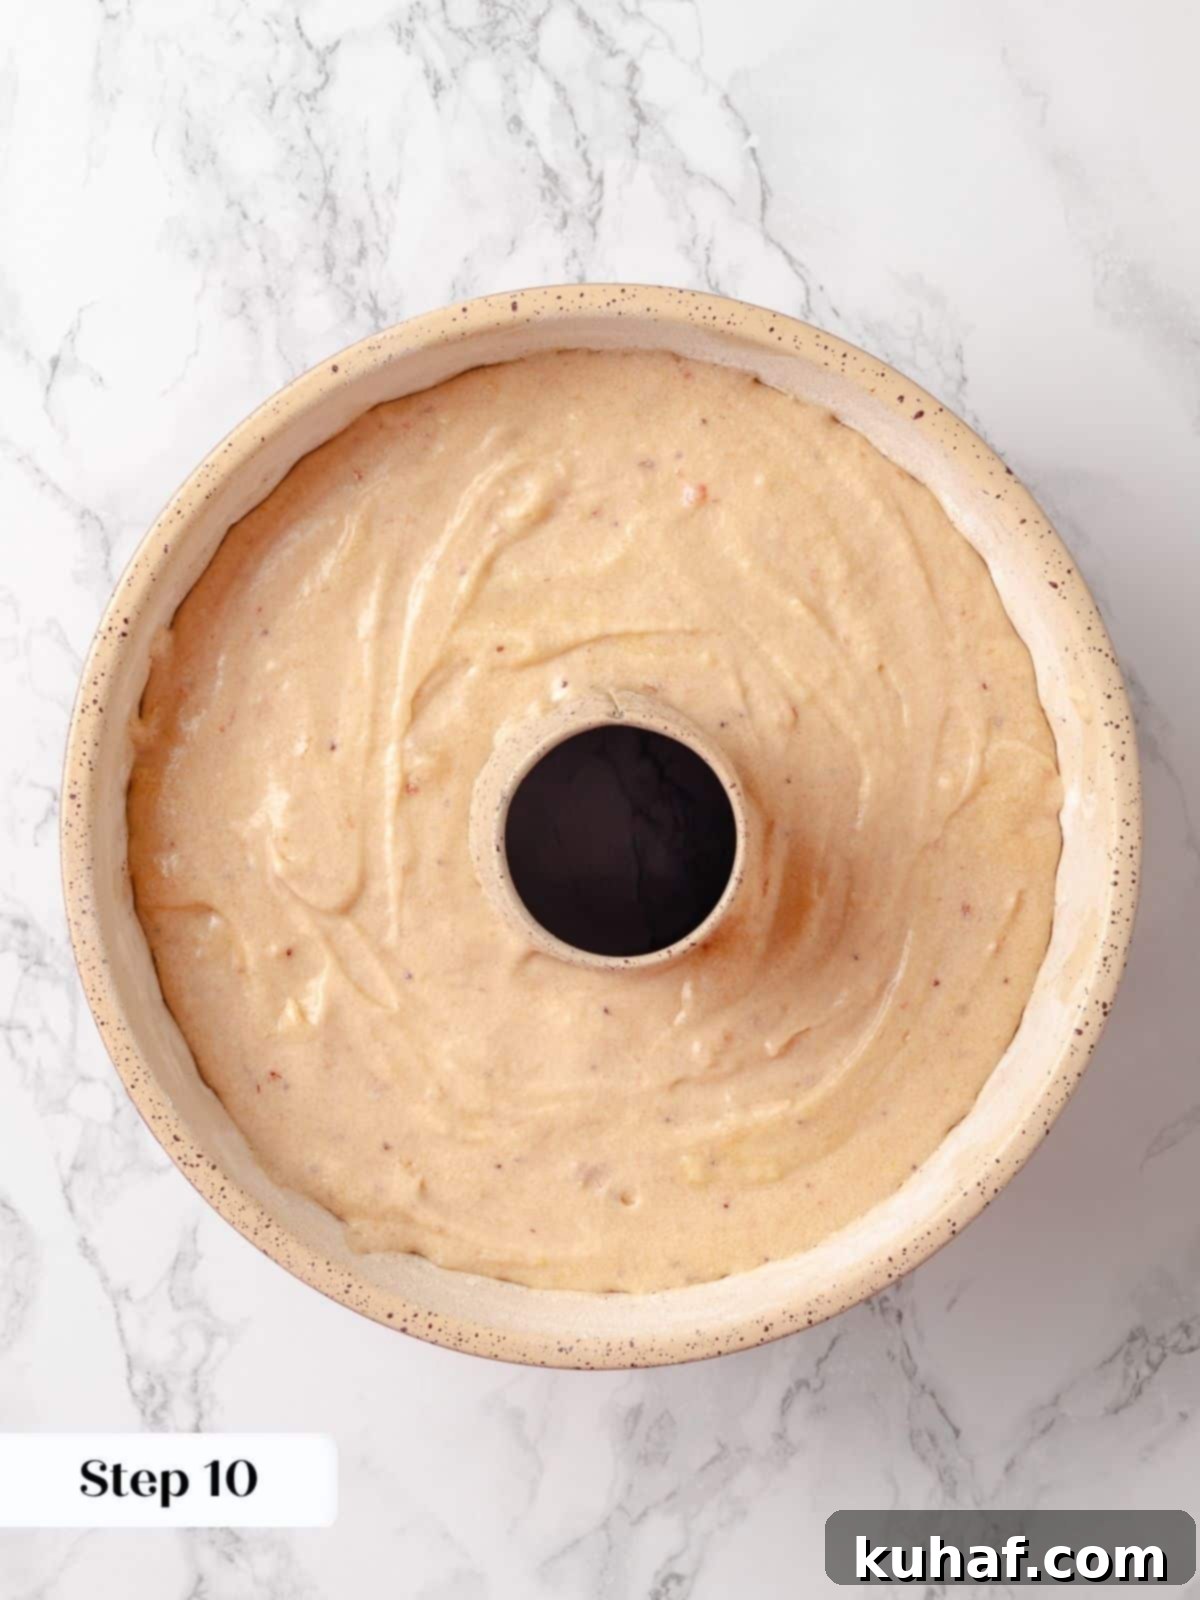
Step 10: Finish Mixing and Fill Pan. Once all ingredients are added, stop the mixer and use a silicone spatula to gently fold in any remaining streaks of flour by hand. Be careful not to overmix; you should have a beautiful, silky-smooth batter. Pour the prepared batter evenly into your thoroughly greased and floured bundt pan. Use the spatula to gently smooth the top of the batter, ensuring it’s level for an even bake.
Part 3: Baking, Cooling, and Glazing Your Pound Cake
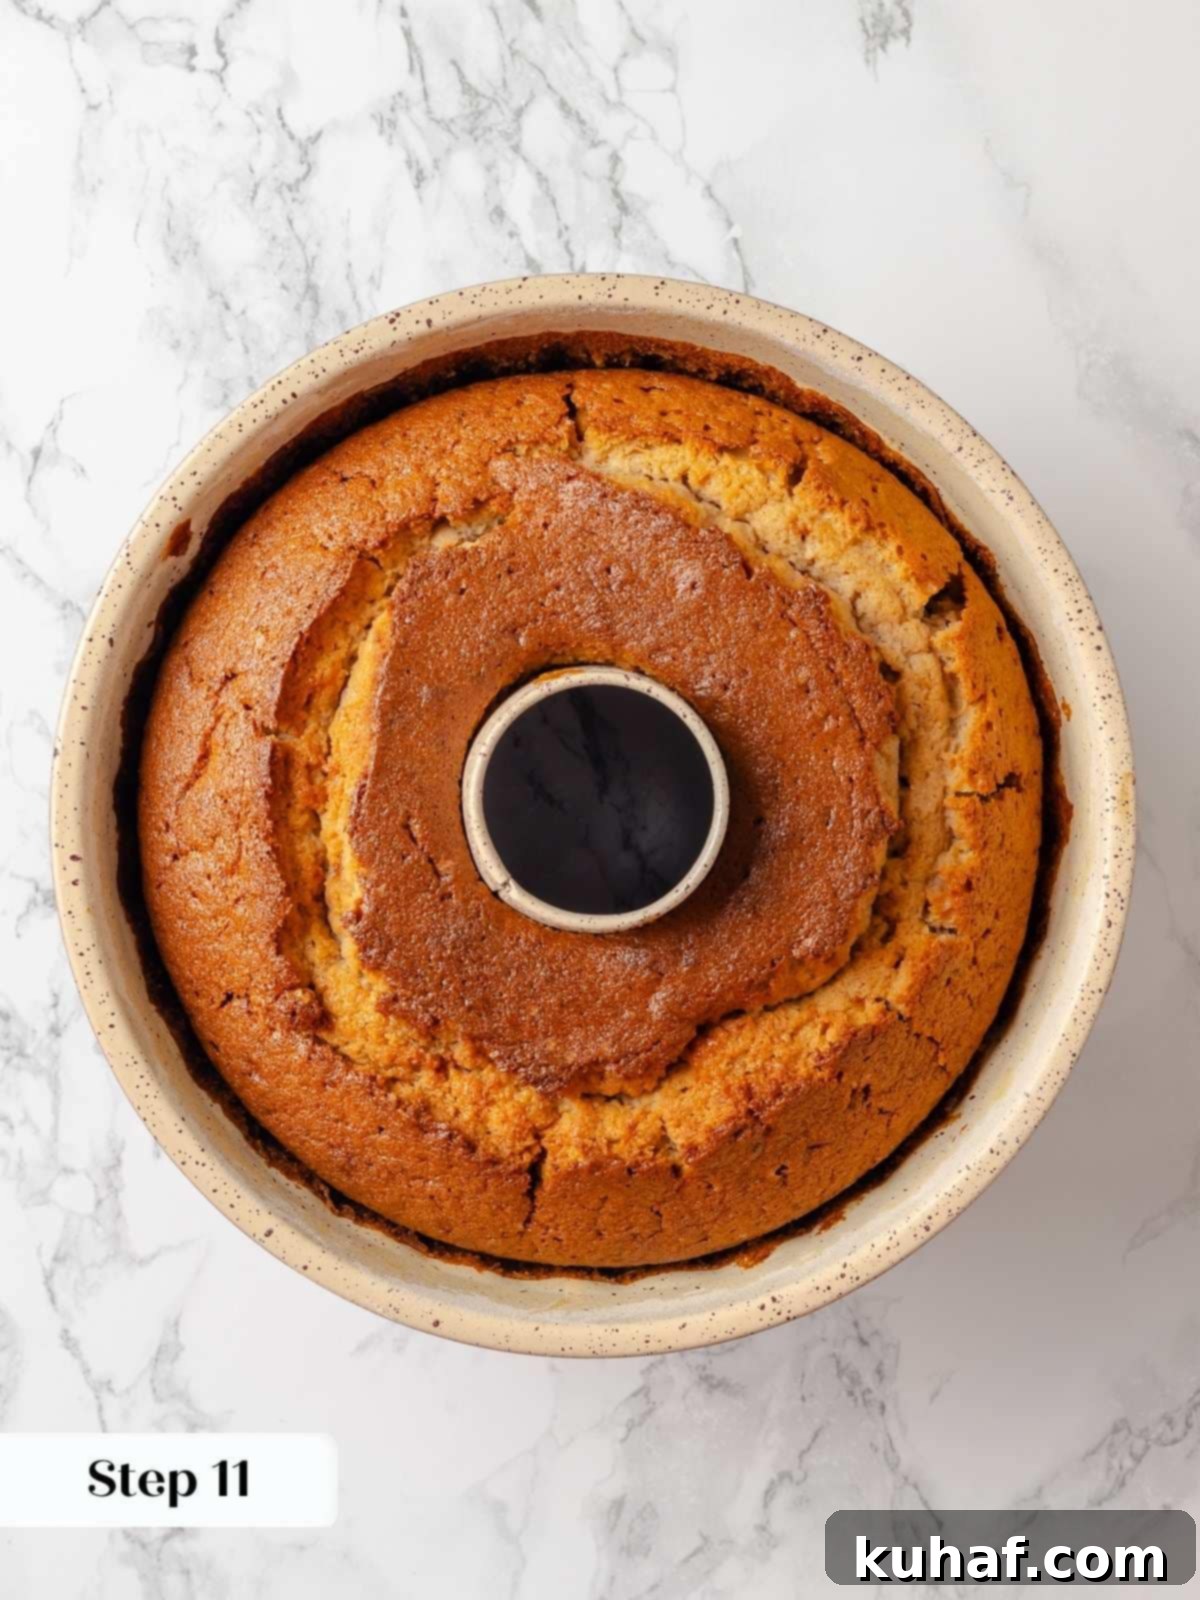
Step 11: Bake to Golden Perfection. Carefully place the bundt pan in your preheated oven. Bake for approximately 60-75 minutes. The exact baking time can vary significantly depending on your specific oven, so begin checking around the 60-minute mark. The cake is done when a wooden skewer or toothpick inserted into the thickest part comes out with only a few moist crumbs clinging to it – no wet batter. A clean toothpick indicates overbaking, which can lead to a dry cake.
Crucial Baking Alert: Do NOT Overbake! Even with generous amounts of butter, sugar, and sour cream, a pound cake can turn dry if overbaked. Keep a close eye on it towards the end of the baking time. A few clinging crumbs mean it’s perfectly moist; a clean toothpick means it’s likely gone too far.
Step 12: Cool and Release. Once baked, remove the cake from the oven and let it cool in its bundt pan on a wire rack for precisely 20 minutes. This cooling period is critical for the cake’s structure to set and prevent sticking. After 20 minutes, if needed, gently loosen the edges of the cake from the pan with a thin paring knife. Place your wire rack over the bundt pan and, with a quick, confident motion, invert the cake onto the rack. Allow the cake to cool completely on the wire rack before dusting with powdered sugar, drenching in the homemade glaze, or slicing directly.
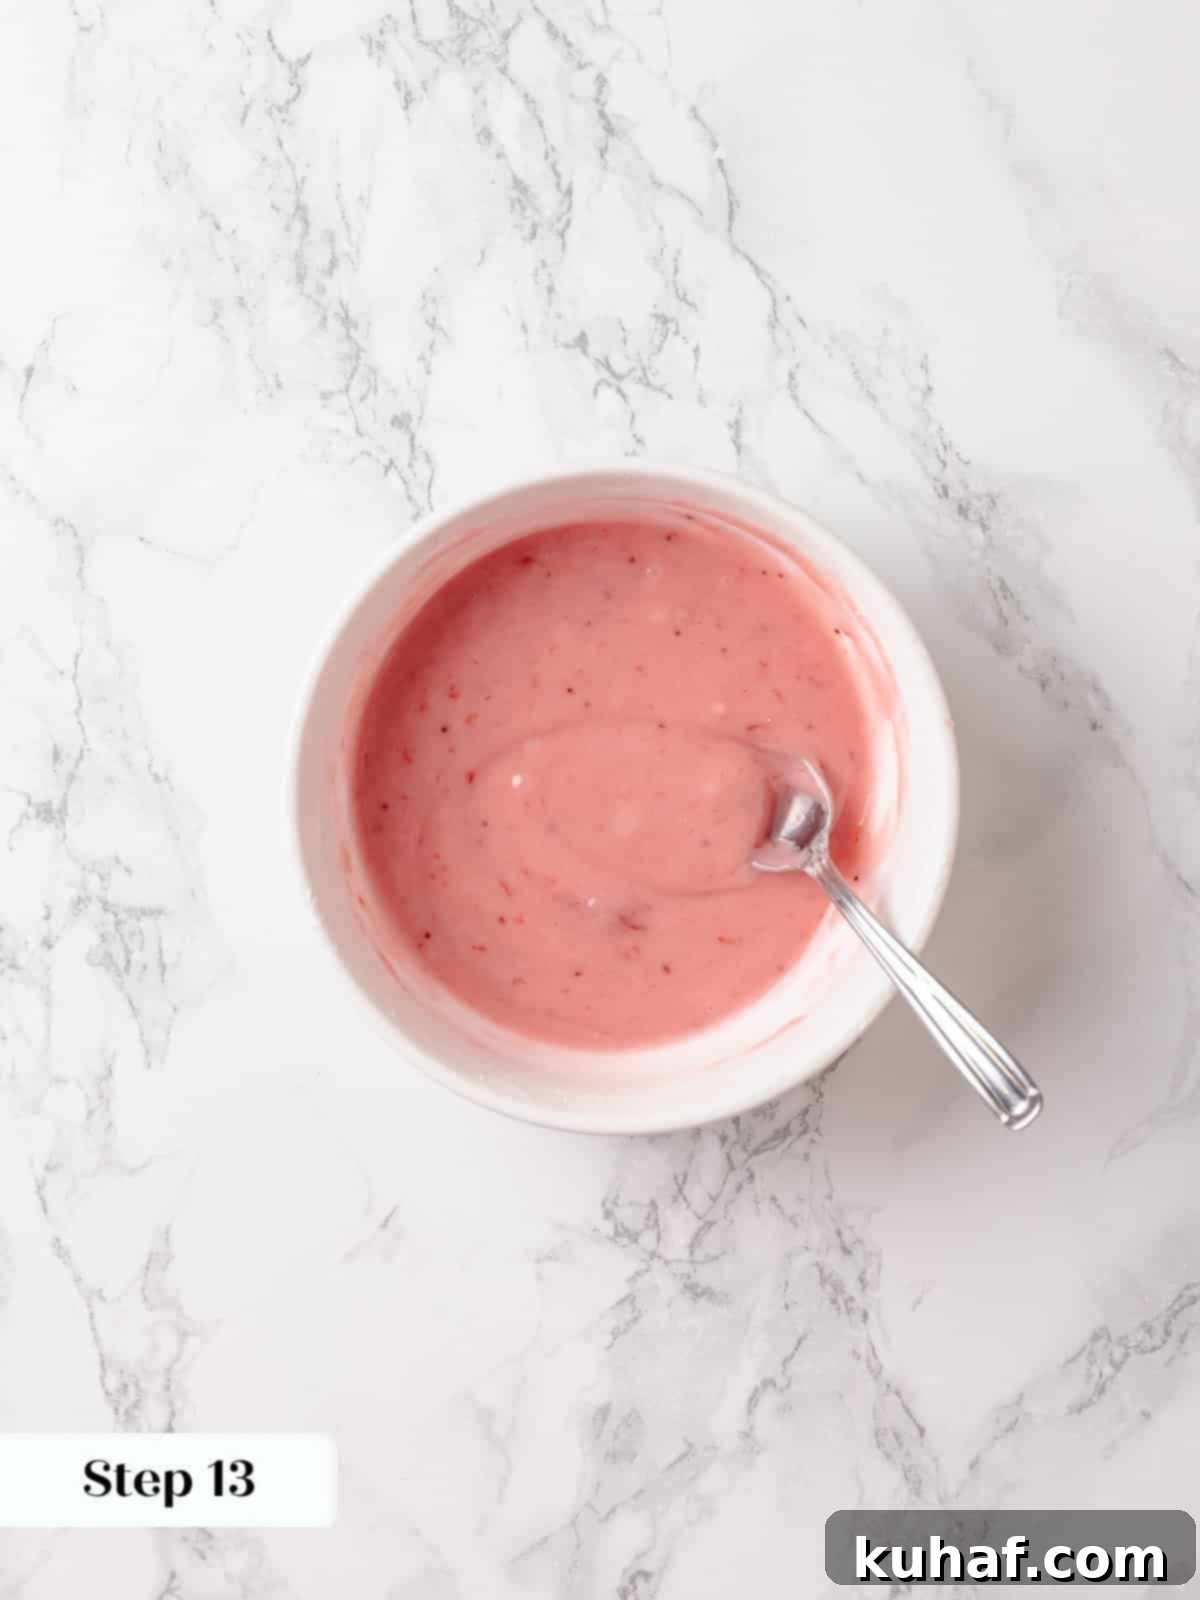
Step 13: Prepare the Strawberry Glaze. To make the delightful strawberry glaze, in a medium bowl, combine the confectioner’s sugar with the 2 tablespoons of strawberry jam you reserved earlier. Gradually add freshly squeezed lemon juice, one teaspoon at a time, whisking continuously until the glaze reaches a smooth, pourable consistency that flows freely from the whisk but isn’t too runny. The lemon juice brightens the strawberry flavor and thins the glaze.
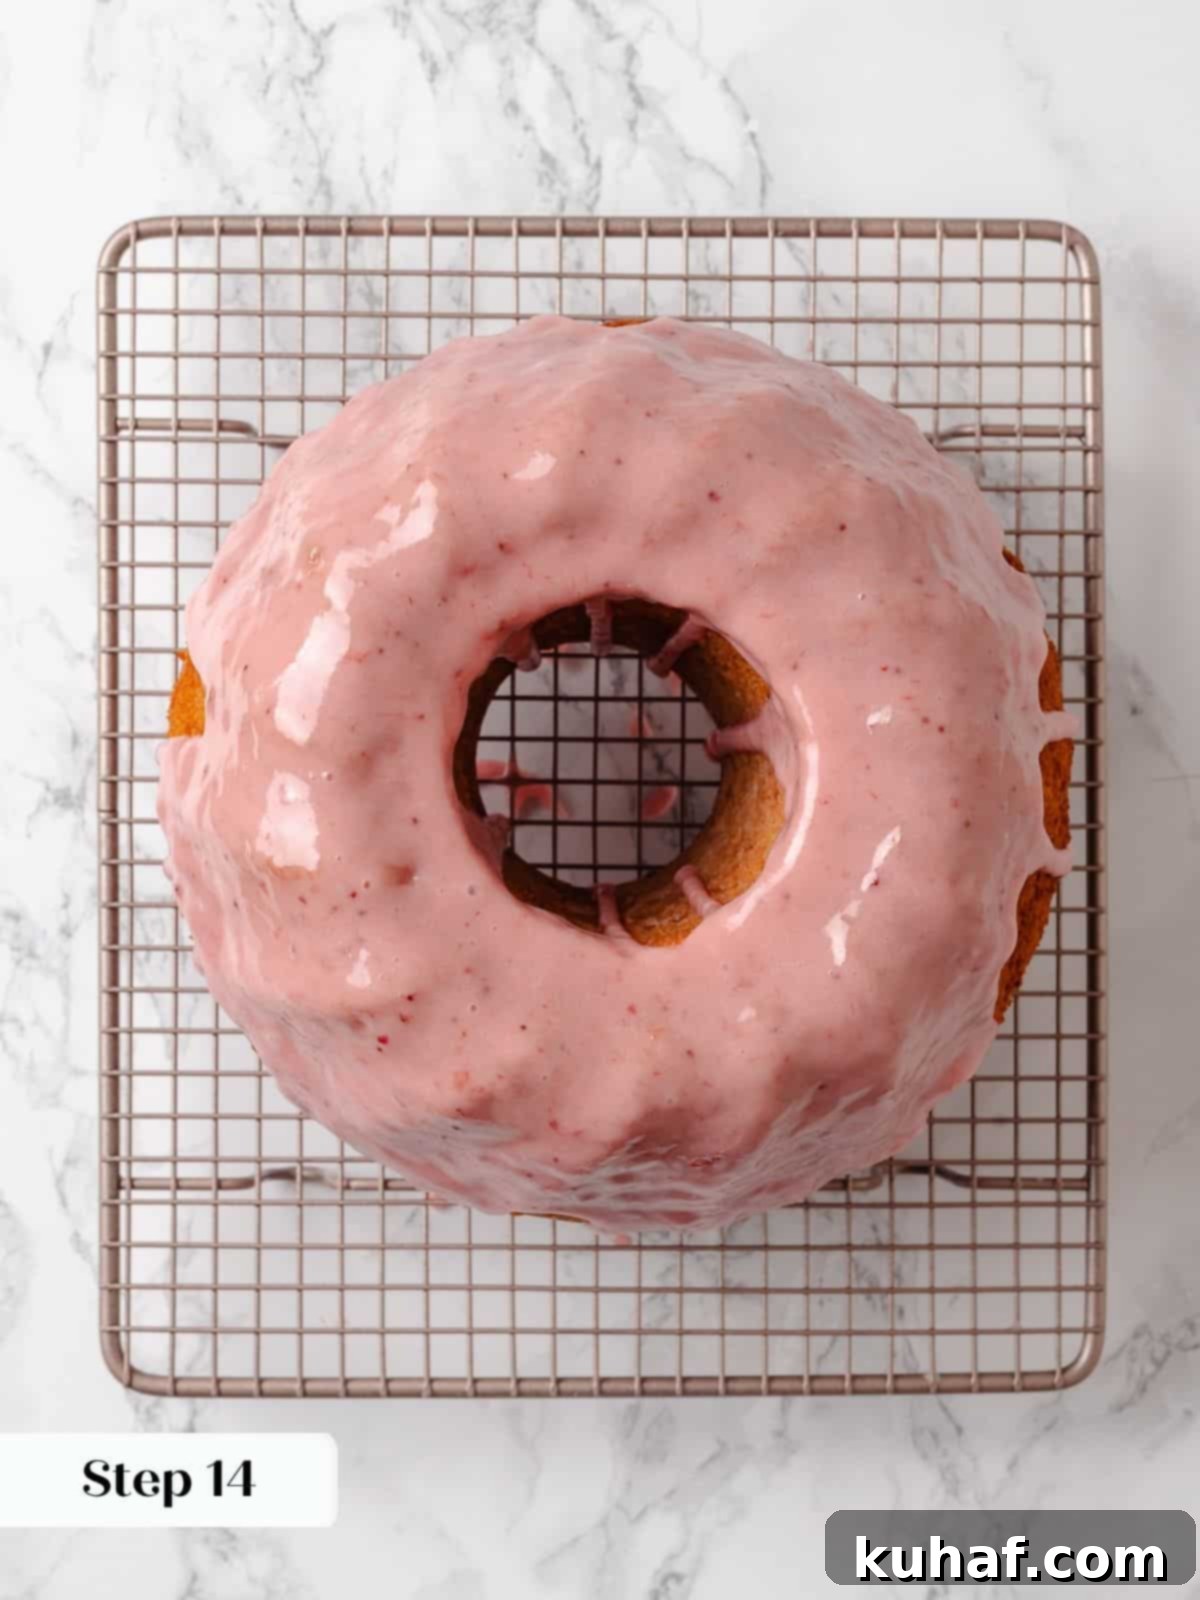
Step 14: Glaze for a Pretty Finish. Adjust the glaze consistency as needed: add more lemon juice to thin it out if it’s too thick, or stir in a bit more confectioner’s sugar if it becomes too thin. For the most visually appealing cake, aim for a slightly thicker glaze. This allows more of that lovely natural pink color to adhere to the cake’s surface, creating a beautiful, vibrant finish without the need for artificial food coloring.
Chef Lindsey’s Pro Tip
The secret to a bundt cake that releases perfectly every single time lies in meticulous pan preparation. Ensure you generously grease and flour every single crevice of your bundt pan. Use a paper towel or pastry brush to spread the shortening or butter, then tap the flour around until every millimeter is coated. Always tap out the excess flour onto a piece of parchment paper or over a sink to prevent a gummy film on your cake. For more intricate bundt pan designs, such as the rose mold used for this chocolate bundt cake, a double flouring technique is recommended to guarantee every nook and cranny is properly coated and ensures a flawless release.
Frequently Asked Questions: Strawberry Pound Cake Edition
Once your strawberry pound cake has completely cooled, it can be stored in an airtight container at room temperature for up to 5 days. For extended freshness, you can refrigerate it for up to 10 days. For long-term storage, the cake freezes beautifully for 2-3 months. To enjoy individual portions, slice the glazed cake, wrap each slice tightly in plastic wrap, and freeze. You can then thaw slices as needed, making them taste as fresh as the day they were baked!
Absolutely! This versatile pound cake batter is suitable for any standard 12-cup bundt pan. It will release beautifully whether your pan has an intricate design or a simpler shape. For a different presentation, you can also divide the batter between two detailed loaf bundt cake pans or two simple loaf pans. Just adjust baking times accordingly, as smaller pans will bake faster.
Yes, you can certainly add fresh strawberries to the batter for an extra burst of fruit in every bite. To prevent them from sinking to the bottom during baking, first cut the strawberries into small pieces and blot them thoroughly dry, similar to how they’re prepared for these strawberry lemon scones. Then, lightly toss the dried strawberry pieces in a tablespoon or two of all-purpose flour before folding them into the batter. However, if you’re using a highly detailed bundt pan, I would advise against adding fresh pieces directly to the batter, as they can sometimes stick to the intricate molds and cause the cake to break upon release.
Indeed! This recipe is adaptable and works well with frozen strawberries, strawberry puree, or even ground freeze-dried strawberries. If using frozen strawberries, thaw them first and drain any excess liquid before making the jam. If you opt for strawberry puree, it’s crucial to cook it down into a thick jam-like consistency first. Adding a thin puree directly to the cake will introduce too much moisture, which can alter the cake’s texture and density. Freeze-dried strawberries, when ground, can also offer an intense strawberry flavor without adding extra moisture.
This delightful strawberry pound cake pairs beautifully with a variety of toppings and sides. Slice it with a serrated knife for clean cuts and serve with a dollop of fresh macerated or simply sliced strawberries, a swirl of homemade lemon whipped cream, a spoonful of tangy lemon curd, or a scoop of slightly warmed vanilla ice cream for an ultimate treat. If you happen to have any leftover pound cake (a rare occurrence!), it’s also a fantastic base for making this refreshing lemon berry trifle!
Oven temperature is critical for pound cake. An oven that runs too hot can lead to a crust that sets too quickly, preventing the cake from rising properly and causing cracks. An oven that runs too cool can result in a dry cake and a sunken center. It’s highly recommended to use an oven thermometer to verify your oven’s actual temperature, as many home ovens can fluctuate by 25-50°F from their set temperature. Calibrating your oven or adjusting the temperature based on a thermometer will ensure a perfectly baked pound cake.
Resist the temptation to open your oven door, especially during the first 45-50 minutes of baking. Opening the oven door releases heat, causing a sudden drop in temperature that can make your pound cake collapse or sink in the middle. The cake needs a consistent, undisturbed environment to properly rise and set its structure. Only open the door to check for doneness after the cake has visibly risen and the baking time is nearing its end.
More Delicious Recommended Recipes
Cake Recipes
Lemon Pound Cake with Strawberry Icing
Lemon Dessert Recipes
Individual Strawberry Shortcake
Cake Recipes
Classic Sour Cream Pound Cake
Summer Dessert Recipes
Refreshing Berry Trifle
If you’ve had the pleasure of trying this incredible strawberry pound cake recipe and absolutely loved it, please take a moment to leave a 🌟 star rating and share your experience in the comments section below. Your feedback truly makes my day and helps others discover this delightful treat!
Homemade Strawberry Pound Cake
Pin Recipe
Comment
Print Recipe
Ingredients
For the quick strawberry jam
- 1 pint fresh strawberries about ¾ lbs
- ½ cup granulated sugar
- 1 tablespoon lemon juice
- 1 tablespoon cornstarch
- 1 tablespoon water
For the pound cake
- 1 ½ cups unsalted butter
- 2 cups granulated sugar
- 6 large eggs
- 3 cups all-purpose flour
- 1 teaspoon kosher salt
- ¼ teaspoon baking soda
- ¾ cup sour cream full fat for the best flavor & texture
- 1 ¼ cups fresh strawberry jam all recipe above less 2 tablespoons for glaze
- 2 teaspoon vanilla extract
For the glaze:
- 1 cup powdered sugar
- 2 tablespoons strawberry jam reserved from above
- lemon juice as needed
Instructions
Make the easy strawberry jam:
-
Wash, dry, and dice the strawberries.
-
Combine strawberries, sugar, and lemon juice in a medium saucepan. Bring to a boil over medium heat, then reduce heat to low and simmer, stirring occasionally, for about 10 minutes. The strawberries should release their juices and break down.
-
In a small bowl, whisk together the cornstarch and water until smooth. Slowly pour the mixture into the cooking jam while whisking constantly. Continue boiling for 1 minute, then pour into a dish or bowl to cool. Refrigerate for 1 hour to overnight.
-
Prep your Pan: Lightly spray a 12-cup bundt pan with cooking spray and add a little flour to the bottom. Tap the flour around until every inch is covered. Tap out the extra flour onto a piece of parchment on the counter or over a sink. You should be left with a perfectly floured pan.
Make the cake:
-
Preheat the oven to 325°F convection.
-
Whisk together the flour, salt, and baking soda in a large bowl. Set aside.
-
Whisk together the sour cream, quick strawberry jam, and vanilla extract.
-
Beat the butter and sugar in the bowl of a stand mixer fitted with the paddle attachment until a thick paste forms.
-
Beat in the eggs one at a time, scraping down the sides of the bowl after every two eggs. Make sure you scrape the bottom as well, as butter likes to hang out at the bottom of the mixer bowl.
-
On a low speed, alternately add the flour and sour cream mixtures.
-
I like to finish folding the last of the flour in by hand with a silicone spatula. You should have a silky, smooth batter. Pour into the prepared pan and smooth the top.
Bake and cool the cake:
-
Bake in the preheated oven until a toothpick comes out with a few clinging crumbs. Depending on your oven, this will take about 60-75 minutes. Mine baked for 65 minutes.
-
Let it COOL for 20 minutes, then loosen the edges with a paring knife, if needed. Turn it out onto a wire rack. Allow to cool completely. Dust with powdered sugar, drown in glaze, or just slice it right up!
-
To make the strawberry glaze, whisk the reserved jam into the confectioner’s sugar and add lemon juice until it flows freely from the whisk.
-
Add more lemon to thin it out, or if it gets too thin, just add a bit more sugar until it looks right. For the prettiest cake, keep the glaze thicker so that more of the pink color stays on the cake. Since we didn’t add any food dye, this pop of color is welcome!
Notes
Flavor & Color Enhancements – For an even more vibrant pink hue, you can add a drop or two of pink or red gel food coloring to the cake batter or glaze. Gel food dyes are recommended as they are highly concentrated and introduce less liquid, resulting in a more intense color without affecting consistency.
Baking Precaution – It’s crucial to ensure there is at least an inch of space between the top of your cake batter and the rim of your bundt pan. Filling the pan too high can lead to an unfortunate overflow situation in your oven, creating a messy cleanup and a less-than-perfect cake.
Storage Best Practices—To maintain its freshness and delightful moisture, cooled strawberry pound cake should be stored in an airtight container. It can be kept at room temperature for up to 5 days, refrigerated for up to 10 days, or frozen for an impressive 2-3 months, making it a perfect make-ahead dessert.
Nutrition
Before You Go
Thank you for exploring this detailed recipe for a truly easy and delicious homemade strawberry pound cake. We hope you enjoyed preparing and, more importantly, tasting this delightful spring and summer treat. Don’t forget to browse our other fantastic spring dessert recipes, including this simple yet elegant lemon posset or our comforting mixed berry crumble recipe! Happy baking!
