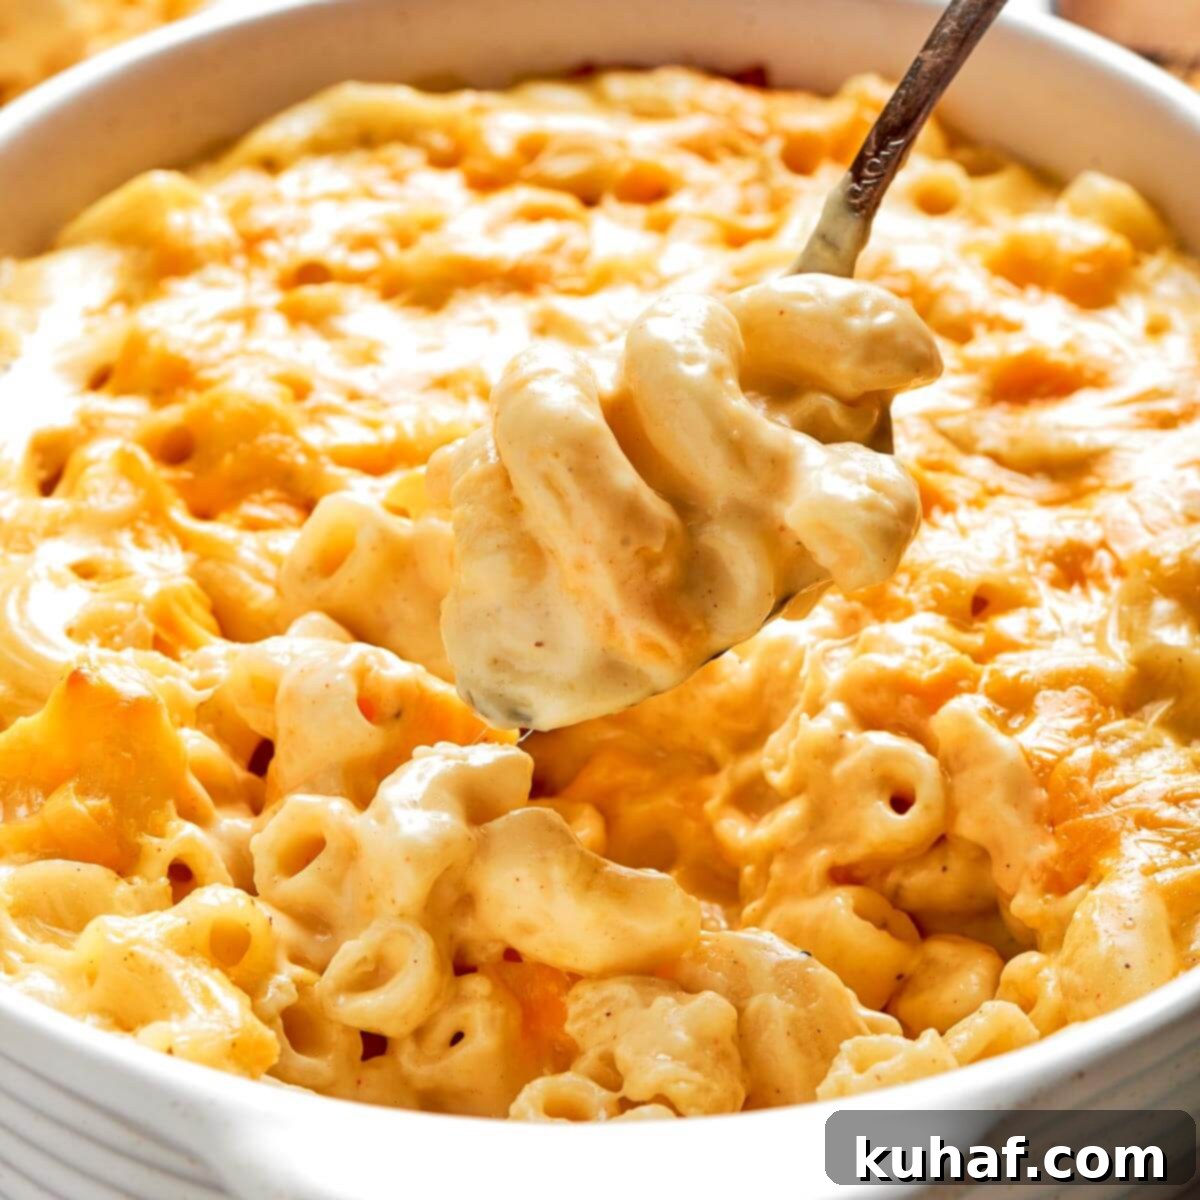
The Ultimate Creamy & Cheesy Baked Mac and Cheese Recipe (Dad’s Secret Revealed!)
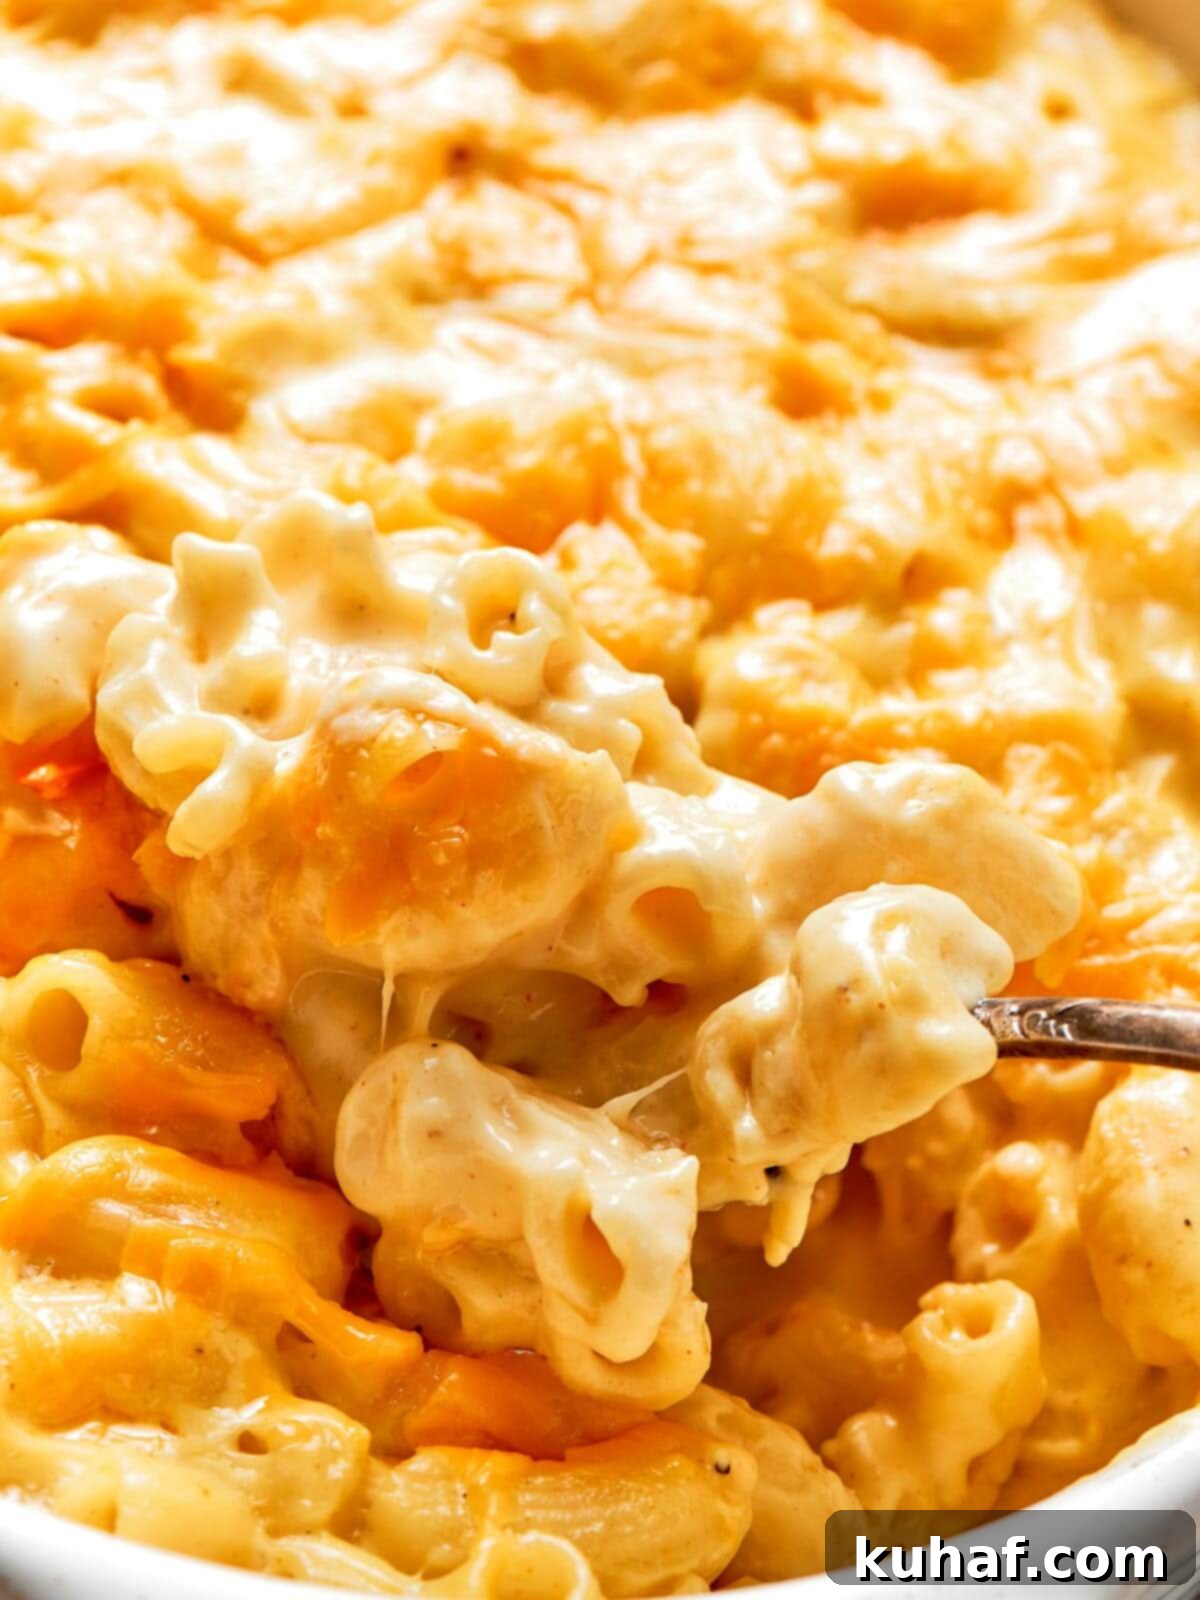
This easy baked mac and cheese recipe isn’t just a meal; it’s a journey back to childhood, filled with warmth and incredible flavor. It’s a treasured family classic, directly inspired by my Dad’s legendary secret recipe. For a quarter of a century, the secret to its irresistible taste remained locked away, a culinary mystery that only fueled my childhood obsession. Finally, after 25 years, he revealed the magic ingredient! Taking that priceless knowledge, I’ve elevated this dish further, making it even creamier, richer, and undeniably cheesier than ever before. Prepare for a mac and cheese experience that will become an instant family favorite.
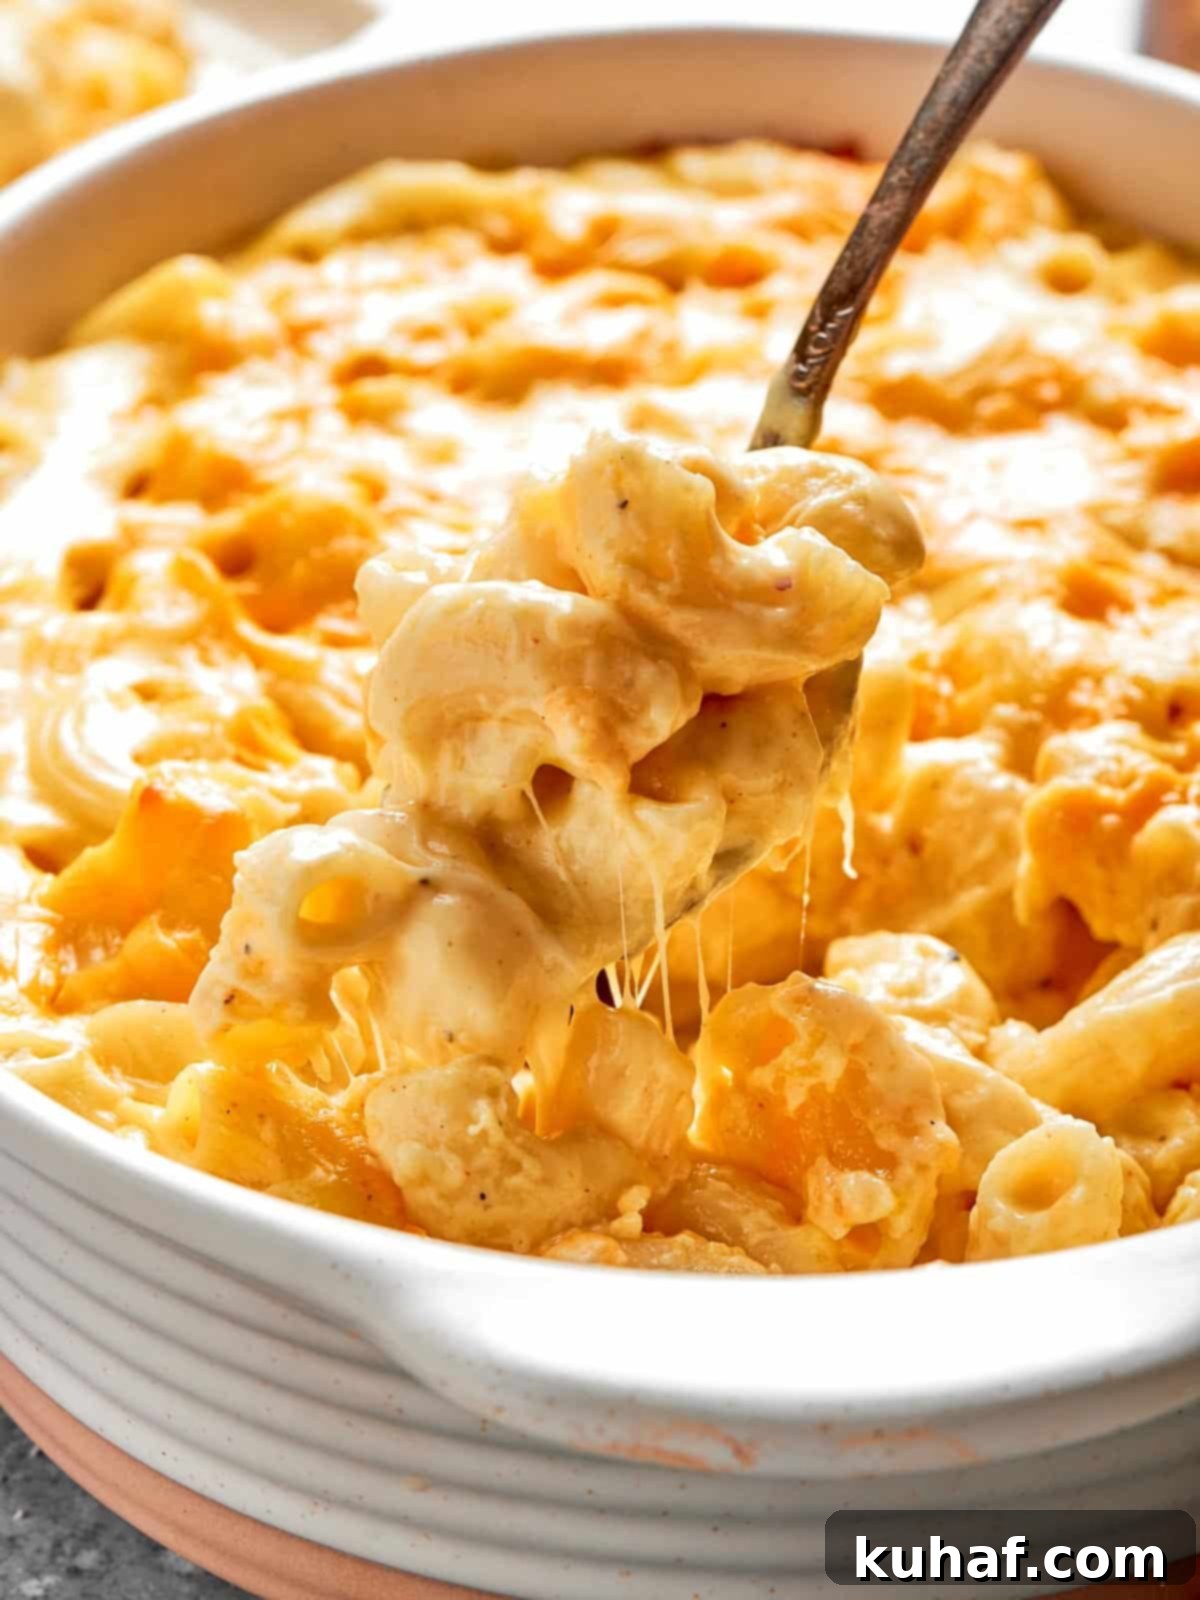
Growing up in our family, the birthday person, whether child or adult, was granted the ultimate culinary wish: choosing their dinner. Without fail, the number one request, year after year, was Dad’s Macaroni and Cheese. This wasn’t just any recipe; it was a legacy. He inherited the technique and the love for this dish from his own mother, making it a true generational masterpiece. I’ve since added my own professional chef’s touch, infusing it with extra pizzazz to ensure it’s not only incredibly smooth and creamy but also surprisingly easy to prepare. And yes, Dad’s secret ingredient is what truly makes this mac and cheese taste exceptionally cheesy, bringing out a depth of flavor you won’t find anywhere else. It’s an epic dish, guaranteed to impress!
There’s arguably no dish as comforting and satisfying as homemade mac and cheese. For many, including myself, it stands proudly as a complete meal in its own right – a warm hug in a bowl. However, if you’re looking to enhance that comfort factor or create a more balanced spread, this mac and cheese pairs beautifully with a variety of side dishes. Imagine serving it alongside the best buttermilk biscuits, whose fluffy texture and rich flavor would perfectly complement the cheesy goodness. To add a fresh, earthy balance, I frequently serve it with savory roasted brussels sprouts with leeks or aromatic rosemary lemon roasted cauliflower. These vegetable additions not only add vibrant color but also provide a delightful contrast to the rich, creamy pasta, elevating the entire dining experience.
Table of Contents
- Why You’ll Adore This Creamy Mac and Cheese Recipe
- Professional Tips for Perfect Baked Macaroni and Cheese
- Essential Ingredients for the Best Baked Mac and Cheese
- Delicious Variations to Customize Your Mac and Cheese
- Serving Suggestions for Your Mac and Cheese Feast
- Step-by-Step: How to Make Irresistible Baked Mac and Cheese
- Chef Lindsey’s Expert Recipe Tip
- Frequently Asked Questions About Baked Mac and Cheese
- Easy Baked Mac and Cheese Recipe
- Before You Go: More Chef-Tested Recipes
Why You’ll Adore This Creamy Mac and Cheese Recipe:
- Dad’s Secret Ingredient, Finally Revealed! This recipe holds a special place in my heart, and it’s all thanks to my Dad. For two and a half decades, he kept the secret ingredient under wraps, making his mac and cheese truly addictive. That secret? It’s dry mustard! While it might seem unconventional, dry mustard doesn’t make the dish taste like mustard. Instead, it subtly enhances and deepens the savory, sharp notes of cheddar cheese, creating a more complex and incredibly cheesy flavor profile that will have everyone guessing.
- A Perfectly Smooth & Silky Roux for Unrivaled Creaminess: Say goodbye to grainy, clumpy cheese sauces! The foundation of this extraordinary mac and cheese is a meticulously crafted roux. Our step-by-step instructions make creating this creamy base incredibly simple, even for novice cooks. This technique guarantees a super smooth, rich, and lusciously cheesy sauce that perfectly coats every noodle, providing that irresistible melt-in-your-mouth texture that defines truly exceptional mac and cheese.
- Generous Sauce Means More to Love (and Share!): We believe in an abundance of cheesy goodness! This recipe yields a wonderfully generous amount of sauce, offering fantastic flexibility. If you find yourself with unexpected guests or simply want to savor this delightful dish for a little longer, you can easily add an extra ½ cup of pasta shells or macaroni to the base. The sauce is robust enough to accommodate the additional pasta without sacrificing any of that signature cheesy flavor or luxurious creaminess. Alternatively, for smaller gatherings, the recipe can be easily halved to serve four perfectly.
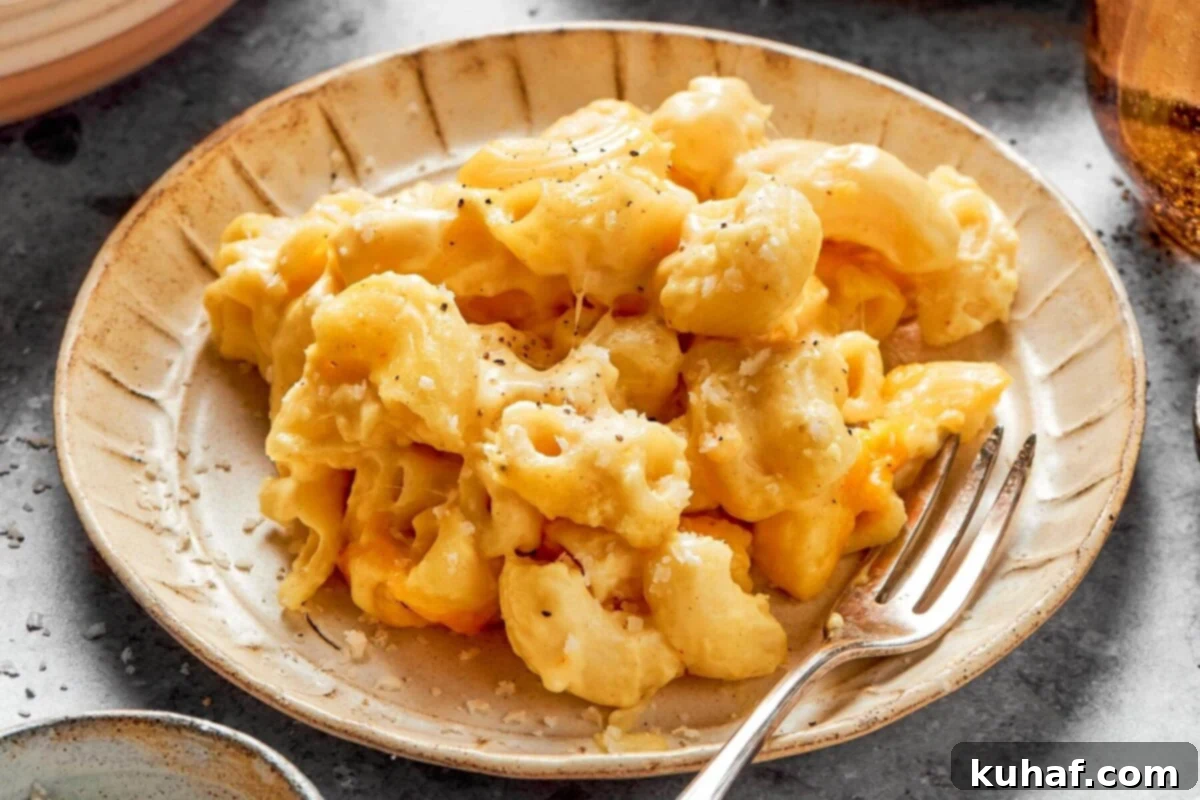
Professional Tips for Perfect Baked Macaroni and Cheese:
- The Foundation of Flavor: Choose the Best Sharp Cheddar: The quality of your cheese directly impacts the final taste of your mac and cheese. This isn’t a dish where you can skimp on good cheese! If you don’t enjoy the flavor of the cheddar straight off the block, you won’t magically love it in the finished dish. Invest in a high-quality, sharp cheddar that you genuinely enjoy eating on its own. Freshly grating your cheese from a block is also crucial; pre-shredded cheeses often contain anti-caking agents that can hinder smooth melting, leading to a less creamy, slightly gritty sauce.
- Master the Bake: Avoid Overbaking for Ultimate Gooeyness: While the aroma of baking mac and cheese is divine, patience is key. It is, in fact, possible to overbake macaroni and cheese. Baking for too long causes excessive moisture evaporation from the cheese sauce, which can result in a dry, stringy, or even crumbly texture instead of that coveted gooey, stretchy cheese pull. Aim for a bubbling center and a golden-brown top, typically within the recommended baking time. The flavor will still be good if slightly overbaked, but the luxurious texture will be compromised.
- Achieve Al Dente Perfection: The Noodle Never Lies: The secret to perfectly textured pasta in baked mac and cheese lies in cooking your noodles “al dente” – firm to the bite, and no more. Since the hot pasta will be combined with a hot sauce and then continue to cook slightly during the baking process, starting with al dente pasta prevents it from becoming mushy or soggy. Nobody wants a soft, lifeless noodle in their mac and cheese. A slight chewiness ensures your mac and cheese maintains structural integrity and a pleasant mouthfeel from the first bite to the last.
Essential Ingredients for the Best Baked Mac and Cheese:
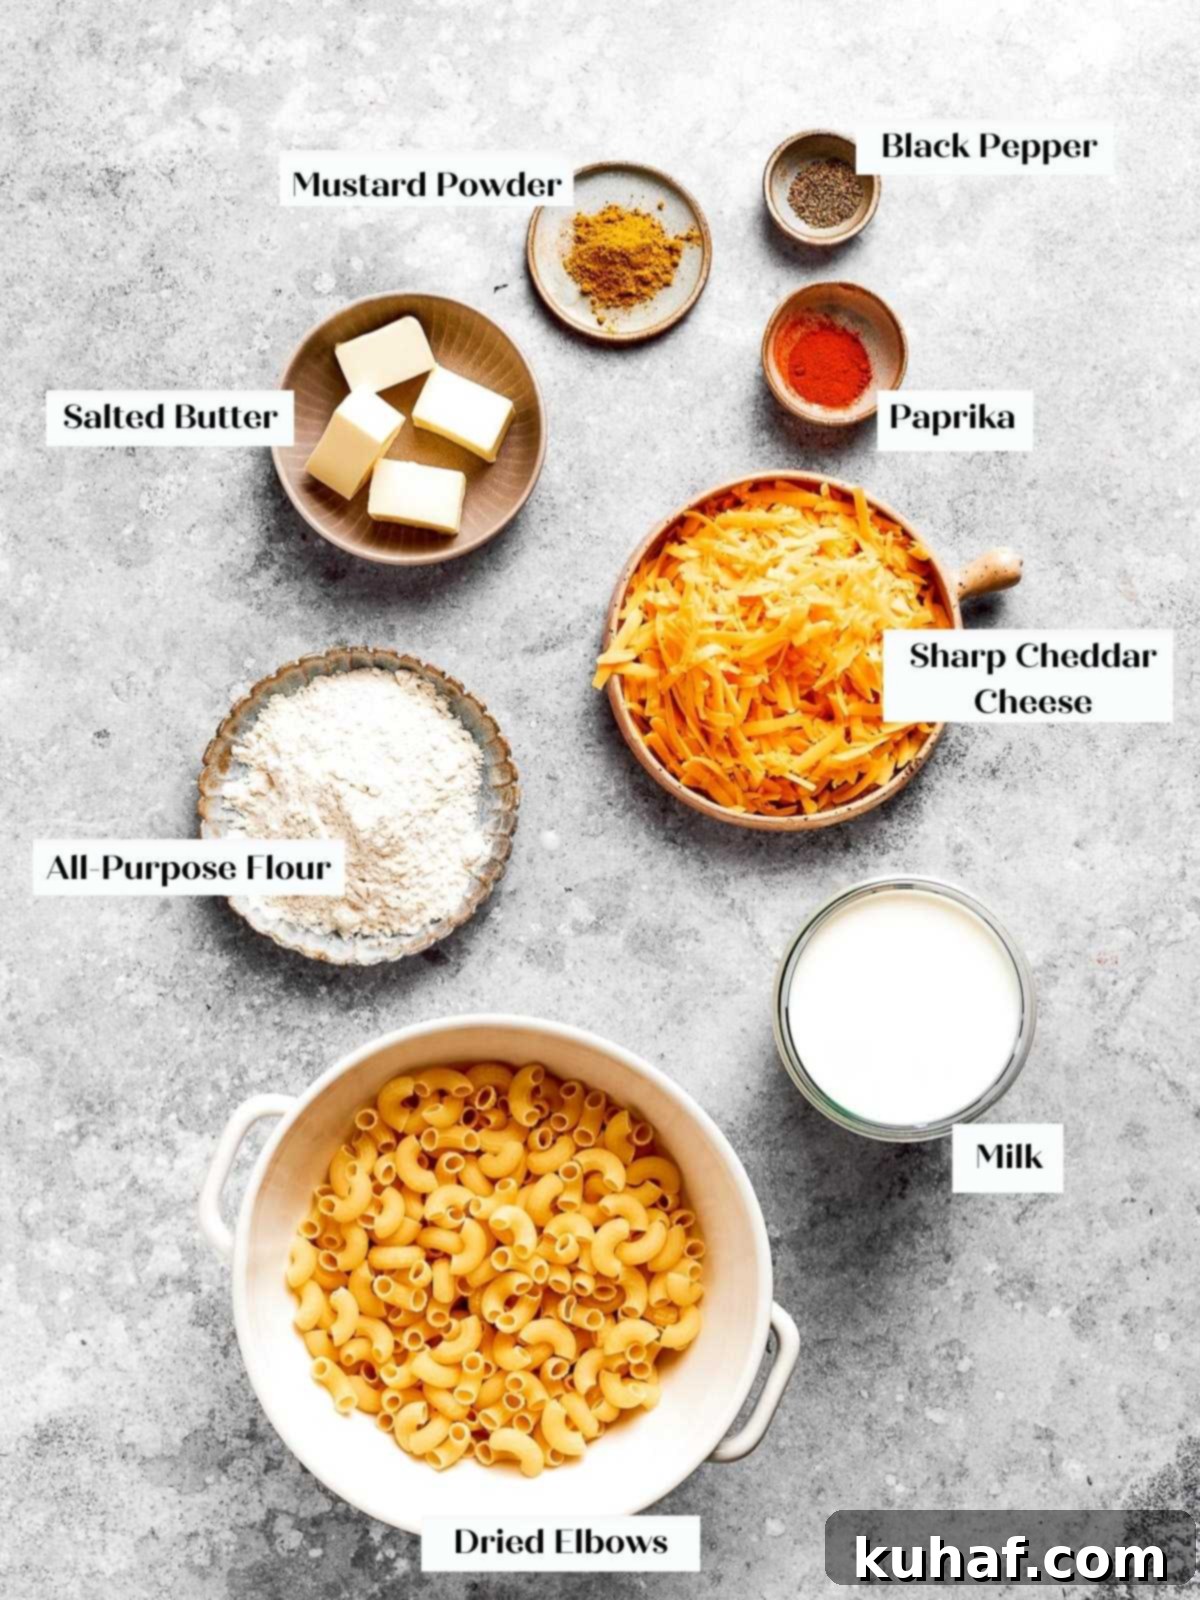
- Elbow Macaroni or Shells: The classic choice for mac and cheese, these shapes are ideal for capturing and holding the rich sauce. Whether you opt for traditional elbow macaroni or playful pasta shells, ensure you measure them dry for the most accurate quantity. This consistency is key to achieving the perfect pasta-to-sauce ratio.
- Butter: I consistently use salted butter in this recipe to build a flavorful roux. If your preference is unsalted butter, simply add an additional ½ teaspoon of salt when you’re making the roux to ensure the seasoning is balanced. Butter provides richness and forms the essential base for our creamy cheese sauce.
- Flour: For the roux, plain or all-purpose flour is the best choice, creating a smooth and stable thickening agent. In a pinch, bread flour can also be used, though it will thicken the sauce more quickly than all-purpose flour due to its higher protein content.
- Unsmoked or Smoked Paprika: A touch of paprika adds a beautiful golden hue and a subtle depth of flavor to the cheese sauce. You can use either unsmoked for a milder taste or smoked paprika for an extra layer of complexity and warmth.
- Black Pepper: Freshly ground black pepper is essential for seasoning, adding a gentle bite and aromatic finish that complements the richness of the cheese. Adjust to your personal taste.
- Milk: For the ultimate creamy, decadent mac and cheese, I highly recommend using whole milk. Its higher fat content contributes significantly to a richer, smoother sauce. While 2% milk can be used, expect a slightly less rich and creamy result. For an undeniably luxurious and truly decadent experience, consider a blend of 3 cups whole milk and 1 cup heavy cream – pure indulgence!
- Dry Mustard: This is Dad’s secret ingredient, the magic touch that elevates this mac and cheese to legendary status! Dry mustard powder, readily available in the spice aisle of most grocery stores, doesn’t impart a strong mustard flavor. Instead, it acts as a flavor enhancer, amplifying the natural cheesiness of the cheddar and adding an incredible depth that will keep everyone coming back for more.
- Sharp Cheddar Cheese: You’ll need 1 ½ lbs of sharp cheddar before shredding. This is arguably the most crucial ingredient. For the best homemade mac and cheese, I strongly advise against buying pre-shredded cheese. The anti-caking agents in pre-shredded varieties can prevent the cheese from melting smoothly, resulting in a less cohesive and less creamy sauce. Take the extra minute to grate the cheddar cheese yourself from a block; it makes a remarkable difference in the texture and quality of your final cheese sauce.
- Kosher Salt: Used primarily for seasoning the pasta water and adjusting the final sauce. Remember, if you use salted butter and generously salt your pasta water, you might not need much additional salt in the sauce itself.
Please refer to the recipe card below for complete information on ingredients and precise quantities for optimal results.
Delicious Variations to Customize Your Mac and Cheese:
- Quick Stovetop Mac and Cheese: For those times when you crave instant gratification, you can absolutely skip the baking step and enjoy a delightful stovetop mac and cheese. If you choose this method, there’s no need to reserve cheese for a topping; simply combine all the ingredients in the saucepan and serve it immediately while it’s wonderfully hot and gooey. It’s a faster path to comfort!
- Vary Your Cheeses for a Gourmet Twist: While sharp cheddar is the star, don’t hesitate to experiment with a blend of cheeses to create a truly unique flavor profile. Before mixing, always taste each cheese individually to understand its contribution. I adore a sophisticated mix of Gruyère for its nutty notes, extra sharp cheddar for its robust tang, and Comté for its sweet, earthy undertones. Swiss cheese can also be a fantastic addition if you enjoy its mild, slightly sweet flavor. For a more adventurous take, consider a smoked mac and cheese by incorporating smoked Gouda or even a touch of smoked paprika. Other excellent melting cheeses include Colby, Monterey Jack, Fontina, and even a rich, creamy Gouda.
- Make it Meaty and Hearty: For a more substantial, protein-packed meal, readily incorporate cooked meats. I once wowed my all-male chef colleagues by adding sliced hot dogs to hotel pans of mac and cheese for our family meal – they thought I walked on water! This trick works just as well with shredded chicken, savory pulled pork, or even ground beef. If you’re a fan of bacon, simply cook and crumble crispy bacon, then stir it into the mac and cheese right before serving or sprinkle it over the top after baking for a smoky crunch.
- Go a Little Healthier (Yet Still Delicious!): You don’t have to sacrifice flavor to make this dish a bit lighter. I love making this recipe with protein-rich pasta, which adds a healthy boost and keeps you feeling fuller for longer. Pairing it with a generous serving of roasted vegetables – think broccoli, bell peppers, or even sweet potatoes – is a fantastic way to incorporate more nutrients and fiber, turning this comfort food into a more balanced and wholesome meal.
- Add Breadcrumbs for a Crispy Topping: For an extra layer of texture and a golden, crunchy crust, breadcrumbs are a fantastic addition. Rumor has it that my Mom’s secret touch involved adding them on top! To prepare, simply melt 2 tablespoons of butter and mix it with ½ cup of your favorite breadcrumbs (panko works wonderfully for extra crispiness). Spread this mixture evenly over the top of your mac and cheese just before baking. It creates a delightful contrast to the creamy interior.
Serving Suggestions for Your Mac and Cheese Feast:
Baked mac and cheese is so rich and satisfying that it can easily be the star of a meatless main dish. When served with hearty vegetable side dishes like roasted acorn squash slices or a vibrant mixed green salad, it becomes a wonderfully fulfilling meal. The sharp cheddar in this recipe also creates an incredible flavor synergy with classic BBQ dishes. Imagine it as a perfect accompaniment to a smoky BBQ chicken recipe, or piled high alongside slow cooker barbecue pulled chicken sandwiches, or even alongside flavorful smoky BBQ veggie burgers. Alternatively, simply add a robust and filling salad recipe to your table, and your complete, satisfying meal is effortlessly set. Don’t forget a side of crusty bread to scoop up any leftover sauce!
Step-by-Step: How to Make Irresistible Baked Mac and Cheese
Follow these detailed instructions to achieve the perfect creamy, cheesy macaroni and cheese every single time. For precise measurements and further details, please consult the full recipe card provided below.
Step 1: Prepare Your Baking Dish and Oven. Begin by preheating your oven to 375°F (without the fan setting, if your oven has one, to prevent uneven baking). Lightly butter a 2.5-liter glass or Pyrex baking dish or a similarly sized casserole dish. While buttering helps prevent sticking and adds a little extra flavor, if you forget, don’t fret – it’s not a deal-breaker! Life (and mac and cheese) will go on.
Step 2: Boil and Salt Your Pasta Water. In a large saucepan or stockpot, bring 2 quarts (approximately 8 cups) of water to a rolling boil. Once boiling, add a generous amount of salt – seriously, don’t be shy! The water should taste noticeably salty, much like the ocean. This crucial step seasons the pasta from the inside out, making your final dish much more flavorful.
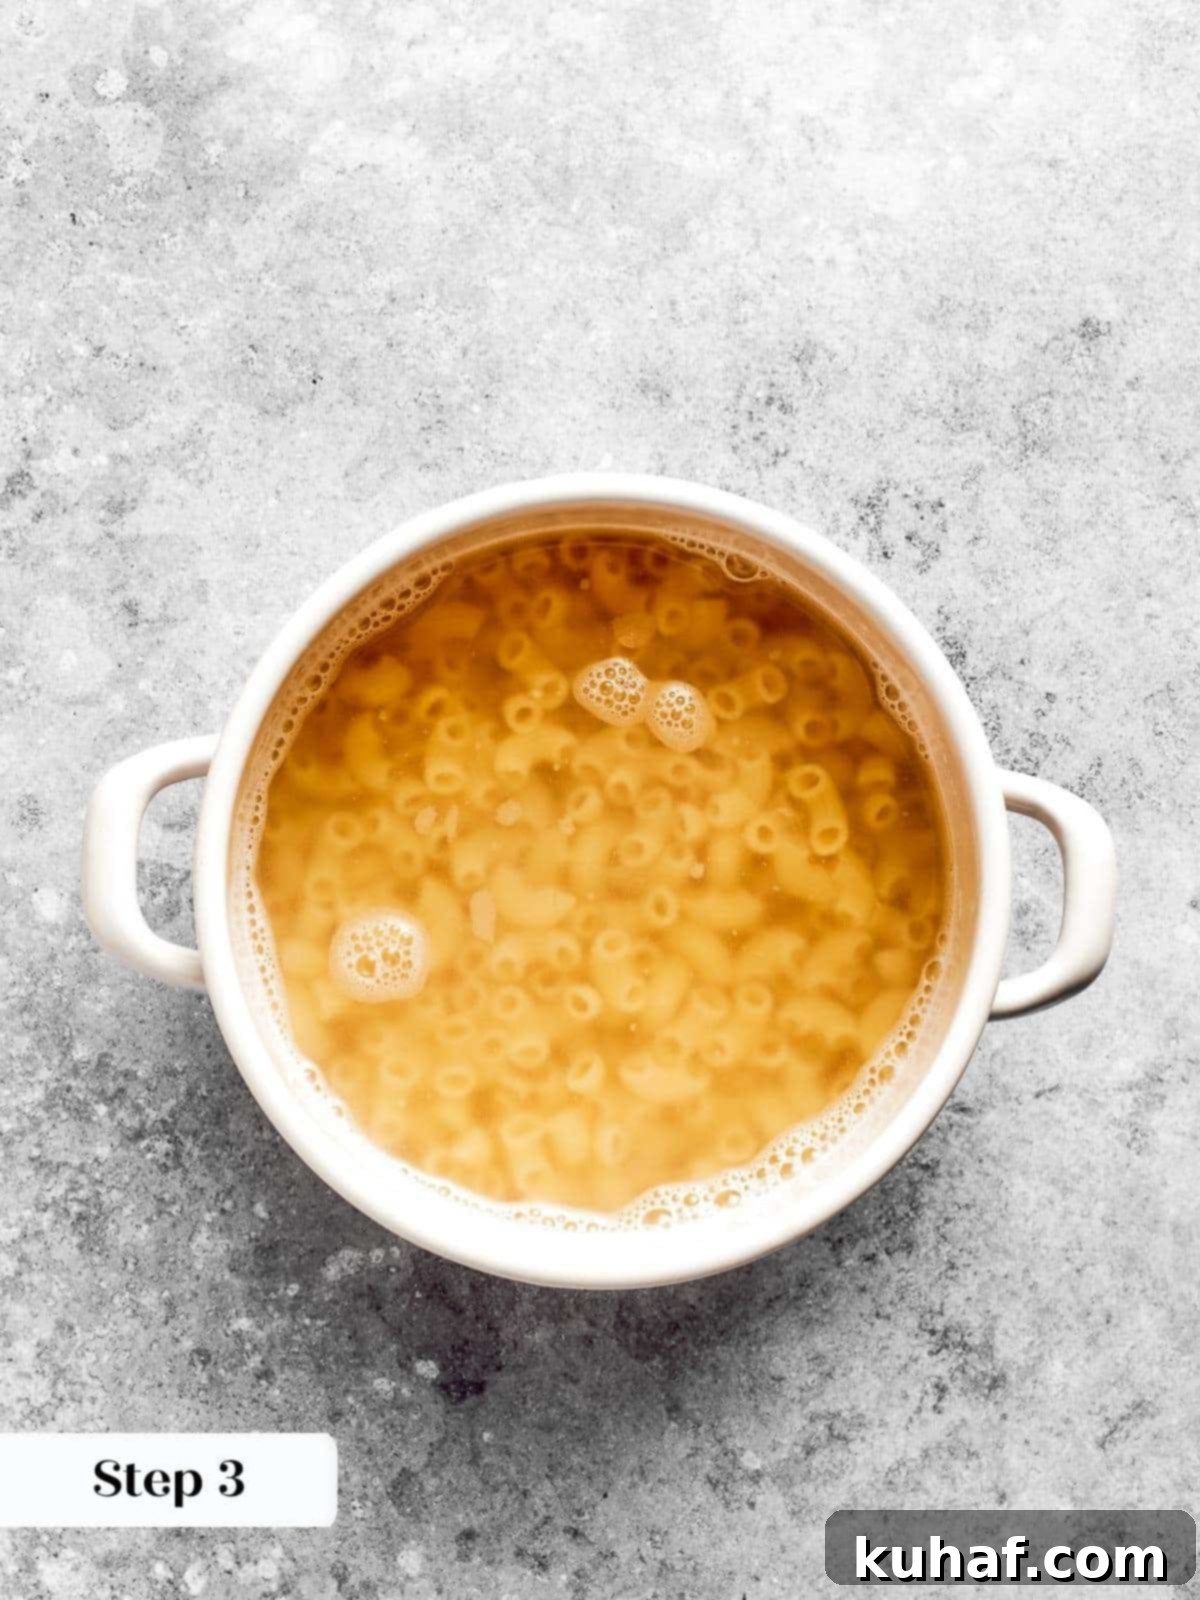
Step 3: Cook the Pasta to Perfection. Add the elbow macaroni (or shells) to the vigorously boiling salted water. Stir immediately and frequently to prevent the pasta from sticking together. Boil over medium heat until the pasta is “al dente” (firm to the bite) or, as I prefer for baked mac and cheese, completely cooked through. Since the pasta only bakes for 15-20 minutes, fully cooking it beforehand ensures no undercooked bits in your final creamy creation. Once cooked, drain the pasta thoroughly using a colander or strainer and set it aside.
Chef’s Timing Tip: If you’re confident in your multitasking skills, you can begin preparing the cheese sauce simultaneously with the pasta cooking. Just be mindful that you’ll need a moment to drain the pasta. The only critical time when you *cannot* pause to drain pasta is when you are actively adding milk to the roux; ensure that part of the process has your full attention. You can either drain the pasta before you start the sauce, or once the roux is ready for the milk, but before you begin adding it!
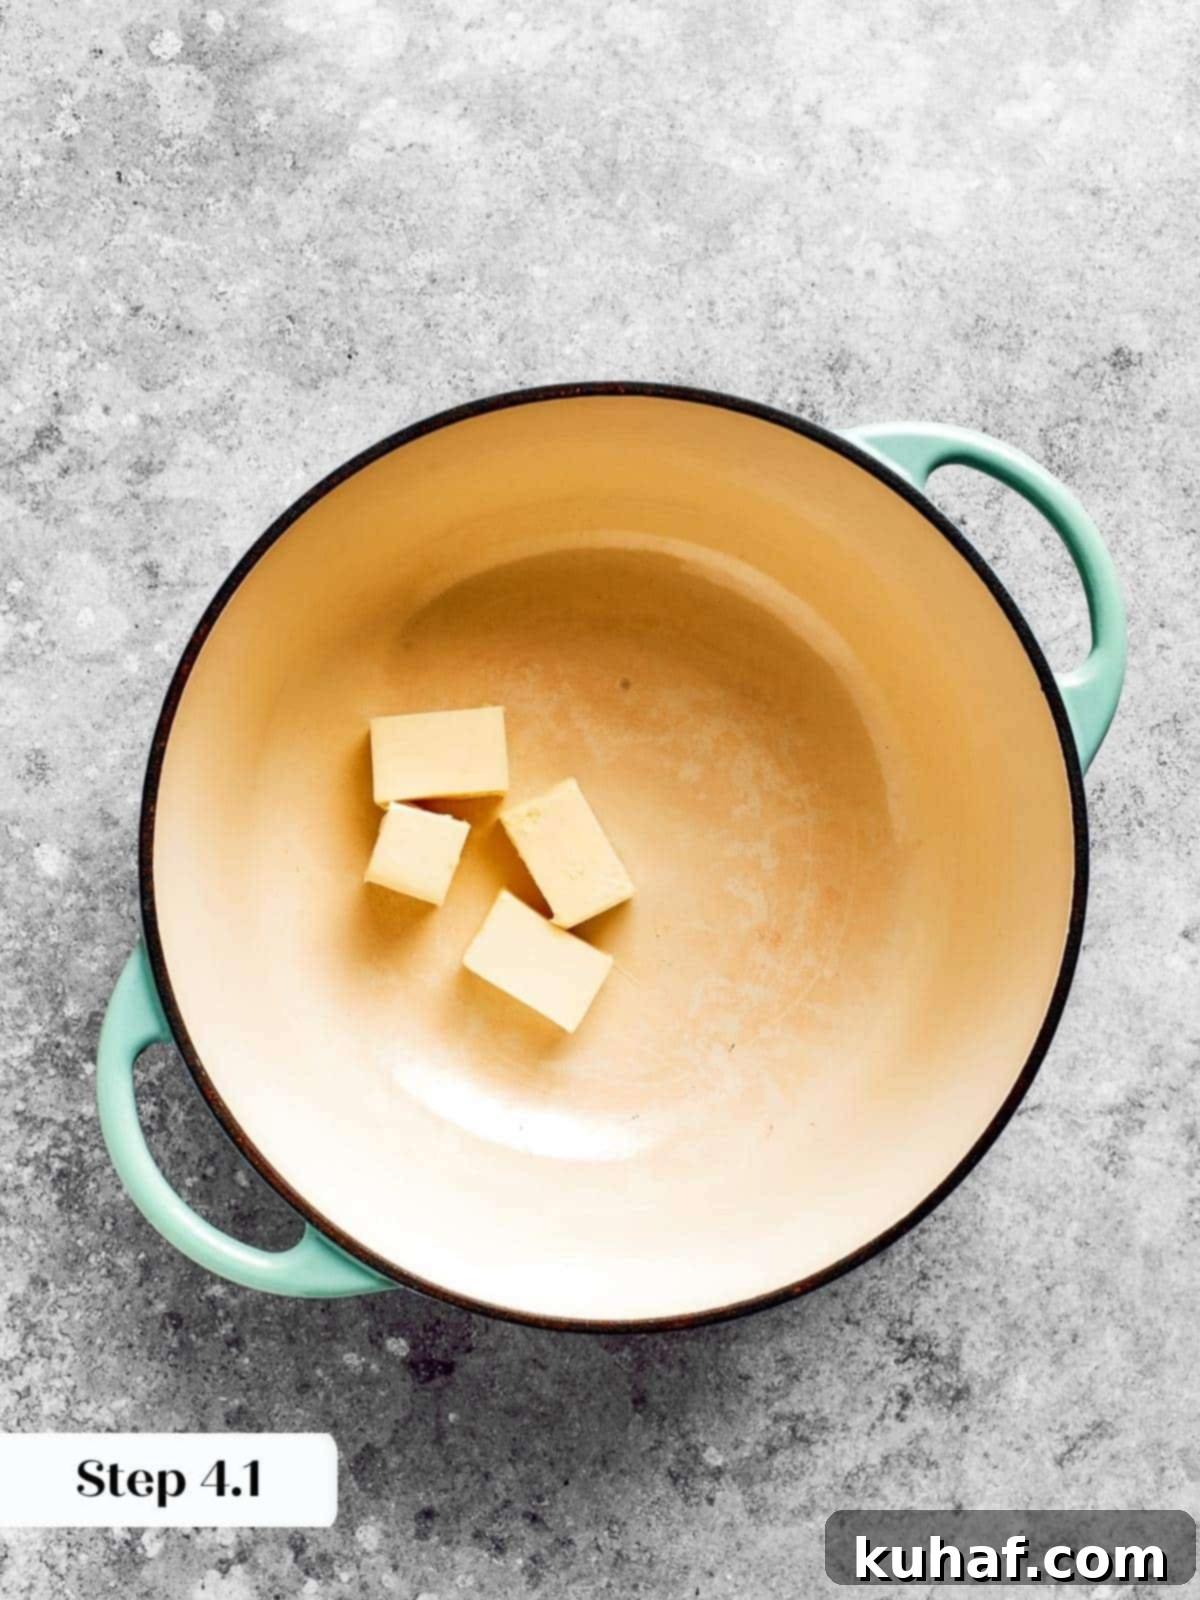
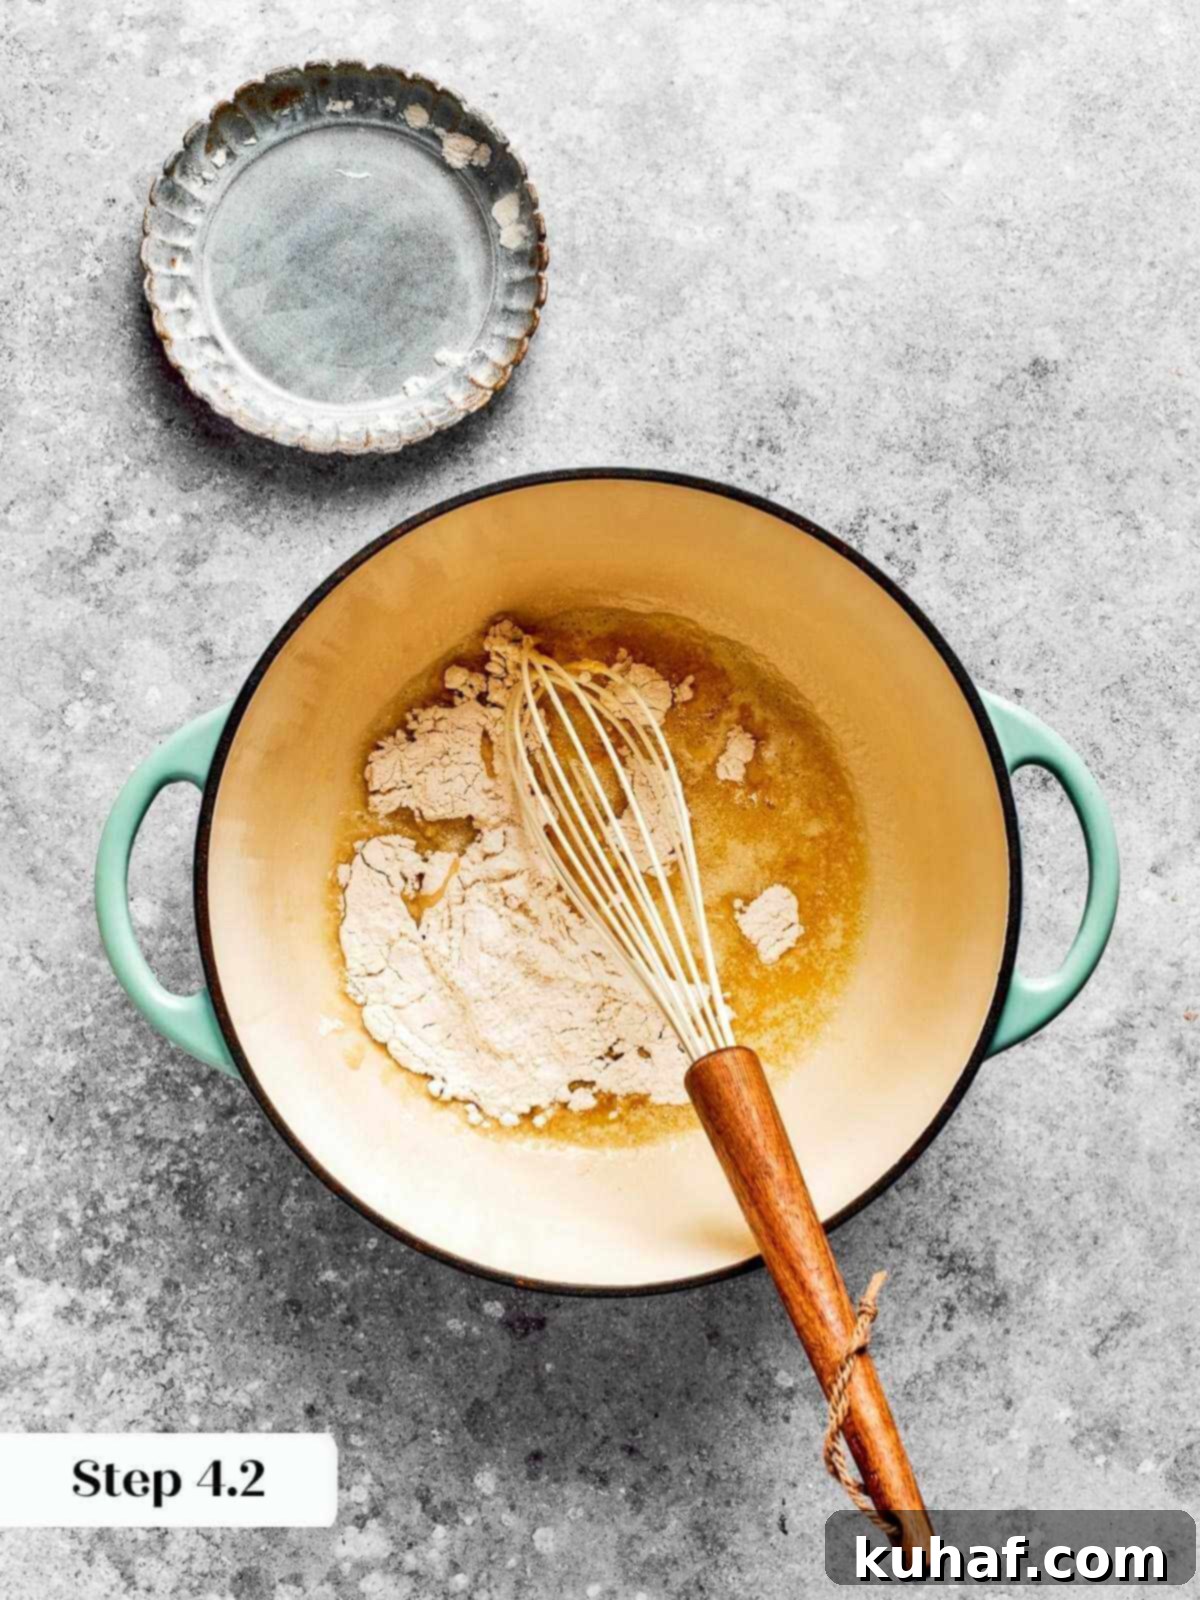
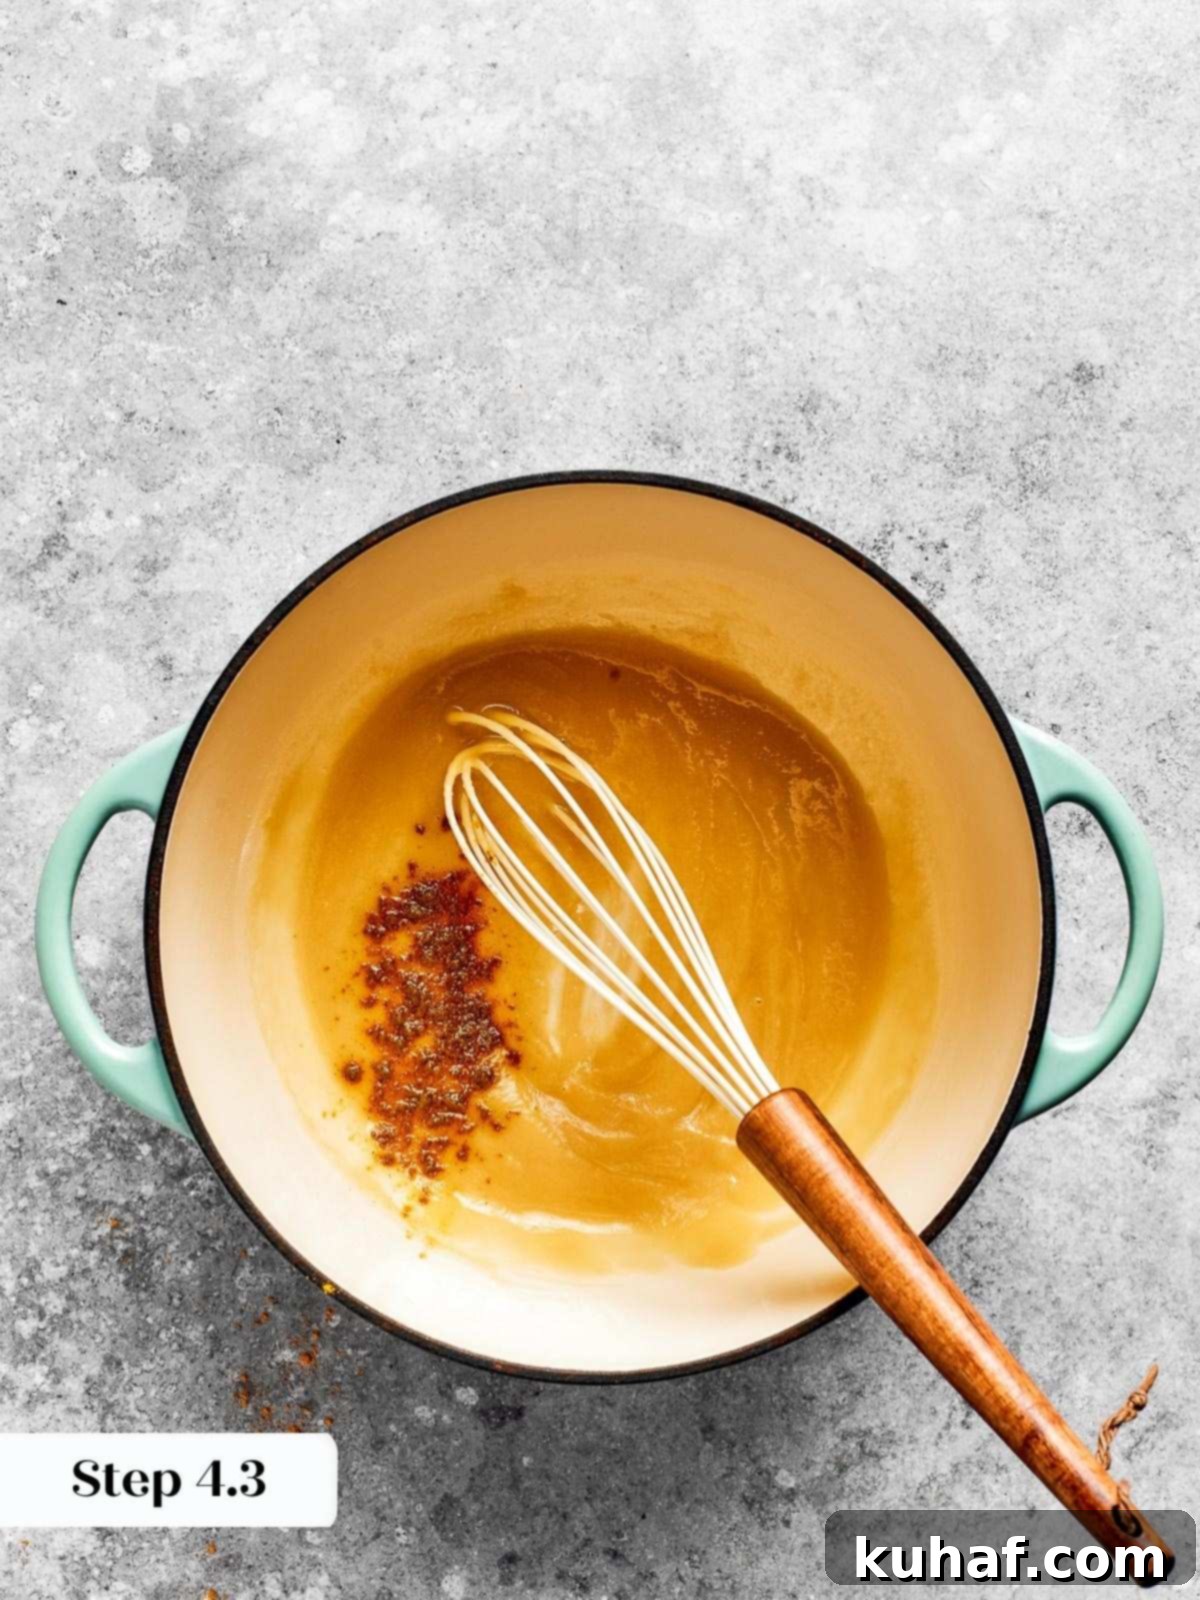
Step 4: Craft the Flavorful Roux. In a separate 3-4 quart saucepan (this should be a clean pan), melt the butter over medium heat. Once melted, add the all-purpose flour, ½ teaspoon of kosher salt (if you used unsalted butter), and the dry mustard powder. Whisk constantly and vigorously until the mixture is smooth and forms a thick paste, known as a roux. Bring this roux to a boil and continue to boil for at least 1 minute on medium heat, still whisking constantly. This boiling time is essential for cooking out the raw flour taste and ensuring maximum thickening power. Try to prevent it from browning too much; a light, ‘blond’ roux is ideal for a white cheese sauce, but if it browns slightly, don’t worry – just keep going!
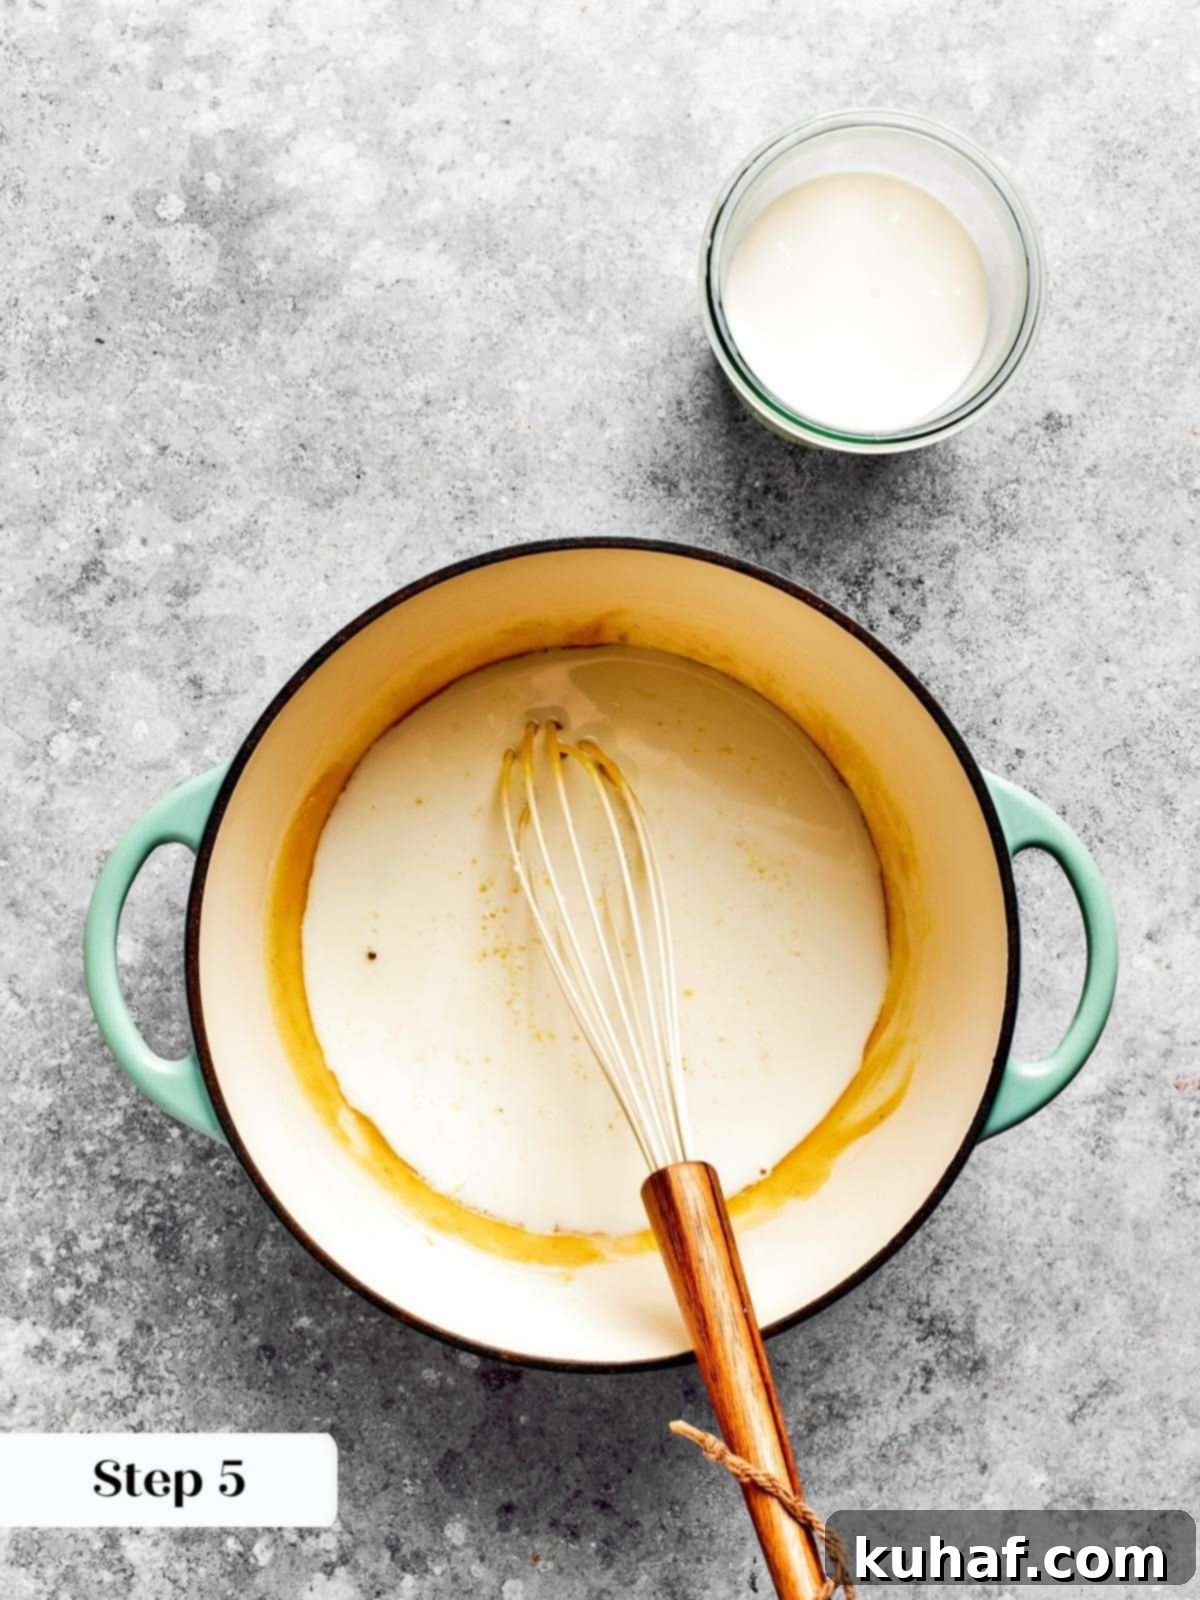
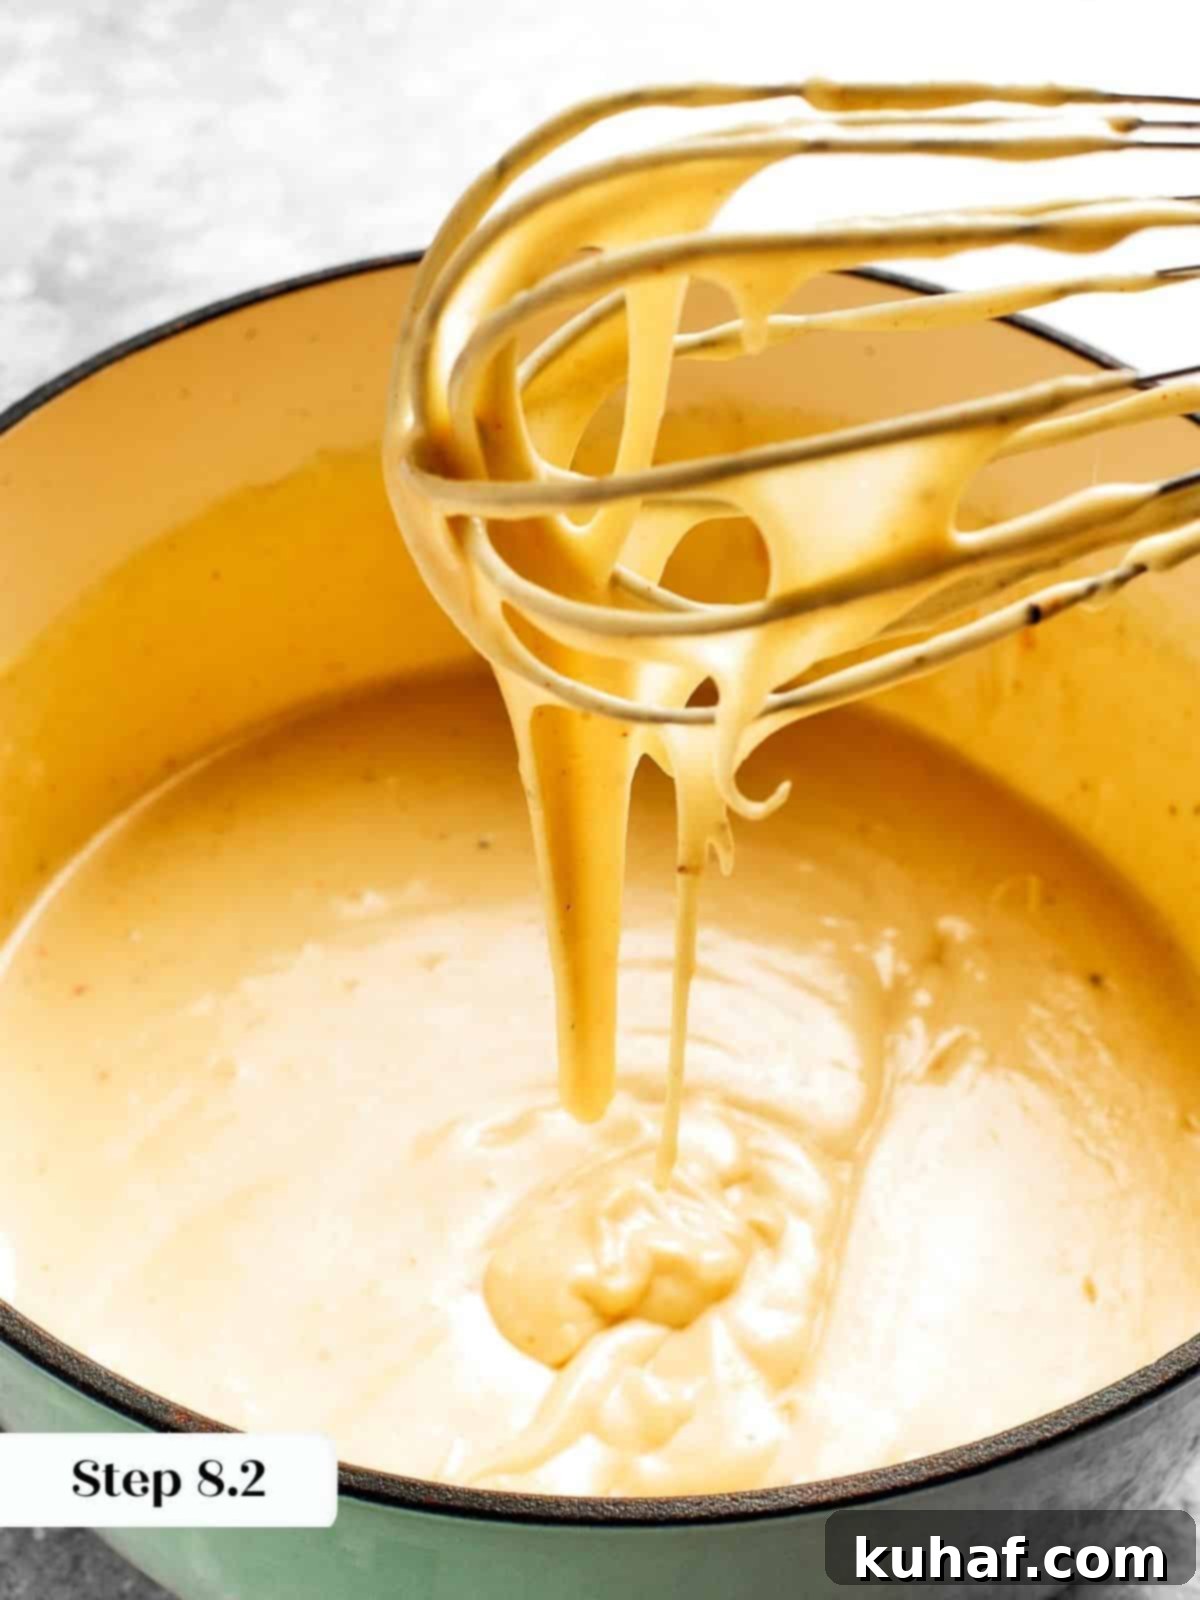
Step 5: Gradually Add the Milk. Begin to slowly pour the milk into the roux, a little at a time, while continuously whisking. This gradual addition and constant whisking are crucial for preventing lumps and ensuring a perfectly smooth sauce. Initially, the mixture will appear loose and liquidy – this is completely normal, so don’t stress! Continue to whisk until all the milk has been fully incorporated and the mixture is uniform.
Pro-Tip for Lump-Free Sauce: To guarantee a smooth, lump-free roux every time, ensure that each small addition of milk is fully absorbed and begins to thicken before you add the next batch. This patience allows the starch in the flour to properly hydrate and expand, creating a silky-smooth base for your cheese sauce.
Step 6: Thicken the Sauce to Creamy Perfection. Once all the milk is incorporated, reduce the heat to medium-low. Continue to cook the roux, stirring frequently with your whisk or a spoon, until it visibly thickens. You’ll know it’s ready when it coats the back of a spoon thickly, much like rich cream. This might take a few minutes, so be patient and keep stirring.
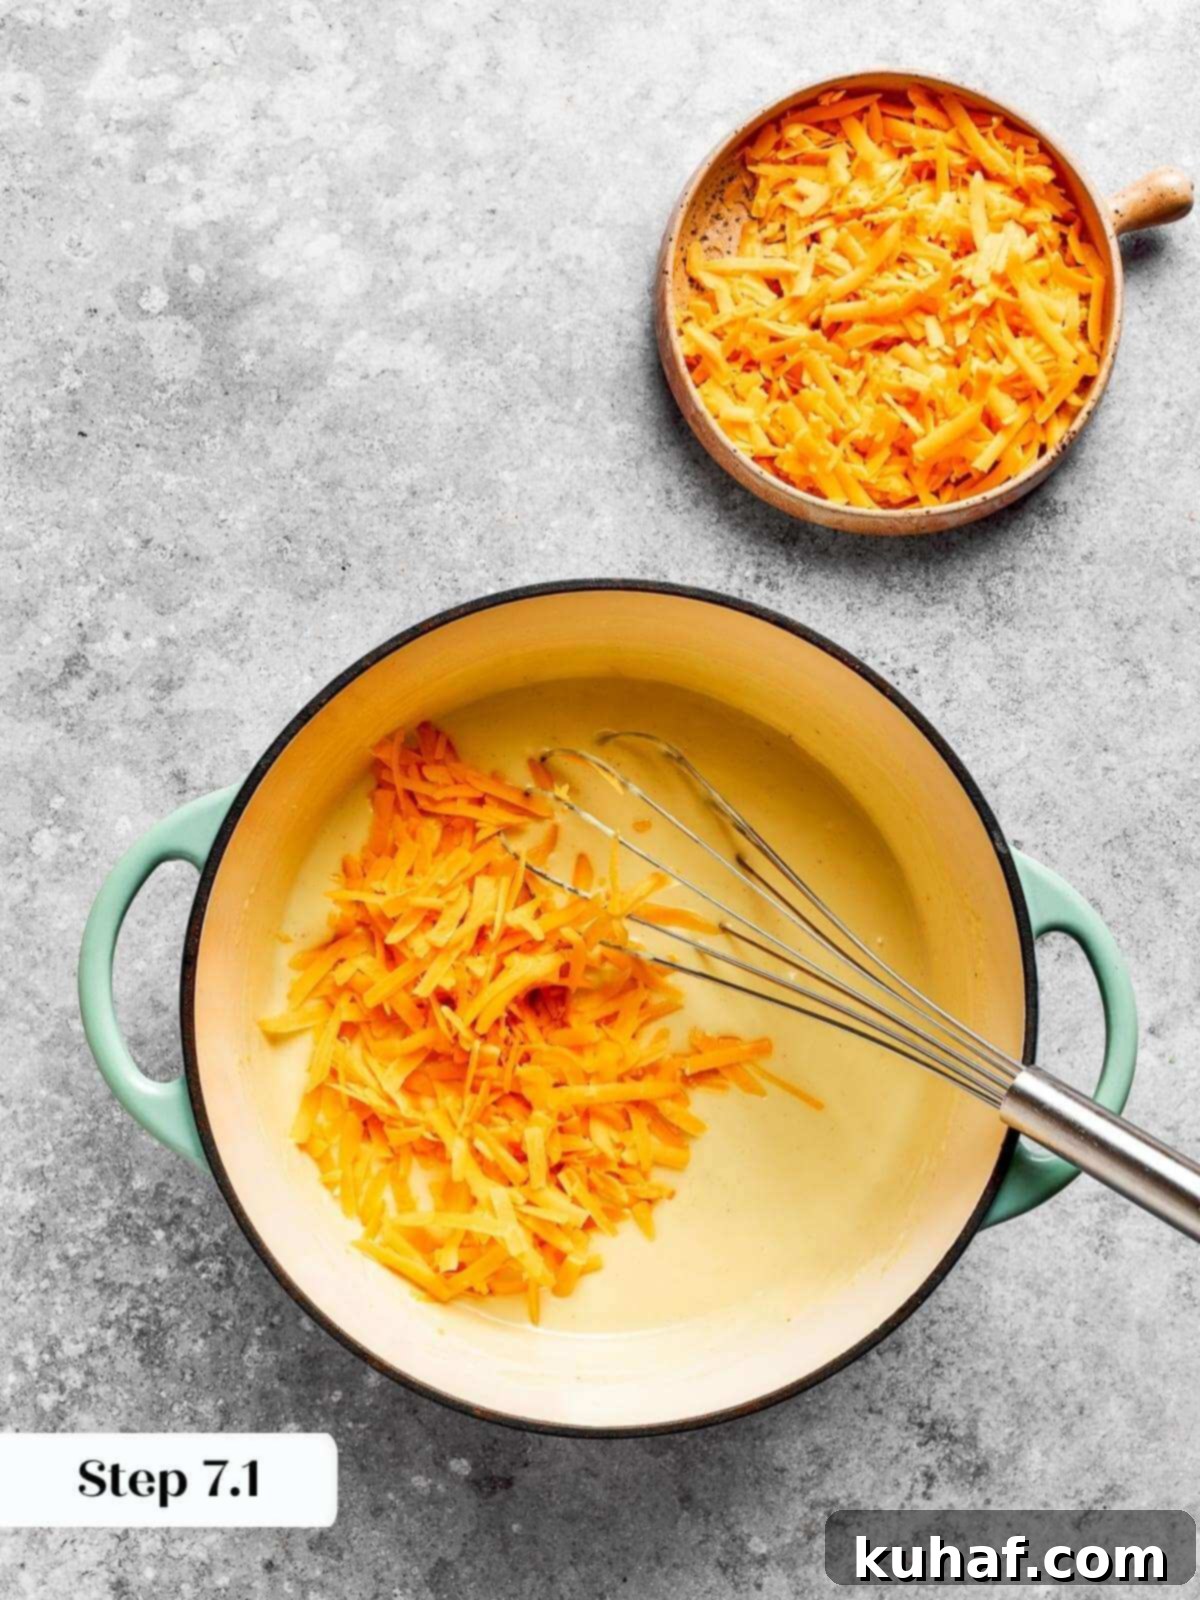
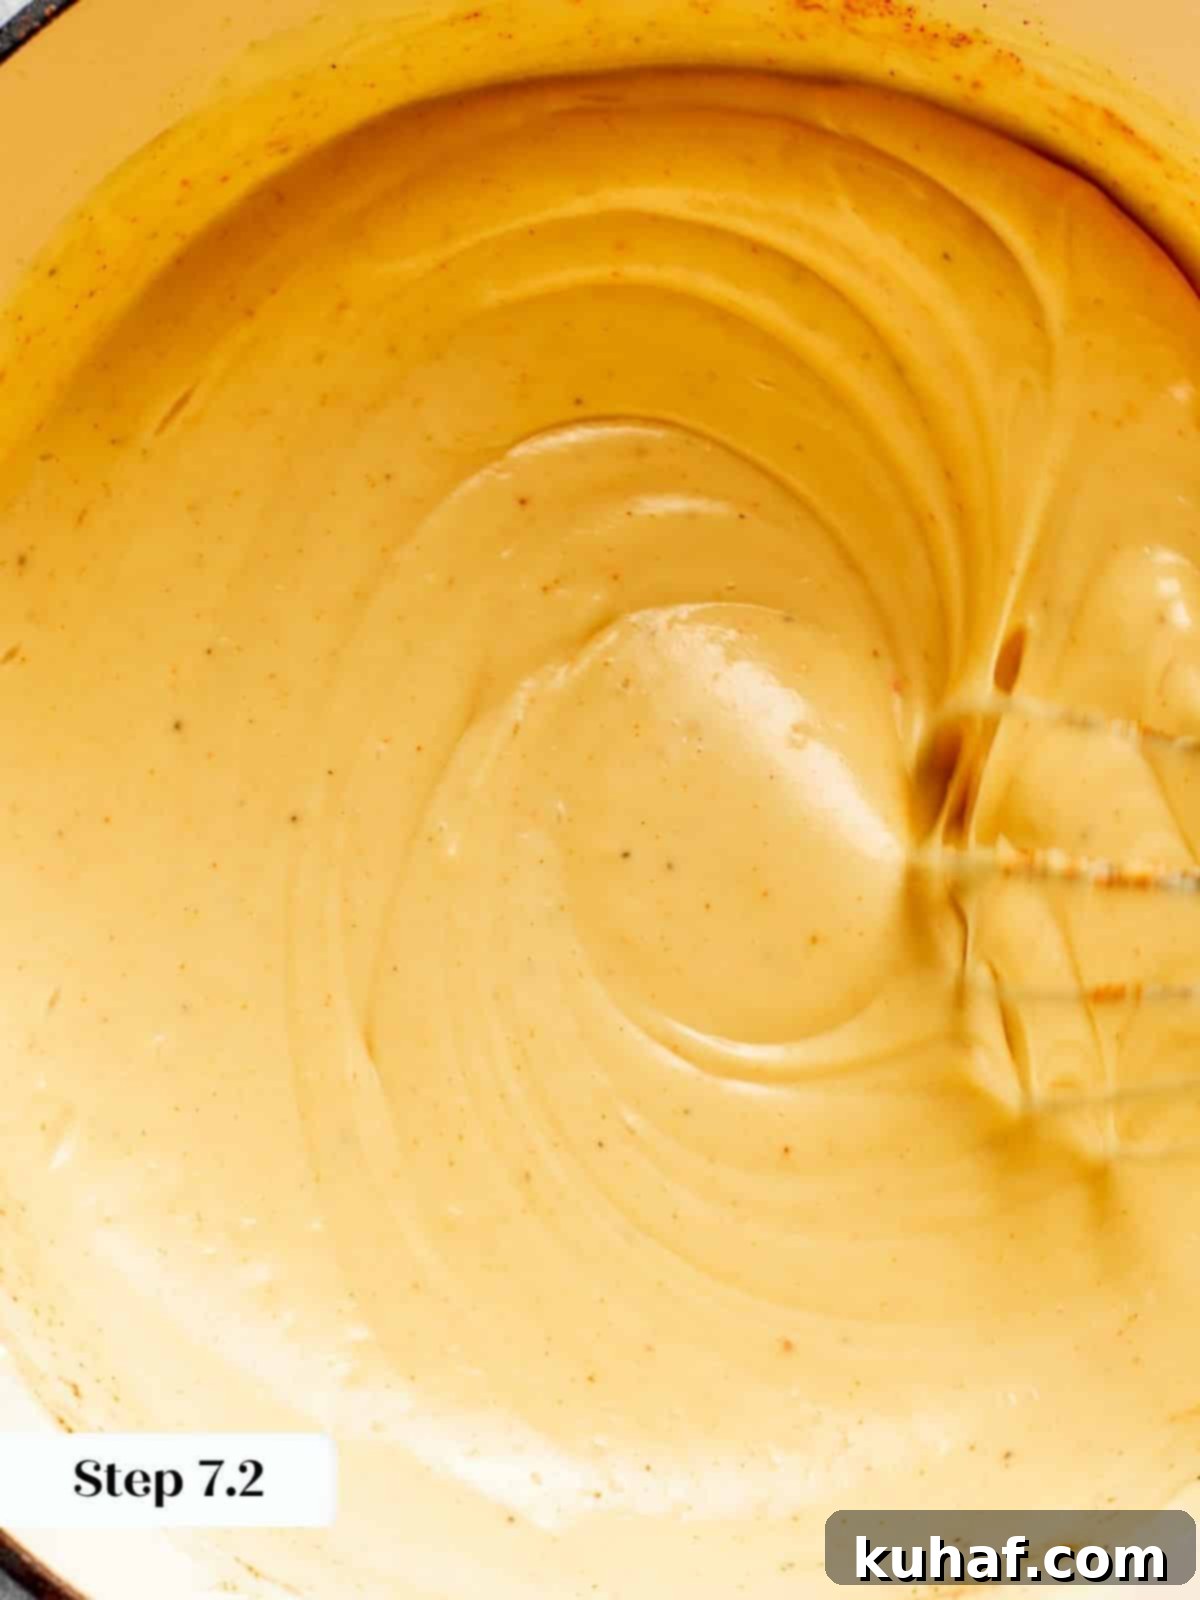
Step 7: Introduce the Cheese. Remove the saucepan from the heat immediately after the sauce has thickened. This prevents the cheese from becoming oily or separating. Now, stir in the freshly grated sharp cheddar cheese. The residual heat from the sauce will gently melt the cheese into a luscious, smooth consistency. Continue stirring until all the cheese is fully incorporated and the sauce is velvety.
Topping Strategy: I like to reserve about a handful of the grated cheese (roughly 1 cup, depending on hand size!) to sprinkle over the top of the mac and cheese before baking. This creates a beautiful, golden crust and an extra layer of cheesiness.
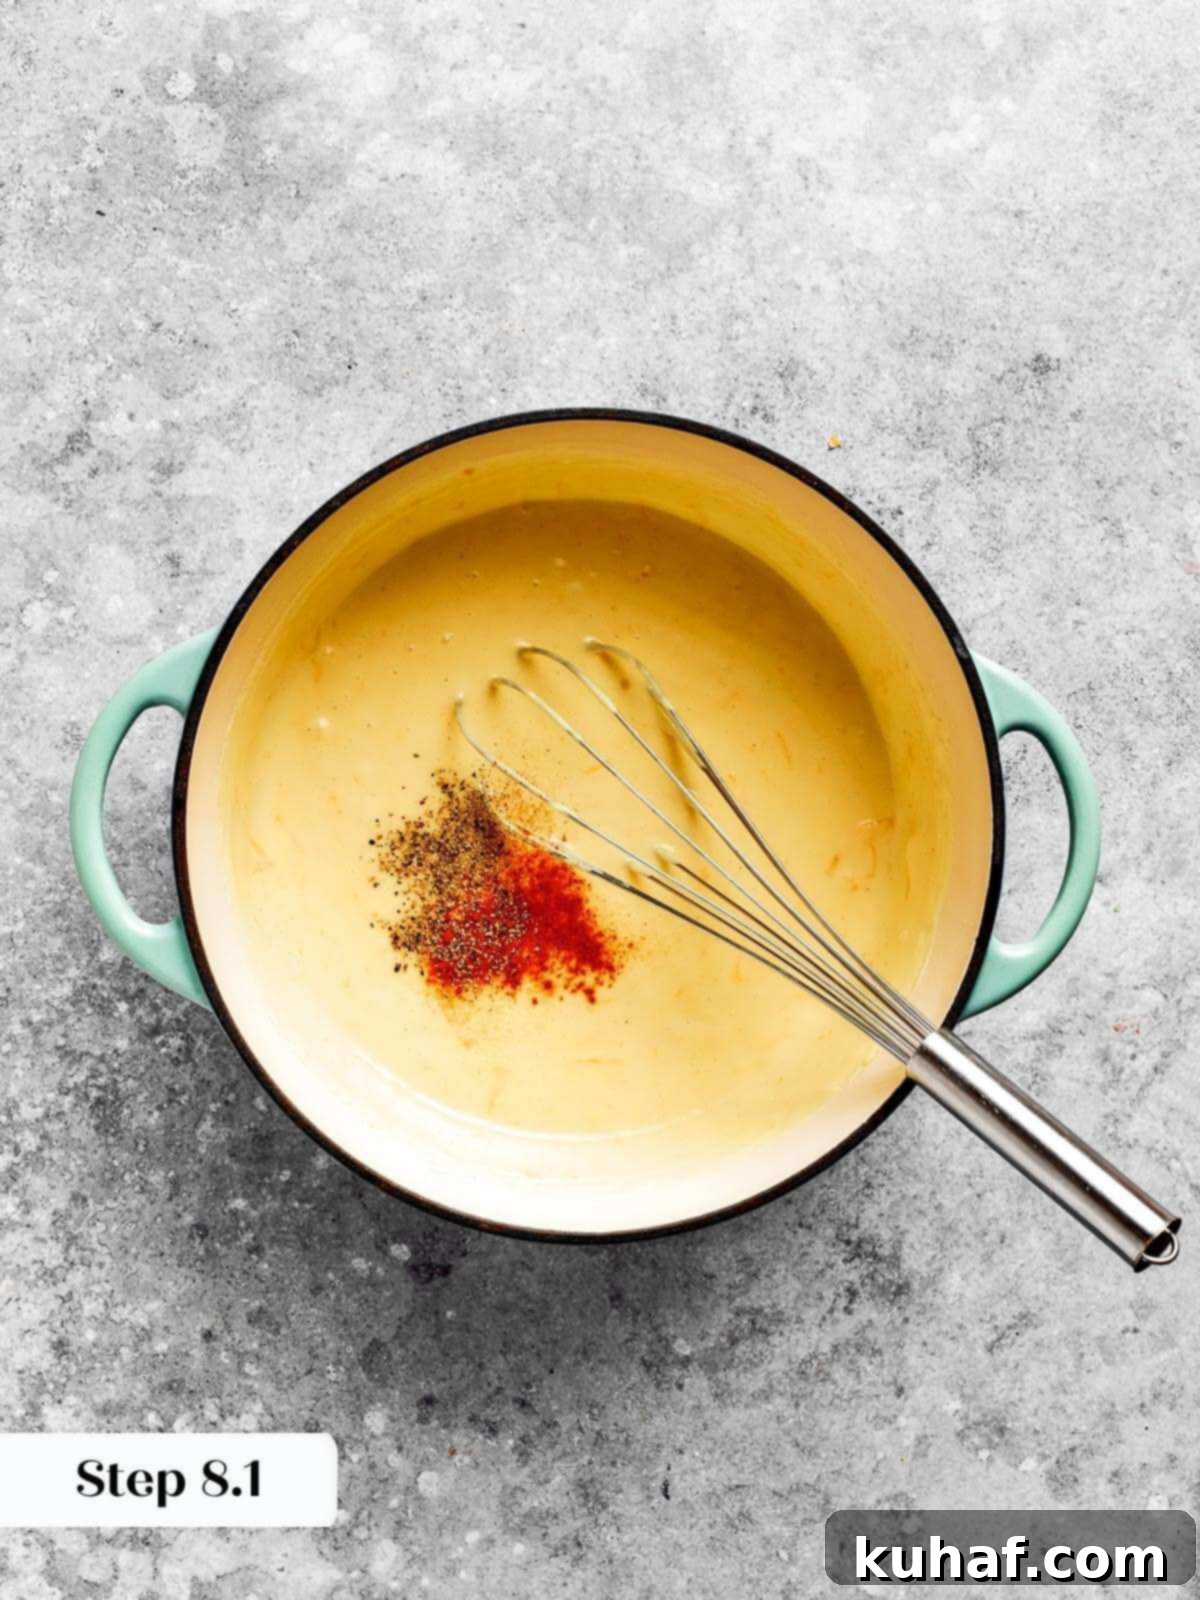
Step 8: Season and Combine. Now that your cheese sauce is smooth and inviting, stir in the black pepper and paprika. Mix everything together thoroughly to ensure the spices are evenly distributed. Taste the sauce at this point and add additional salt if desired. If you generously salted your pasta water, as recommended, you might find that extra salt isn’t necessary, as the pasta itself will have absorbed plenty of seasoning.
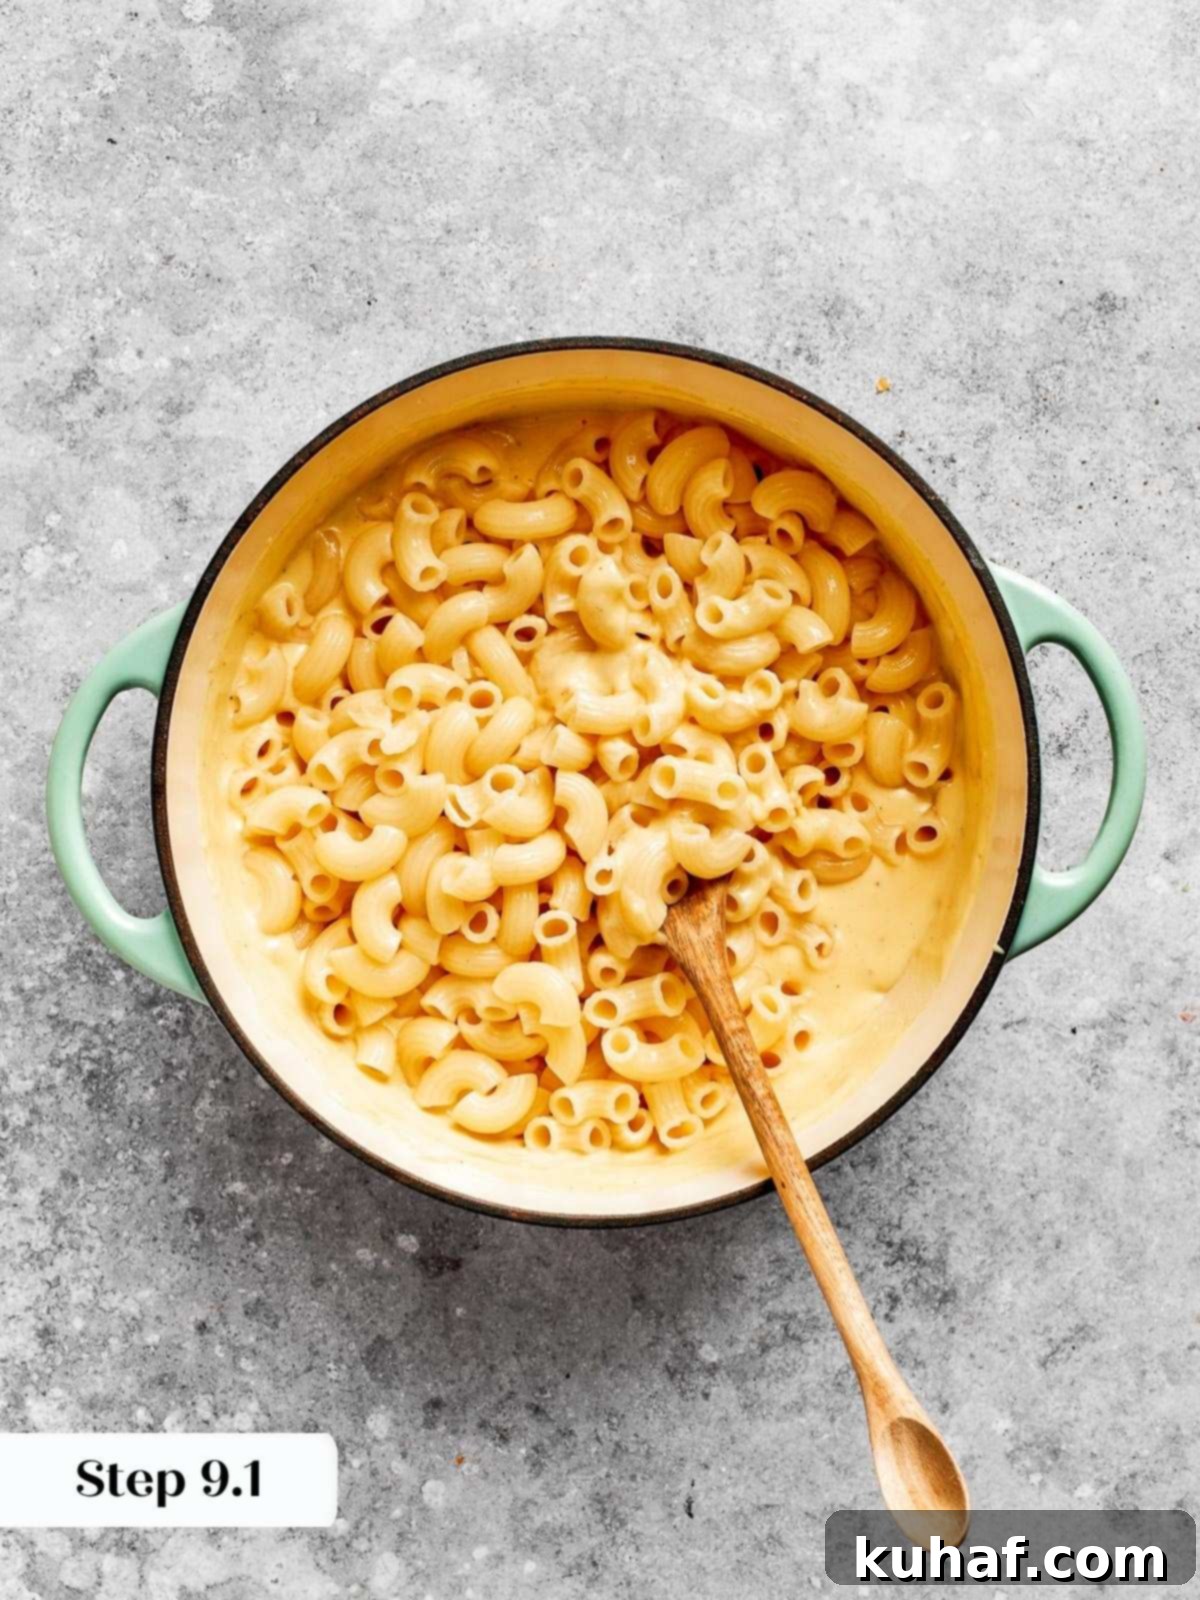
Smart Combining: A 3-4 quart saucepan is typically too small to comfortably mix in all the cooked noodles. For easier combining, I usually have my freshly shredded cheese waiting in a large mixing bowl. After stirring the cheese into the thickened milk mixture (roux), I then transfer the entire cheese sauce to this larger bowl and combine it with the cooked pasta there. This ensures plenty of room for thorough mixing without spills.
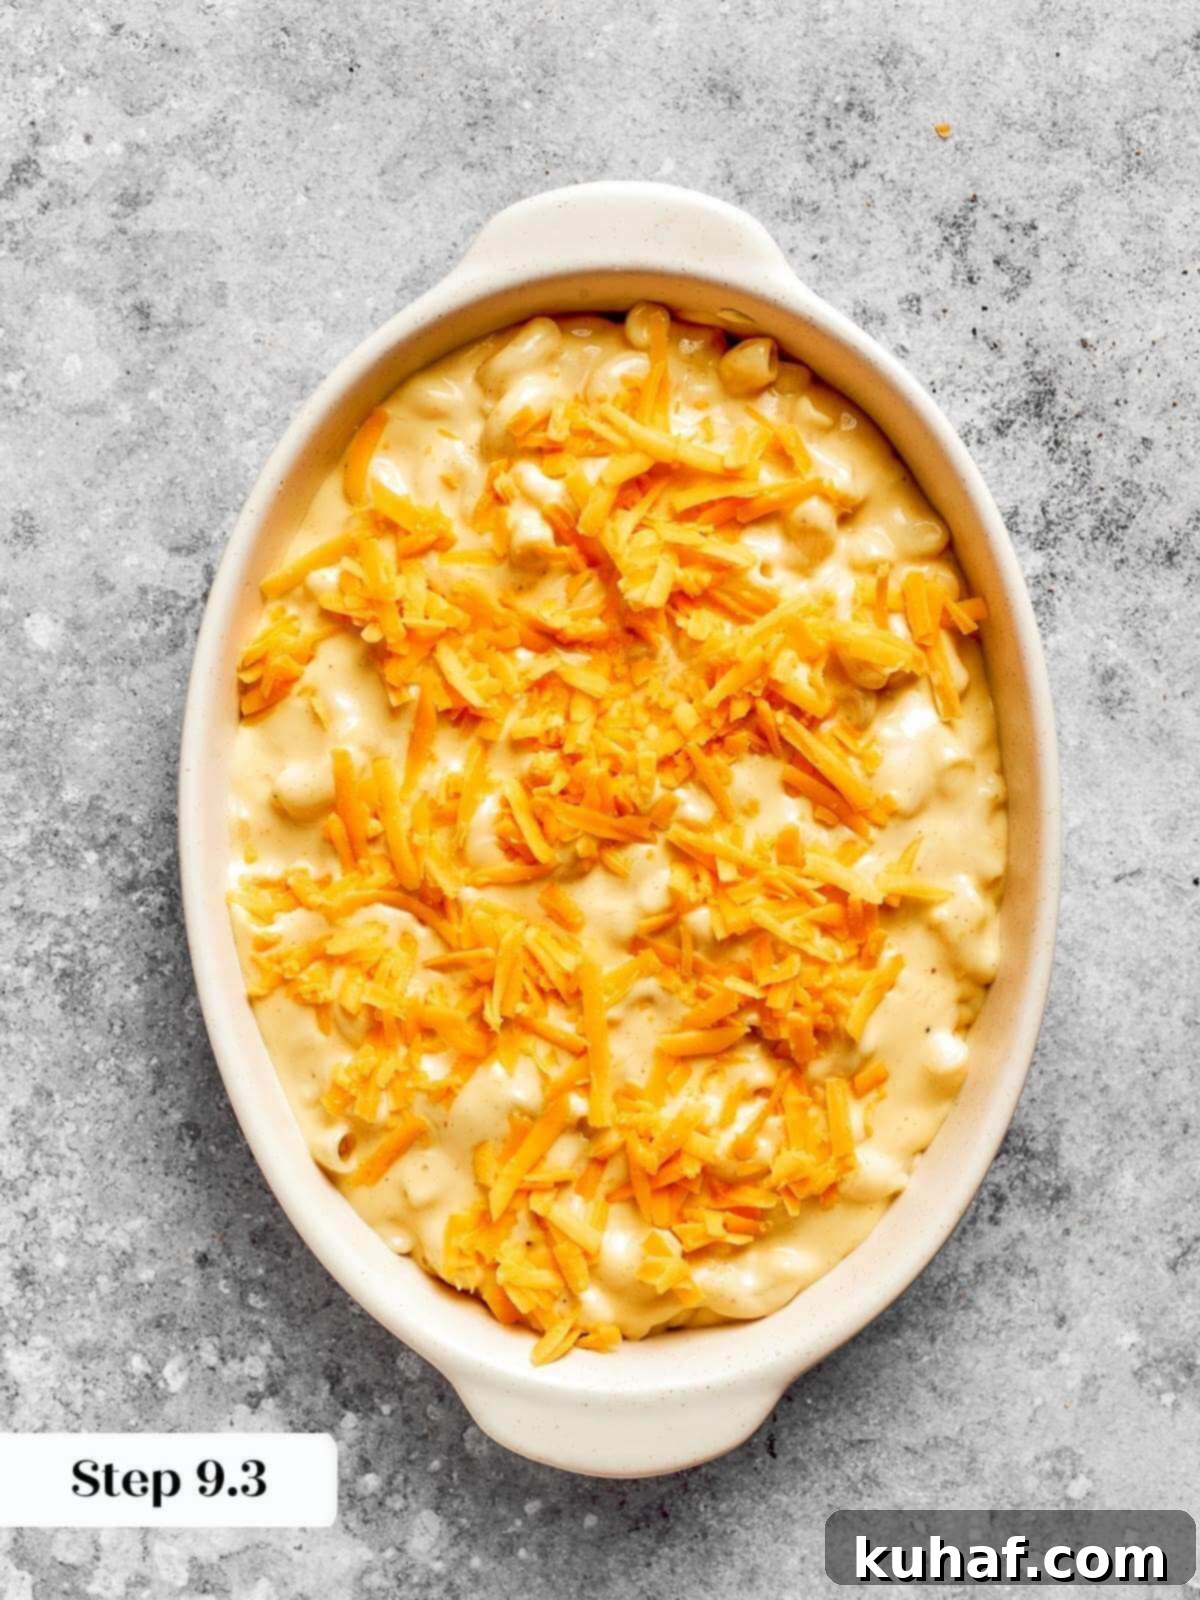
Step 9: Assemble and Bake to Golden Perfection. Gently stir the cooked pasta into the rich, creamy cheese sauce until every noodle is generously coated. Transfer this irresistible mixture into your prepared baking dish, spreading it evenly. If you reserved some cheese, sprinkle it generously over the top. Bake the dish uncovered in your preheated 375°F oven for 15-20 minutes, or until the center is bubbling deliciously and the top has achieved a beautiful golden-brown color. For an extra crispy and golden top, you can broil it for the final 2-3 minutes, keeping a close eye on it to prevent burning. Let it rest for a few minutes before serving to allow the sauce to set slightly.
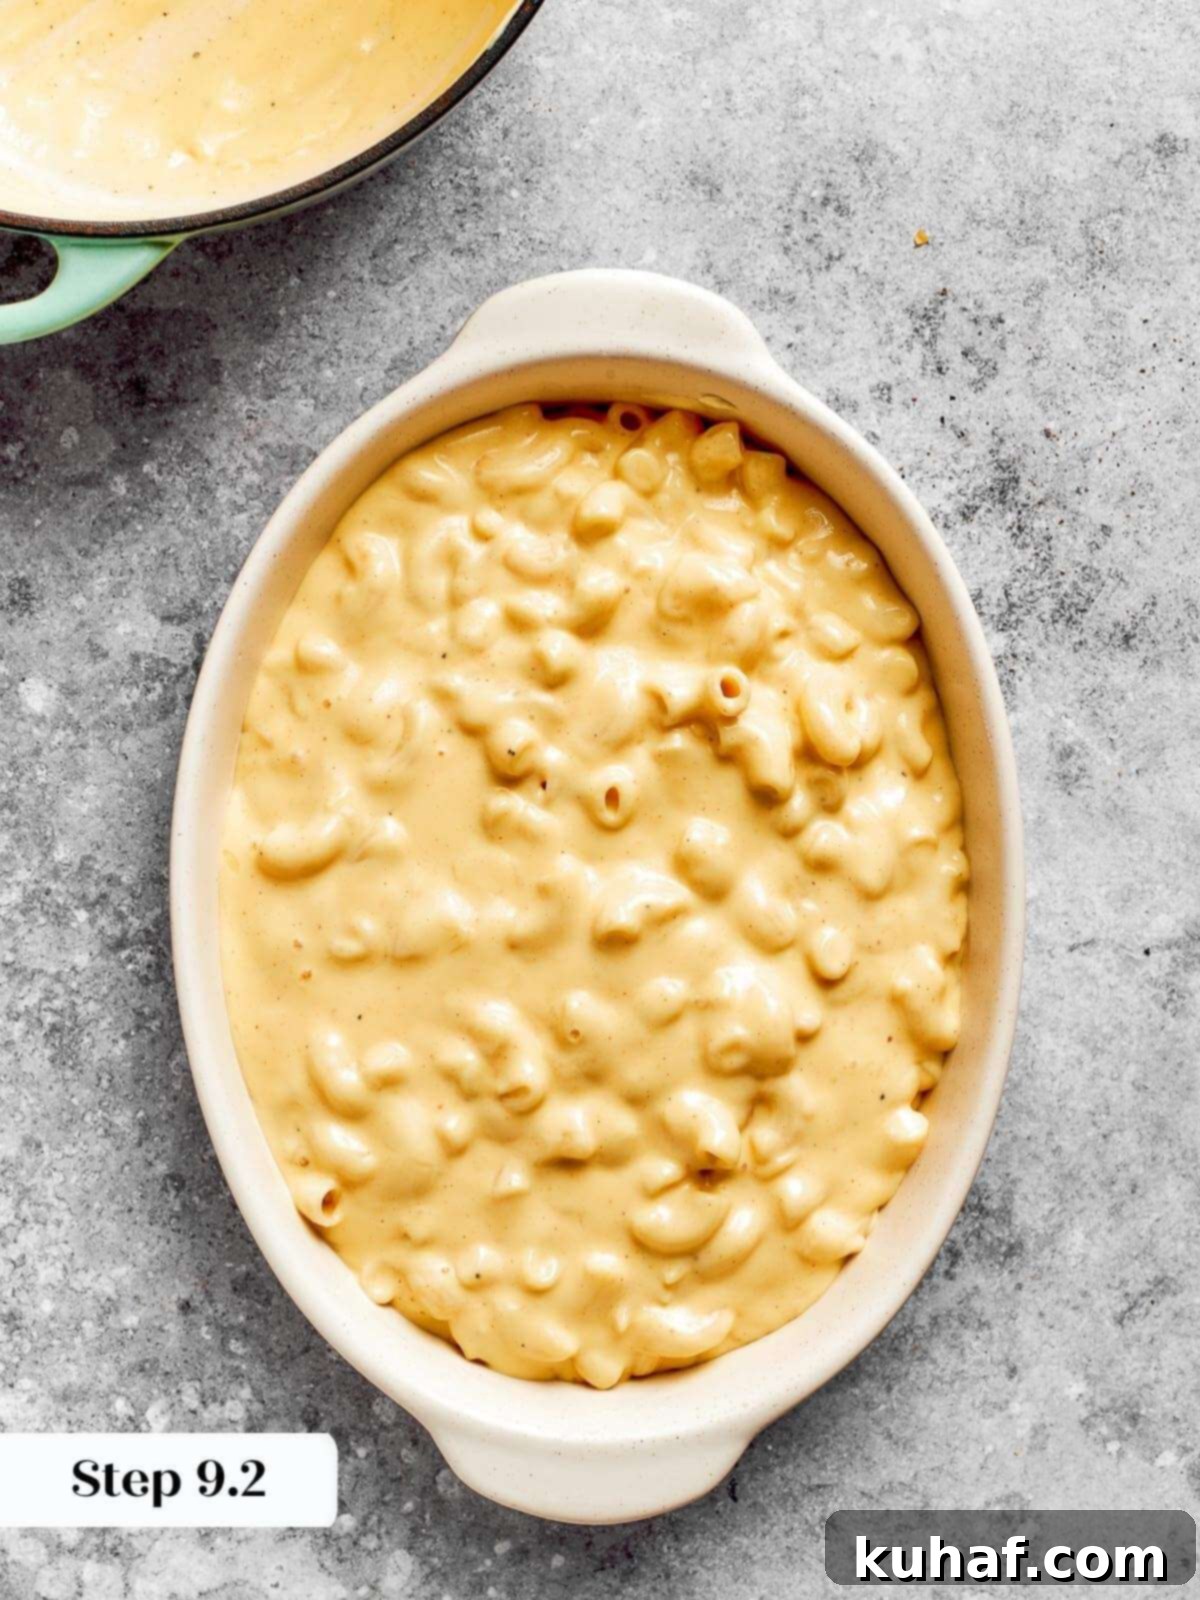
To Cover or Not to Cover? For this particular baked mac and cheese recipe, covering the dish during baking isn’t necessary. The pasta is pre-cooked, and the baking time is relatively short (15-20 minutes). You would typically cover mac and cheese if you were concerned about the top or edges drying out or burning before the interior finishes cooking. Since our method ensures quick, even heating, there’s no need to cover it, allowing that beautiful golden crust to form freely!
Chef Lindsey’s Expert Recipe Tip
The One-Minute Roux Rule: When making your roux, it’s absolutely vital to boil the butter and flour mixture for at least one full minute, while whisking constantly. This isn’t just about thickening; it’s a crucial step to cook out the raw flour taste. If you don’t allow the starch to boil sufficiently, your final cheese sauce could have an unpleasant floury flavor, even if it’s thick. This quick boiling process ensures that all the thickening properties of the flour are activated and that your sauce tastes rich, not raw.
Frequently Asked Questions About Baked Mac and Cheese
To keep your leftover mac and cheese fresh and delicious, store it in an airtight container in the refrigerator for up to 3 to 4 days. When reheating, you might want to add a splash of milk to help restore its creamy texture. I generally do not recommend freezing mac and cheese. The texture of the pasta and sauce tends to change significantly upon thawing and reheating, often becoming grainy or mushy, and simply won’t be the same satisfying experience.
While sharp cheddar is a phenomenal base, experimenting with a blend of cheeses can elevate your mac and cheese to gourmet levels. My top three favorites for a complex flavor profile are Gruyère (for its nutty, earthy notes), extra sharp cheddar (for robust tang), and Comté (for a subtle sweetness and incredible melt). Swiss cheese can also be a delightful addition if you appreciate its mild, slightly sweet, and tangy character. Always remember to taste your cheeses before mixing to ensure their flavors complement each other well!
While you technically *can* use pre-shredded cheese for convenience, I strongly advise against it for the best results. Pre-grated cheese often contains anti-caking agents like cellulose, which are designed to keep the strands from clumping together. These agents can prevent the cheese from melting smoothly and cohesively, resulting in a sauce that is less rich, less creamy, and can sometimes have a slightly grainy or gritty texture. For that truly silky, restaurant-quality cheese sauce, take the extra few minutes to grate your own cheese from a block.
The secret to consistently creamy mac and cheese lies in two main techniques: first, starting with a well-made roux. A roux, a classic French thickening agent made by cooking butter and flour together, forms the stable base for your sauce. Cook it until it’s thick and slightly nutty, ensuring the raw flour taste is gone. Second, the method of adding milk to the roux is crucial. Slowly whisking the milk in, a little at a time, allows the flour in the roux to fully absorb the liquid and prevents lumps, creating a rich, smooth, and perfectly thickened base. Adding the milk too quickly can lead to a lumpy, thin, or separated sauce. Finally, avoid overbaking, as this can dry out the sauce. Serve it hot and bubbling from the oven for ultimate creaminess.
Yes, you can prepare most of this dish ahead of time! Cook the pasta to al dente, make the cheese sauce, and combine them. Pour the mixture into your baking dish, cover tightly with plastic wrap or foil, and refrigerate for up to 24 hours. When you’re ready to bake, remove it from the fridge at least 30 minutes before baking to let it come closer to room temperature. You might need to add an extra 5-10 minutes to the baking time, and possibly a splash of milk to the mixture before baking if it seems too thick, to ensure it heats through and remains creamy.
For individual servings, the microwave works in a pinch, but for best results, reheat leftover mac and cheese gently on the stovetop or in the oven. For stovetop, place it in a saucepan with a splash of milk or cream, cover, and heat over low heat, stirring occasionally until warmed through and creamy. For oven reheating, place the mac and cheese in an oven-safe dish, add a few tablespoons of milk or chicken broth, cover with foil, and bake at 300°F (150°C) until heated through, about 20-30 minutes. Uncover for the last 5-10 minutes if you want to crisp up the top.
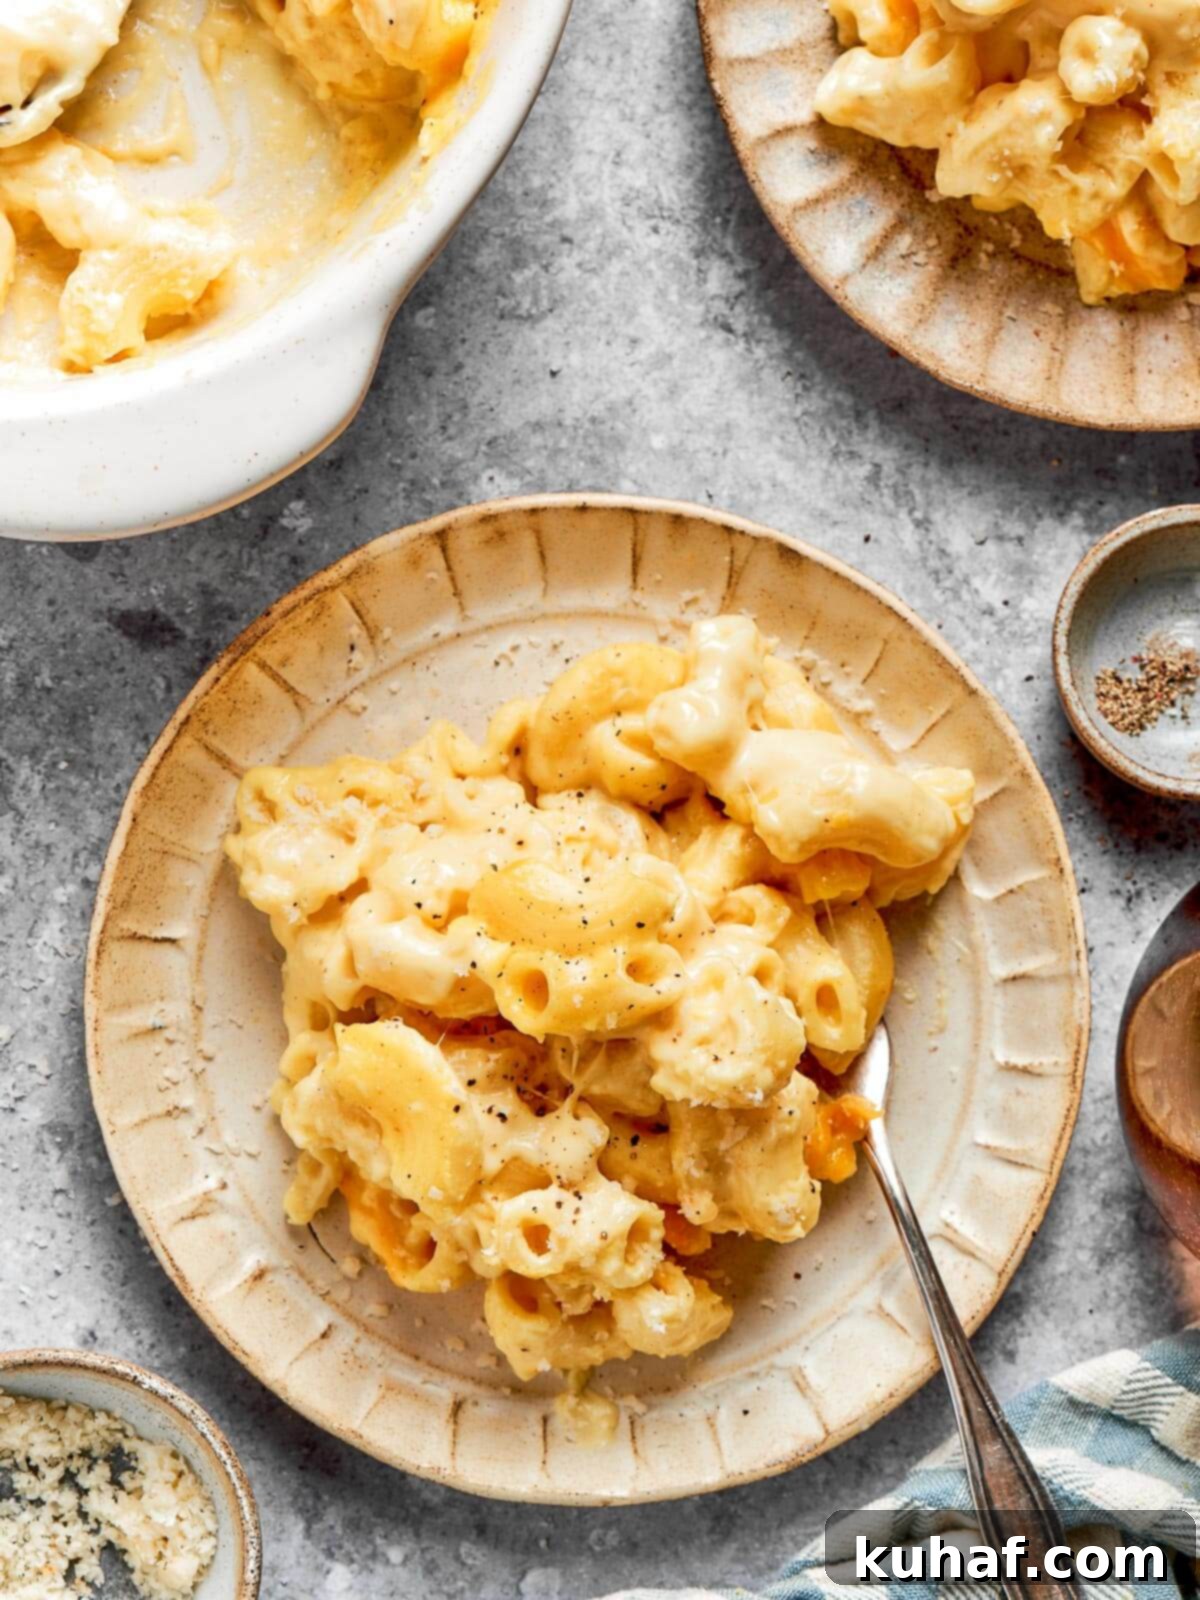
If you tried this recipe and loved it, please leave a 🌟 star rating and let me know how it goes in the comments below. I love hearing from you; your comments make my day!
Easy Baked Mac and Cheese
Pin Recipe
Comment
Print Recipe
Ingredients
- 1 pound dried elbows 4 cups, cooked
- 6 tablespoons salted butter or unsalted
- 6 tablespoons all-purpose flour
- 1/4 teaspoon black pepper to taste
- 1/4 teaspoon smoked paprika or unsmoked
- 1 tablespoon dry mustard Dad’s secret ingredient
- 4 cups whole milk or 3 cups milk, 1 cup heavy cream – holy decadence
- 6 cups sharp cheddar cheese grated
- 1/2 teaspoon kosher salt 1 ½ lbs before shredding
Instructions
-
Preheat the oven to 375°F. (no fan) Butter a 2.5-liter glass or Pyrex baking dish or casserole dish, or leave it unbuttered. I did and life went on. Casserole dishes also work.
-
Bring 2 quarts of water to a boil in a large saucepan and add a generous amount of salt. You can taste the water if you want – it should taste salty like the ocean.
-
Add the elbows to the large pot of salted water and stir to distribute and keep from sticking. Boil over medium heat until they are al dente or completely cooked. I like to cook them completely because 15 minutes isn’t a long additional bake time and I don’t want undercooked pasta in my mac and cheese. Drain pasta through a colander or strainer and set aside.
-
Melt butter in a 3-4 quart saucepan. Add flour, ½ teaspoon kosher salt (if using unsalted butter), and mustard powder, whisking until smooth. Bring to a boil and boil for 1 min on medium heat, while whisking constantly. Try not to let it brown. If it does, no big deal—just keep going!
-
Slowly add milk a little at a time, whisking constantly until all the milk has been added. It will be loose and liquidy, do not stress.
-
Reduce the heat to medium-low and continue to cook the roux, stirring frequently until thickened. It will be thick like cream and will coat the back of a spoon.
-
Remove from heat and stir in the cheese.
-
Add pepper and paprika, stirring well. Taste and add salt if desired. If you salted your pasta water, this shouldn’t be necessary.
-
Stir in the cooked pasta and pour into the baking dish. Sprinkle with reserved cheese. Bake the dish uncovered at 375°F until the center is bubbling and the top is golden brown. 15-20 minutes. Can broil the last 3 minutes to get a nice golden top.
Notes
Variations – If you want to add breadcrumbs, melt 2 tablespoons of butter and mix with ½ cup breadcrumbs. Spread evenly over the top before baking.
Storage – Store leftover mac and cheese in an airtight container in the fridge for 3 to 4 days in the refrigerator. Do not freeze.
Nutrition
Before You Go: More Chef-Tested Recipes
I genuinely hope you thoroughly enjoyed preparing and savoring this professional chef-tested baked mac and cheese recipe. It’s a dish crafted with love and perfected through generations, designed to bring comfort and joy to your table. Don’t stop here! Be sure to explore our extensive collection of other delicious, chef-developed side dish recipes, perfect for complementing any meal or standing proudly on their own. Happy cooking!
