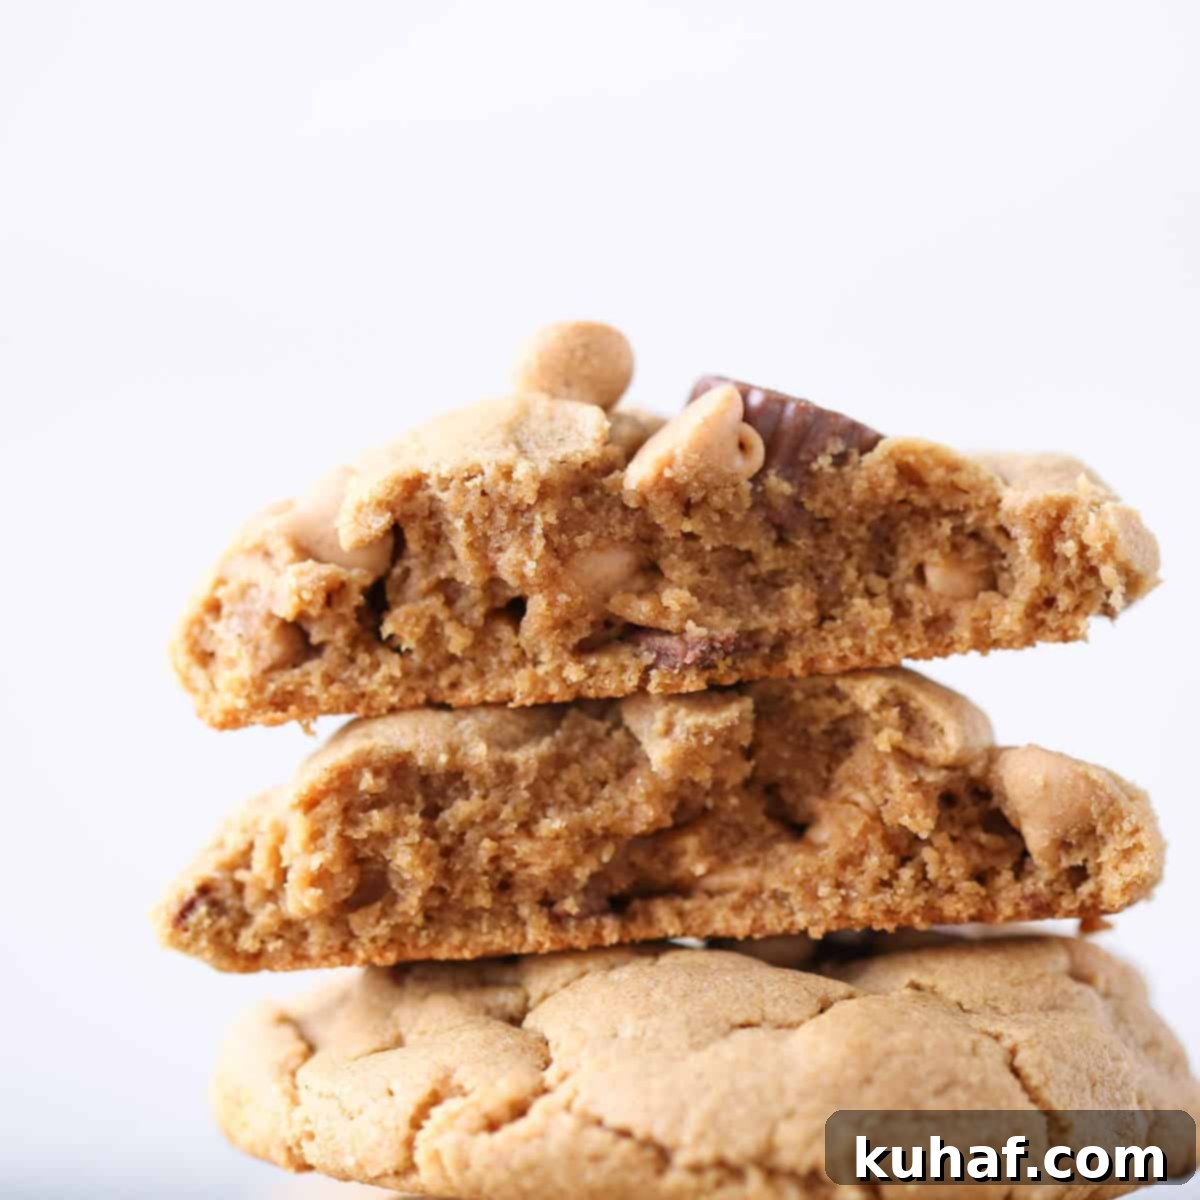
Ultimate Bakery-Style Reese’s Peanut Butter Cookies: Thick, Chewy, & Gluten-Free in Minutes!
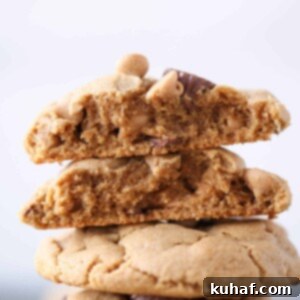
There’s something uniquely satisfying about a warm, freshly baked cookie. But when that specific, undeniable **peanut butter craving** strikes, only the absolute best will do. We’re talking about a cookie so substantial, so rich, and so perfectly chewy that it transports you straight to a gourmet bakery. That’s precisely what these incredible **Reese’s Peanut Butter Cookies** deliver – and surprisingly, you can have them ready for the oven in as little as 5 minutes of active prep time! Each bite is a delightful explosion of flavor and texture, thanks to a generous bounty of creamy peanut butter chips and charming mini Reese’s Peanut Butter Cups folded into every thick, golden sphere.
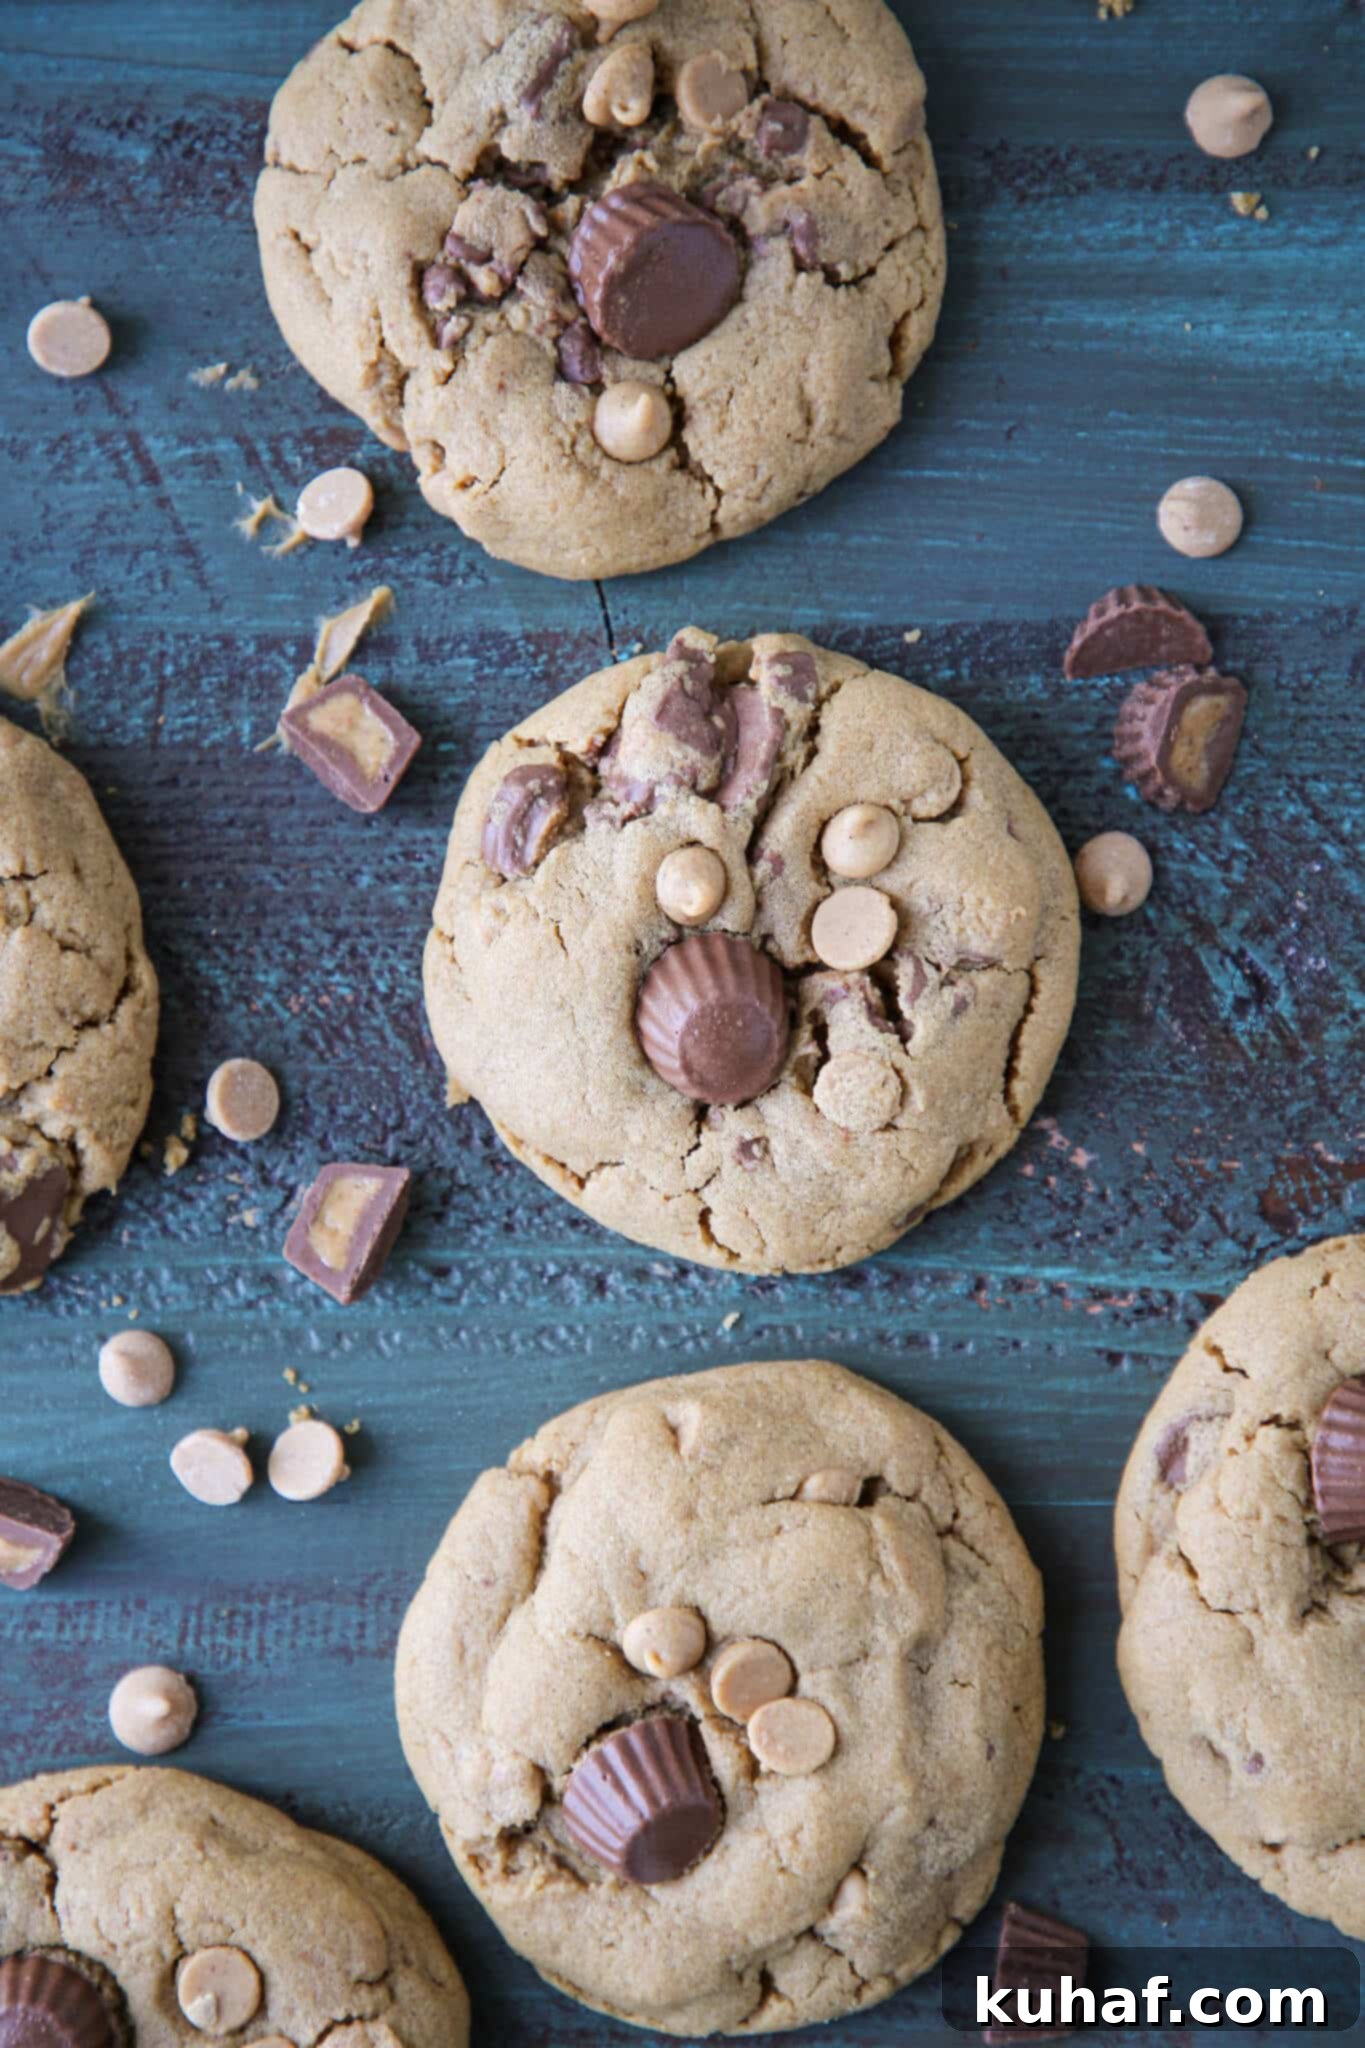
If you’re seeking that perfect balance of speed and indulgence, look no further. This recipe isn’t just quick; it’s ingeniously simple, requiring only **5 core ingredients** to create a batch of profoundly satisfying, thick, and chewy cookies. And for those with dietary considerations, rejoice – this delightful treat is naturally **gluten-free**! We’ve taken the classic peanut butter cookie and elevated it, ensuring each cookie is brimming with an abundance of Reese’s and extra peanut butter chips, guaranteeing a rich, immersive peanut butter experience with every mouthful. This isn’t just a cookie; it’s a celebration of peanut butter perfection, ready to satisfy even the most serious cravings.
While these cookies offer a wonderfully chewy and thick texture, if you happen to prefer a crispier cookie, my great-grandmother’s old-fashioned peanut butter cookies are an excellent alternative. Or, for those days when turning on the oven feels like too much effort, these delightful no-bake peanut butter cookies offer a quick and refreshing treat.
Table of Contents
- Why You Will Love These Reese’s Peanut Butter Cookies
- Professional Tips for Making Chewy Peanut Butter Cookies
- Ingredients Spotlight: What Makes Them Special
- Creative Variations for Your Peanut Butter Cookies
- Smart Substitutions for Success
- How to Make Reese’s Peanut Butter Cookies: Step-by-Step
- Chef Lindsey’s Recipe Tip
- Frequently Asked Questions
- Reese’s Peanut Butter Cookies Recipe Card
- Before You Go
Why You Will Love These Reese’s Peanut Butter Cookies
- Instant Gratification (No Chill Cookie!): Forget waiting! This recipe is designed for immediate satisfaction. Simply mix the dough, generously fold in your favorite mix-ins, scoop, and bake. There’s absolutely no chilling required, meaning you’re just minutes away from warm, gooey cookies. Honestly, even waiting for the first one to cool down is purely optional!
- Effortless & Fuss-Free: With only 5 primary ingredients, this dough comes together incredibly quickly – often in less than 5 minutes. It’s the perfect recipe for beginners or seasoned bakers looking for a quick, reliable, and utterly delicious treat without any complicated steps or special equipment.
- Naturally Gluten-Free & Butter-Free: You read that right! This easy peanut butter cookie recipe is naturally gluten-free without needing any specialty flours. The rich peanut butter acts as the primary fat, making butter entirely unnecessary. Chances are, you already have all the ingredients on hand in your pantry!
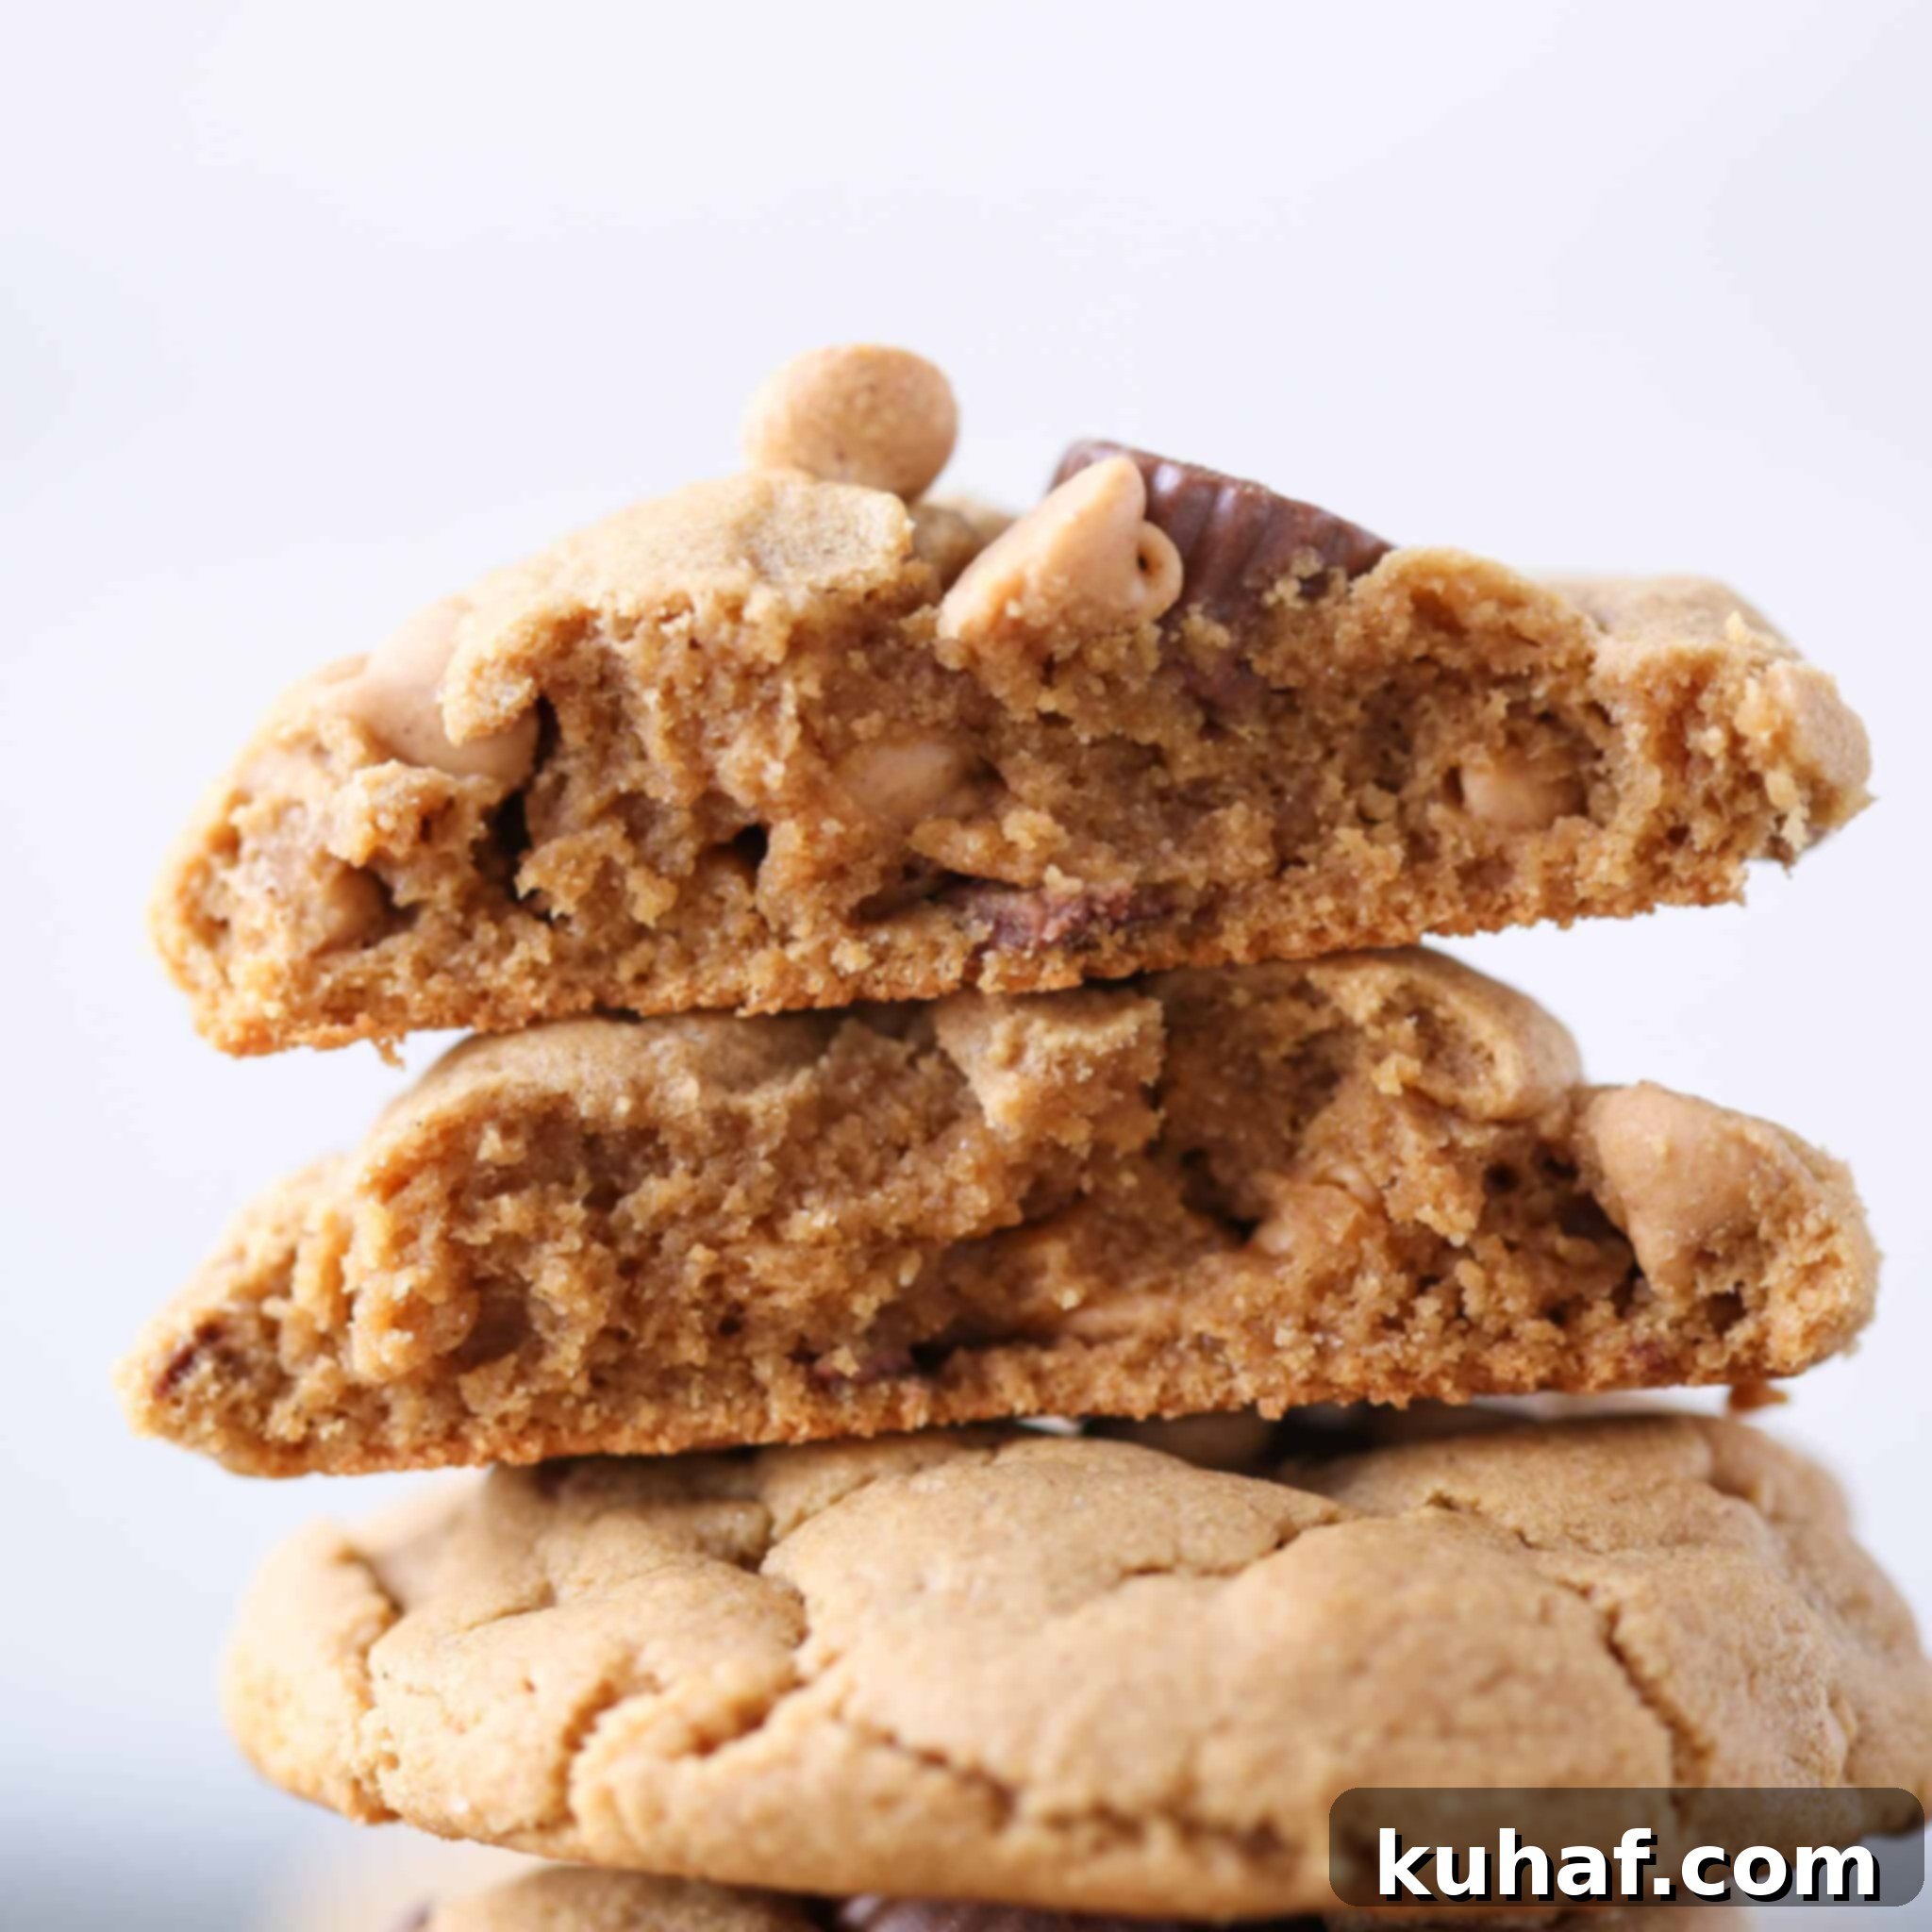
- Unbeatable Texture: Prepare for the ultimate cookie experience. These cookies are wonderfully chewy, impressively thick, and delightfully soft, with the perfect dense crumb that defines a true bakery-style treat. The abundance of peanut butter provides both incredible flavor and an exceptional melt-in-your-mouth texture.
Professional Tips for Making Chewy Peanut Butter Cookies
- The Secret to Success: No-Stir Peanut Butter. For these cookies to achieve their signature thick, chewy texture, using a no-stir peanut butter is crucial. This means avoiding natural peanut butters where the oil separates. Brands like Jif or Skippy offer the consistent texture and flavor profile that works perfectly in this recipe, preventing the cookies from spreading too much and ensuring a dense, delightful chew. I personally use Jif in all my baking for its reliability and beloved taste, but any no-stir variety will work!
- Avoid Over-Creaming. To ensure your cookies are at their thickest and chewiest, resist the urge to over-mix the peanut butter and sugars. Cream them just until they are barely combined and uniform. Over-creaming incorporates too much air, which can cause cookies to spread excessively and become thinner and crispier rather than maintain their desired thick, soft structure. You could even mix them entirely by hand for ultimate control!
- Brown Sugar is Non-Negotiable. While you can choose between dark or light brown sugar based on what you have on hand, do not substitute 100% granulated white sugar. Brown sugar contains molasses, which is vital for adding moisture, a rich depth of flavor, and contributes significantly to the cookies’ soft, chewy texture. Using only white sugar will result in cookies that are much flatter, spread more, and lack that desirable chewiness.
Ingredients Spotlight: What Makes Them Special
Each ingredient plays a crucial role in creating the perfect Reese’s Peanut Butter Cookie:
- No-Stir Peanut Butter: As mentioned, Jif peanut butter is my go-to for its consistent creamy texture and balanced flavor that bakes beautifully. Natural peanut butters, with their oil separation and runnier consistency, can drastically alter the texture of baked goods, causing these flourless cookies to become too oily and spread excessively. Stick with a classic no-stir for best results.
- Whole Egg: The single egg in this recipe is a workhorse. It provides essential fat from the yolk for richness and chewiness, adds moisture, and acts as a binder, holding everything together. It also contributes to the cookie’s structure and helps emulsify the mixture, ensuring a perfectly uniform and delightful texture.
- Granulated Sugar: Beyond simply adding sweetness, granulated sugar plays a role in the cookie’s texture and spread. Using the right proportion is key; too much, and your cookies will spread thin rather than retaining their thick, chewy profile. It also helps create those slightly crispy edges that contrast beautifully with the soft interior.
- Dark Brown Sugar: This is where a lot of the magic happens! Dark brown sugar not only sweetens but also imparts a deep, rich molasses flavor that complements the peanut butter wonderfully. Its higher moisture content is essential for keeping these cookies exceptionally soft and chewy, contributing to their bakery-style heft.
- Baking Soda: A critical leavening agent, baking soda reacts with the acidity present in the molasses of the brown sugar. This reaction produces carbon dioxide bubbles, which give the cookies a beautiful rise and a tender interior. It’s a more powerful leavener than baking powder for this specific acidic environment, ensuring a dramatic puff without continued reaction in the oven.
- Mini Reese’s Peanut Butter Cups: These adorable Mini Reese’s Peanut Butter Cups are a pure delight! They’re perfectly sized for baking, saving you the step of unwrapping and chopping larger cups. Their presence ensures a burst of classic Reese’s flavor and texture in almost every bite. If you prefer, or only have large cups on hand, chopping them works beautifully and can even provide a more intense peanut butter punch!
- Reese’s Peanut Butter Chips: To double down on that glorious peanut butter flavor, we add Reese’s peanut butter chips. These chips melt beautifully, dispersing a creamy, sweet peanut butter essence throughout the cookie. Feel free to use any brand of peanut butter chips, or even substitute with chocolate chips if you’re in the mood for a peanut butter-chocolate fusion!
Creative Variations for Your Peanut Butter Cookies
This versatile cookie dough is an excellent base for awakening your creativity! Don’t hesitate to experiment with these fun ideas:
- Transform Them into Bars: Why stop at cookies? I’ve used this exact recipe to create decadent fudgy peanut butter milk chocolate bars! For an extra layer of indulgence, top them with a smooth milk chocolate ganache. They’re perfect for slicing and sharing at parties or potlucks.
- Experiment with Diverse Mix-Ins: The possibilities are endless! Instead of or in addition to Reese’s, try folding in a variety of delightful additions. Consider milk chocolate chips, white chocolate chips, butterscotch chips, or even chopped nuts like pecans or walnuts for an added crunch. For a fun twist, add Reese’s Pieces, chopped Snickers bars, or even crushed Butterfingers for different candy bar experiences! Pretzels can also add a fantastic salty-sweet crunch.
- Add a Luscious Frosting: Elevate these already amazing cookies by adding a creamy frosting. A tangy cream cheese frosting for cookies provides a lovely contrast to the rich peanut butter, or indulge in the classic pairing with the best chocolate buttercream recipe. Finish with a sprinkle of chocolate jimmies or a few extra mini Reese’s for a picture-perfect presentation.
- Indulgent Ice Cream Sandwiches: These thick, chewy cookies are absolutely divine when turned into ice cream sandwiches. Sandwich a generous scoop of rich, decadent chocolate ice cream or classic vanilla bean ice cream between two cooled cookies for a timeless treat. Or, venture into unexpected flavor combinations with something like a bourbon cherry caramel ice cream for an adult-friendly dessert.
Smart Substitutions for Success
While this recipe is quite flexible, some substitutions can impact the final texture. Here’s what you need to know:
- Natural Peanut Butter: This recipe is specifically designed for no-stir peanut butter due to its consistent texture. Using natural peanut butter, which typically separates and is runnier, will not yield the same thick, chewy results because there’s no flour to absorb the excess oil. If you prefer baking with natural peanut butter, I highly recommend trying these fantastic peanut butter cup cookies or these chewy peanut butter chocolate chip cookies instead, as they are formulated to work beautifully with it.
- Crunchy Peanut Butter: Good news! You can absolutely use crunchy peanut butter for this recipe, as long as it is a “no-stir” variety. The added peanut pieces will introduce a delightful textural contrast and extra nutty flavor without compromising the cookie’s structure.
- Sugar Choices: You can use either dark brown sugar or light brown sugar, depending on what you have and your preference for a deeper molasses flavor. However, avoid substituting 100% granulated white sugar. The unique moisture and rich flavor from brown sugar are crucial for the cookies to remain thick, soft, and chewy. Substituting entirely with white sugar will make them spread more and result in a crispier, less satisfying cookie.
- Reese’s Peanut Butter Cups: While I opt for mini Reese’s for convenience (no unwrapping or chopping!), these cookies are equally delicious, if not more intensely flavored, with chopped full-sized Reese’s Peanut Butter Cups. If you have the patience to chop them, you’ll be rewarded with larger pockets of melty peanut butter goodness!
How to Make Reese’s Peanut Butter Cookies: Step-by-Step
Follow these simple instructions to bake the perfect batch of thick, chewy Reese’s Peanut Butter Cookies. Detailed measurements and a printable recipe card can be found further down the page.
Step 1: Prepare for Baking. Preheat your oven to 350°F (175°C). Line two baking sheets with parchment paper. This prevents sticking and makes for easy cleanup, ensuring perfectly baked cookies every time. Gather all your ingredients to make the process even smoother.
Step 2: Mix the Dough. In a large mixing bowl, combine the no-stir peanut butter, egg, dark brown sugar, granulated sugar, and baking soda. Using a hand mixer (or a stand mixer with the paddle attachment), mix on medium speed until all ingredients are just well blended and incorporated, about 1-2 minutes. Be careful not to over-cream the mixture; we want it blended, not light and fluffy, to achieve that dense, chewy texture. Once combined, gently stir in your mini Reese’s peanut butter cups and Reese’s peanut butter chips by hand until evenly distributed.
Step 3: Scoop and Shape. Divide the cookie dough into 8 equal portions. For uniform cookies, a 2-inch cookie scoop works wonders, or you can simply eyeball the divisions. Roll each portion into a smooth ball between your palms. Place the dough balls onto the prepared baking sheets, ensuring they are spaced about 2 inches apart to allow for proper spreading during baking.
Wasn’t that crazy easy? Now, try to contain your excitement (and your foot-tapping) until the oven actually finishes preheating!
Step 4: Bake to Golden Perfection. Bake the cookies for 11-14 minutes. You’ll know they’re ready when the edges are a beautiful golden brown and the centers have puffed up and no longer look wet or doughy. The cookies might still appear slightly soft in the middle, but they will firm up as they cool. Allow them to cool on the baking sheet for at least 5-10 minutes before carefully transferring them to a wire rack. This cooling period is crucial for them to set and retain their thick, chewy texture.
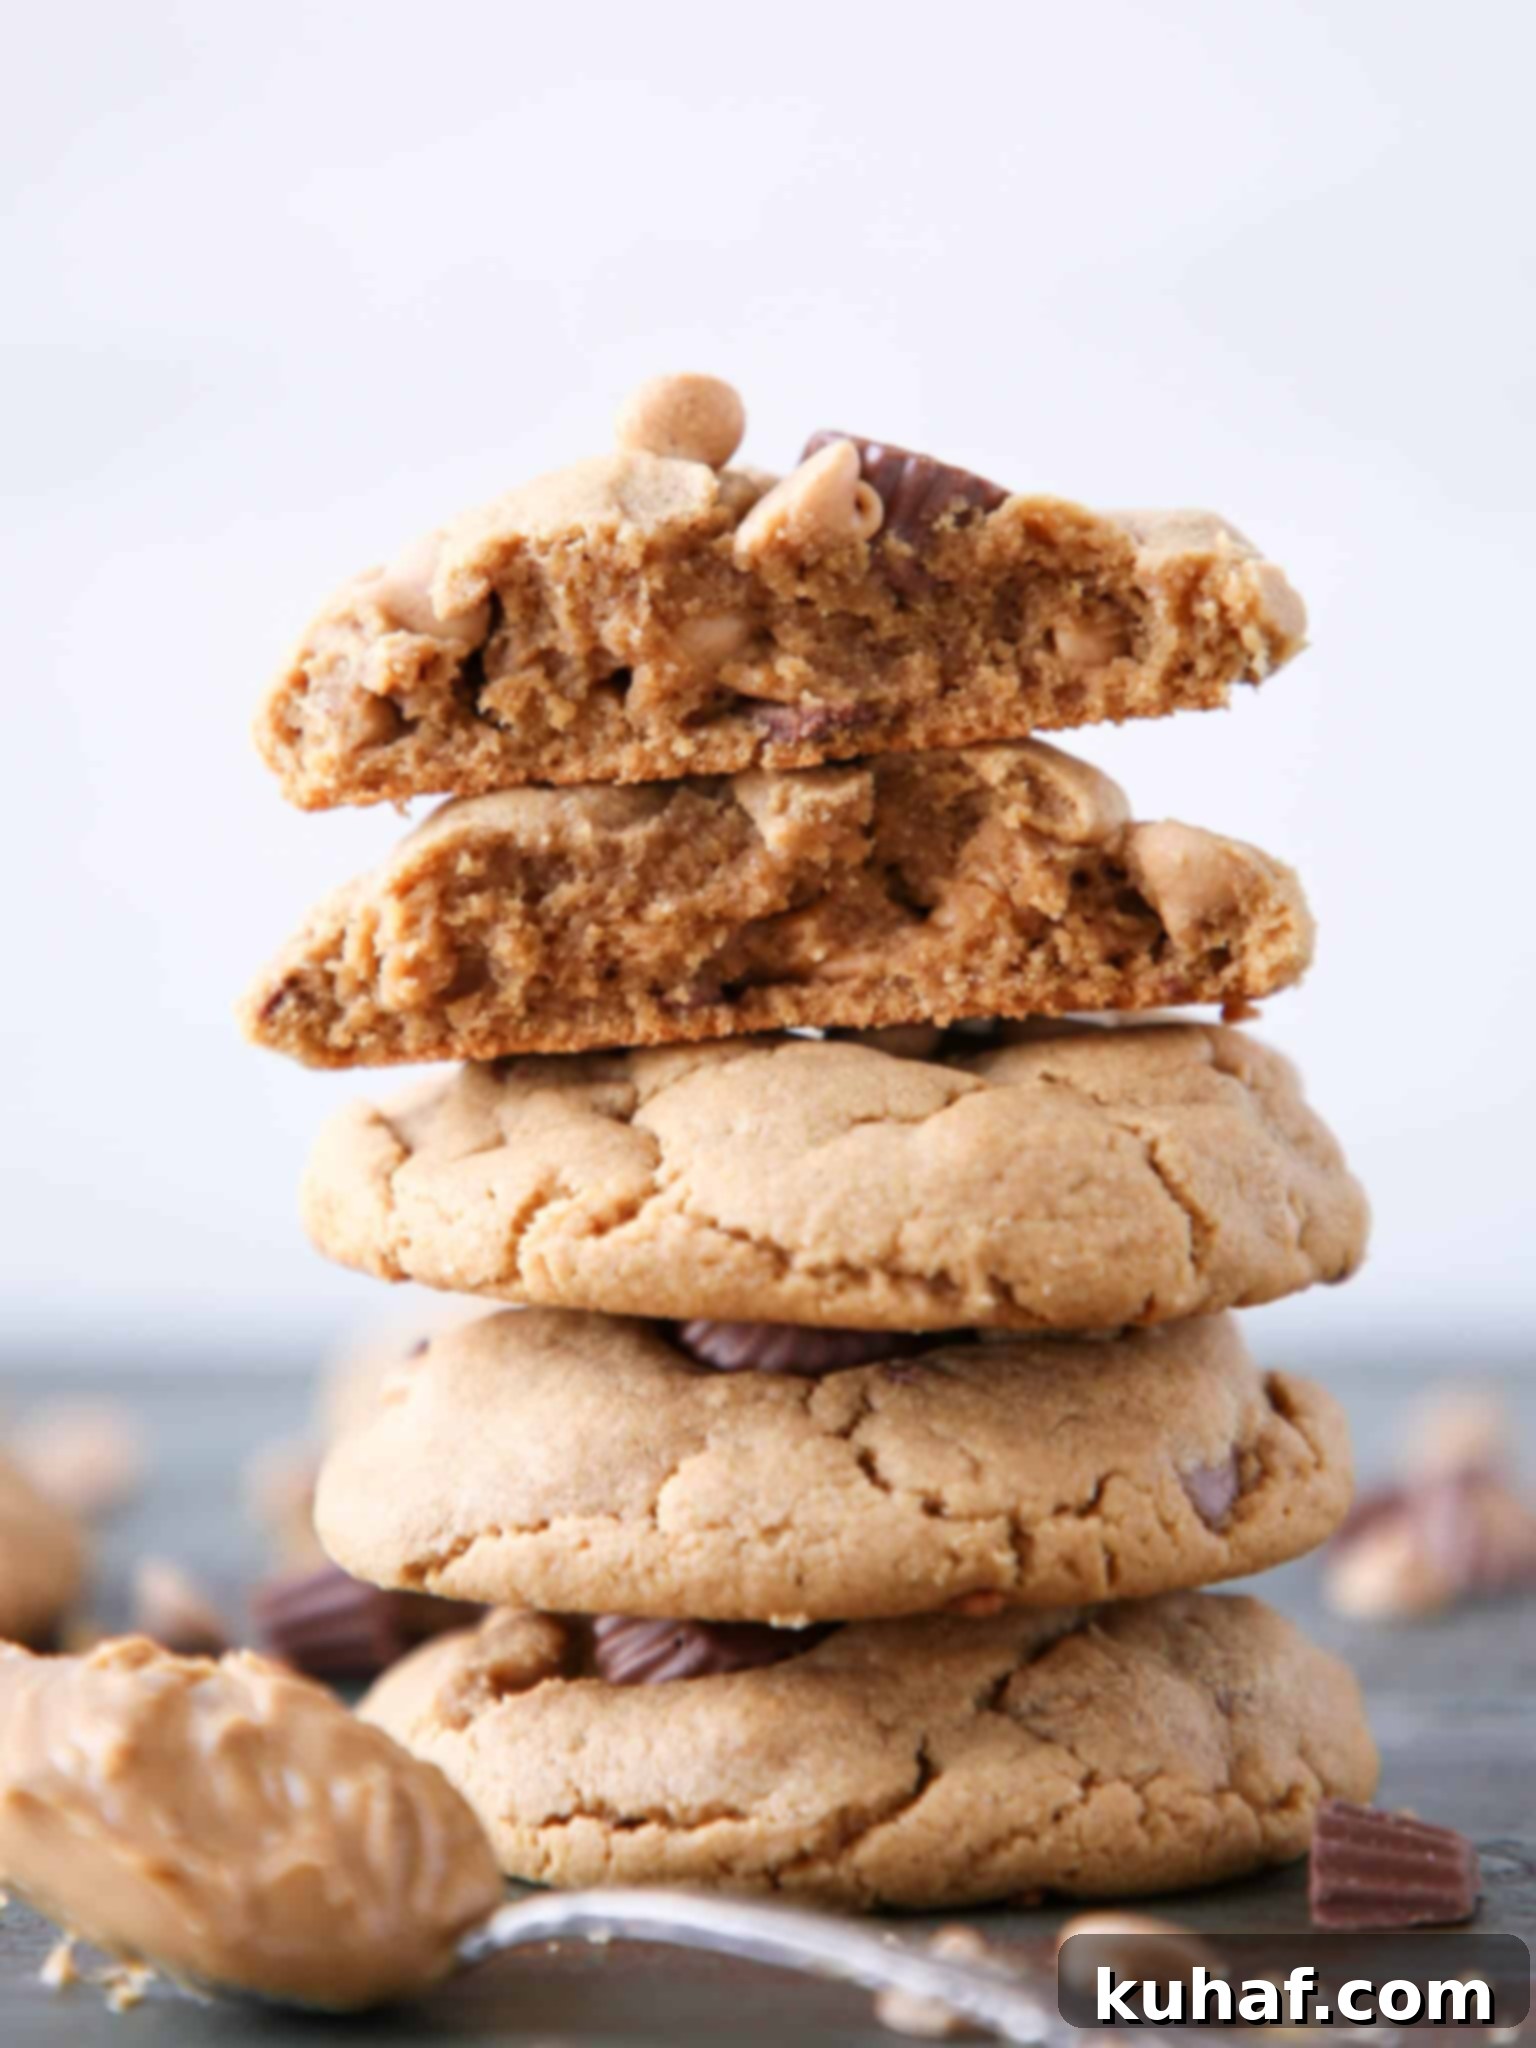
Chef Lindsey’s Recipe Tip
For the prettiest, most picture-perfect cookies, gently press a few extra mini Reese’s Peanut Butter Cups and peanut butter chips onto the tops of the cookie dough balls just before baking. This ensures those delightful mix-ins are visible and enticing right out of the oven!
Frequently Asked Questions
Store these delicious cookies at room temperature in an airtight container for up to one week to maintain their freshness and chewiness. For longer storage, they freeze exceptionally well! Place the baked cookies in a freezer-safe bag or container, separating layers with parchment paper, and they will keep for several months. I generally prefer to freeze the baked cookies rather than the raw dough, as this particular dough can become a bit crumbly and harder to work with when frozen unbaked.
Absolutely! These chewy peanut butter cookies are an excellent choice for shipping to loved ones. Their dense, sturdy, and moist texture helps them hold up remarkably well during transit, ensuring they arrive moist, chewy, and with very minimal damage, making them a perfect care package treat.
No, that’s one of the best parts about this recipe! There is absolutely no need to chill this cookie dough prior to baking. You can mix, roll, and bake them immediately, making them perfect for those spontaneous cookie cravings or when you’re short on time!
While some cookie doughs can be baked from frozen, I strongly recommend freezing these cookies *after* they are baked. This specific dough, due to its flourless nature and high peanut butter content, tends to become a bit crumbly and can lose some of its ideal texture if frozen raw. Freezing the baked cookies maintains their perfect chewiness, and they thaw beautifully at room temperature or with a quick warming in the microwave.
Yes, they are! This recipe is naturally gluten-free as it doesn’t call for any wheat flour or other gluten-containing ingredients. It relies on the consistency of the peanut butter and other simple pantry staples, making it a wonderful option for those avoiding gluten.
If you tried this recipe and loved it, please leave a 🌟 star rating and let me know how it goes in the comments below. I love hearing from you; your comments make my day!
Reese’s Peanut Butter Cookies
Pin Recipe
Comment
Print Recipe
Ingredients
- 1 cup no-stir peanut butter I use Jiff
- 1 egg
- ½ cup dark brown sugar loosely packed
- ½ cup granulated sugar
- 1 teaspoon baking soda
- ½ cup mini Reese’s peanut butter cups
- ¼ cup Reese’s peanut butter chips
Instructions
-
Preheat oven to 350°F (175°C) and line two baking sheets with parchment paper. This ensures easy release and quick cleanup.
-
In a large bowl, add the peanut butter, egg, both sugars, and baking soda. Mix with a hand mixer until just well blended and incorporated, approximately 1-2 minutes. Be careful not to over-cream. Gently fold in the peanut butter chips and mini Reese’s cups by hand.
-
Divide the dough into 8 equal portions. Roll each portion into a smooth ball and place them about 2 inches apart on the prepared baking sheets. For extra visual appeal, press a few additional mini Reese’s and chips onto the top of each dough ball.
-
Bake for 11-14 minutes, or until the edges are a golden brown and the centers have puffed and no longer look doughy or raw. The cookies may still seem slightly soft in the middle but will set as they cool. Allow them to cool completely on the cookie sheet before carefully removing them.
-
Try not to eat them all in one sitting – it’s tough, but worth it to savor them!
Notes
Substitutions – This recipe will not yield the same thick and chewy results with natural peanut butter due to its varying consistency and oil separation. Please refer to the “Smart Substitutions for Success” section above for detailed explanations and alternative recipes. You can, however, successfully use crunchy no-stir peanut butter for added texture.
Storage – For optimal freshness, store these baked cookies at room temperature in an airtight container for up to a week. For longer preservation, they freeze beautifully for several months. I recommend freezing the baked cookies rather than the raw dough, as the dough tends to get a bit crumbly when frozen unbaked, affecting its texture upon baking.
Nutrition
Before You Go
We hope you’ve thoroughly enjoyed this ultimate recipe for bakery-style Reese’s Peanut Butter Cookies, expertly crafted and professionally chef-tested. These cookies are a true testament to how simple ingredients can create an extraordinarily decadent and satisfying treat. Whether you’re making them for a special occasion, a quick dessert, or just to satisfy that deep peanut butter craving, we’re confident they’ll become a fast favorite in your home. Don’t forget to explore our other delicious and easy cookie recipes for more baking inspiration. Happy baking, and enjoy every thick, chewy, peanut butter-filled bite!
